S1 Exige Conversion

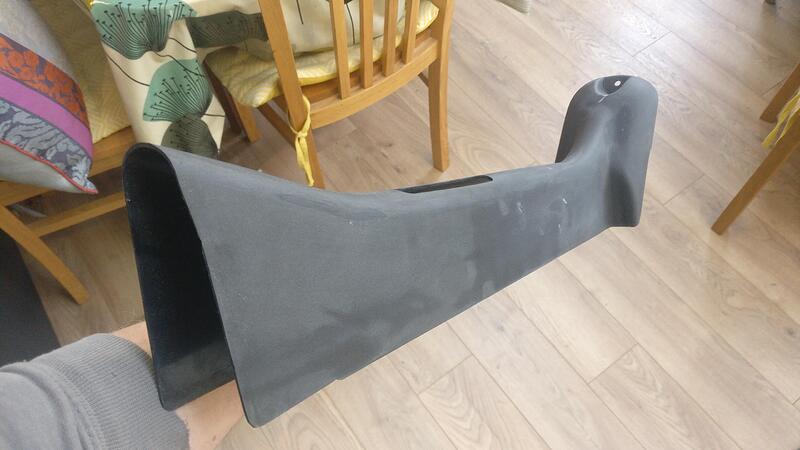
Continuing the roof theme, I moved onto the front clamp.

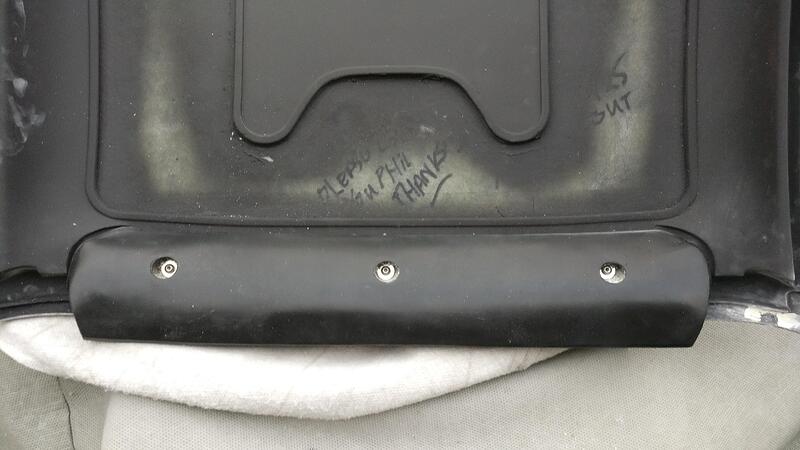
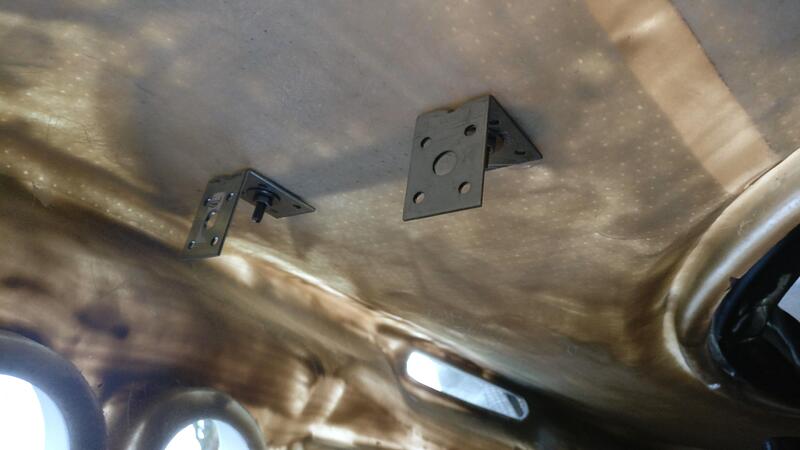
On the underside I could see the indents from the mould to indicate where to drill, easy peasy!

I measured the spacing of the bolts on the roof and they lined up where the indents were, so I was happy to drill through the clamp.
I had a feeling I would probably have to do a bit of fettling and opening up, which wouldn’t be a problem as I will use penny washers to spread the load and mean the holes could be a bit oval shape.

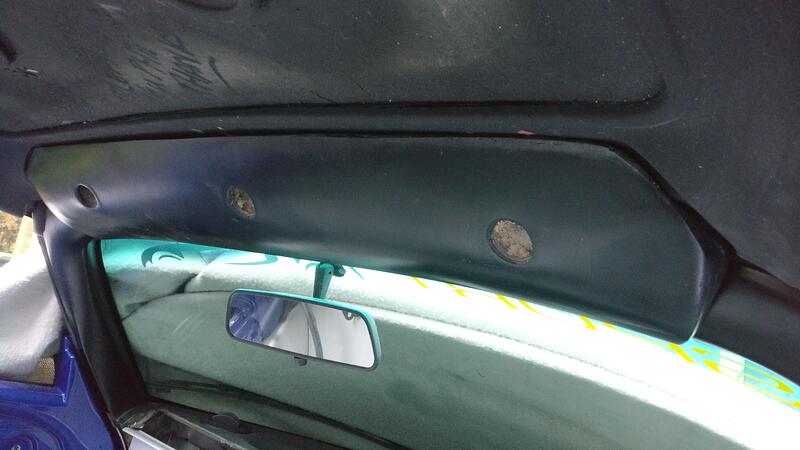
I test fit the clamp with the roof off, much easier than faffing around trying to bend up and under the windscreen to see if the holes line up etc. I had to do a bit of opening out but was happy with the fitment. Also quite nice to see an original factory message, whoever Phil was!

Then the roof went on and the clamp was fixed in position. The clamp itself will be covered in alcantara (same as the roof interior panel) with the holes finished with rubber bungs. I’ll also add a few foam strips on the back side to protect the windscreen when clamping pressure is applied.

The more I think I am getting close for the body shop to take over, something else I haven’t considered pops up.
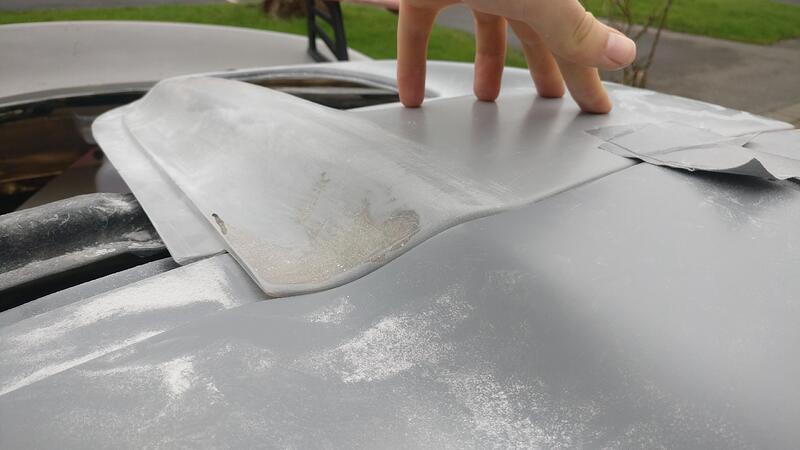
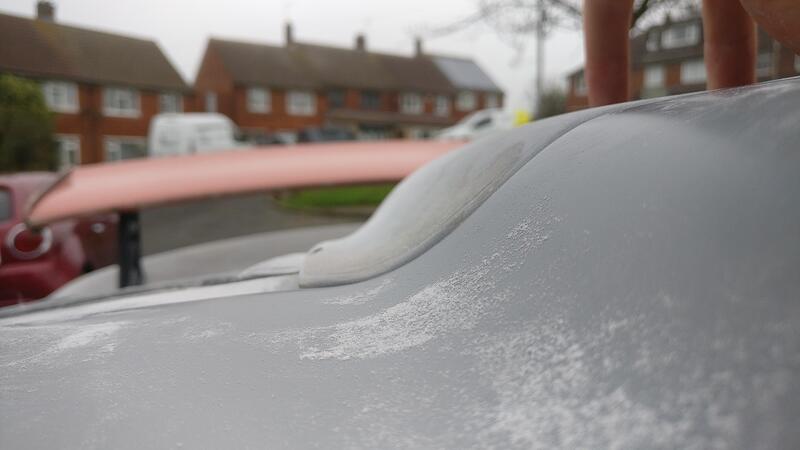
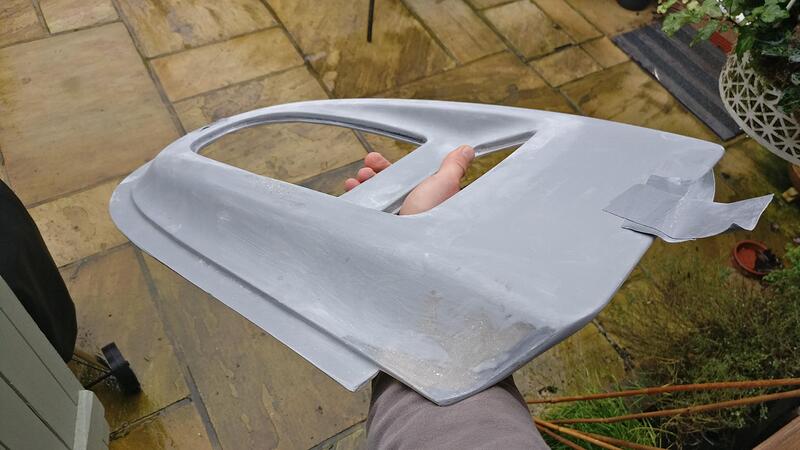
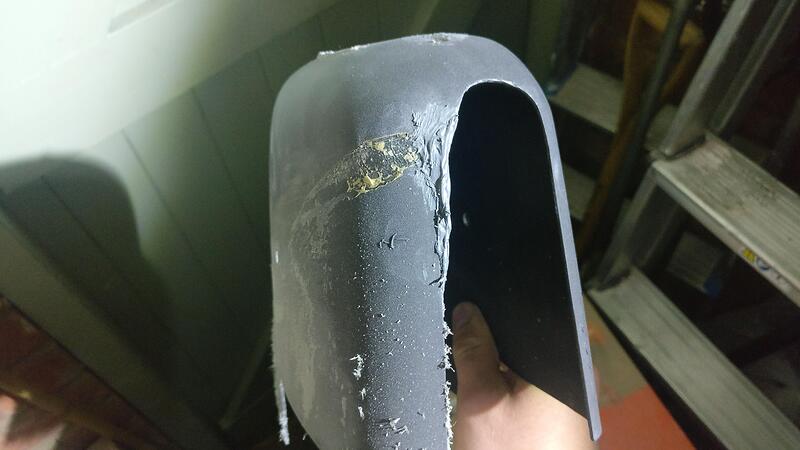
In this case it was the tailgate grille piece. It was cast from a genuine piece, so is accurate, however needed some work to get it where I was happy with it.

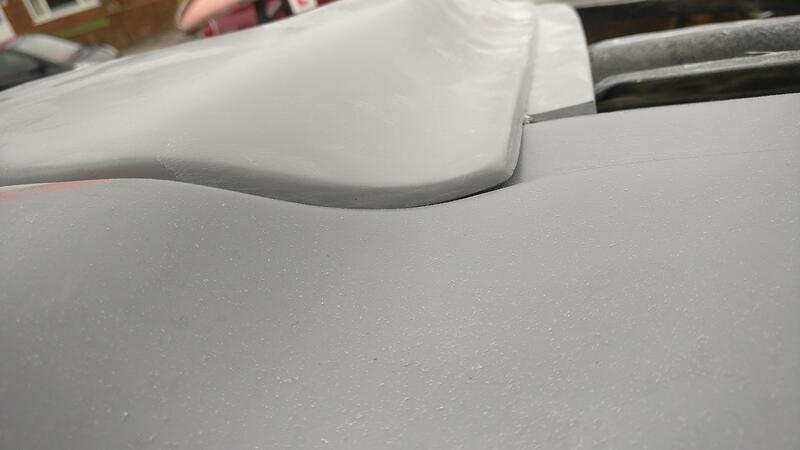
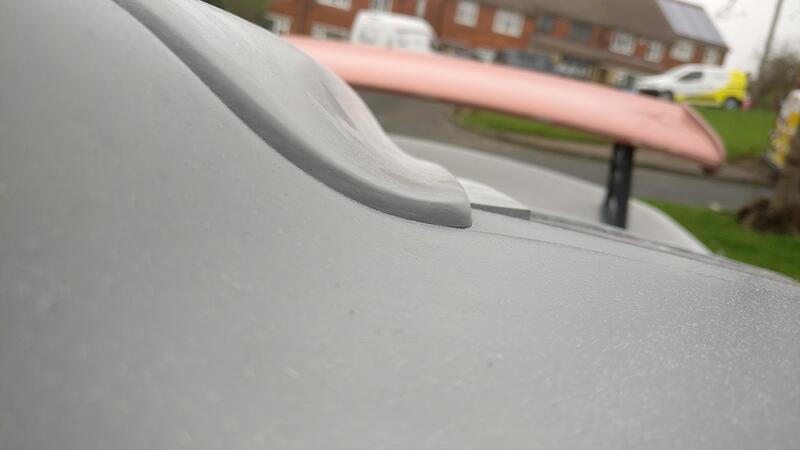
The shape of it in plan is great and matches the roof very well, however the flat surfaces are quite a bit higher than the roof.
I didn’t take a picture of the other side before working on it, but it was further out than the passenger side. They weren’t horrendous, but I’m OCD and felt I could improve it.

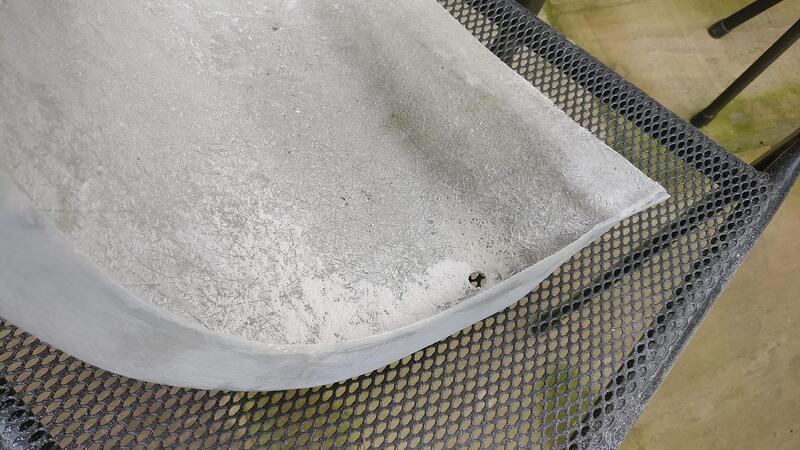
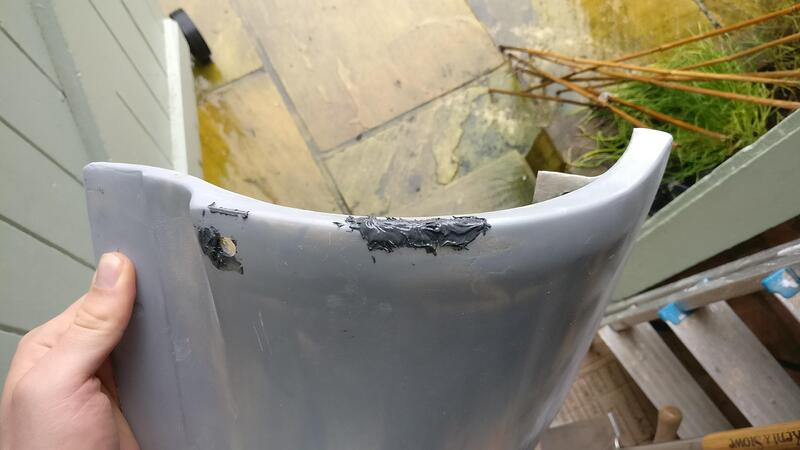
I sanded back the forward portions and tapered them as I went back, this took a while as it was all done by hand. In doing so I also sanded down past the grey part of the gelcoat, which I’m hoping won’t be a problem when it comes to spraying, hopefully a few coats of primer will help. Also in sanding down so far, I cracked through and left a couple of holes which I have filled with my old friend JB Weld.

I will add a picture of the fully sanded piece tomorrow as I finished it tonight. It also needed some dolphin filler in some parts but not much.

I think it fits the roof shape much better now and the surfaces between the two flow much better without the nasty step.

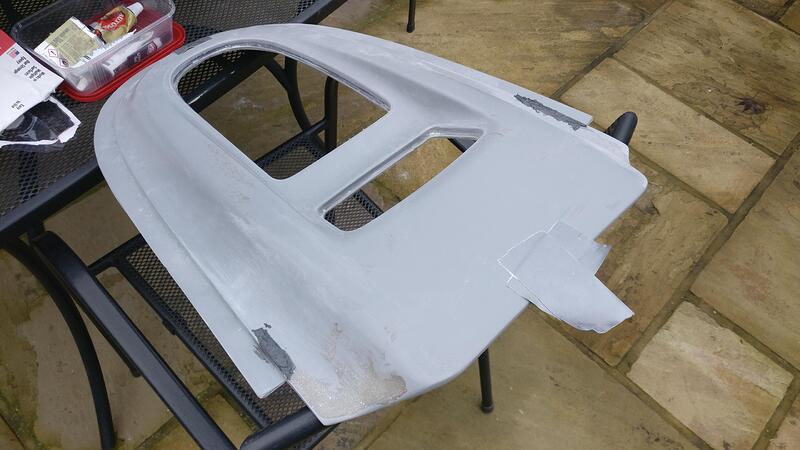
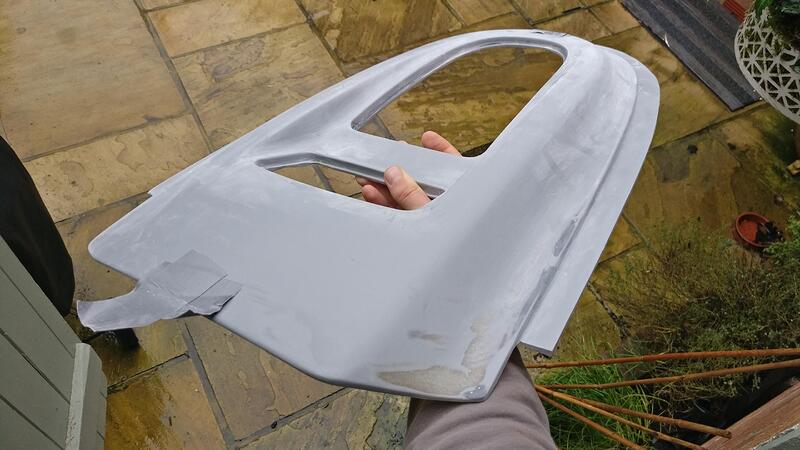
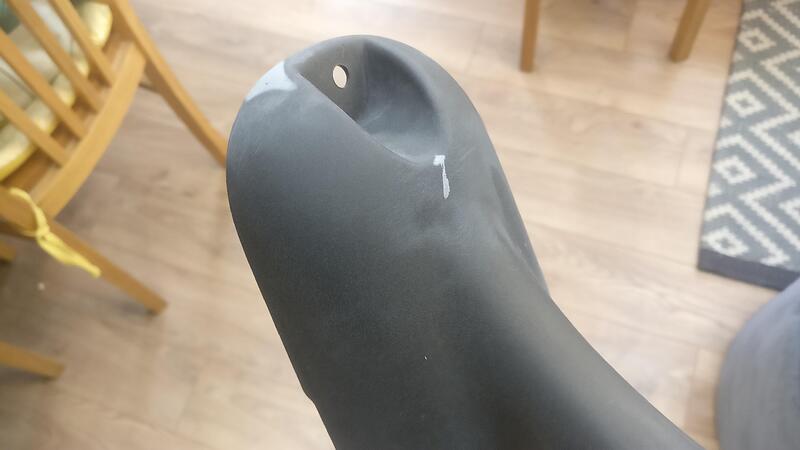
Here is the finished sanded and filled grille piece.
I am much happier with how it flows better with the roof surface.
I used dolphin filler in all the little pits that had formed by sanding the gelcoat down so much (especially at the front seen by the white dots), a few thick primer layers may have filled them but I wasn’t taking the chance.
I also took out any low spots in the gelcoat using some 240grit paper, I’ll let the body shop finish it but another part ticked off the list.

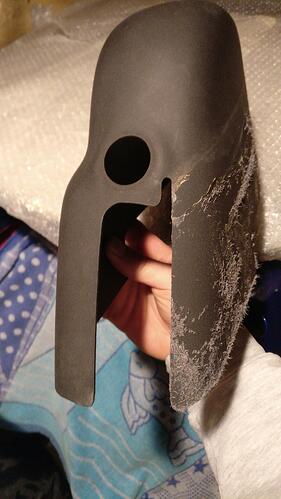
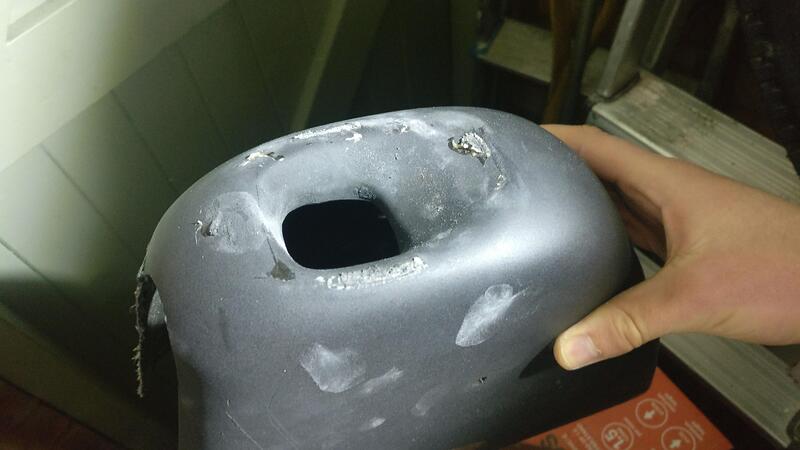
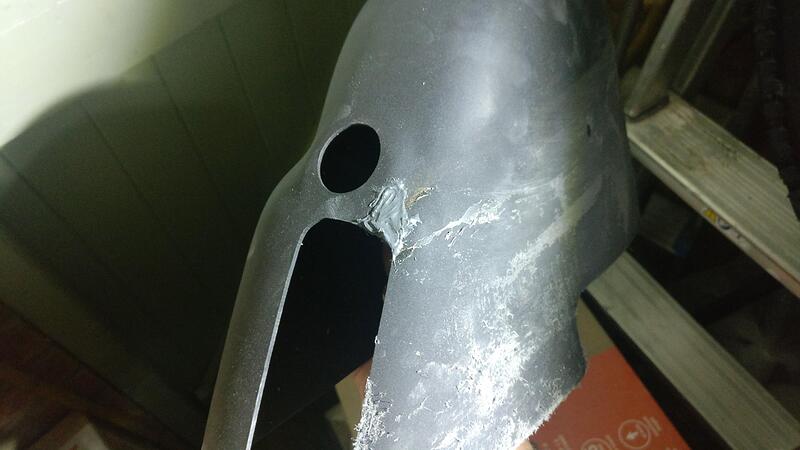
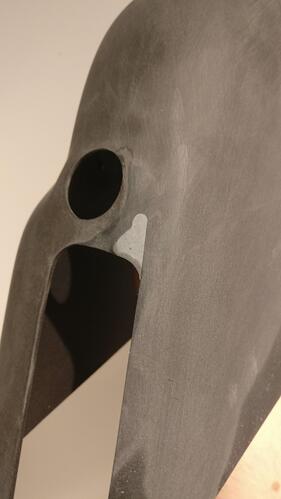
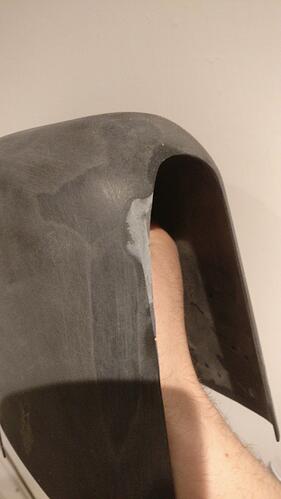
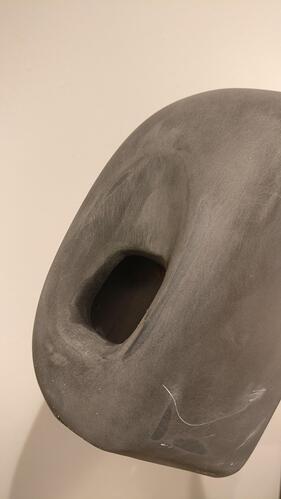
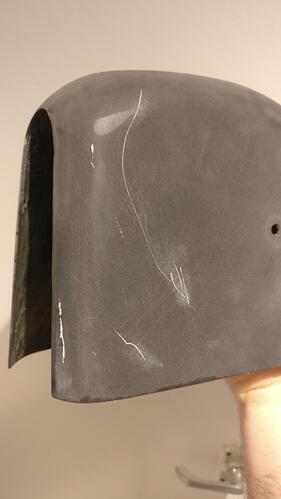
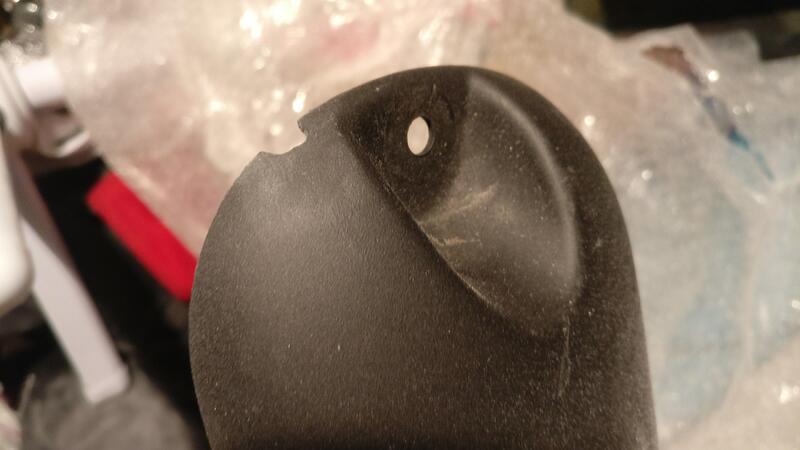
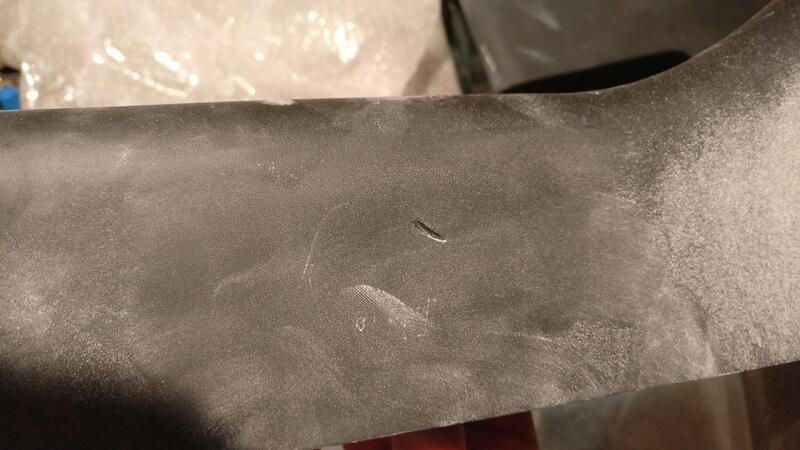
Back to the interior, I went about filling and sanding the gear lever and handbrake covers. I plan to paint these The same as the exterior colour to jazz up the somewhat monotone interior. The gear lever had an aluminium plate which I removed to keep a cleaner look, but left some nasty resin blobs I’d need to sand off along with the glue from the side pocket.

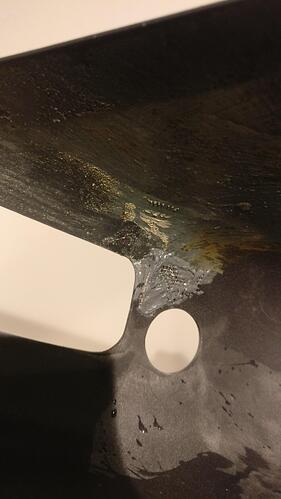
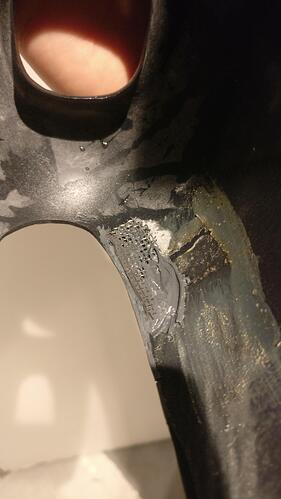
The holes are quite different in shape, one straight forward and one long and thin, but I decided to fill both using the same method. I bought some fine wire mesh to use as a backing as the holes may have been too big to fill without it and bonded it to the underside.

More JB Weld filled the holes and was used as the adhesive for the wire mesh too, which set nice and strong ready for sanding

I first used my dremel to bring back the inside thin enough to take the rubber edge finisher I plan on using.

I then hand sanded the filler back to a nice flush finish, taking the resin blobs off too.

I also used some dolphin filler to get rid of some of the scratches and gouges. These may have been filled using multiple layers of thick primer, but for the sake of 15 mins for the dolphin to set I decided to just fill them just in case.


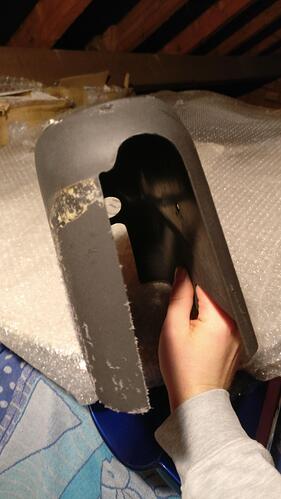
I moved onto the handbrake cover, which was much more straight forward.

The only real damage this had was a chip and a few gouges I’d fill in the same way, except try not to use the wire mesh as it was smaller chip to fill.

The JB Weld filled the chip really well and I used the dremel again to roughly grind back the inside, no rubber edge finisher here so no need to be thin or neat.

Then finished sanding the chip and other gouges down to be flush and a few more scratches were filled using dolphin.

Ready for the primer!

The front oversills needed a bit of attention to get the front face of them tidied up and the edge running flush with the clam edge.

The way the oversills came out the mould meant that unfortunately one had a thicker edge than the other side. My OCD was screaming at me to even them up, but that would have meant cutting up into the front clam and also I plan to use my original Elise wheel arch liners if I can, so want to have as large of an edge as possible to get as close to the liners as possible.
I decided against evening them up and just hope it isn’t noticable when the car is finished, fingers crossed it is one of those things you would only notice if you’re looking for it.

I will have to make my own wheelarch extension panels, but these will be made quite near the end when everything is bolted up.

I also drilled drainage holes in the oversills.

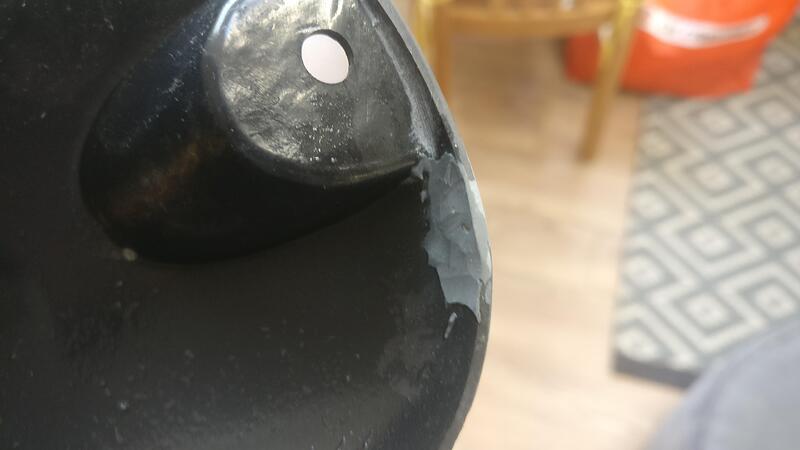
One frustrating thing doing everything yourself is not having that extra pair of hands to help take things on and off the car easier. In hindsight I perhaps should have tried taking the oversills off the front clam with everything in situ, but instead I took it all off together and ended up damaging the gelcoat on one of the oversills. Similar story with a few other bits I’ve had to fill as I go along, having that extra pair of hands to bend and flex stuff to give that extra room would have been handy. I’ll have to tidy this up at some point but easy enough.

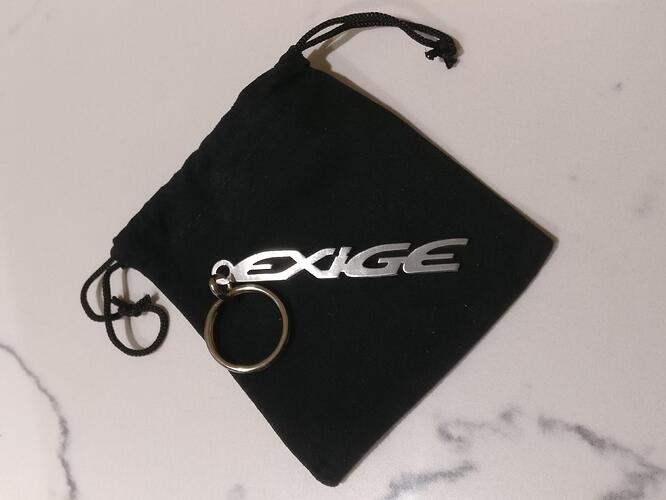
Treated myself to something to help me pretend I’m one of you guys lucky enough to have a genuine one :joy:

Note: The handbrake cover of the Exige S1 looks different: The rear part is removed.
If you need some pictures I could post a few.

Great effort anyway!!!

:thumbup:

Hi pal,

I was half tempted to get the Exige version, but as I’m planning to spray it I didn’t want to ‘ruin’ quite a rare part and also my harnesses would cover up the additional bit anyway.

Maybe one day if the painted piece doesn’t look quite how I imagined.

Cheers for the interest in the thread :+1:

From where will you get the “Senotex” paint?

Thank you

:question:

I’m spraying it the same colour as the car, so going to be primered and the sprayed with the rest of the bodywork

my genuine engine cover is the same, and also on the screen lifted very slightly on one side, but i will tend to that when i get around to bodywork, great work and speedy progress.

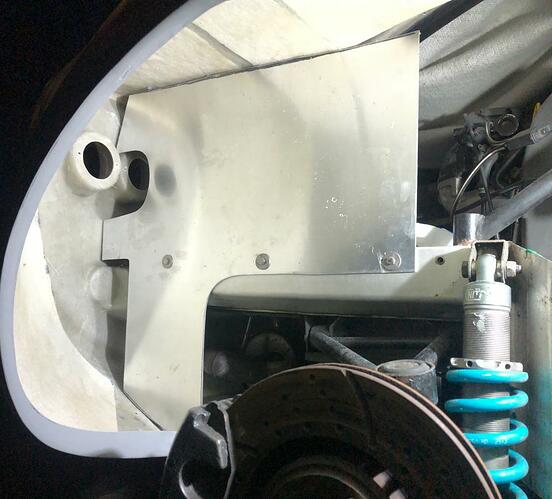
Due to my car originally being a lightweight Elise, the sheer panels fixed into the side of the longerons as opposed to the top like the Exiges. Because of this I planned to make hybrid sheer panels for the conversion, Elise fixing with Exige profile.

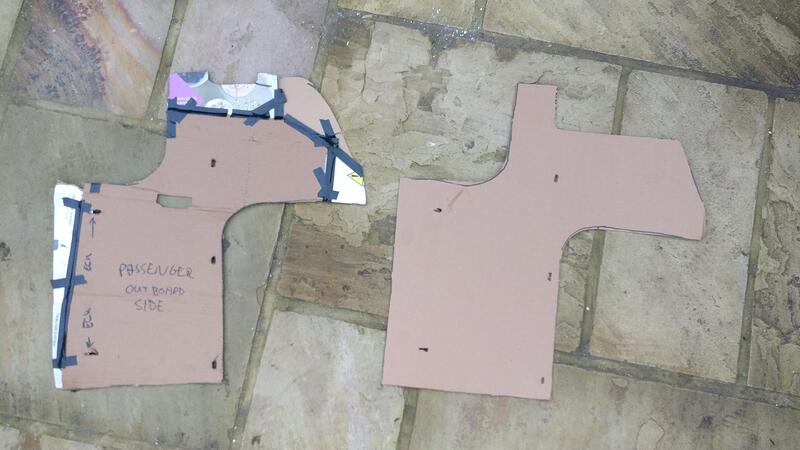
Before I sold my Elise clam, I made a very rough template which would hopefully give me a base for my hybrid panels, including the fixing positions for the longerons and ECU. Unfortunately I didn’t have long to make the template as the buyer turned up to take the clam away very soon after I got it off the car.

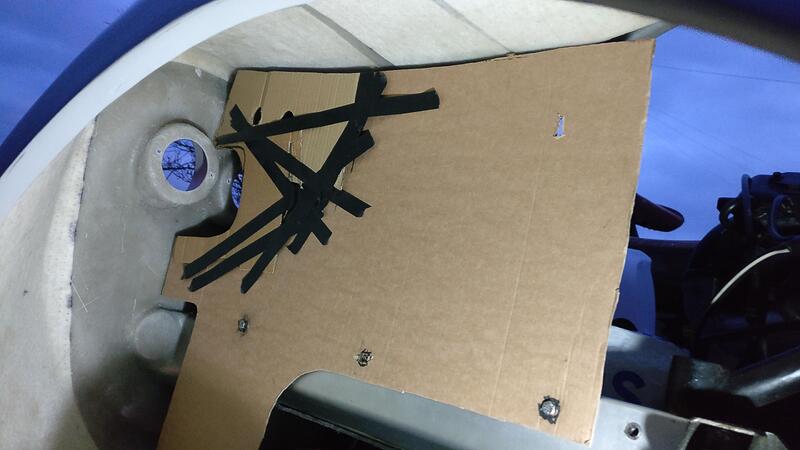
I transferred the patchy template onto a cleaner sheet of cardboard and went for a test fit.

The test fit went well, but I had overlooked the position of the rear spoiler supports, which obviously weren’t on the Elise. This would need amending and a few other areas too.
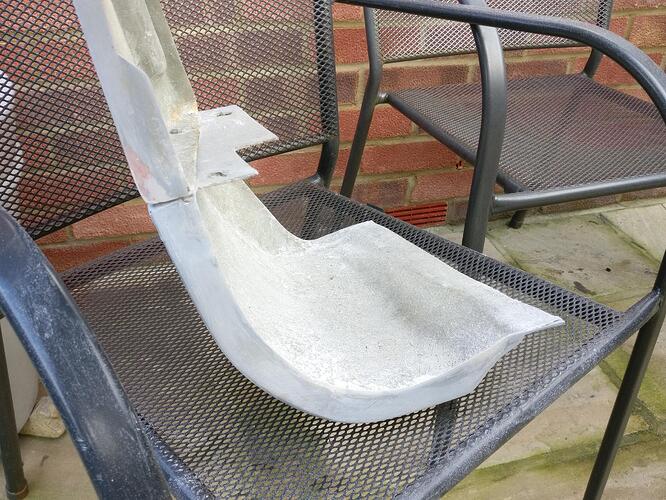
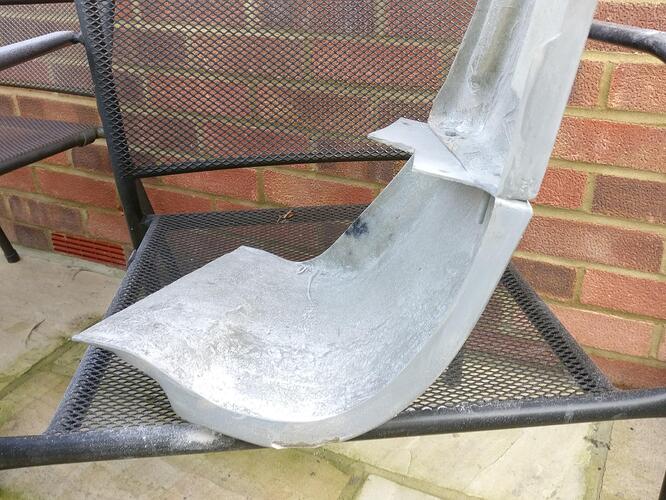
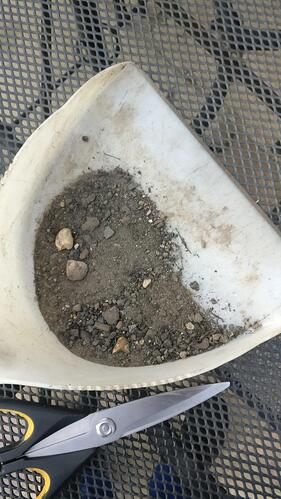
To stop water, stones and other crap building up against the sheer panel (which happened on my Elise) I left a gap at the bottom by the drainage hole. Hopefully this allows water to carry the small stones and dirt out as there’s only so much the wheelarch liners keep out. Below is how much crap was stuck in just one side of my Elise clam, most of which should fall out the bottom of my Exige clam.

More crude cardboard was cut and stuck until I was happy with my final version of the template. I left a hole by the lights to allow me access to the indicators without the need for taking the wheelarch liners out and also the loom to pass down to the fog and reverse lights.

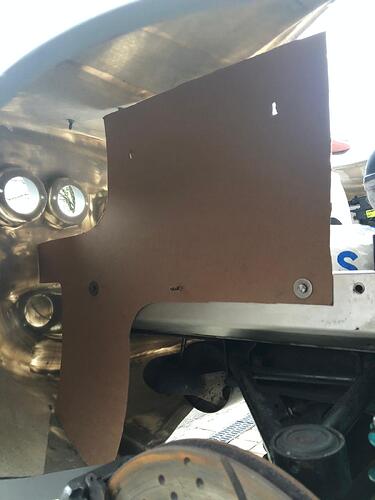
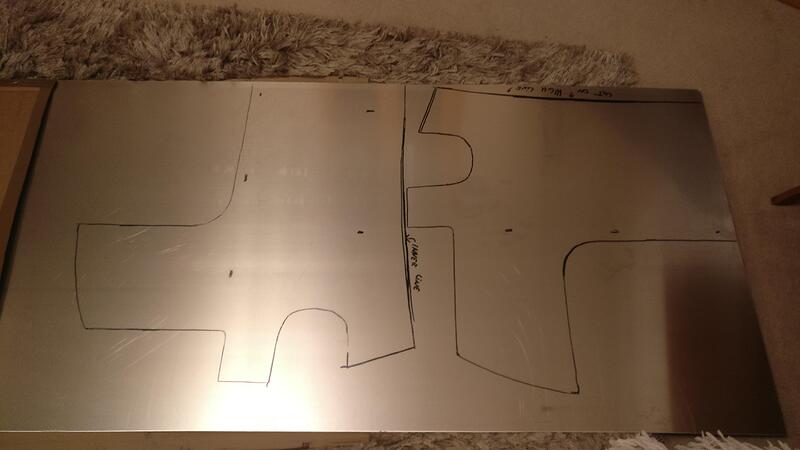
I transferred the outline onto a 2mm sheet of aluminum. I could have gone thinner, 1.2mm was probably the OEM thickness but once I realised it was too late. I enquired about returning it but I’d have to pay a re-stock charge, so stuck with 2mm.

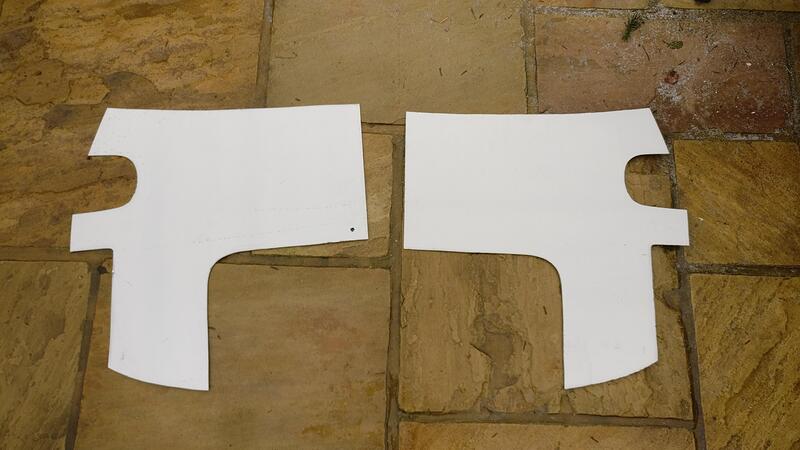
I had to buy a jigsaw to cut the sheets, good tool to have so didn’t mind. The panels were easy to cut out, I left a bit extra where the panels meet the clam to give myself a bit of adjustment room if needed. I then took some files, sand paper and a sanding block to smooth off the edges.

I didn’t have many tools available to make the fixing holes. I took a small drill bit to get some pilot holes before moving to a larger drill bit which cut the outer edges of the rectangular holes. Once these were drilled the holes were just big enough for the jigsaw blade to fit though, this got rid of most of the material in the middle. I then took some needle files to get rid of the extra middle material and finish the edges. They’re not the neatest but as long as they’re in the right place that’s all that matters.

A final test fit and I am happy with the position and shape. I still need to drill the holes for the spoiler brackets, but rather than fixing or bonding the rest of the sheer panels to the clam I am going to use rubber edge trim where the panels meet the clam to wedge it all together. This will not only ‘seal’ and act as the bonding to the clam, but the rubber should act as a good insulator against any vibrations should there be any.
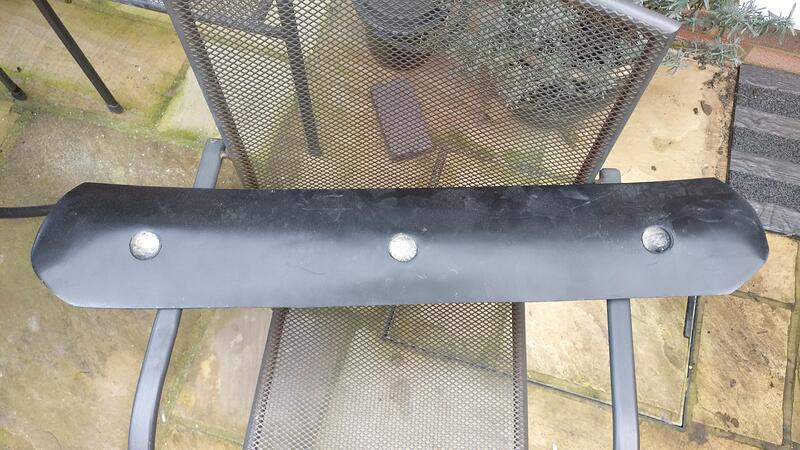
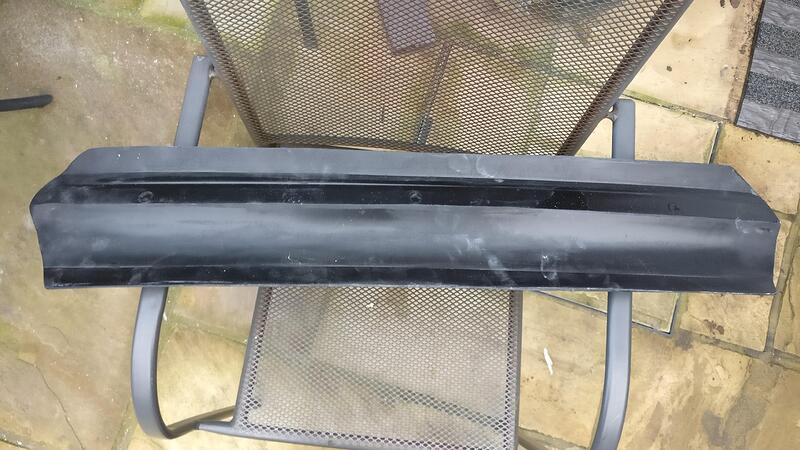
Also with the Exige clam being wider than the Elise I got the extension brackets for the wheelarch fixing. This is where I worry using my Elise wheelarch liners might leave nasty gaps, but I’ll test fit soon and know for sure.
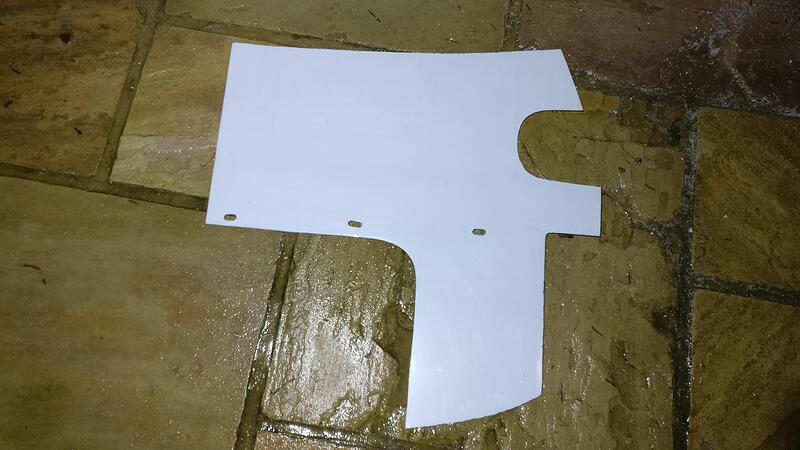
You cannot beat a bit of CAD - cardboard aided design

It’s funny that with my job I could draw up CAD so easily, but no access to a laser cutter! Nothing wrong with cardboard though :joy:

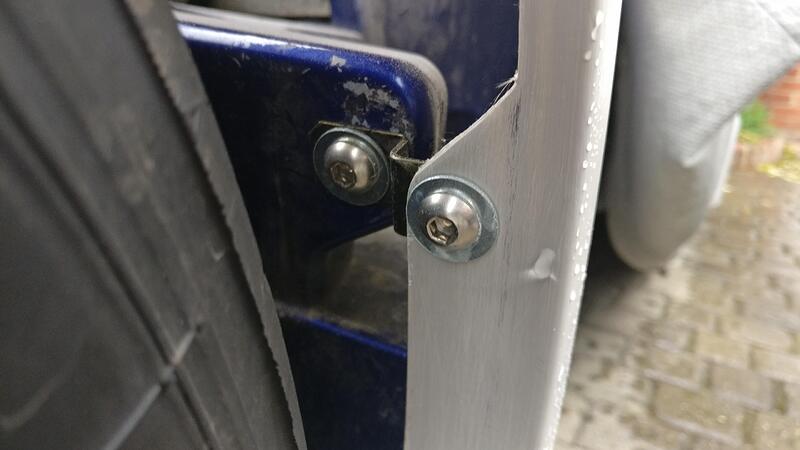
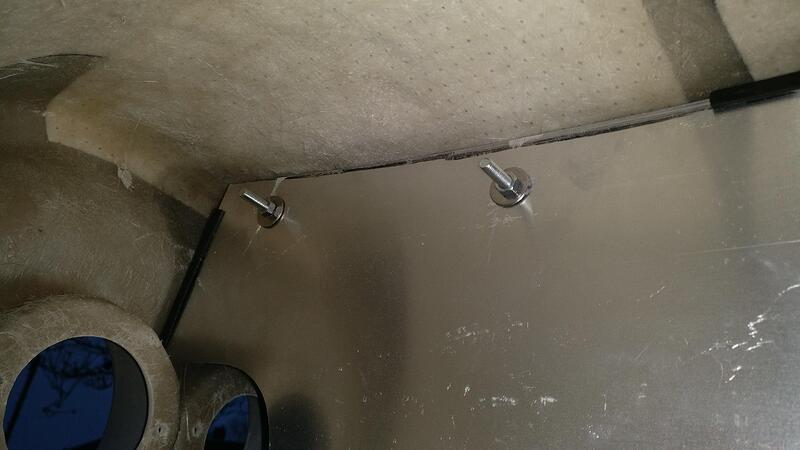
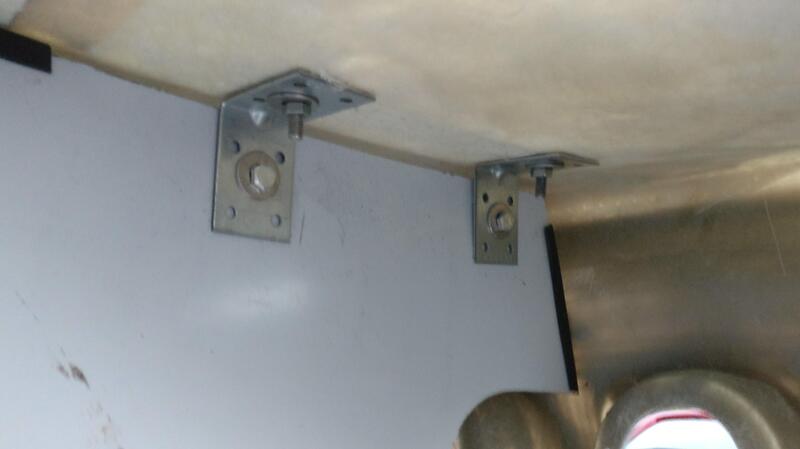
Rather than spending stupid money on genuine spoiler support brackets I decided these very cheap 90 degree brackets would work just as good.

I started by fixing the brackets to the spoiler supports first finger tight. I then put the sheer panels back in, with the rubber edging trim, and adjusted the brackets to be flush against the panel.

I then marked where to drill the fixing holes through the brackets, drilled them out and fit the nuts, bolts and washers.

I’m happy how they turned out and really sure up the sheer panels. Not pretty but functional and an awful lot cheaper than genuine brackets.

So impressed with your methodical approach. All looking good. Can’t wait to see the final result. Top job👍

Cheers pal! But there’s still so much more to come!

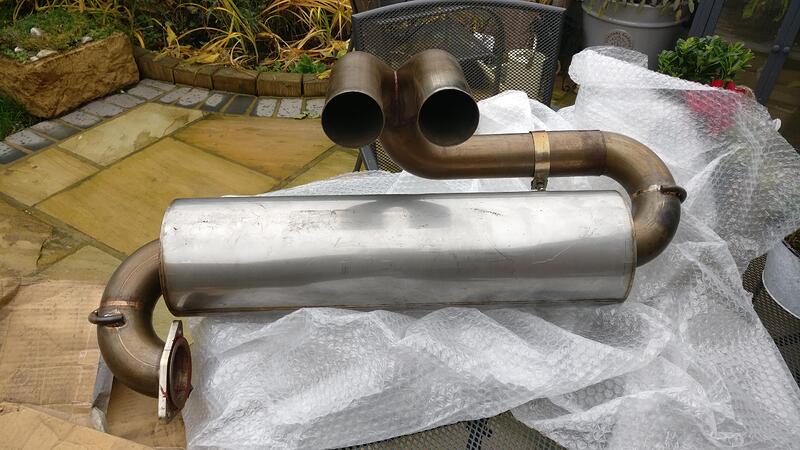
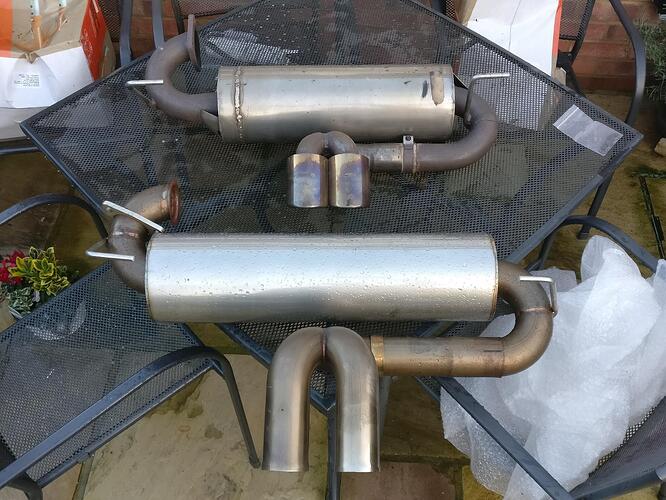
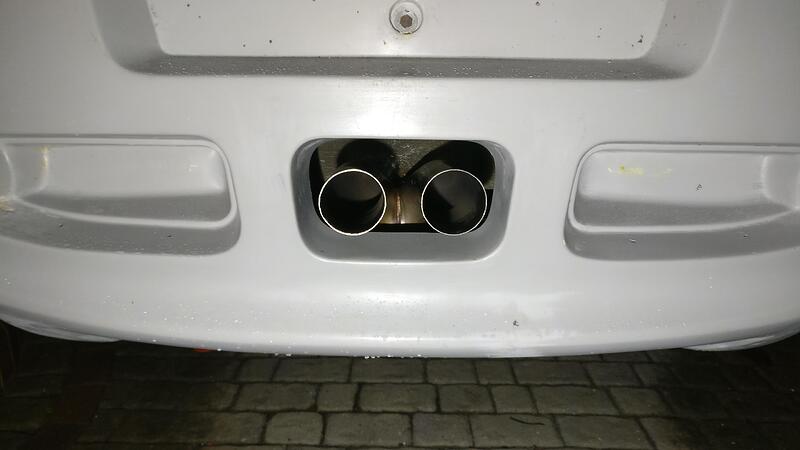
Rather than waiting and seeing if my short tailpipes caused any damage or burning to the clam, an opportunity arose to get one of my preferred choices of exhaust.

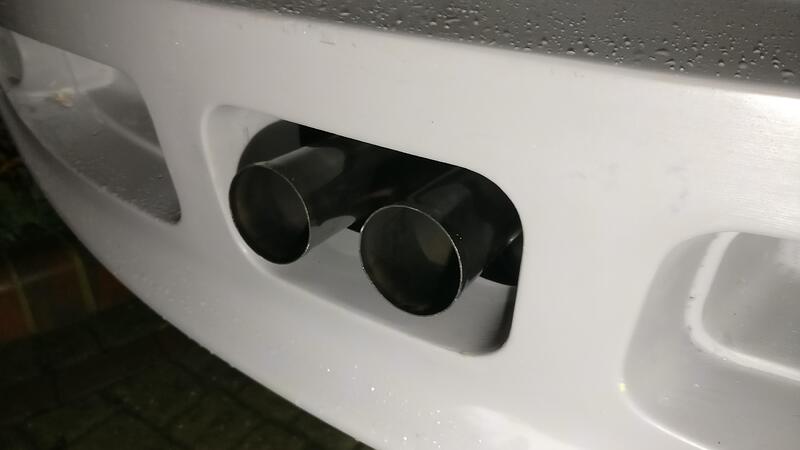
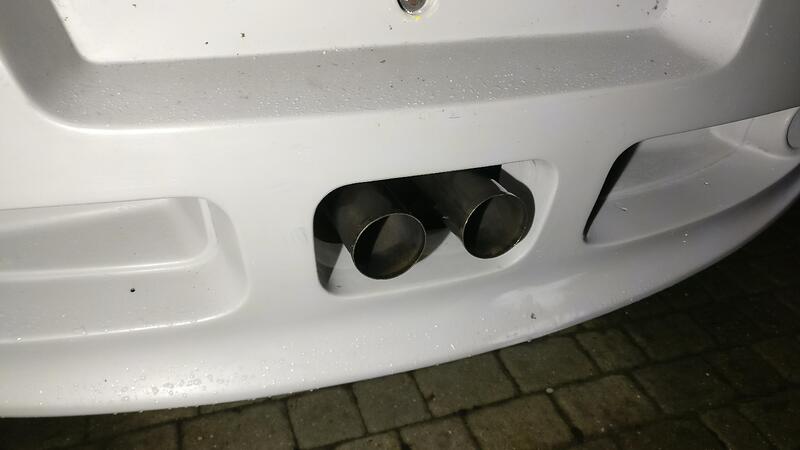
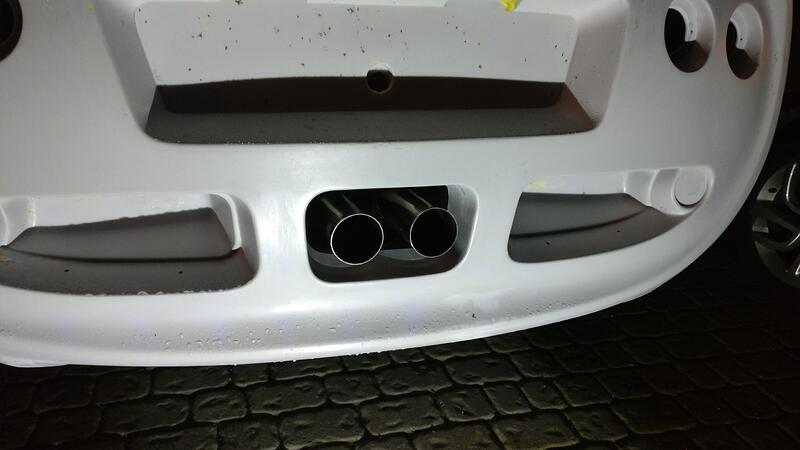
I was after either a large twin tip or the letterbox style, so when I saw this for sale I grabbed it, especially as it is only about 50 miles old. The tips are longer than my Elise one and also are spaced further apart, which allows for silencer mufflers to be fit if ever needed.

Removing the silencer was easy enough, easier than with the Elise clam on due to the Exige clam being a touch longer giving more clearance. I had to remove my sheer panels to get access to the bolt heads in the boot with one hand and the nuts on the exhaust rubber with the other.
I also used my jack to support the silencer underneath so I could use both hands to undo the nuts and bolts without it falling.

I used the same technique with the jack to raise and hold the new silencer in place. It was a bit more fiddly getting the nuts back on with the metal plate and washers but do-able on your own. Unfortunately I didn’t take any pictures of the process as it was chucking it down, but hopefully you get the idea.

I am happy with the placement and I finally have exhaust tips in the middle of my clam, they’re perfect length too!

The sound is similar to my Janspeed, on tick over I can’t tell the difference, but I think it is slightly deeper when the throttle is used. However when revved and lift off it crackles and pops and sounds great! Wish I could say the brand but you guys may know better than me what it is, might be one of the older type Eliseparts ones?

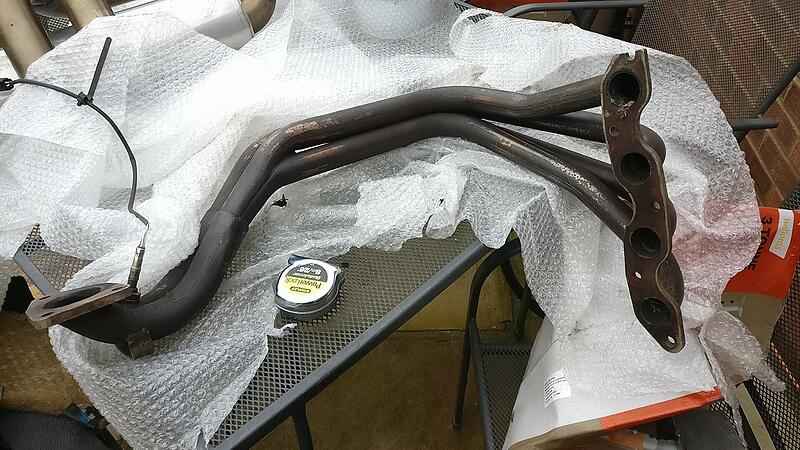
I also bought this small bore manifold. My car currently has a large bore Janspeed with a flexi, but I think a small bore will suit my car better and the longer primaries should help with a little torque increase. Having the vibratechnics engine mounts should stop any cracking of the solid manifold (fingers crossed!)

I will attempt to change it myself, never done it before and read it can be a pig of a job, but you never know until you try!

Overall I’m very happy with the look and sound and can’t wait to give it a drive to really give it good blast!

:thumbup: