Great work! ![]()
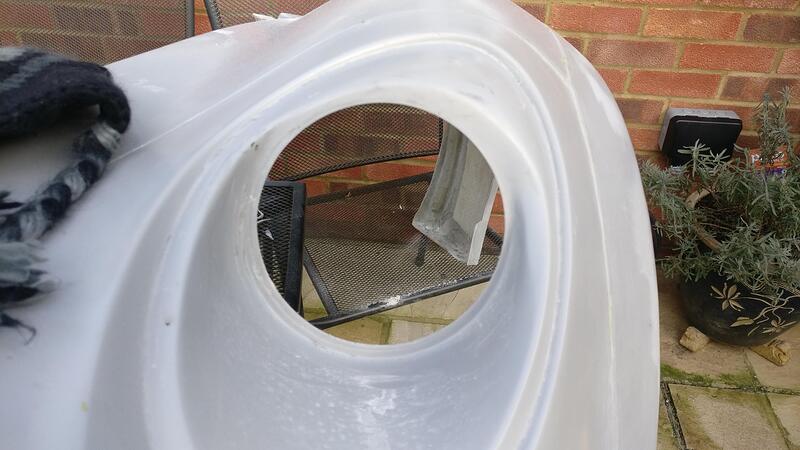
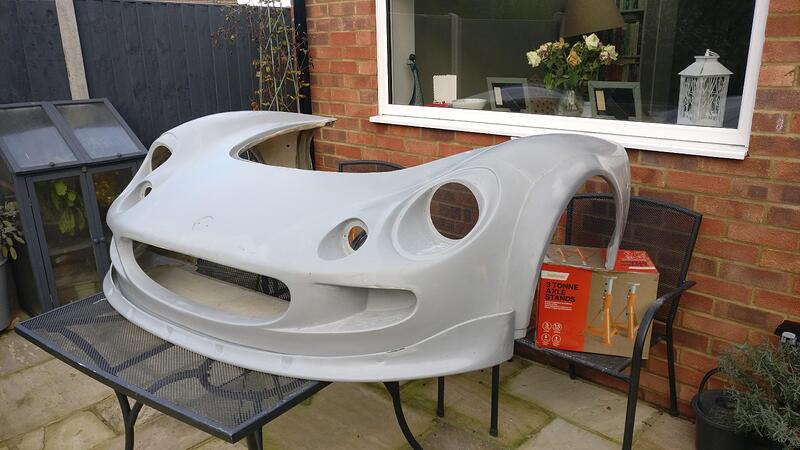
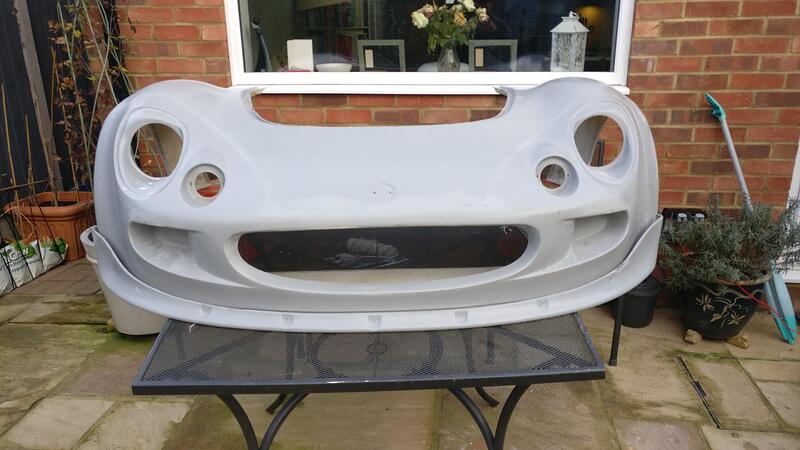
I made quite a big cock-up a few weeks back. Rather than looking online or asking one of you for a reference picture, I thought that I would be a good idea to sand down the pre-cut opening for the headlight flush like on the Elises.
I should have tried to see if the headlight fit in the hole that was there, that way if have seen the hole was already the prefect size, but instead I rushed ahead with the dremel thinking the holes needed opening up like others on the car (side intakes etc).
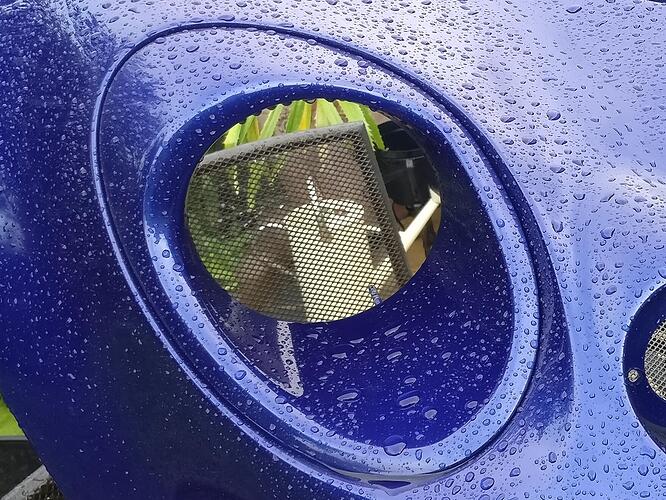
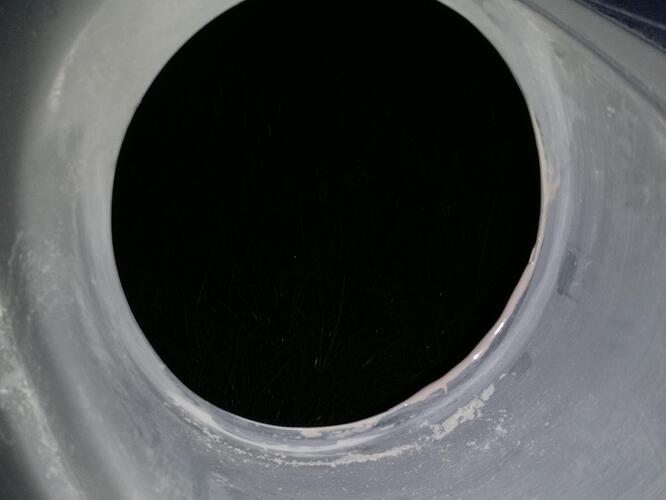
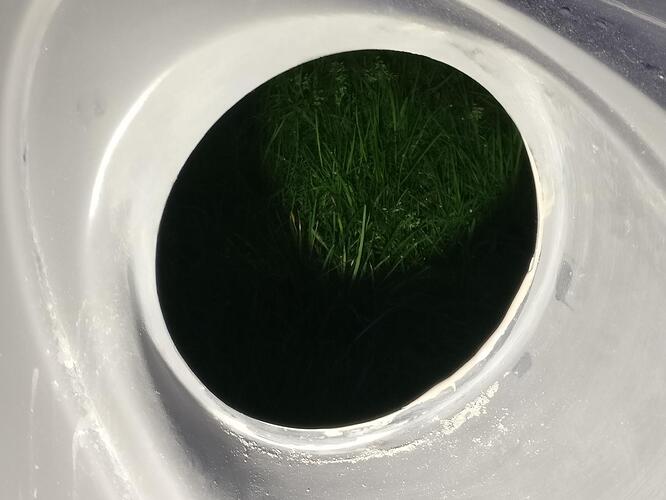
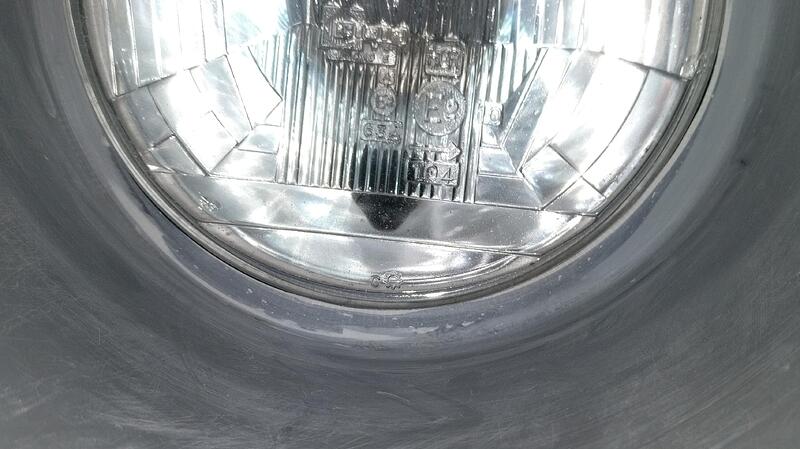
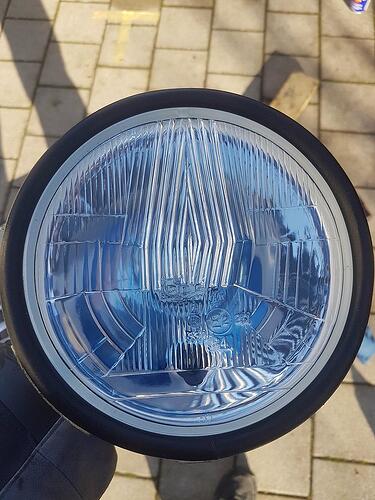
Here is the reference I took from my Elise clam, I didn’t realise the Exige headlights keep the lip around them.
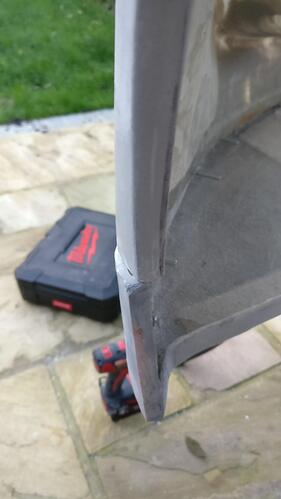
Here is the damage I caused, stupid mistake, measure twice, cut once!
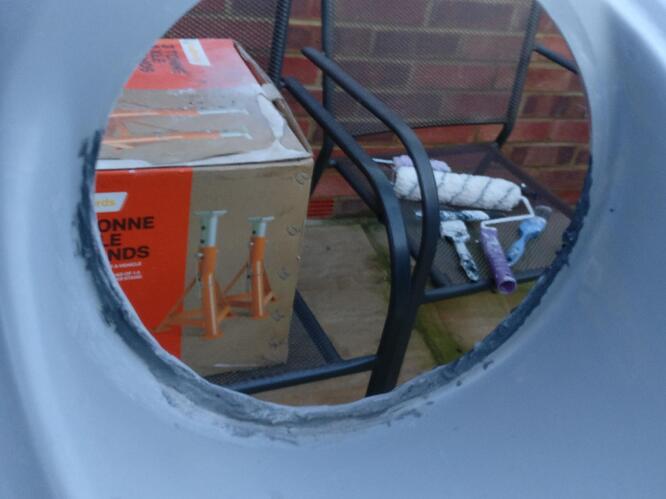
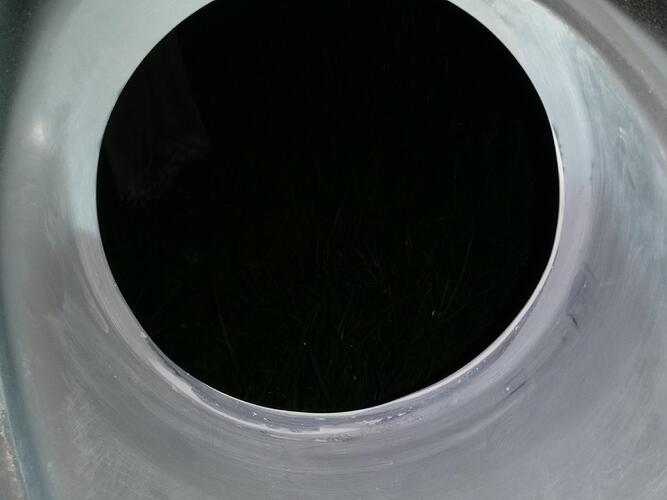
I had a plan though, I cracked out the JB Weld (I should have shares in this!) and built up a mini wall in multiple layers (too much in one go just flopped over) to get the lip back that I sanded off.
I sanded this back and went for a test fit. It was pretty close, but I wanted it a bit better. Thankfully the JB Weld set rock solid after it was left for a few days and is as strong as the fibreglass.
I then added dolphin filler to the mini JB wall to fine tune the margins.
Nice and easy to sand and much quicker setting, just not as strong.
I took some 240 grit paper and got it nice and smooth, with primer over it you should never know I cocked up!
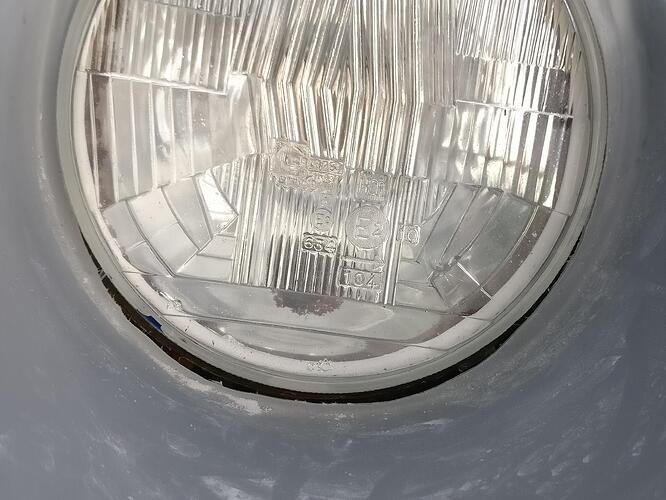
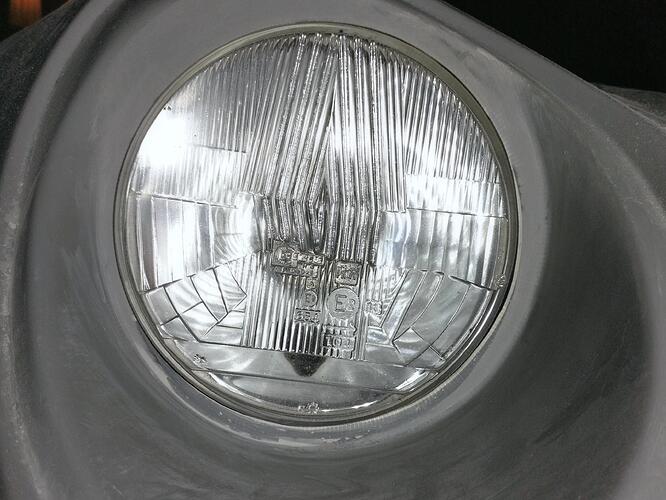
Good as new and lesson learned! The headlight now sits nice and flush in the repaired hole.
Might be a good idea to get some headlamp foam seal.
Got mine from Elise Parts but there’s nothing stopping you from making your own from solid rubber hose.
Could be a good idea, thanks!
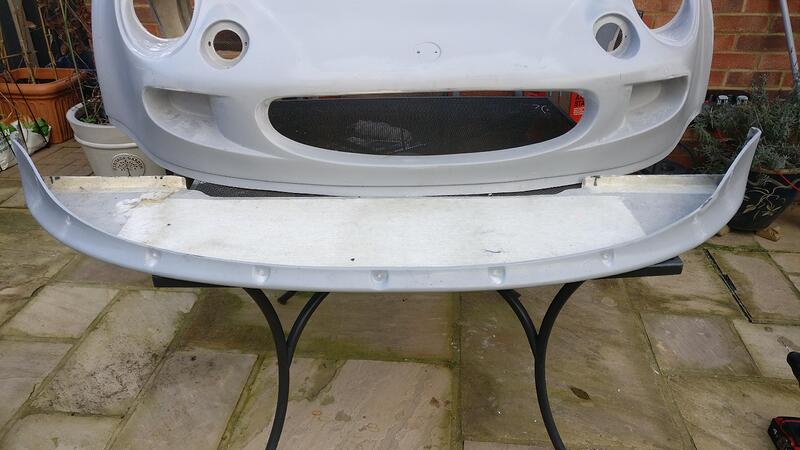
Next big job was attaching and finessing the front lip spoiler.
It was quite a tricky thing to get into position on my own as the sides kept popping out, but eventually after lifting the back of the clam up higher I got the splitter sitting against the clam. Unfortunately no picture of this, but I was now ready to do some drilling.
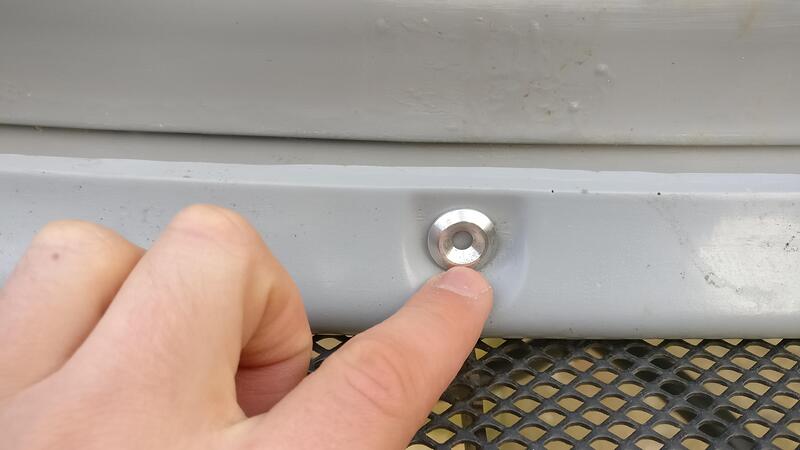
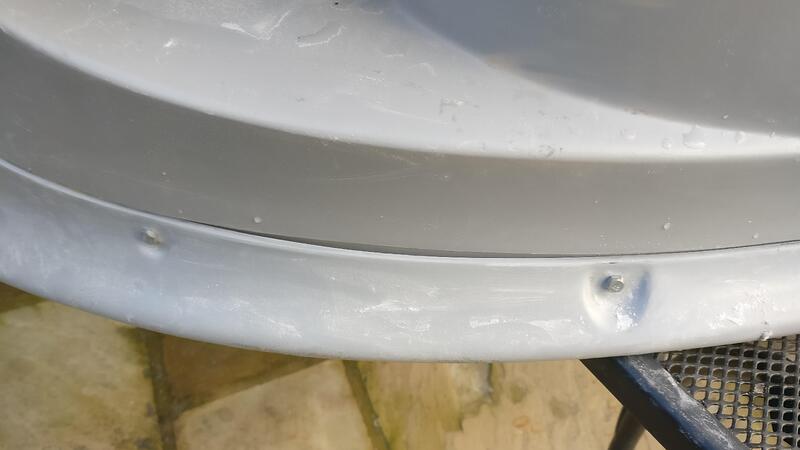
To cut down on cost I decided to use some eBay special cup washers. The ones I will use in final assembly are slightly different to these with a larger flat surface on the front.
I was unsure whether to drill first or sand the edge of the splitter and drill after that knowing that these holes wouldn’t need to be opened up at all. As it was a pain to get into position to start with I decided to drill first to secure the splitter, then fine tune from there once a few bolts were in position.
I started at the middle and drilled outwards to ensure the splitter stayed flush to the clam.
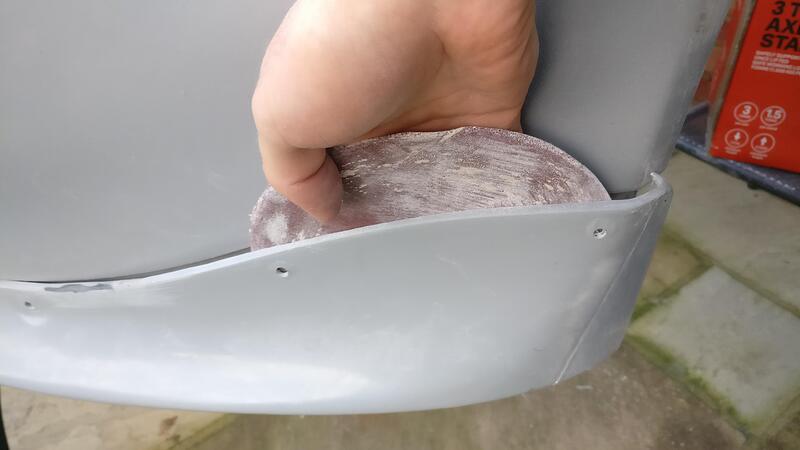
I then sanded the edging down to lay flush against the lip and clam surface.
A rough test fit showed I still had a way to go, but was getting there
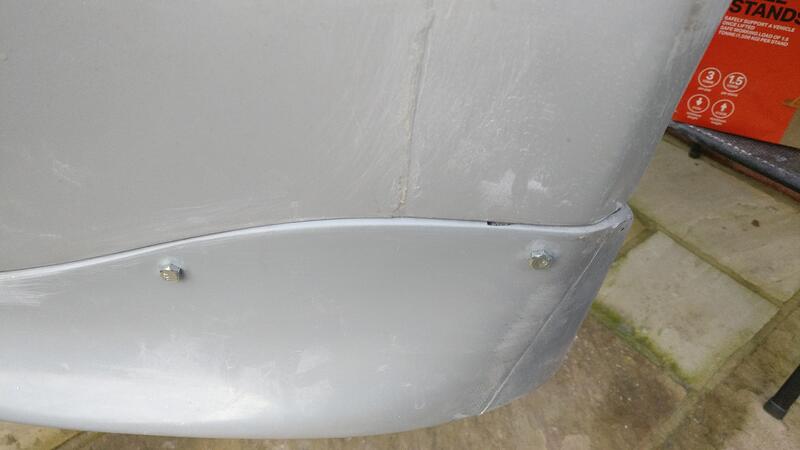
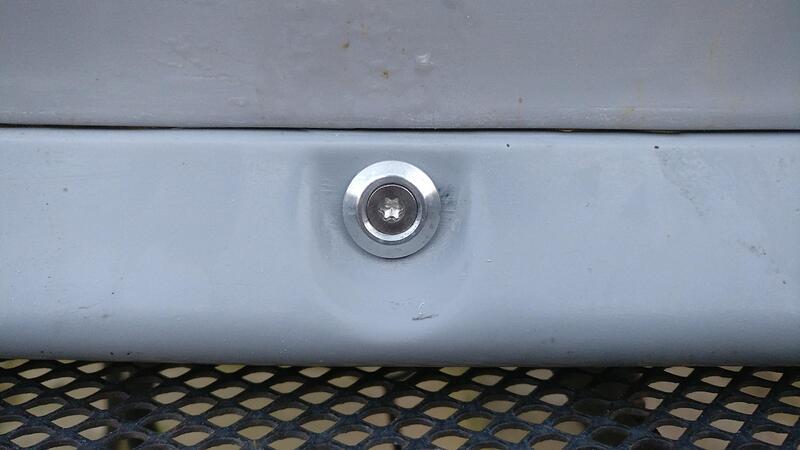
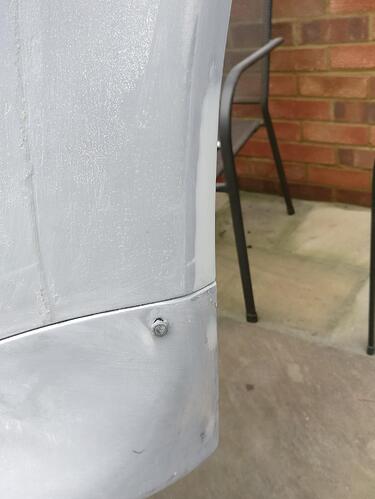
This isn’t the final cup washers as mentioned before but this shows roughly how it will look with the torx head bolts I’m going to use. I couldn’t find any button head bolts that didn’t have letters stamped into them, but the torx heads sit nice and flush and are clear of writing. I will also use this combination for the rear clam to roof fixings.
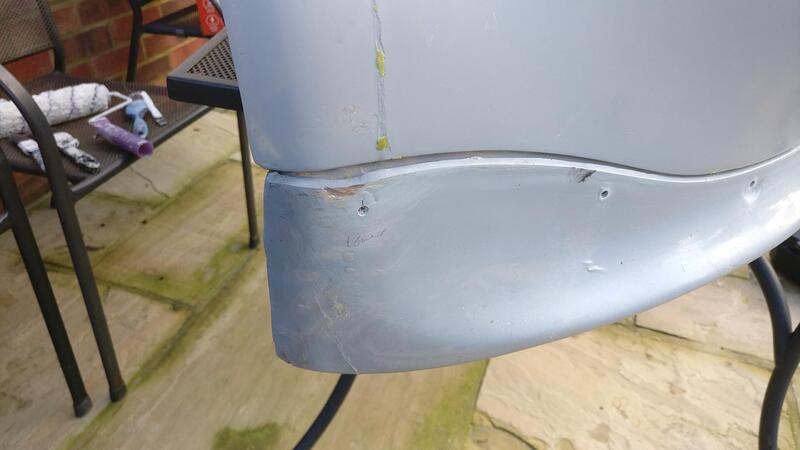
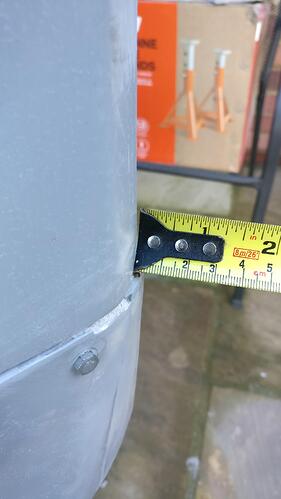
I got the splitter quite close at one point, but after fiddling about to get it closer I actually made it worse. The ends of the splitter sat well against the clam, but left these nasty gaps elsewhere.
I adjusted some more and opened up a few of the fixing holes and eventually got the splitter sitting quite well. However, I did do some damage sanding it to get there that I’d have to addressed, but I was confident I could add filler to meet the lip and taper it up the arch.
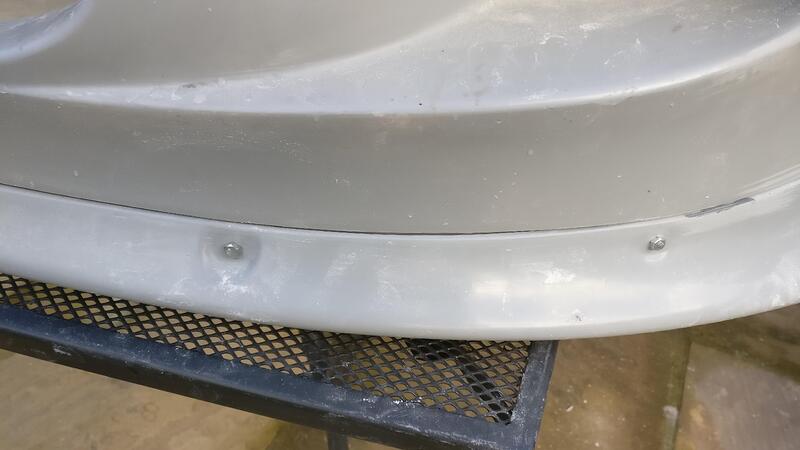
Here is the finished splitter with the filler on the arch. Happy with how it now sits and will have to get both clam and splitter back on the car to sort the under car fixings and drill holes for the wheel arch liners after their test fit.
if you want me to make you a flash mould around the headlights i can send it down to you James
it’ll allow you to rebuild the original shape in fibreglass, i would say pop it back over and ill do it but its a bit of a trip.
little tip with the splitter is to take the clam off and turn it upside down, the splitter will rest on the clam and its easier to position for drilling etc
my build is roughly in the same position as yours now although yours will be painted way before mine as i have an engine swap to do too plus engine mapping etc
Dom
Cheers Dom, I remembered you saying you could do a flash for me, and I probably would have done if what I did was a flop, but turned out well in the end.
Will be interesting to see them both together when they are finished, you got any more idea on what colour?
Well it’ll be green as I don’t want to change my name on the forums ![]()
As im likely to have a pearl in the paint i plan on making a few extra panels like splitters and oversills so i can have prepainted ones ready to go on if I get any major stone chips
Sounds a plan! I really like “vivid green”
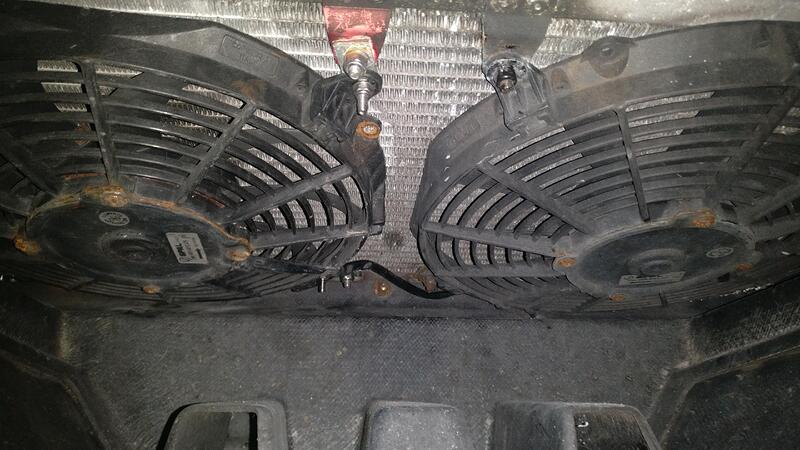
I suppose this is a side issue that popped up but perhaps worth sharing as it might help someone. Earlier in this thread I documented swapping out the seized manual cooling fan with one of my spares and hooking it all back up again where it was working great!
Unfortunately, recently I fired the car up and the manual fan spun up straight away and would not stop. I pushed the interior switch on and off and it did nothing, I switched the car off and still it span, the only way to stop it was to disconnect it from the connector box.
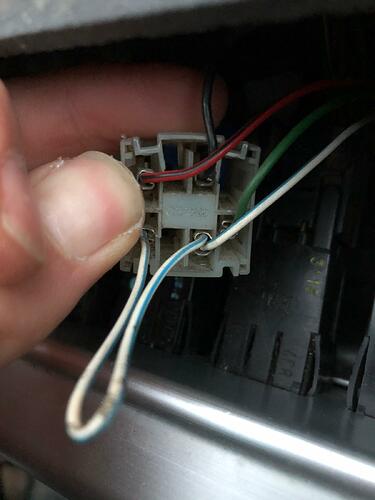
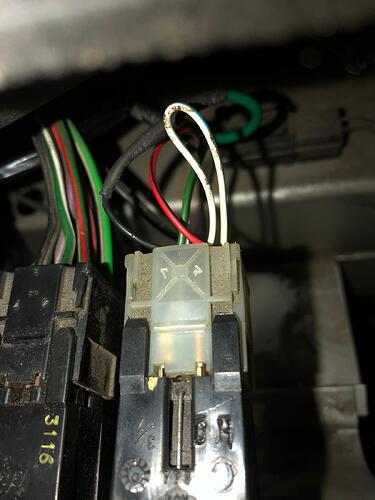
I popped the switch out and disconnected the plug to have a look at the wires on the back. Using my multimeter I found the green wire supplied the plug with voltage, the red and black drew some voltage, as did the black wire, but when the switch was pushed on the black wire pulled the full voltage through. I was quite confident that this wire was for the manual fan. I think the blue and white might be the light in the push switch but not 100% on that.
I needed to find the relay for the manual fan. I connected the fan up so it was spinning and pulled out each relay (the ones found next to the fuse box on the front wheelarch liner) and again nothing happened, the fan still spun away.
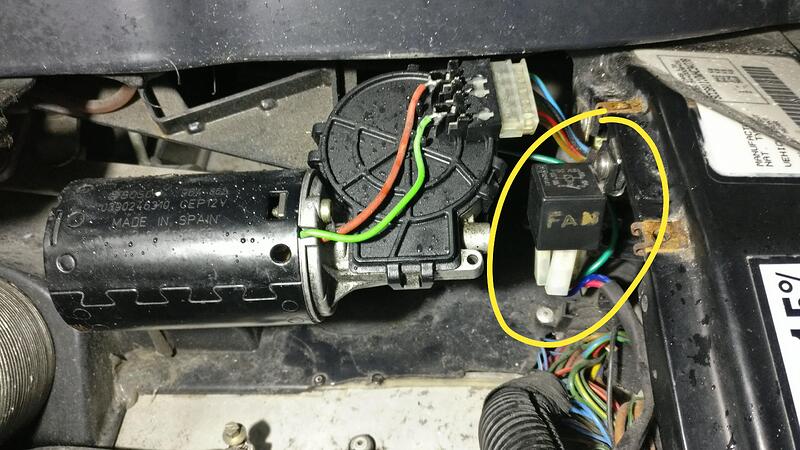
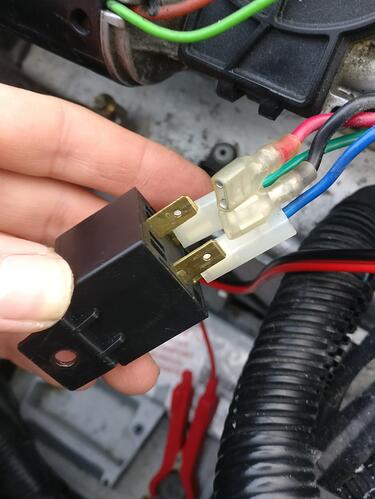
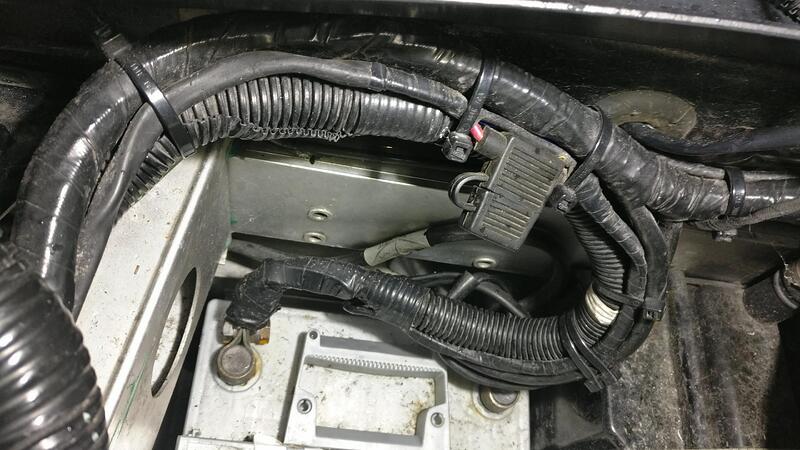
With this knowledge I thought there must be a separate relay just for the fan. It was a pain to trace the wires back from the fan as they went in and out of tubing and electrical tape, but eventually I traced the wires back and found a relay tucked away under the wiper motor cover. (Having ‘fan’ written on it was a bit of a give away!)
I then found that disconnecting the red connector from this relay stopped the fan. Tracing where the red wire went I found it was drawing power straight from the battery, through a fuse and into the relay.
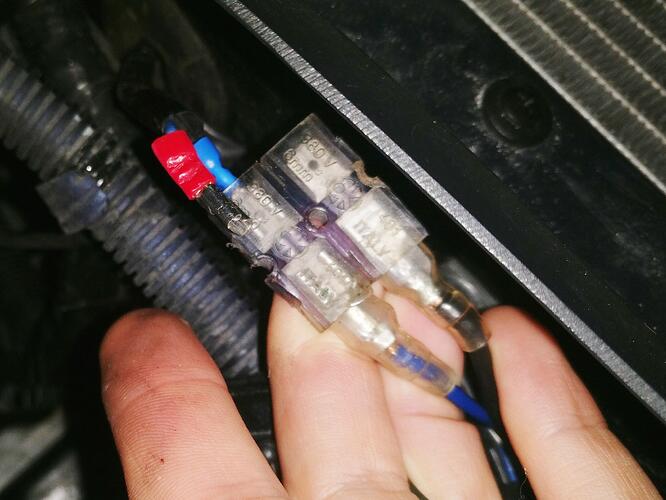
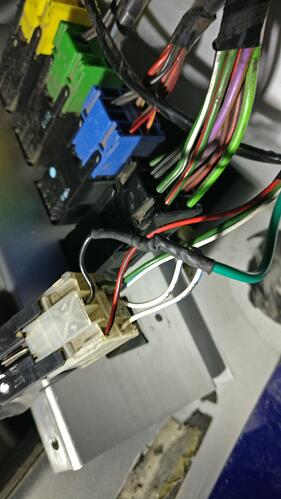
I saw the green wire went from the relay into the dash, so assumed this was for the switch, however I then remembered the colour of the wire that took voltage out the switch was black. I then unscrewed the switch plate and pulled it further out to have a better look at the wires. Double checking the plug into the switch I saw that the black wire had actually been spliced with the green wire that went into the relay under the wiper motor cover.
Got my multimeter out and found power was coming out the plug at the start of the black wire, but wasn’t making it to the end of the green where it connected to the relay. This was another quite clear indication that the spliced connection was the issue.
I pushed and crimped the two wires together to try and make a better connection, tested again and found the power was getting to the end of the green wire at last!
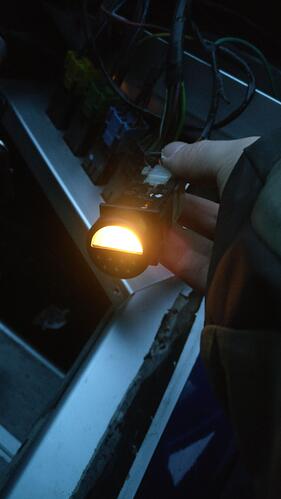
I hooked everything back together and was happy to find that the fan didn’t come straight on like it would before, so this was a step in the right direction. I crimped the green and black wires together once again as best as I could and pressed the switch. The fan fired up and the light on the switch came on to. Hurrah!
Pretty conclusive that it was this wire between the switch and relay that was the problem and I will have to re-splice and solder the connection. It was almost as if the interior push switch wasn’t telling the relay to turn the fan off, which then was just pulling a continuous stream of power straight from the battery, hence the fan running even if the car’s ignition was off.
Happy I found the problem and it is an easy fix!l, just got to find my soldering iron!
You are very patient and methodical. I would have thrown in the towel and “got a man in”
Unfortunately “men” cost money ![]() If it was any more complicated I wouldn’t have been able to find or know what was wrong so got lucky with this one.
If it was any more complicated I wouldn’t have been able to find or know what was wrong so got lucky with this one.
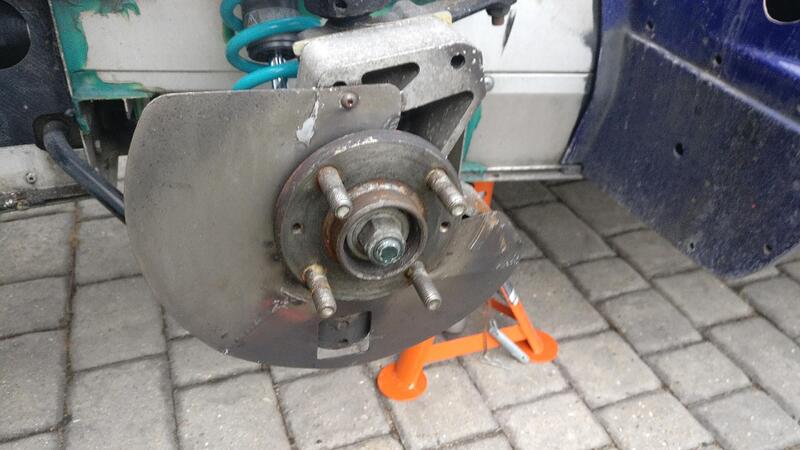
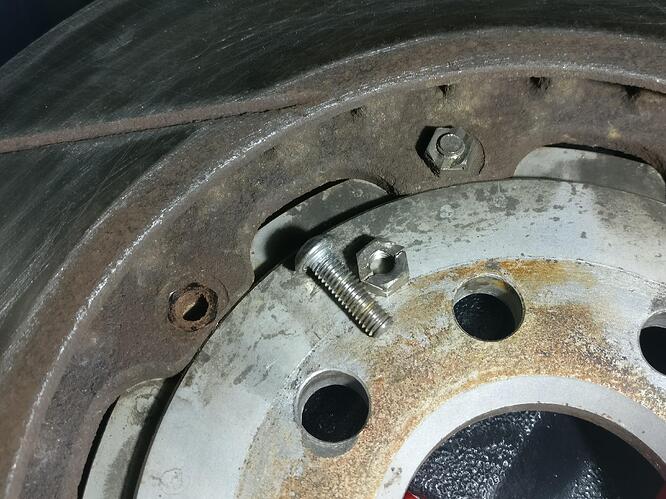
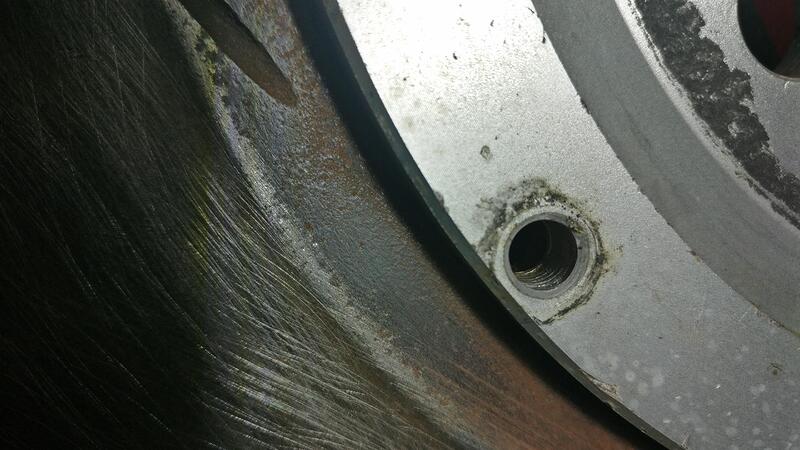
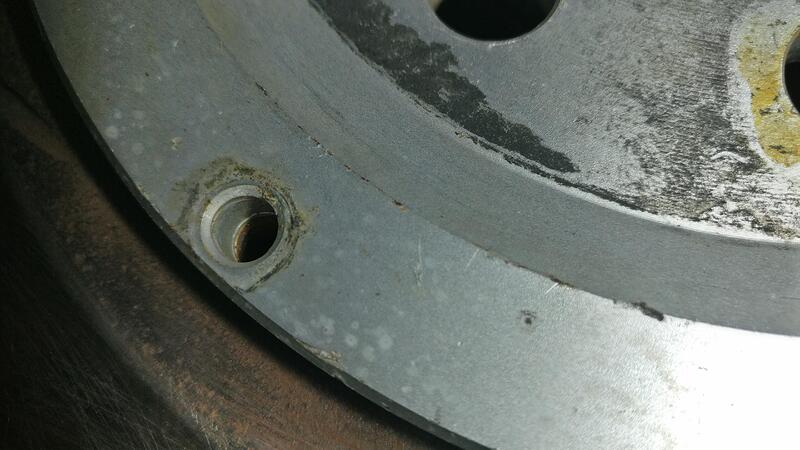
Quick one today, removing the brake disc shields and test fitting ali belled discs.
People have differing opinions about whether they’re beneficial or not, but because I need to run spacer washers for the slightly larger discs, taking them off will give me a bit more clearance.
Also removing them will stop stones getting stuck behind them and making me think my wheel is about to fall off!
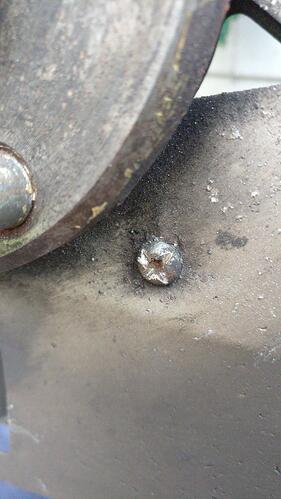
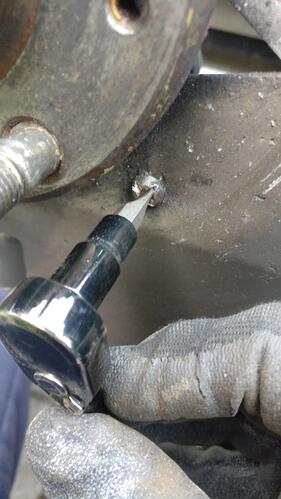
They’re held on by 2 allen key bolts and an 8mm bolt each side. Of course 2 of the allen key bolts rounded off immediately even though I was being very careful. This has happened before so I knew what to do. I took my dremel and cut a deep groovy in the head so I could use a large flat head.
In this instance one of them needed an extra groove as the first started to round off, so I used a large phillips on this one when the flat head wasn’t quite working.
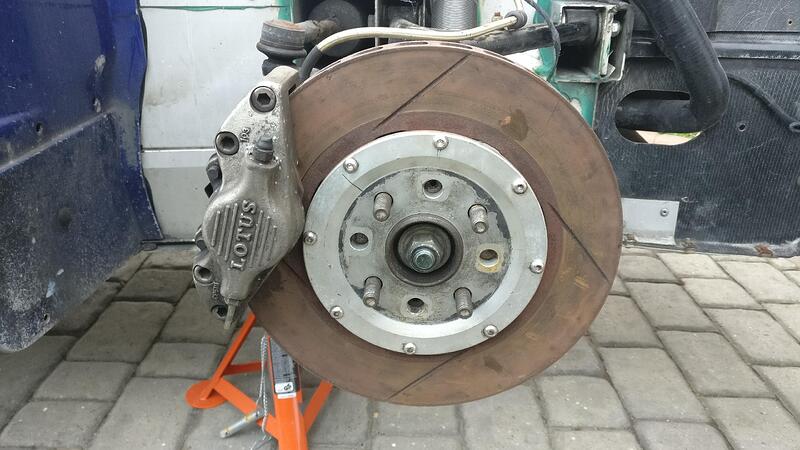
The ali bells are slightly bigger than my other discs, so I needed to work out how many/how thick the spacer washers needed to be. Turns out I needed 2 washers, which worked out at 4mm. So I’ve ordered some 4mm washers as I think one solid washer is better and more secure than 2 thinner ones.
These discs will be cleaned up at a later stage, no point doing it just yet as they’ll just rust up again.
Hi James, car is looking great and I’m enjoying the build thread ![]() .
.
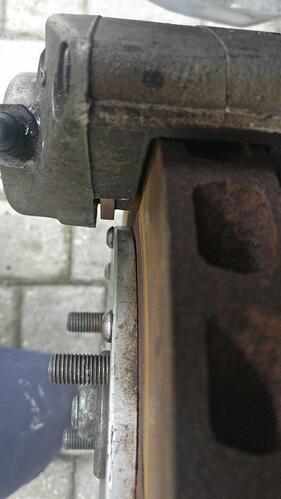
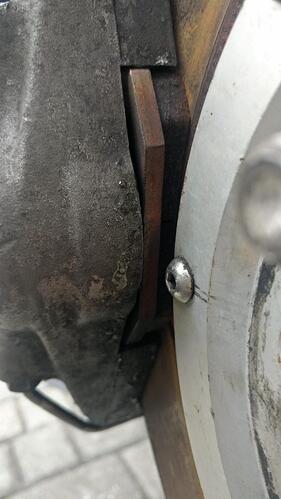
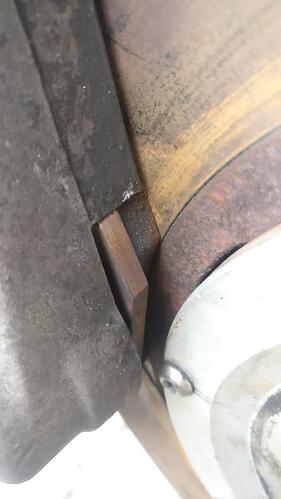
In the last picture is the brake caliper bolted on? As it does look very close to the ali bell. Just thinking when the disc gets hot and expands.
Hi pal, good point and thanks for making me go and check! Hopefully the images show the clearance and everything should be fine.
As it is only the pads that will move on the piston as they wear not the caliper, I should be fine for any heat expansion.
With the 4 mm spacer the pad sits perfectly on the disc so I’ll run with it like this and keep an eye on clearances.
Thank you for flagging it up though as I hadn’t fully checked this ![]()
what bolts are used to connect the bell to disc?
they like standard dome heads.
do they have a plain shank?
the ones I use from ap racing have a shank
No problem James, glad to help ![]()
They look just like normal bolts, however I’m going to be replacing them when I clean up the discs.
Could you link me to the ones you use/recommend for discs bolt kits?
So took one of the bolts out and it is just a regular bolt, no shank.
They are M6 bolts and the fact it doesn’t have a shank has meant it has cut into the bell a little bit.
Might not have done it on all of them, but the other side of the same hole hadn’t been cut into.
After popping my front clam and splitter back on the car, I thought it would be a good idea to see how my Elise wheelarch liners fit… As it turned out, not very well.
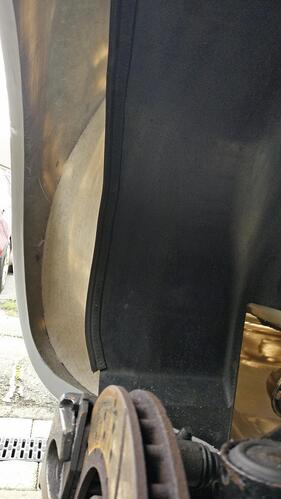
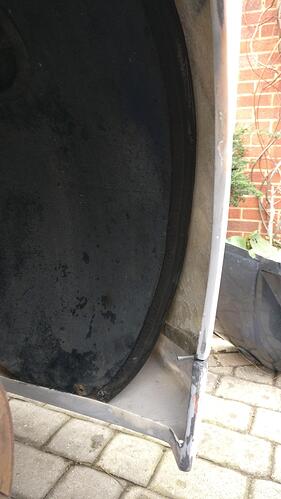
This is the rear wheelarch liner and as you can see, there is a massive gap between the clam and weather seal. This gap is roughly 50mm, definitely not something I’d want to run as crap would get thrown everywhere behind that gap.
You could rivet some additional plastic onto them and fit the weather seal back on and they would work pretty well, but I don’t want to do this to original liners in as good a condition as mine are.
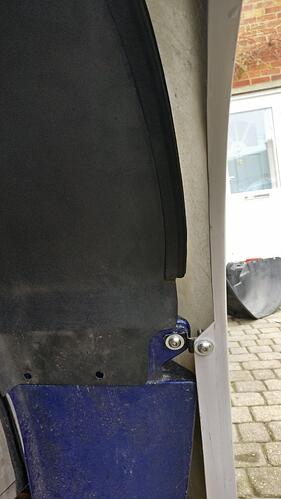
The gap forward on the rear liners is again too big, which is something I kind of anticipated due to needing the support bracket between sill and clam. However I was expecting the rear gap to be closer, never mind.
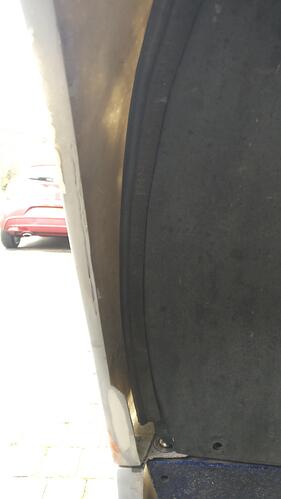
The front liner fit much closer, when a larger weather seal would probably be ok. The largest different is at the front where the splitter and shape of the clam is much squarer than the Elise, but again this gap could be easily filled with an extra bit of plastic.
Gap to the rear of the front clam, a thicker weather seal would bridge the gap.
I think I’m going to have to source some Exige wheelarch liners and sell on my Elise ones, so today was kind of productive as now I know.
