Great, thanks for the timescale update. And a Happy Birthday to you!
Happy Birthday… I can vaguely remember being 26 !
Thank you! Worked on the car a little, taking a day off from posting ![]()
First thing I did to the rear clam was drill and fit the numberplate bolt. This bolt position will decide where everything else is drilled and bolted.

On my Elise after a trackday once my exhaust tips had slipped up and were resting on my clam. To avoid this as best I could, I ended up drilling the hole as low as possible for the numberplate bolt. This in turn meant that my exhaust tips now sit nicely in the middle (between the top and bottom, my exhaust never sat in the middle left to right on my Elise clam, I might be able to jam the final section of the silencer in a bit more to straighten it up) of the opening and also it brought the top edges of the clam nicely up to the roof line.

Driver’s side might need a bit of filler or pulling forward to close the slight gap to the roof. However I don’t want to put too much loaded pressure through the roof/clam bolts so will probably use filler.

Fits nice and tight, may add some filler to the edge as both edges form a kind of “V”, will see about this though and perhaps see how the perspex lines up with the roof. Ideally the perspex and clam should share the same edge profile.
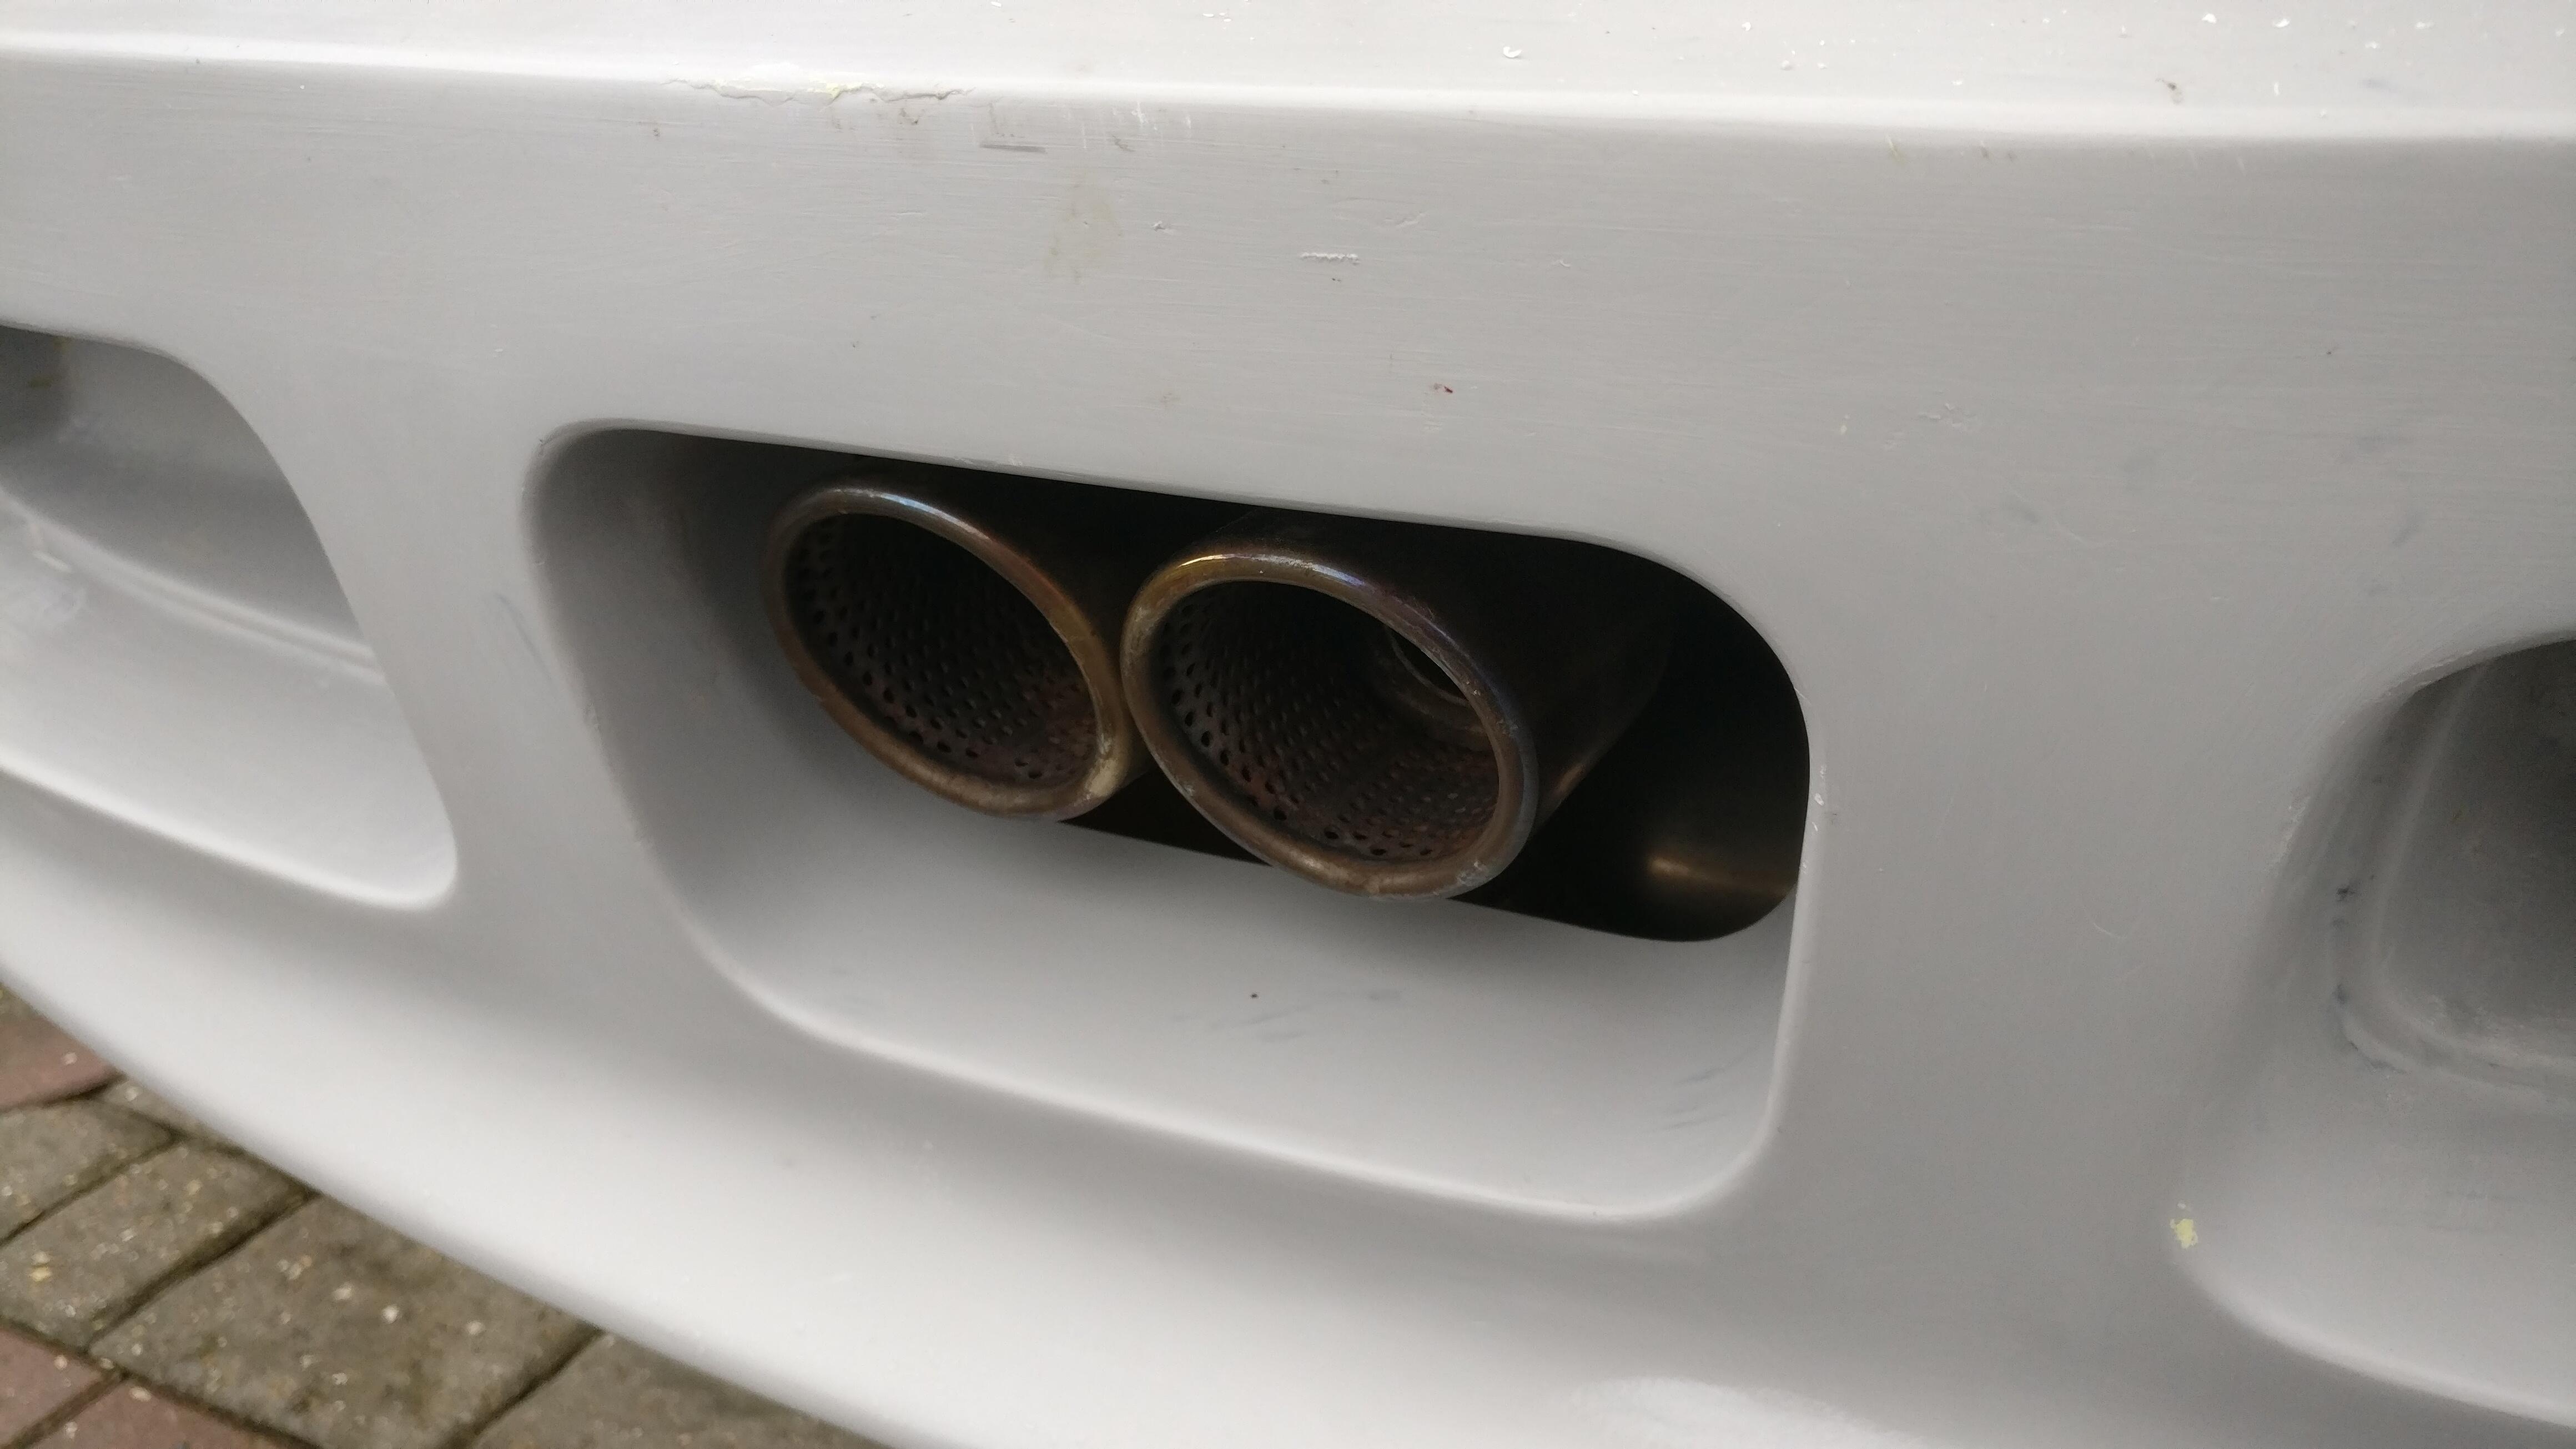
Also regarding the exhaust tips, I was aware that my current Janspeed Roadsport is an Elise silencer, so probably wouldn’t be long enough. However, I thought no harm in test fitting and seeing how it looks.
I was pleasantly surprised at how it didn’t look terrible. It is still a little short, but I think what helps is the extra surface around the tips makes them look less “lost”. I was never a massive fan of the angled tips, it worked for the Elise, but the Exige ‘Kamm-tail’ design is much more vertical so straighter pipes would look better in my opinion. But after recently repacking it and the fact that it does sound good, burbling at tick over and screaming up top, I suppose it will do for a few years at least.
Looking fabulous really enjoying this post and can not wait to see it finished.
On the exhaust just be carefull with the tips set back the heat does not burn the clam.
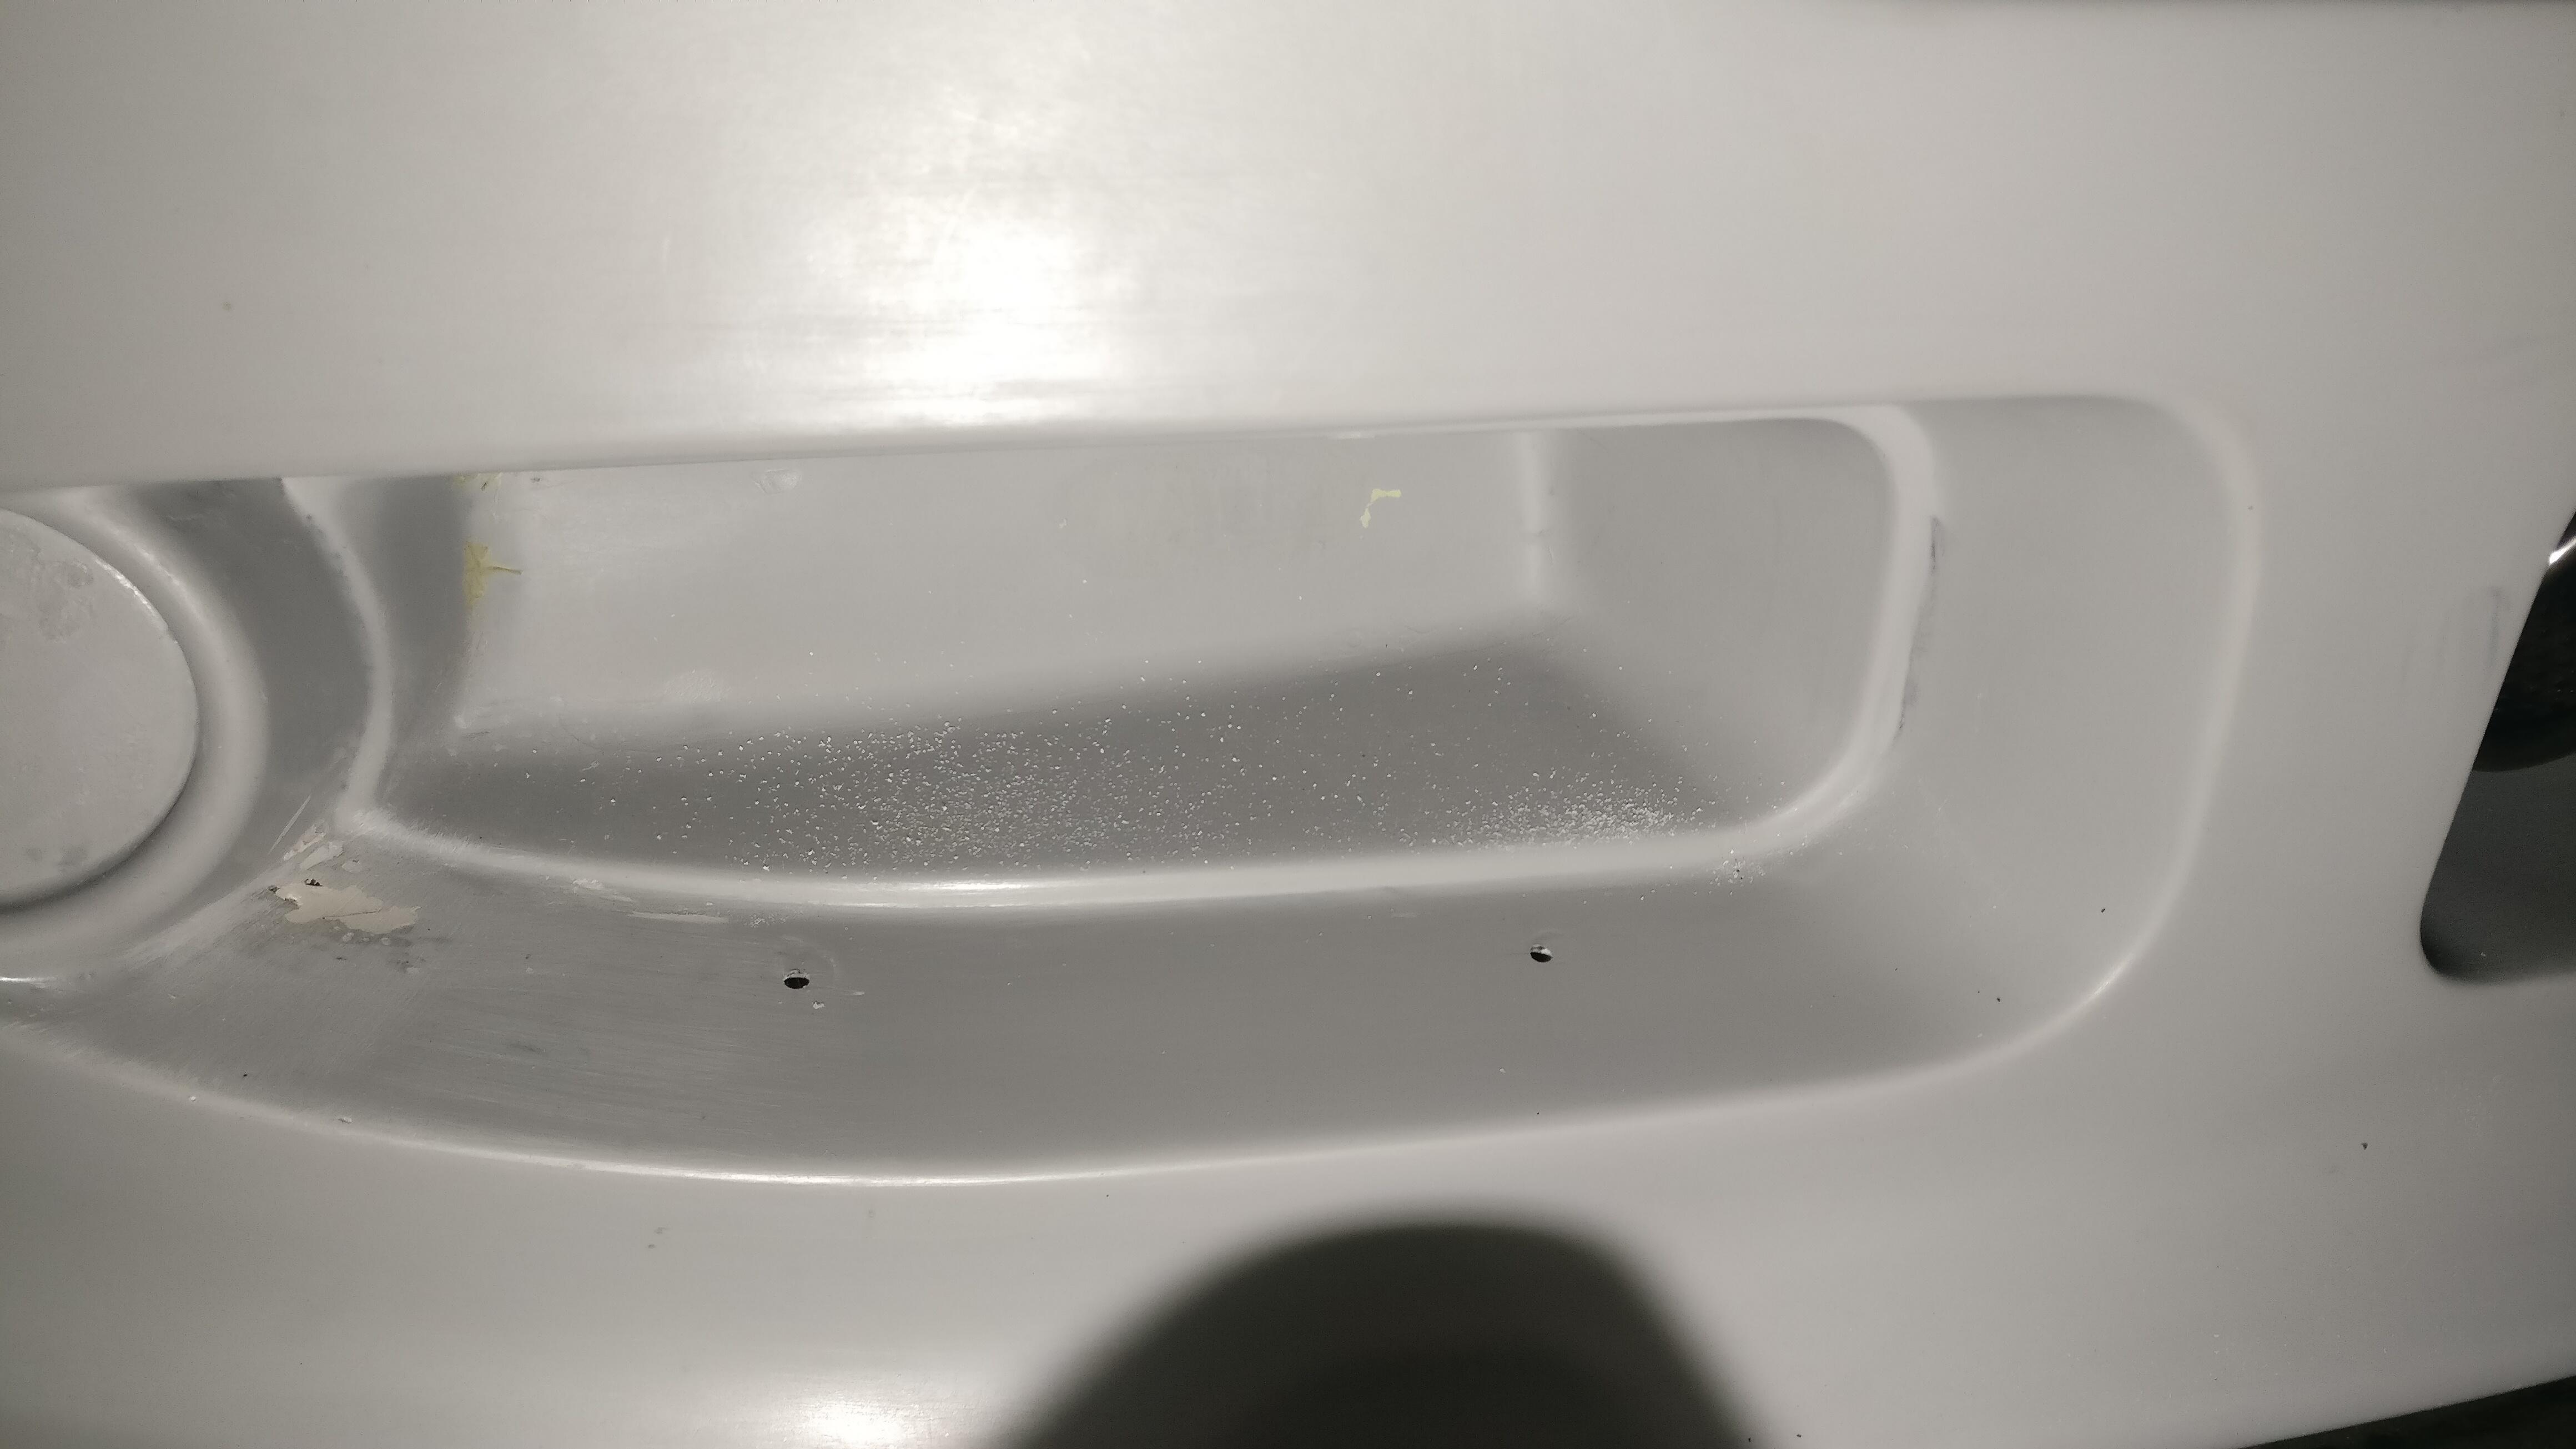
Another relatively easy job was drilling the holes for the indicators and brake lights. I could have measured and drilled but thought I’d try something, I’m all for easier solutions. Plus it is tricky to measure inside small opening.
I have always felt it’s amazing how accurate just using your eyes can be. With that in mind, I took some paint and put a little dab on the end of each thread.
I then held the light in the centre and placed it onto the clam. The paint left 2 dots that I would then drill, however as you can see from the picture, I didn’t get the marks correct first time, hense the crude rubbing out.

I could have made a template, which is the direction I decided to go with for the fuel filler and probably the way I should have gone with the lights, but I did say things wouldn’t be done 100% properly!
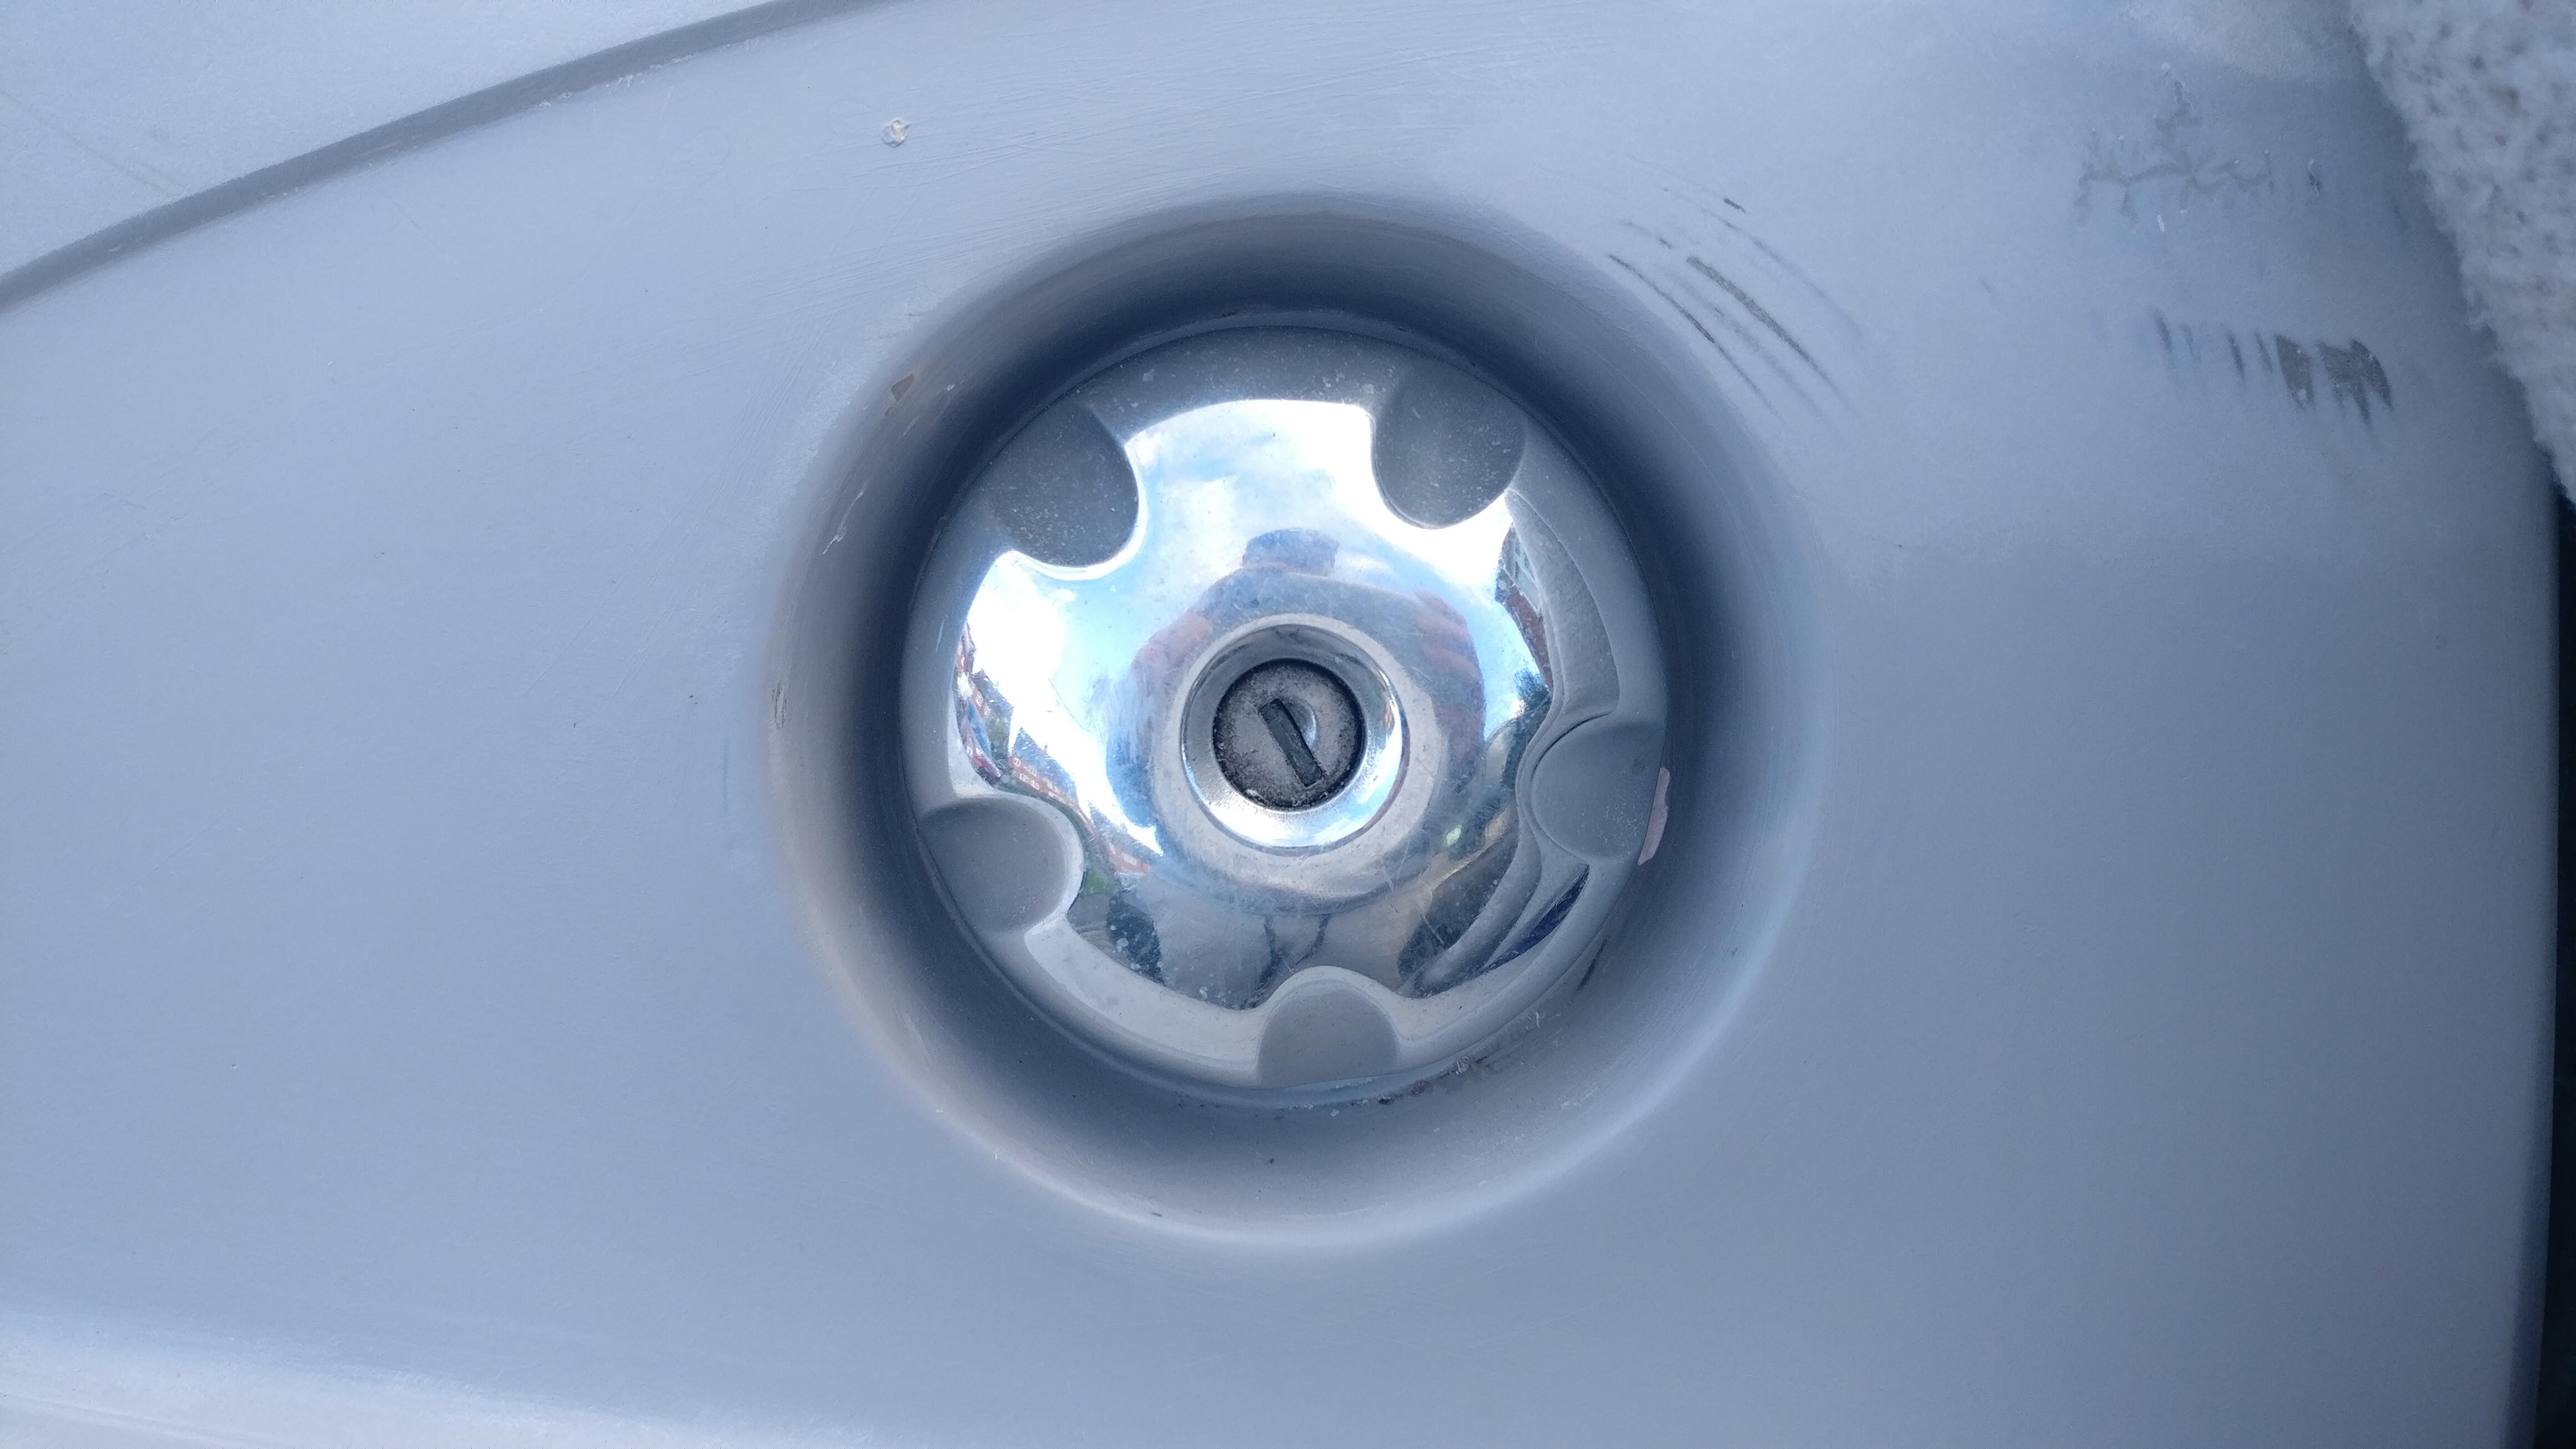
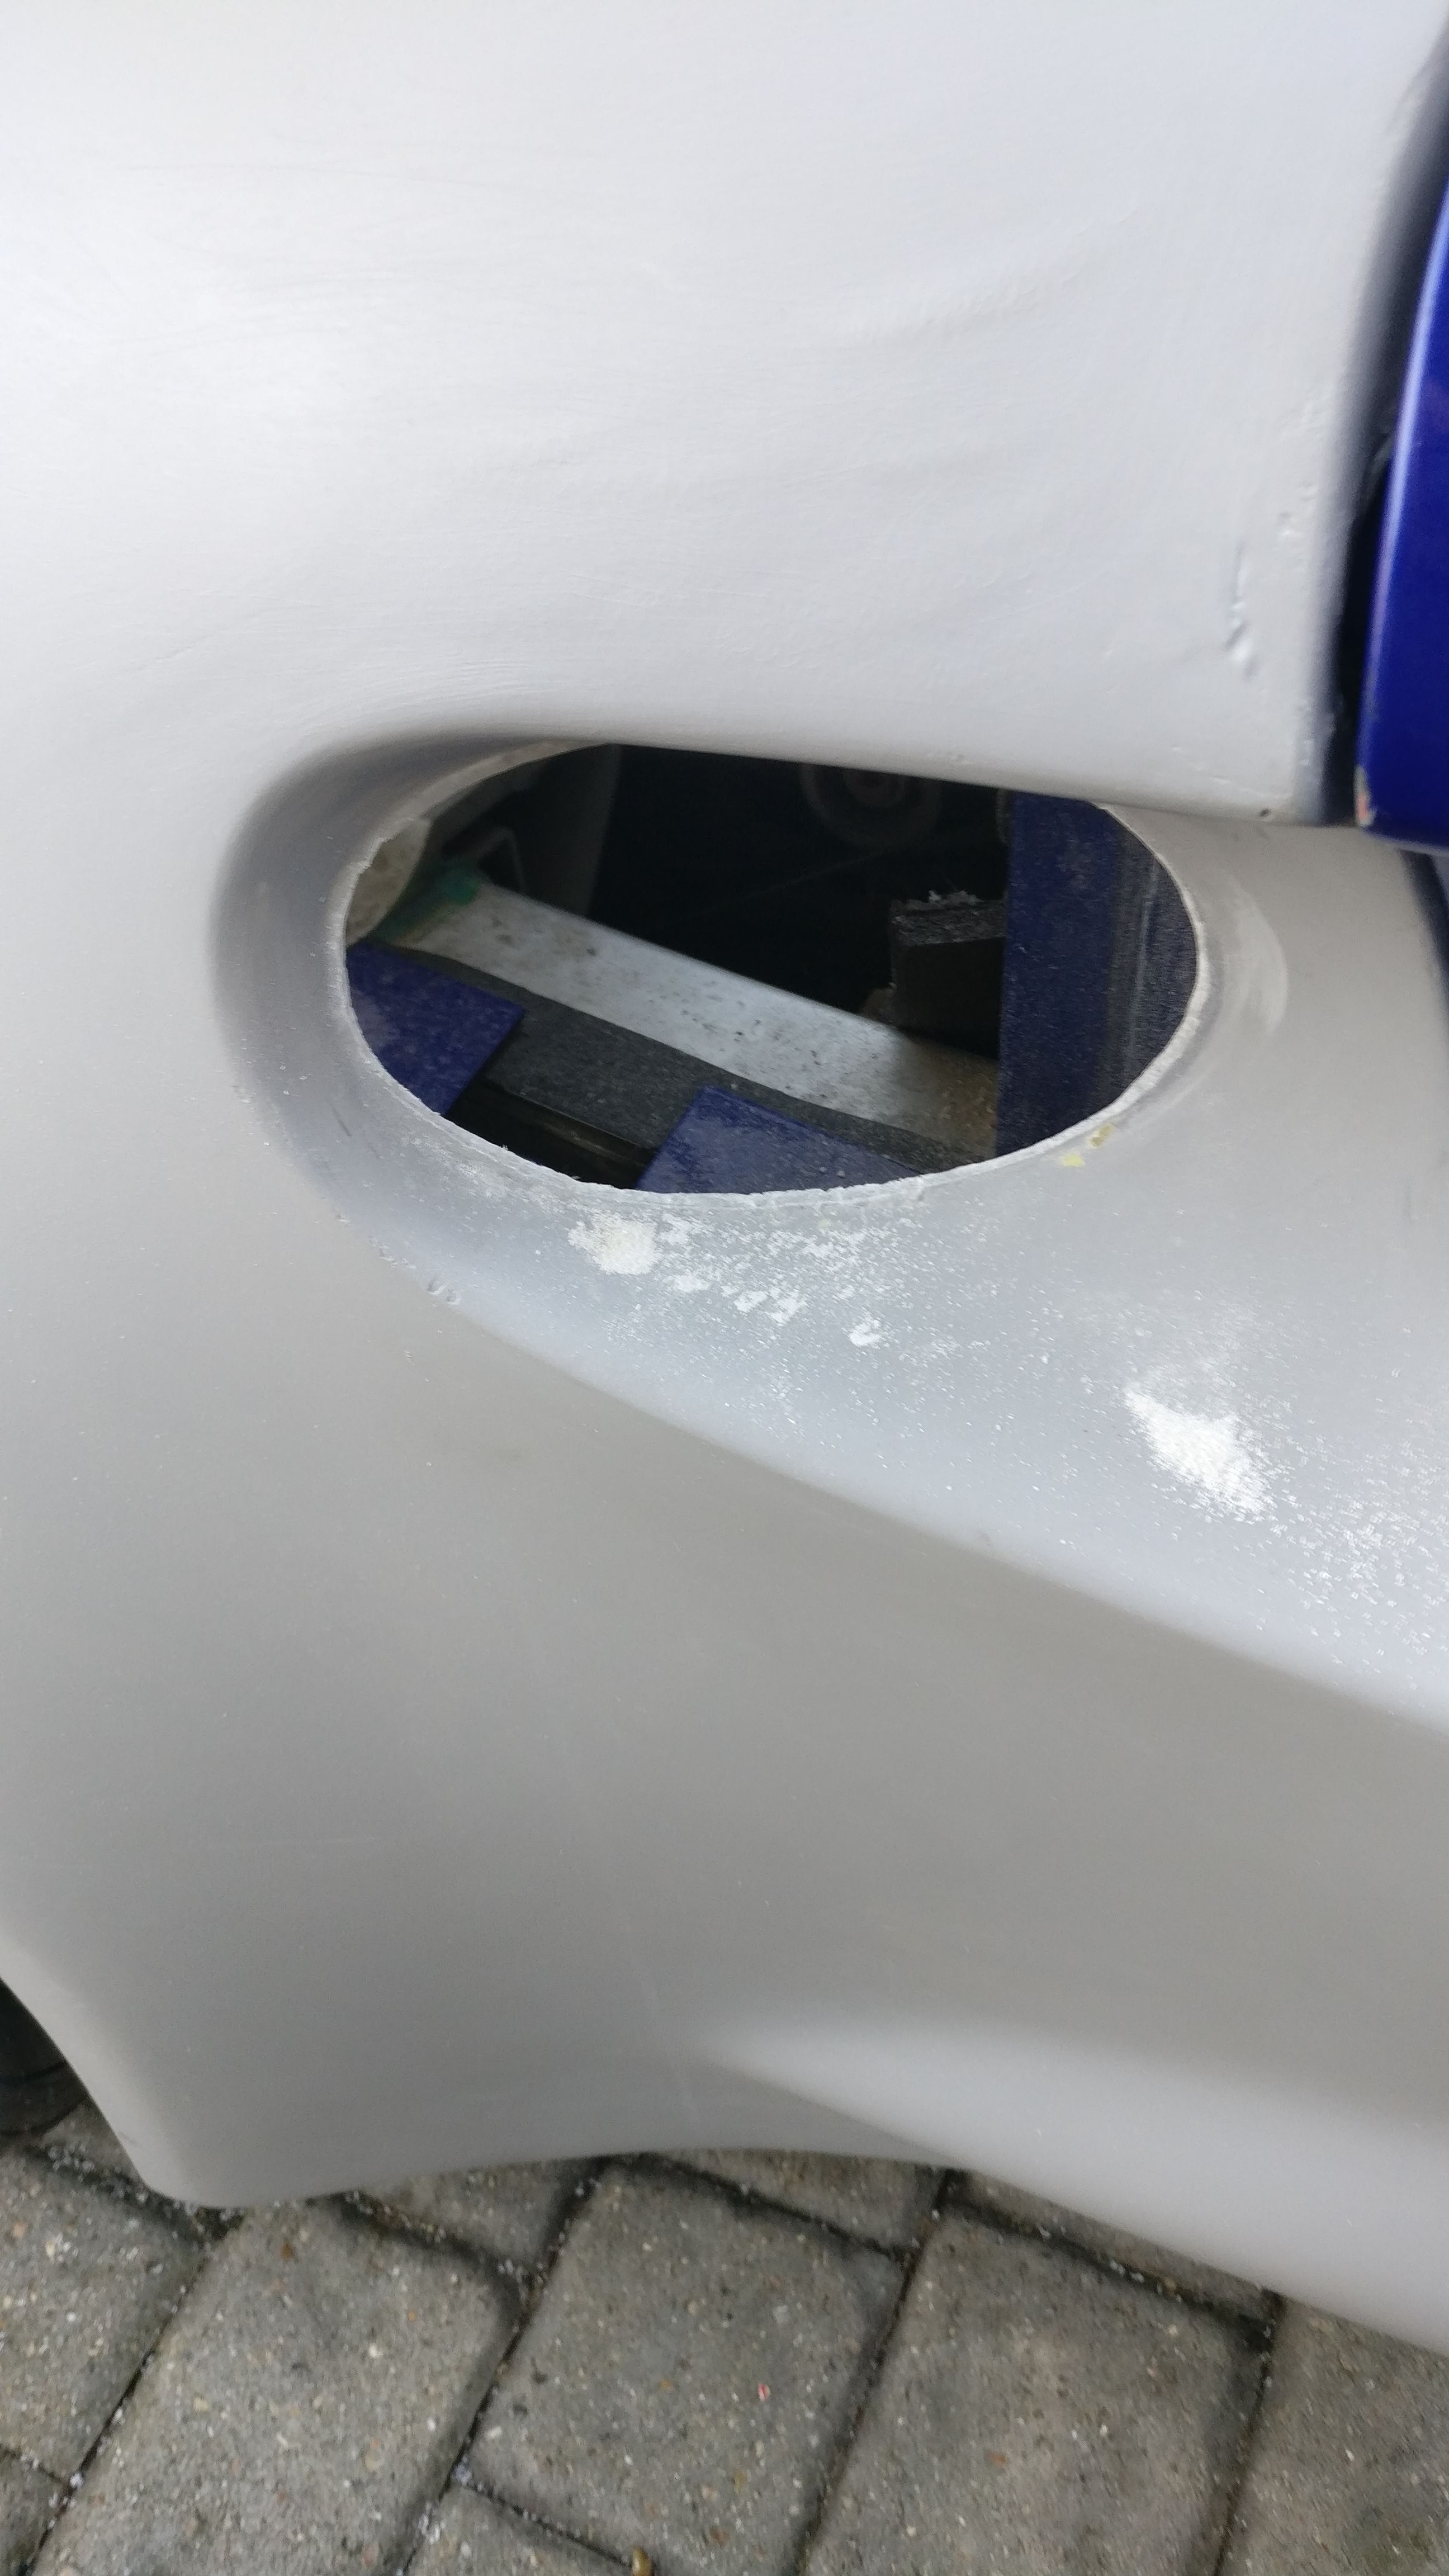
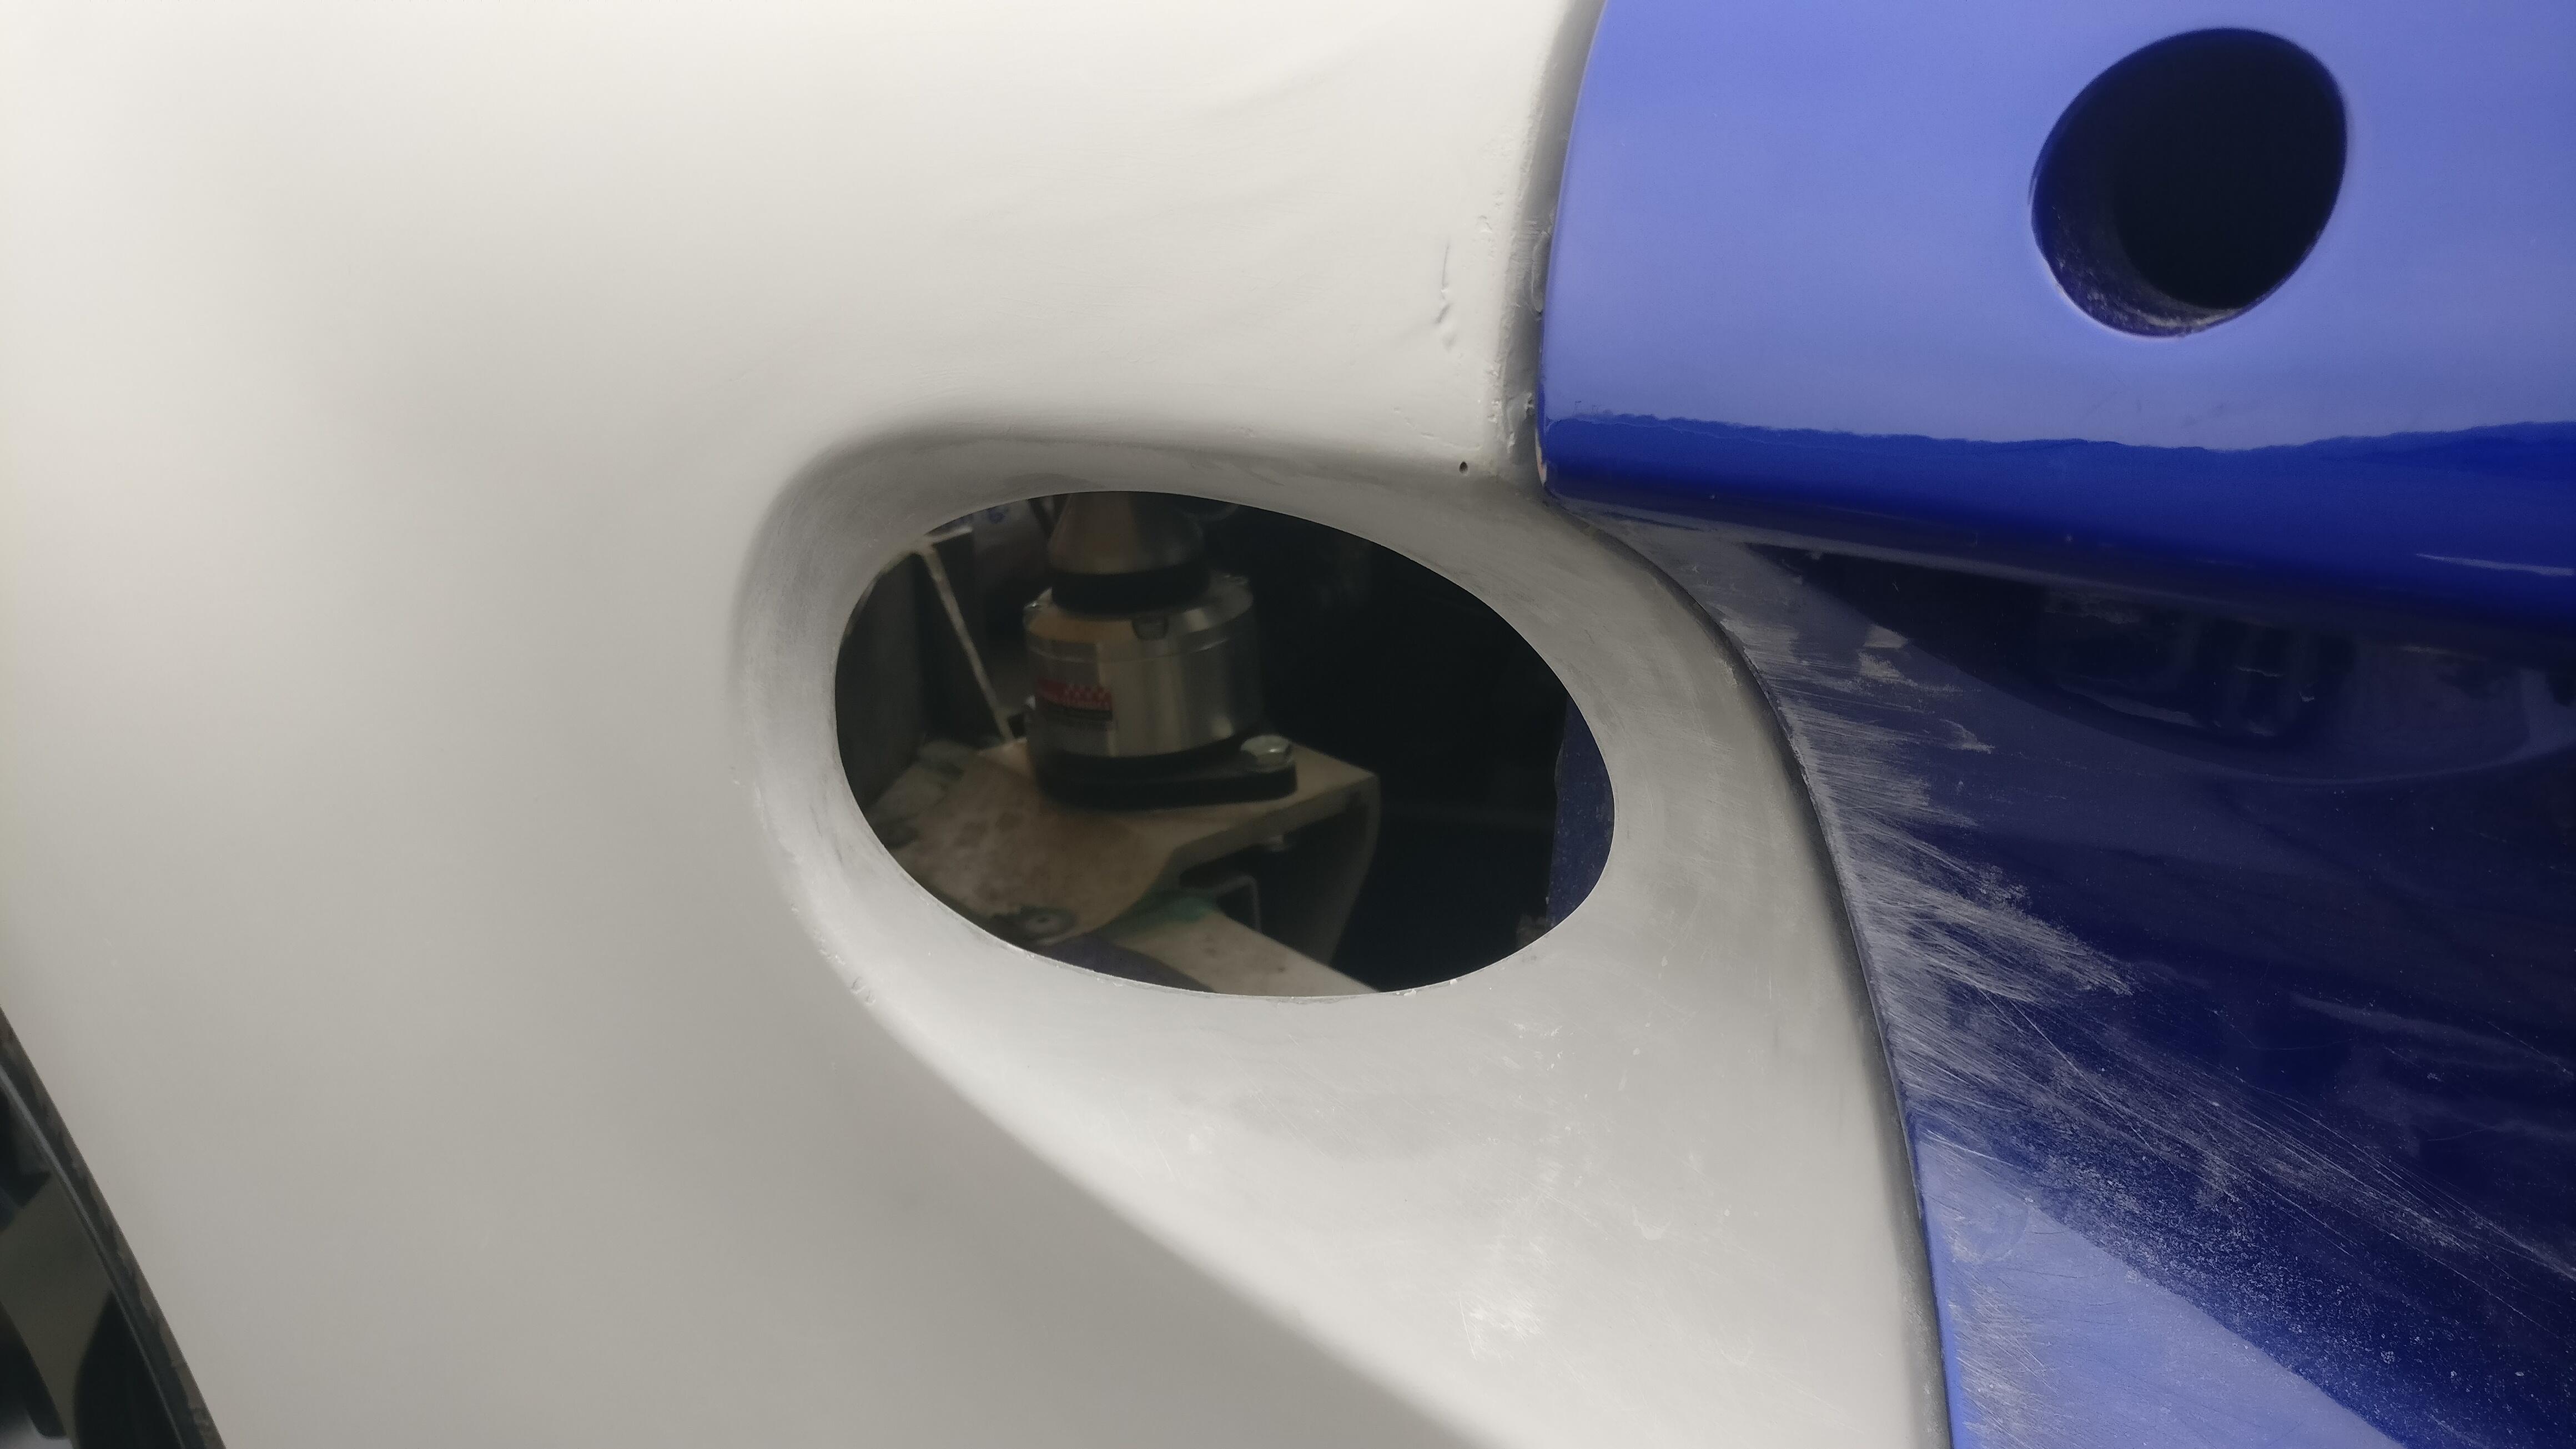
I measured the diameter of the opening, whacked out the compass, made a cardboard ring, slid it over the fuel filler and punched holes where the screws go.

I then placed the template into the opening, and dotted where the holes where. I drilled the marks and secured the filler neck with the screws, definitely what I should have done with the lights but I was being lazy.
I’ll definitely be keeping an eye on any burning, hopefully all will be fine.
Another use of templates was for the rear grille positions. Due to the legs on the bottom it is pretty tricky to gauge where the centre is.
I drew round one and marked where the legs were, cut it out and I had my template. (As you can see I have matured from my child cereal…)
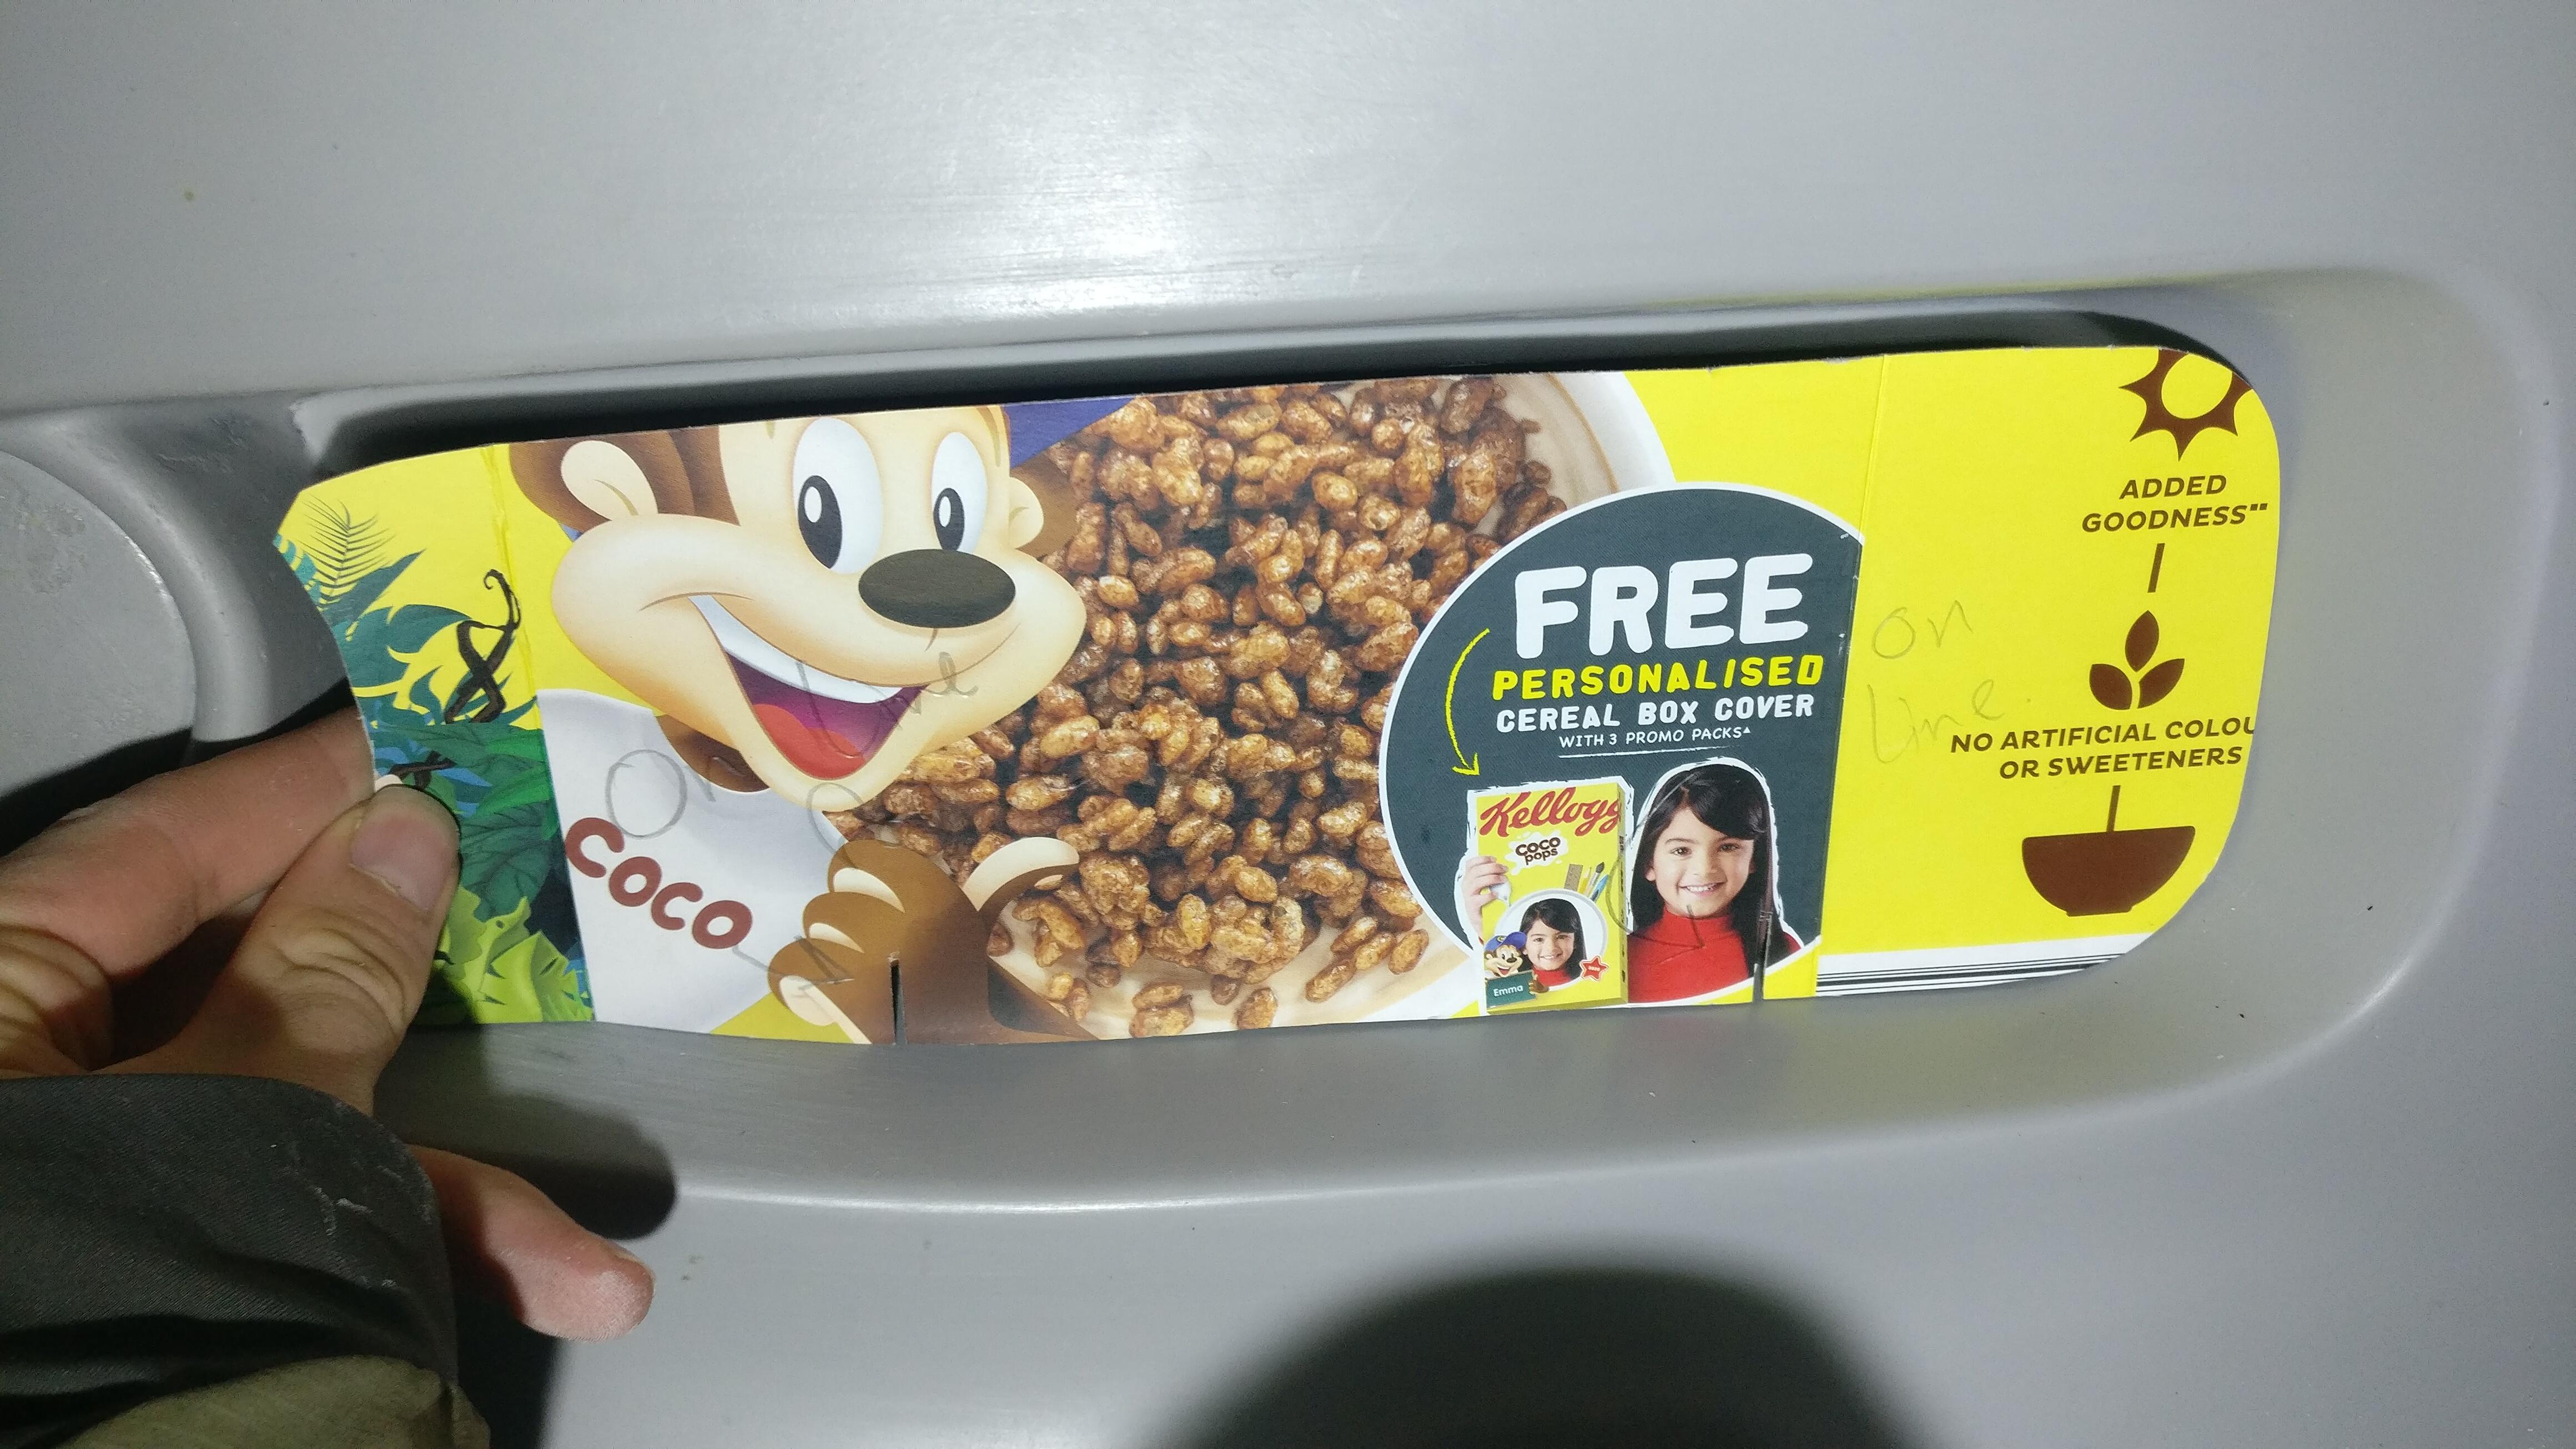
I placed the template so that there was equal distance between the two sides and marked where the legs would be.
I then measured from the lip that is on the clam, which made a cross which would be my mark.
I wouldn’t be able to drill the top holes, as I was still waiting for the little rubber bungs the grille legs sit in, and would give me the grilles true height. However once these arrive I will roughly assemble the grilles and mark where to drill.

I found that my left grille was slightly bent away from the clam at the top right, so I bent this inwards and found that it fit the shape of the clam much better.
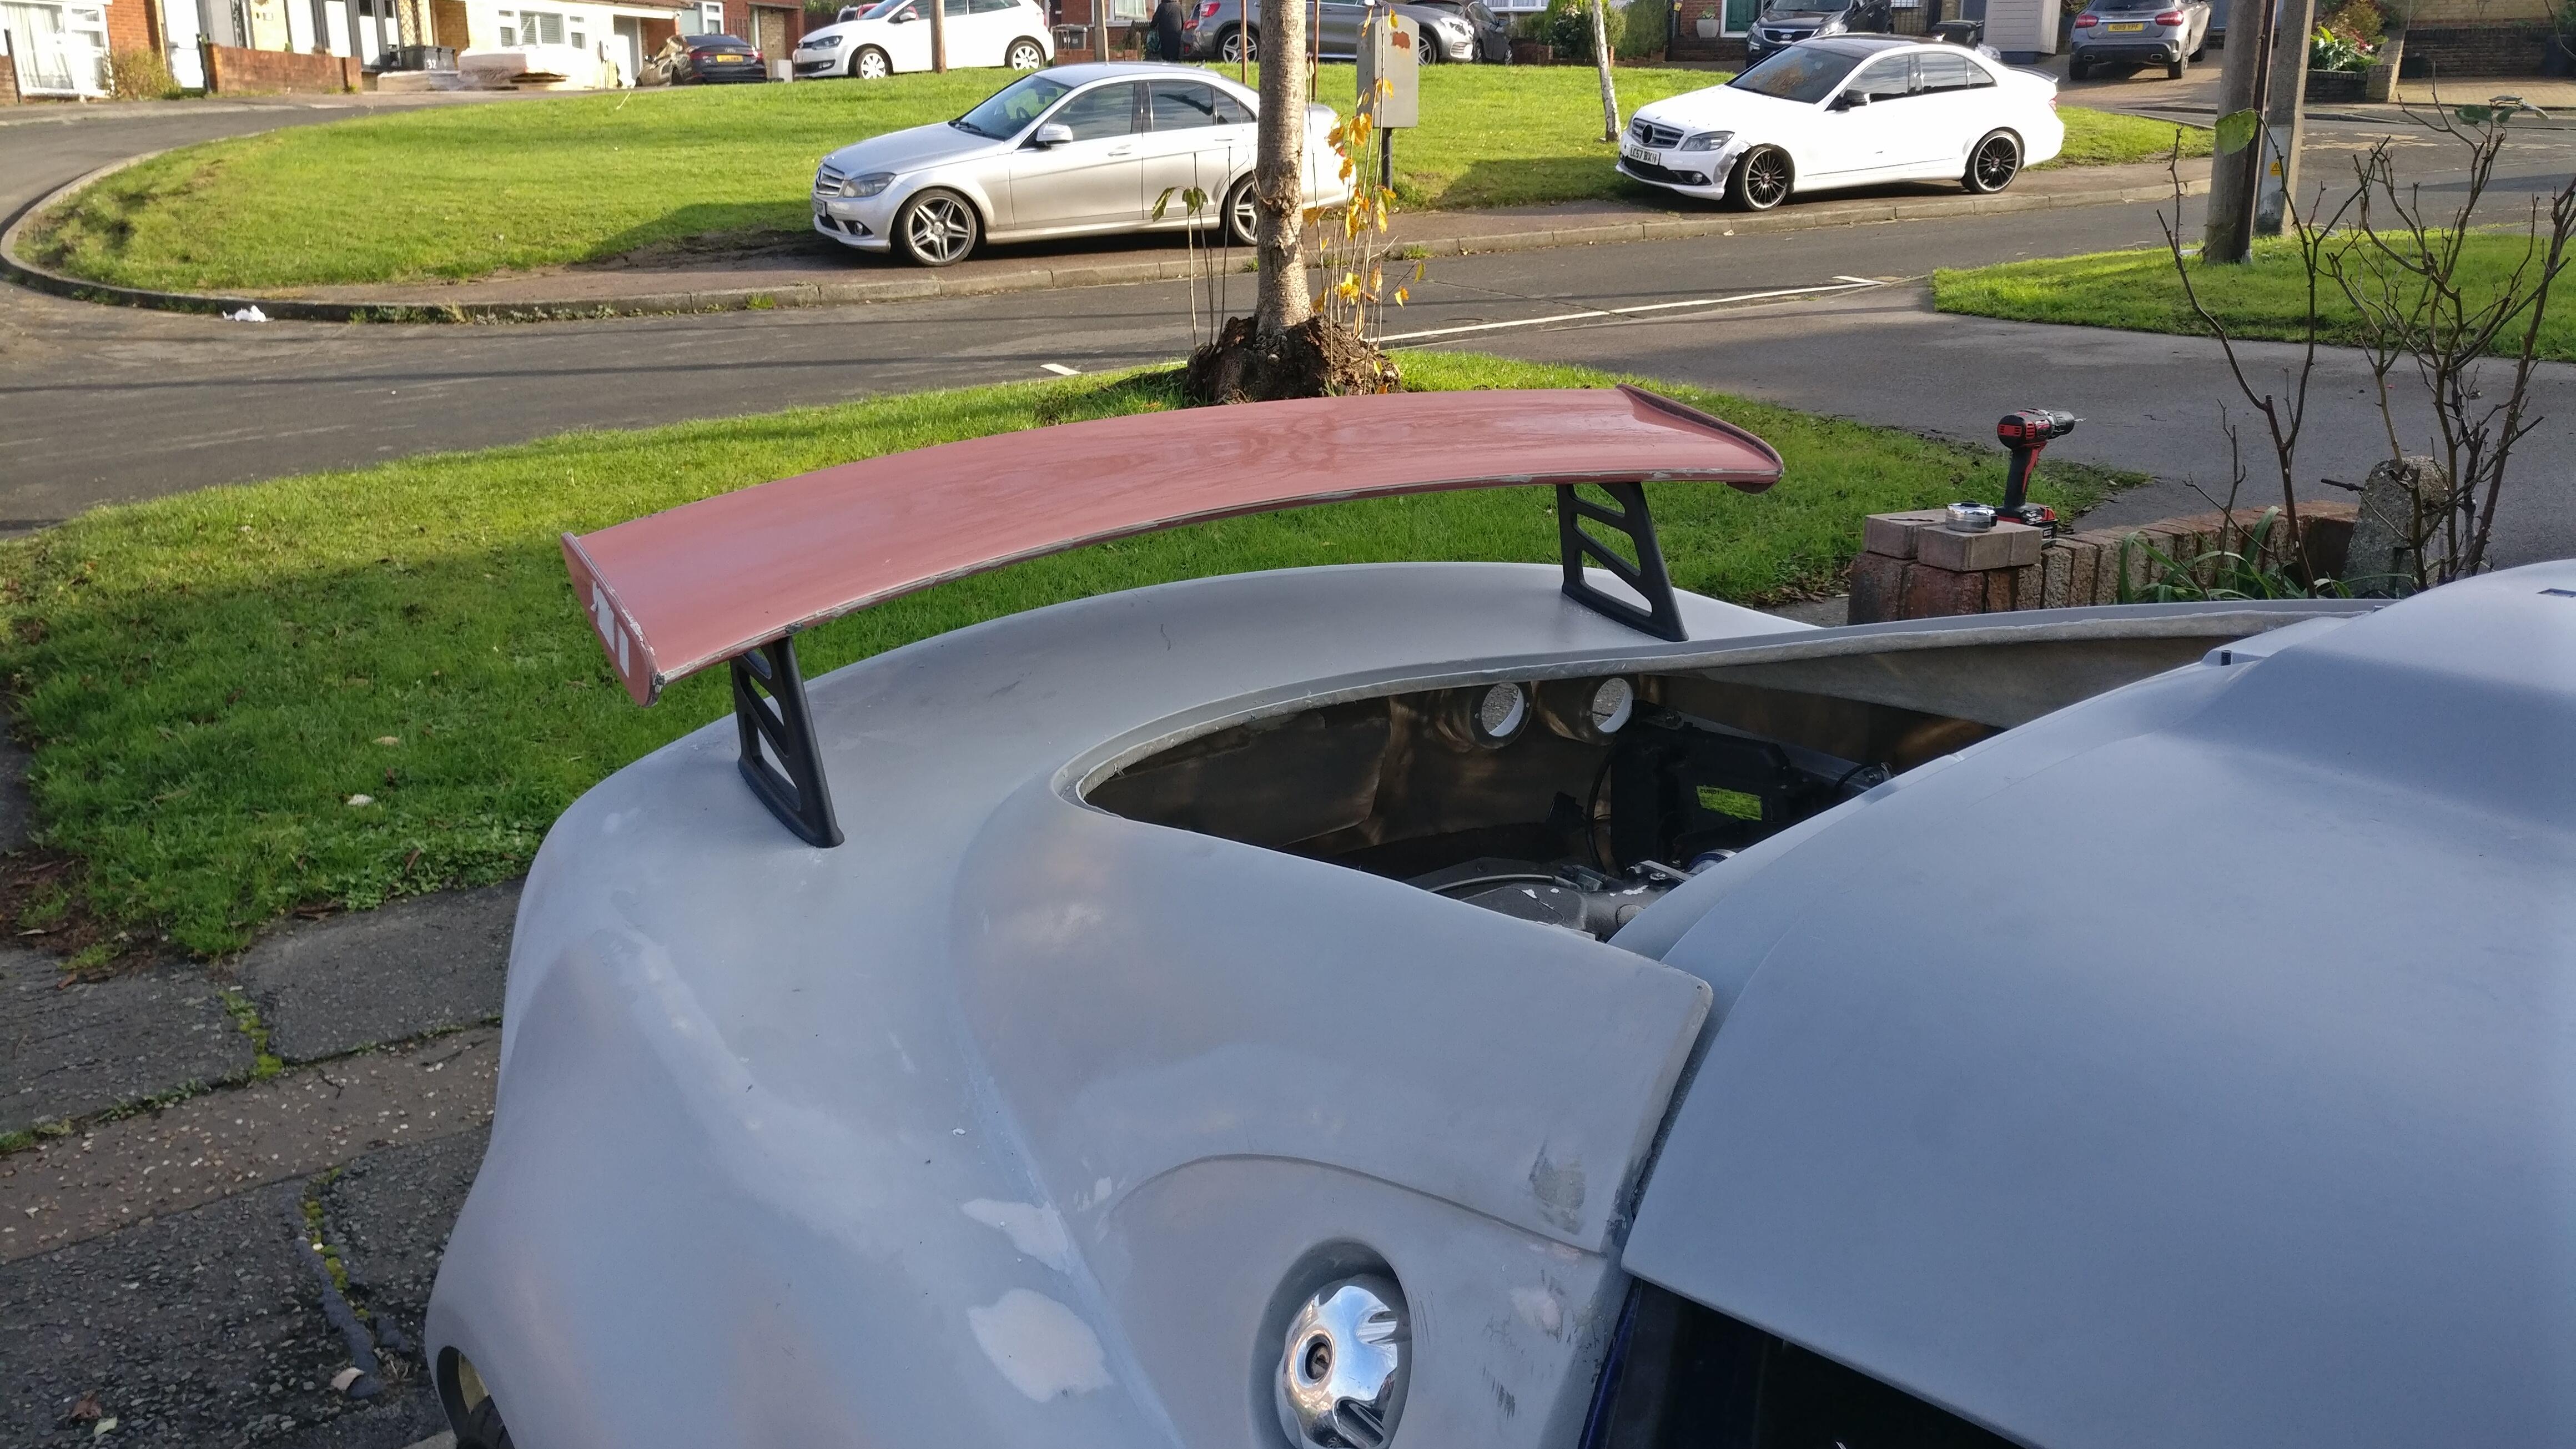
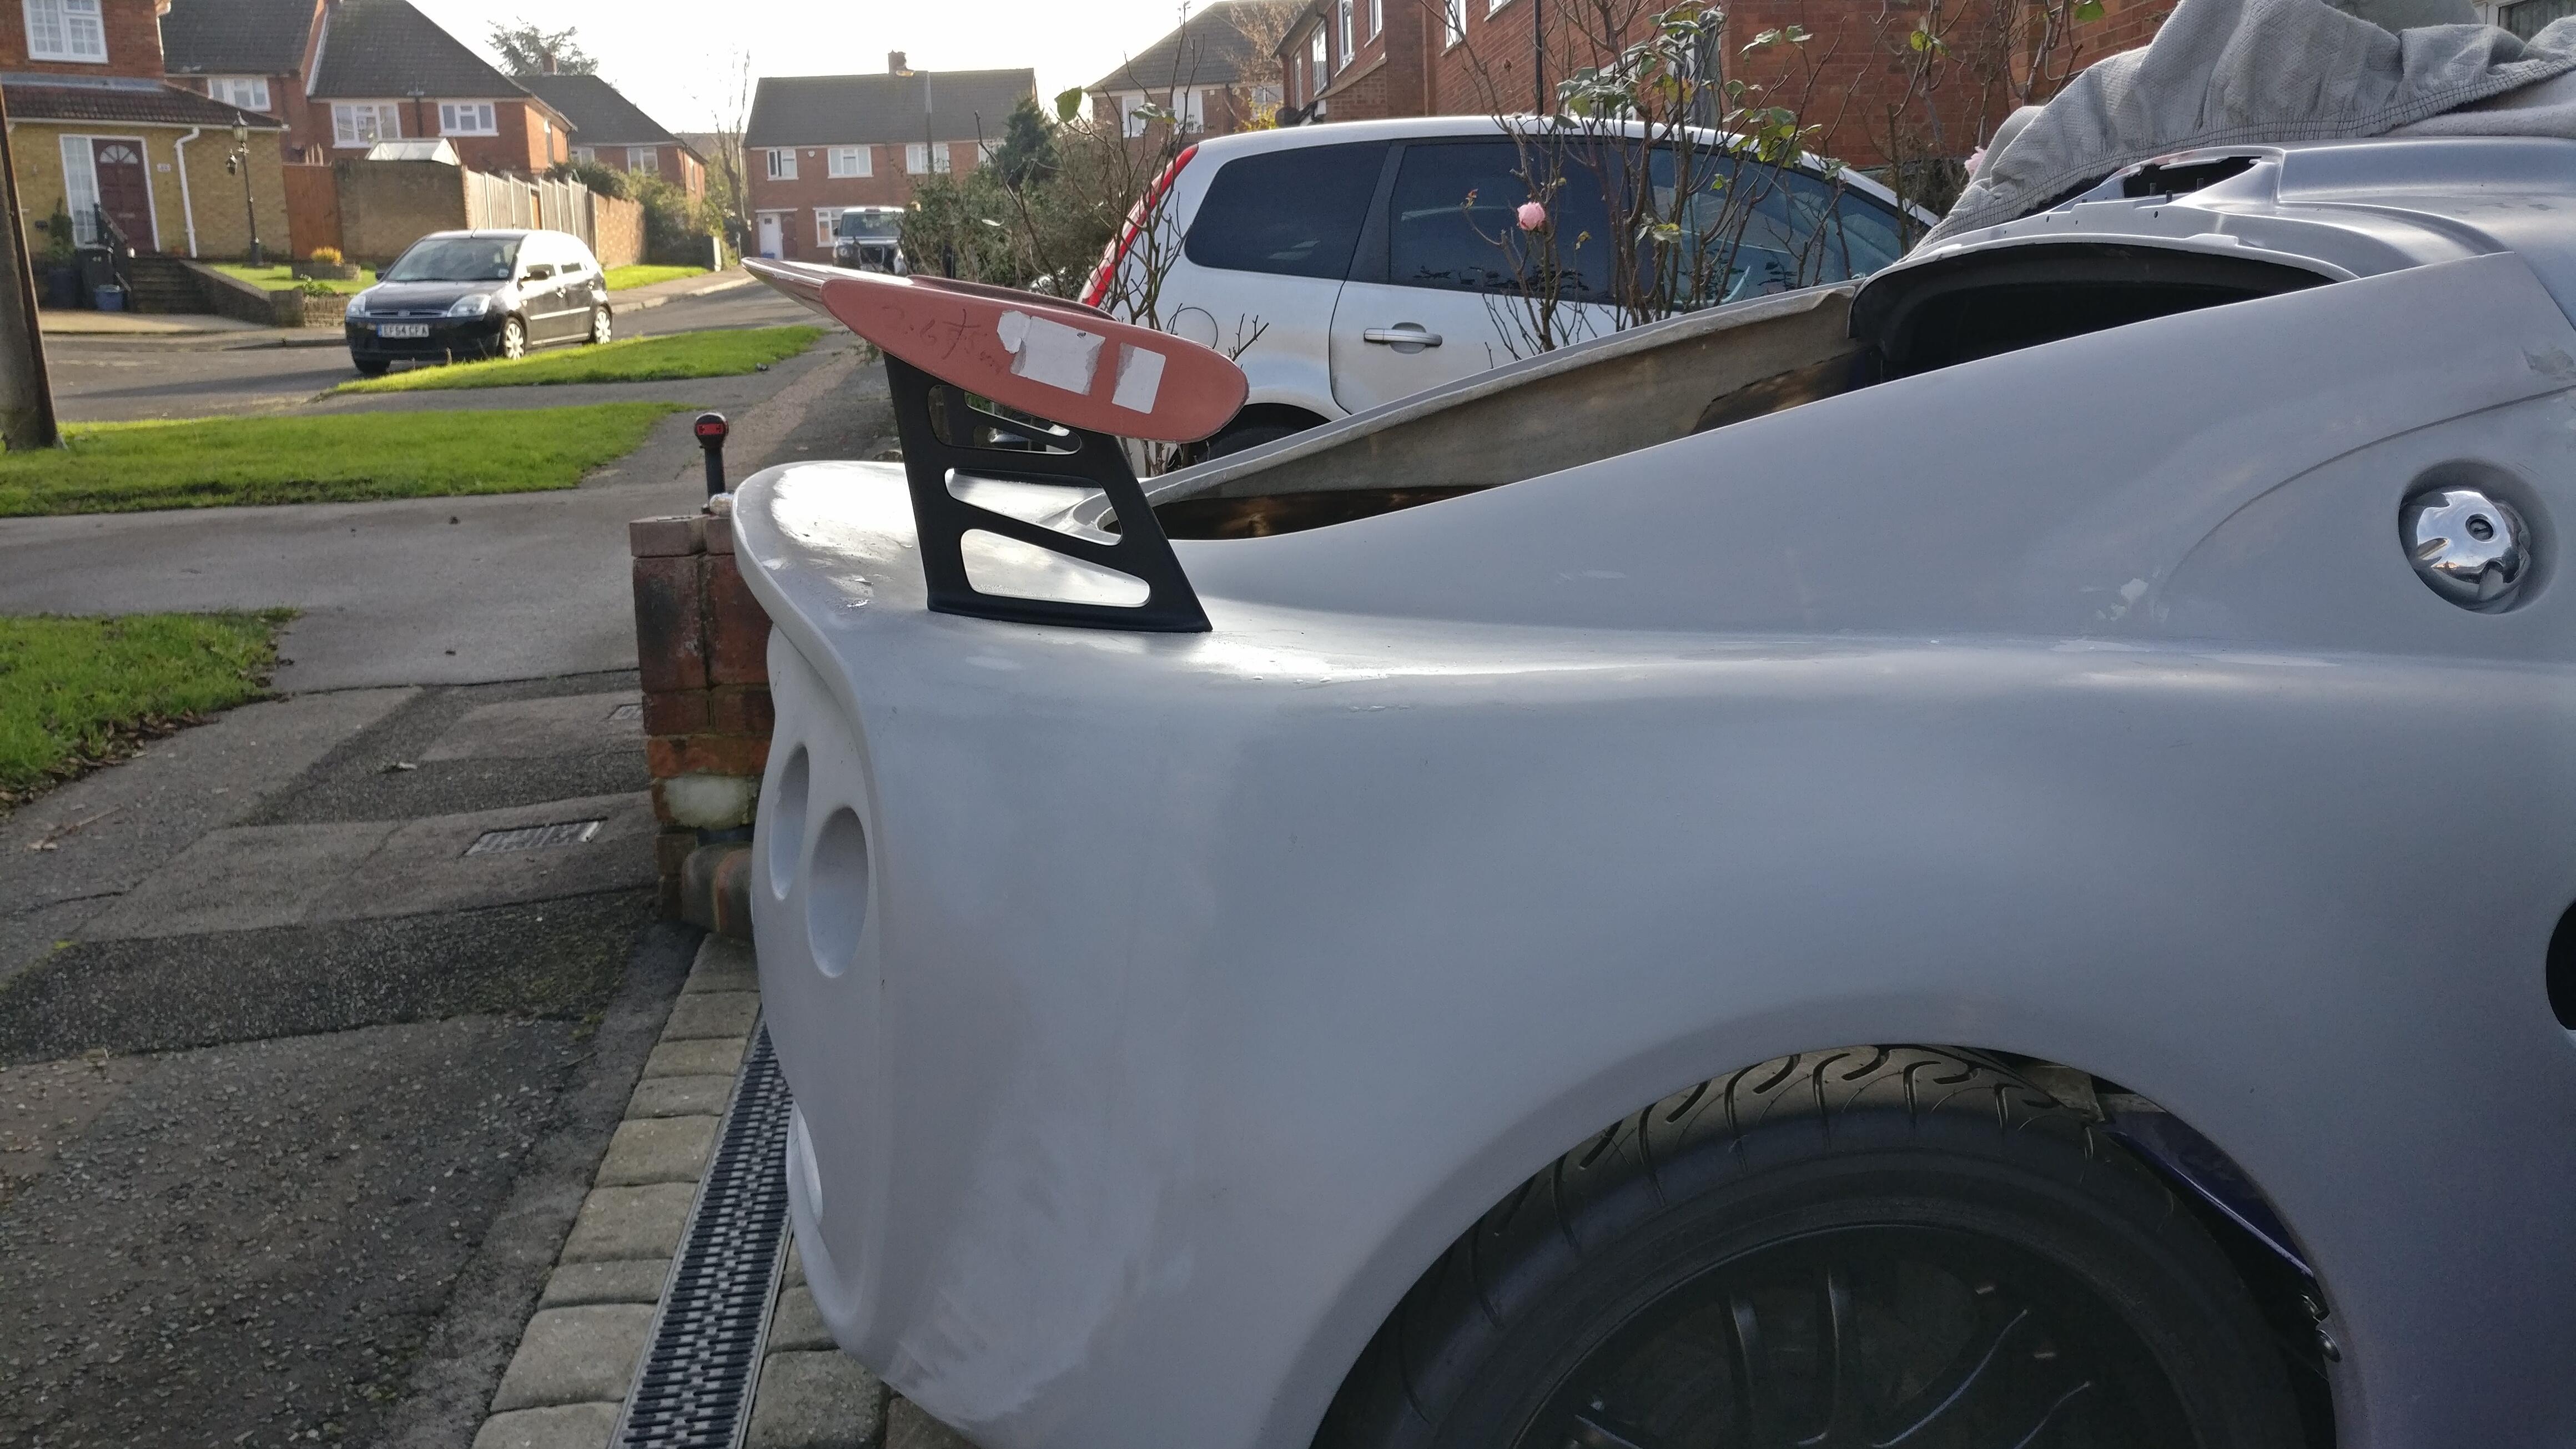
I was helped out with the spoiler placement by Henry so thank you! He sent me through some pictures showing the the back of the spoiler supports are 95mm from the lip of the Kamm tail.
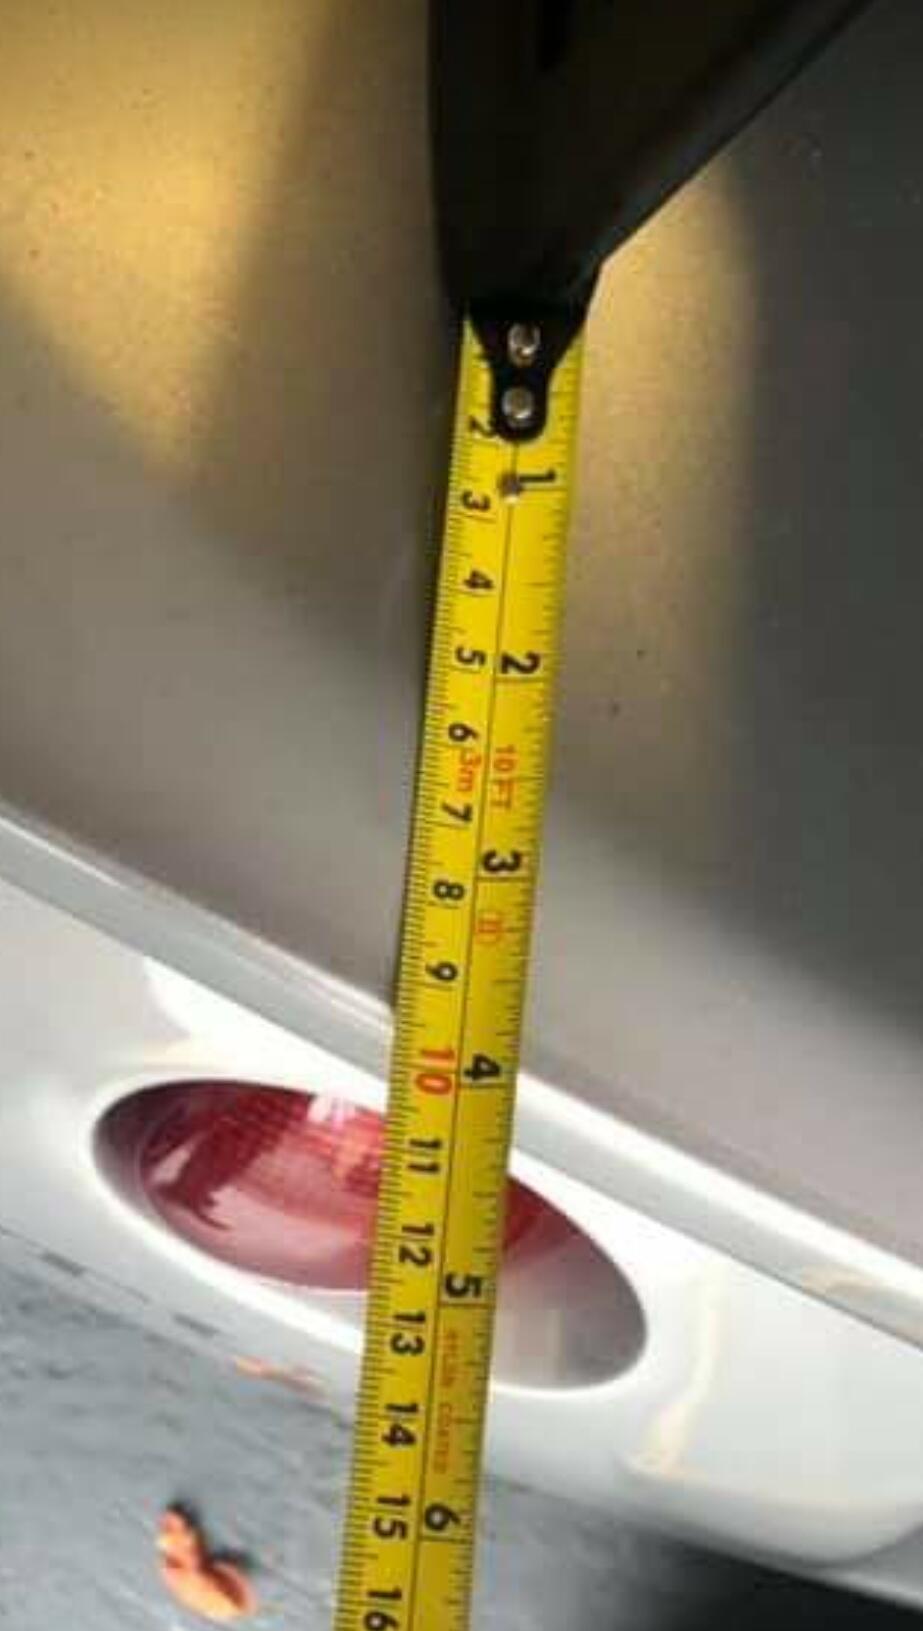
With this information I was happy to go ahead and fit the spoiler to my clam.

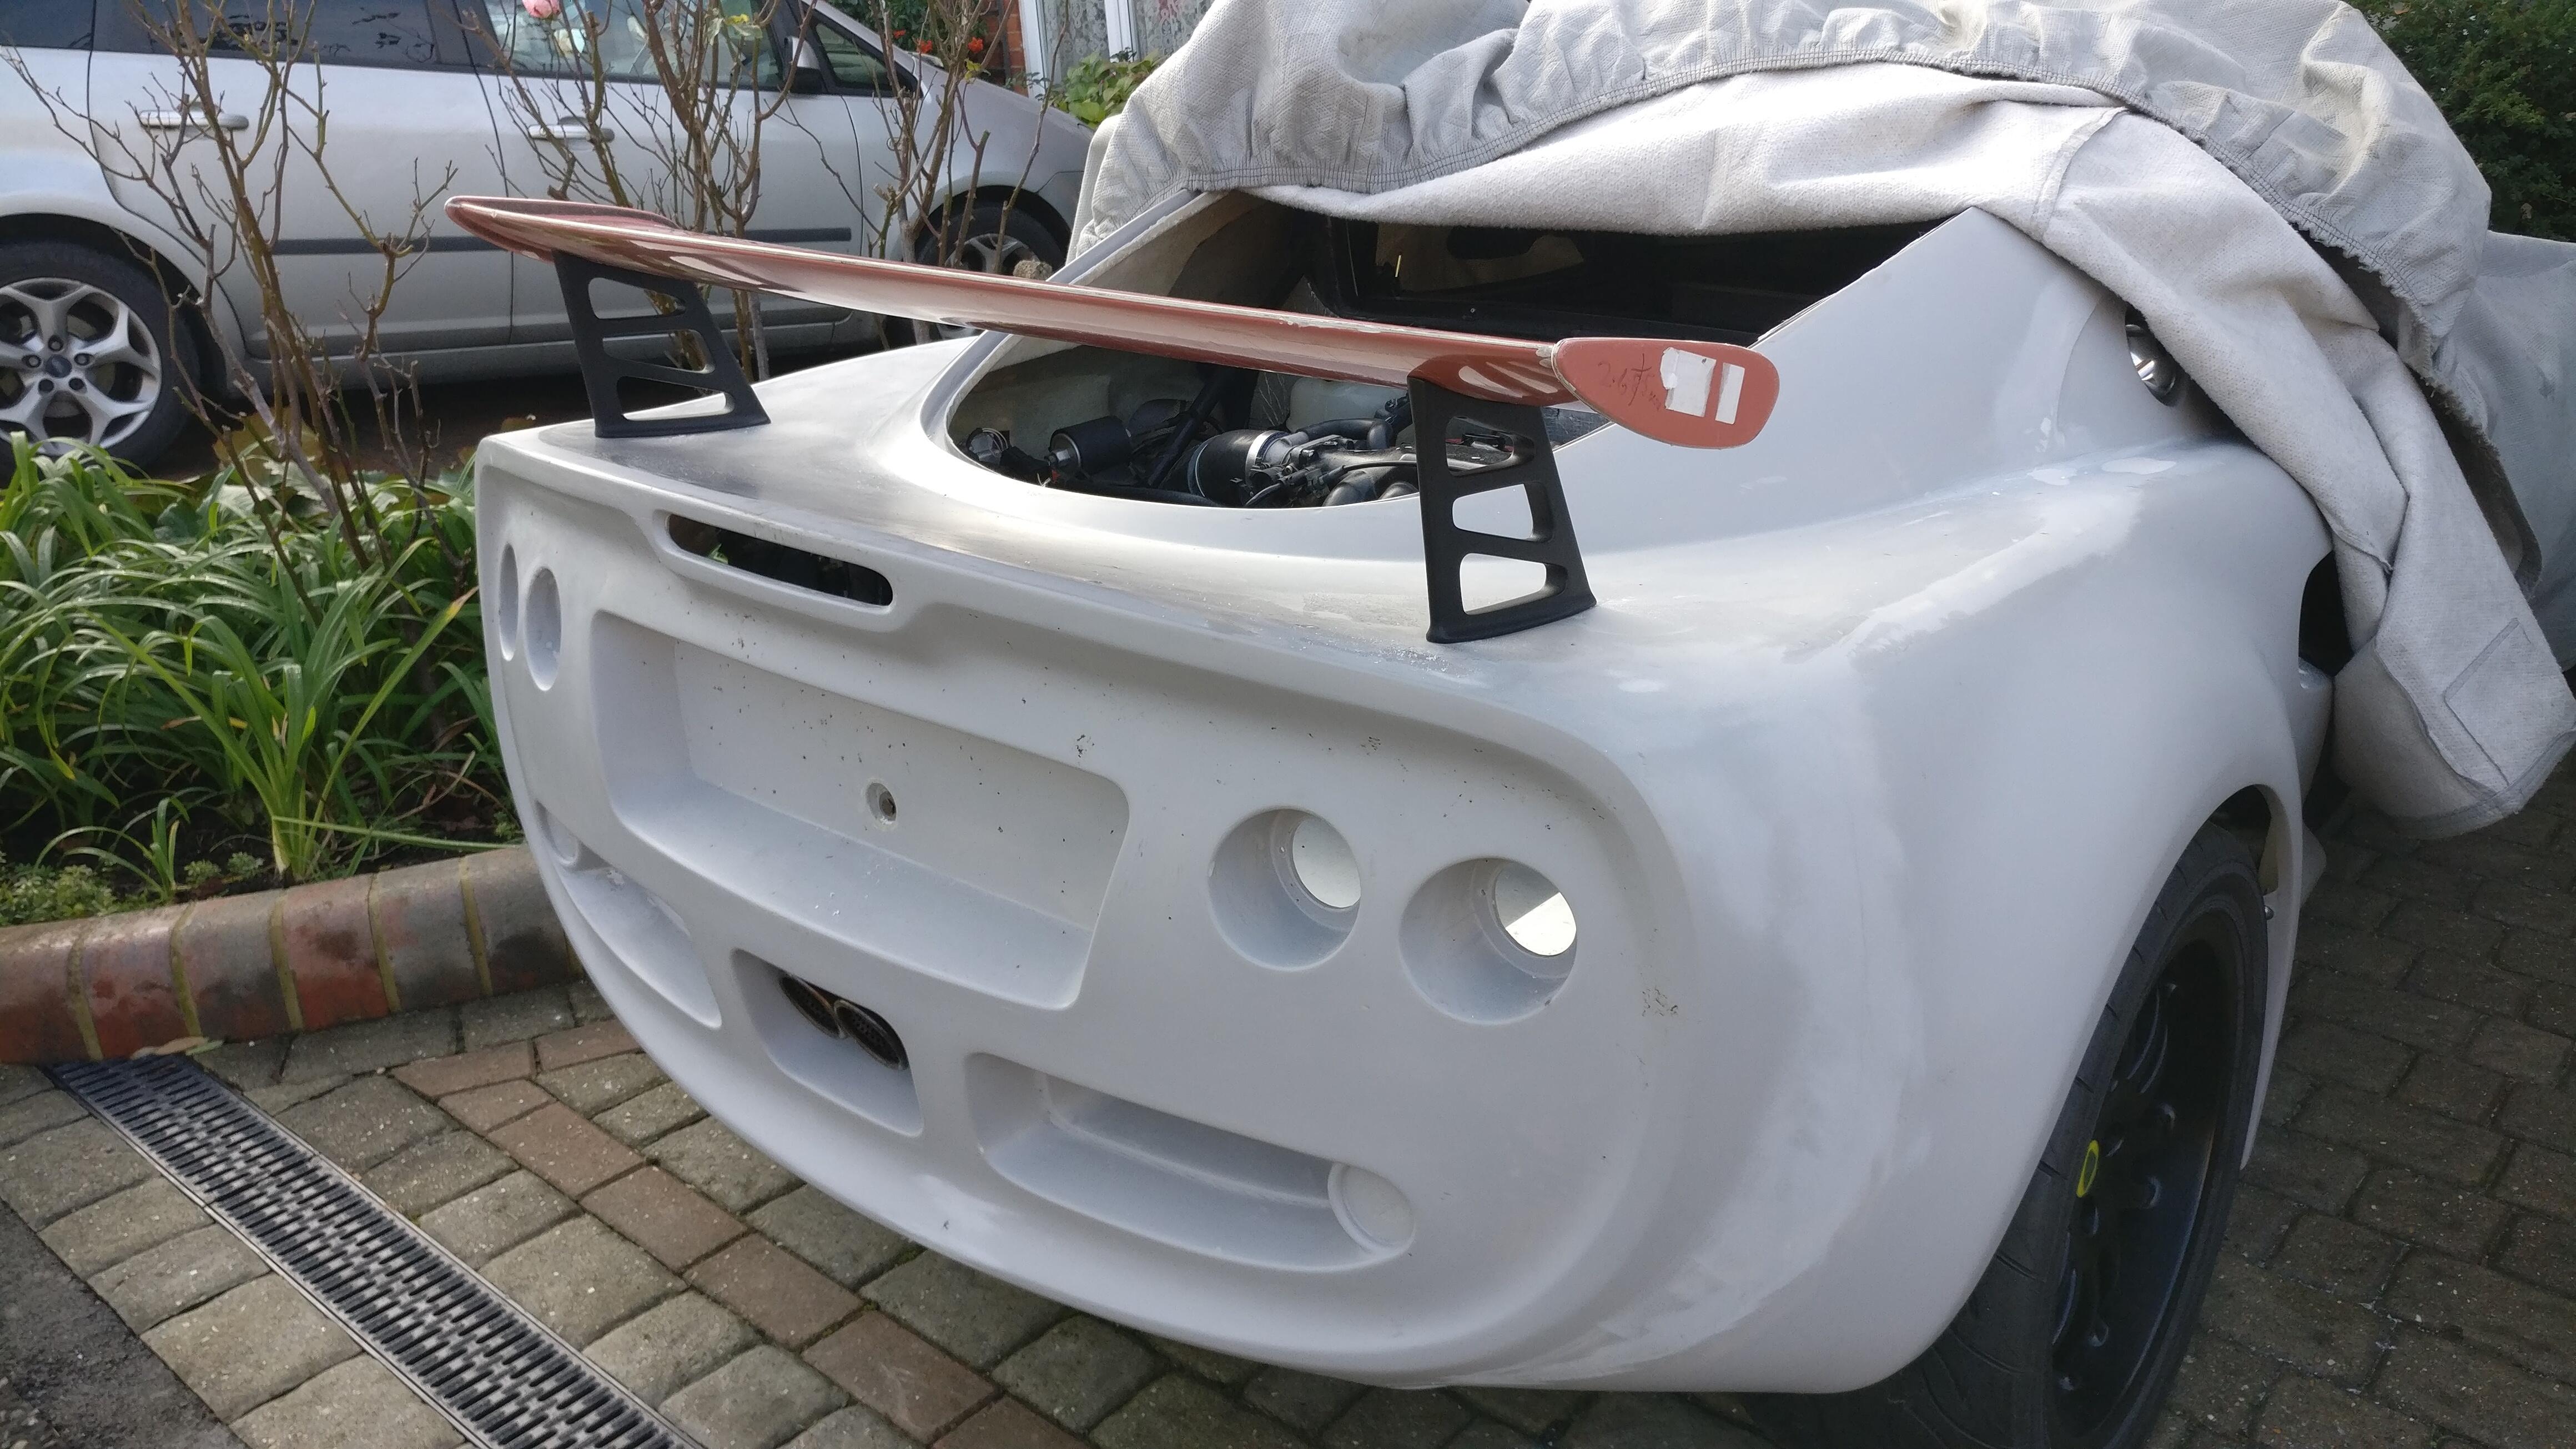
To find the centre, I measured the width of the rear brake light, halved it and put a pencil mark. I then followed it up over top surface to give me my centre point.
I measured the distance between the support’s threaded part, halved that distance and measured it from the centre line I’d drawn.

I then measured the distance between the back of the support to the threaded part (I think it was 15mm) and added that to the 95mm I got from Henry’s pictures. This gave me the second line that made the cross I would drill.
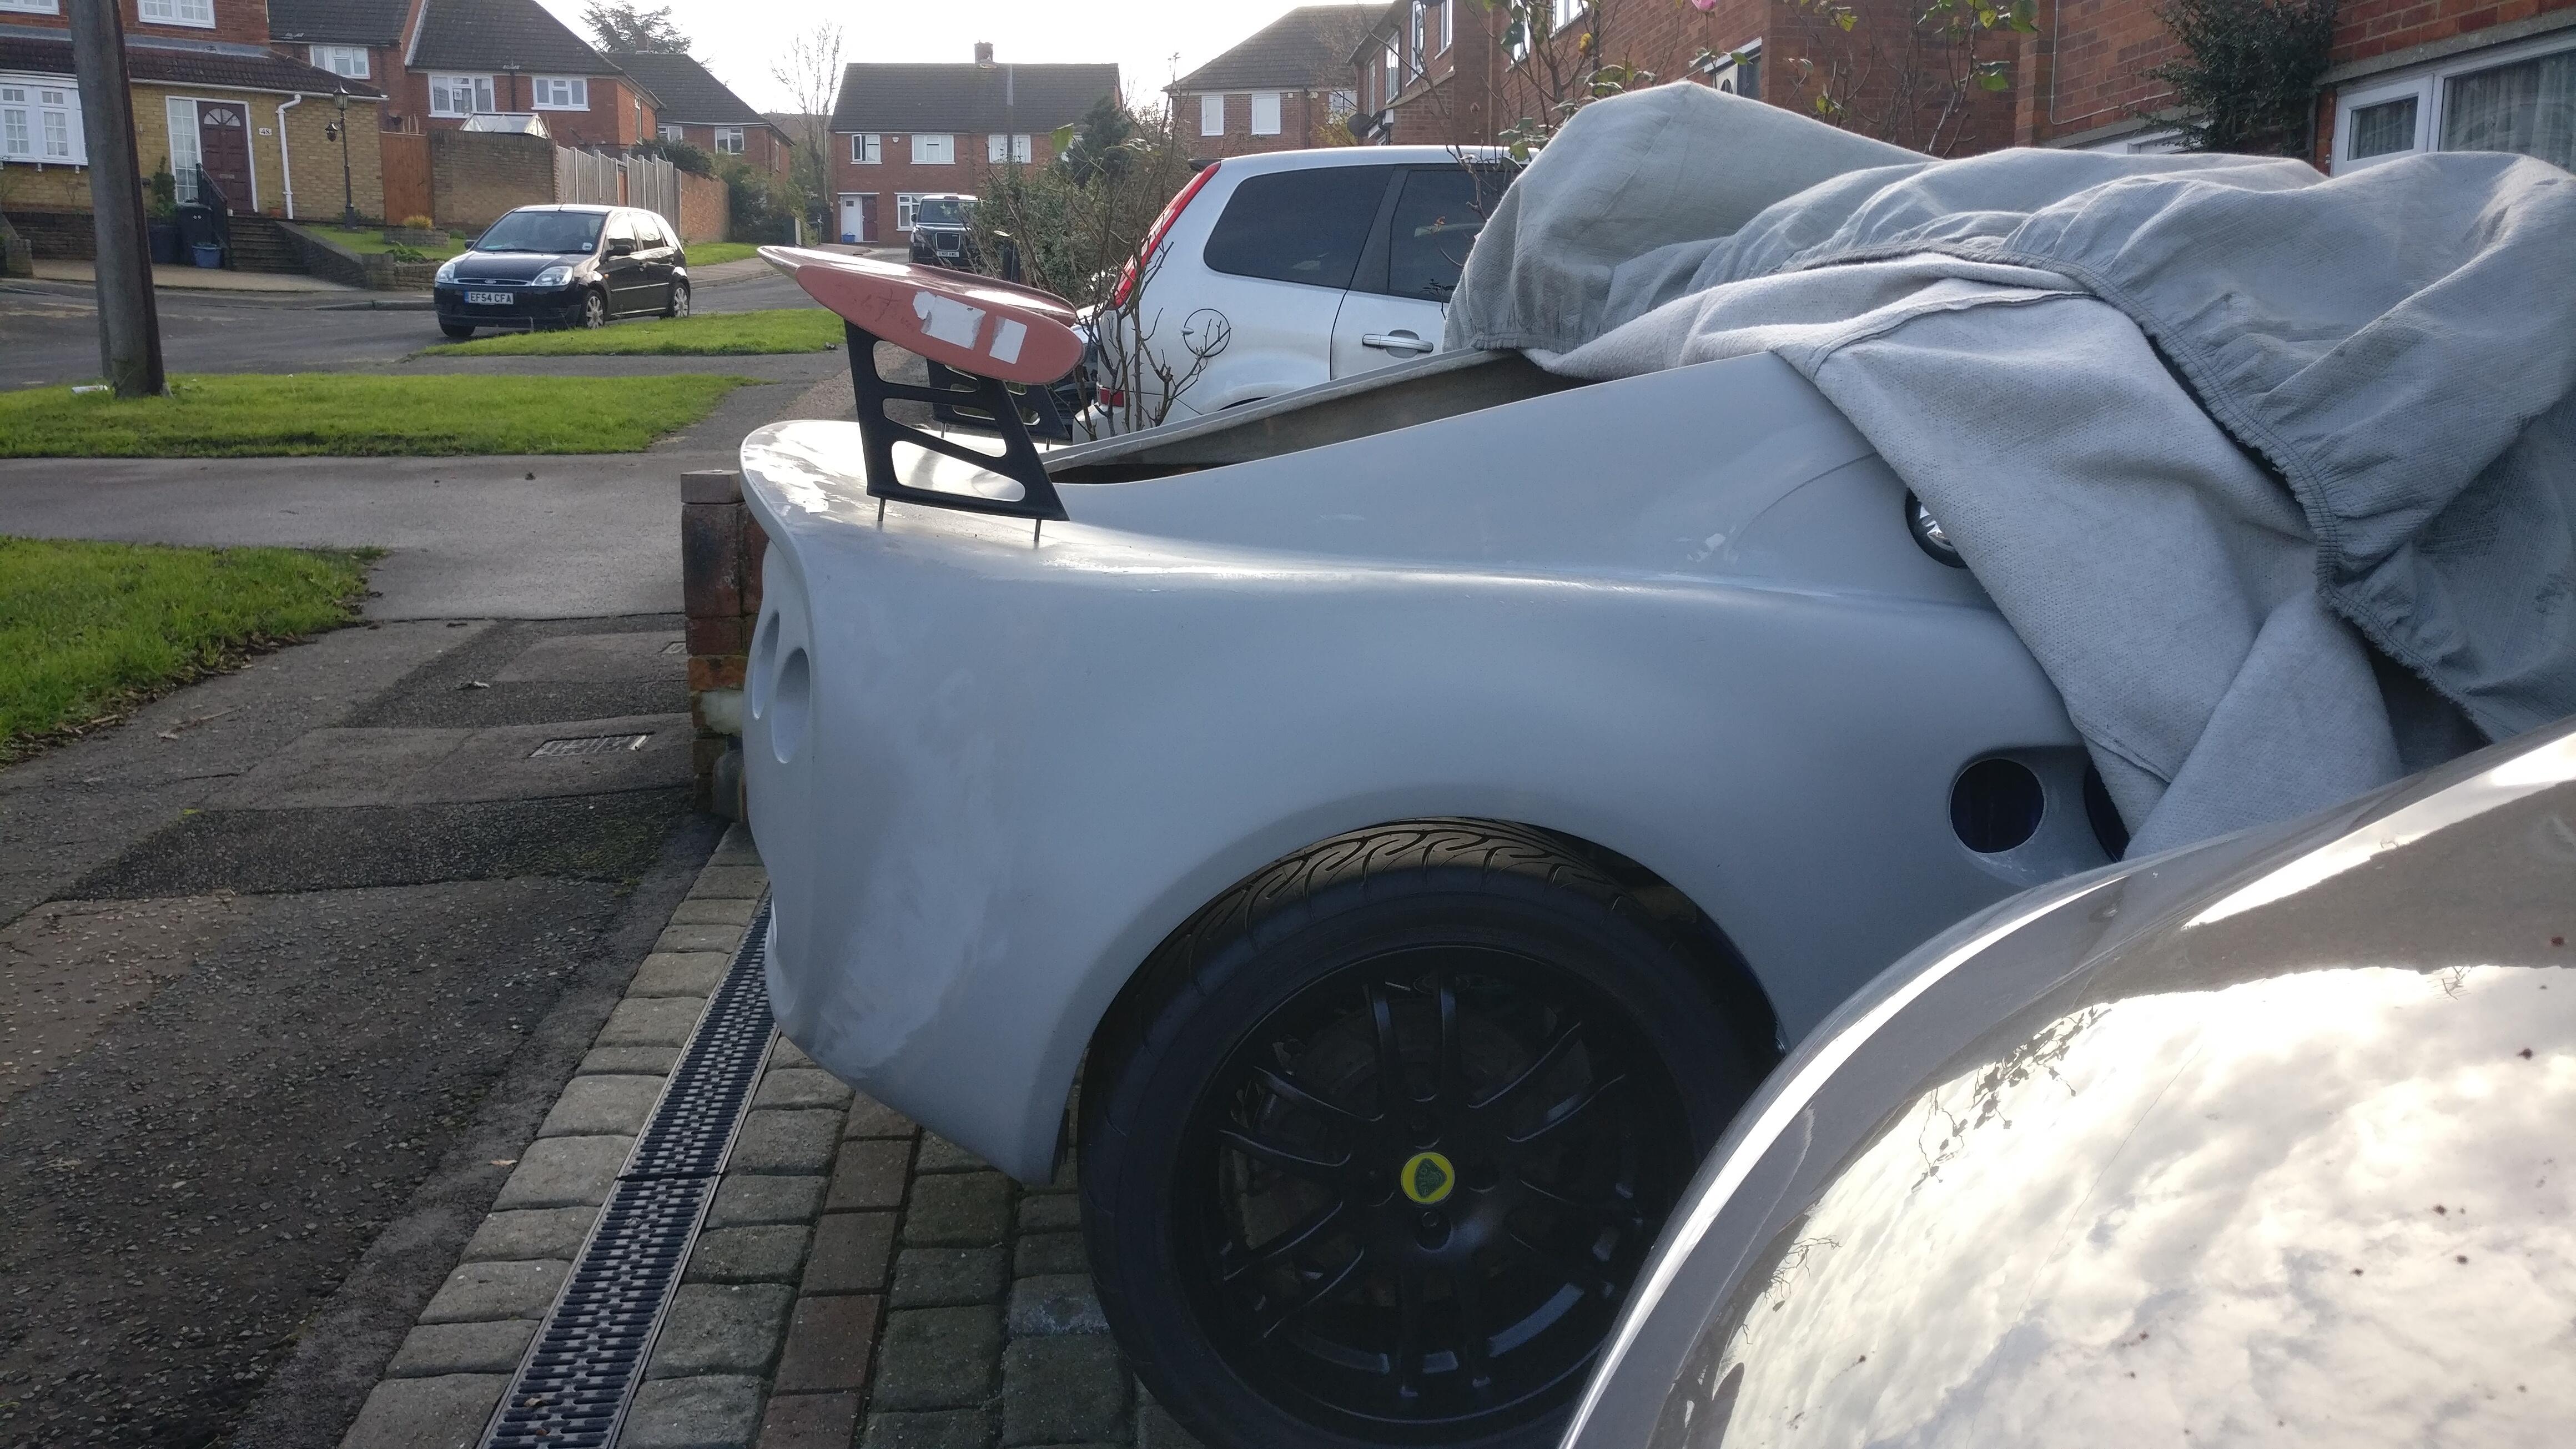
I copied this on the other side, which left it very easy to mark the forward threaded part positions. 2 more holes drilled and the supports rested nice and flush on the rear clam.
I will fix these threaded bolts to the cheapy brackets and onto the DIY sheer panels, but these need to be cut first. For now they are fixed with M5 nuts and penny washers.
I was a bit lazy taking pictures of the clam fixing points, I just blitzed them out quick and forgot to get the phone out. However I’ll try my best to explain my process.
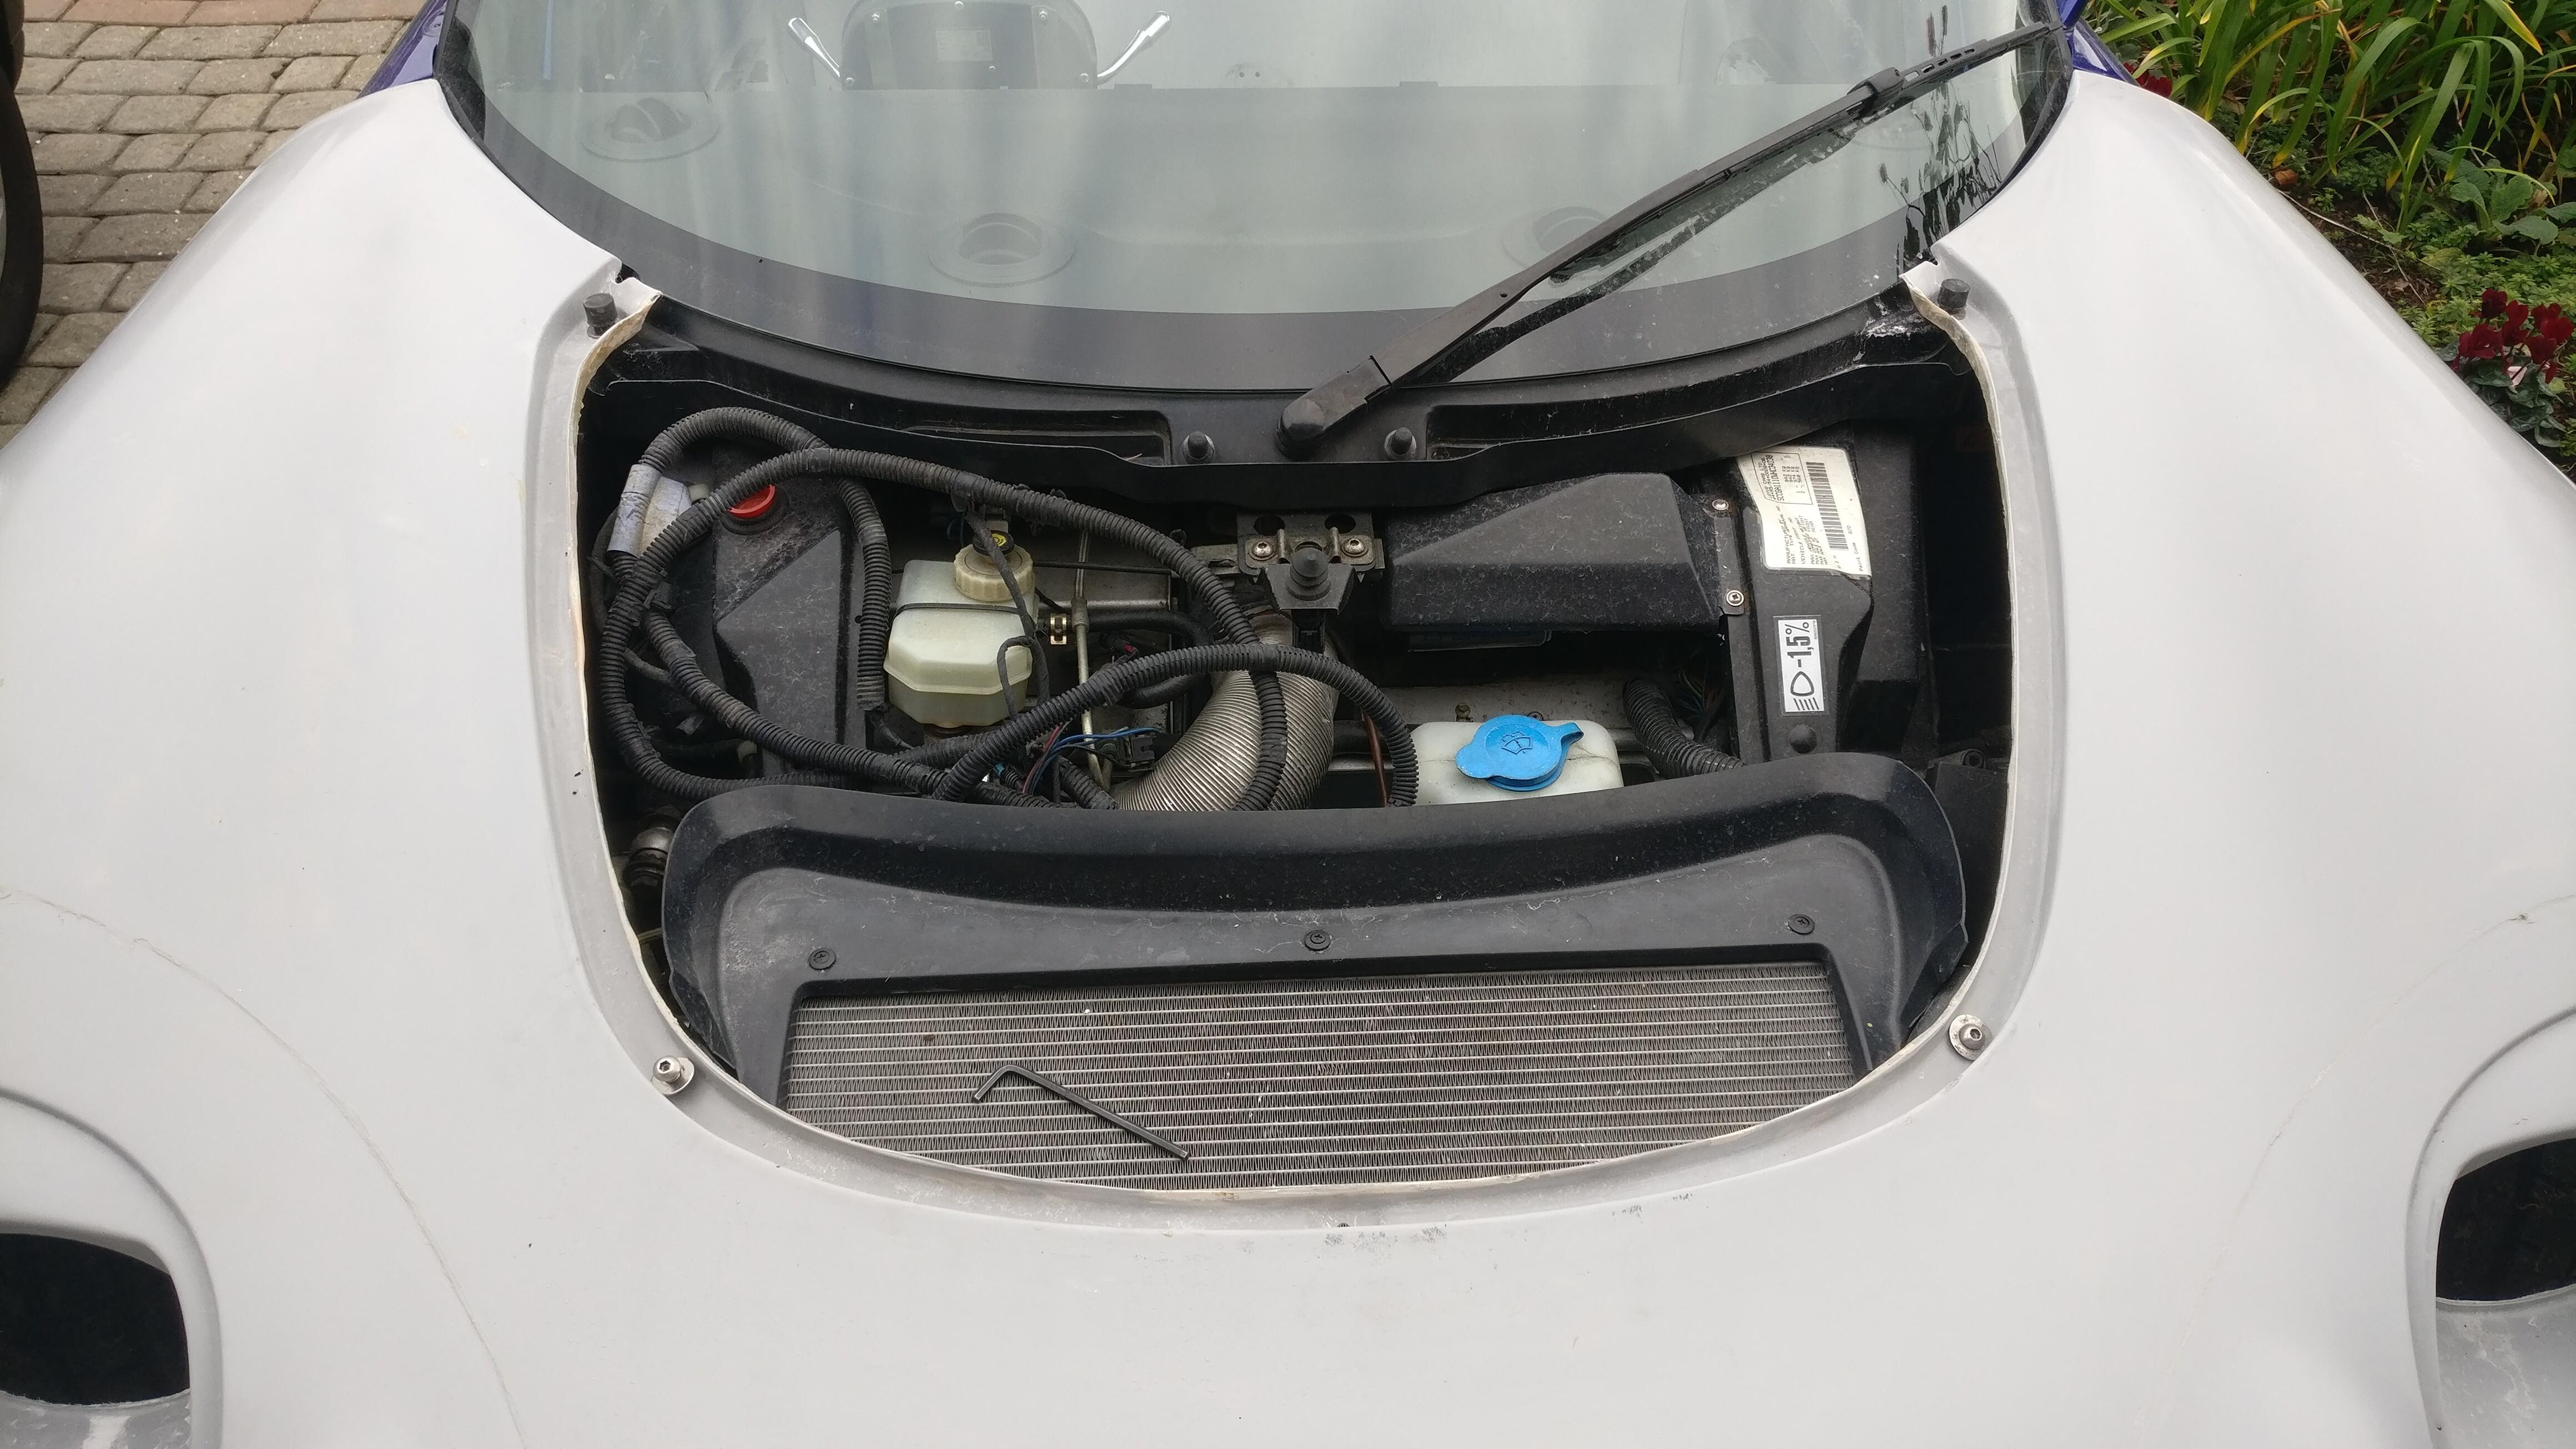
First I located the position for the fixings into the radiator surround. All fixings I began by drilling a pilot hole down into the screw holes, as this hole was small there was no way I would hit the thread and damage it and I would then know it was centred correctly. I then opened up these pilot holes and put the bolts in finger tight.
Next fixing were the bonnet stops withing the same channel. Exactly the same way of fixing, small pilot and then open it up afterwards. I wanted to get these 4 shorted similar to the rear clams numberplate bolt, these are relatively inflexible, with the A pillar and will bolts providing more flexibility.
While I was at the bonnet stop fixings, I used my dremel to grind out the spacer gap for the lip of the bonnet.
I forgot to take a picture of the A Pillar fixings, but straight forward, I found the level that matched with the doors, drilled the pilot, enlarged it when I was confident, then loosely fitted the bolts

The sill fixings of the front clam go into the oversills pieces. To get these lined up I actually drilled them before fixing any of the bolts as it was much easier to line them up.
I lined them up, taping them in place, I then used my drill to go through both pieces so the holes would line up completely. These oversills come with captive nuts bonded to them from the factory, but I feel penny washers with but and bolts are just as good.
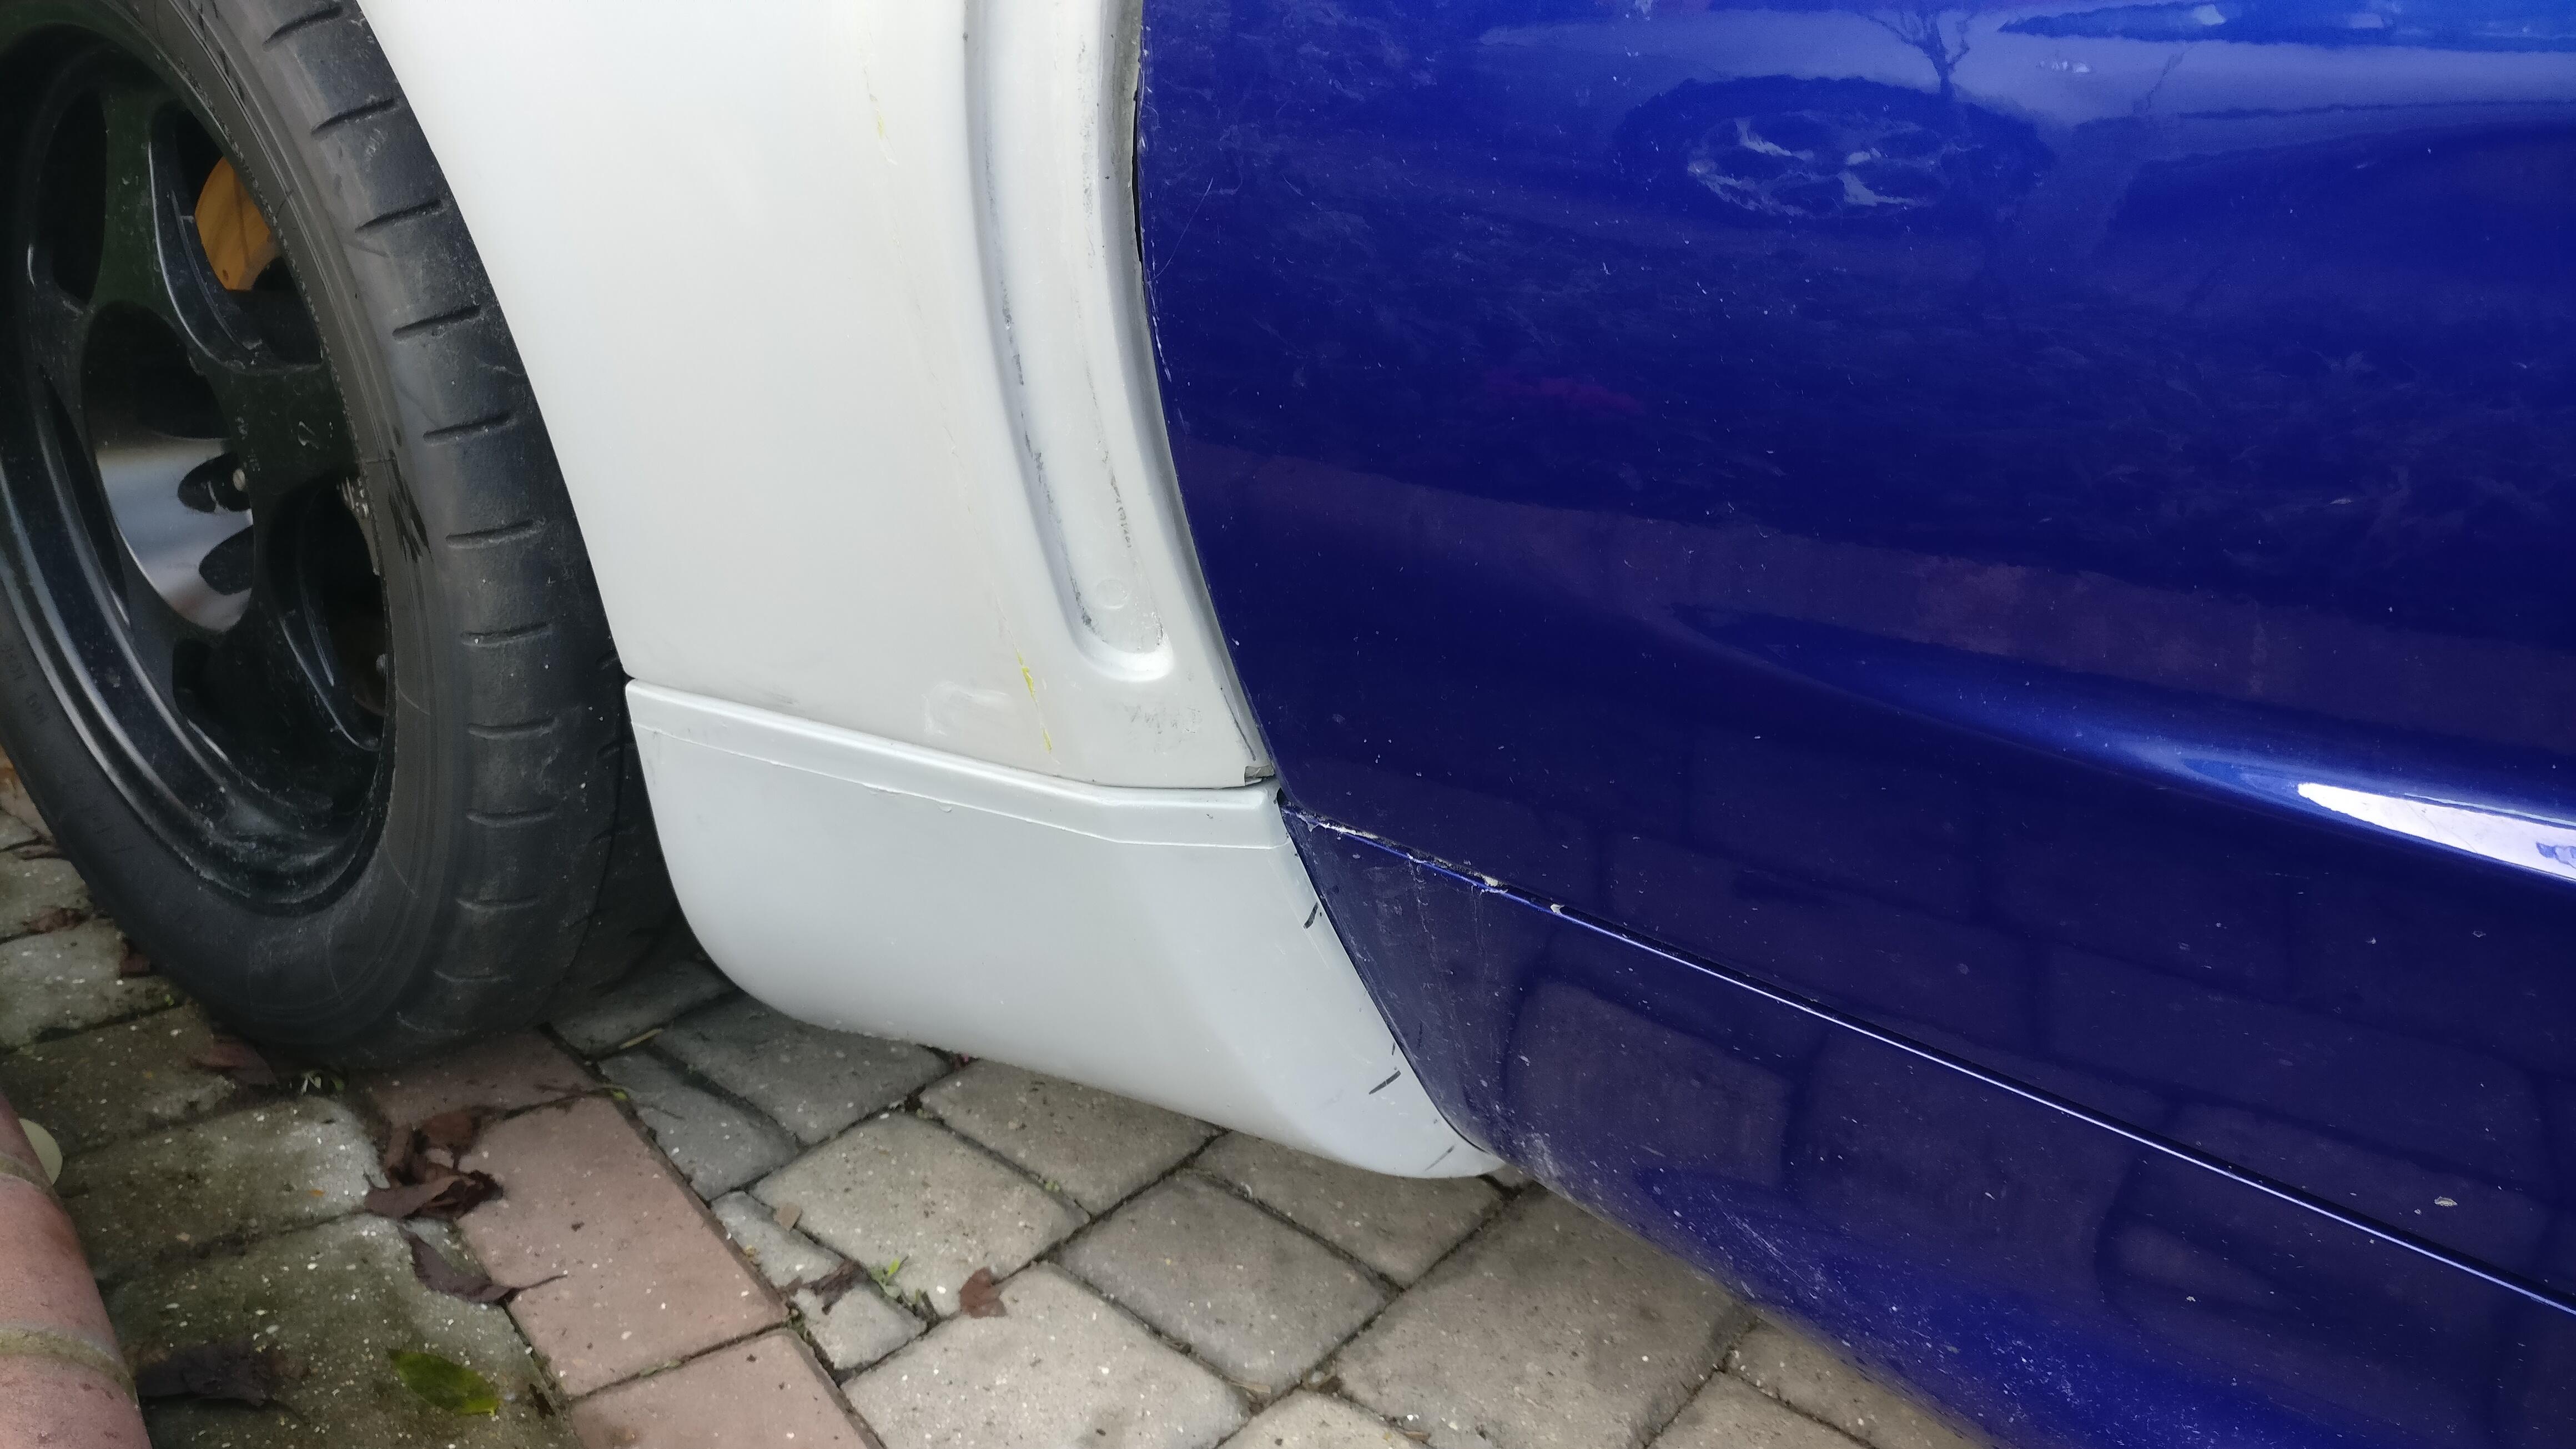
Once all bolted up, I fit the clam back on and got the oversills as close as I could. However they would need a fair bit of fettling to get flush onto the sill.
I thought it would be easier to do this with the clam bolted up to the oversills, that way I could pull them out and sand and immediately test fit again, knowing that this is how they will like up when they are all bolted up.
It took a lot of sanding, test fitting, marking where needed more sanding, sanding more and profiling it to the sill. I got there in the end and happy they are now nice and flush against the sill.
Only then could I locate where the holes needed to be drilled. I had to keep in mind that the position needs to be quite accurate, otherwise the doors would hit the clam when opening them and the gap between the clam/oversills and wheel would be too tight. I think I got there in the end, with the shims in the doors will help the clearances too.
Easy next job, smoothing out the side intakes.
Dom kindly trimmed them, but there was a slight lip. These were easily sanded with some 120 grit paper. I actually used a felted paper used on my DA sander, these are thicker and your hands can hold them in a way they form lovely smooth curved sanding surface, perfect for areas like these.
These will be covered mostly by the carbon side scoops, but I still wanted them to look neat. As the doors will be sanded and repainted I didn’t mind the sandpaper scratching then up a bit as I really got flush with the clam surface to get them as fluid as I could. However I didn’t want to take too much material away otherwise the intake grilles wouldn’t fit very well.

As said before, I did initially want to cut the supports out the roof intake to make for a cleaner look. However once the grille came and had the holes in for the fixing points, they had to stay, not the end of the world and keeps it OEM.
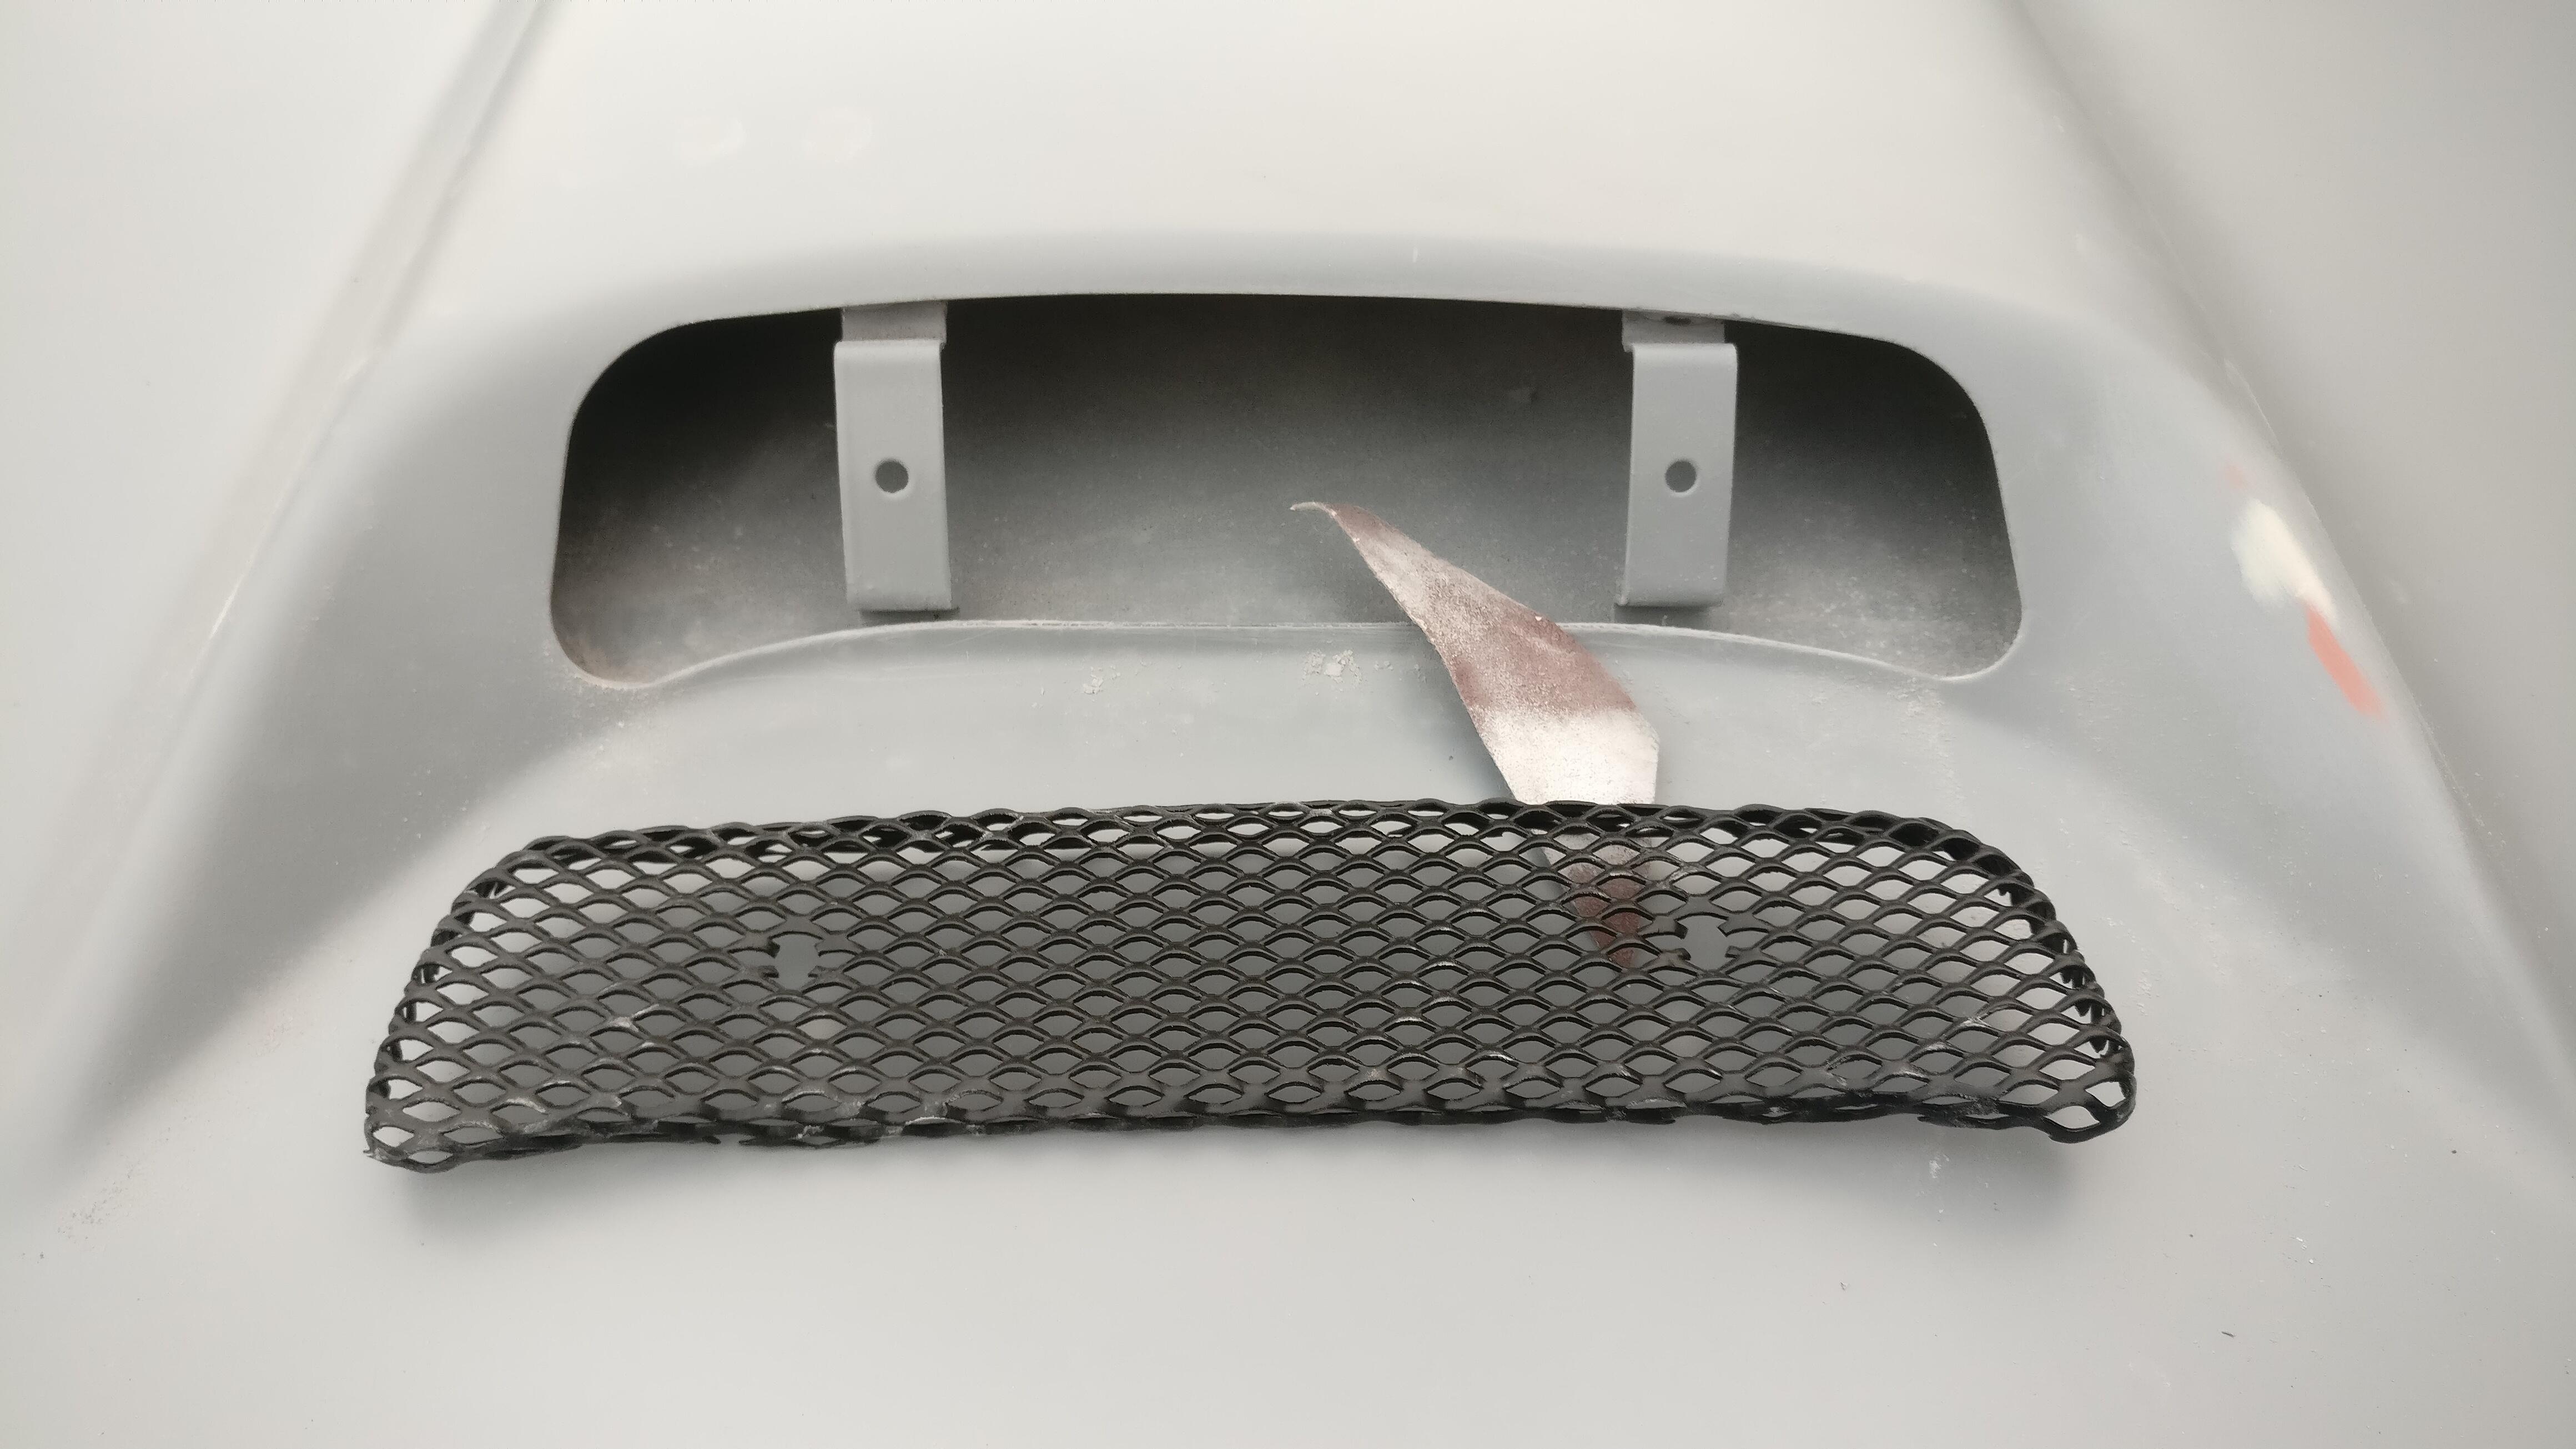
The gap was close but a bit messy, some sandpaper cleaned that up. I also opened the gap up top to bottom as it was too tight.
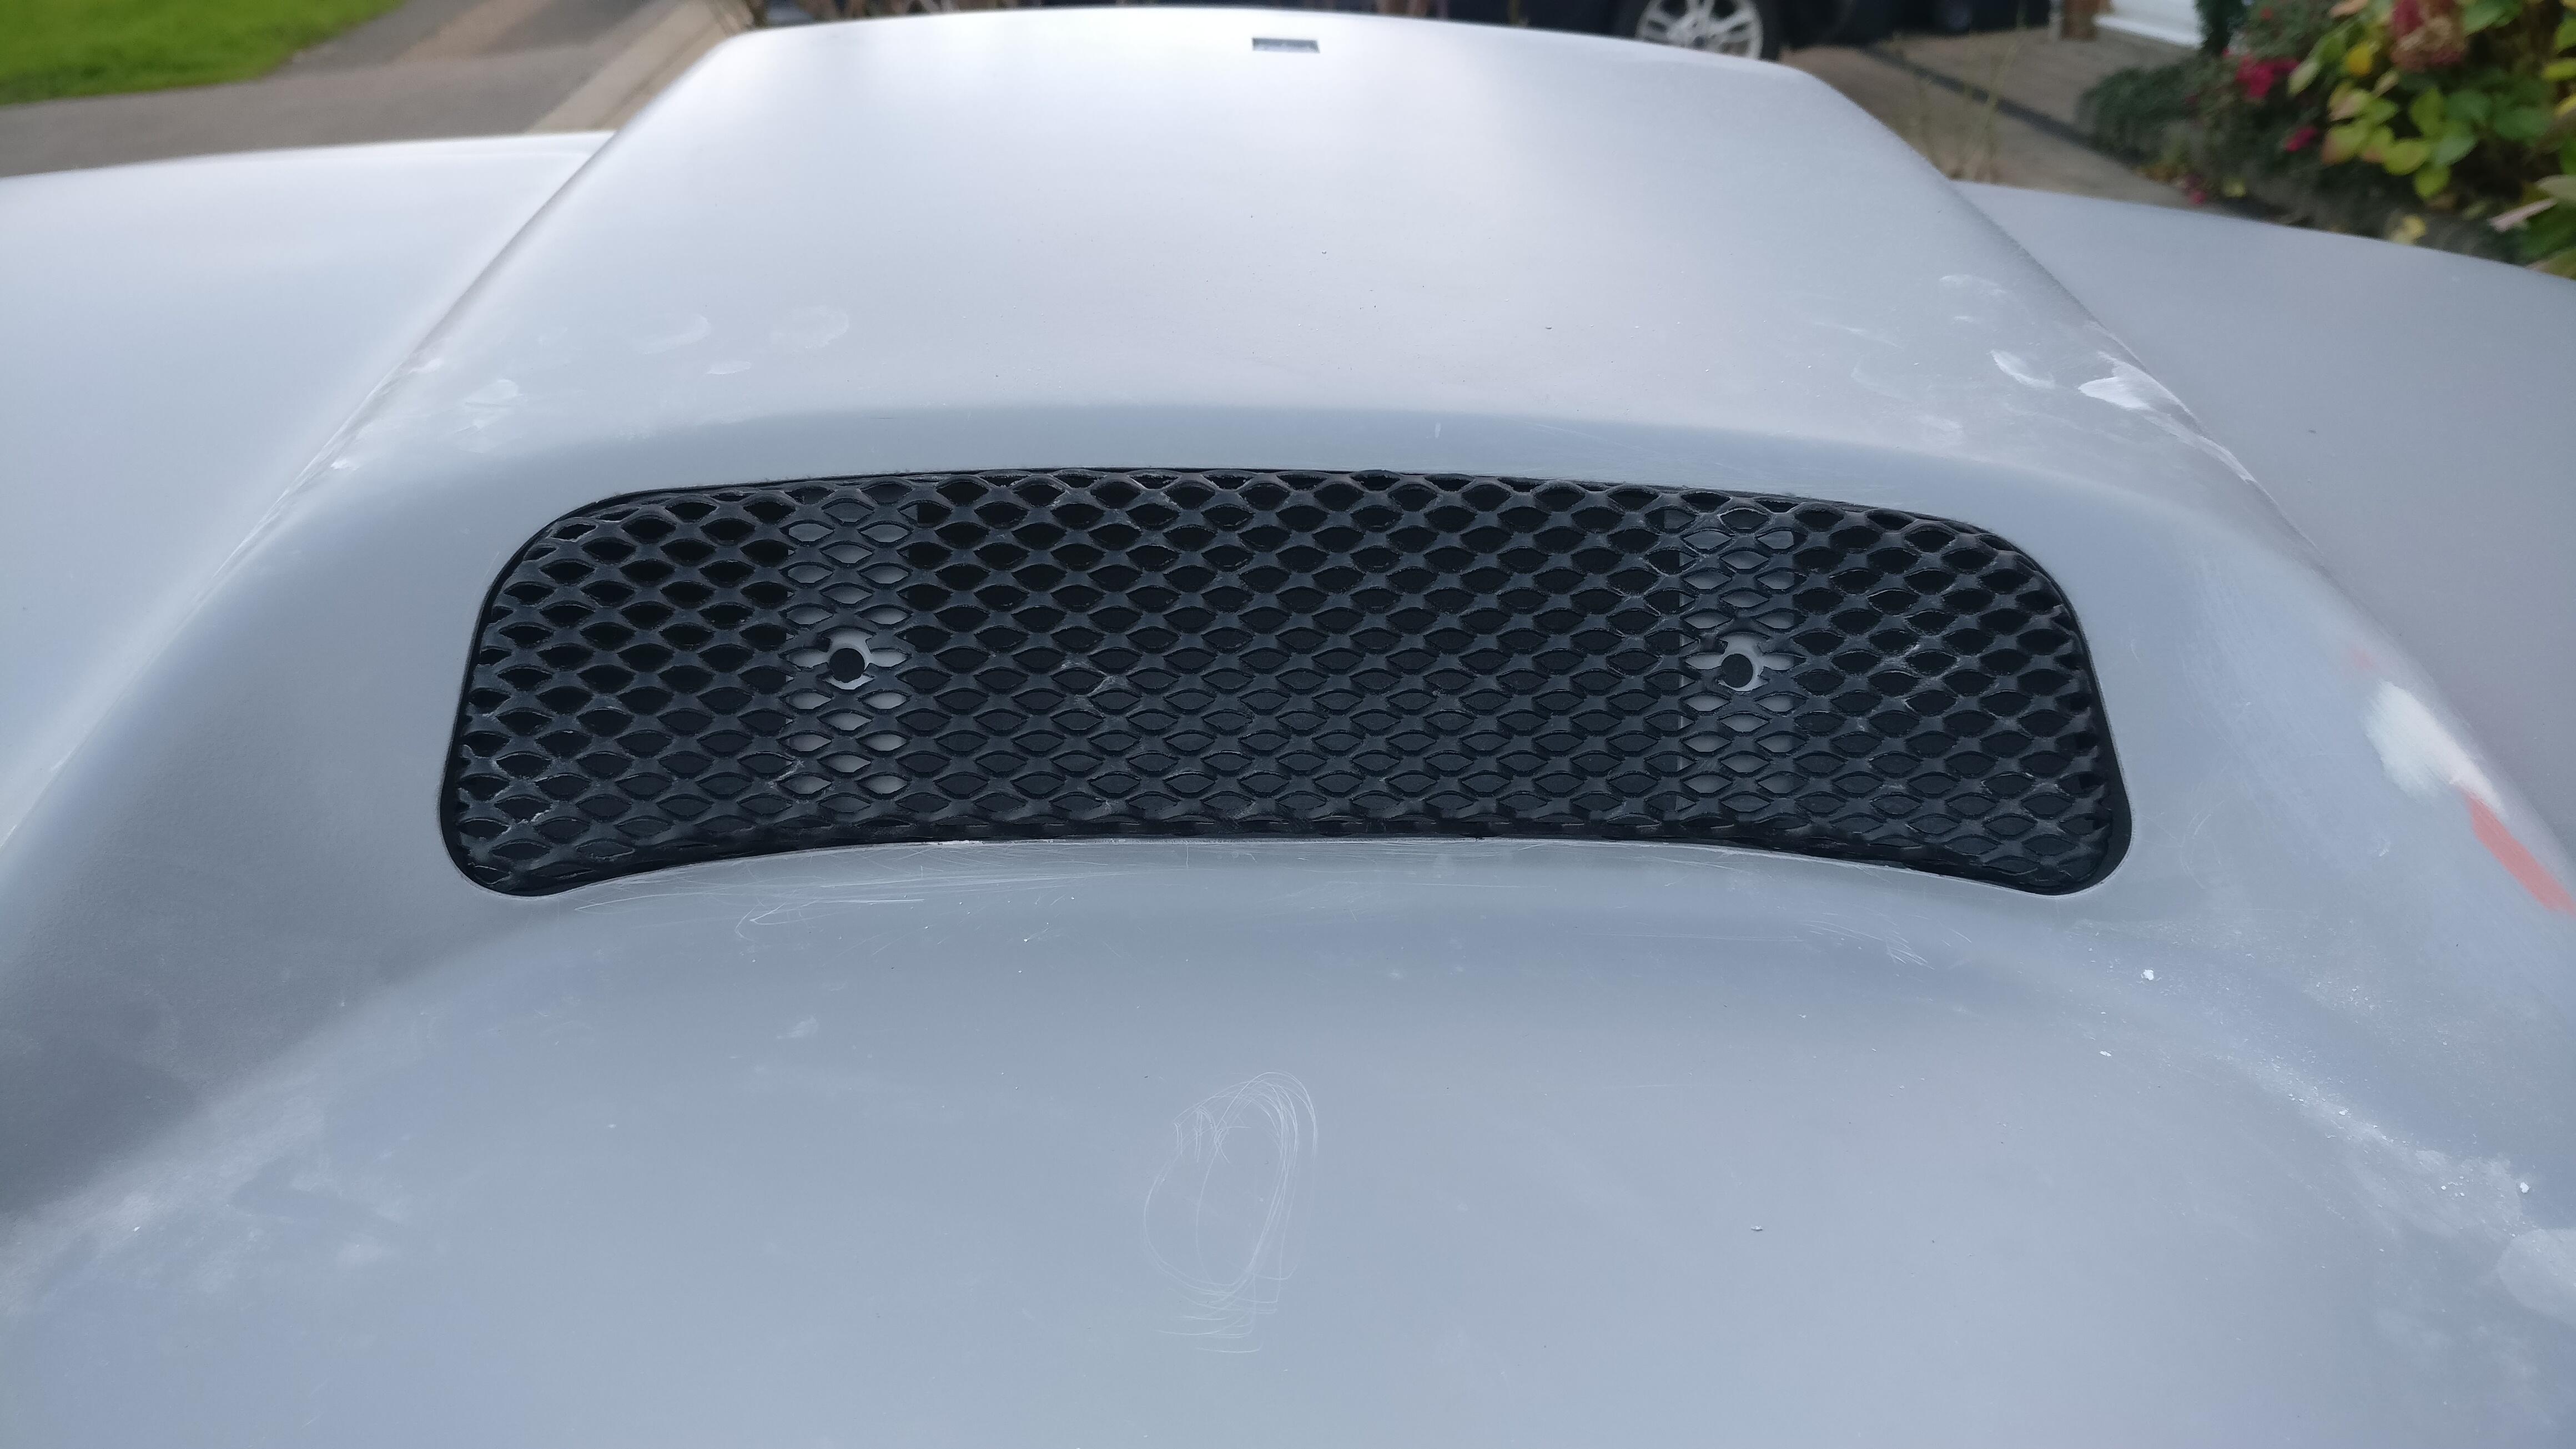
The left and right gaps were a touch too big, so I cheated and bent out the grille to meet the edge of the opening, which in my opinion looks much better than the grille lost in the opening.
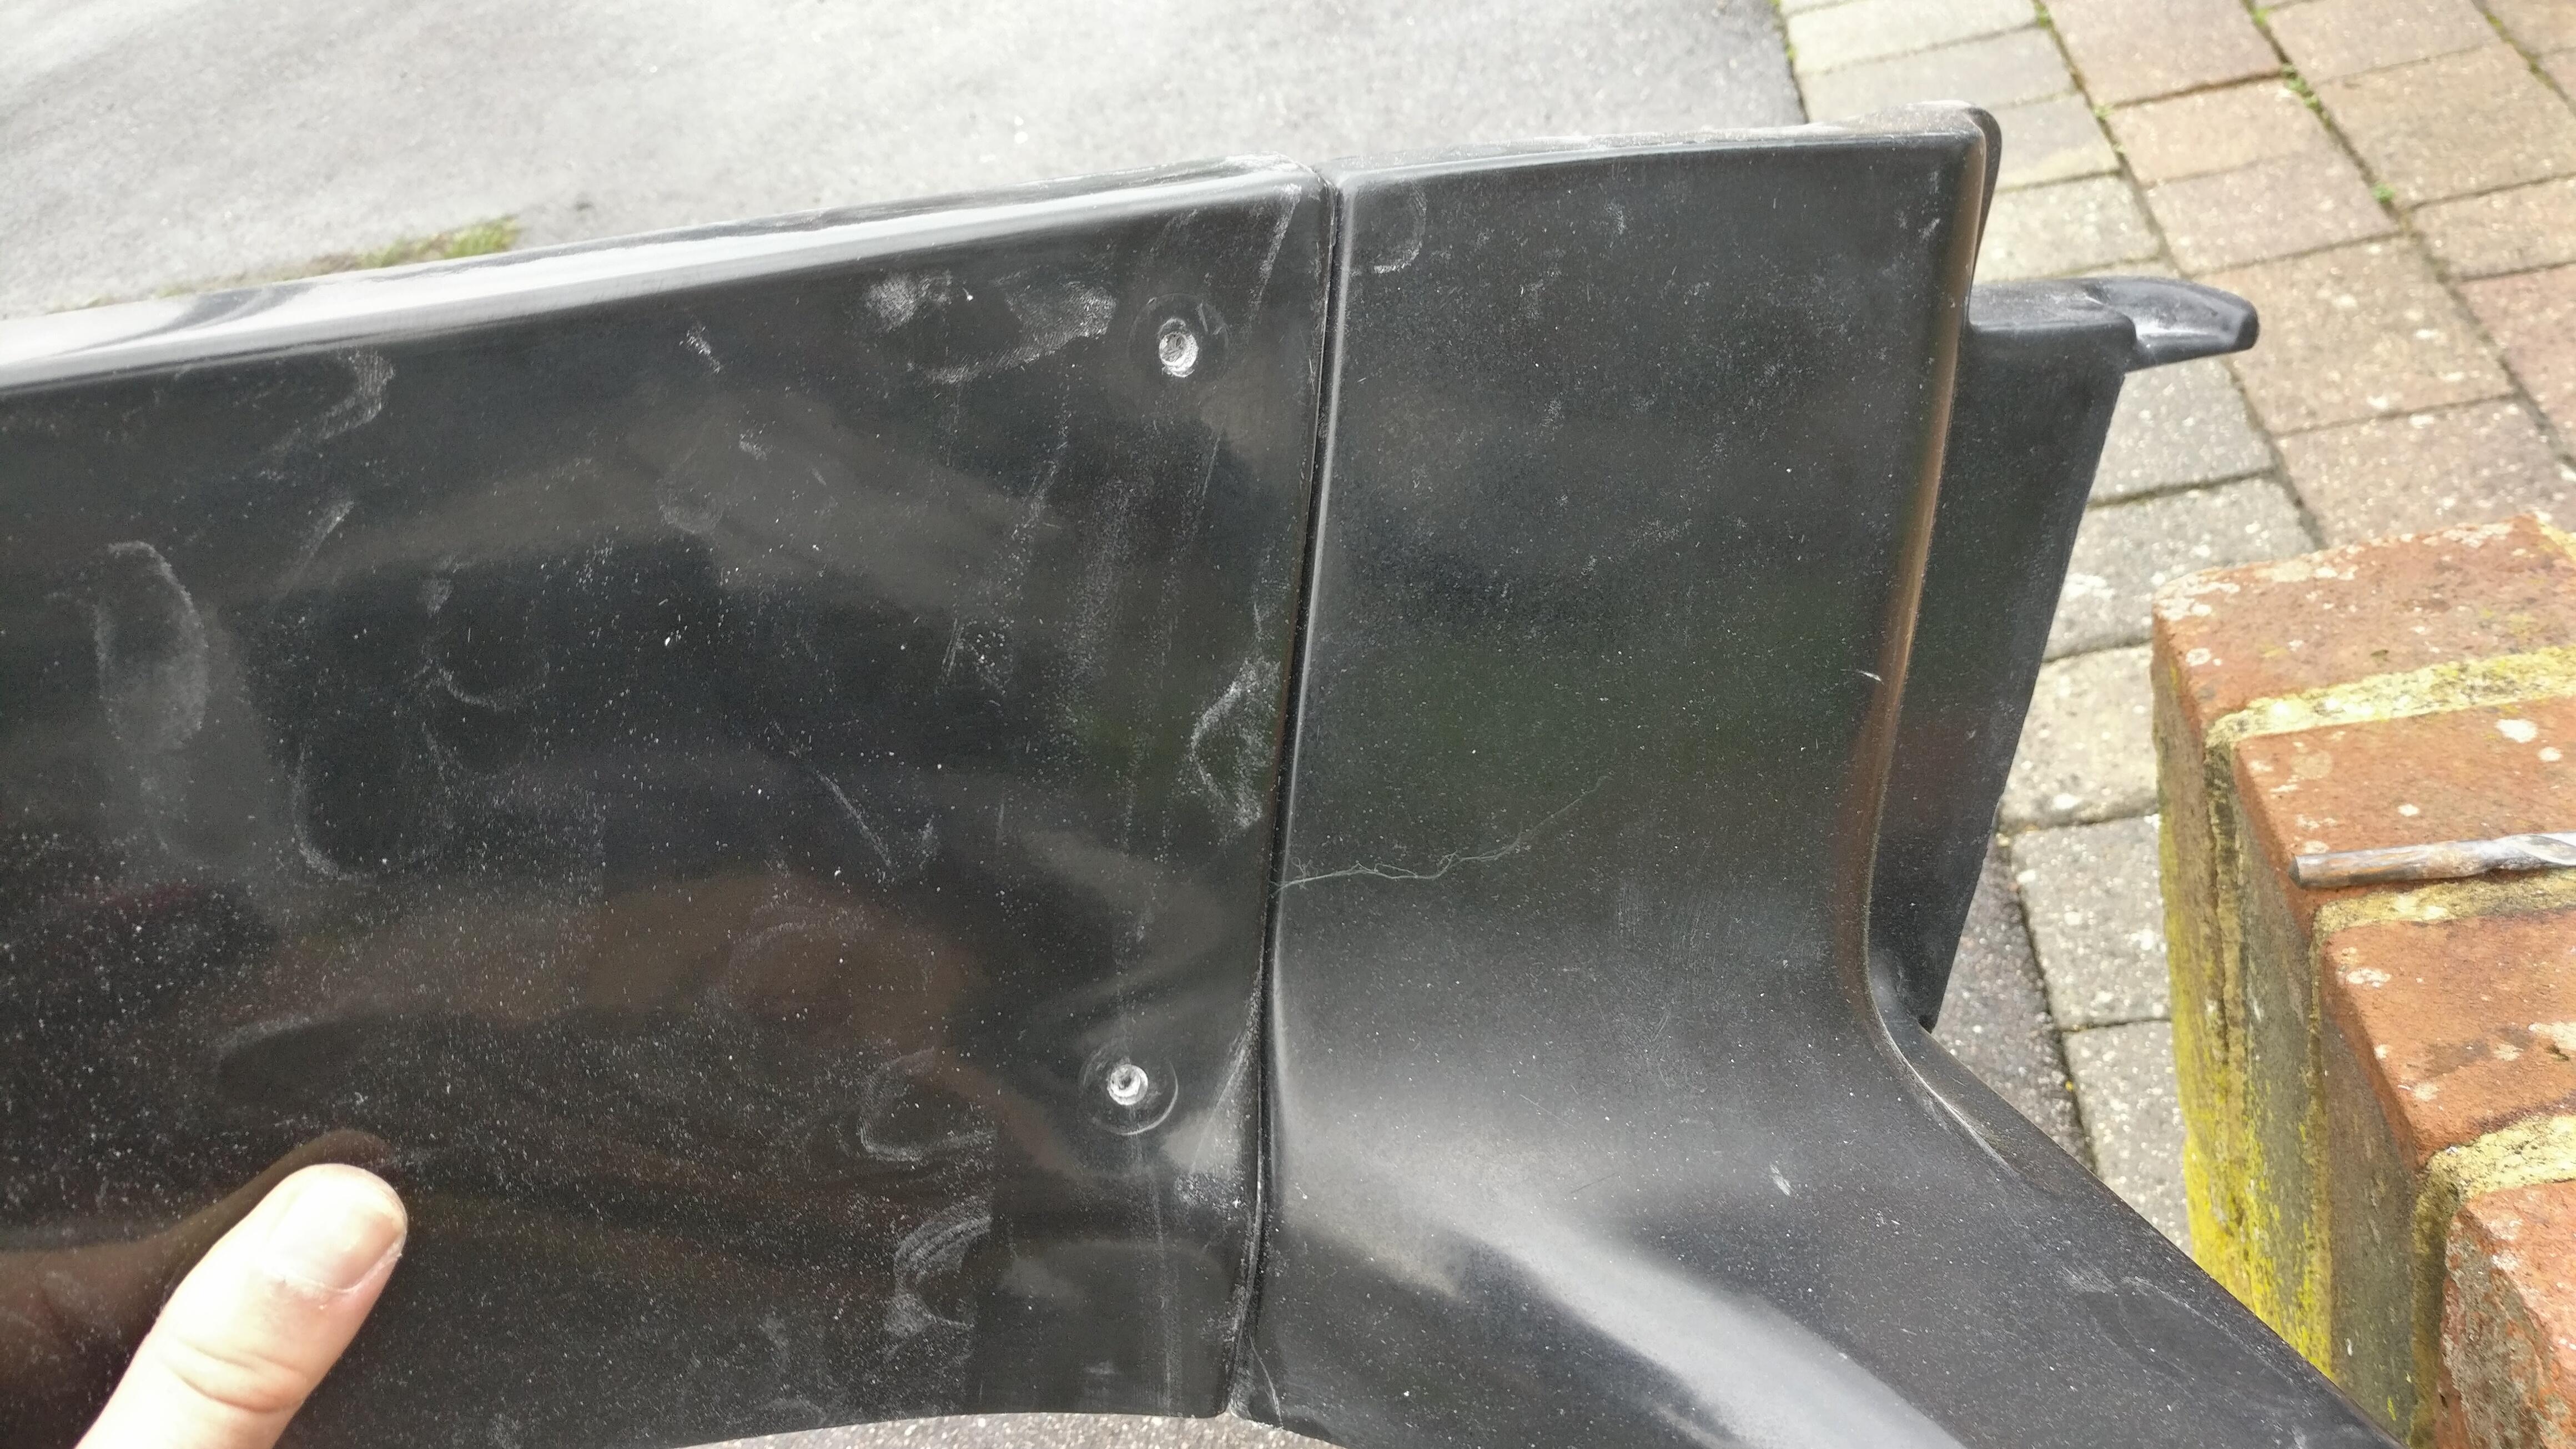
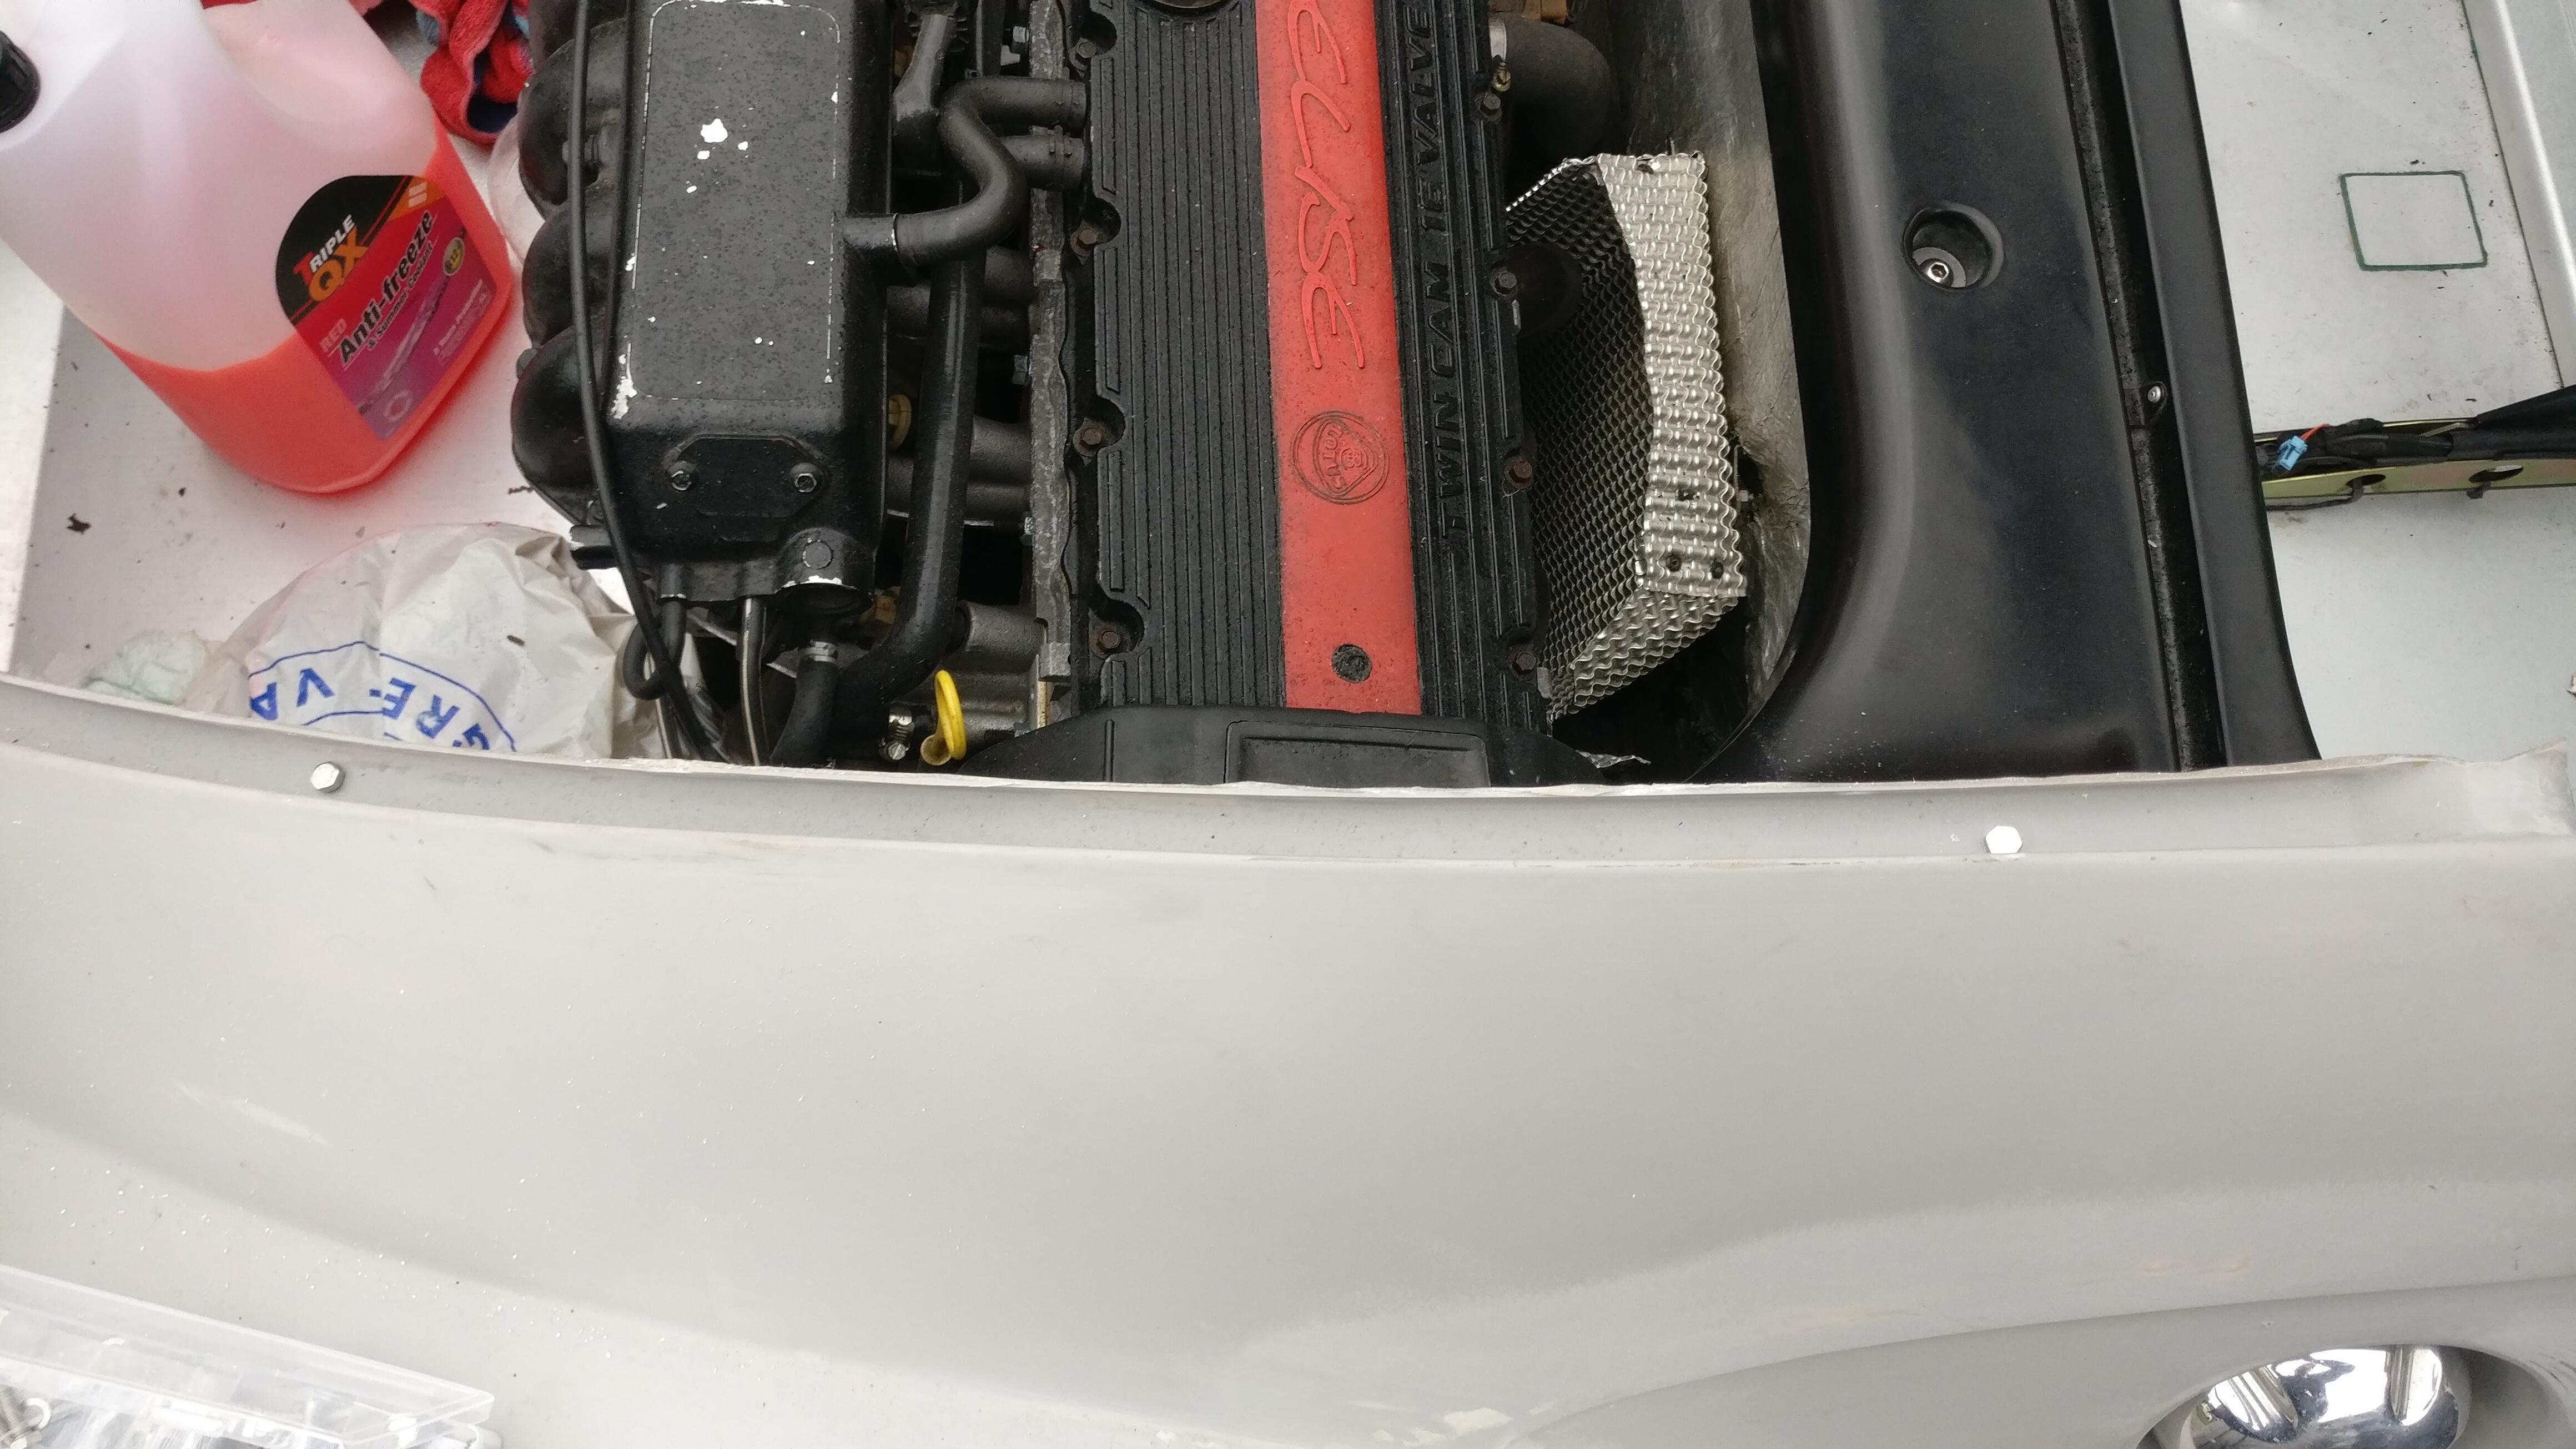
Next was to test fit the engine finisher panels.
The pieces had markings from the mould where to drill, which was a help to get things started.

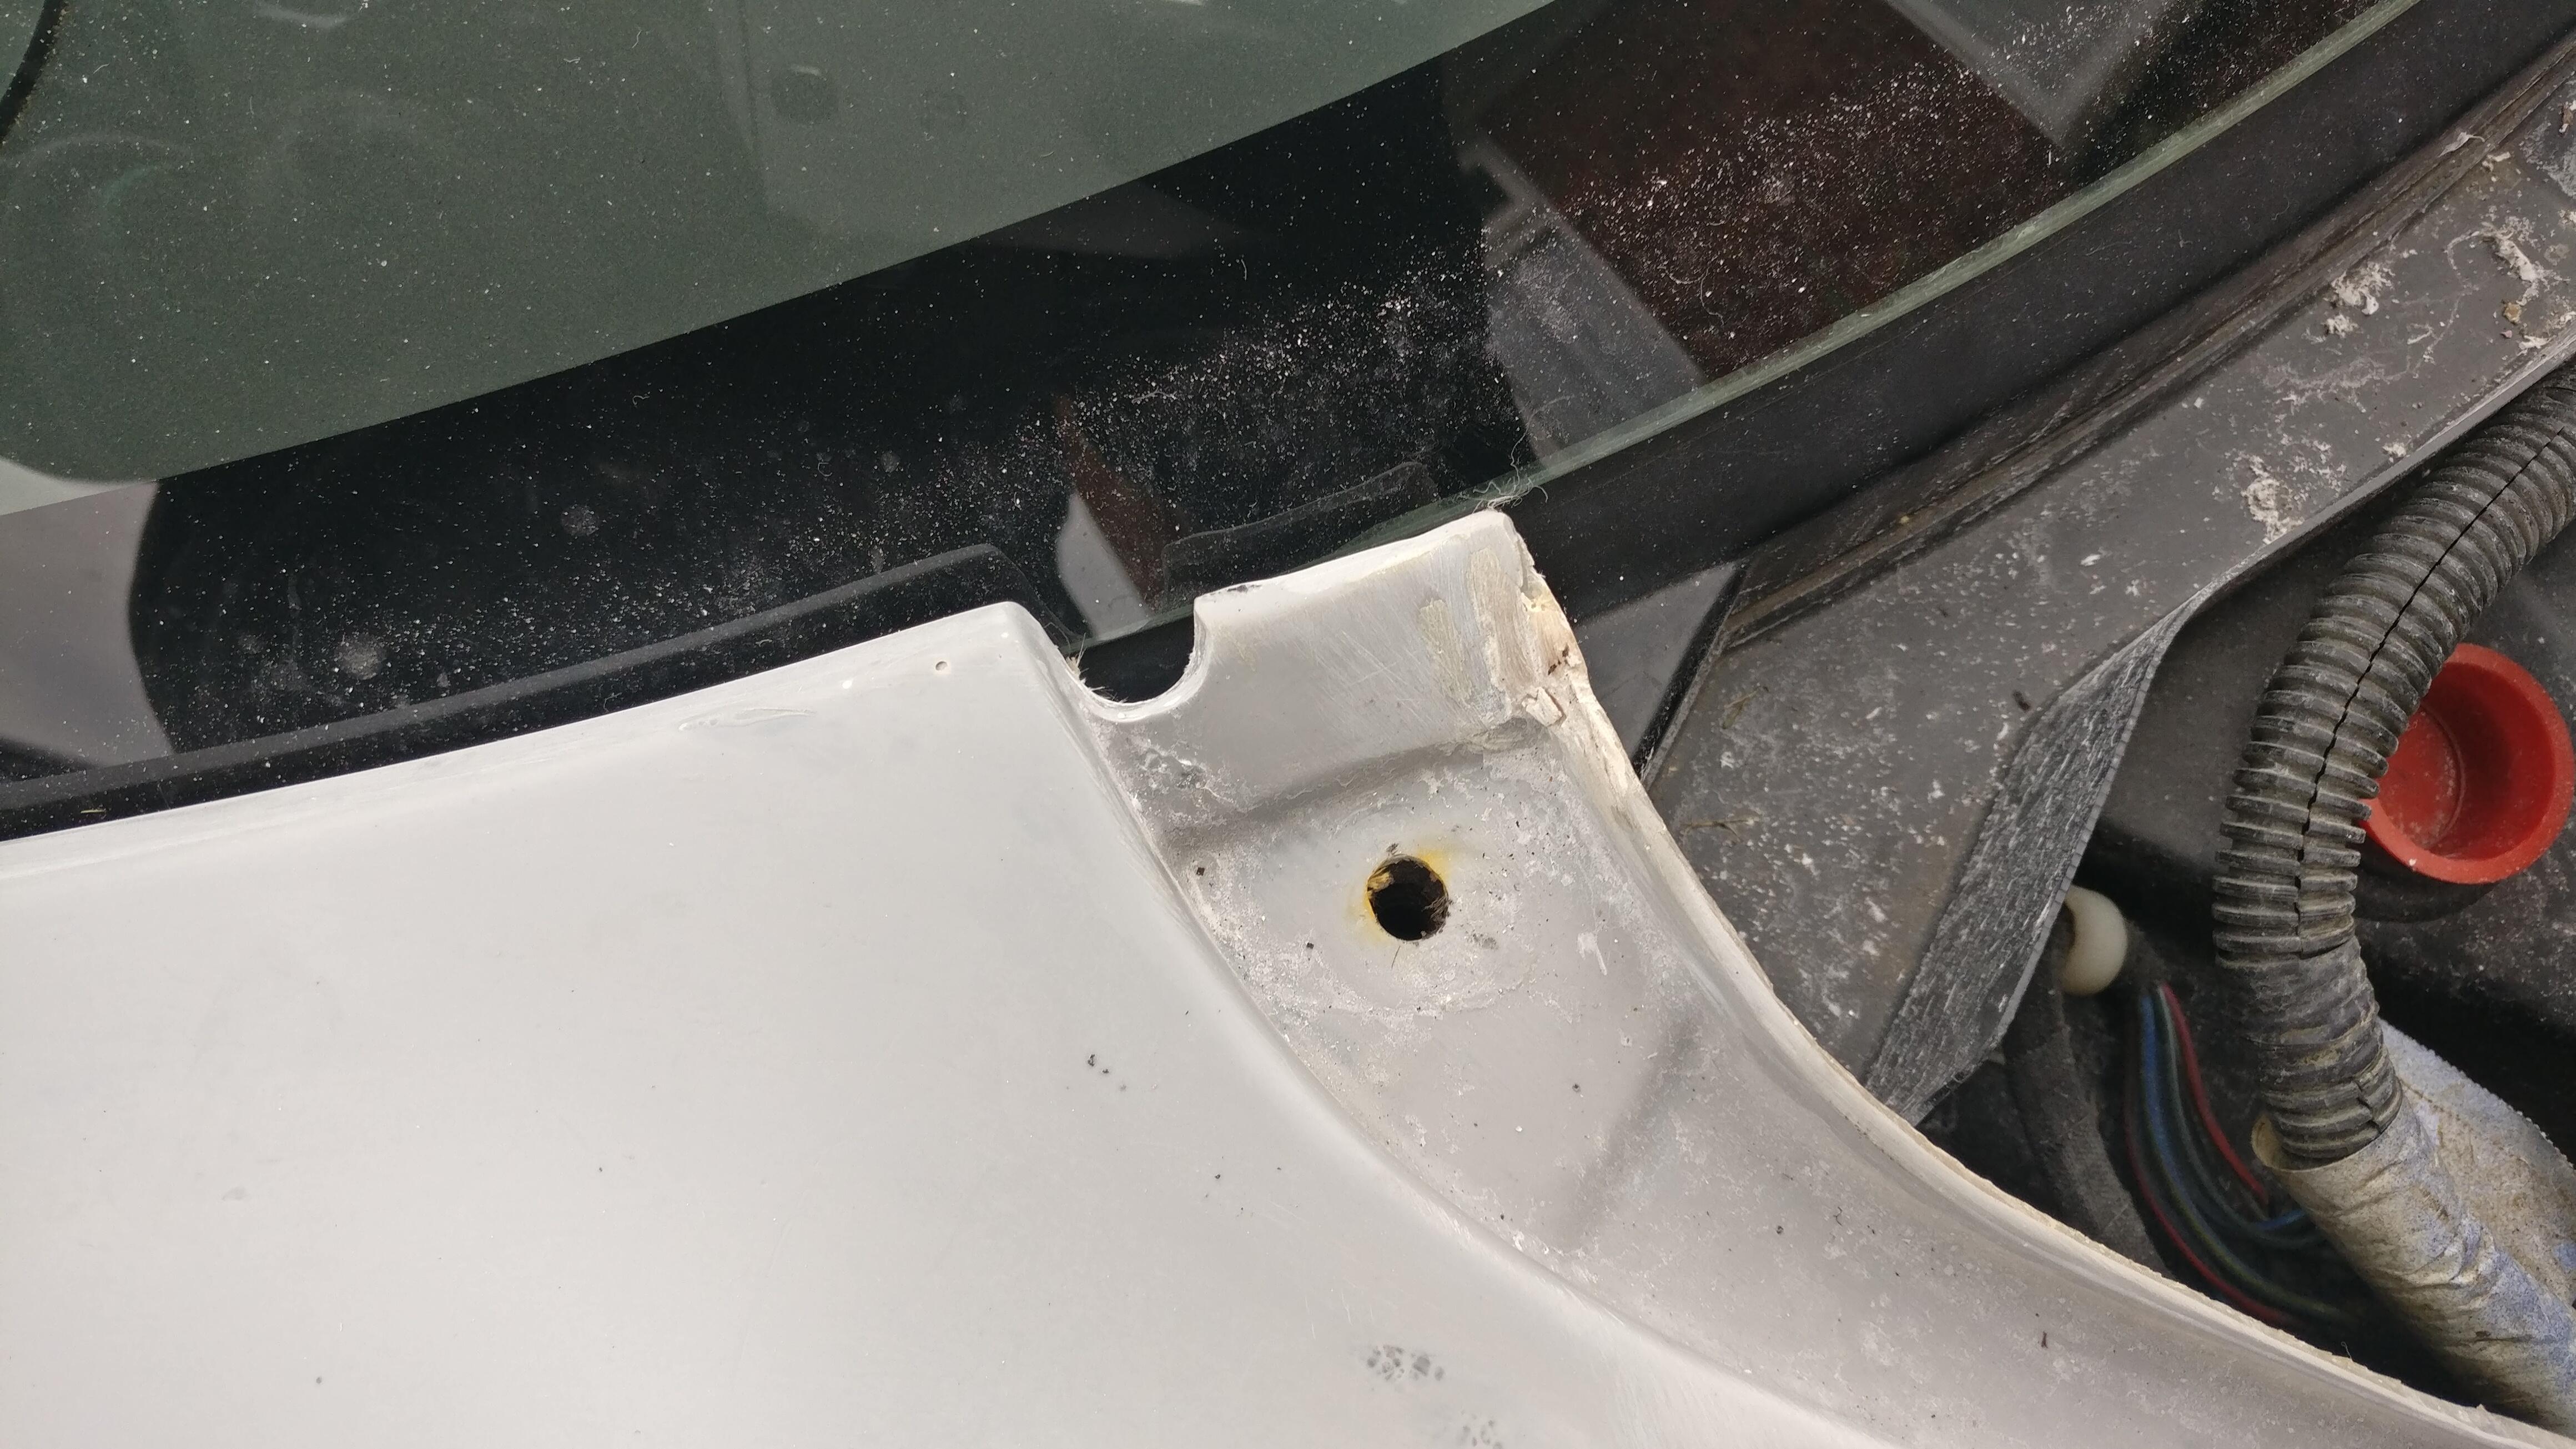
There are 4 fixing points on the main bulkhead piece, 2 that utilise the Elise rear clam fixing points by the rear window, and 2 up by the B pillar which I’m pretty sure do nothing on the Elise.

I ovaled these B pillar fixing holes a little to firstly take some tension out the panel, and secondly to help line the flat surface with the edge of the clam.

The side pieces had markings on them too to show where the originals are fixed, so as I have done with other pieces, I drilled the surfaces on show first.
I then held the two pieces together and used the drill through the holes I had already made, ensuring everything would line up.
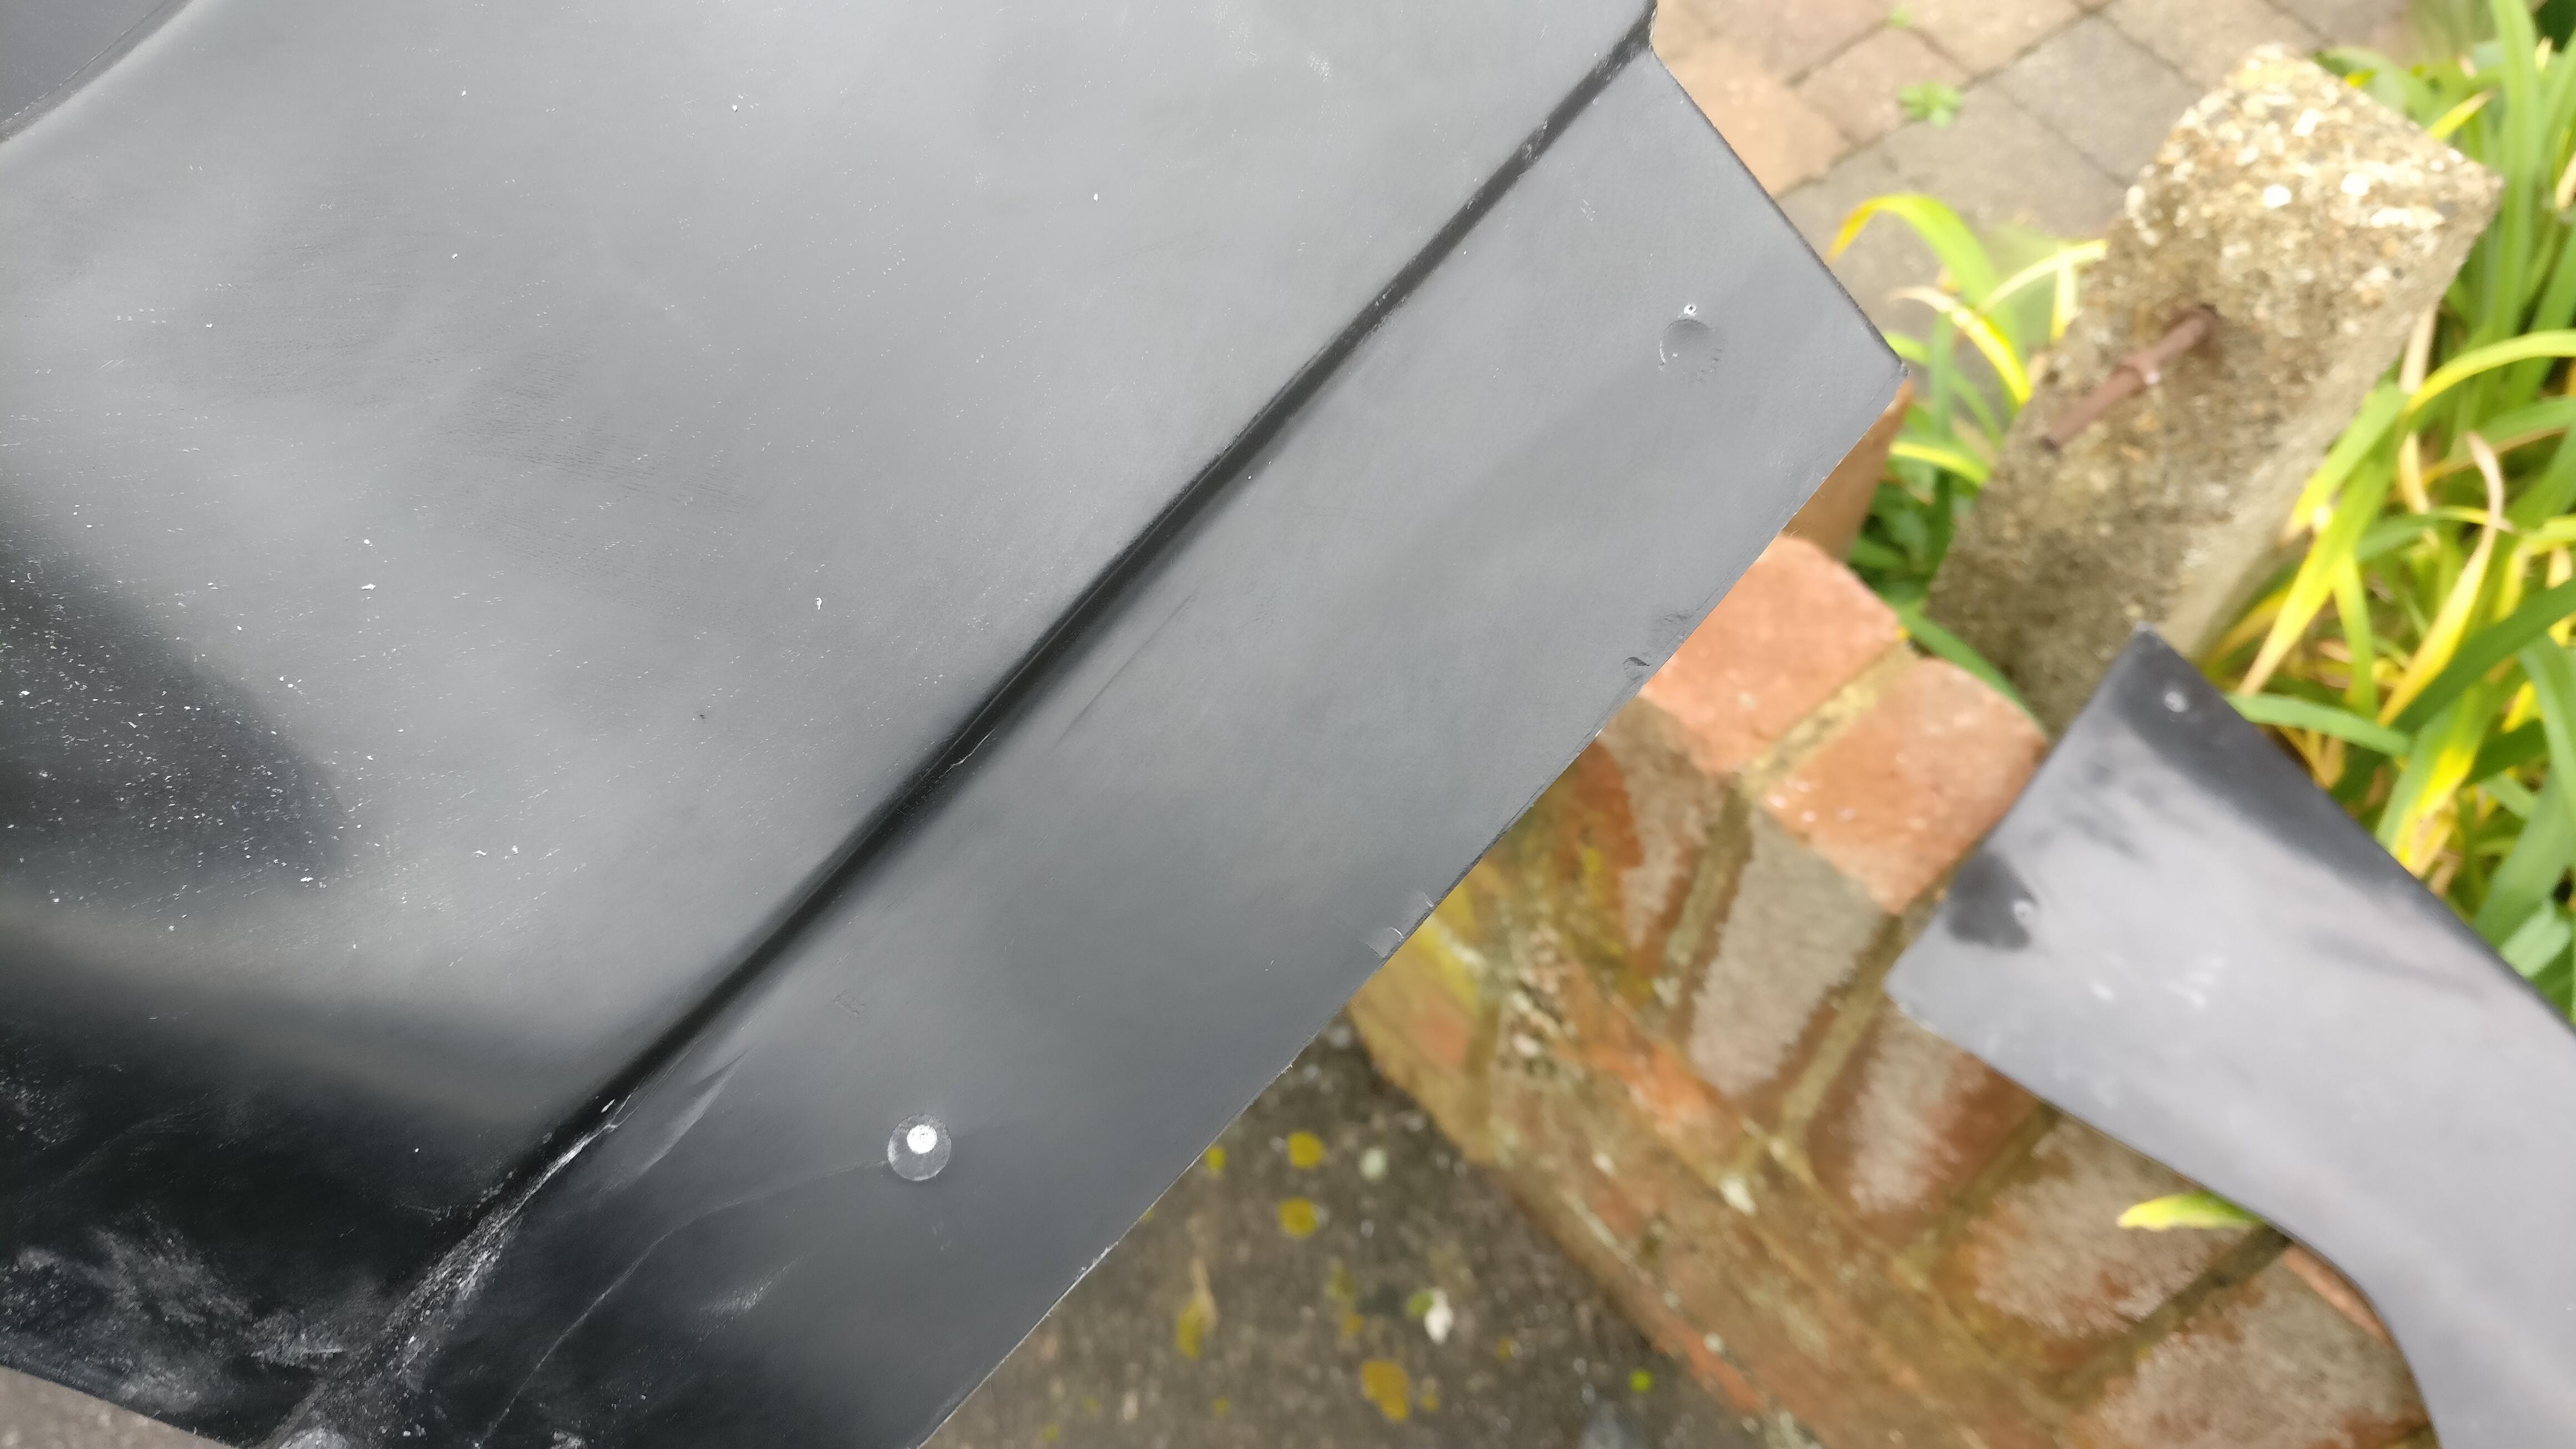
I could have drilled right through, but holding the two together and drilling wasn’t the easiest thing to do (no clamps to my knowledge are at this house either) but all I needed were a few marks from the drill bit to know where the other holes needed to be. I then drilled these pieces separately.
Finally I placed some trim fixings through the holes and was happy at how everything lined up and fit together.
The pieces also have markings for the weather channel fixings, however these aren’t essential to get perfect, just near is good enough for me, as long as the panels are flush with the edge.
Don’t do what I did and fix the middle bolts first, because you then can’t get the flexibility to line up the B pillar ones, so bolt these first and the middle ones shouldn’t have moved.

I imagine it is also much easier to fit this piece without the clam on, but it manageable on your own with everything else in situ.
I then fit the side pieces and was already very happy with how things were lining up

The side pieces also have the indicator markings for the weather channel fixings. I could see them by pulling the pieces slightly inwards, but again these don’t need to be perfect and getting them flush was more important to me, but it did give me a rough guide to get each side symmetrical.

These holes I did drill both together, as it was much easier to hold the panel in place.
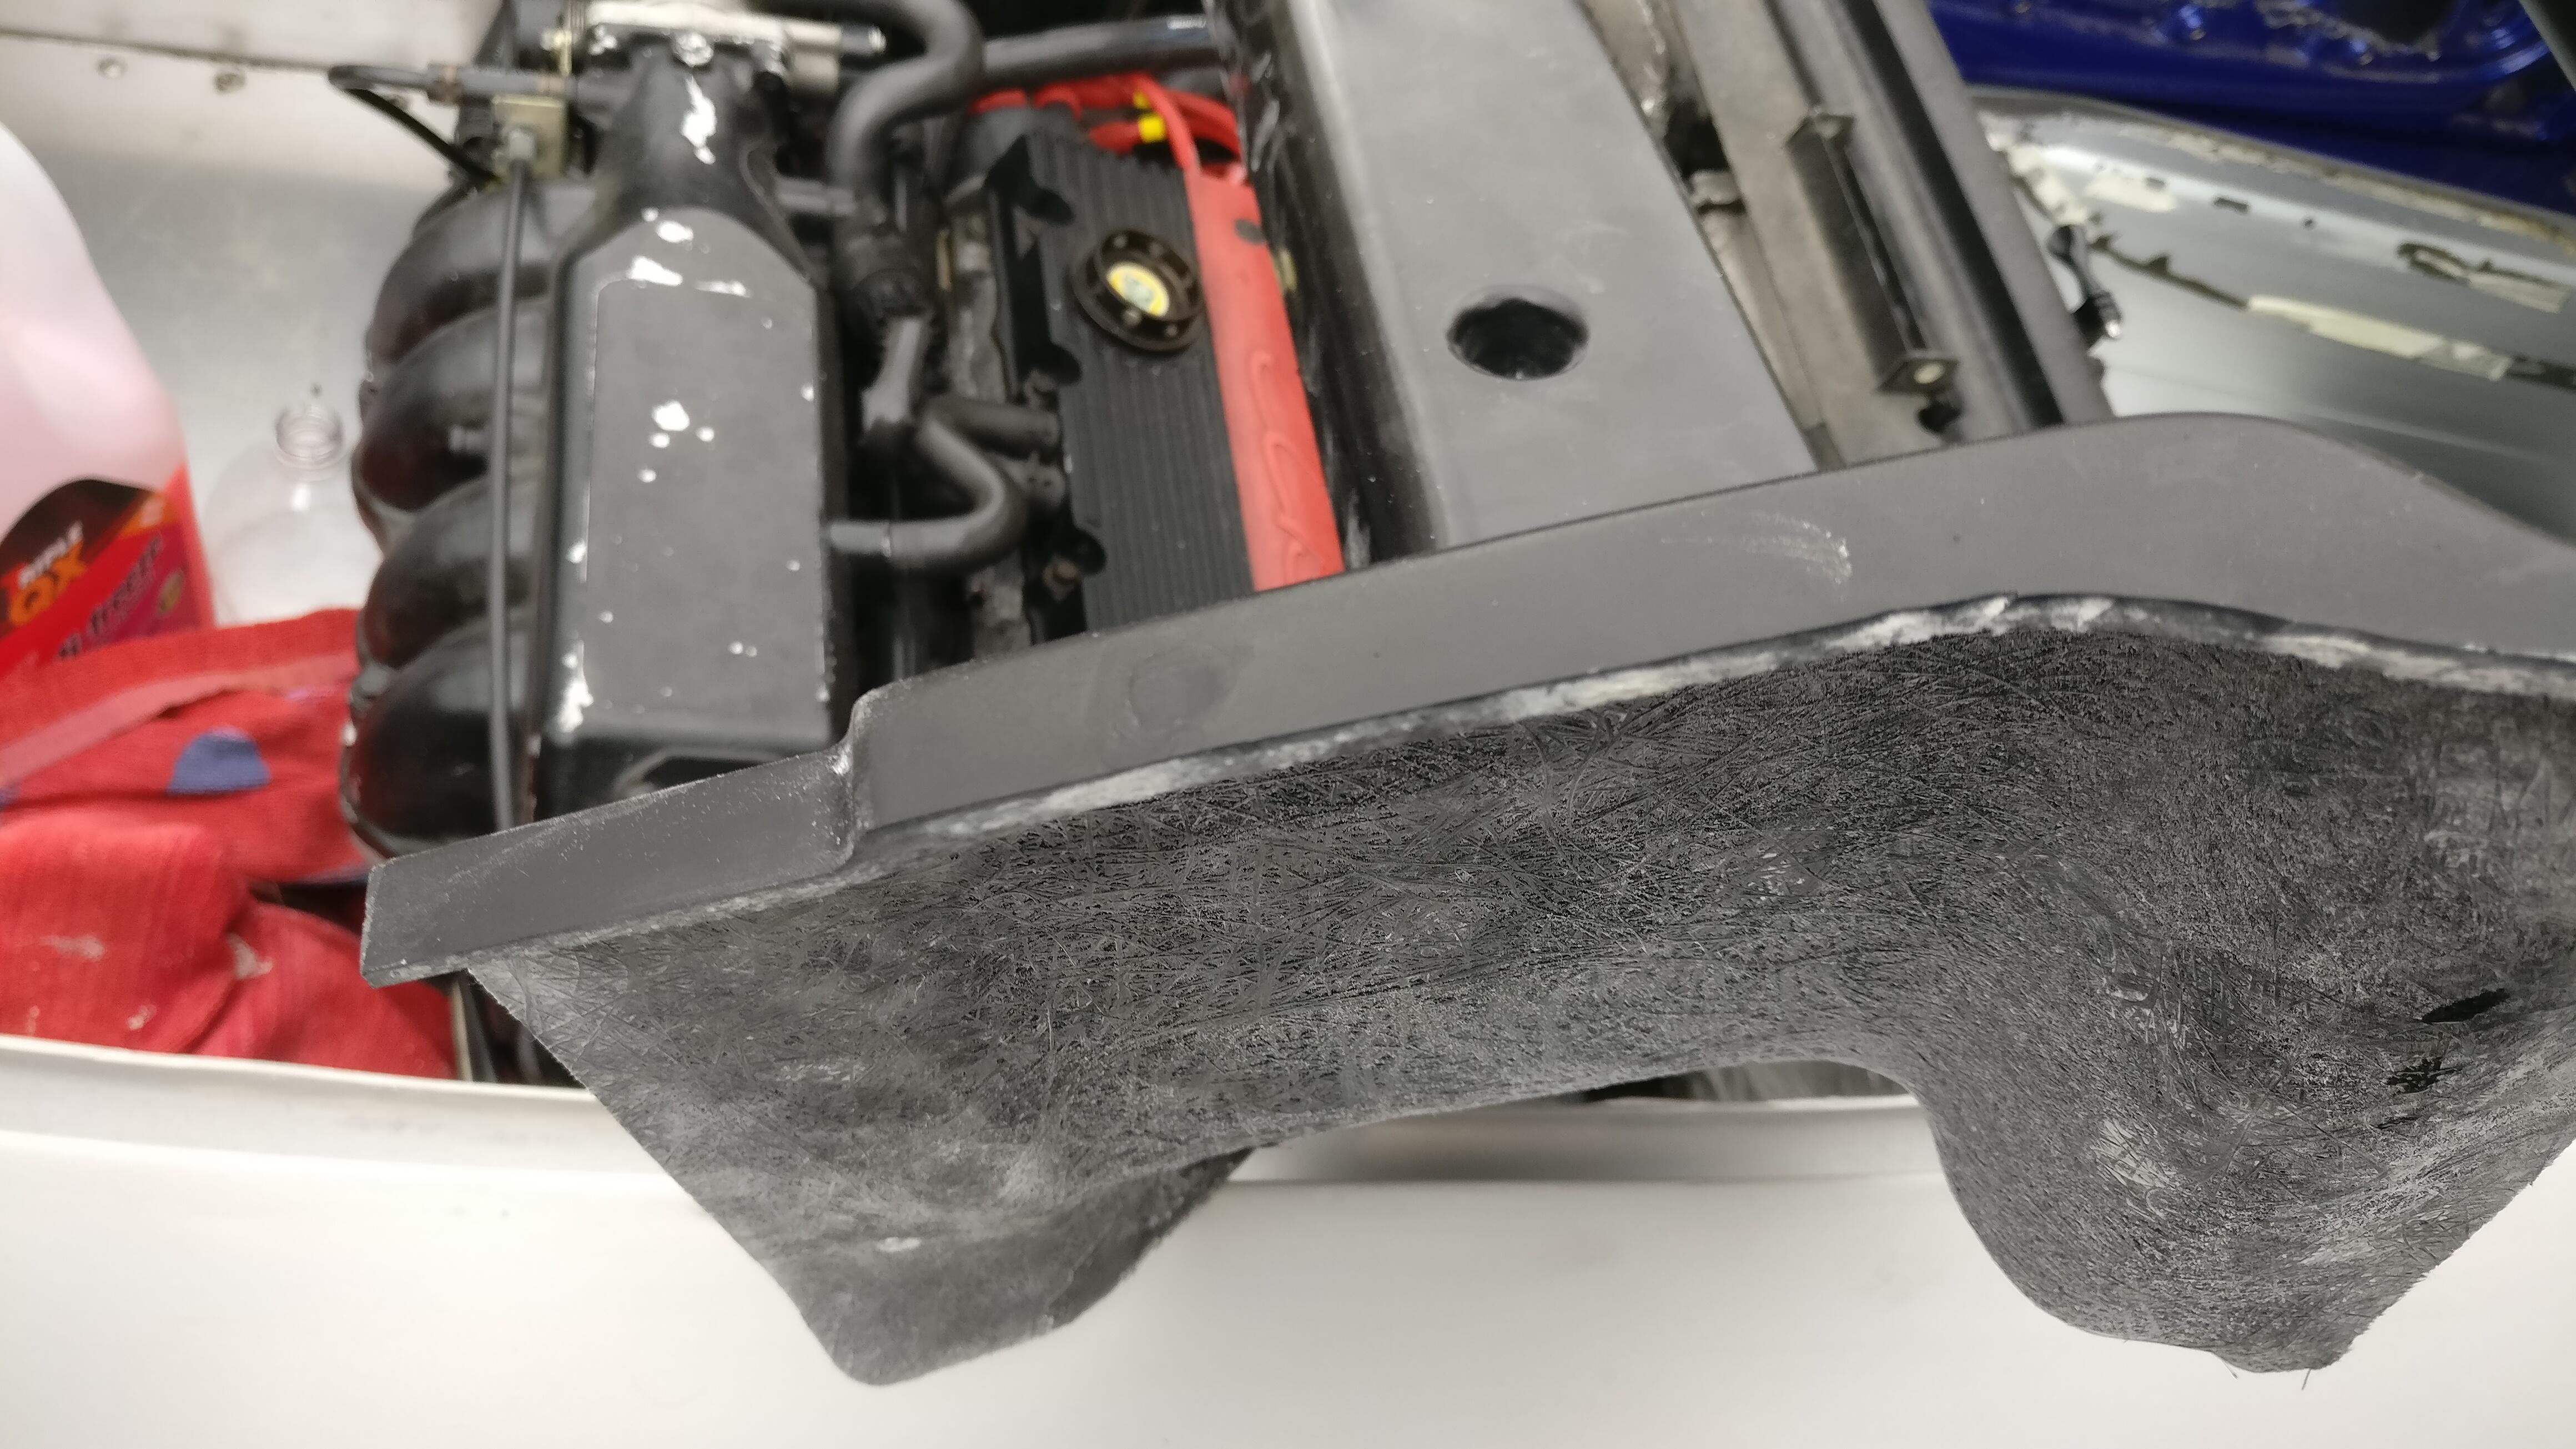
After drilling I needed to do some fettling. Every clam will be different underneath and mine meant that some material needed to be removed so the gap was closed between the holes. Easy to do and worth doing.
I then used some stainless bolts to avoid any rusting as they will be open to the elements.

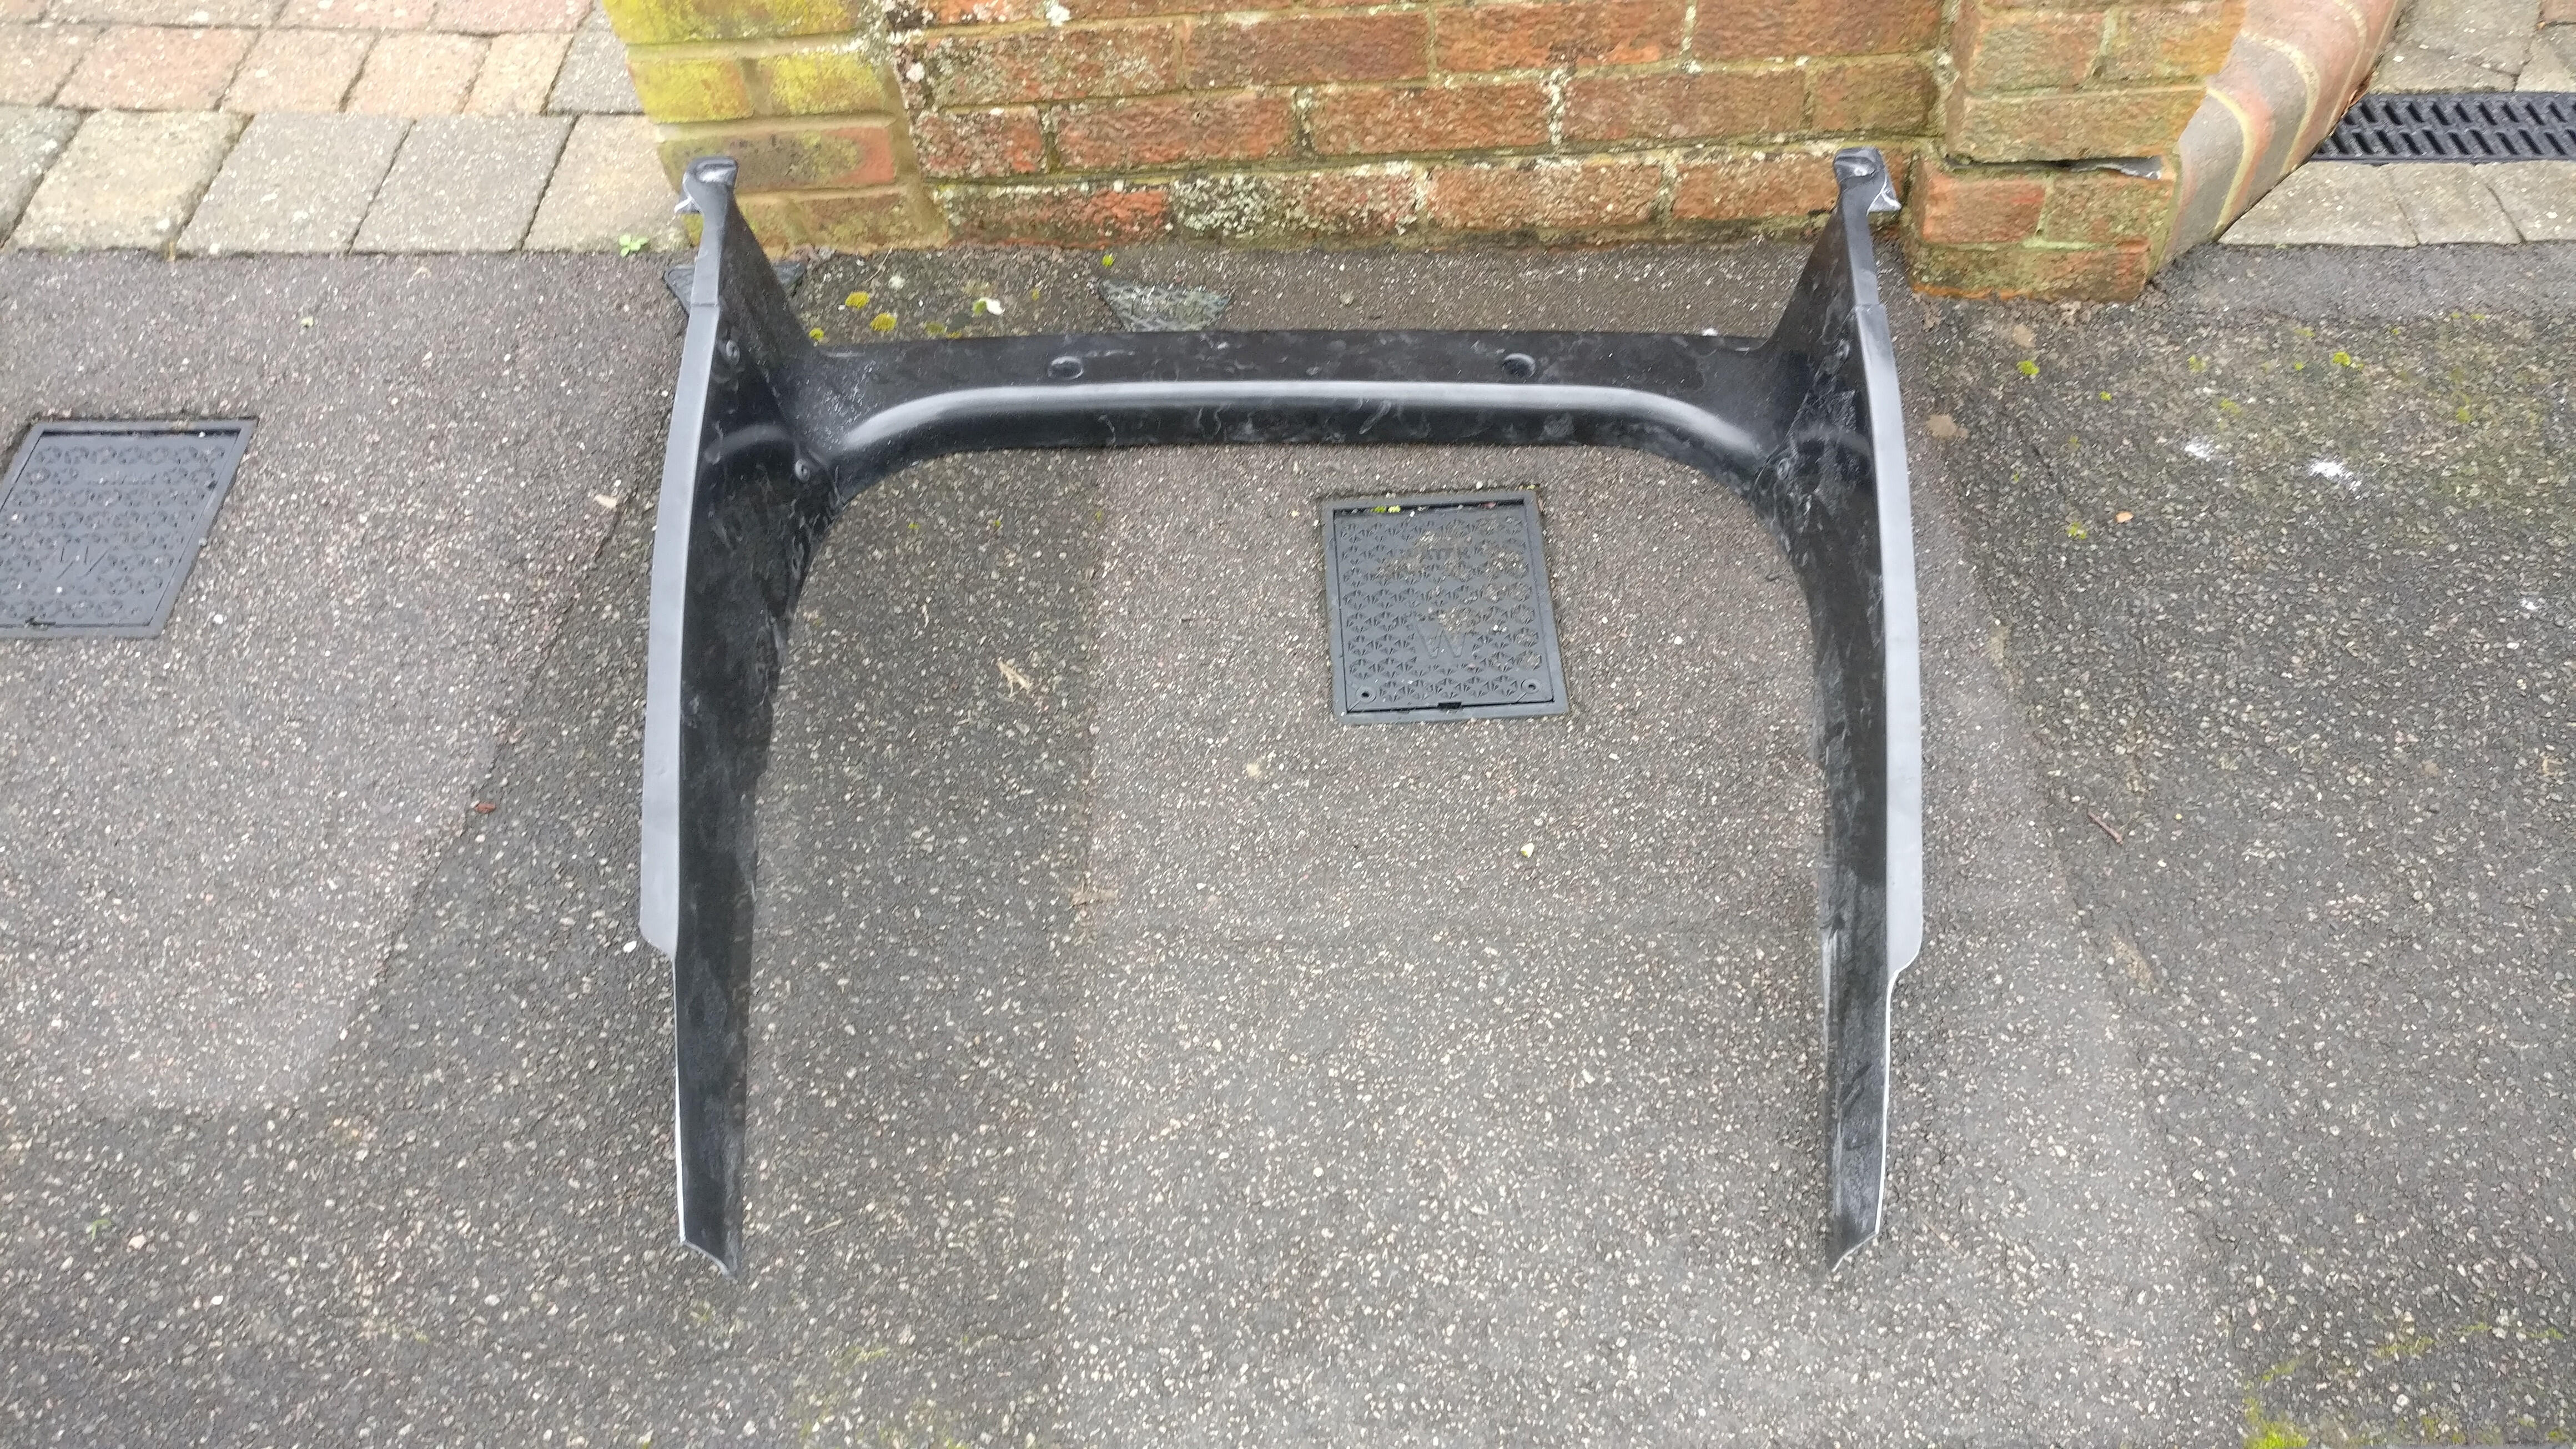
Only the right side is bolted up in this photo but fitment complete, just needs a bit of sanding and then spraying and it is good to bolt onto the finished car.
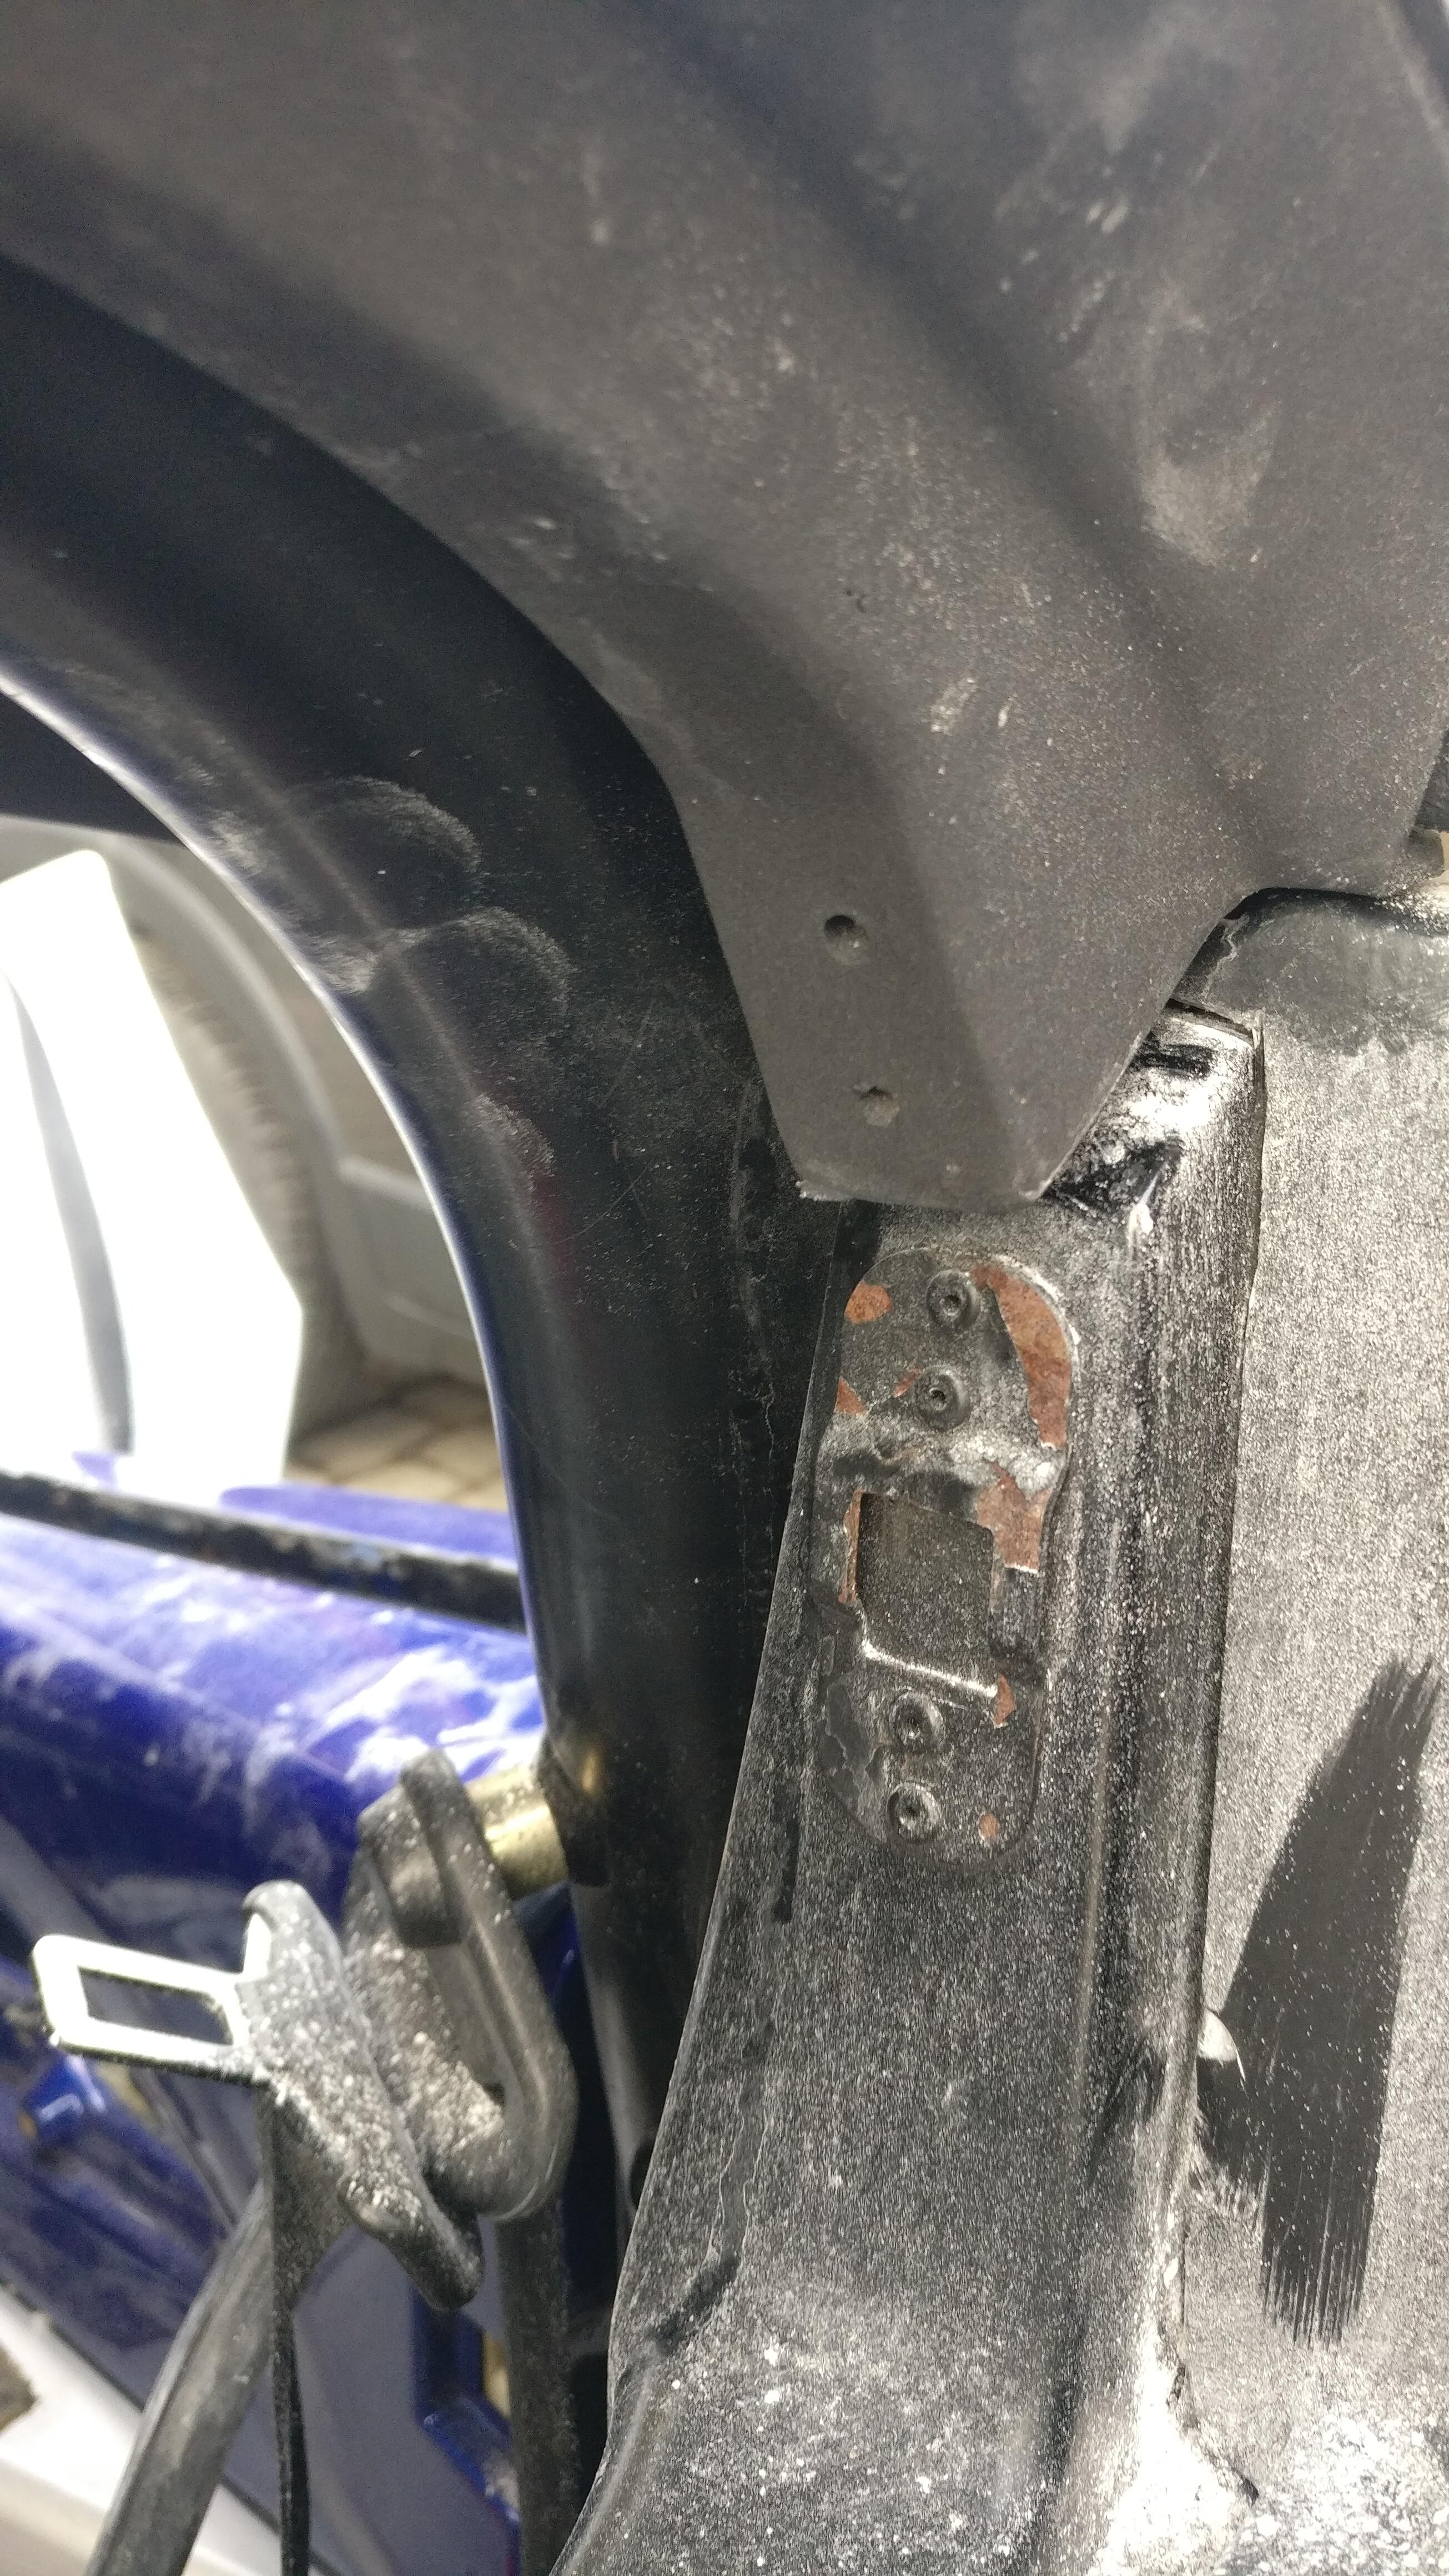
Dom made me up a piece for the tailgate striker latch, to save some weight and to keep the OEM look I cut the excess surface with my dremel.

I didn’t bother measuring anything and used a little trick I learned from my Dad. You use your pinky finger as a guide to keep a consistent distance from the edge of the surface. I’m sure this trick has a special tradesman name and is usually used for marking wood etc, but it works a treat and added some more lightness.

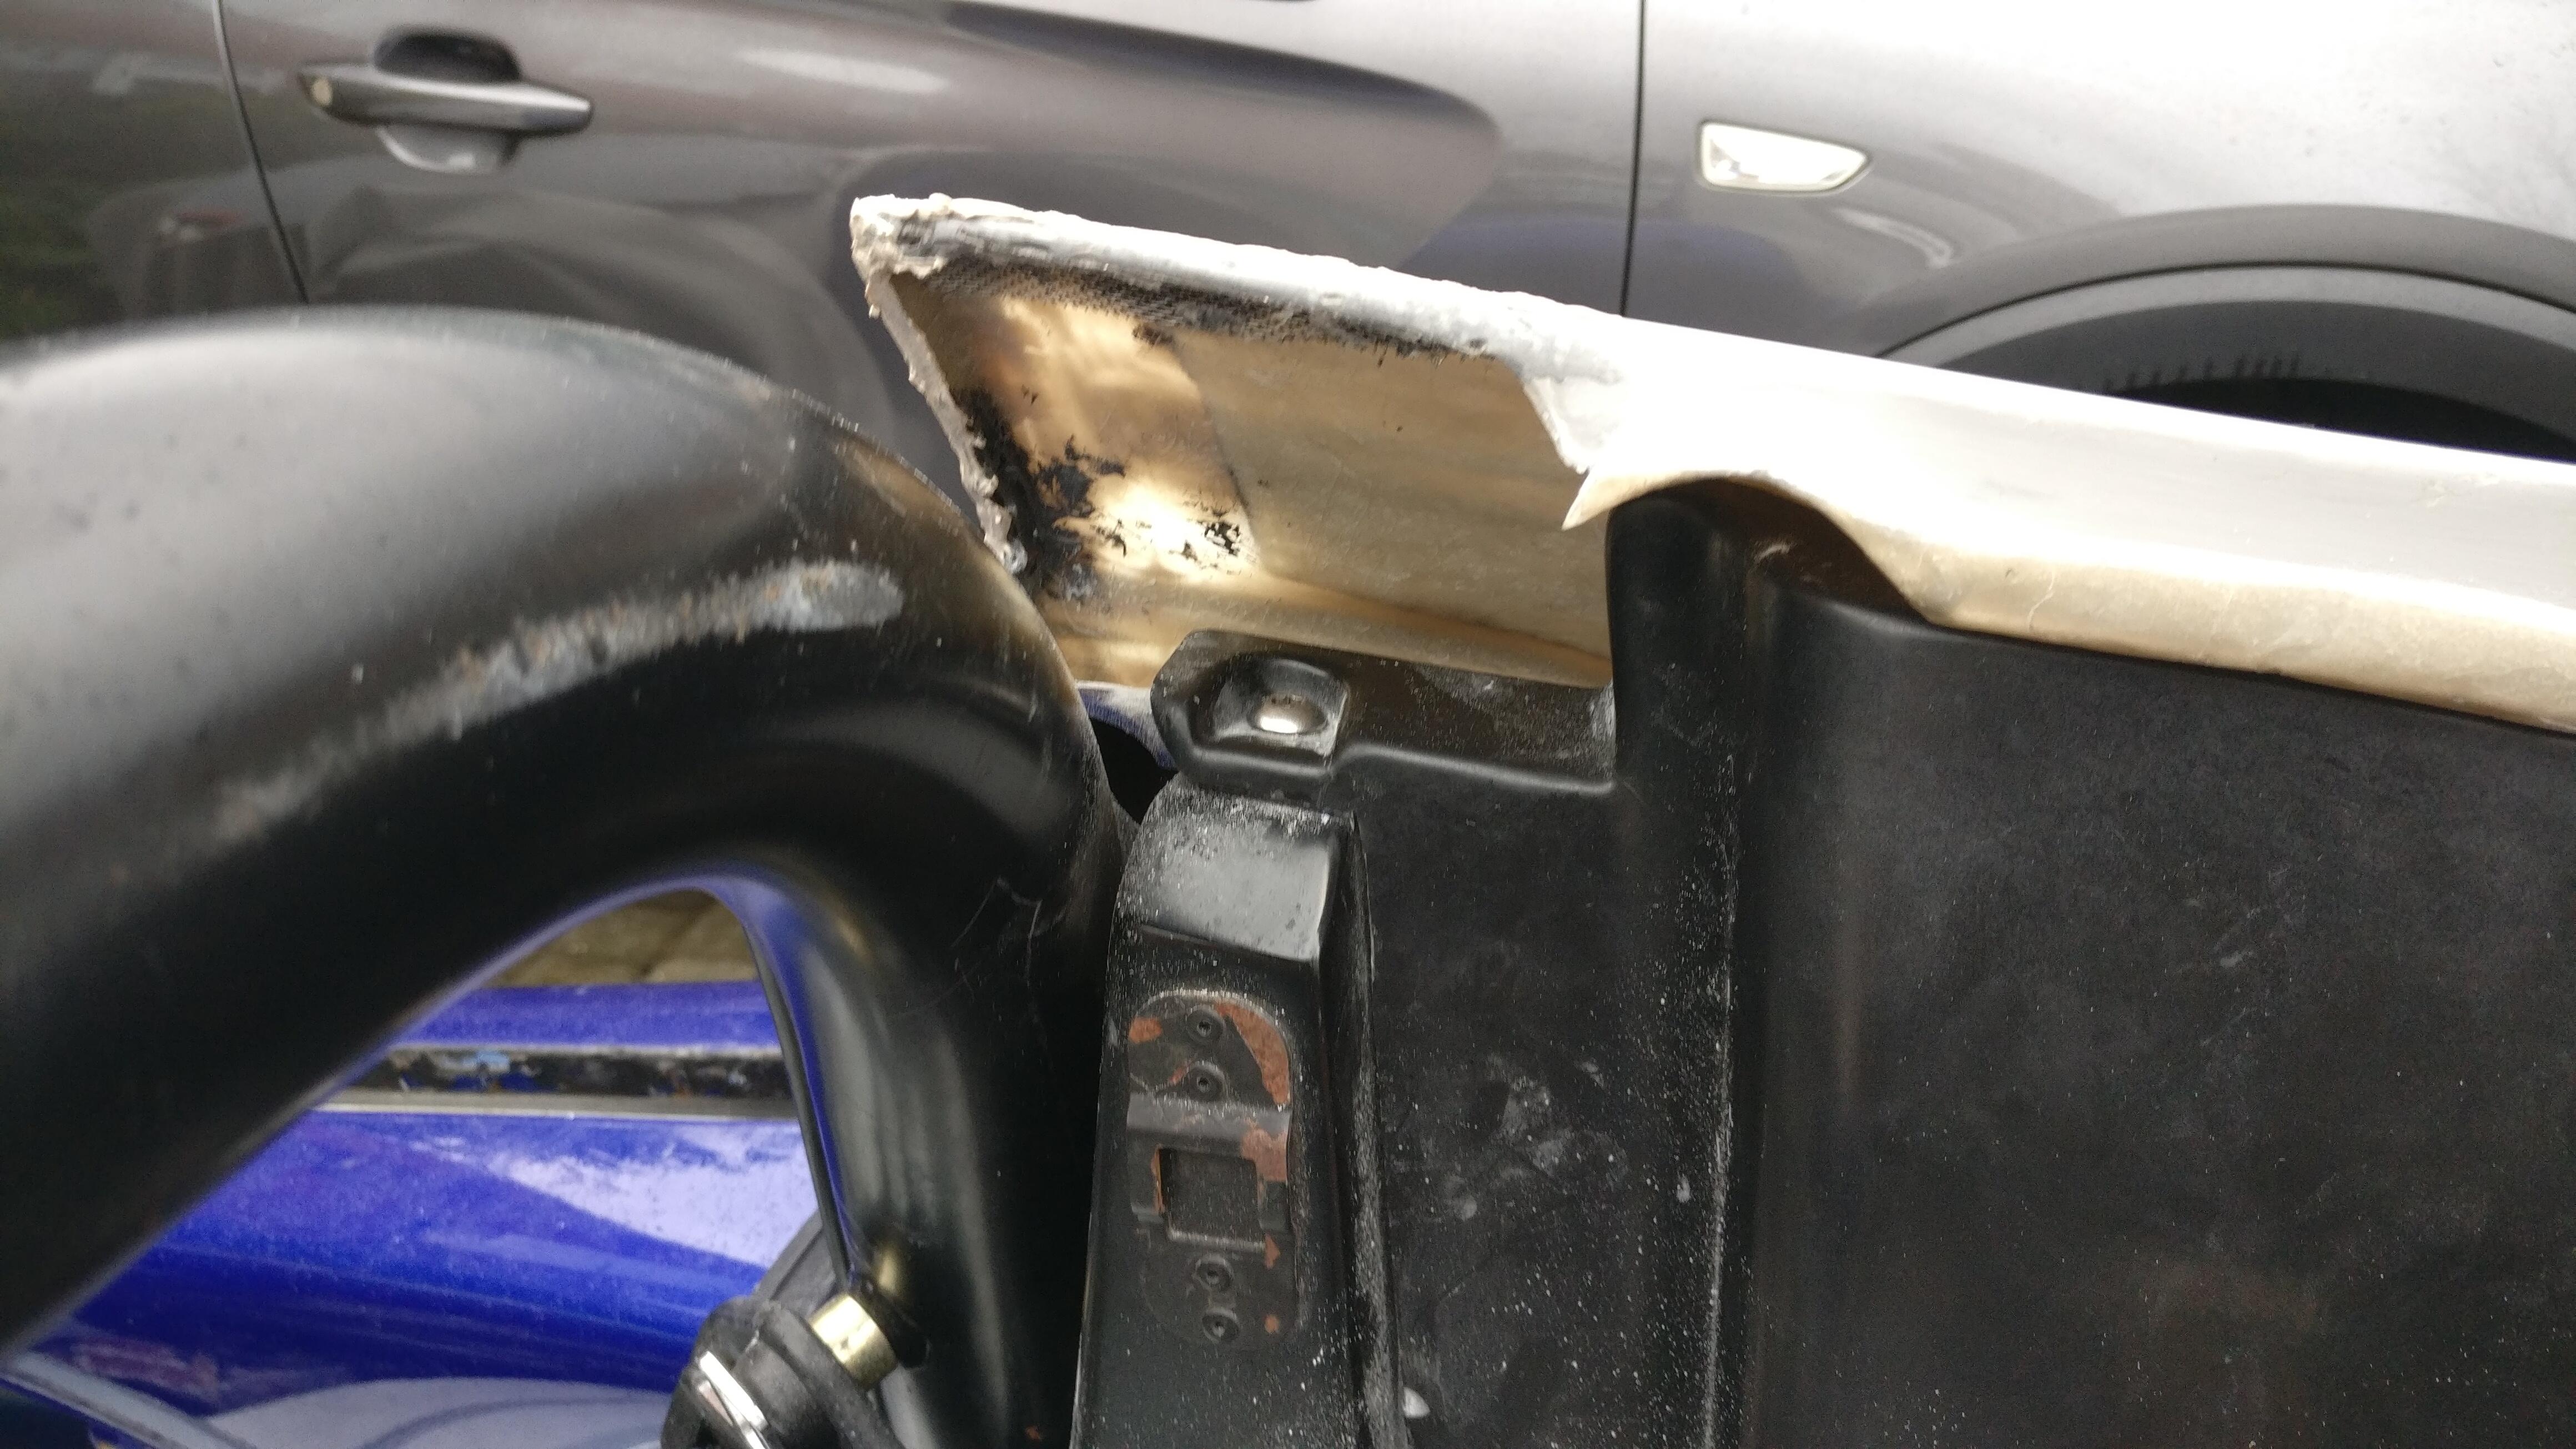
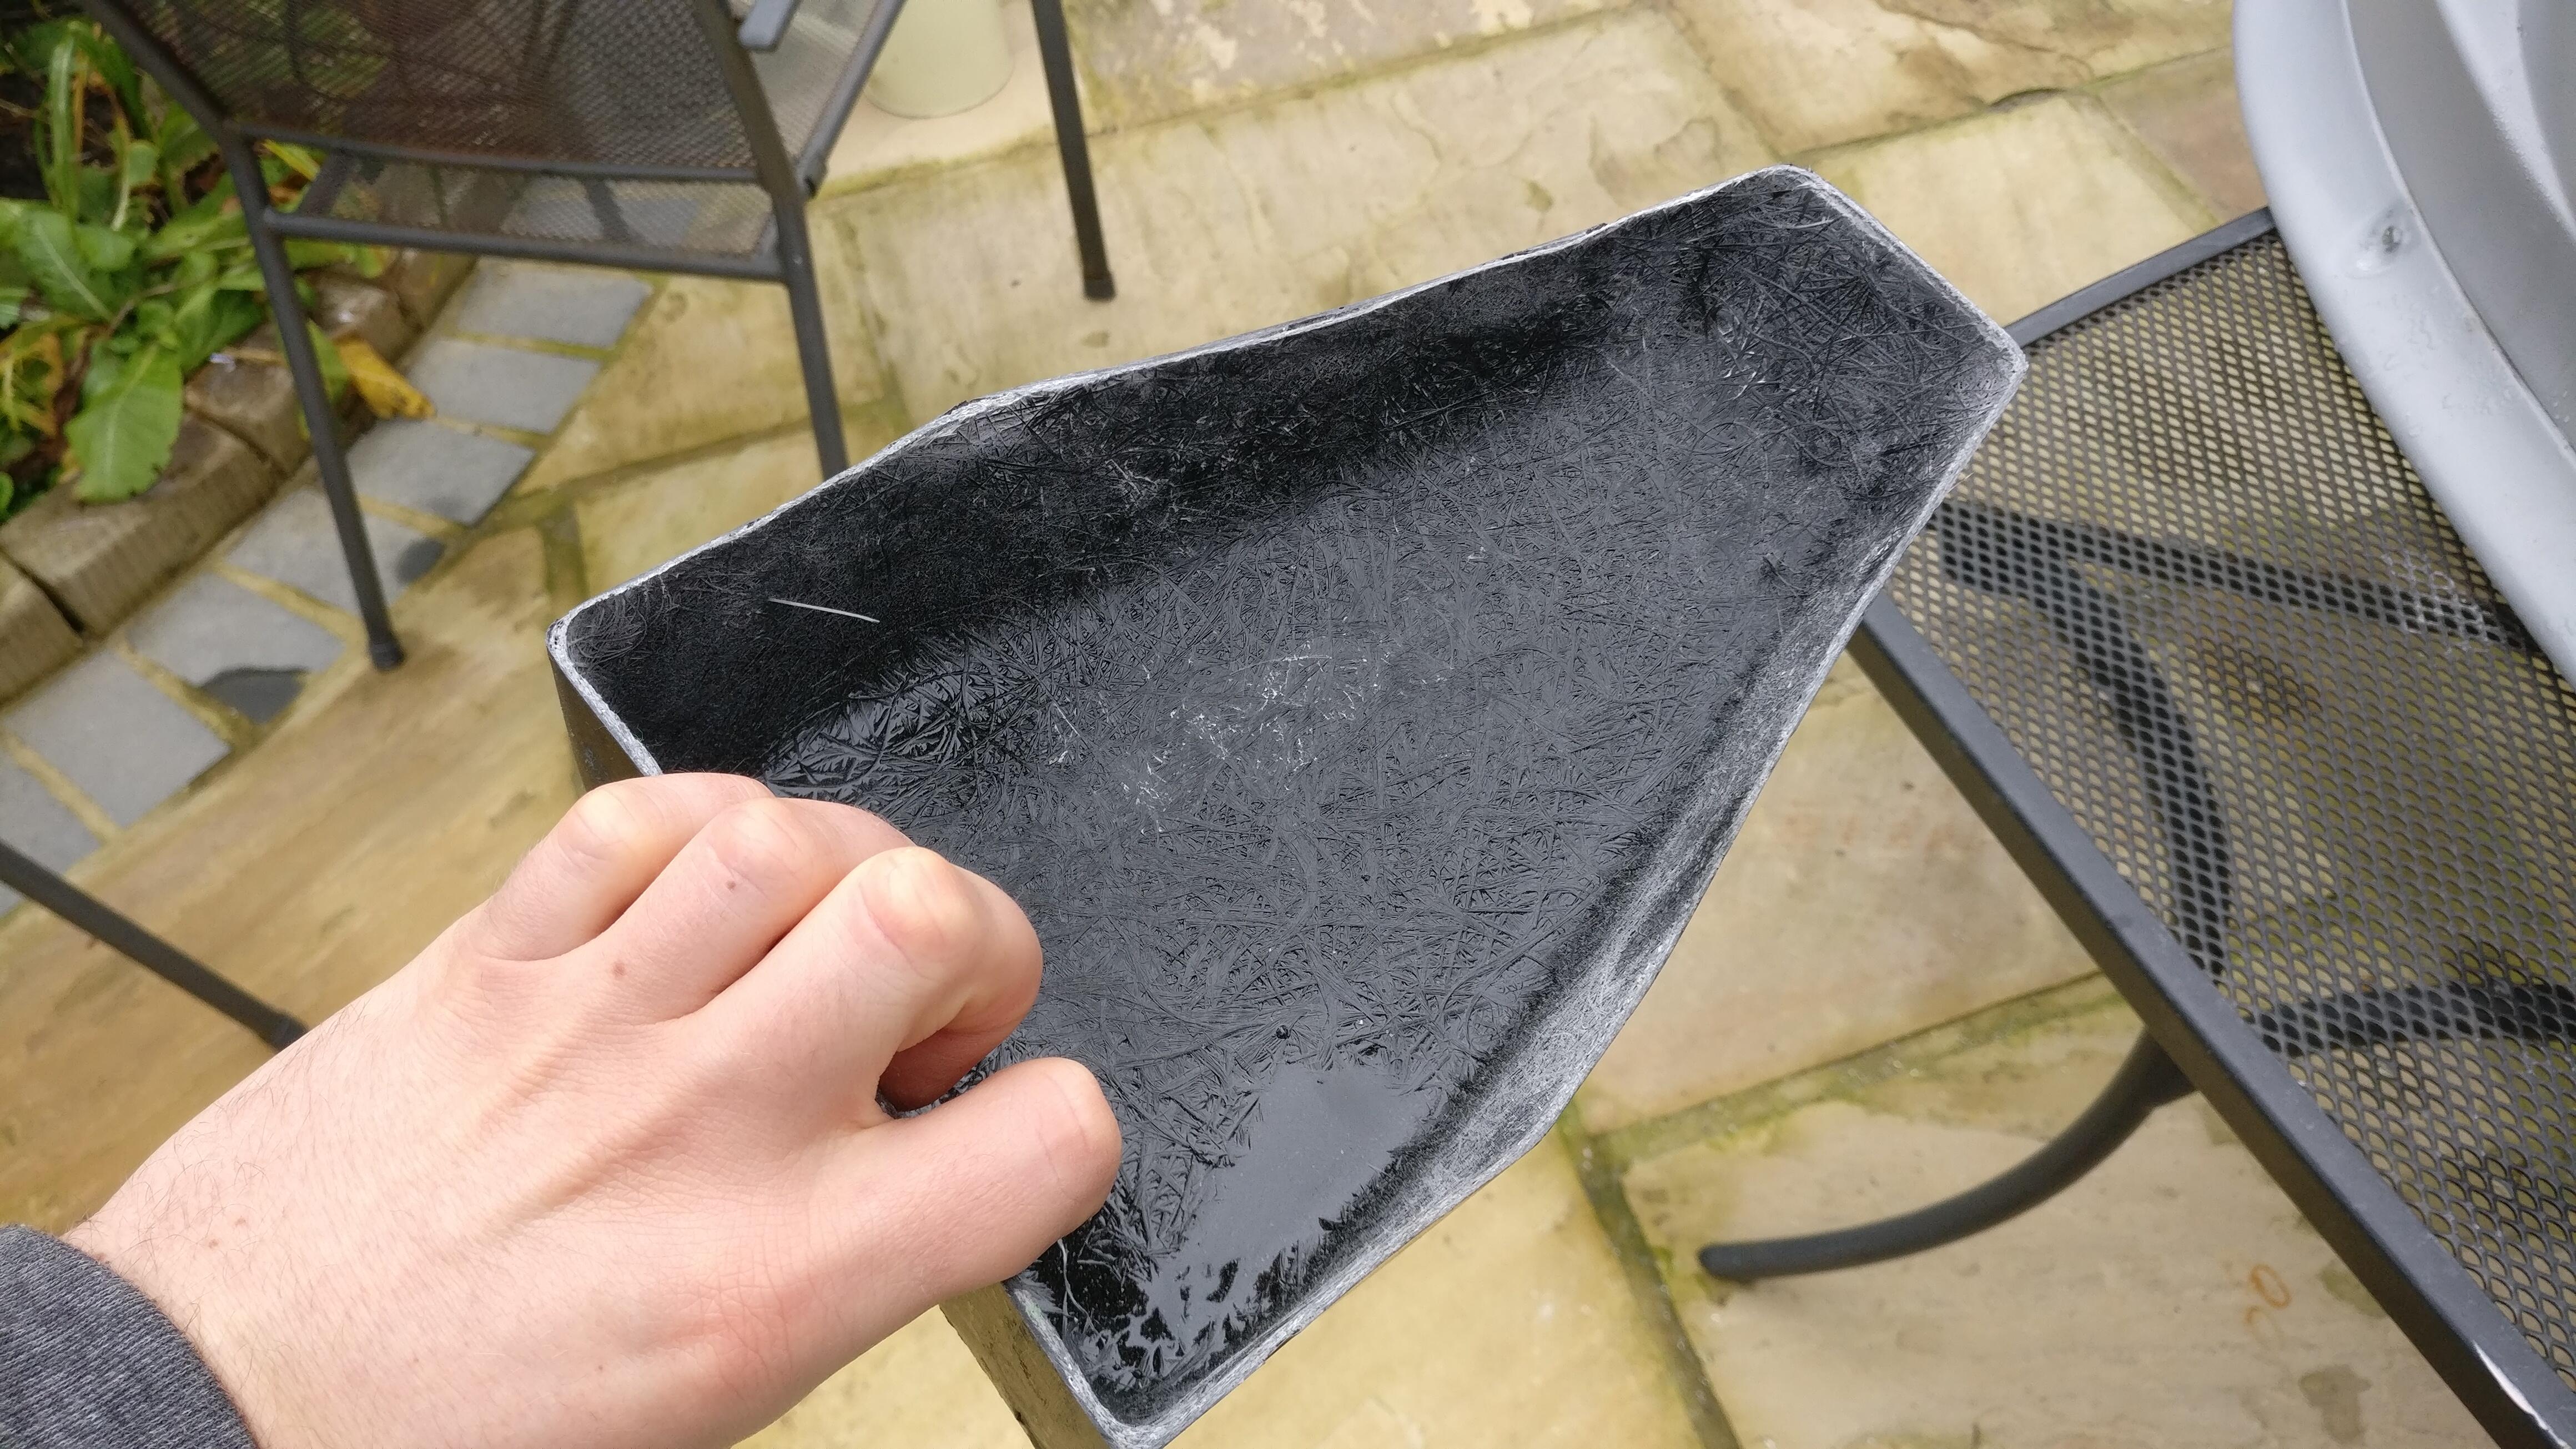
The roof I purchased is a genuine Lotus part, however unfortunately in storage suffered a little bit of damage, but for the price I got it for and the fact it is genuine I took a punt and have tried to fix it.

I took my DA sander to the corner to get the cracked primer and gel coat off.
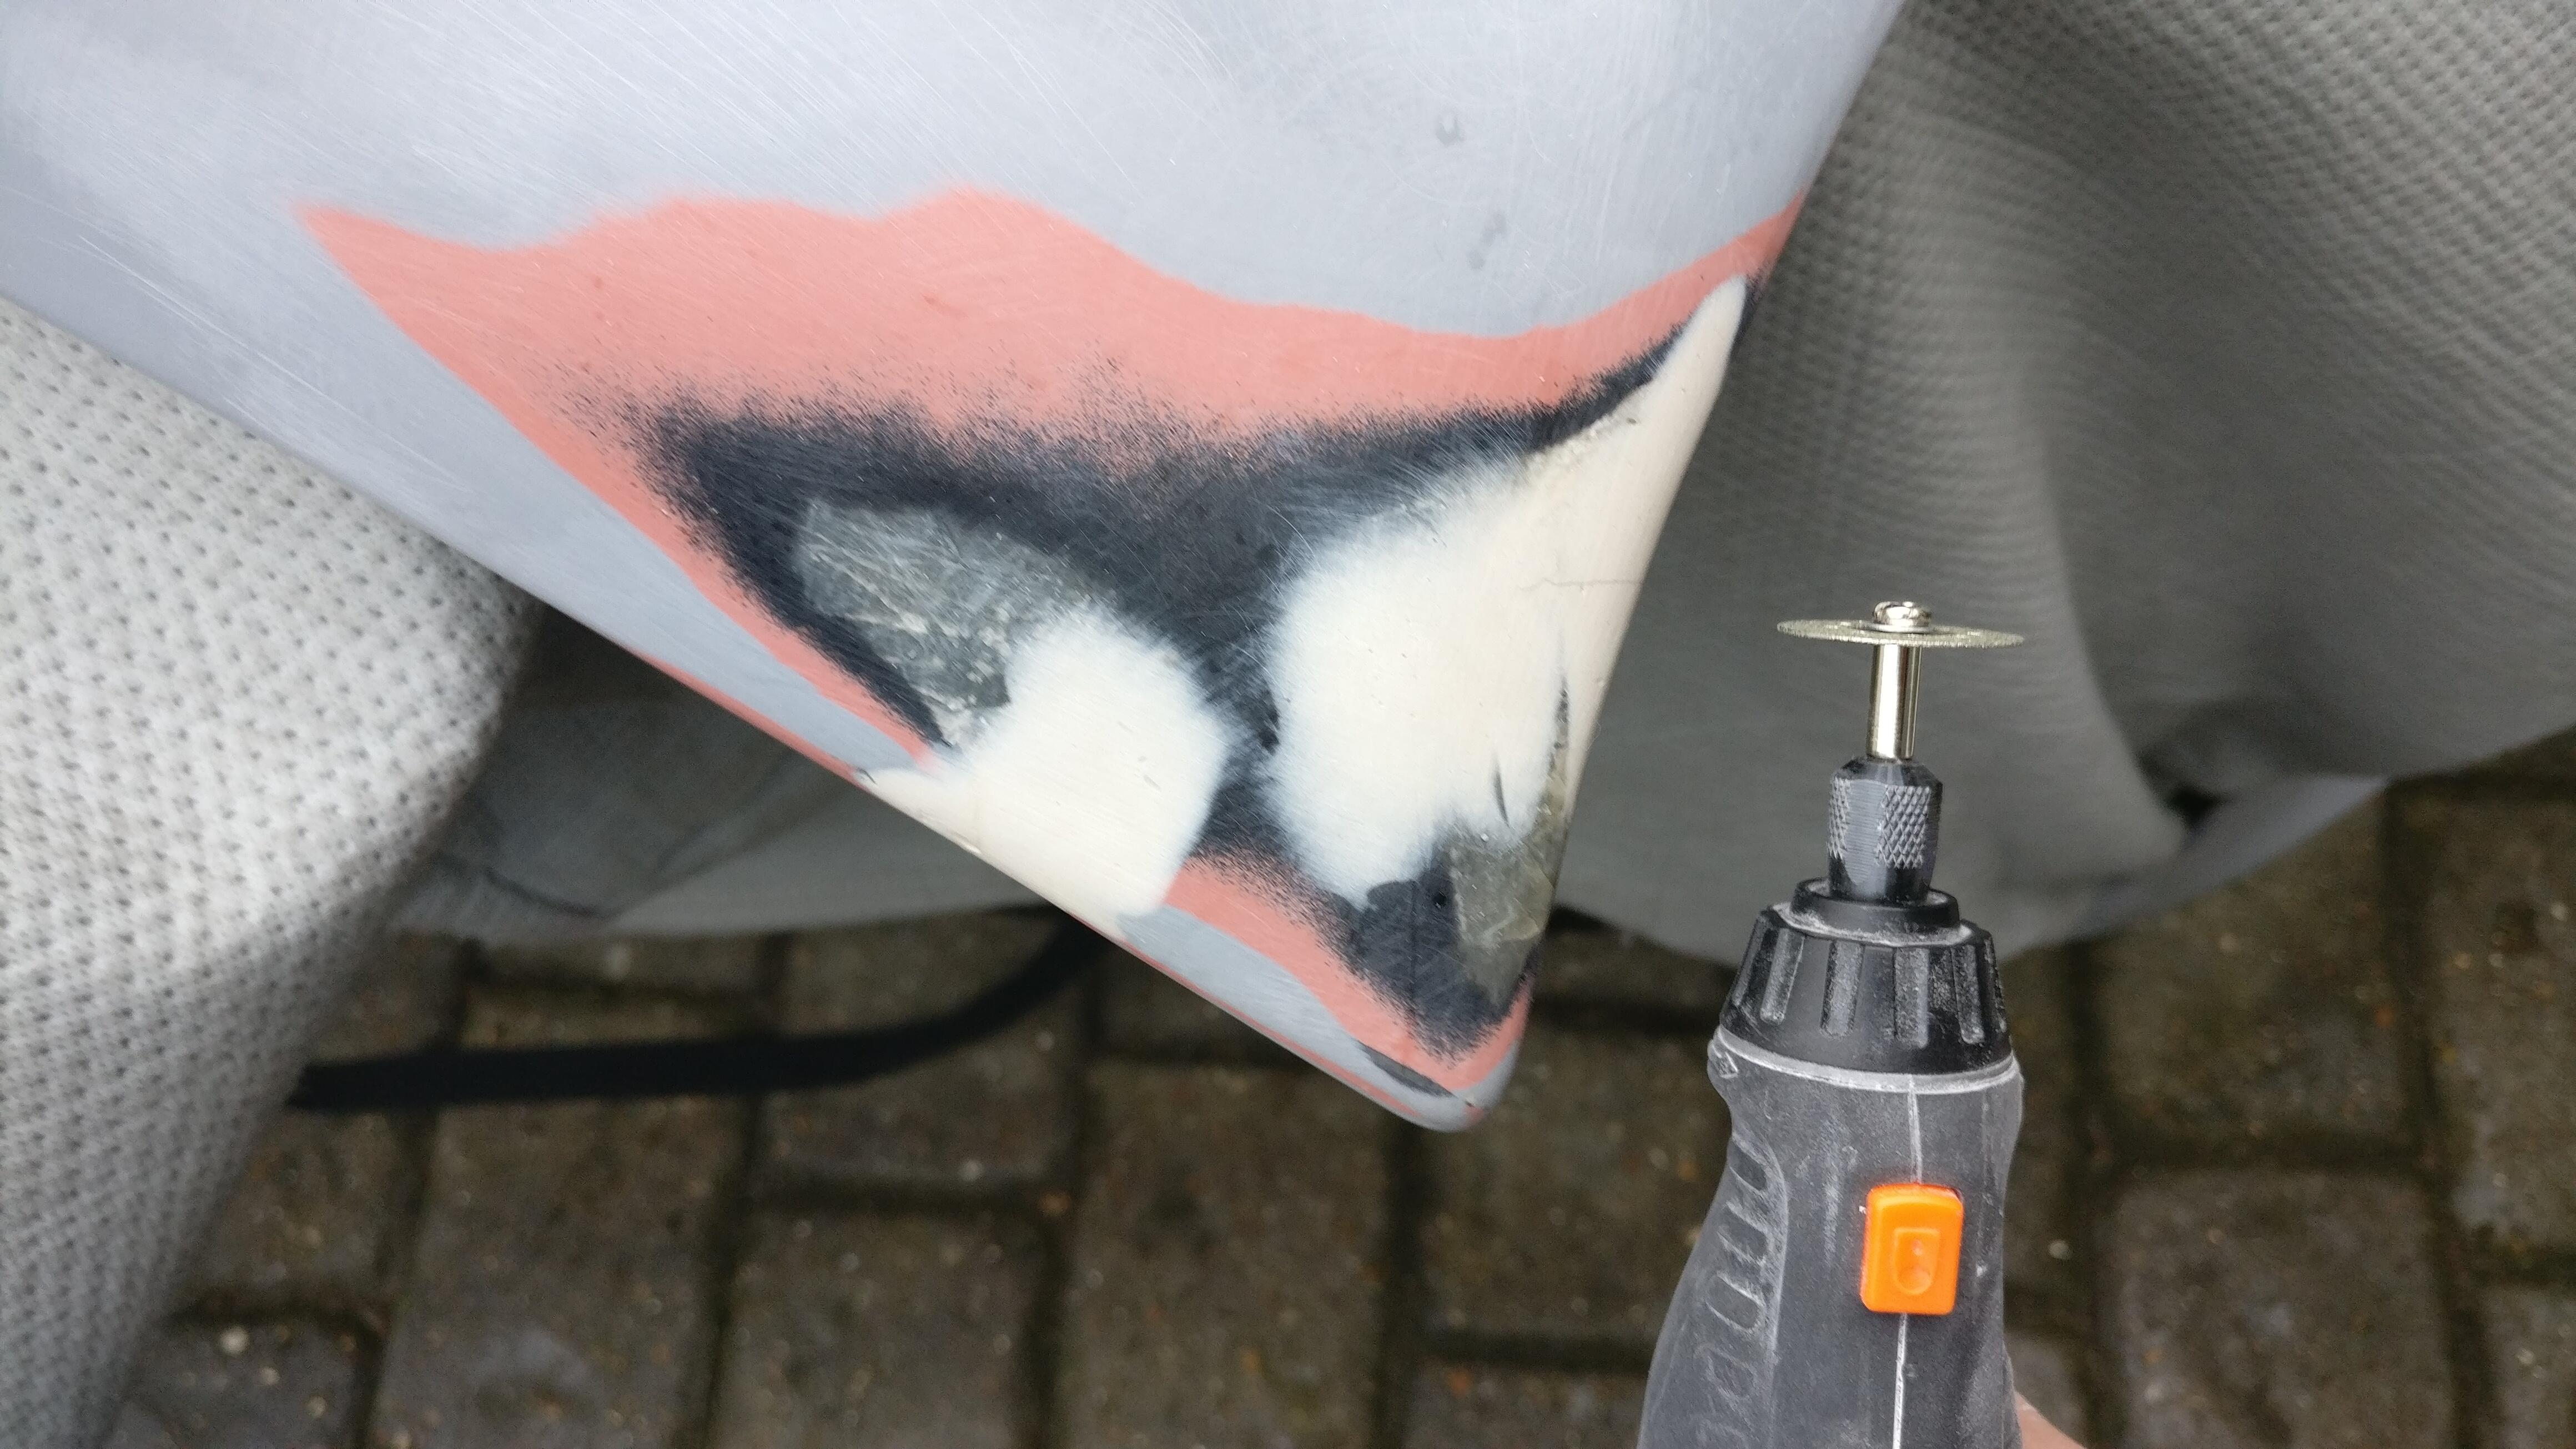
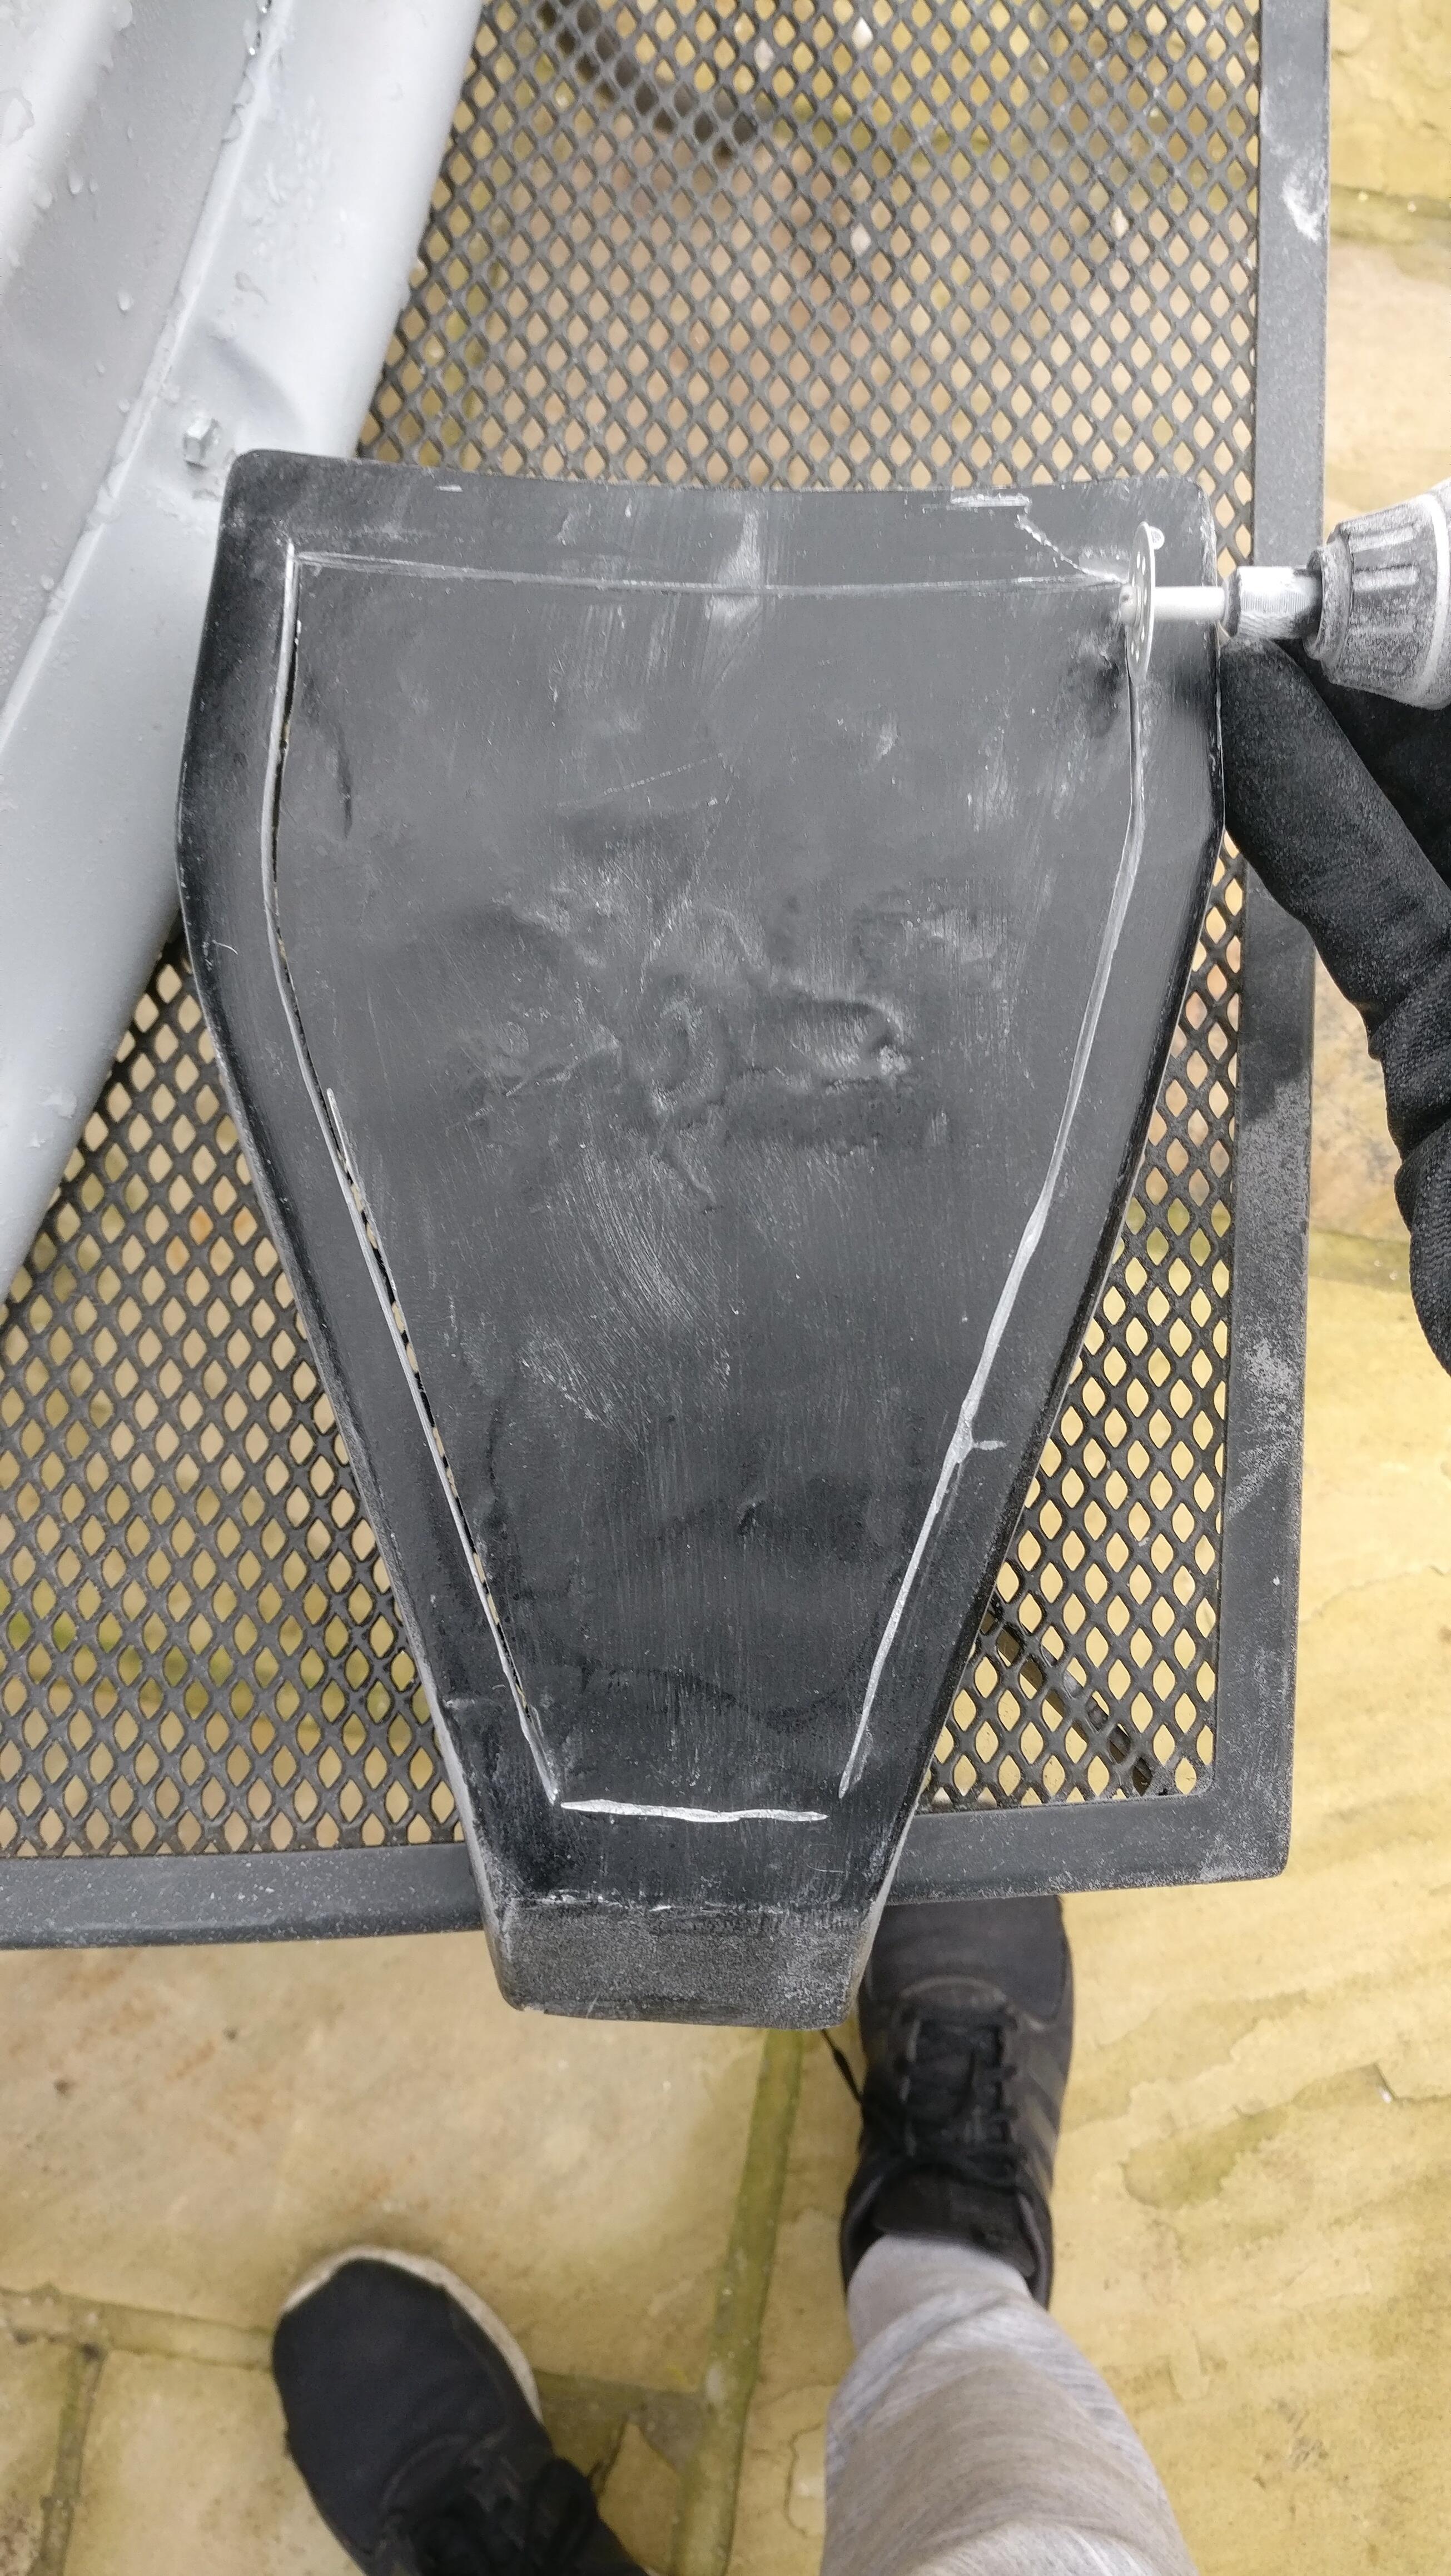
I did try to repair it ages ago with some Dolphin filler, which worked to a certain extent but had cracked again during the conversion. I was really impressed with the JB Weld I have used on the spoiler support and other areas, so thought I’d try this to strengthen it up. I took my dremel and grinded out the crack.
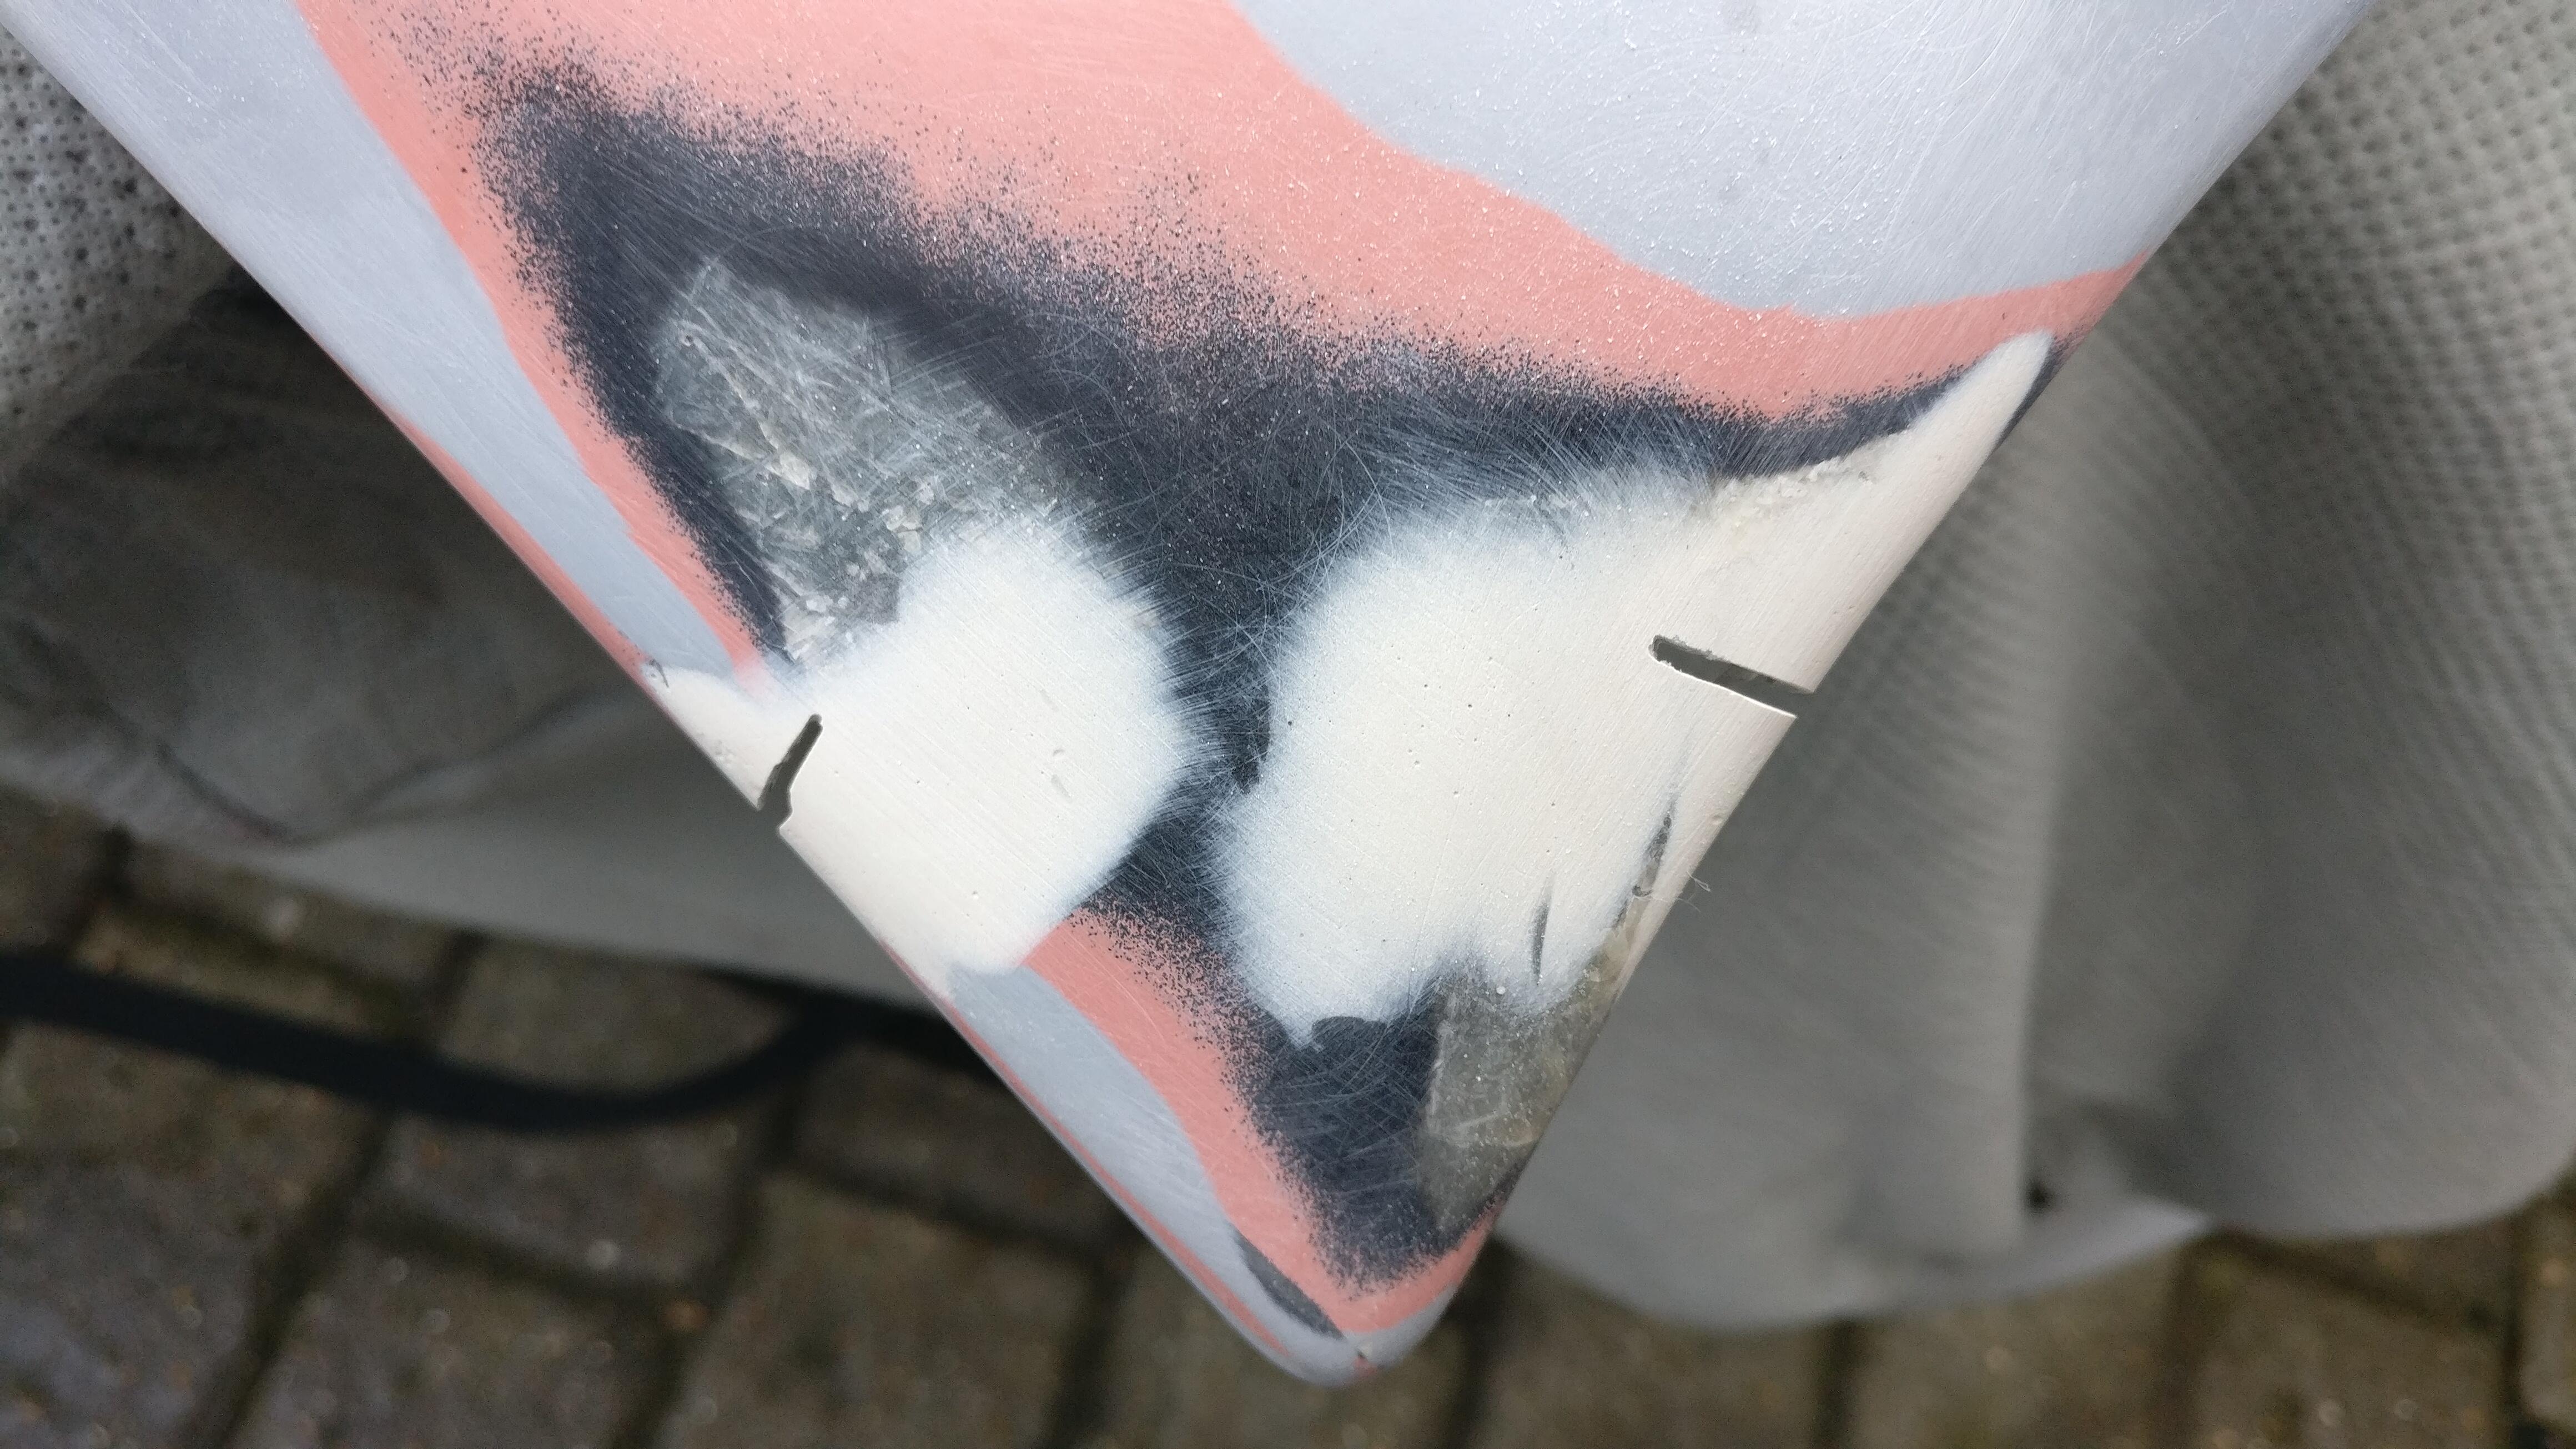
The front crack was worse than the side, but both needed repairing.
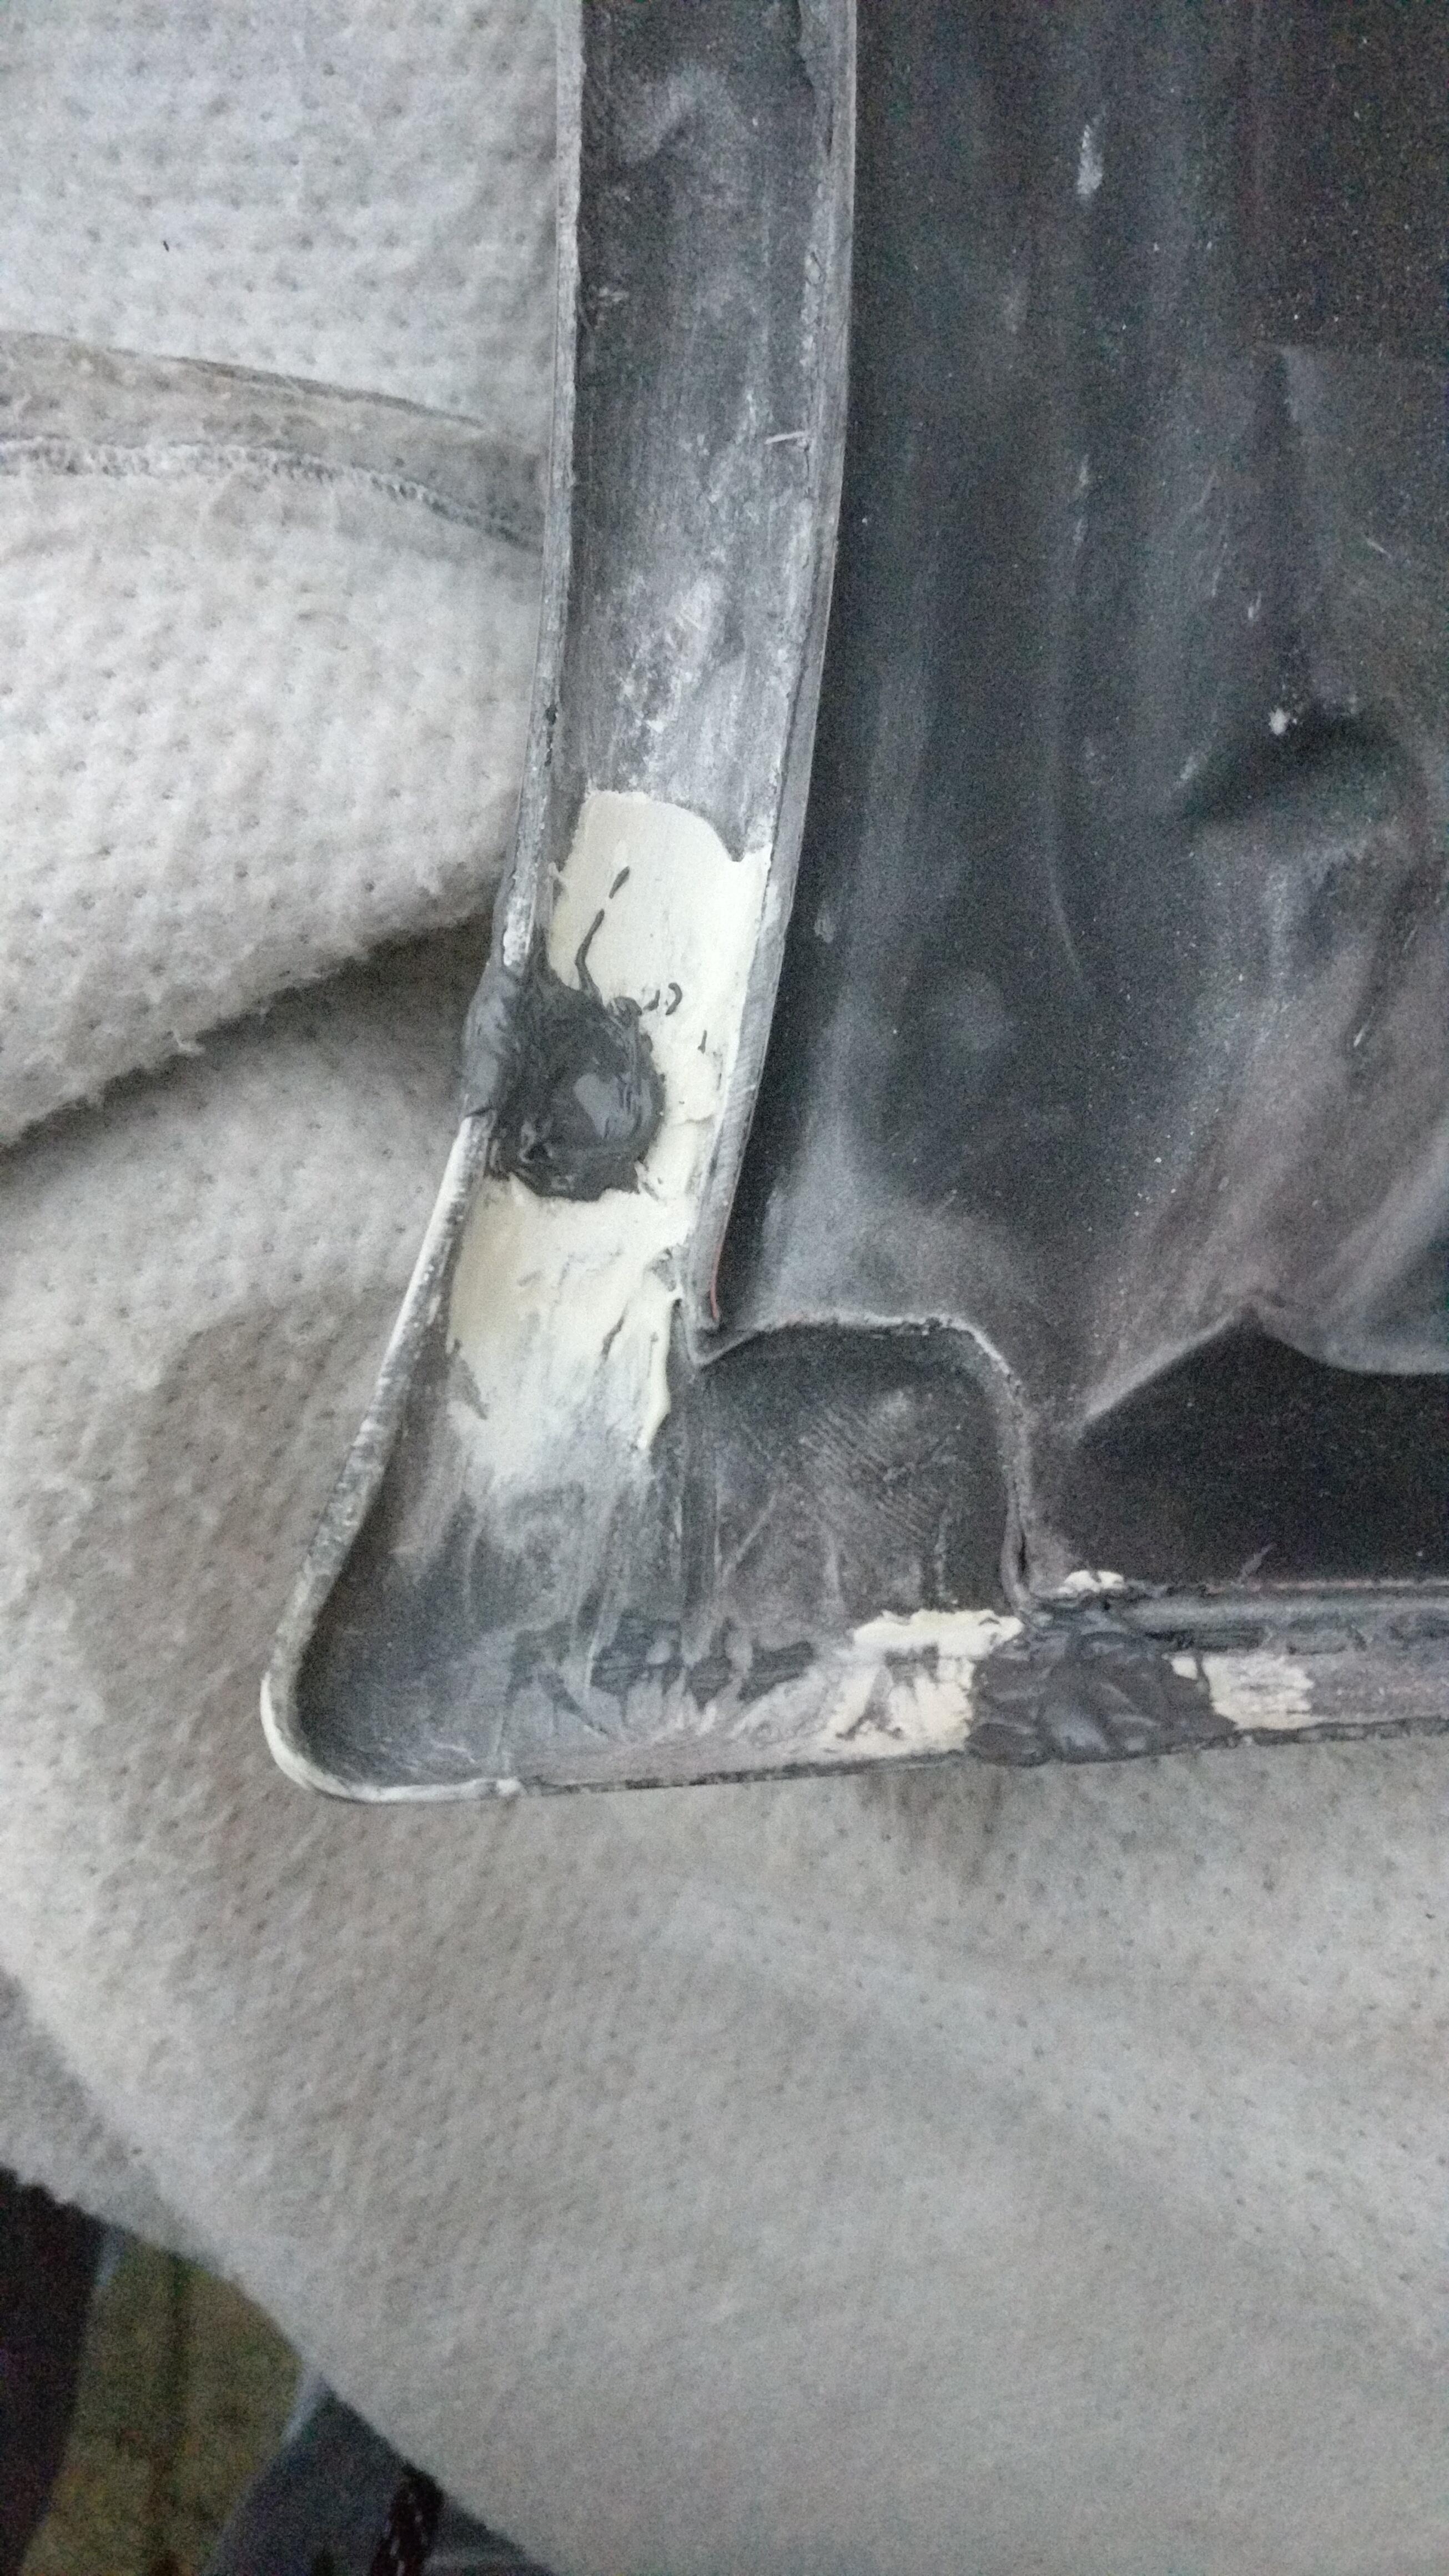
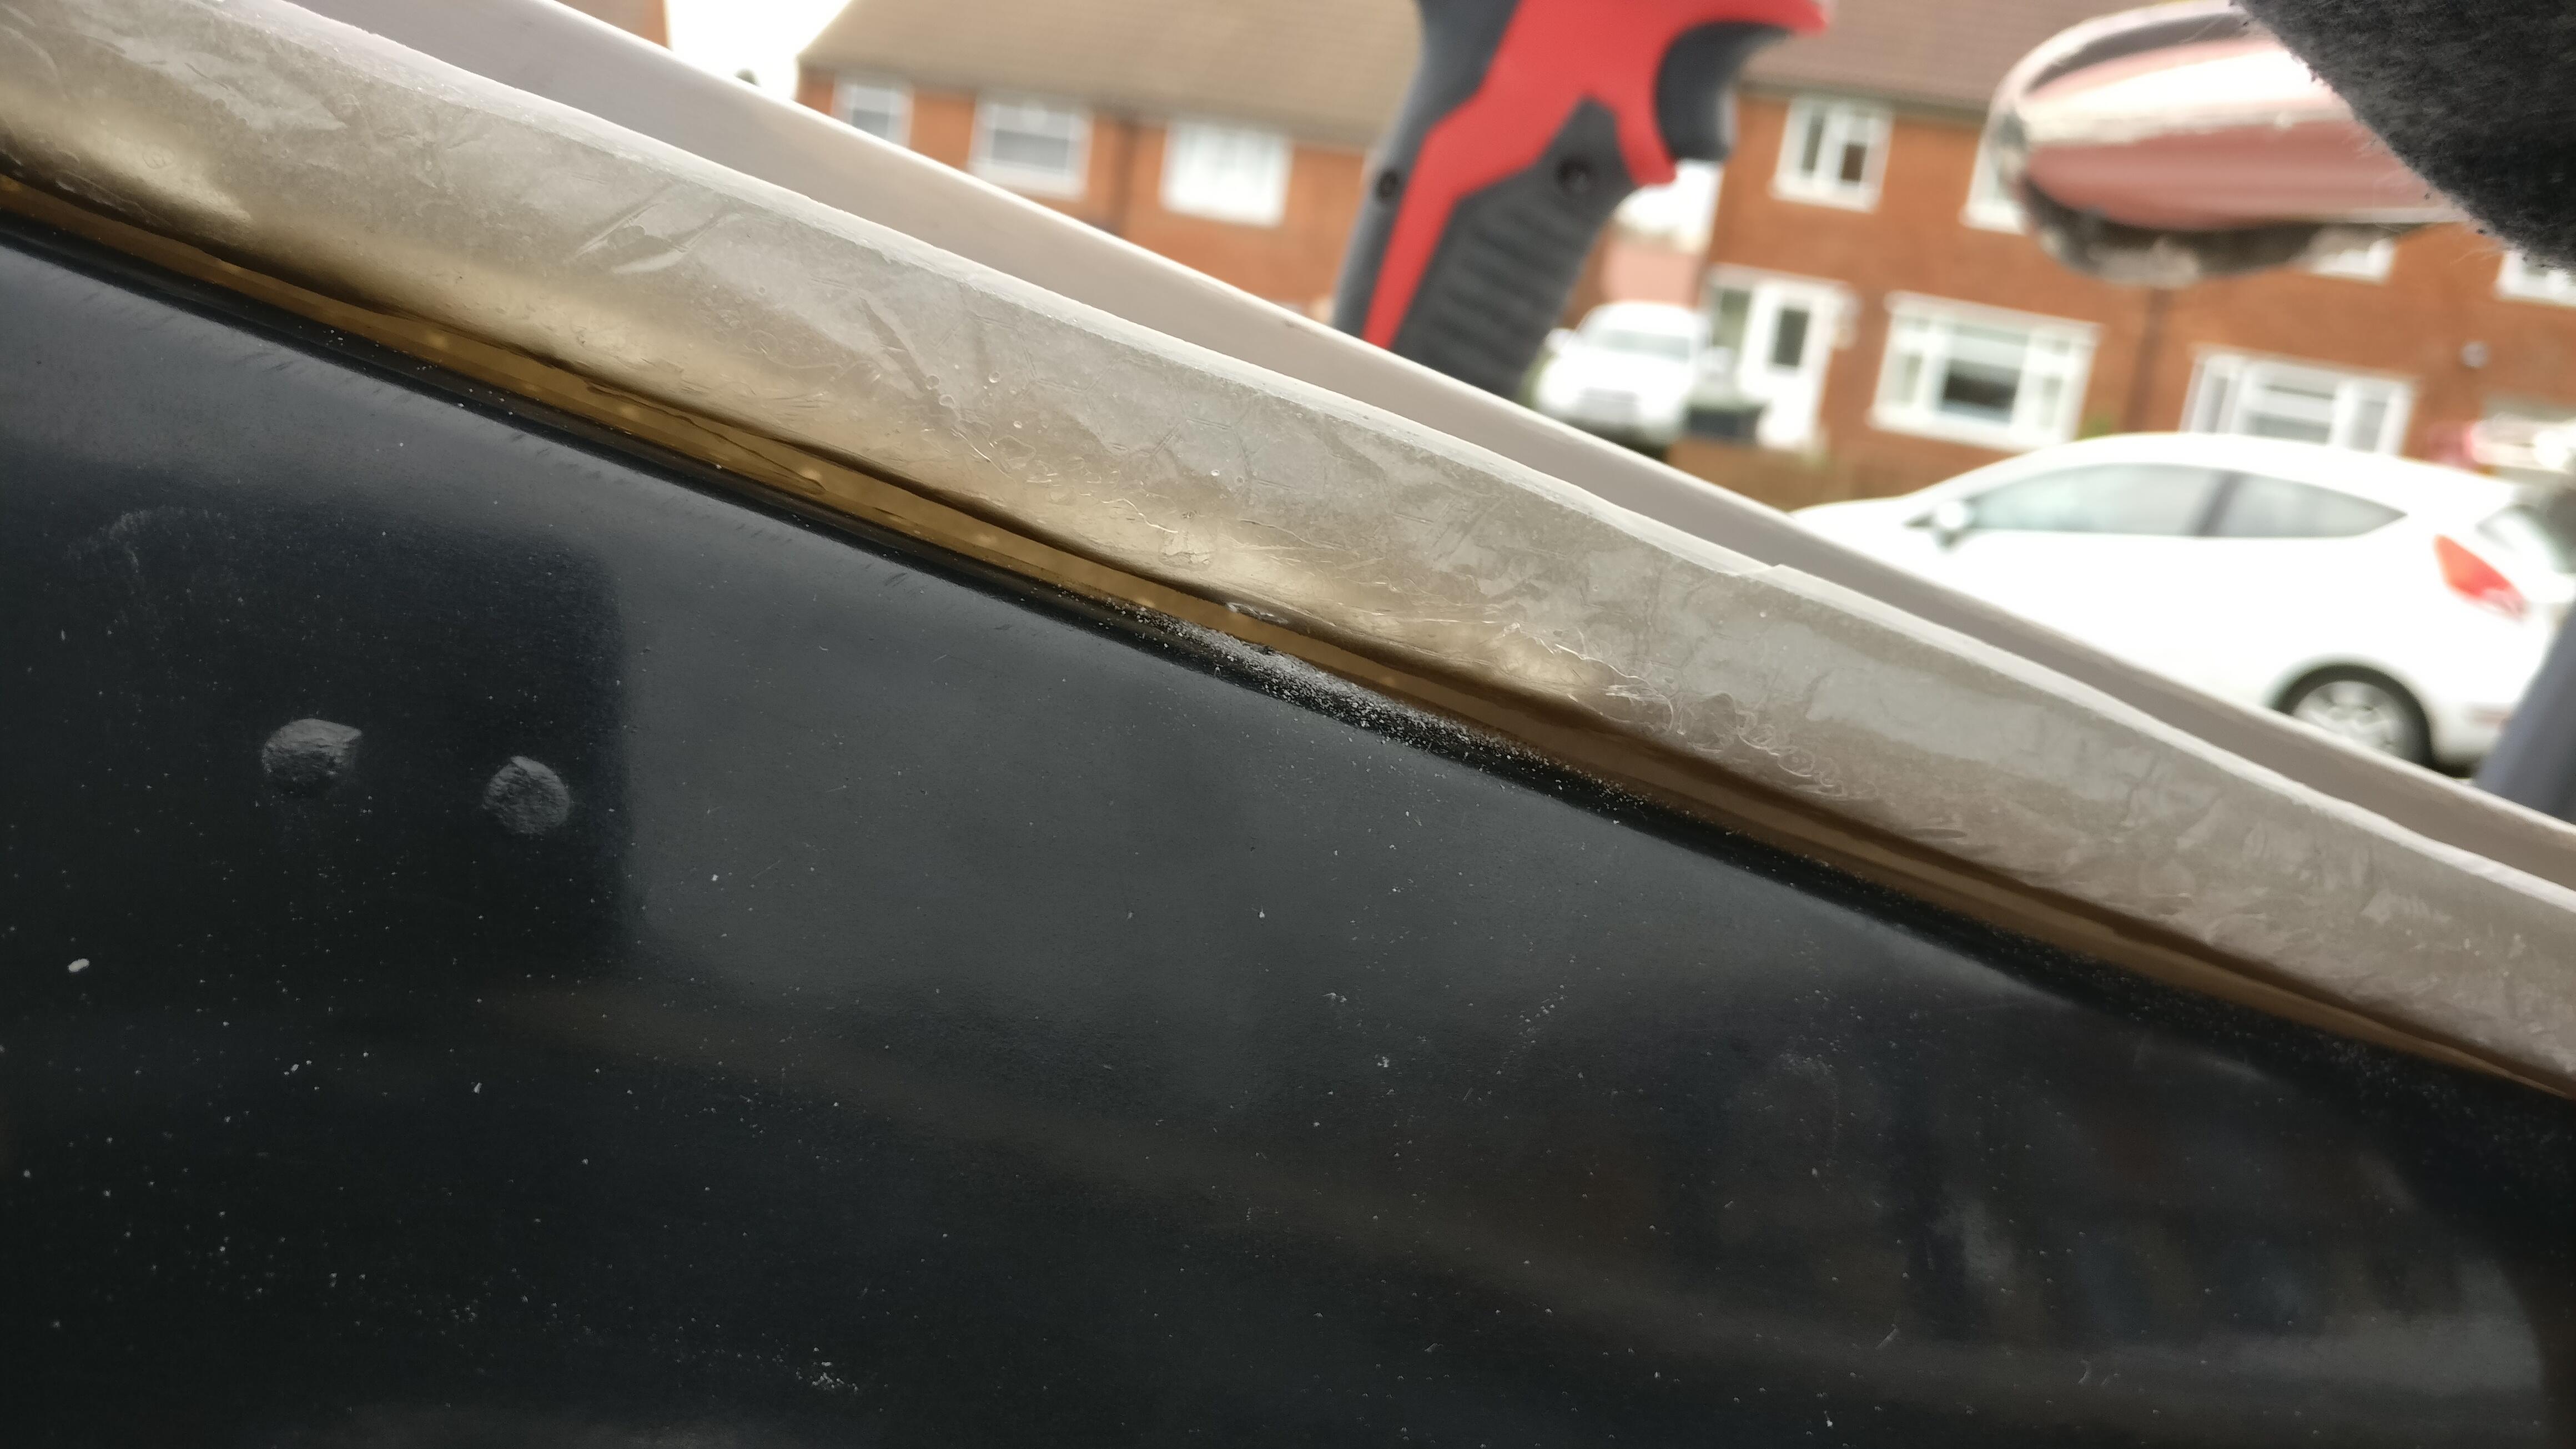
I applied a generous amount of the filler and waited for it to set.

The surface was still a bit tacky but thought I’d try sanding, after getting it flush found that the cracks were gone and the corner was nice and strong (I will get the body shop to build up the corner where I sanded it back and blow in the primer)
Good effort! Learning something here! Would never have though of using JB Weld!
To get the position of the roof in relation to the rear clam, I needed to fix the latch assemblies to be able to line everything up and clamp it in position.
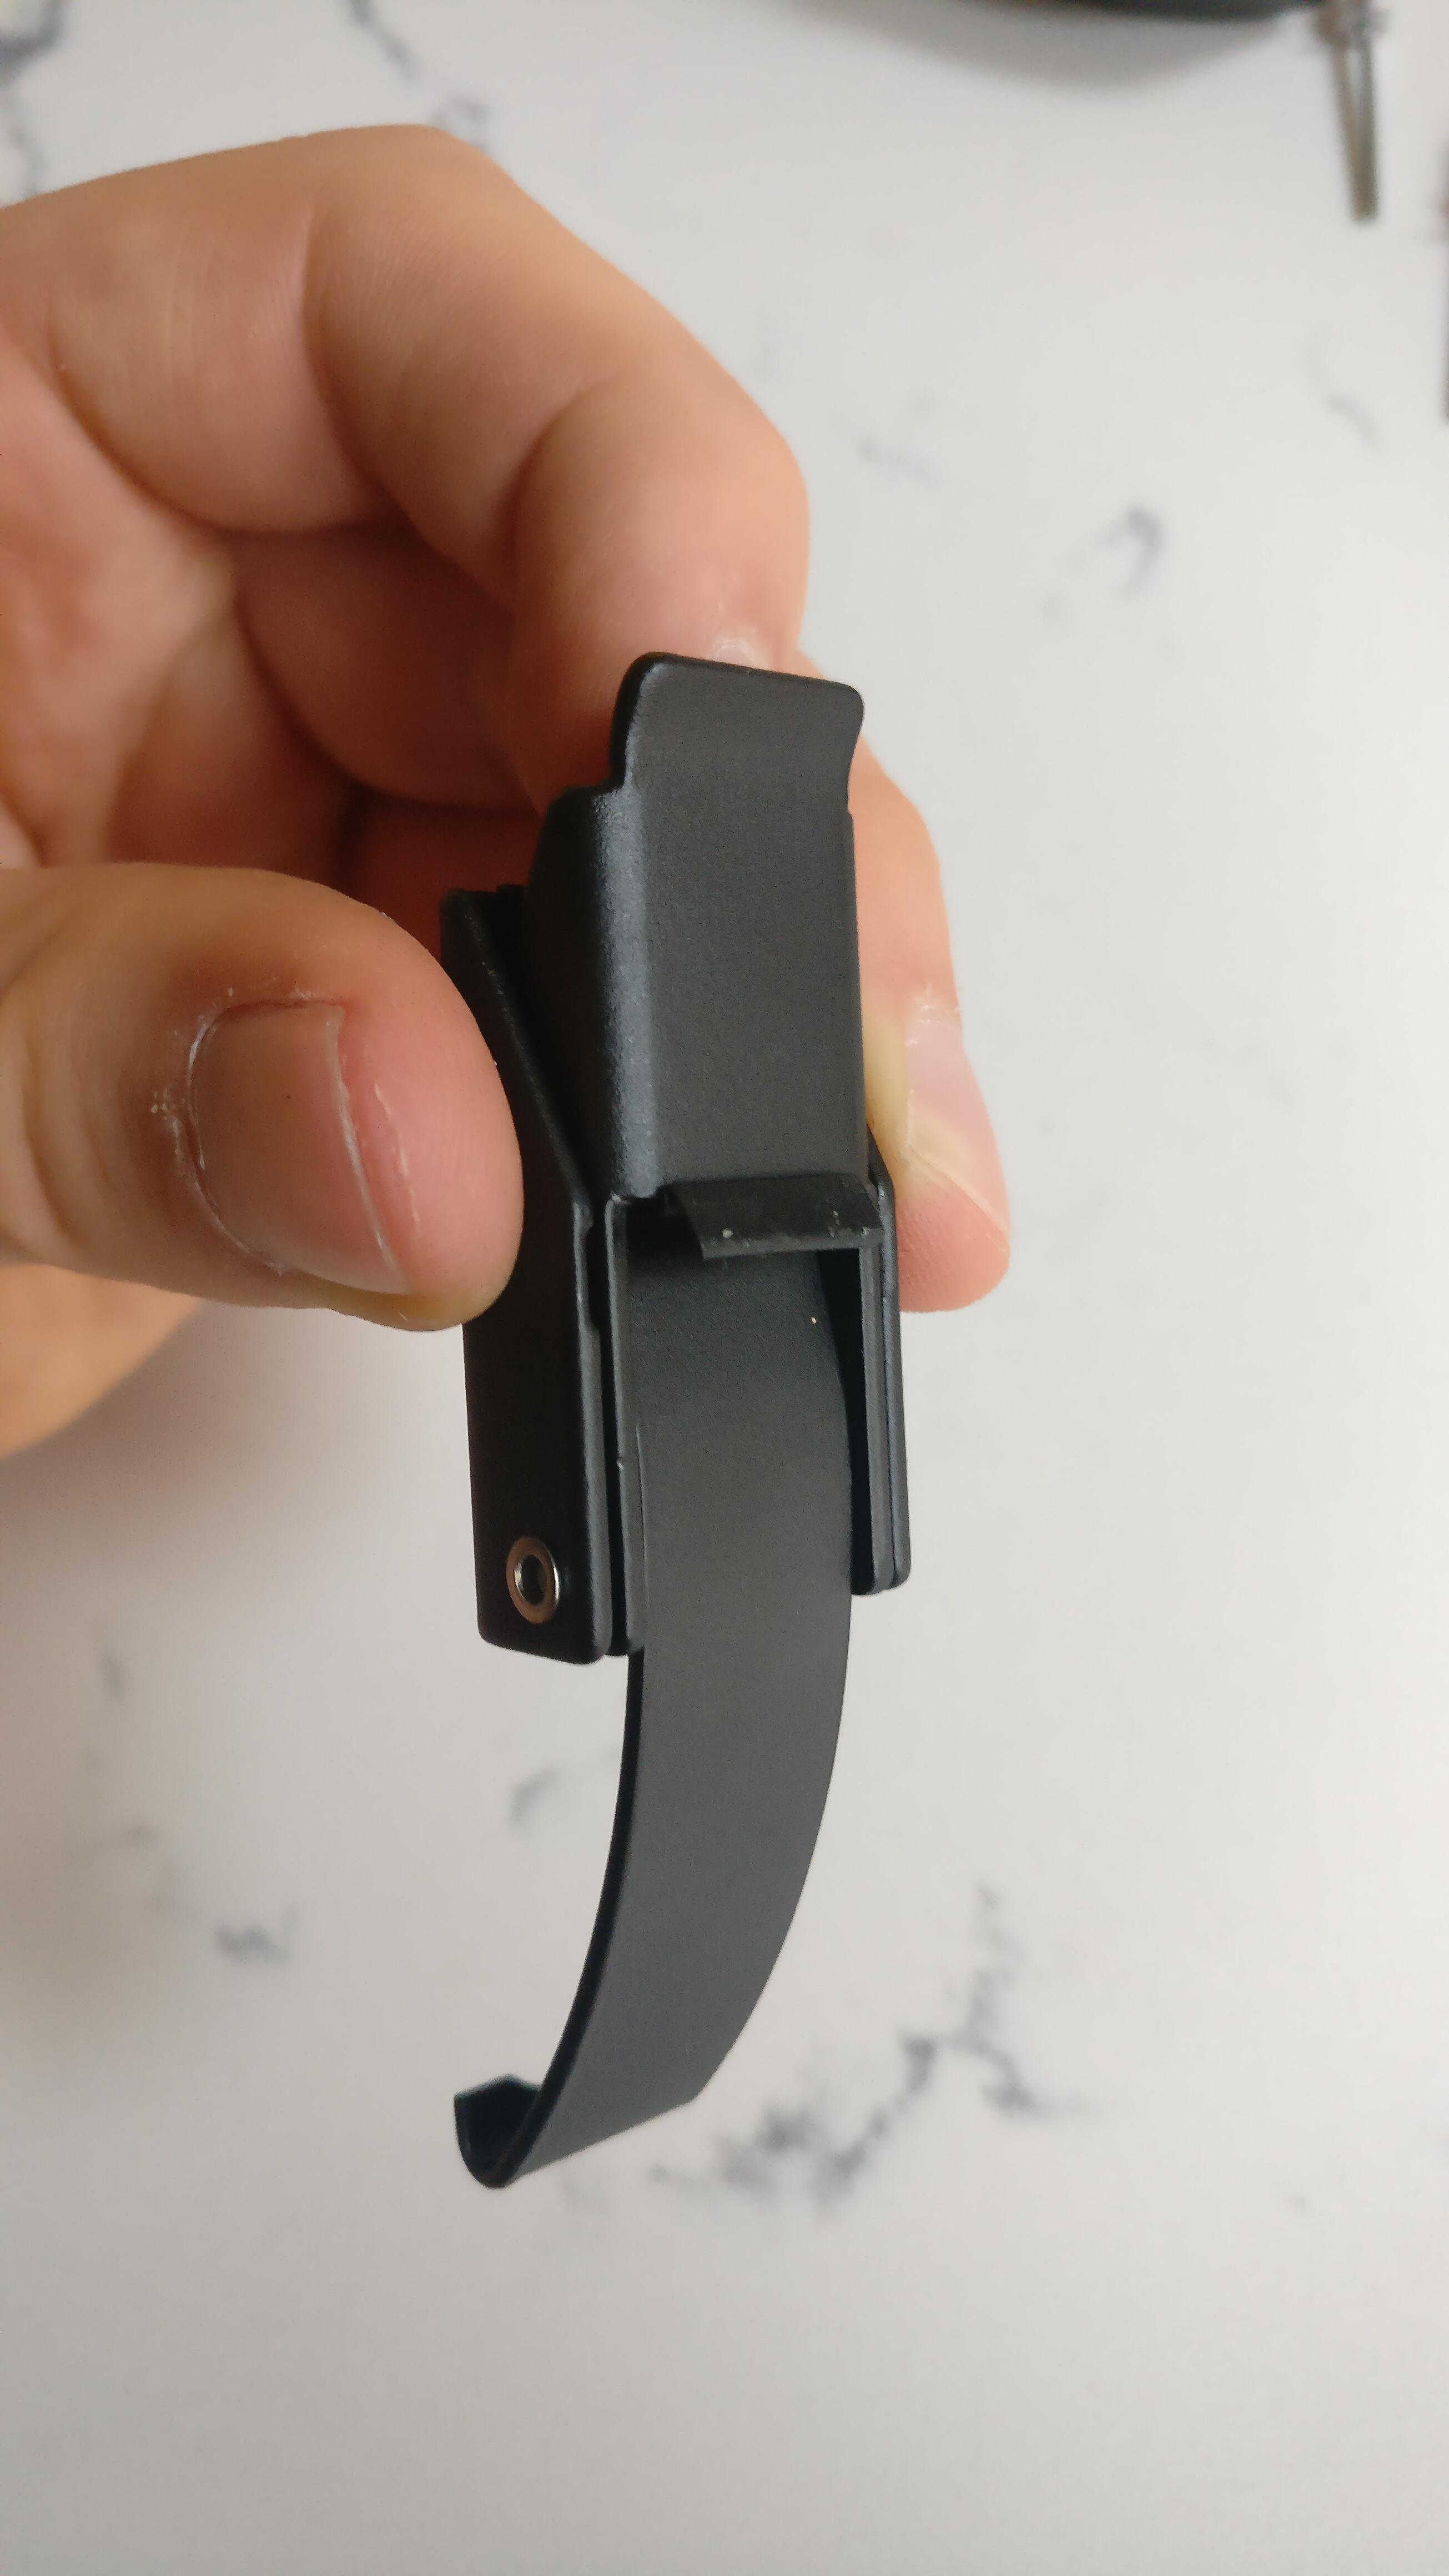
I got some new latches from Simon at Scott Russell Sportscars, where I noted that they have an additional piece the latches on my Elise hardtop didn’t have.
This extra piece is really handy as it not only stops the latches from coming loose (a latch for a latch) but more importantly stops them rattling around, which is something that became quite annoying when I went to stiffer engine mounts on my Elise.
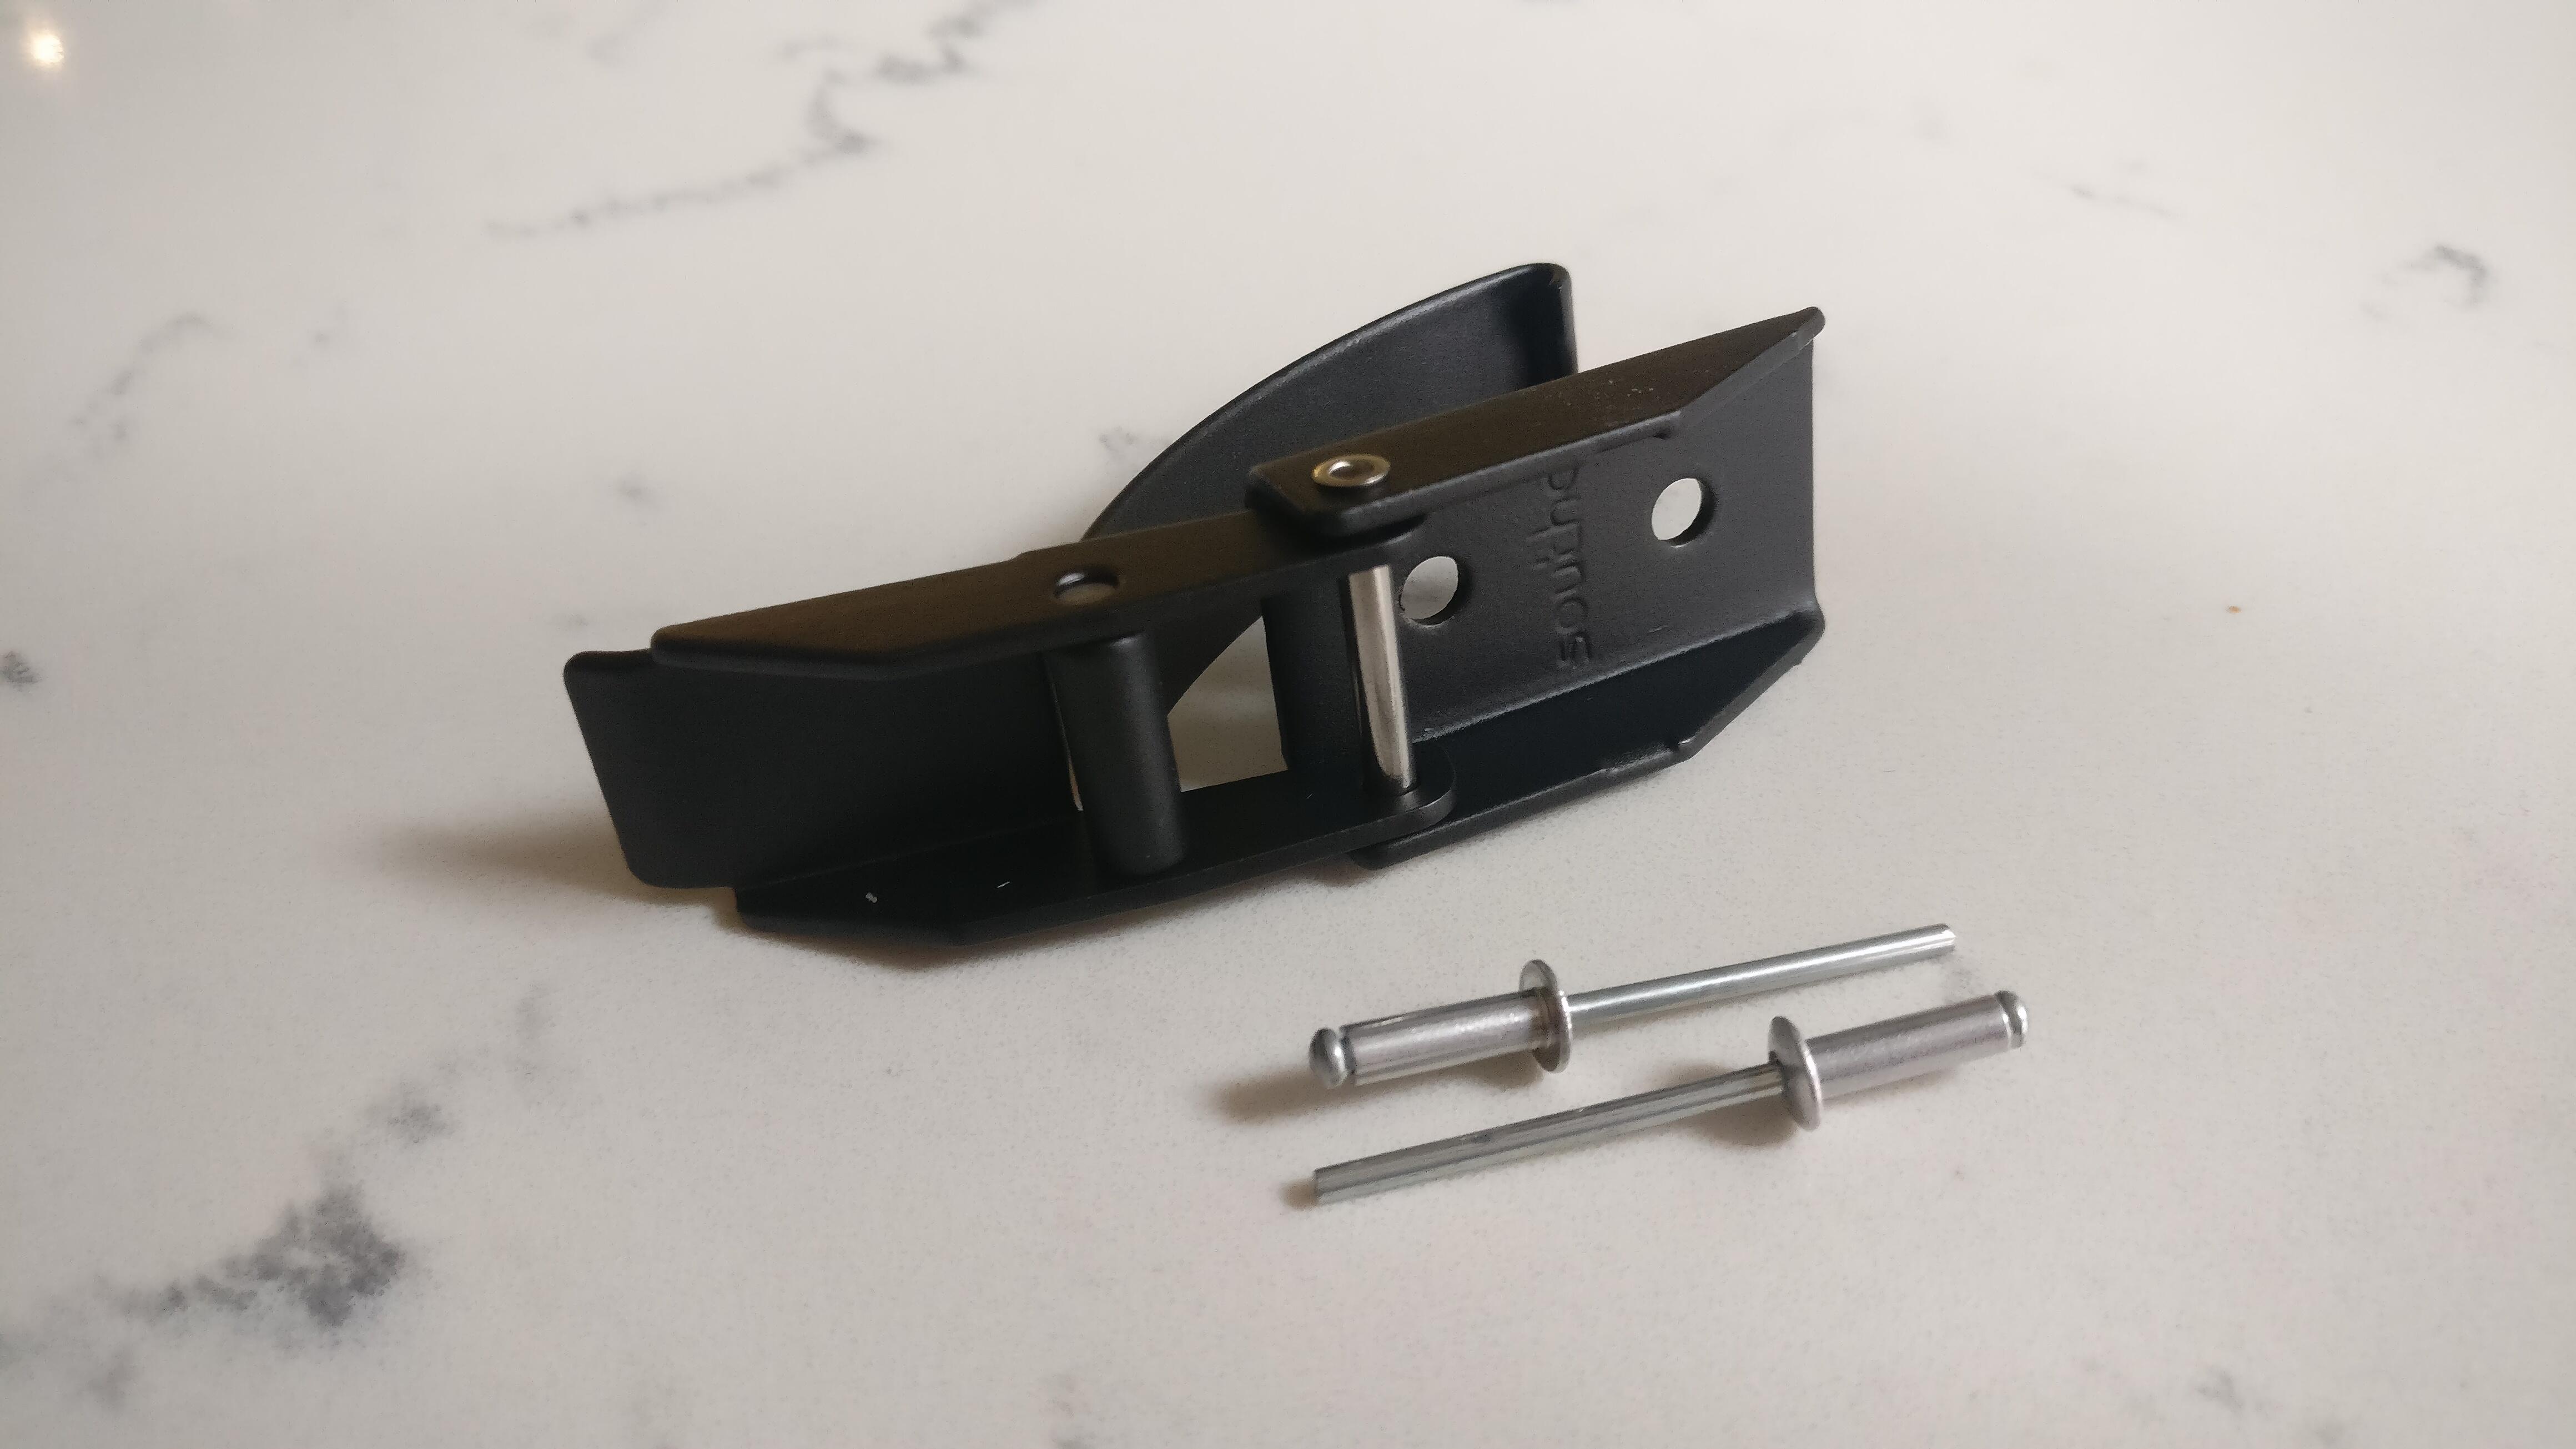
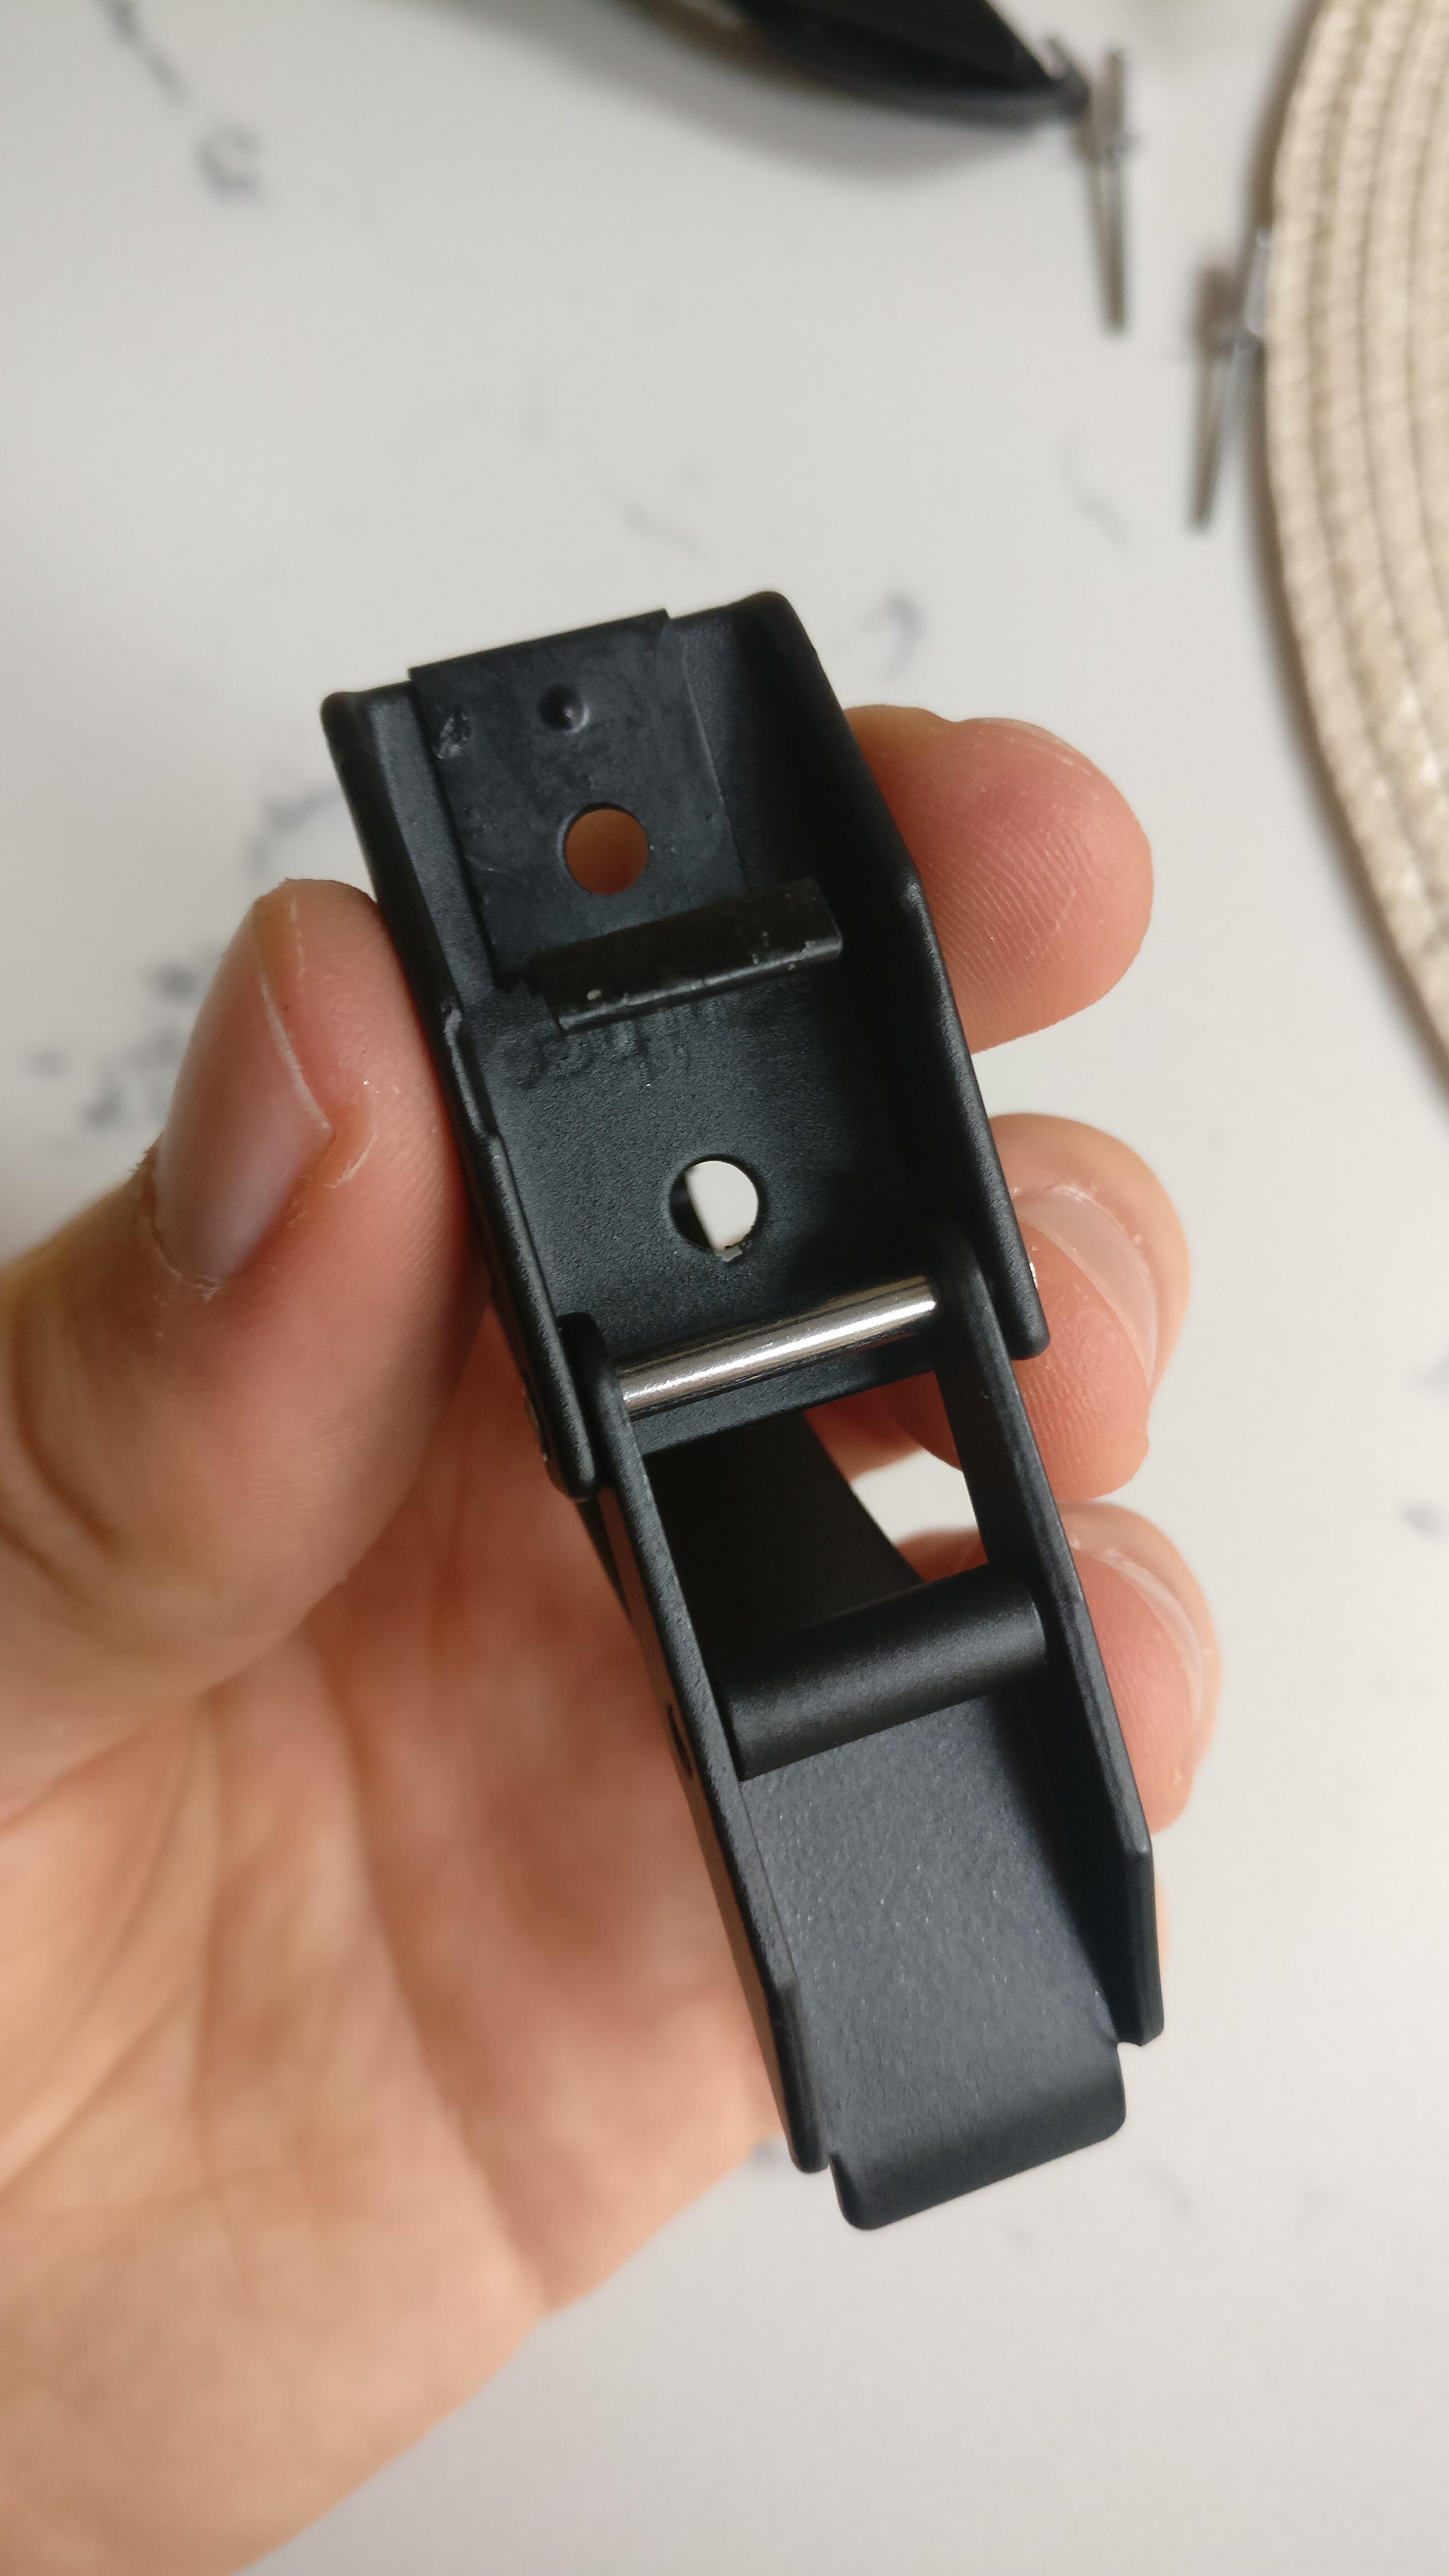
The latches are fixed using pop rivets, so I had to buy a gun, something handy to have though
What is handy on my genuine roof is that the holes for the rivets are already drilled in position, there are also holes for the window retention brackets.

I chose to fix the bottom rivet first to keep both hands free when fixing the top one, which would be a bit trickier to get the extra piece in the right place.

Easy enough and the river gun from Euro Car Parts is great!

Ready to go!
I’m probably using JB Weld completely wrong but seems to be working for me ![]()
Enjoying following your progress. Very methodical. Beyond me!