Me too!
Time to tackle the seized override fan.
I removed both fans from the spare radiator I had and tested them by very crudely hooking them up to my cars battery via 2 pieces of wire. Both worked and spun up to full speed, so I chose the one that looked the best and went about removing the radiator.
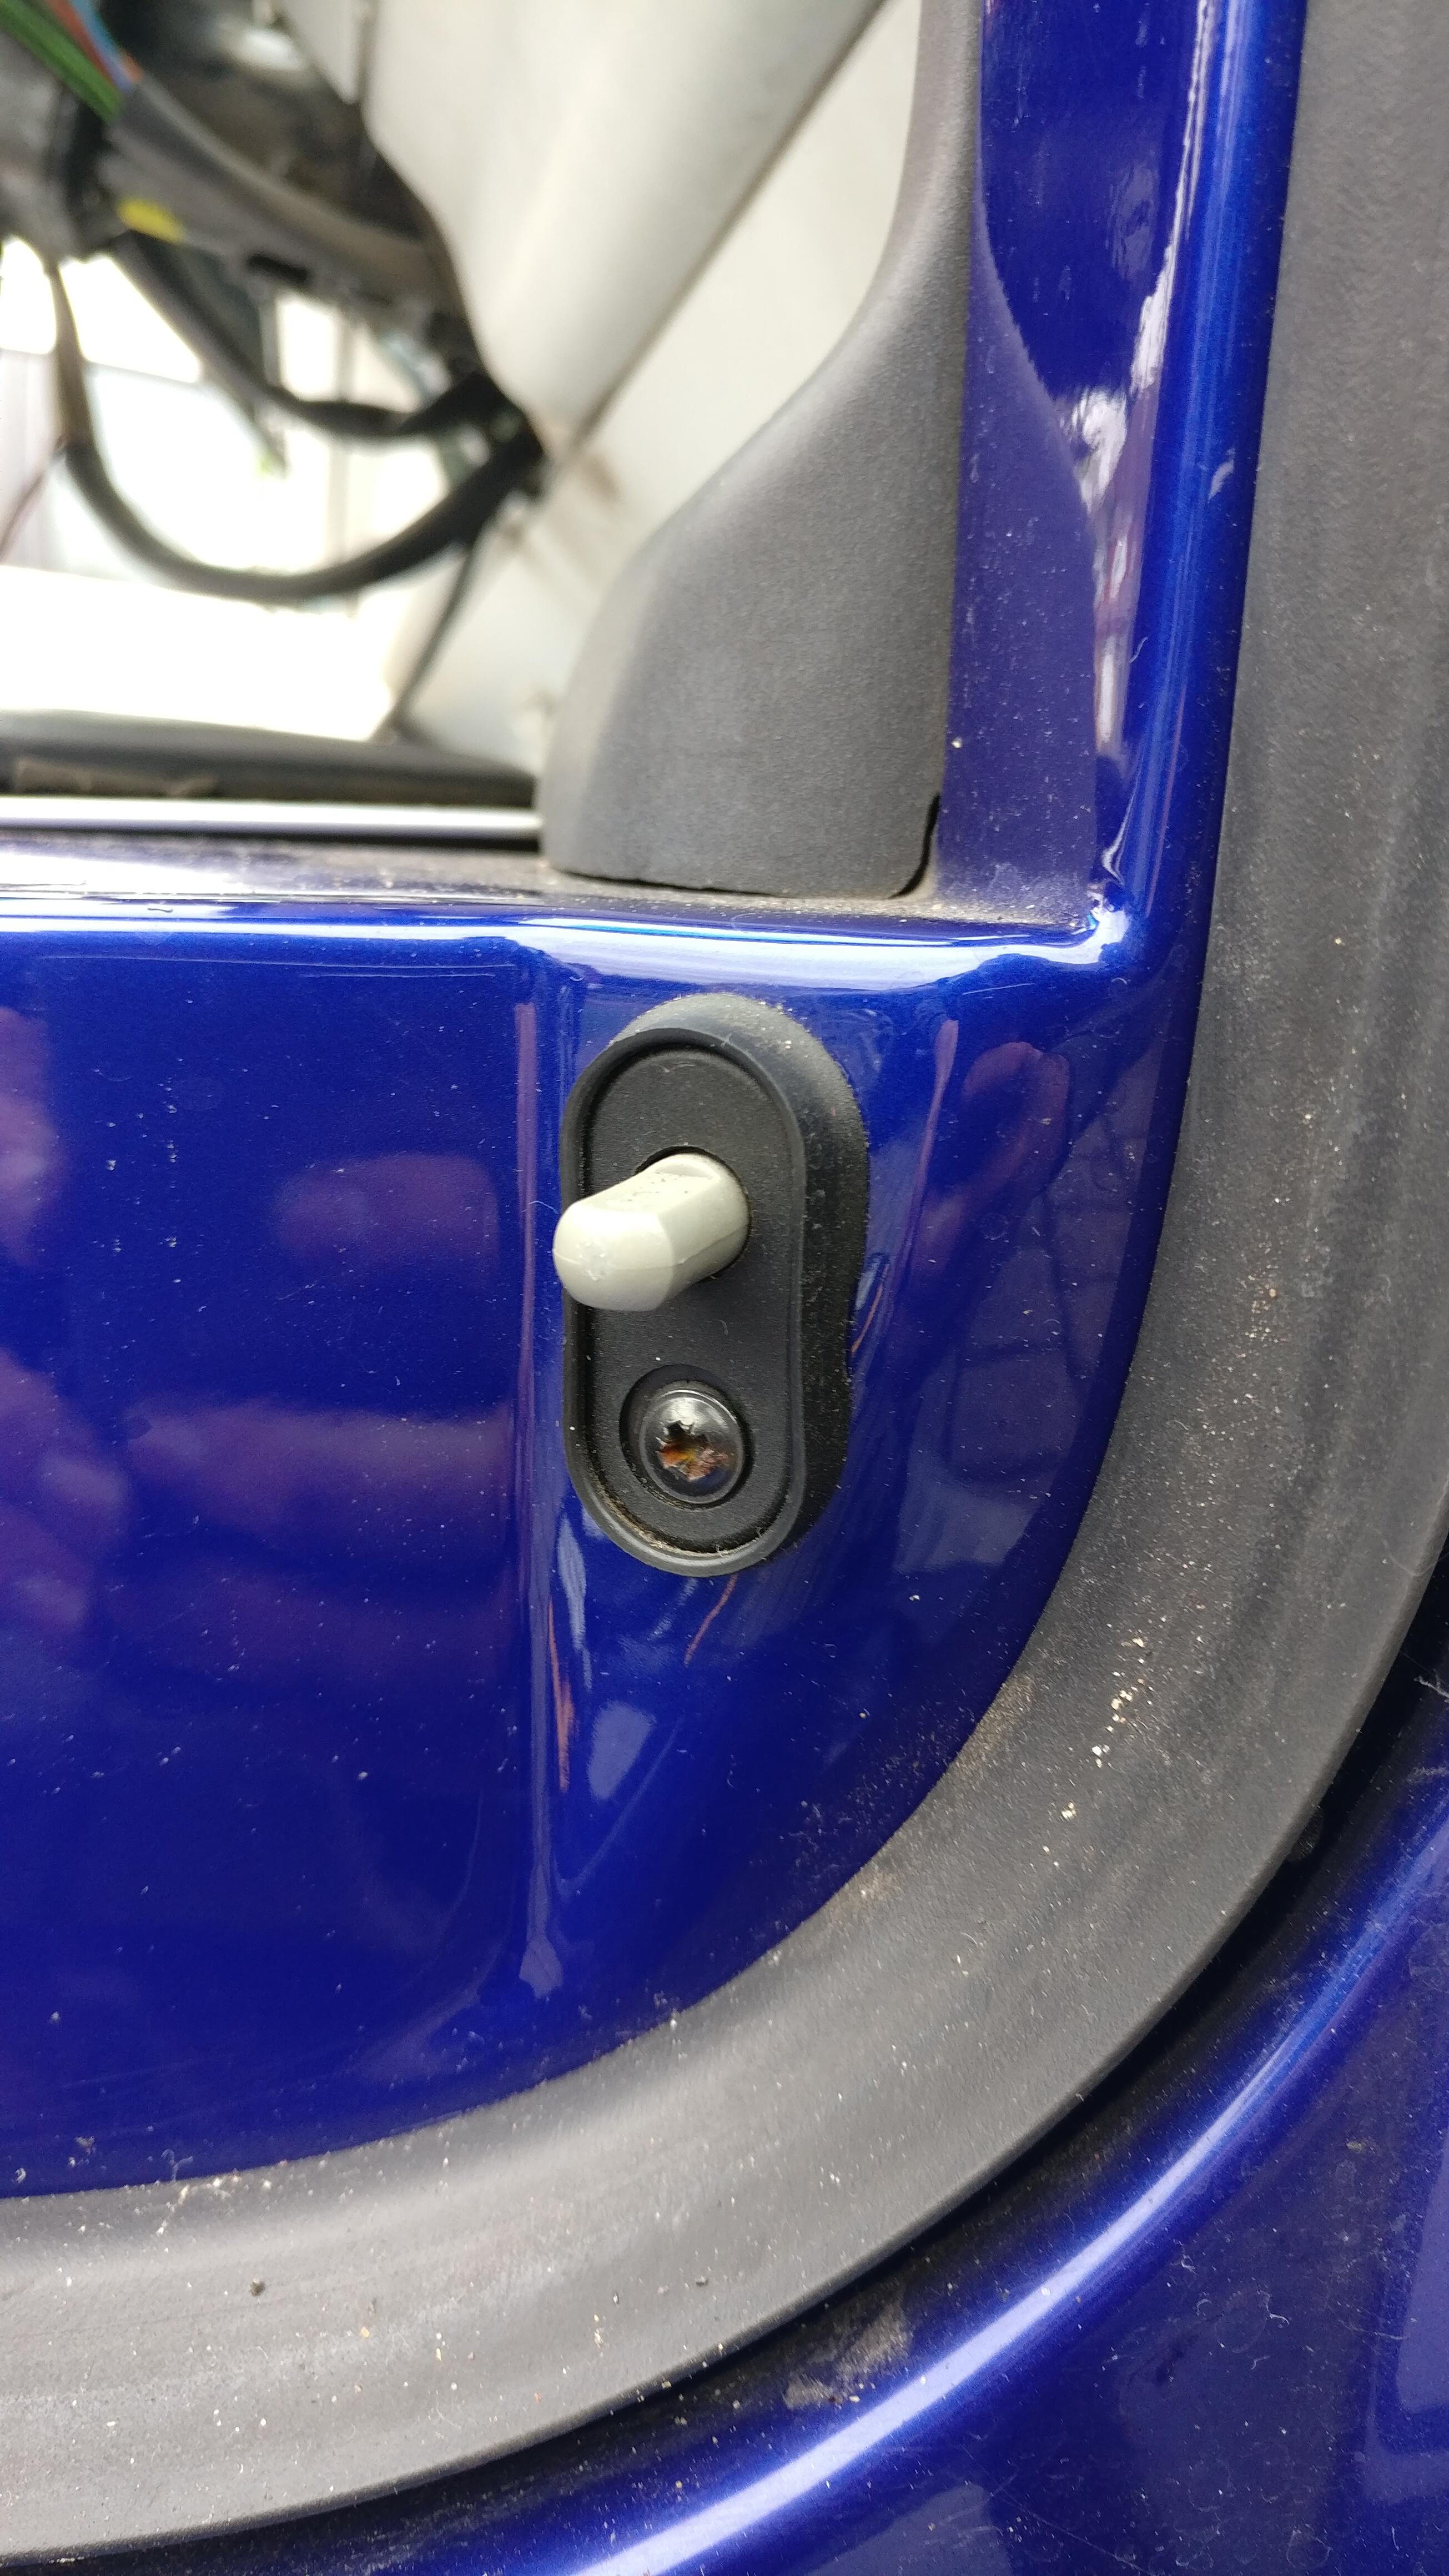
I didn’t know if it was best to drain the coolant first or undo the bolts on the housing that hold the radiator and connects to the crash structure. I chose undoing the bolts, which is very straight forward and then took a few pictures of the clips that hold some cables, better safe than sorry to document everything as disassembly is the easy bit.
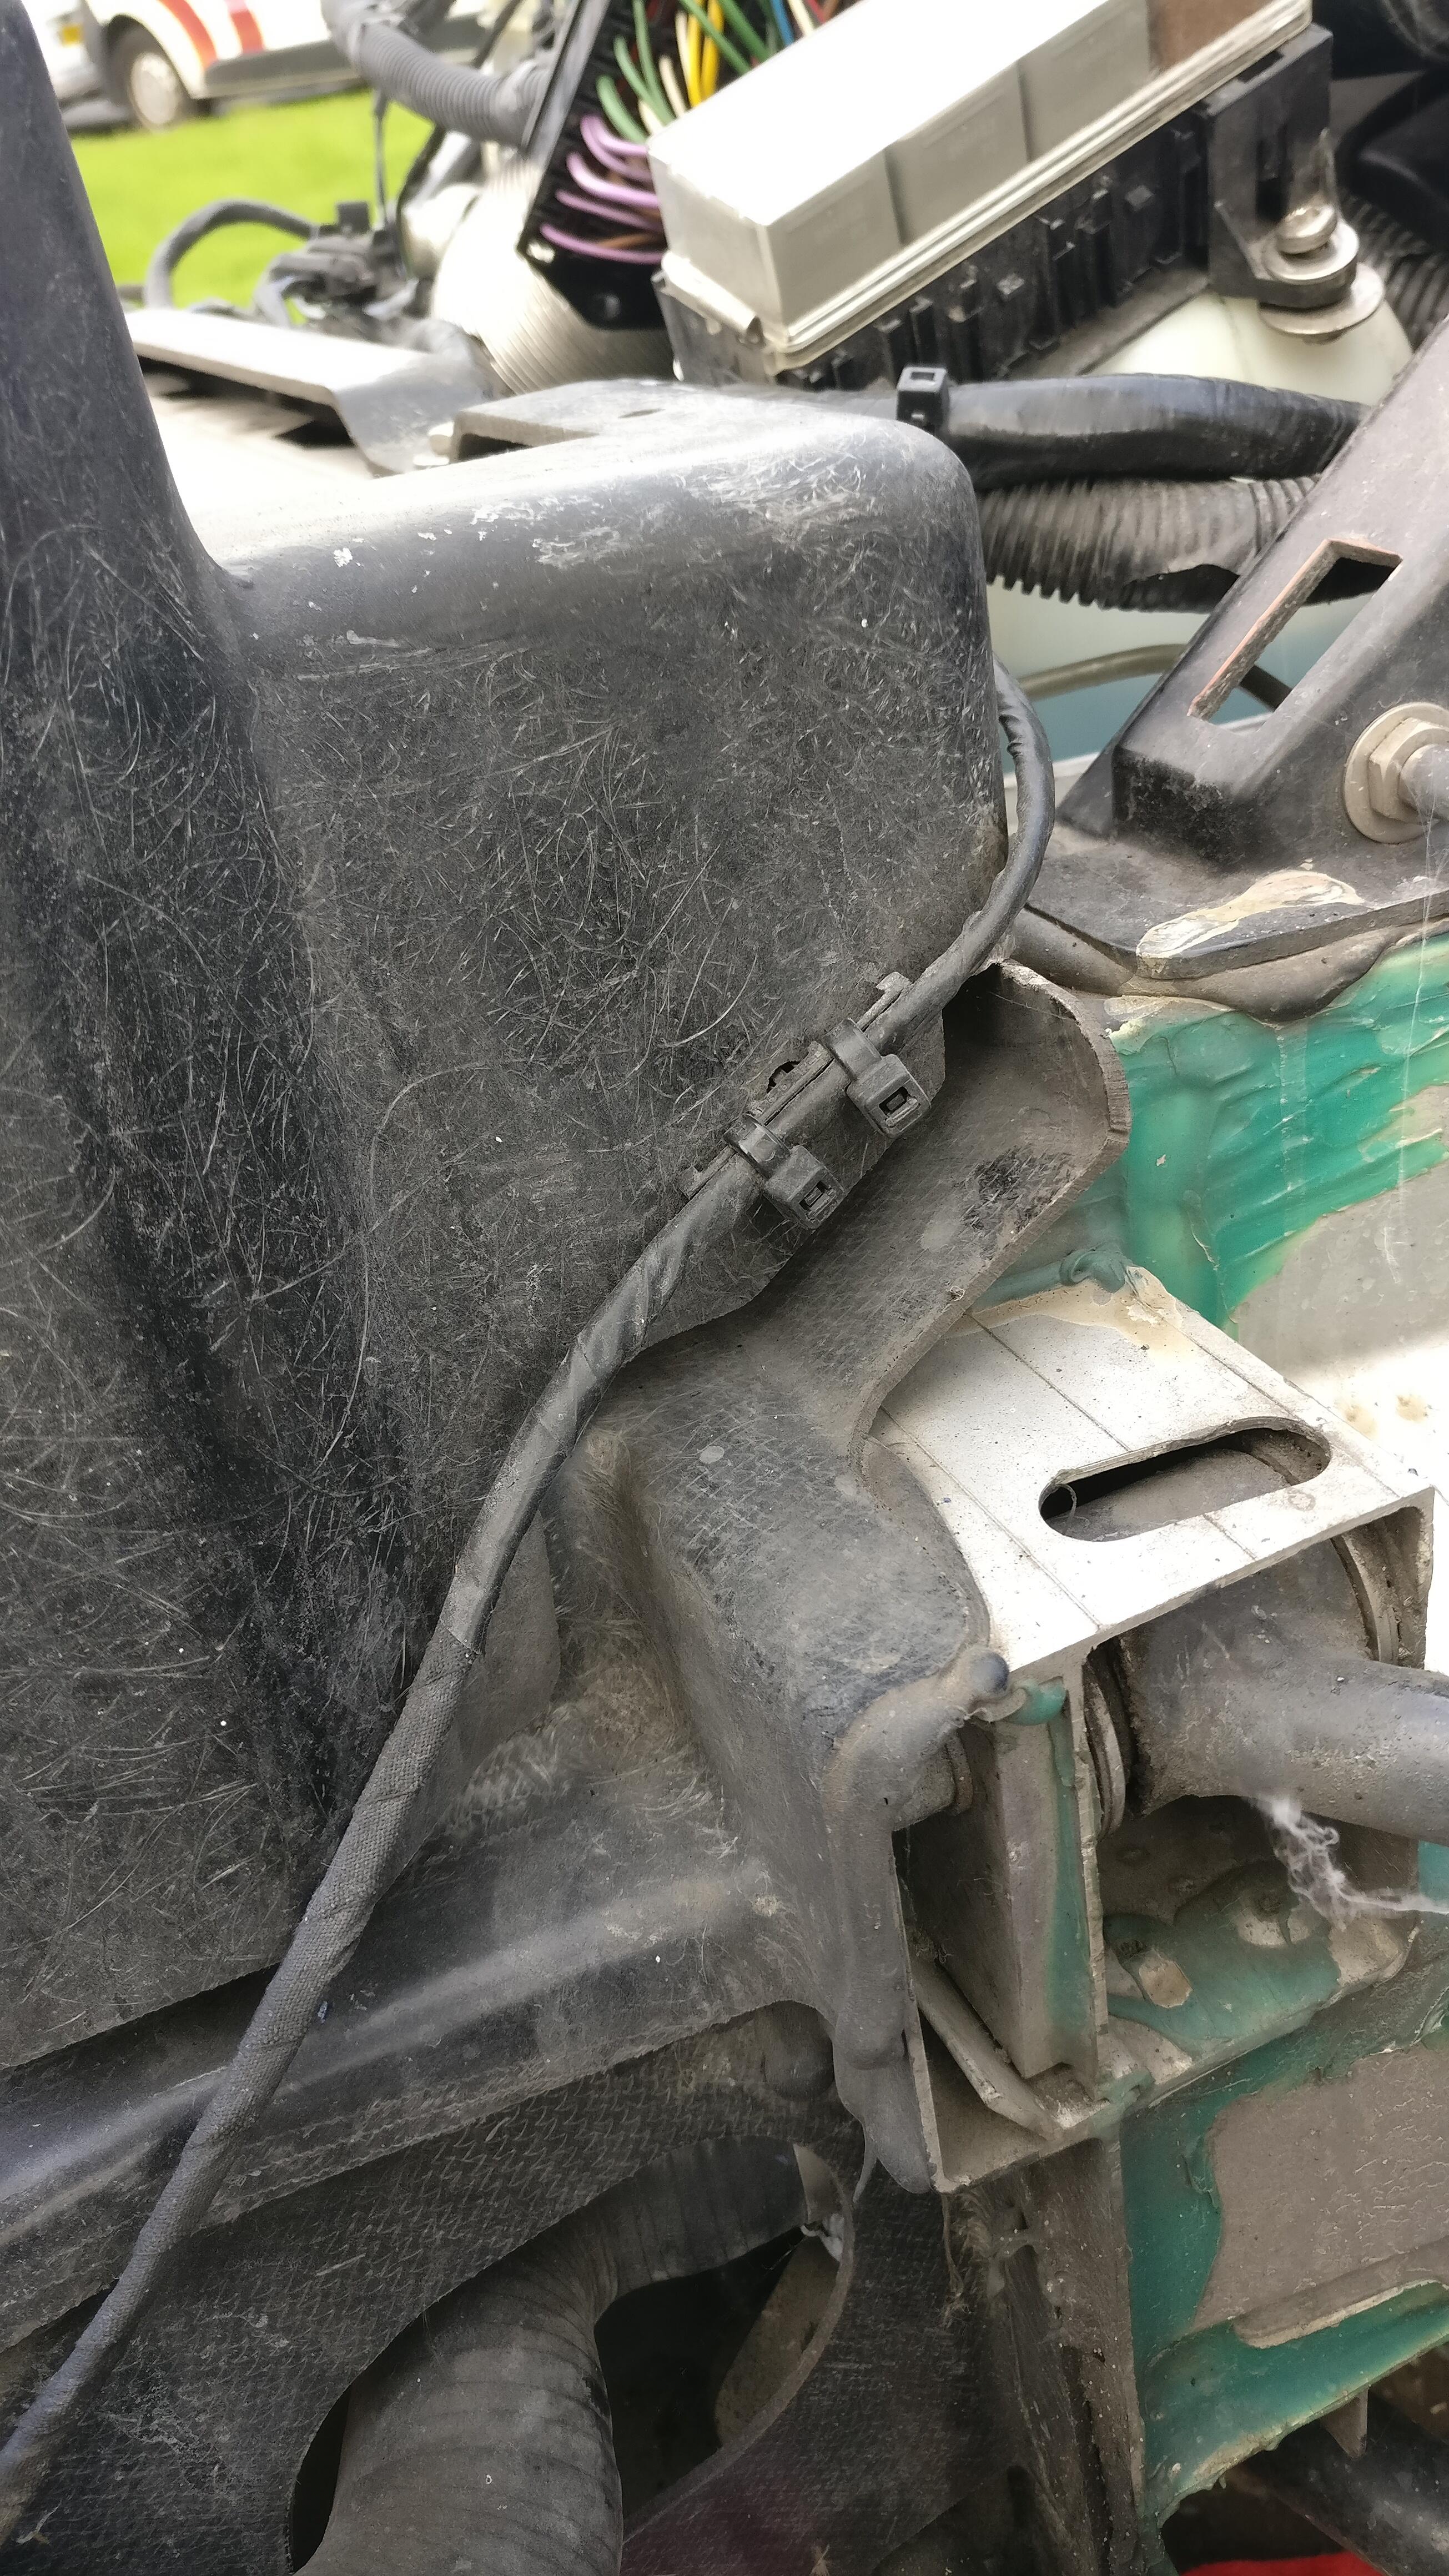
Last thing I want are wires flapping about when everything is back together
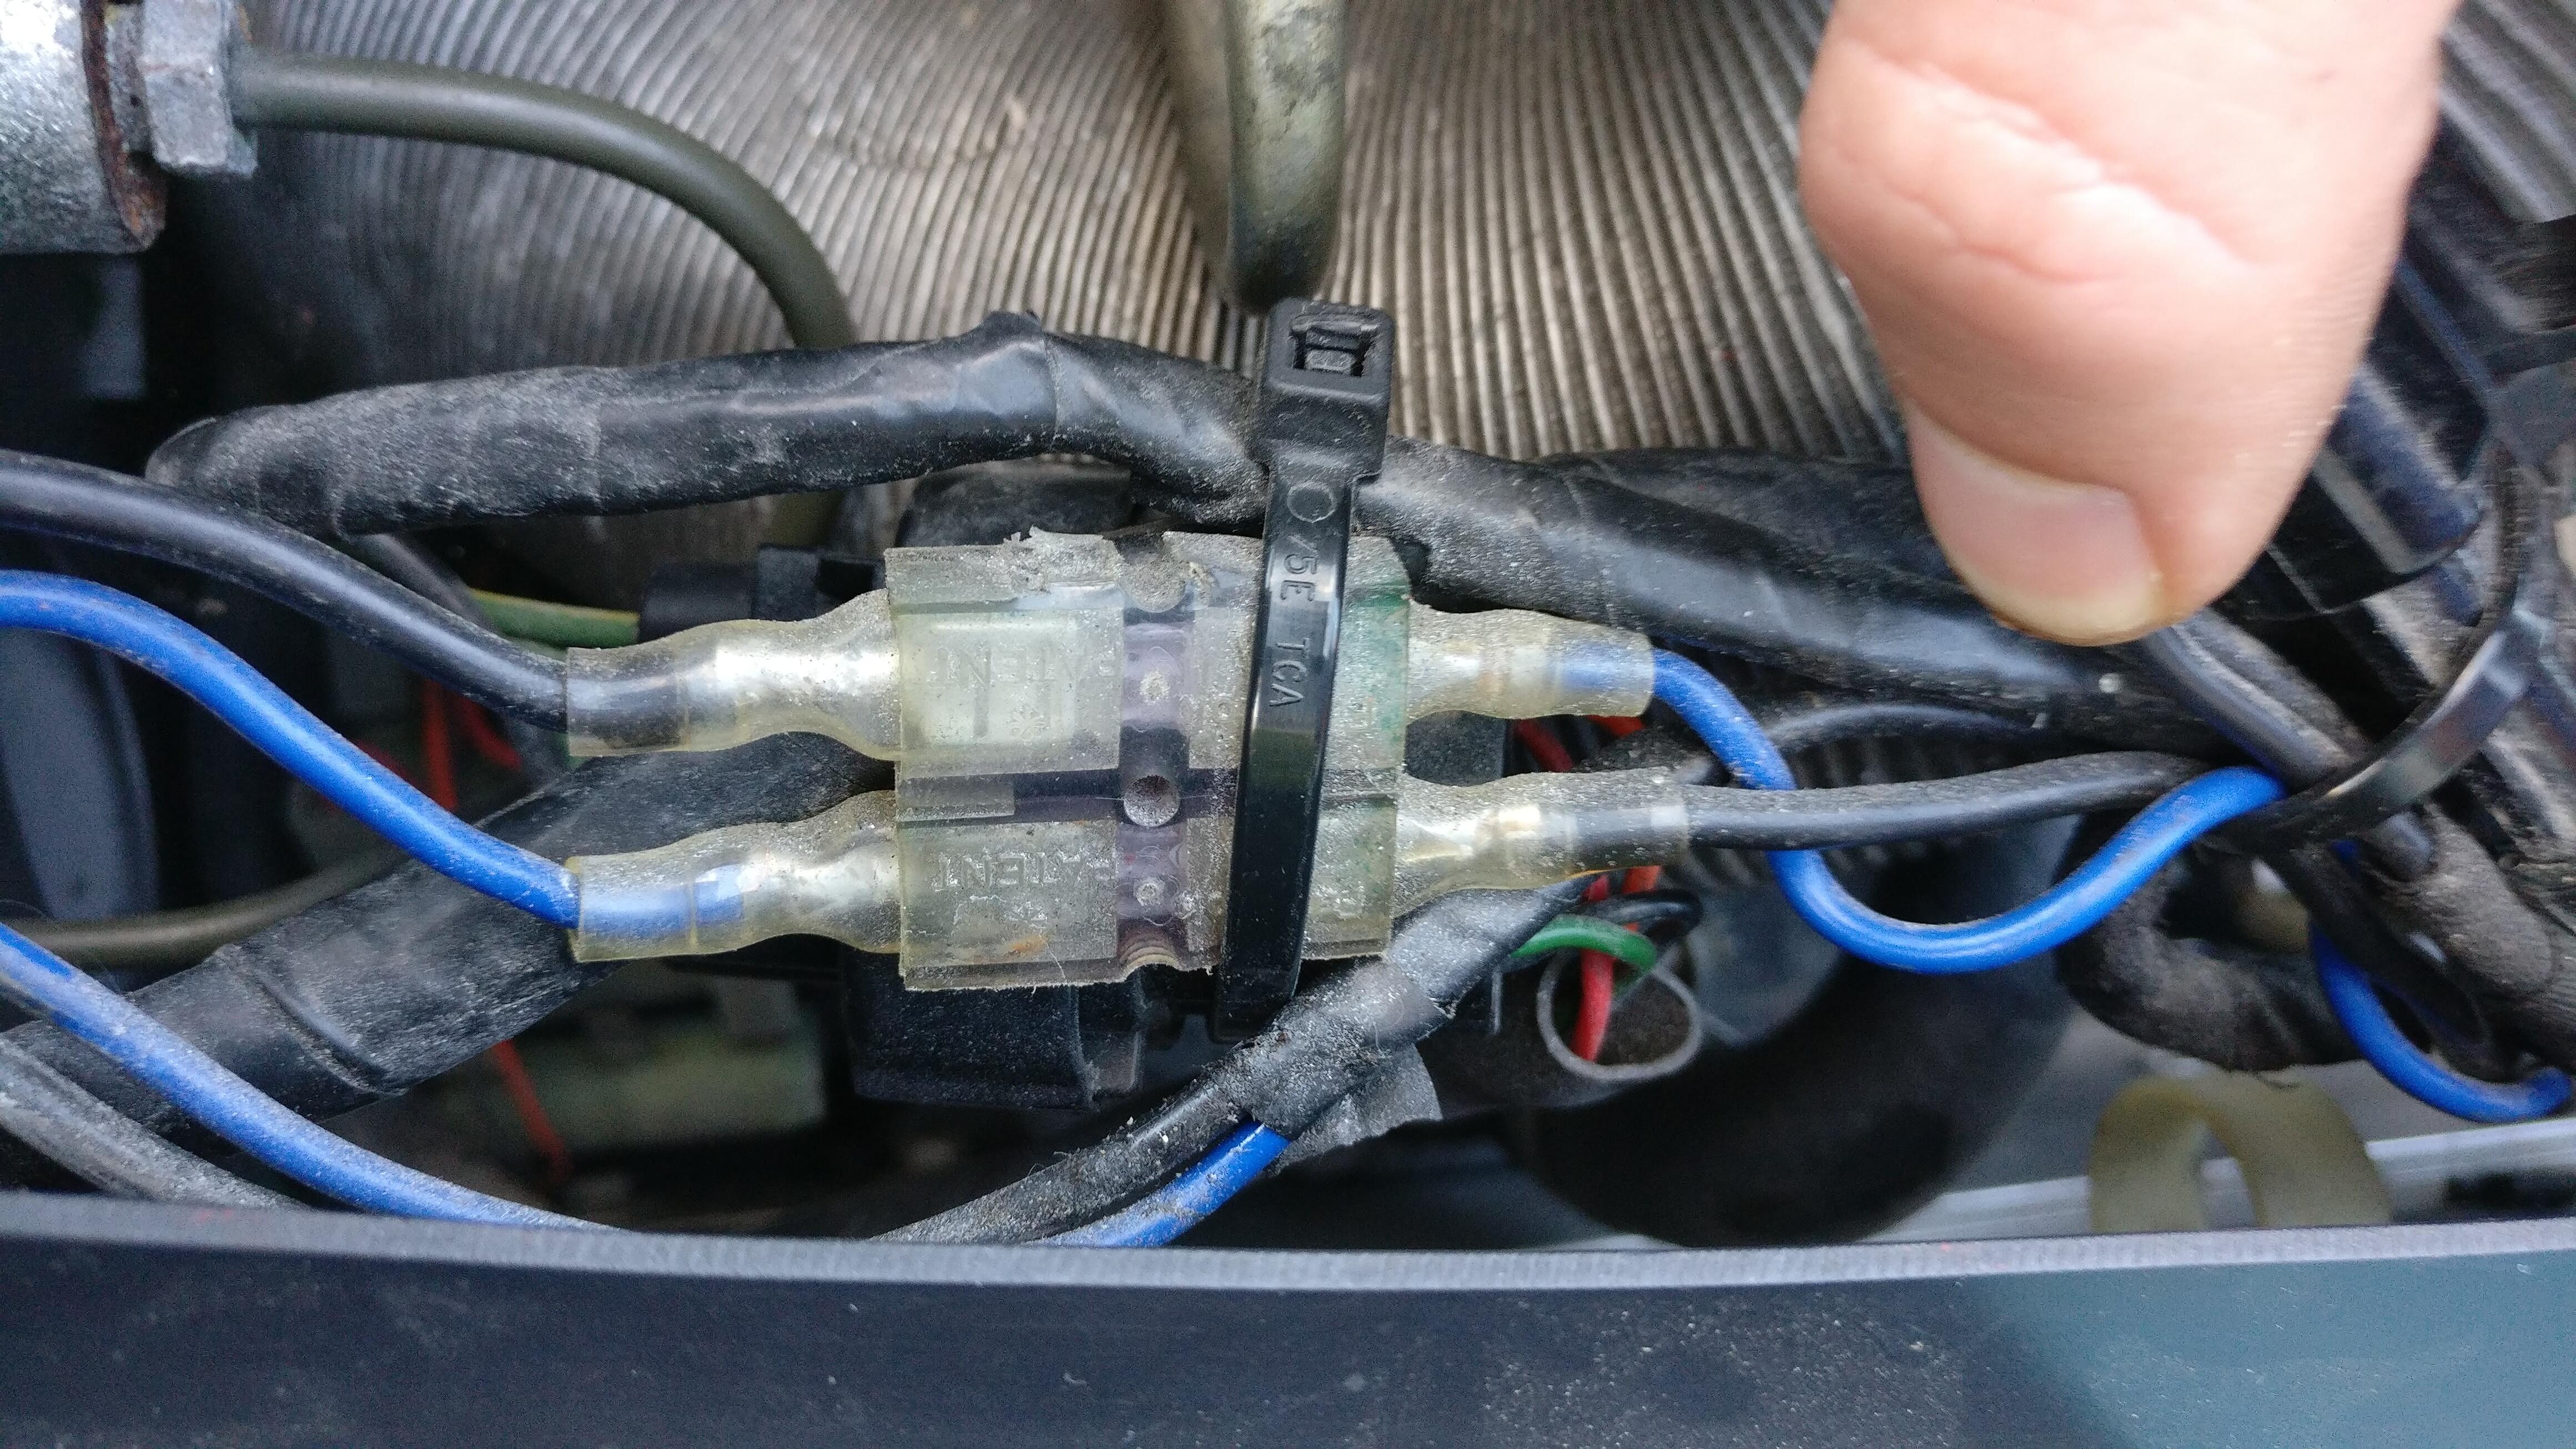
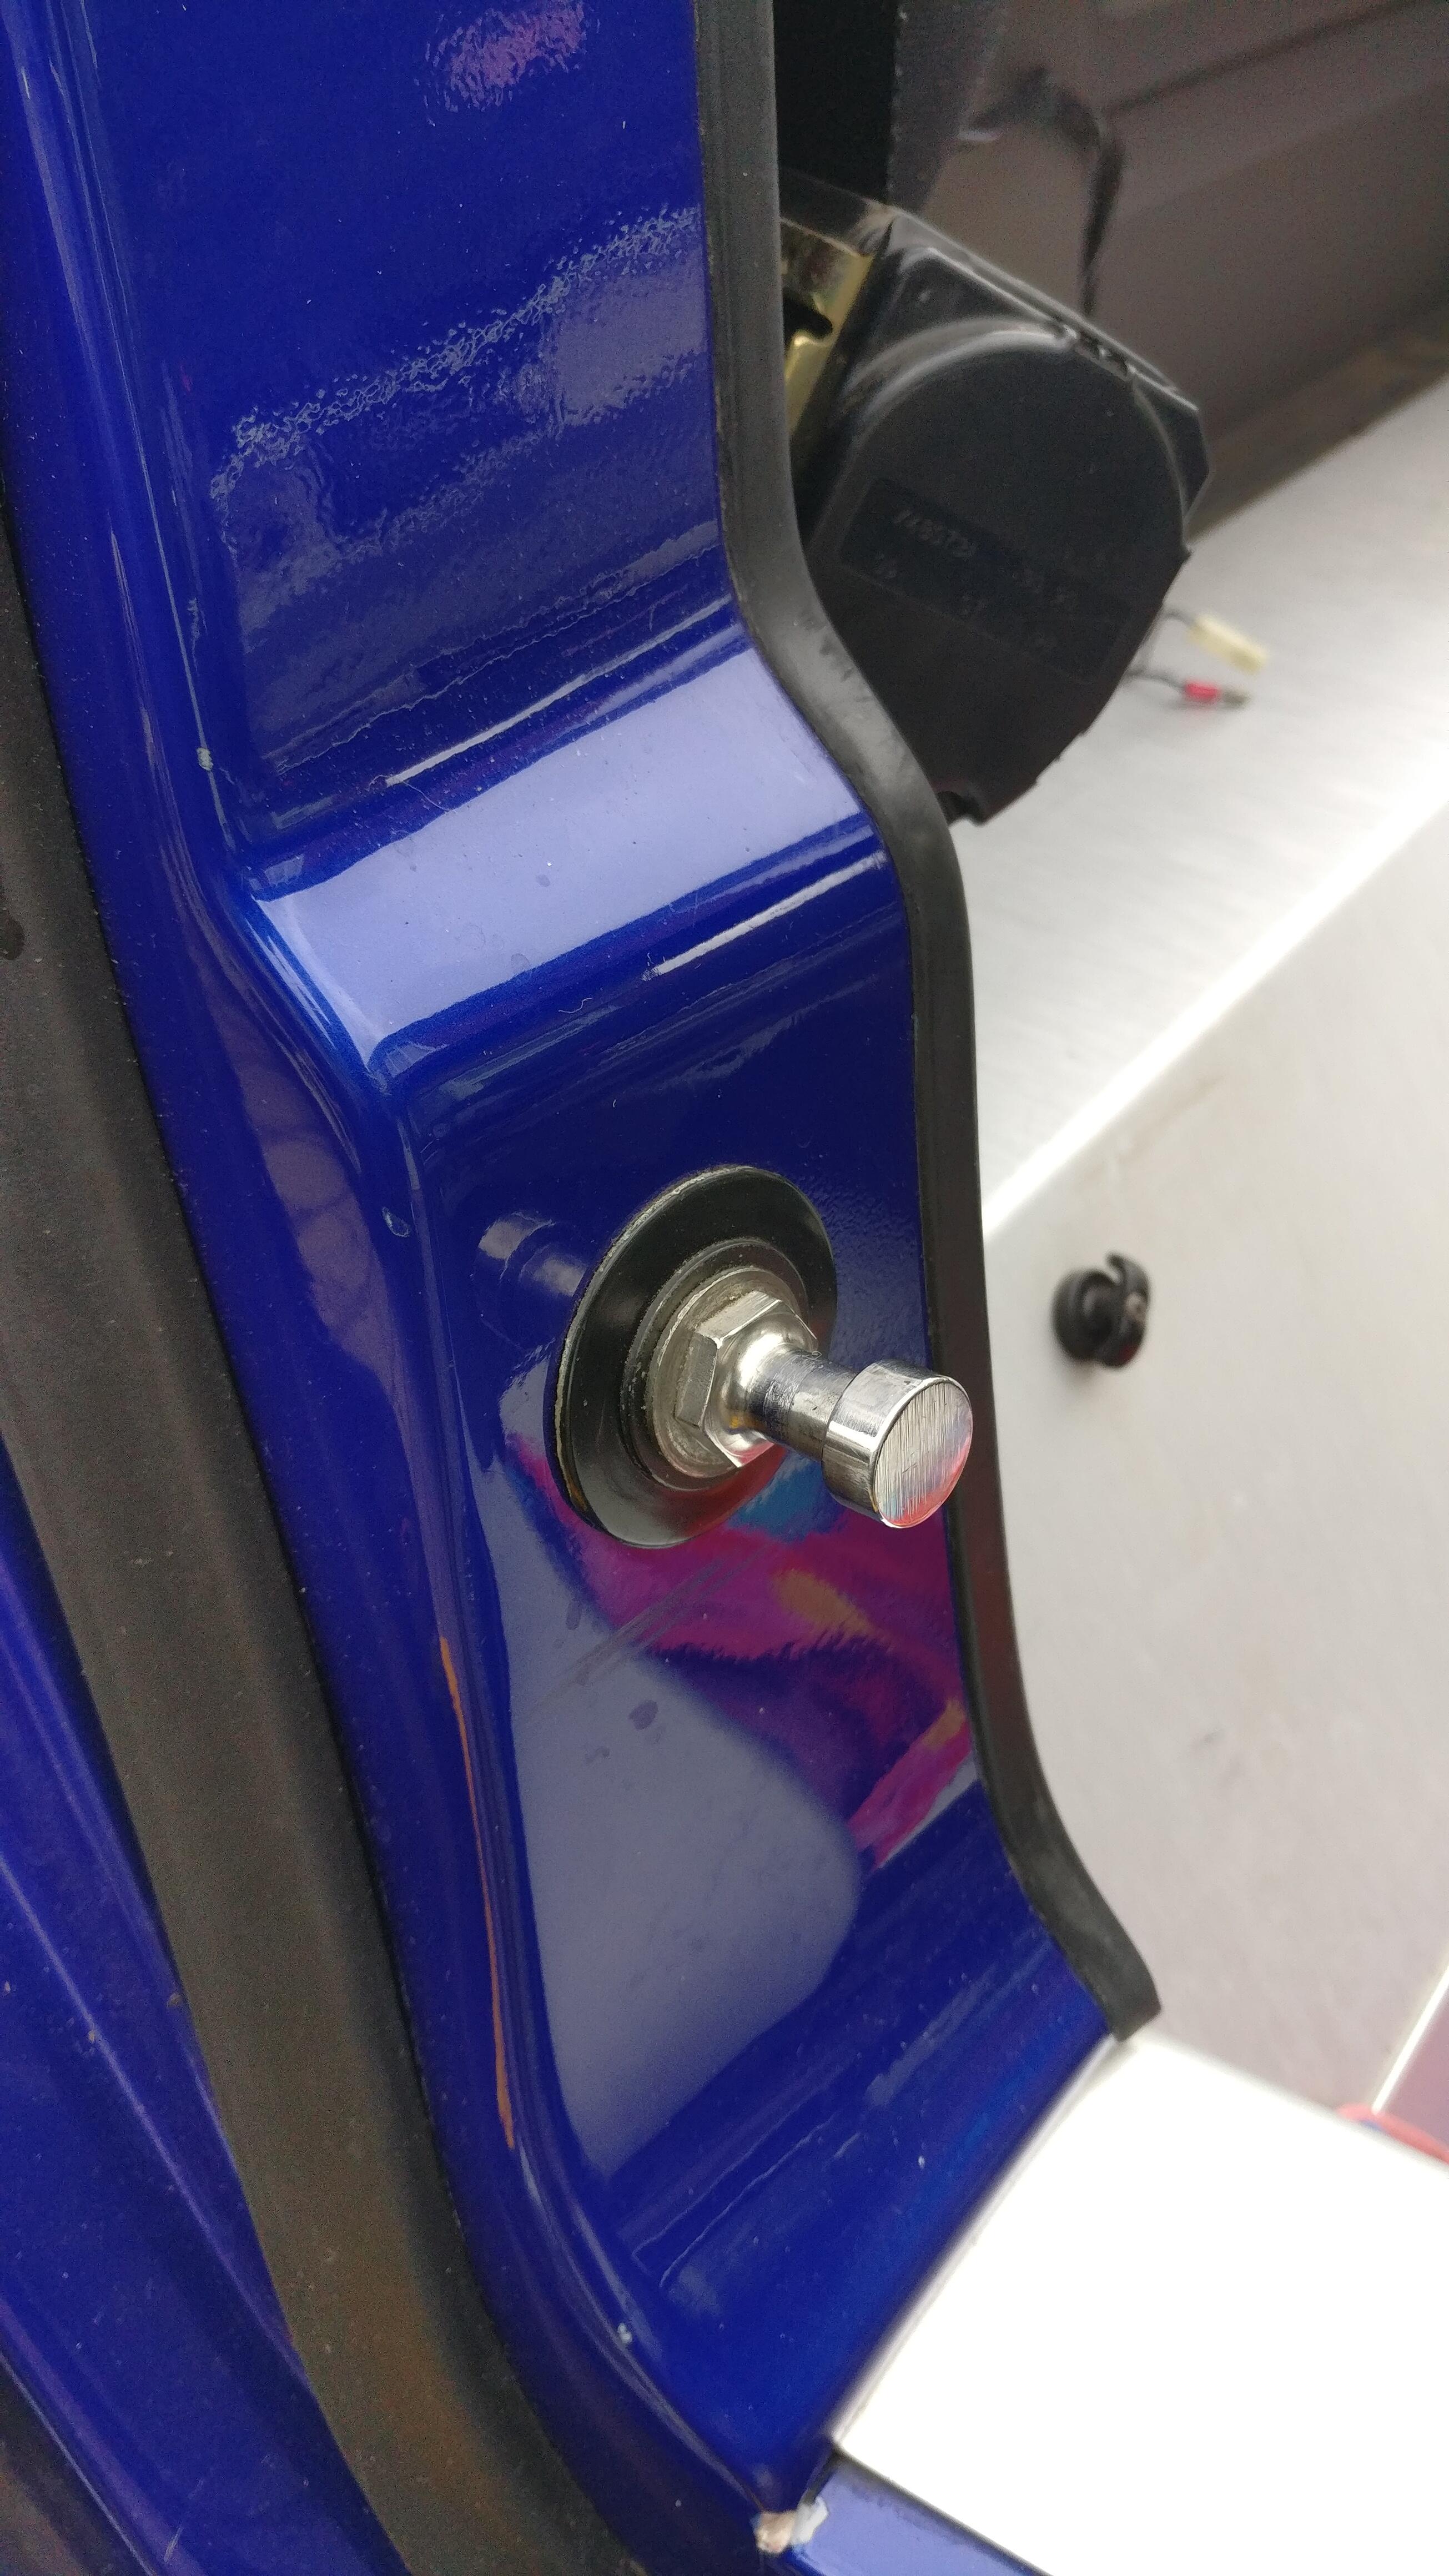
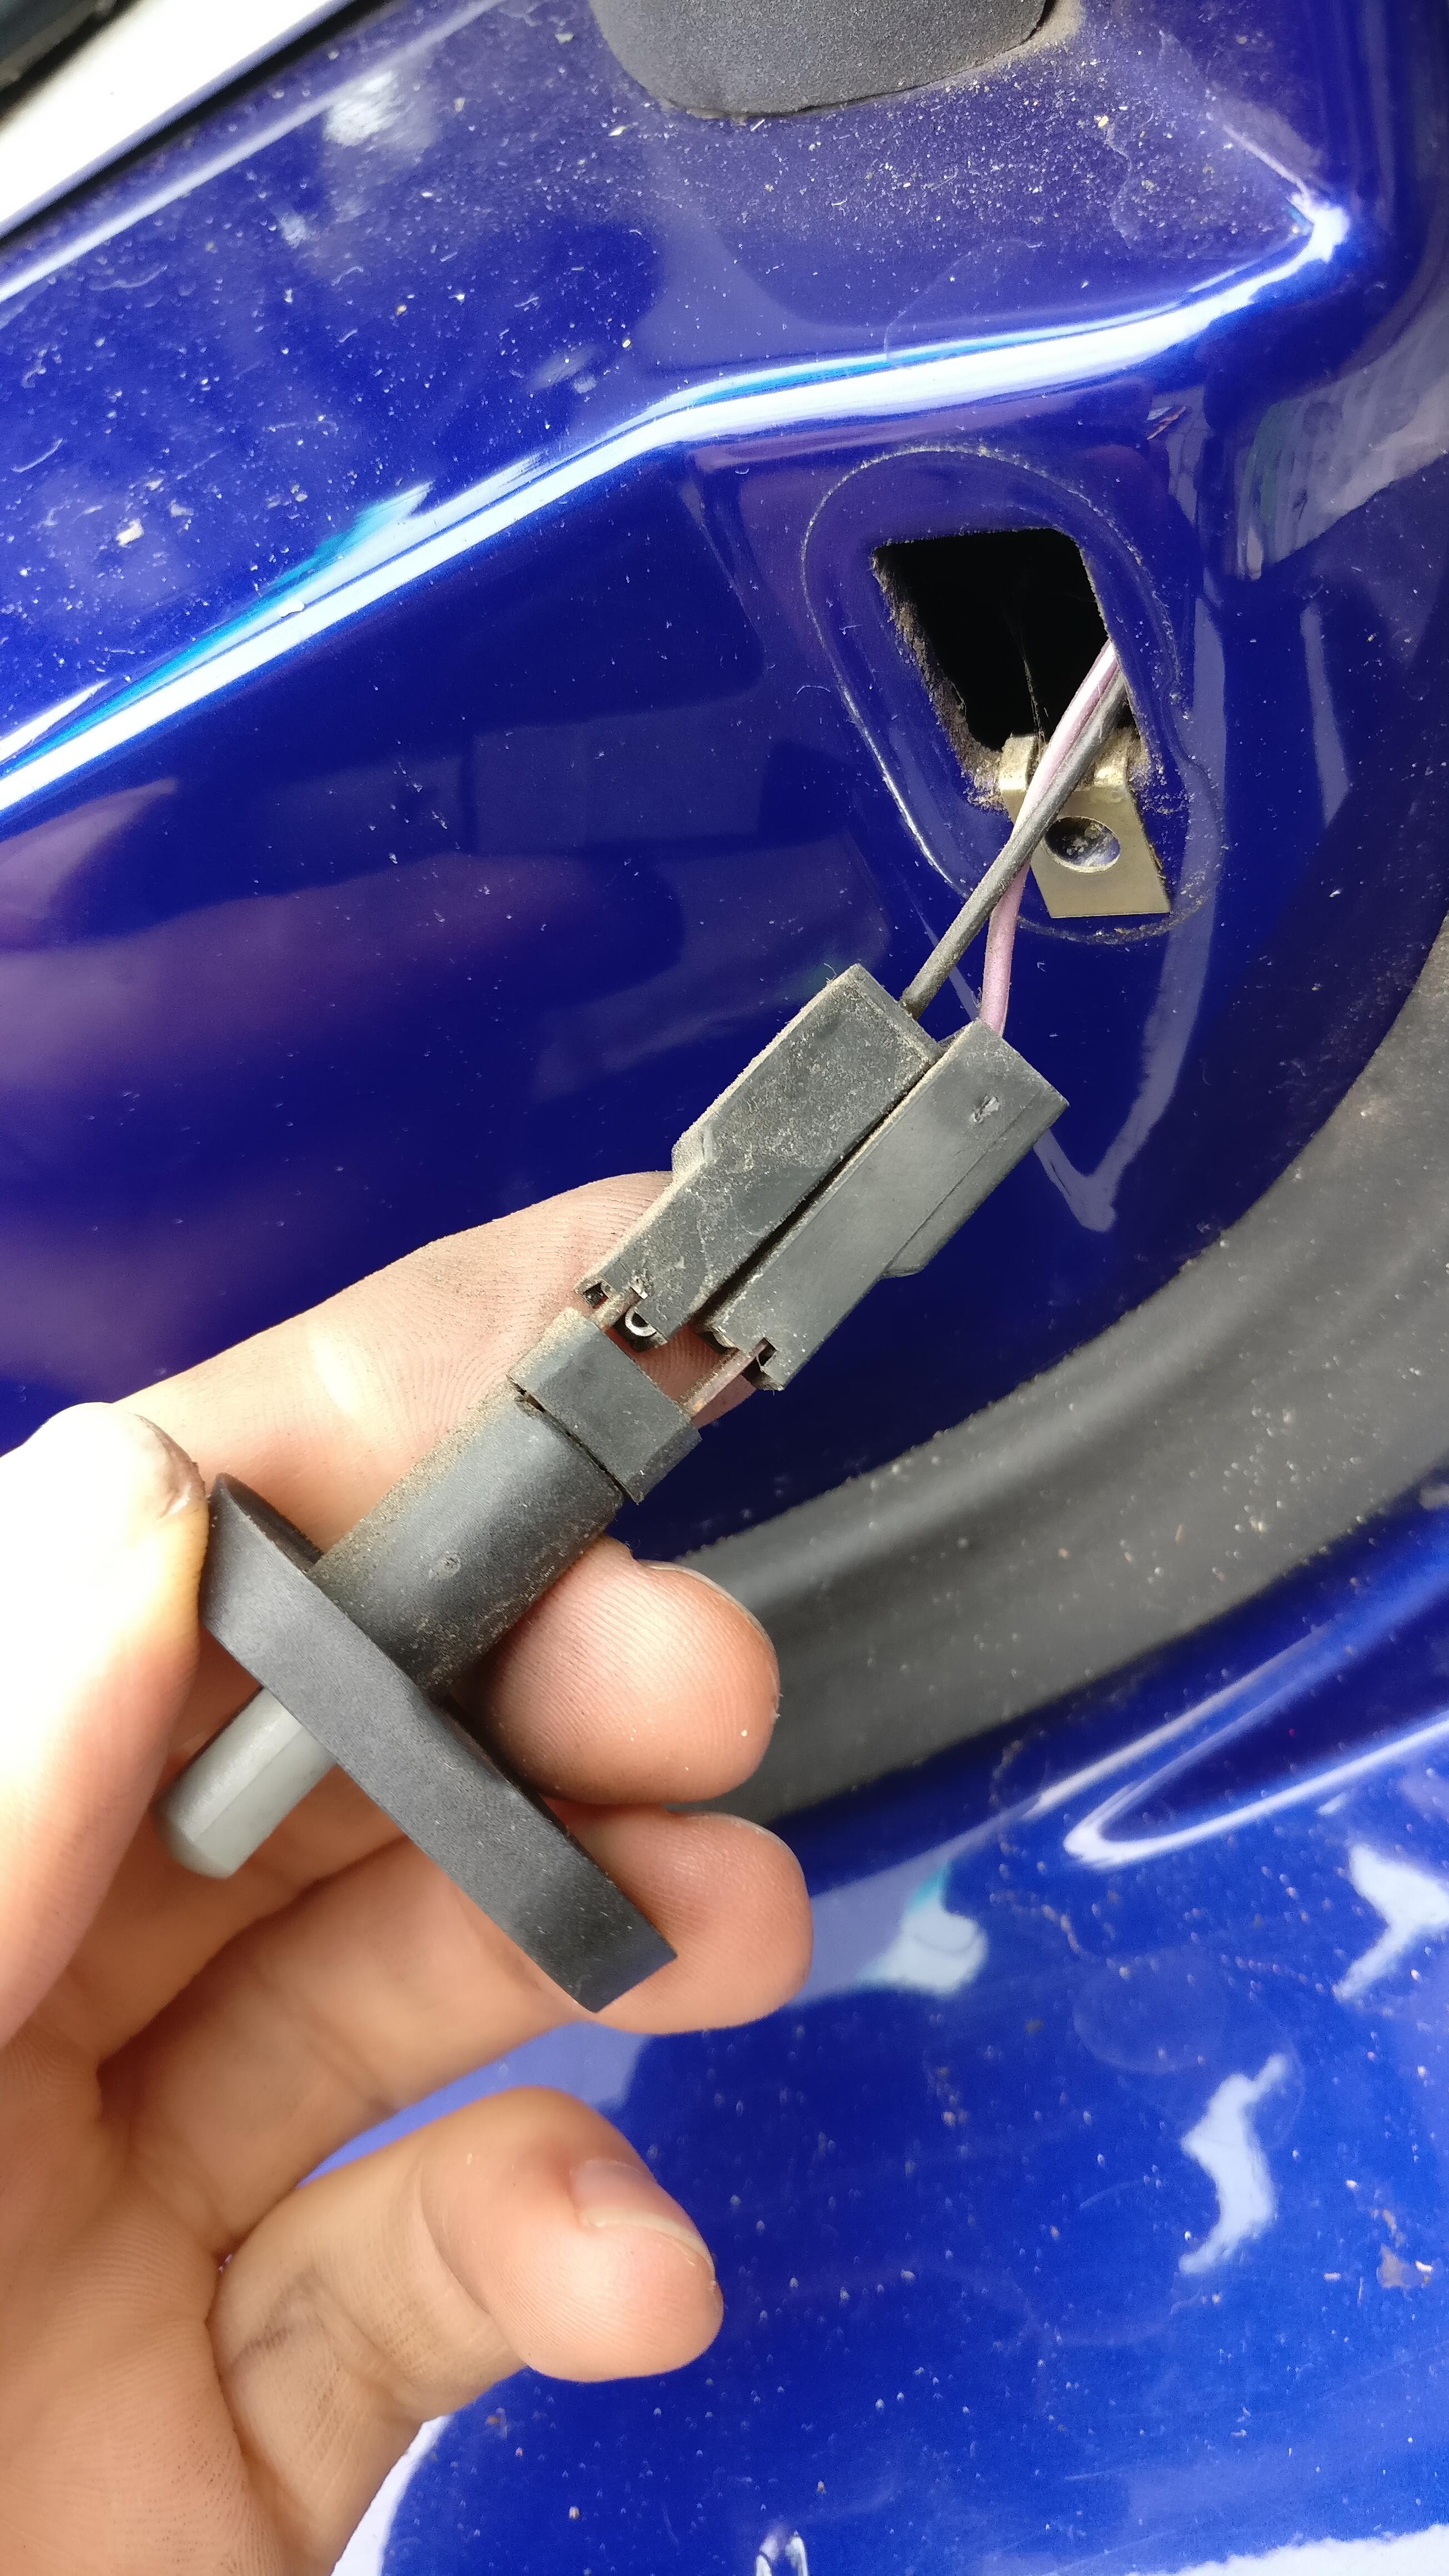
My manual override is connected through this box thing (technical term) and to check it was working I switched the ignition on and got multimeter to test. Current (sorry if that’s the wrong term) was there so I was happy to connect the new fan up. The new fan had the typical connector which was cut off and I crimped on some new spade connectors. I didn’t have a crimper so used the cutting blade part of some long nose pliers. I cut one spade connector in half trying to crimp too hard.
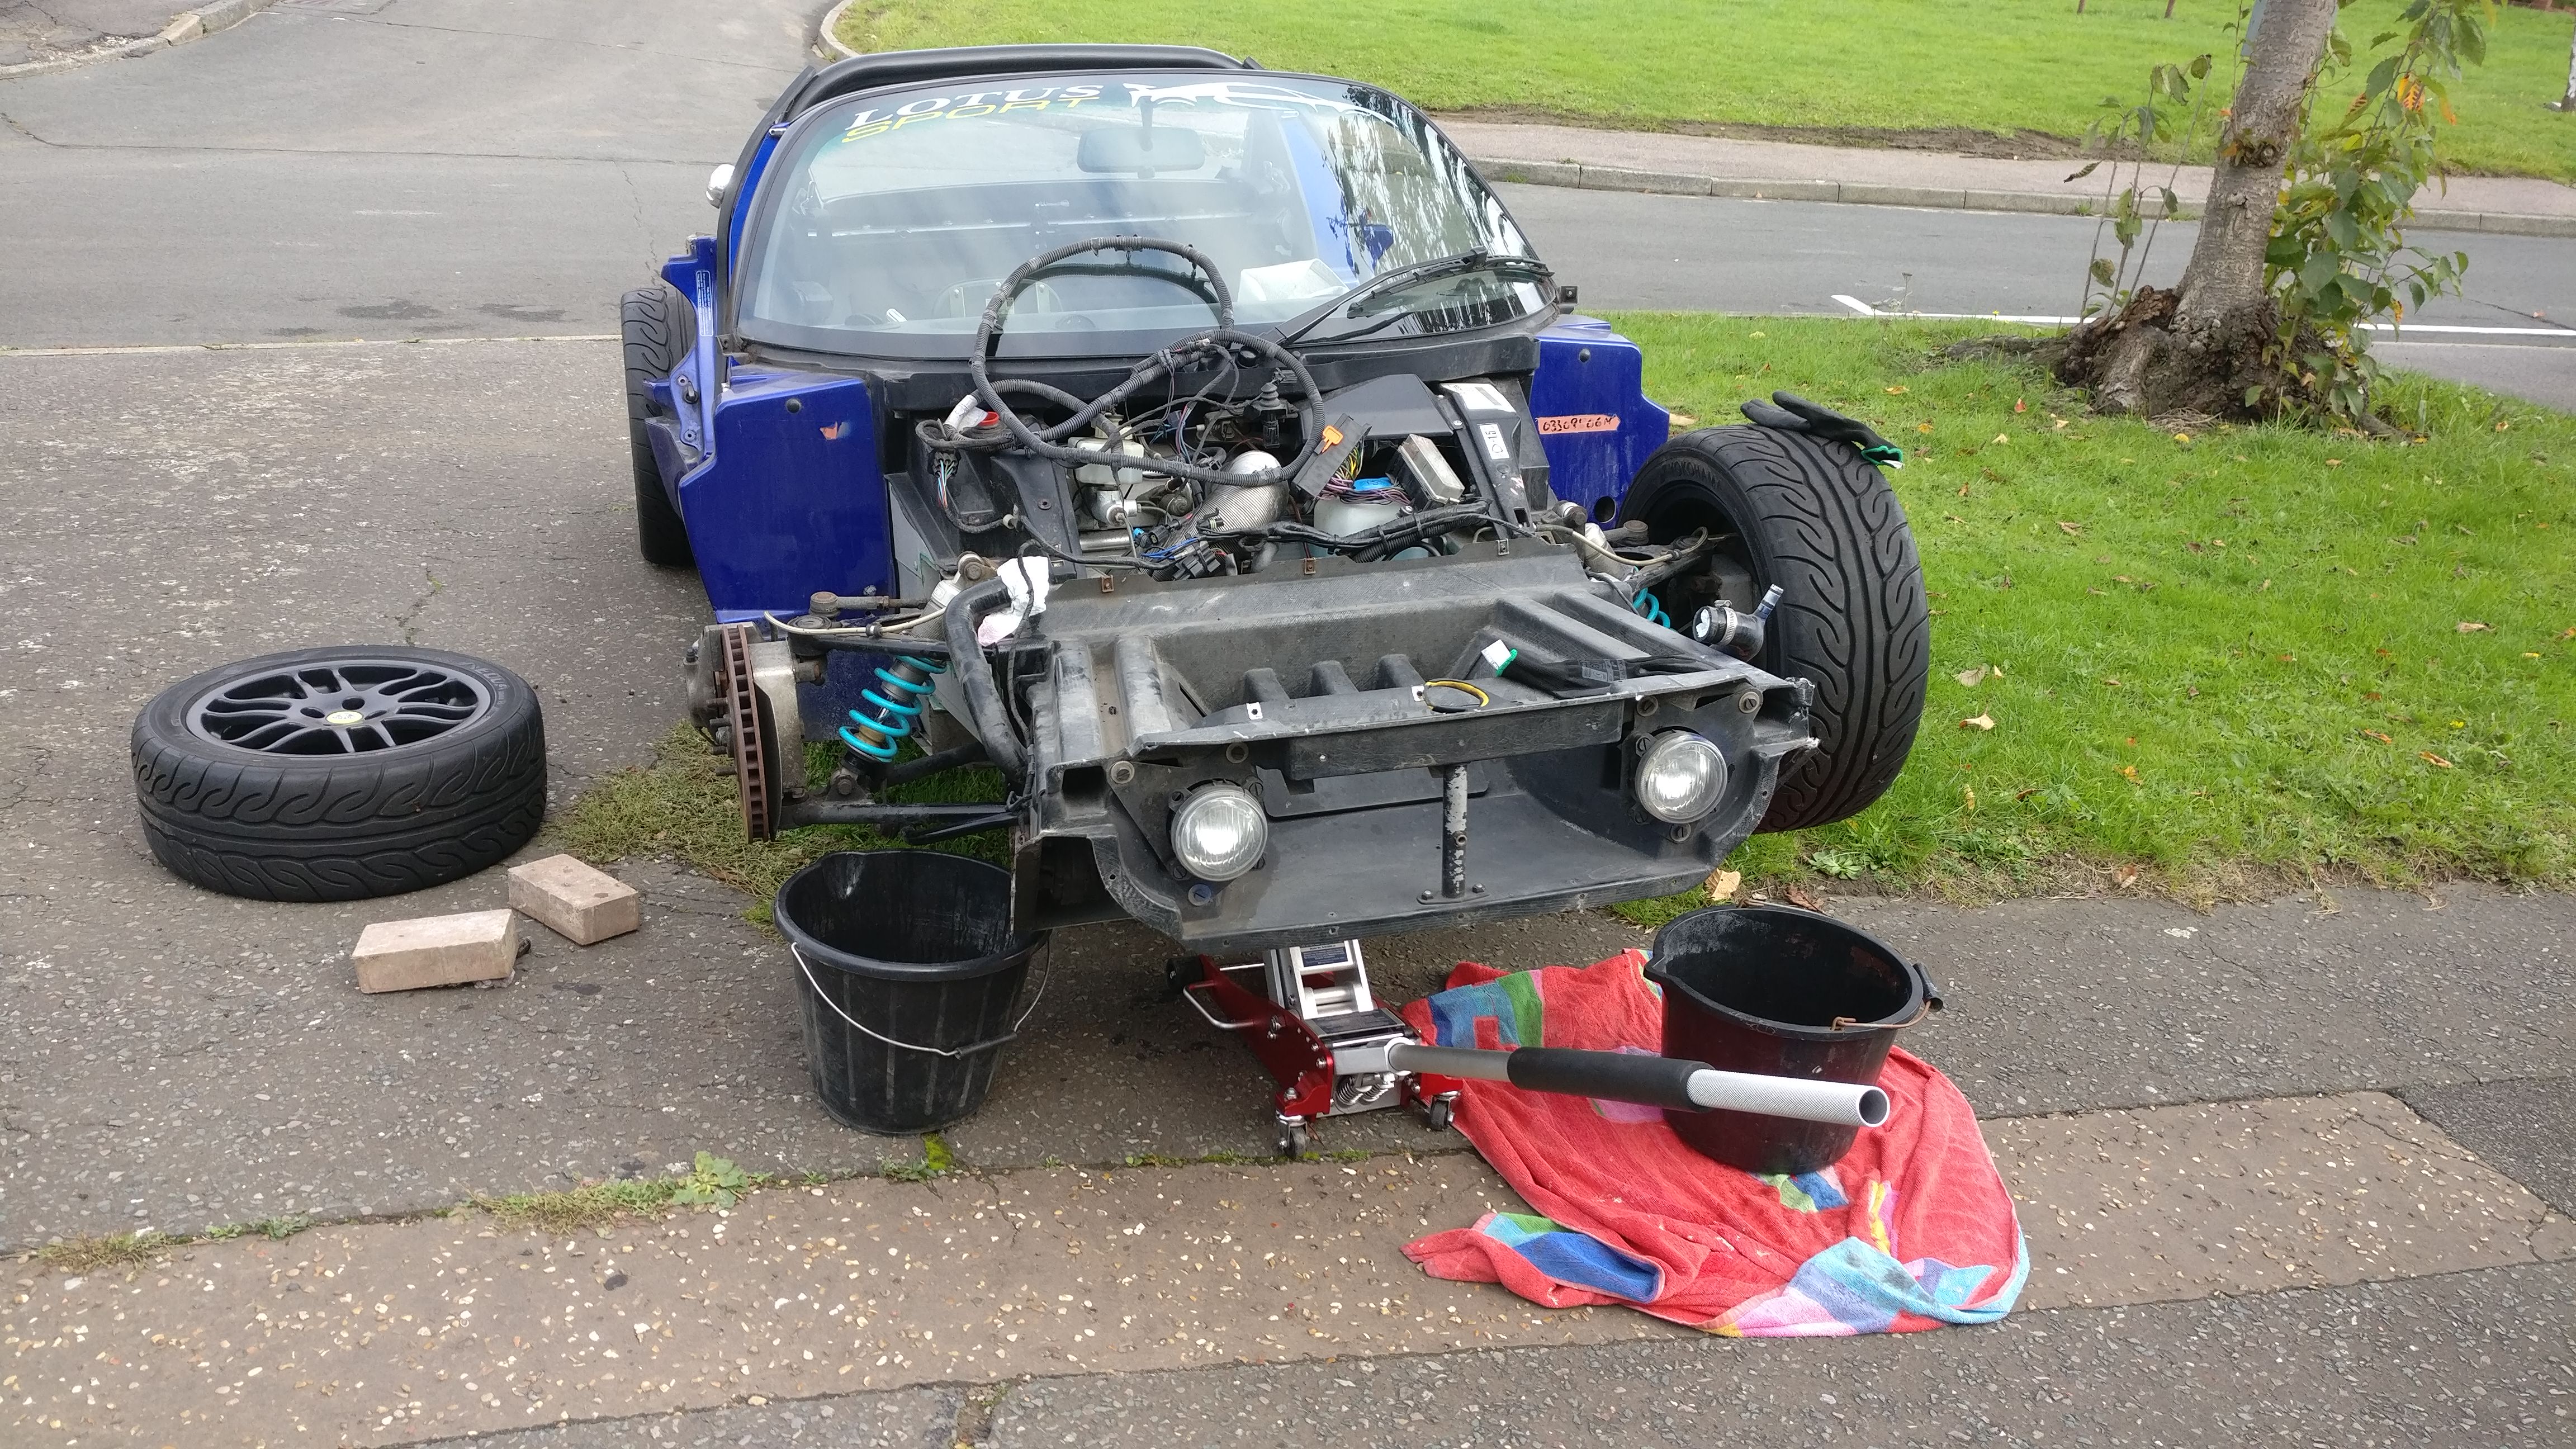
Draining the fluid was straight forward. I made sure I got a bucket with litre measurements inside to know roughly how much coolant would be removed. I jacked up the front so the bucket would fit under to catch as much coolant as I could. In total I drained roughly 2.5 litres and blocked the radiator and pipes with tissue paper to keep any crap out.
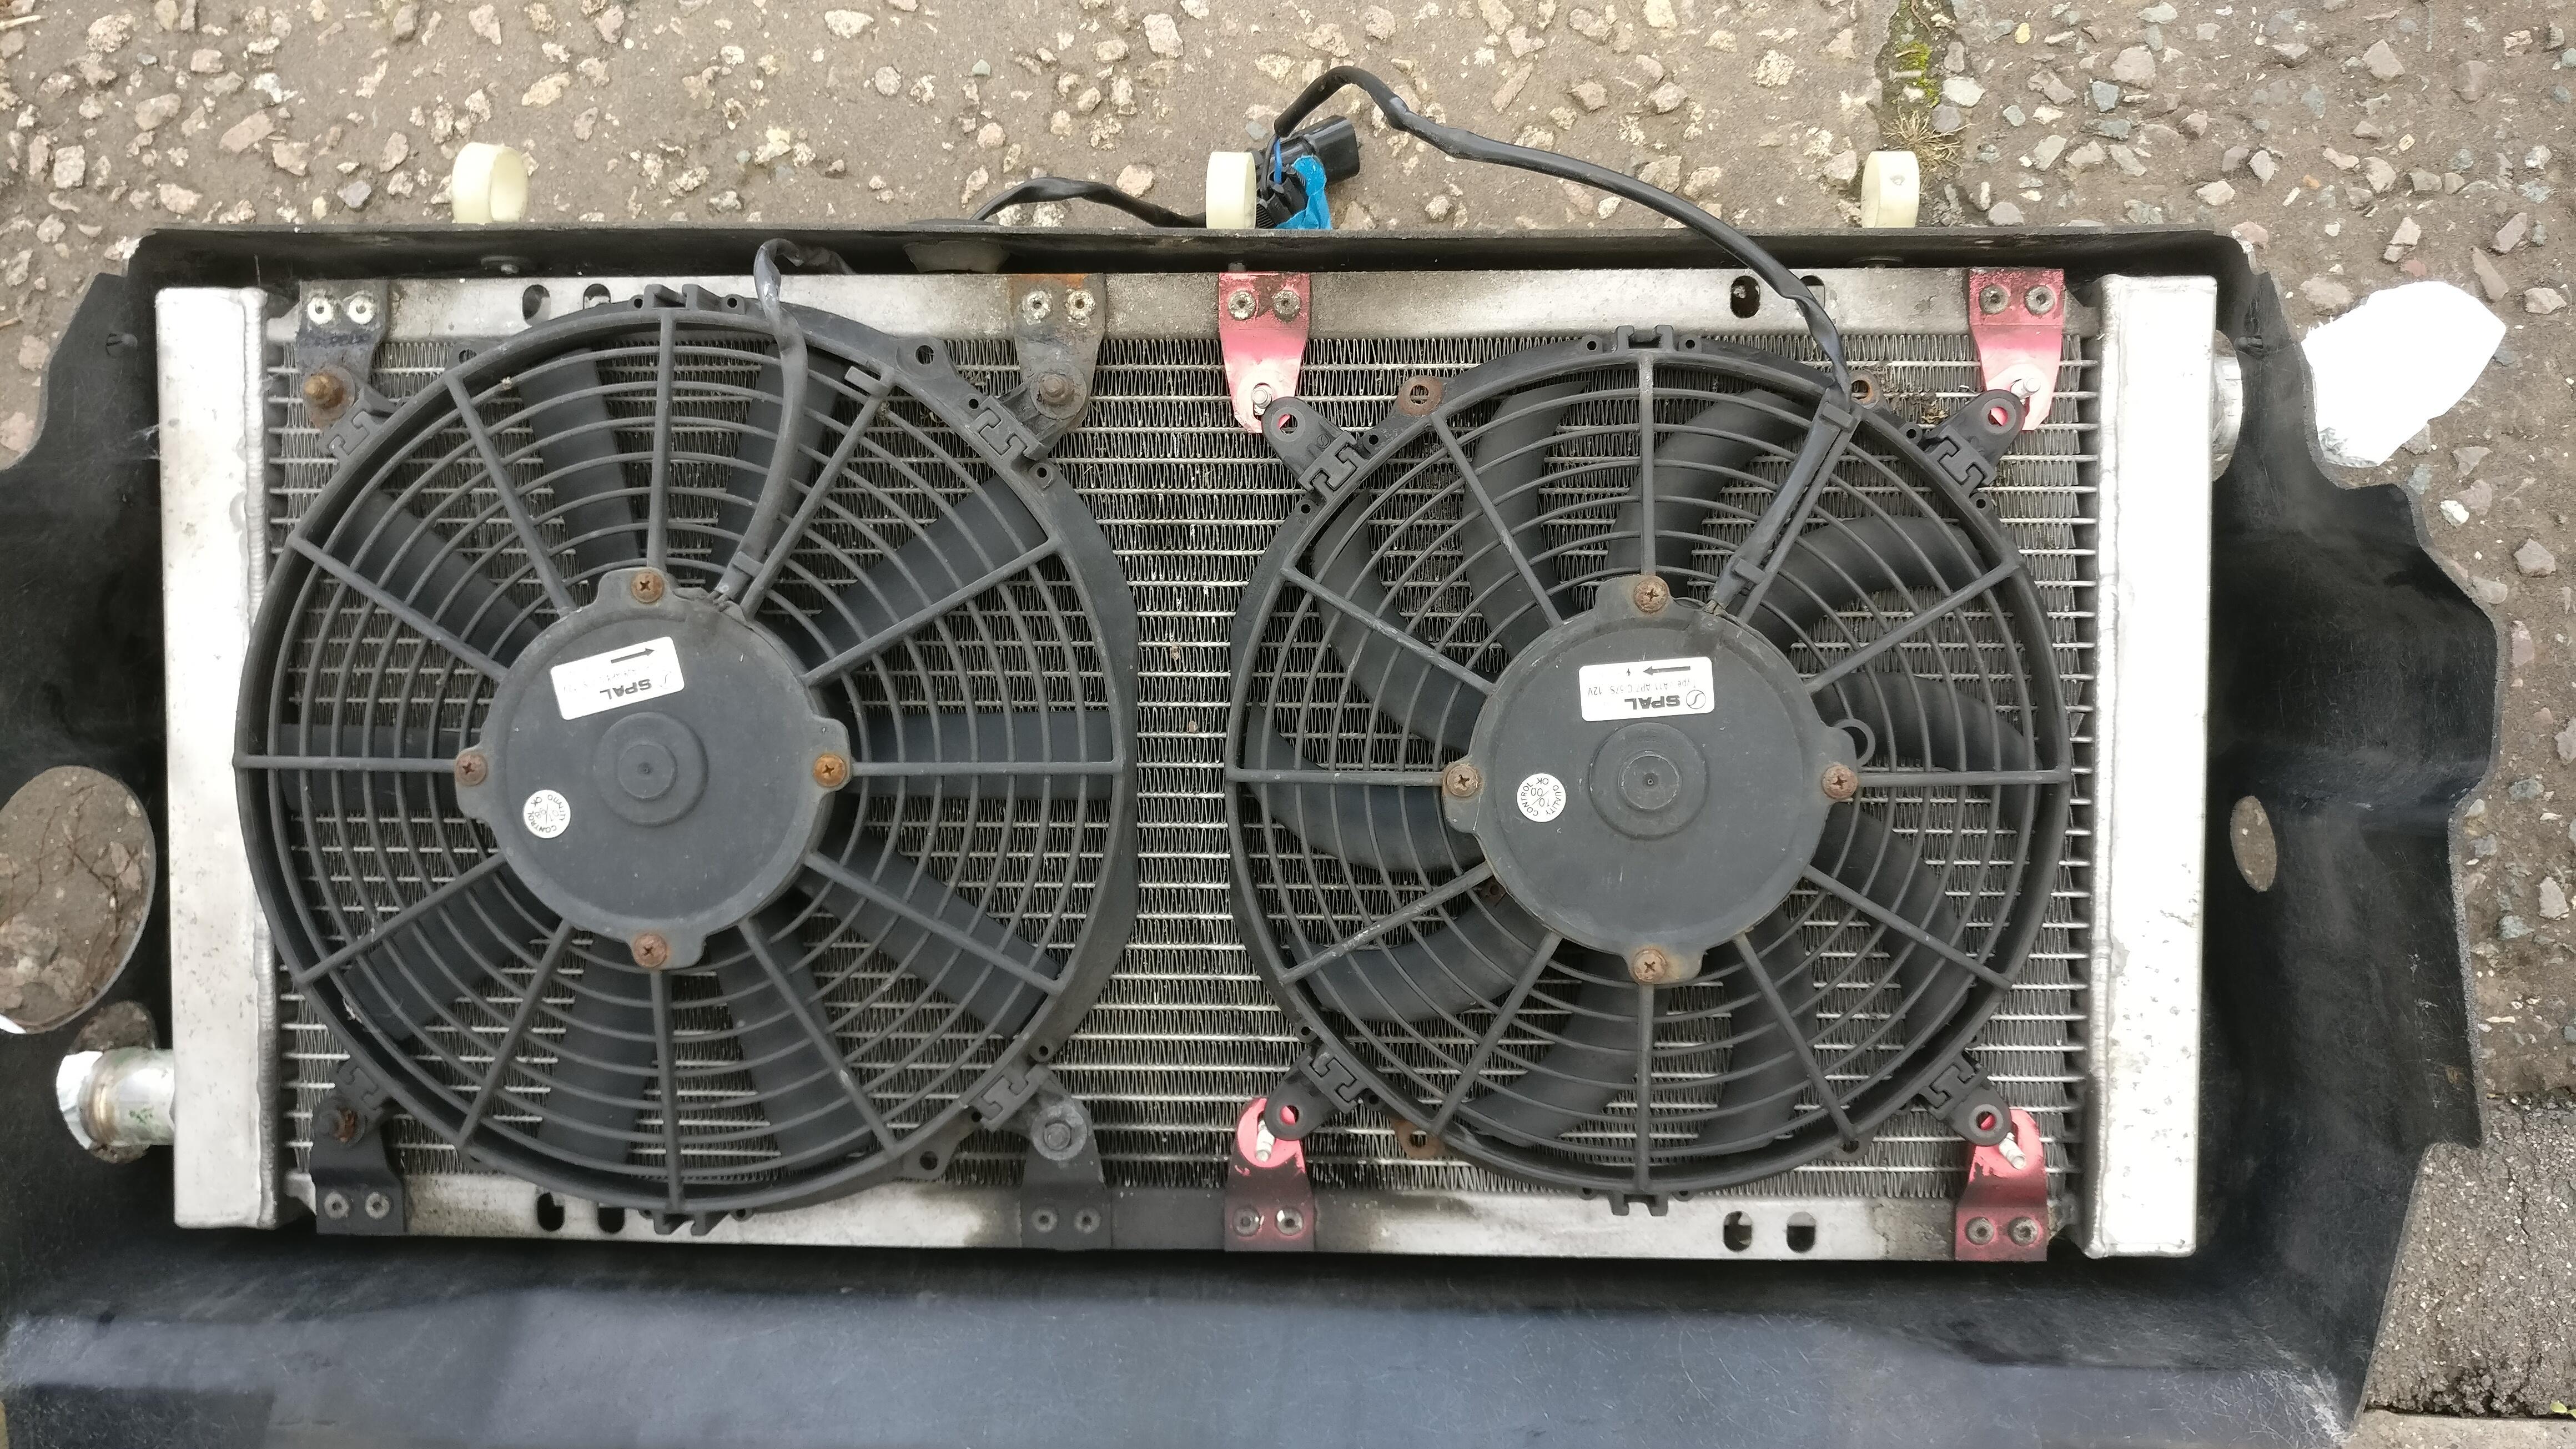
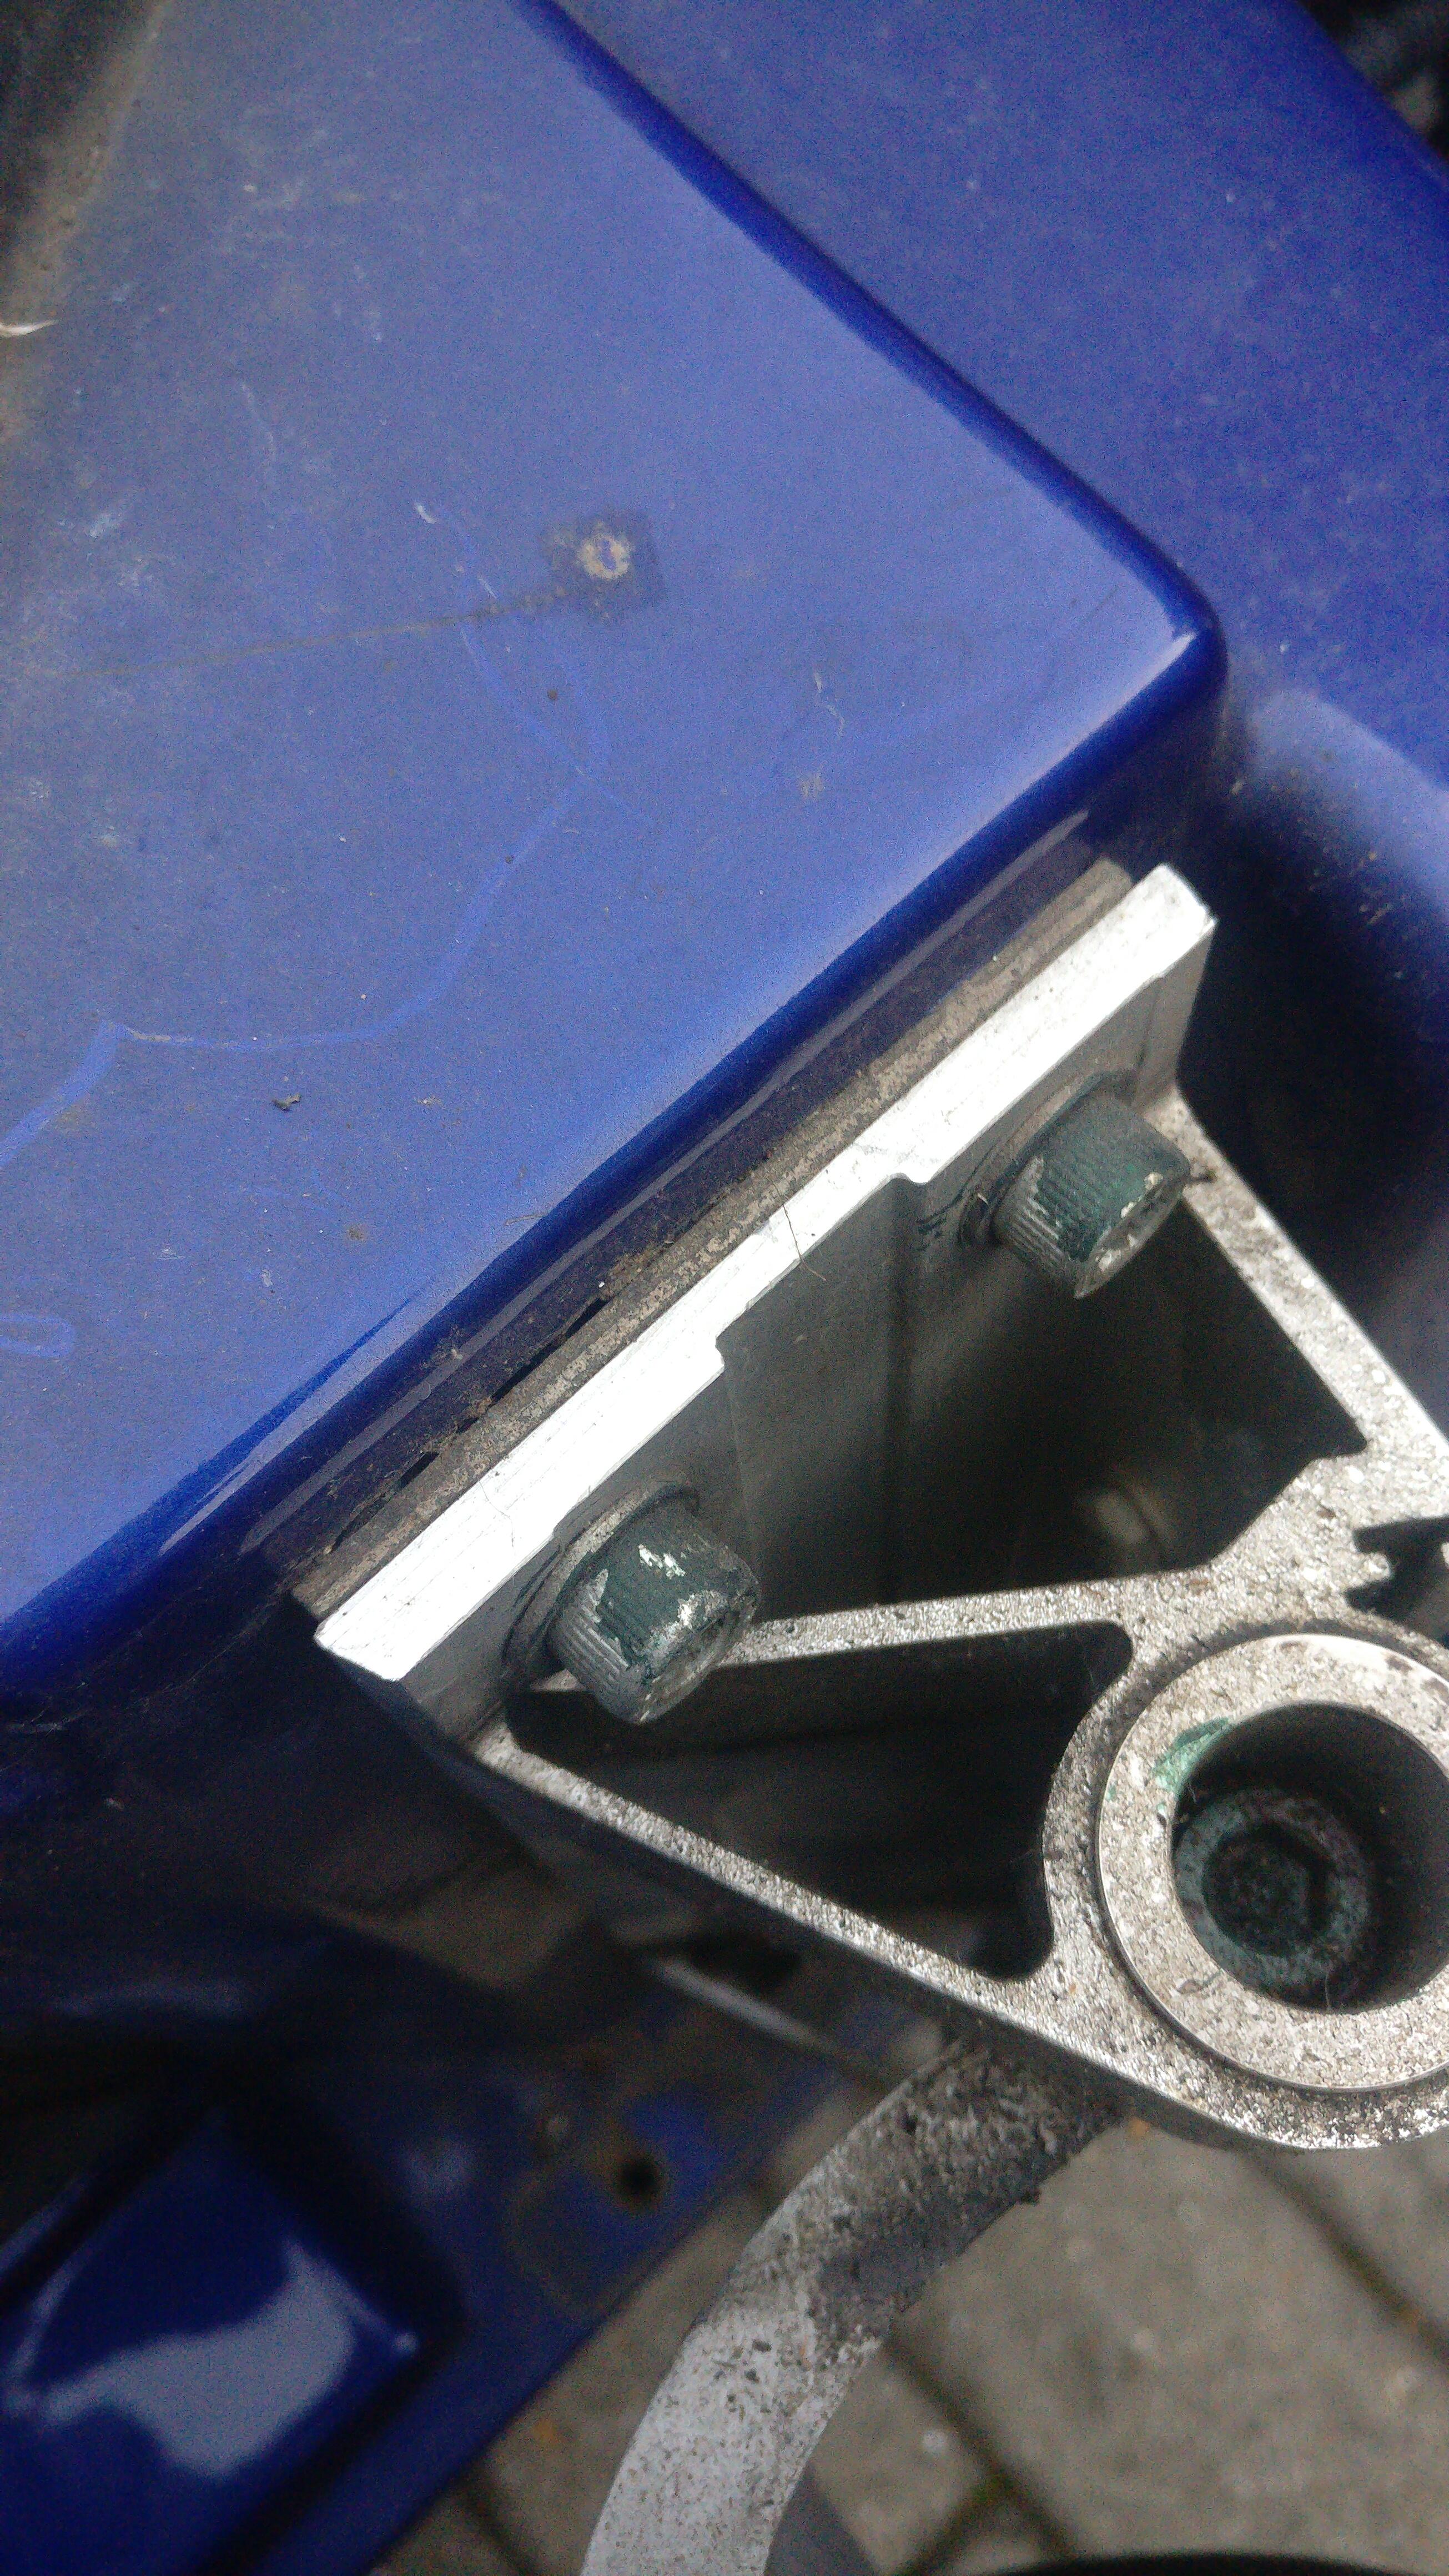
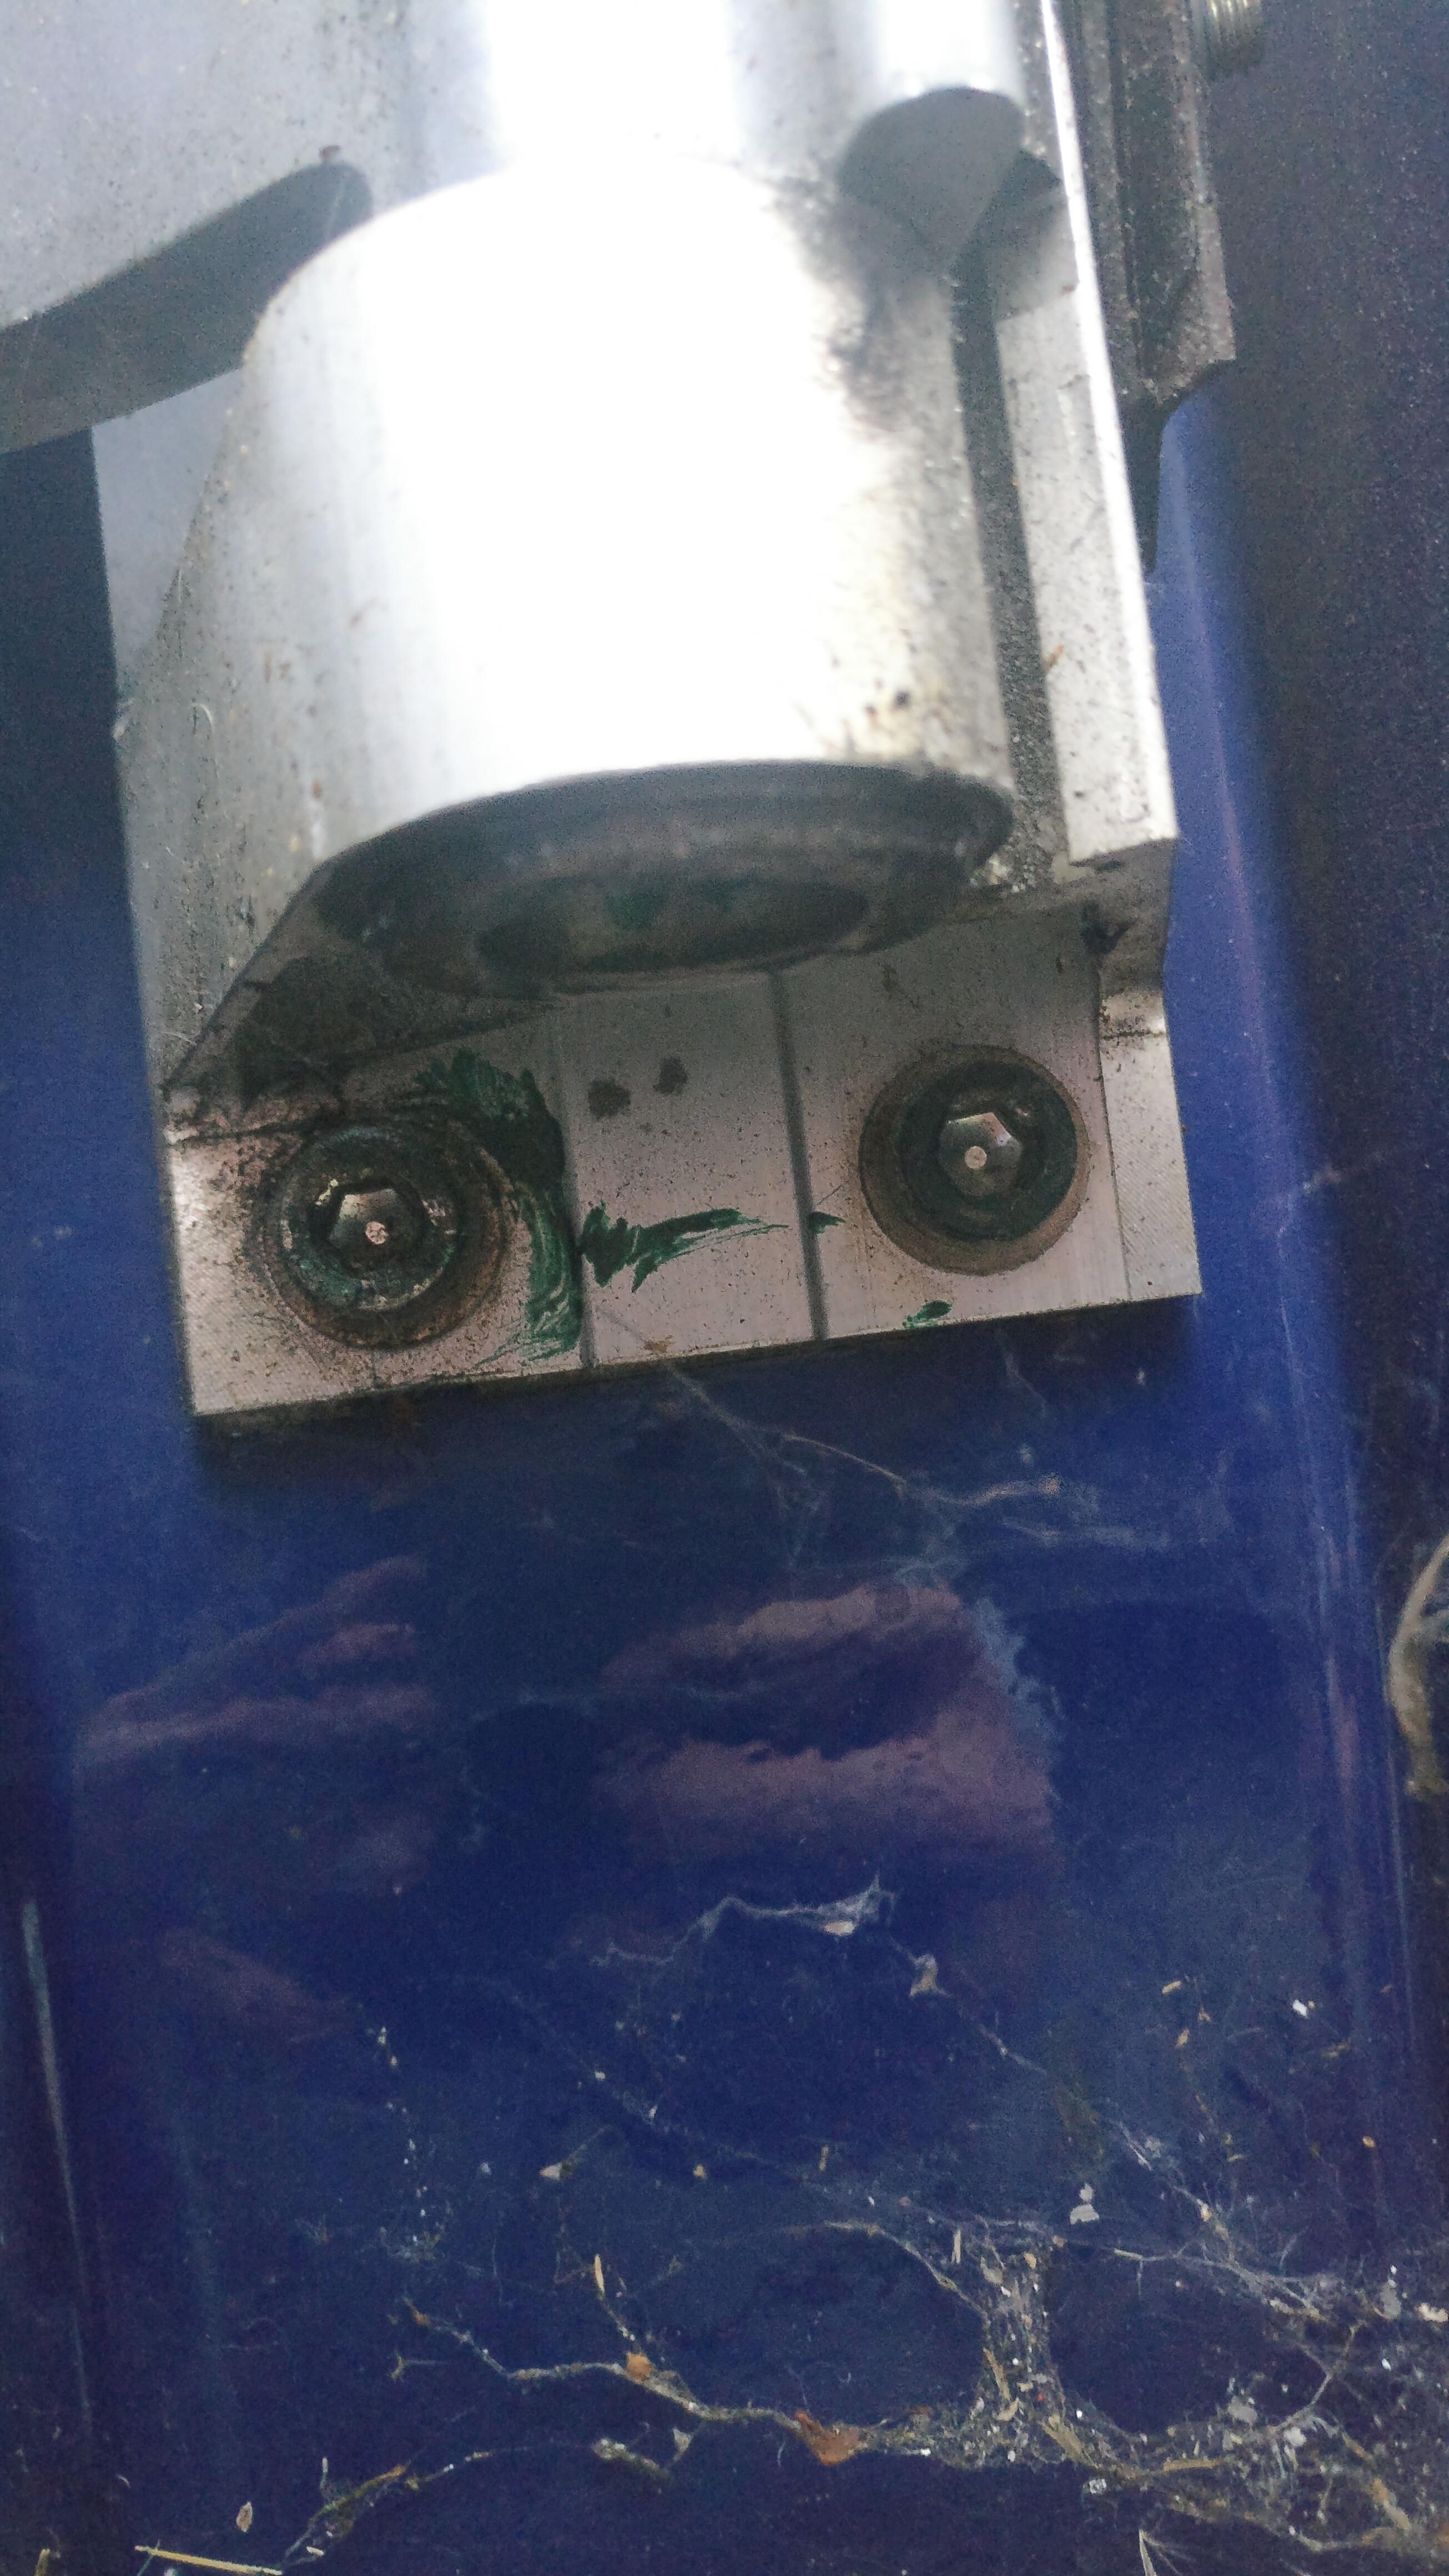
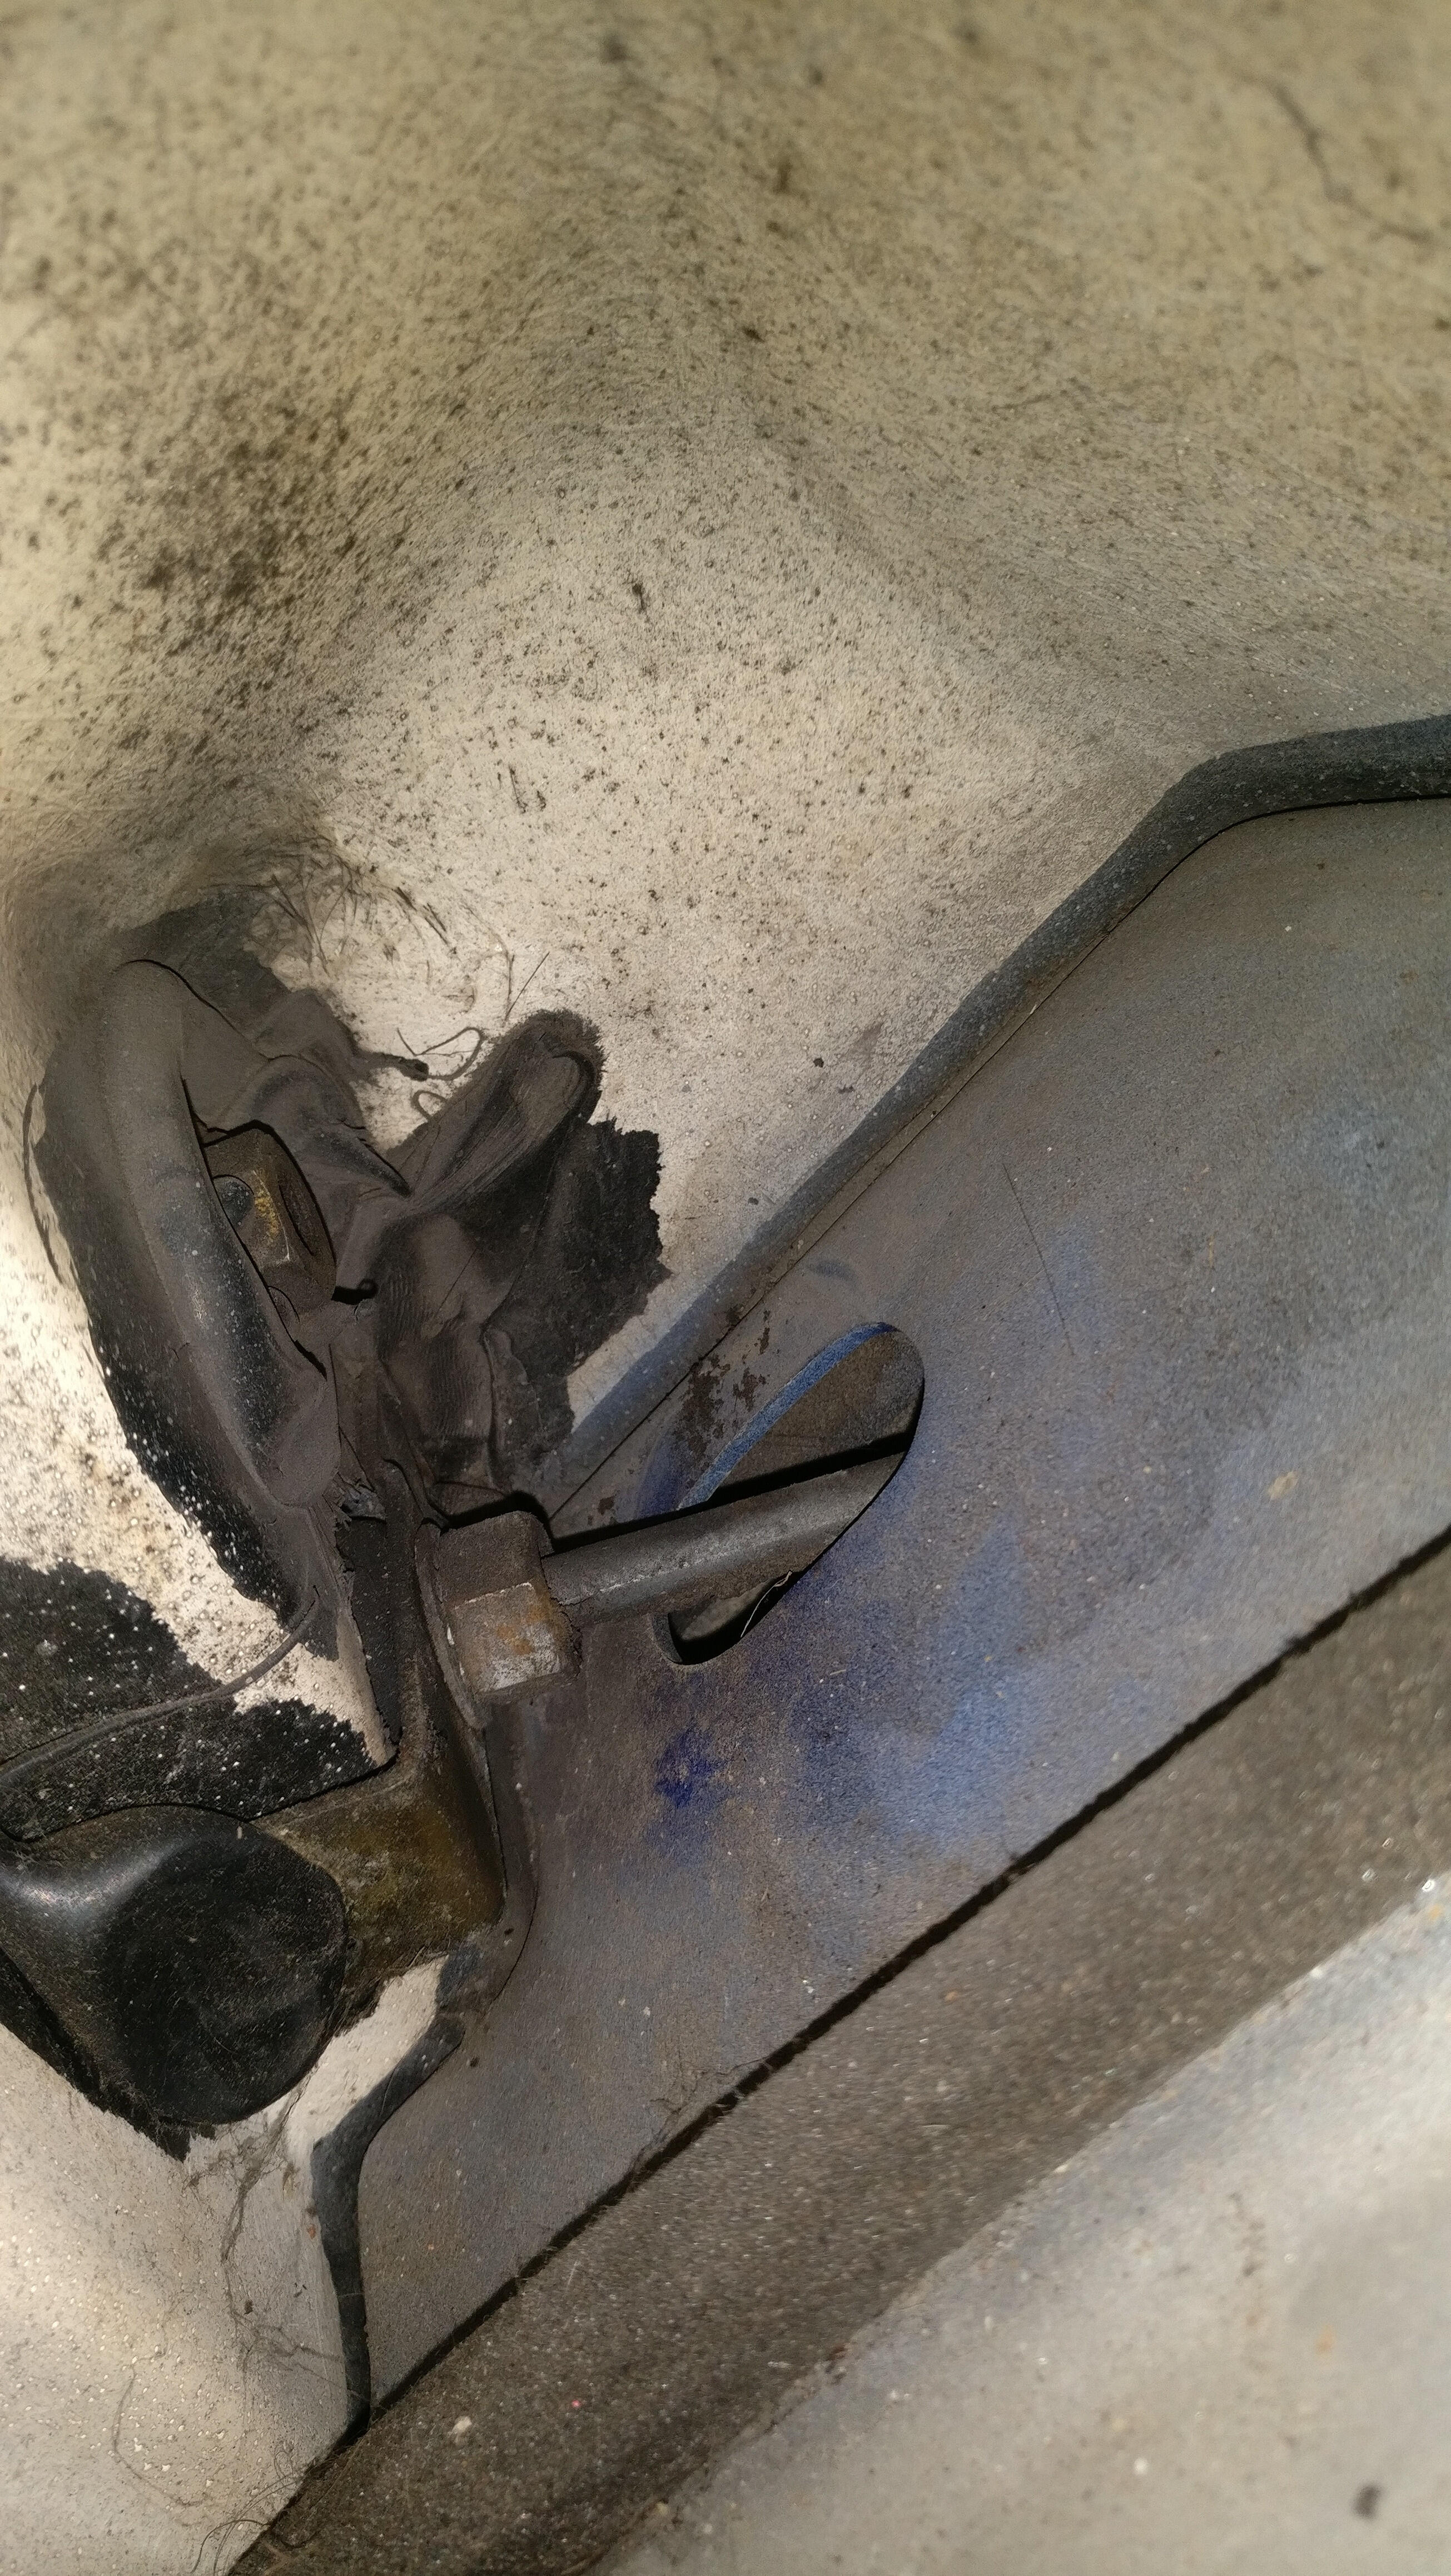
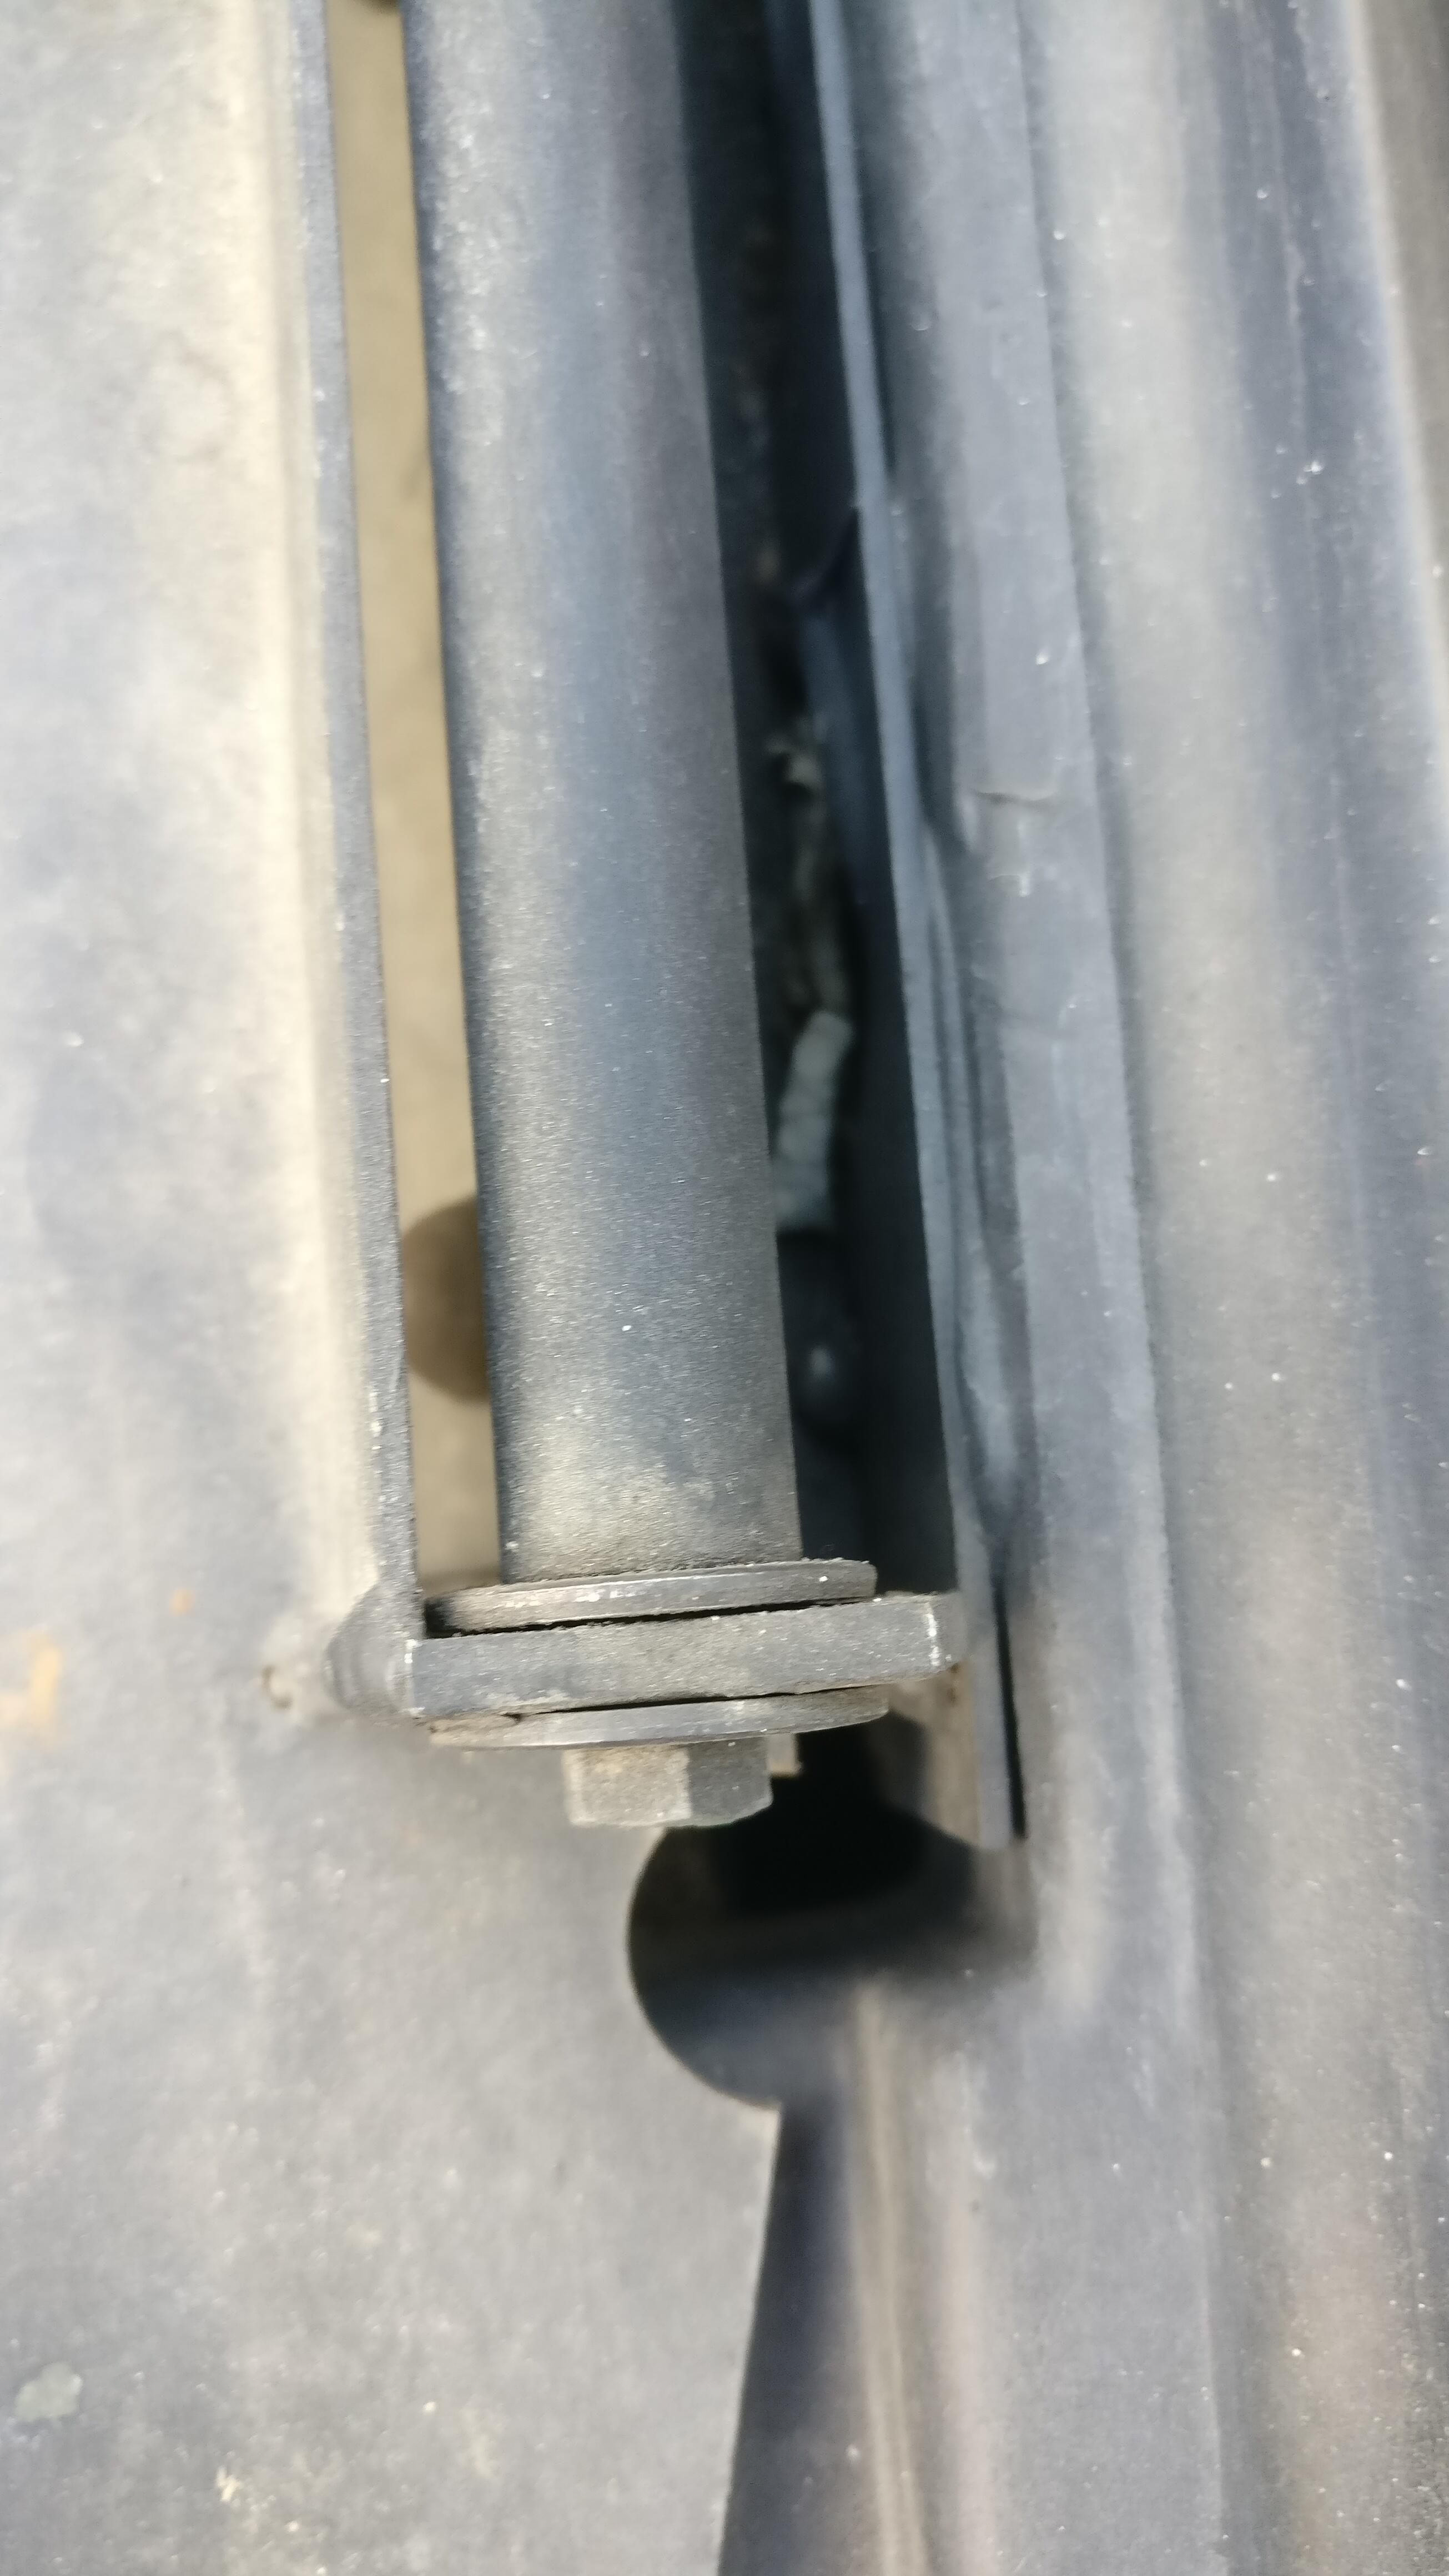
Off came the seized fan and I kept the mounting clips from it for the new fan. I noticed a bit of a problem when I went to do up the bolts. The new fan is smaller than the seized one and didn’t line up with the riveted brackets.
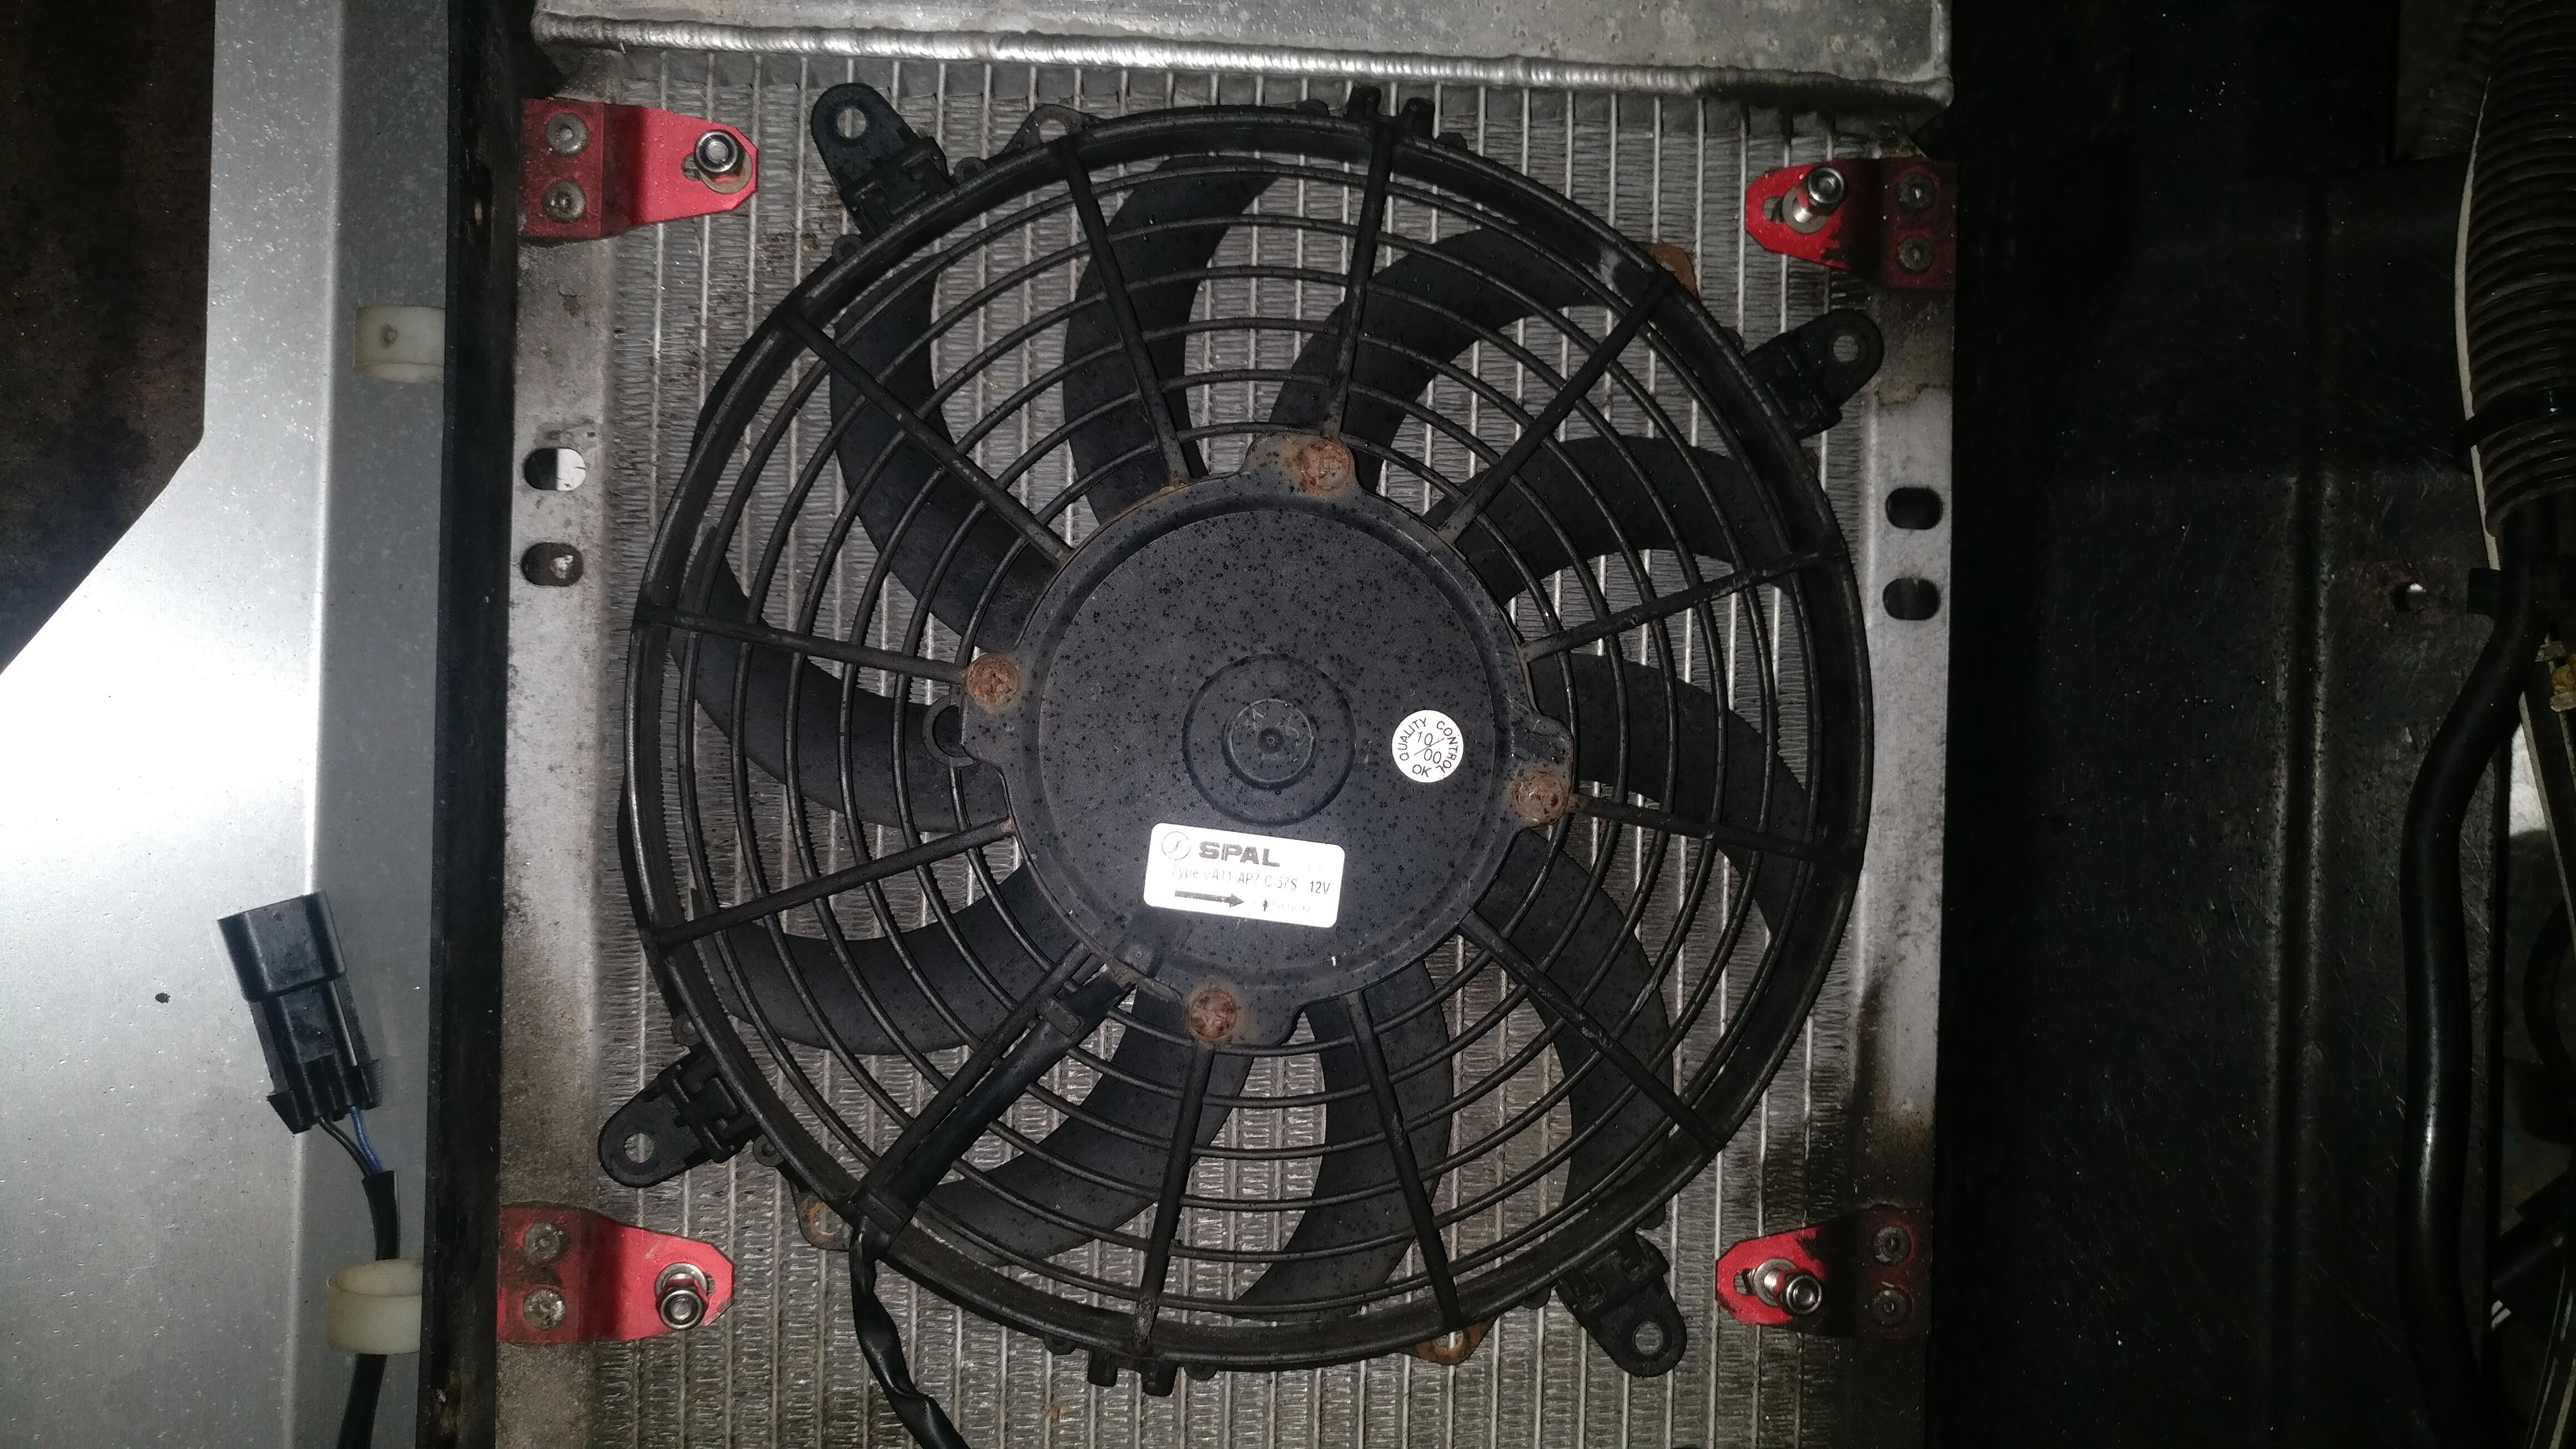
It wasn’t far off, but I didn’t want to drill and re-rivet the brackets back on, however after twisting the fan a little I had an idea.
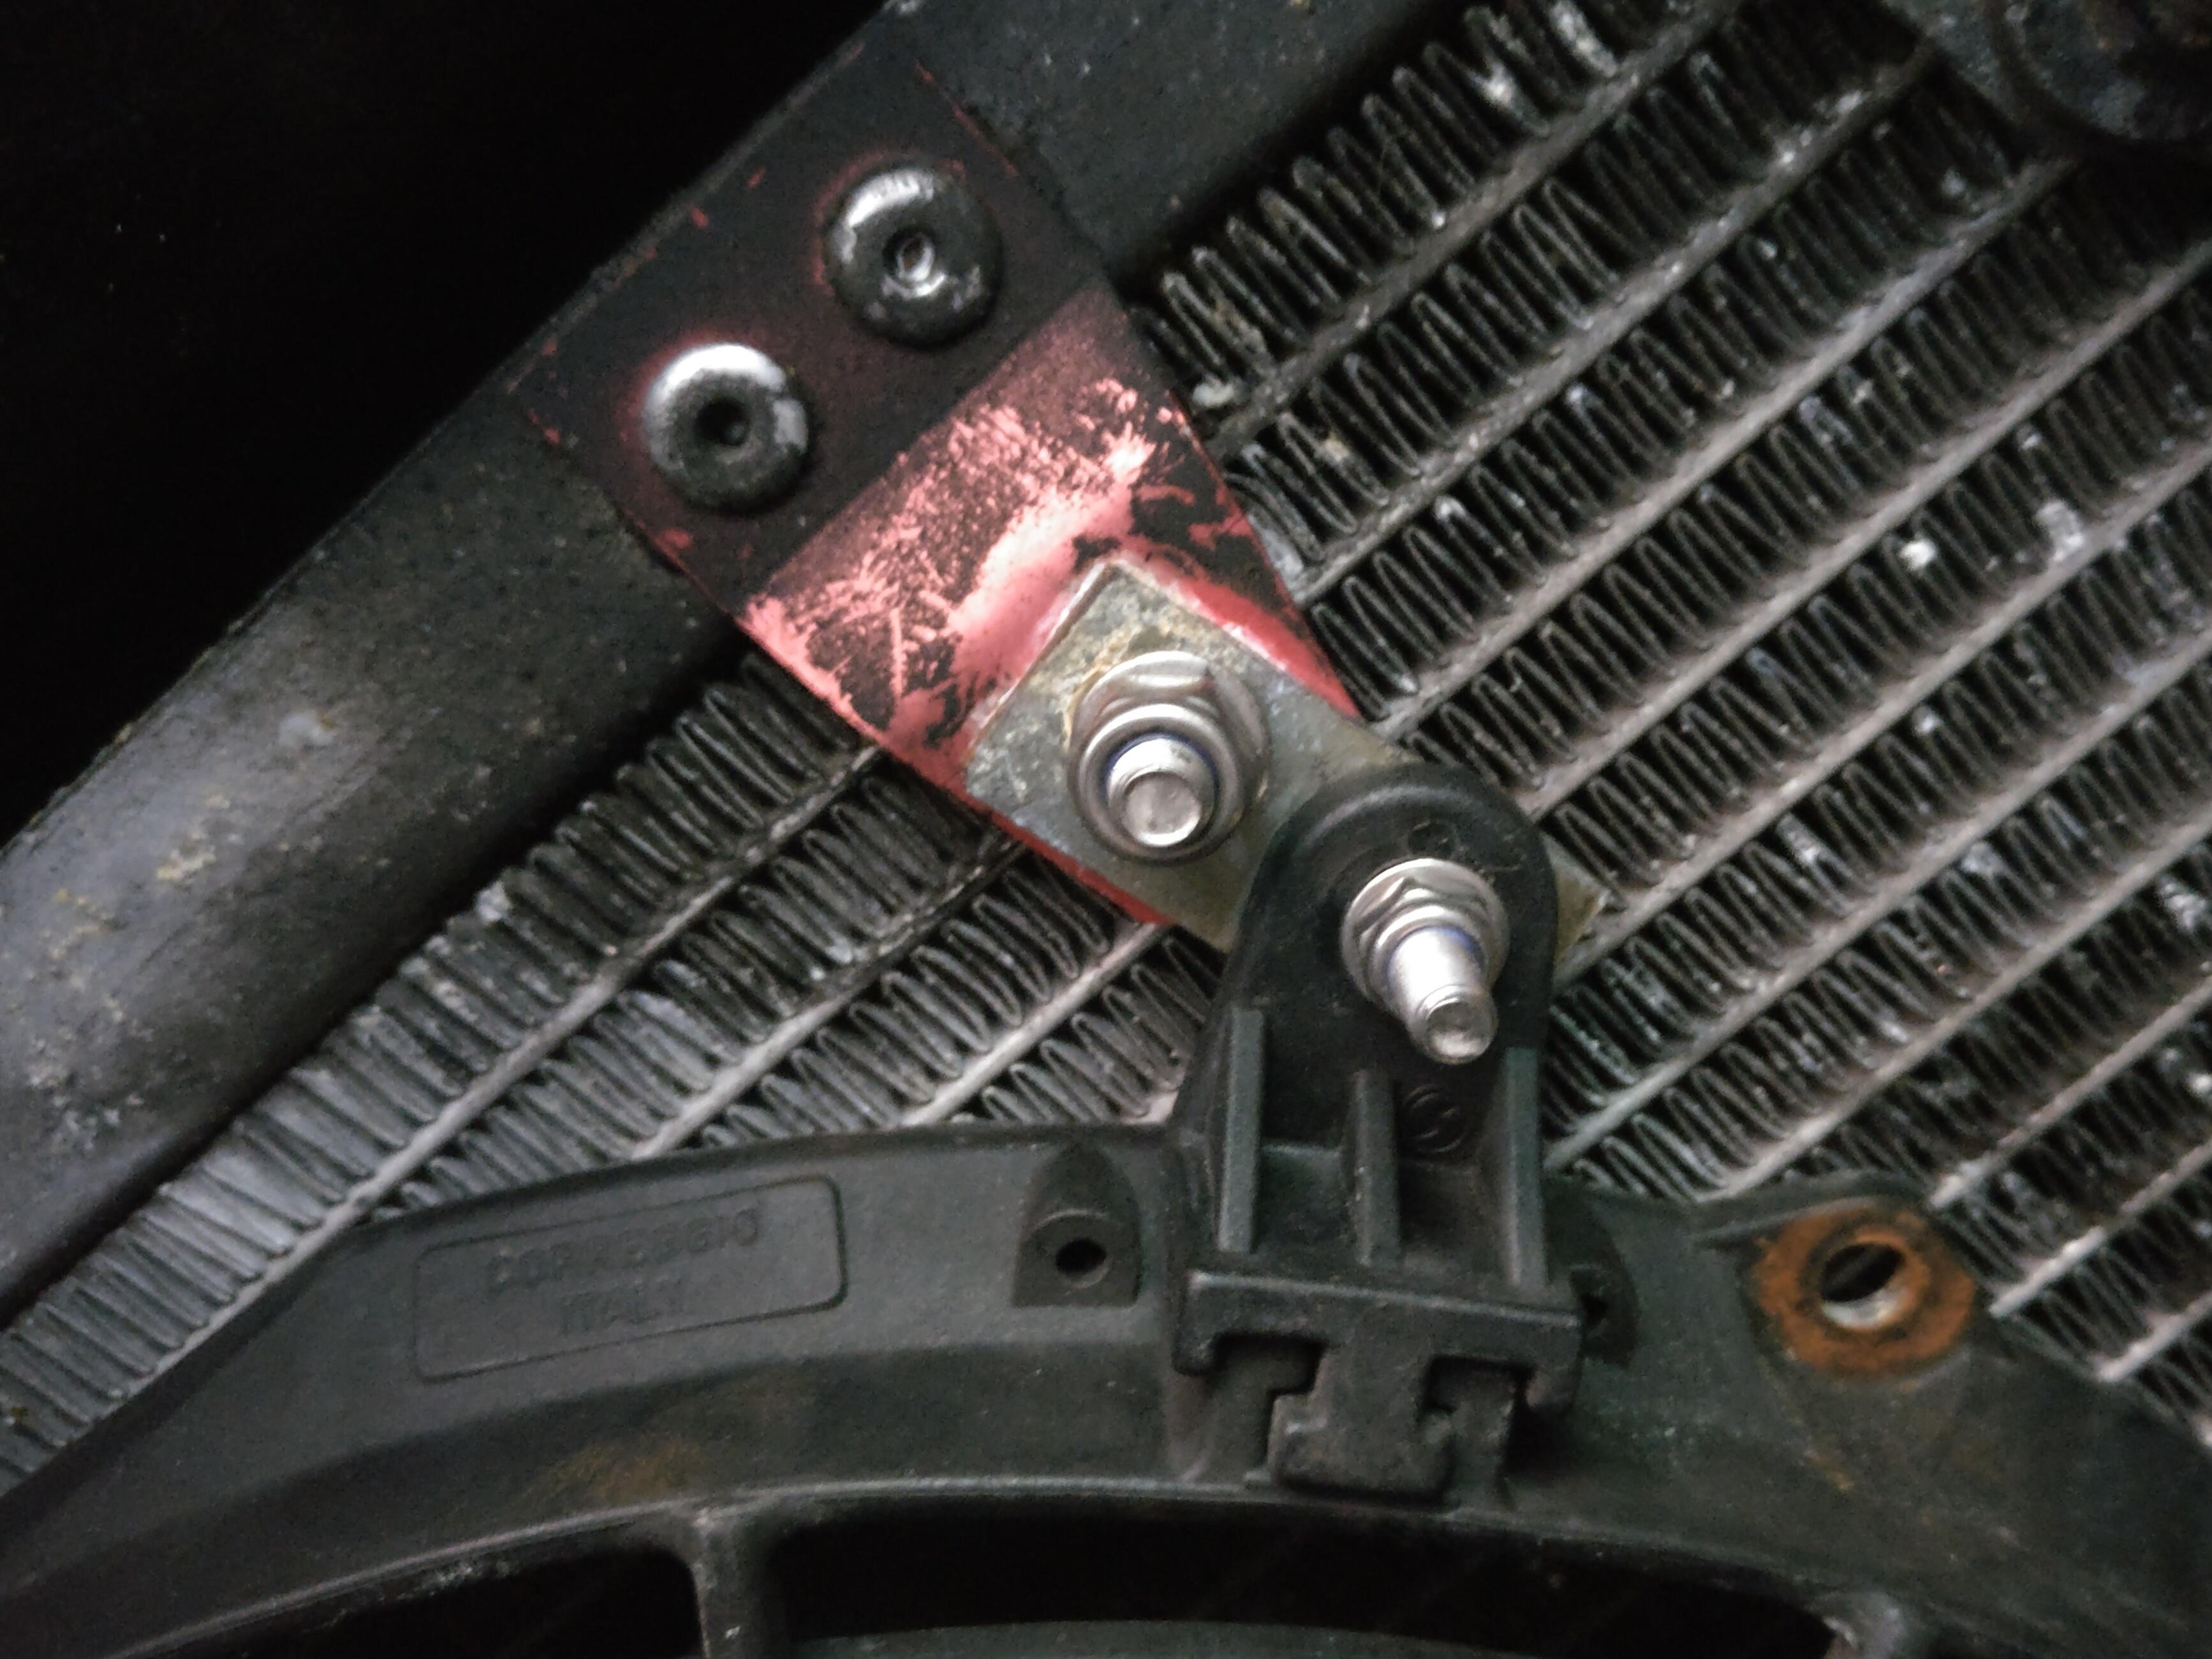
I got a thin piece of metal, cut it into 4 pieces and drilled 2 holes at equal distances as close as I could get to each other to keep rigidity. Once they were fitted the fan was solid and I was confident it wouldn’t bounce around under driving.
I placed the housing back onto the crash structure, bolted it all down and re-connected the pipes. At a later date I would need to top the coolant back up, but at least I knew how much came out.
Loving your work so far!
You might want to check the condition of your coolant pipes as they enter the crash structure from the rad. I had a breakdown last year where my coolant pipe had worn through where it enters the crash structure.
I replaced my hoses and also added rubber edging strip to the crash structure coolant pipe holes.
Not sure if you have wheelarch liners sorted, but the Exige ones are rarer than hens teeth etc. I think people have used plastic tubs to extend the Elise ones to get them to fit.
My pipes were replaced relatively recently to fresh silicone ones and all seem fine. It has been handy having everyone off the car to give it a proper look over.
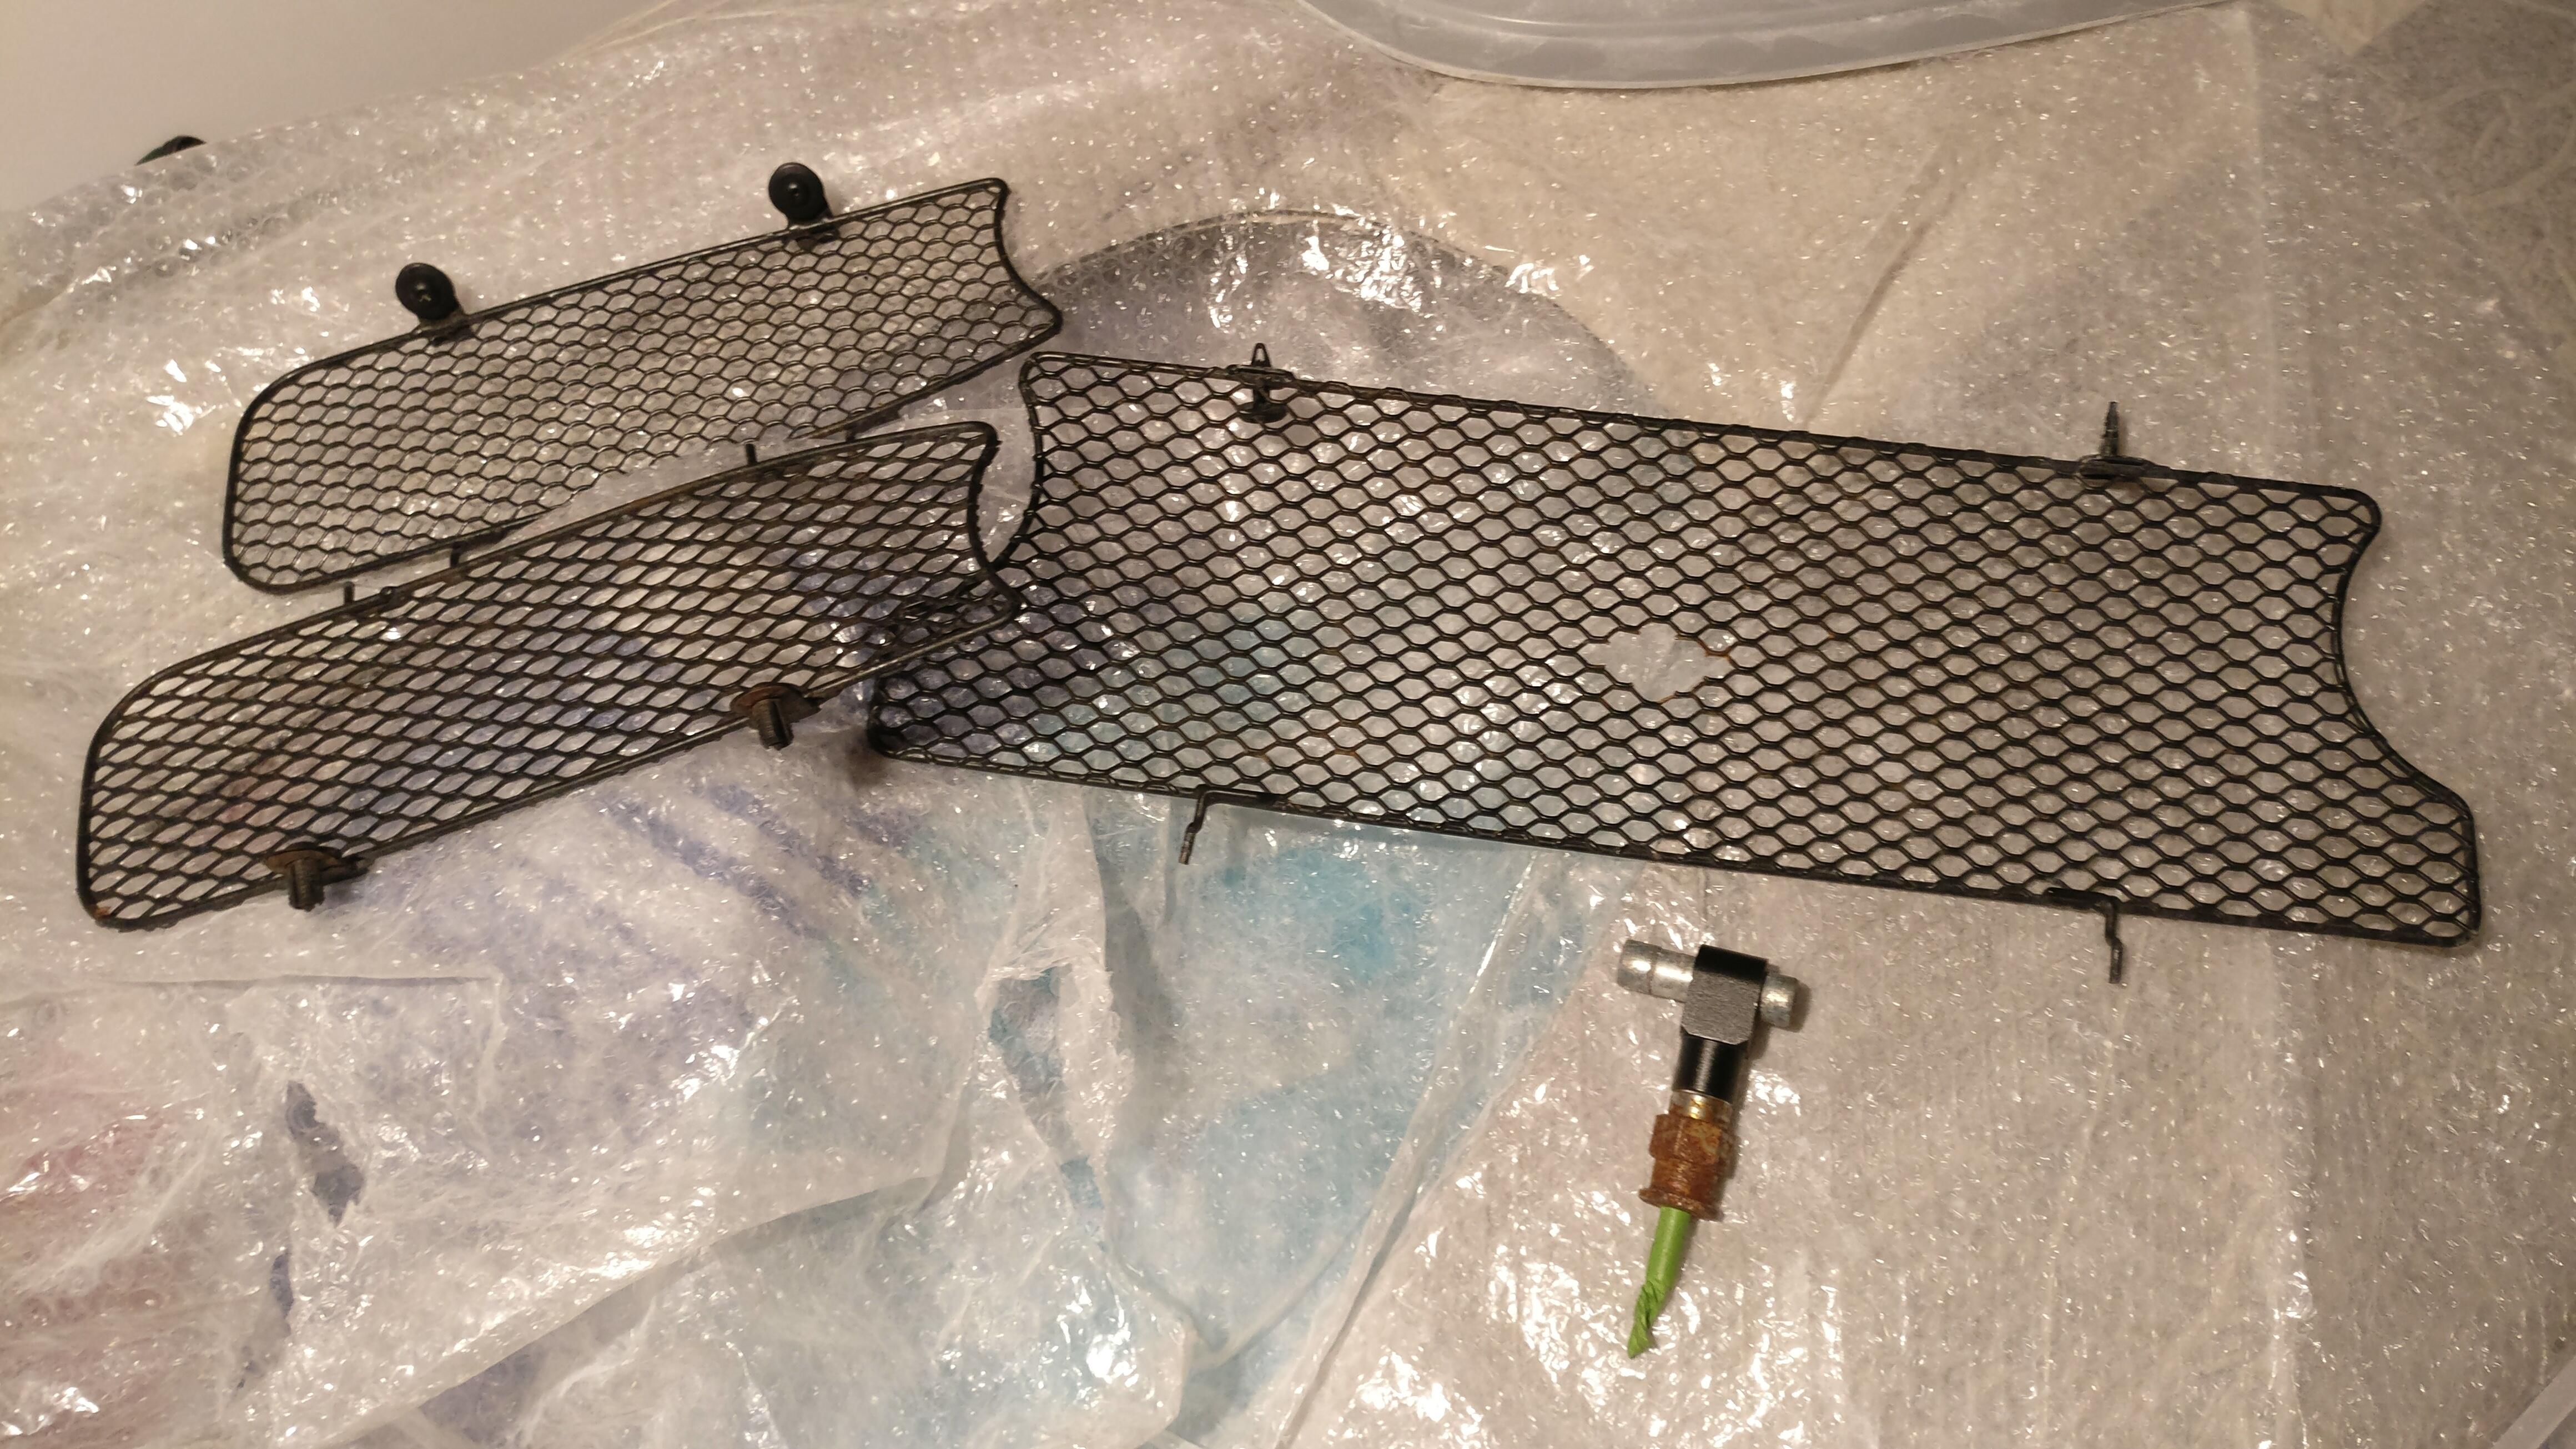
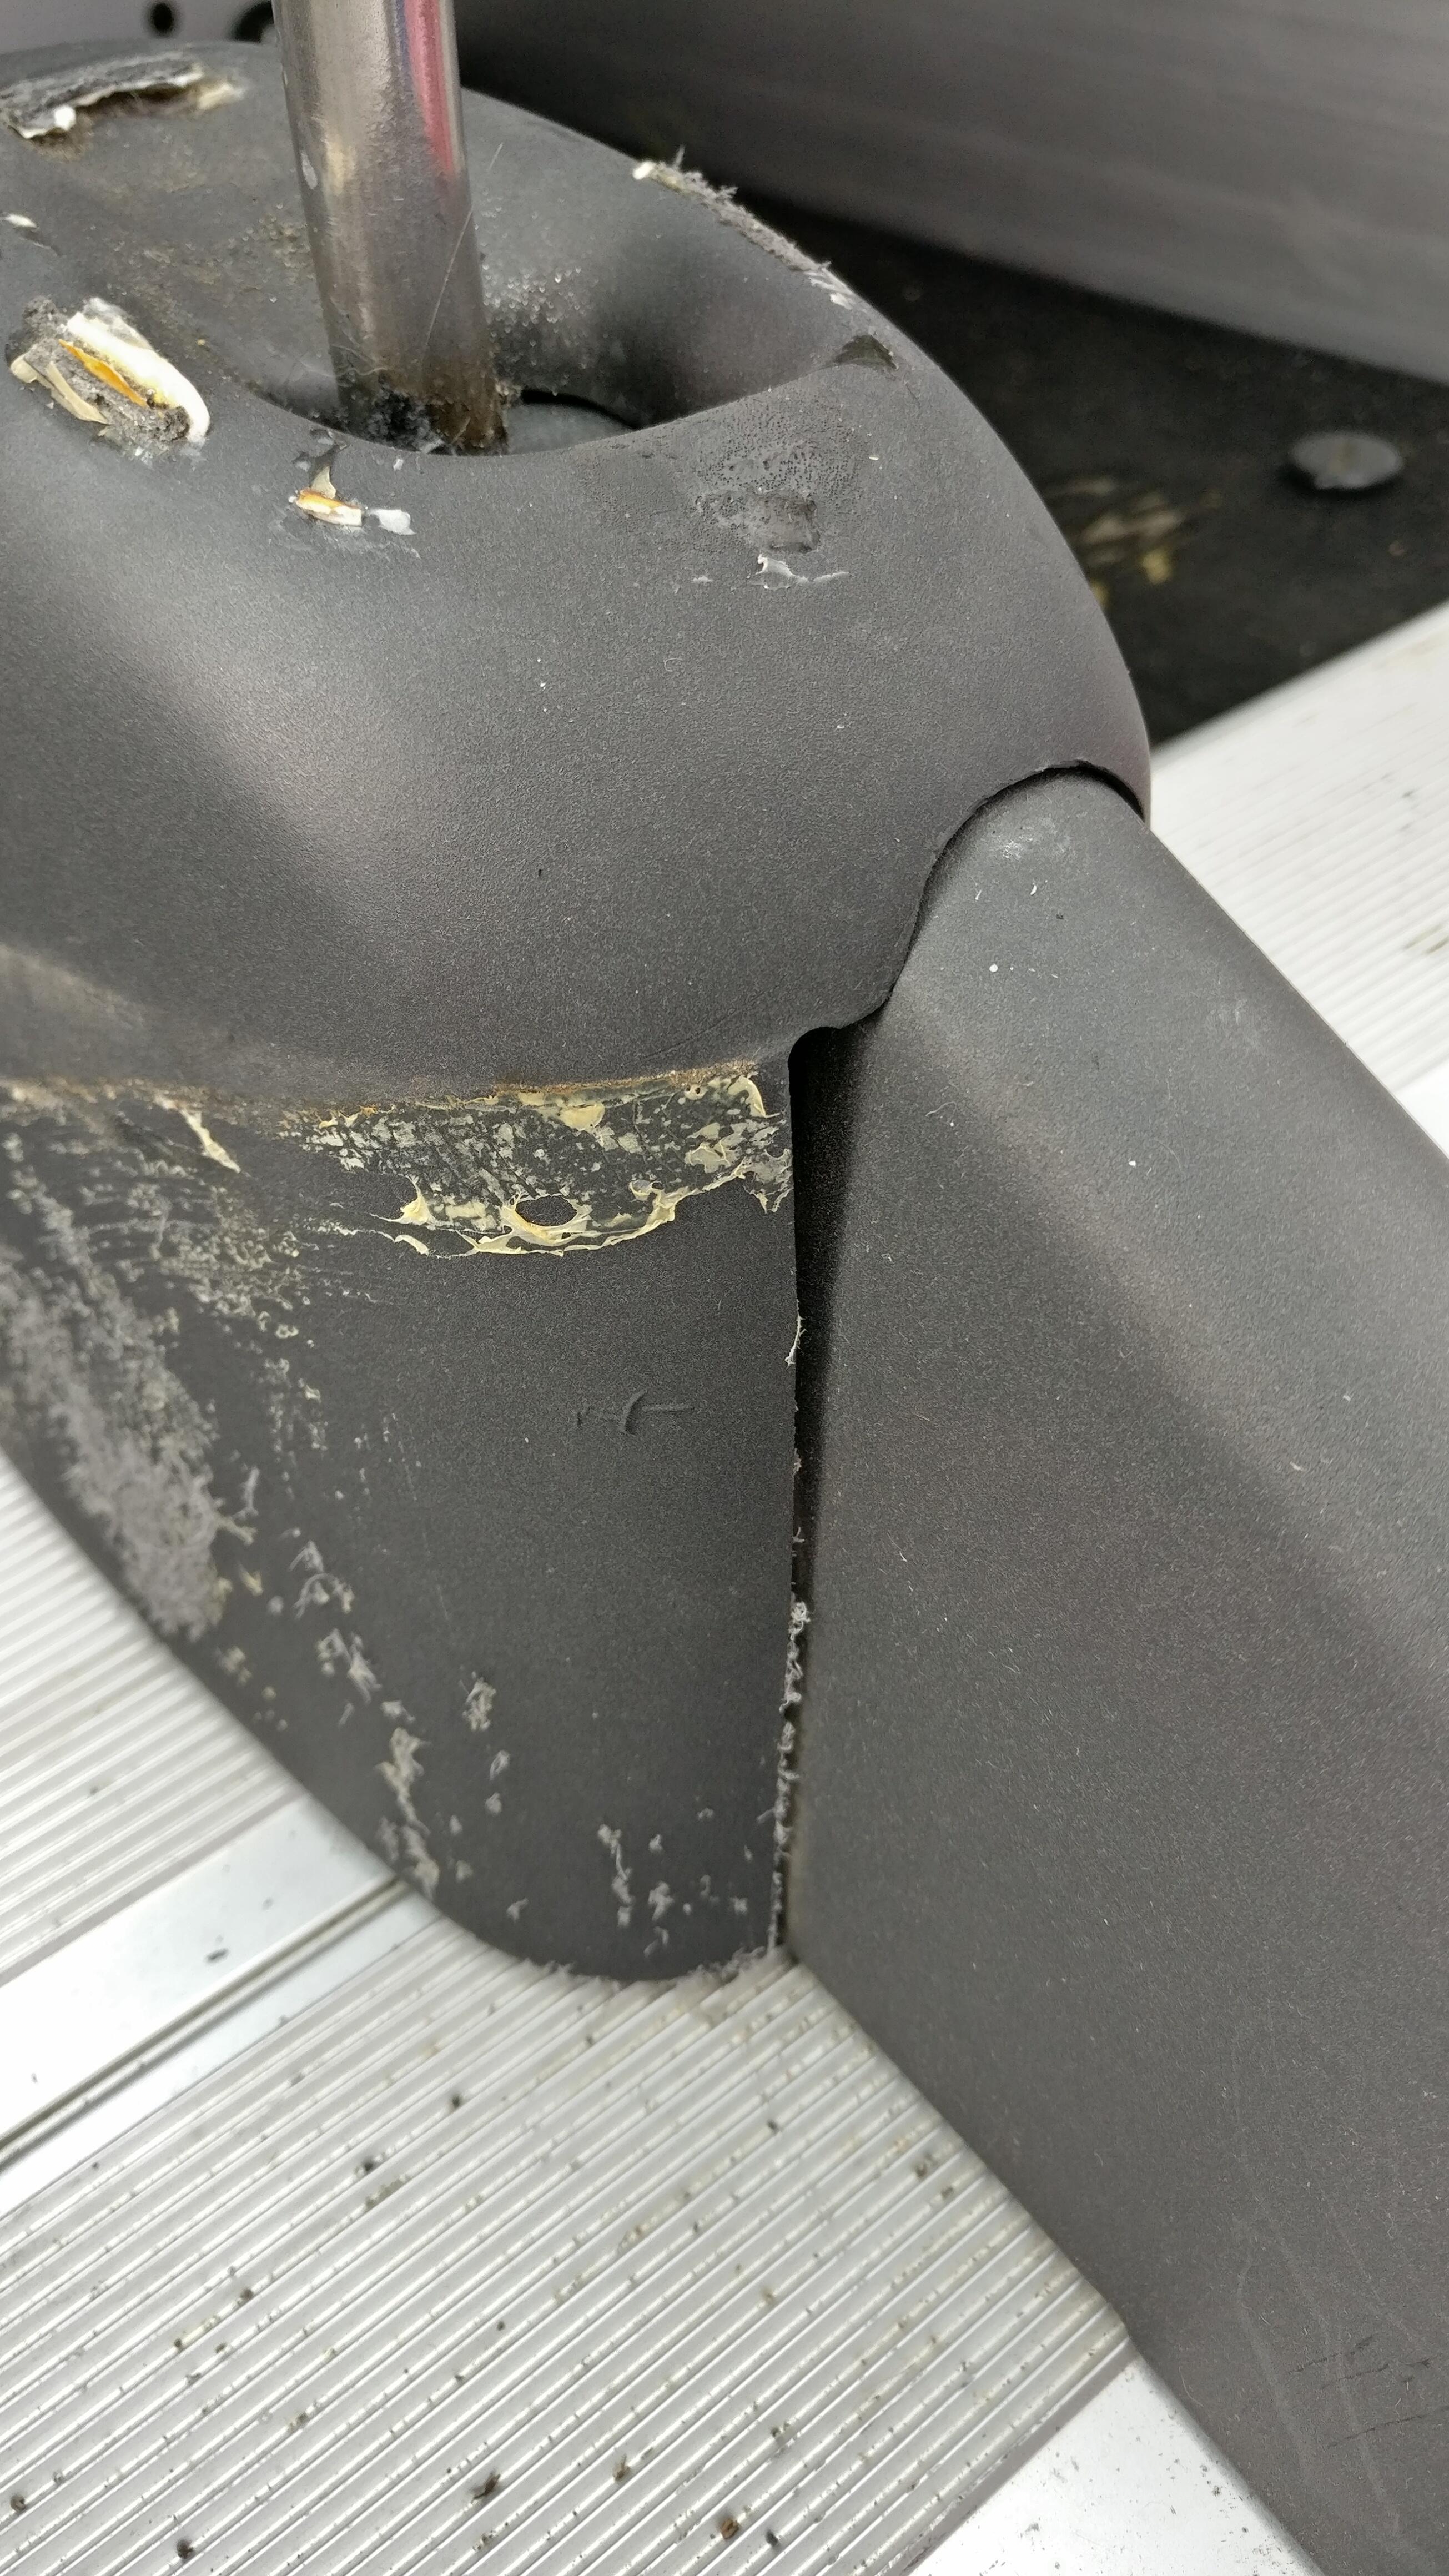
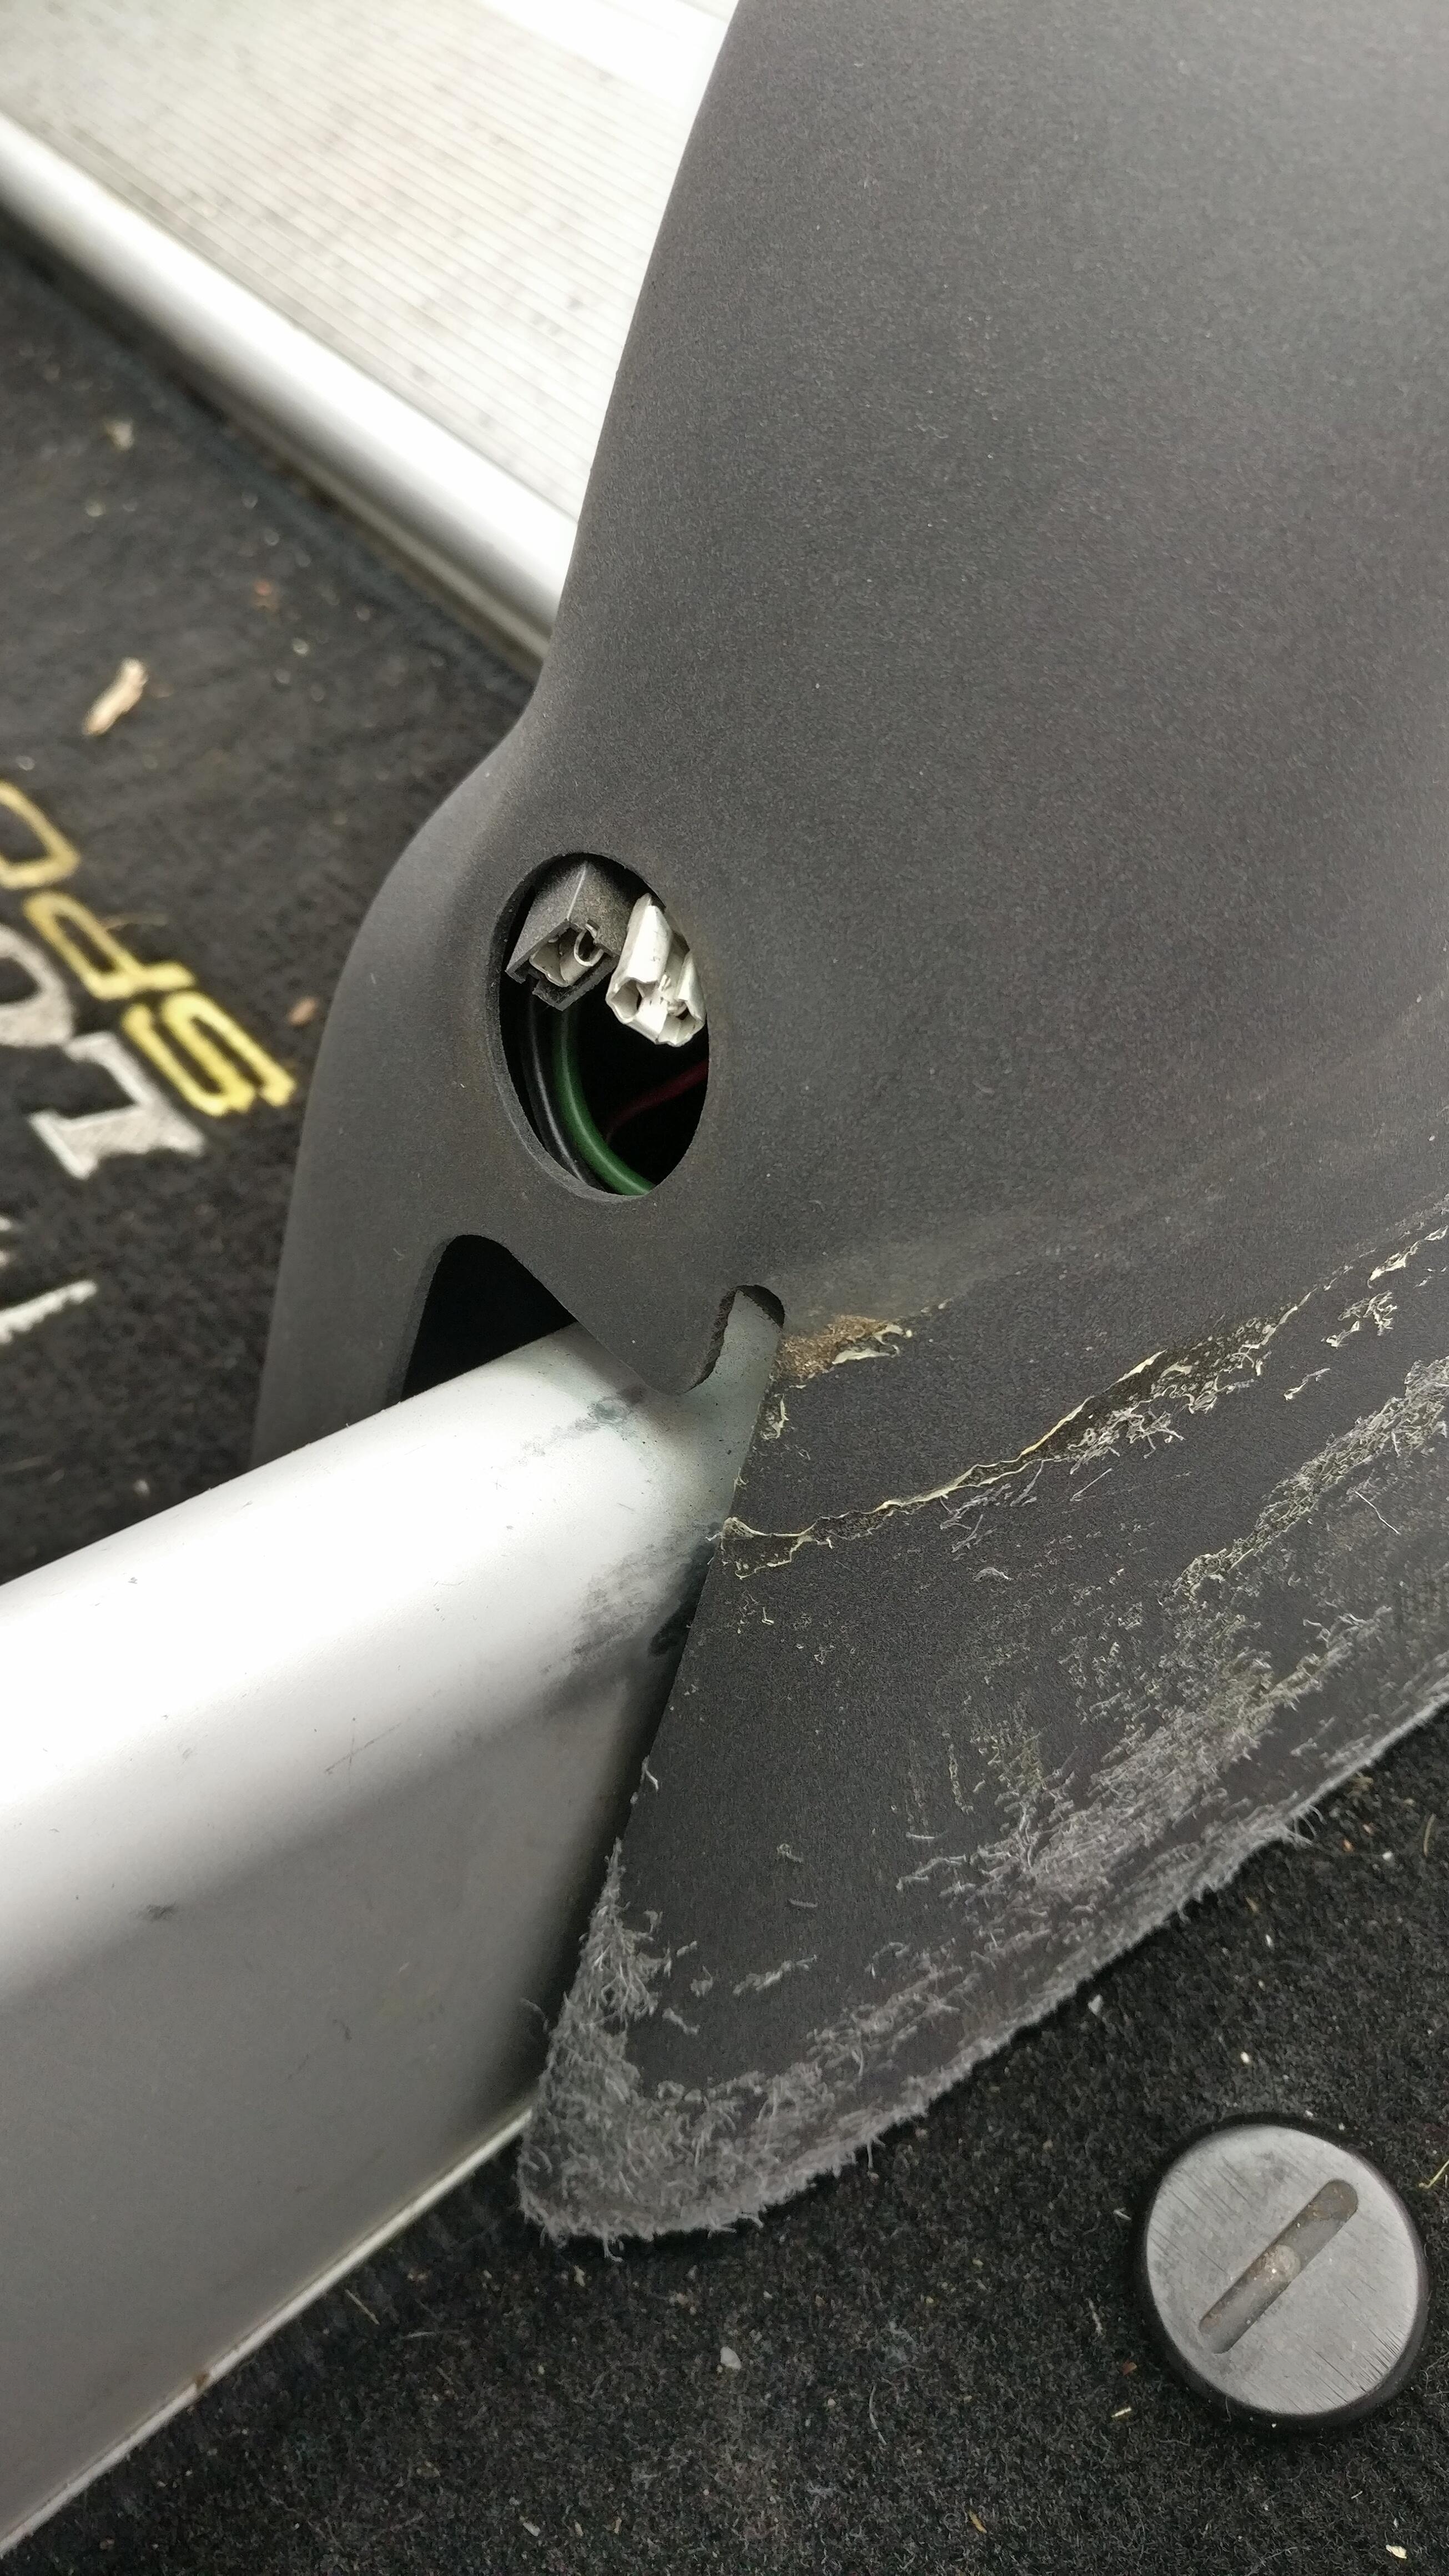
Next up were the doors. Very easy to remove from the car, just 4 bolts each door into the sill, but make a note of how many shims were between each brace and the sill.
Stripping down the doors did have its fiddly moments and I took lots of pictures to help me out them back together.
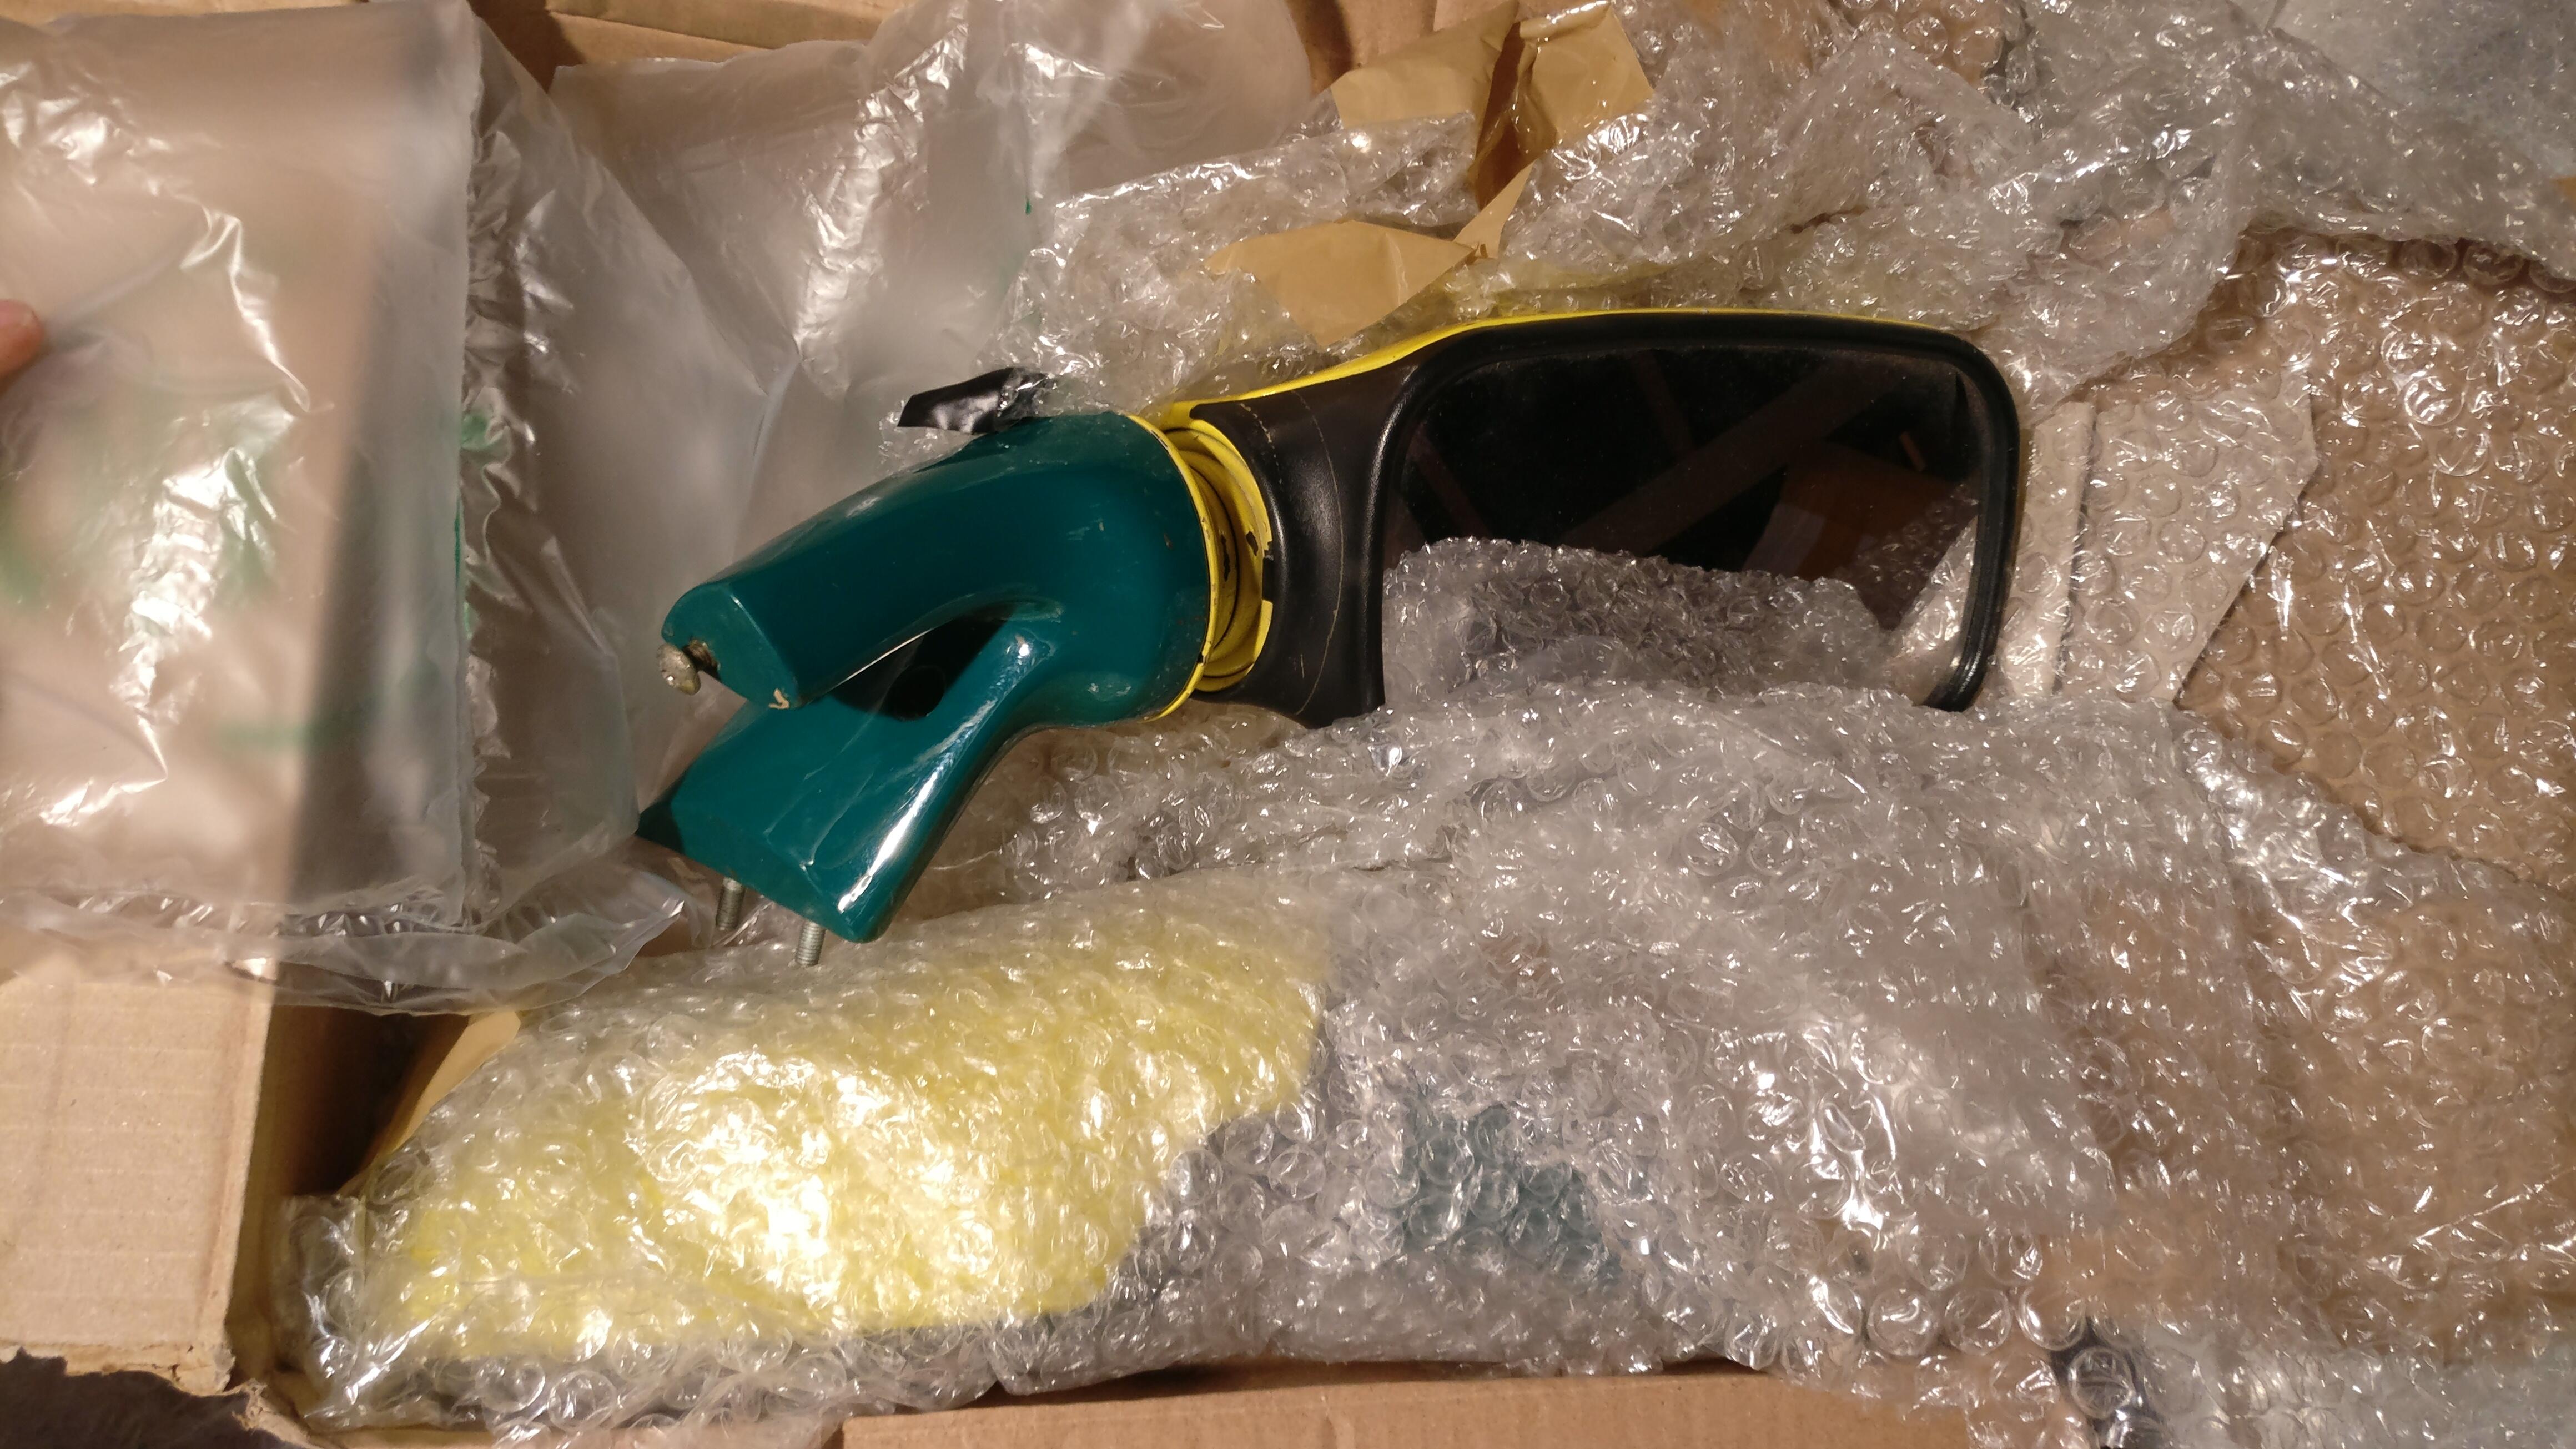
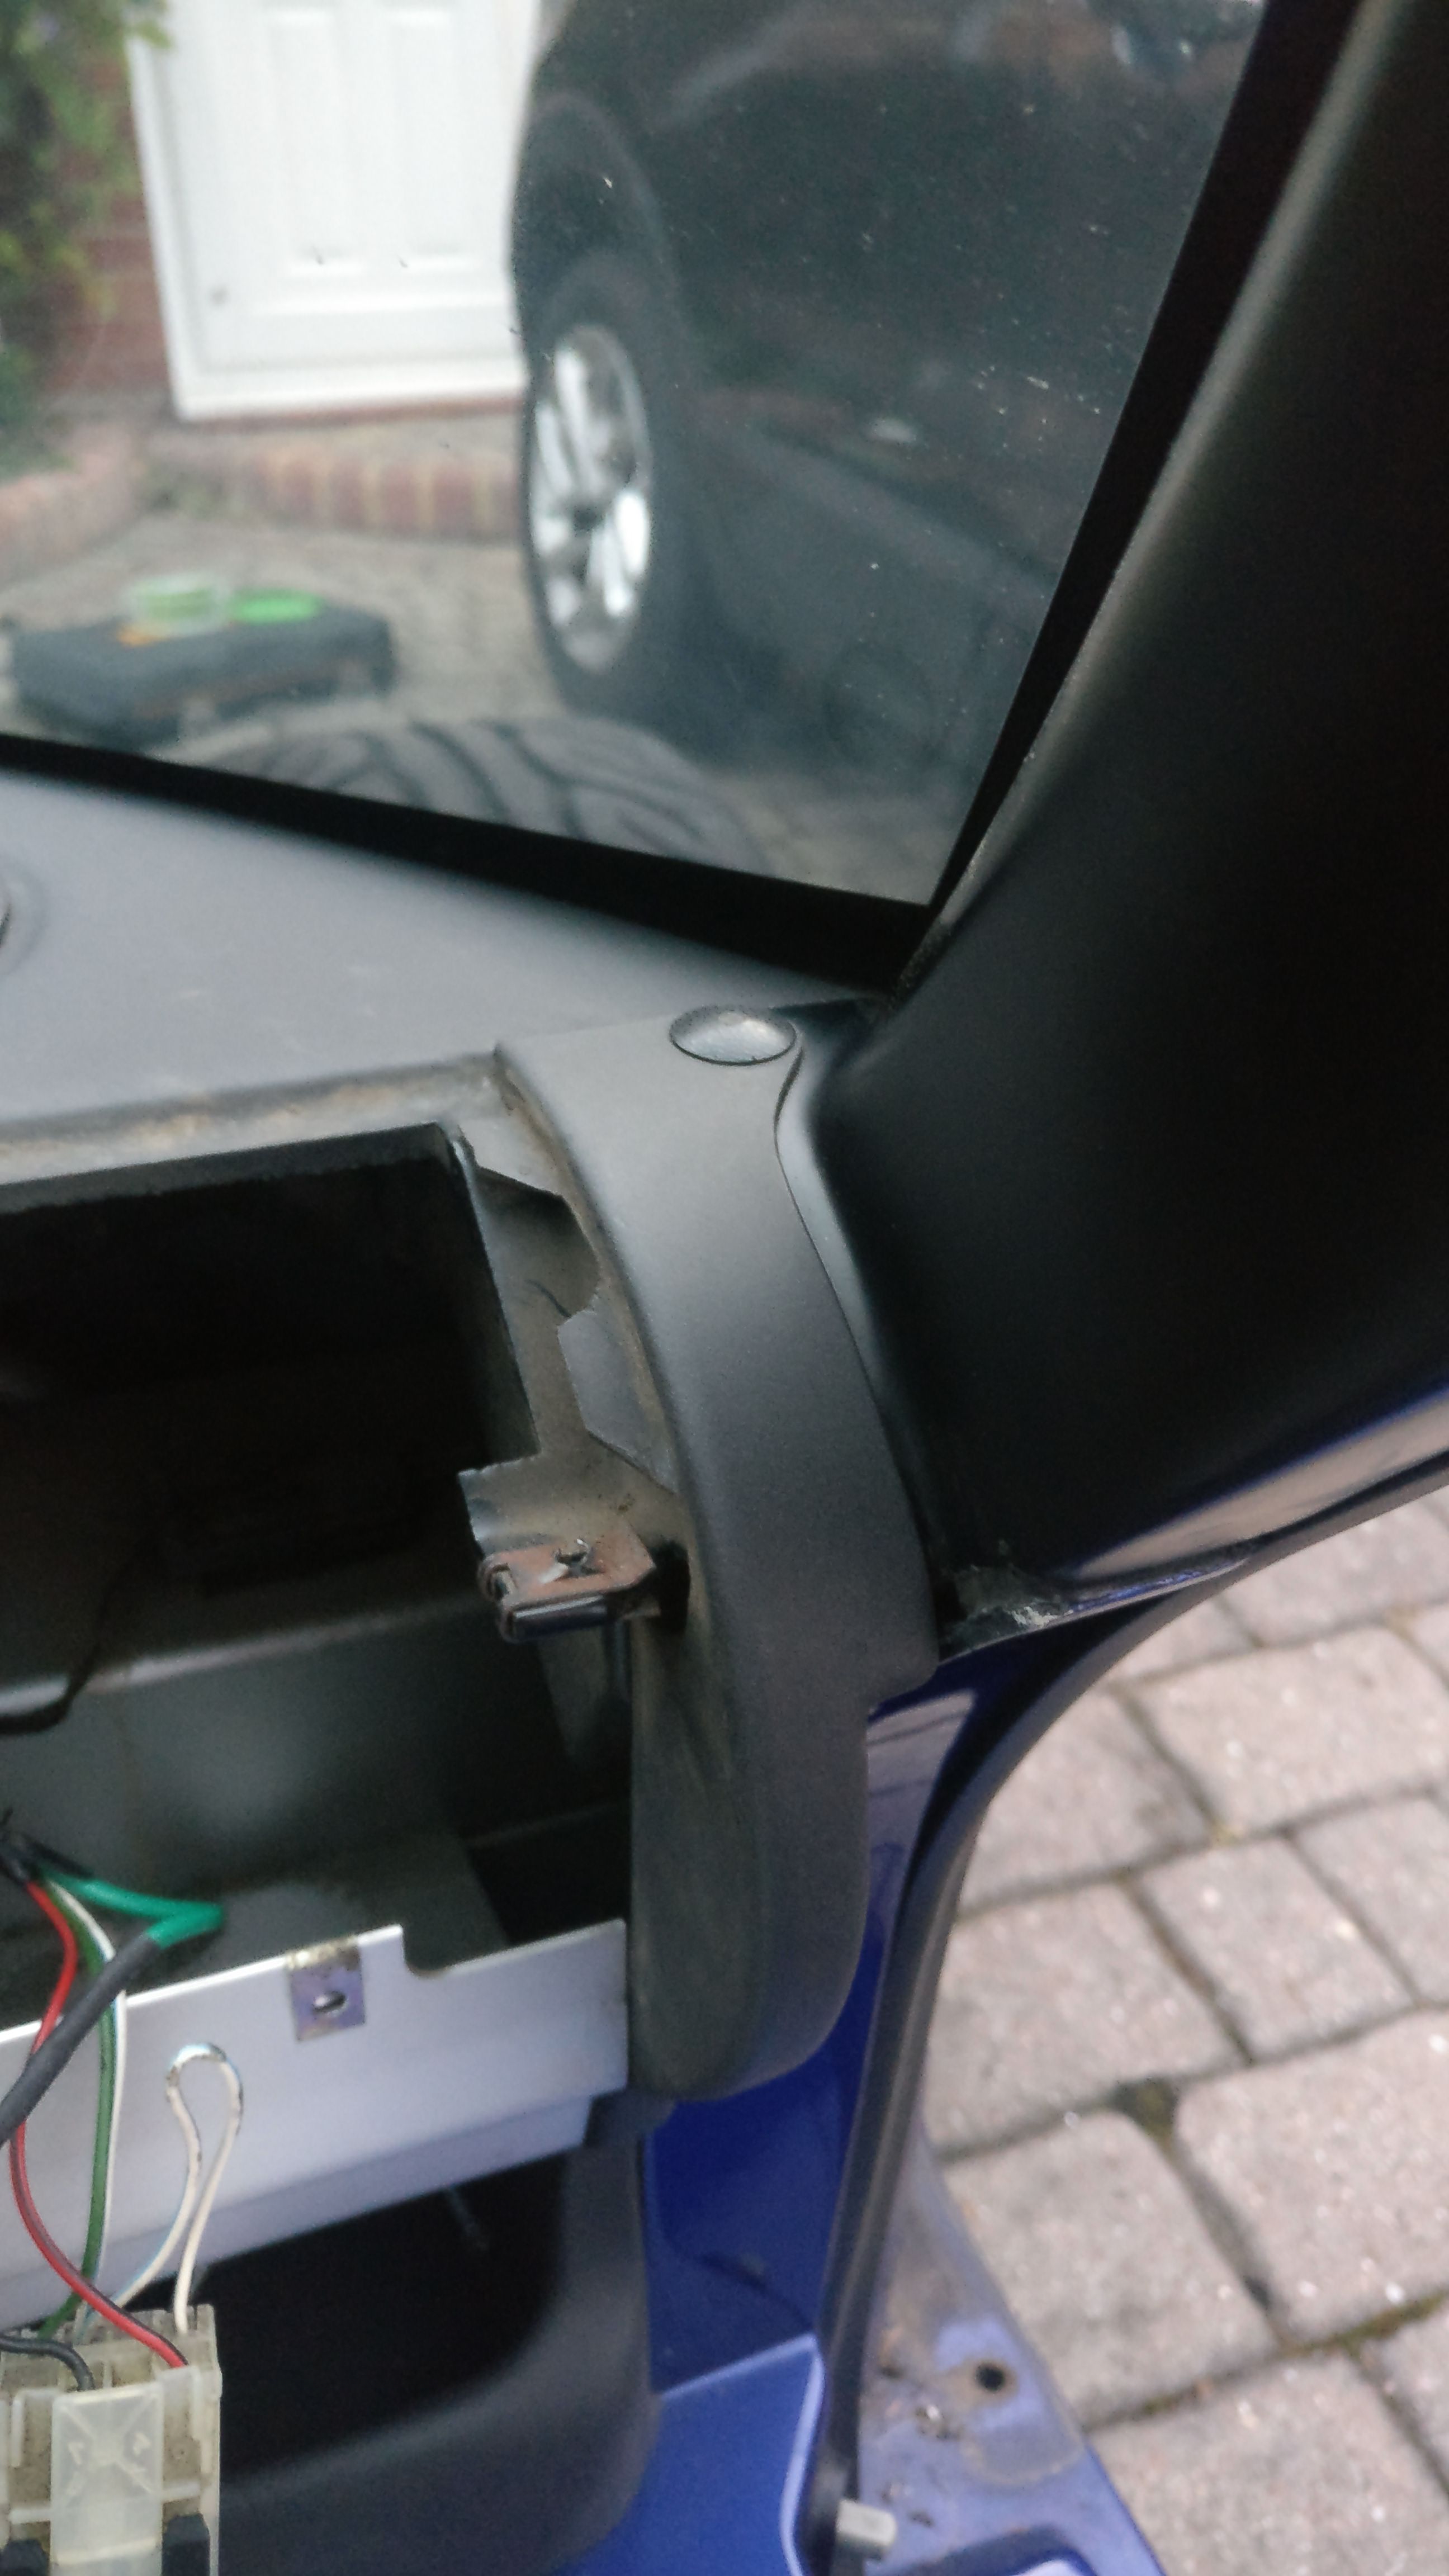
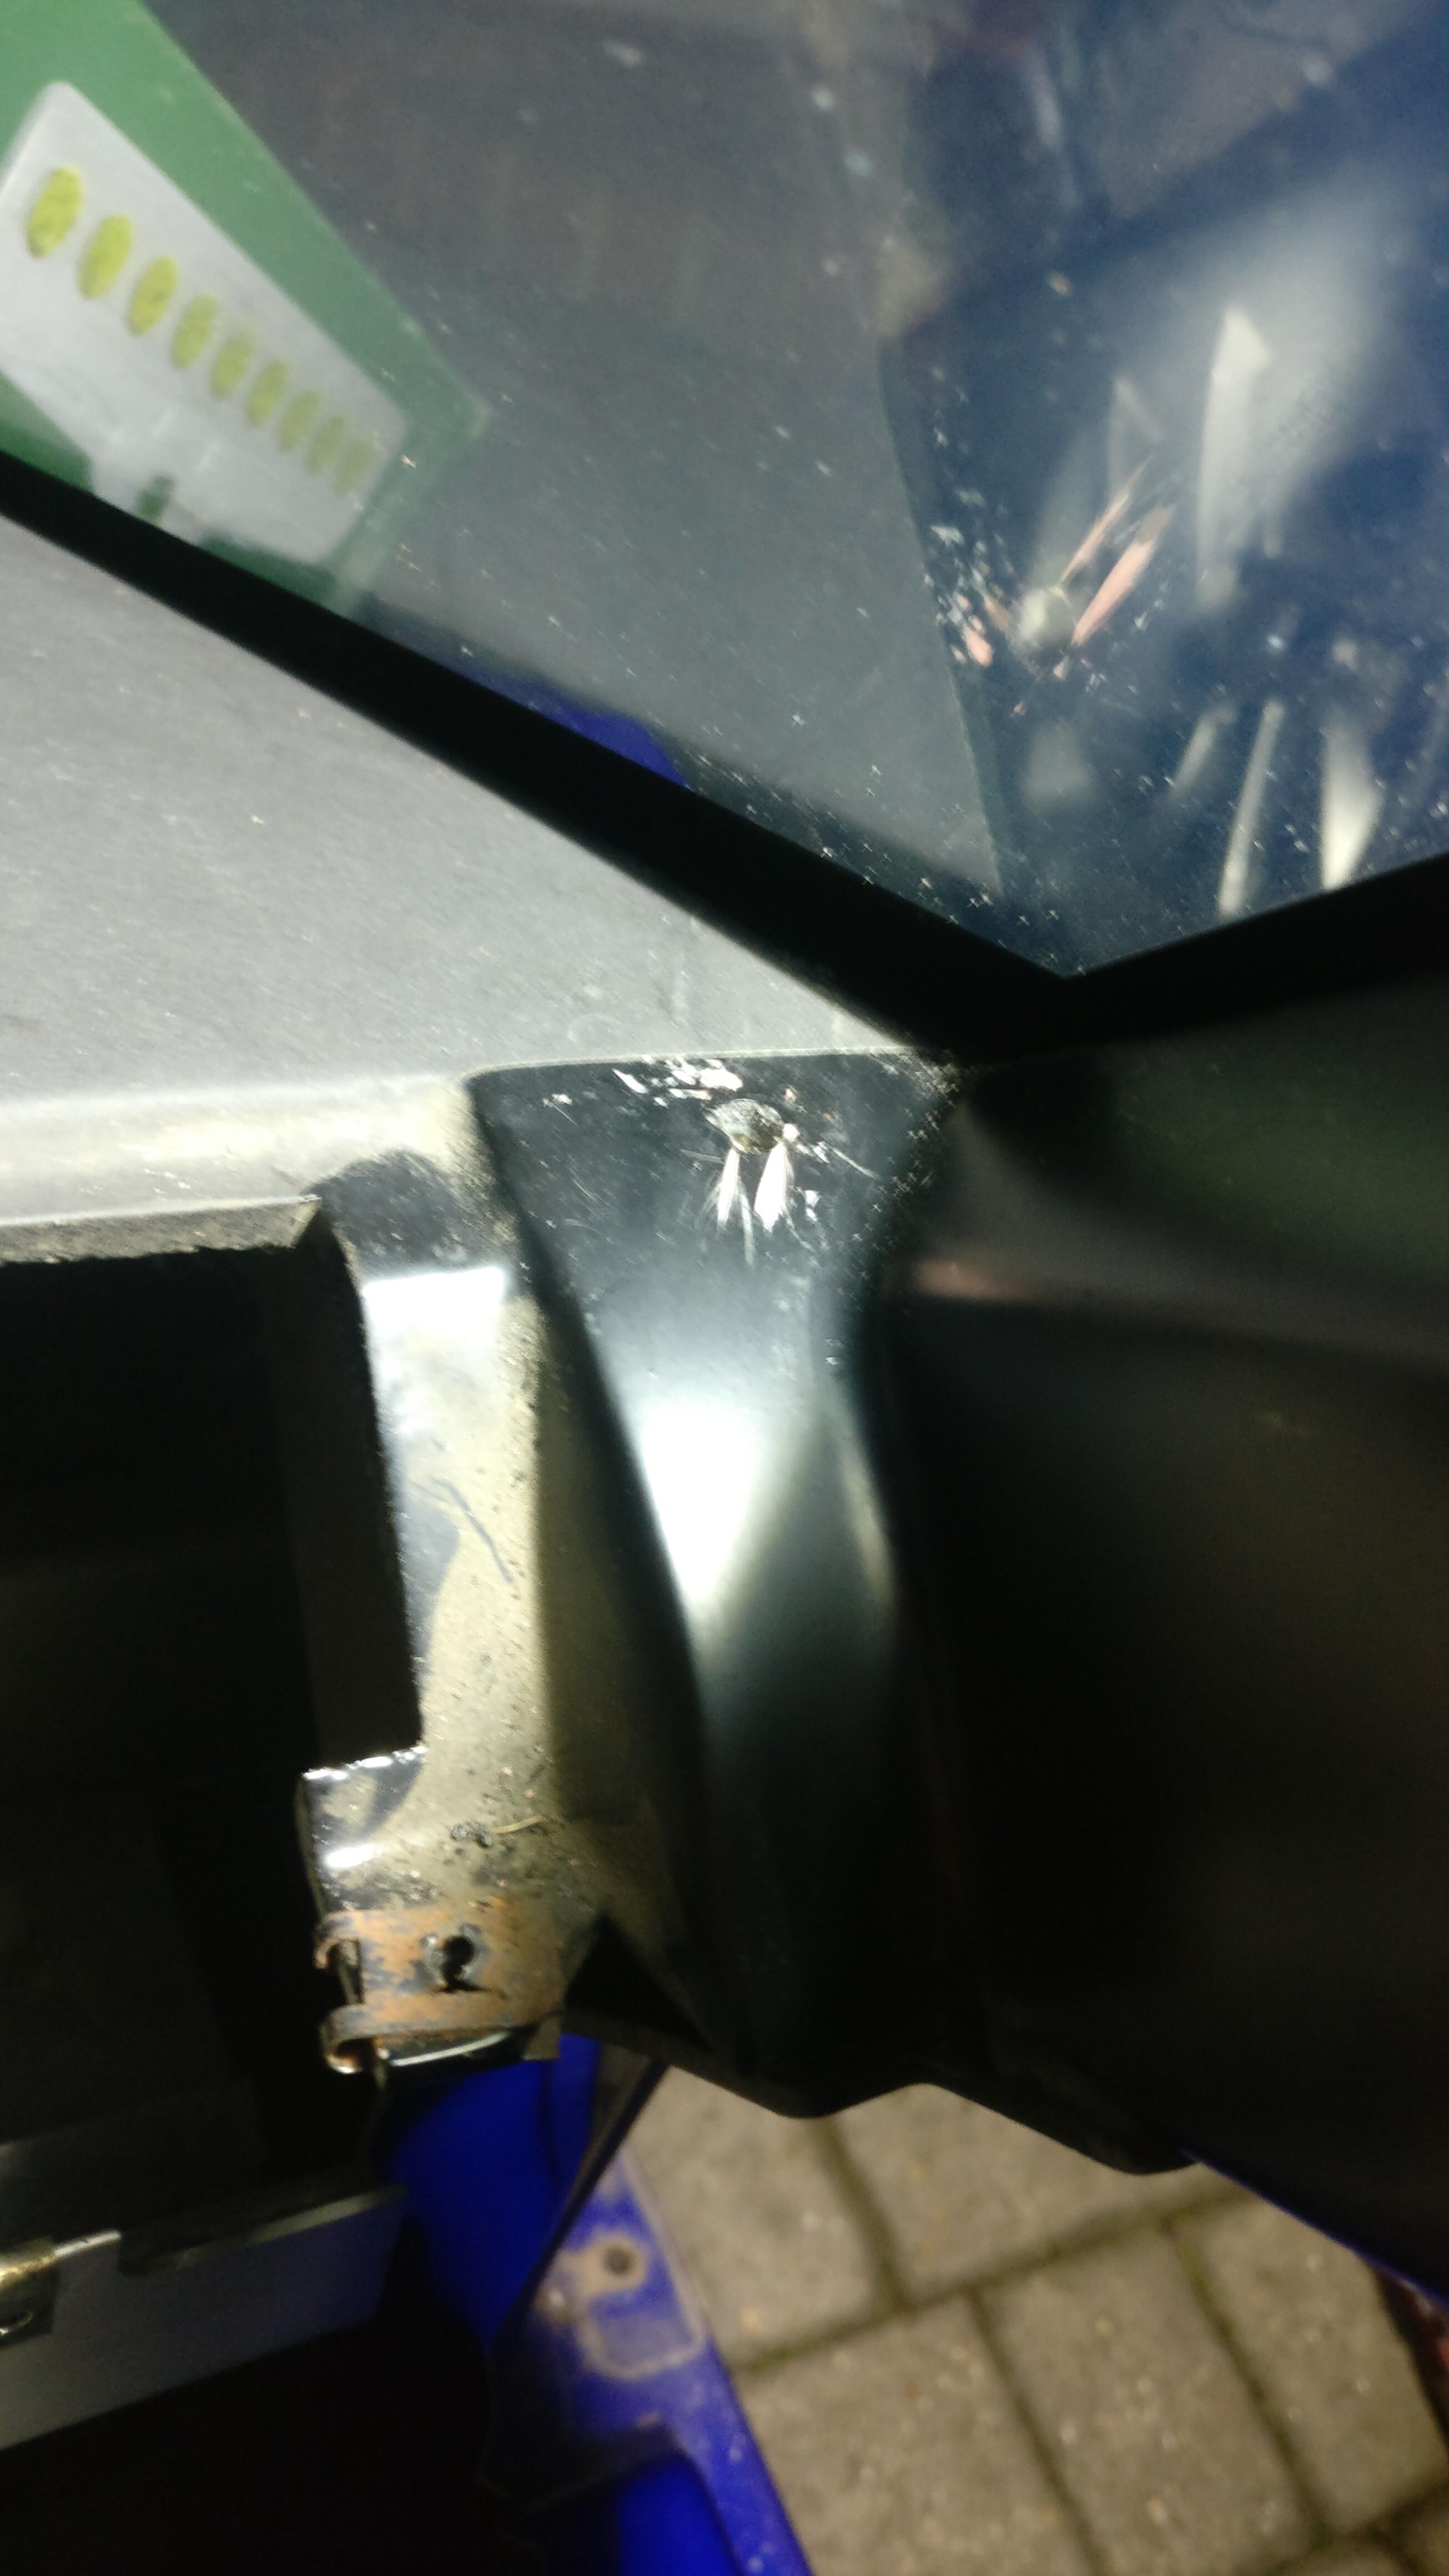
One very annoying part is that the passenger wing mirror’s captive nuts are currently just spinning away. I’ve tried a few different ways to get it off, bit of force to break the captive nuts out the mirror plinth, bit of wiggling etc, but currently I haven’t been able to get it off. I don’t want to damage the door, so I have also bought some spares if I have to cut it off.
Completely stripped door including the both inner and outer waist seals, the inner ones I’m re-using and I have bought some nice new outer seals, along with the triangle cheater seals.
Some fairly good condition spares, always handy to have
I had to roughly re-assemble the doors to help with the new clam panel gaps, which meant adding the striker latch, hinge and beam back to each door shell.
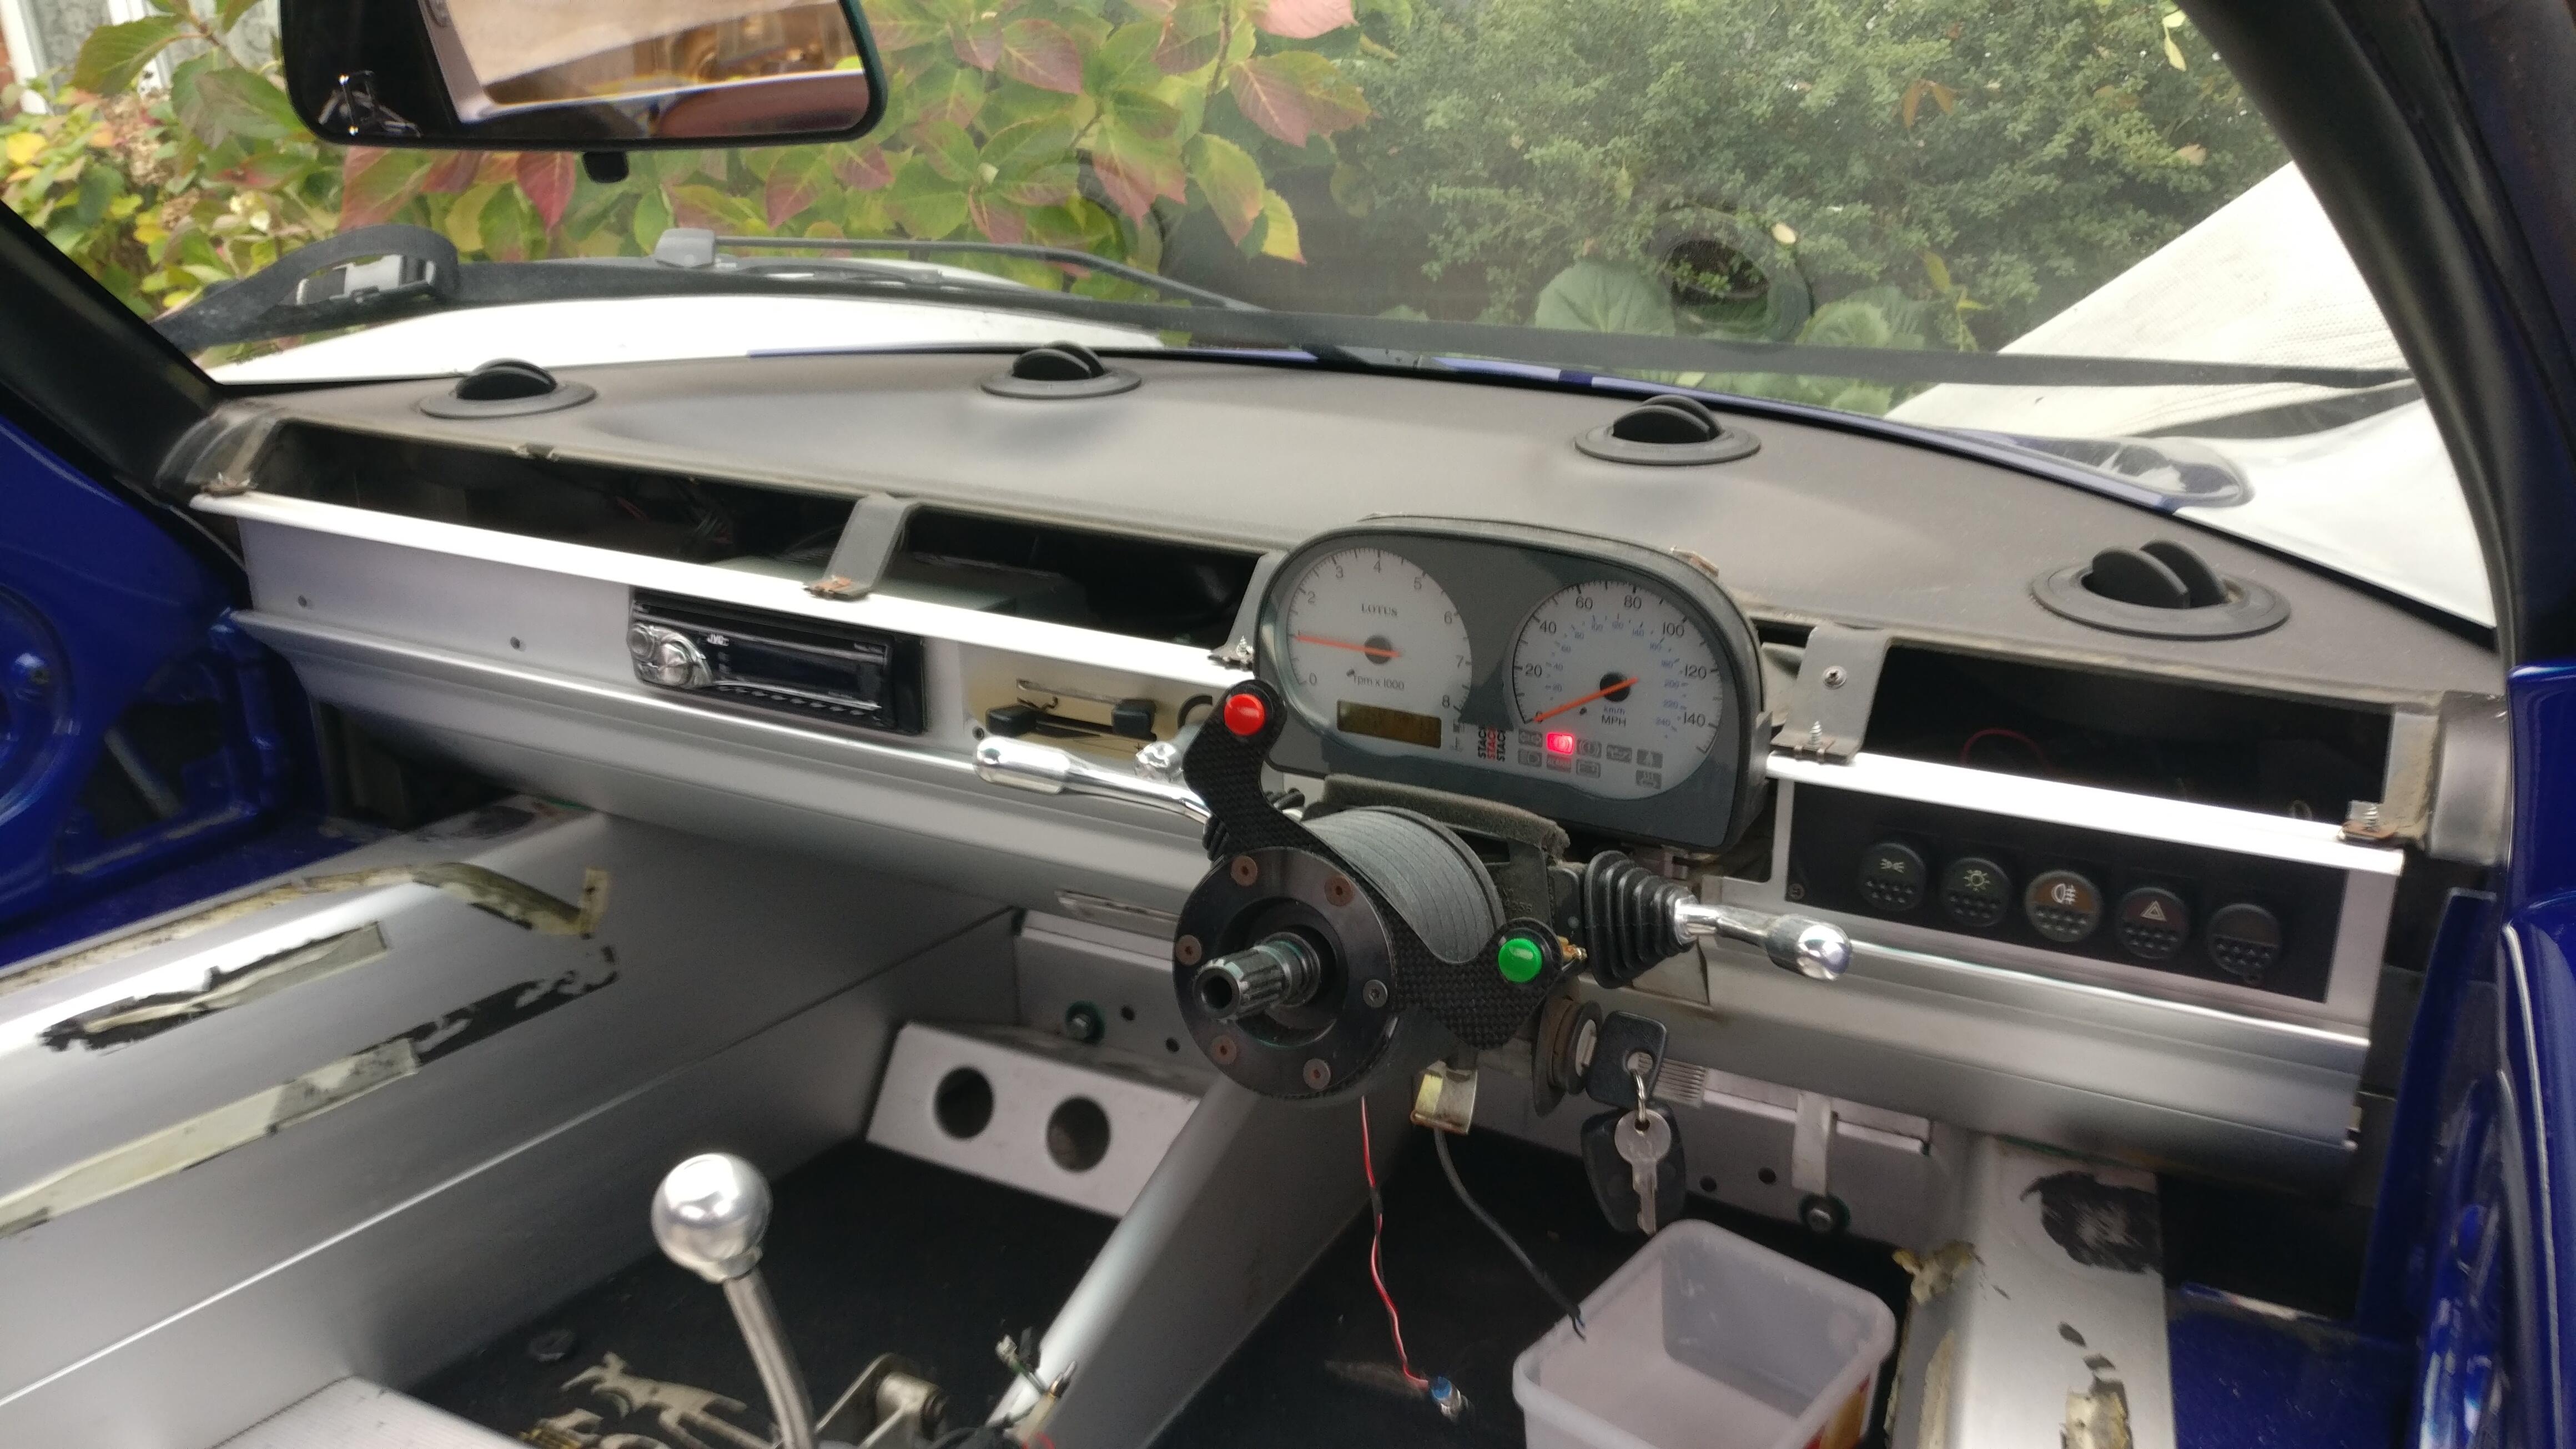
Onto interiors now.
I made the decision a while back that my door cards were pretty naff looking, although great condition, just boring in the grey plastic.
I initially wanted to carbon wrap them, but have since decided to flock them and many other interior pieces.
Here are the pieces I plan to flock, with some a little bit custom on the long dash panel, but this will feature later.
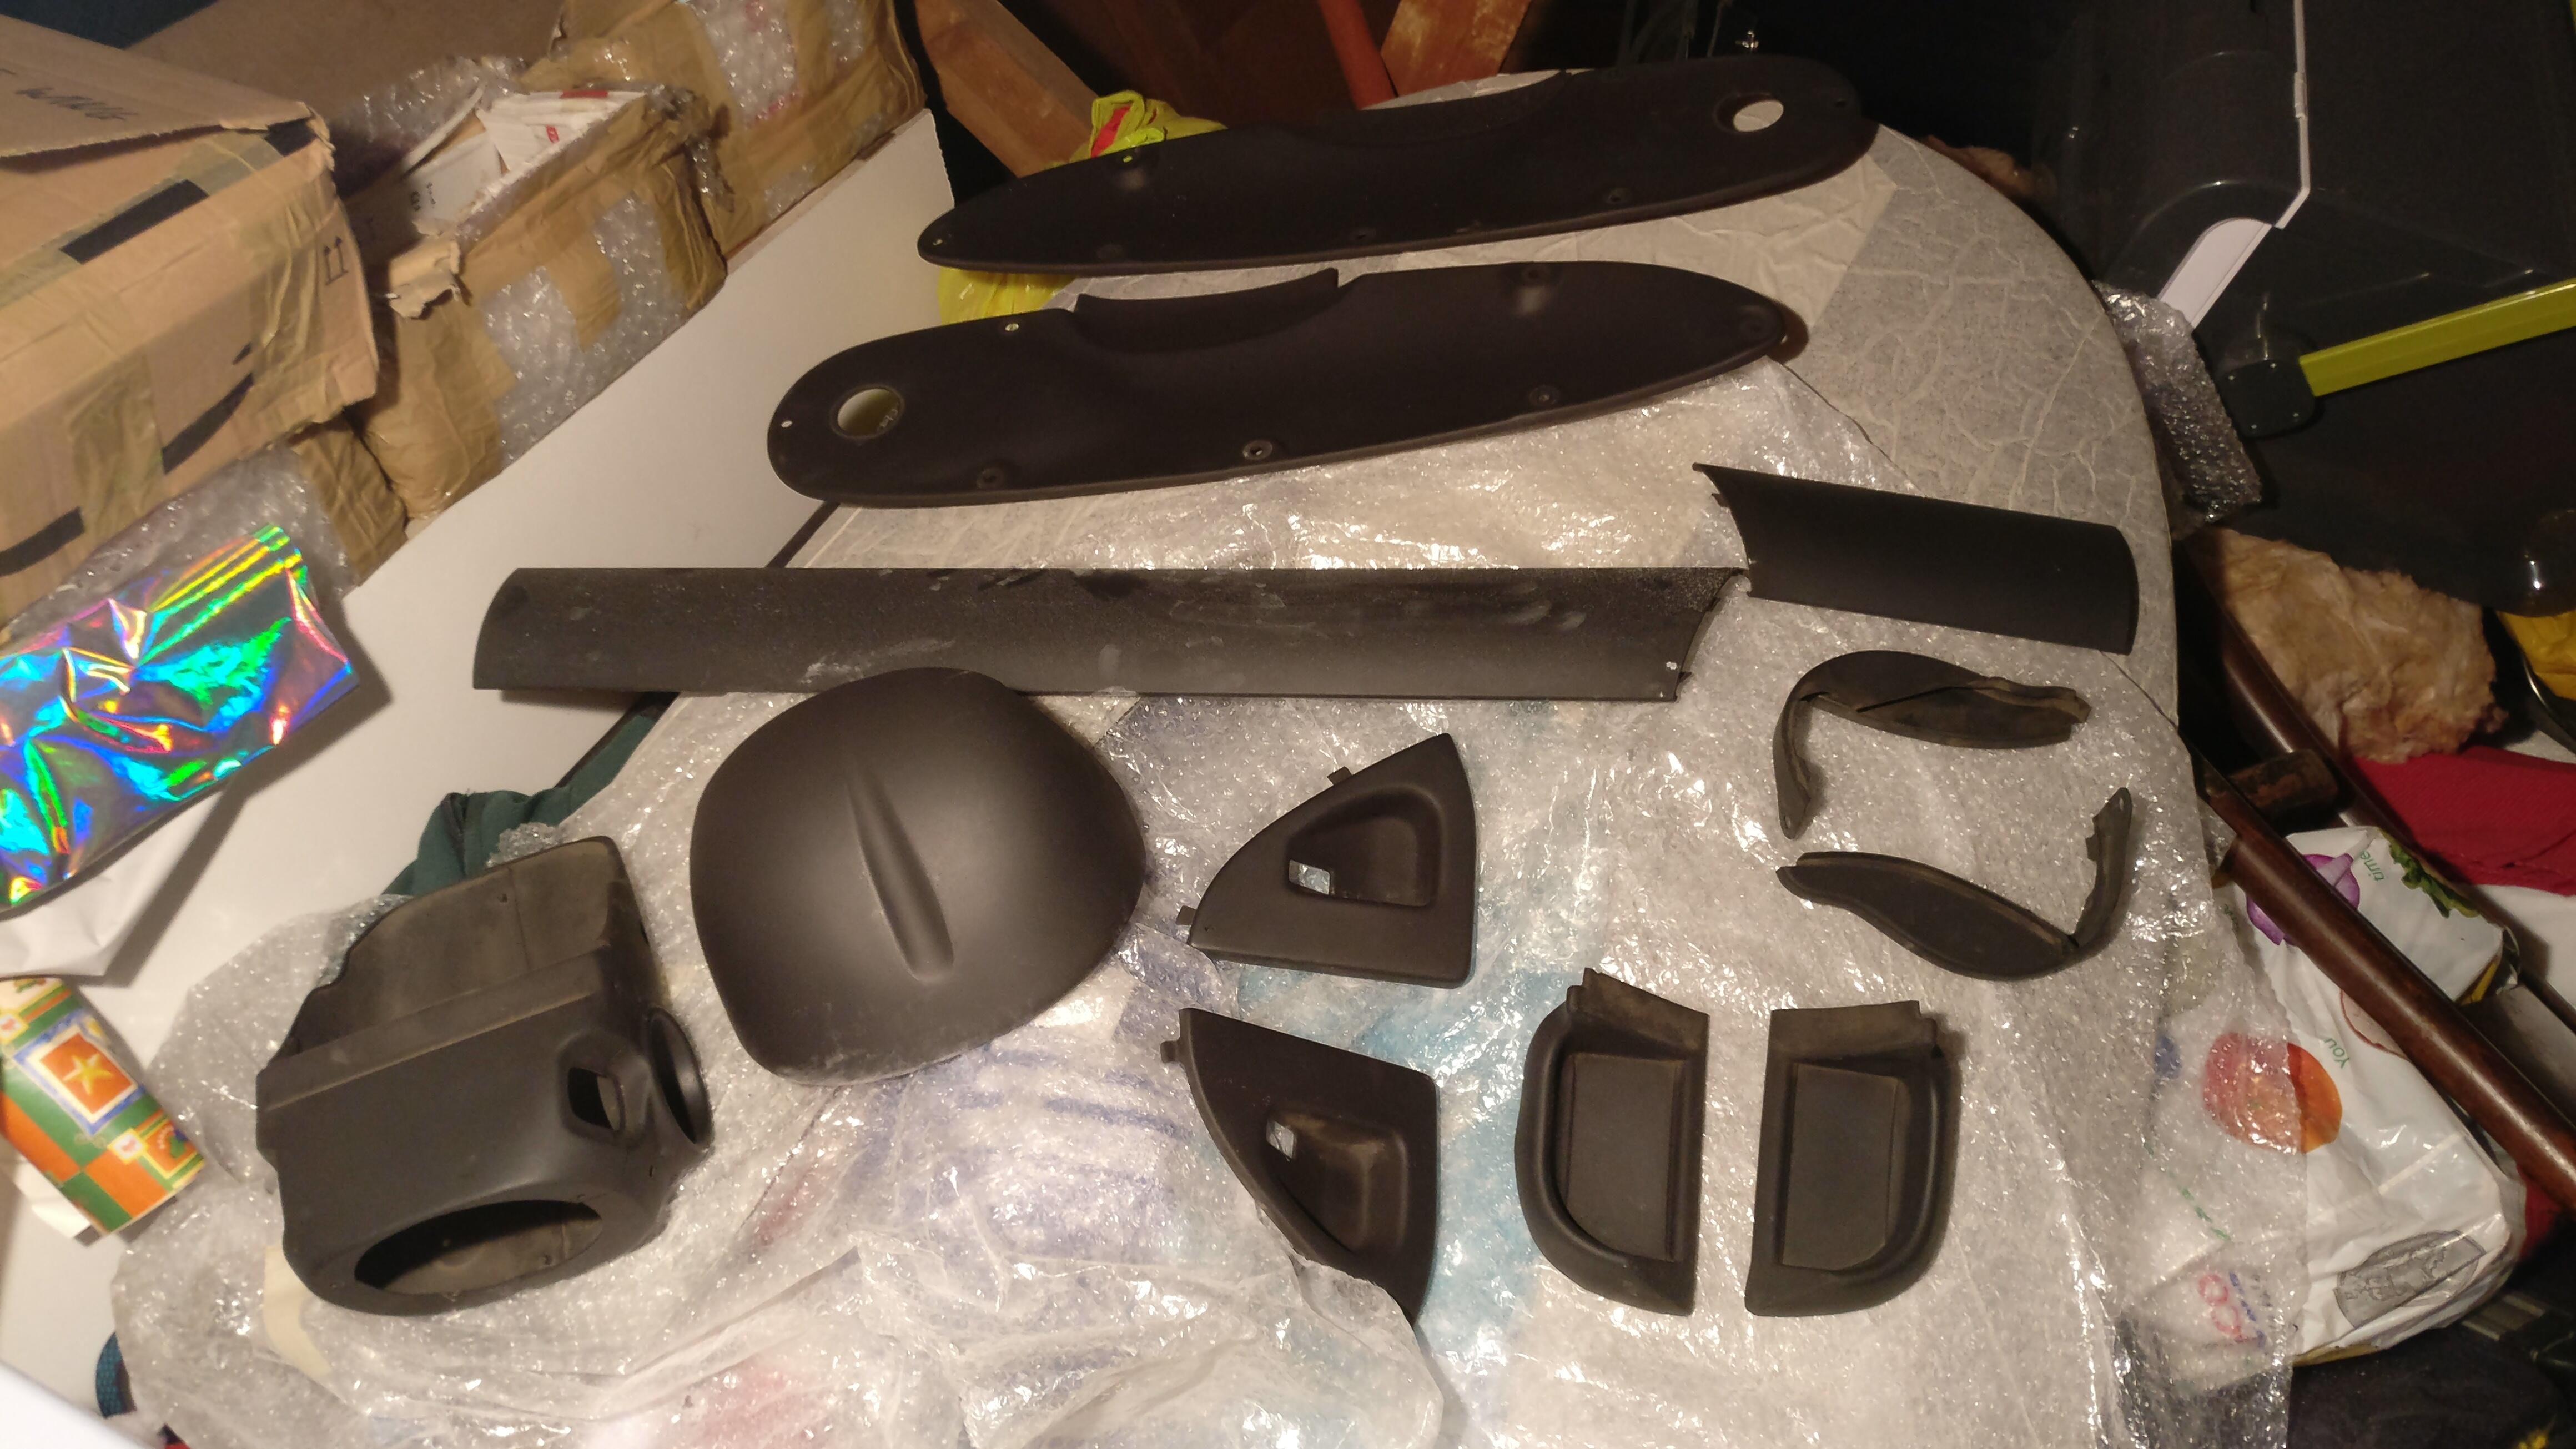
In total there is the 2 door panels, both dash pieces, the steering wheel surround, instrument cluster surround, door handle surrounds, coin trays and dash finisher panels, a few of which are horrendous to get off!
I had real trouble with the trim fastener on the driver’s end finisher panels, it did not want to come out.
I didn’t want to damage the dash or anywhere that would be visible. In the end I had to take a coping saw blade and very carefully cut the cap off the fastener, then pulled the rest out with pliers. A few scratches but nothing that would be seen on reassembly.
The sill pieces came off surprisingly easy, but the coin trays were a different story. I was able to use a thin plaster’s trowel thingy to get under the coin trays, then using a hairdryer applied heat. However I had to be very careful not to indent the now soft edge of the coin trays, not easy. I did pinch one edge, but thankfully applying some more heat I was able to get most of the indent out, then sanded back to get the profile as close as I could. Hopefully with the flocking being highly absorbent it won’t be too visible.
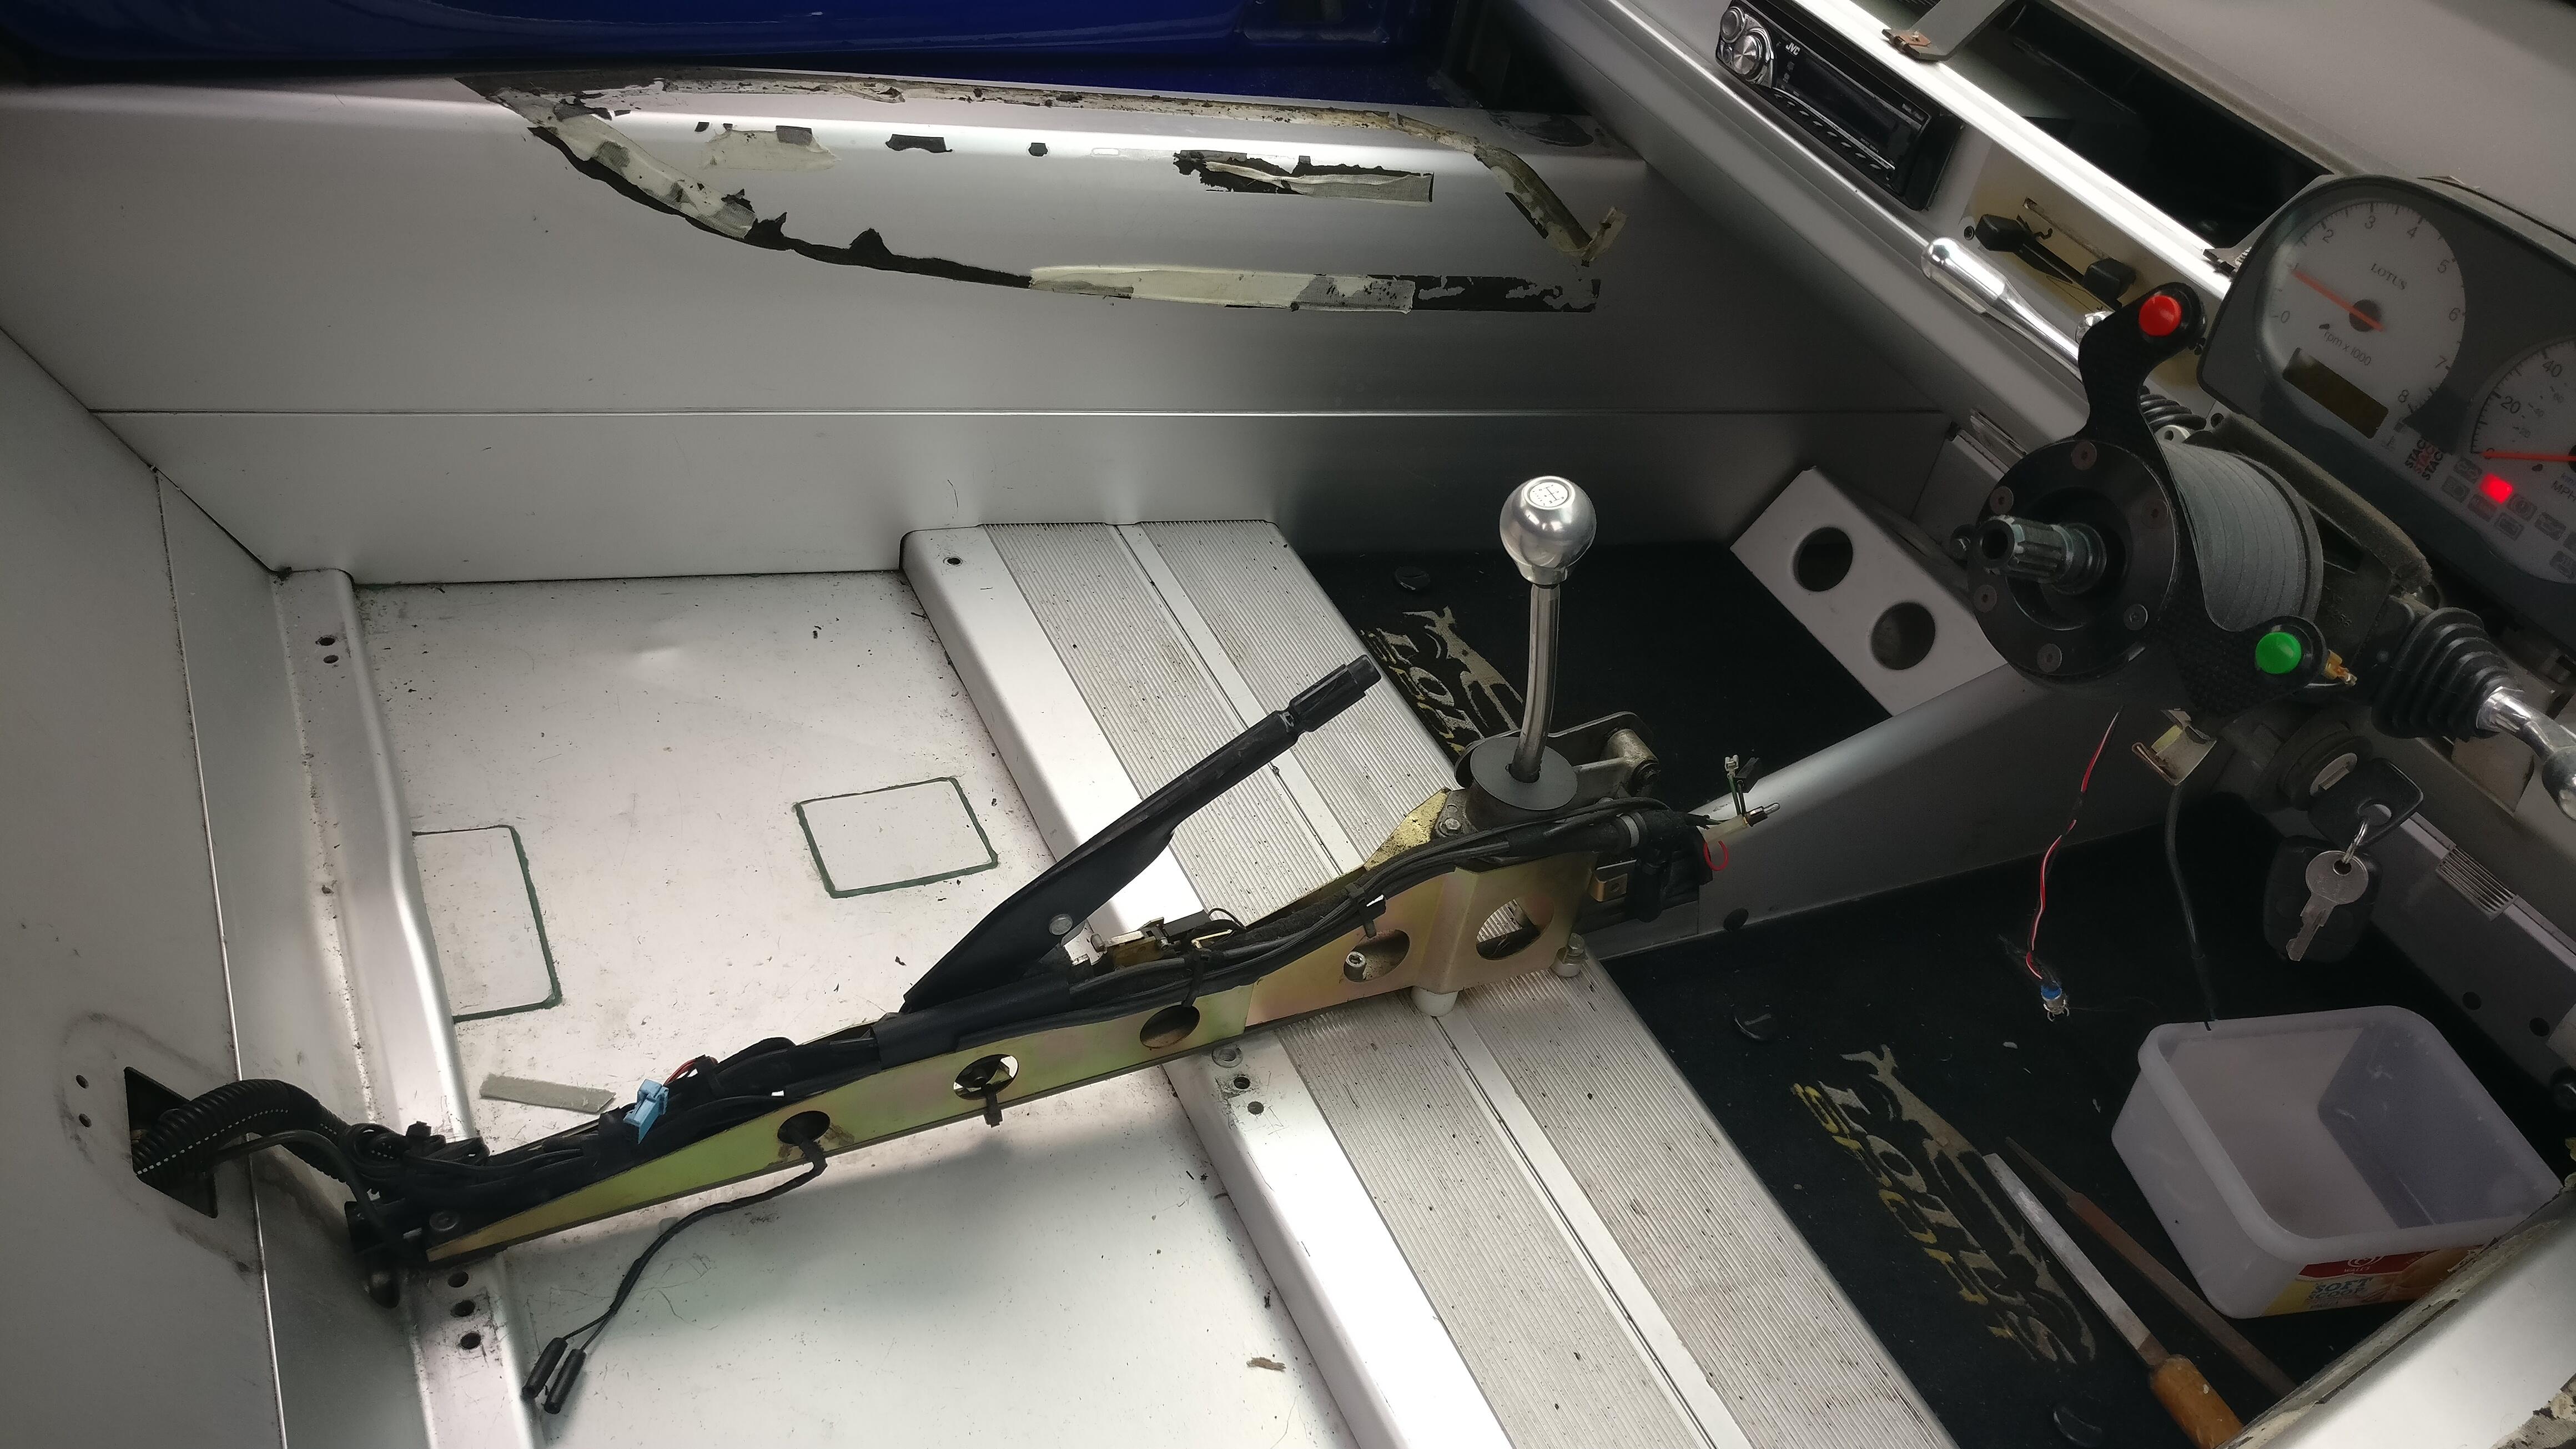
I wanted to do something a little different (although copying a famous Exige on here) for the gear lever and handbrake covers.
I pulled off the side pocket on the gear lever cover as it was ugly and never used, where I would have to fill the gaps this left. These edges will be finished with rubber trim, so wouldn’t need to be perfect. More on this later
Adding lightness
Stripping the sills down was also straight forward. Going for a colour change so the sills and other Azure blue pieces need stripping down fully.
Striker pins will stay on as they’re needed to secure the doors when fettling panel gaps.
The interior light pins came off, unfortunately the tiny spire-like clips were tricky to get off without losing them into the sill. I managed to grab one ok, but the passenger side fell into the sill. Not the end of the world as I had taken the coin trays off and could access inside the sill. However, I didn’t have a magnet on a stick tool, so had to use my phone to take a picture inside the sill to roughly locate the clip, then get a long magnetic tip screw driver to try and retrieve it. Fiddly and something I could have done without.
The weather seals are only a few years old so will be retained, but will be stripped off the sill and pulled out the way when prepping and paint.
Final thing to take off the sill was the tailgate release cable and grip. I came across a bit of a problem as soon as I loosened the nut, as it slid down the cable and nestled right inside the sill section. If I just kept pulling the cable out the nut would be lost inside. The only way I could get hands on the nut was from the inner sill by the speakers (which were removed to get the B pillar bolts out) where I originally loosened it. Unfortunately I didn’t take a picture, but decided the best way would be to wrap some tape around the end of the cable to stop the nut from slipping off the end. I then pulled through the remaining cable until the nut came back into view. I held the nut with one hand and pulled the tape off, then pulled the last of the cable through, the nut dropped into my hand and I was pretty chuffed!
For someone who claimed at the outset not to be very skilled, I think you’re being very brave and doing a great job. Enjoying all the detail.
Thank you! A few things I have kind of rushed into and have caused myself unnecessary headaches (the tailgate release but comes to mind) but thankfully most things have been ok. It has helped that none of the bolts have been particularly seized, so couldn’t have asked for a nicer car to work on.
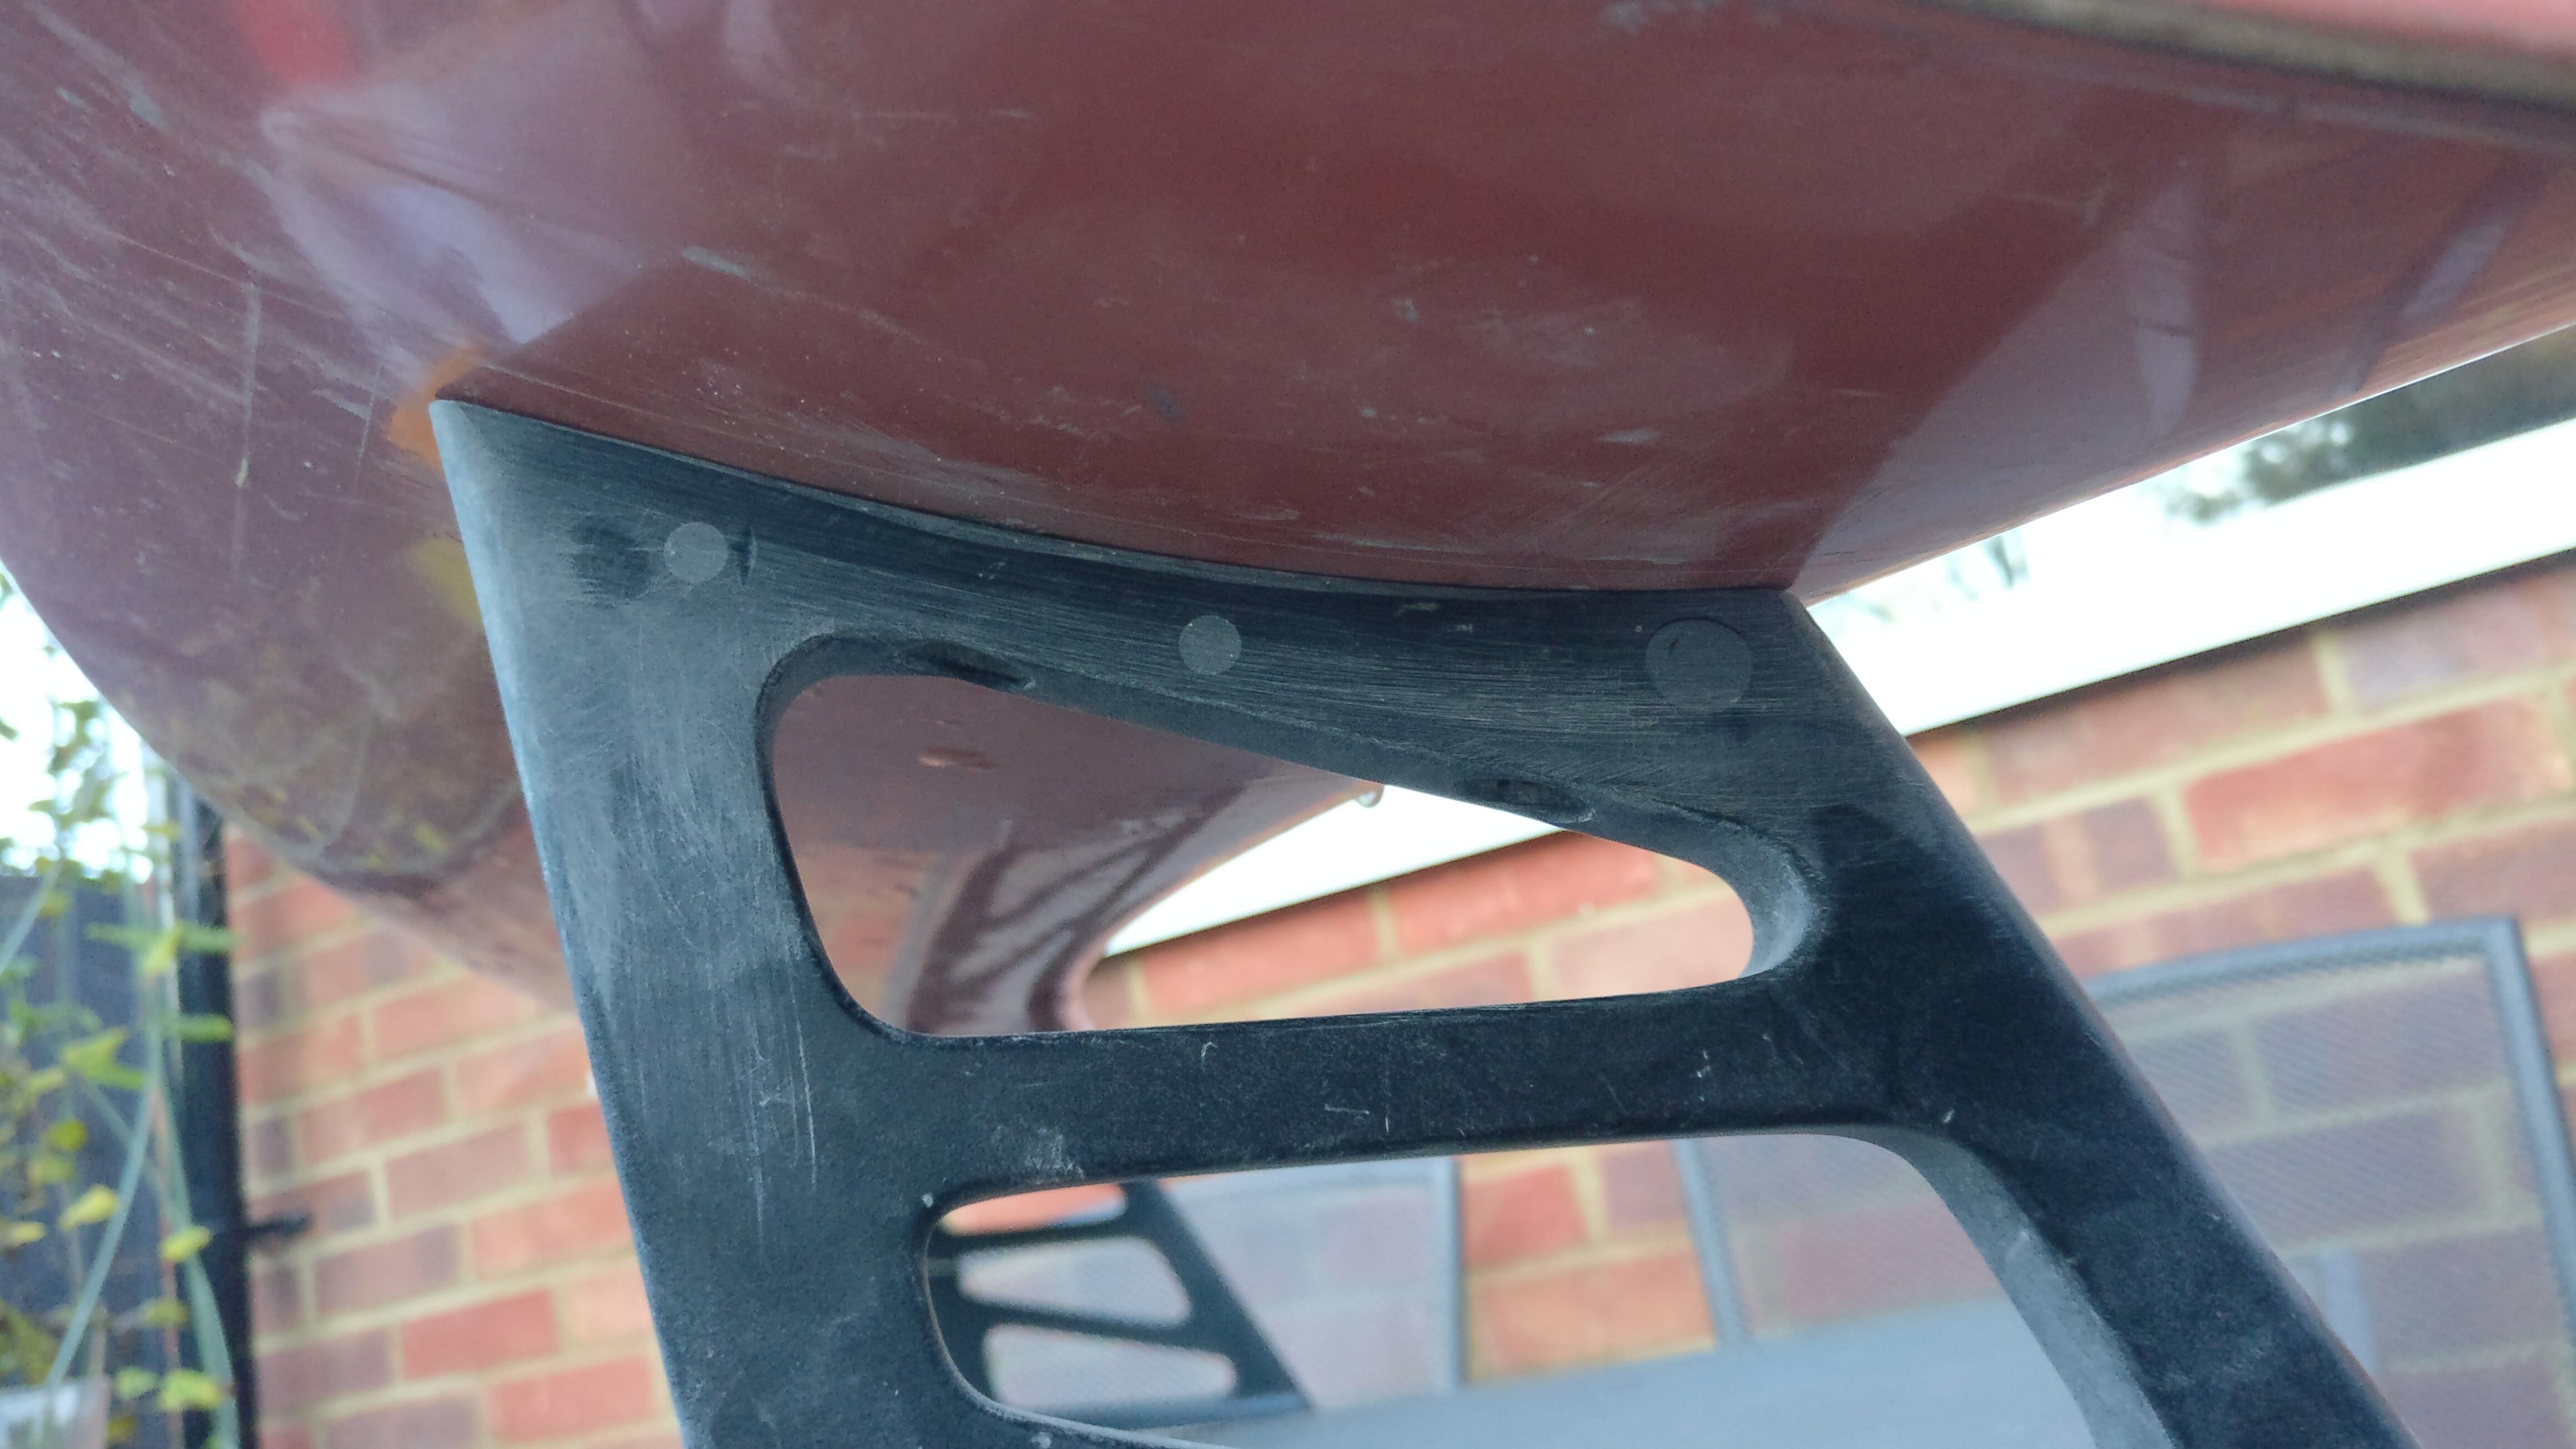
After months of searching, I finally found another genuine rear spoiler support. It is a left hand support like my other one, but must have been used in Motorsport and hooked up to another wing, as it had been drilled and filed.
To see how far out the support was, I roughly assembled my spoiler. The combination of it being left handed and the filing left a lot of air between the support and wing.
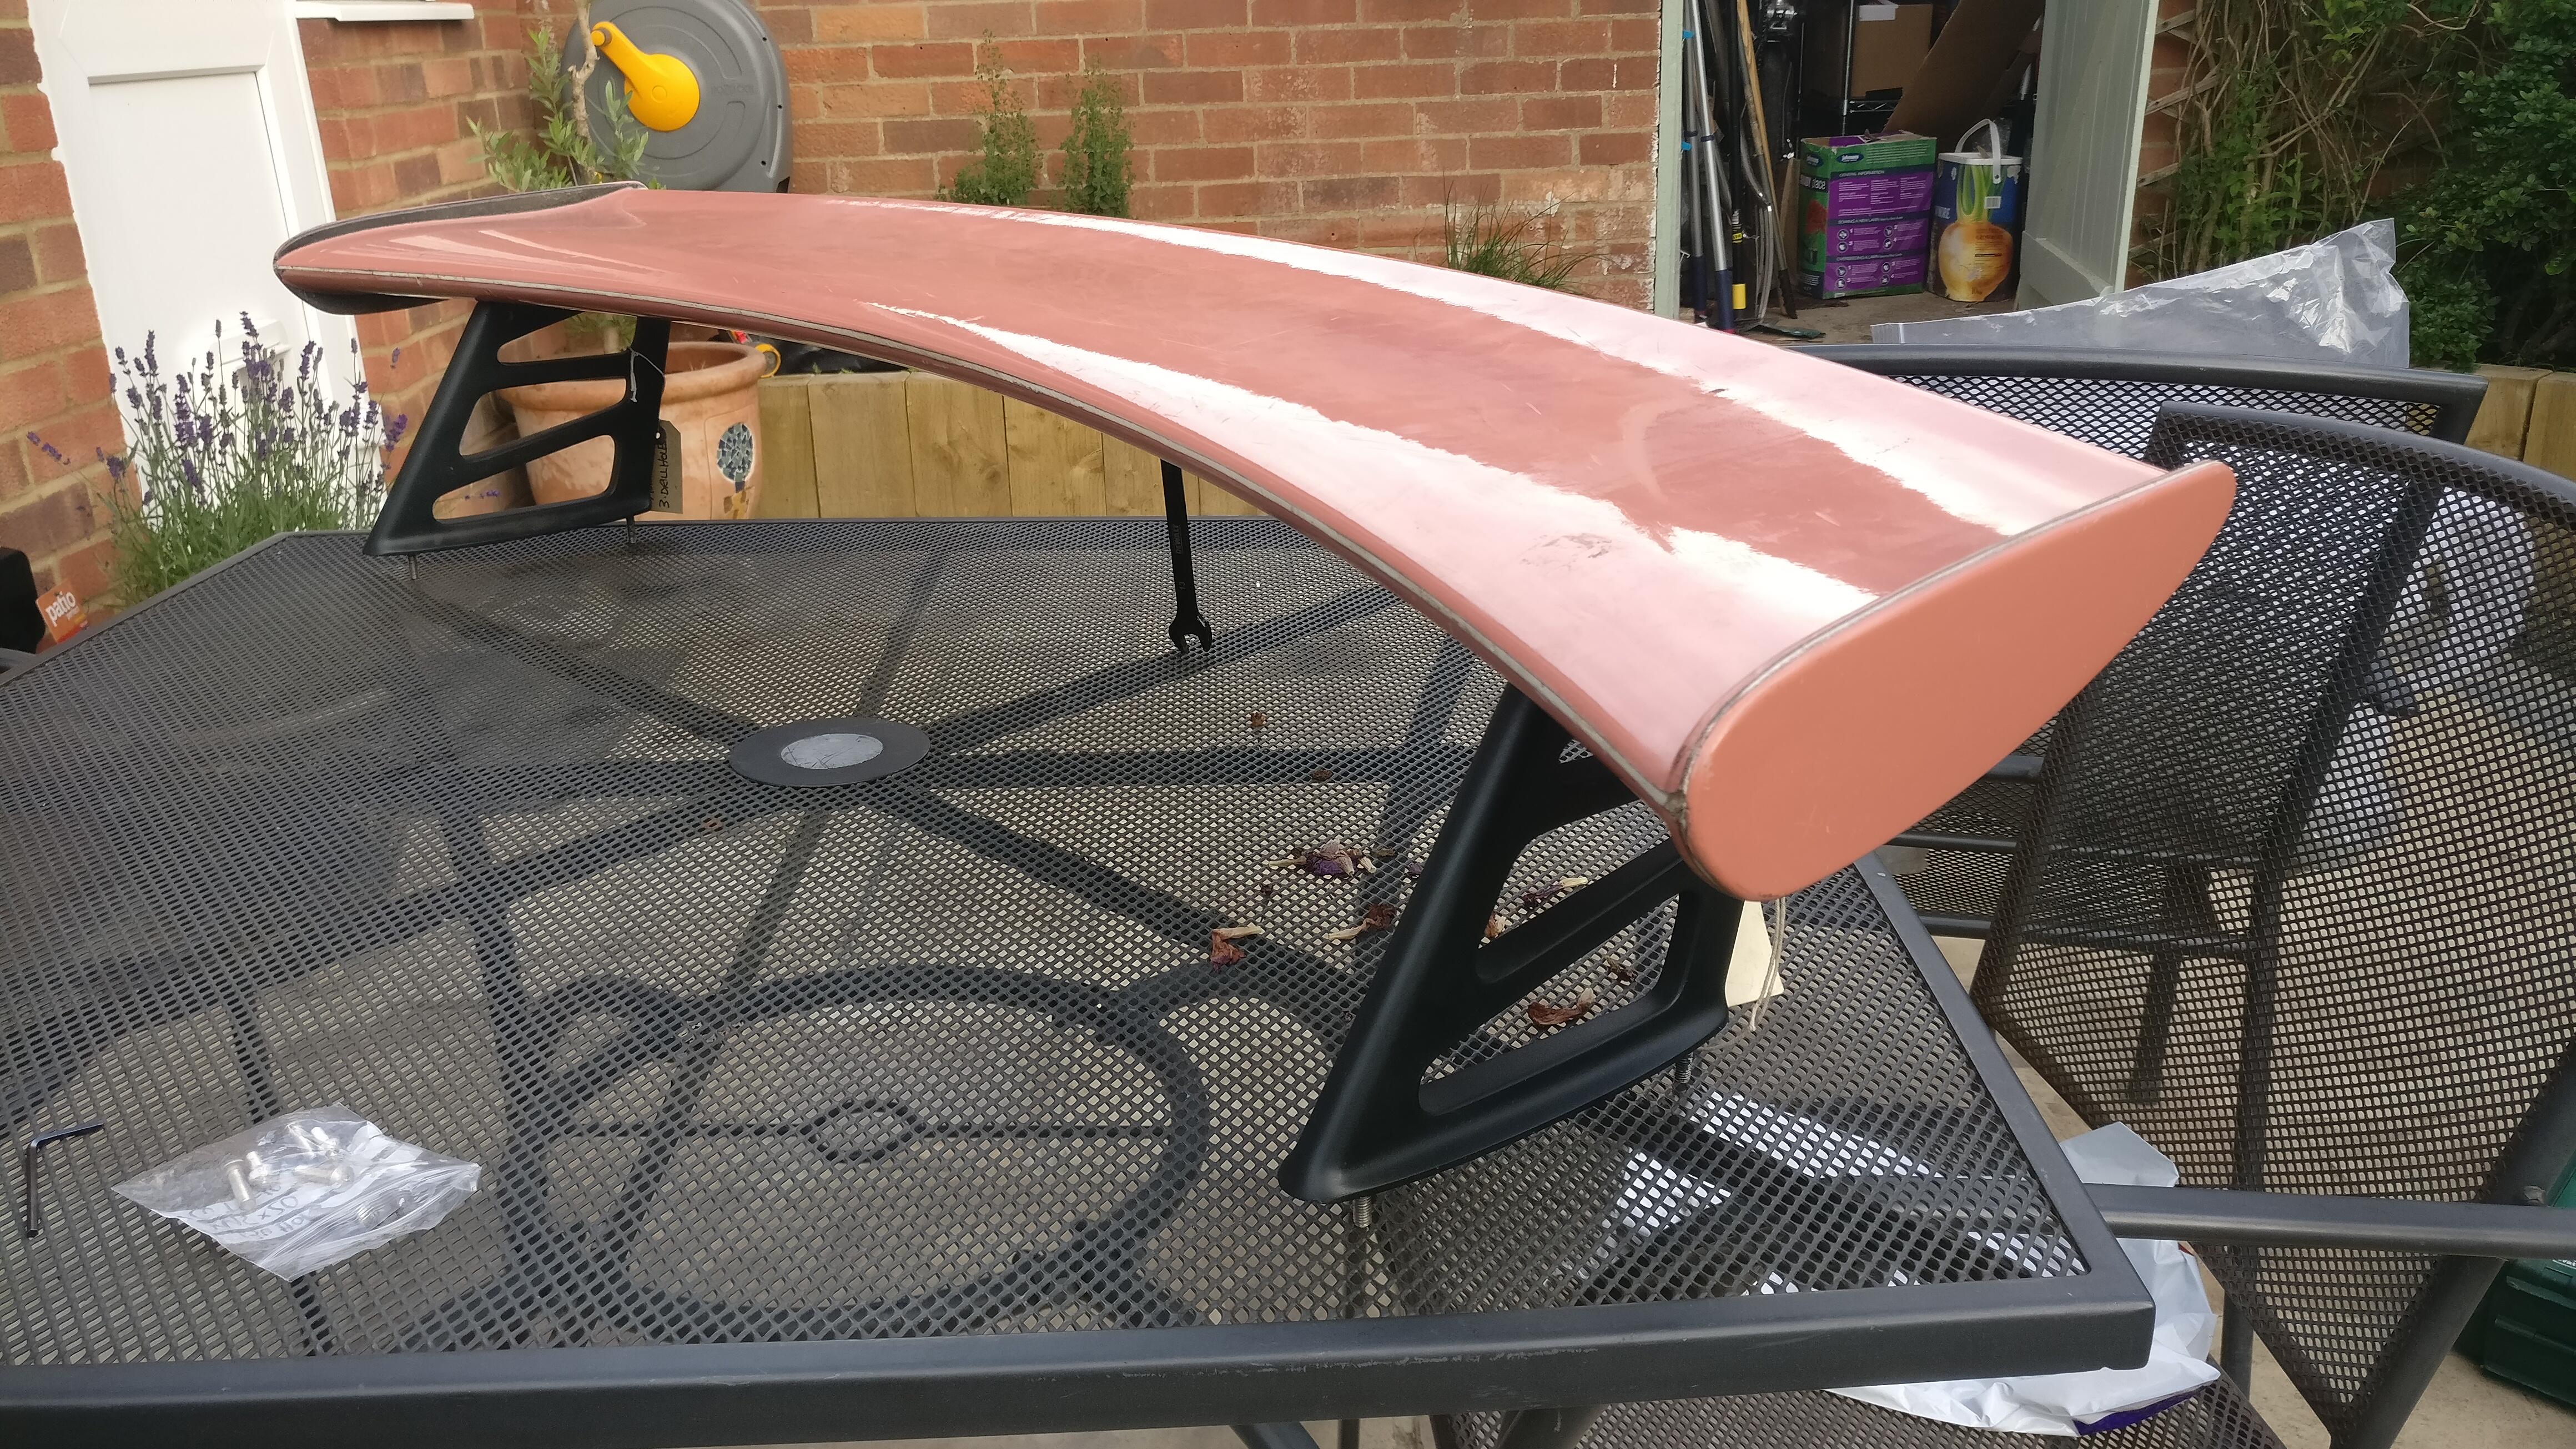
I did some research, even looking at getting a silicone mould made of my other un-fettled support if this one wasn’t able to be saved. I found out they’re actually made of polyurethane. After a bit more research I settled on using JB Weld as a filler and crammed the holes and added filler to the top of the support. It set fairly quickly, but it stays tacky for quite a while afterwards. It probably would have been fine to sand, but to be safe I left it in a warm place to fully harden, which took a few days before it was ready to be sanded.
Lots of profiling and testing and the JB Weld had taken really well. I used a bit more to fill in a few bits I had missed, sanding more to get it as close as I could.
It was tricky as not only are you sanding to one profile but to 2 axis of the spoiler. I got it as close as I could and used a much finer grain sand paper to finalise the surface
I then got some matte spray paint and gradually built up the layers. The paint is water resistant and says it is ok for exterior use. I am really happy with the final result, and after spraying the other un-fettled support to colour match, it was almost impossible to tell the two apart. A decent bit of up-cycling I think!
With the bootlid gone, I had to take the hinge off to allow for the engine finisher panel to fit, plus it was obviously no longer needed.
Saves weight too.
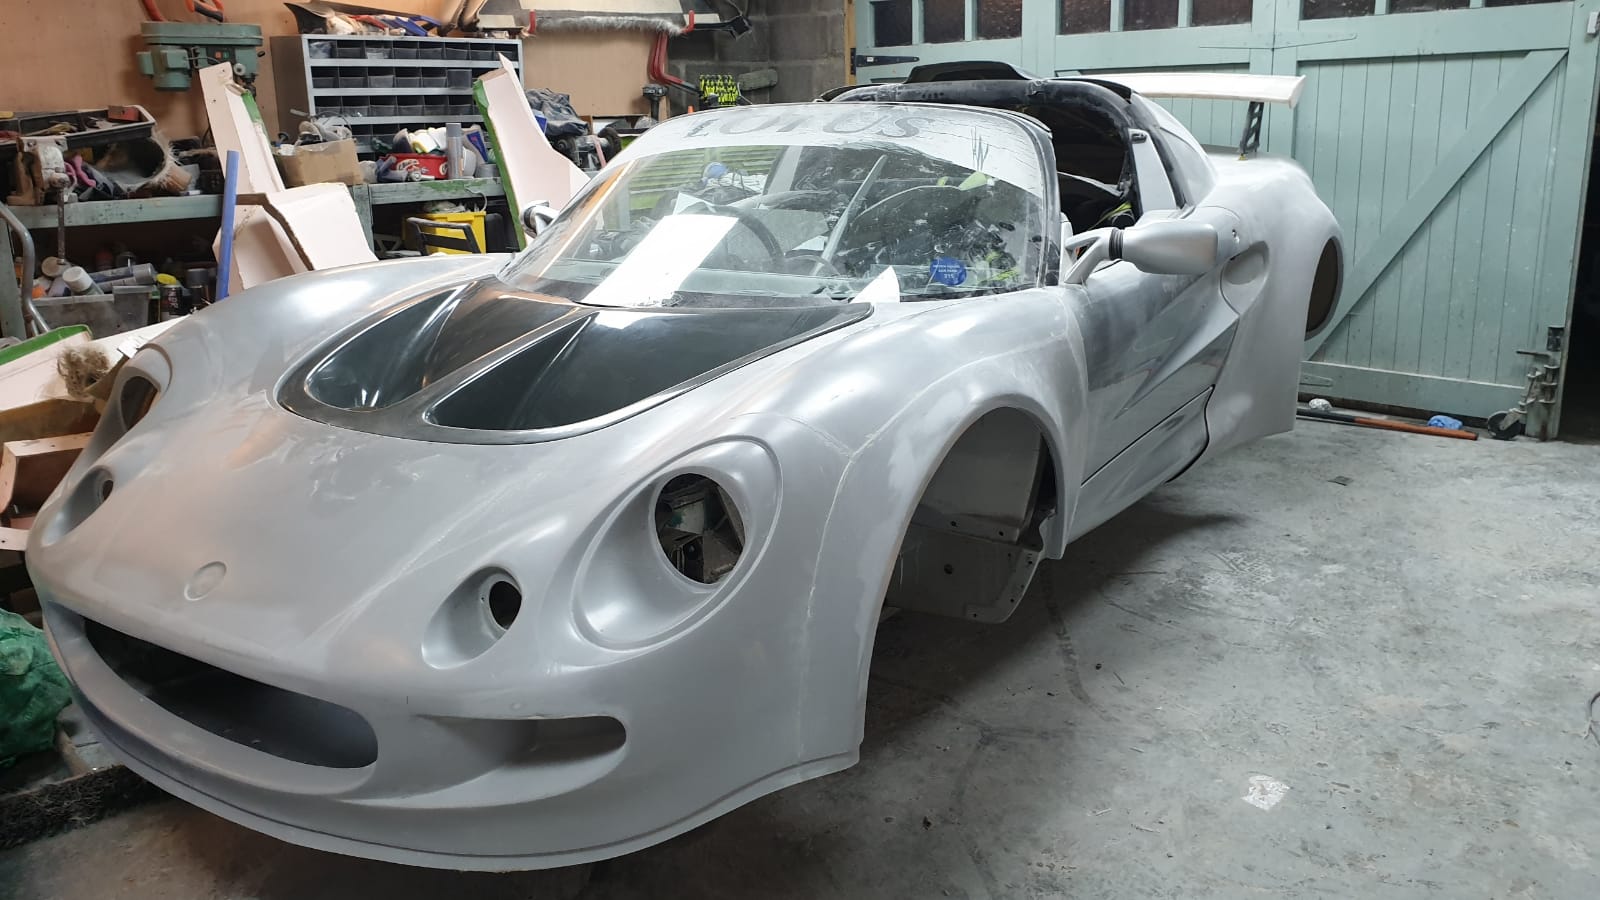
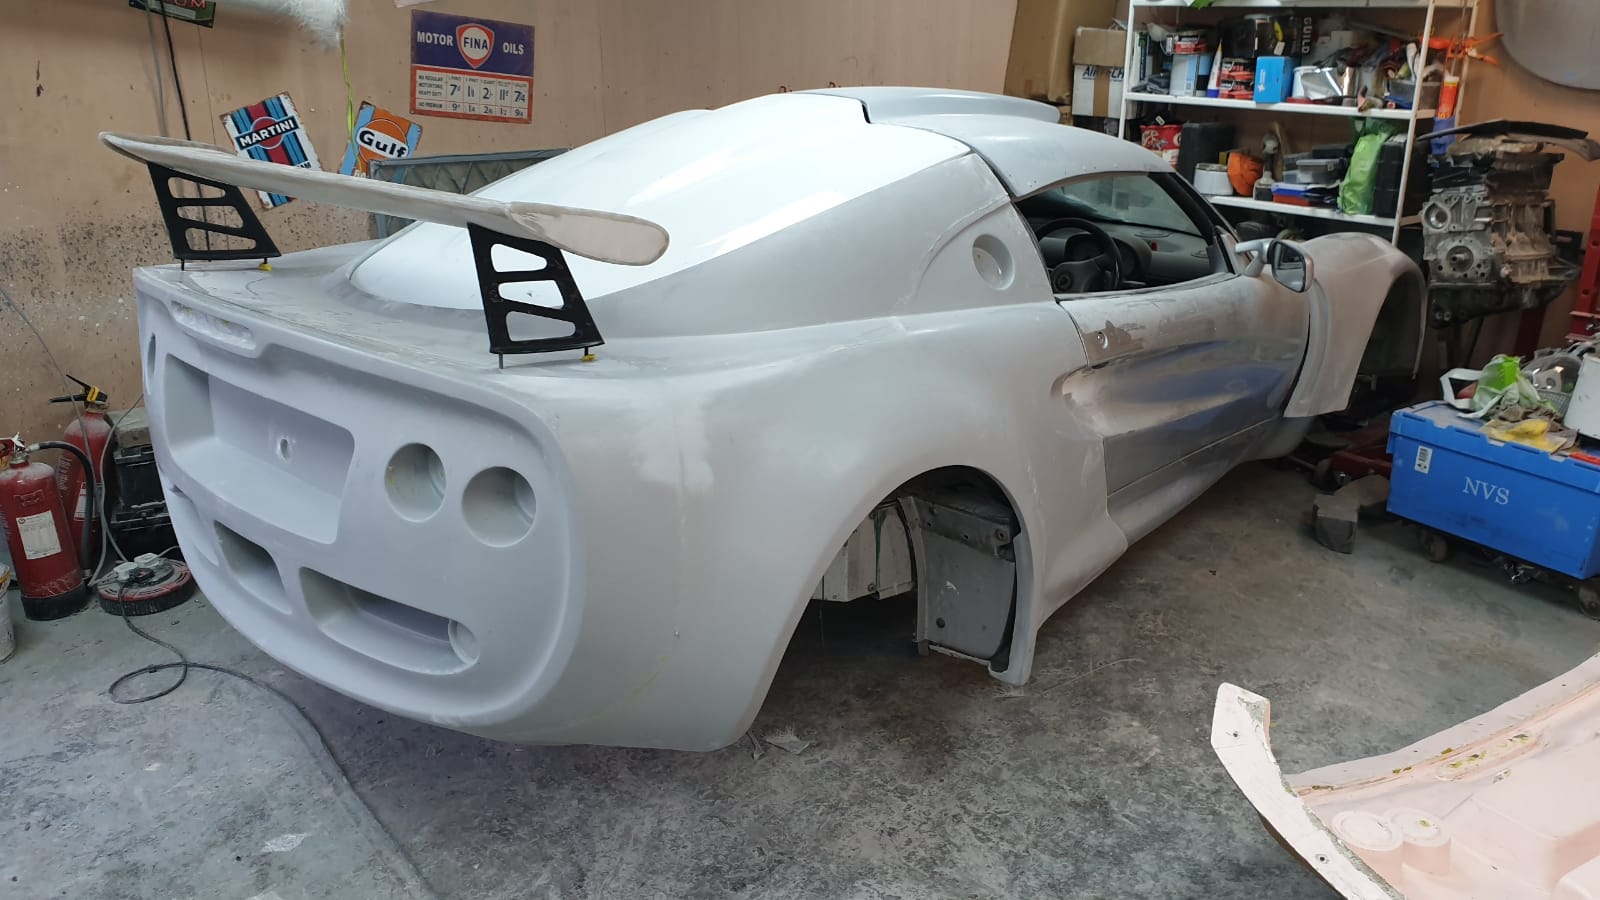
Time to get onto the bits that most people are actually interested in, the Exige bodywork.
As mentioned before I wanted to keep my car as light as possible as I track it a lot and that’s the whole philosophy of these cars. My Elise weighed 712kg with an empty fuel tank, so keeping it as close to this as I could was my goal.
Dom at The Lotus Factory made me up his “Lightweight” clams. Despite being roughly 8kg for the front clam (front lip spoiler is less than 2kg so full is below 10kg) and 16kg for the rear (3.5kg for the rear wing and supports so all in below 20kg) these have good rigidity thanks to the matting woven into the fibres.
For comparison, my Elise clams were 11kg for the front, and 22kg for the rear (including the Sport 160 wing and aluminum sheer panels), so hopefully I’ll be somewhat close when everything is finished.
Before collecting from Dom’s the clams were test fit onto one of his projects, and I got very excited to collect them!
Nice drive out to Cardiff to collect the clams. Wales was in lockdown then so Dom wrote me a delivery note which was very helpful so we wouldn’t be turned away.
Being nice and lightweight the clams were pretty easy to test fit. The rear was a little tricky with the wheels on but with my Dad to help me we got it on.
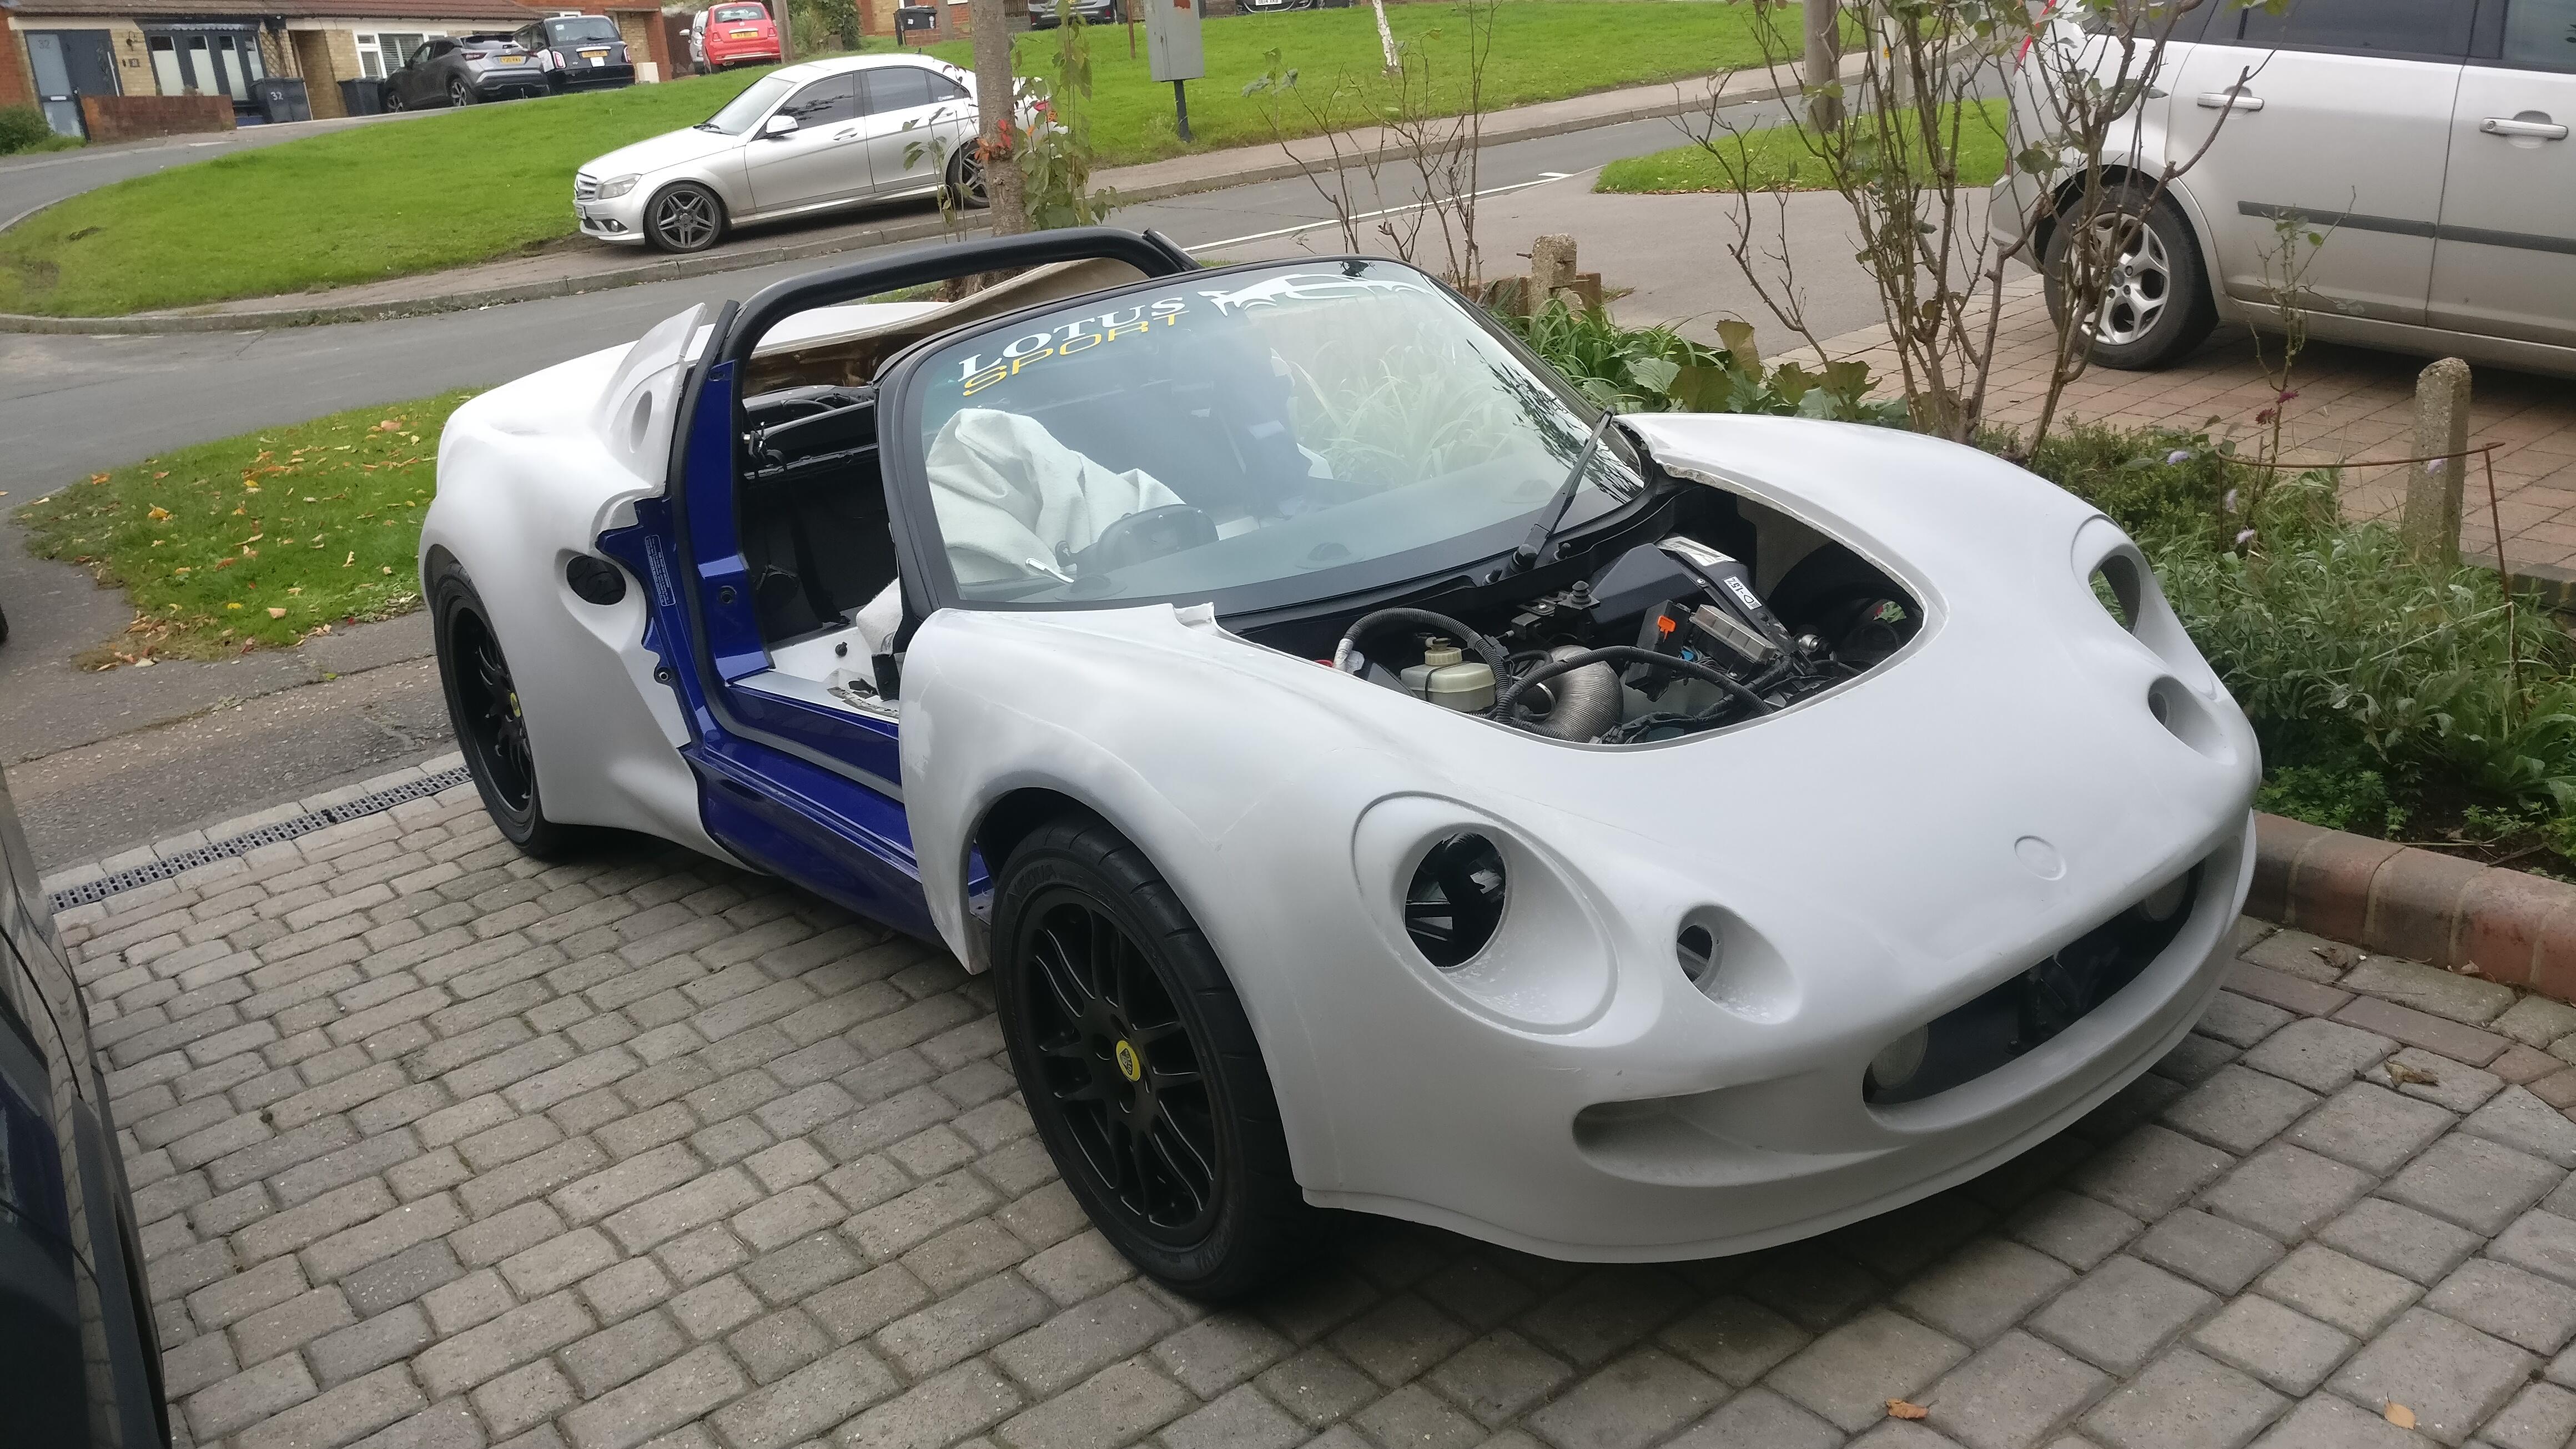
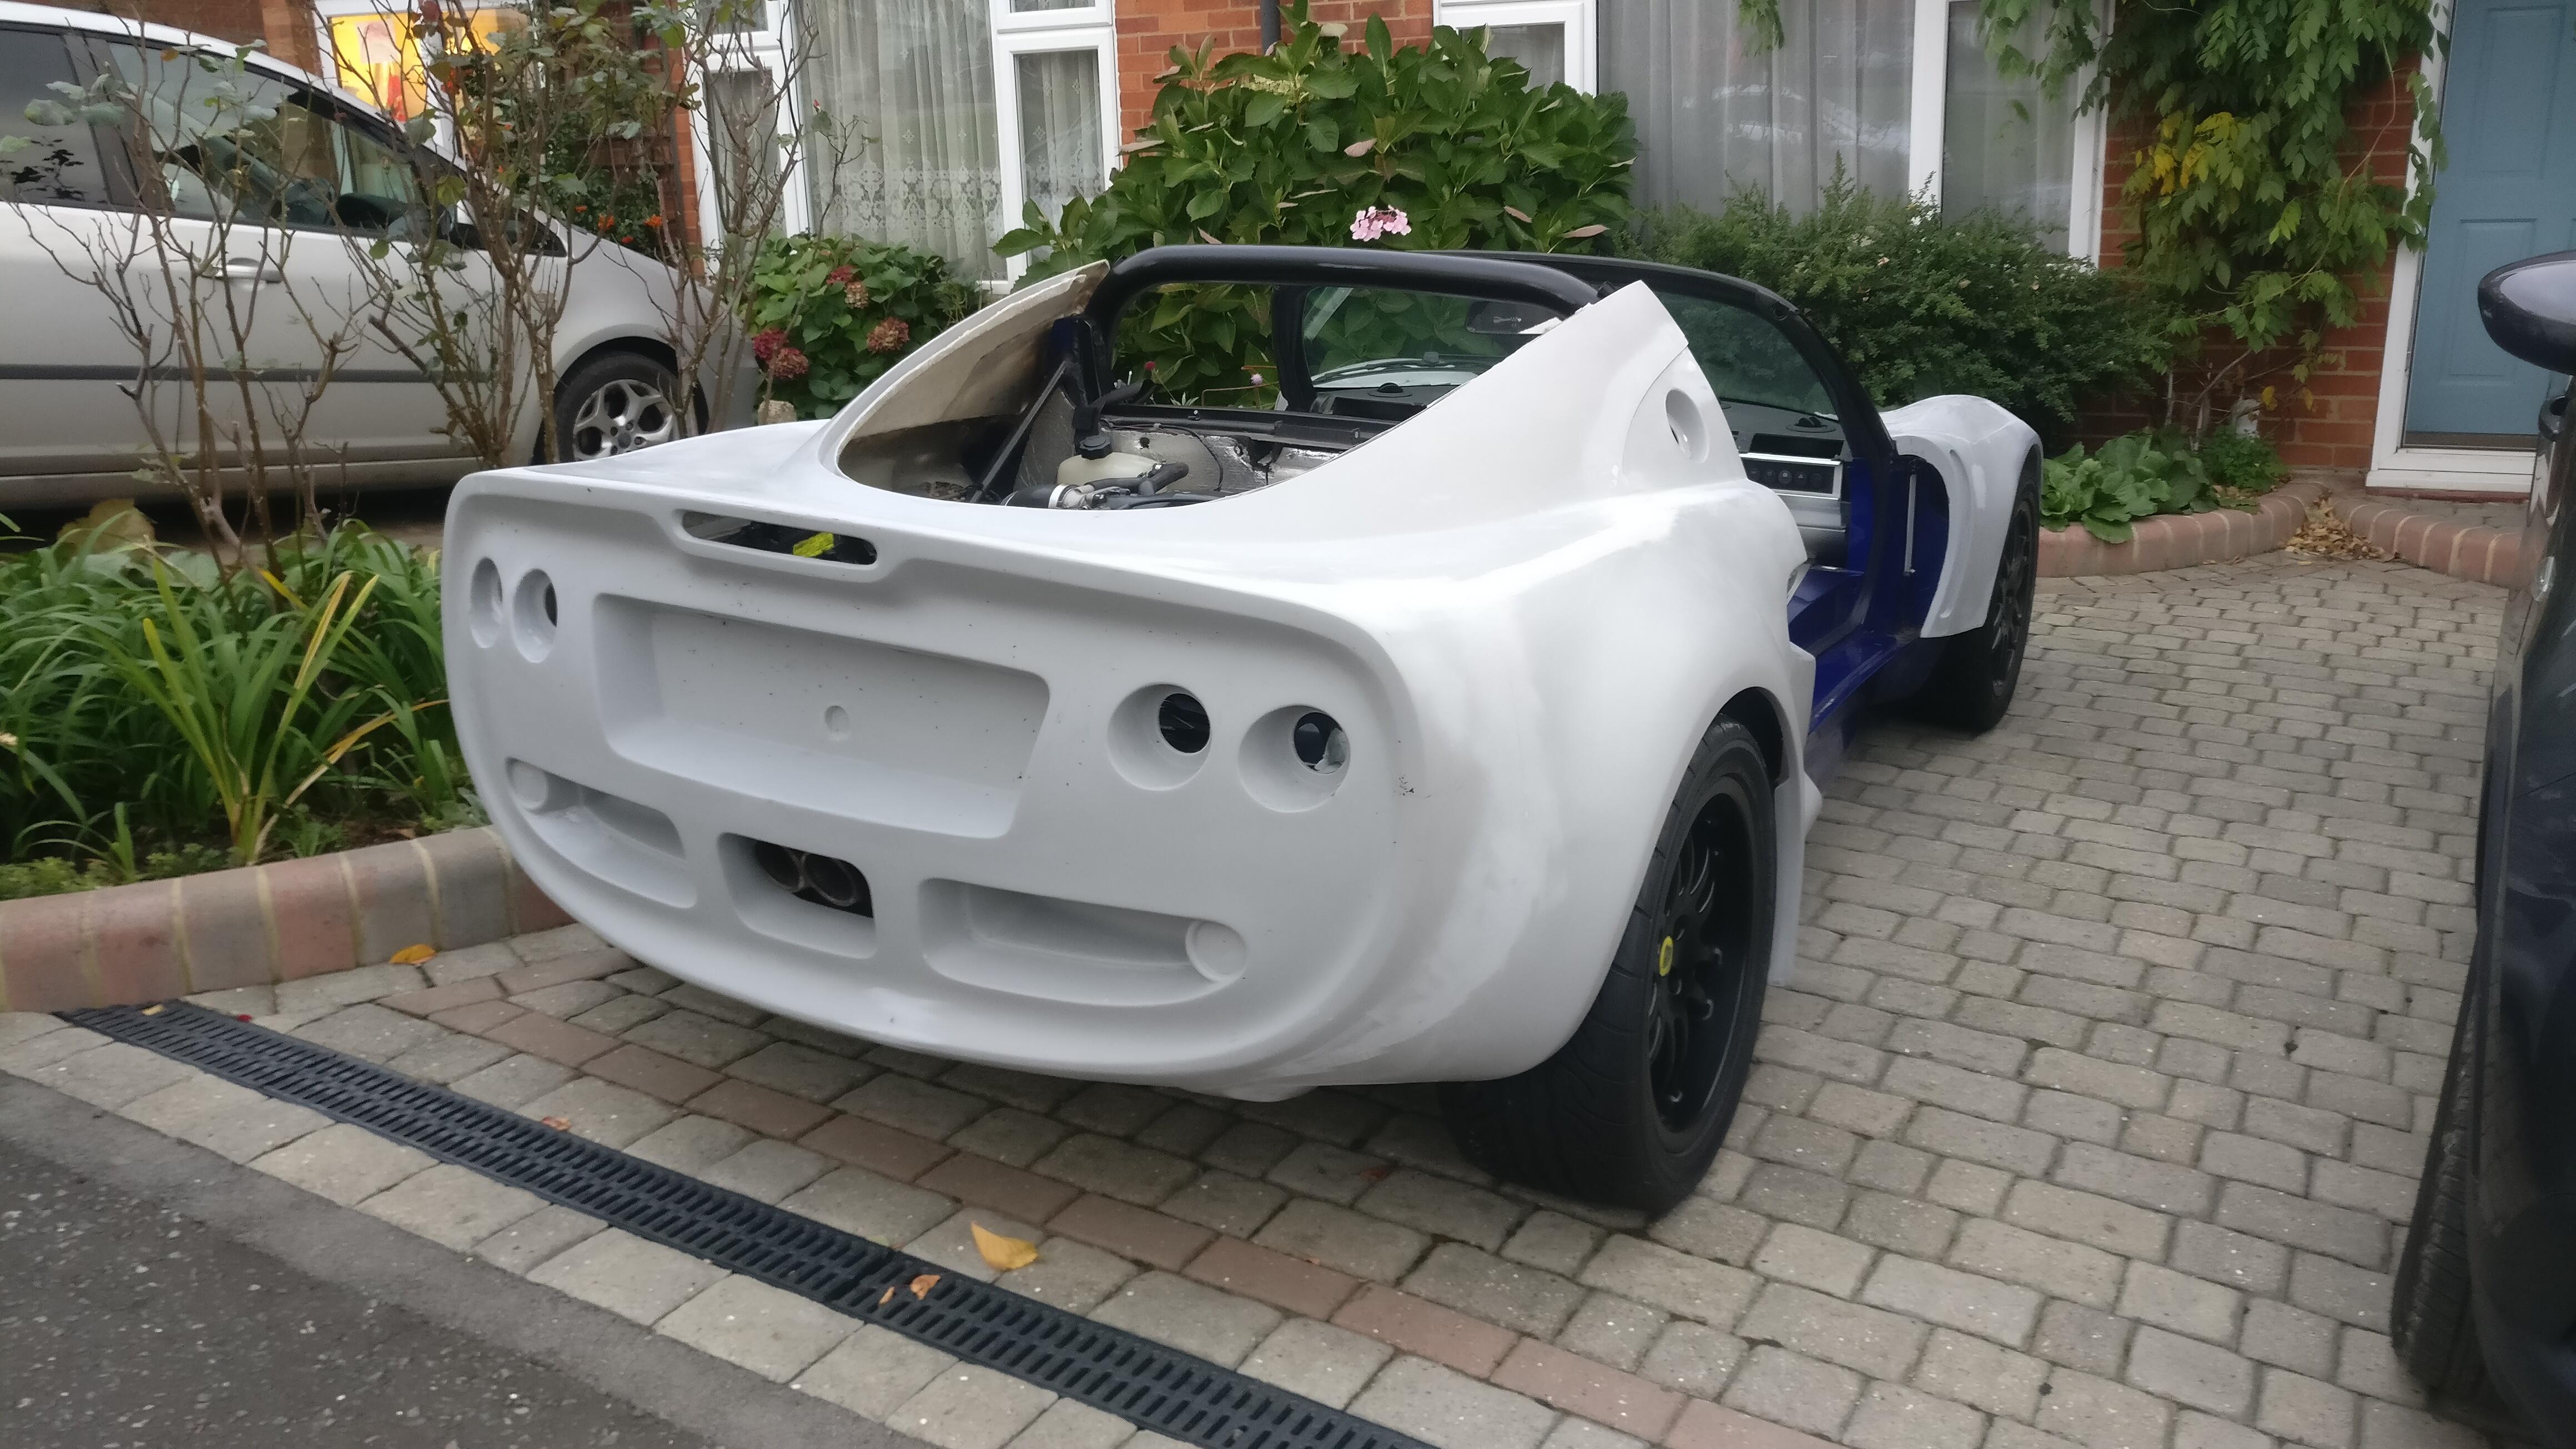
Actually looks really cool with the doors off, like a beach buggy!
1 Like
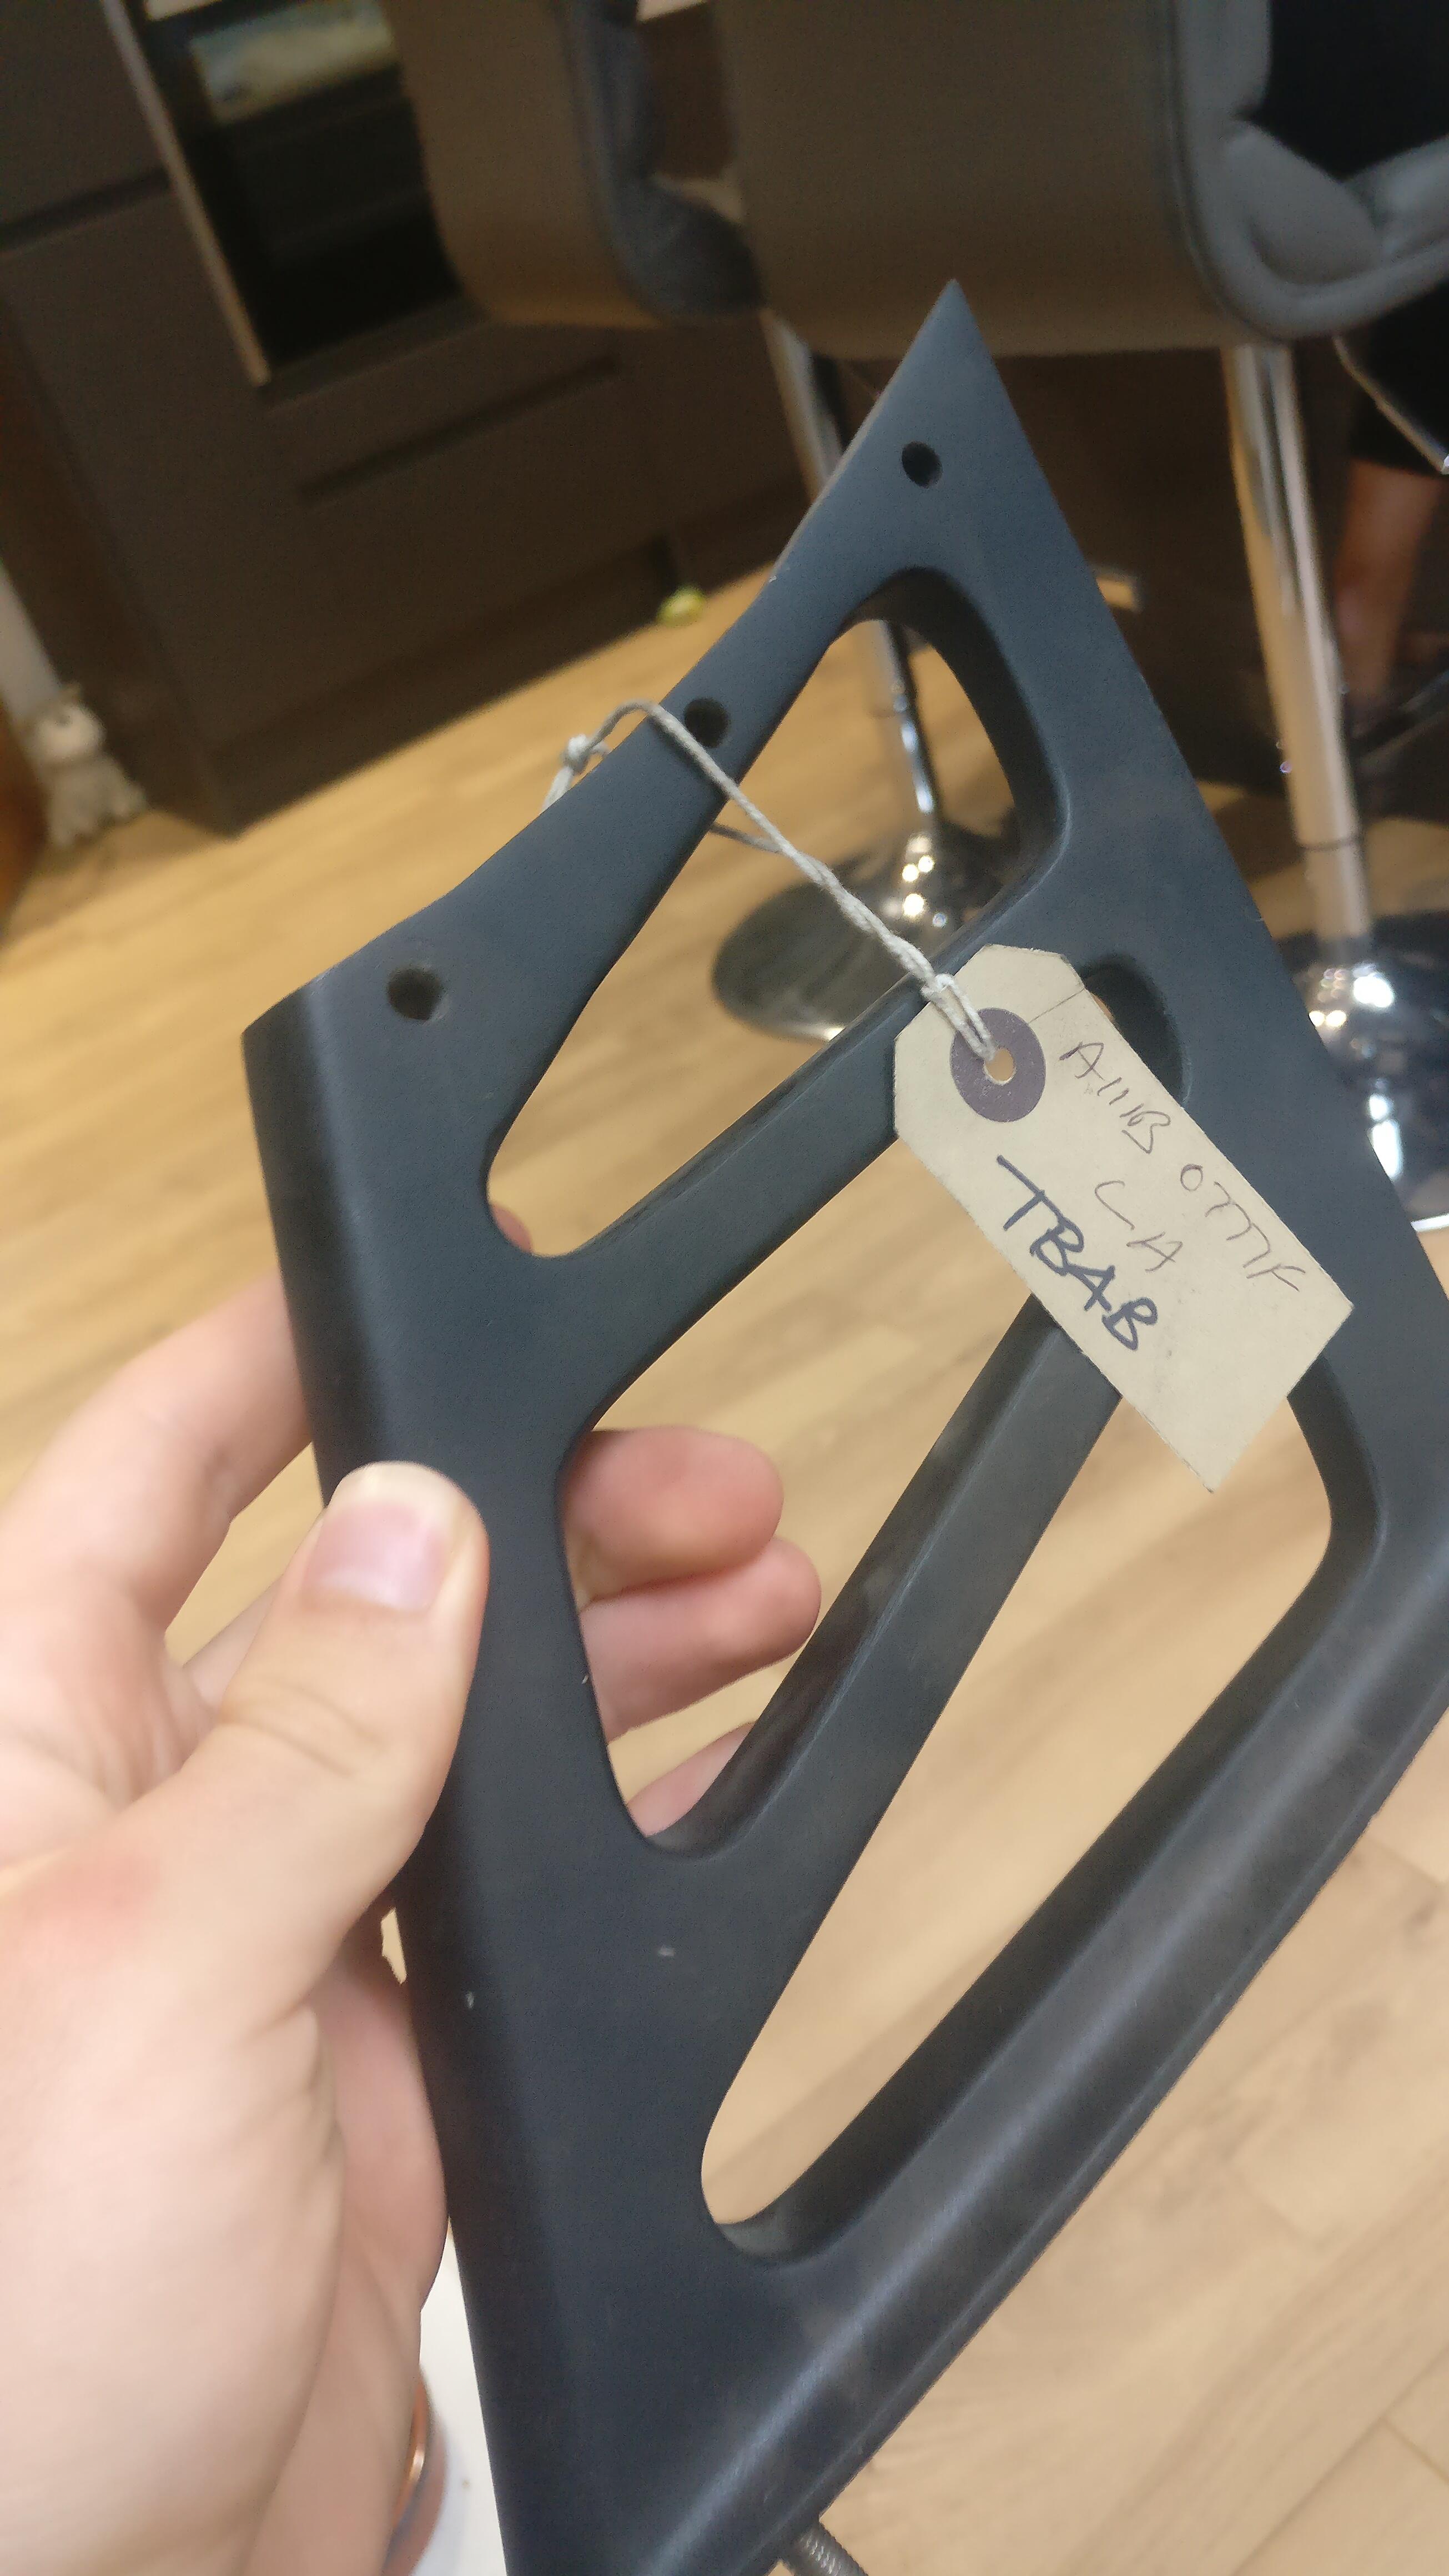
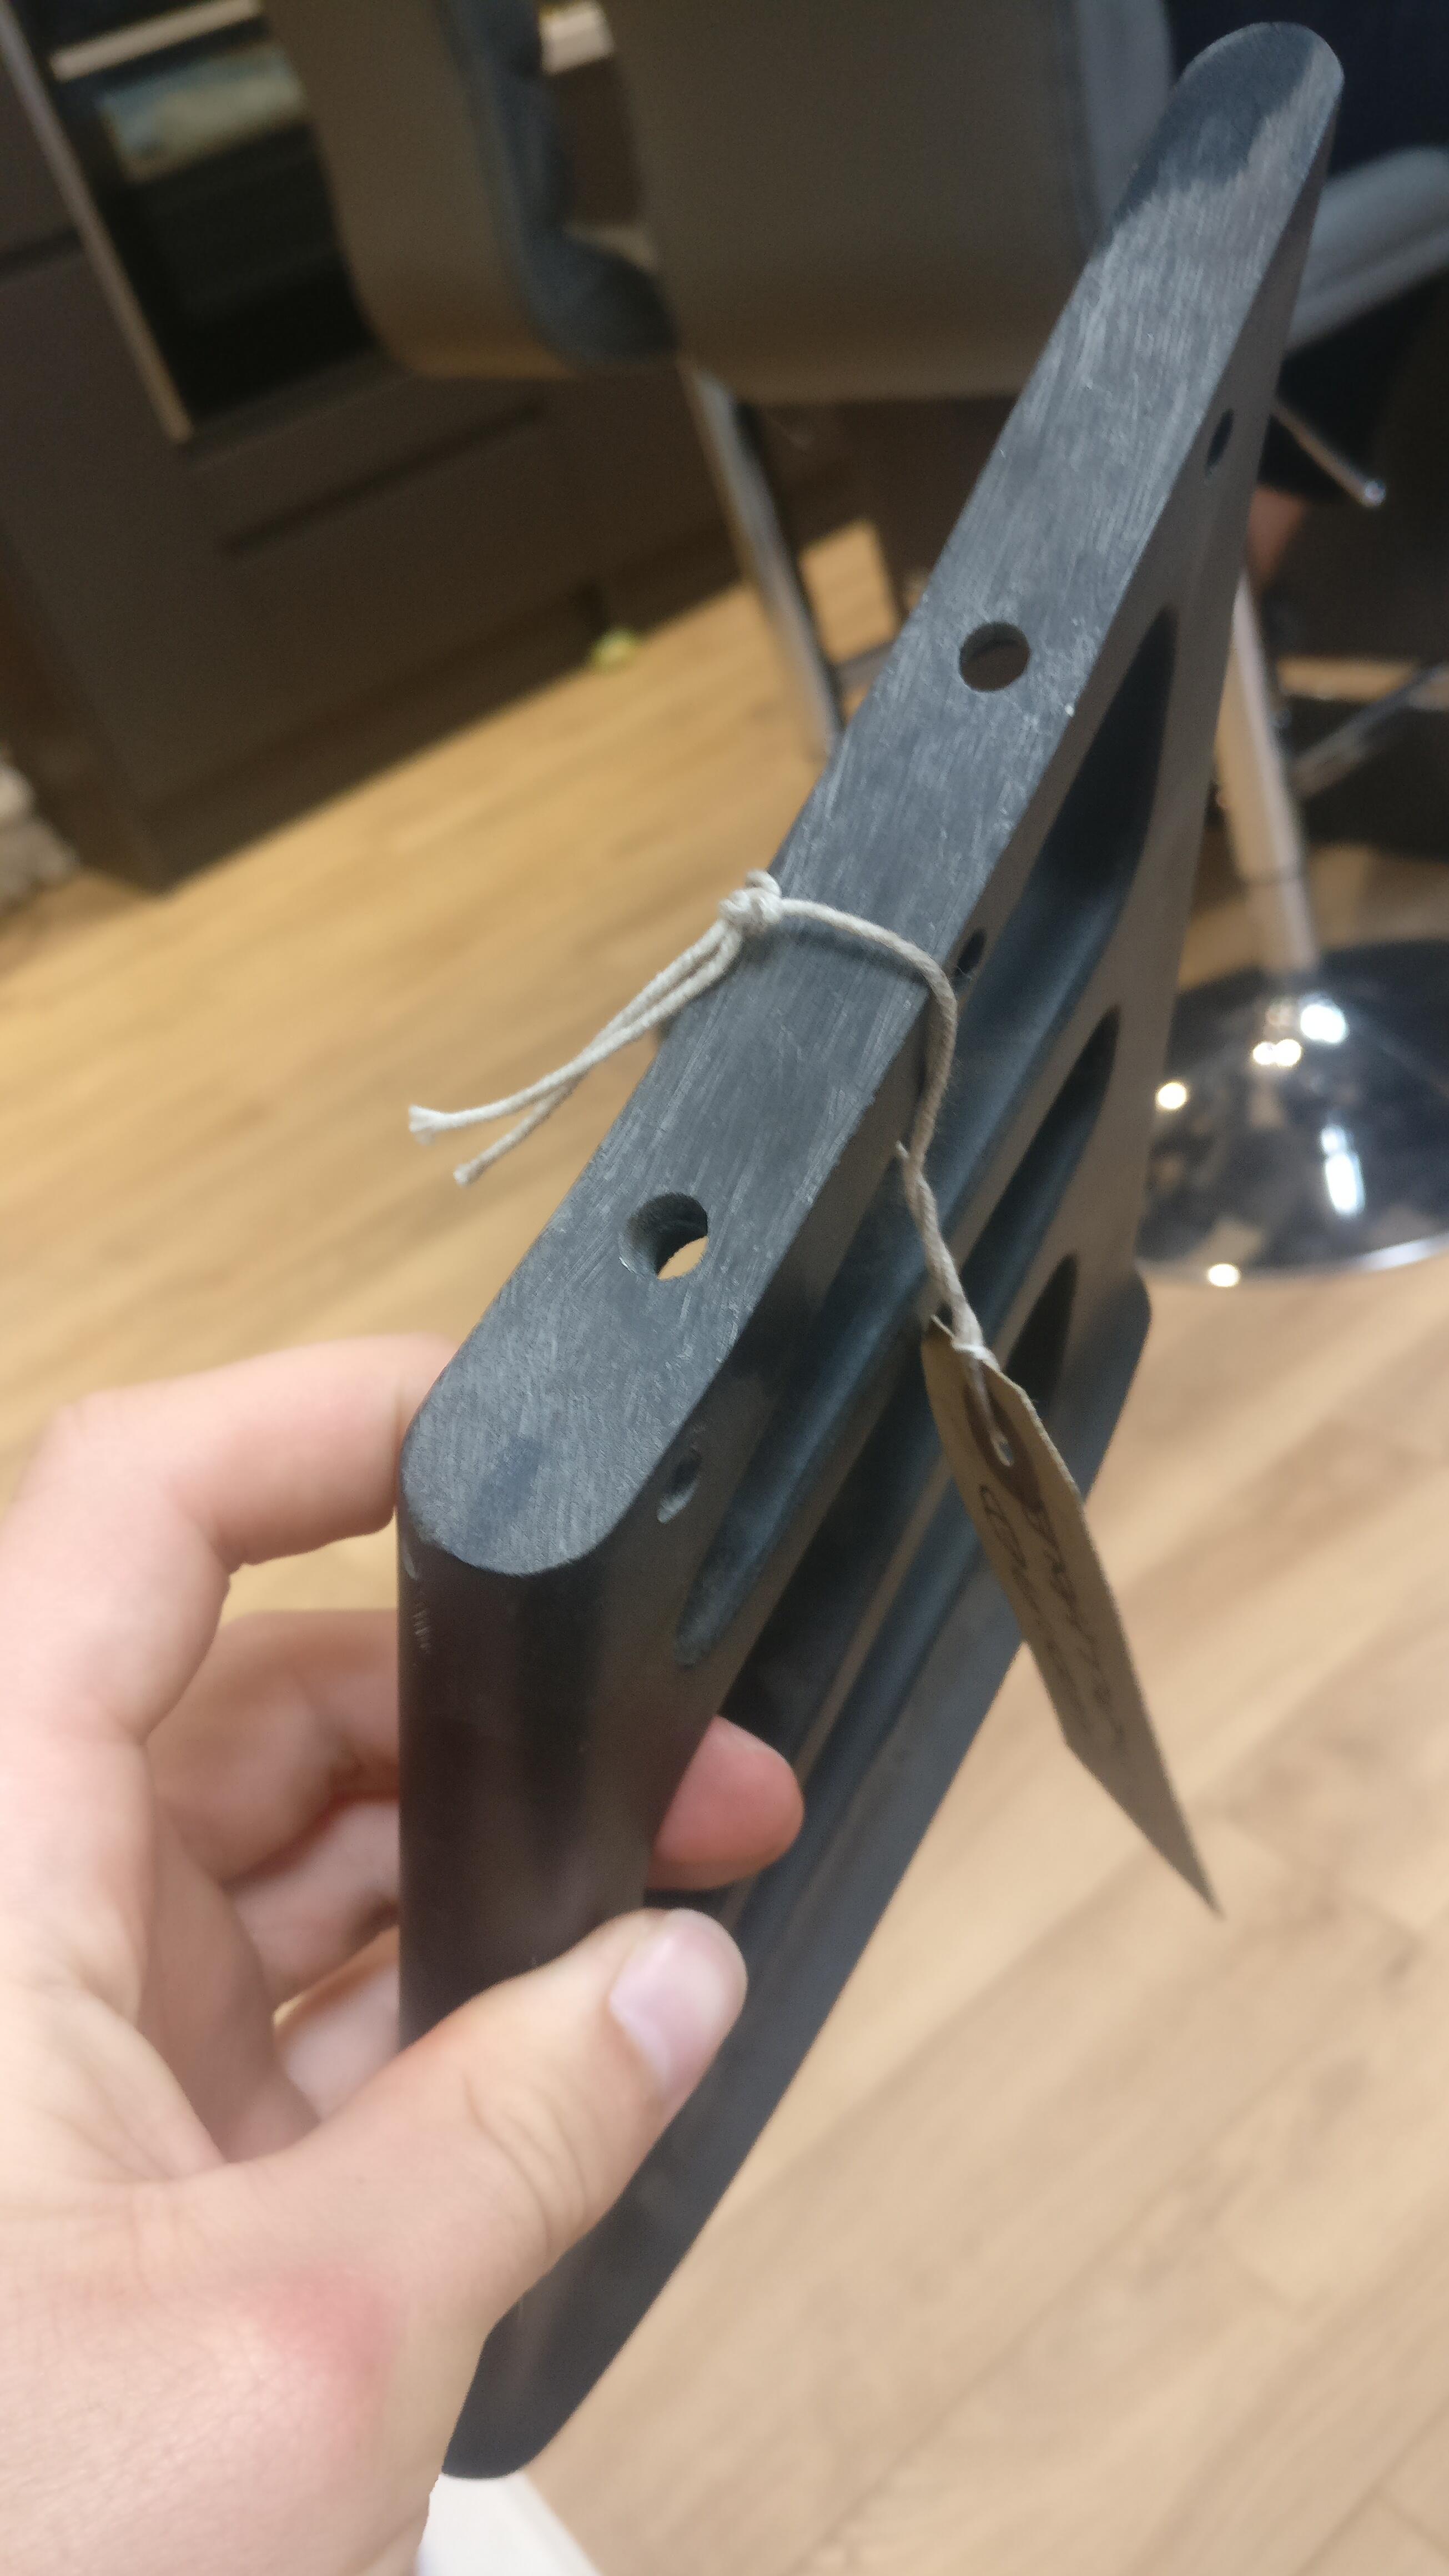
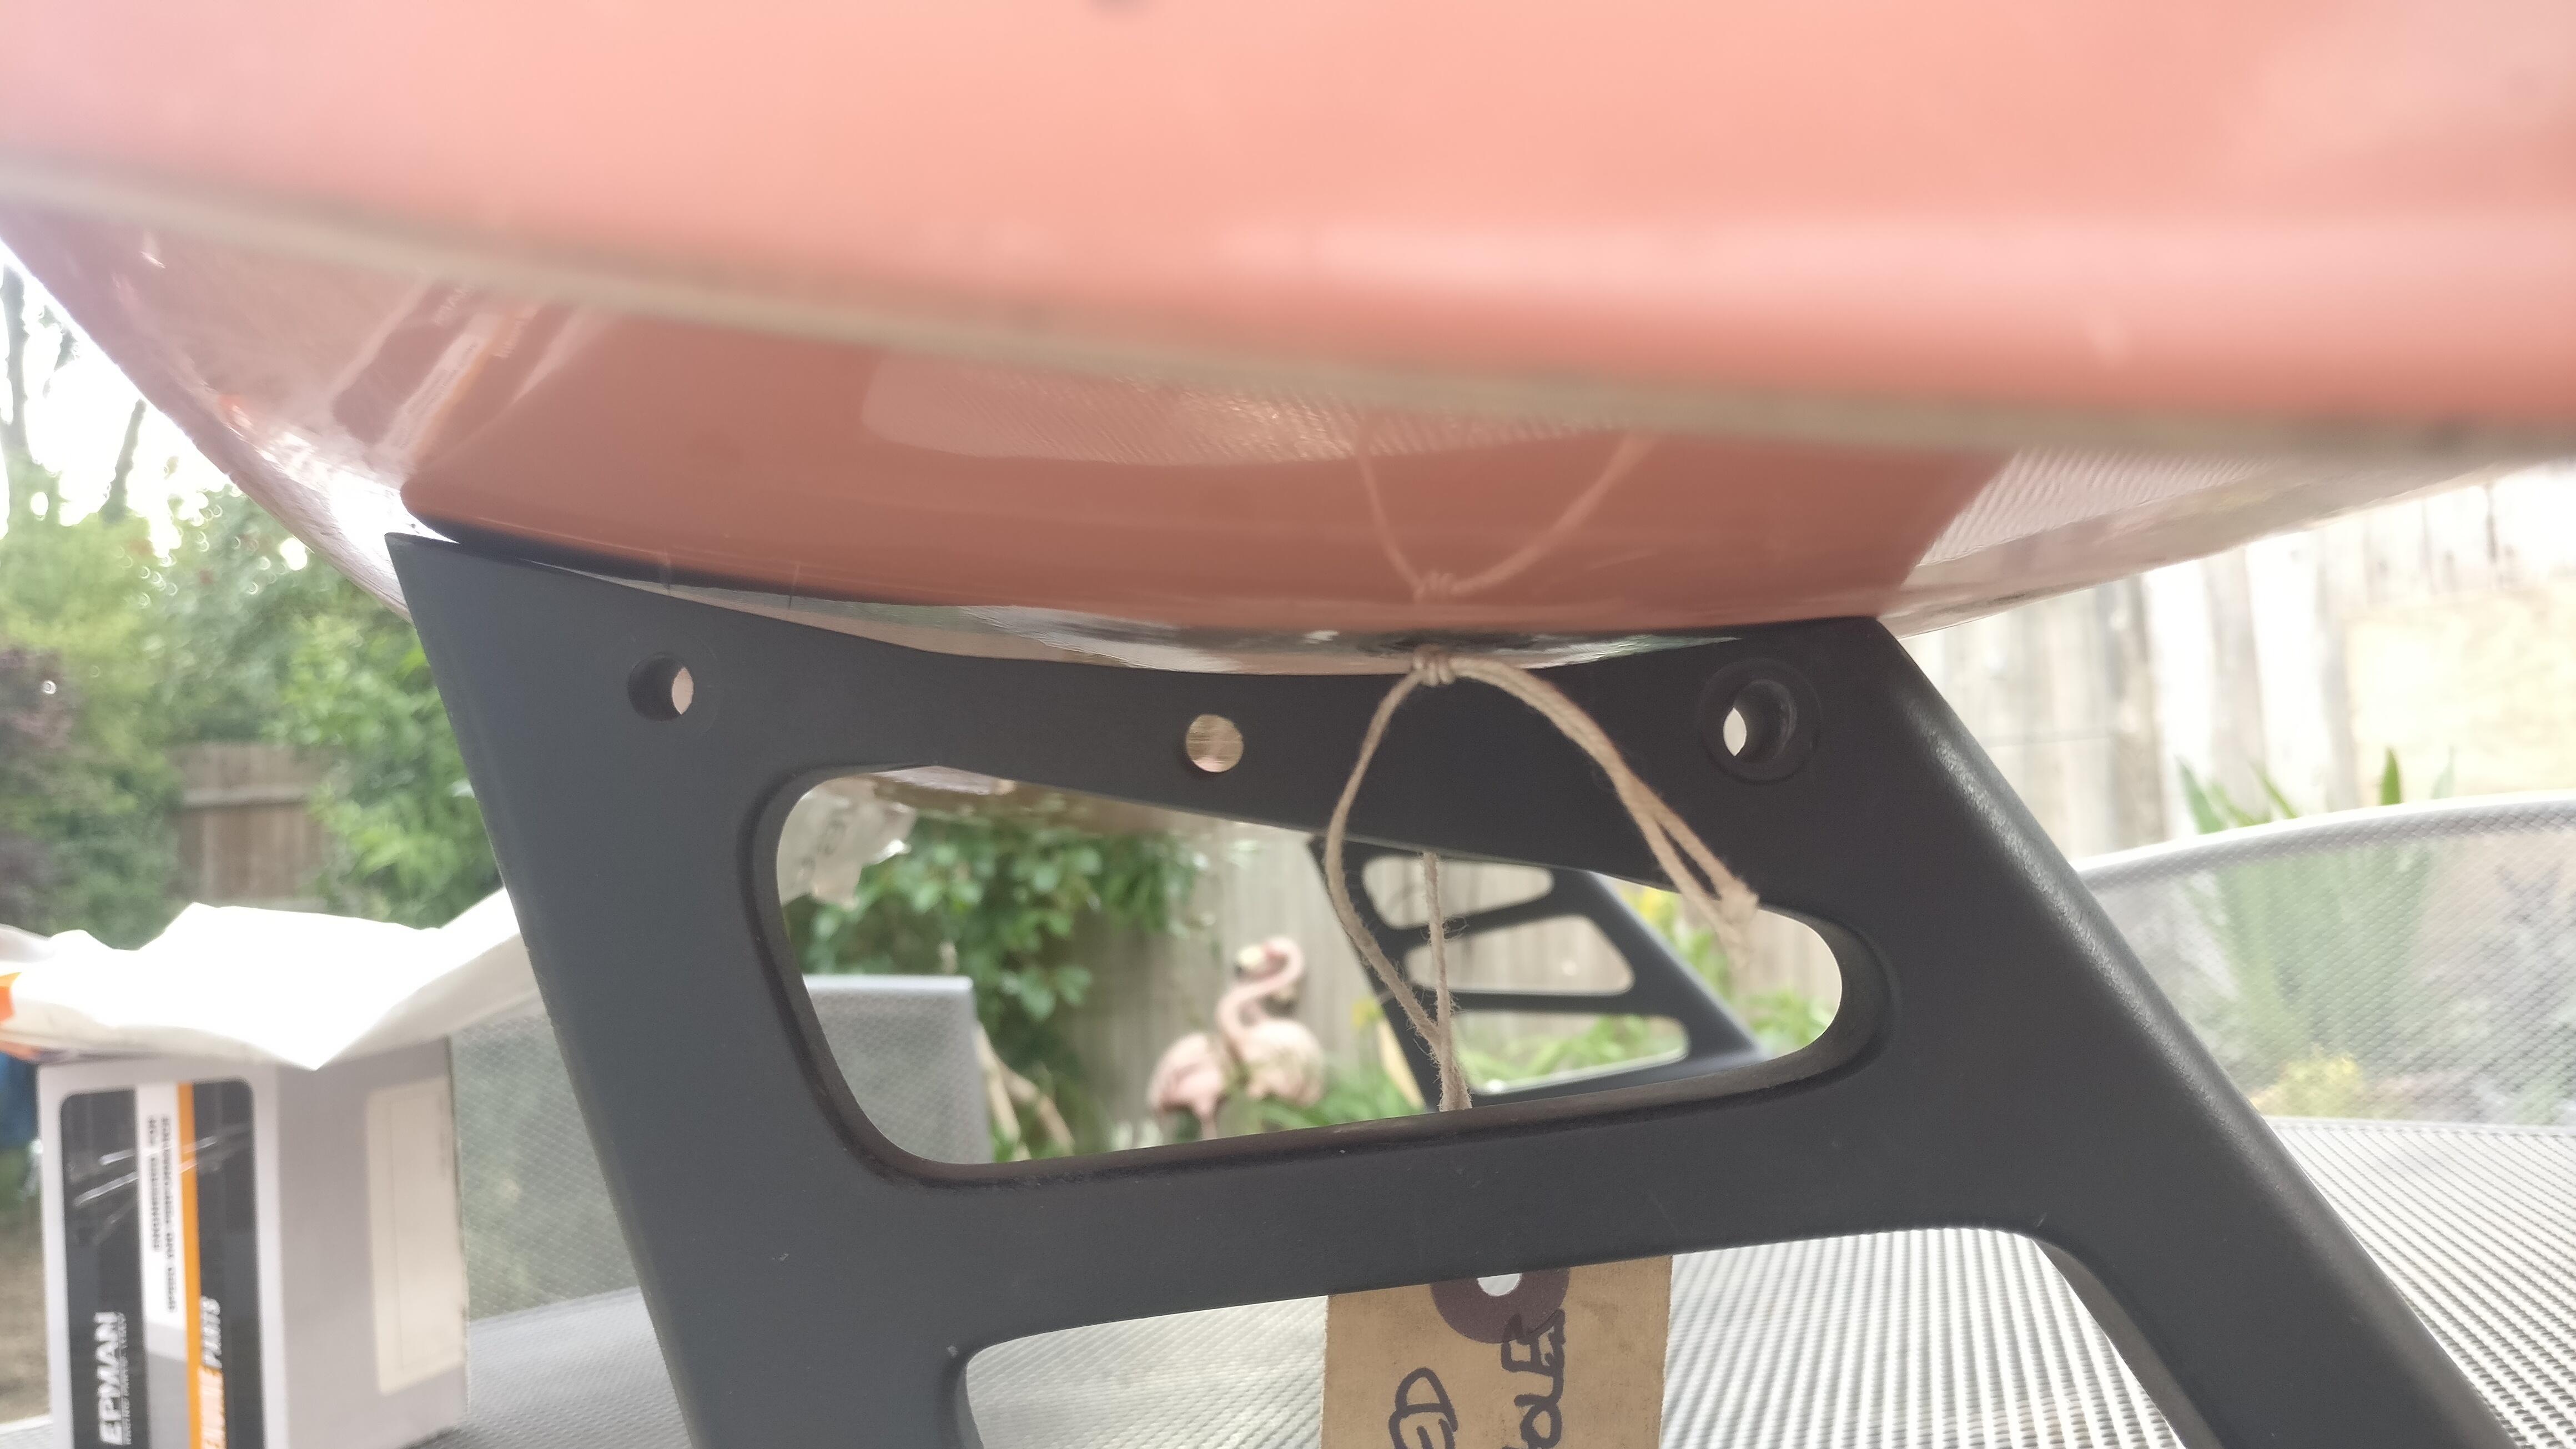
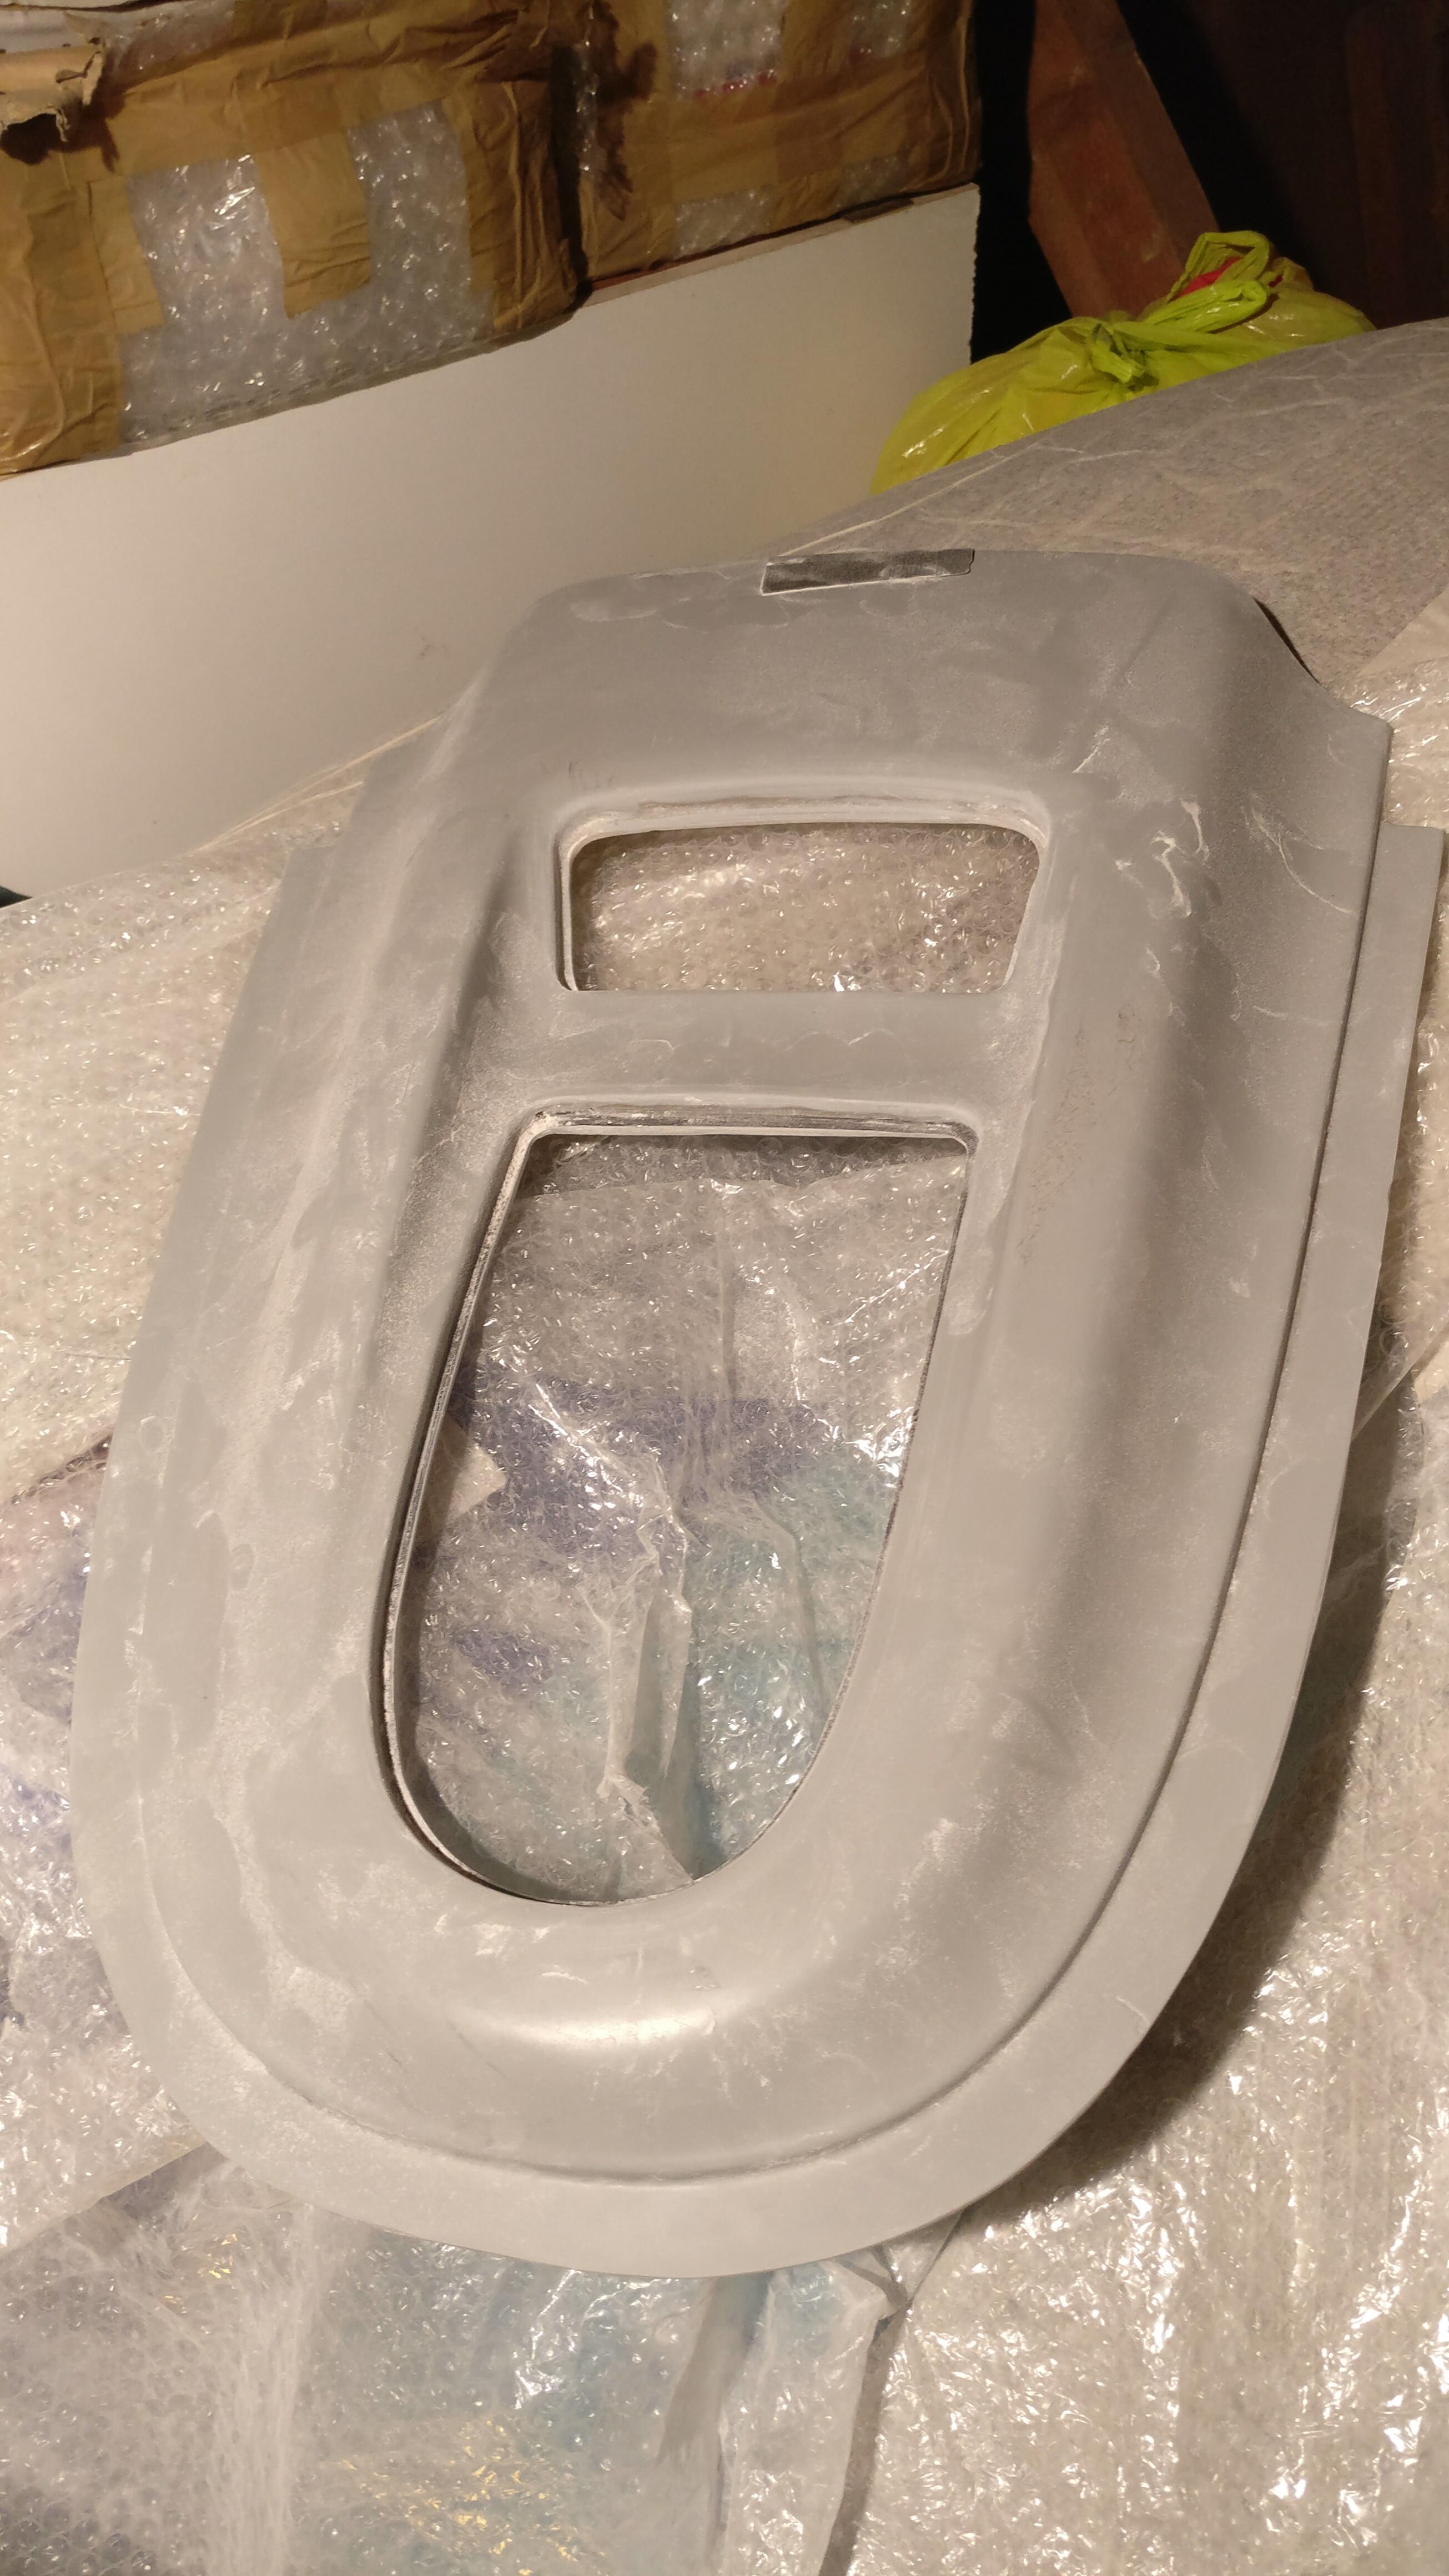
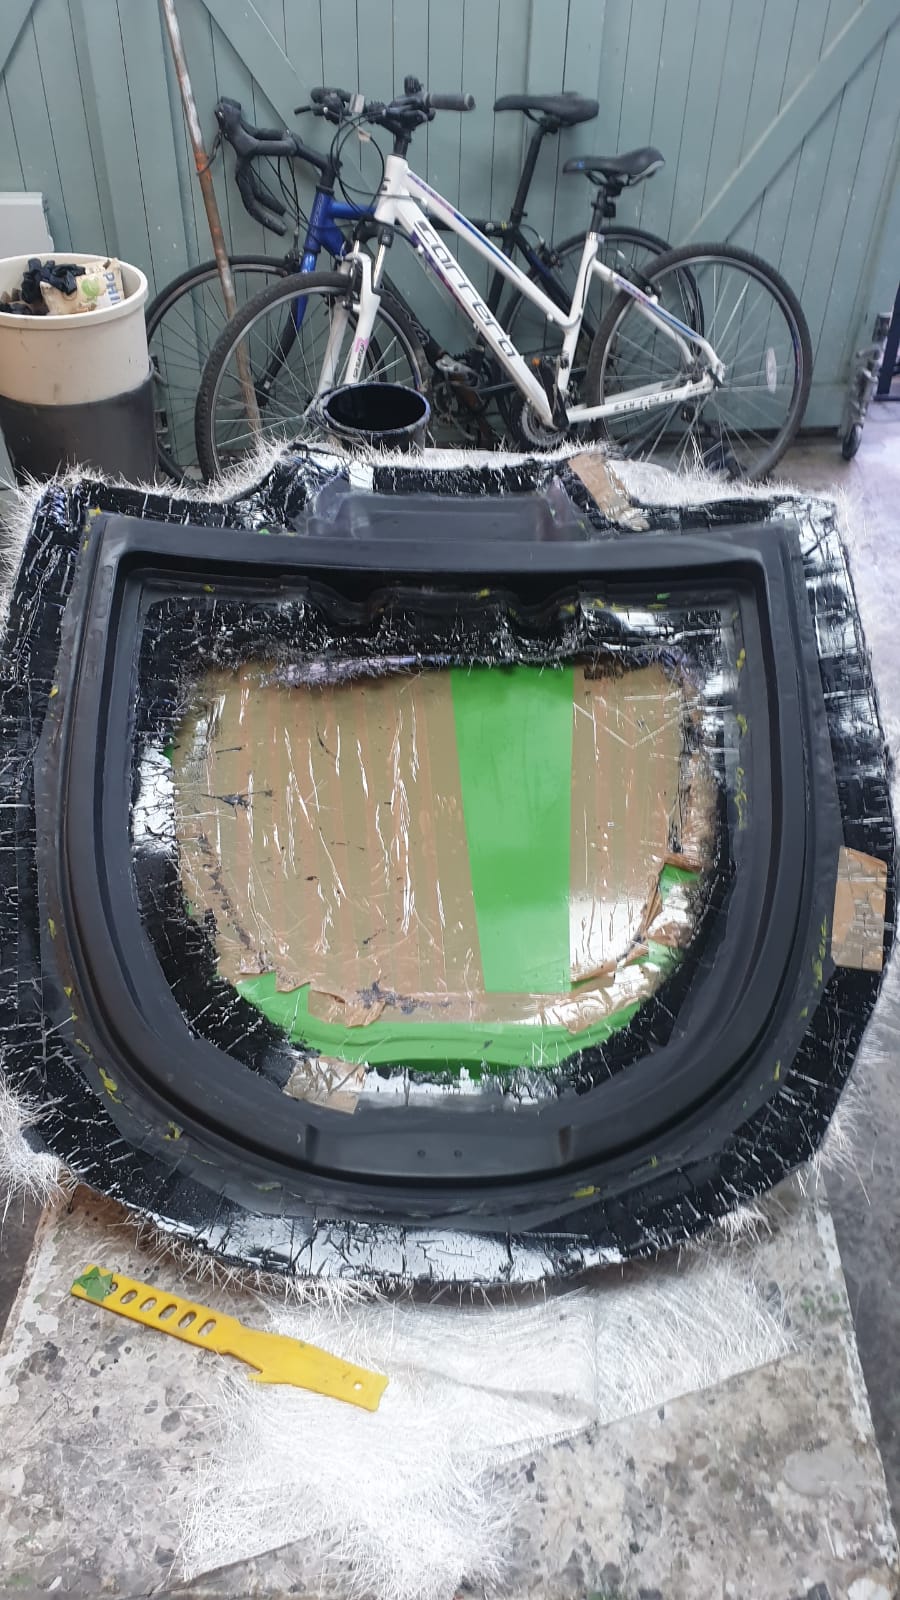
In addition to the clams, Dom also made me up the front lip spoiler, front oversills, roof clamp, the engine bay finisher panels and the engine cover frame and top grille piece.
The roof clam will be covered in alcantara (along with the interior roof panel) and have rubber bungs to finish it.
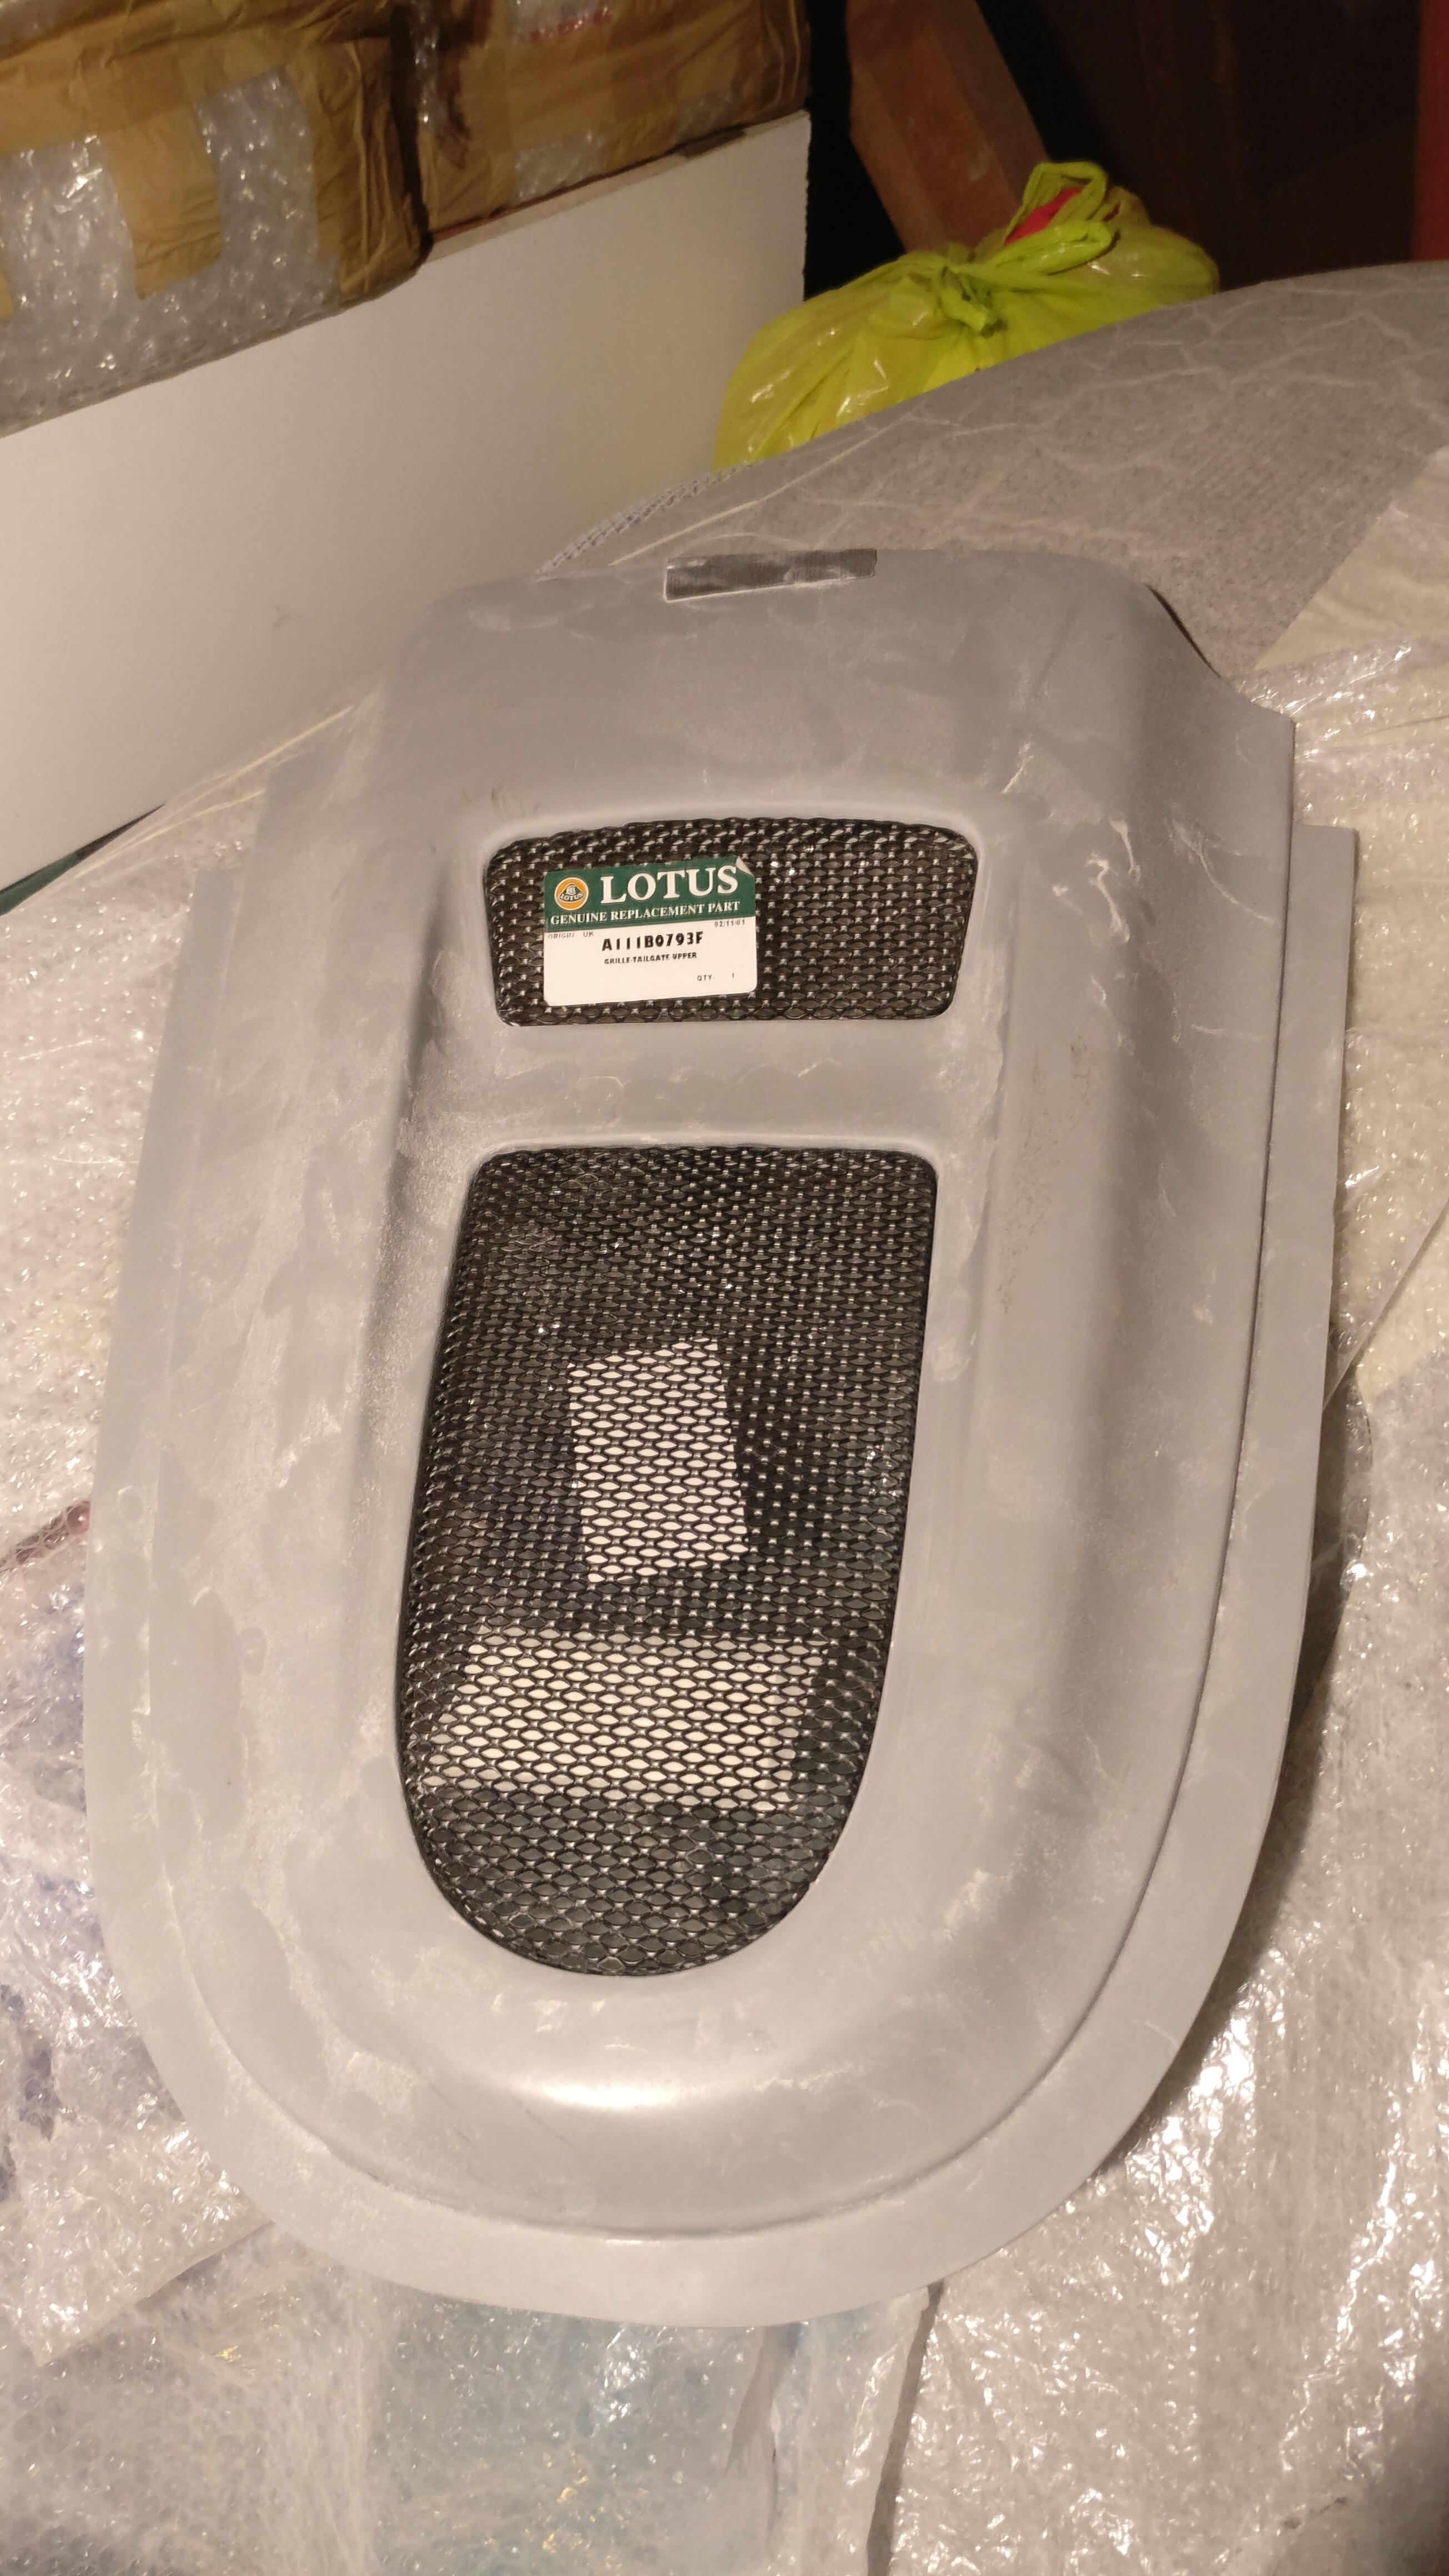
I used my dremel and sand paper to trim back the grille openings to allow for a snug but not pinched fit for the grilles. Also trimming the inner lip for the grilles as small as I could to keep a clean look
These panels will really finish off the engine bay and keep the OEM look
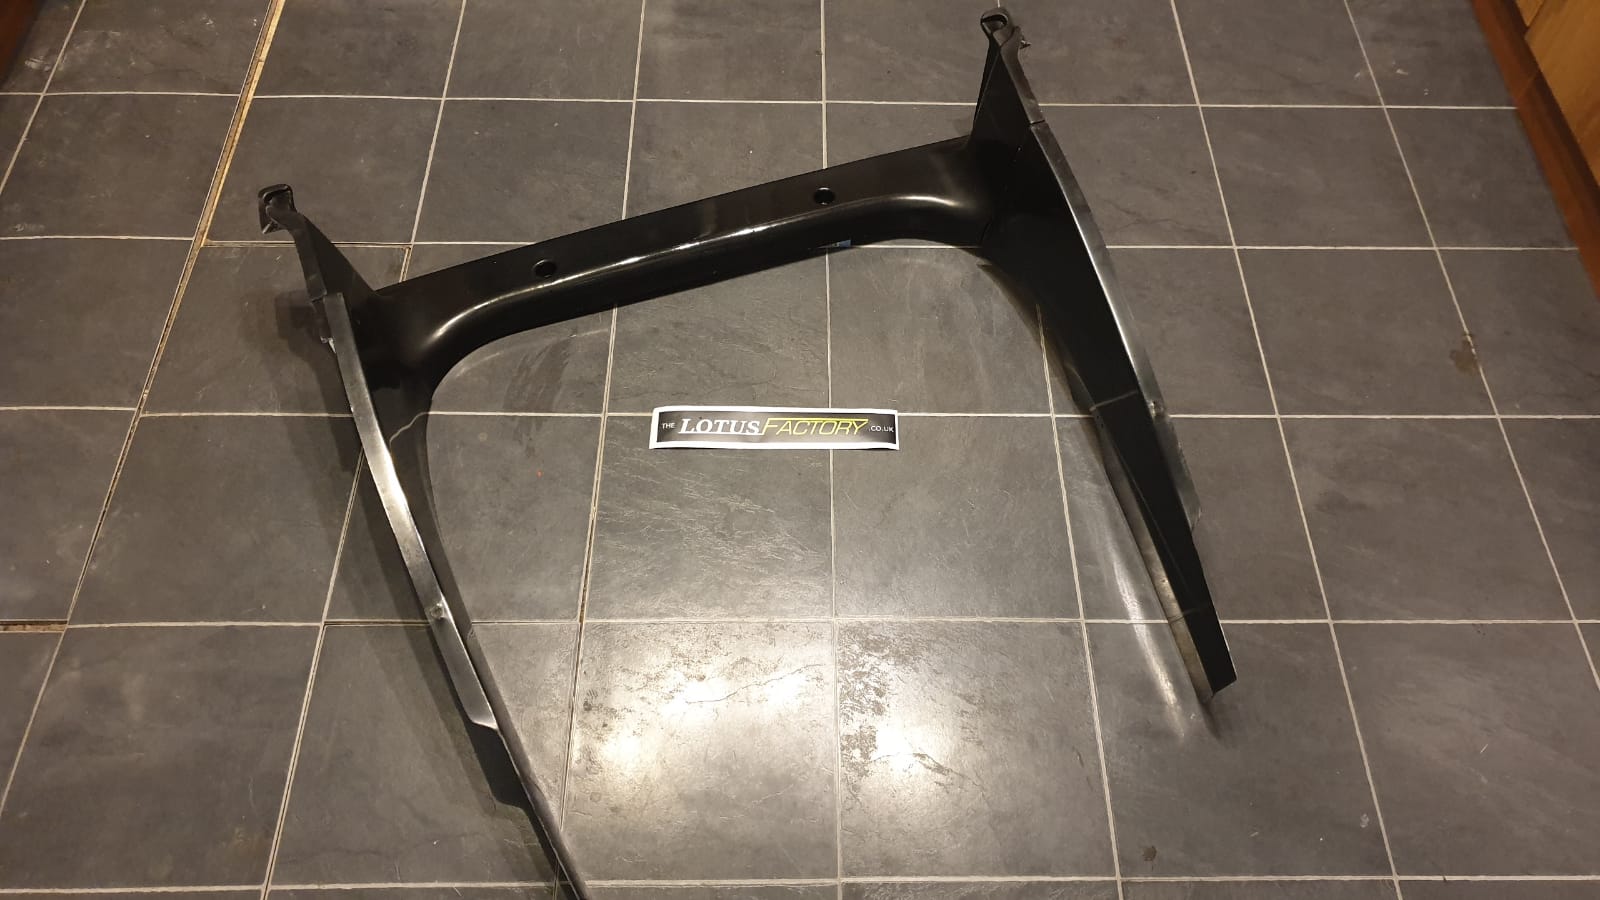
Frame for the perspex before Dom trimmed it all up. Will have plates bonded inside for the latch and striker to be mounted
Quick question: what’s the time scale here? Are we watching current day by day progress or looking back over a period? Just wondered what the current state of the build is. Don’t want to spoil it. And certainly don’t want you to reveal the finished article when we’re all following with such interest.
I first started taking the car apart in late September, working on it where I can, although I work a 9-6 job in London with a 4 hour commute each day, so unfortunately working on the car during the week doesn’t really work. Working from home has helped I suppose doing the odd but in lunch breaks, but majority of work has happened on dry Saturdays.
Currently the thread hasn’t caught up to where I am now. I have next week off work (birthday tomorrow) so will do some more bits on it to hopefully get it pretty much ready for the body shop.
I have a rough goal of February to get the car back together and completed. This is not a set deadline and probably more for me to persuade myself to crack on and have a kind of end goal. I missed a lot of trackday season last yeah through Covid and bad luck with the car, so want a nice long season in 2021.
Happy birthday for tomorrow in that case. ![]()
Cheers! The big 26 ![]()
Awesome, just caught up - you’re spoiling us with content. Slow it down a bit ![]()