S1 Exige Conversion

The guy I bought my Exige wheels off also gave me a big box of bits and bobs he no longer needed after selling the car. From this I was able to salvage 2 SPAL fans in working order. My manual override fan had been seized for a while, so would be replaced by one of these.

As the radiator is so we’ll tucked up inside I hadn’t gotten round to sorting it out, but I think an override is definitely something handy to have if there are any traffic jams about. With a new Emerald set up to have the normal fan cut in much quicker when the temperature rises, I’m confident I can avoid any extreme heat! I’ll go into more detail about the swap and Emerald later…

A trip to Junks left me extremely happy after getting arguably my most valued component for my conversion, a brand new perspex engine cover!

I always told myself that I’d only do a conversion if I was able to have the perspex tailgate. When Dom said he could make up the frame and the top grille piece, I raced away and got the last one of Junks’ stock, so thanks so much for that!

great thread, will follow your build James.
I started a similar conversion a few years ago, really enjoyed it and I’m almost finished now, just getting new custom made loom fitted and car re-wired over next few weeks, if your interested to see mine it here: S1 Elise Motorsport replica project - Scottish Elises
Dom’s Exige clam kit looks really good.
Good luck with rest of your project.

I have saved and screenshot many pics and info from your thread, car looks a beast! Hopefully we get them both done shortly, and thanks for doing your thread, has helped a lot with mine too :+1:

cheers James, good to know it has been helpful to others. I got a lot of help from reading other builders too.
keep up the good work!

Done this conversion in 2011/2012!

I did go for the motorsport look you do not like :wink: standard exige rear clam (not the 3 piece), Motorsport Front splitter, original rear wing, motorsport engine cover and long roof.

In 2010 I could not set myself to buy an 18k GBP original exige and abuse it on track. Silly me (sold a 135R for good money so was almost a swap)


Good luck! Will follow with interest.

1 Like

Nice one James, keep us going on the progress. I may catch up with you in Essex land at some point :+1:

Emiel eeek I’m sorry :joy: I don’t dislike the Motorsport, just not for me I don’t think, it’s the riveting everywhere in the 3 piece rear clam I think is the main thing I’m not 100% on and prefer the one piece, which is what you actually went for!

That’s another good point about genuine Exiges, not only do I have no where near enough money for one, I do track it hard and to risk a genuine one was never work for me, so an imposter as good as I can get it is what I’ve gone for!

Definitely Rob, will be good to see you

No worries James, just messing with you.

I love original cars, but if I can track a near copy I prefer that. To much love for an original car.

Will buy that when I am old and drive up and down to the pub :wink:

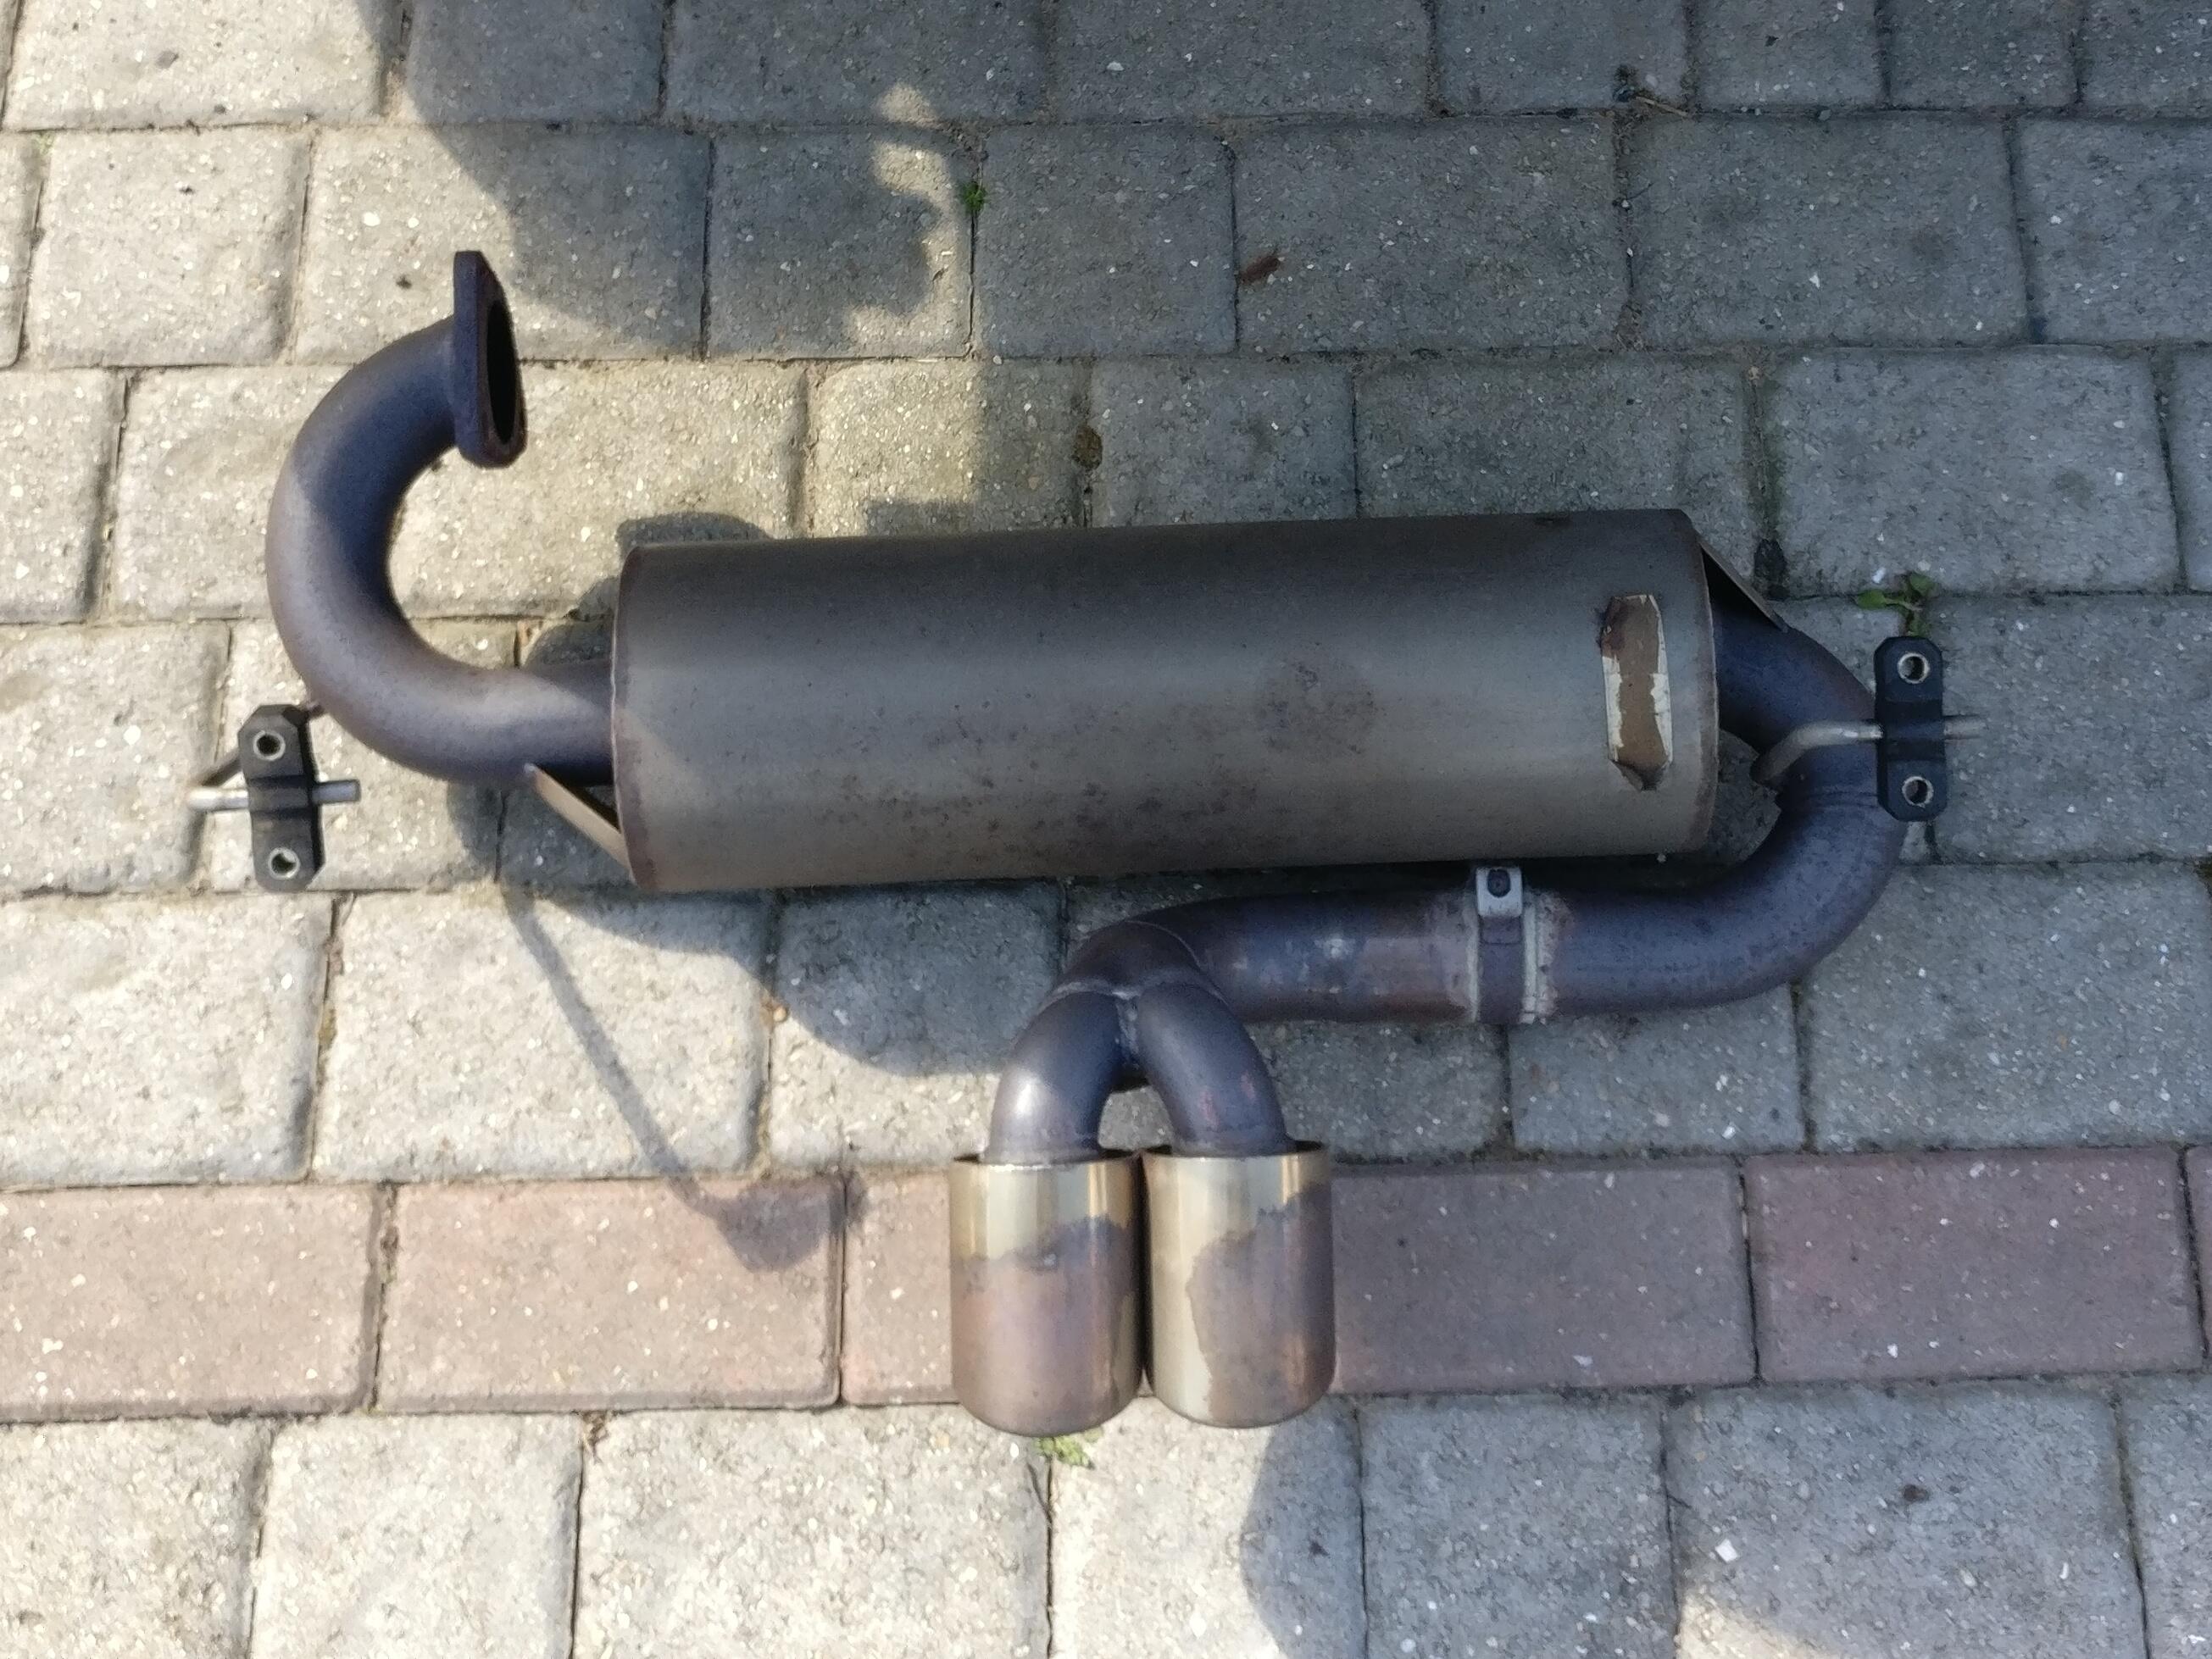
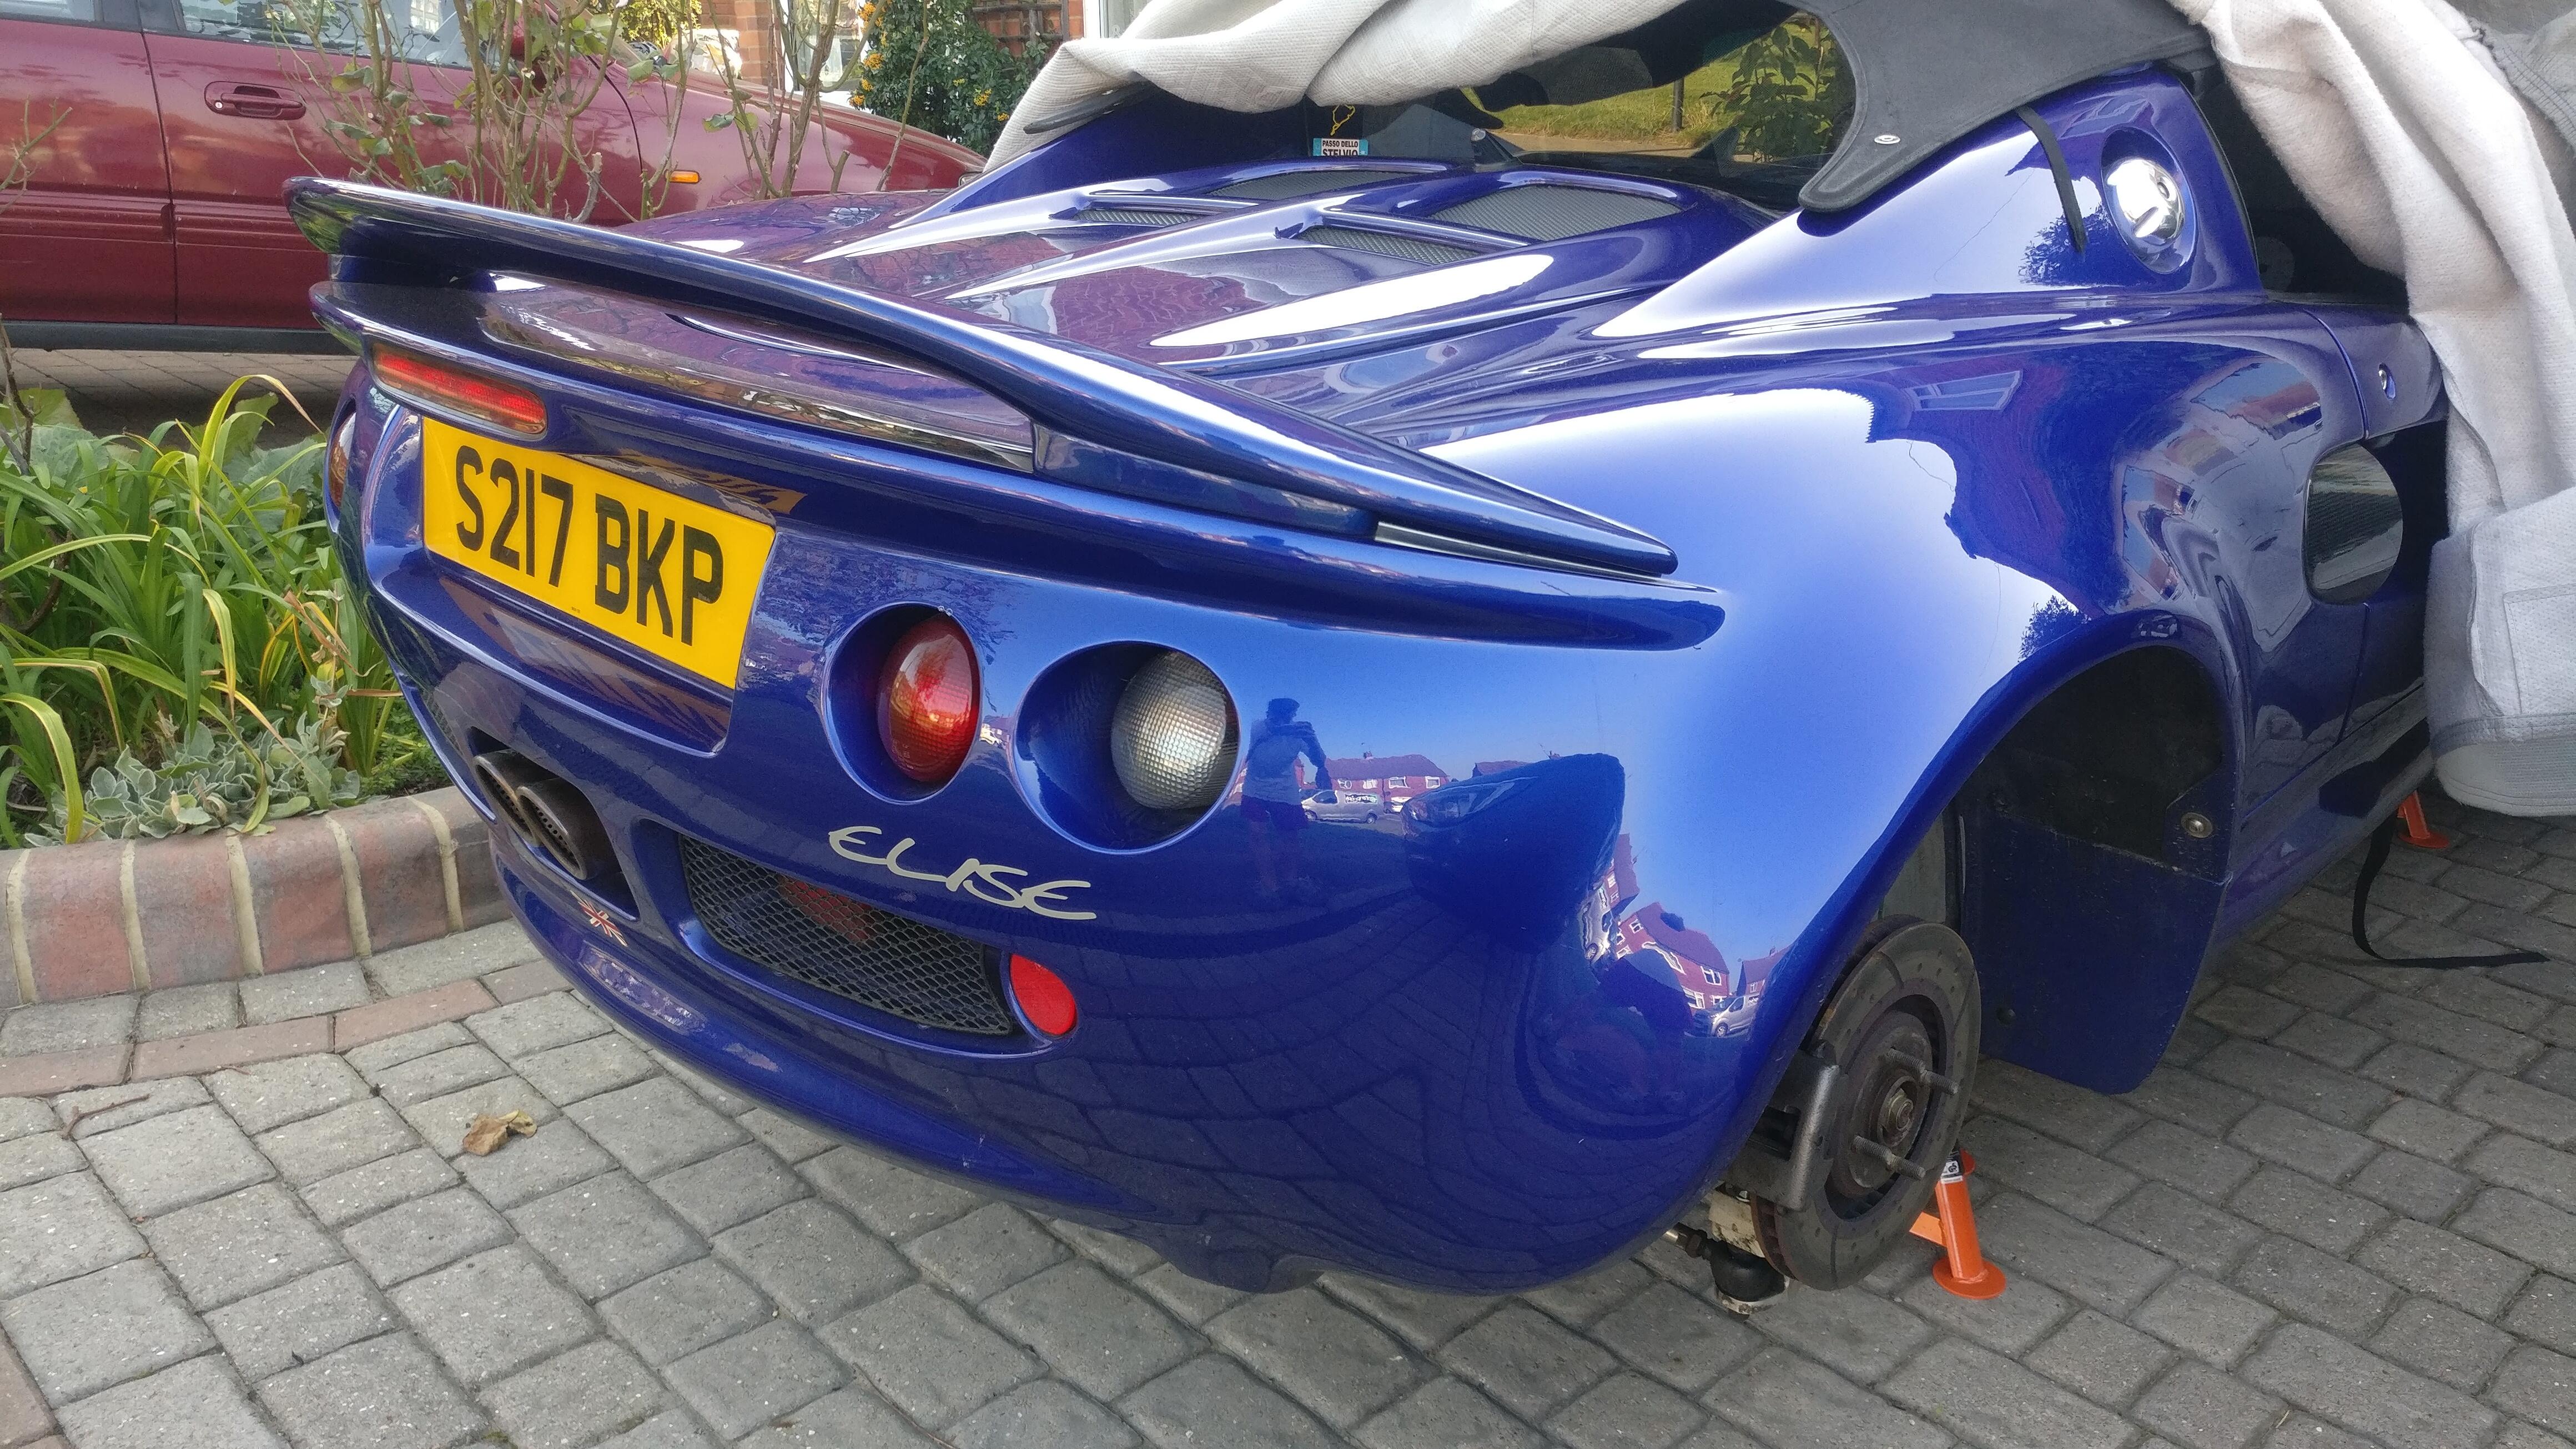
Another side project I had meant to do for a while was to repack my silencer. Often on track I was pushing the noise limits, especially Bedford where I have to lift past every single microphone, super annoying so it definitely needed doing.

In hindsight, perhaps it could have waited until the rear clam was off for the conversion, much easier job then but I wanted it done before a trackday to give it a good thrashing to settle down the new packing.

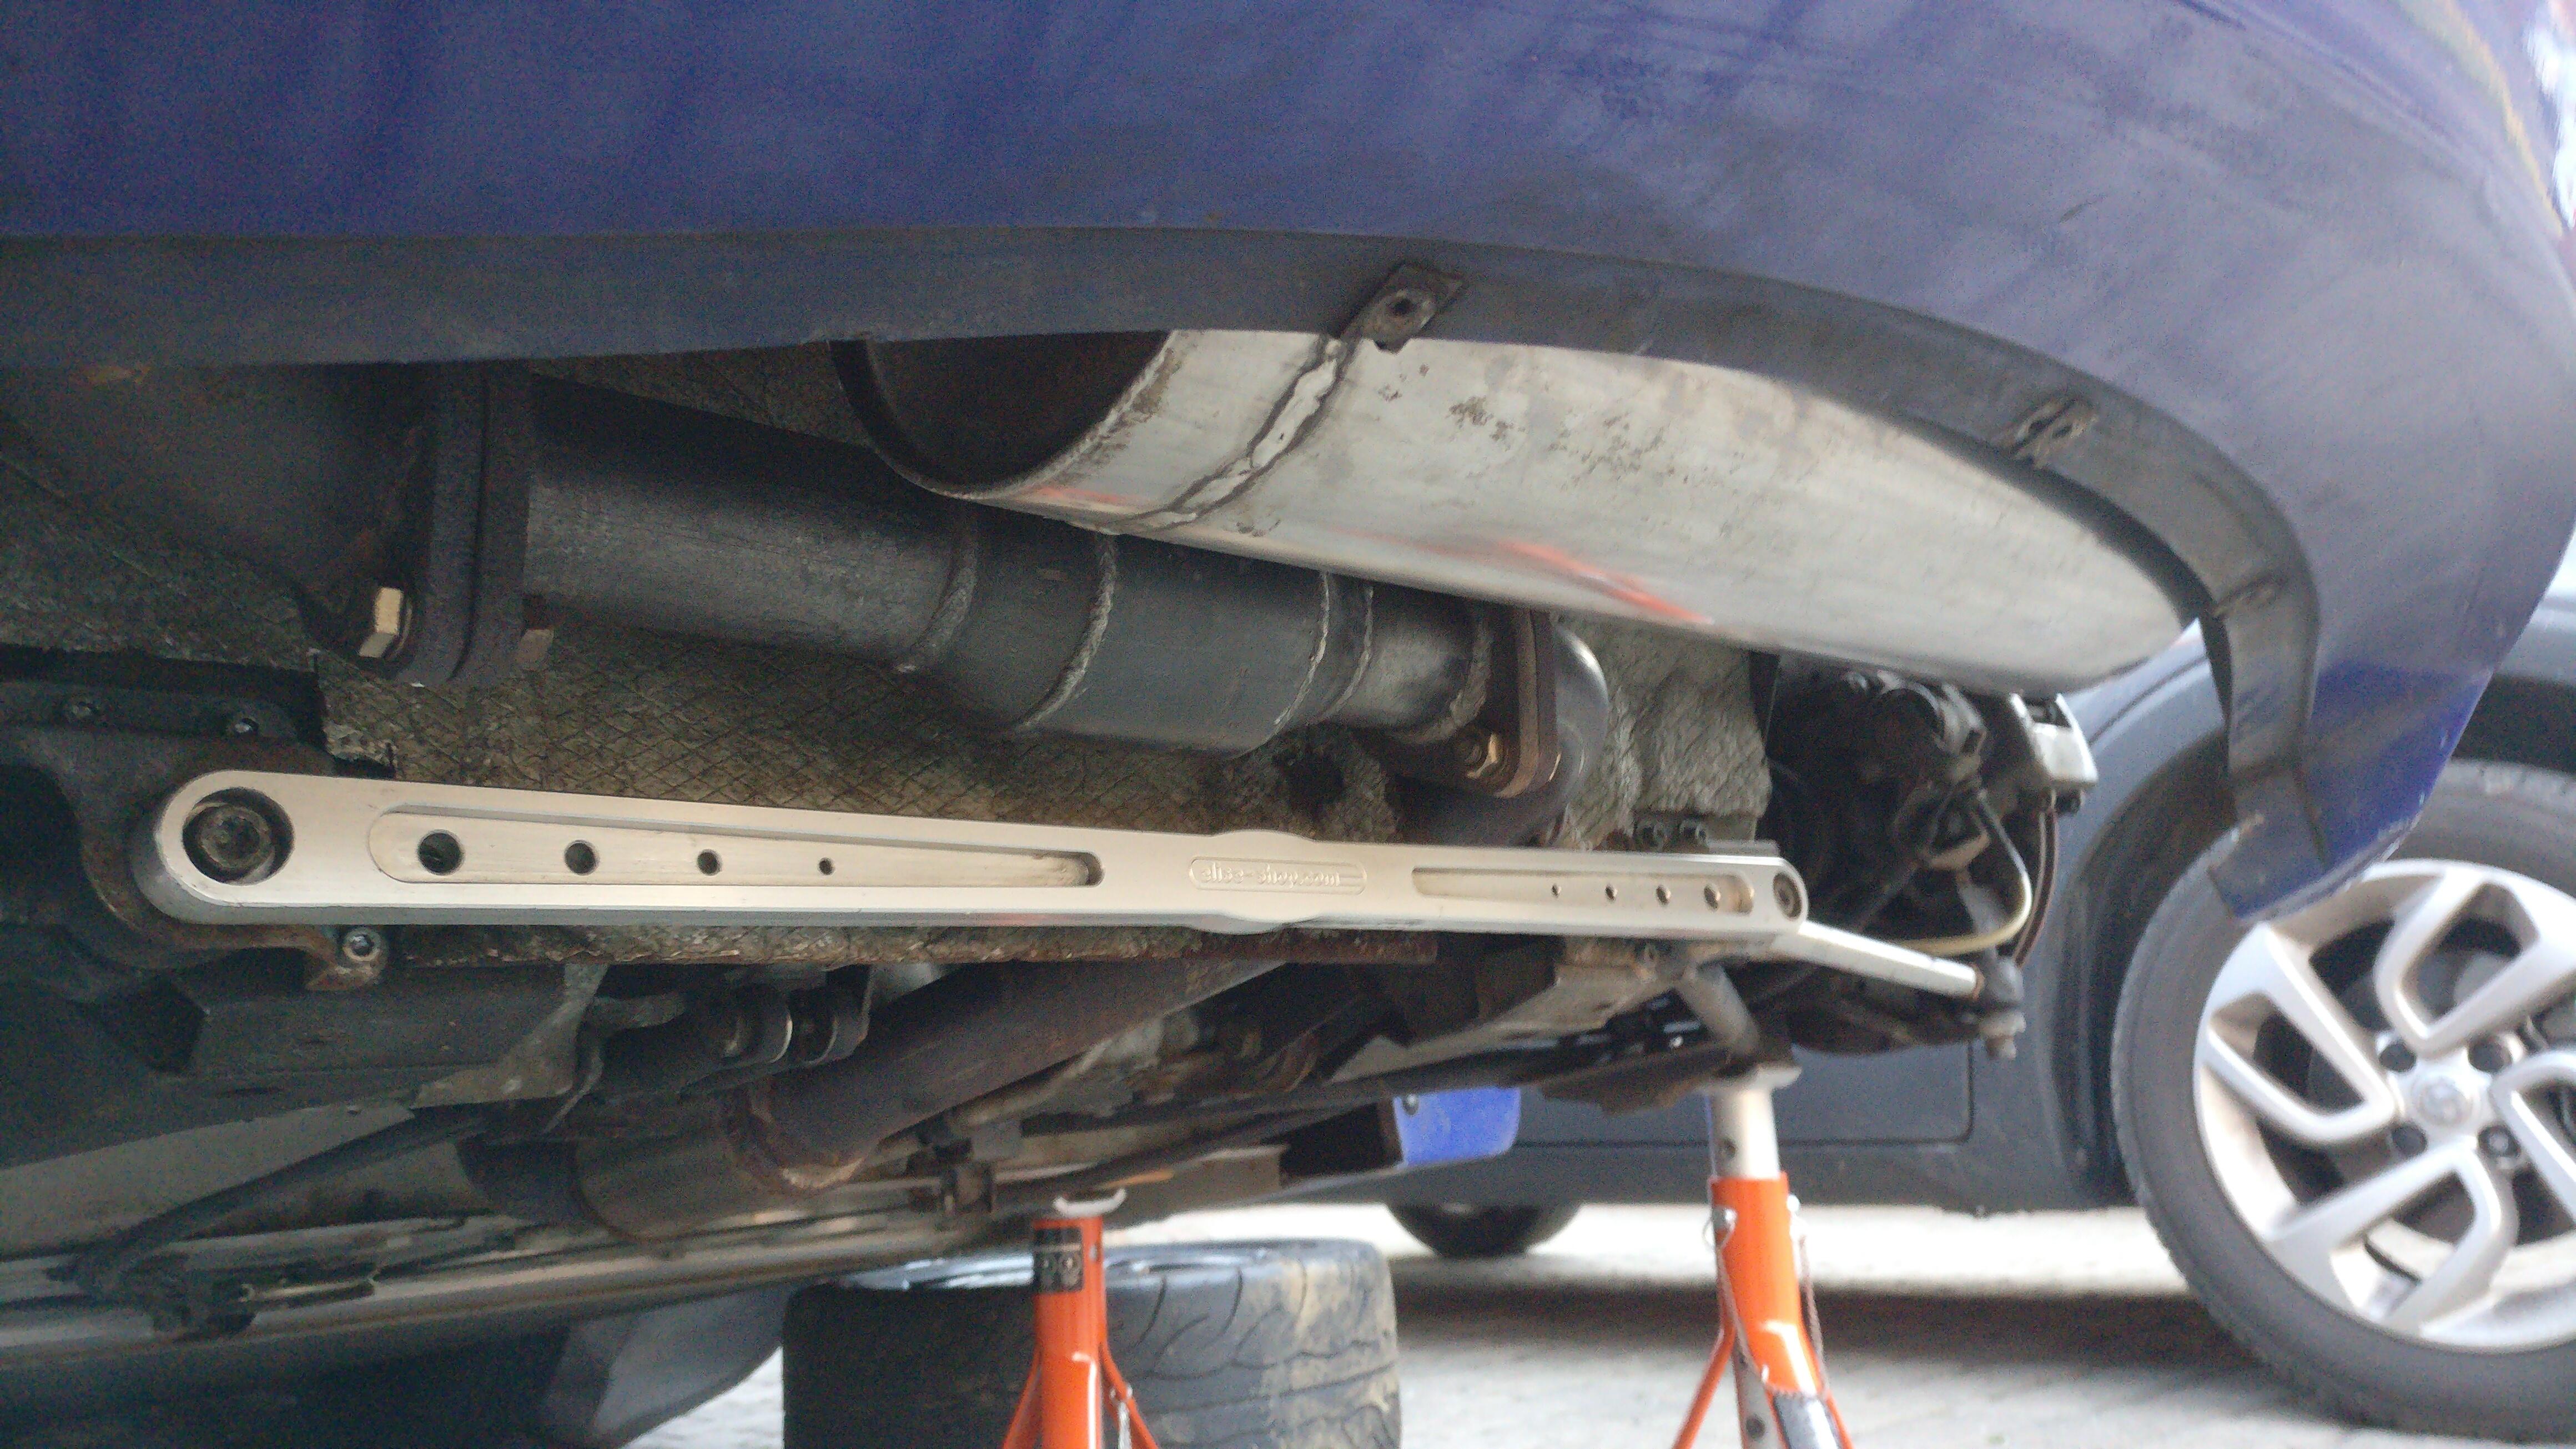
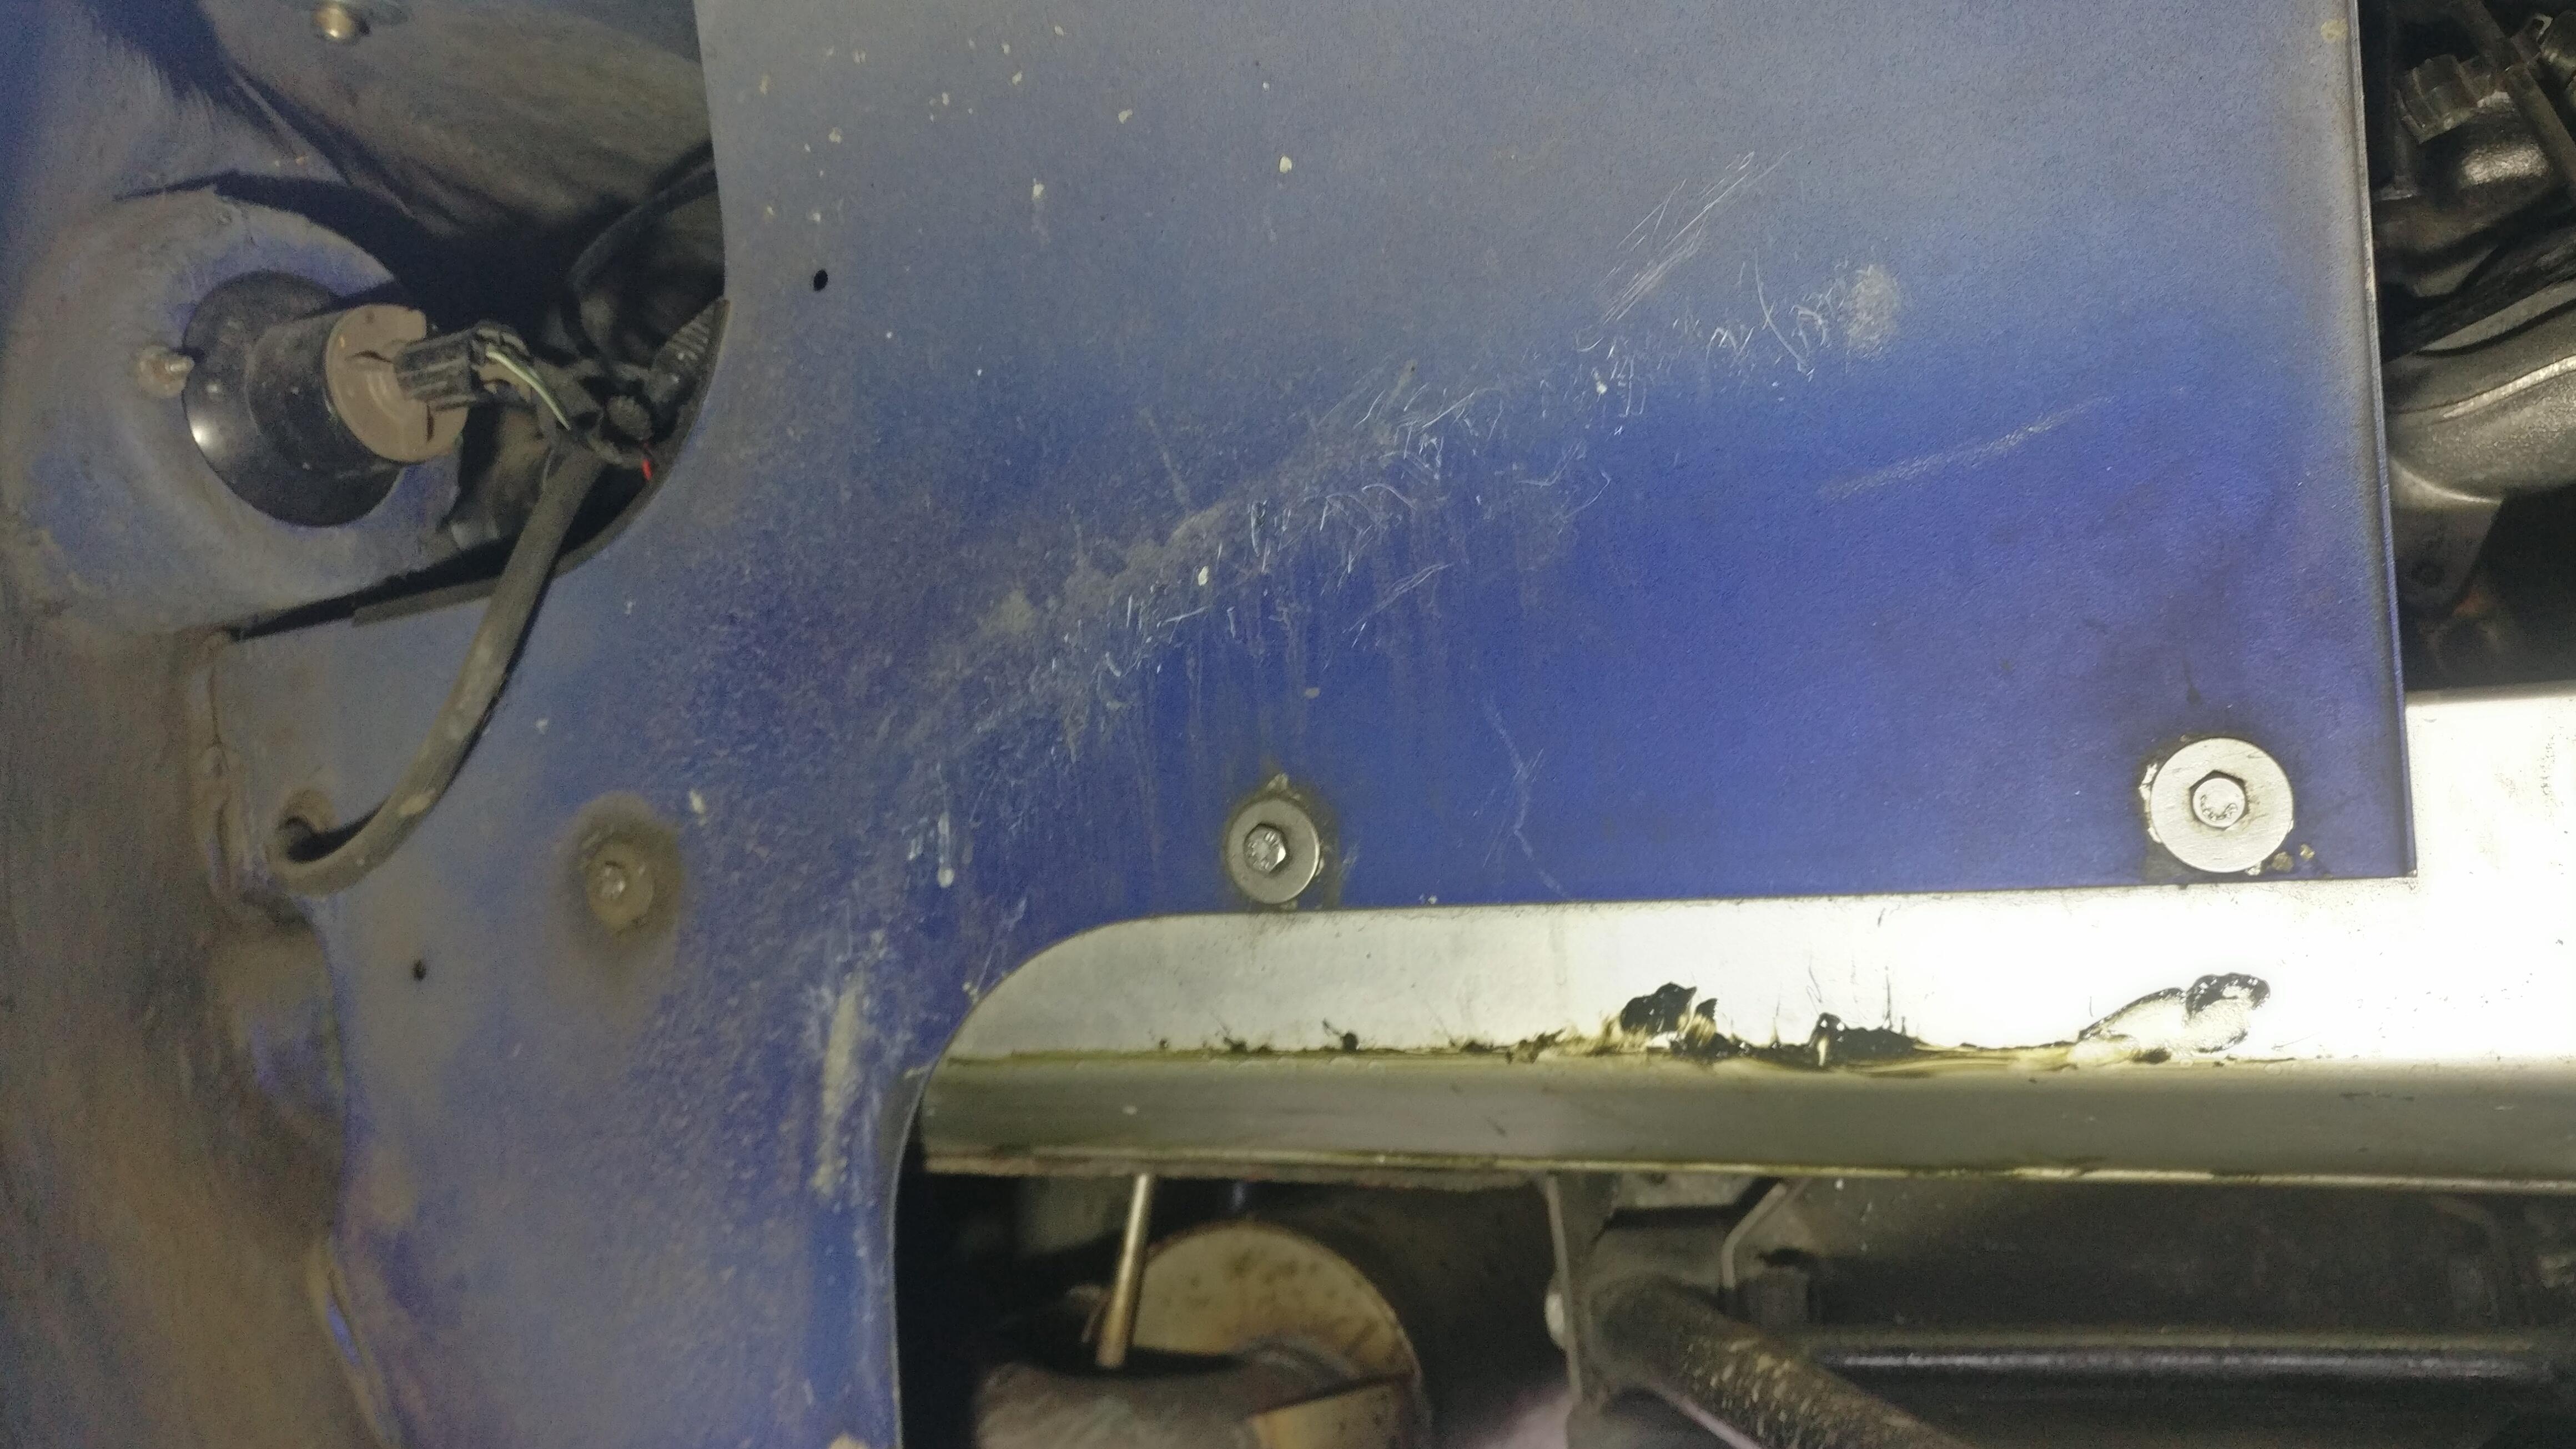
Bit of a tricky job on your own with the rear clam on, bit of balancing on a jack to undo both fixings into the ally boot floor, but manageable.

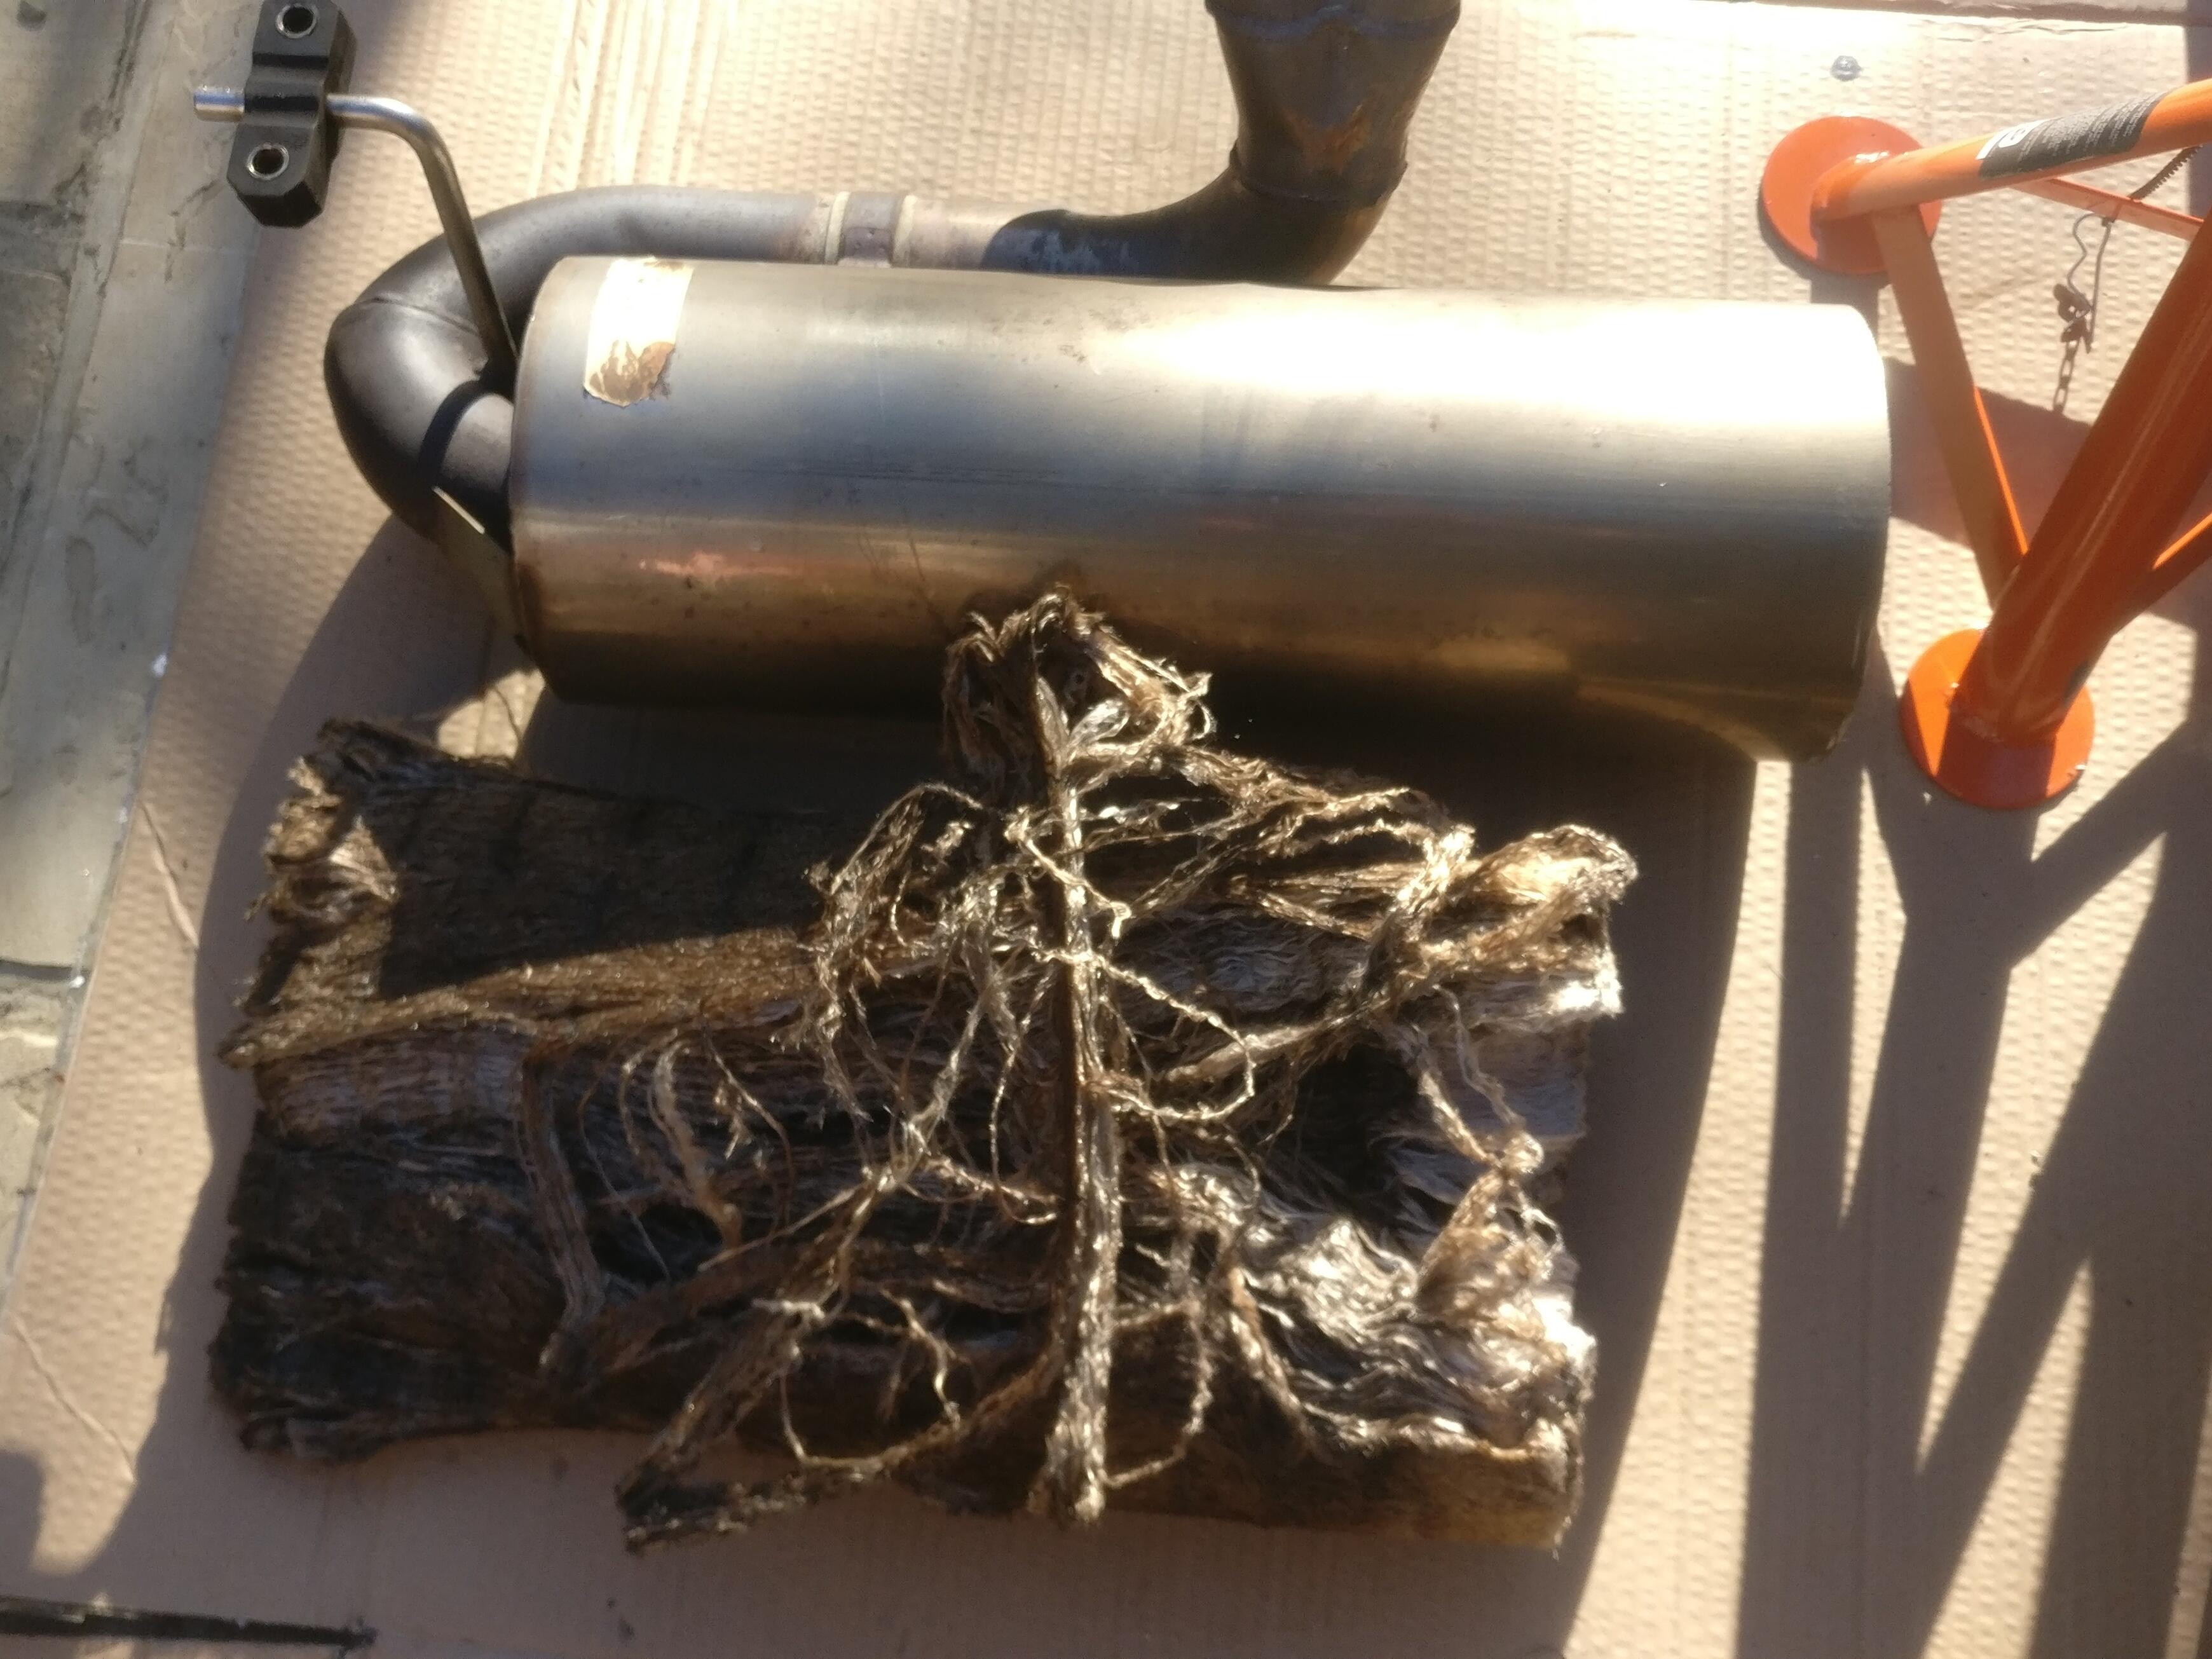
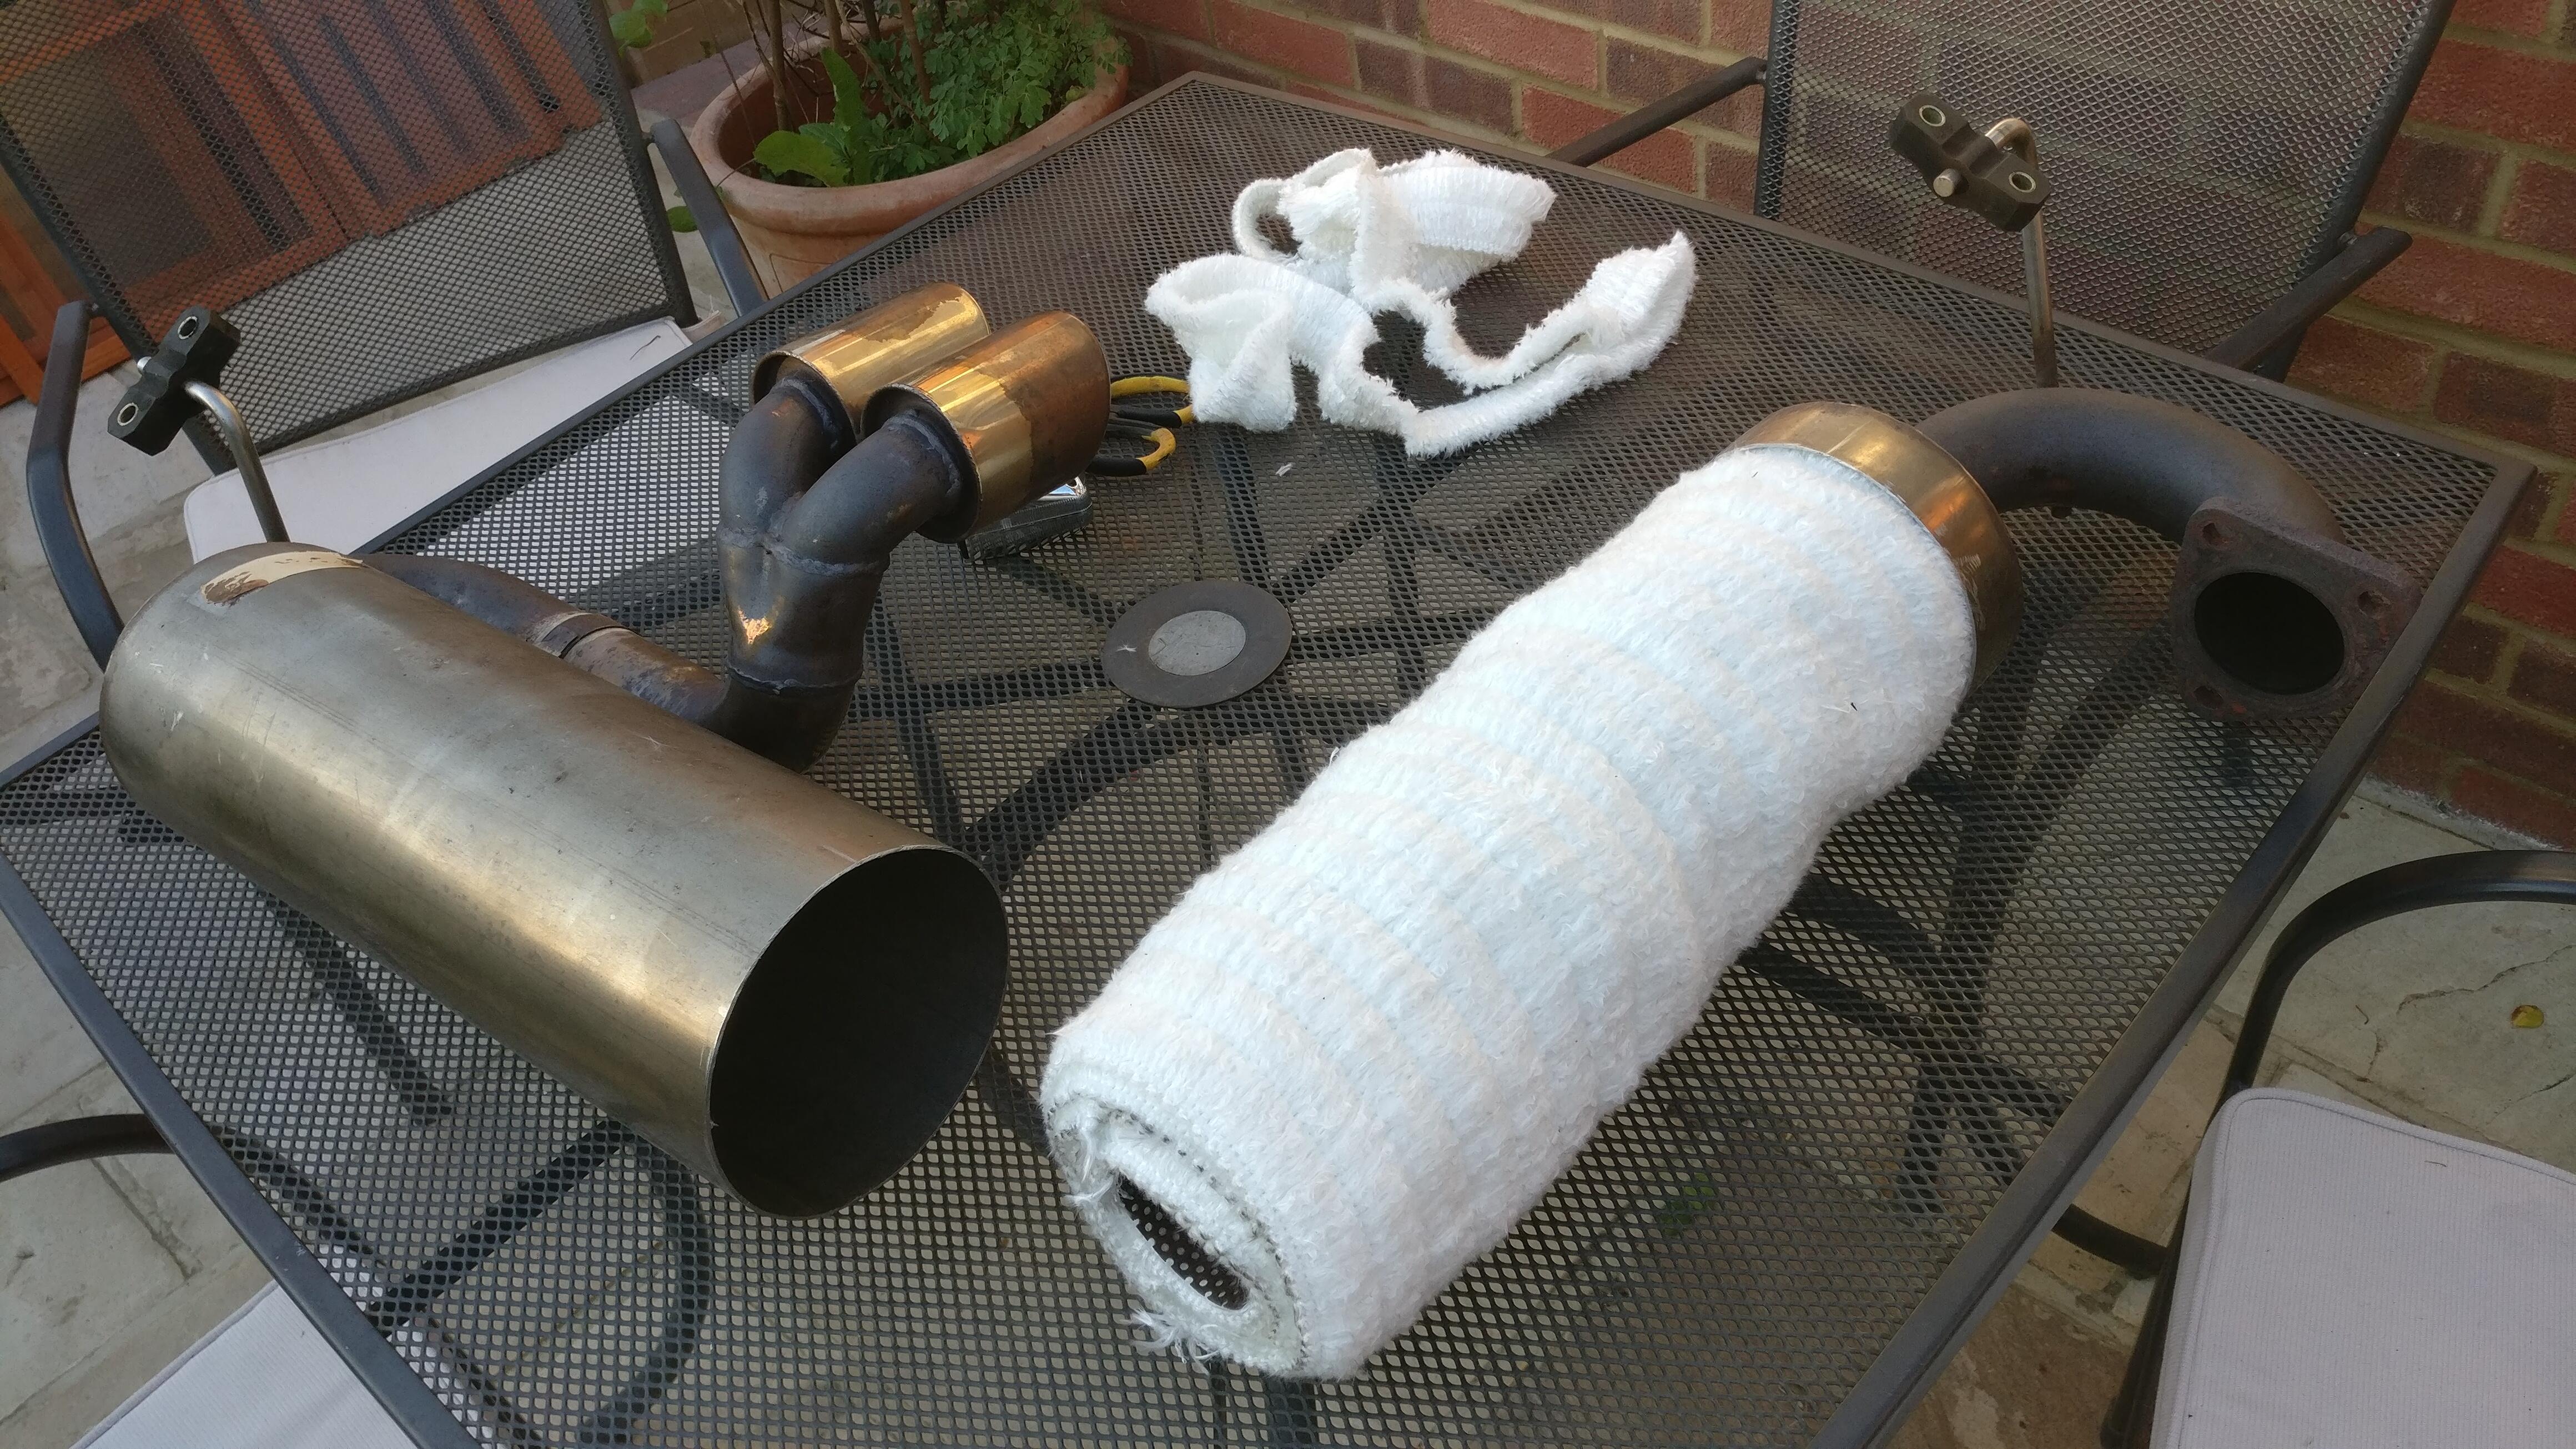
I’d researched online at other people’s threads about how to go about cutting and what end to cut. Seemed straight forward so got the hack saw out and hacked away… turns out my silencer seemed to be backwards to other people’s and the whole inner baffle came out too. This made getting the acousta-fil in and everything back together much harder than I’d hoped.

The state of the old baffle, definitely time for some new stuff.

Another issue I had was getting the two apart. With the limited tools I have at home I was able to borrow a mini racket, strapped it to a tree and yanked and pulled and twisted for ages to get them apart. A combination of brute force and a few large flat-heads (being careful not to bend the thin metal of the silencer) got the two pieces apart. A vice would have been much easier.

I had planned to cut the side that would leave the baffle secured inside, meaning it would be fairly easy to slide the new acousta-fil down and then just pop the other end back on. Instead had to wrap the acousta-fil as tightly as I could around the baffle and try to slide it down into the silencer without it catching on anything. On top of that, it kept getting stuck on the ring the baffle slides into at the bottom of the silencer casing, leaving me no way to reach down inside and tuck it out the way. Unfortunately i had to cut it the acousta-fil shorter than I initially wanted to avoid this.

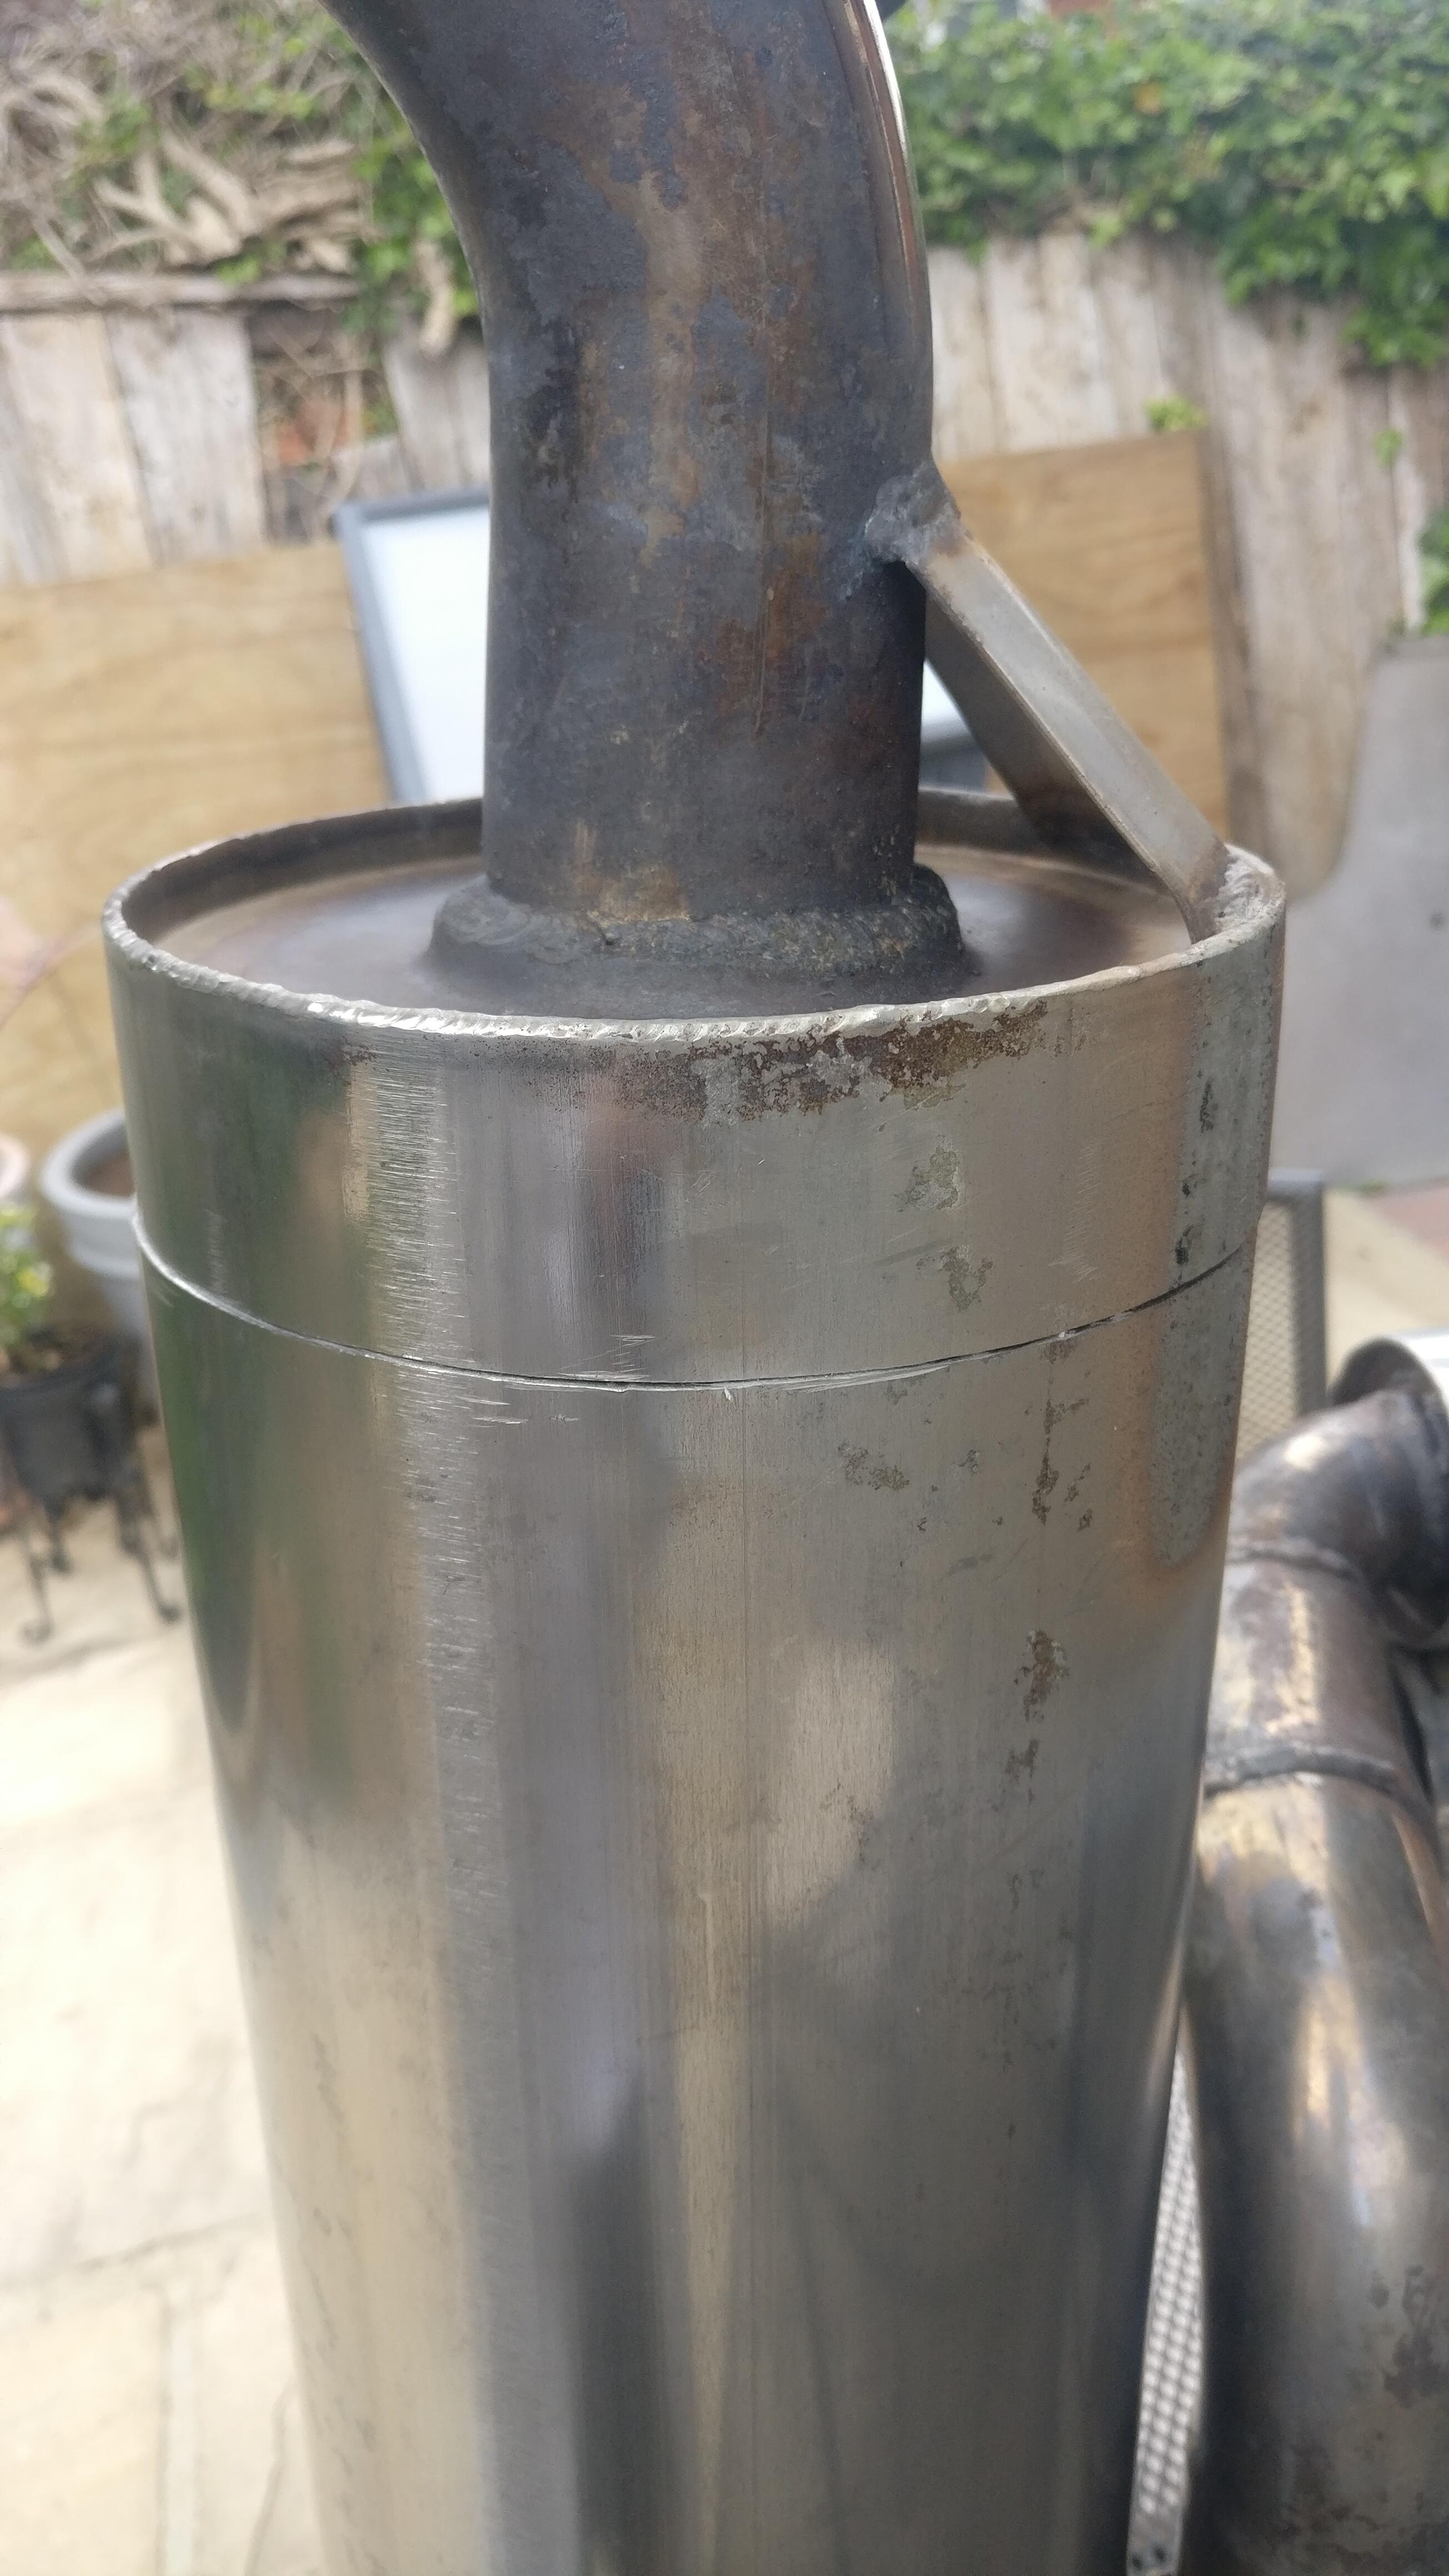
It then took a lot of hammering and twisting to get the two pieces together, but after lining it up with the marks I’d scratched into the silencer before cutting to ensure the mounting brackets would all line up, it was ready to be welded.

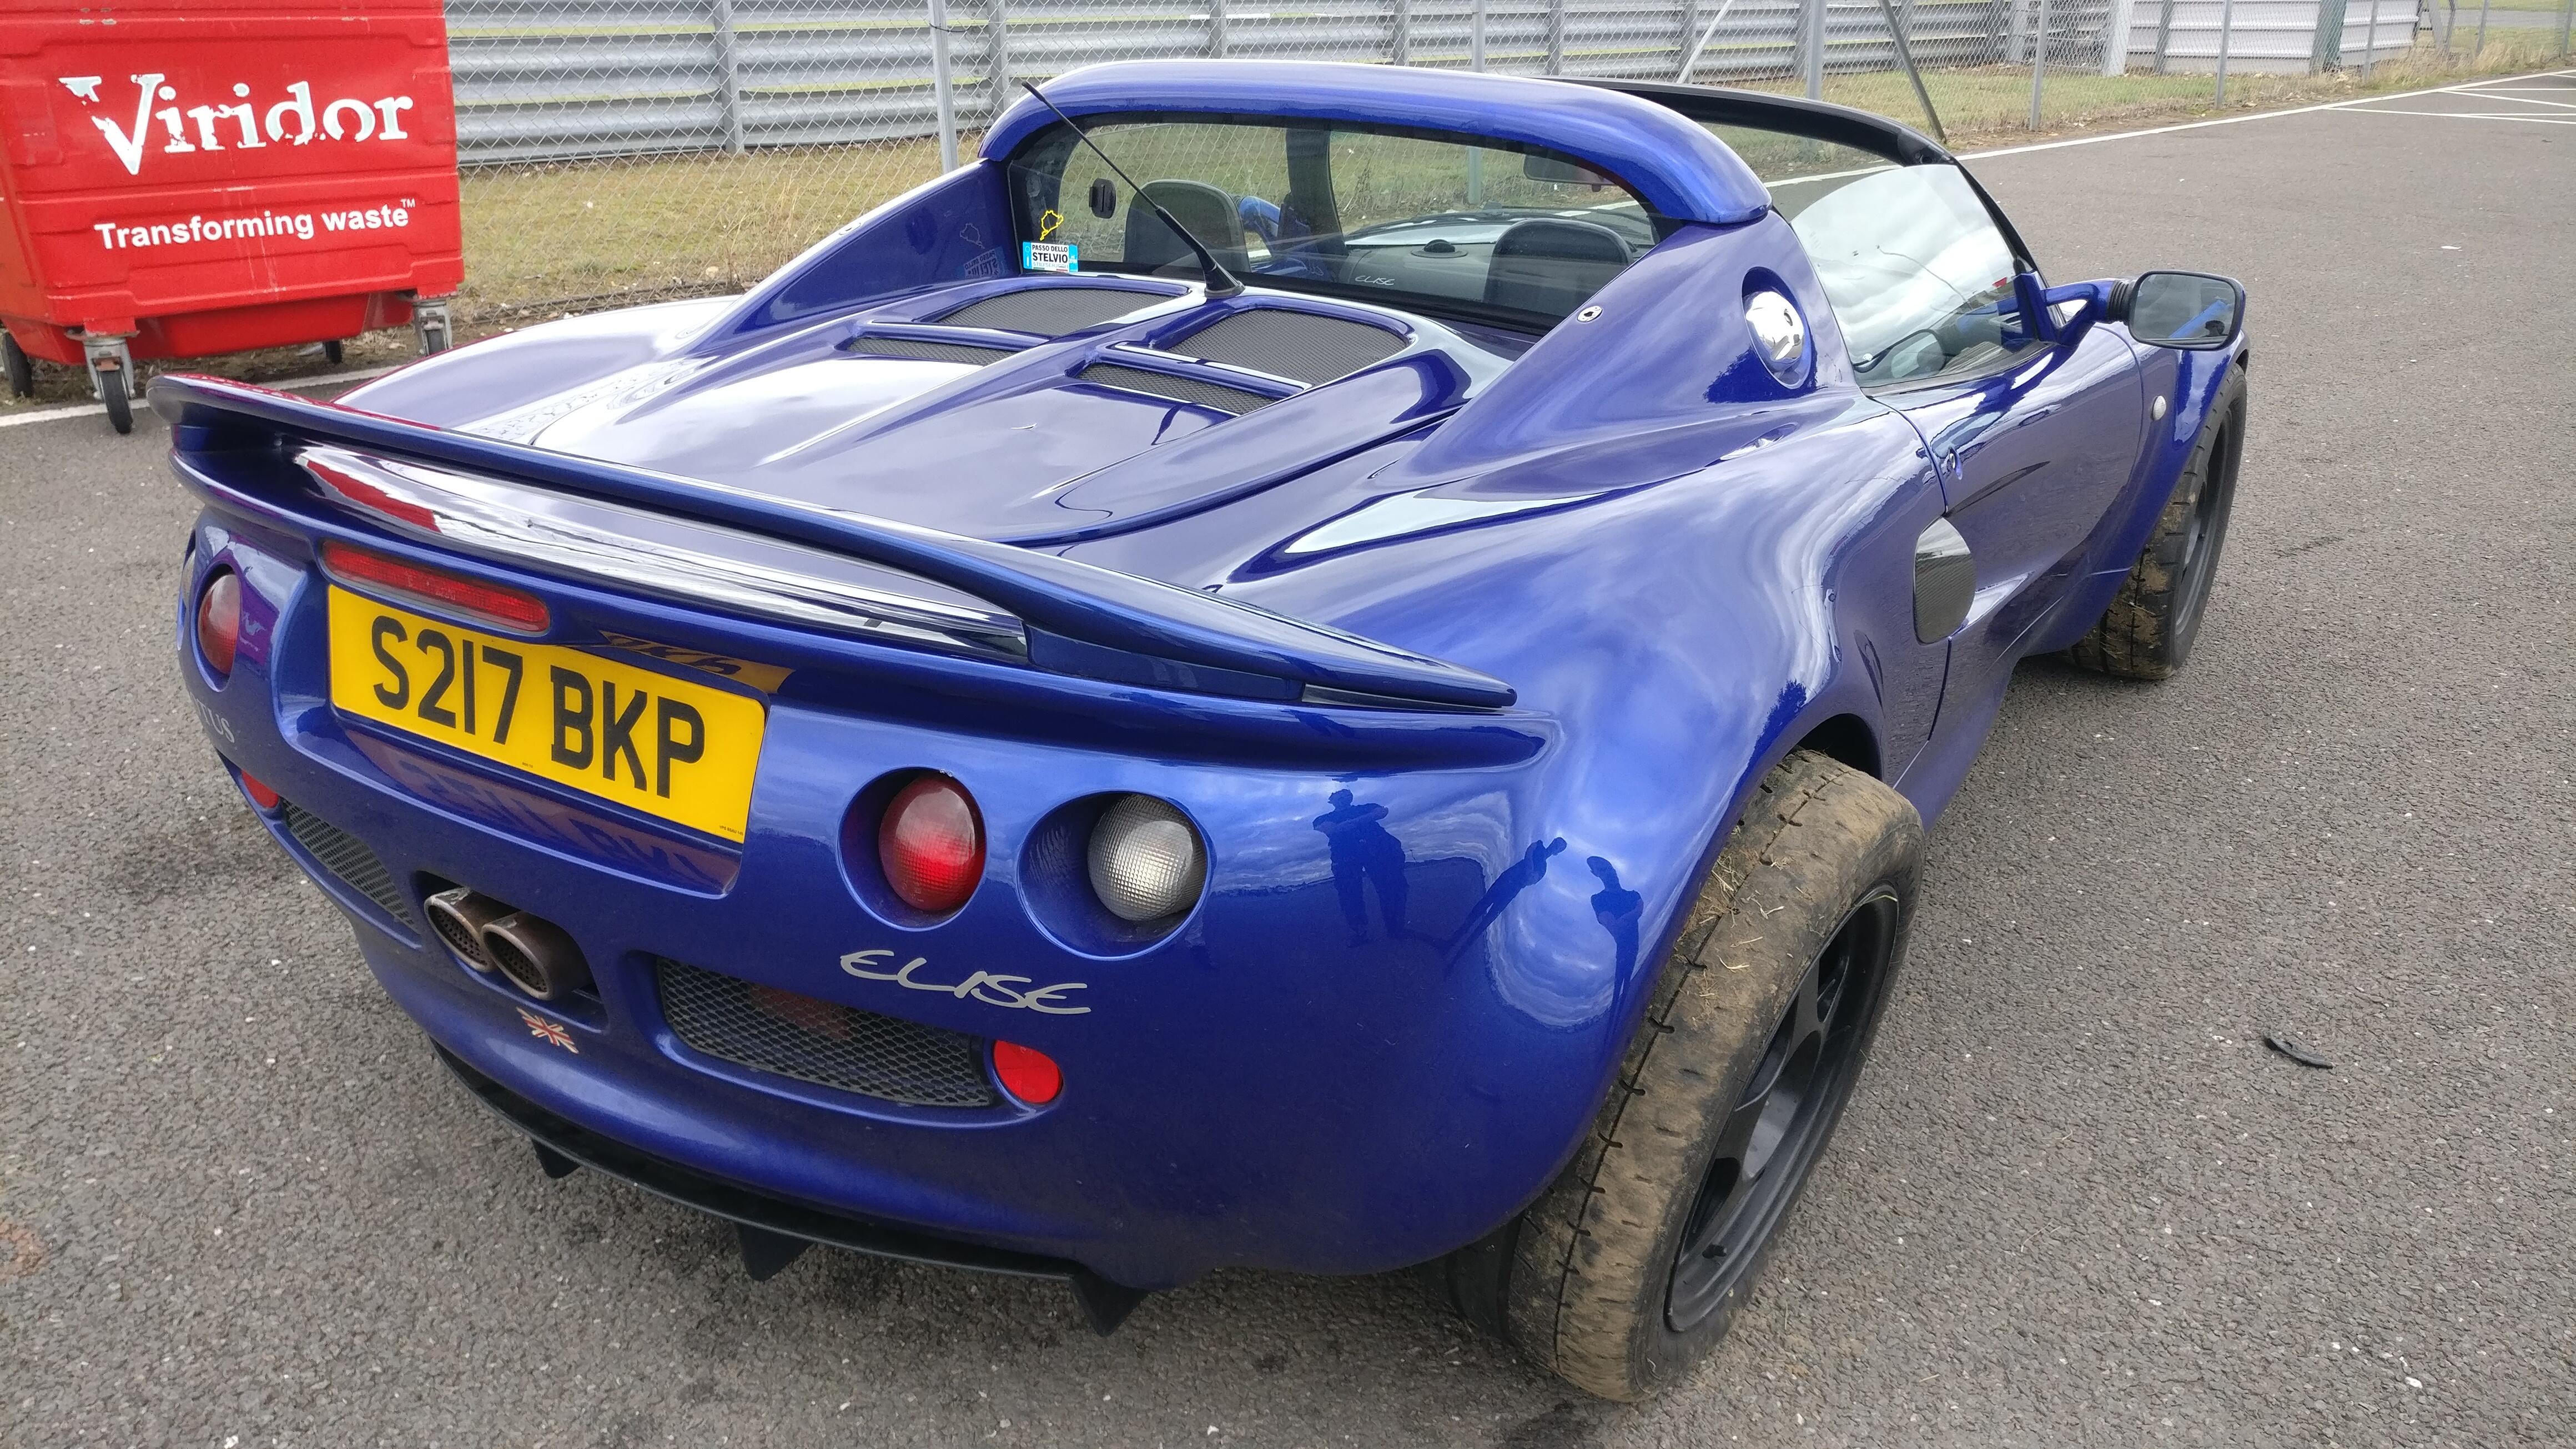
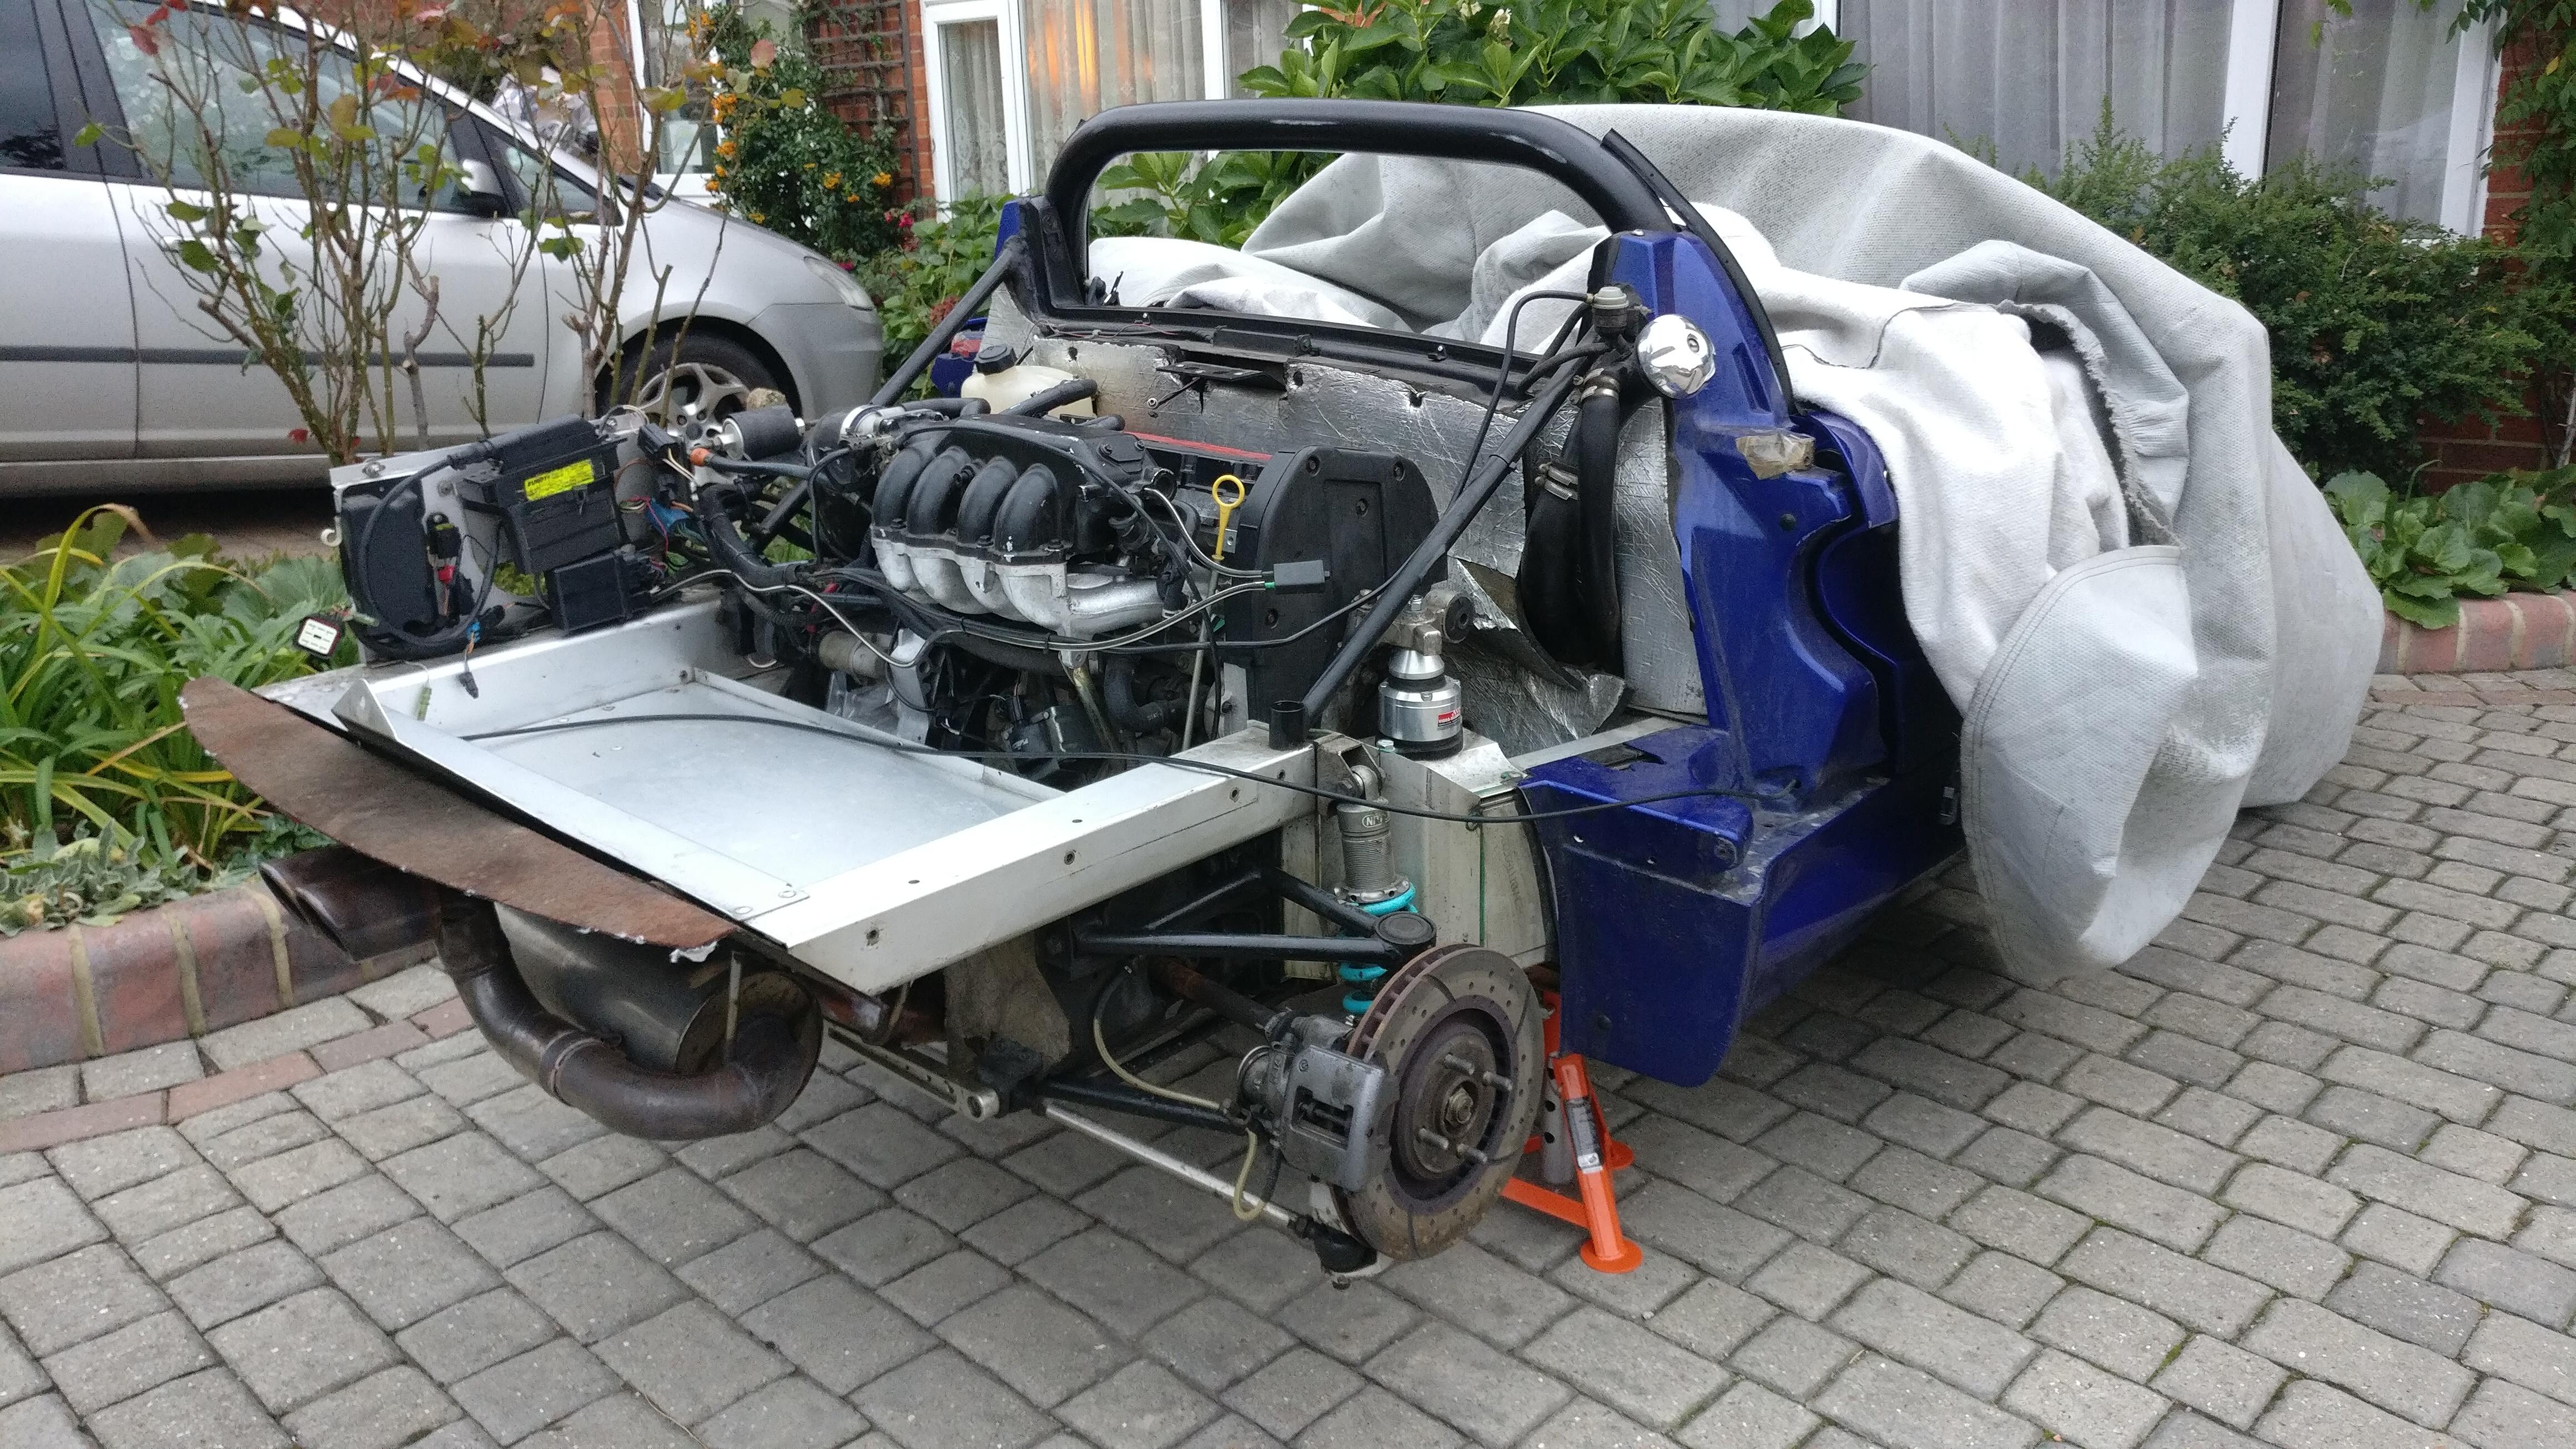
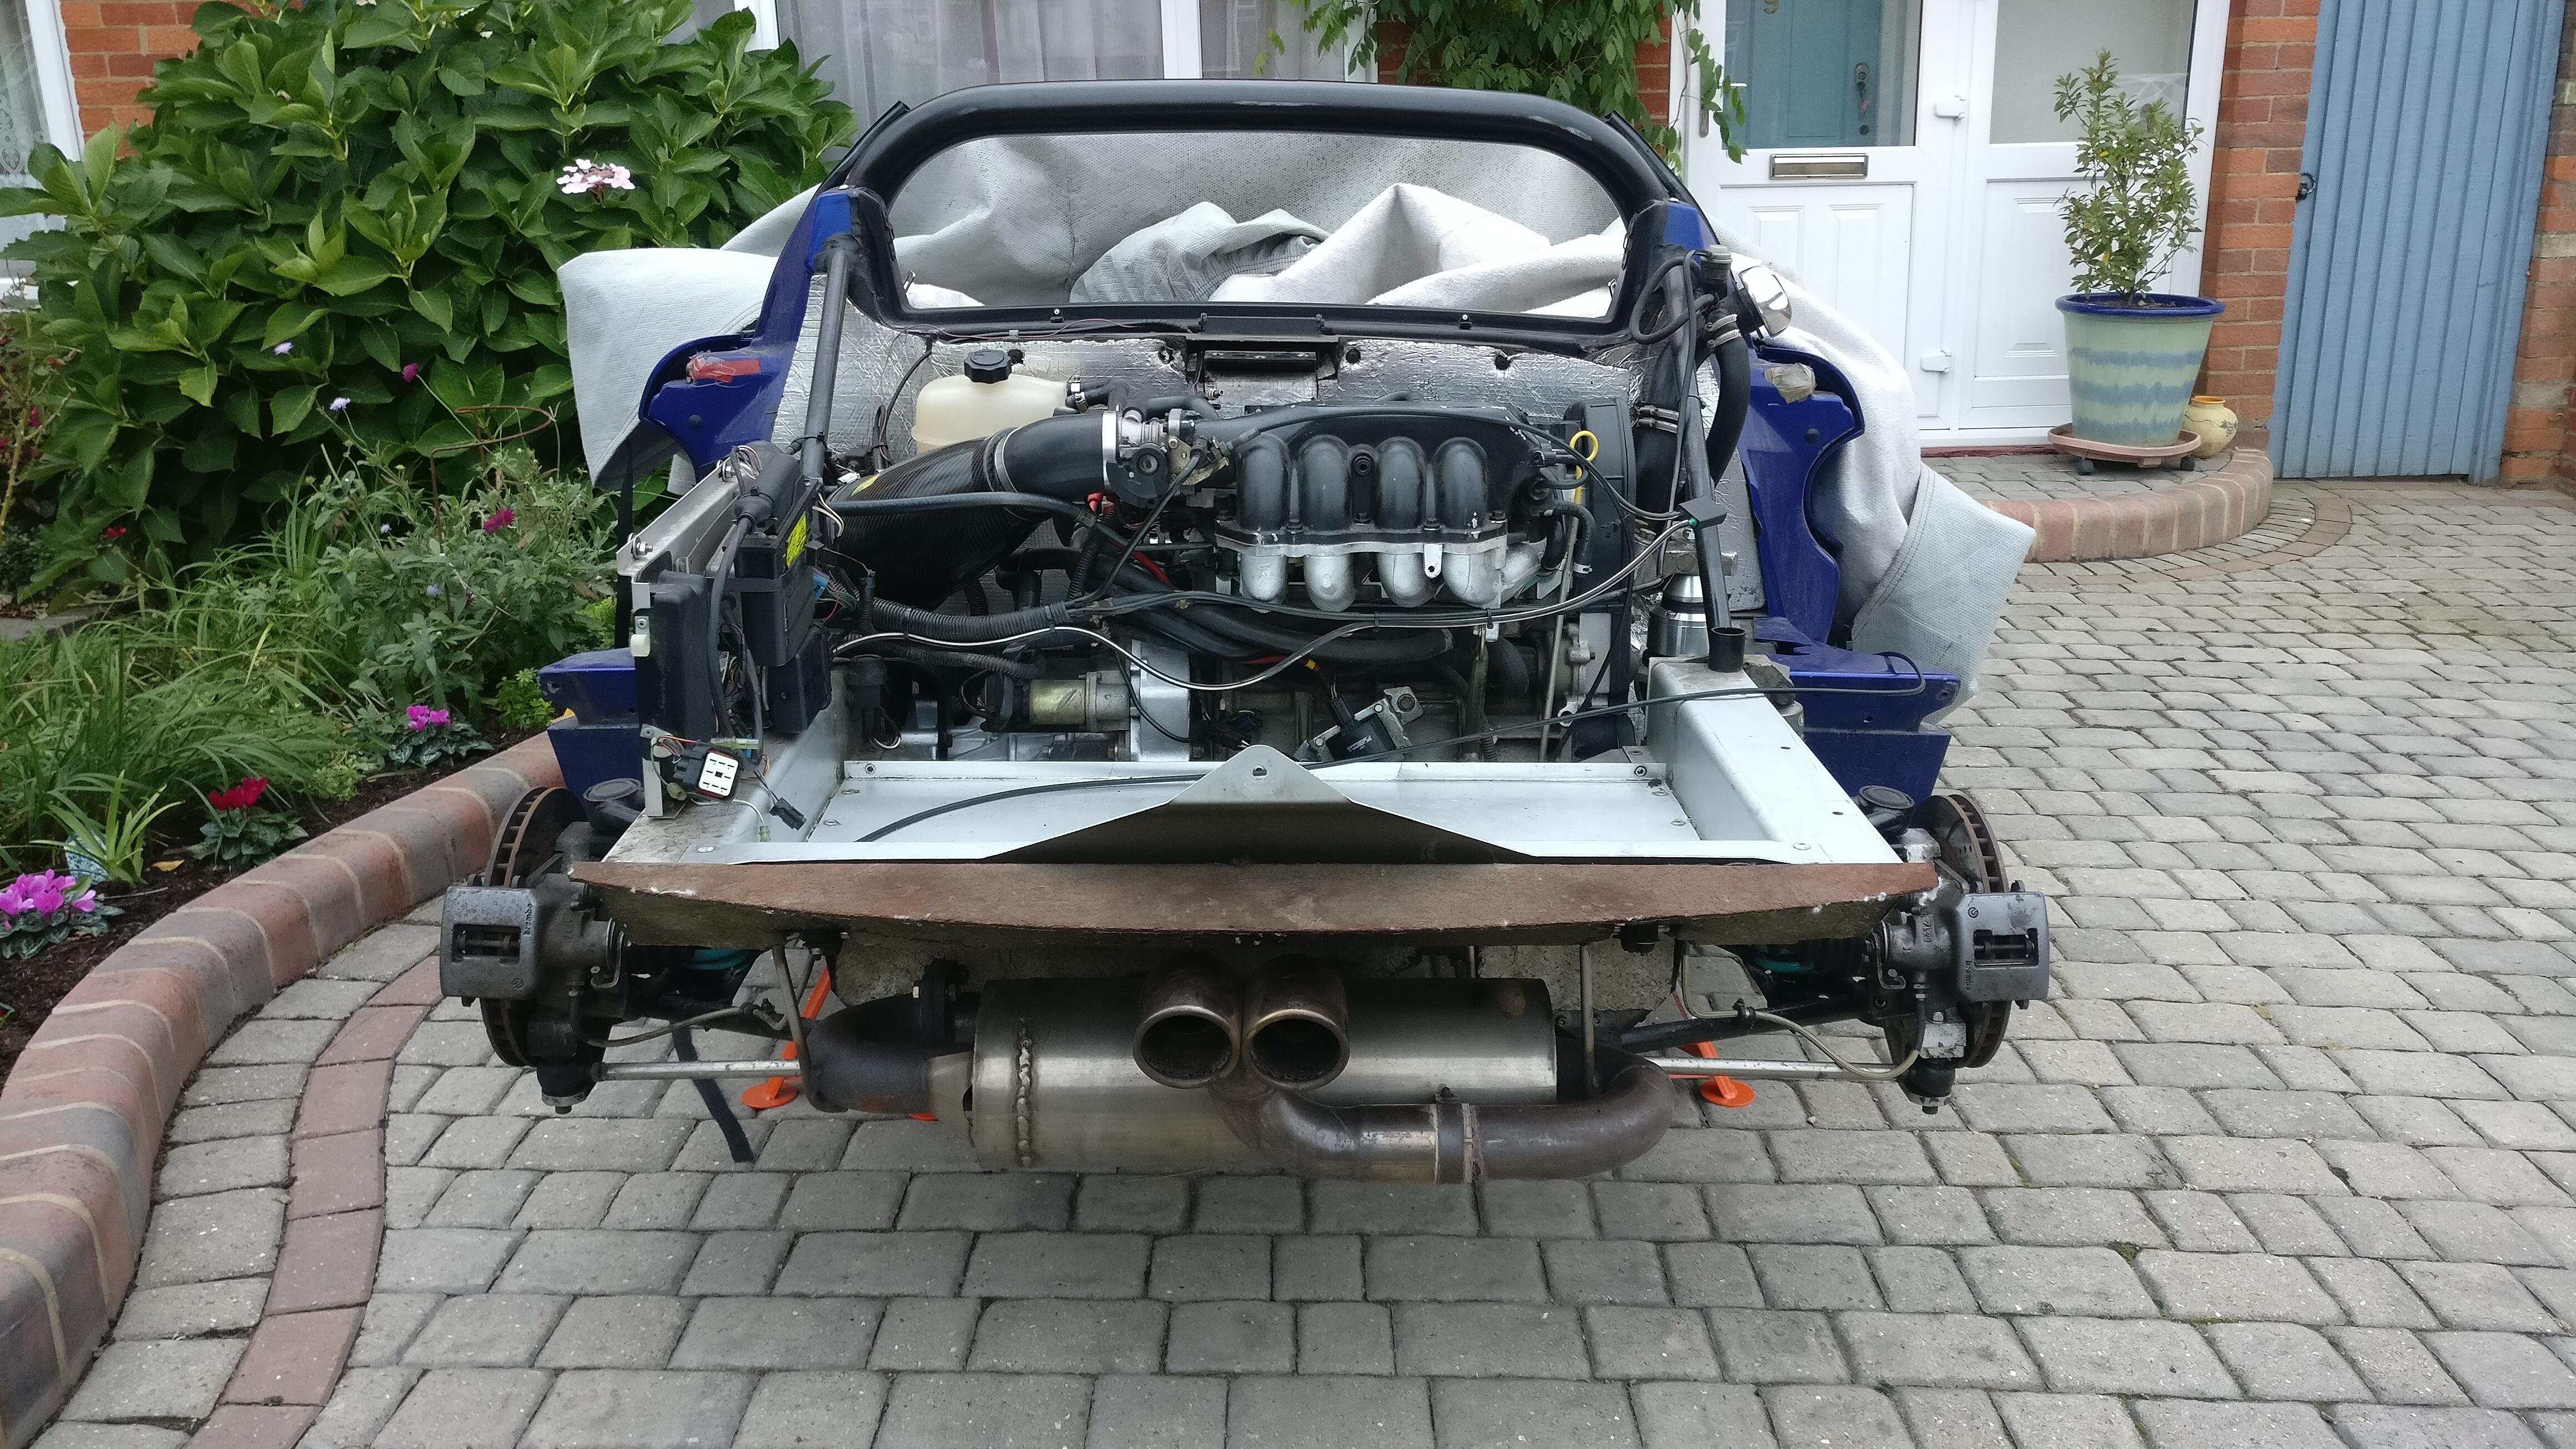
Unfortunately the welder I used was pretty shoddy, fairly expensive and took AGES but thankfully did the job, if not the prettiest weld in the world. Next was the fiddly task getting it back onto the car with the clam on, but after a bit of fiddling it was all bolted up and ready for the trackday, which went well…

Snapped rear upright bolts threw me straight off, thankfully not into any barriers. No other damage, just one of those things you accept, fix and move on.

Watching with interest I am about to start the same with mine. Just sold my clams so about to order Dom’s.

Good to see the car being used in anger! Not seen snapped rear upright bolts before, Looks nasty! Had they been over tightened in the past?

Keep up the good work.

Yeah I drive it quite hard, probably why I’m not too surprised when it breaks :joy: although it has been fairly good for me regarding that.

Maidstone said they were aftermarket bolts and didn’t go through the same hardening process the OEM bolts did. Little concerning but both sides now changed and I’ll drive it as hard as I did before!

More bits I was able to source:

Striker latch thanks to Junks

For the rear clam drainage pipe I got a very cheap wardrobe bar holder. Pretty crude but will do the job once bolted on.

Thanks to Karl for a nearly complete latch mechanism, saved a lot of hassle.

Also thanks to Simon at Scott Russell Sports Cars for the latch cover

I know I could have just made these myself, but to save some hassle just bought genuine grilles for the roof and tailgate

I did initially think of taking out the mounting bars in the roof intake to keep a cleaner look, but when the grille came with holes for mounting I had to keep them, not the end of the world

M5 jacknuts for the roof

I wasn’t paying over £60 for the spoiler support brackets, so these £4 ones will do just as good once bolted to my DIY sheer panels

Velcro for fixing the headlight covers to the clam, I want to have them so I can easily take them off and clean inside. I plan to have the velcro down the sides and have thin weather seals on the top and bottom. Fingers crossed it works, if not I’ll just use the binding putty again. New window cheater seals thanks to Paul Matty Sportscars. Finisher rubber for the steering wheel surround by the ignition. A shim for the tailgate hinge.

I was inspired by a previous thread on Exiges.com about fitting some adjustable gas struts to the tailgate to hold it open. These will be one of the last things to go on but definitely will be handy so I don’t have to carry a special stick all the time

Time to get onto the disassembly. If people want me to put up pictures of taking everything apart I can, but I think most of you know how to take these cars apart and they’re relatively straight forward. However if you would like to see everything (or as much as I took pictures of) then I’ll add the disassembly pictures too, but most were taken so I had a reference of how to out stuff back.

Up on stands ready to go

First bits to remove were the undertray and diffuser. I did this actually before getting it on the axel stands as the undertray covers the brace where the rear stands had to go.

Next the wheel arches came off and stored. I’m going to try and reuse them for the Exige, no idea if it’ll work but worth a go.

Both front and rear clams have been off regularly in the cars life, but not by me. I was confident nothing would be seized, so I tackled the front clam first.

I took the front grille out and off came the bonnet. I kept the headlights and indicators on the clam as they’re much easier to remove once the clam is off.
Off came the nose badge, headlights and indicators.
Headlight covers are being kept and put into the Exige, but of heat from a hair dryer and they peeled right off. It was easy to clean them up but a little time consuming.

All clean

Thankfully all the bolts are stainless so nothing stuck at all.
Also to reuse the hinge I had to drill out the rivets.

I made a note of where the plastic loom tabs were to replicate them on the Exige clam.

With the clam off I could then tackle the seized override fan. But I would take the rear clam off first.

My car is the lightweight version and has the aluminium sheer panels. Being an Elise they fix into the sides of the longerons rather than the top like the Exige ones. I’m going to make my own “hybrid” versions that fix to the side of the Elise longerons, but are profiled to the Exige clam. I have made a template up but this will feature later.

Loving this thread​:+1::+1::+1:

I would make the sheer panel template (half of it at least as the Exige clam is longer) when the rear clam was off the car.

Onto the rear clam removal, I took off the bootlid and disconnected the aerial, the connection was hidden in the small corroidated metal piping. Out came the rear window, sheer panel bolts, the loom was disconnected to the ECU and carefully extracted, the fuel filler neck screws were removed and the aluminum bulkhead was laid flat in the boot.

The only frustrating bolts to get out were the B pillar bolts. They came out easy enough, but it is a bit of a hassle to take out the seats (which involved taking off my Willans harnesses as well as my normal seat belts) and disconnecting and removing the speakers. I think when I finalise my rear clam fixings for the Exige I won’t bother with the B pillar bolts. It will still have 7 other bolts as well as the 4 roof bolts and the brackets and bolts so I believe missing these 2 out of 15 won’t be a big deal.

It was a bit of a job to remove the clam on my own, especially on a pretty windy and rainy day, but I managed it without damaging anything.

Looking good James, keep up the good work