A great effort, James. Every credit to you, the car looked fabulous. Great choice of colour, too.
Cheers guys, I’m loving having it back on the road!
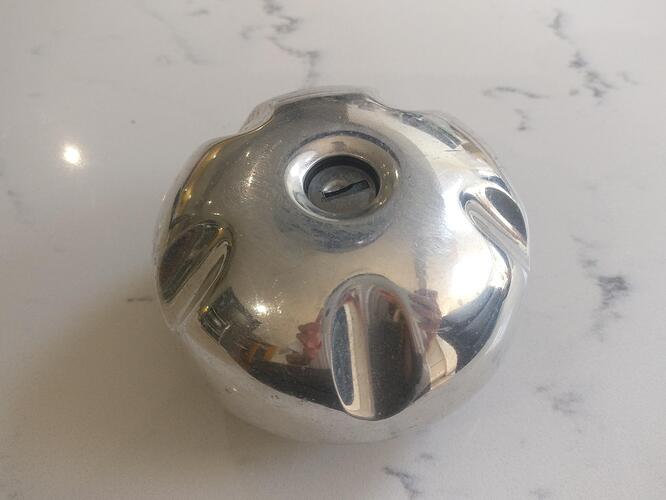
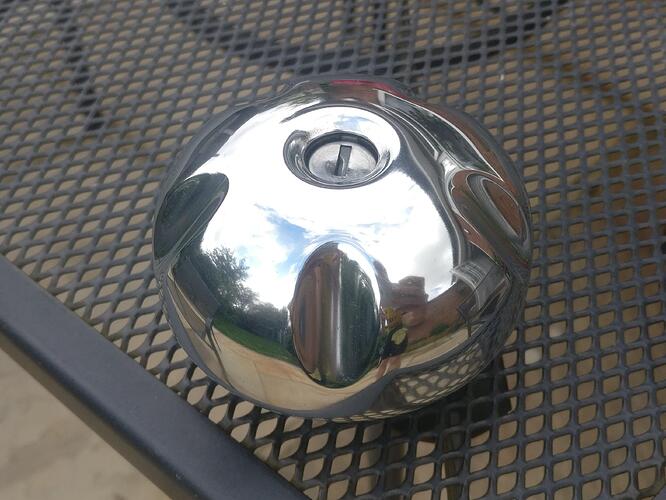
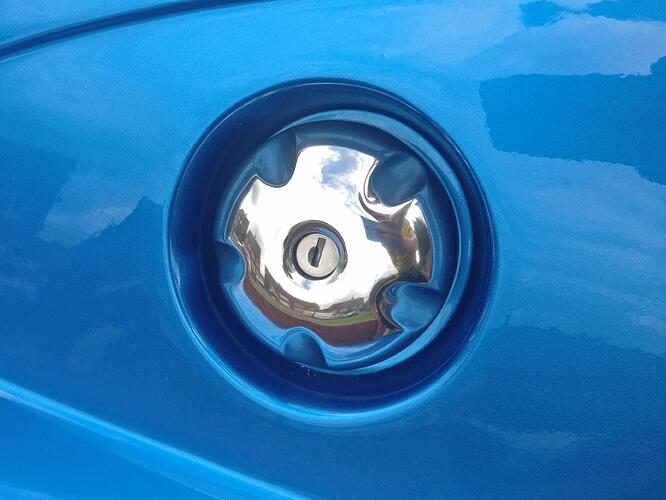
Little job for today was getting the fuel filler cap looking its best after getting a bit beaten up during the build.
Not sure whether it was me or the bodyshop but the cap had received a few nasty sandpaper marks and scuffs, so was I bought some sandpaper sheets and got to work.
I started at 400 grit and worked through 600/800/1000/1200/1500/2000/2500. I then took some autosol and a fibre wheel on my dremel and went over the cap a few times. Finally I got my DA polisher out and used more autosol and a rough pad to polish it right up.
I think it came out pretty well, a few nicks were too deep to be removed but all the sanding scuffs are now gone and it has shined up really well. Got to be careful where I put it now so I don’t have to do it again!
Been meaning to do this job for ages and finally got around to sorting it yesterday.
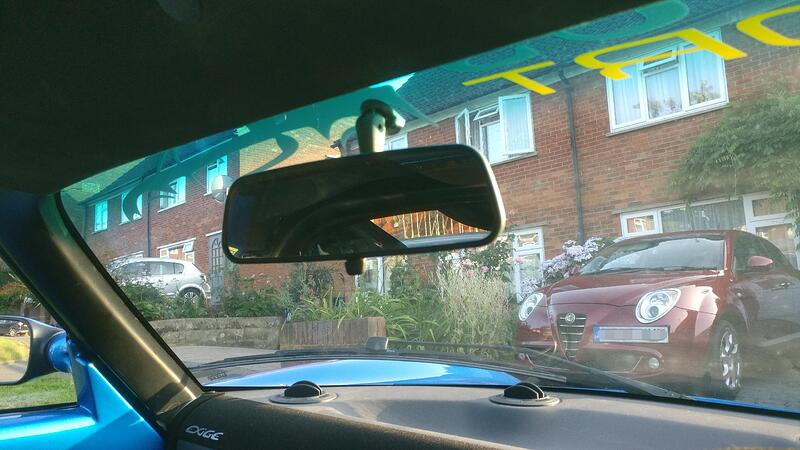
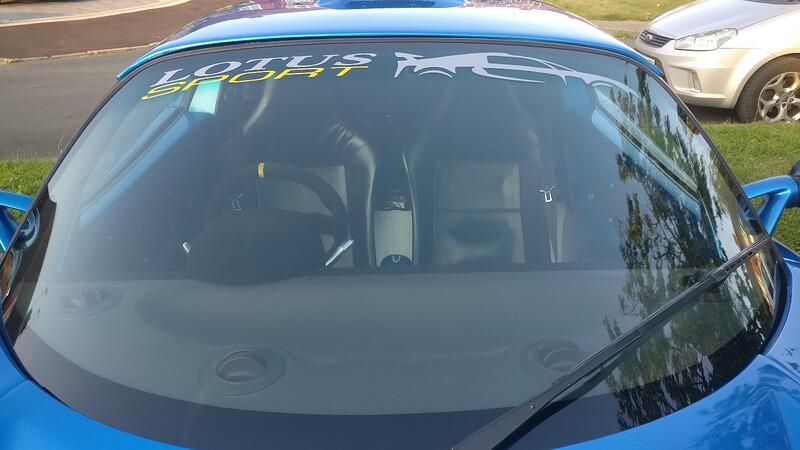
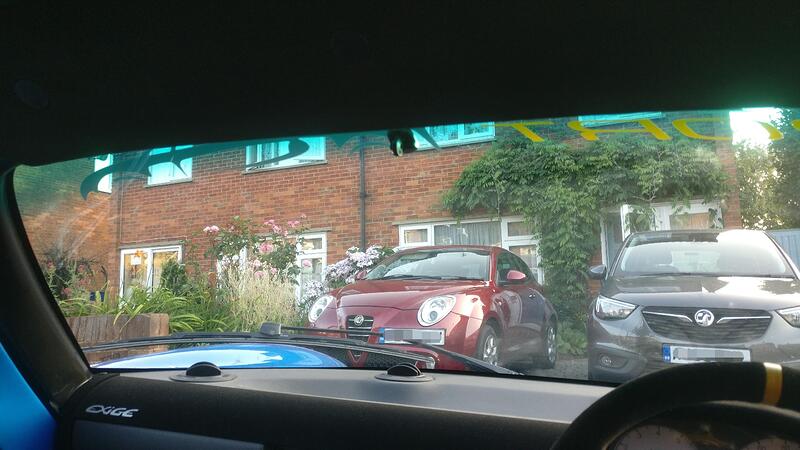
I left the rear view mirror on out of curiosity to see how much visibility there was out the back through the perspex cover. As it turns out not much really and I always kind of intended to remove it after driving my Dad’s conversion that didn’t have one and being quite shocked at the improved view out the front.
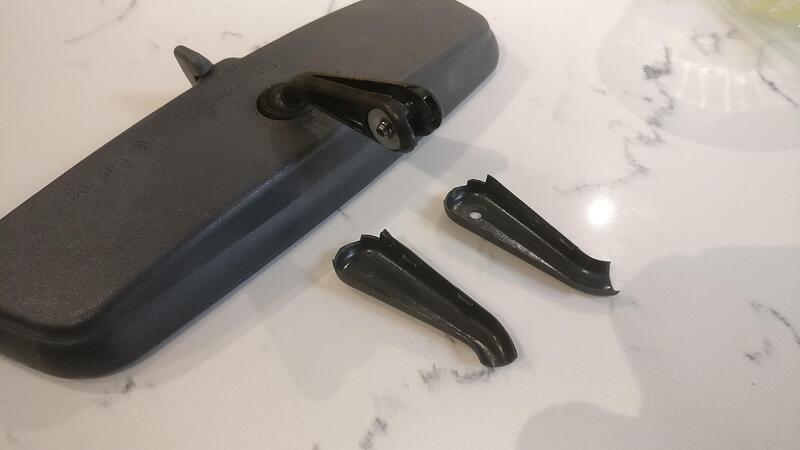
The mirror is simply held on by a single screw but you have to remove the 2 stem covers to be able to fully remove it to then slide the mirror off.
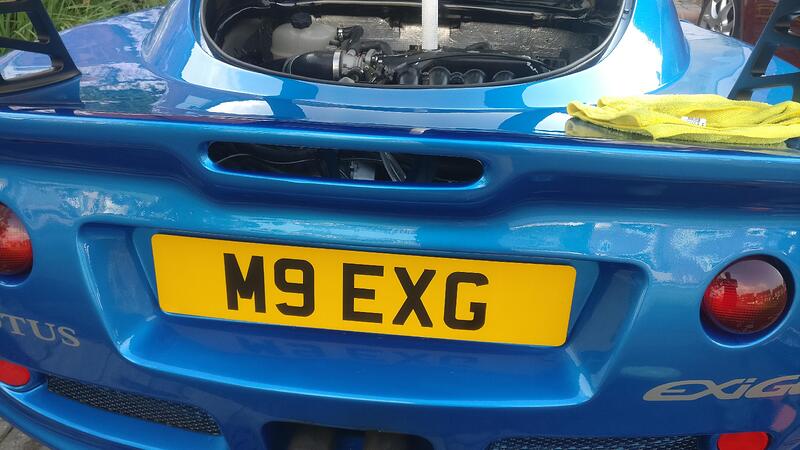
I left the adhesive fixing in place as it is small and more hassle to remove than it is worth. I found I was using the wing mirrors anyway when driving so was a no brainer to go with this set up, plus I won’t see the numberplate lights on when I’m driving anymore.
Brilliant write up and outcome - well done, wish I had your skills/patience ![]()
Agreed - I’ve been following this thread with interest but in full lurk mode until now. Well done that man. ![]()
Since my Seloc post isn’t really getting anywhere I thought I’d ask the same question here. I know it is a tricky one, but what do people think my car is now worth?
I have guessed it for insurance purposes but I suppose something like this is only worth what someone is prepared to pay (not that it will ever be up for sale!)
You guys know the car better than anyone so worth a punt at hearing some figures.
Cheers! ![]()
I think it’s always tricky to value anything that’s unique, and no one ever wants to say the wrong thing about a project that’s been so personal.
If me and being pragmatic for sake of an insurance value, I’d look at high end of standard Elise with equiv miles and equiv overall condition and then add a realistic premium ![]()
It’s a tricky one as the prices for almost any Elise or Exige have gone nuts since they have stopped making them. A decent S1 Elise is 20k, an S2 Exige is 35k and they are selling. The one model that appears to hang around is the s1 Exige. I don’t really know why that is as they are the most bonkers of all the models and unlike anything else, maybe they will catch up! Given that, I think to sell a good s1 Exige you are looking at high 30s. Yours looks like a great replica but lacks the grumpy VHPD. High 20s is my guess but it could take a while.
The other big factor is the quality of the clams, I have seen some that are very ripply, you did a lot of prep and look like you have healthy OCD so I am assuming they look good.
I know I’ve essentially ‘ruined’ a lovely Elise, but ultimately ended with the car I wanted and for the most part I’ve loved doing it! I won’t be selling it so the value is kind of irrelevant, but it is nice to know isn’t it!
I have it valued at 25k for insurance, basing most of this on if it were to get stolen, how much would it cost to get/build the same spec car. It is tricky as lots of parts (spoiler supports, perspex cover etc) are extremely tricky to get hold of, plus other bits like wheels aren’t cheap and it adds up, and that’s just from the conversion, let along all the Elise bits like VHPD head, nitrons etc.
It might be worth more or less than that but like you say it is almost impossible to value and you have to keep in mind the genuine Exige prices are always going to cap what this is worth.
But I can’t lie I feel a boss driving it so all the pain has been worth it! ![]()
This is the only bit that really matters… ![]()
A small but real pain in the arse job yesterday. I decided to polish it for the first time since having it painted, which is a bit tricky anyway because of the curves and harsh angles at times.
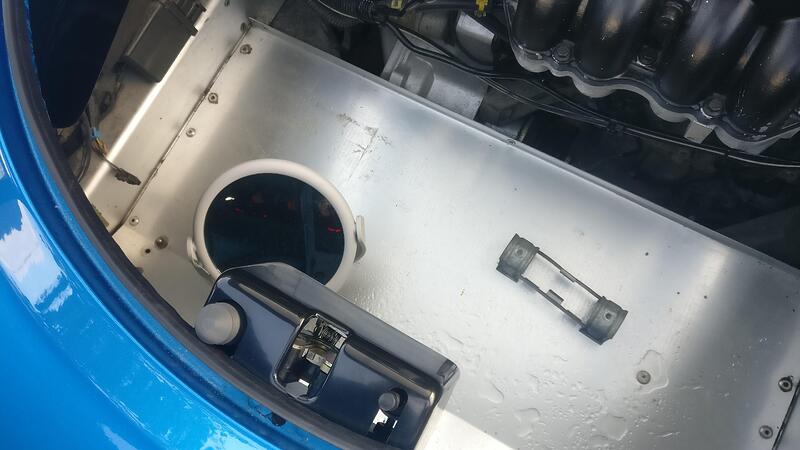
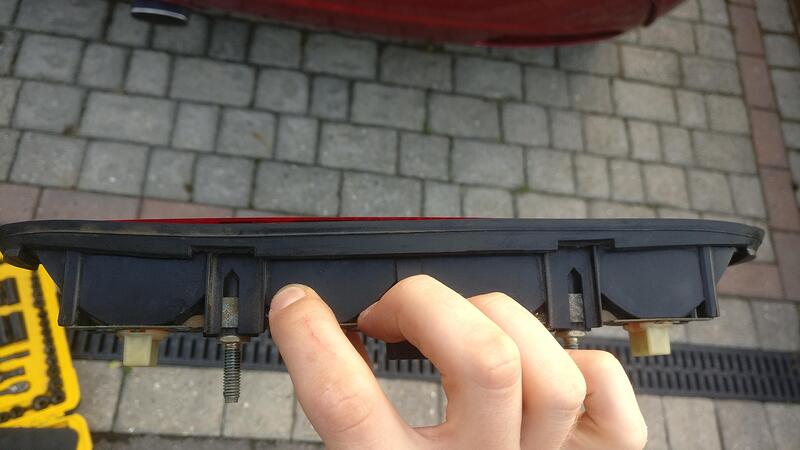
I was buffing up the rear clam after the machine had gone over it and the bloody rear light fell away inside the clam. When looking at the assembly I saw one of the nuts had come loose and meant the clamp wasn’t pushing against the inside of the clam.
Really frustrating as the light was tricky to fit with the clam off.
I placed a bathroom mirror inside to be able to see what I was doing and also decided it was a good idea to add some loctite to the thread to stop the nuts coming loose again.
However the rubber is obviously original and is a fair bit longer that it should be (I’m assuming the notches in the rubber should line up with the notches in the plastic), so getting the rubber to fit nicely and even was proving impossible.
I thought I’d get it close, not being able to see how it looked due to having to reach over the spoiler and just about place the nuts on the back of the assembly, just to then have the rubber either fall inside the clam, or not sit properly.
Unfortunately the hole is also a tiny bit too big, so it is very difficult to get the rubber and light positioned so it covers all gaps and not have the light just fall through the gap.
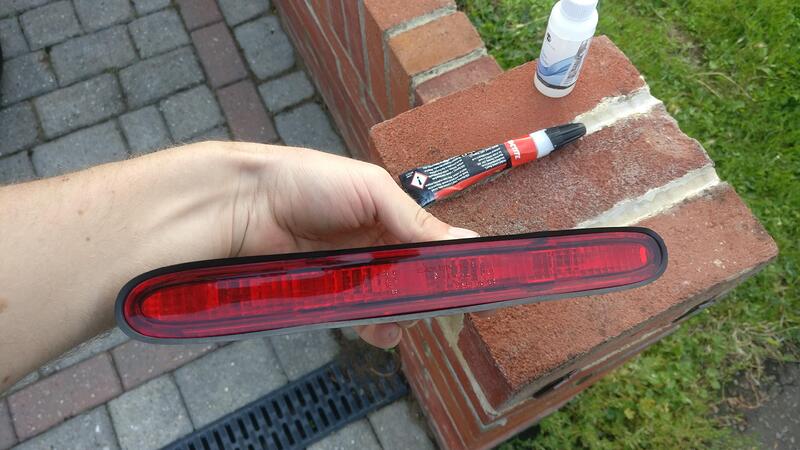
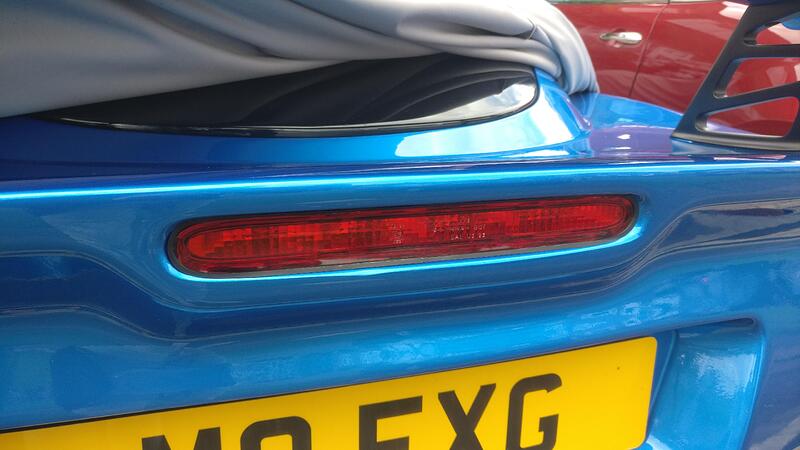
After over an hour trying I decided I had to glue the rubber in place. I didn’t want to as you can kind of see the glue under the clear plastic, showing as darker spots, but it was the only way I could think to ensure the rubber stayed where it should.
Long past the daylight had gone I was able to get it pretty much where I wanted and tightened things up as carefully as I could. A few attempts before I’d over tightened and pulled the light back through the hole, very frustrating. The loctite I’d put on originally had also began to set which made tightening the nuts much trickier, but hopefully have now set so they shouldn’t come loose but is something I’ll check occasionally, learned the hard way on that one.
I took some pure acetone and attempted to clean up the excess glue, but being dark it was hard to see the end result. I’ll go over it again in daylight to try and clean it up a little bit better.
Frustrating, but looks ok to me.
On the plus side the car looks great all polished up! Might look to getting the EFI ecu remapped if it isn’t too expensive, get the fueling sorted to be able to use all the rev range and get the fan cutting in at a lower temperature. Got to get the manual override fan working again, all on the to-do list.
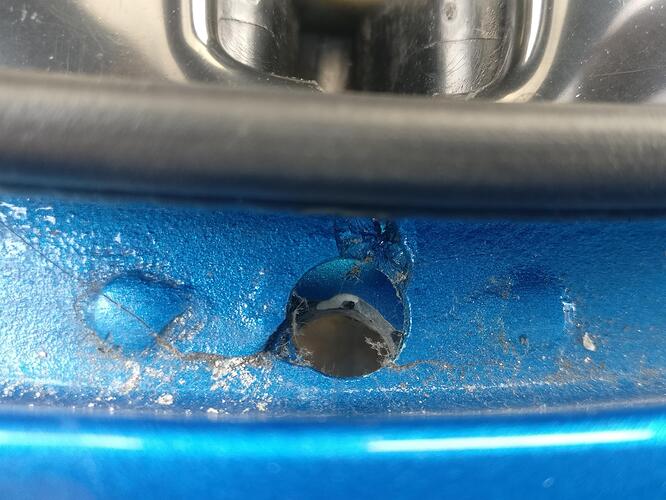
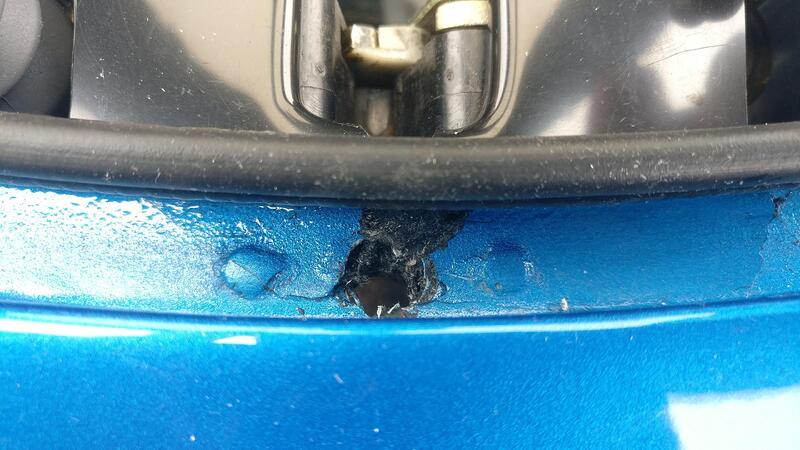
I’ve noticed the times I’ve washed the car that the boot isn’t exactly water tight. I didn’t know if this was coming in through the grilles above the engine (unlikely), the weather seal around the engine cover or the drainage hole by the latch.
Upon closer inspection and testing using a big syringe and water in the weather channel I found quite quickly it was the DIY drainage system I had hooked up that was the issue.
The daylight between the fibreglass pieces quite a big indication that it would be leaking here, as well as the crack in the fibreglass.
I had the idea to use some tigerseal to completely block the area, then drill a fresh and fully sealed hole for the water to drain out. By this point my tigerseal is super old and near enough completely dried out, so was a pain to get out the tube.
I was confident the gaps and holes were now fully sealed.
I cracked out the drill and made a new hole right through the tigerseal. Not the nearest but kind of impossible to get a clean hole.
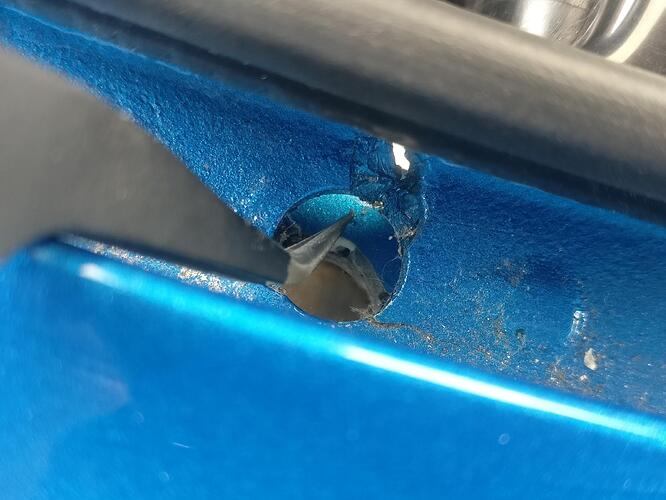
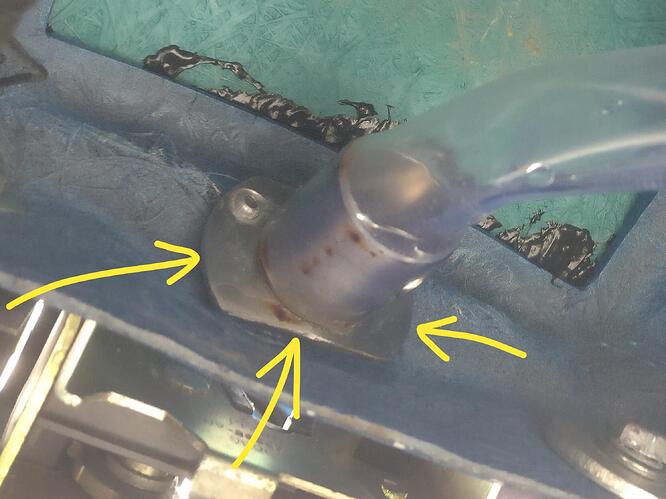
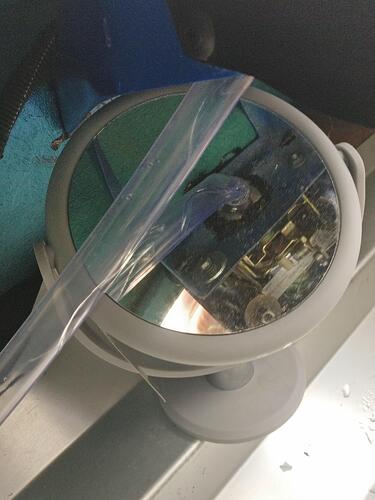
Quite confident I tested with the water and syringe again and found the water still kept dripping out. I then got a bathroom mirror to have a better look as I was sure I’d filled the holes properly.
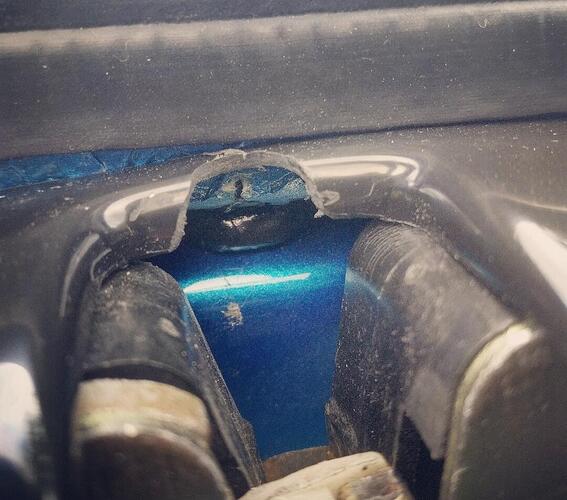
Turns out water was dripping from 3 sides of my bodge wardrobe hanger pipe connection and would have to be plugged too.
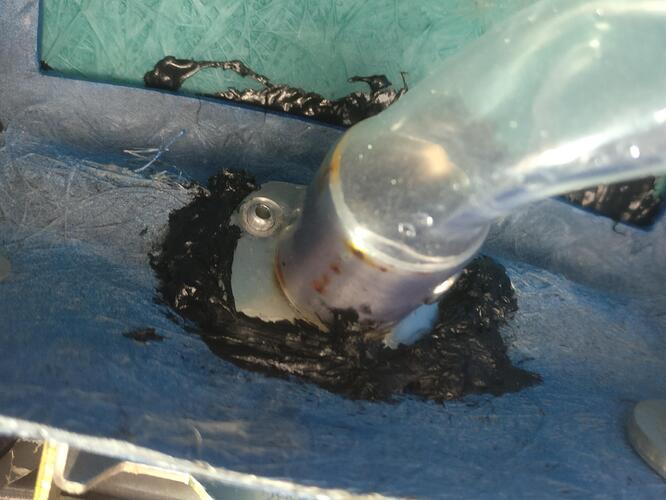
Using the mirror and a long rivet I prodded/scraped and added the tigerseal all the way around. In hindsight this should have been done when I was putting it all together but something I overlooked. Really tricky to do in situation with the spoiler in the way and no way of seeing properly what you were doing which is why it is pretty messy, but using the rivet was quite handy to get a blob of sealant on the end and then to scrape it off into the gaps. Anything I could see was obviously mirrored so that took a bit of getting used to.
I let it set and hoped this was enough to block all exits for the water.
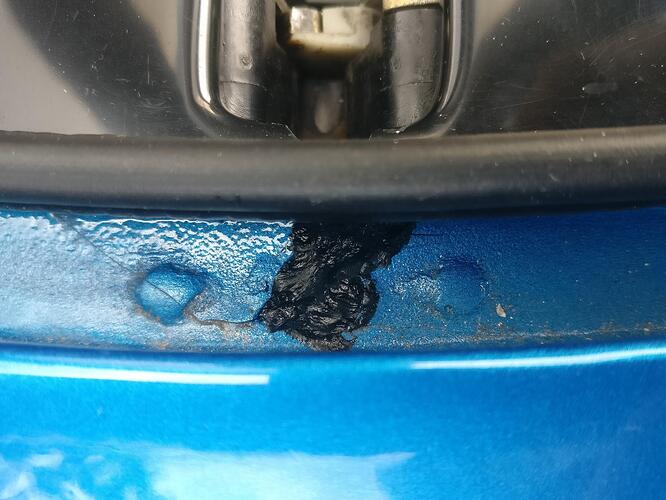
I came back a few hours later and tested one final time. No drips and the water ran off down the tubing as intended, job done!
To tidy it up I took my touch up brush and painted the black to match the paintwork to hide the bodge as best as I could. Least I can use the boot now knowing whatever is in there won’t get wet now.
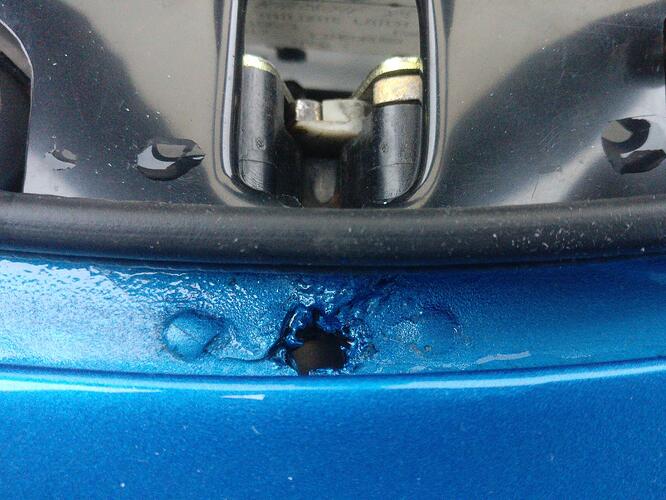
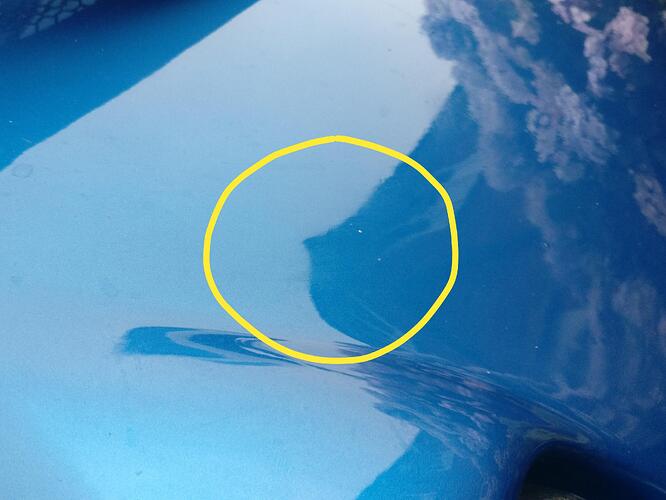
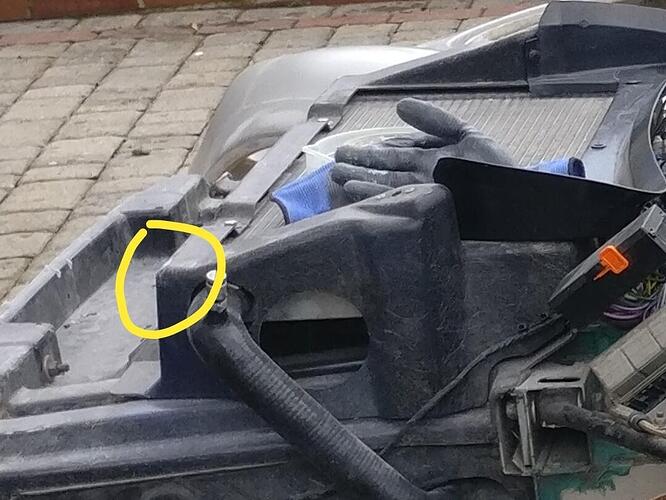
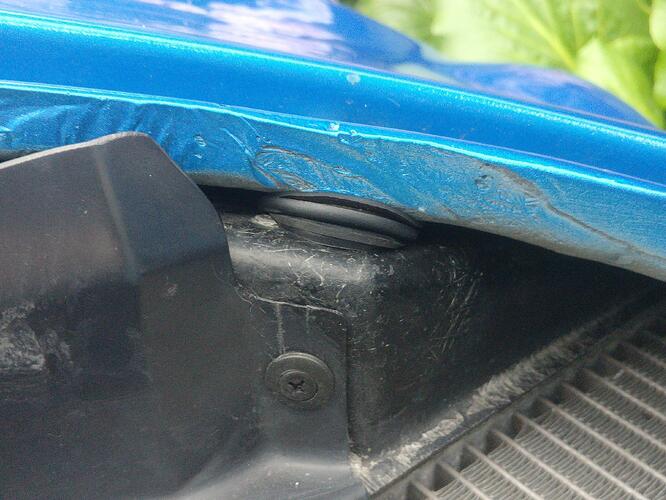
I noticed the other day that on the front clam there is now a slight dent/bump where the clam has been resting against the radiator surround.
One of the downsides of lightweight clams, normal thickness probably would have been fine and strong enough.
I’m assuming this is the contact point but obviously on the other side, Soni wanted to create some space between this and the clam.
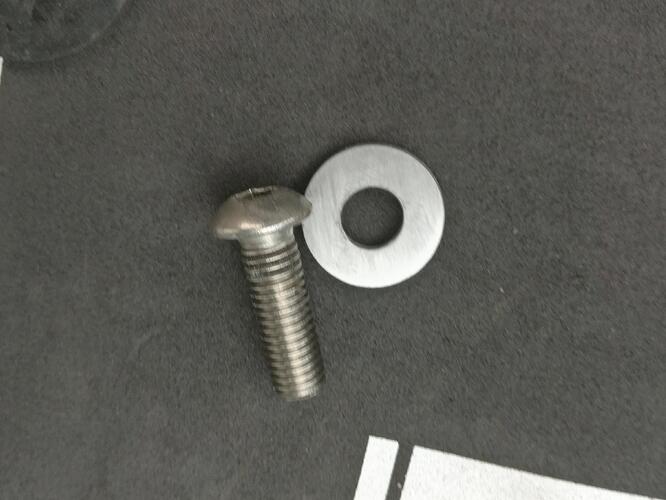
I took this opportunity to clean up the grubby washers with some 400 grit sandpaper.
I packed the clam to radiator surround fixture with another 2 rubber washers each side, which doesn’t look amazing but you never see or look here and now means there is clear space between the two. Another thing that was overlooked when putting everything together but at least this should mean it doesn’t get worse and maybe over time flattens a bit. I expected things to shift and move though so just got to keep looking out for bits like this until everything has fully settled. Hopefully documenting these little bits will help others avoid these pains when they do theirs.
Oustanding thread! Ive bookmarked this for future reference
Thanks for taking the time to document
Cheers Phil, taken a bit of a break from posting and just been driving about enjoying the car. Still have a few more things to do it to which I will be sure to document here which will probably end up being done over this coming winter. Also I’m sure there are a few niggles and bits that develop as the car is driven and shaken about a bit more which I’ll post too ![]()
So it has been a while since I posted anything, mainly because I’ve been enjoying the car and driving it about whenever I can, in all sorts of weather. Pleased to say the car hasn’t skipped a beat and nothing has fallen off, so my amateur dramatics with the tools have seemed to have been of a reasonable standard!
One little issue that has bugged me for a while is the light that comes from the numberplate bulbs at night. It was more irritating when I still had the rear view mirror, but I now understand why the original Exiges had what I thought were trivial pieces of plastic over them. I should have used some tigerseal when I first attempted to attach my own plastic pieces before, but now it has thoroughly gone off and I don’t want to buy another tube just for this one little job.
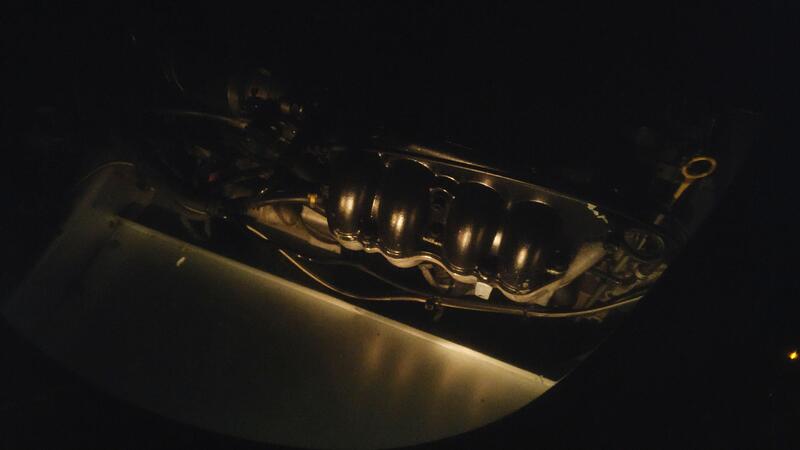
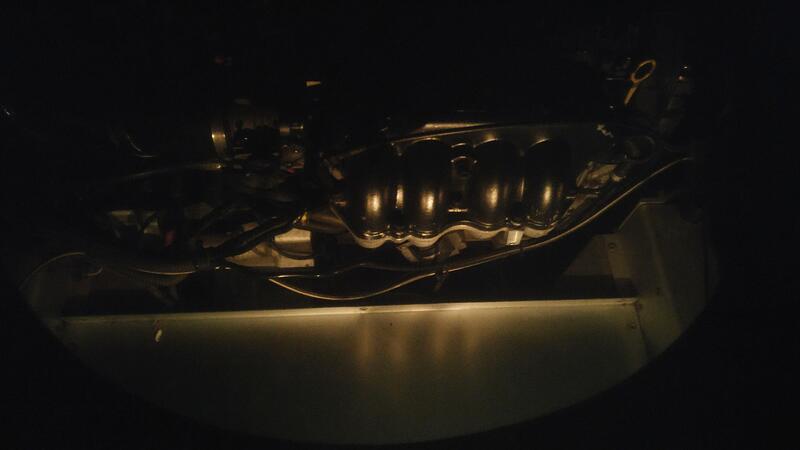
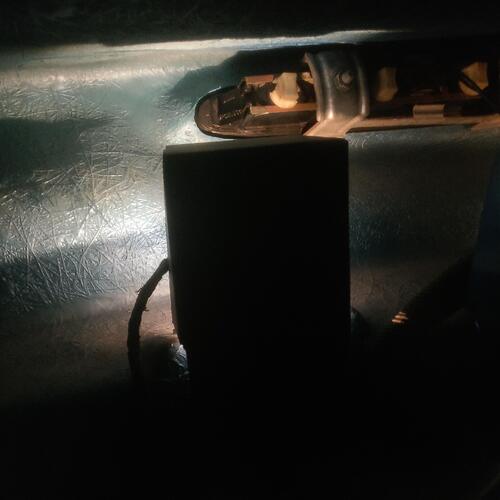
Photos don’t really show it but here is how much the engine bay is illuminated by the lights.
I also don’t want to show how scabby and tatty my plenum is currently if I can help it! Another job to do.
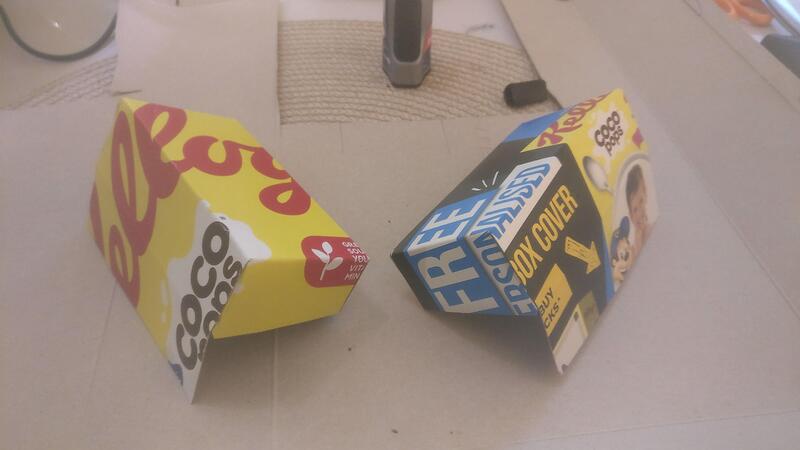
My first attempt was a bit of a flop. I made up a thin card mock up and wanted to fully encase the light, but when I put it together I realised that I’d completely forgot about the cables and connectors.
I tried to guess cut slots out for the cables and connectors but in the end decided to start again.
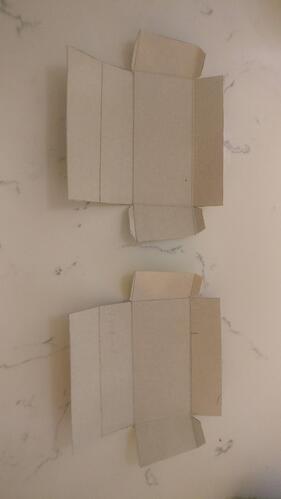
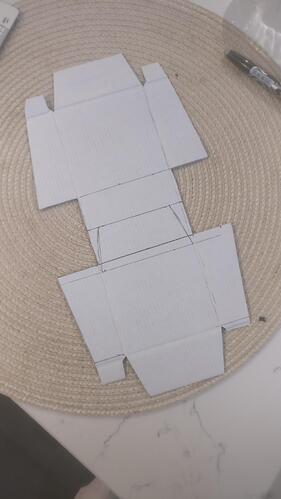
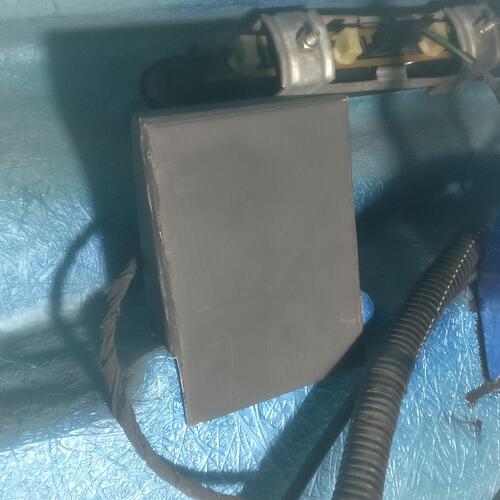
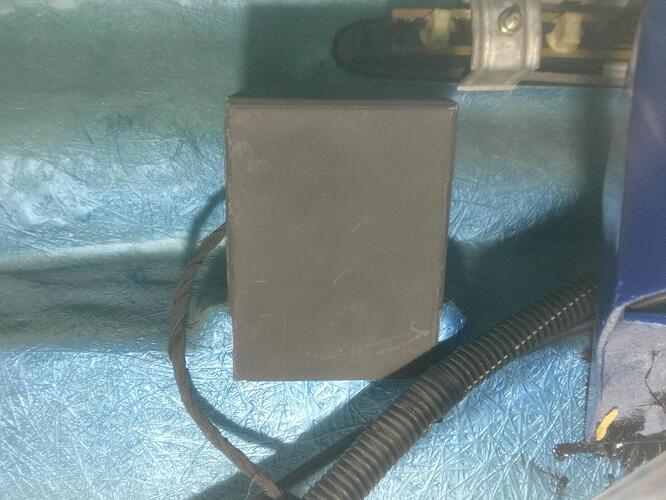
This time I would leave the backs open, but have shallow side and top sections the block the light as much as possible. I didn’t bother with a mock up and just drew them out onto the thicker cardboard I had (fingers crossed they last)
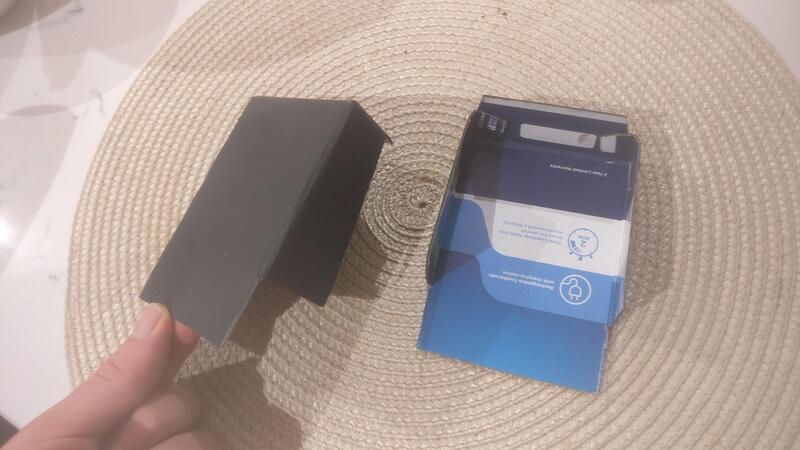
A bit of matte black spray paint and the pieces were ready to test fit.
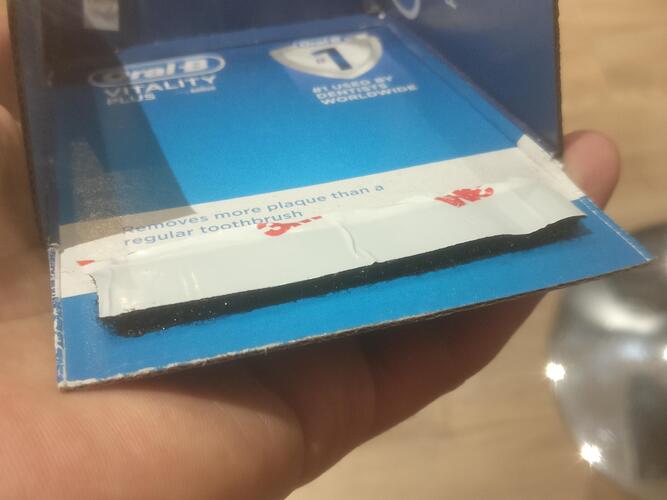
I didn’t want to permanently attach them in case I needed to change a bulb and the lack of access became a problem, so I used some of the left over Velcro I had from the headlight lenses. I also used a bit of super glue on the part against the clam and they seem to have been ok so far.
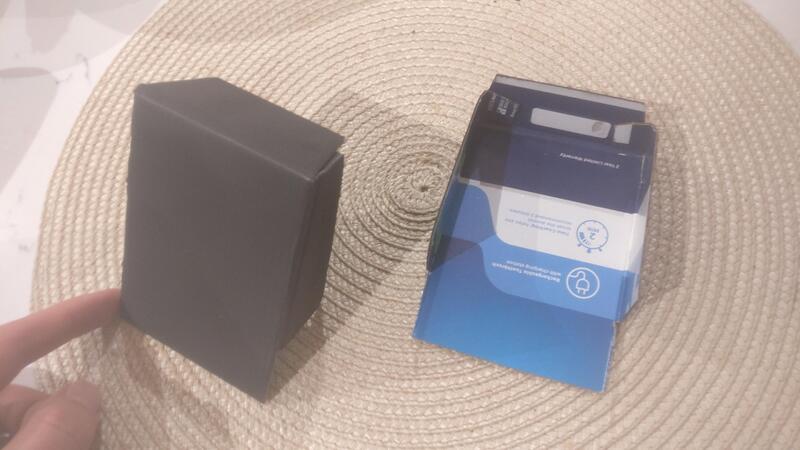
In situ they cover the bulbs pretty well, and the cables aren’t pressing against them to pull them off.
Again hard to get a decent picture of how well they perform, but they have dramatically cut down on the light emitting out. There was no point including a picture of the engine and plenum because nothing could be seen, so they perform the job very well indeed!
I’ll try and update some more interesting bits and pieces over the winter, but the car certainly won’t be going into hibernation and is still being used every week.
you could possibly paint the top side of the bulb. i think ive seen it done with black nail polish before
Good idea! might try it and see how much more it dims it
