Unfortunately in the last week I have contracted covid, so I have been isolating and will be spending Christmas on my own. In the meantime it has given me time to sort one of the things I had been putting off for a while.
I bought some gas struts right at the very beginning of the build before I really knew the length and spec I needed. The plan was for them to mean I wouldn’t have to carry a pole around everywhere if I wanted to keep the boot open.
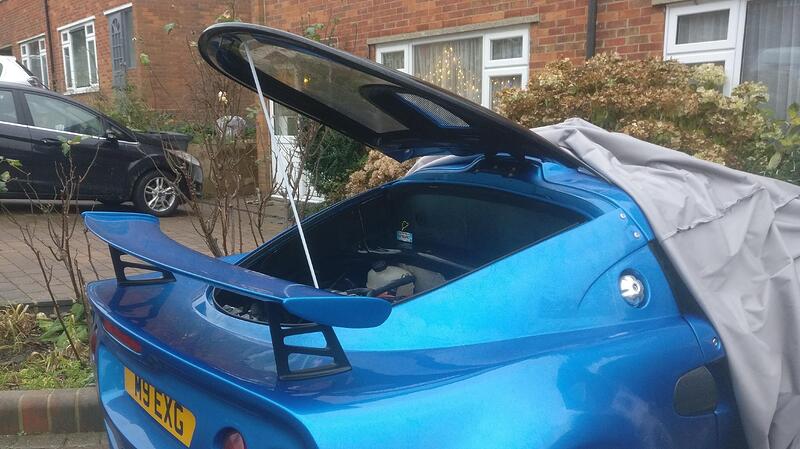
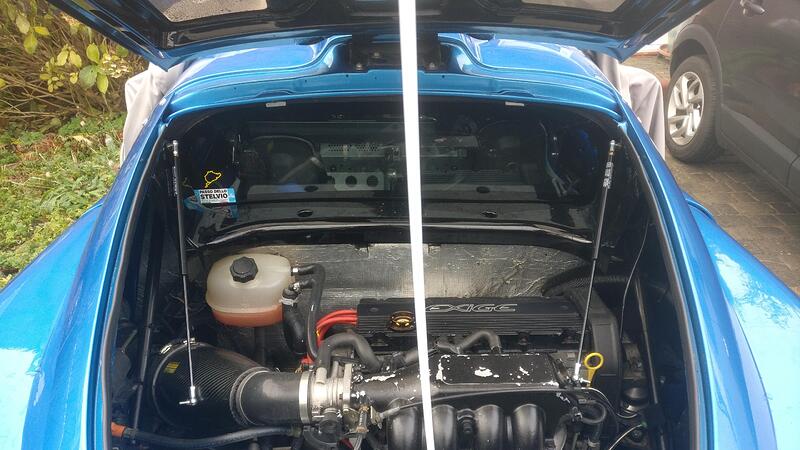
First step was to find something the correct length to prop the engine cover open. Luckily I had this thin metal pole that was sturdy enough to hold the cover open.
The pole wedged between the boot floor and driveshaft so was nice and stable to work on.
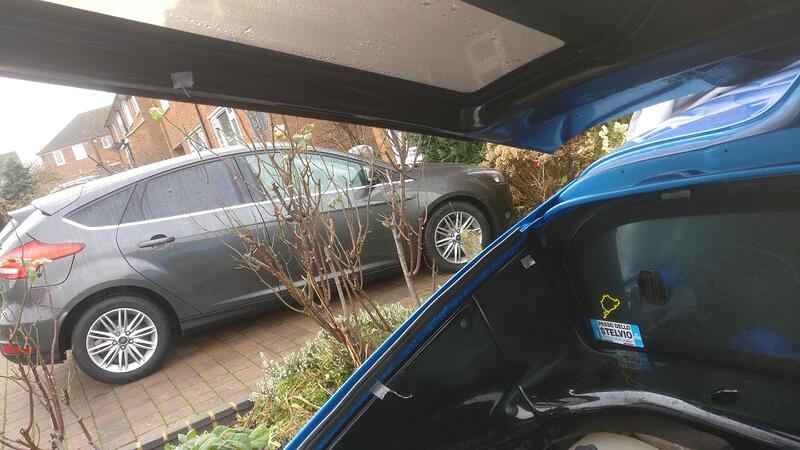
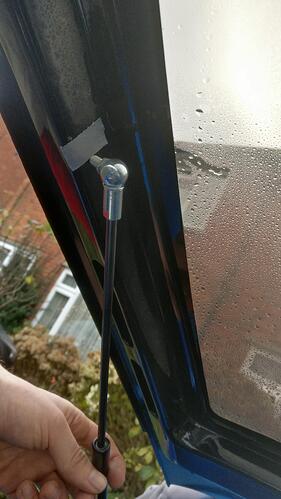
I placed bits of tape to mark a few rough positions. One by the window where the strut would fix to the car, one on the engine cover where the strut at max length was located and finally one at 300mm from the first bit of tape. This one at 300mm indicated the minimum length the strut would go when fully compressed (500mm total expanded length). As long as the engine cover tape indicator was positioned further towards the back of the car than this indicator when the bootlid was shut the struts should work.
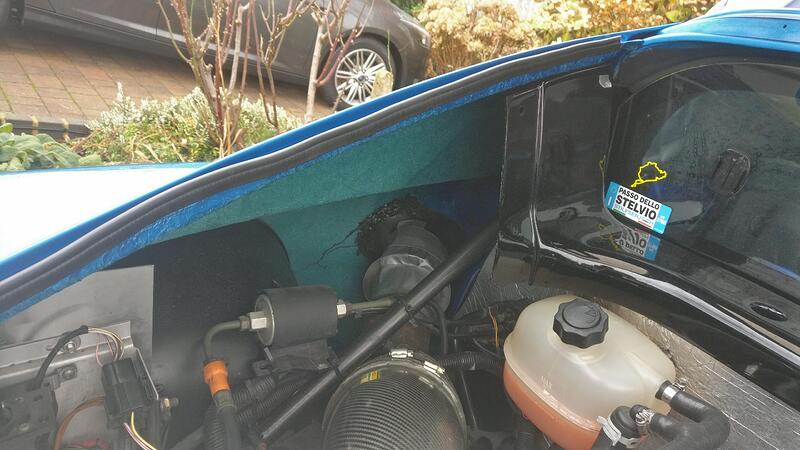
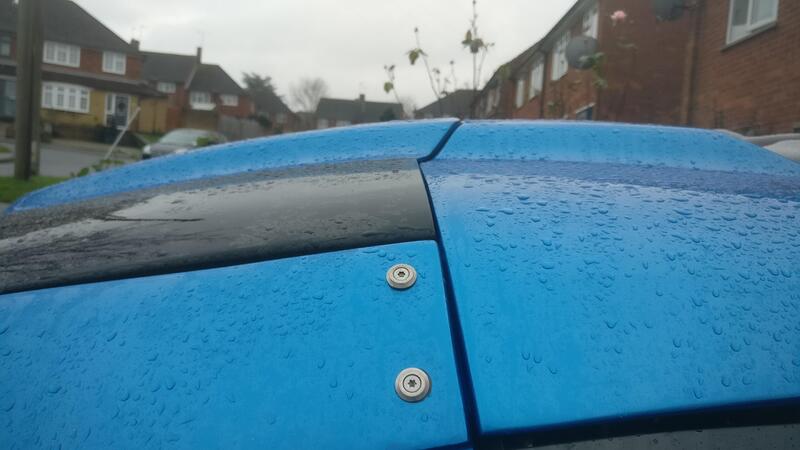
I removed both the side finisher panels to give access for the first mounting point.
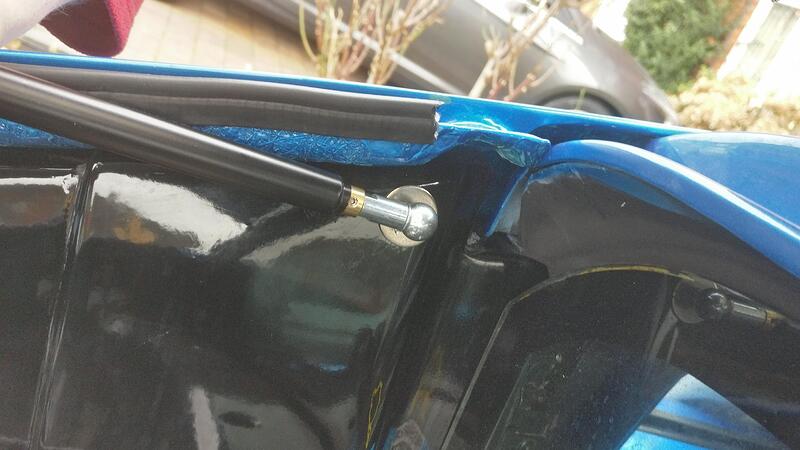
I drilled a 6mm hole and used a penny washer and pushed the strut through. I then used another penny washer to spread the load and nut in the inside to fix this first position.
Both sides with the first position sorted. I wanted this position as close to the top of the finisher panel as possible to best hide them when the lid was closed. Also the struts would be facing downwards when the lid was closed, meaning less force wanting to push the sides up and ruining how the lid currently sits.
With the first position finalized I was able to mark the second position more accurately.
To test if the struts would hold, I taped the second thread into place and took the brace pole away. Thankfully so far so good.
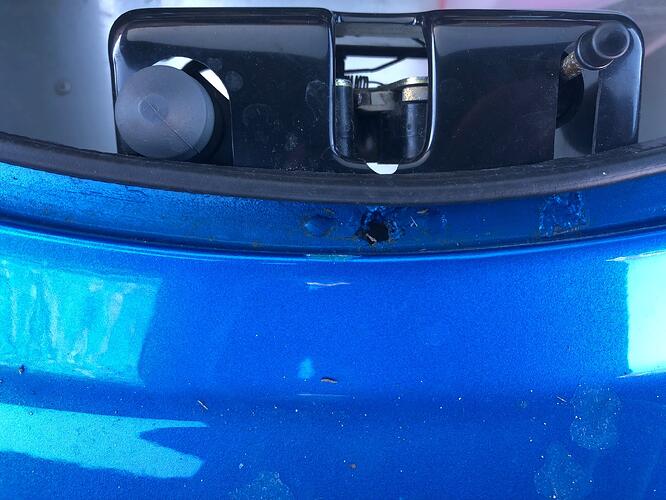
Confident with the second position I drilled more holes and pushed the thread through. I then noticed a problem, I had no way of accessing the thread to put the nut on. Because I bought the struts so long ago I guessed the length I needed, turns out I should have gone for a shorter one to be able to have access using one of the pre-existing cooling slots in the frame. I would have to make another access hole.
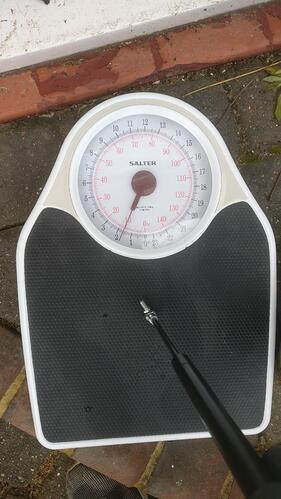
Currently the struts were at full capacity, 400nm which was obviously way too strong so I needed to let some air out. I fully removed them from the car and using bathroom scales I released enough gas to get each strut to 10kg/100nm. I was happy this was close enough to put them back on the car and then take tiny amounts out from there should I need it.
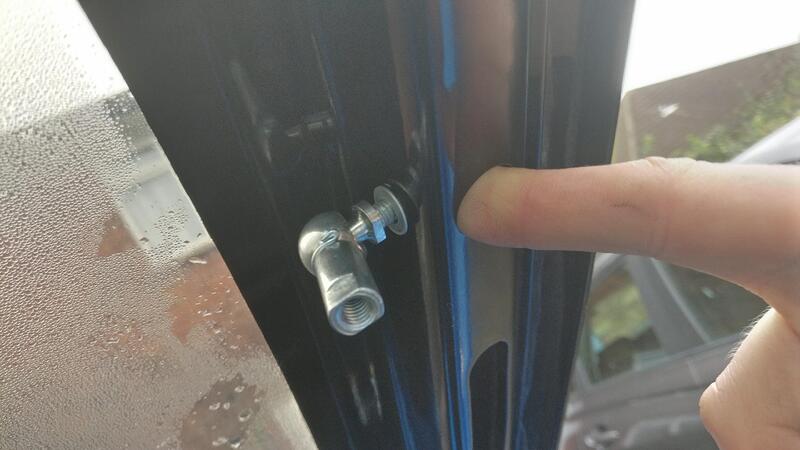
I took a 10mm drill bit and made a hole directly under where the thread was in the frame. I then opened this up using my dremel and sandwheel which was the same diameter as the cooling slots. I would then finish the holes with some black paint to neaten them up. The next problem was how to get the nut onto the thread as I didn’t want the access hole to be any bigger than it needed to be. I tried many methods like spanners and tape, tweezers etc but in the end I put my finger in the hole with the nut pressed against the inner surface over the hole. I then removed the end ball joint from the strut to be able to spin it onto the nut.
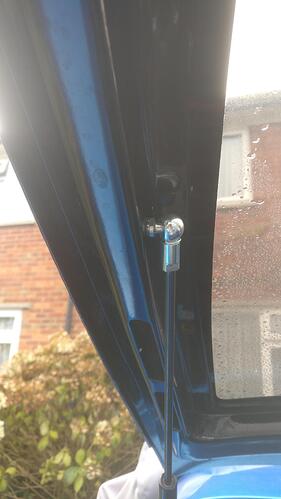
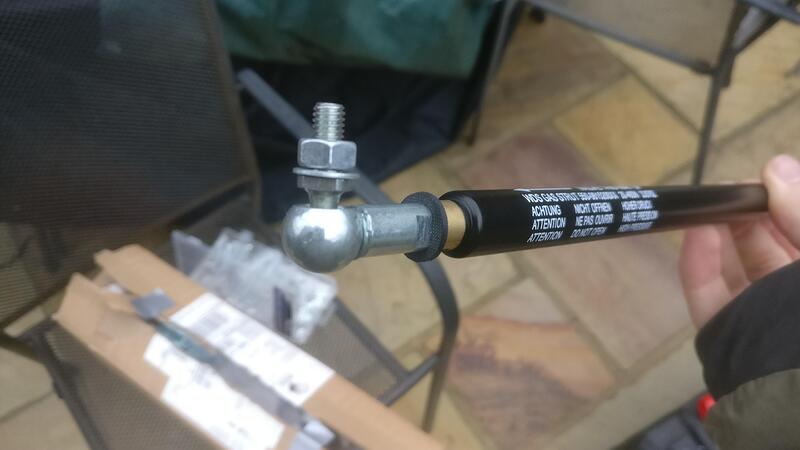
With both ball joints now fitted and finalised I had to screw it all back together. I decided to use a rubber washer to allow for some gentle adjustment if needed to get the strut tight and the ball joints in the correct positions.
The finished strut in situ. The threads on each ball joint were the same direction meaning when I tightened one it loosened the other, so I decided to tighten the engine cover ball joint first, then twist just the housing to tighten the other end but not loosen the first ball joint.
I think I took a tiny bit of air out both sides after the 10kg scale adjustment and it was ready to test.
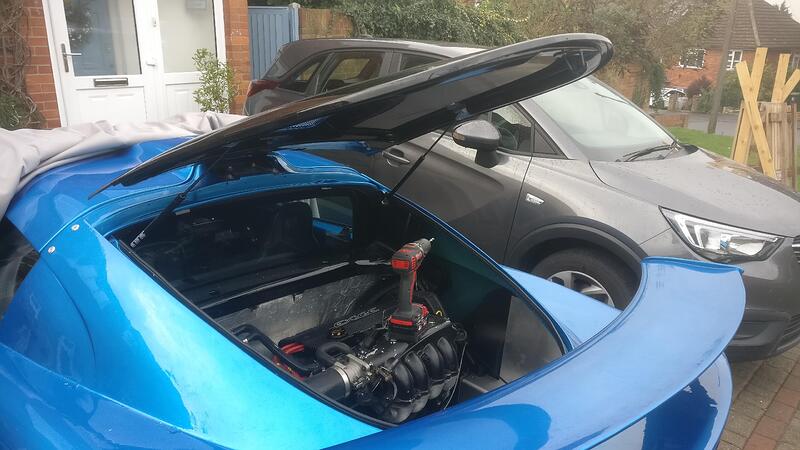
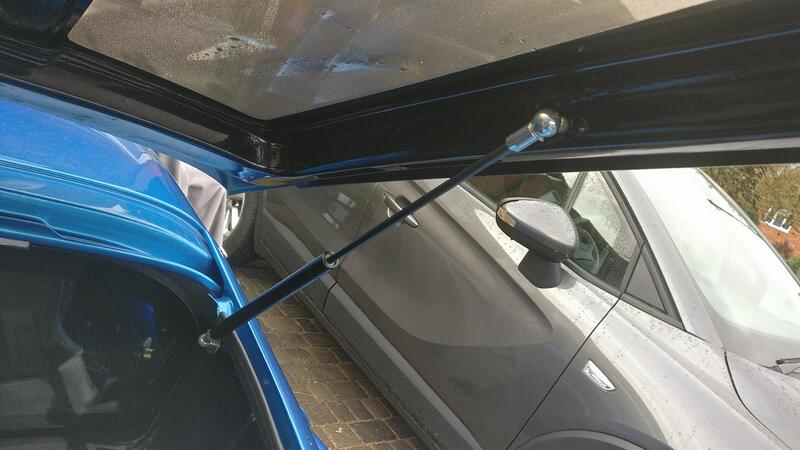
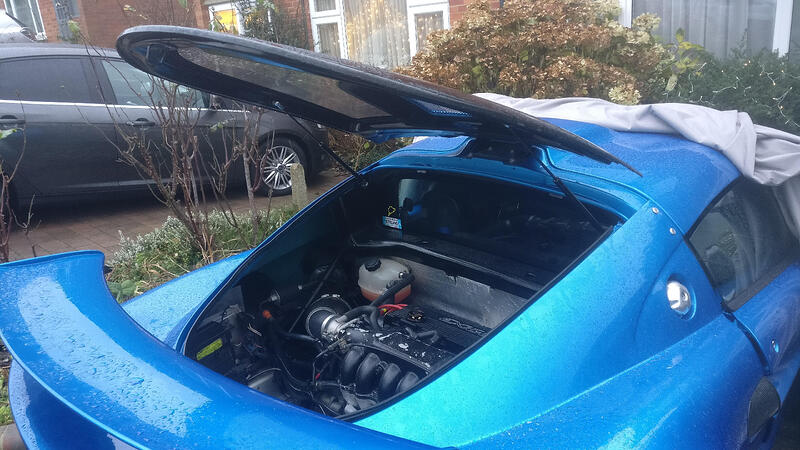
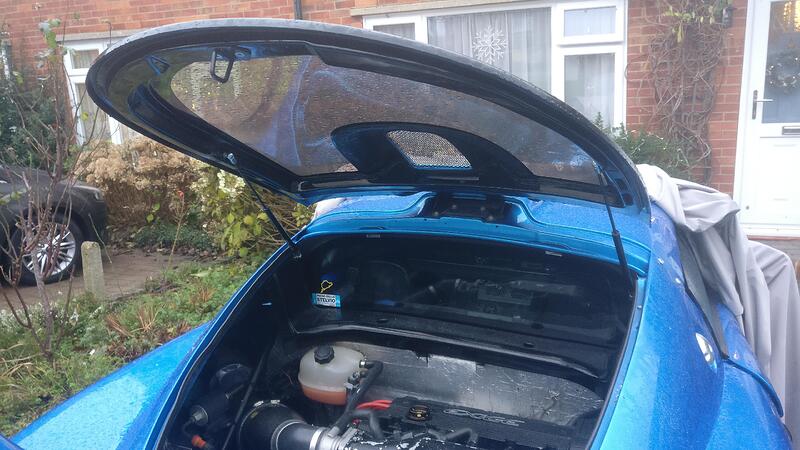
Here is the finished result. The struts keep the engine cover up and it feels pretty sturdy. Will have to be a bit careful in high winds it doesn’t rip off, but I’m really happy with how it works.
The fact the struts are longer than I first would have liked probably helps the stability in a way.
All I wanted was for the struts to have just enough gas to hold the cover open, rather than it flying up when the cord is pulled. With the right amount of gas, when the cord is pulled the cover just pops up out the latch as it did before, however still staying down. With 2 fingers I can lift up the cover to where ever I want and it holds that position, perfect!
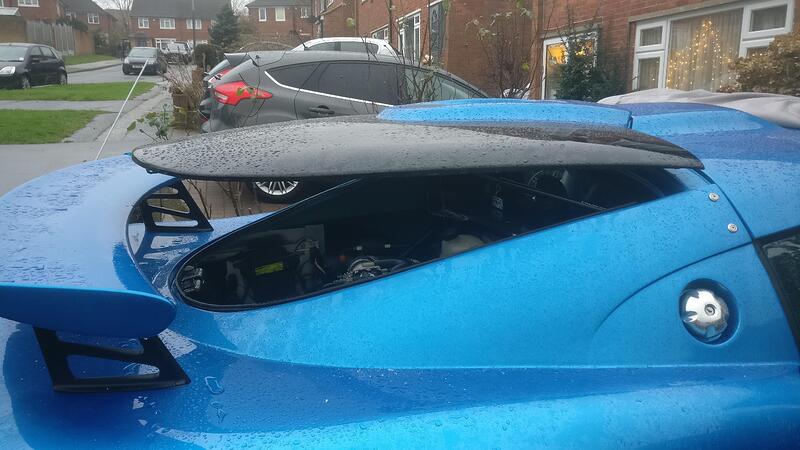
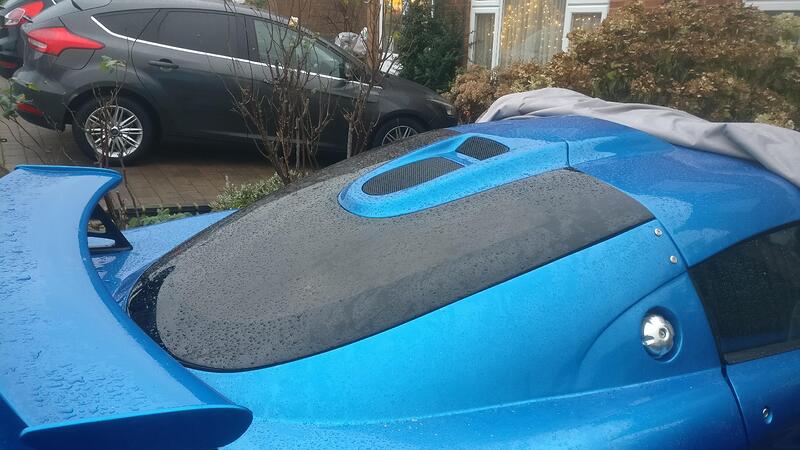
Finally when closed the lid sits exactly as it did before, so the struts aren’t pushing anything out of shape.
I recommend doing this if you wants to get rid of the pesky pole! It is also nice to think the cover won’t fall on my head if I ever knocked the pole over, so a well worth little mod.
