Any more updates James? What’s the go with the VHPD throttles?
There’s been a little bit of movement, nothing major and I was planning to update but been super busy.
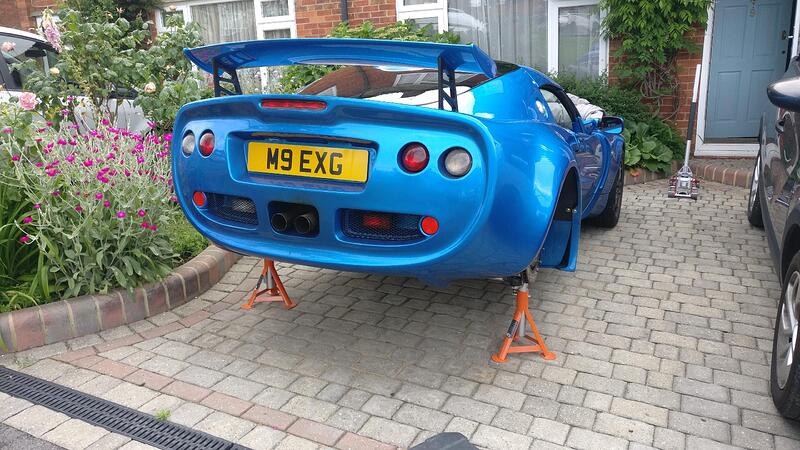
Elise-shop motorsport cables ordered so waiting for them to arrive and fit so car is up on axel stands at the moment with the floor off.
Regarding the Throttle bodies unfortunately they wouldn’t be going on the car for a good few years (really pushing for a house deposit and after that money on the house), plus I wouldn’t want to push my engine any harder than it currently is on a stock bottom end.
I’d have to either source some Trophy pistons or go fully forged later on with a full engine rebuild, but like I say that is well down the line so will be sticking with my current set up on the plenum and will just have to keep short shifting at 6000rpm to avoid the super lean running above that limit with my dodgy EFI ecu.
Car is still super fun with just 150hp at 6000rpm and some time down the line I’ll go Emerald and access where to take the engine from there.
I’ll update soon regarding the small updates I’ve done so far, I just wanted a break from it for a few weeks after the trackdays as it had become a bit all consuming in the run up to them after being sprayed.
Just a quick update to keep the thread ticking over.
After limping the car home I have bought some Elise-Shop gear cables as I see these as the beefiest option, the way to go with how I change gears! The order is still being processed so just have to wait for now.
With the car off the road I can still crack on with a lot of stuff.
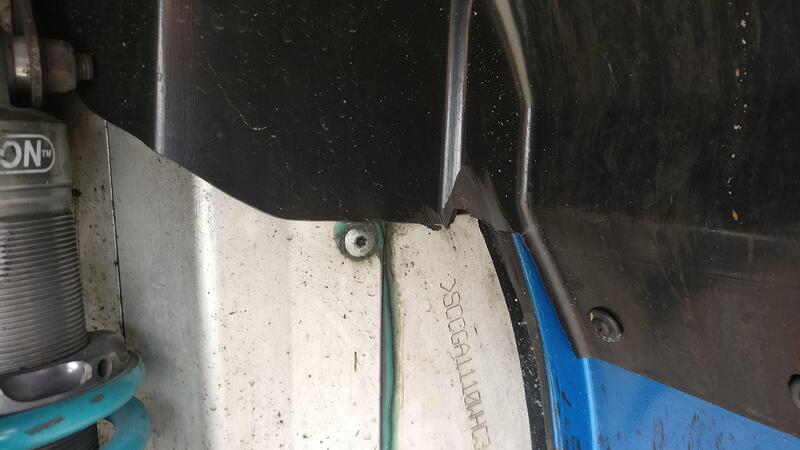
With the rear wheels off I was able to inspect how much my 255 tyres had rubbed, which I could definitely hear each time I went over any kind of bump. Weirdly, only the driver side had rubbed so I must have been able to get the nearside to fit much snugger against the chassis. Even so, the rubbing that had happened wasn’t so bad at all, the same as what my Elise wheels did to my old liners.
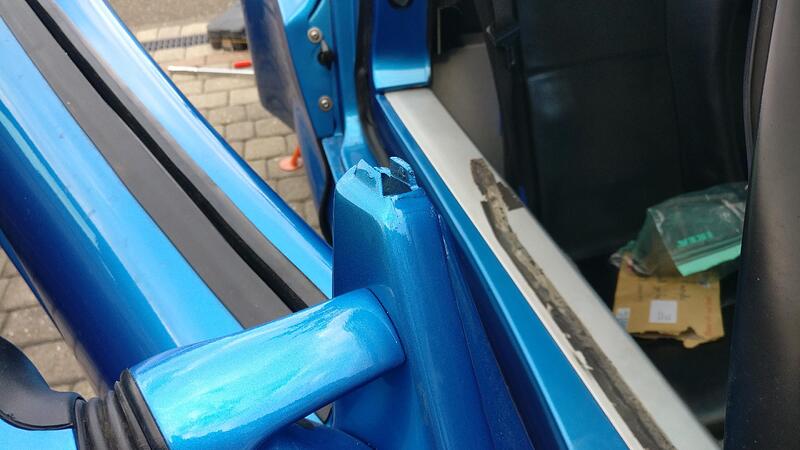
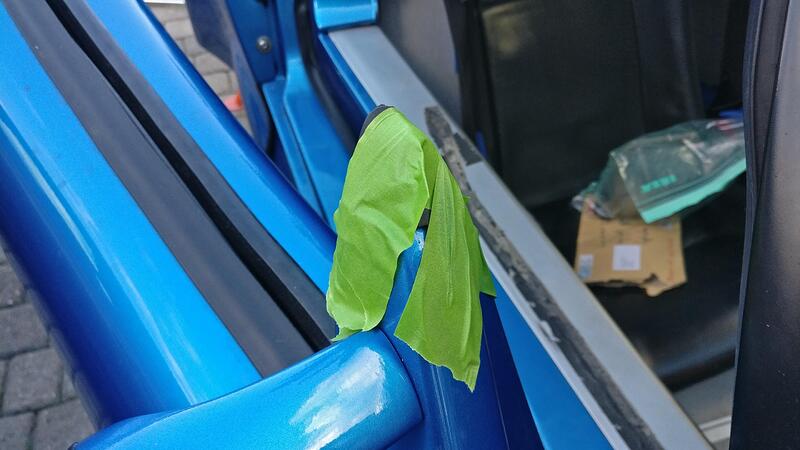
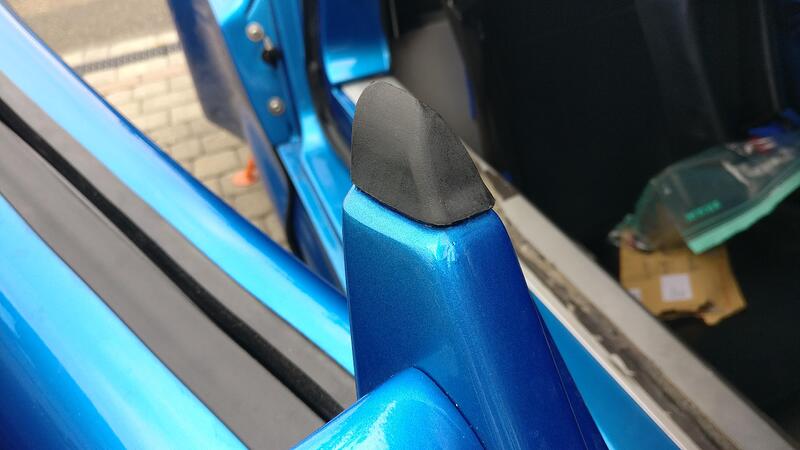
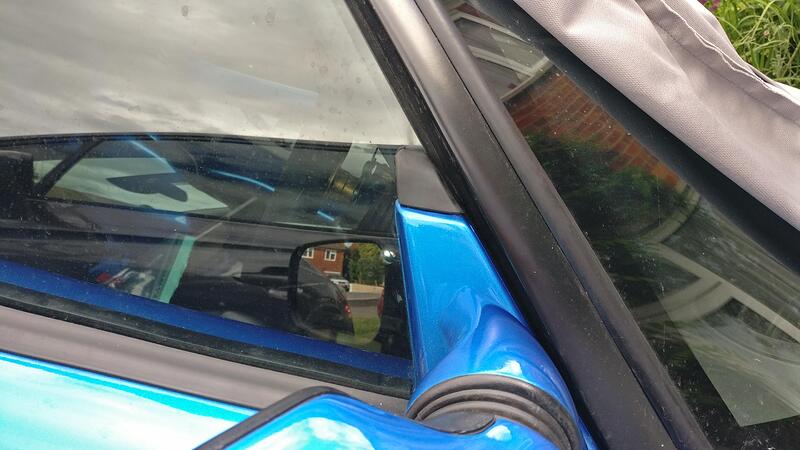
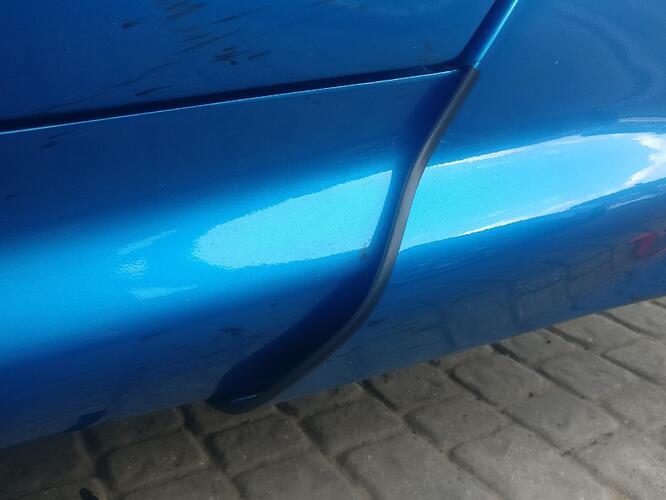
A task I’d meant to do for a little while was to finish off the doors with the rubber cheater seal things by the A pillar.
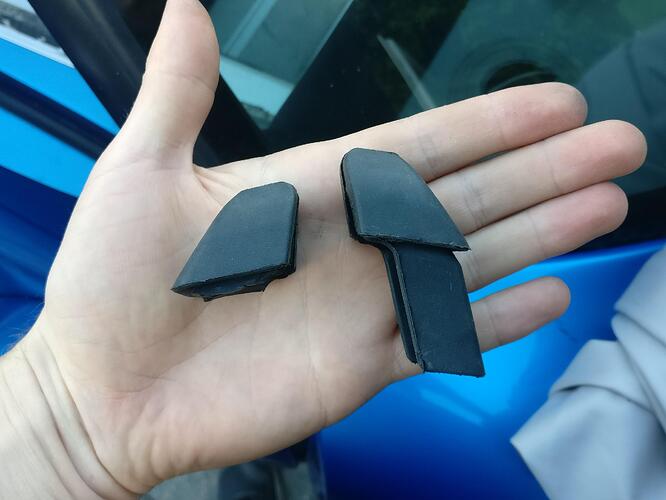
I got these new from Paul Matty and as I couldn’t be bothered to try and get the longer tab behind the window runner (I think I actually snapped the old ones out so the original tabs should still be behind there) I just cut it off and decided to glue them on.
To hold them in place I used tape to keep them sitting flush against the door while the glue set.
Next day I removed the tape and was glad to find they had stayed in position and another job done.
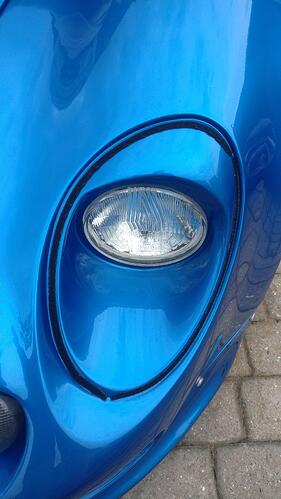
When I put a new lense on my Elise front clam I used the usual sticky putty type adhesive, which stuck them down very well but immediately a spider decided to get behind it and make a web. With the lenses being secured in this way I had to access through the wheelarch and take the headlight out, all a bit of a faff. To avoid this, I wanted to try a method with easy removal to clean this area from time to time.
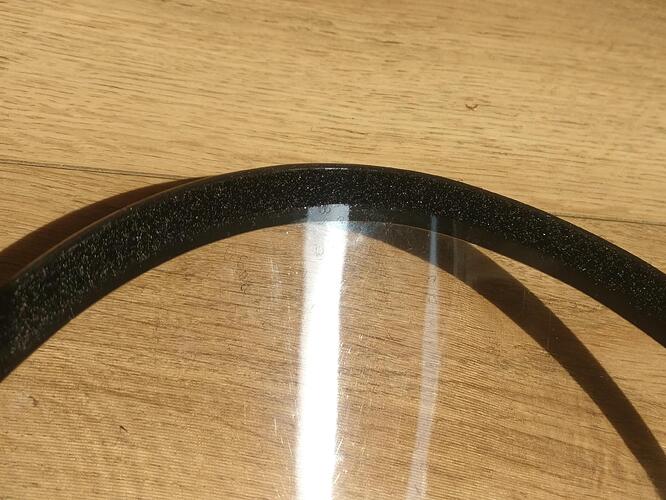
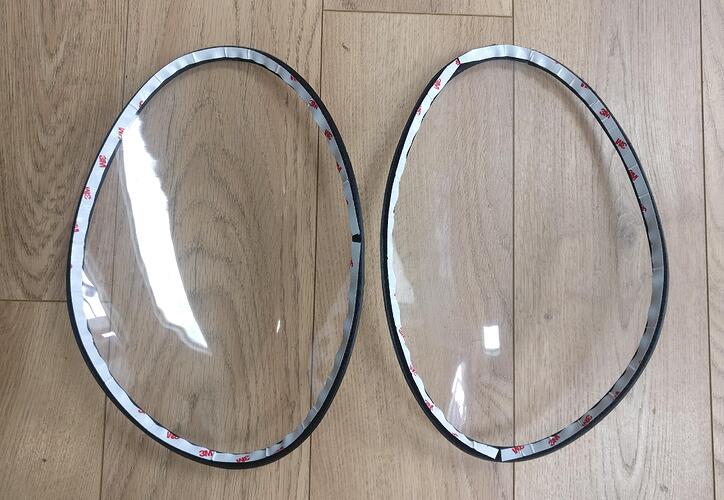
I decided to use some strong 3M Velcro to try to secure the lenses. I had to cut it down to make it narrower so it wouldn’t be seen under the black tape.
I placed the furry side onto the lenses as it was slightly lighter than the loop side, as close to the edge as I could.
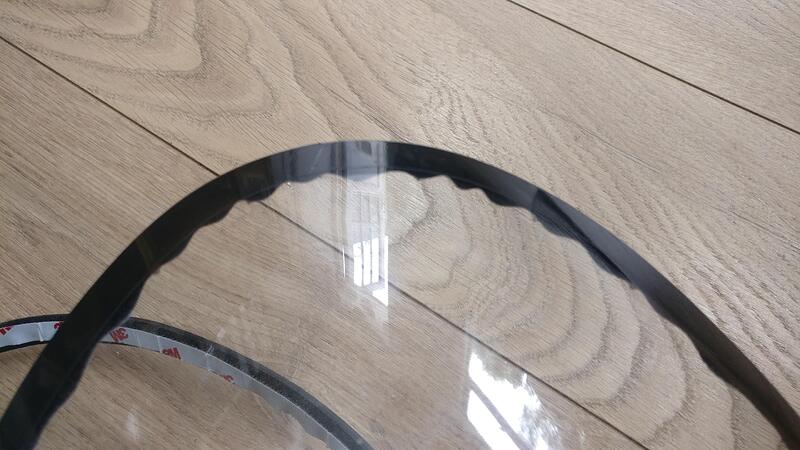
I then cut the loop side down and placed it onto the lenses too. I will attach the whole unit as one onto the car to get the best match between the two strips.
One concern is that the loop side is quite wavy, but I’m hoping this straightens out like the furry strip once it is secured to the clam.
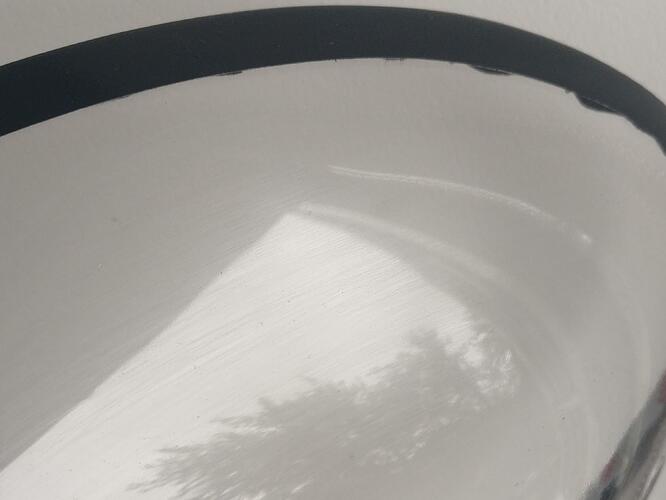
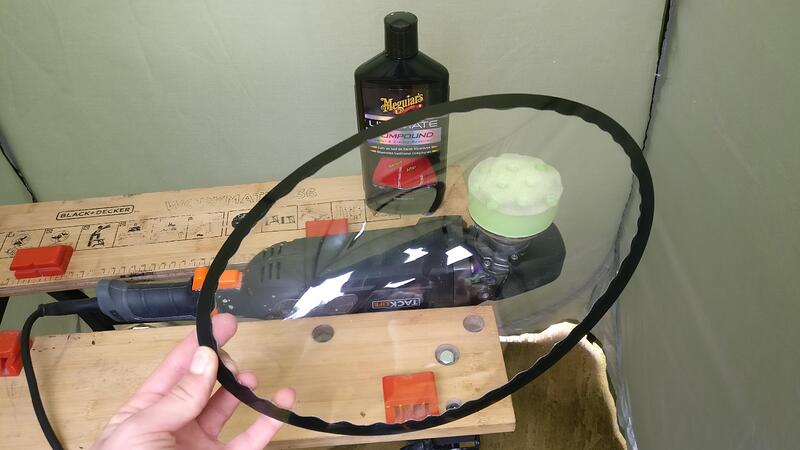
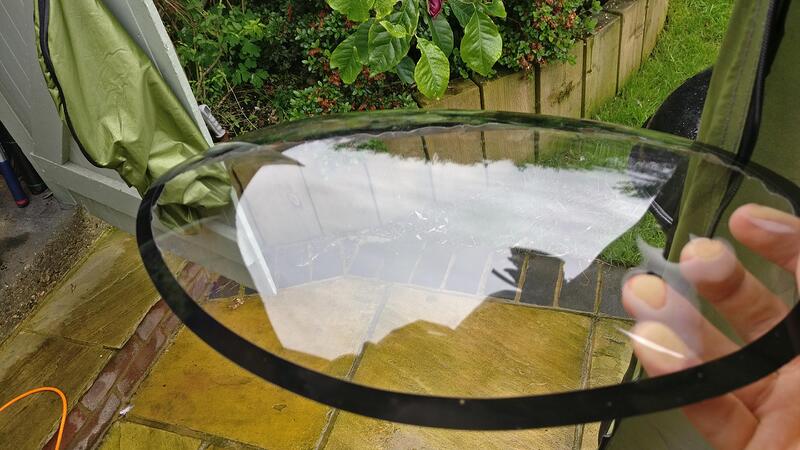
Not a great picture but I noticed one of the lenses was fairly scratched, so I tried to remove them and clean up the lenses as best I could.
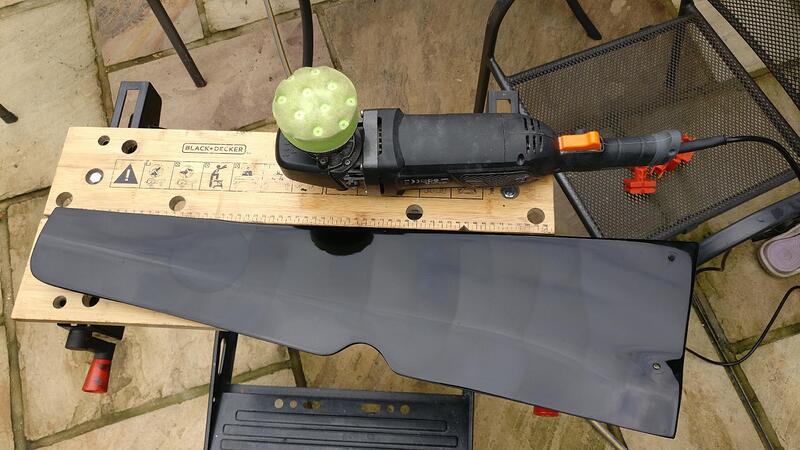
I clamped my DA polisher to my workmate and used my compound and polish on both sides of the lense.
They came up really well and only a few deeper scratches remained. I then finished them with some wax.
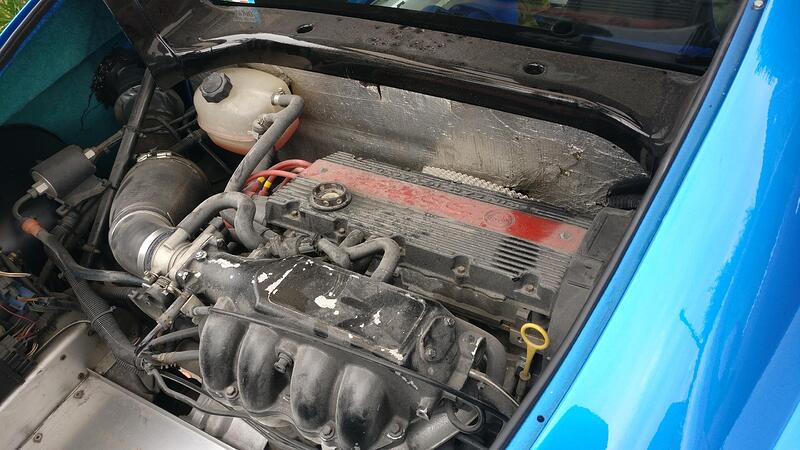
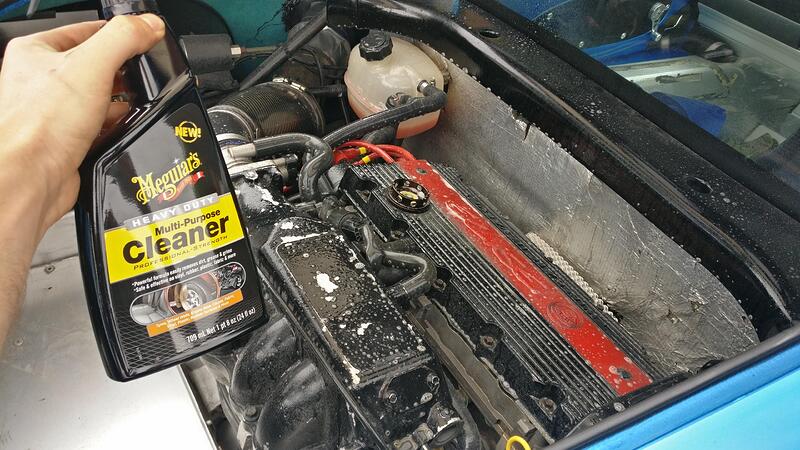
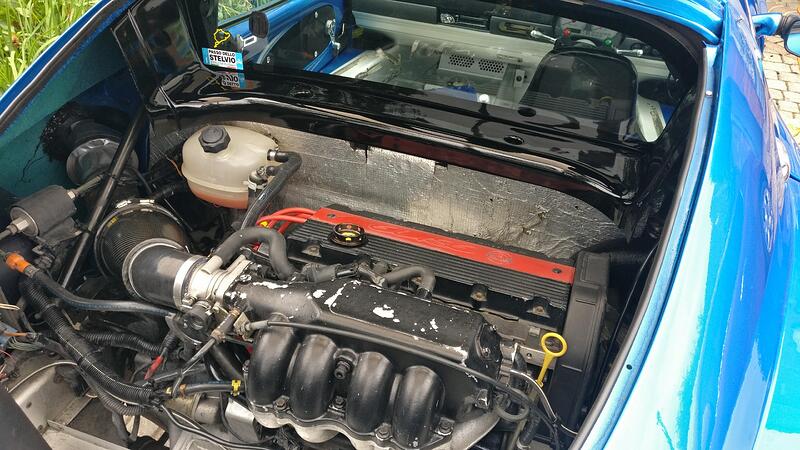
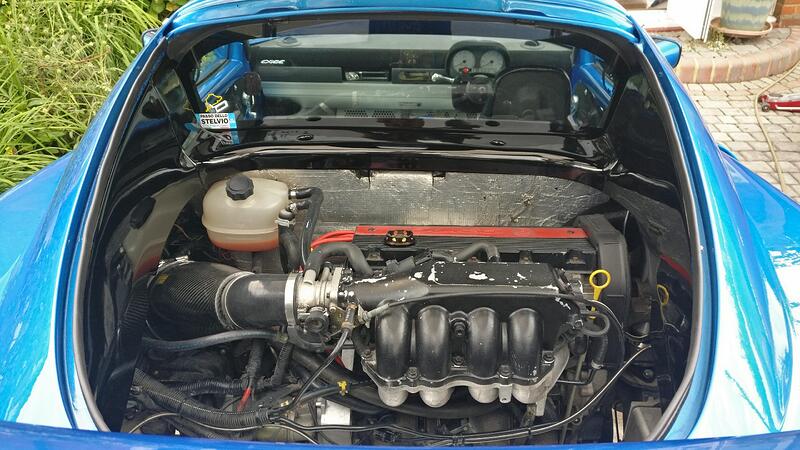
With the constant sanding and time in the bodyshop the engine bay had become covered in dust. I had asked them to blow the worst off using an airline but unfortunately this never happened.
I used some detailer to get the worst off and a make up brush to work the little nooks.
After a quick and light water the majority of the crap was gone and the engine bay was looking much better.
While I had the DA and polish out I decided to add the rest of the finisher panels. They polished up well too and removed most of the small storage scratches.
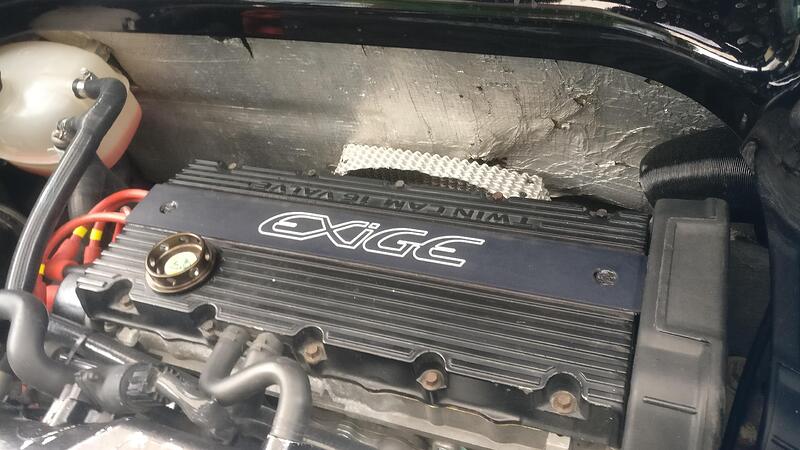
I still need to add the Exige rocker cover piece and the boot divider, but I’m going to have to work out how I’m going to bend my new aluminum sheet for my DIY divider.
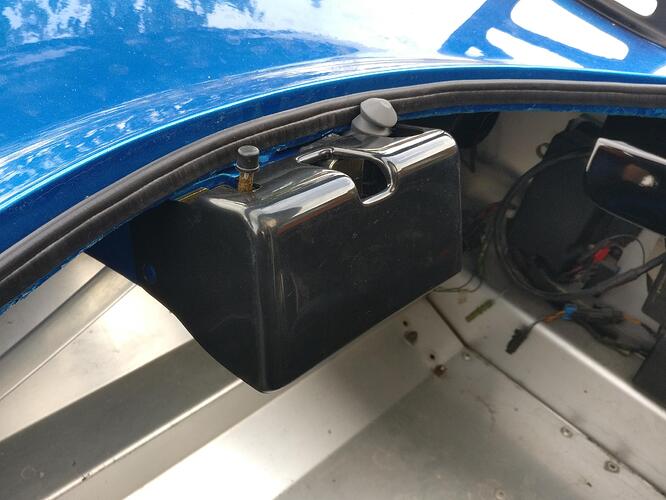
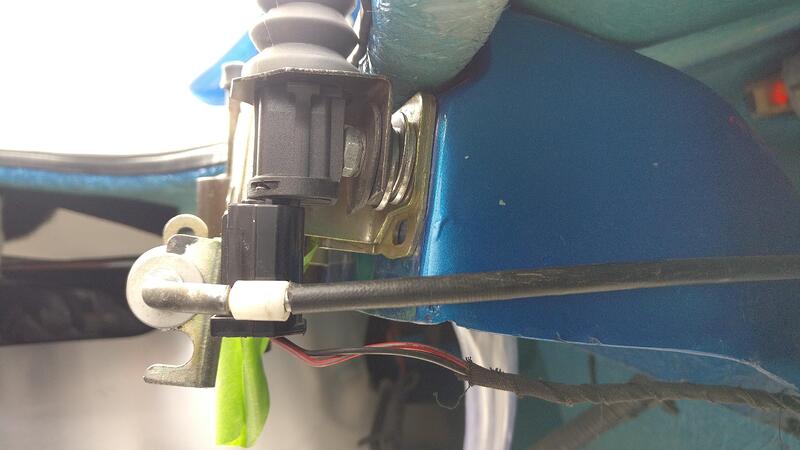
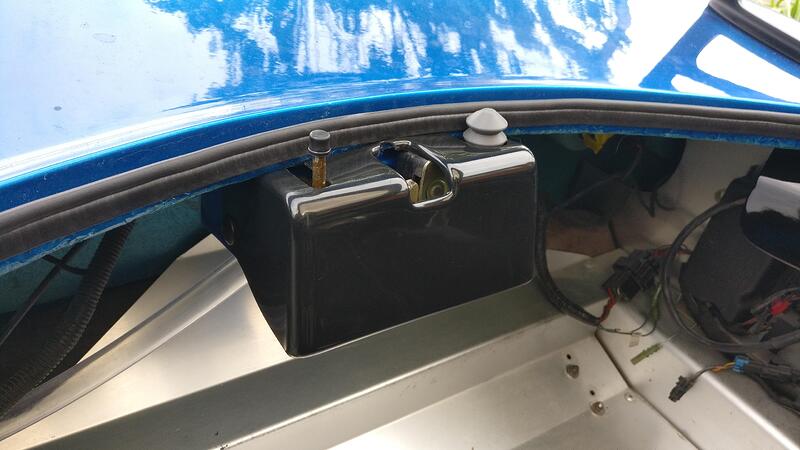
With the engine cover open I decided to fit the latch cover. On test fitting I found that I’d needed to make some adjustments. The sensor was too tight to the clam edge, the slot for the spring mech wasn’t long enough and the latch hit the cover.
I packed the sensor out very bodged leaving just enough thread for the washer and nut.
I opened up the spring mech slot and sanded a small groove so the latch wouldn’t foul the cover. I then drilled 2 holes for the plastic fasteners and it was done. Much neater than the open latch mech.
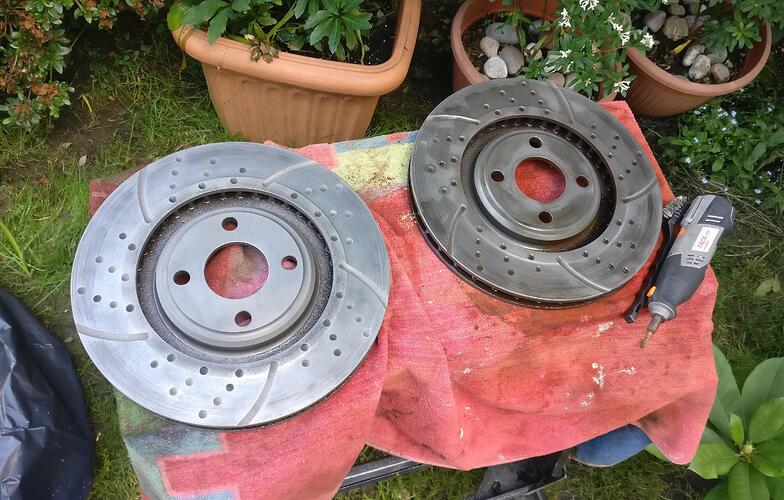
I had kept the white vinegar solution from the front disc clean up, so I placed the rear discs in it and left it a week to blitz all the surface rust.
After soaking in bicarb water to neutralize them I scrubbed and cleaned them up.
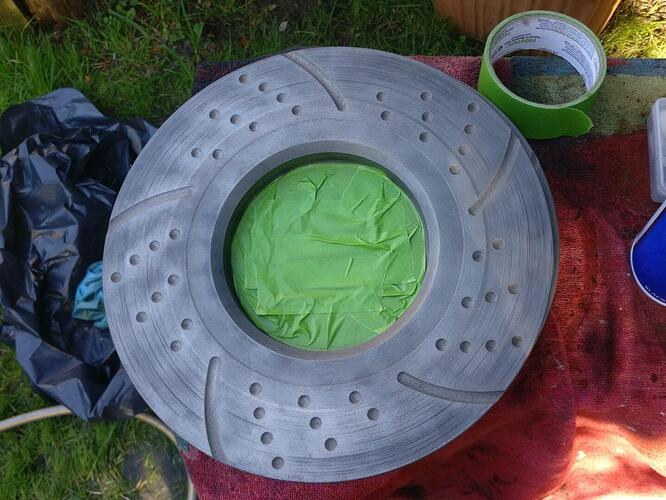
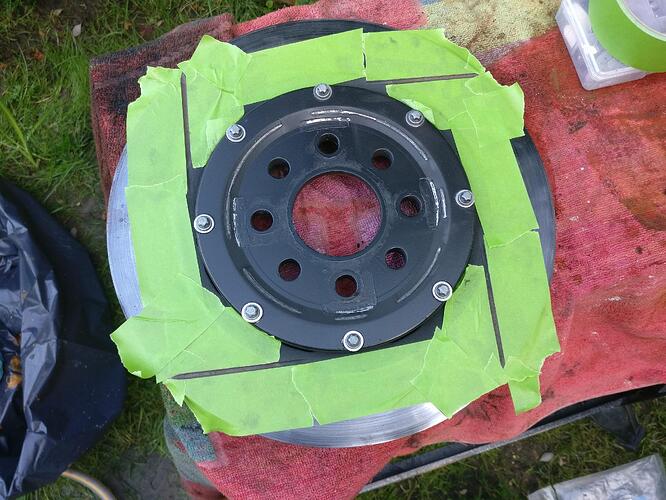
Rather than taping up the contact surface like the fronts I would try a different method with the rears, I still taped up the hub contact surface though.
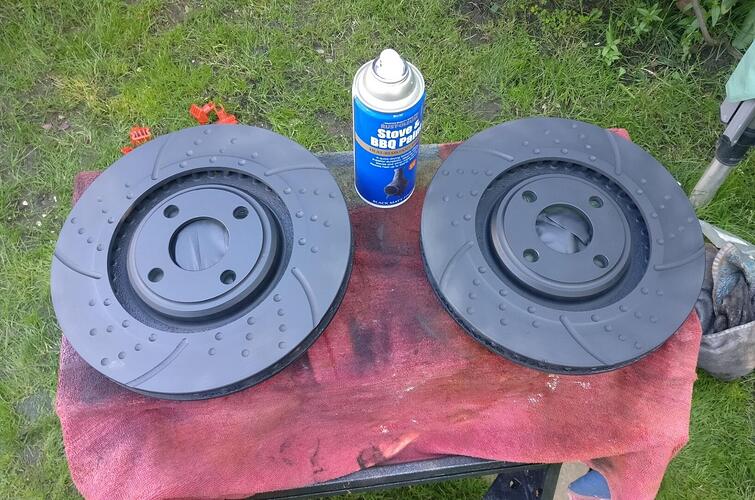
I also removed the front discs as I wanted to spray in the grooves and the bell bolts. As only these pieces were being sprayed I did tape it roughly.
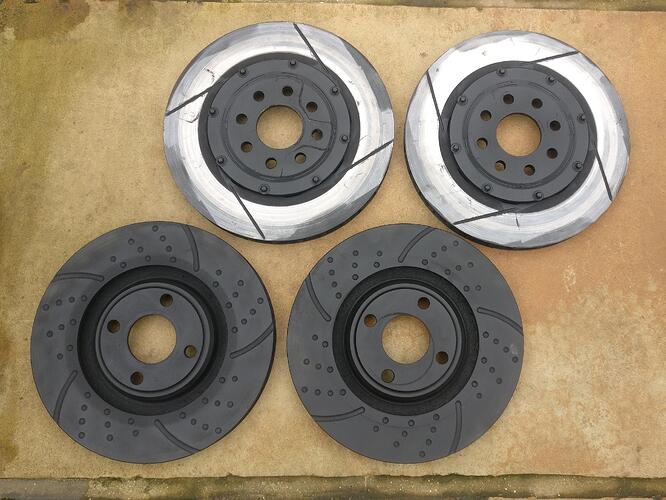
As I need to replace my rear pads I decided to spray the whole disc as the many grooves and dips in the surface would have been a right pain to mask up. I only lightly dusted the contact surface whereas the central hub got a few more thorough coats. I’ll go for a drive to take off the paint on the contact surface, then swap out the pads for nice new ones.
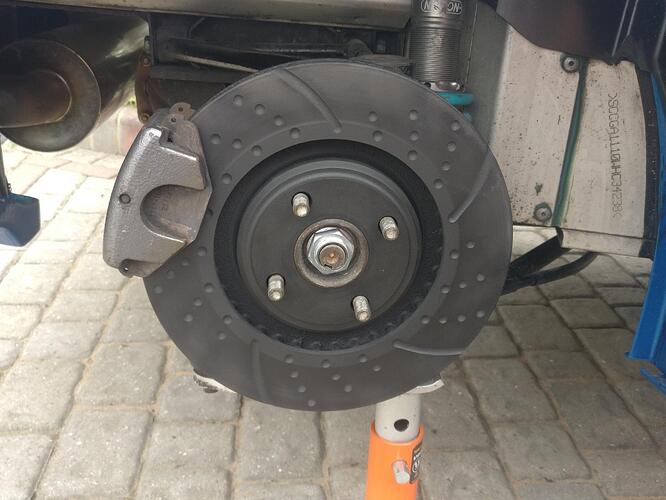
All ready to go back on the car, no more rust!
Need to wait for a few other bits to be sorted before I can take it for a drive, but when putting the discs back on I noticed that a few huge chunks had fallen off a couple of the pads, so definitely time to replace them and a little concerning that it was probably like that for the trackdays.
I’ll update after the drive to show what they look like after a scrub and then behind the wheels.
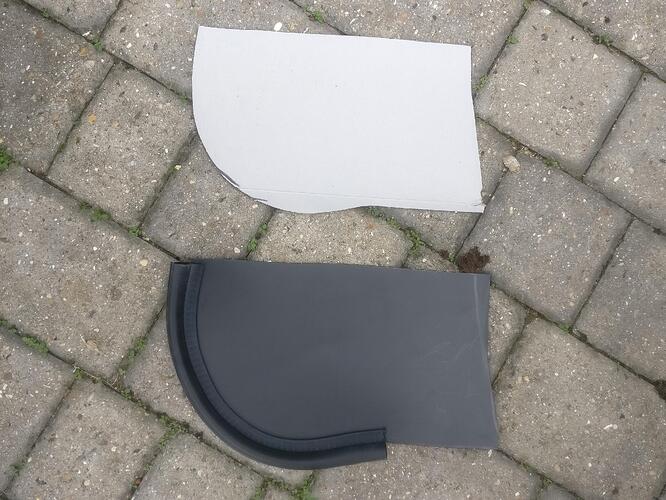
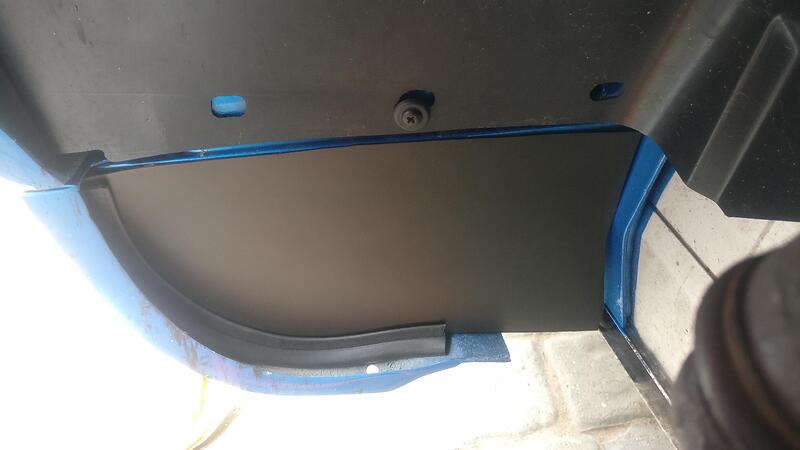
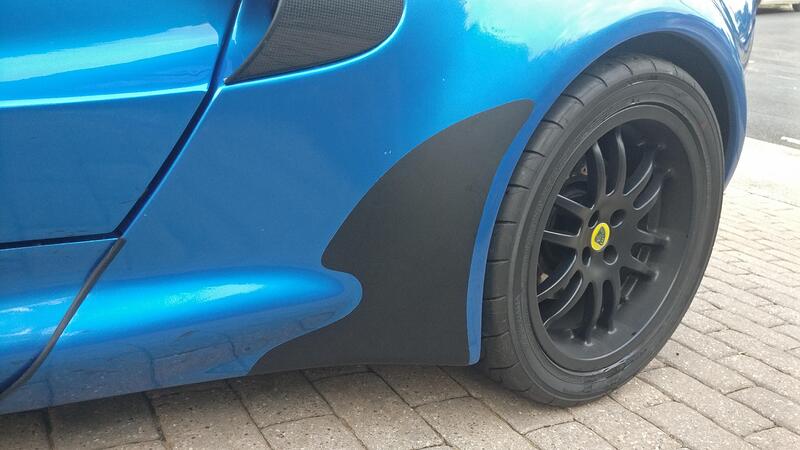
One thing I wasn’t able to get sorted in time for the trackdays were the extra wheelarch pieces. Unfortunately with these areas open a load of crap, rubber and stones had collected behind the oversills, meaning I had to remove the bolts and clean behind them.
I cracked out some CAD supplies (Cardboard Aided Design) and made up templates. I then transferred them to some plastic sheeting (the same sheet as I planned to use for the lighting loom fixing) and cut them out. It was quite handy that this sheet had a matte side to match the liners.
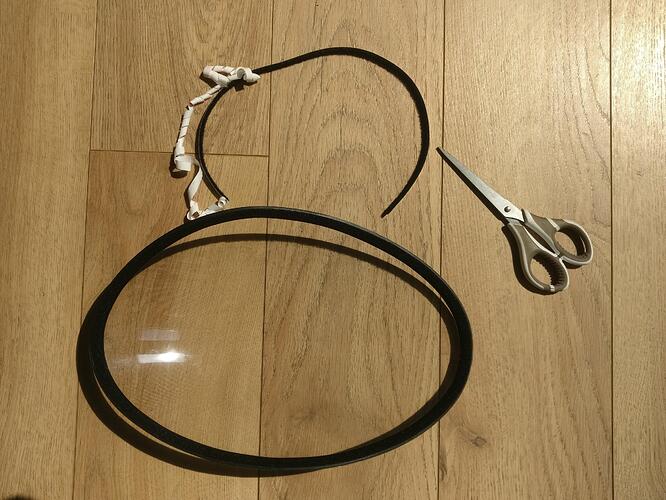
I also had a fair bit of weather seal left over from not being used for the engine cover, so I made sure it was tight against the oversills to keep as much crap out as I could.
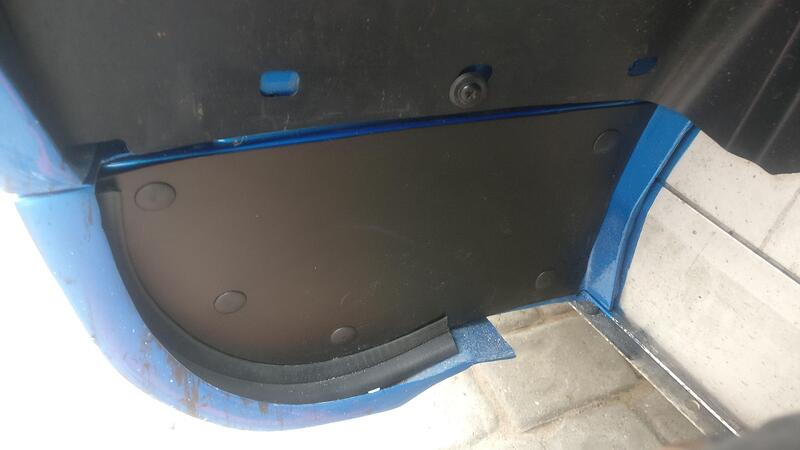
My sills had the holes for the mudflaps, so I made another template and marked the hole positions onto the new sheets, finished off with plastic fasteners. I also drilled 2 new holes into the sills to secure the other side.
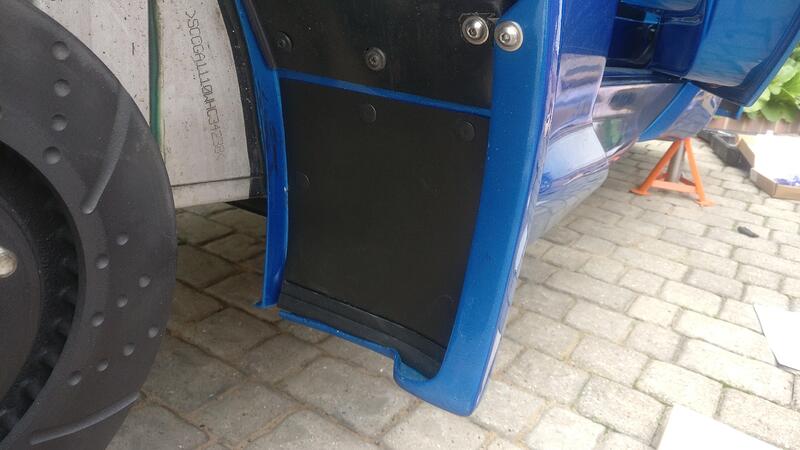
The rears were made using the same method, requiring a few new holes for fixing and weather strips along the side and bottom to keep as much crap from getting behind the clam.
While I had the drill and fasteners out I decided to secure the front oversills.
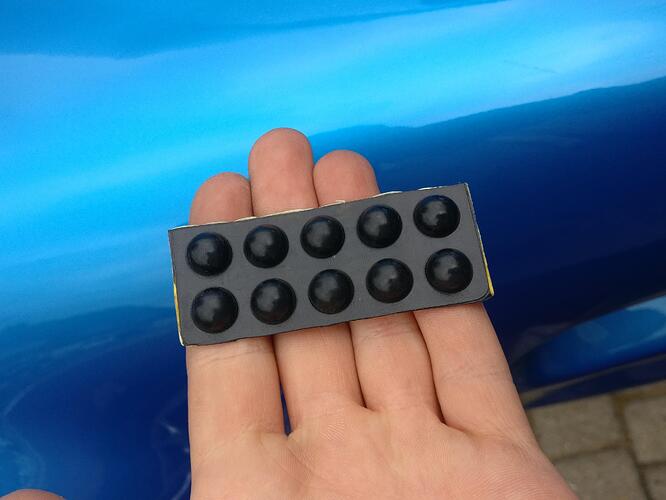
I found the rubber stops I bought a while back so decided to add them to the sill and doors.
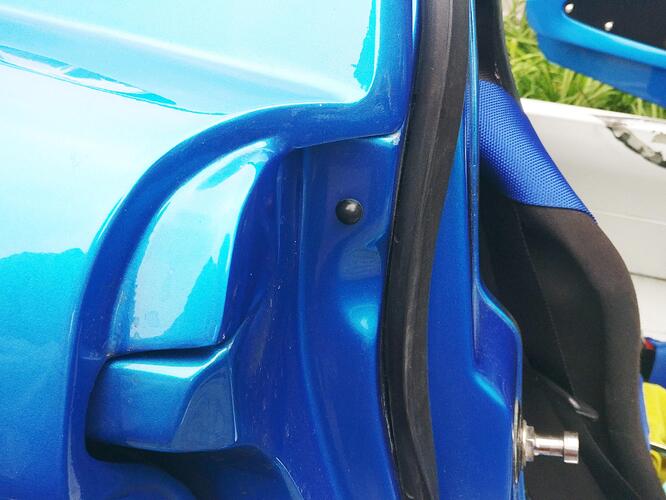
I couldn’t really remember where they went so I put one on the sill by the B pillar and 2 more on the bottom of the door, each by the adjustment screws to help prevent them fouling against the sill when adjusting the doors.
I moved onto the front clam faux grilles next, something I’d been putting off to be honest.
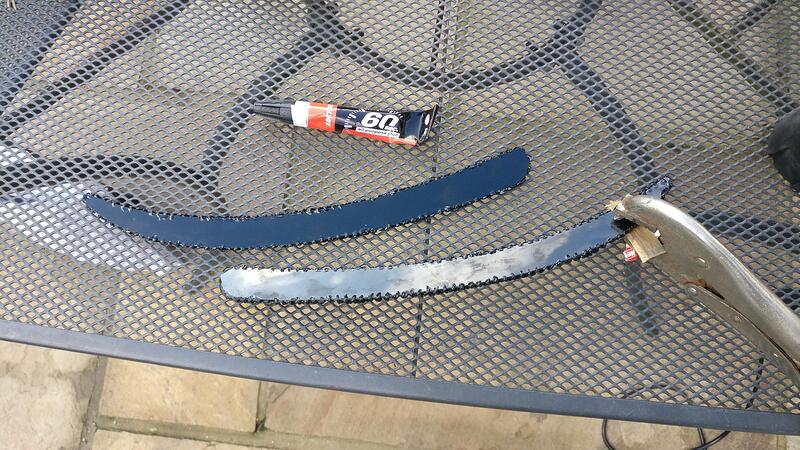
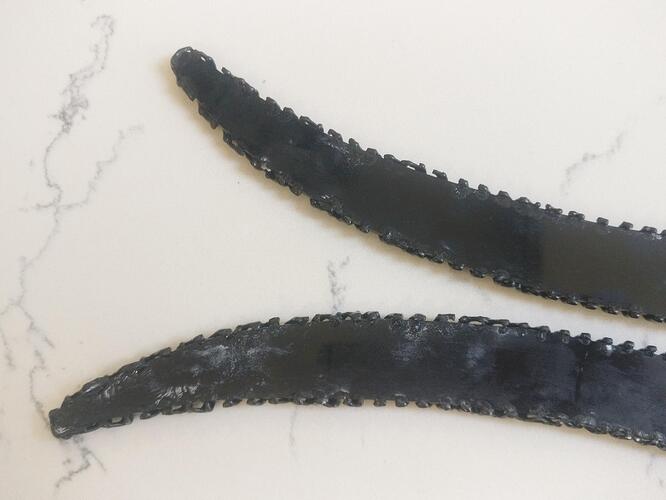
Because I wasn’t using the usual plastic fasteners I decided to use some glue to fix the grilles onto the plastic backing. One didn’t want to stay flush at the top, so I used a locking plier to keep it in place while the glue set.
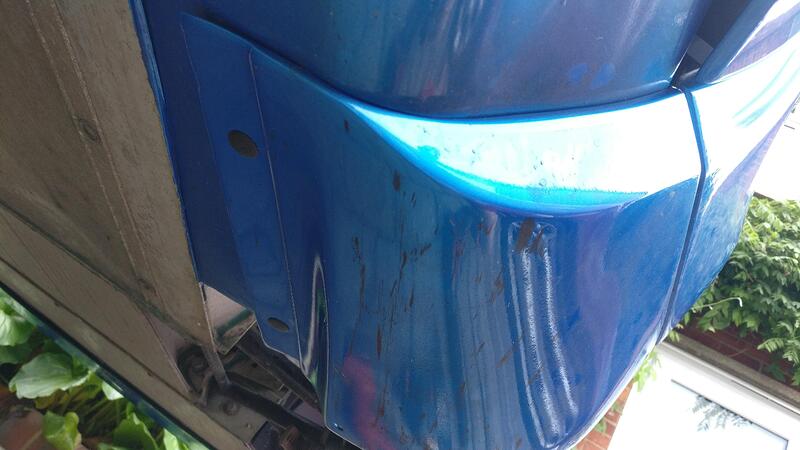
Unfortunately despite trying to be as tidy as possible the glue did leave nasty white stains on the side and a bit went into the front (which I forgot to take a picture of so here’s the back to give an idea of the white marks).
Although these had been sprayed before I decided to ask another favour and get them done again. However, because I had glued the plastic to the grilles they couldn’t be powder coated, but a quick wet spray got them looking great.
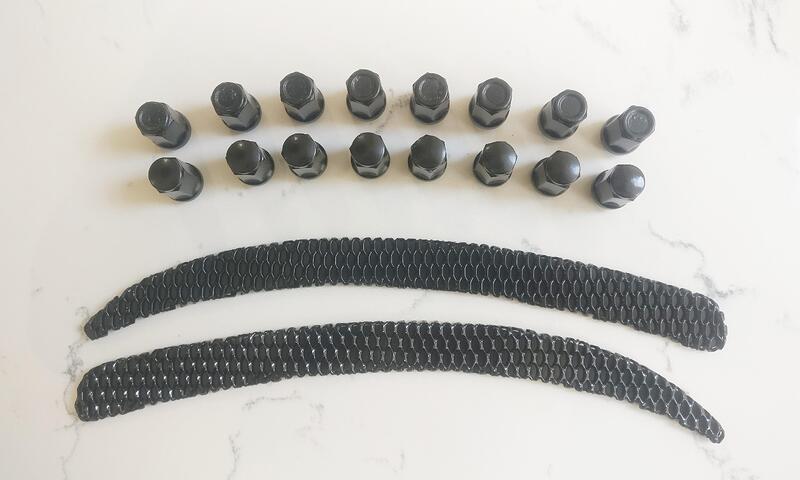
I also asked him to spray my wheelnuts again matte black as the paint I used chipped off pretty quickly. I think they were powder coated so hopefully last a bit longer.
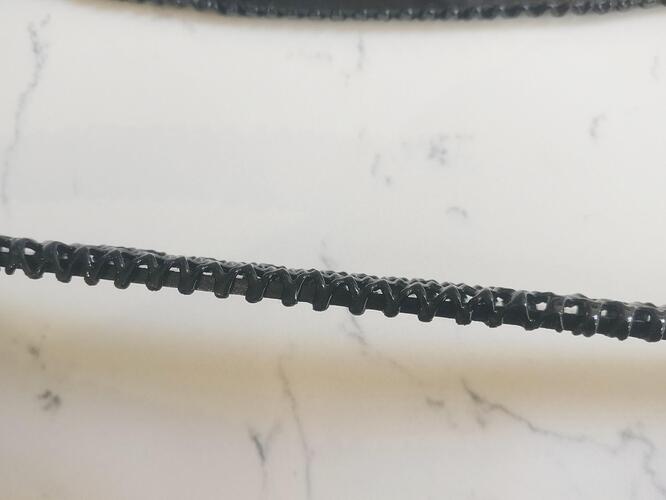
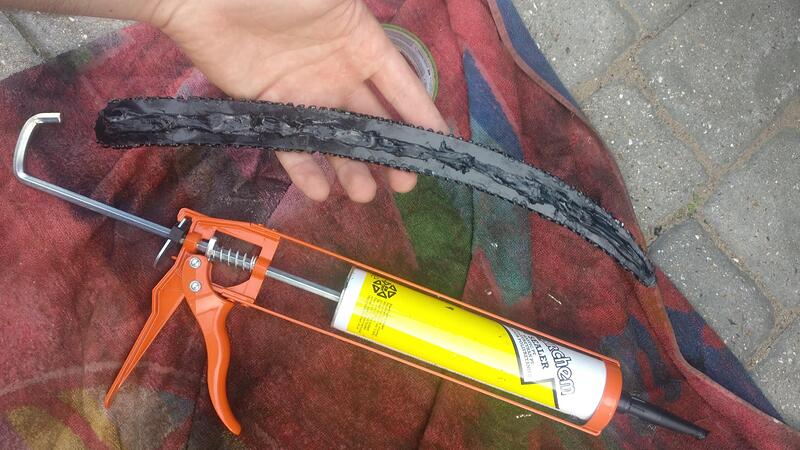
I used the poly adhesive again, but because it had been open a while now I think it had gone off slightly, which actually made it easier to work with. However it had lost a bit of its tackiness and didn’t want to bond onto the plastic very well.
After one failed attempt where the adhesive simply peeled off I decided to rough up the plastic bonding surface with my Dremel and sand disc which allowed for much better grip for the adhesive.
I loaded up the plastic with a generous amount of adhesive (this is the failed attempt before roughing the surface and adding even more glue), placed it into the slot and taped it in place (trying to keep the top from popping back out hence more tape) and left it for 24 hours.
Quite happy with how they came out, the tape has caused a bit of rippling in the paint but nothing too noticable and at a later date I can always tape up the area and give it one last blast with a spray can. I still think they look better than the plastic fastening method (they look better in person, crap photo).
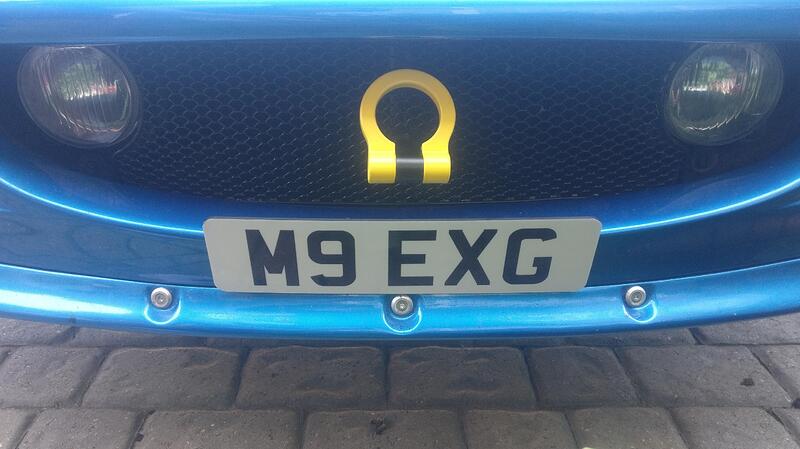
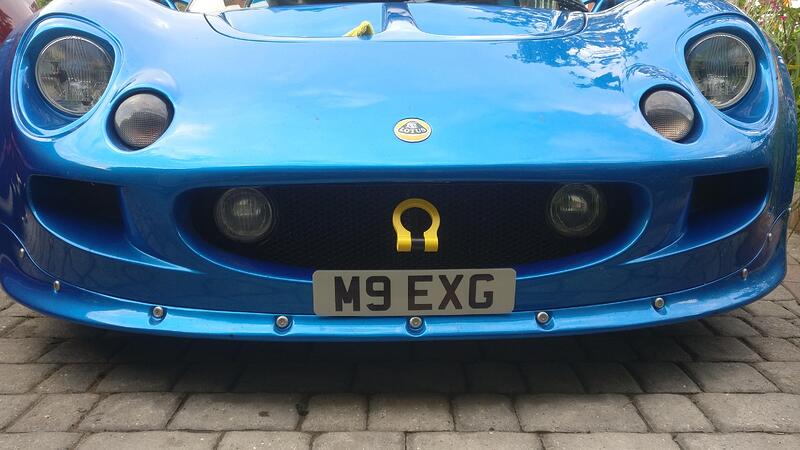
I ordered a new numberplate for the front and luckily had 2 strips of the special Velcro left to fix it, I’ll just have to remember to remove it before going on track.
I also straightened up the towing eye by adding a small rubber washer which packed the thread out just enough to become tight when horizontal.
During the Anglesey trackday I lost one of the oversill rubbers, not sure why just one fell off and not both but there you go.
I luckily had just about enough left spare to replace it, but this time I decided to apply a small amount of glue to secure them more permanently.
Word of caution: The paint on your disks, on the wheel mounting surface, will become hot and compress after your first drive. Your wheels will then come loose. You can either keep tightening them or remove the paint from that mounting surface.
Good point, on the front discs for the trackday I noticed the paint indented so isn’t particularly tough, but what I might do is torque the wheel, see where it indents and remove the paint front there. That way it keeps the black look without compromising the contact ![]()
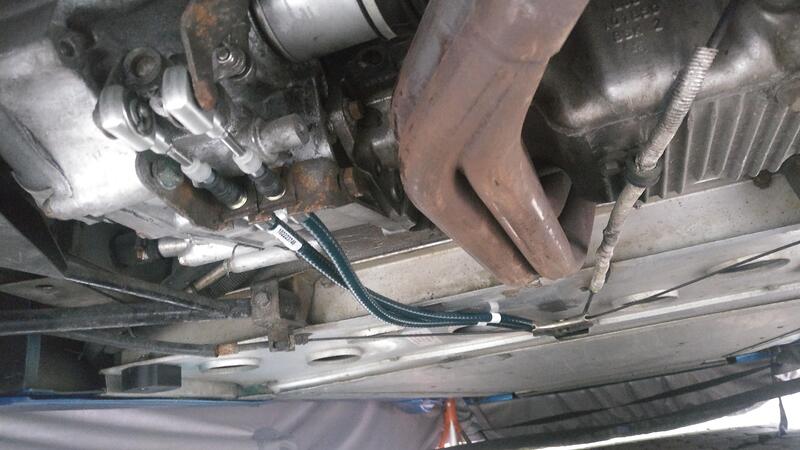
Awful job fitting the new motorsport gear cables. Thankfully the Elise-shop cables came just in time before the caffeine and machine meet next weekend (after buying some second hand cables as a back up which I’ll now have to sell on ![]() )
)
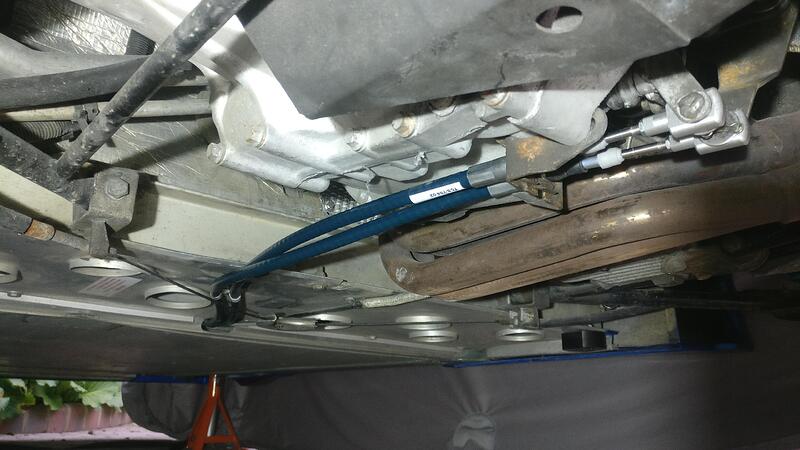
Old cables removed. I measured the distances on the old cables and roughly set the lengths on the new which would hopefully give me a good base for adjustment. I had a plan to just replace the gear selection cable with my second hand cable if the Motorsport ones didn’t arrive in time (they were stuck in customs for a while) but on the day I was going to change them they arrived which was lucky.
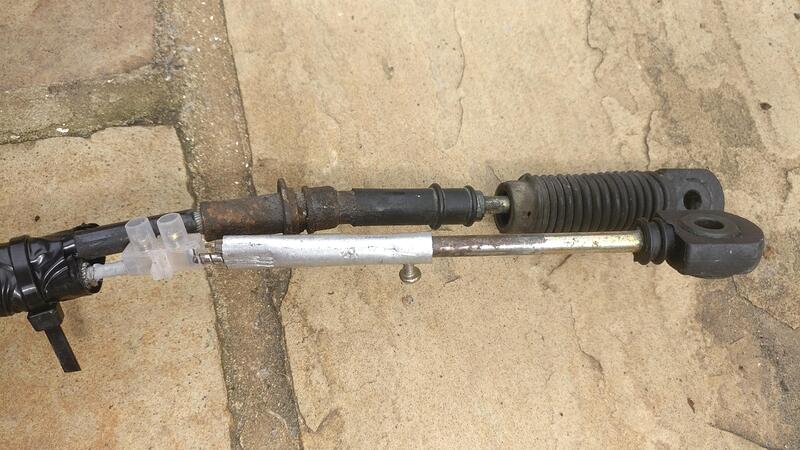
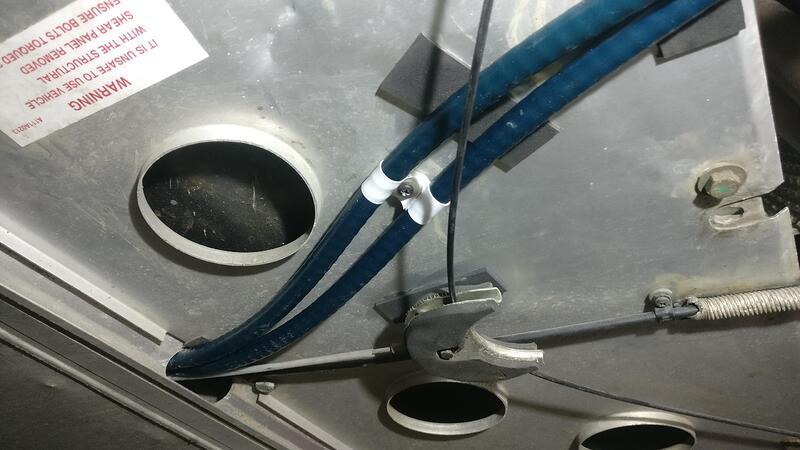
A closer look at the bodge. Stripped the cable outer back and placed both ends into the aluminium tube, packed out with split pins and crimped as hard as we could with big pliers. In there is also a screw into the end piece and a connector block (I can’t remember why) and then lots of tape and cable ties to secure it against the crossgate cable as we couldn’t use the locking pin to stop it moving.
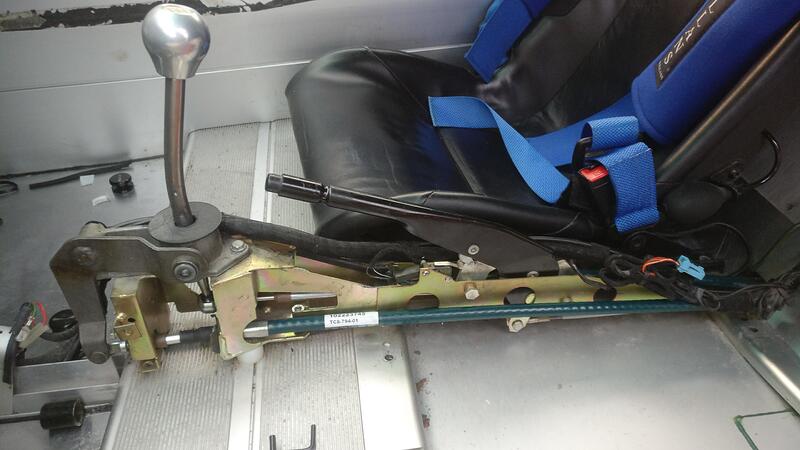
Tight fit to get them in and very frustrating at times. Painful too as the sill was pressing into my chest due to the car being higher on the stands. I only took out the one seat and managed to do it all so that’s a tip for anyone wanting to do the same.
I didn’t need to open up any holes or make any modifications but obviously the motorsport cables are a much tighter fit.
I have kept the gearbox bracket in the same position because I didn’t have a 19mm spanner to remove one of the bolts, but they slid on ok given the pre-set lengths.
One part I did have to mock up myself was the bracket near the handbrake split. The original plastic bracket fastener was now useless as the new cables are much thicker. So I found a plastic of similar thickness (a yoghurt pot) and cut it into strips, drilled some holes in them and looped them round the cables. Popped the screw back in and the cables were pulled up into position, quite surprised it worked really! I also removed the old felts and replaced with new strips as some had worn right through to the aluminium floor.
After a first try I struggled getting into 5th and couldn’t get reverse at all, so I wound in the corssgate adjustment bolt and it seems to work much better now. Next is to pop the wheels back on and take it for a proper test drive. If all is good the floor can go back on and the oversills re-bolted in position.
Just been for a test drive in the storm, can get all gears and reverse fine and feels quite positive, but I am still struggling with 5th to 4th when driving a bit spiritedly. Not sure what I need to adjust to sort this but it was like it for my original cables.
At least the car is back in the road and I’ve just got details to go before caffeine and machine.
What length did you set the gear linkage?
Thank you
I didn’t change the gear linkage, I can have a measure at some point when it isn’t chucking down with rain. Not sure if it has been uprated either, checking the pictures I took they might be EliseParts ones.
In my humble opinion if the 4th and 5th gear have some issues it could be related
with the wrong gear linkage length.
Cheers I’ll look into it!
Thanks for the advice on the gear linkage. I adjusted the length from 70mm to around 75mm eye to eye and the 5th to 4th gear change is much better!
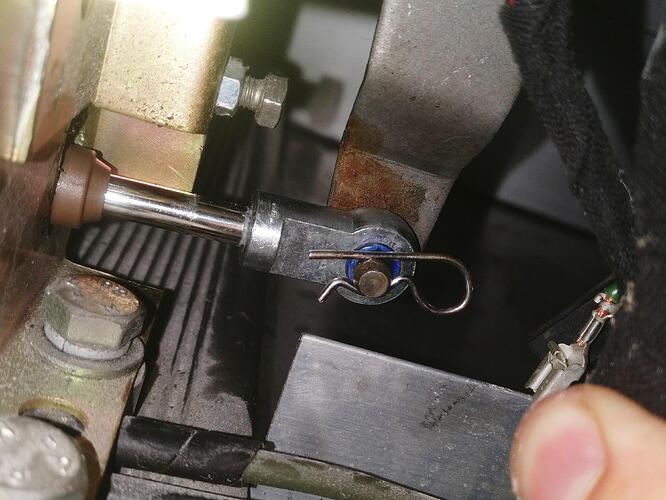
One final thing I wanted to sort was the crossgate cable fixing. Considering how hard it was to get on I’m sure it wouldn’t have gone anywhere, but when I saw the pin had a slight groove in it I decided I’d add one of them remote control car pins on it to secure it in place. Now the covers can go back on and the passenger seat and fingers crossed I won’t snap anything again!
I have mine set to 72 mm and from then on no issues at all.
IMHO the cable fixing is a little bit to weak.
Cheers
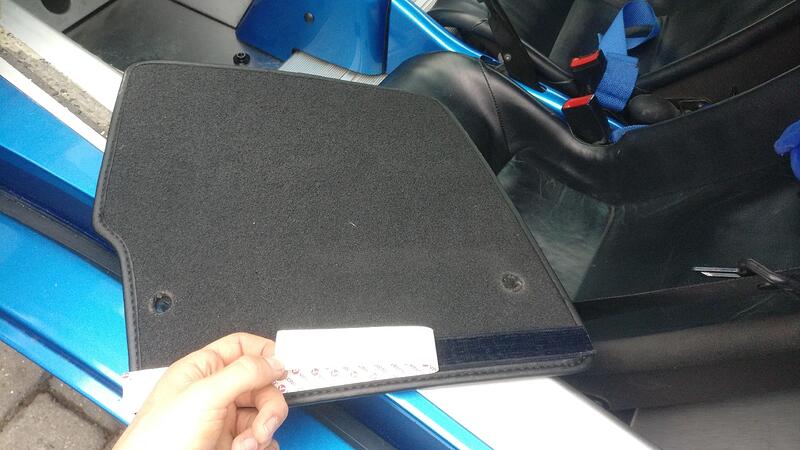
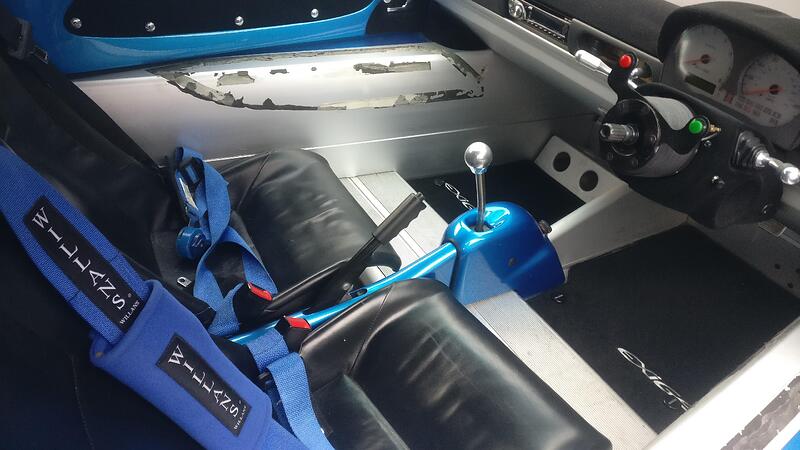
To get the interior done I had to pop the passenger seat back in and sort the gear and handbrake covers. Finally I put in the nice new carpets.
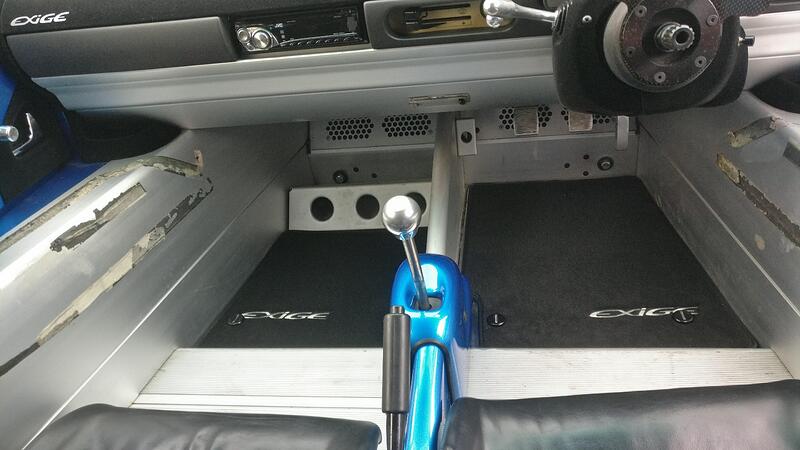
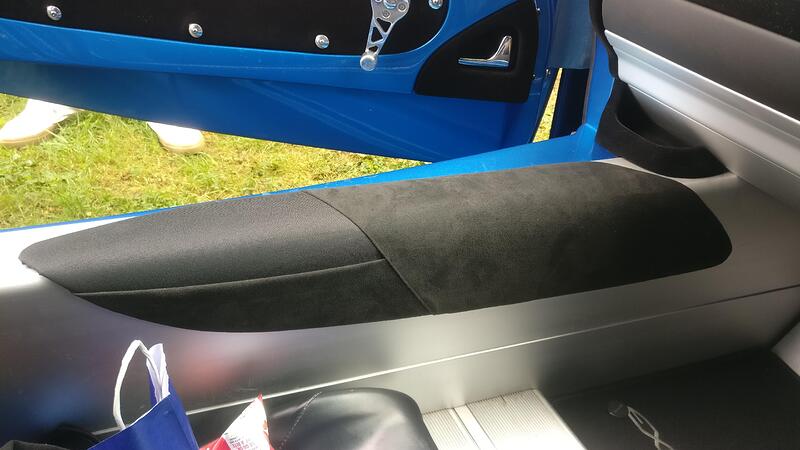
The previous owner had bonded in some new aluminum floor panels, screwed into these panels are some fixing things for the carpets. Unfortunately because these are screwed from the underside and the panels are bonded on, I can’t easily remove them. I was faced with a decision to either try to remove them, place the new carpets over them, or cut holes for them. Unfortunately laying the mats over looked crap and I didn’t fancy trying to get them out. In the end I used a large drill bit and cut holes using the old mats as a template. I peeled off the backing of the Velcro and stuck them down.
As you can see from the photos, unfortunately the position of the fixing screws kind of overlaps the ‘Exige’ logo on the carpets. Not much I could do but they don’t look horrendous.
Also I put on the gear and handbrake covers, which were a bit fiddly and not a perfect fit on the handbrake piece because of the thicker crossgate cable, but still pretty good.
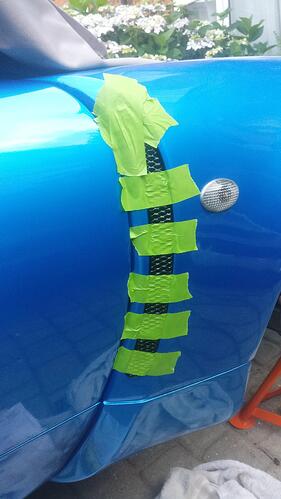
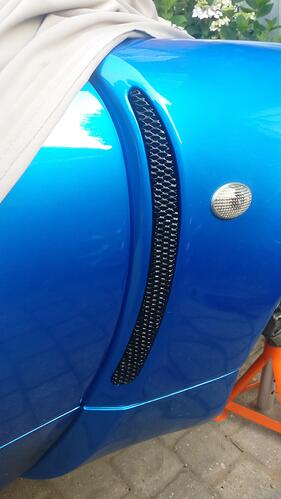
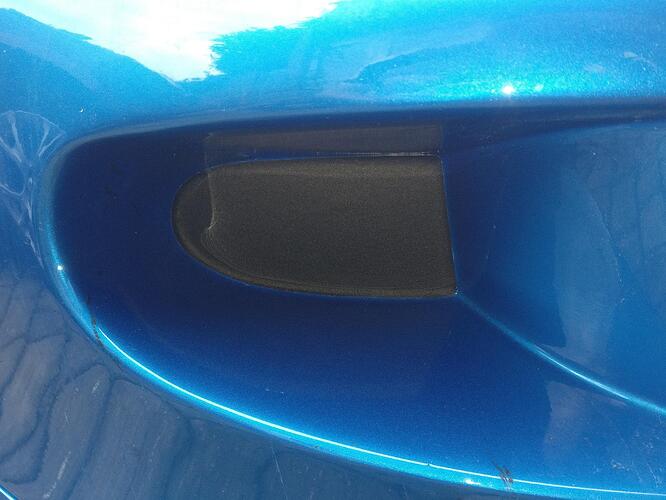
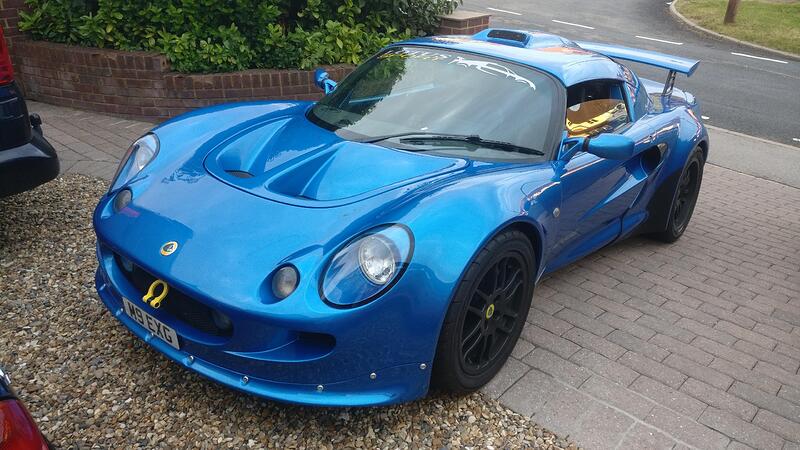
I also managed to put on the front intake stone chip vinyls. I was a little nervous about these as the area quite restrictive so was a bit tricky to line the vinyls up in, but they went in relatively easily and show no flat surface which I’m happy about.
In my opinion they make the front look ‘finished’ and before doing the conversion I always thought they were real intakes, so they do a good job at tricking the eye of those unaware. Just the headlights to go for the front clam now.
Last minute push to get the car ready for the Caffeine and Machine meet. Didn’t quite manage to finish it but got most bits done.
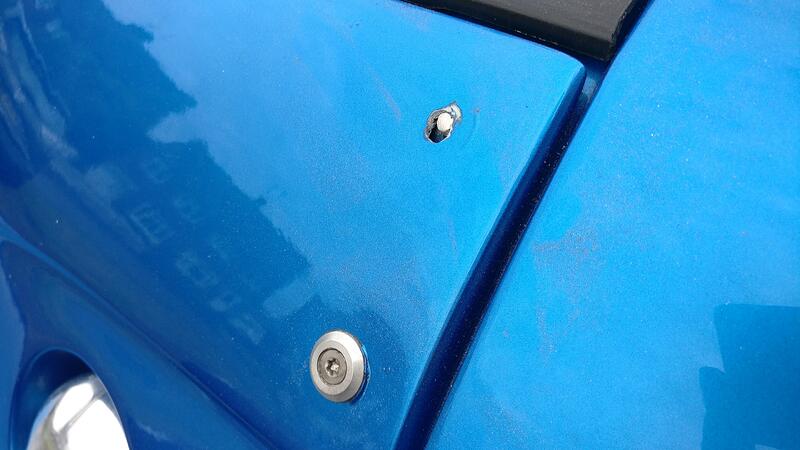
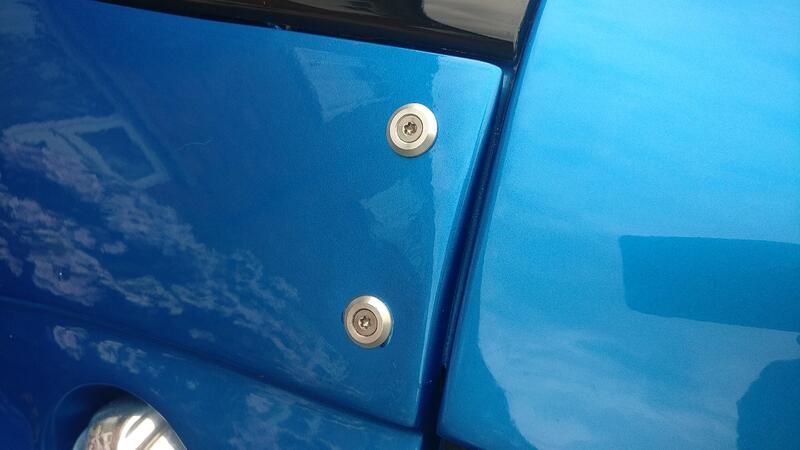
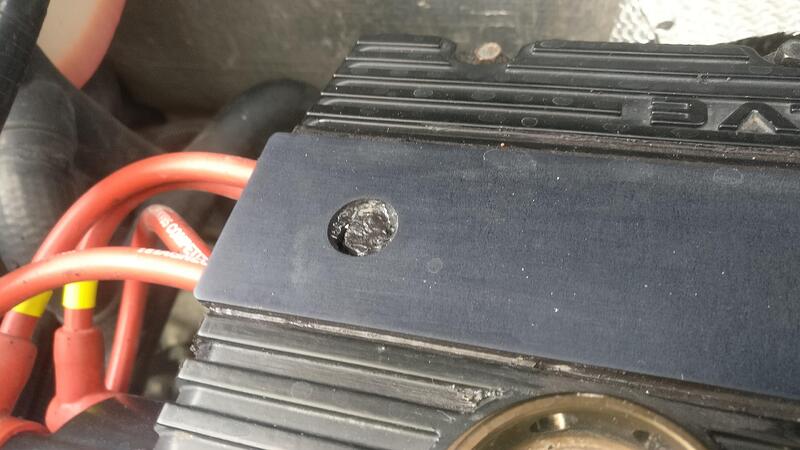
To fix the cross threaded roof bolt I decided the best way would be to fit a new captive nut wayyyy down the line when and if the roof ever had to come off. I used my Dremel to cut off the head and then grind down as far as I could without cutting into the paint.
I then ground the back of the cut off head down and glued it to the cup washer. Once it had set I used some good thin 3M double sided tape and fixed it in place. It hasn’t called off yet and feels pretty secure, time will tell though but for now it is the best solution to hide the cock up.
Also you can see from this image that the cup washer below has pinched and folded the paint a little. I suppose with fresh paint not fully hard this was going to happen in places so not a major deal. There’s a few other spots like the spoiler supports etc that have it too but I needed to get the car back together quickly and didn’t have the luxury of waiting forever for the paint to fully cure.
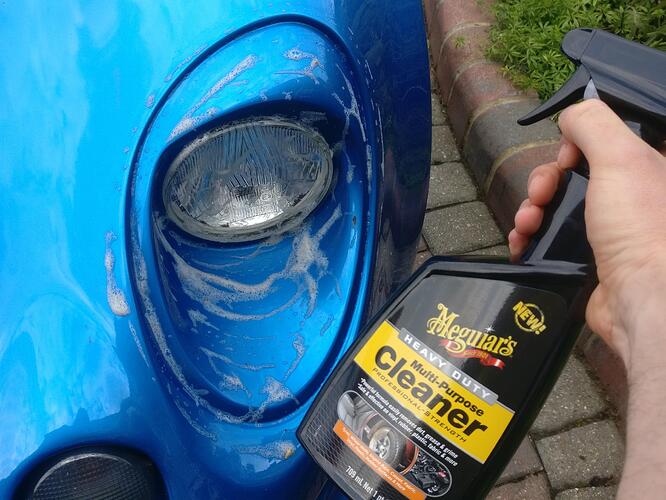
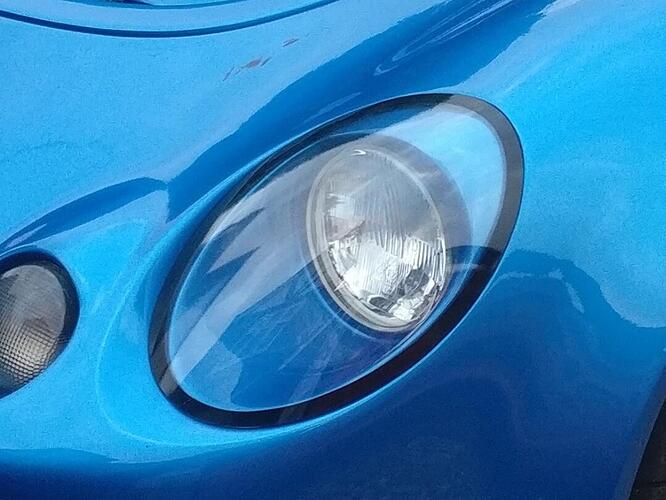
Next up we’re the headlight covers. After polishing and placing the Velcro on my existing covers, I went to put them on and realised they were a completely different shape. I thought they were just thicker but turns out the Exige and 111S ones are a different shape also.
I used my detailer and a makeup brush to scrub the area clean.
All ready to go. I cut some new strips of Velcro as the other ones lost a lot of their stickiness when peeled off the Elise covers l.
I placed the covers on complete with both sides of Velcro so I knew the strips would line up. I then pulled off the covers and pressed the clam strips flush.
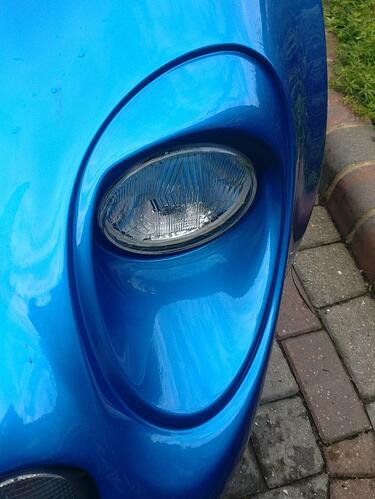
Forgot to take a picture close up as I was rushing to get things finished but here’s a cropped view of them finished. Happy with how they look and being able to clean them from time to time is a bit plus for me.
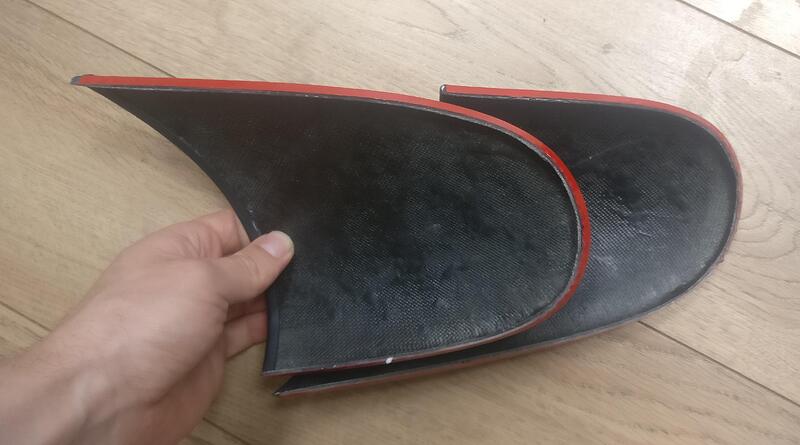
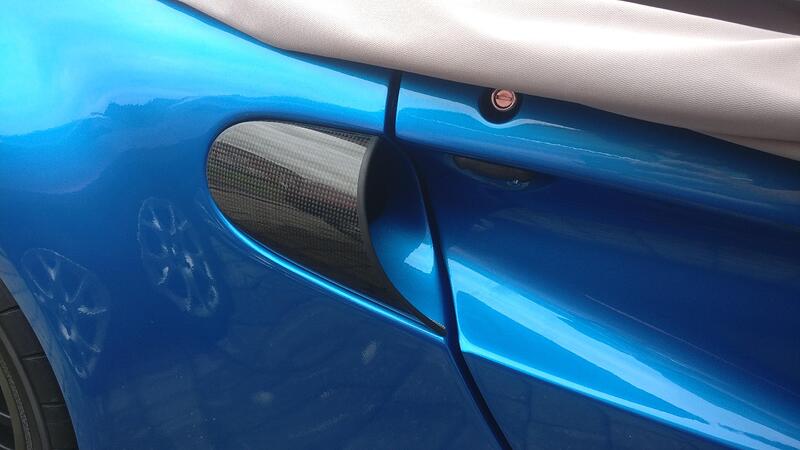
Personal preference but I do prefer the side intake cover look, so I bought some new carbon ones. I also glued the rubber edge trims on as I’d previously lost them on my Elise clam. Out came the sticky red tape.
All secured and I think having that softer edge on the covers looks better.
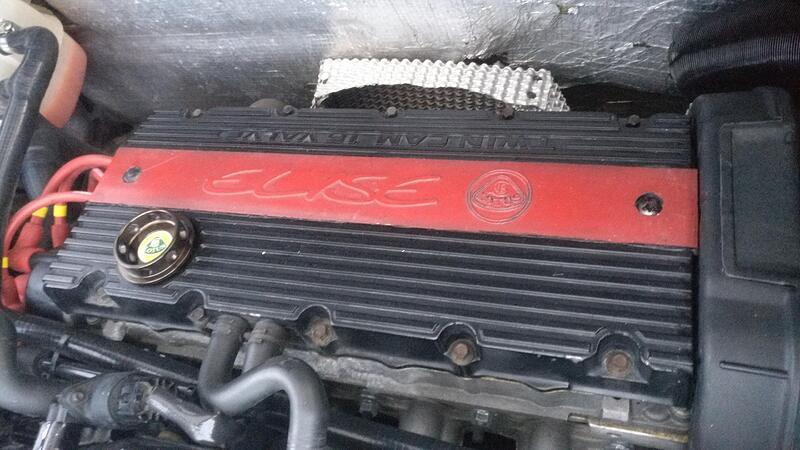
Engine bay was next and the red Elise spark plug cover had to go.
I think Maidstone would have been the last people to put the cover on and they seal the bolt holes too. Probably a good idea to help seal against water and other crap as best as possible.
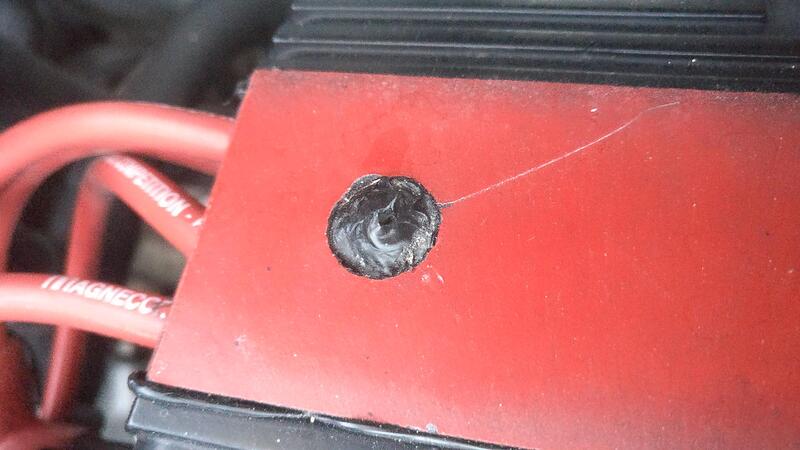
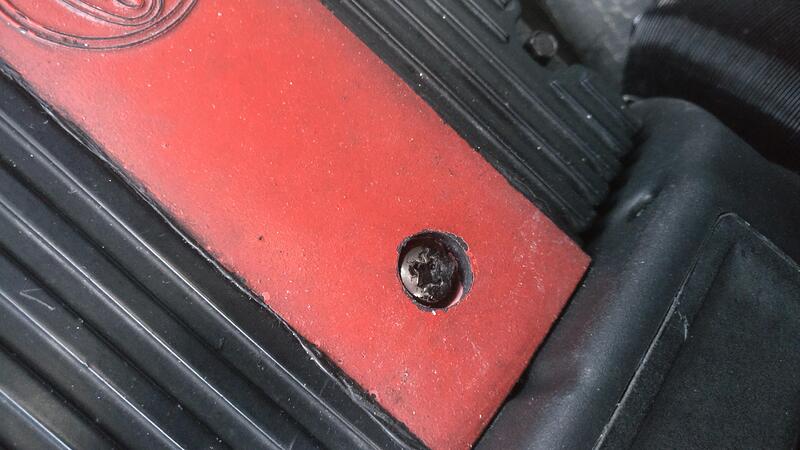
I used some high temperature silicone on the underside, then placed it on the top. I then used my finger to smooth out the excess. What I should have done is tape the top of the cover as I then spent ages cleaning off the crap before it set.
I also sealed the screws too. Now it’s just the plenum left giving away the car’s real identity in the engine bay.
The day of the caffeine and machine meet started at 7am scrabmling to get everything as finished as I could, starting with putting the floor back on.
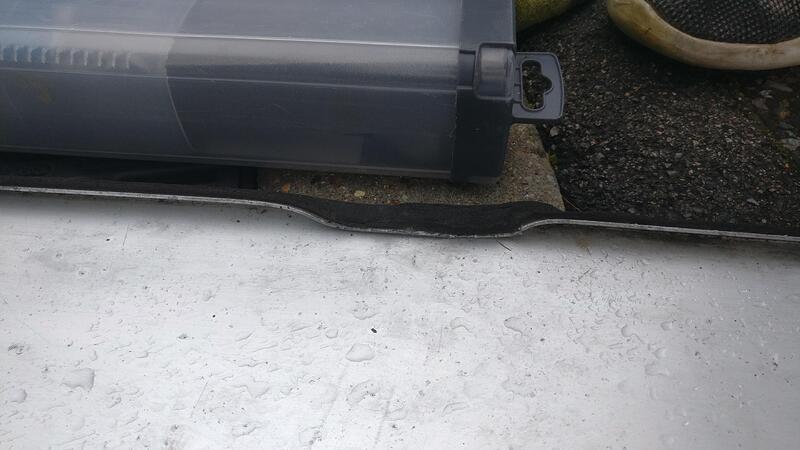
I realised quite quickly that the floor wasn’t going on, the thicker gear cables fouling the lip of the floor. Being 7am on a Sunday I didn’t want to whack a hammer out and make a load of noise so I used mole grips to pinch and bend the lip down to get the clearance. After this the floor went on quite easily, I’ve done it enough times now to have a technique doing it on my own.
On the drive to Caffeine and Machine I was able to place the sticky red tape onto the sills and when I got to the meet I quickly pressed the sill covers into position. I had bought some sticker remover to get the old adhesive tape off, but as the covers don’t show this I might not bother. A small bit of glue is needed on the passenger tip but hapy with how they turned out.
Unfortunately I wasn’t able to get these bits done for the meet but when I got back to my parents with some help I got the rest of the decals on.
I used some clay bar to get the rubber marks off. I’ll have to do the whole car soon.
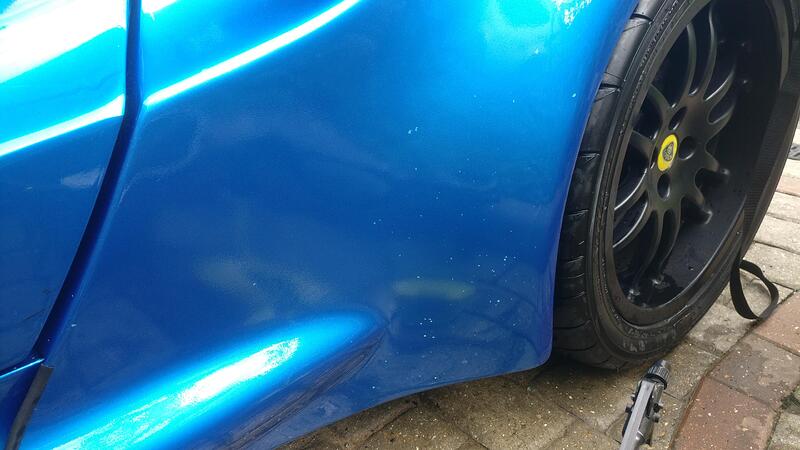
The amount of stone chips from just one trackday is pretty crazy.
On went the stone chip guards, not perfect but they were quite tricky to line up.
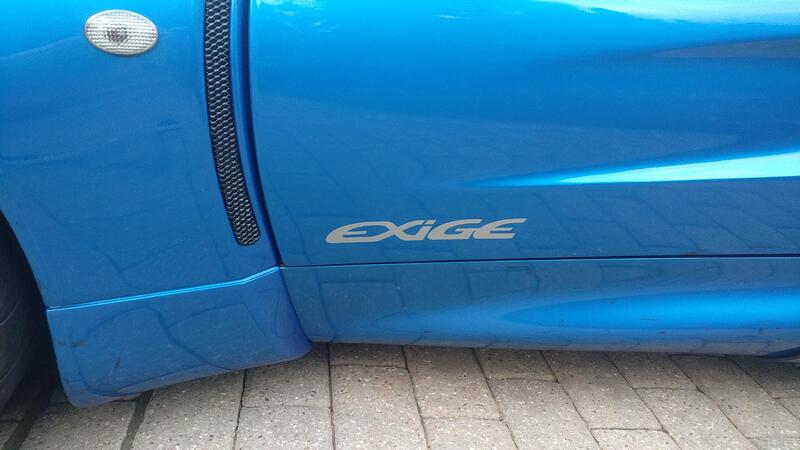
The individual logos were easier, I measured 60mm from the front of the door and 30m from the bottom.
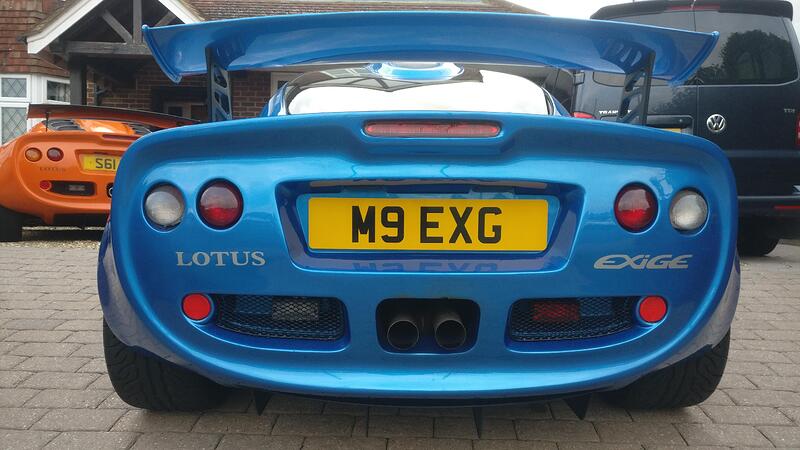
I was in 2 minds how to space the rear ones as the Exige logo is a fair bit larger, but decided to have equal distances from the centre, I think 65mm from the number plate recess I think.
These final decals really finish off the look. I think all I have left to do is the DIY boot divider panel and cut the foam for the boot floor.
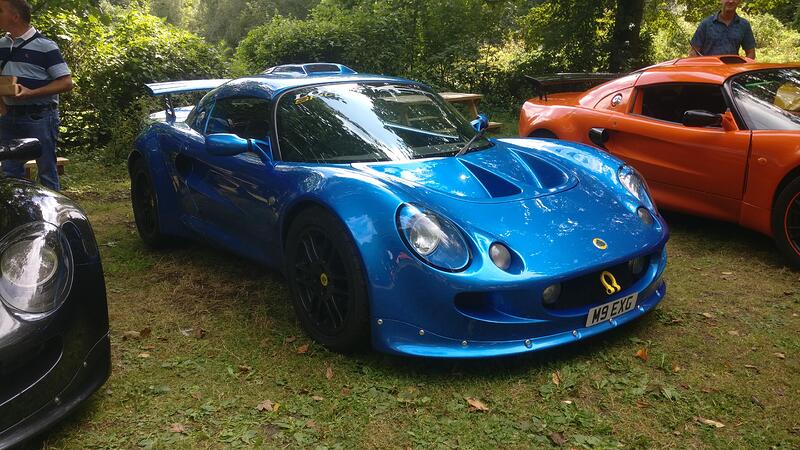
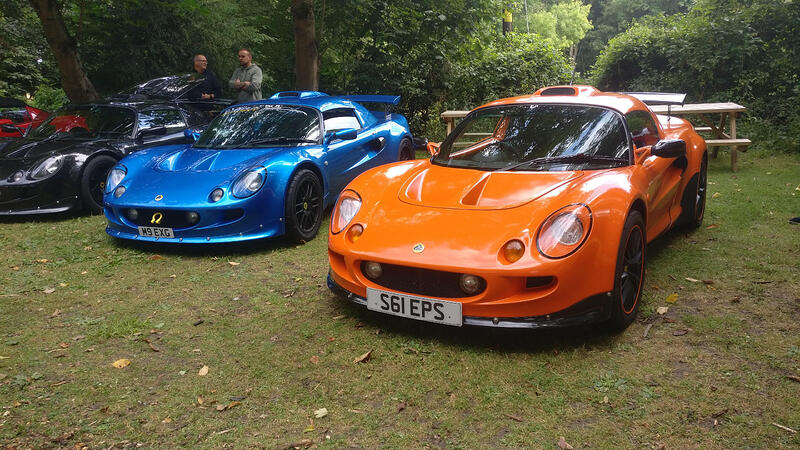
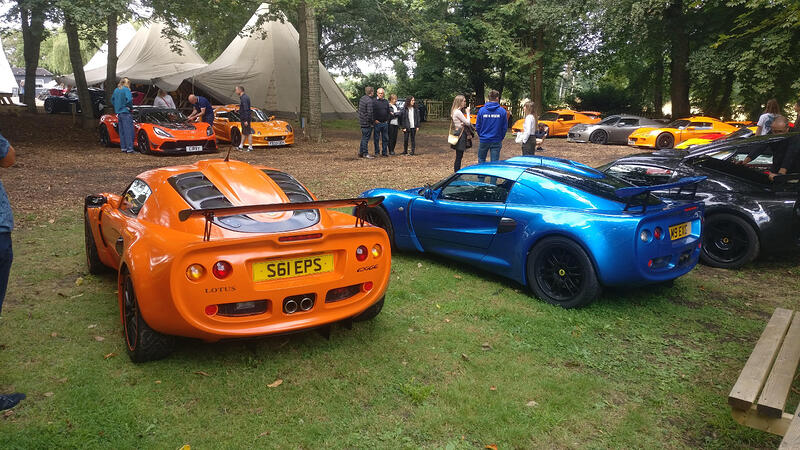
A few pics from Caffeine and Machine, great to be part of clan!
The car is looking great James ![]()
![]()
![]()
