So close to the end! Hope you get the MOT sorted!
Hear, hear!
After a week or so a fair bit has happened which I’ll do my best to fill you in on.

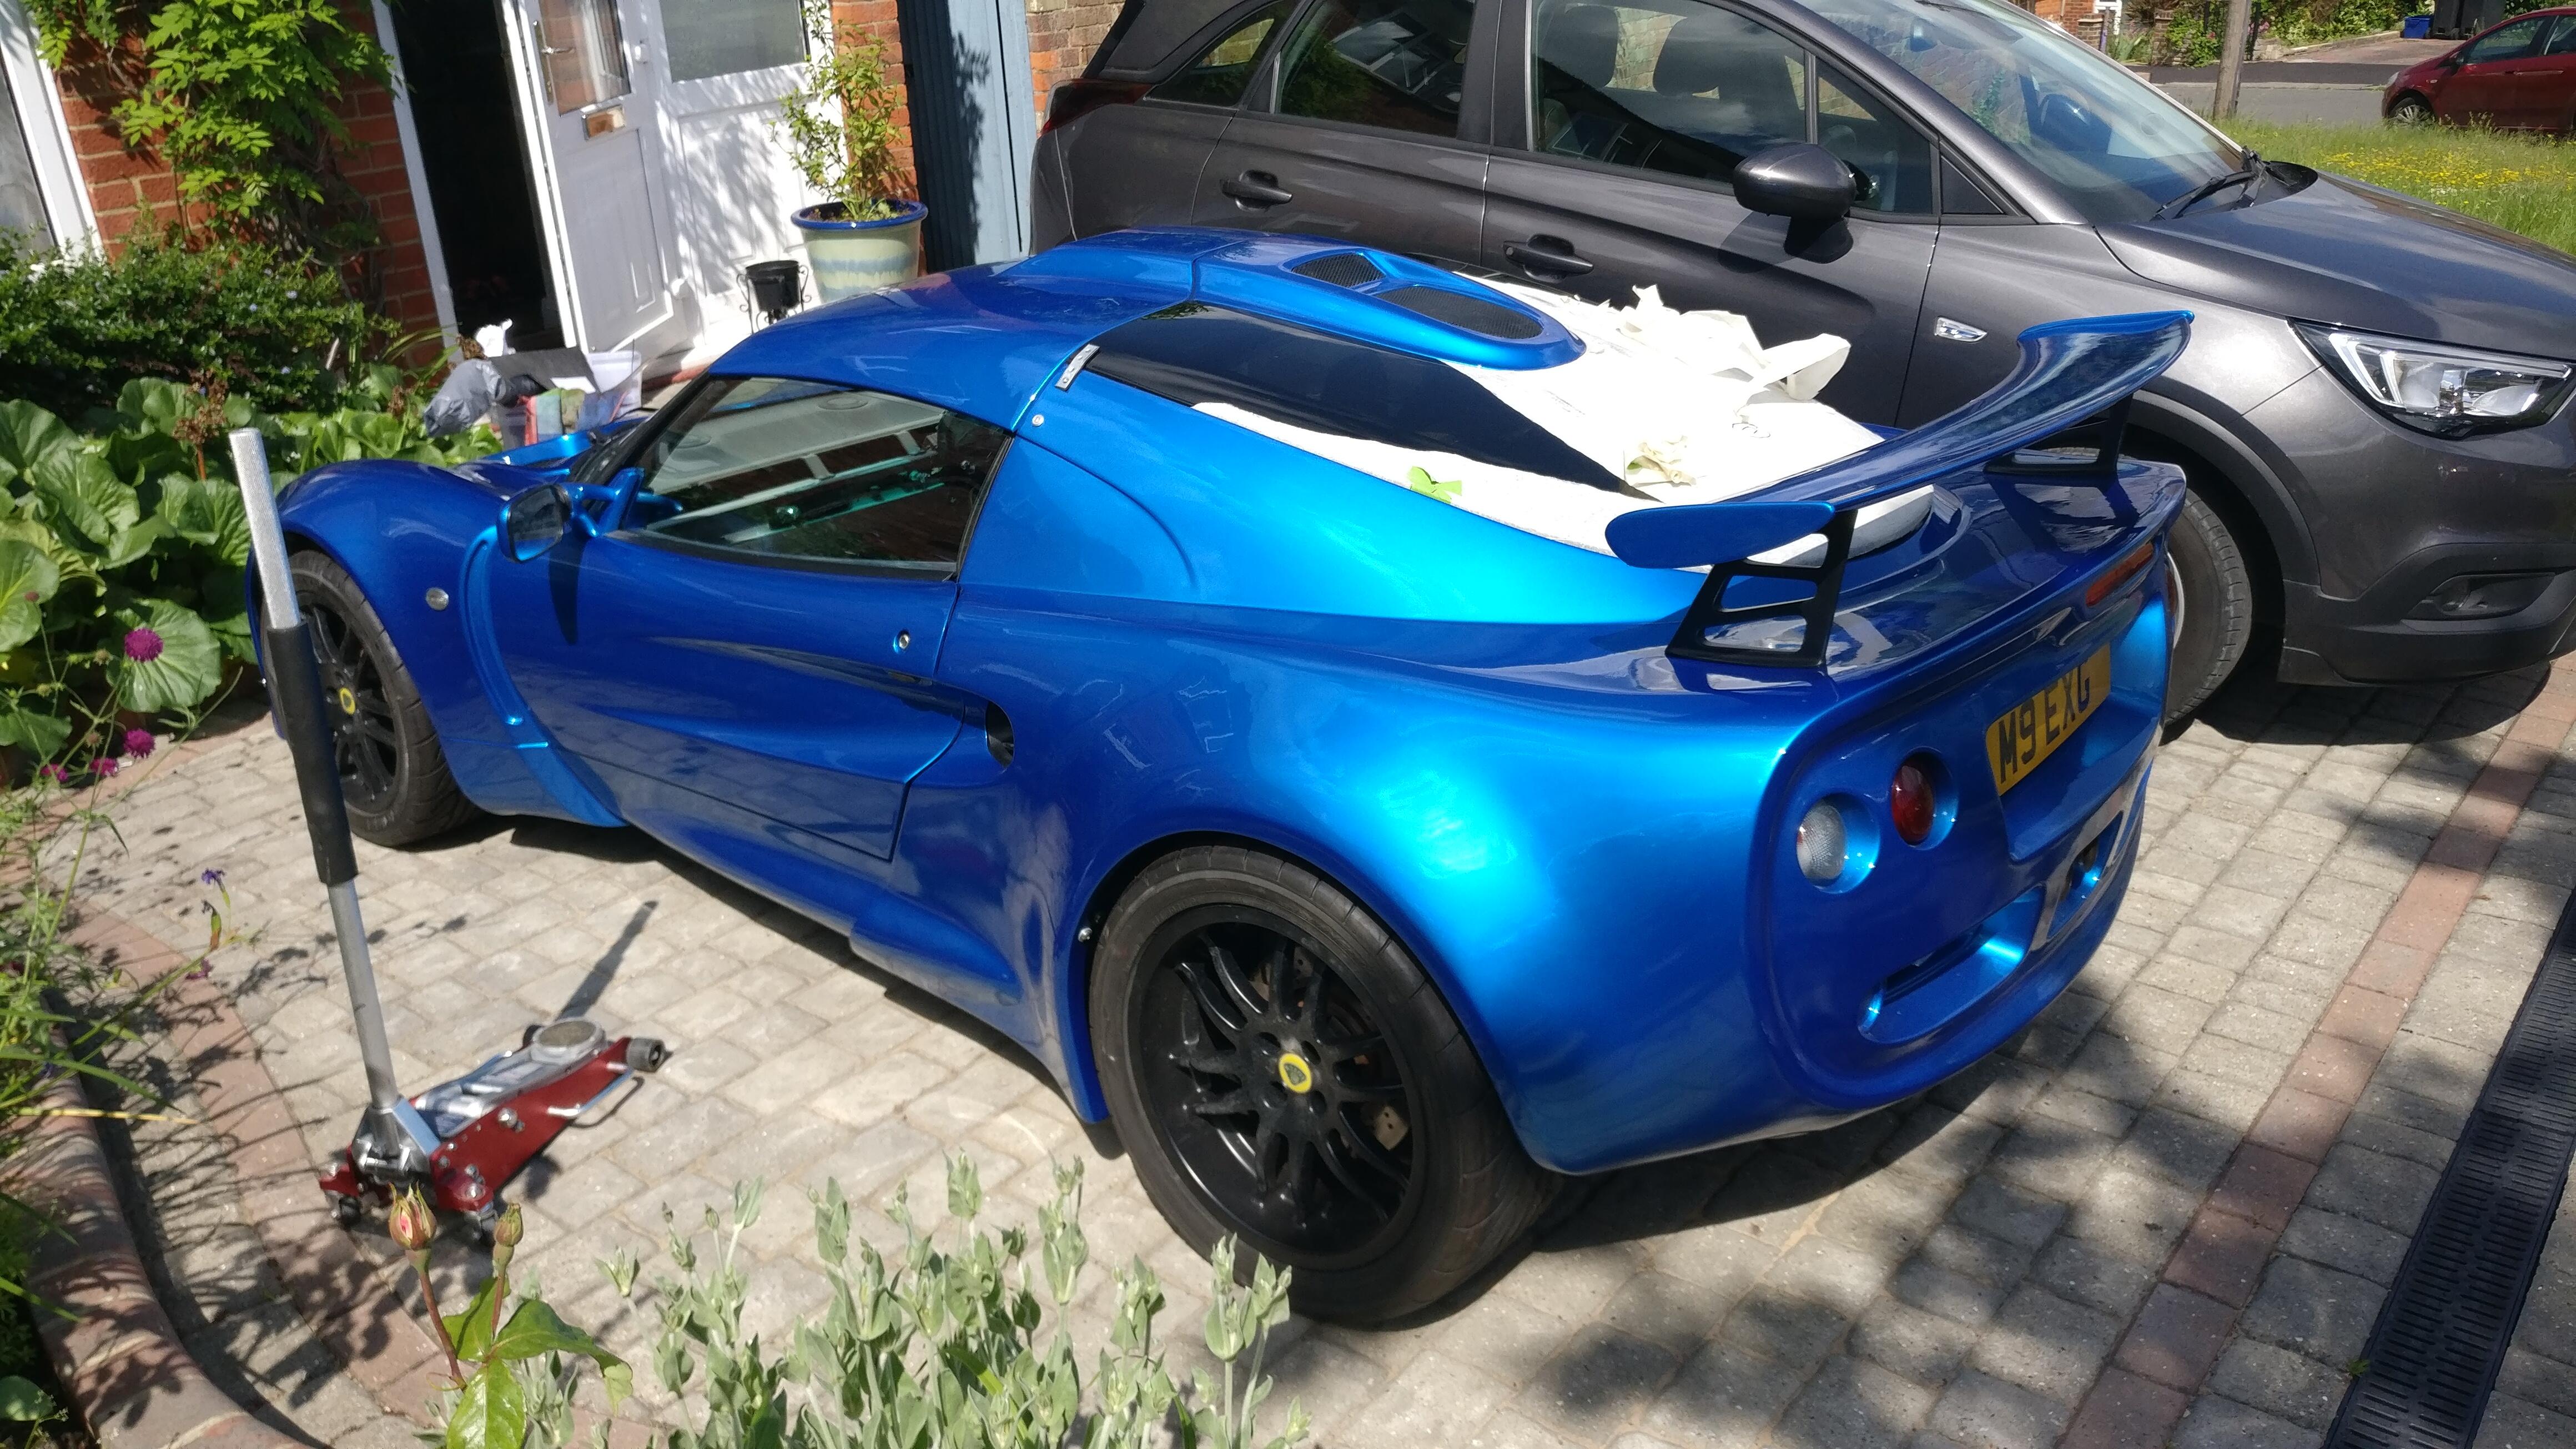
Got the car back from its MOT last friday and drove it back home to get as much finished as I could on Saturday before driving up to Anglesey on Sunday.
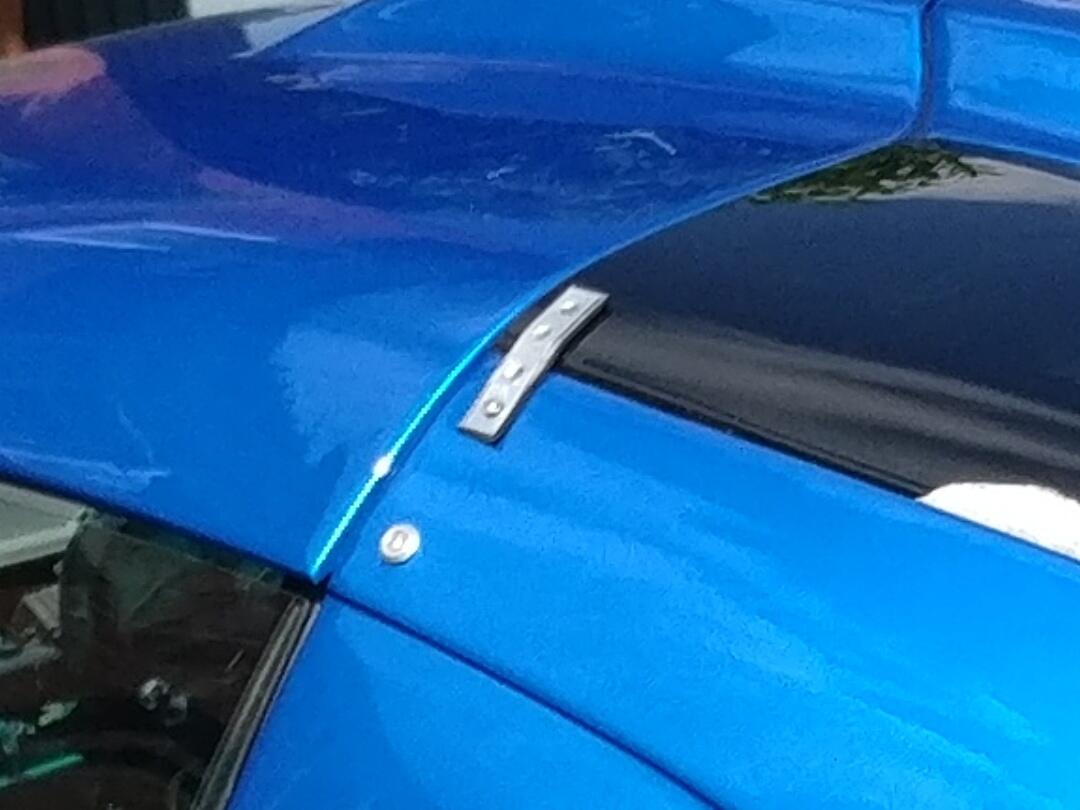
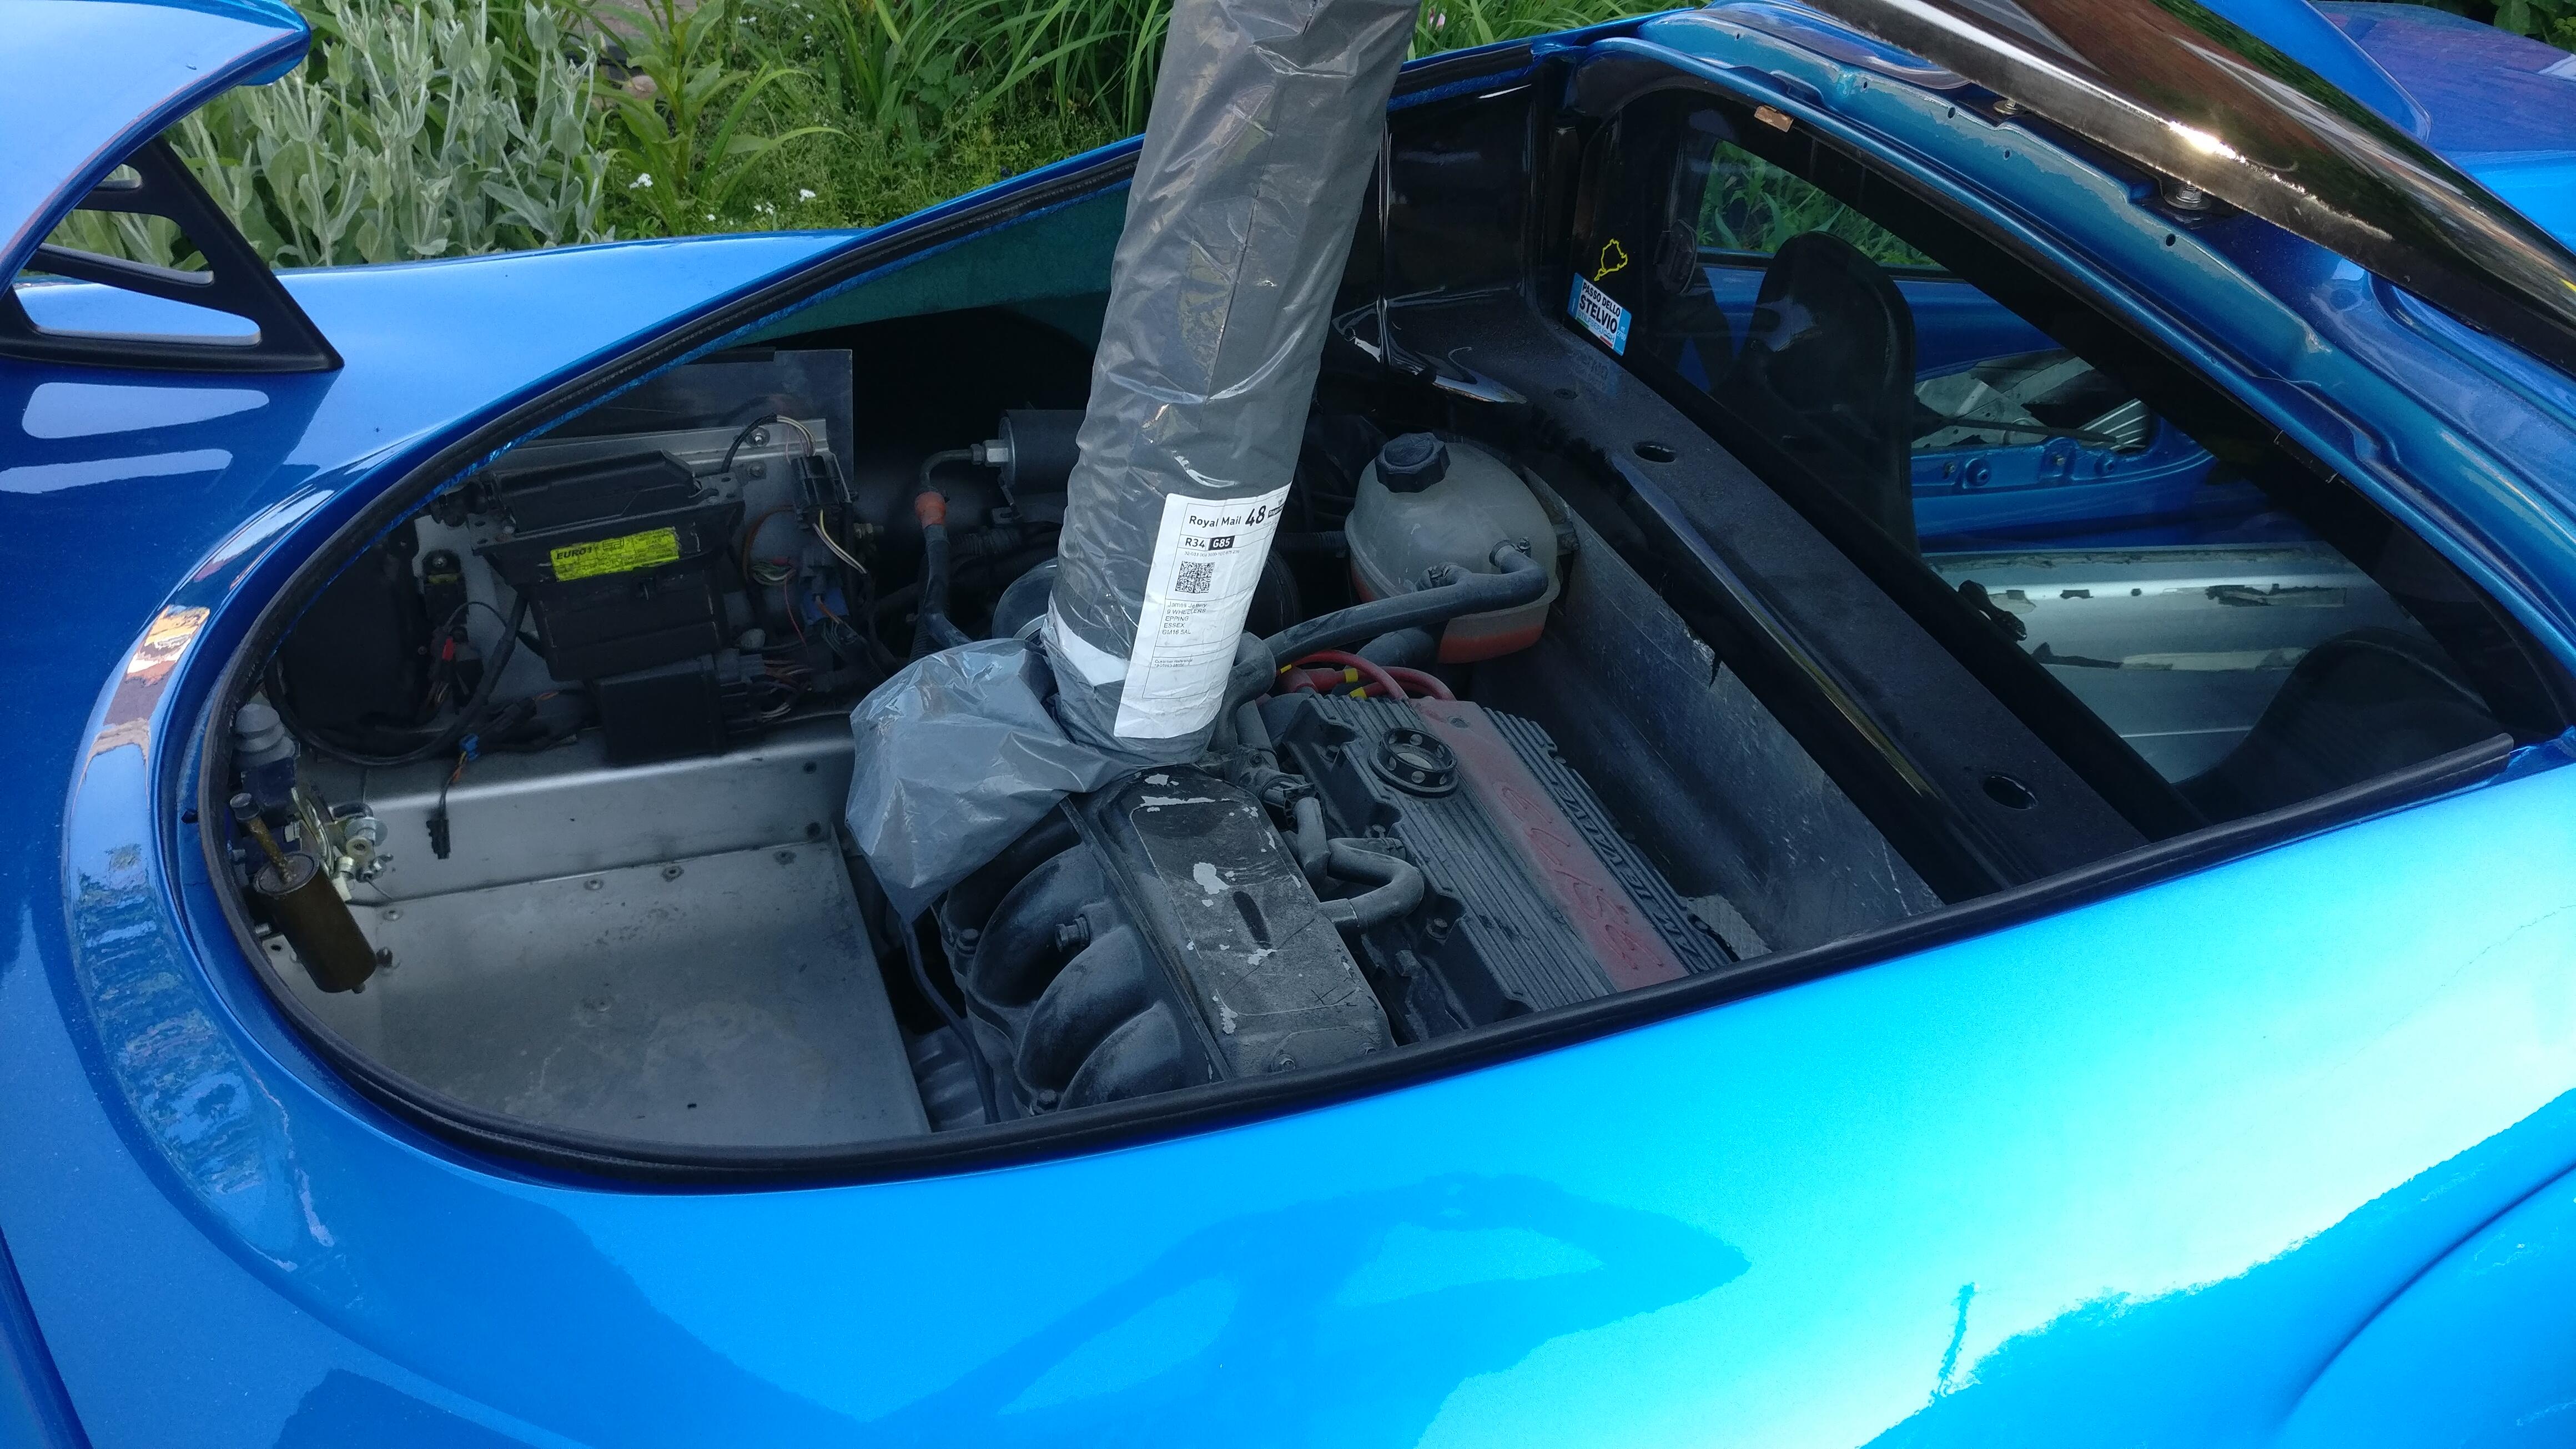
For the drive back home I decided to add some foam backed metal strips to help keep the engine cover down due to it being slightly too proud and possibly having the wind rip it off. I planned to keep these on until I could re-drill the hinge lower, however the drive must have settled it down as now the cover now seems to fit pretty well!
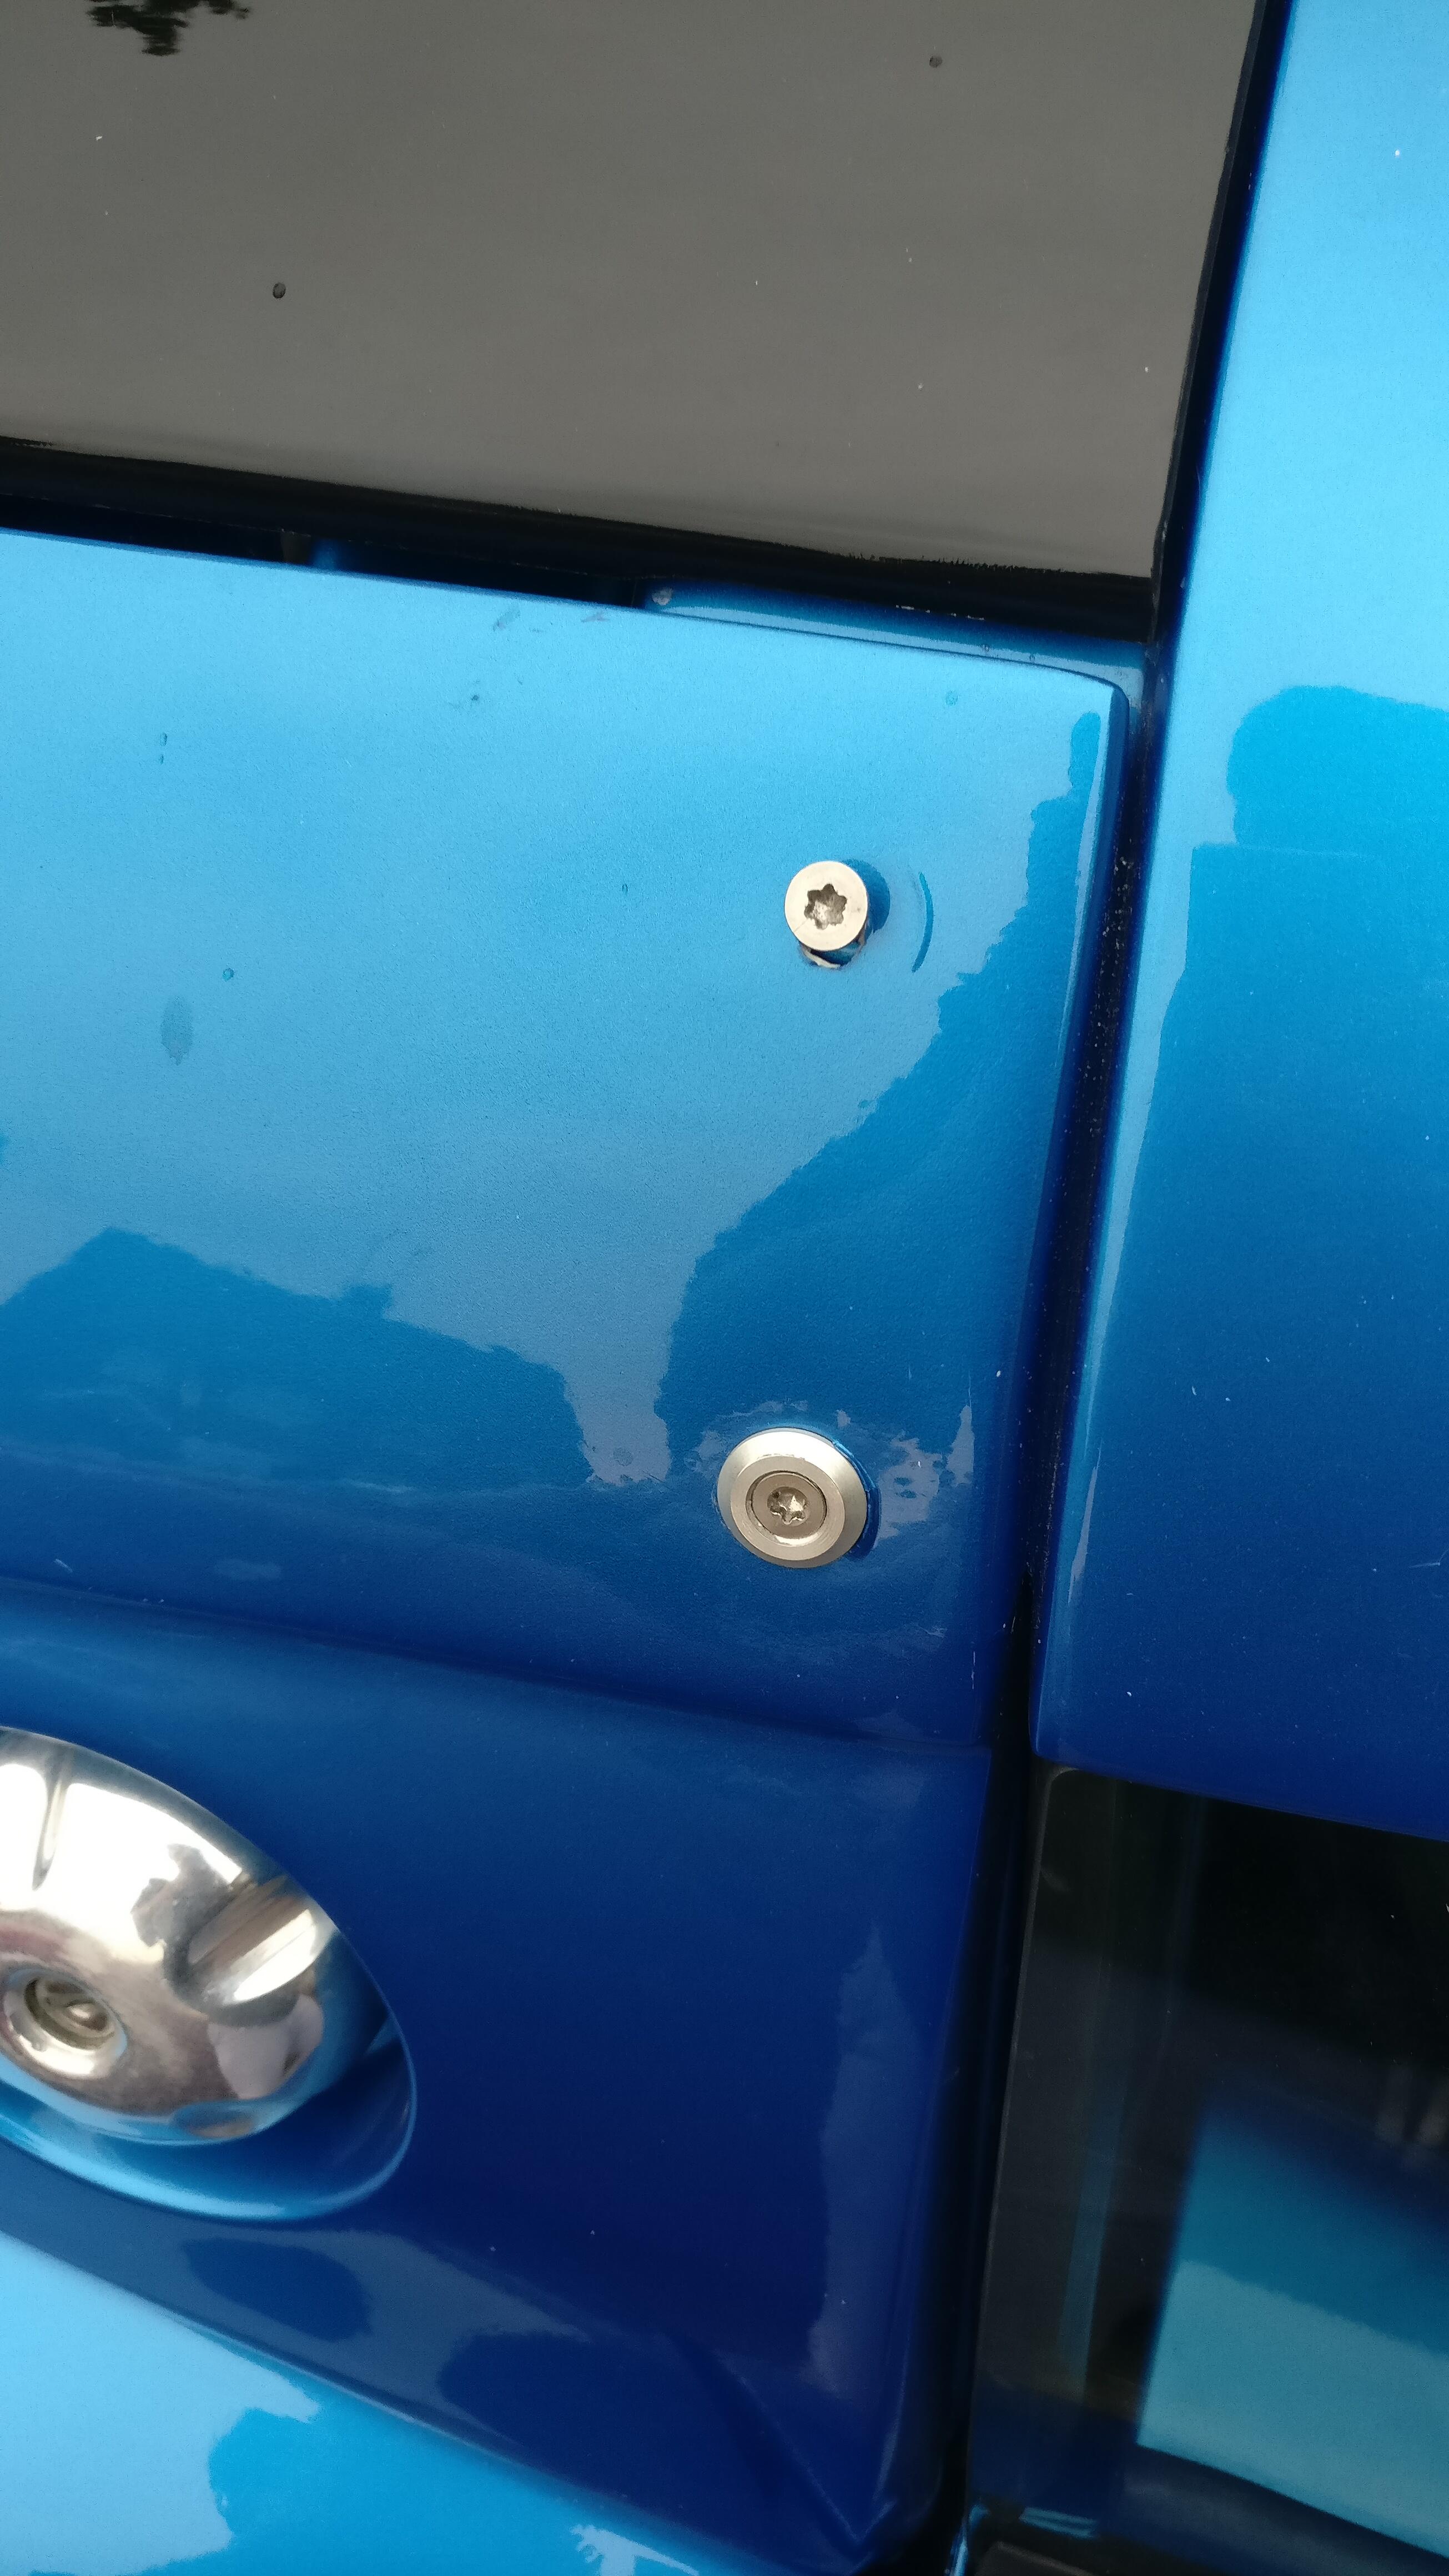
The problem with these strips is that in the dark before driving it back home, I was rushing and cross-threaded one of the jacknuts so now the bolt just spins the nut. Really frustrating as I’ll have to take the roof off to get to the jacknut to cut it out and put a new one in, or a different type of captive nut. Especially annoying as the metal strips weren’t even needed!
Another solution which is what I think I’ll end up doing is cutting off the head of the bolt, gluing it into the cup washer and then gluing/taping that to the clam. The clam sits well against the roof so doesn’t need the extra tension to pull it in, and it’ll give me the look I’m after, then at a later date I can come back to fixing the problem properly.
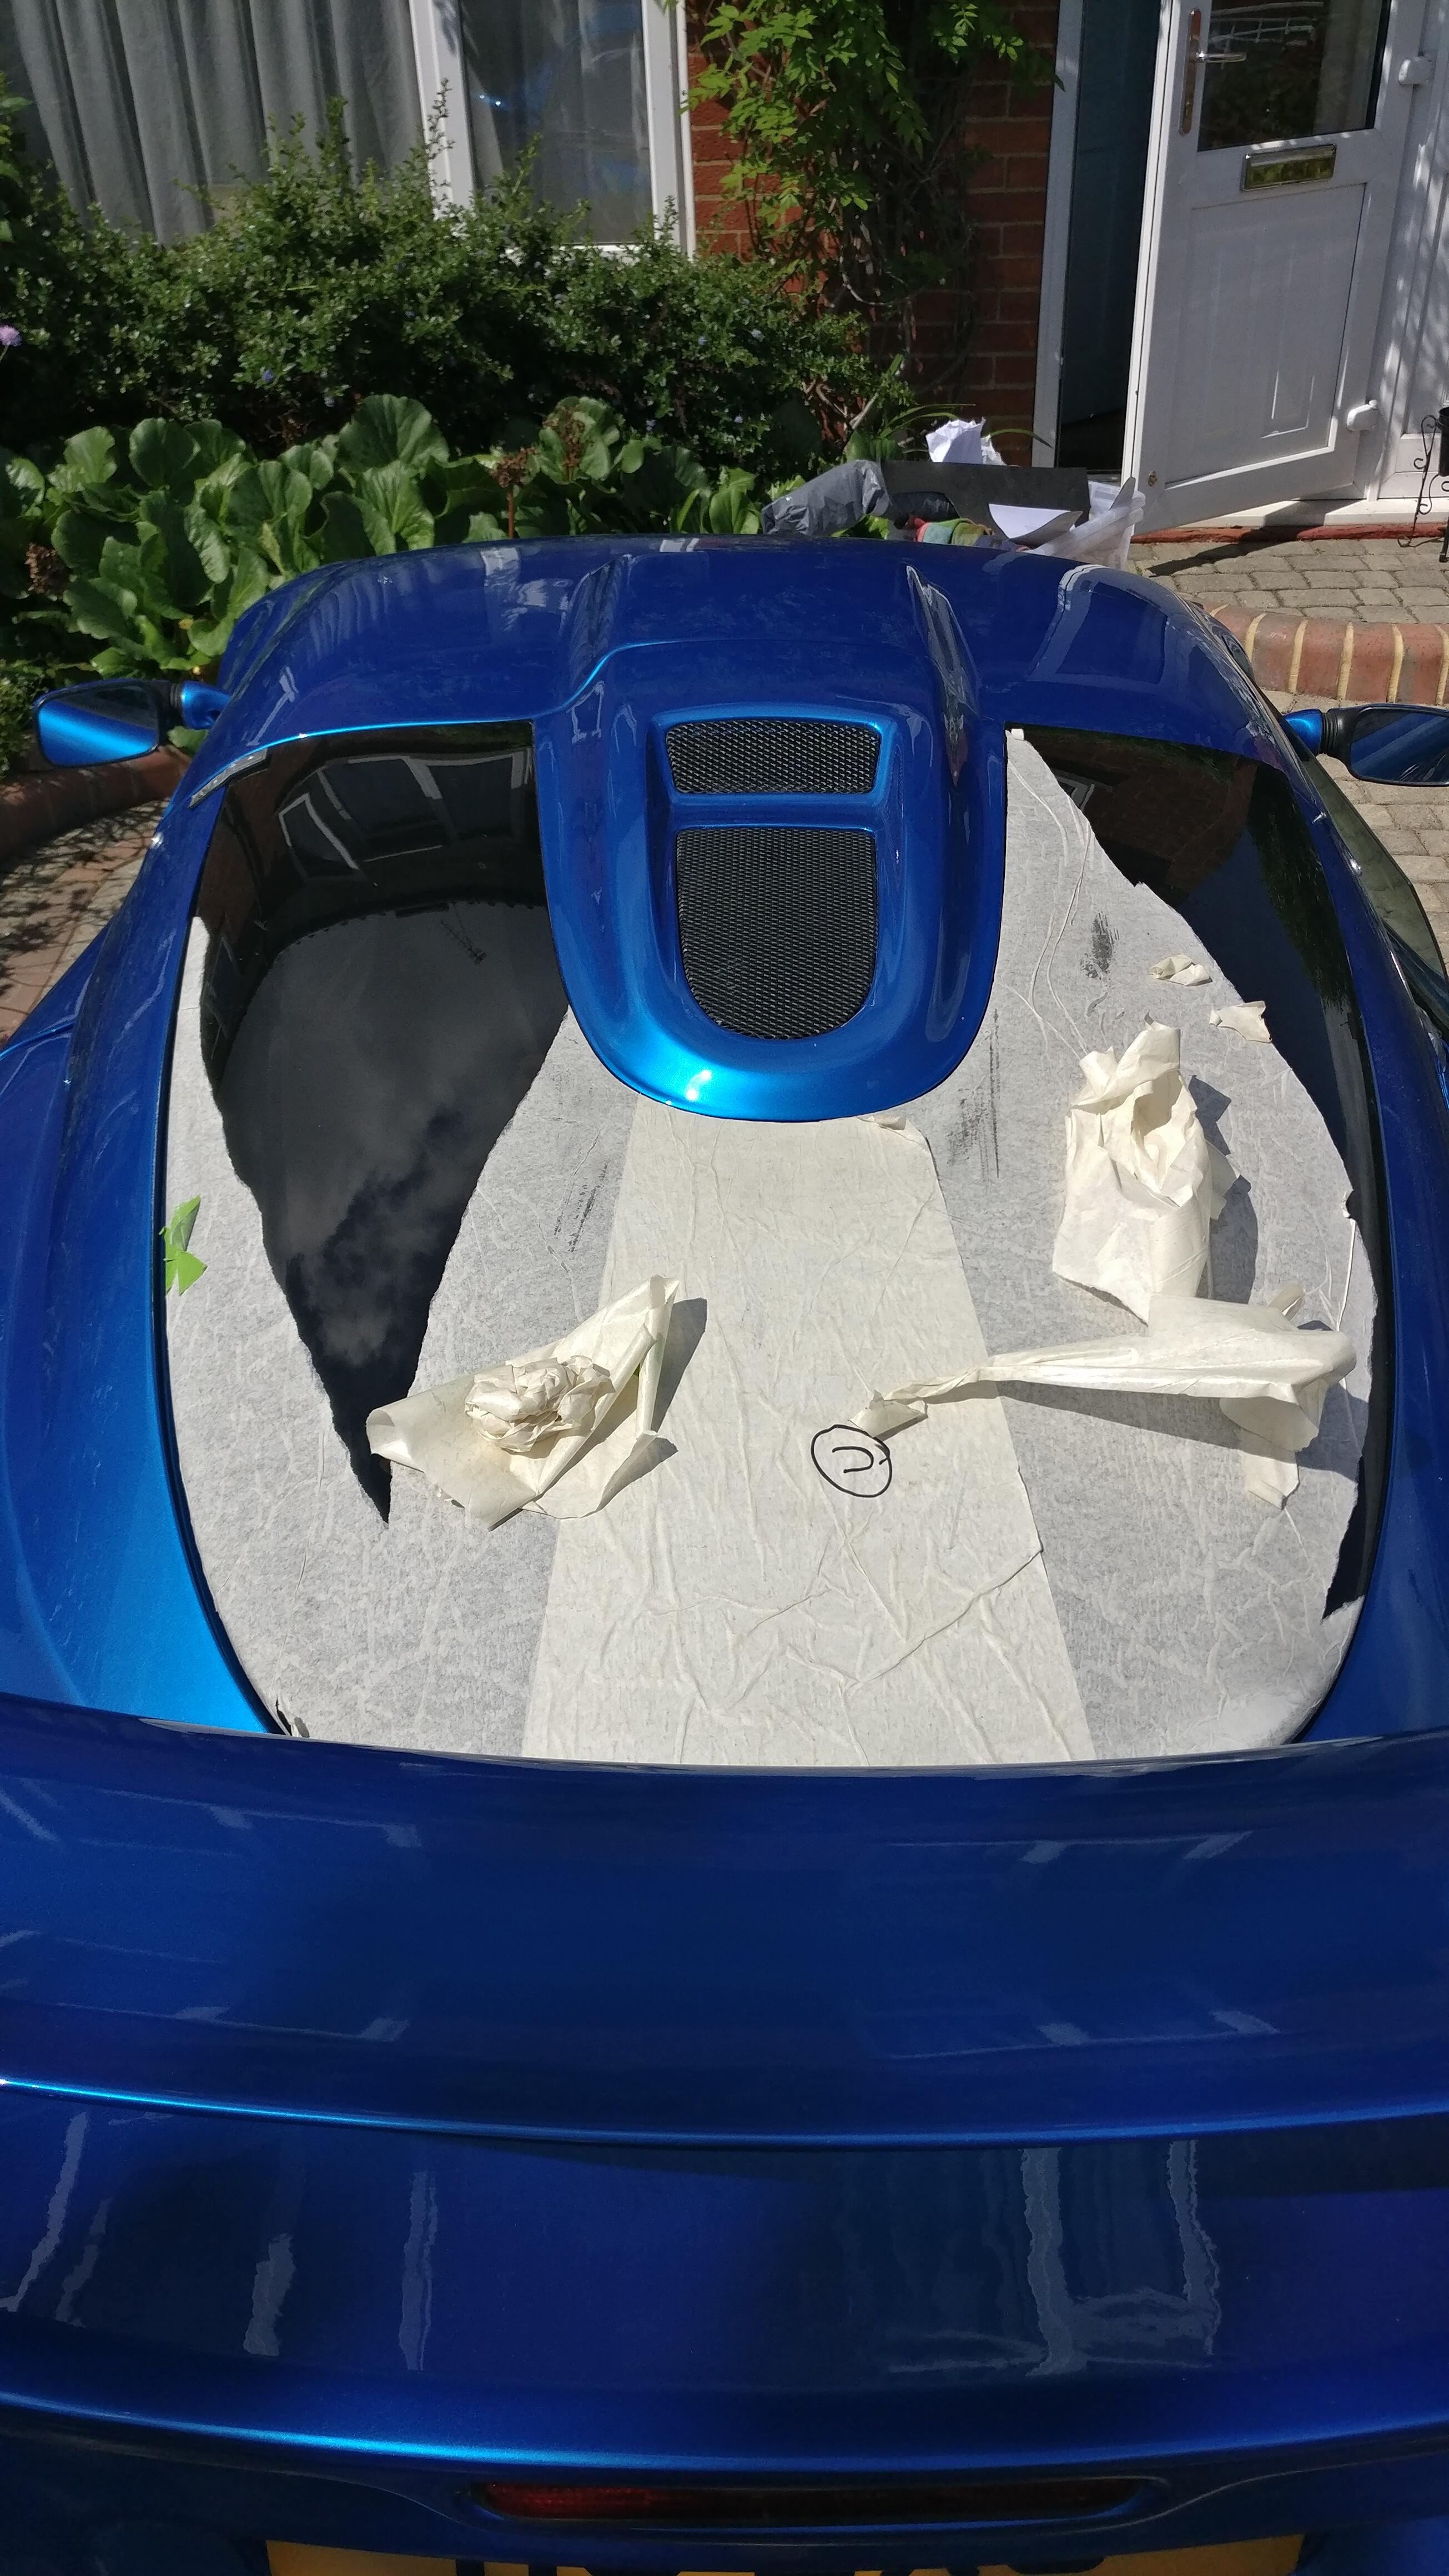
I had made a list of things I ‘needed’ to get done and another for anything extra that I would do in time. After taking the metal strips off the first item on the list was removing the protective film on the engine cover perspex. Of course it didn’t come off in one nice piece but ripped into many small pieces and left a load of glue and residue behind.
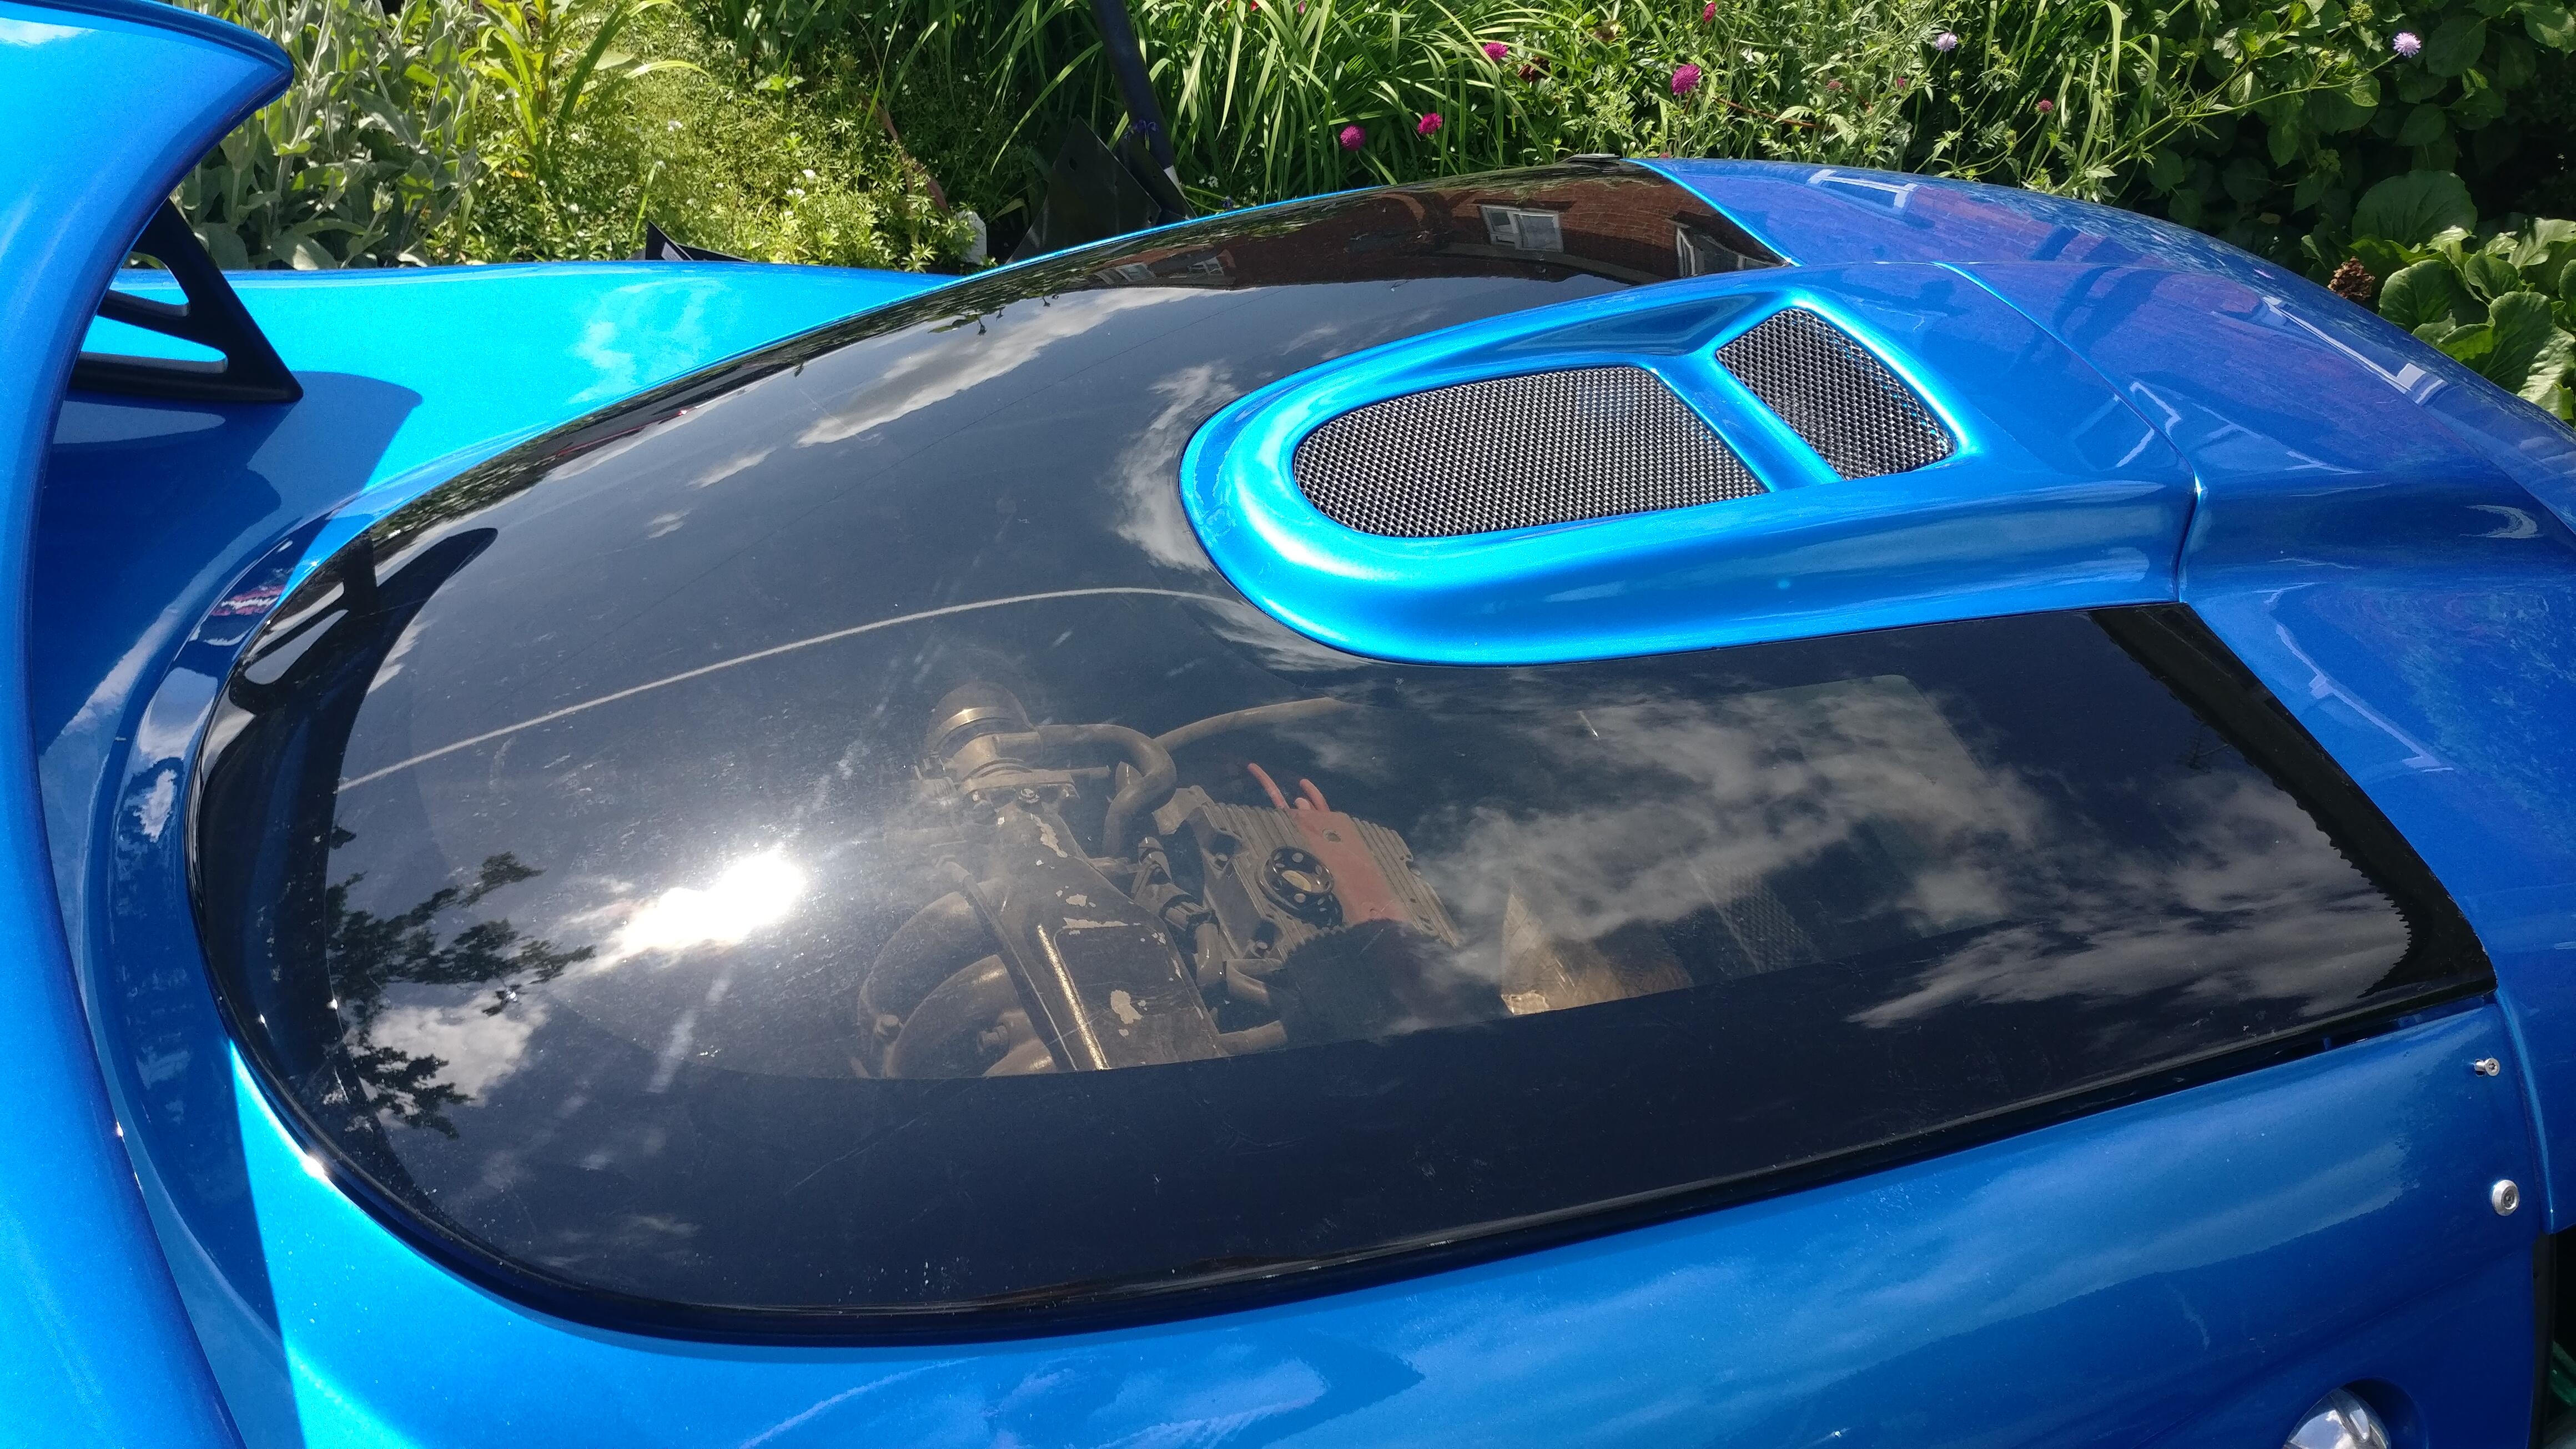
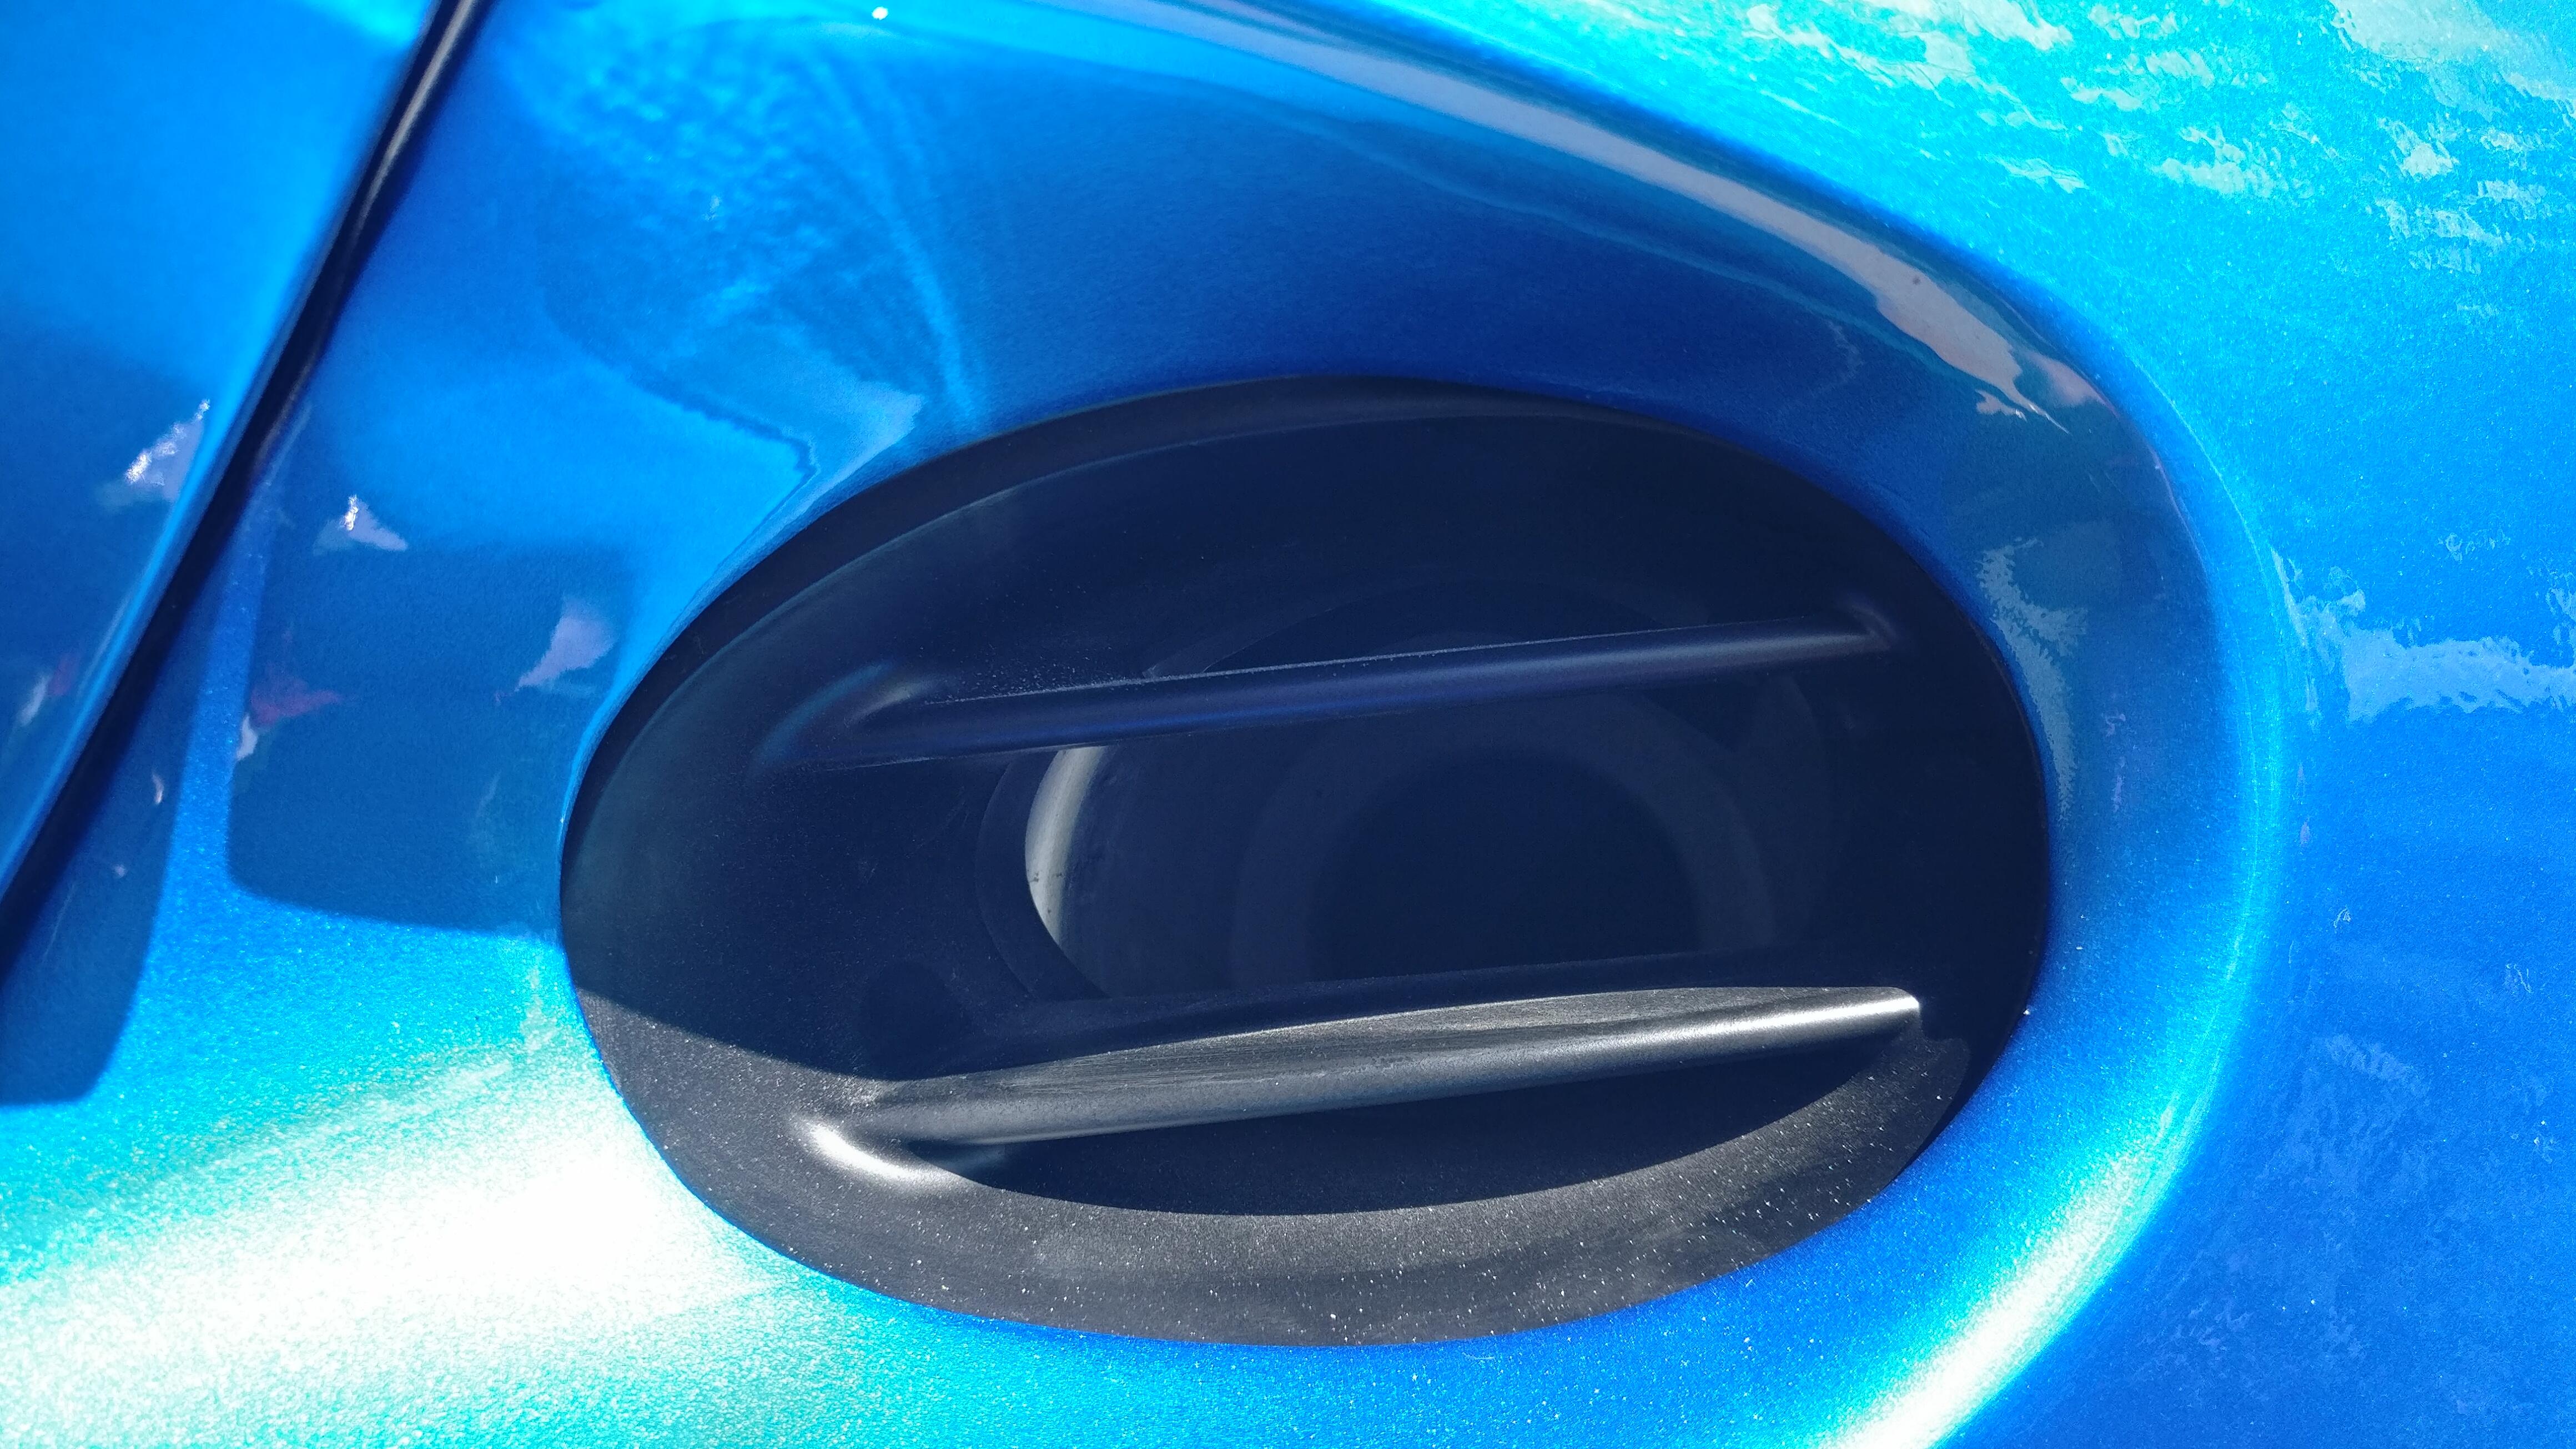
I was able to get the residue off with some sticker remover and a cloth and the cover looks great! A few little imperfections around the edge but expected for something that old, albeit new. I’m really happy with the overall look and now how it fits against the roof. It could be a touch closer but really not worth drilling the hinge for.
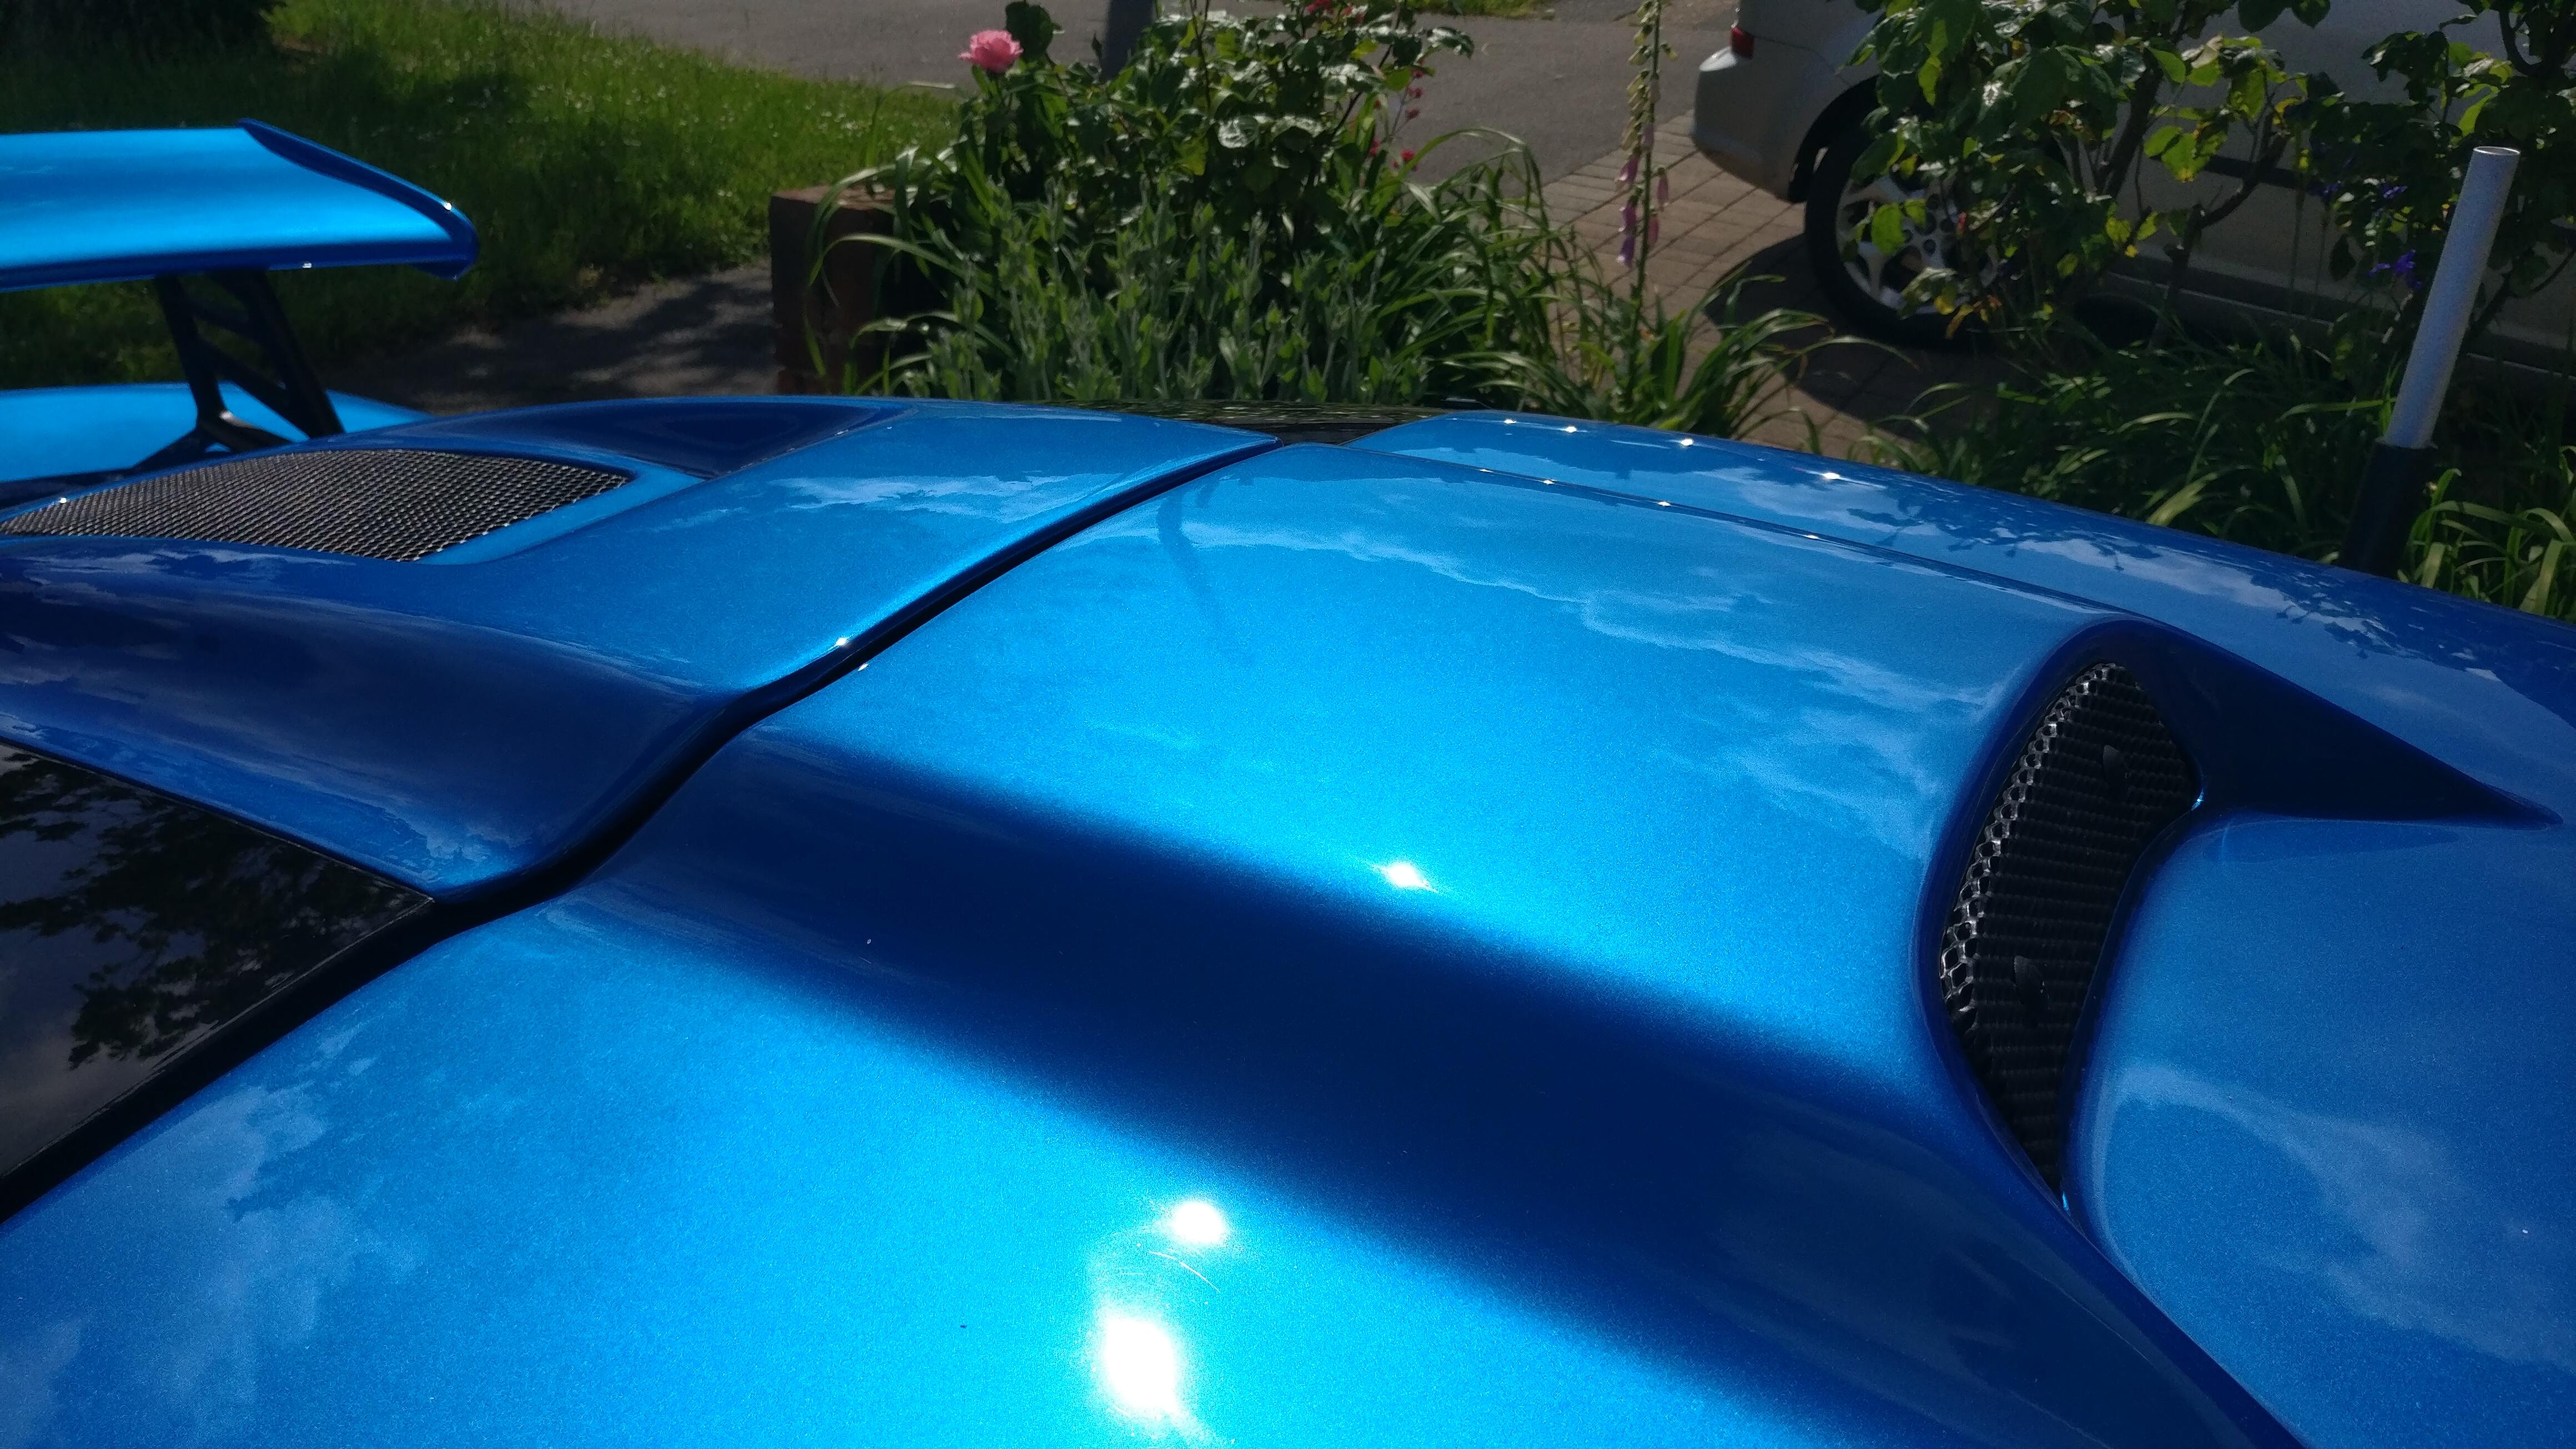

The sun also gave me an opportunity to really see the paint’s metallic and I’m so pleased with how it came out, definitely the right colour choice.
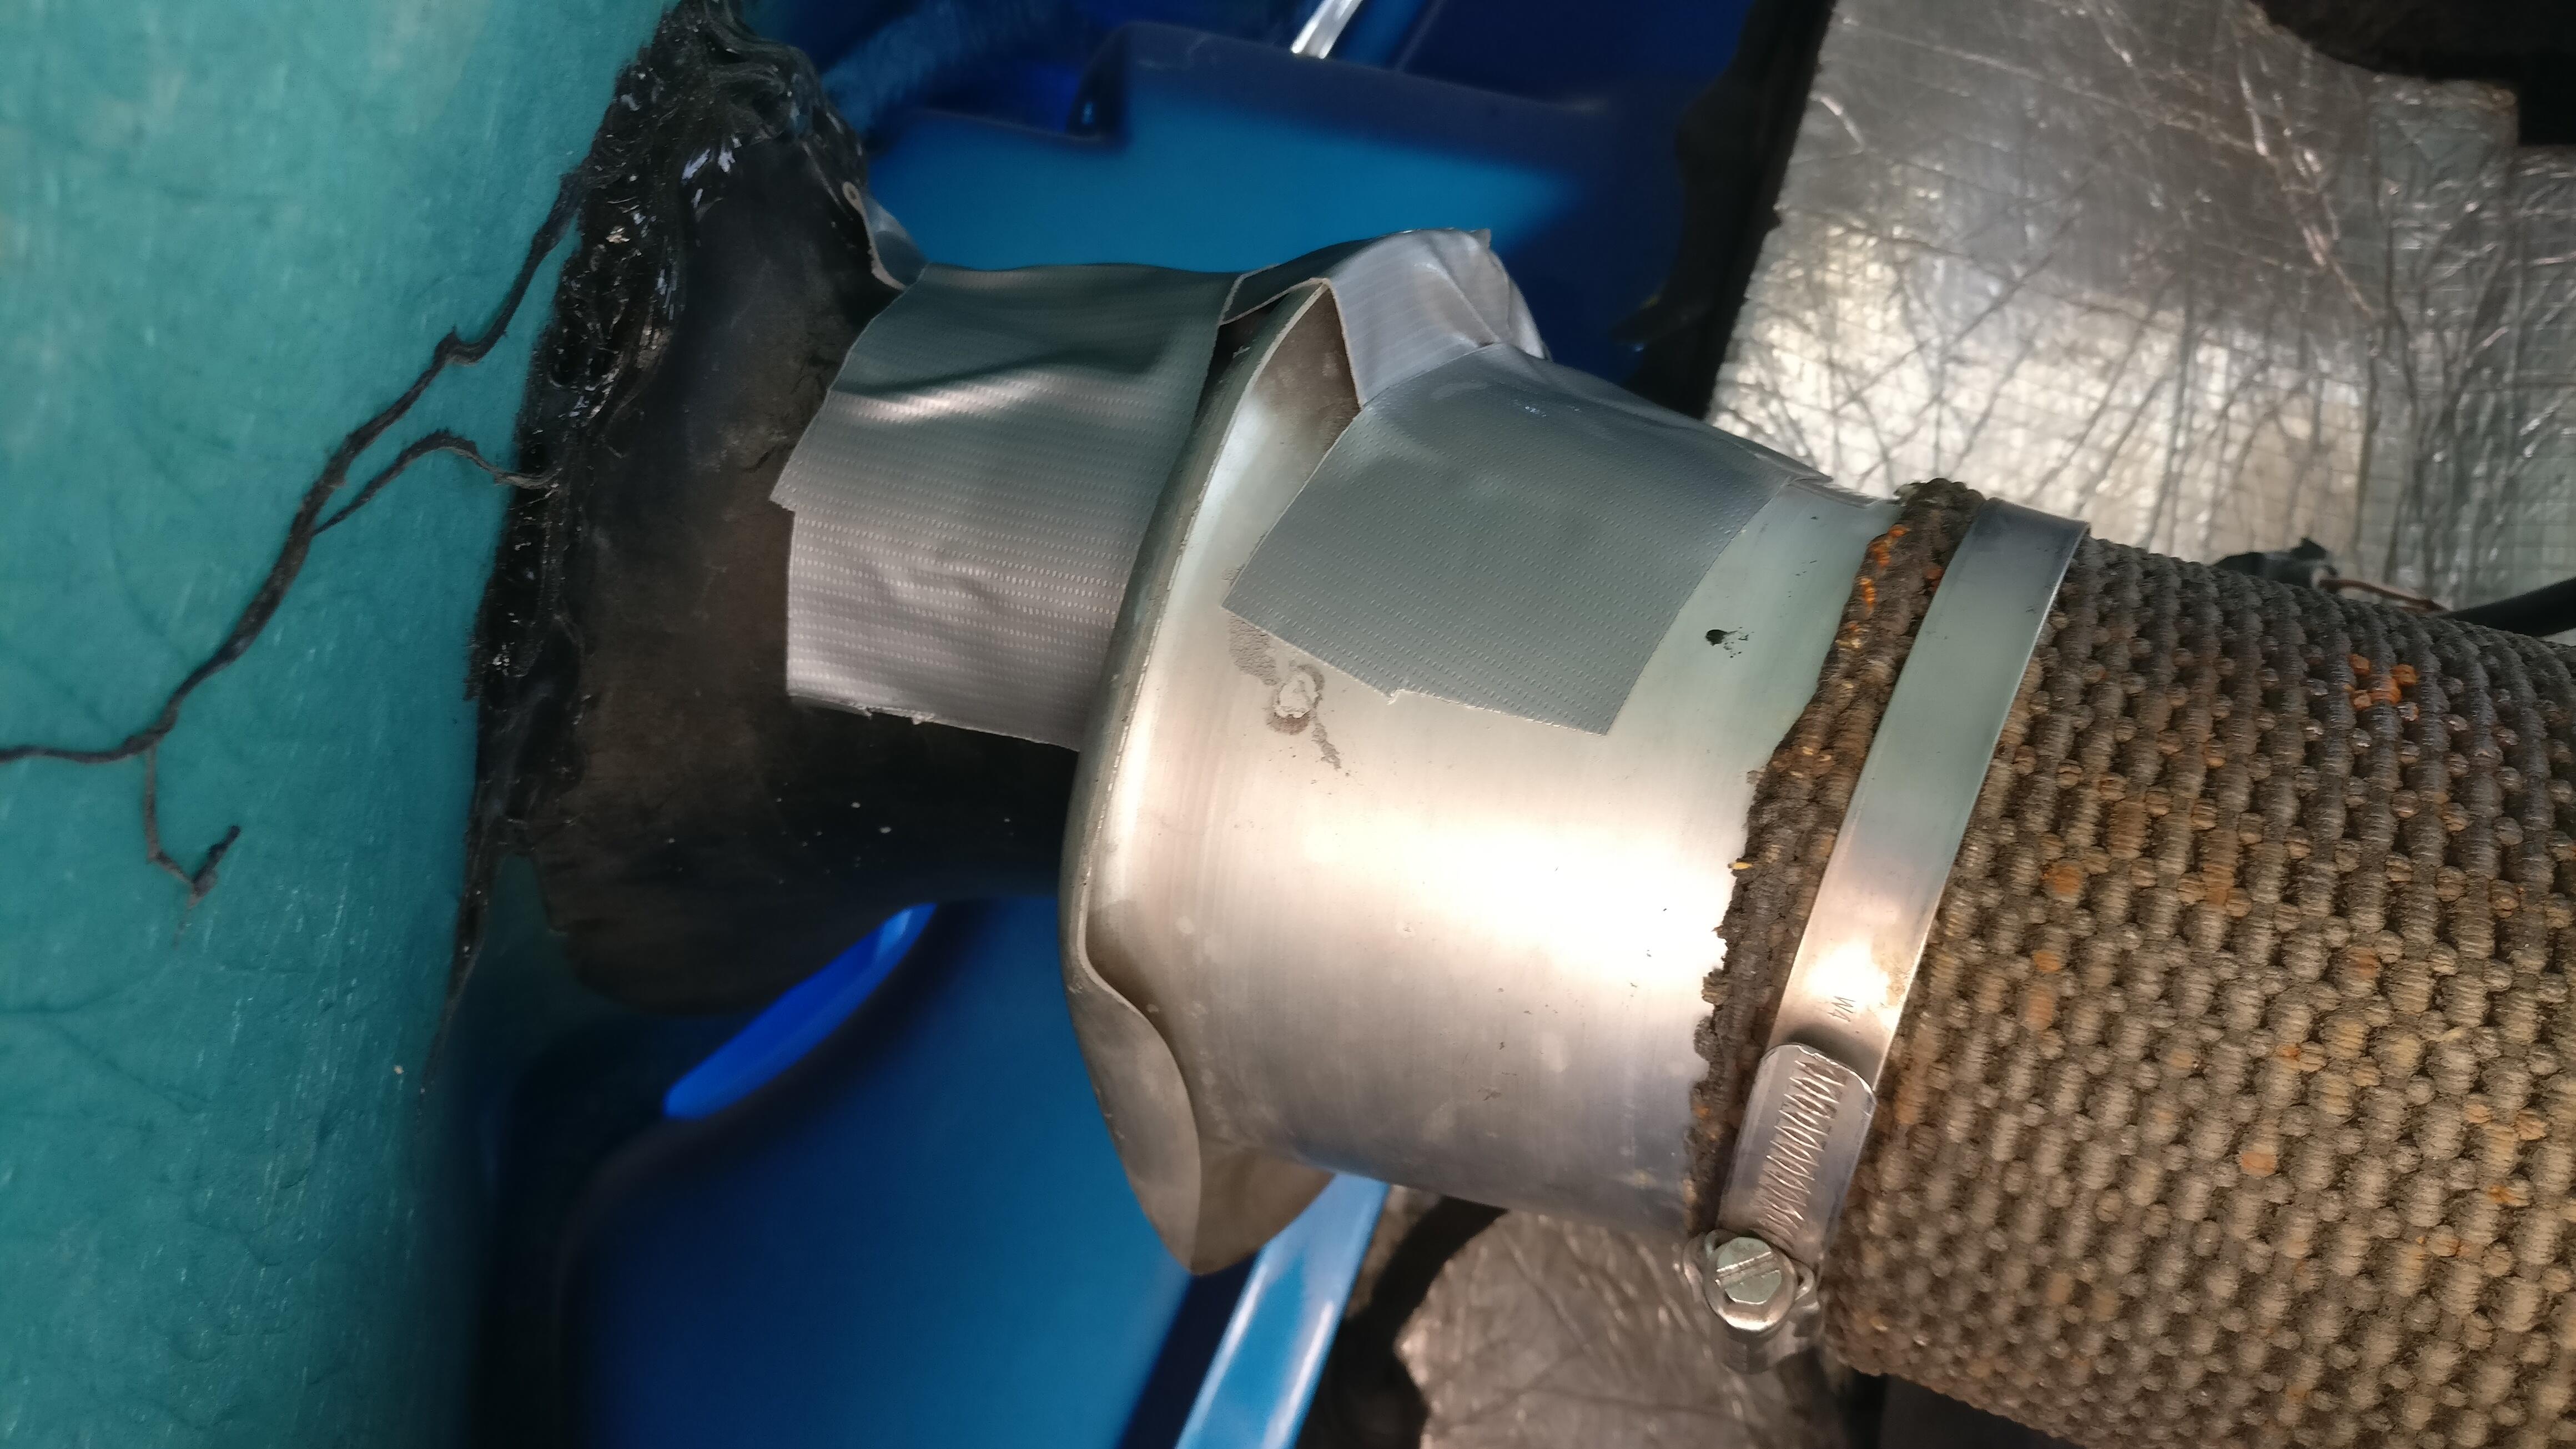
Next essential was to position the air intake as best I could to the grille. Despite pulling it as far as I could my Reverie just wouldn’t quite reach, almost needing the extra little bridging piece like the alternator side for it to sit against. I decided to make my own from some thin plastic and taped it against the grille. I then slid the intake over the new extension and taped it secure. I think the Exige clam being wider meant it didn’t quite reach the same as on the Elise, but I fixed it in the same way before so the tape should do a good job.
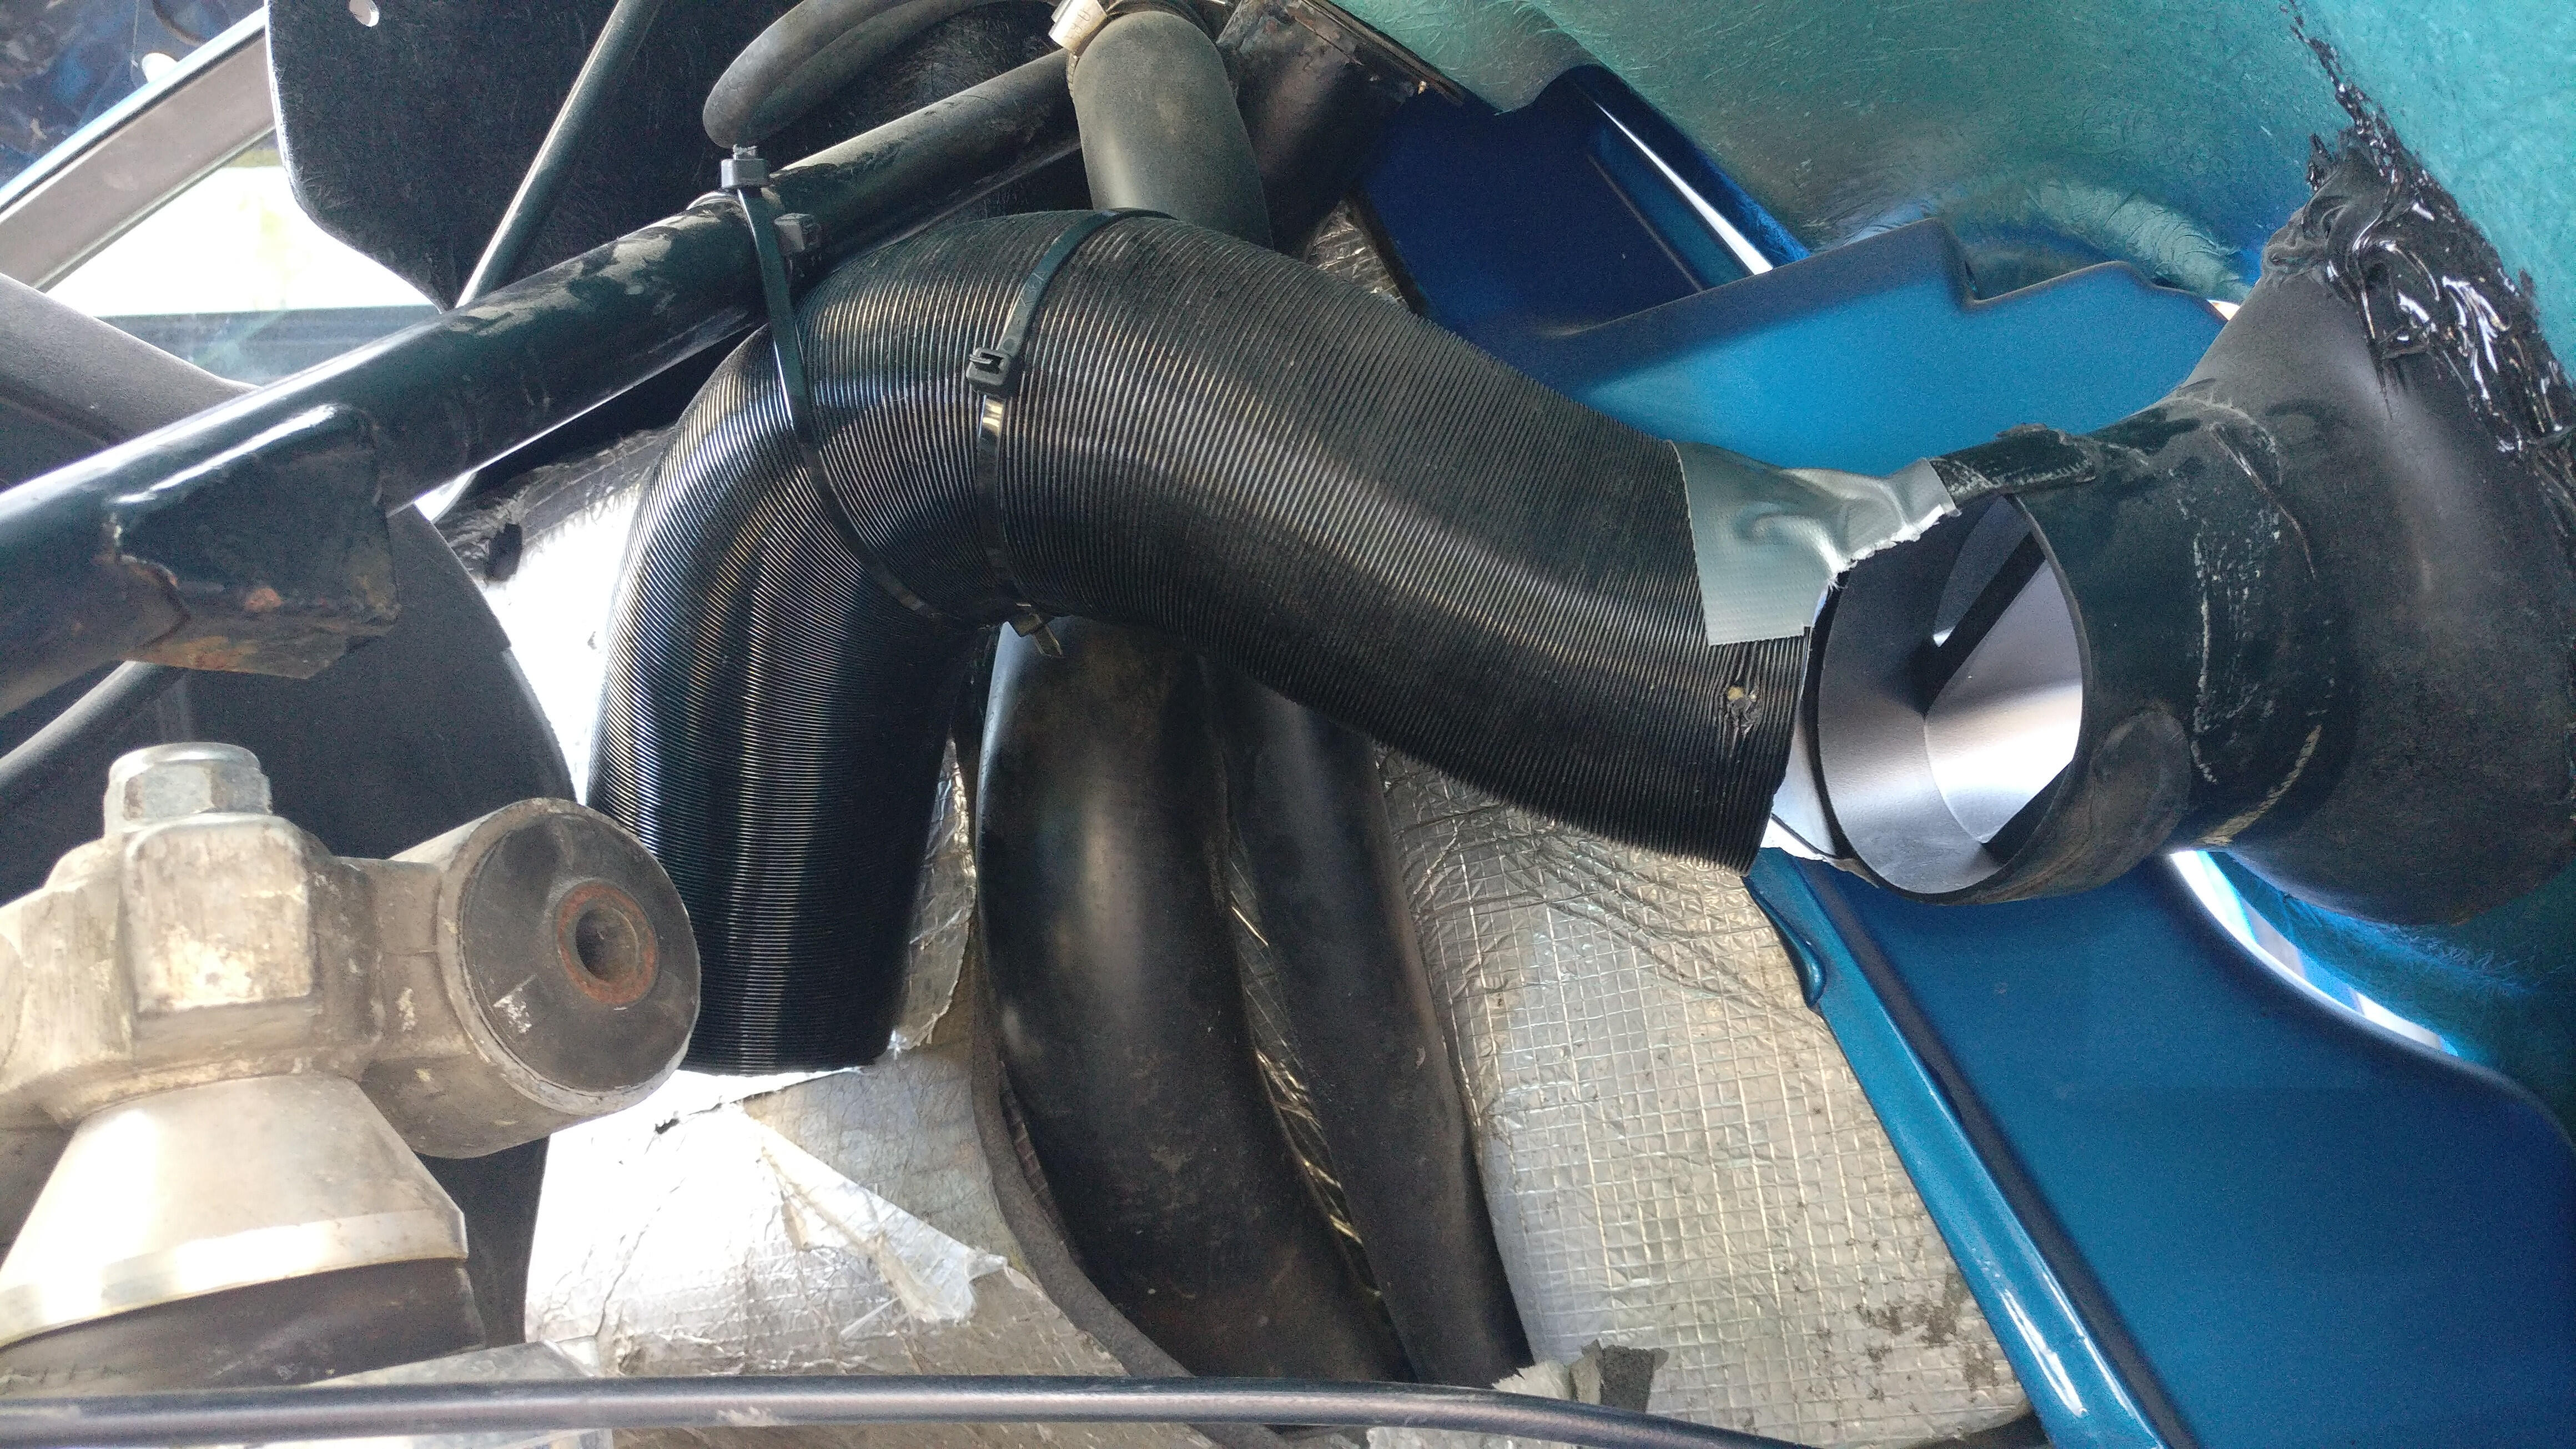
I went to the other side a sorted the alternator cooling pipe. It was too long so I cut it shorter (in doing so breaking all the pop rivets as it is only a weak tube so had to use tape again) and used some cable ties to tie it up out the way.

It should now give some nice cooling to that general area with a bit of luck and much better than the pipe I was using before.
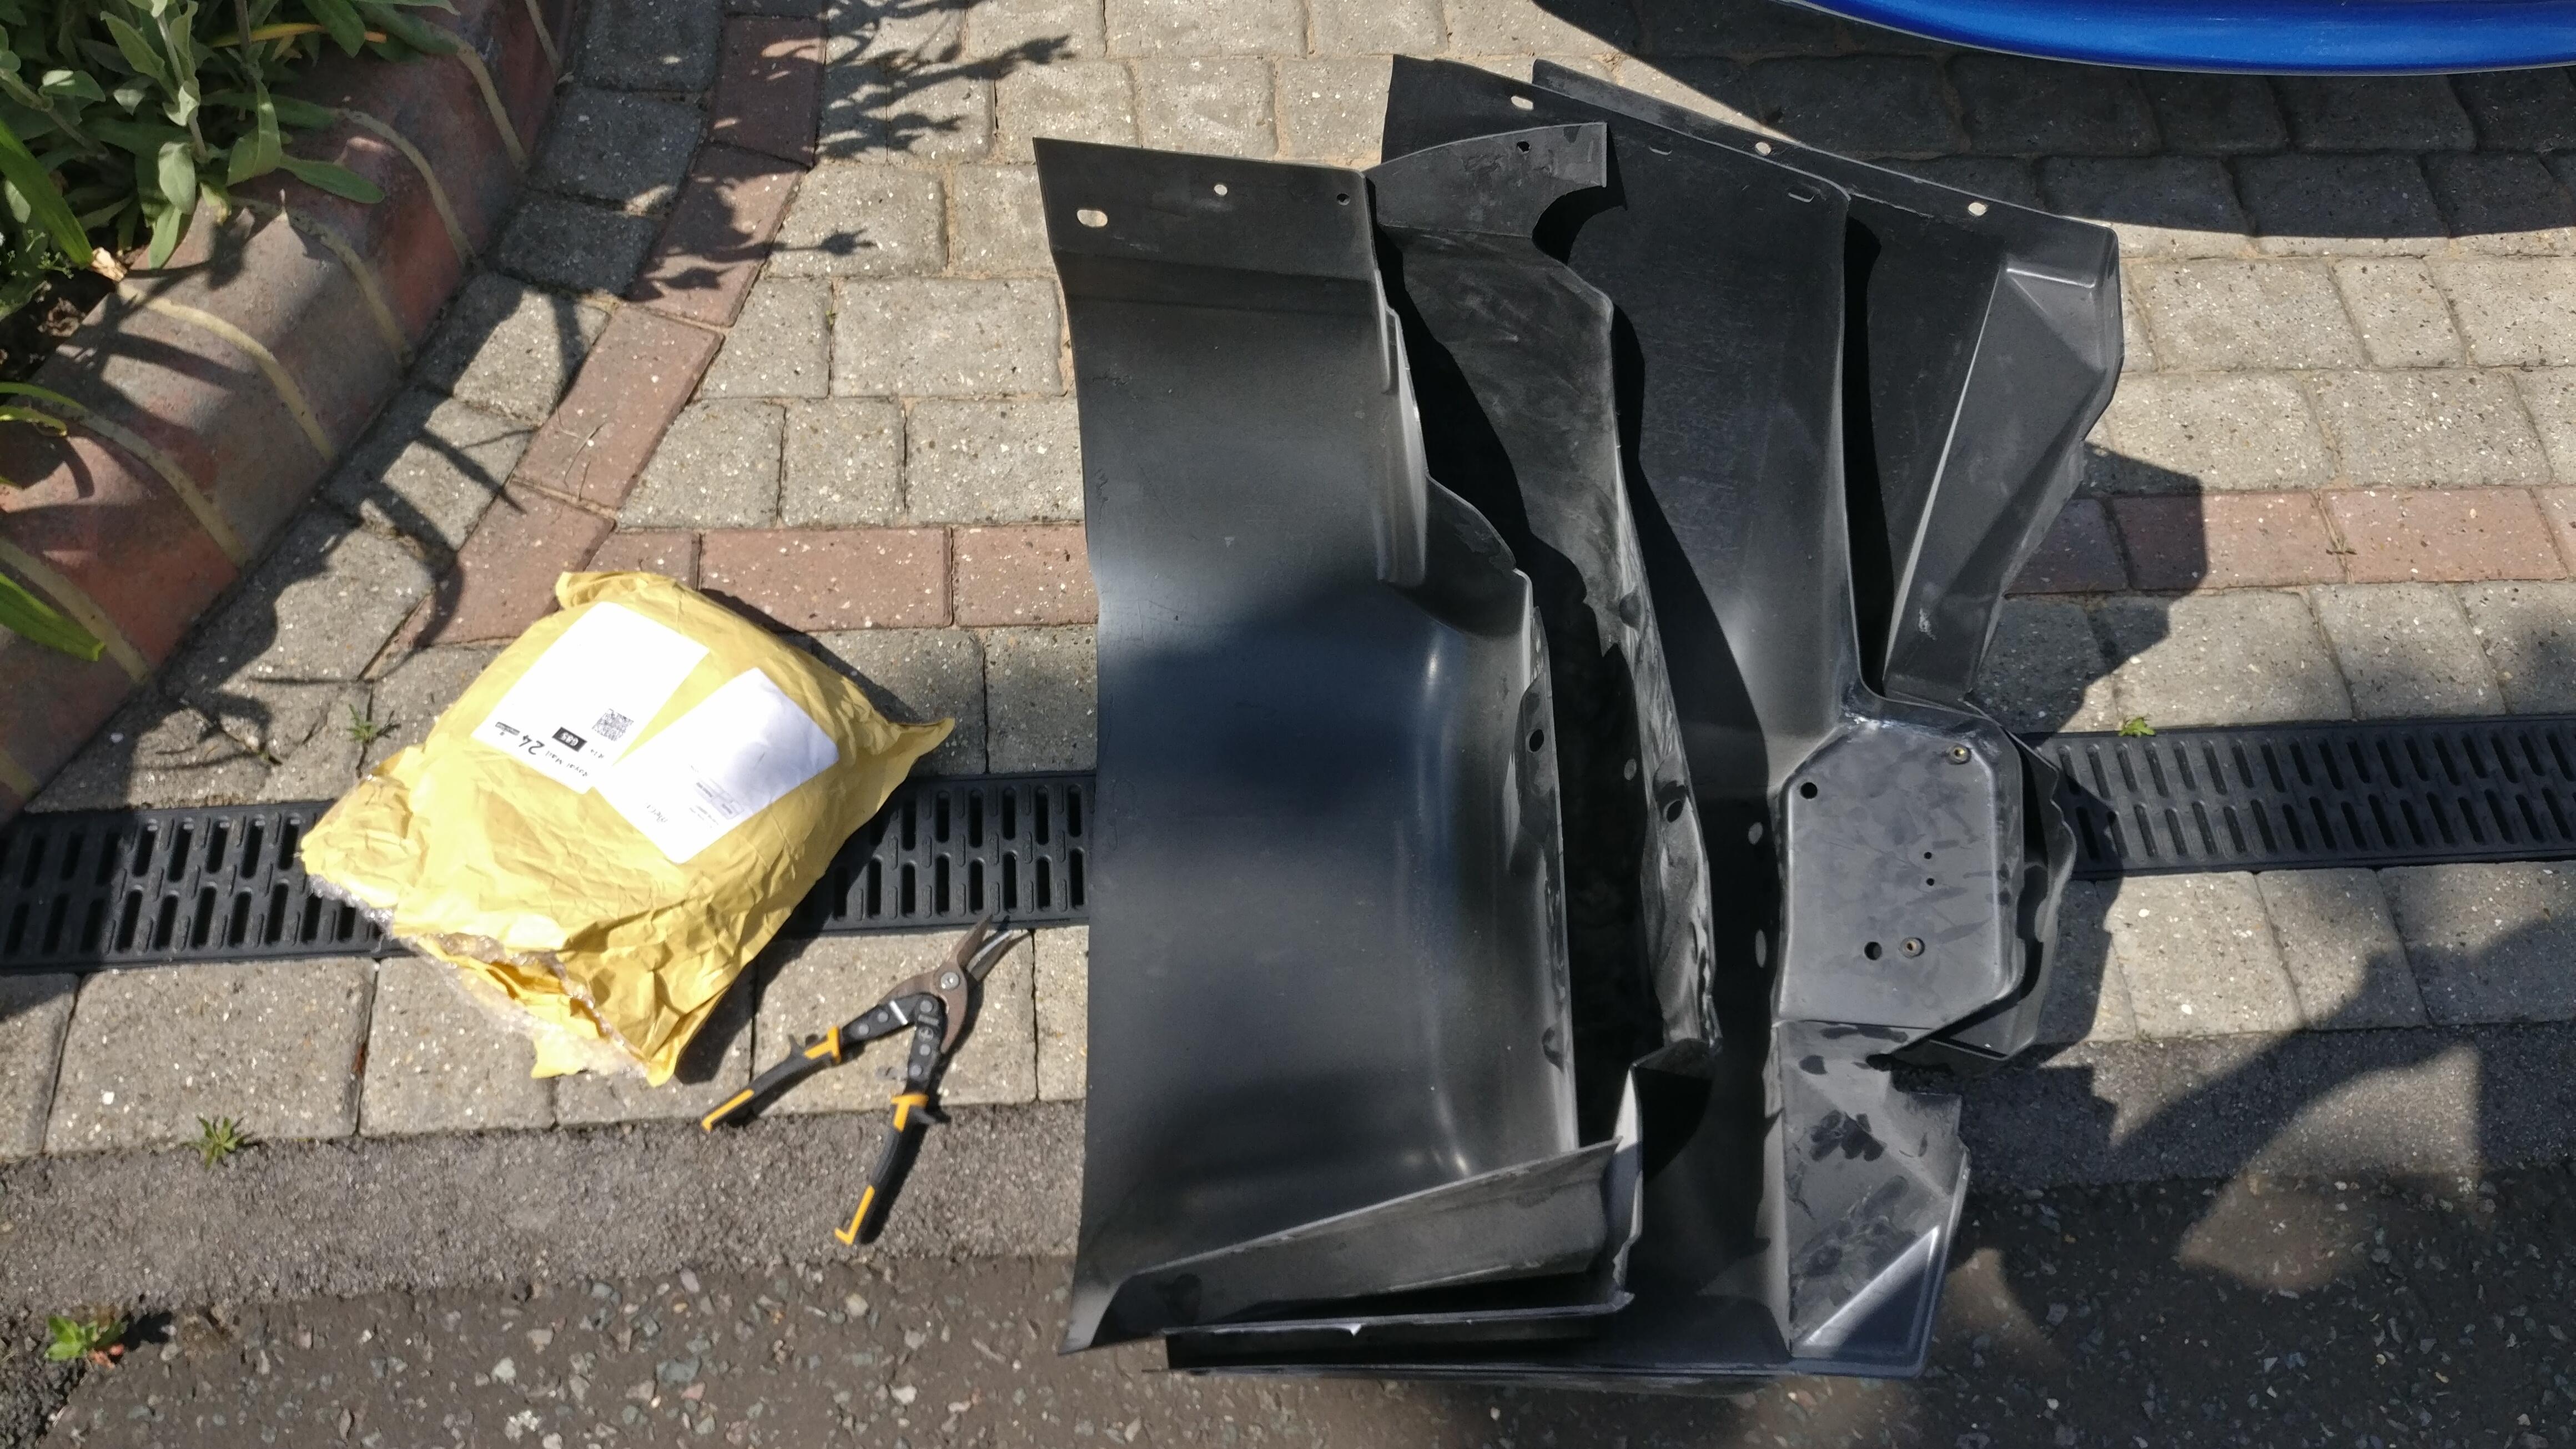
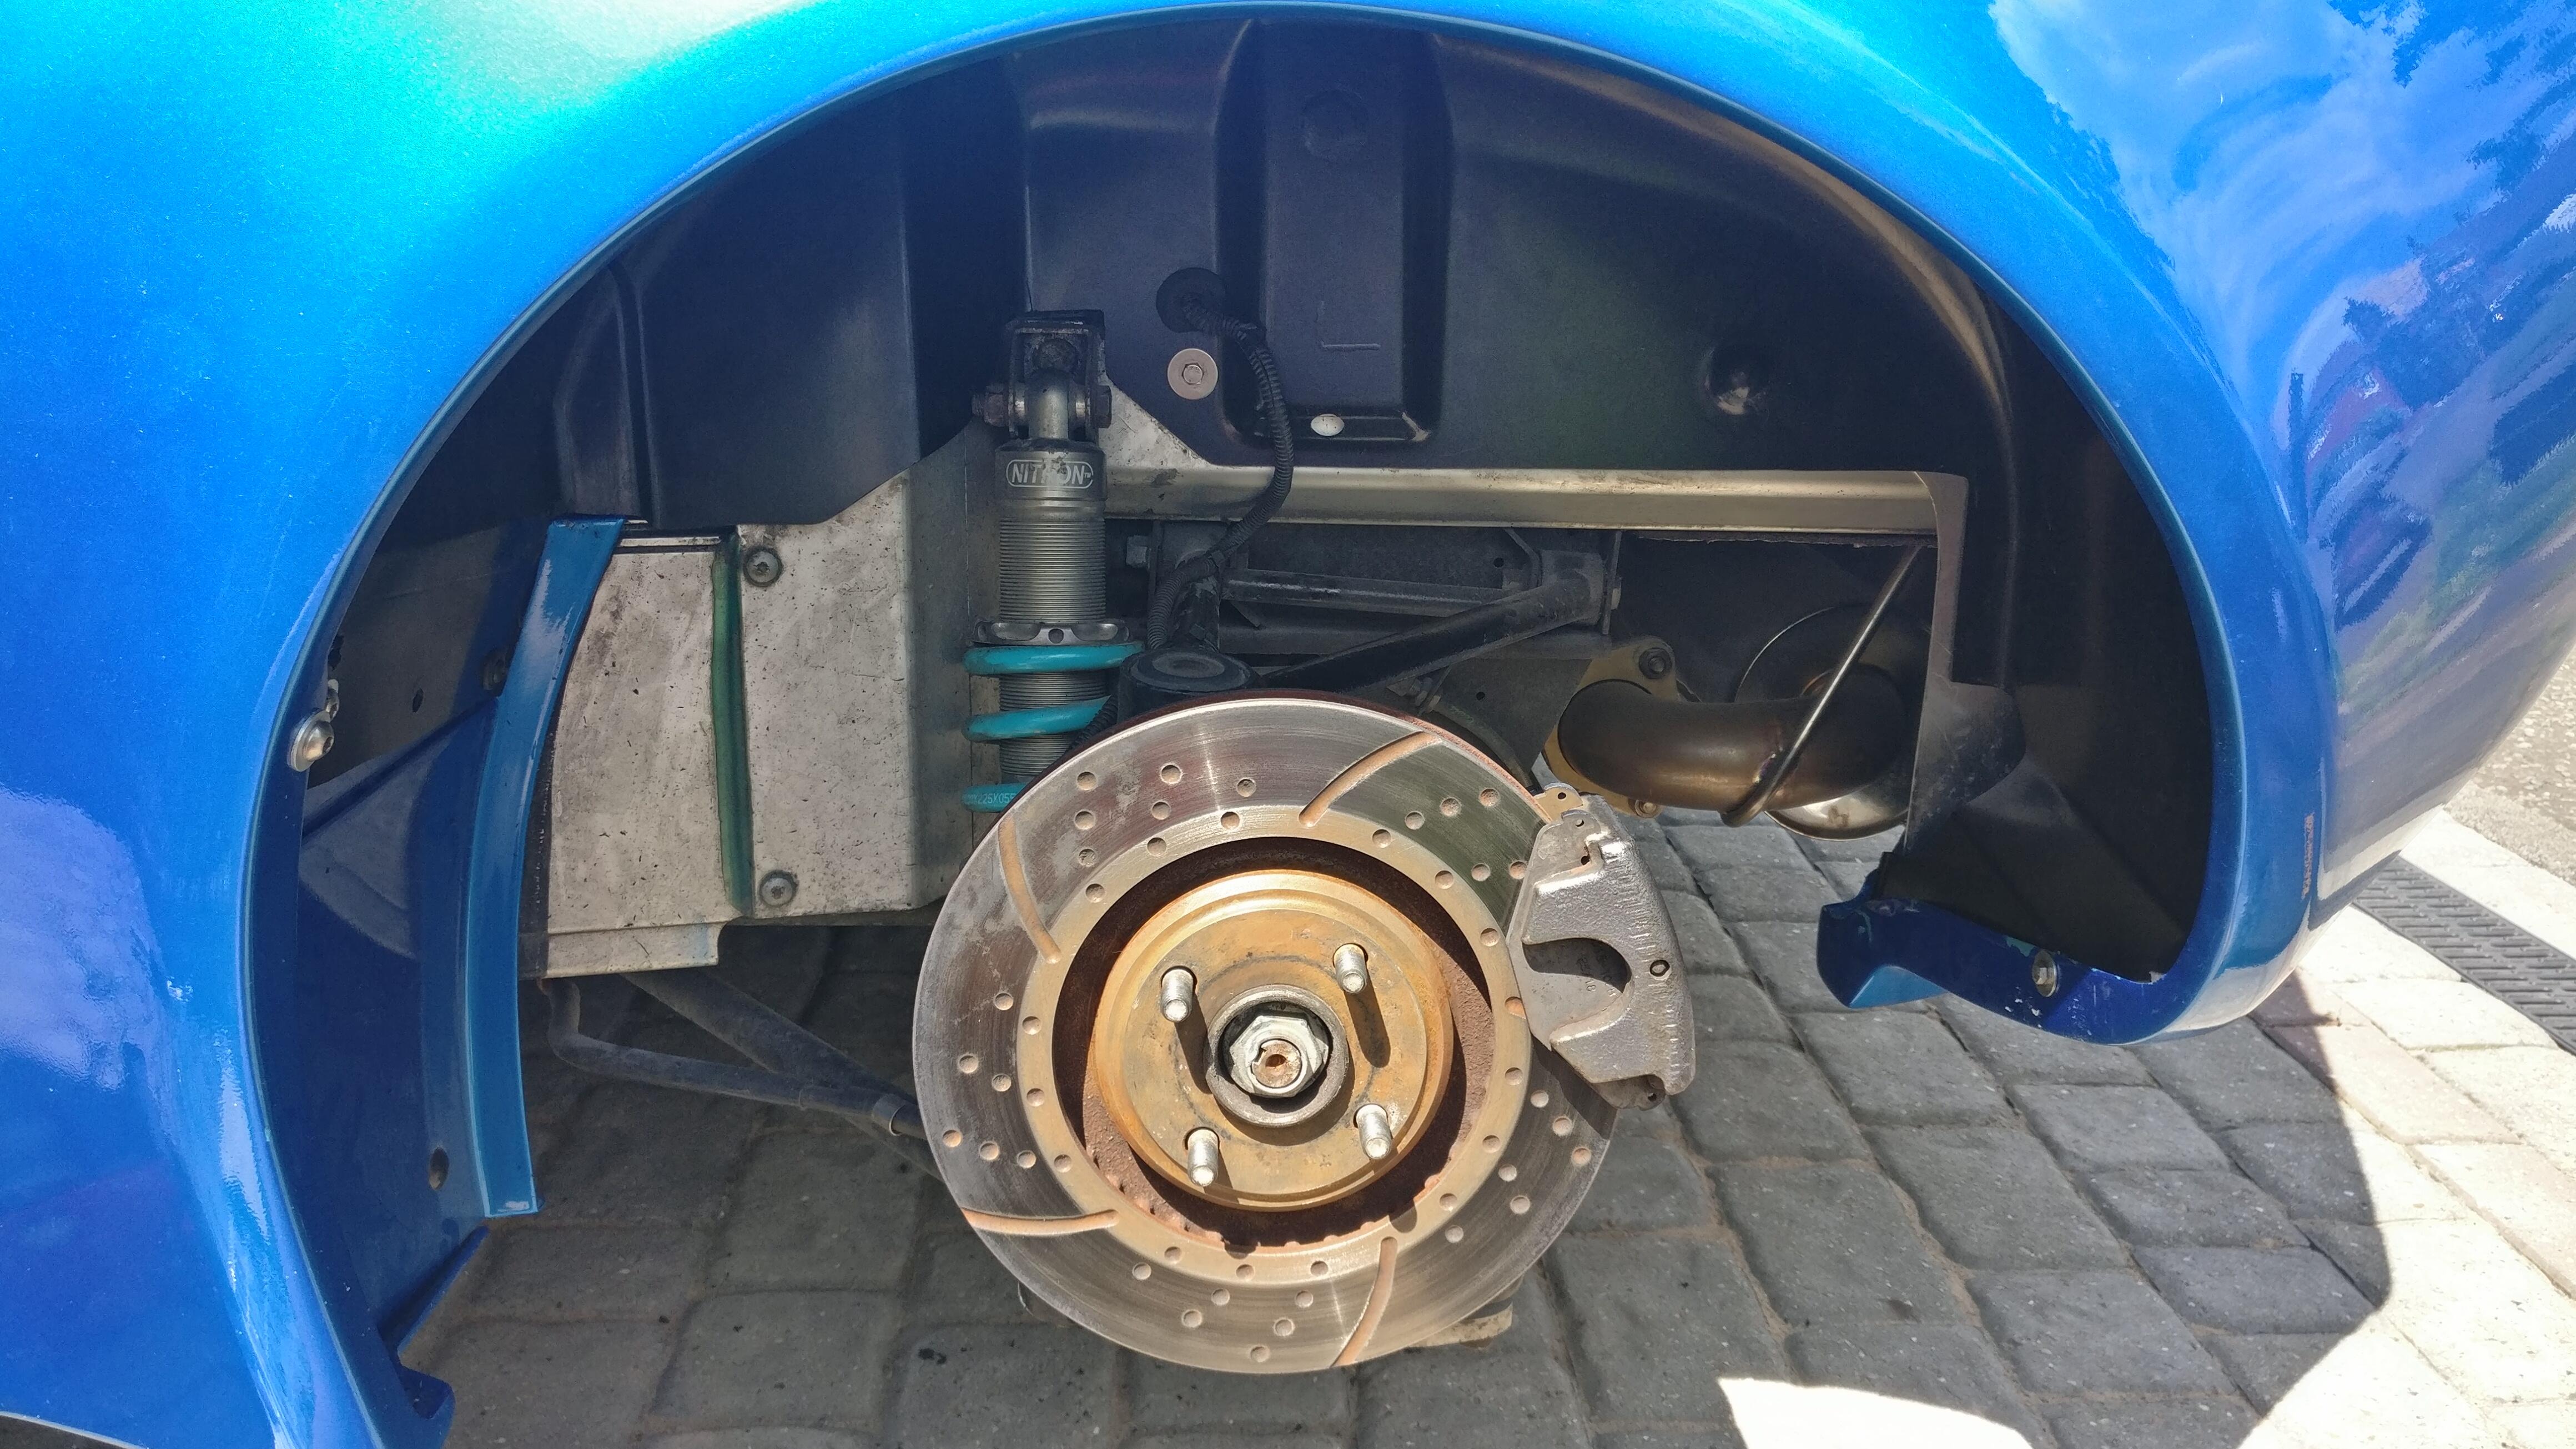
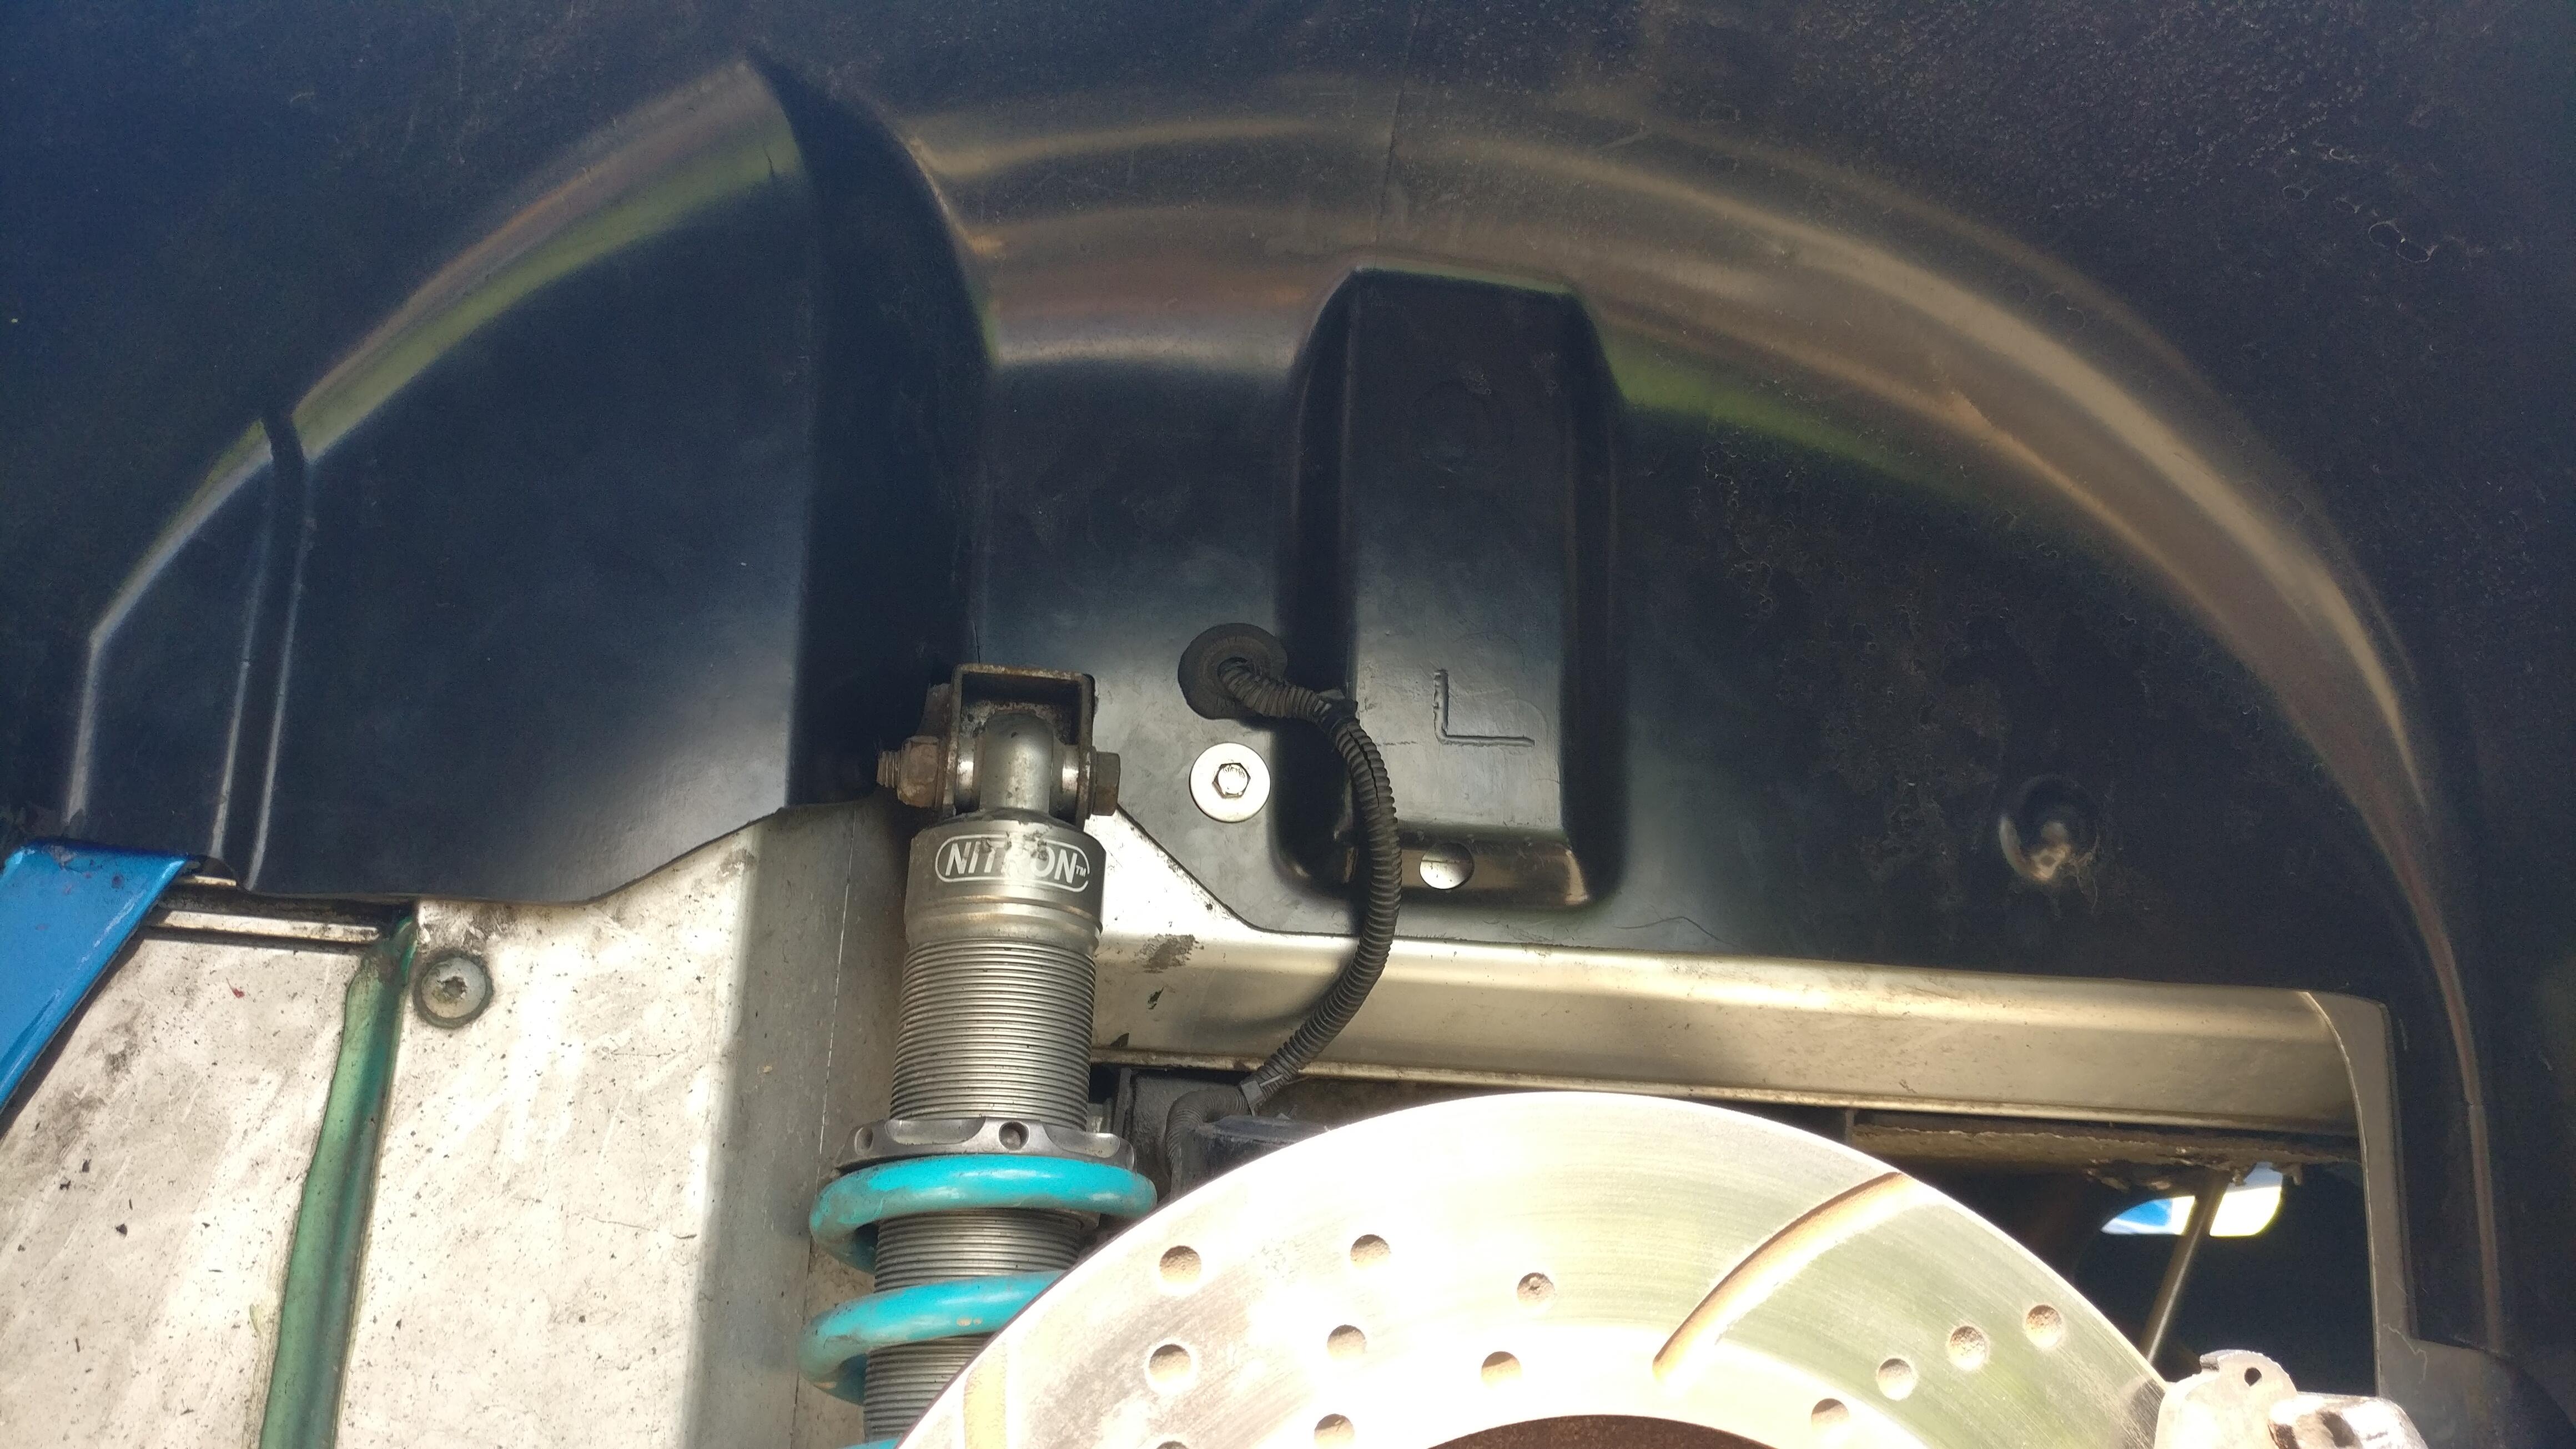
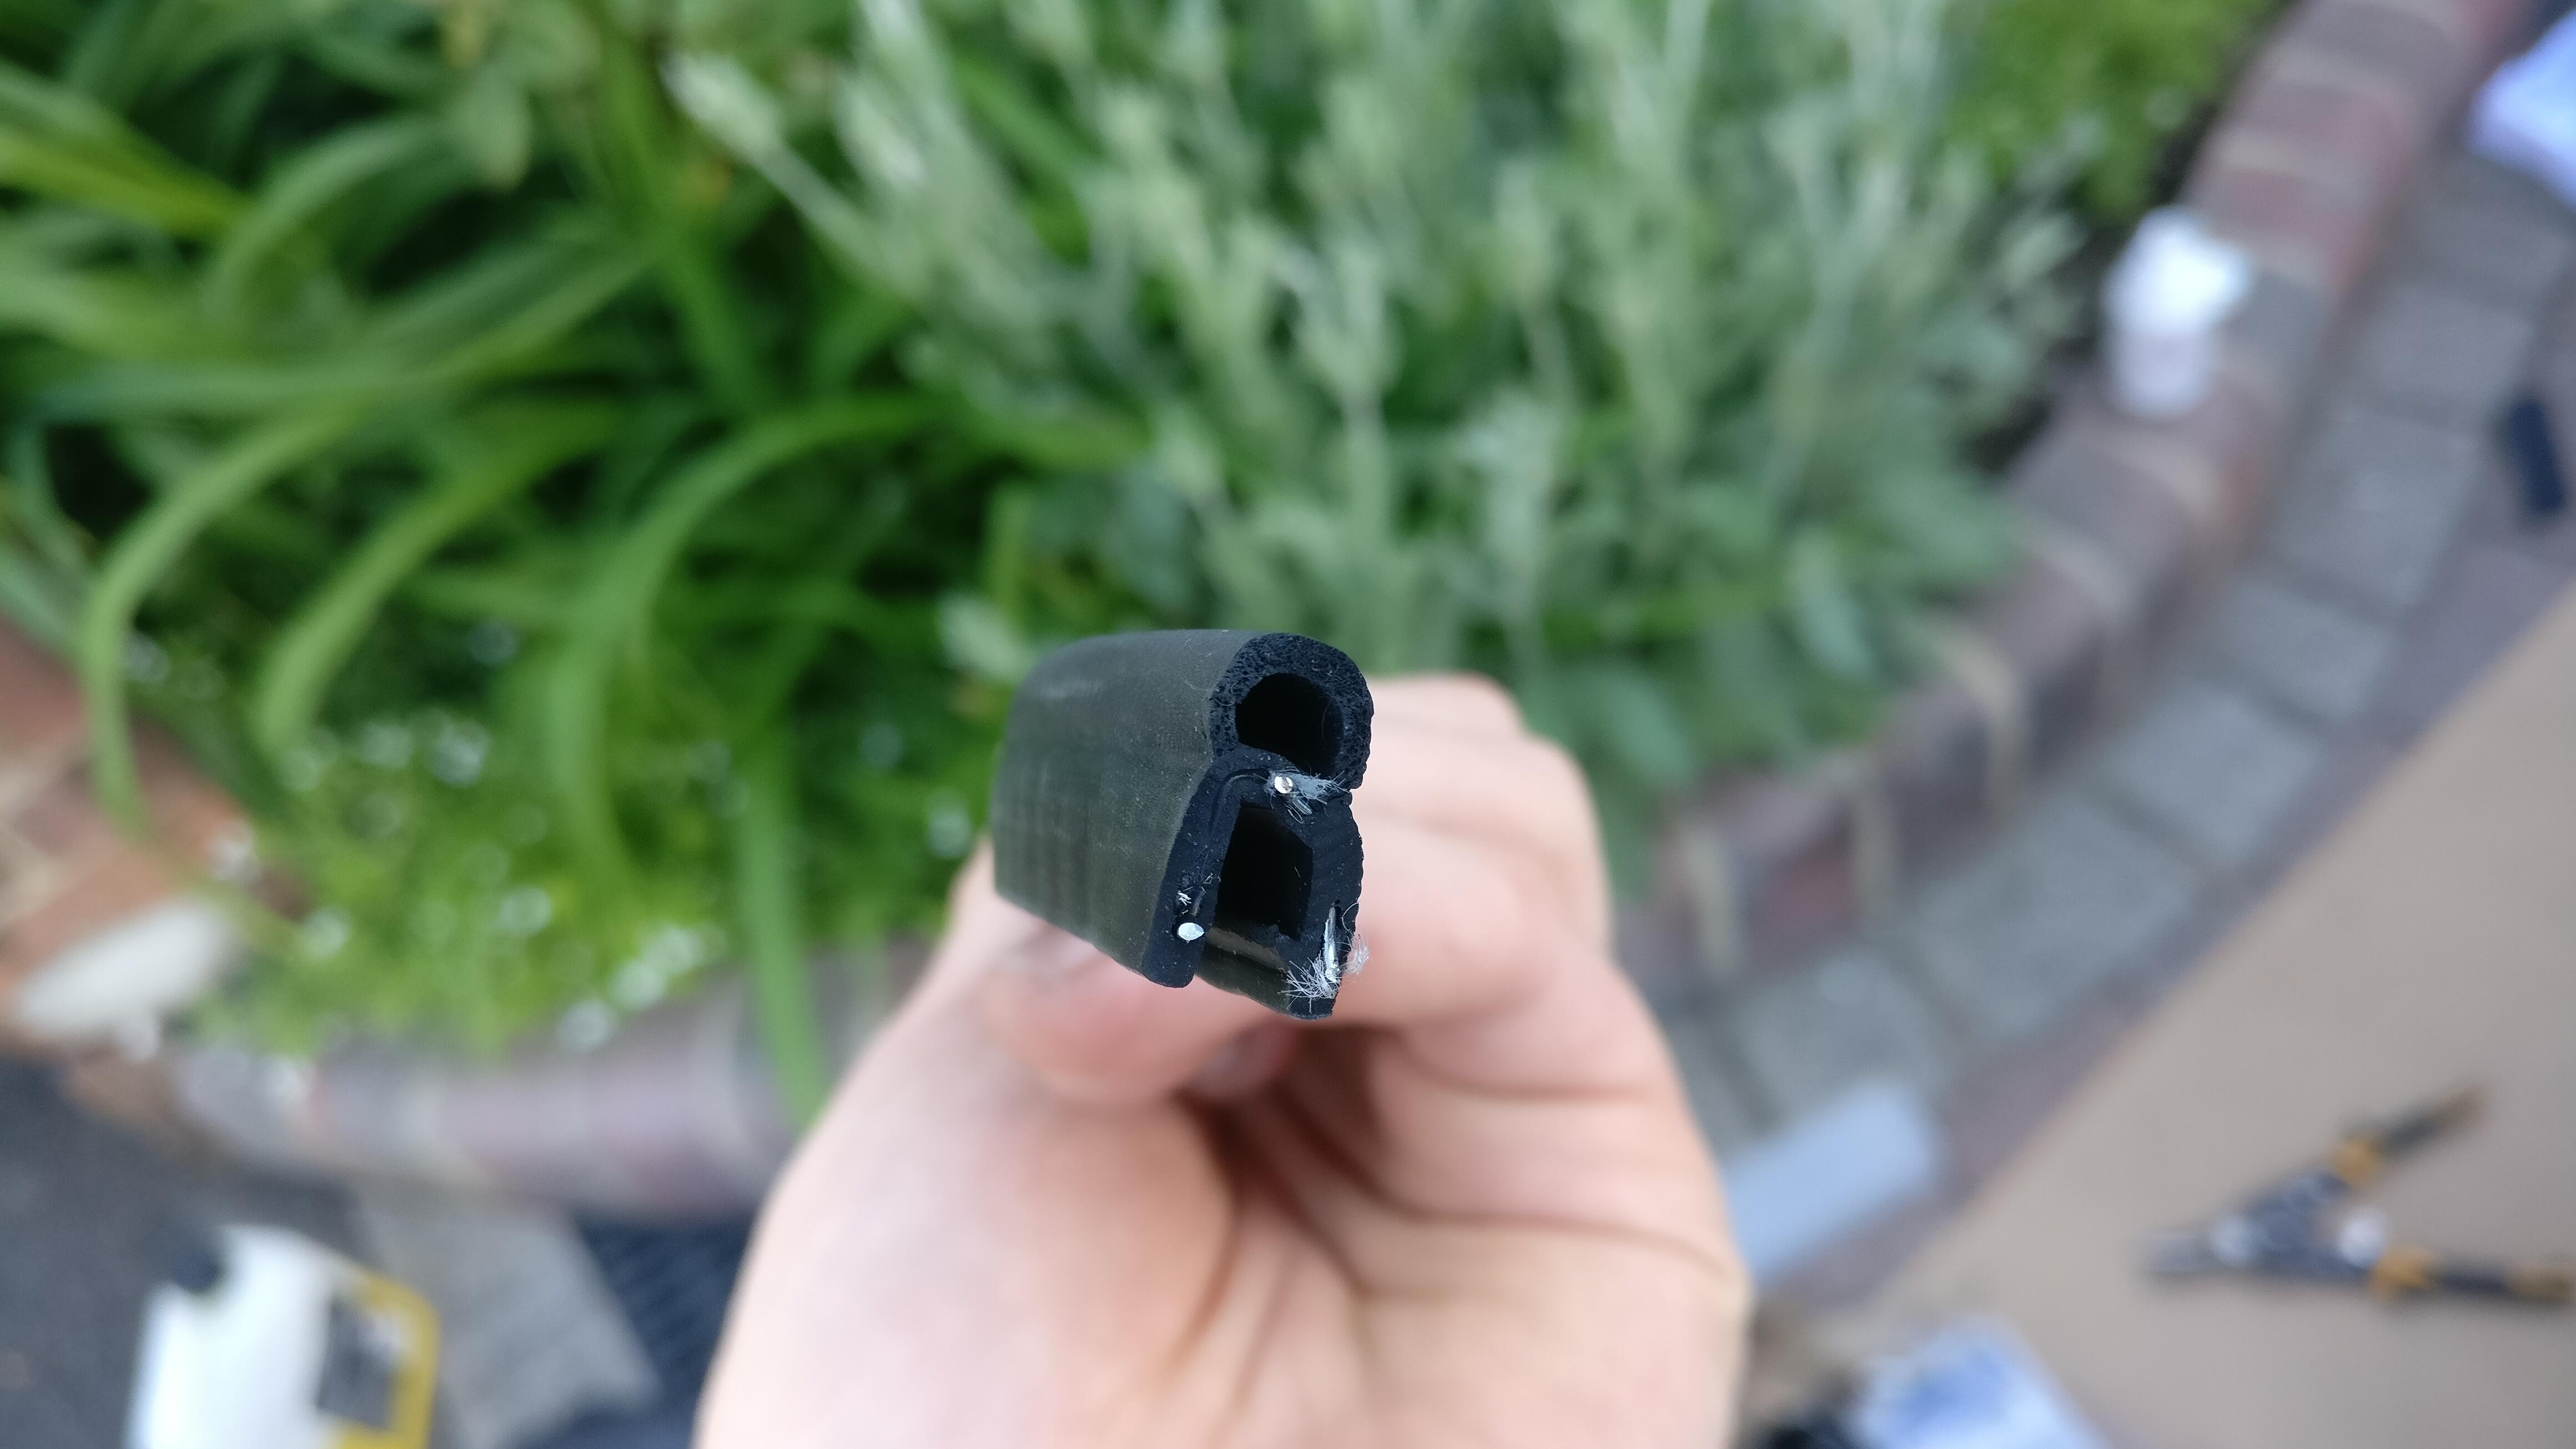
Next were the wheelarch liners. I had already opened up some of the holes in the front liner for the captive nuts and put them in position for the fuse box to screw into. I also bought some nice new weather seal to go around the edge of the liners.
I placed the seals around the edge and cut them to length.
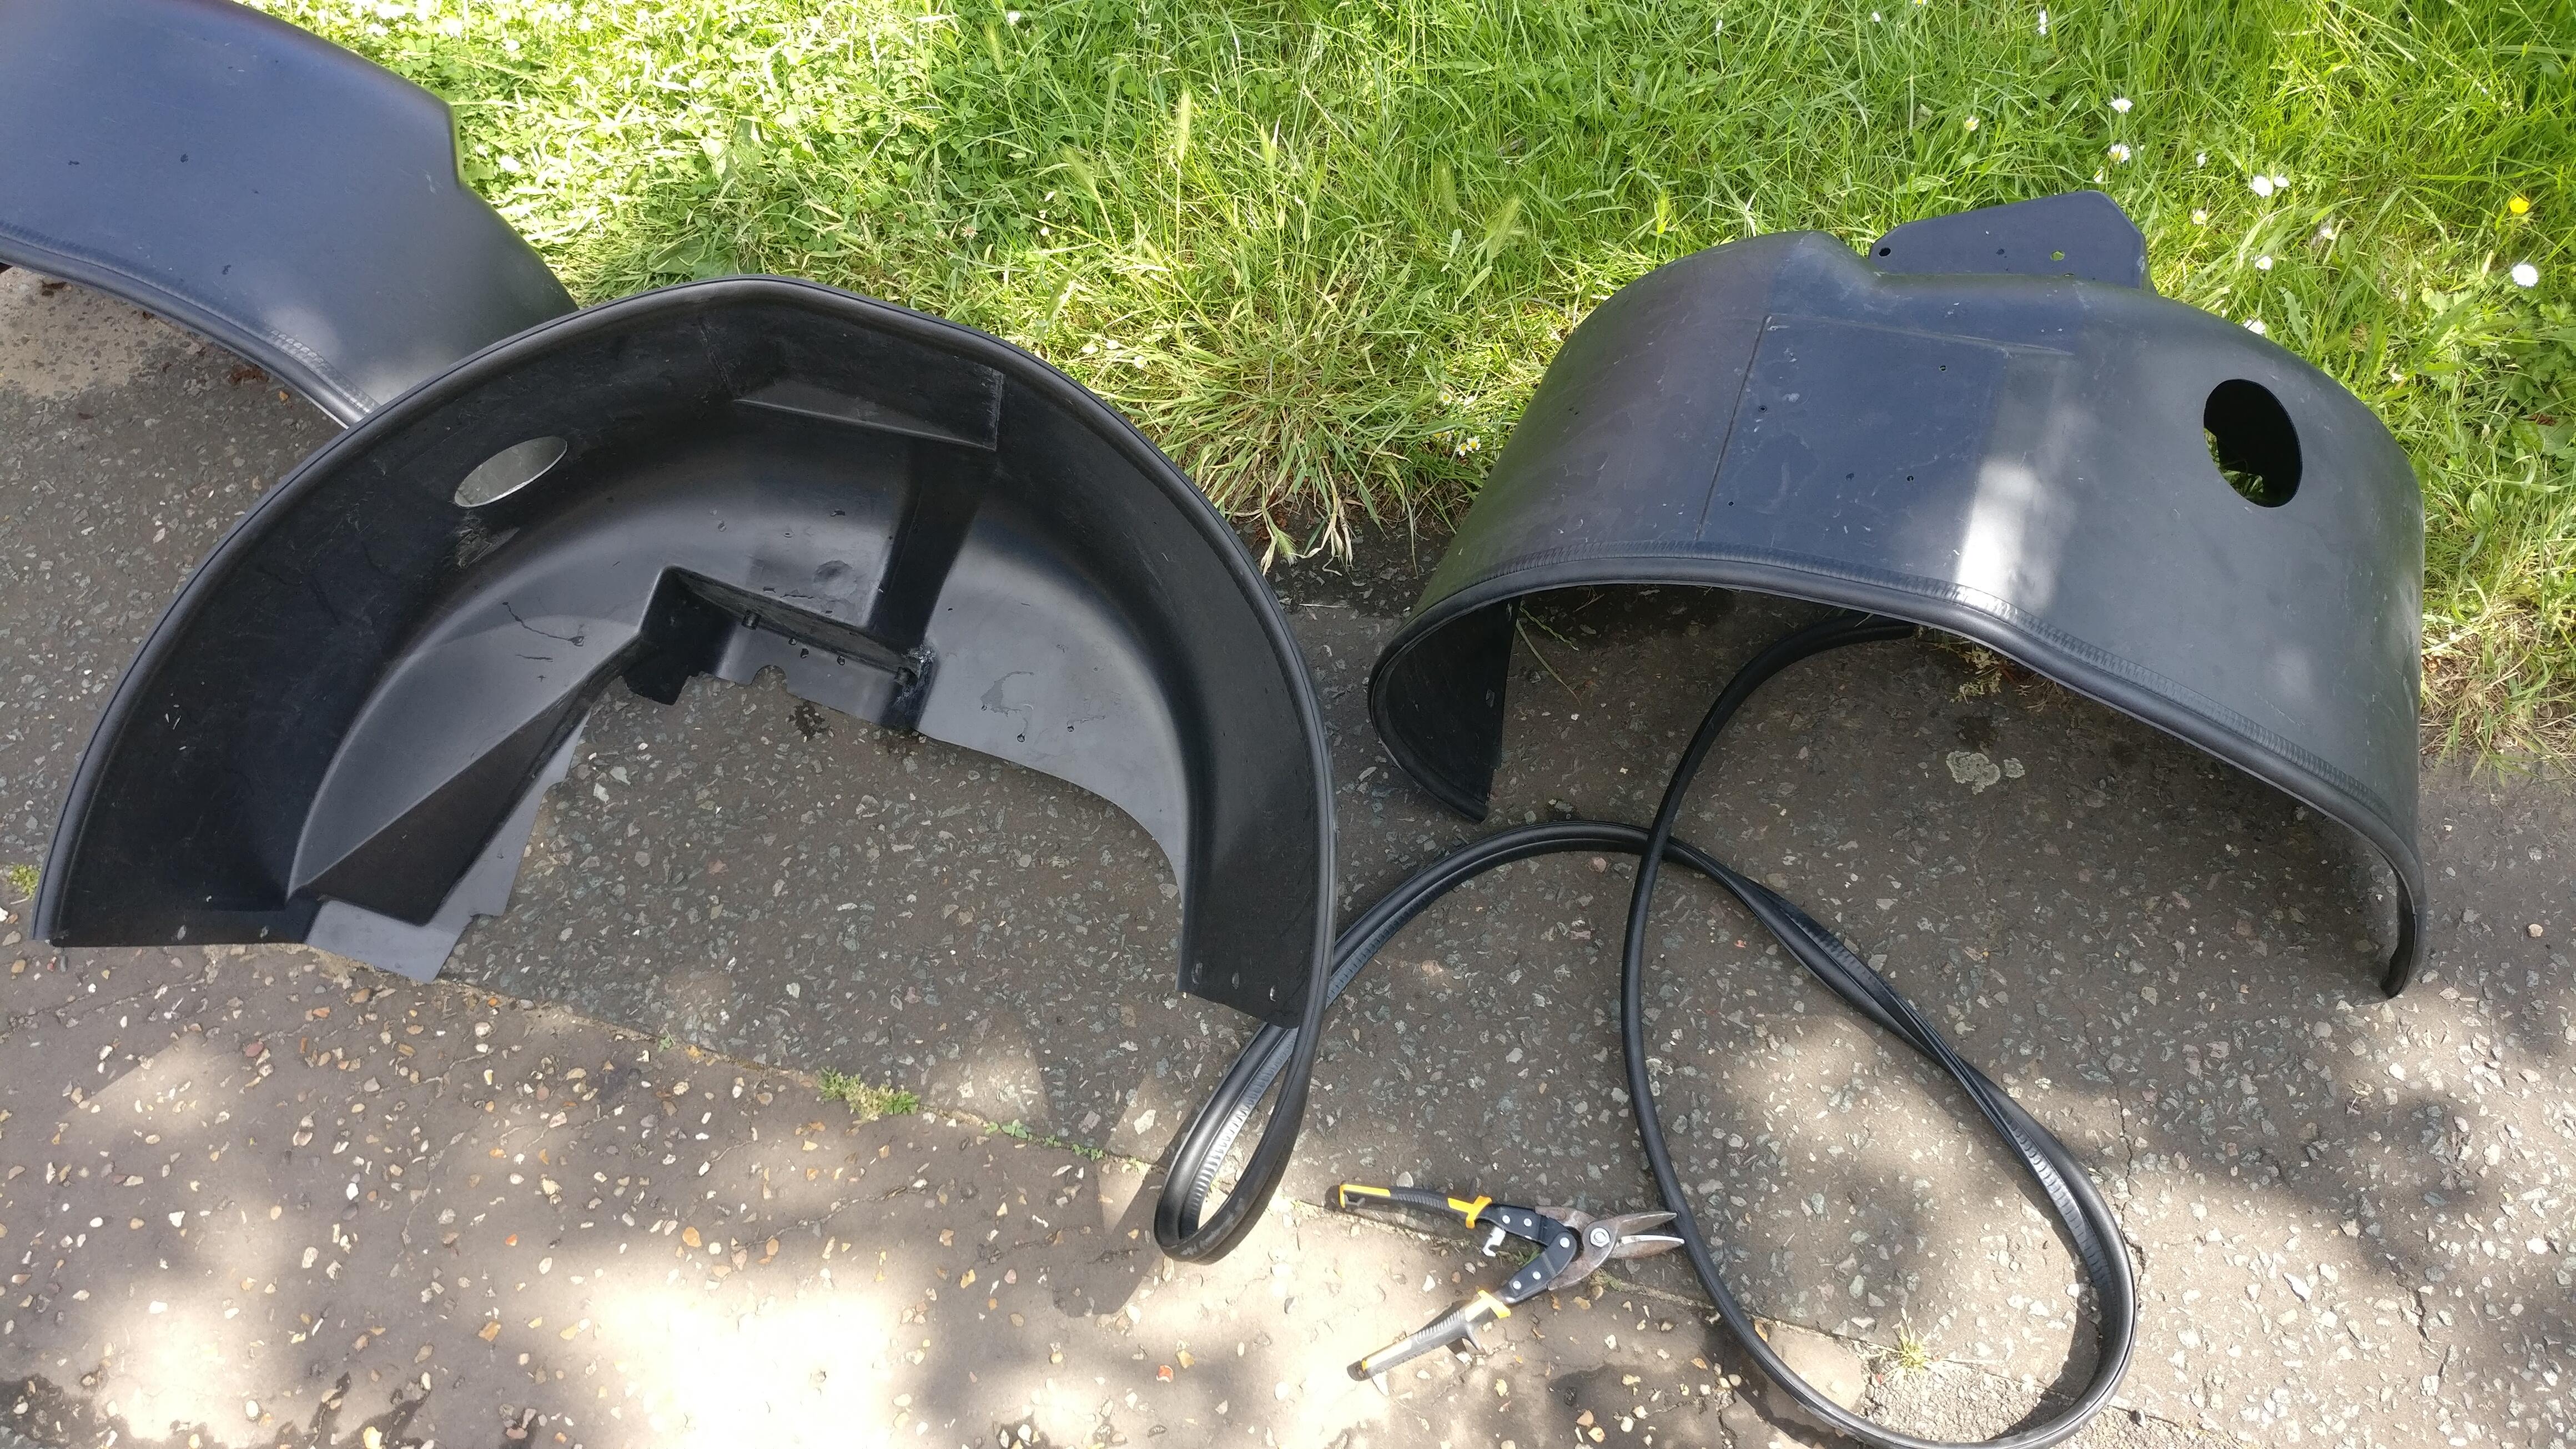
I was hoping these would be easy to fit, but the rears were far from it. Initially I tried to fit them with the seals on, but in the end realised I wasn’t going to do it and pulled them off. I then had to remove the bottom fixing bolts on the clam and pulled it outwards to allow for more room. Even that was super tight but eventually I was able to crease, bend and fold them into position and lost a lot of skin doing so. Then slowly folding one end down and working along I was able to put the weather seals on.
Even though they were in position the holes didn’t really line up. Some I had to open up with the dremel and then a few plastic fasteners went on to hold it in place. I thought i wouldn’t need all the fastenings because they are so tight they aren’t going anywhere. I drilled holes in the clam for the rear fixings and put small bolts through into spire nuts on the liners to finish them off.
For the rears I put the speedo sensor cable through and cable tied it to the wishbone out the way.
The fronts were easier than the rears, sliding and bending into position reasonably quickly.
I added rubber bungs to fill the holes in the driver’s side as I will not be refitting the tyre weld can thing.
Similarly to the rears, a few holes needed opening out to line up with the sill holes, and after drilling holes into the splitter and fitting the spire nuts and bolts they were in position also.
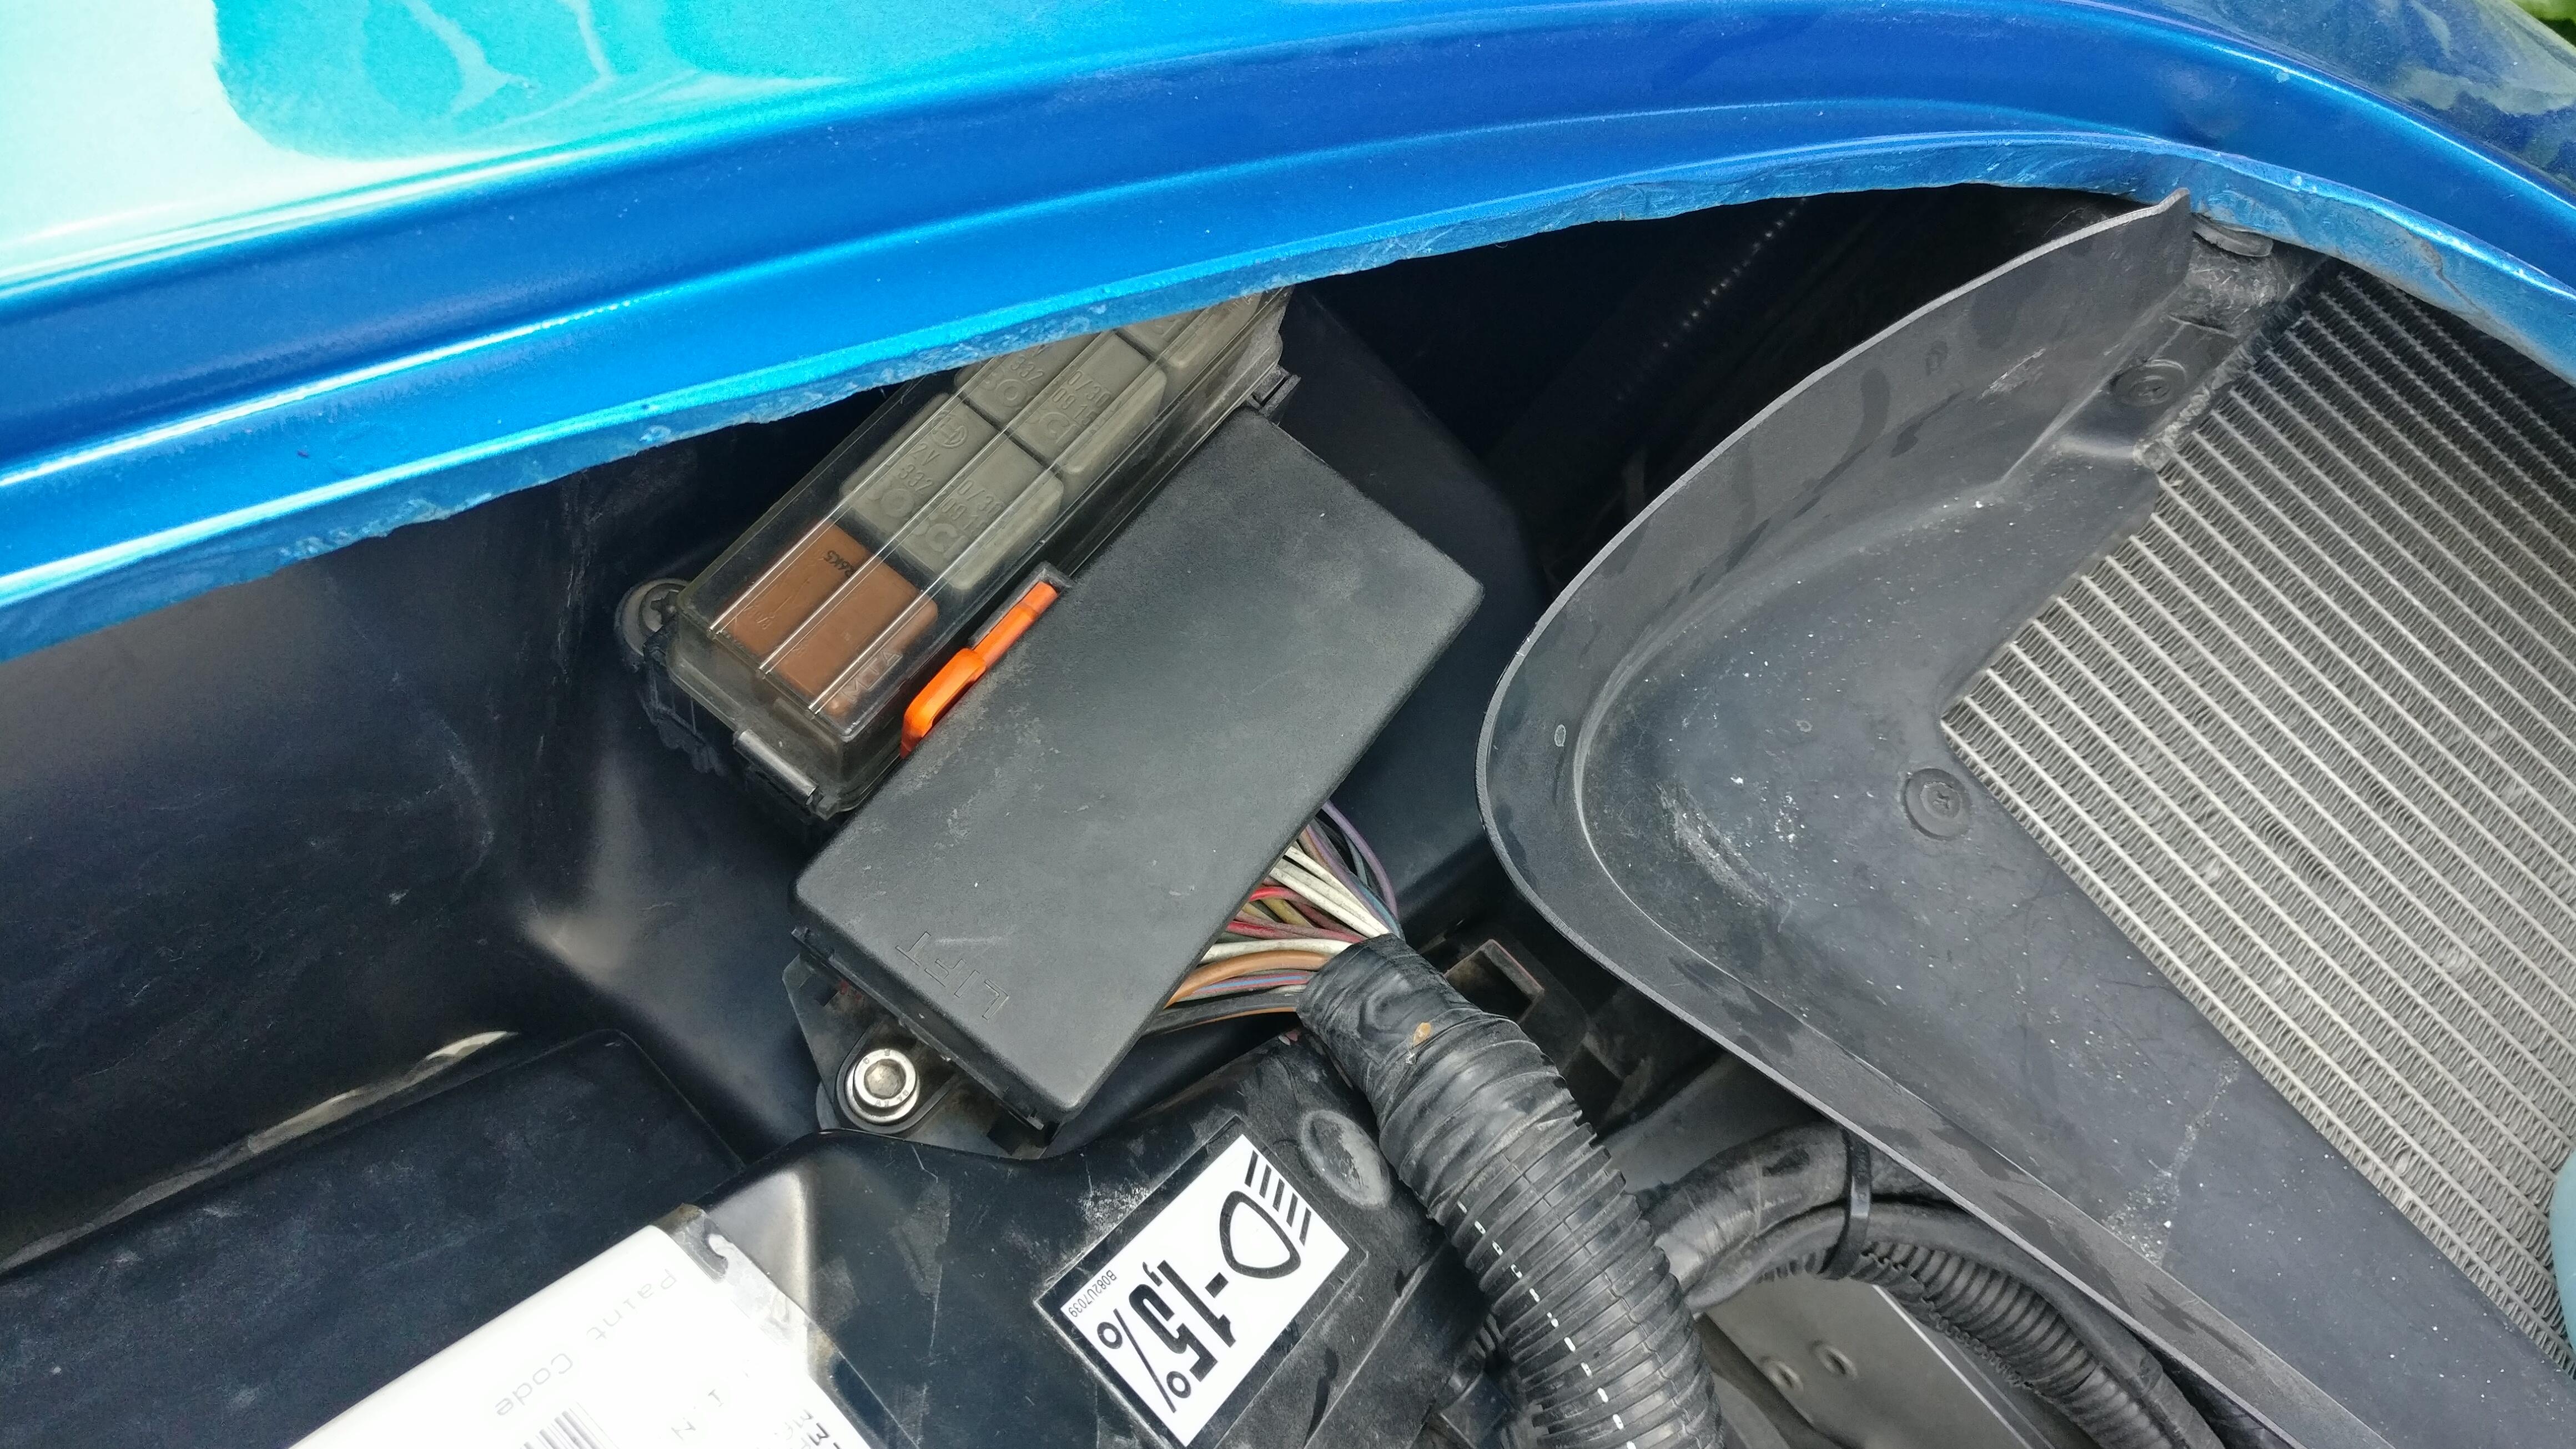
I attached the fuse and relay boxes so they were no longer falling onto the top of the wishbone.
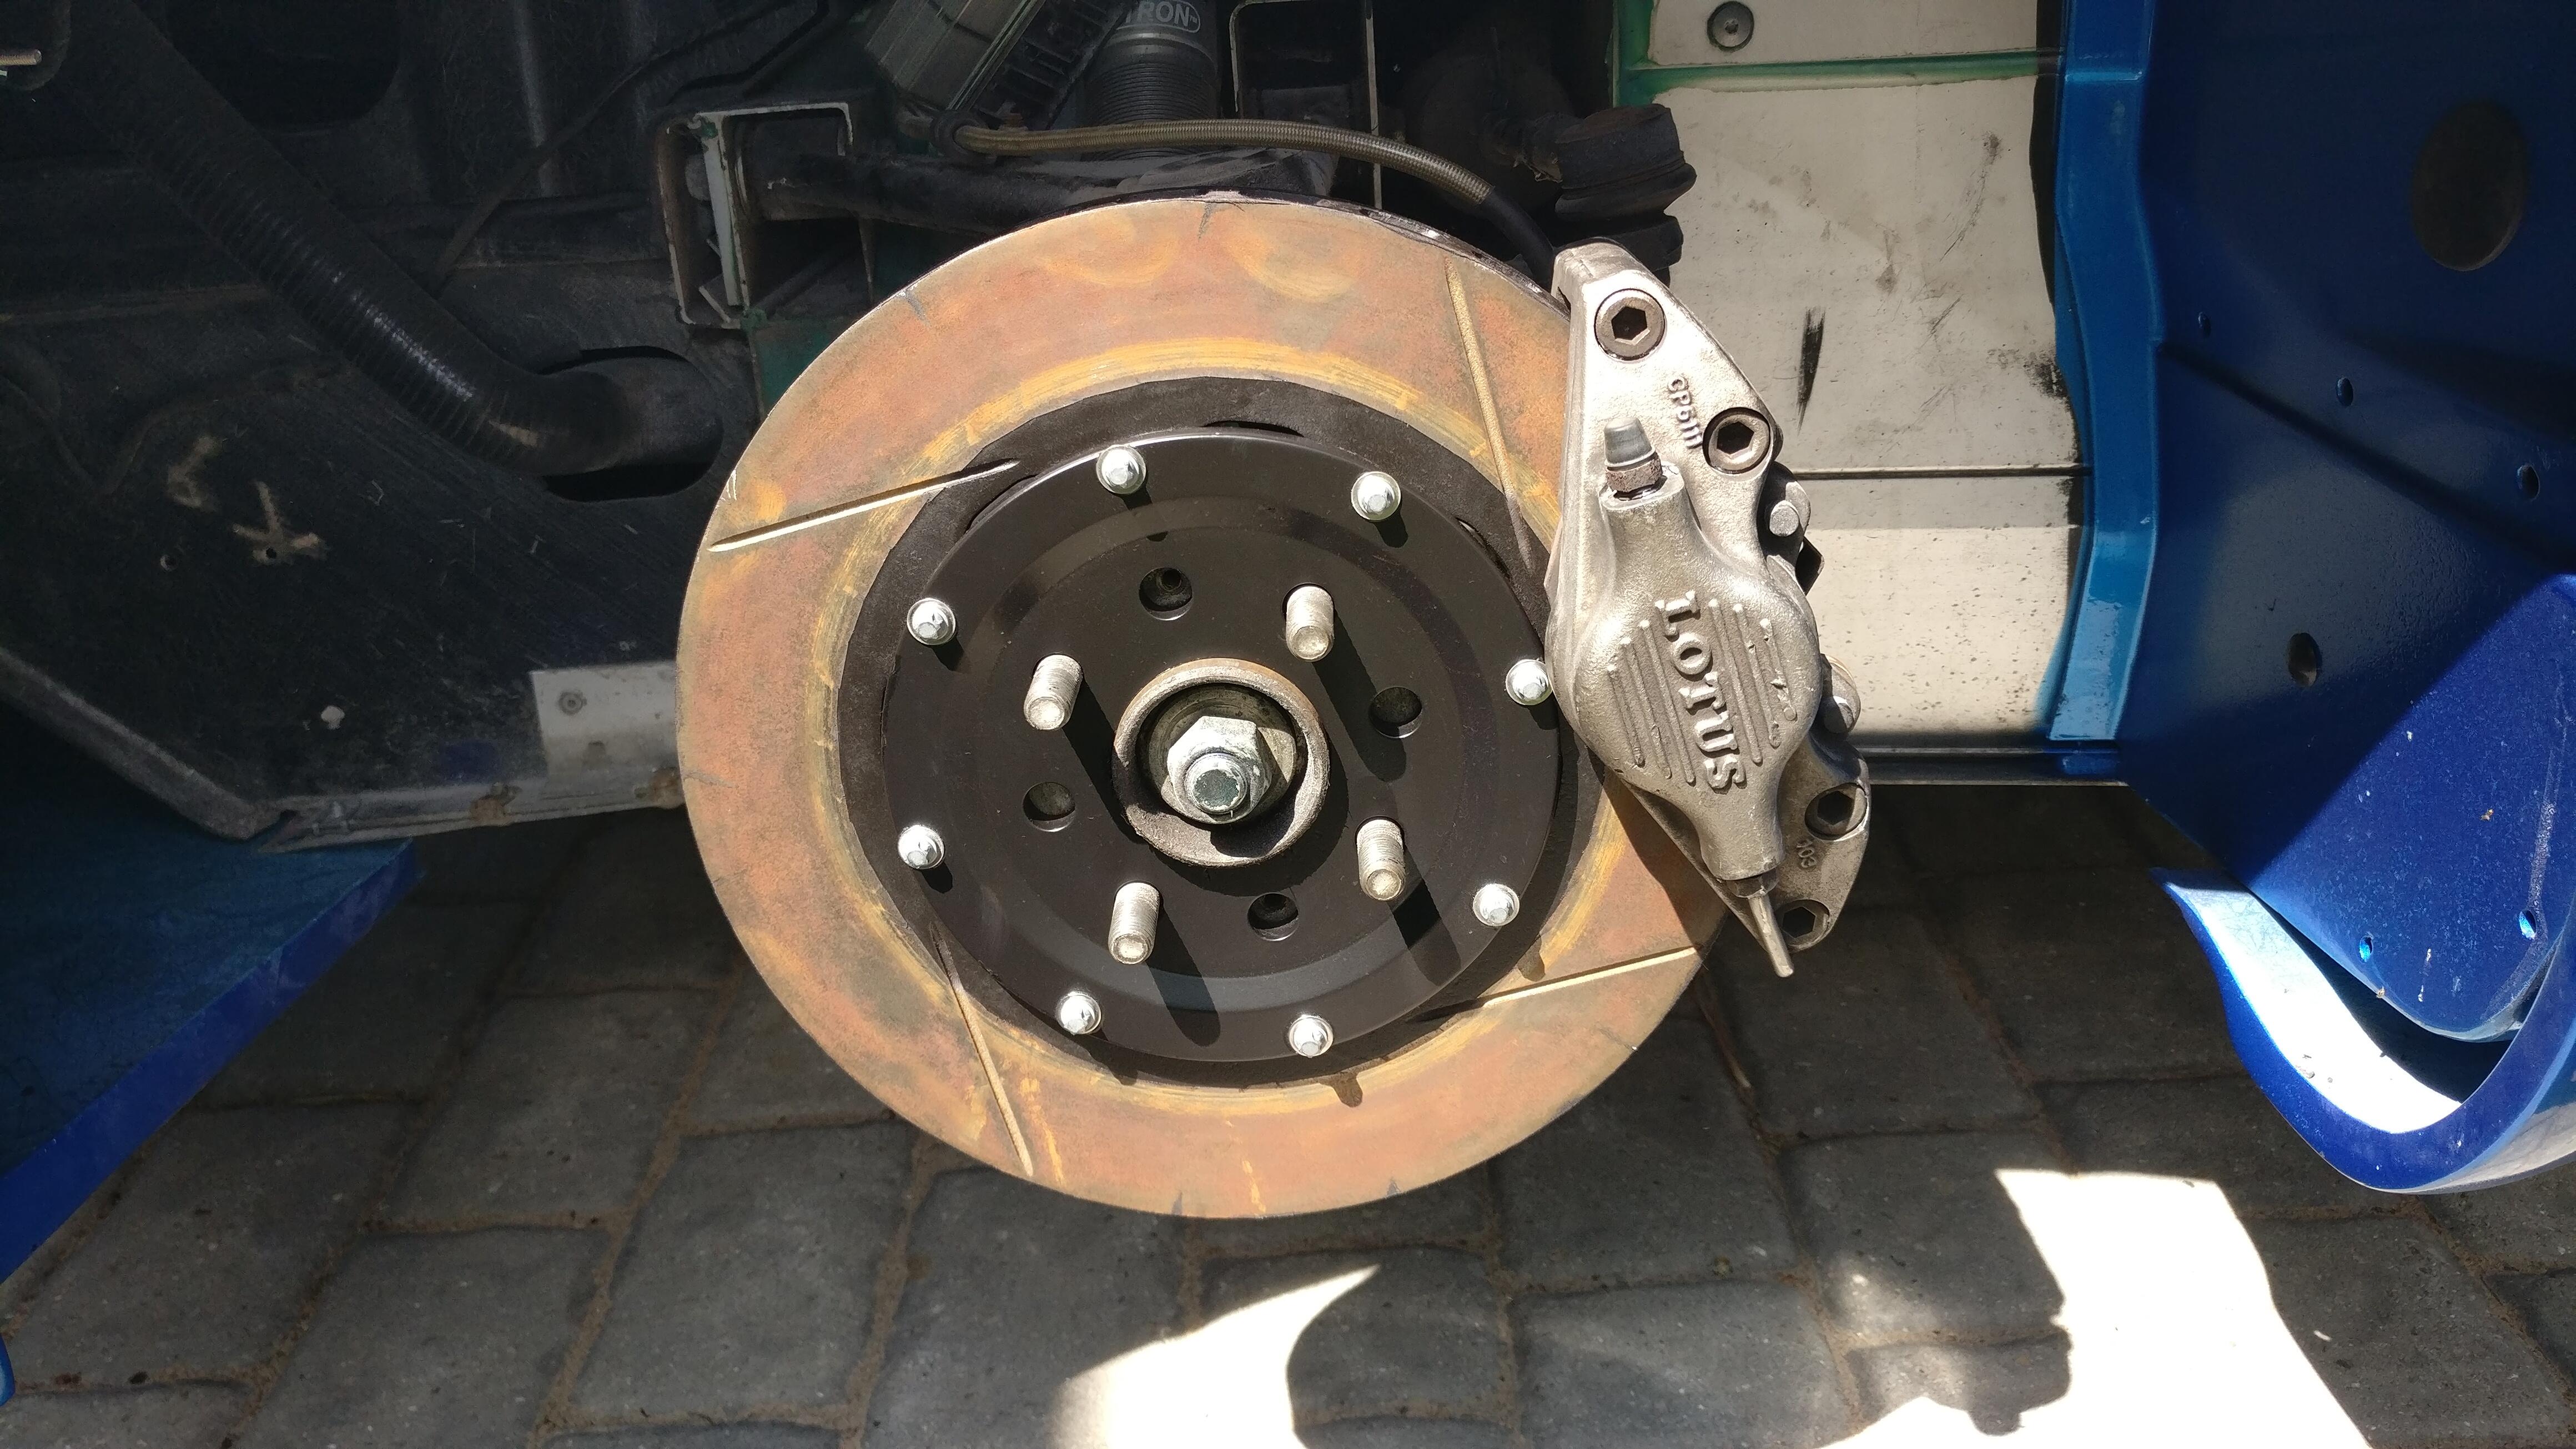
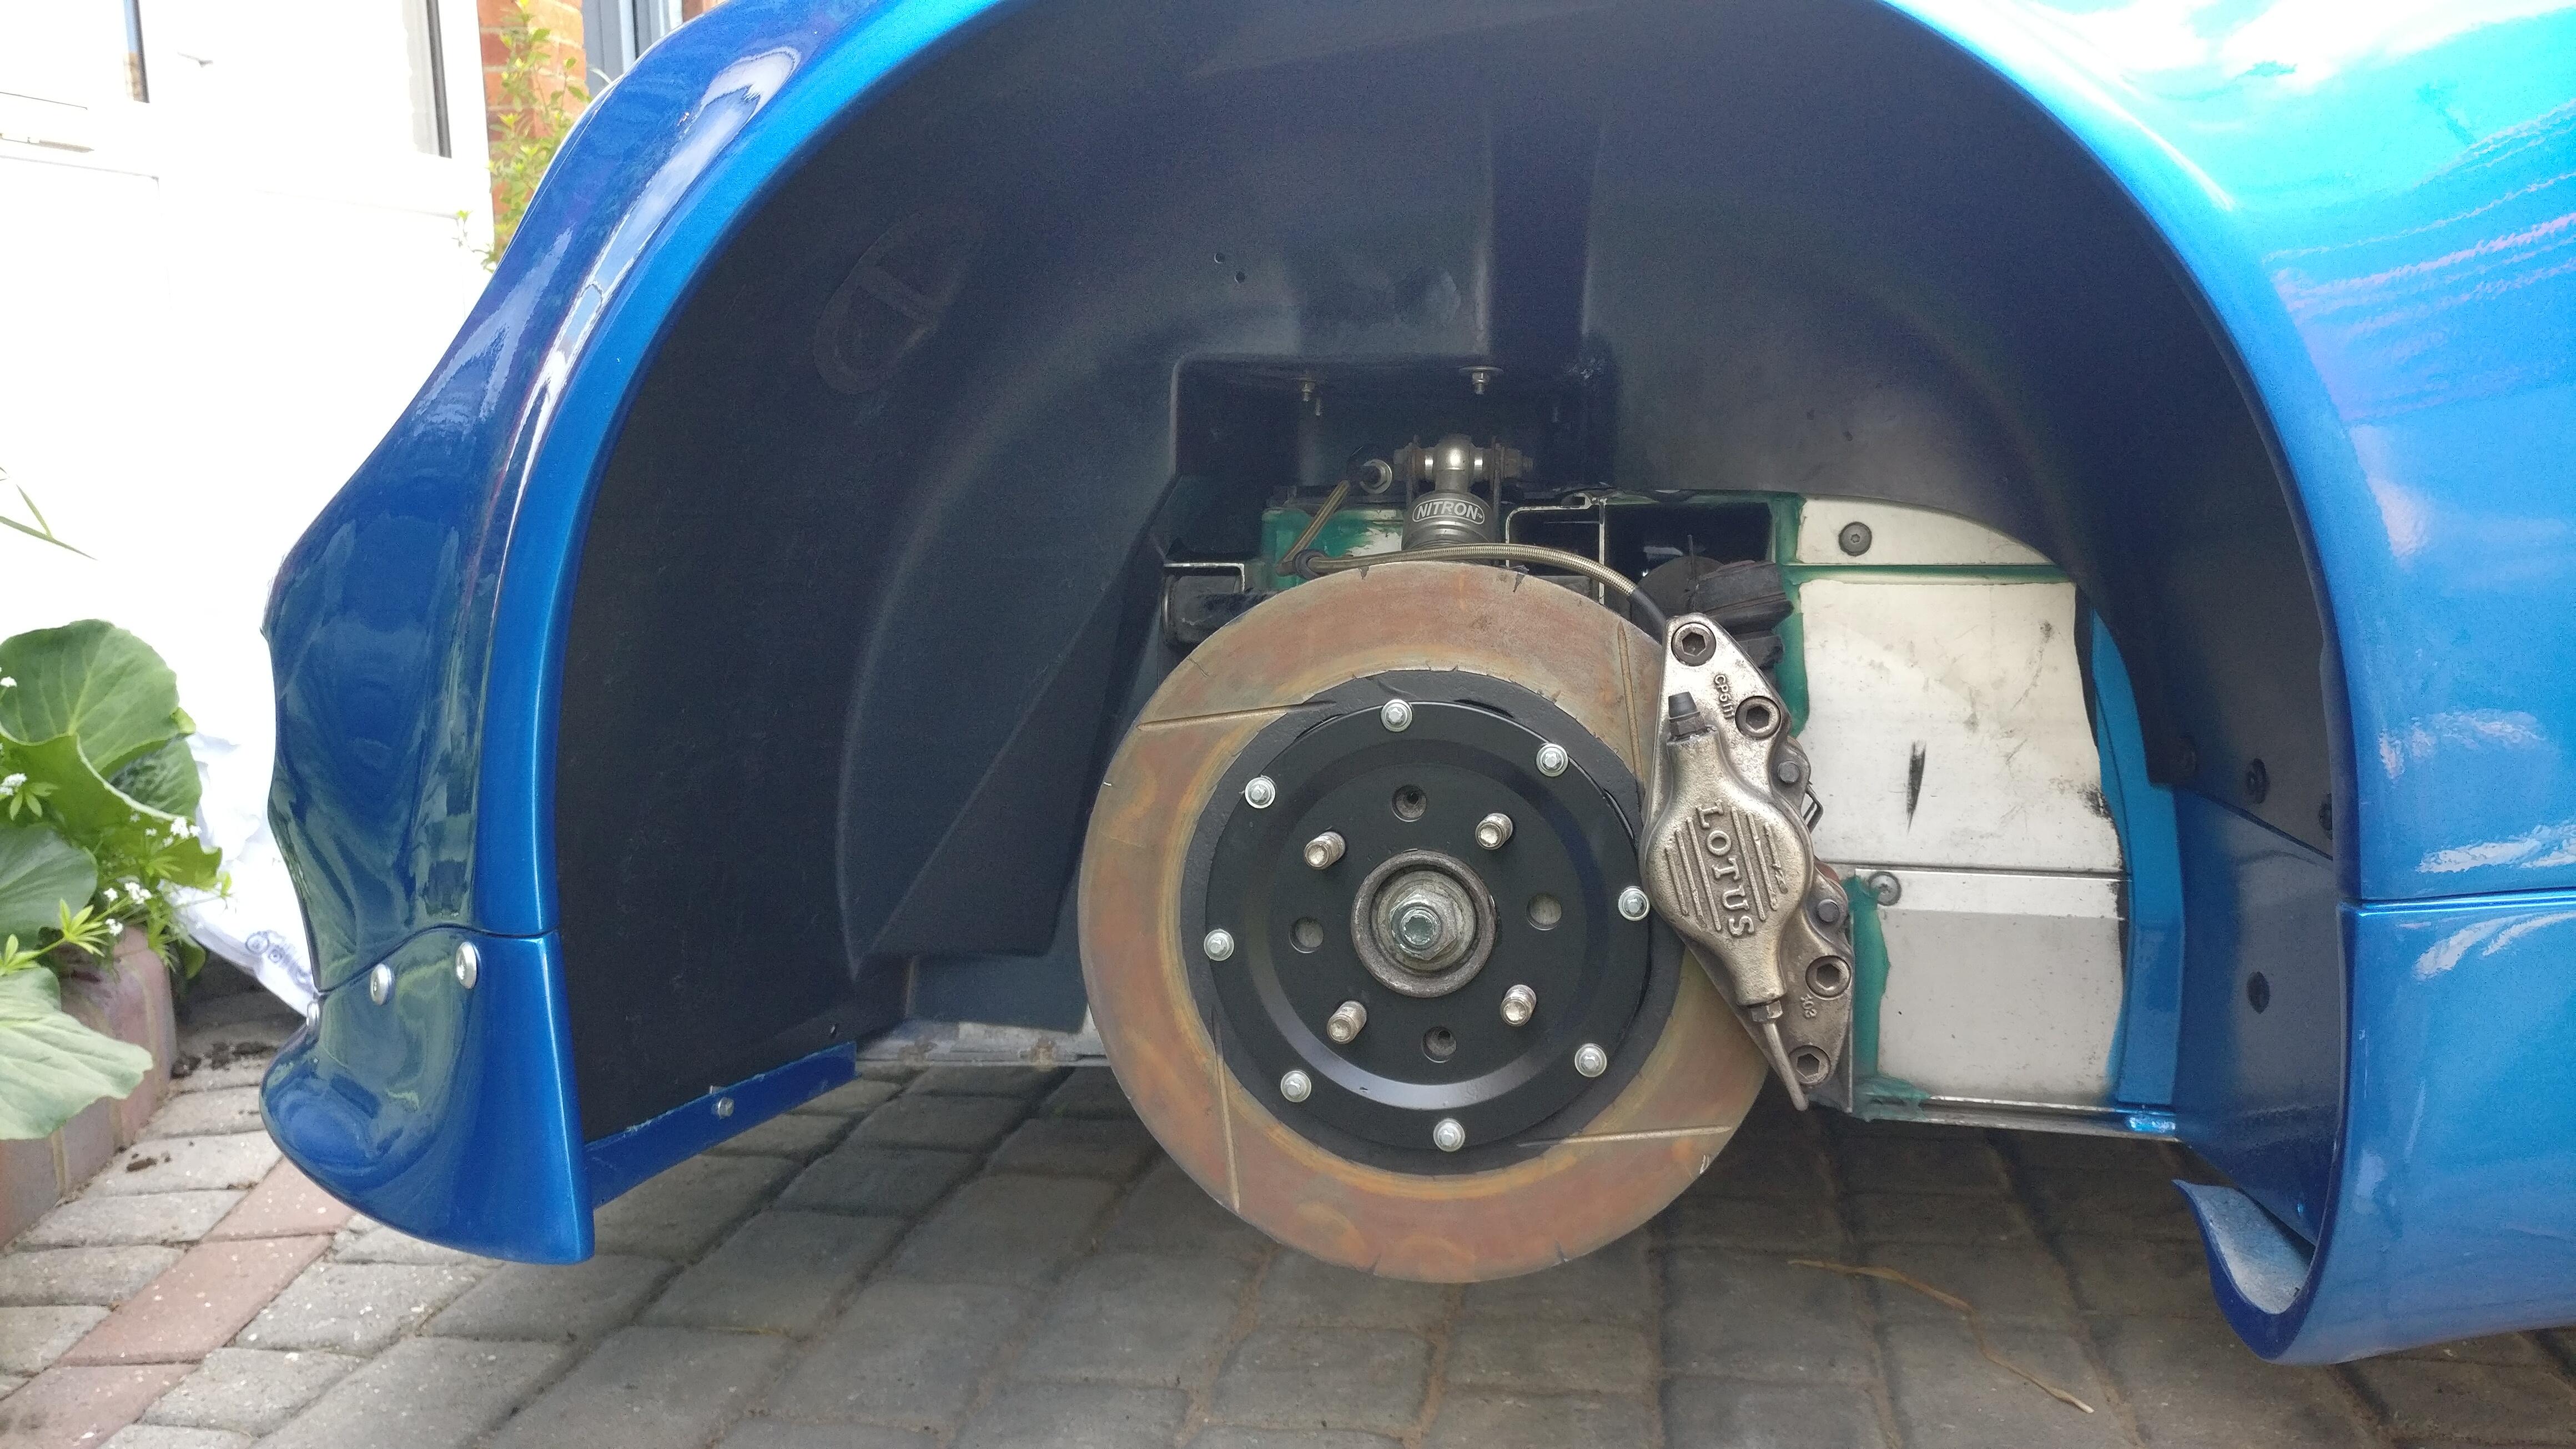
I took this opportunity with the wheels off to fit the AP racing ally belled discs I had sprayed up, remembering the 4mm washers to space the calipers out. They cleaned up well on track and didn’t take long for the pads to bed into them. I will have to take the rears off and finish the vinegar bath and paint them too to help hide and prevent the rust.
Unfortunately the wheelarch liners ate up a lot of time so there wasn’t too much more I could do to the car as light was fading. However, I was able to cut and fit the new smaller weather seal for the engine cover.
It fits well and doesn’t impact how the perspex fits against the roof, so fingers crossed it is reasonably waterproof ![]()
That was all I could manage on the Saturday, so I planned to wake up early Sunday and crack on with a few other bits before leaving for Anglesey.
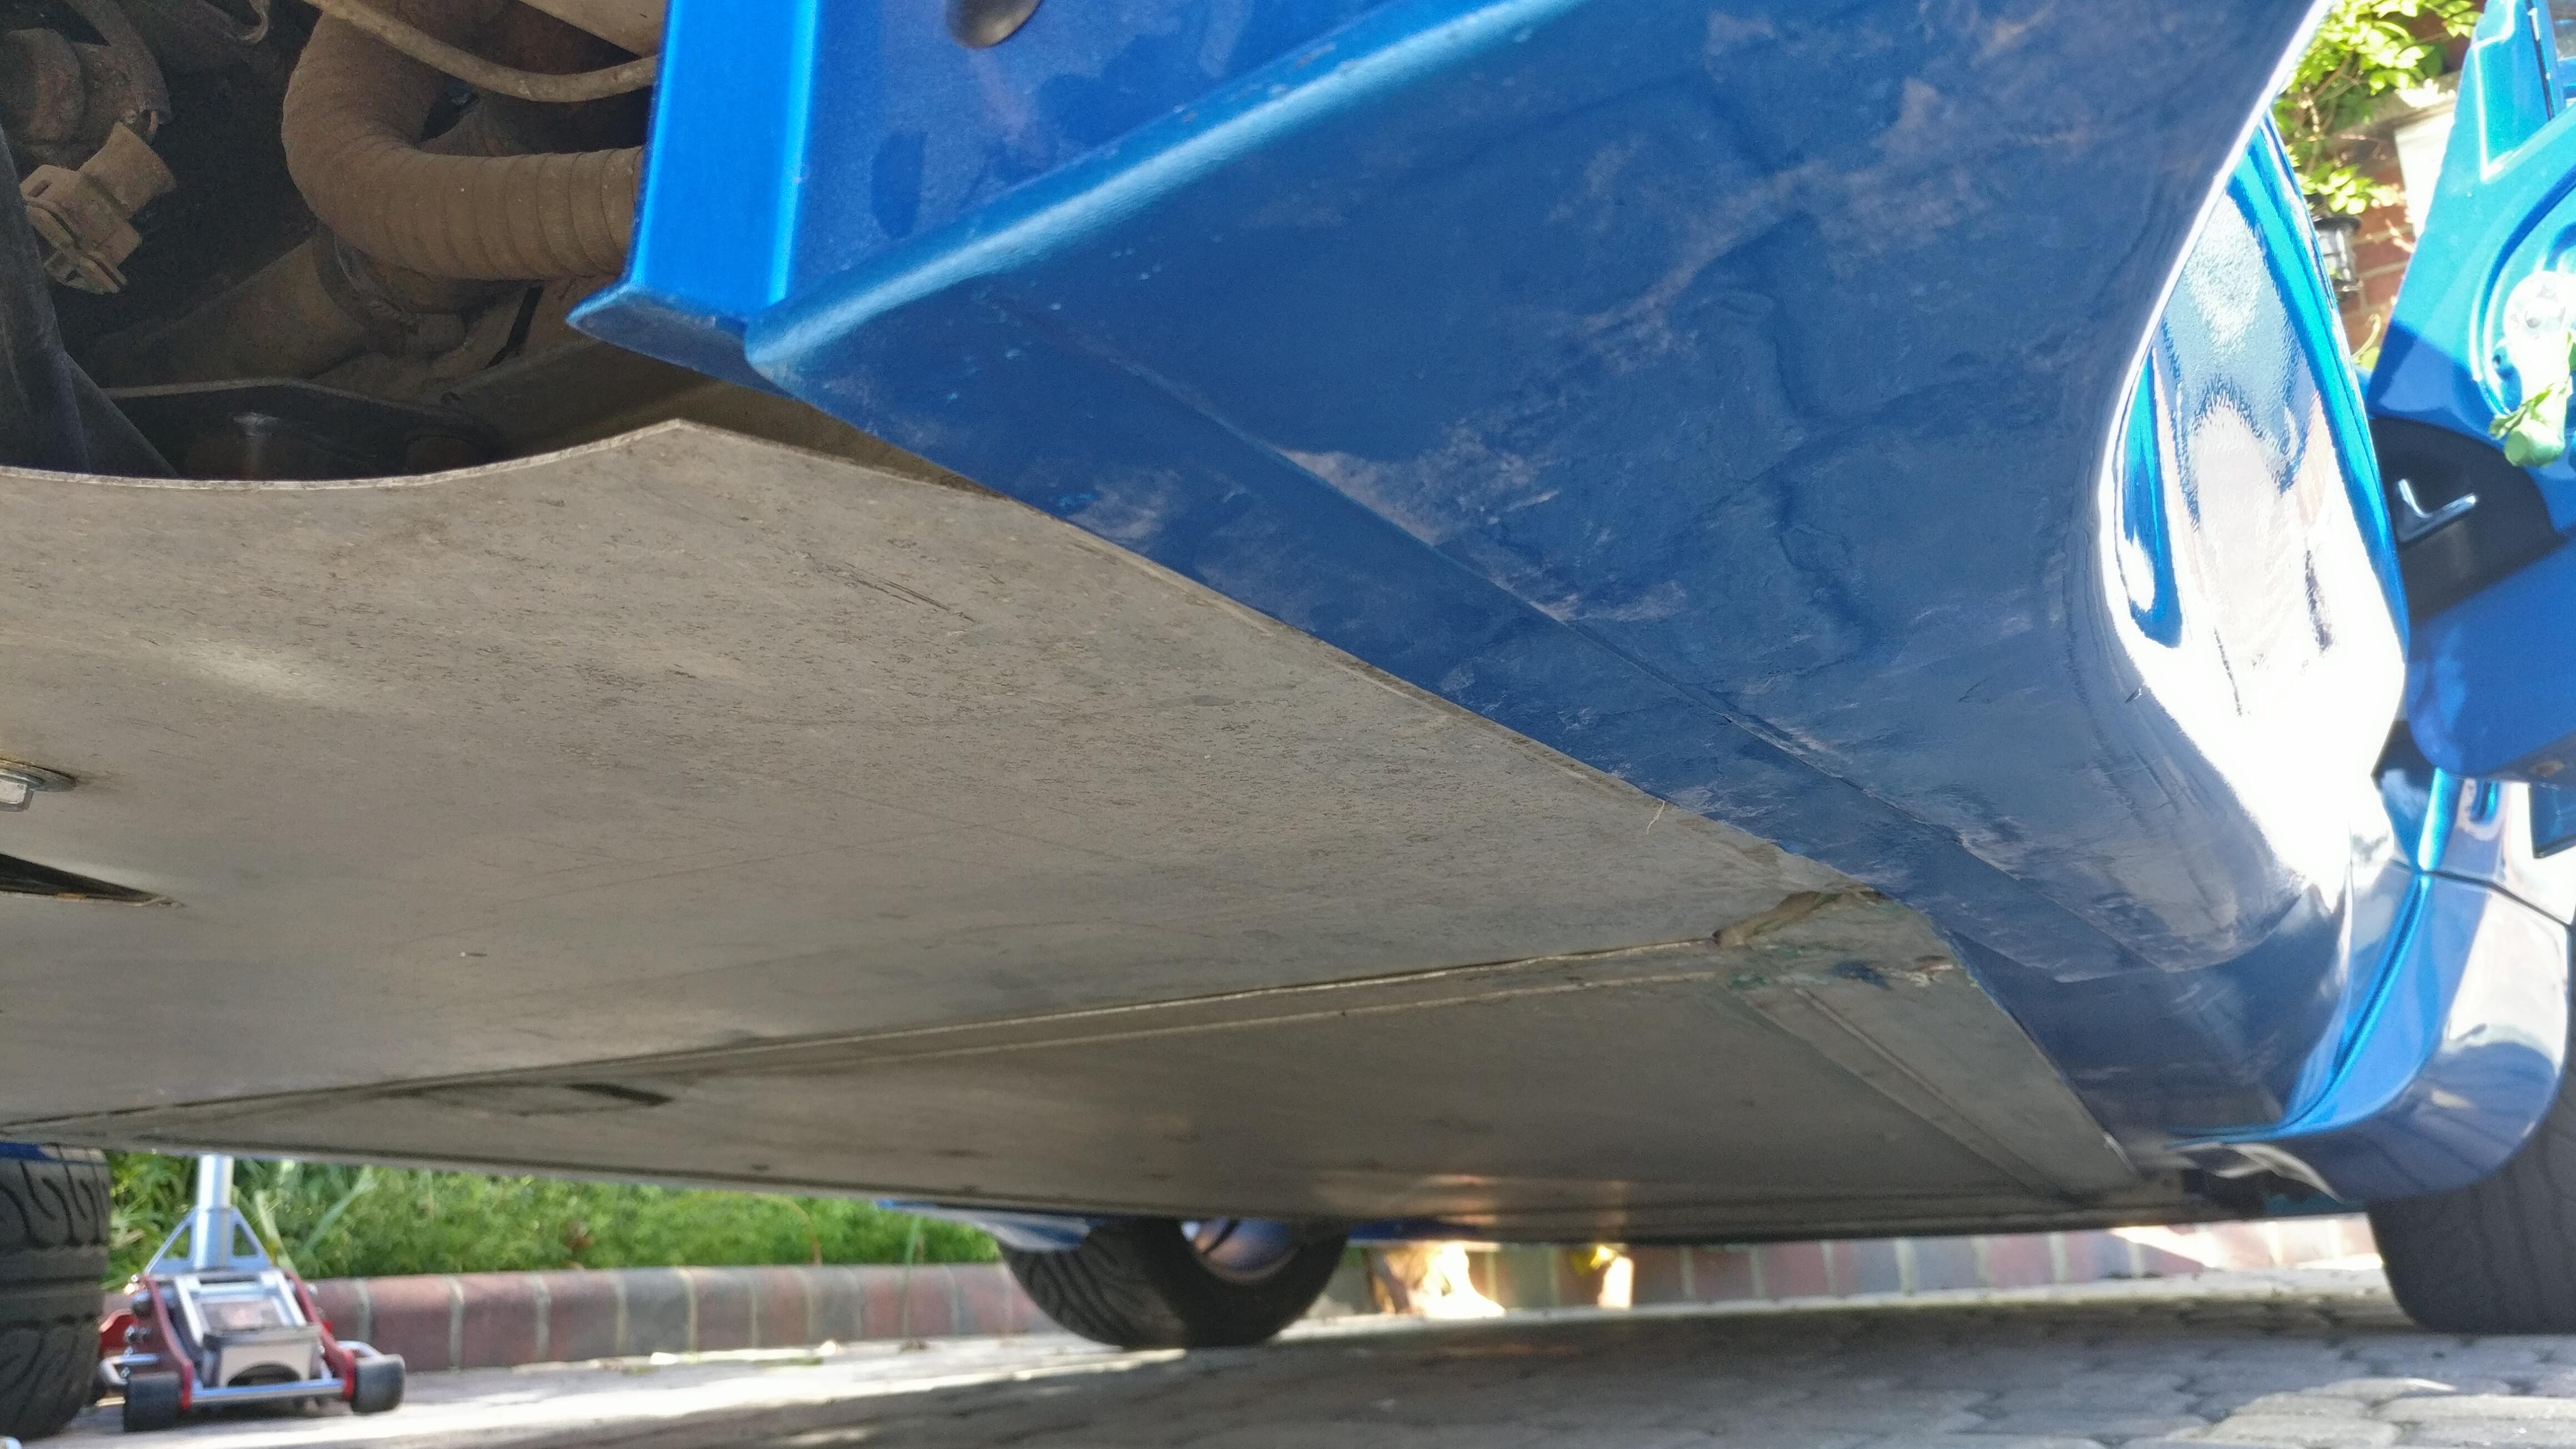
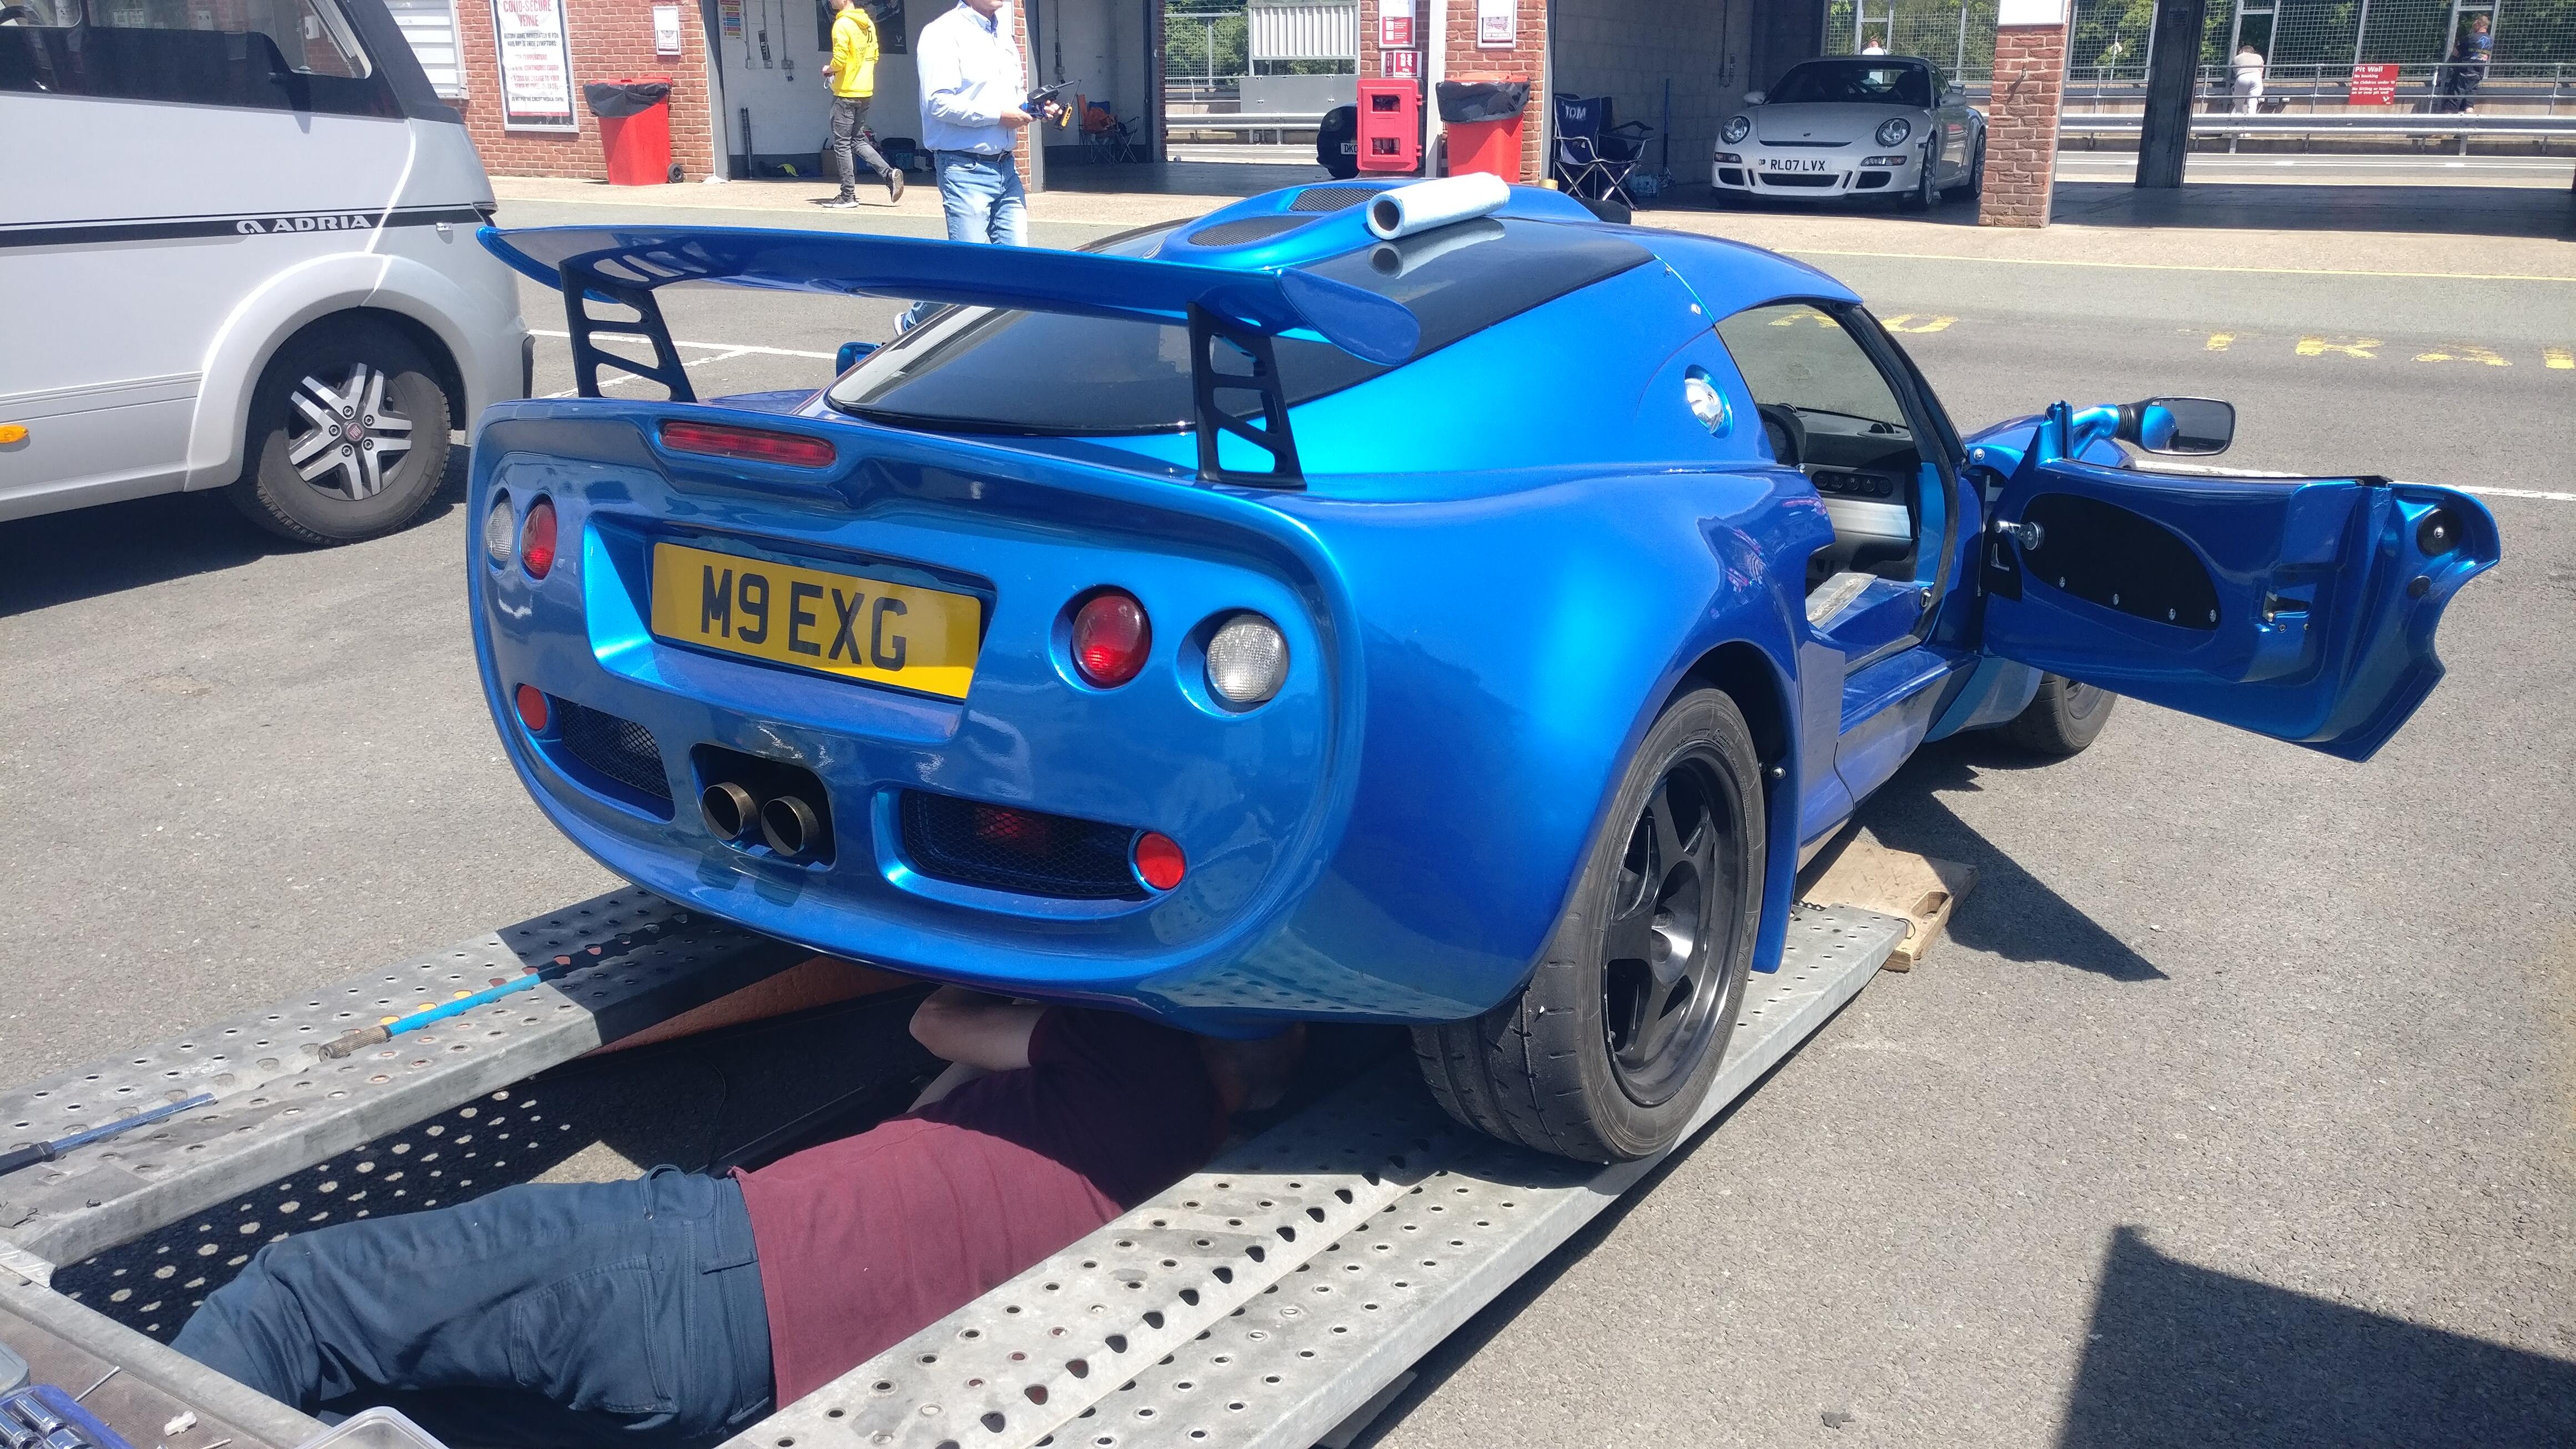
I started at 7am fitting the undertray and diffuser.

A little while back Thor on seloc (Pete) made up some lift pucks and I thought it would be a good idea to get some so I wouldn’t have to take the flood off to use the C jack point, which is what I’ve been using for the majority of the build. He even supplied the bolts and nuts too so a big shout out and thanks to him!
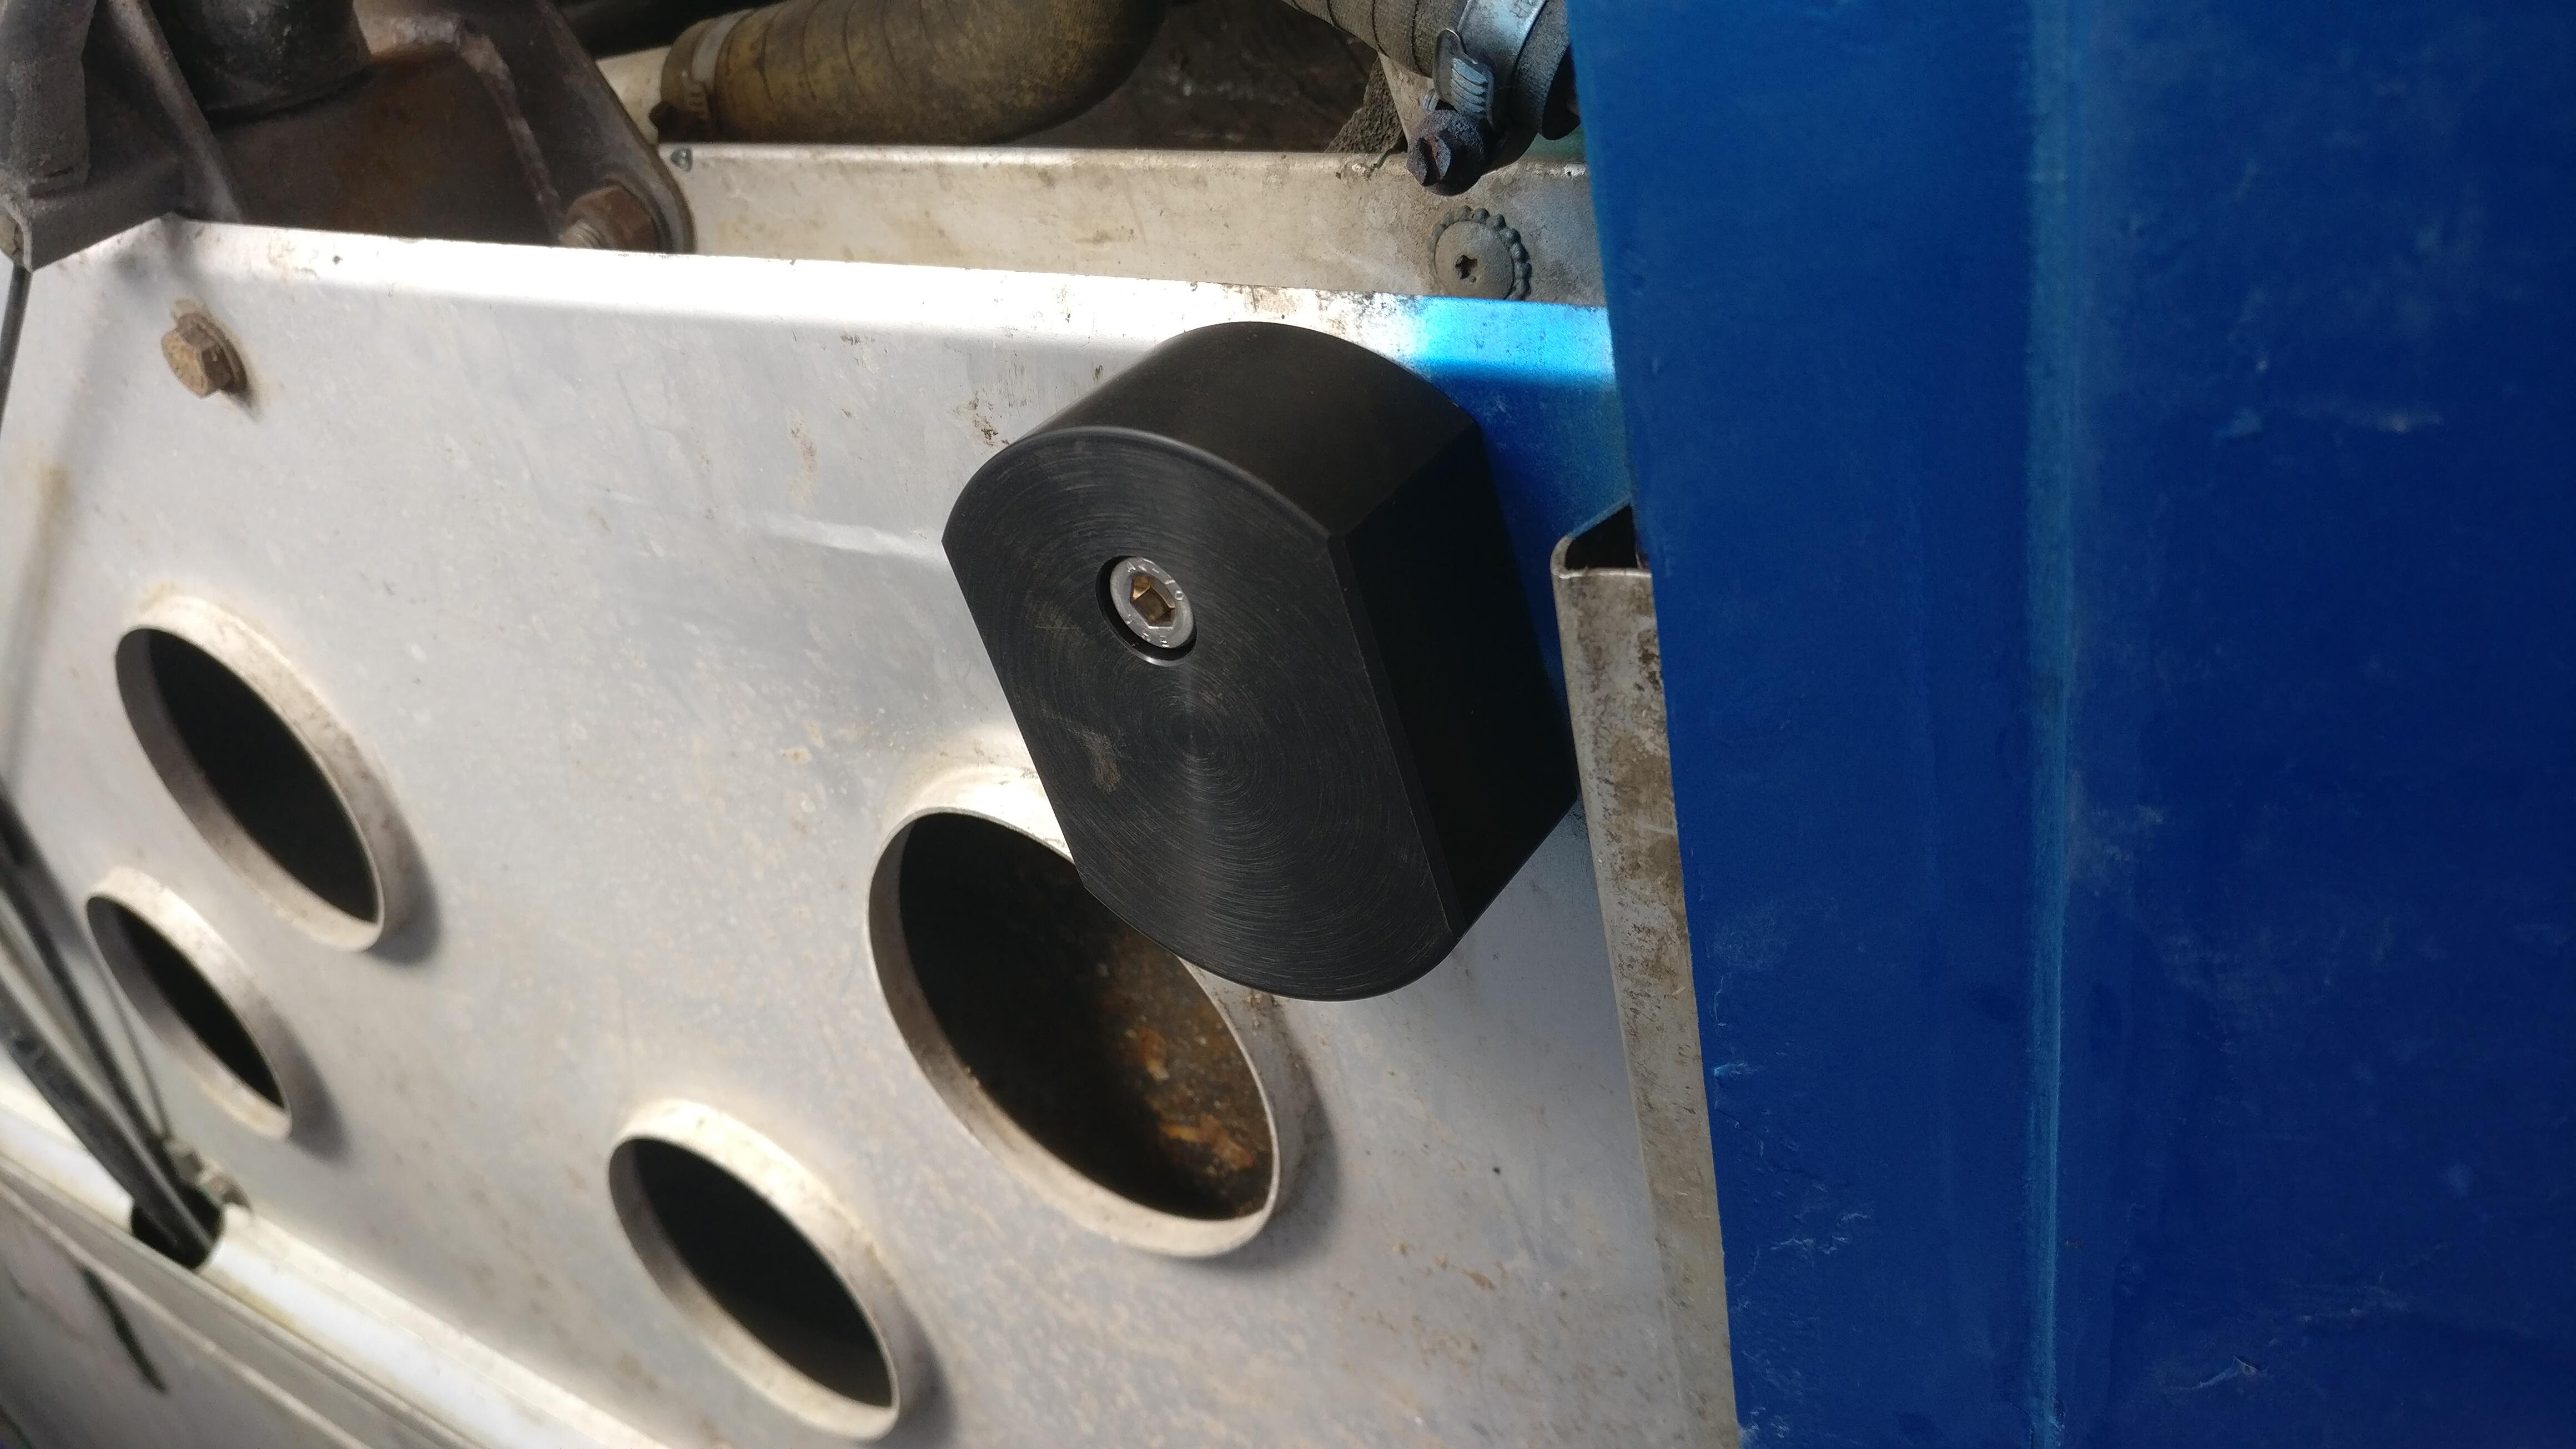
Really easy to install, I took out the bolt furthest outboard on the support beam and replaced it with the lift puck in place.
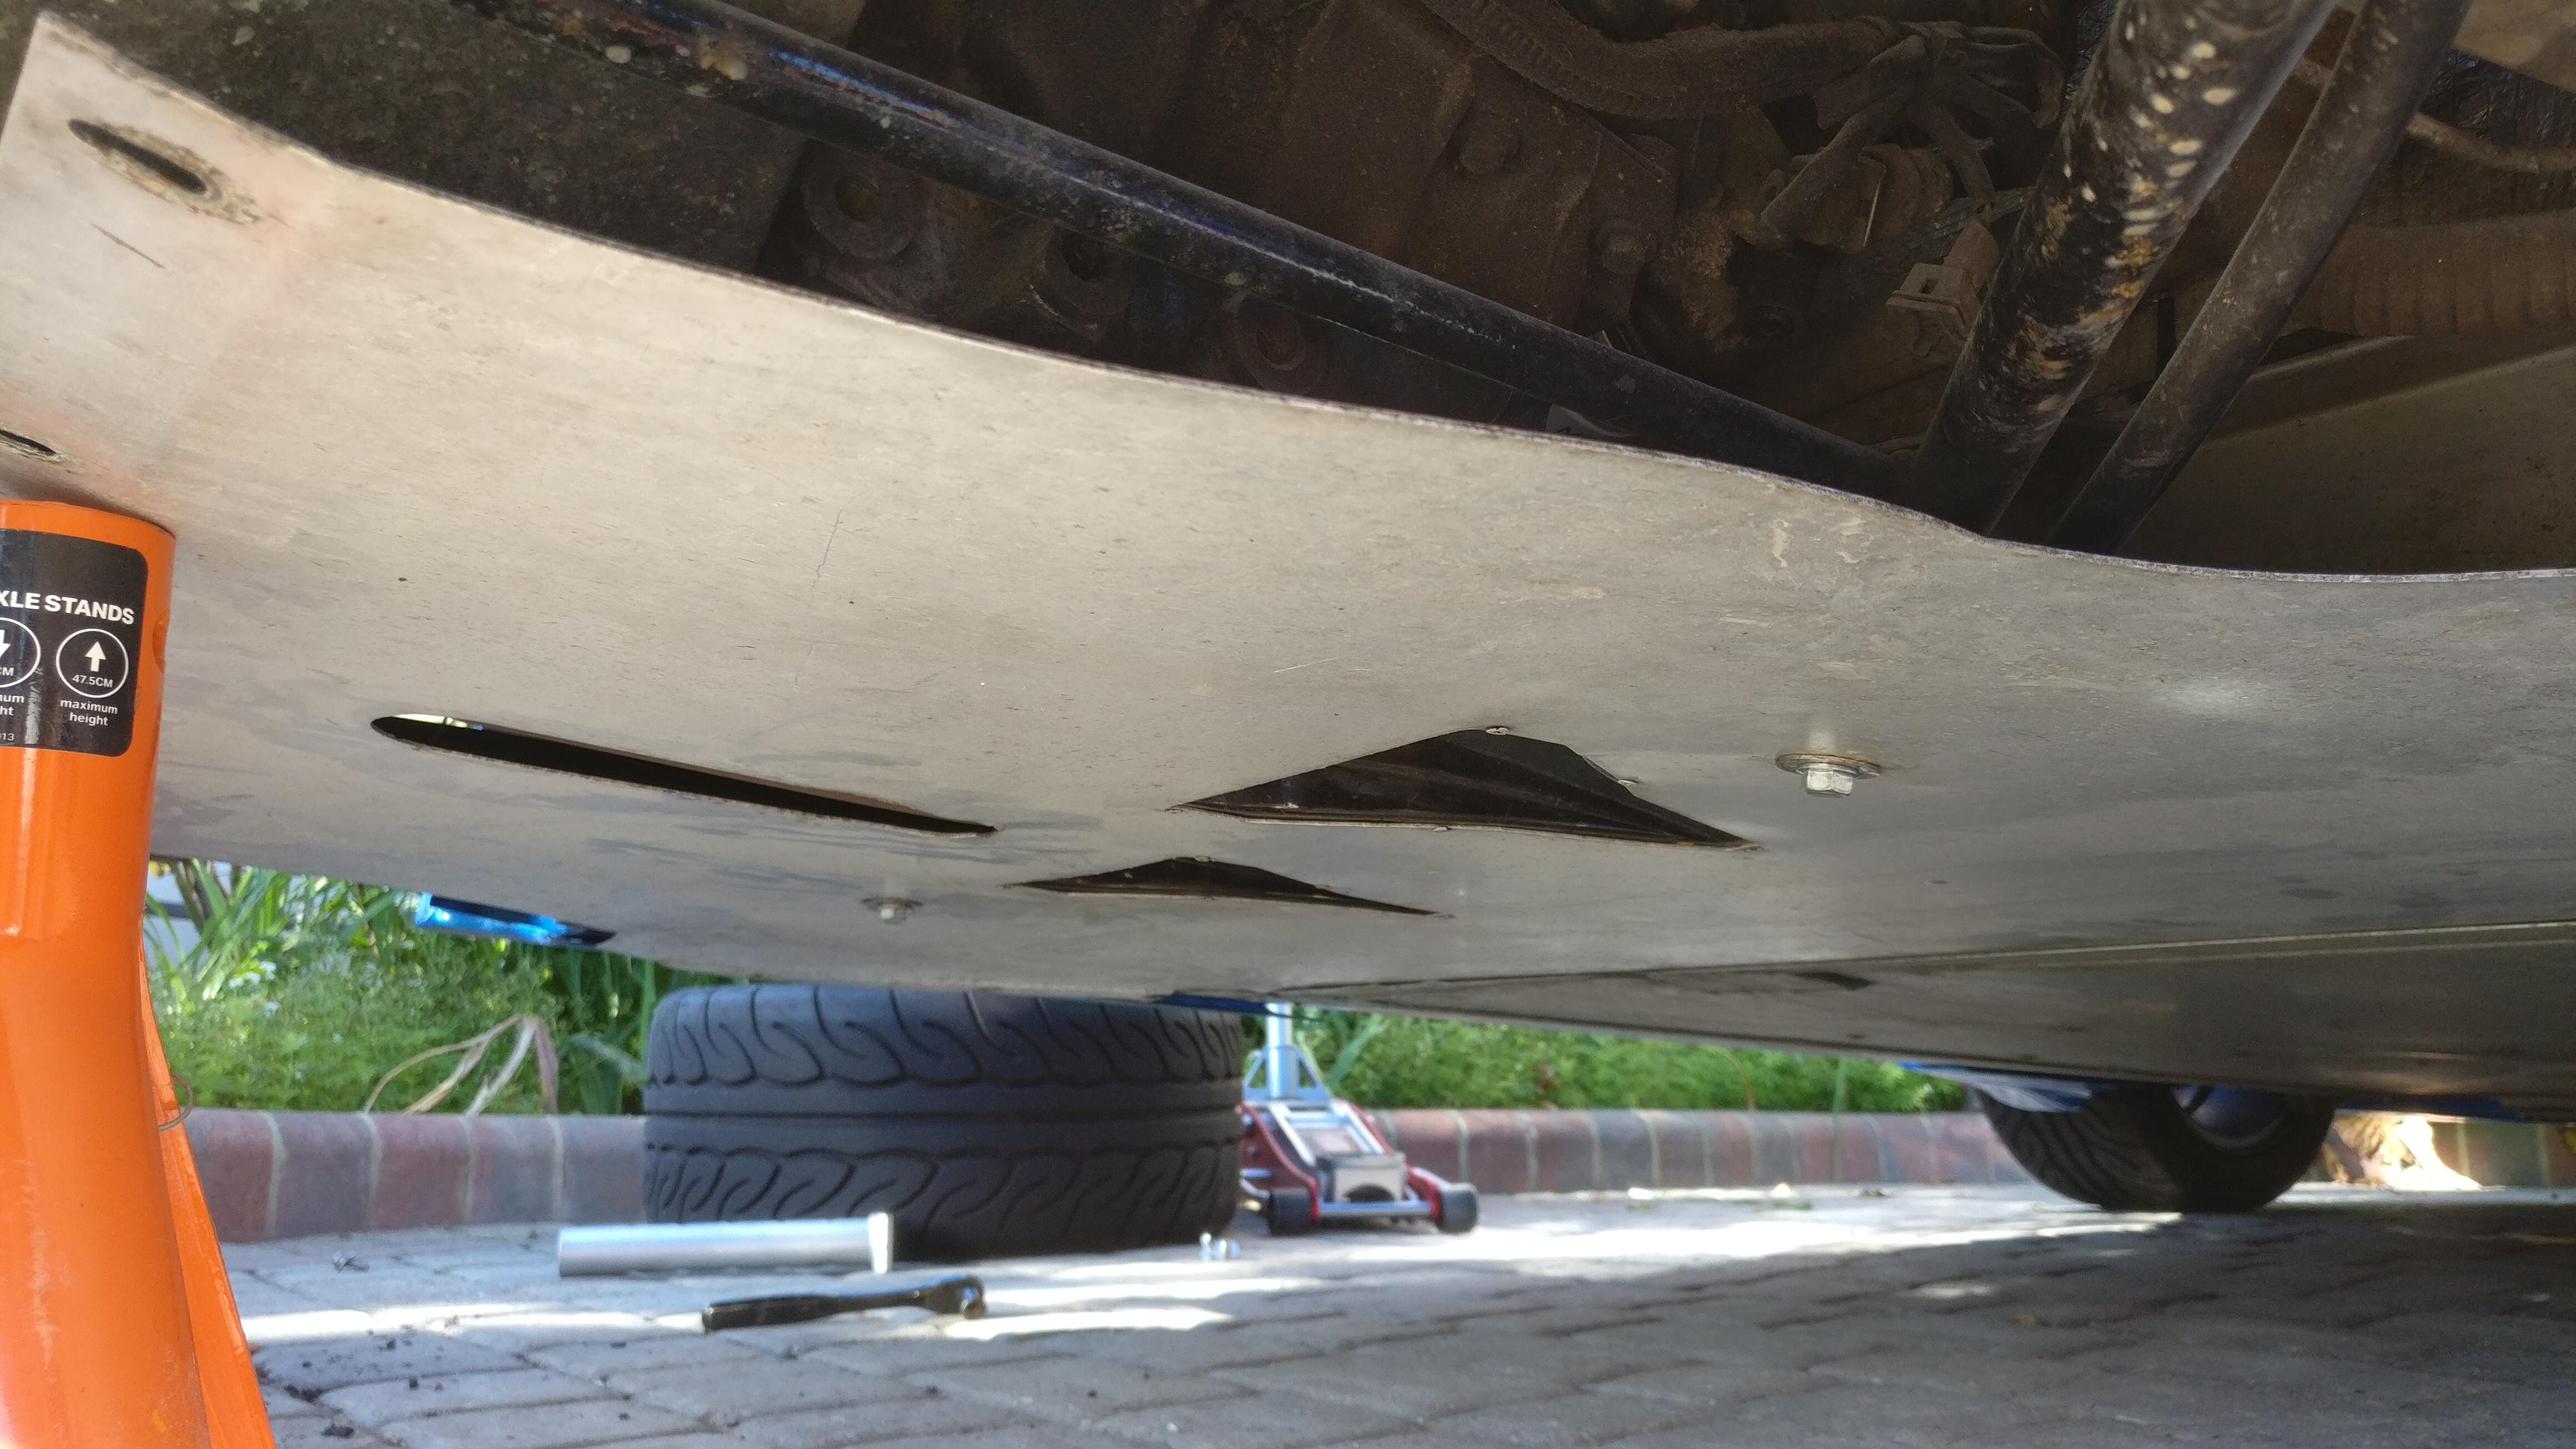
I’ve always found getting the undertray in place on my own tricky, so I use a couple of axel stands to help support it while I get it lined up and got the two main bolts on.
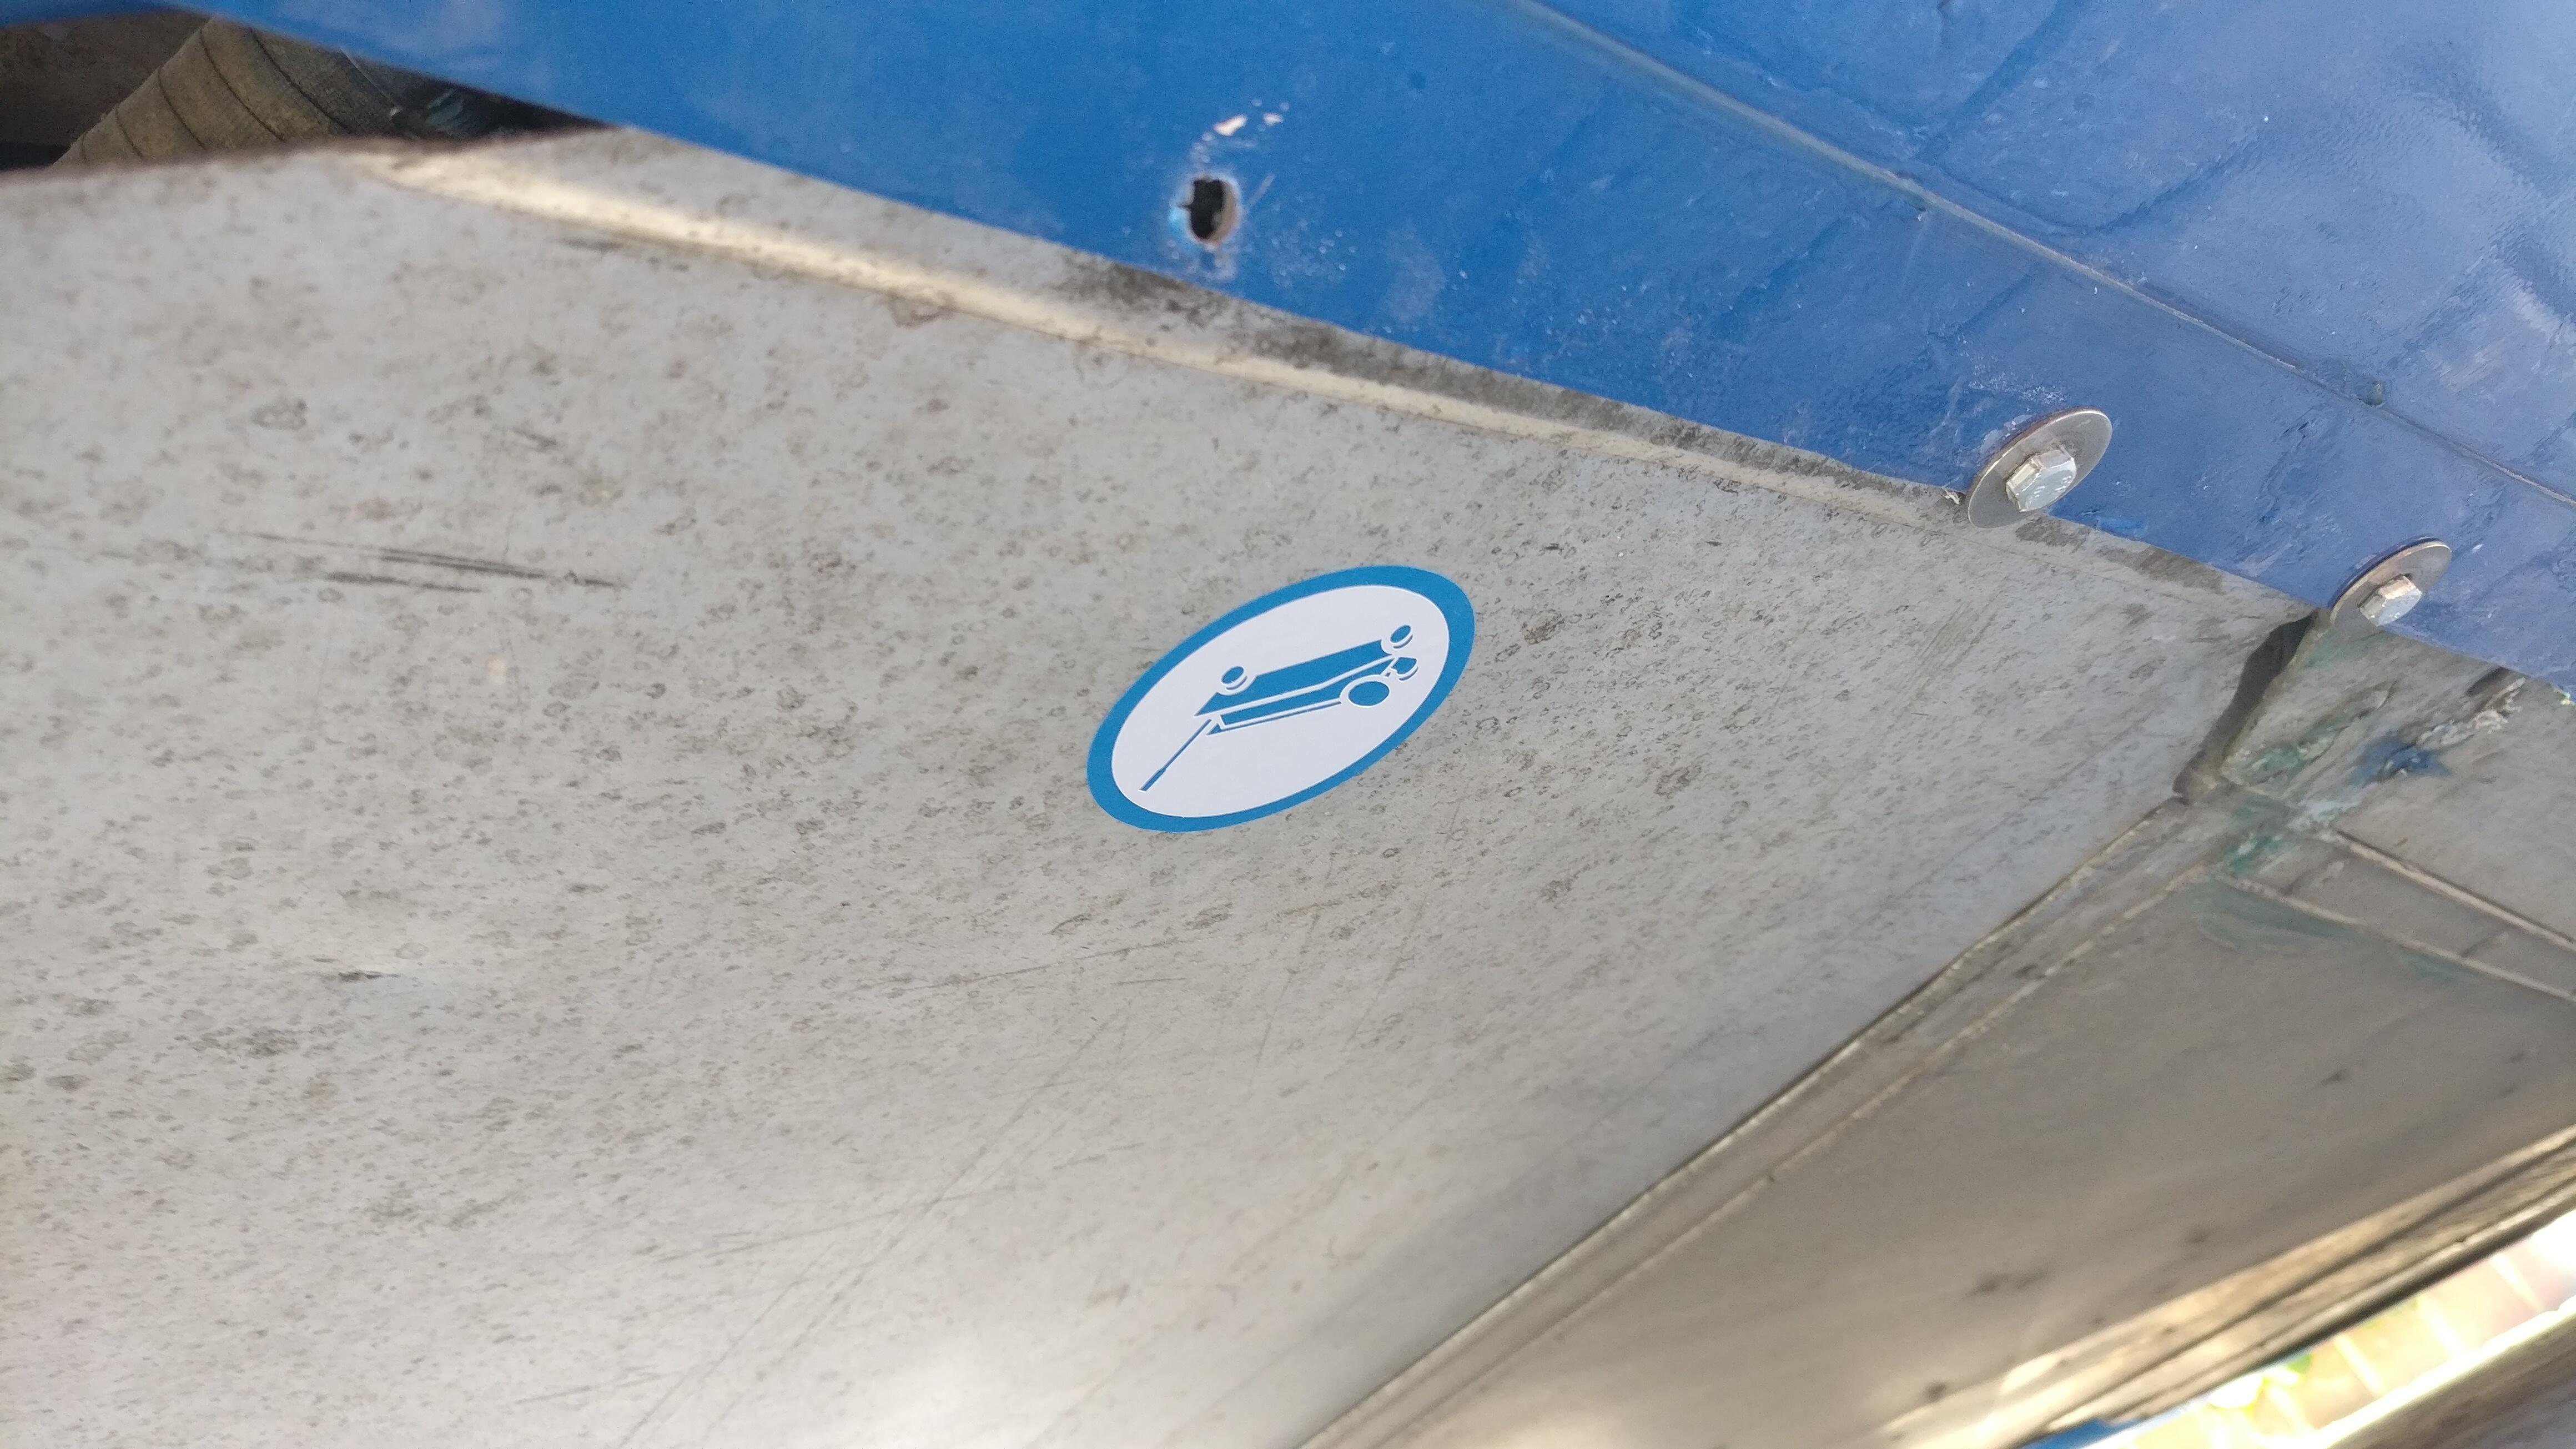
With the undertray in place I put in the new lifting point stickers and was happy I had spent the time to add them, as they will be coming in handy sooner than I would have thought!
Next up was to secure the rear oversill sections to the undertray. I pulled and slid them over the undertray (no idea if they went over or under but for ease of fixing on my own I went for over) and with a bit of guesswork after pushing the front edge as tight against the sill as I could drilled the fixing holes in line with the undertray’s.
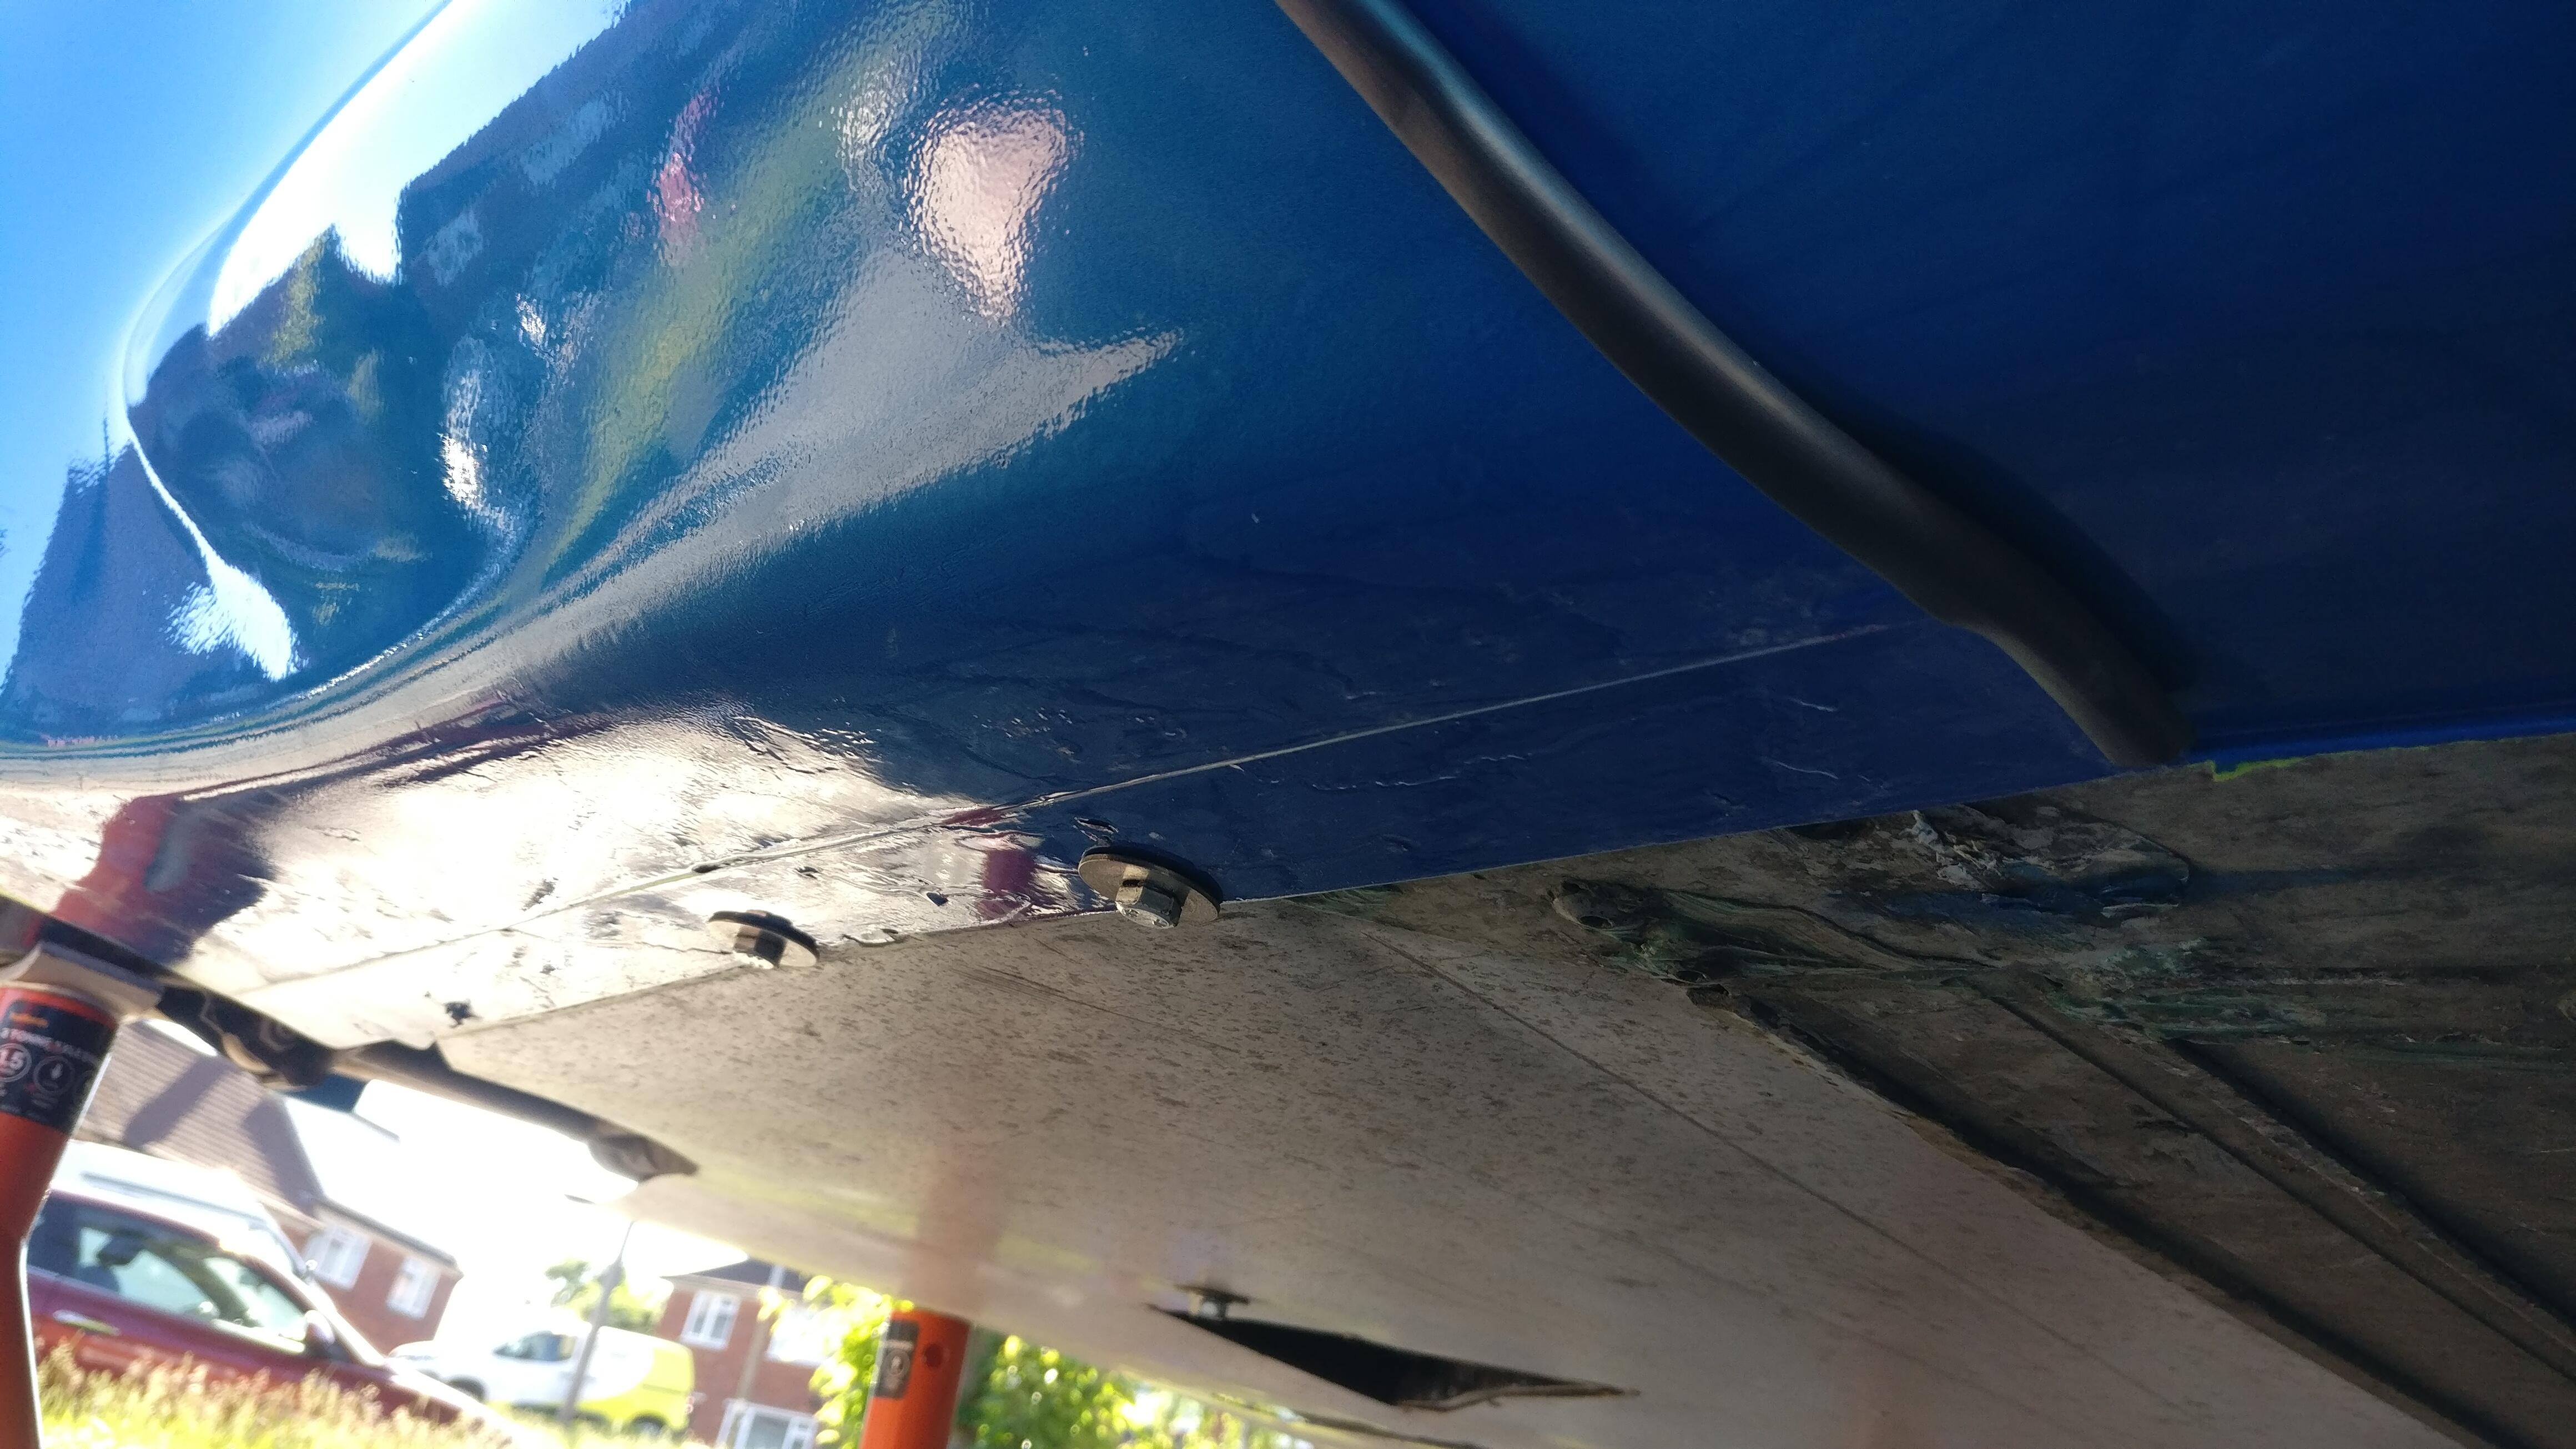
I only fit the front 2 bolts as the final one was a bit too far out and 2 held them fine really. That was the drivers side nearly done.
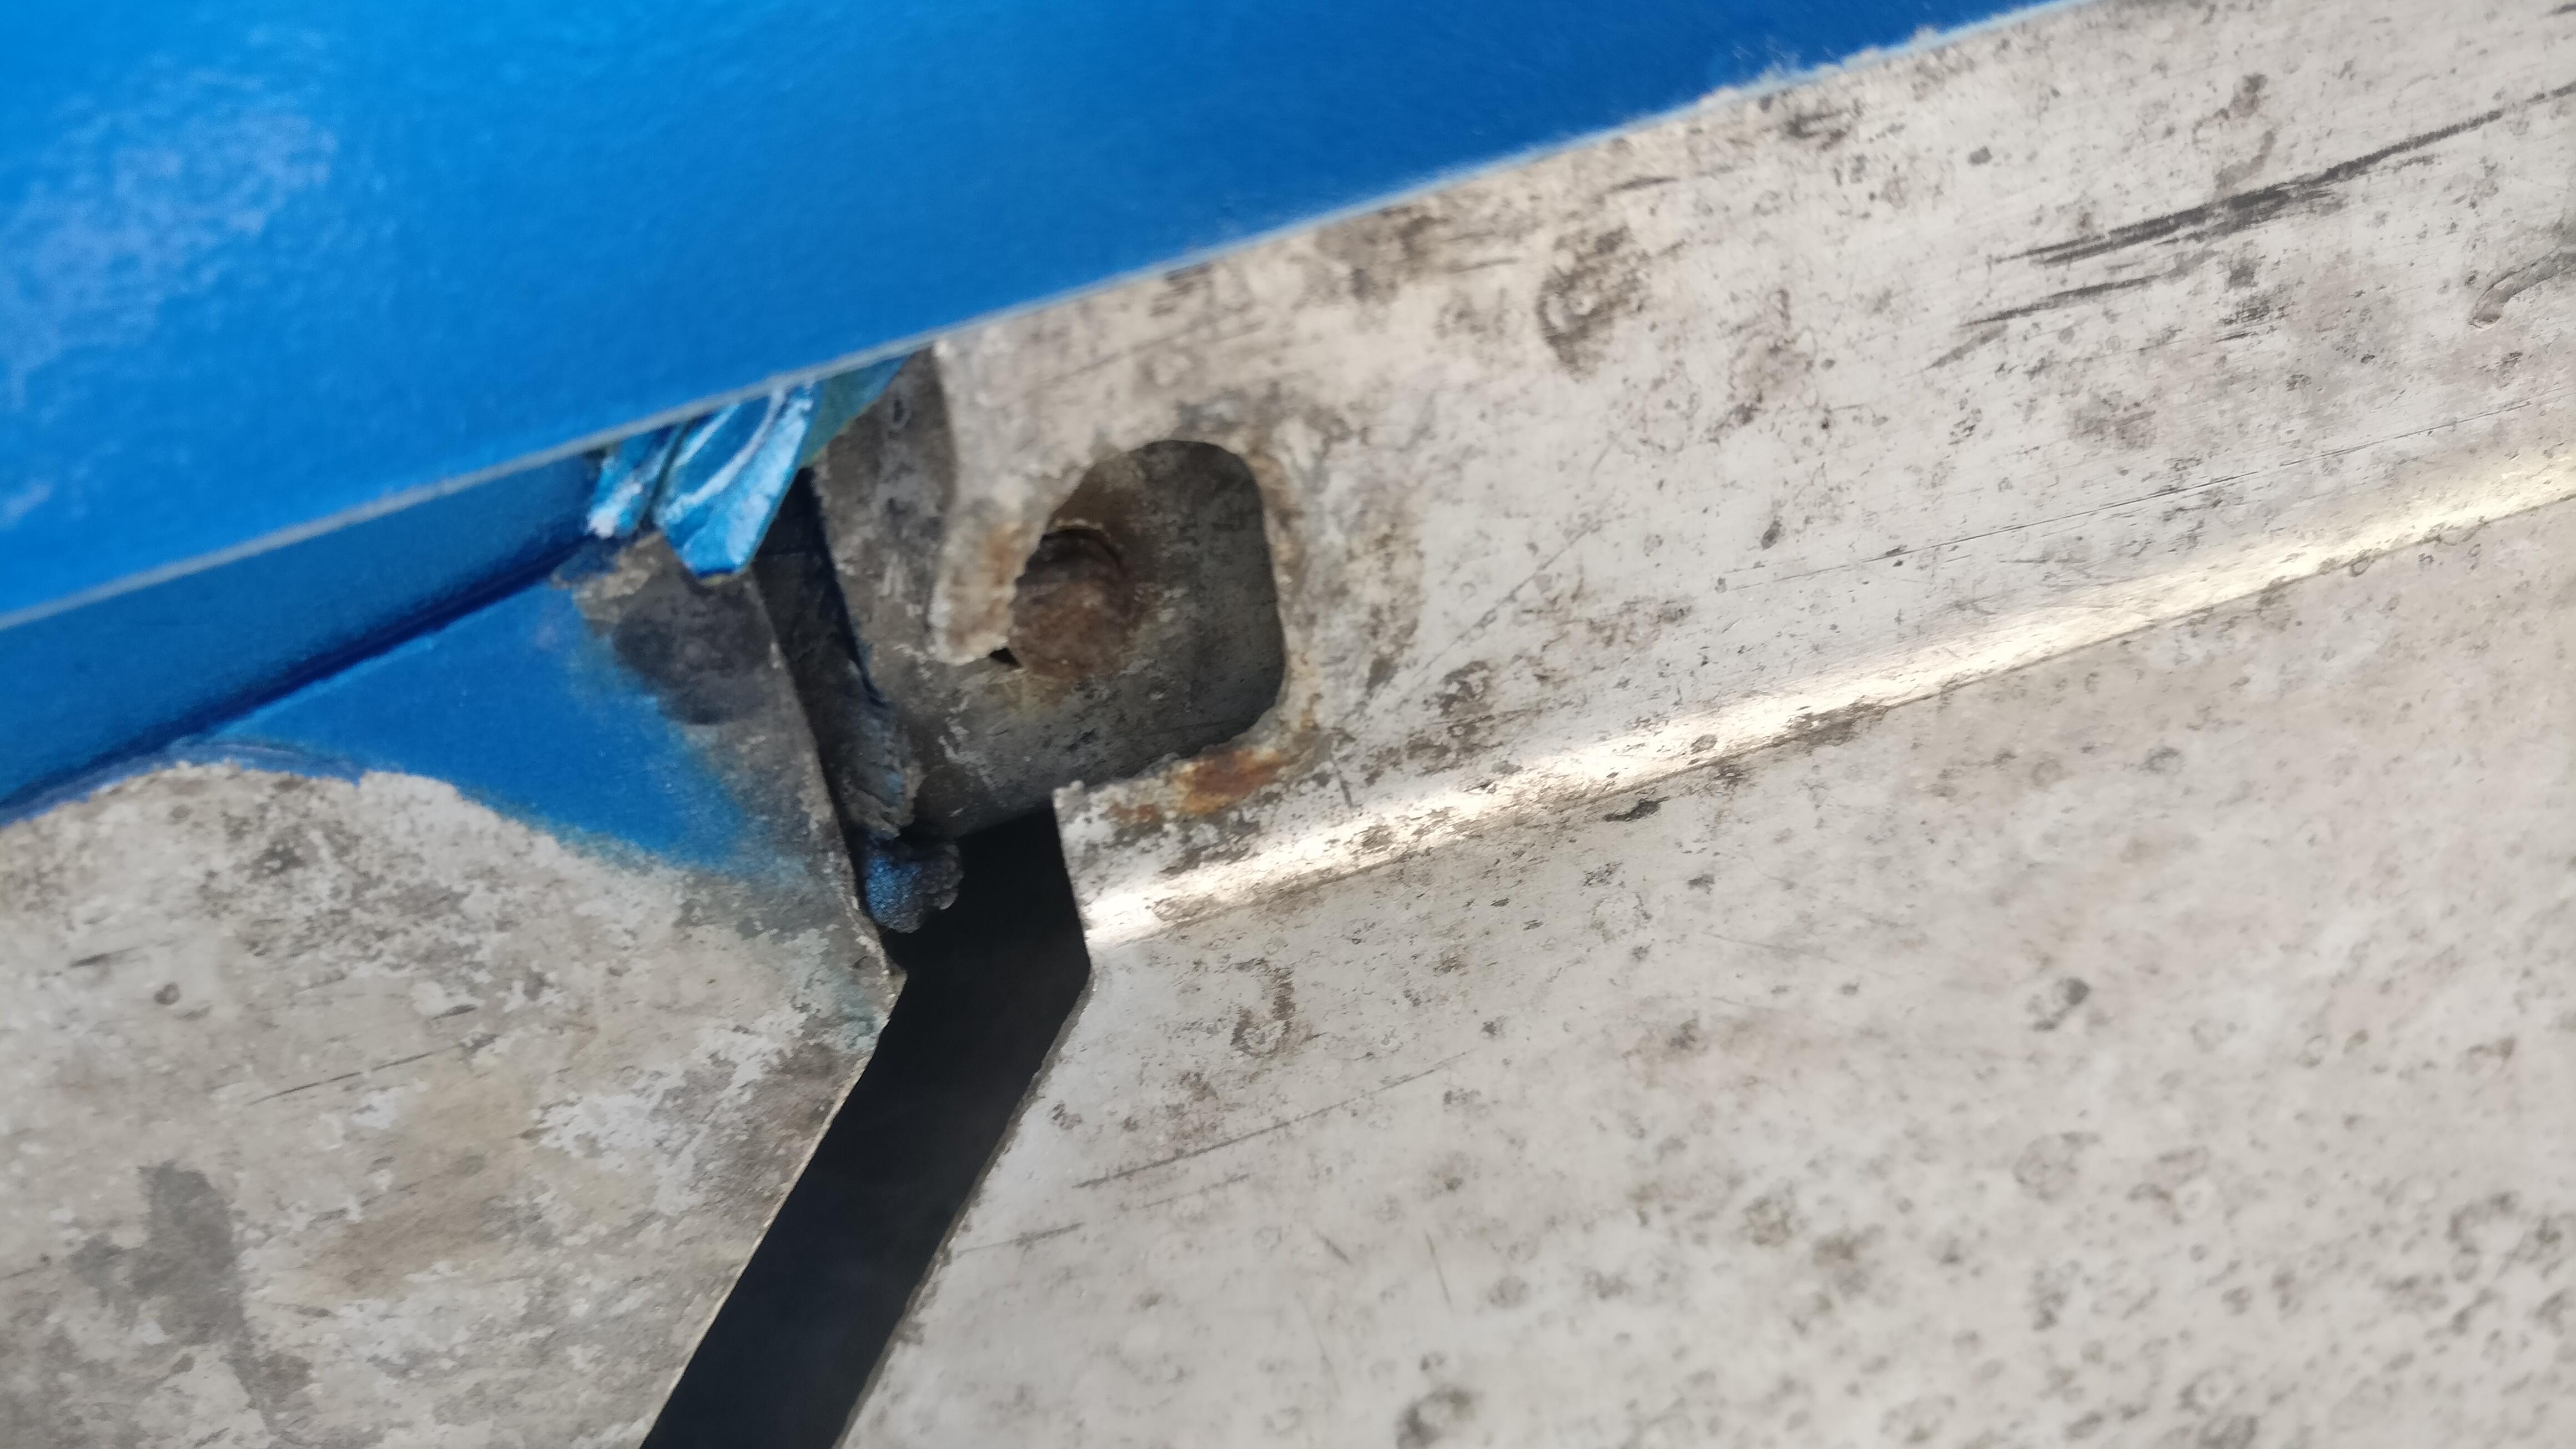
However, the passenger side had a sheered bolt in the first fixing hole, typical as that one is the most important hole. I was able to remove the remaining piece but when I went to test the new bolt realised there was no thread. I decided to use a plastic trim fastener instead and hoped it would hold.
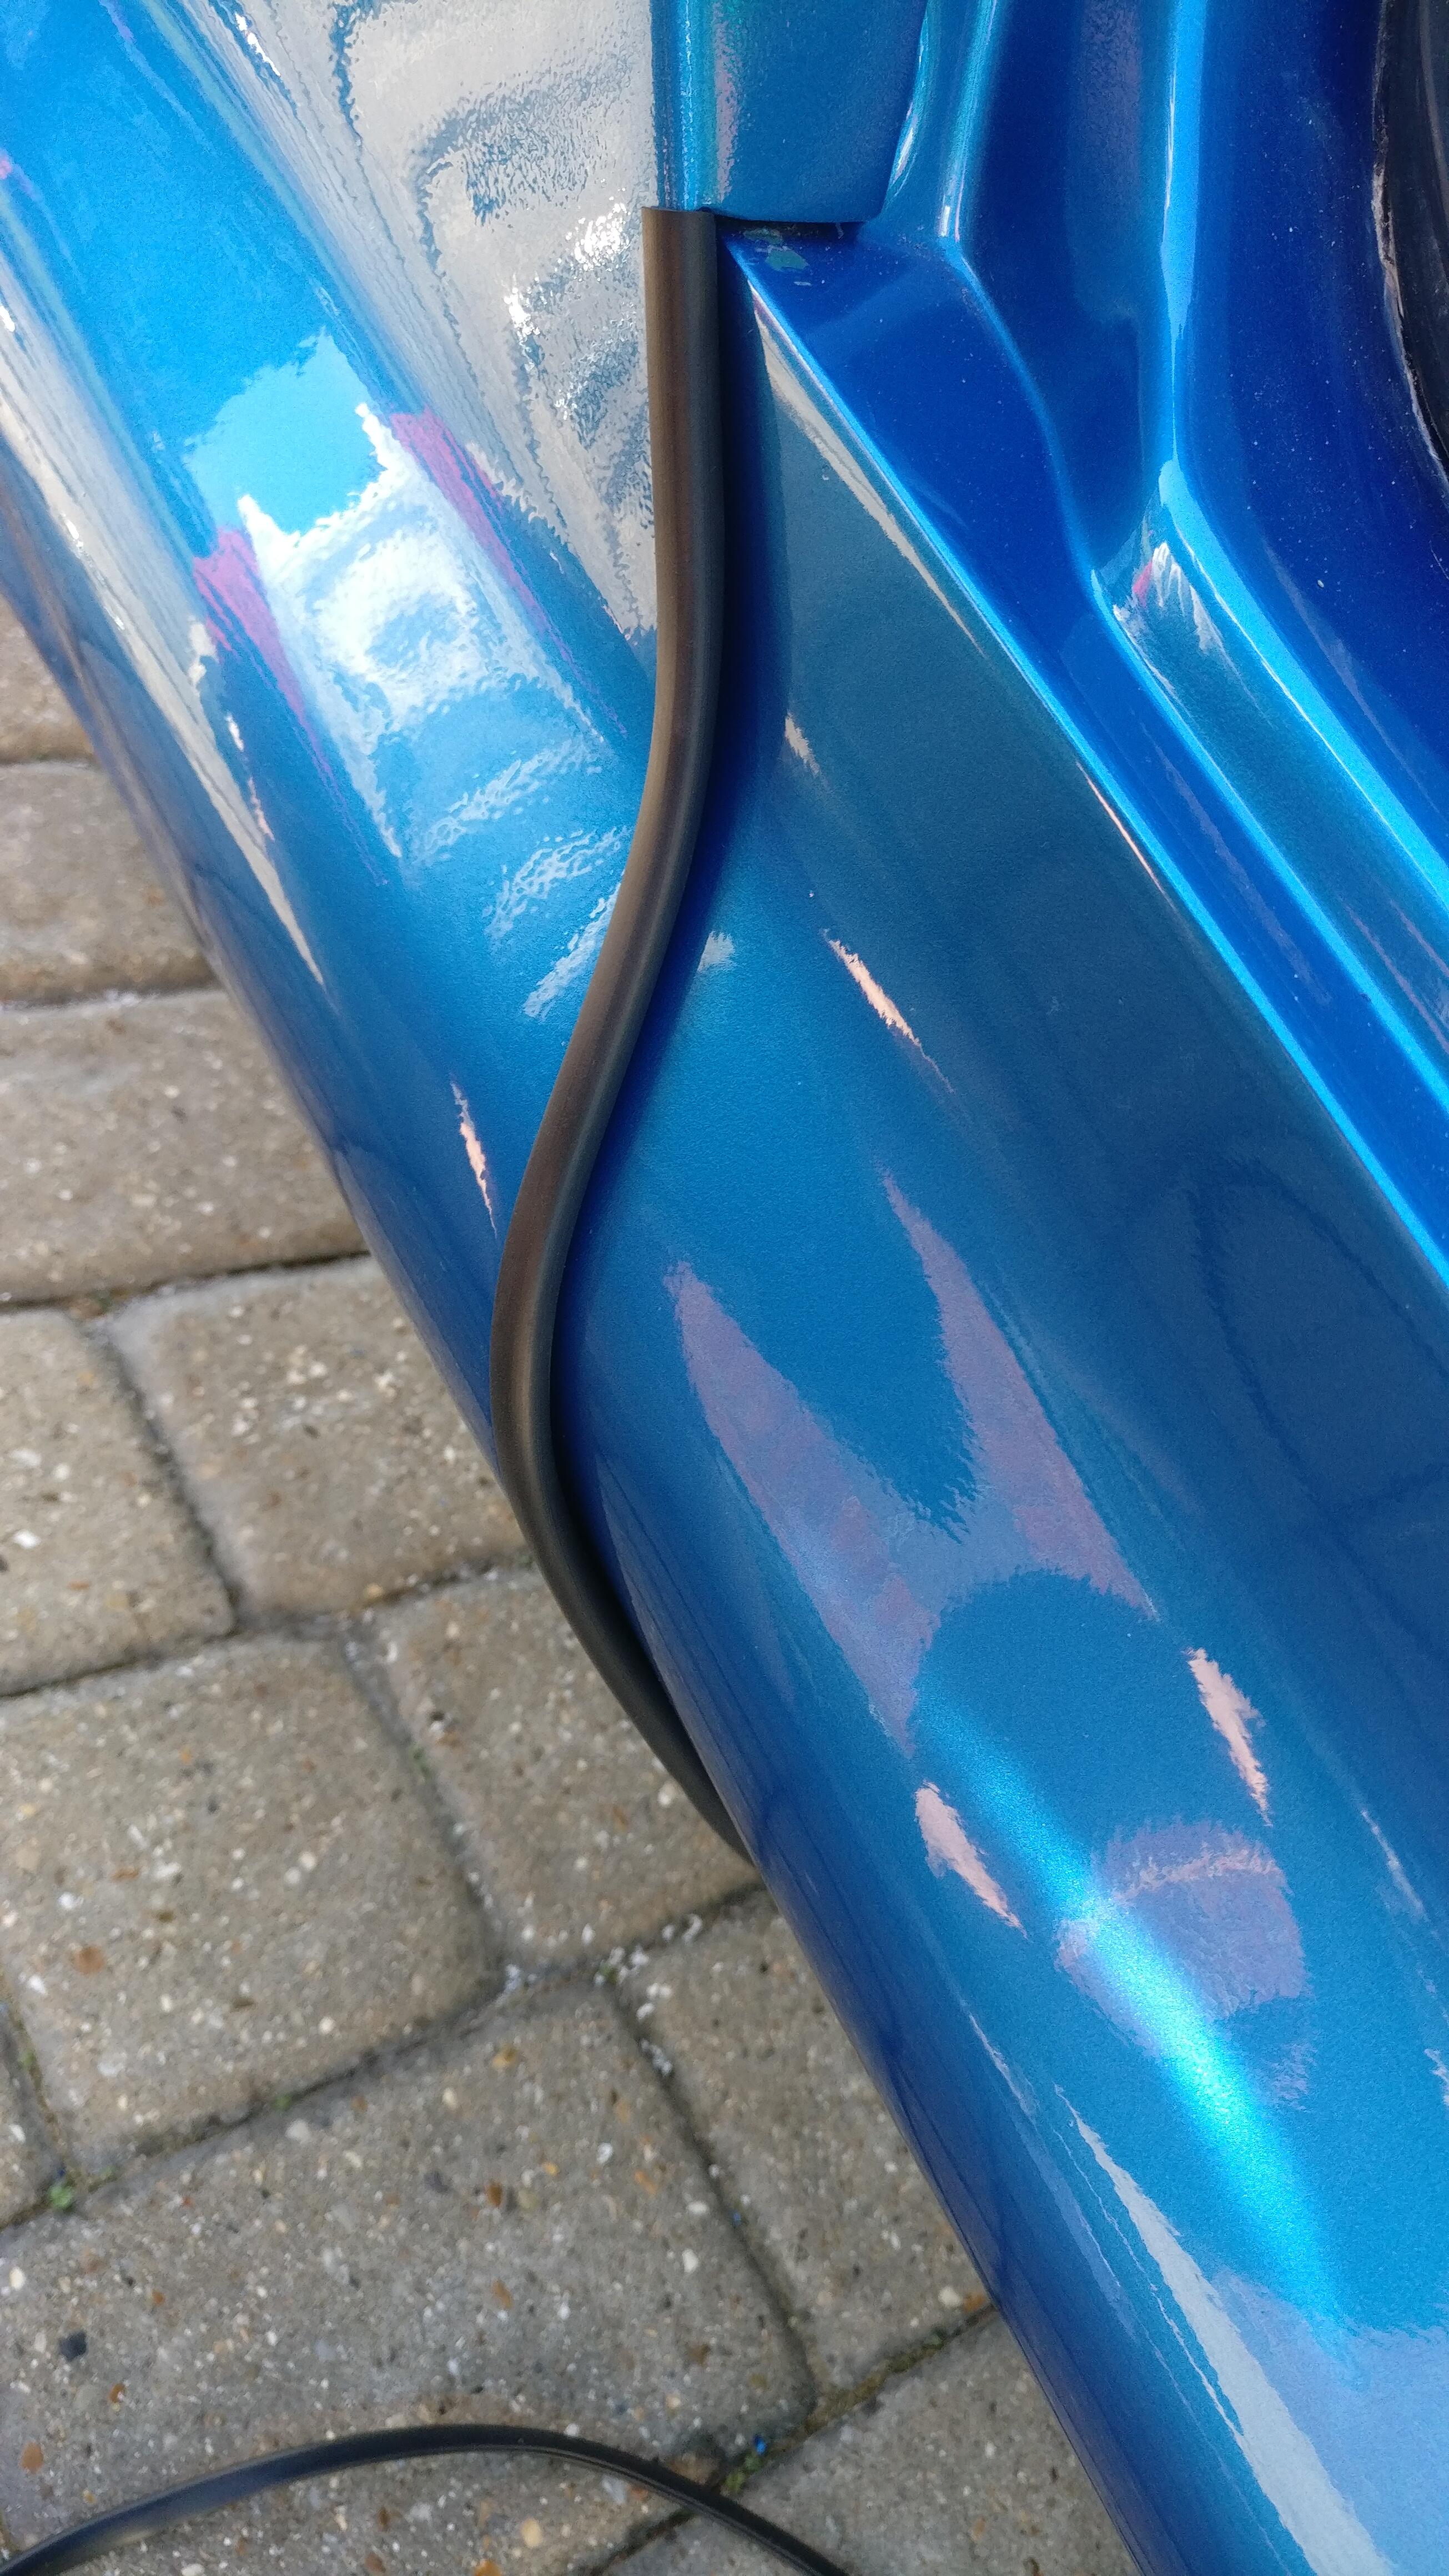
Finally to finish them off I added the rubber edging trim to them and was happy another job was ticked off. I didn’t do anything to fix the front oversills to the sill as they were pretty secure and tight already and also I was unsure how they are secured. I think at some point in the future I’ll just use plastic trim fasteners like the rear passenger side straight into holes drilled into the sill, I’ll see how well the rear holds up.
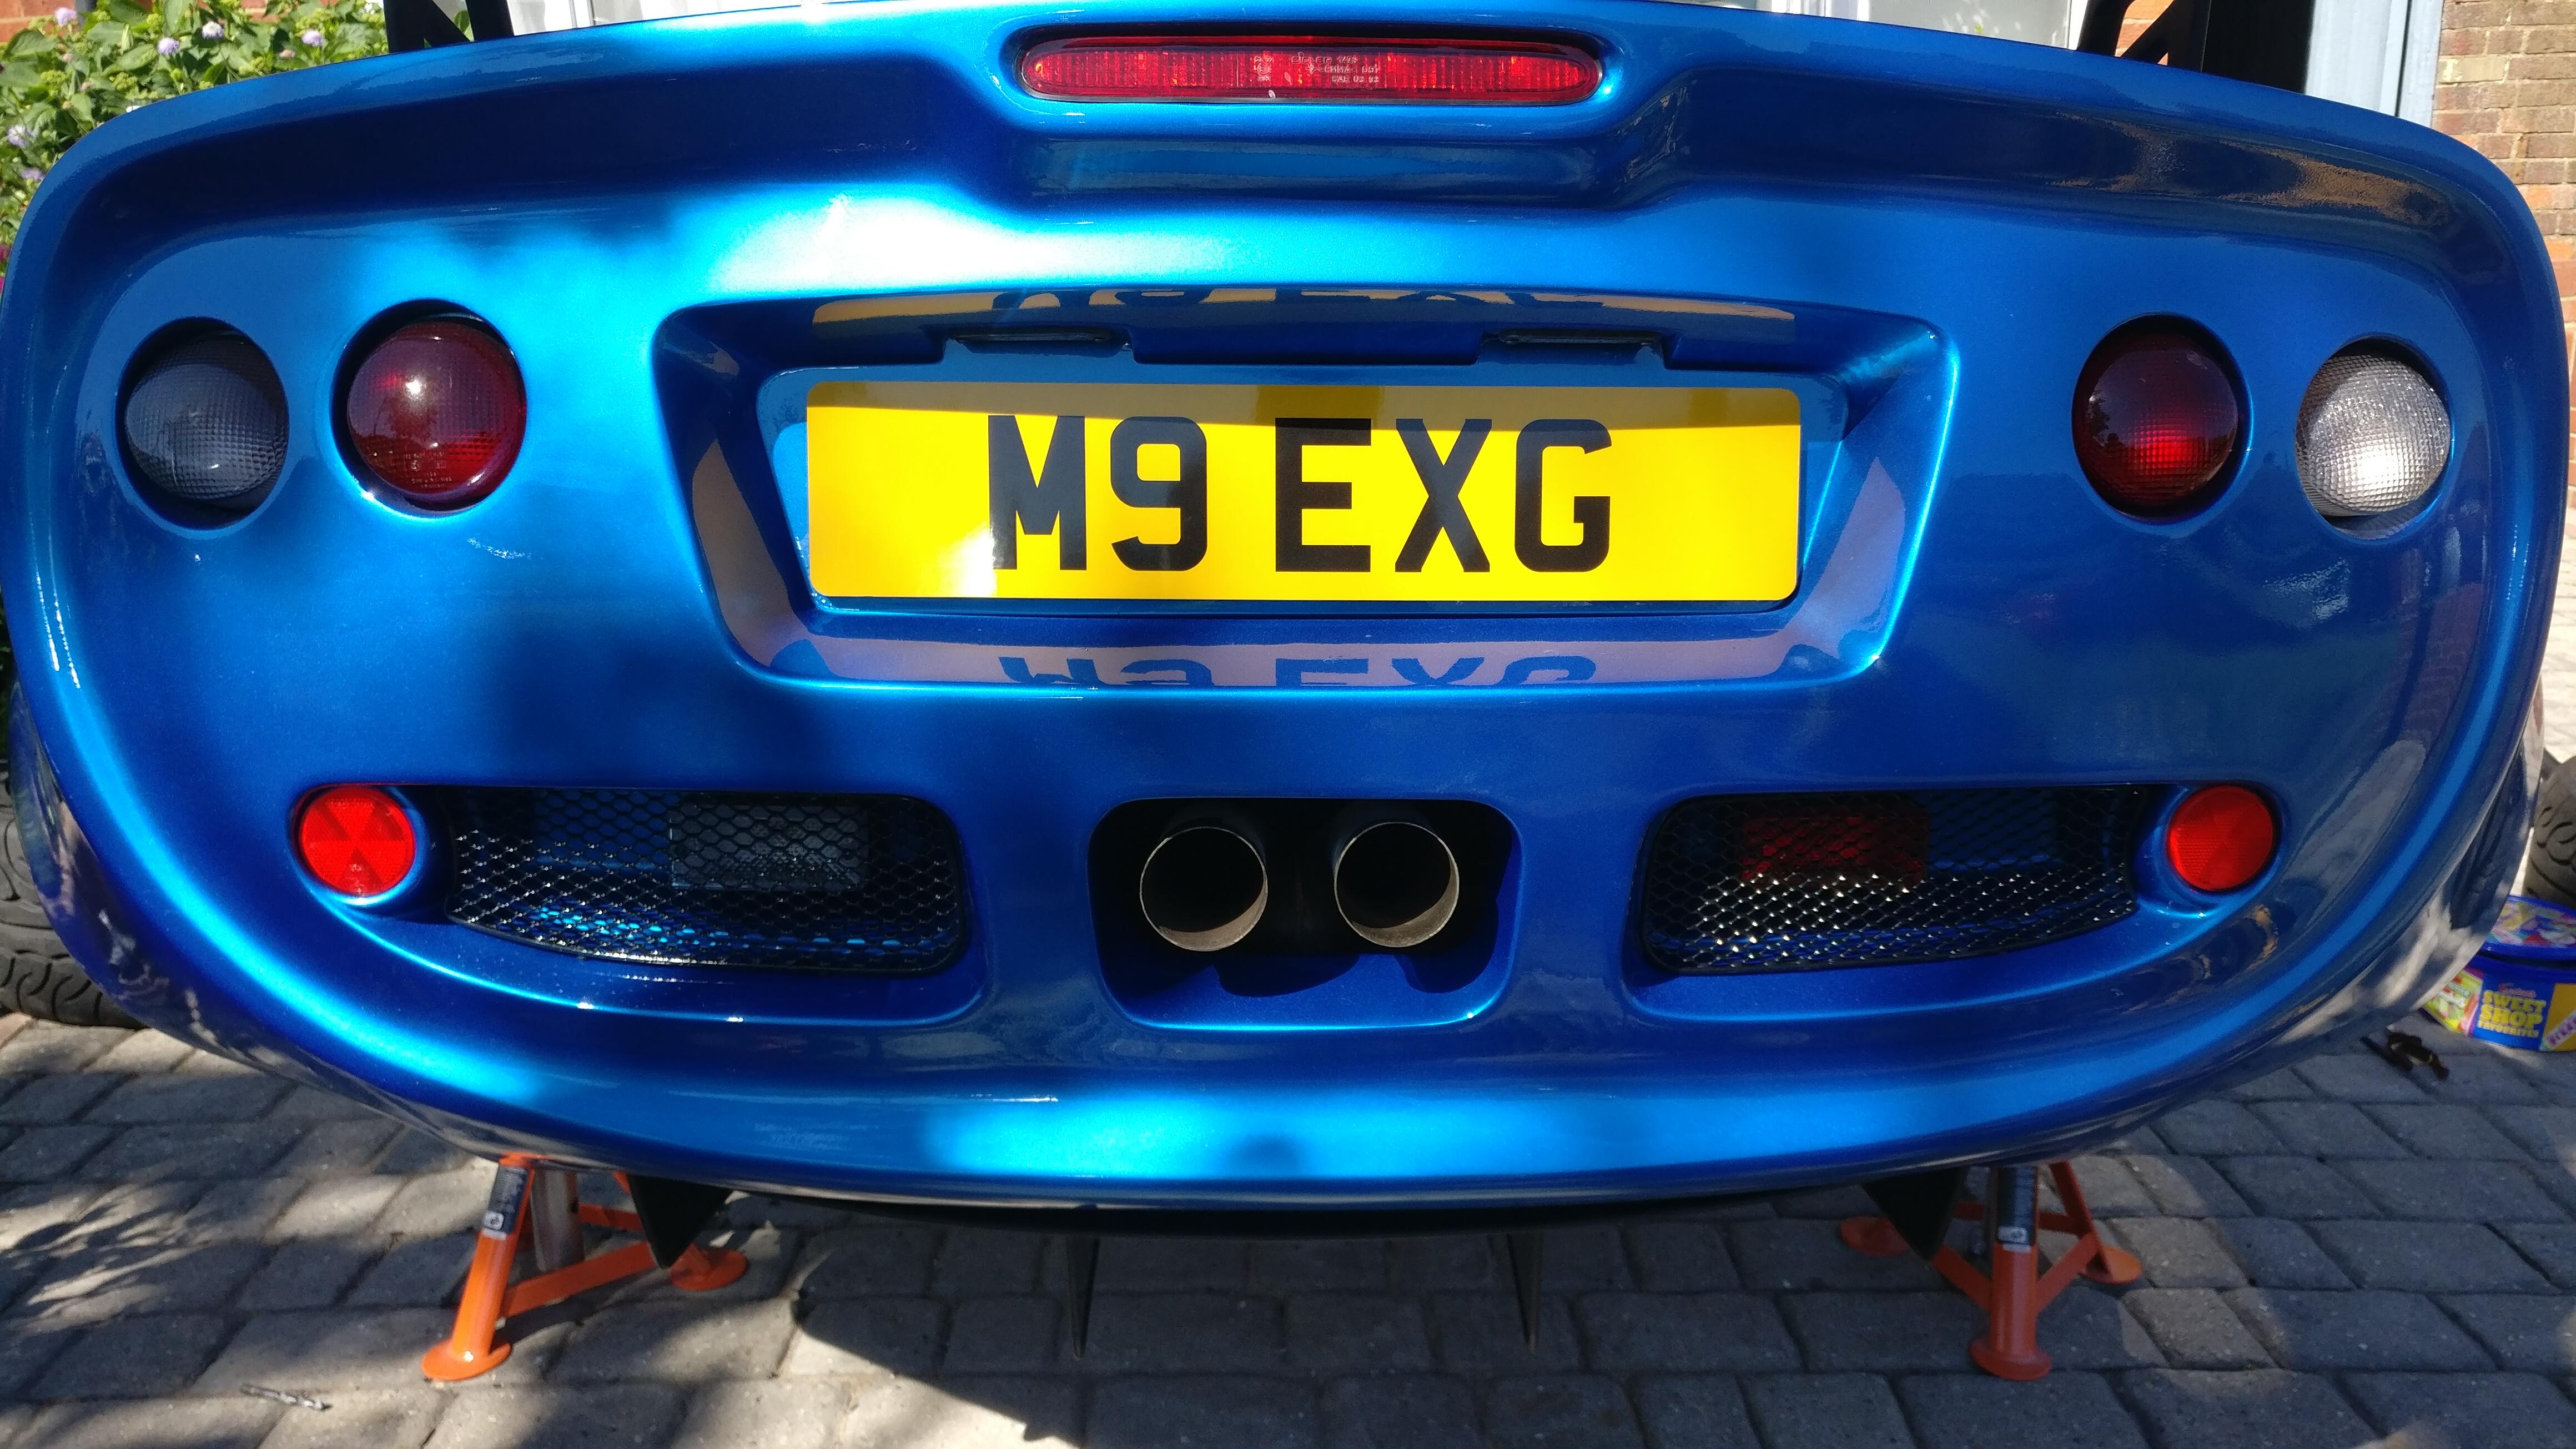
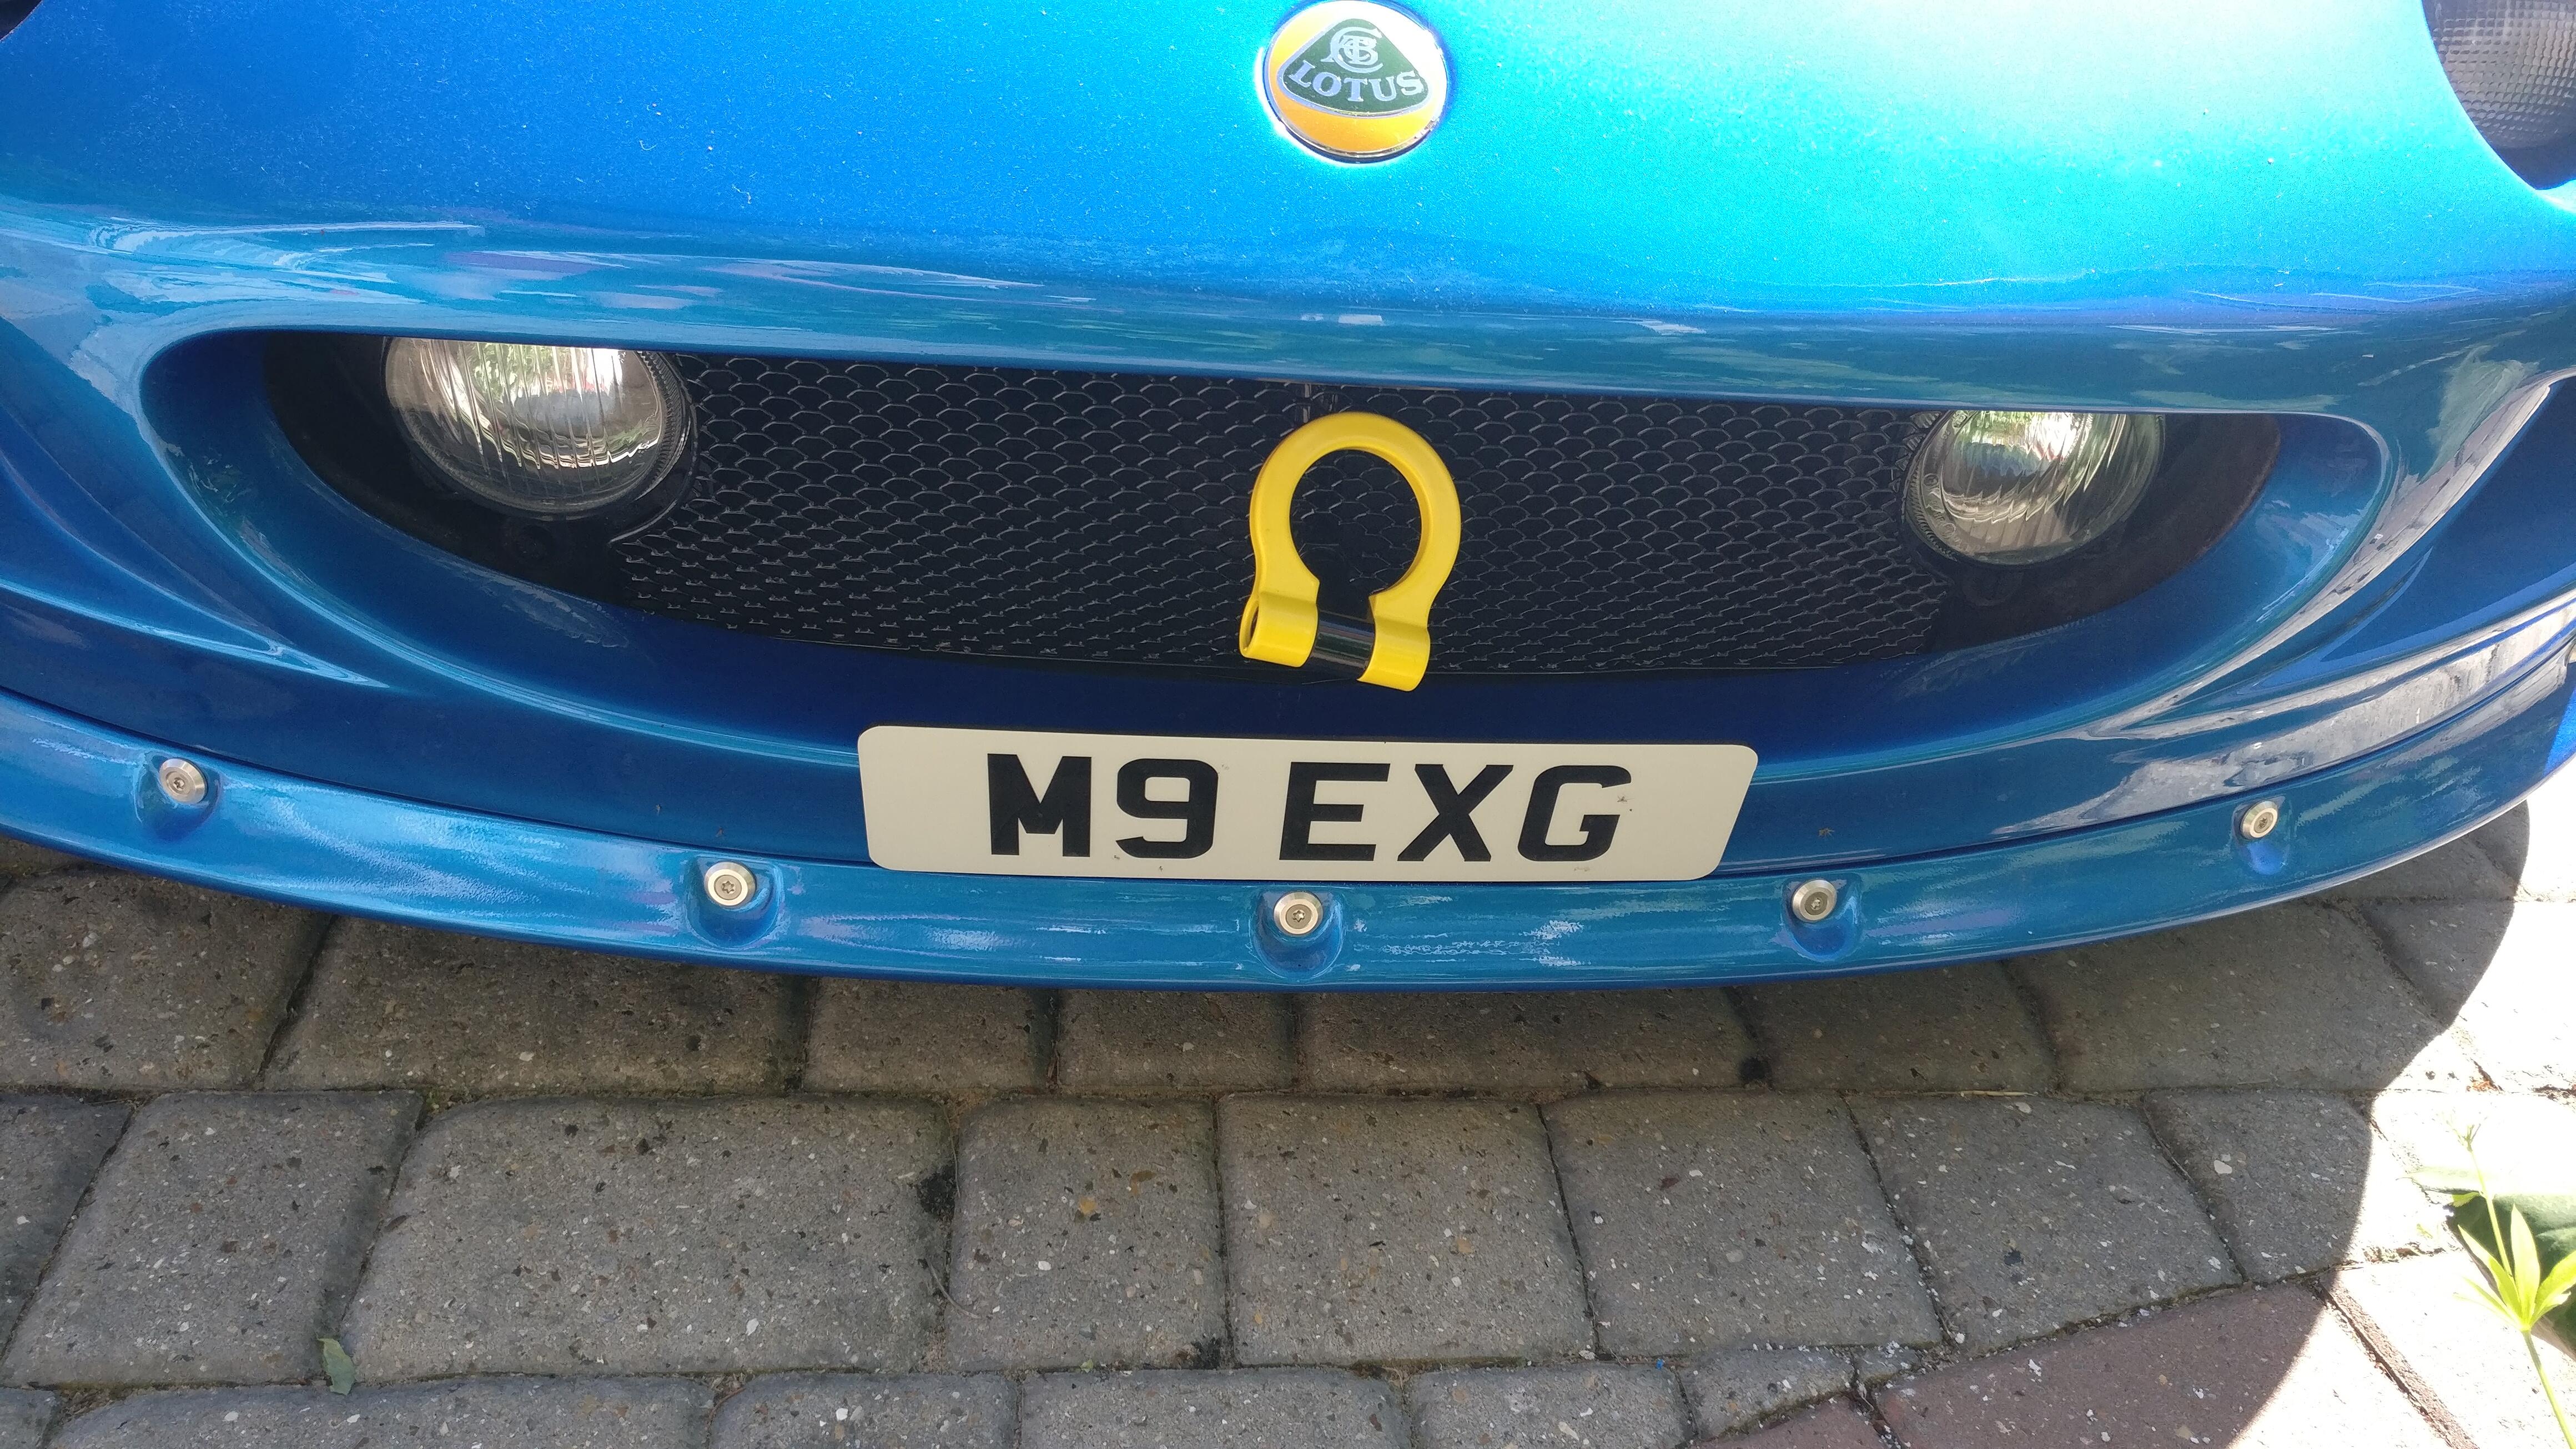
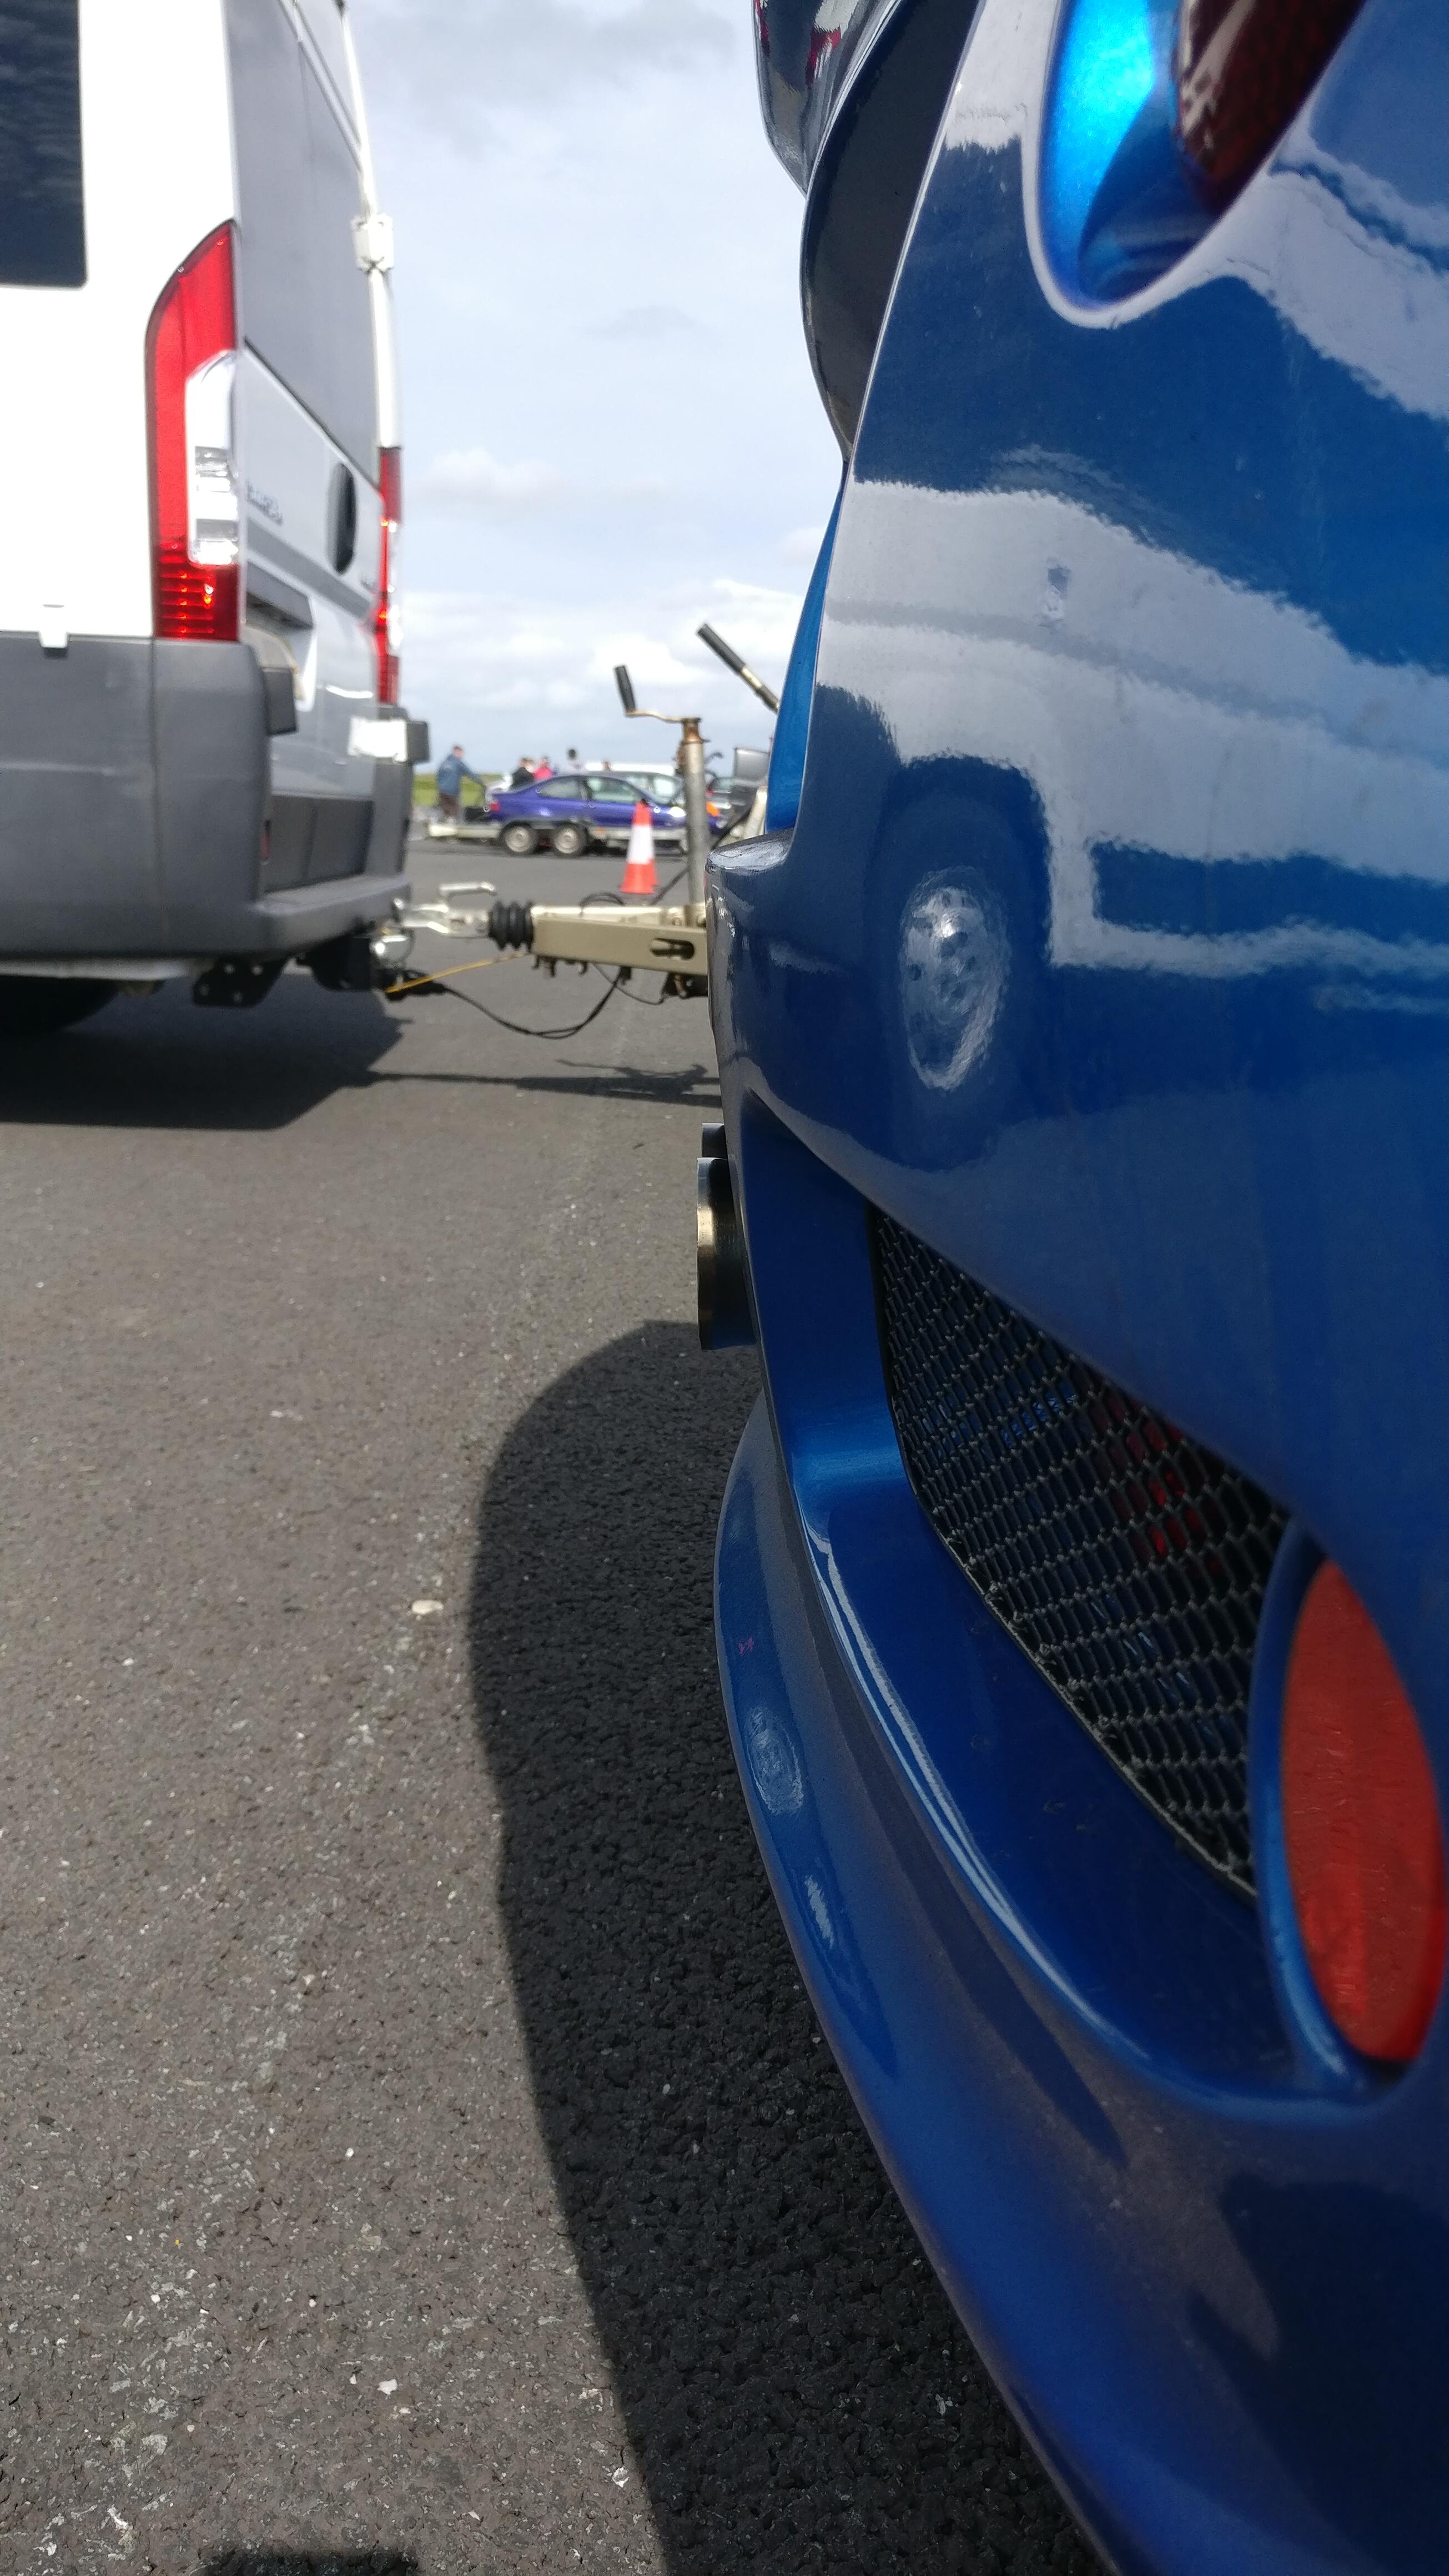
Finally on went the diffuser, rear grilles, reflectors, front grille and towing eyes. Unfortunately I think flipping the tow post around has meant that my towing eye on the front doesn’t tighten horizontally and is at an annoying angle, so I’ll have to either cut the thread down or pack it out with washers.
I then ran out of time to do any more to it but it was ready enough for its long shake down drive up to Anglesey.
The drive was very sweaty and noisy, the B4 box sitting at just under 4000rpm for most of the way and I was reminded of how crap the speakers are in them ![]()
We made it to the hotel and I finished up adding the interior pieces as they can sometimes be a bit funny with wearing short sleeve shirts with stripped interiors etc.
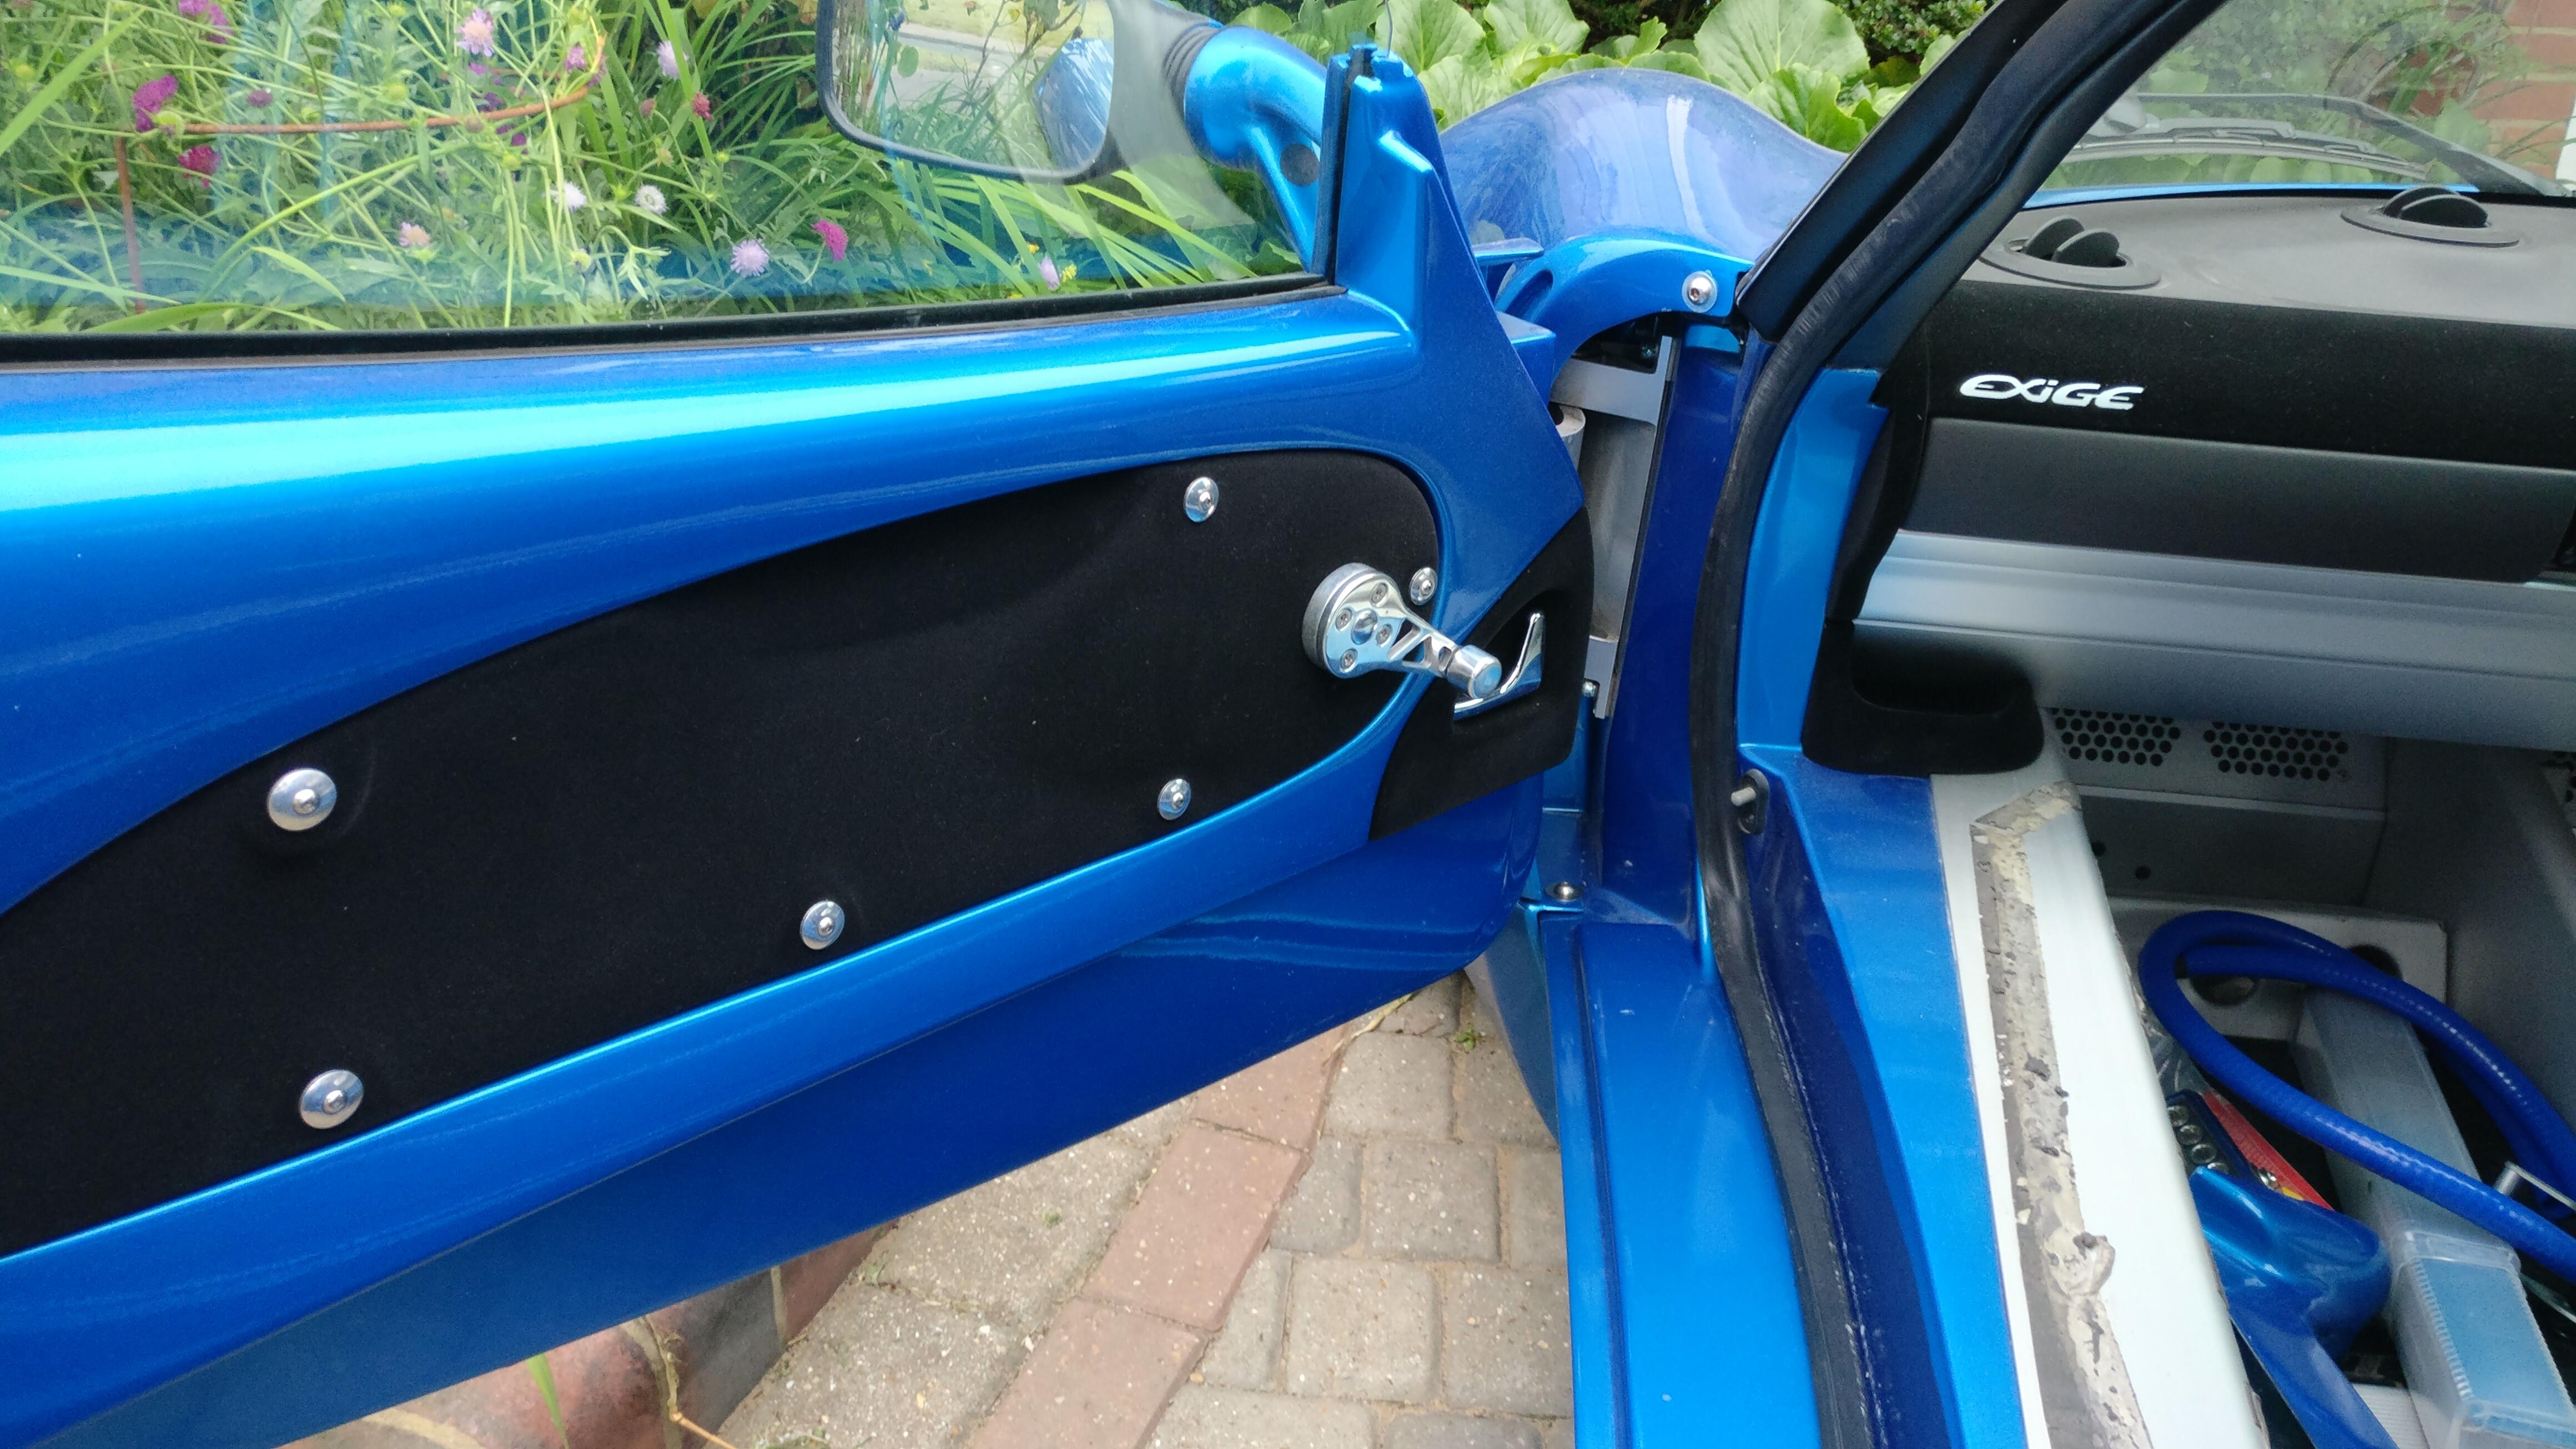
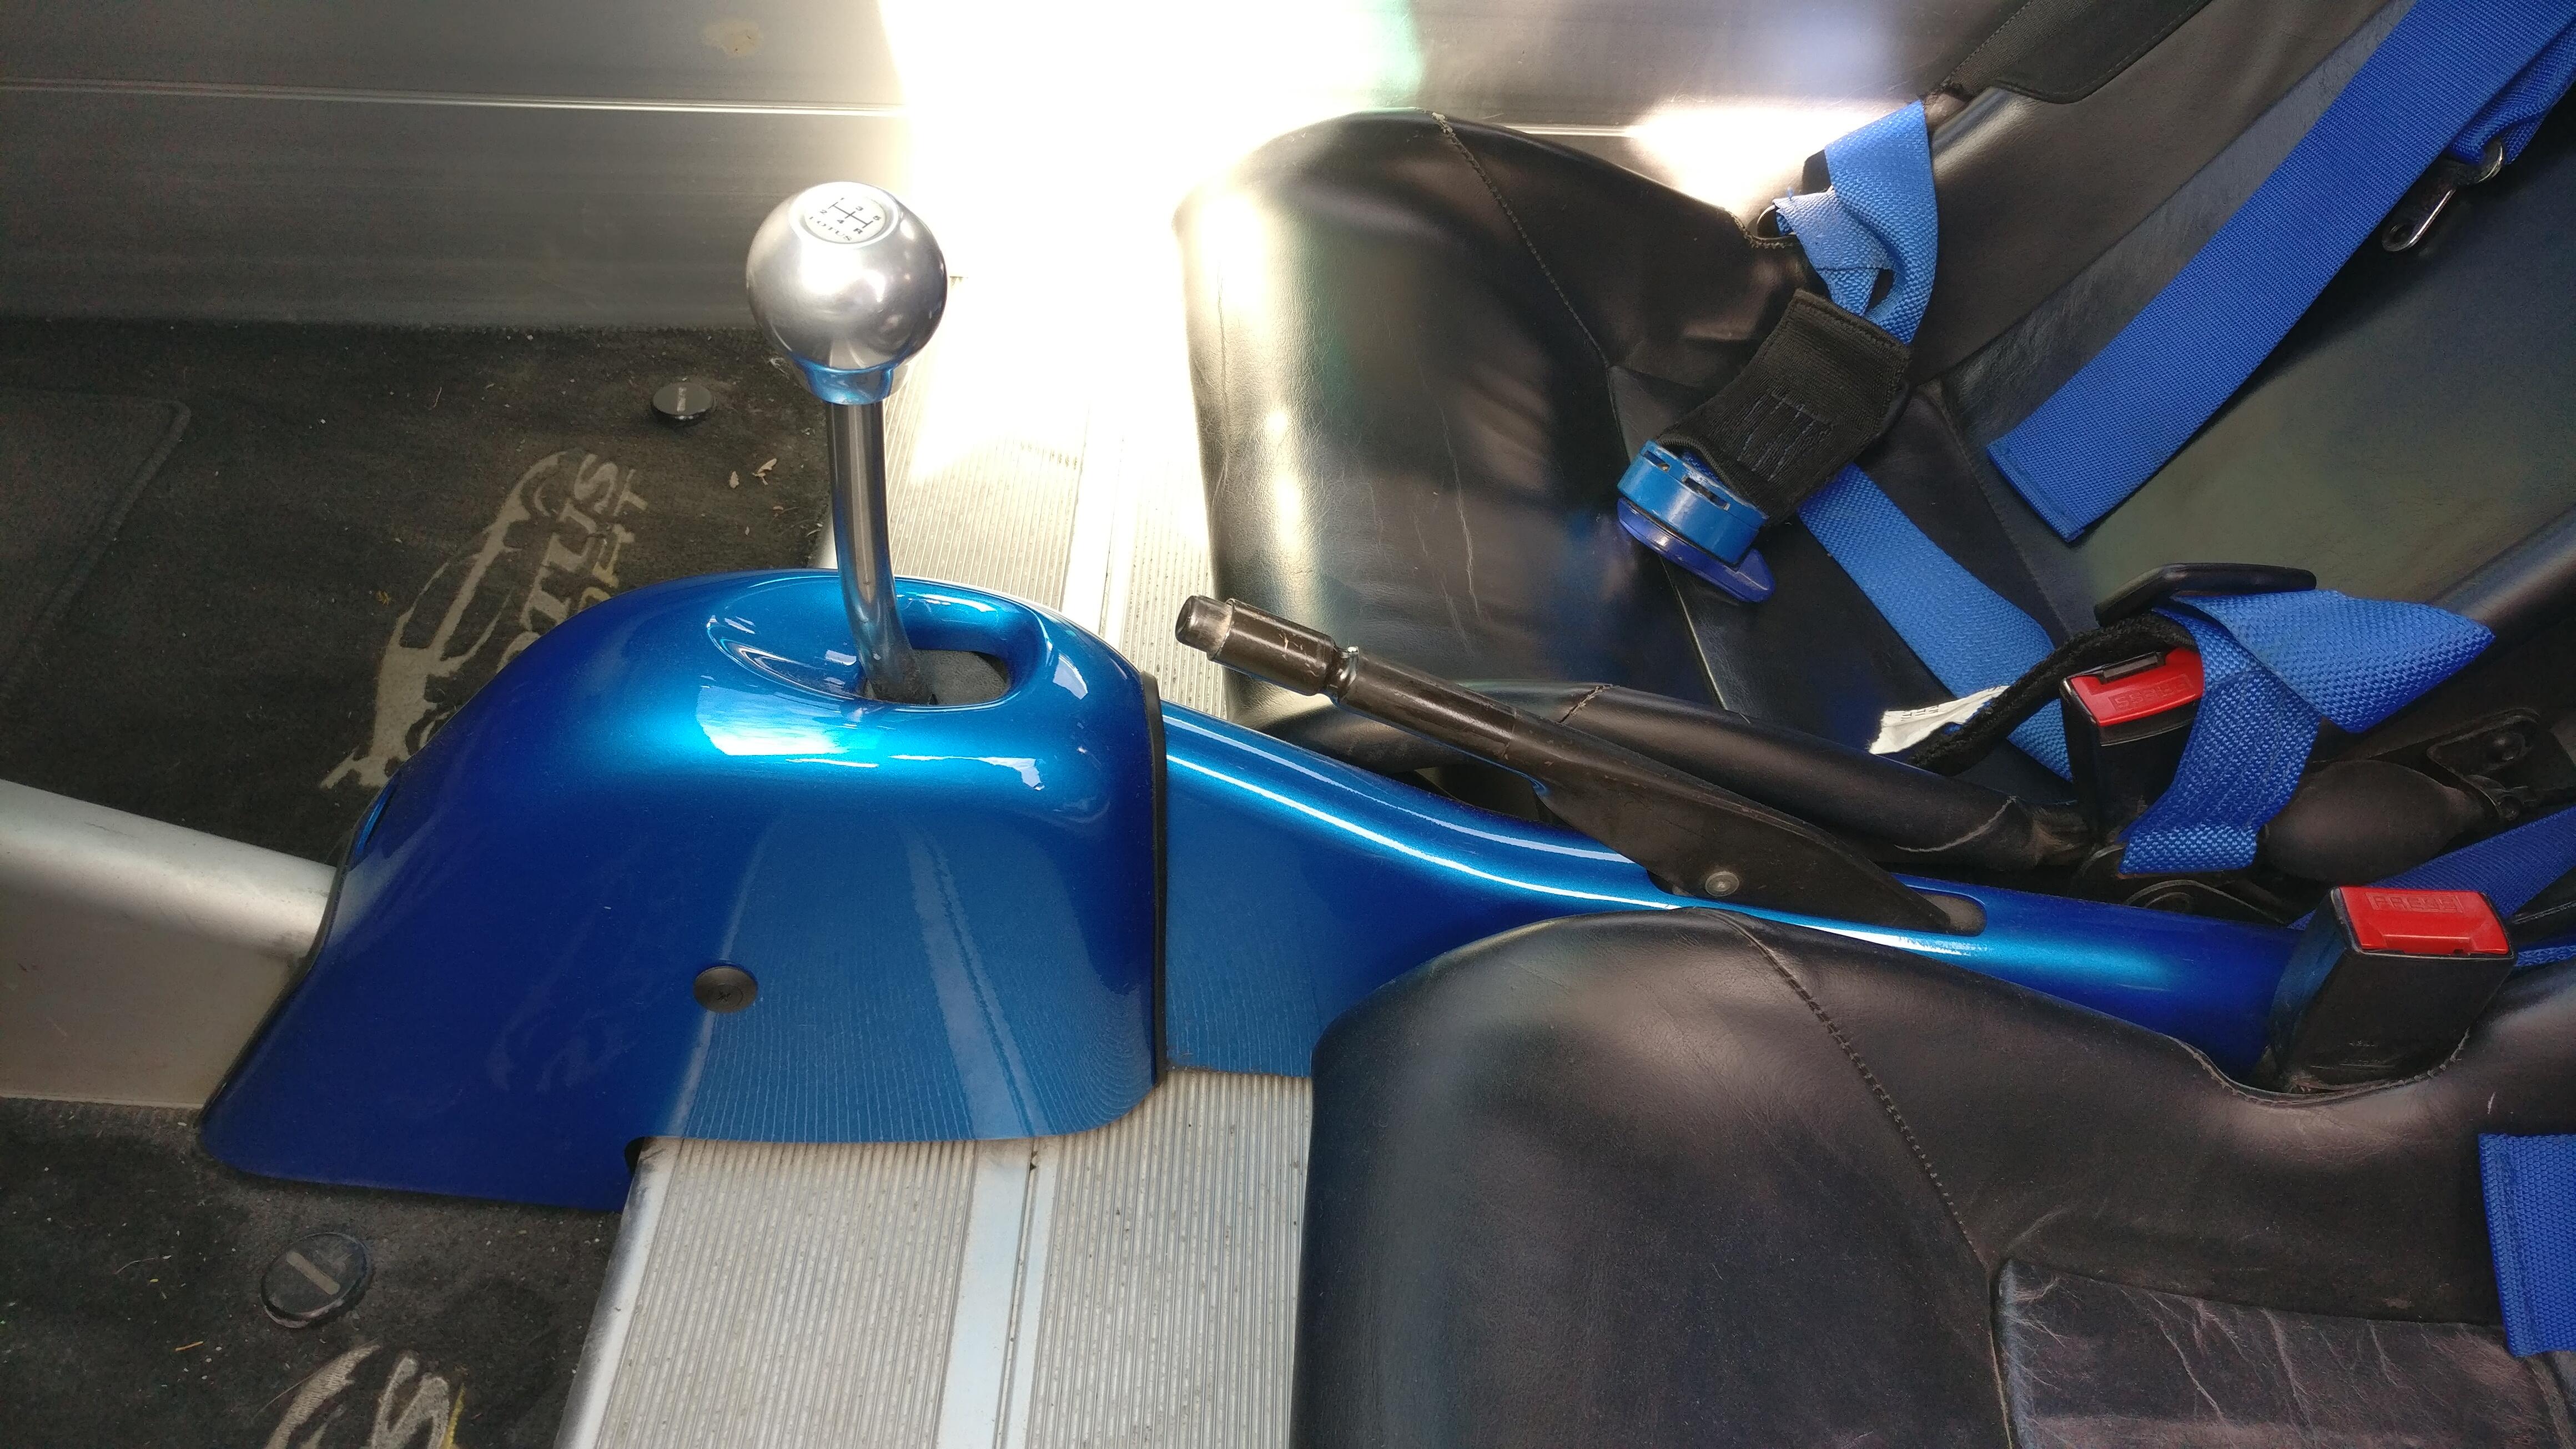
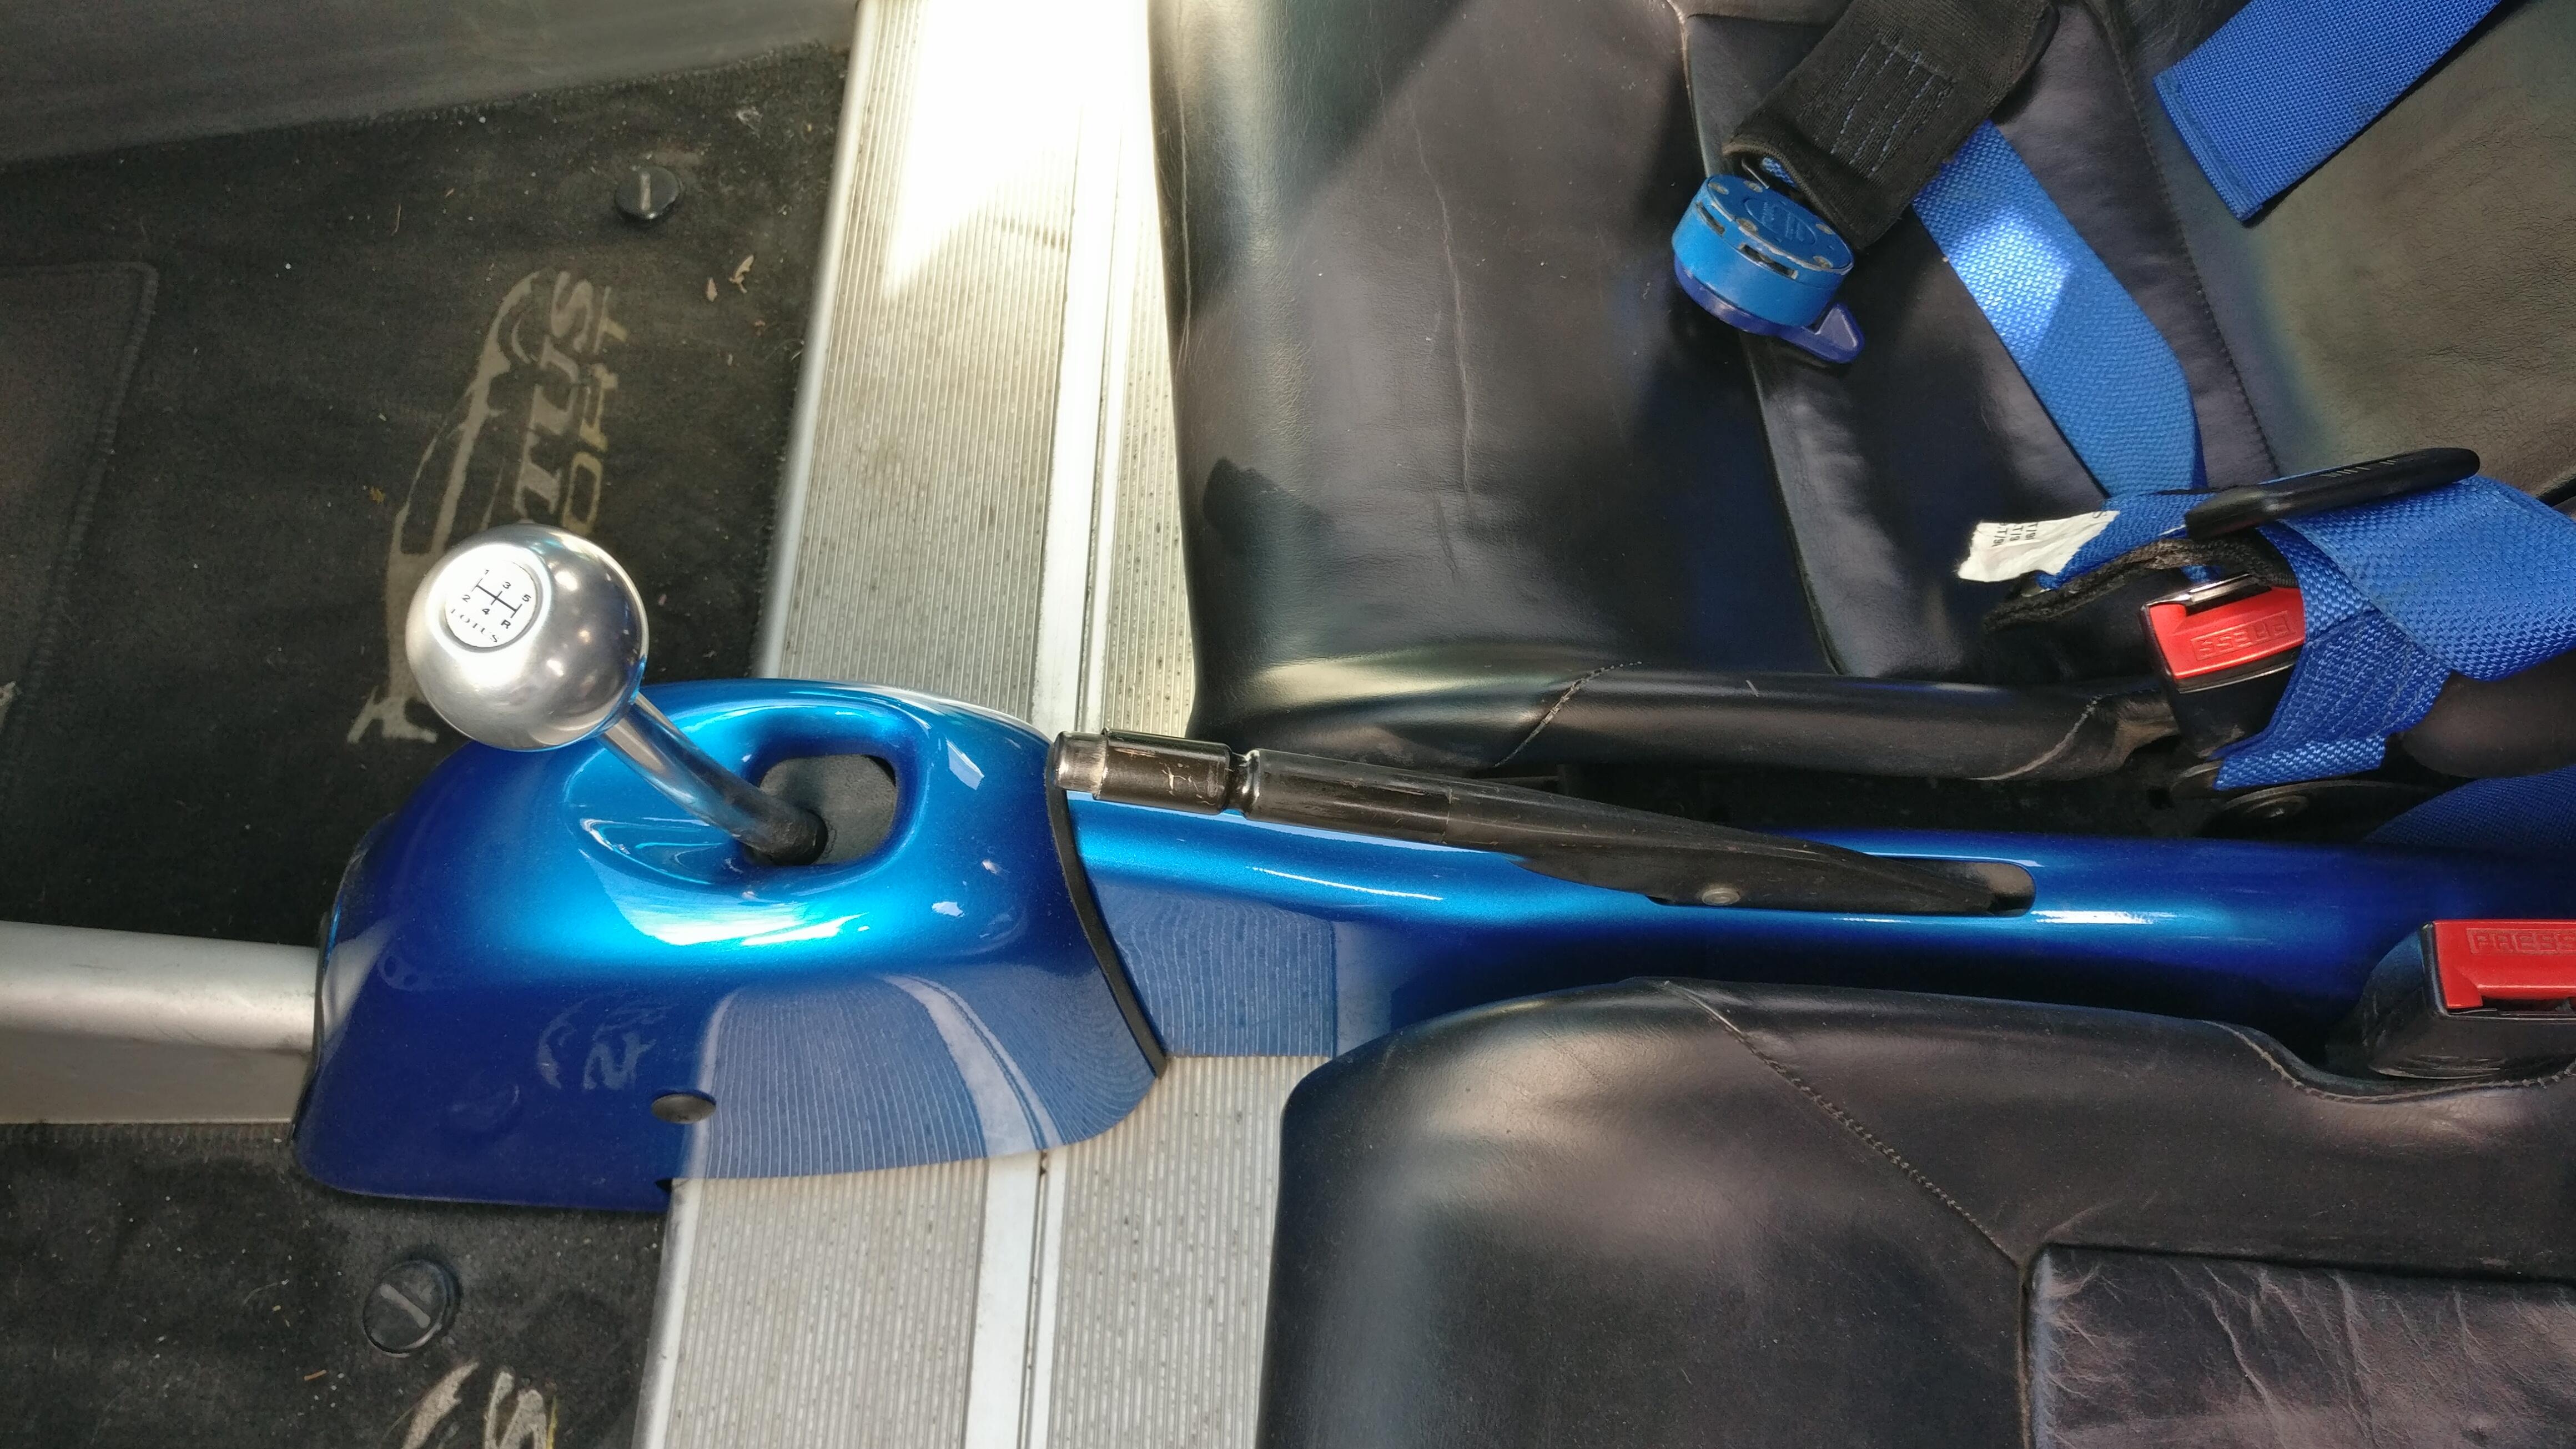
So at 11pm I finished putting in the door cards with most of the fixing bolts and the painted gear and handbrake covers, which I know will divide opinion but I think the extra splash of colour in a pretty black/grey interior is needed (for my taste anyway!) They were finished with rubber edging and I think they’ll really pop against the new carpets when they eventually go in.
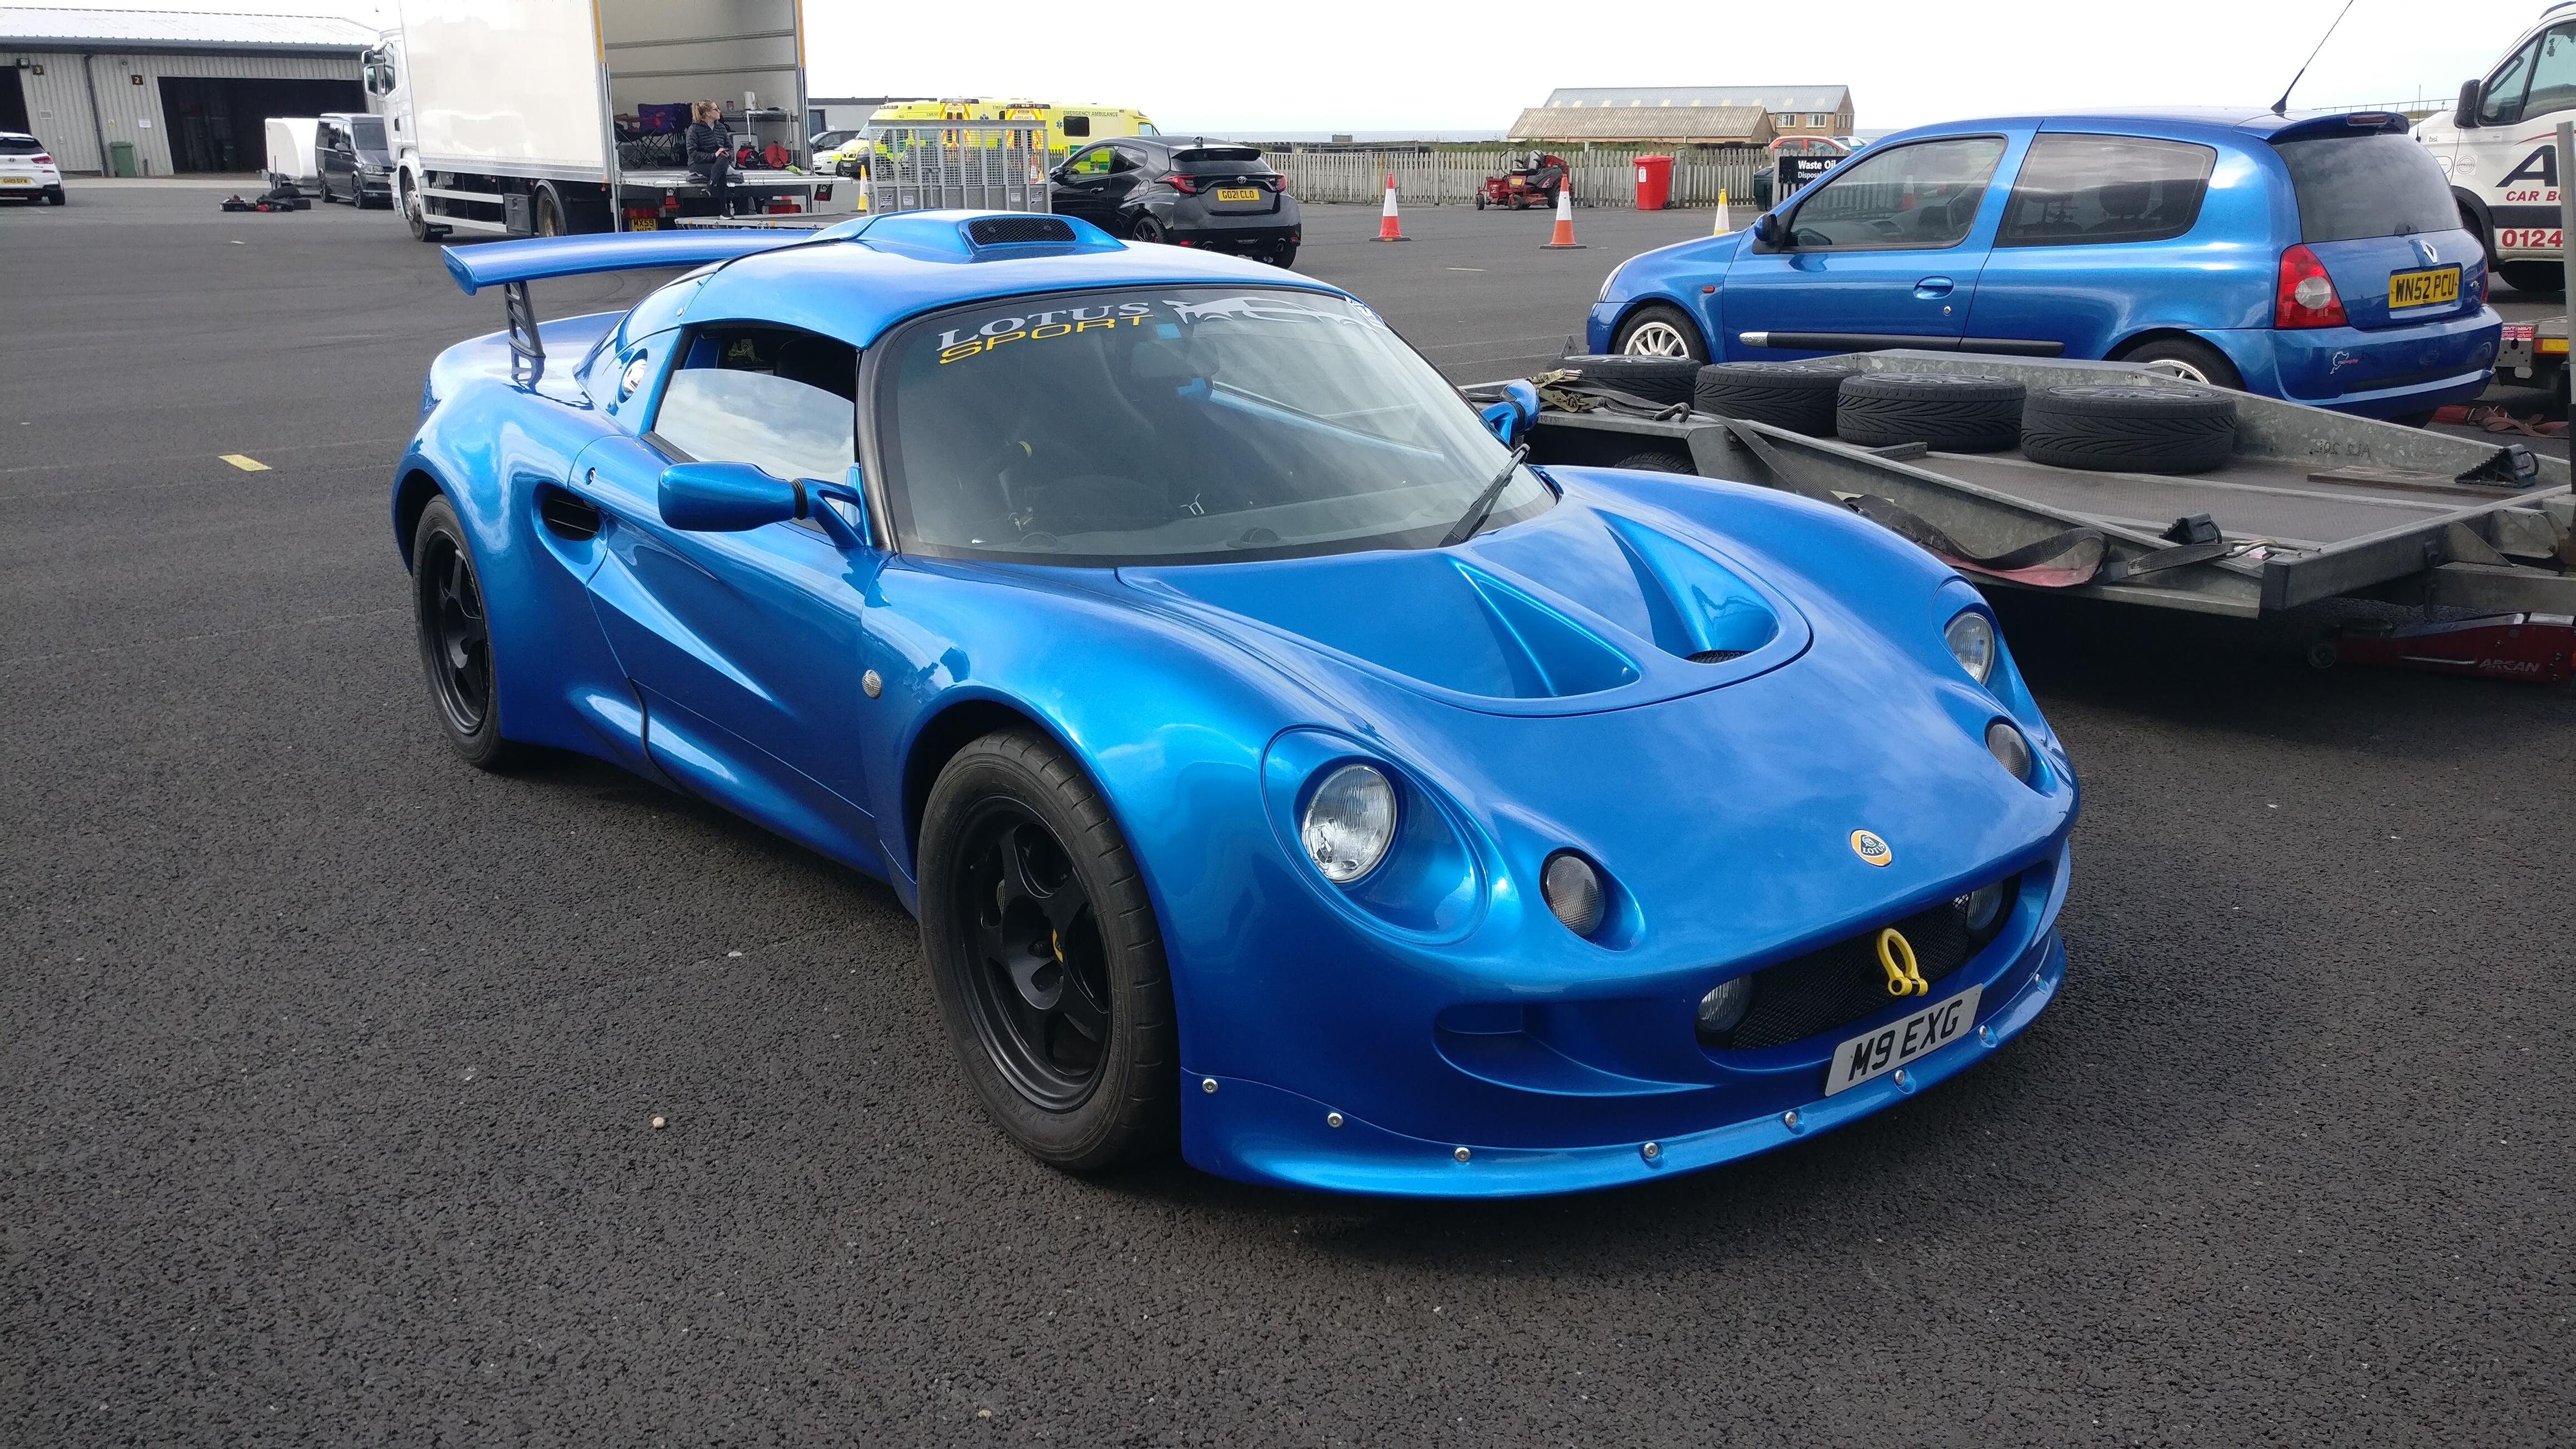
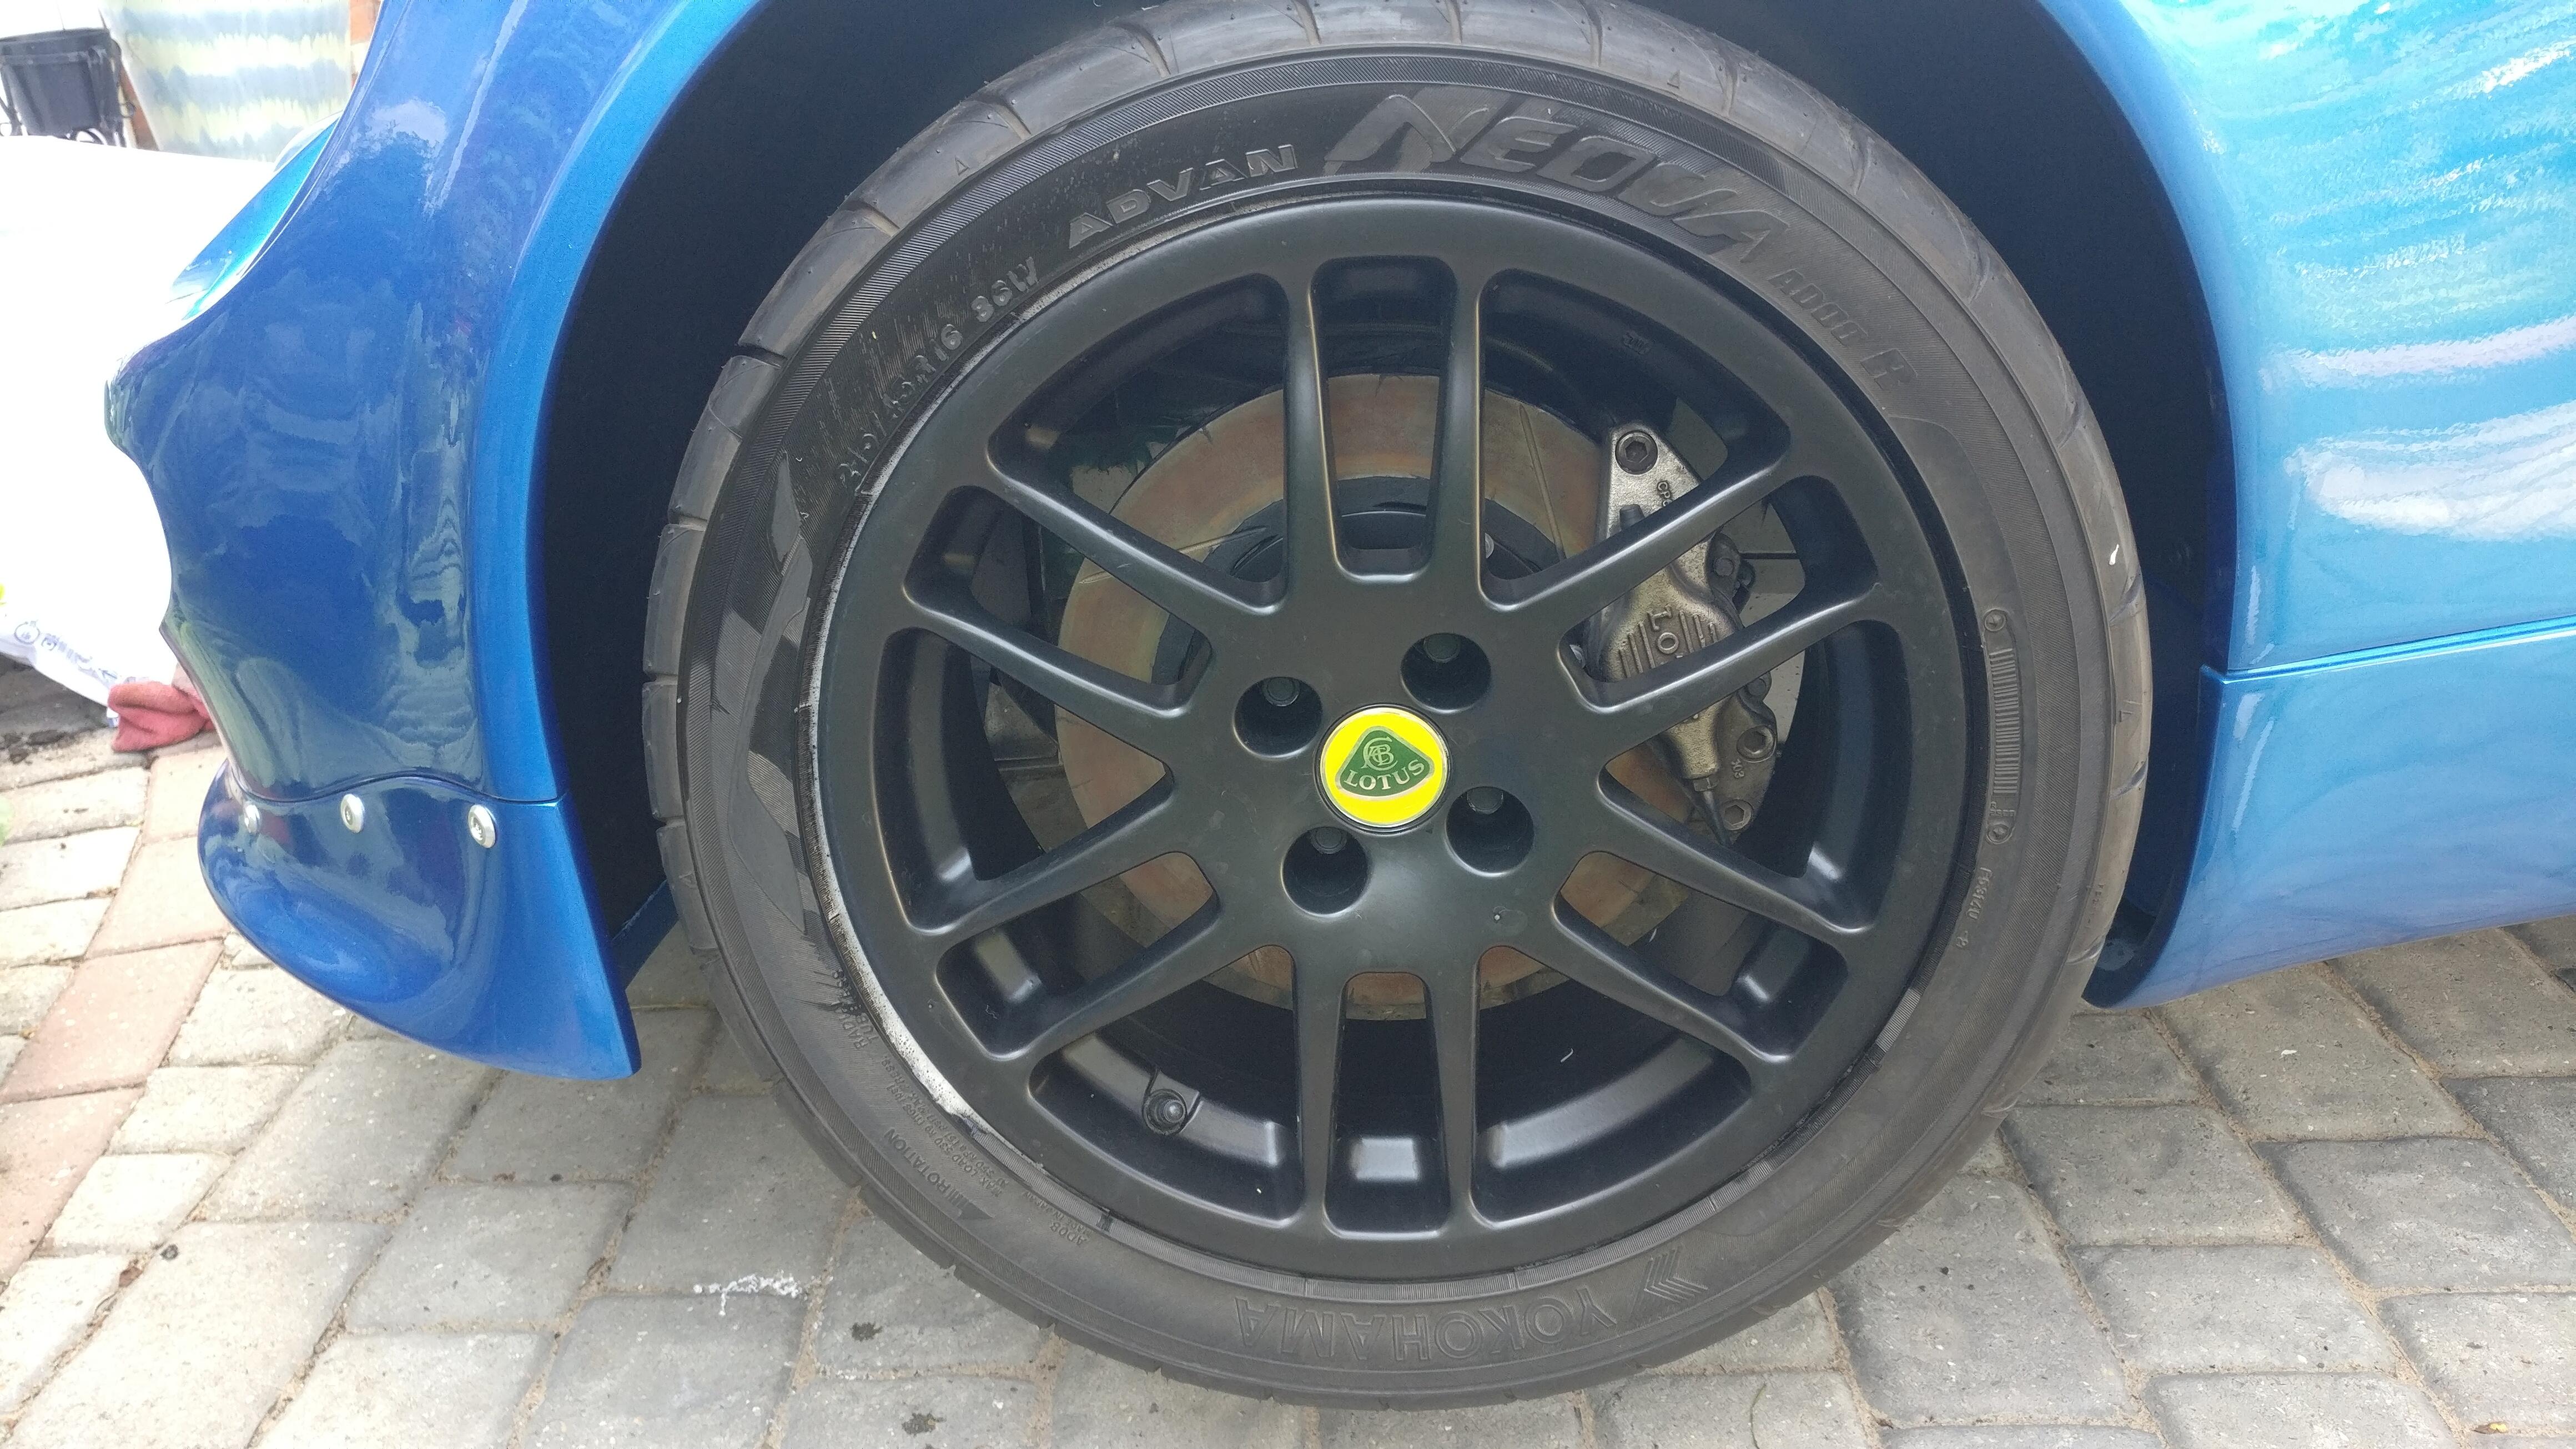
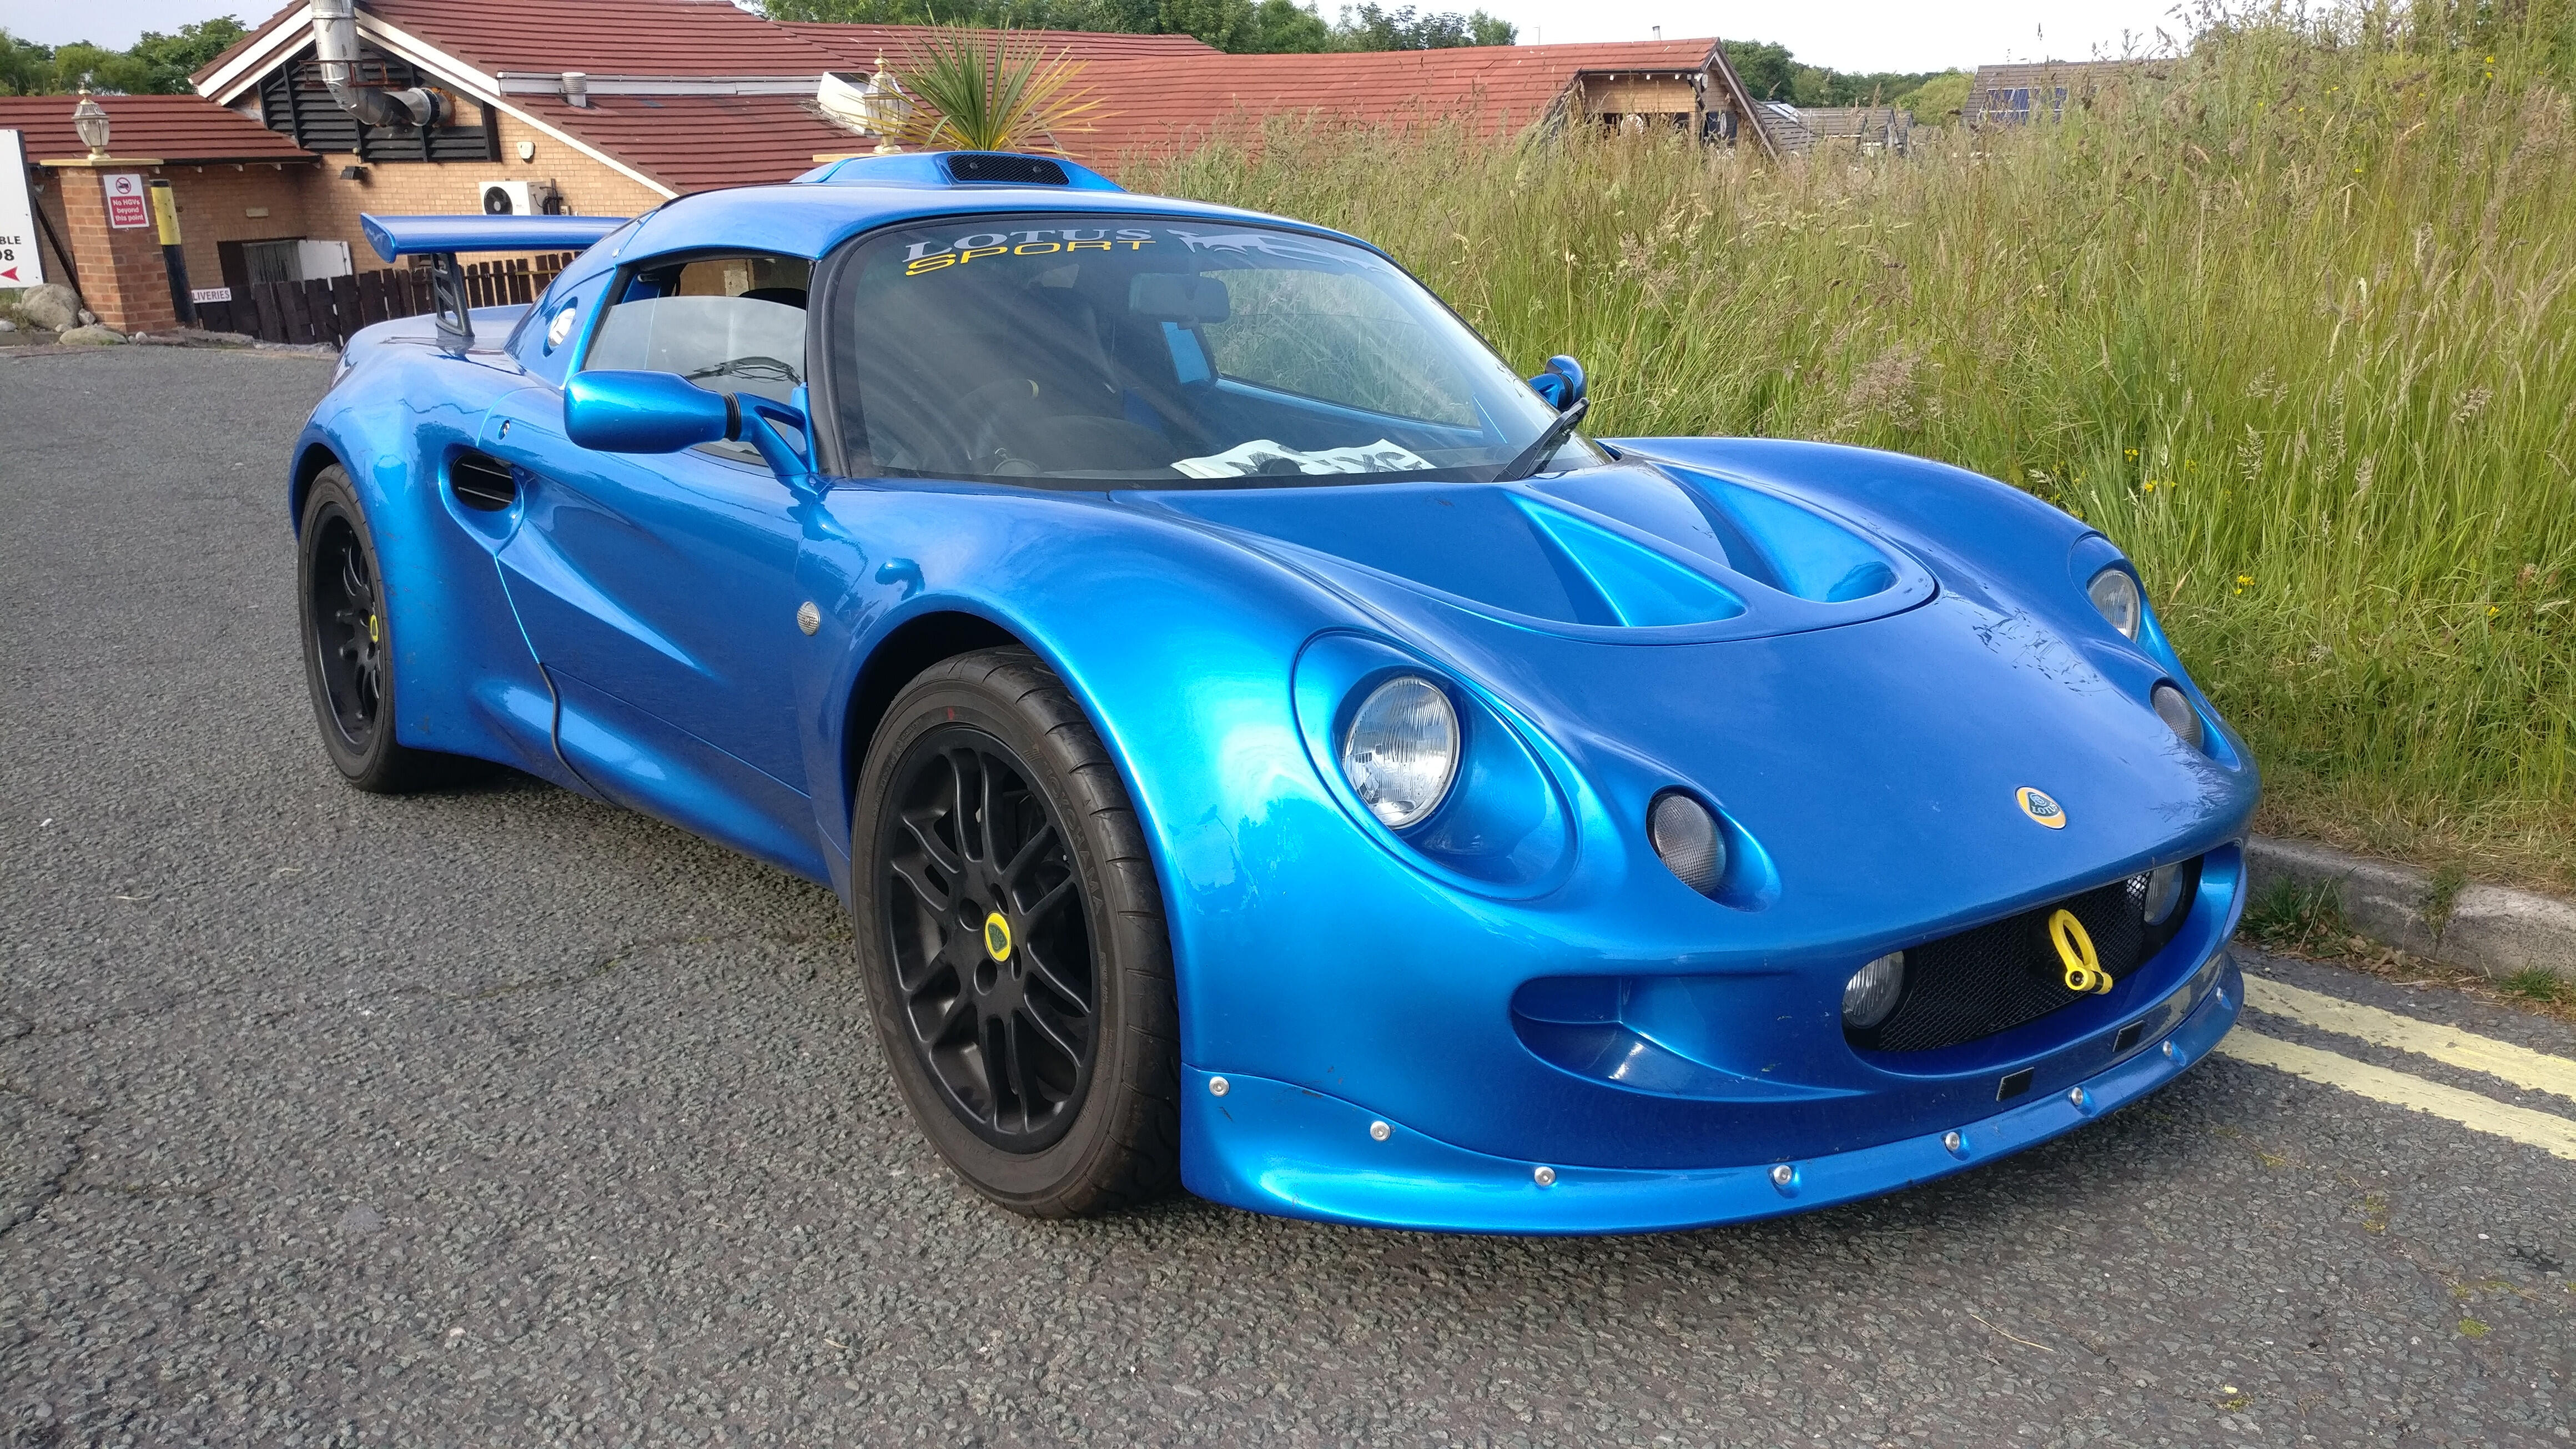
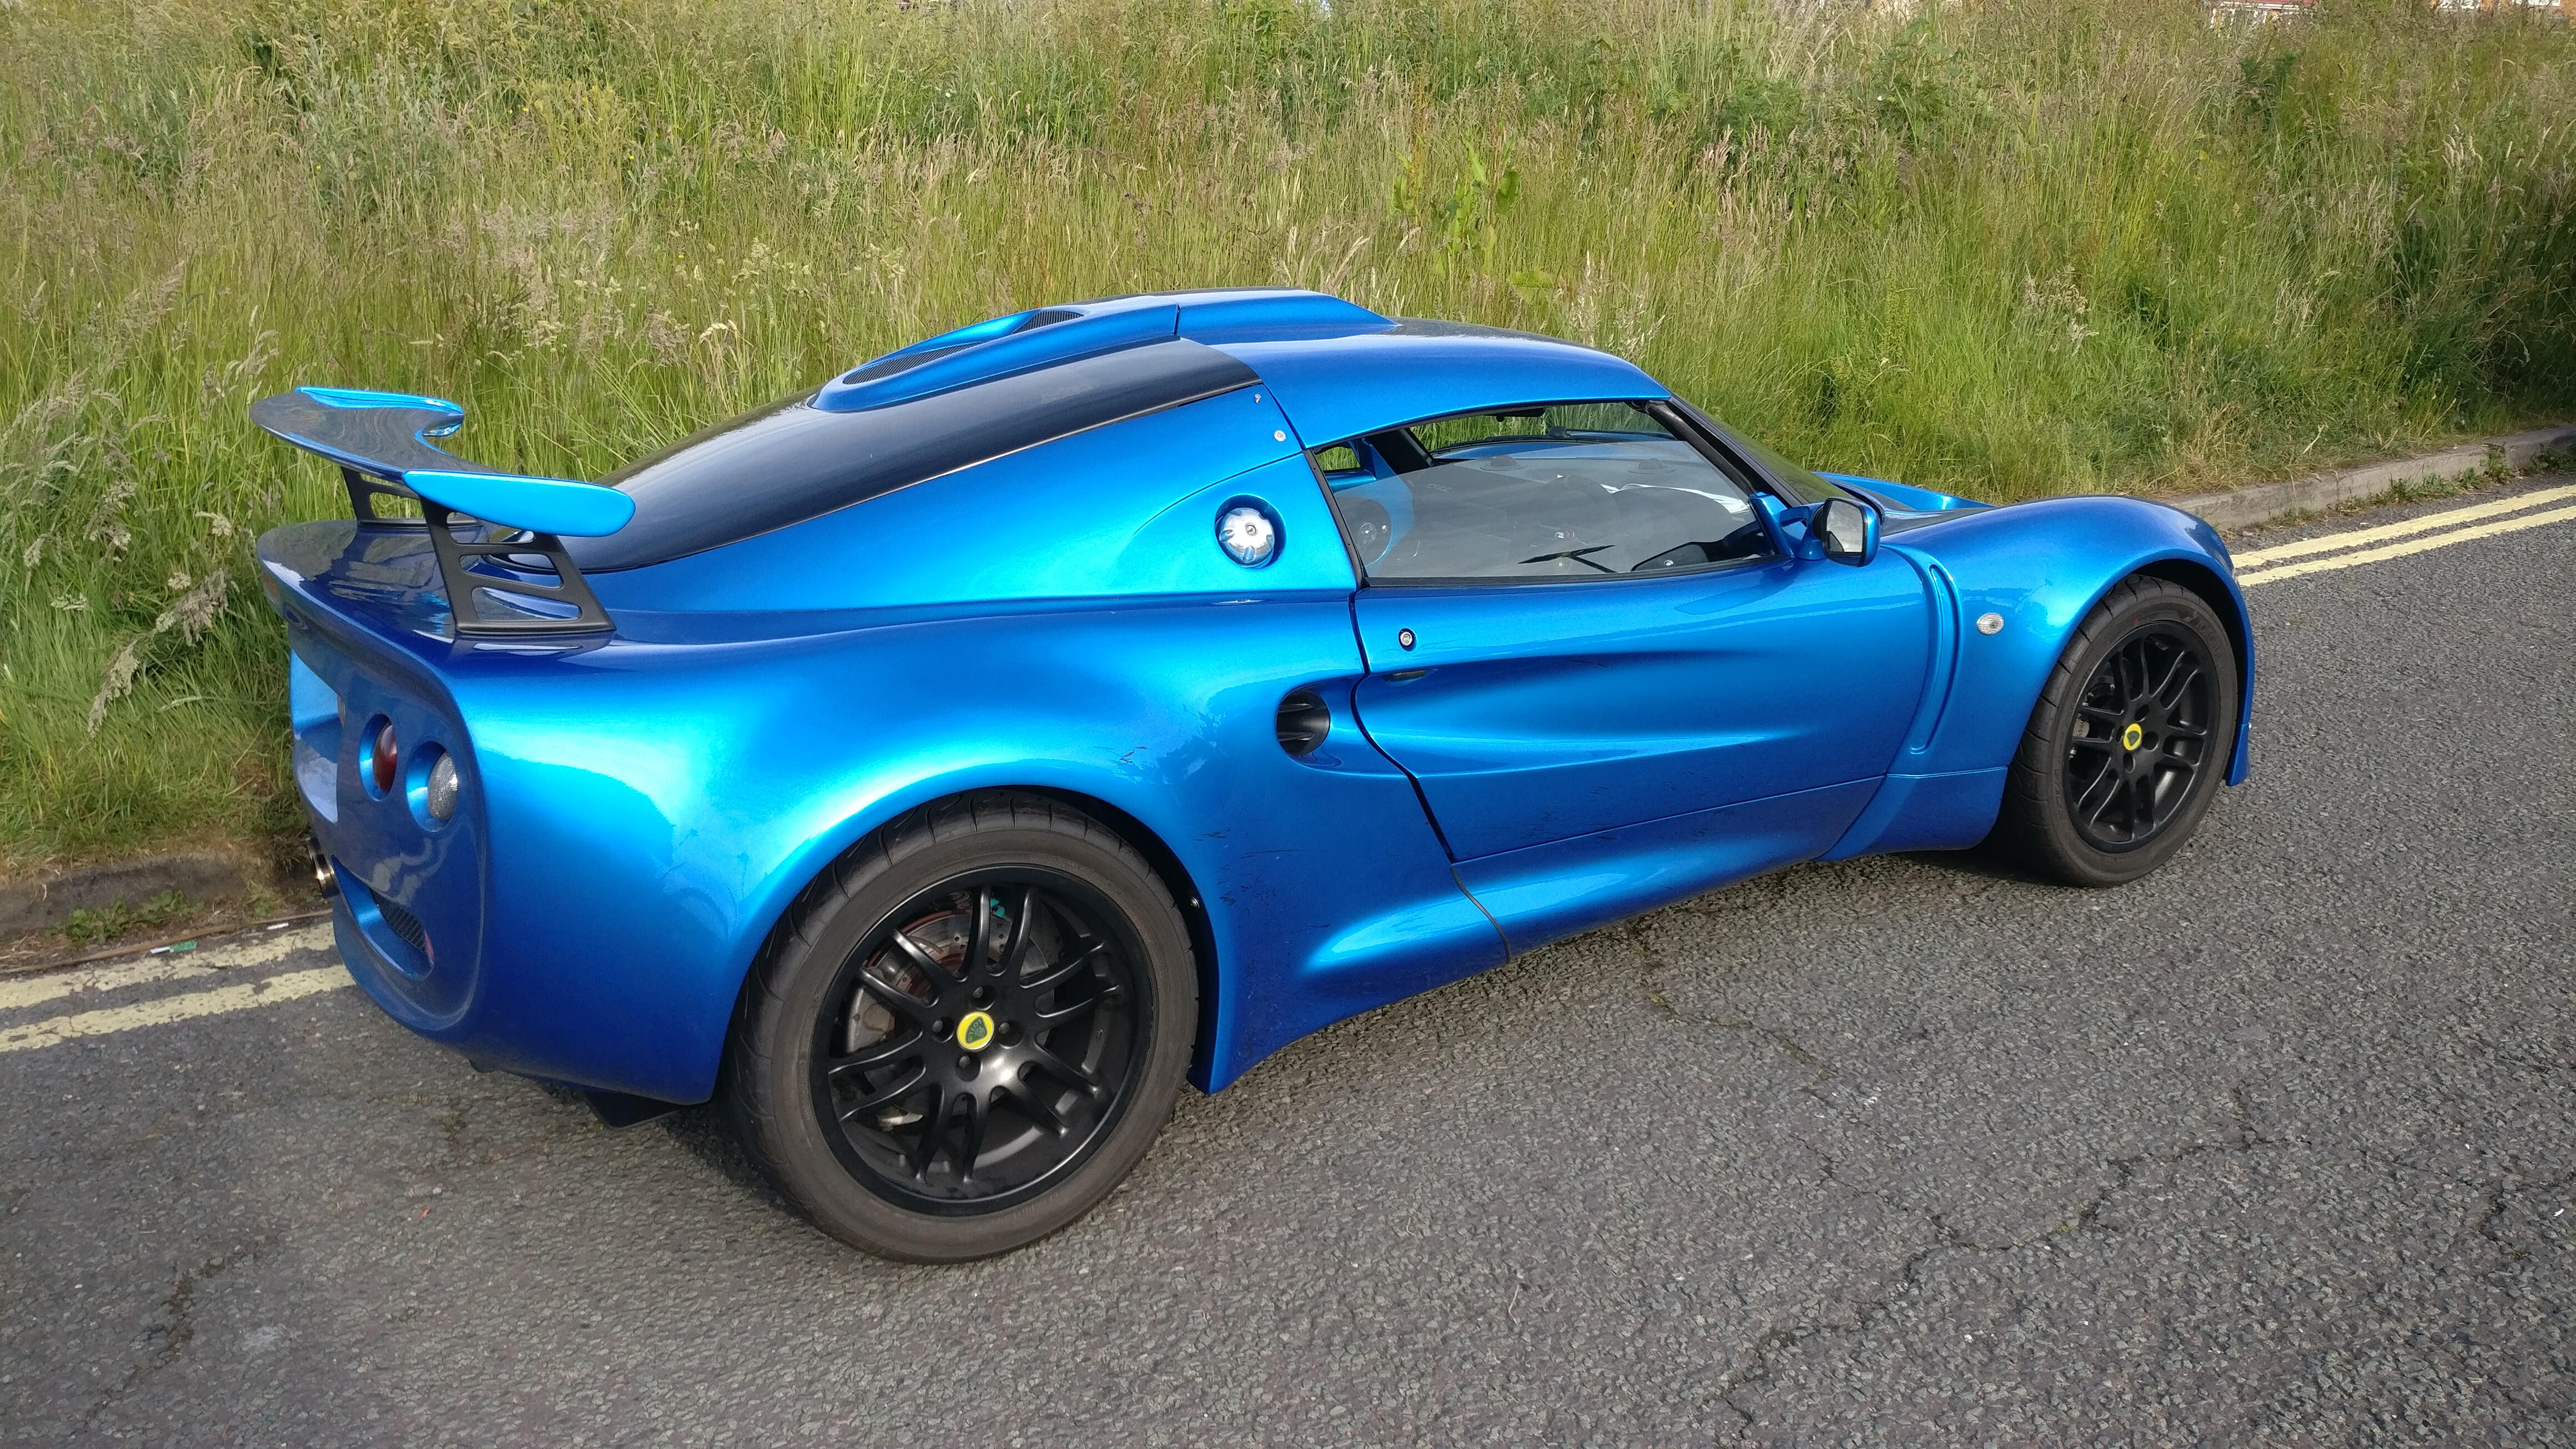
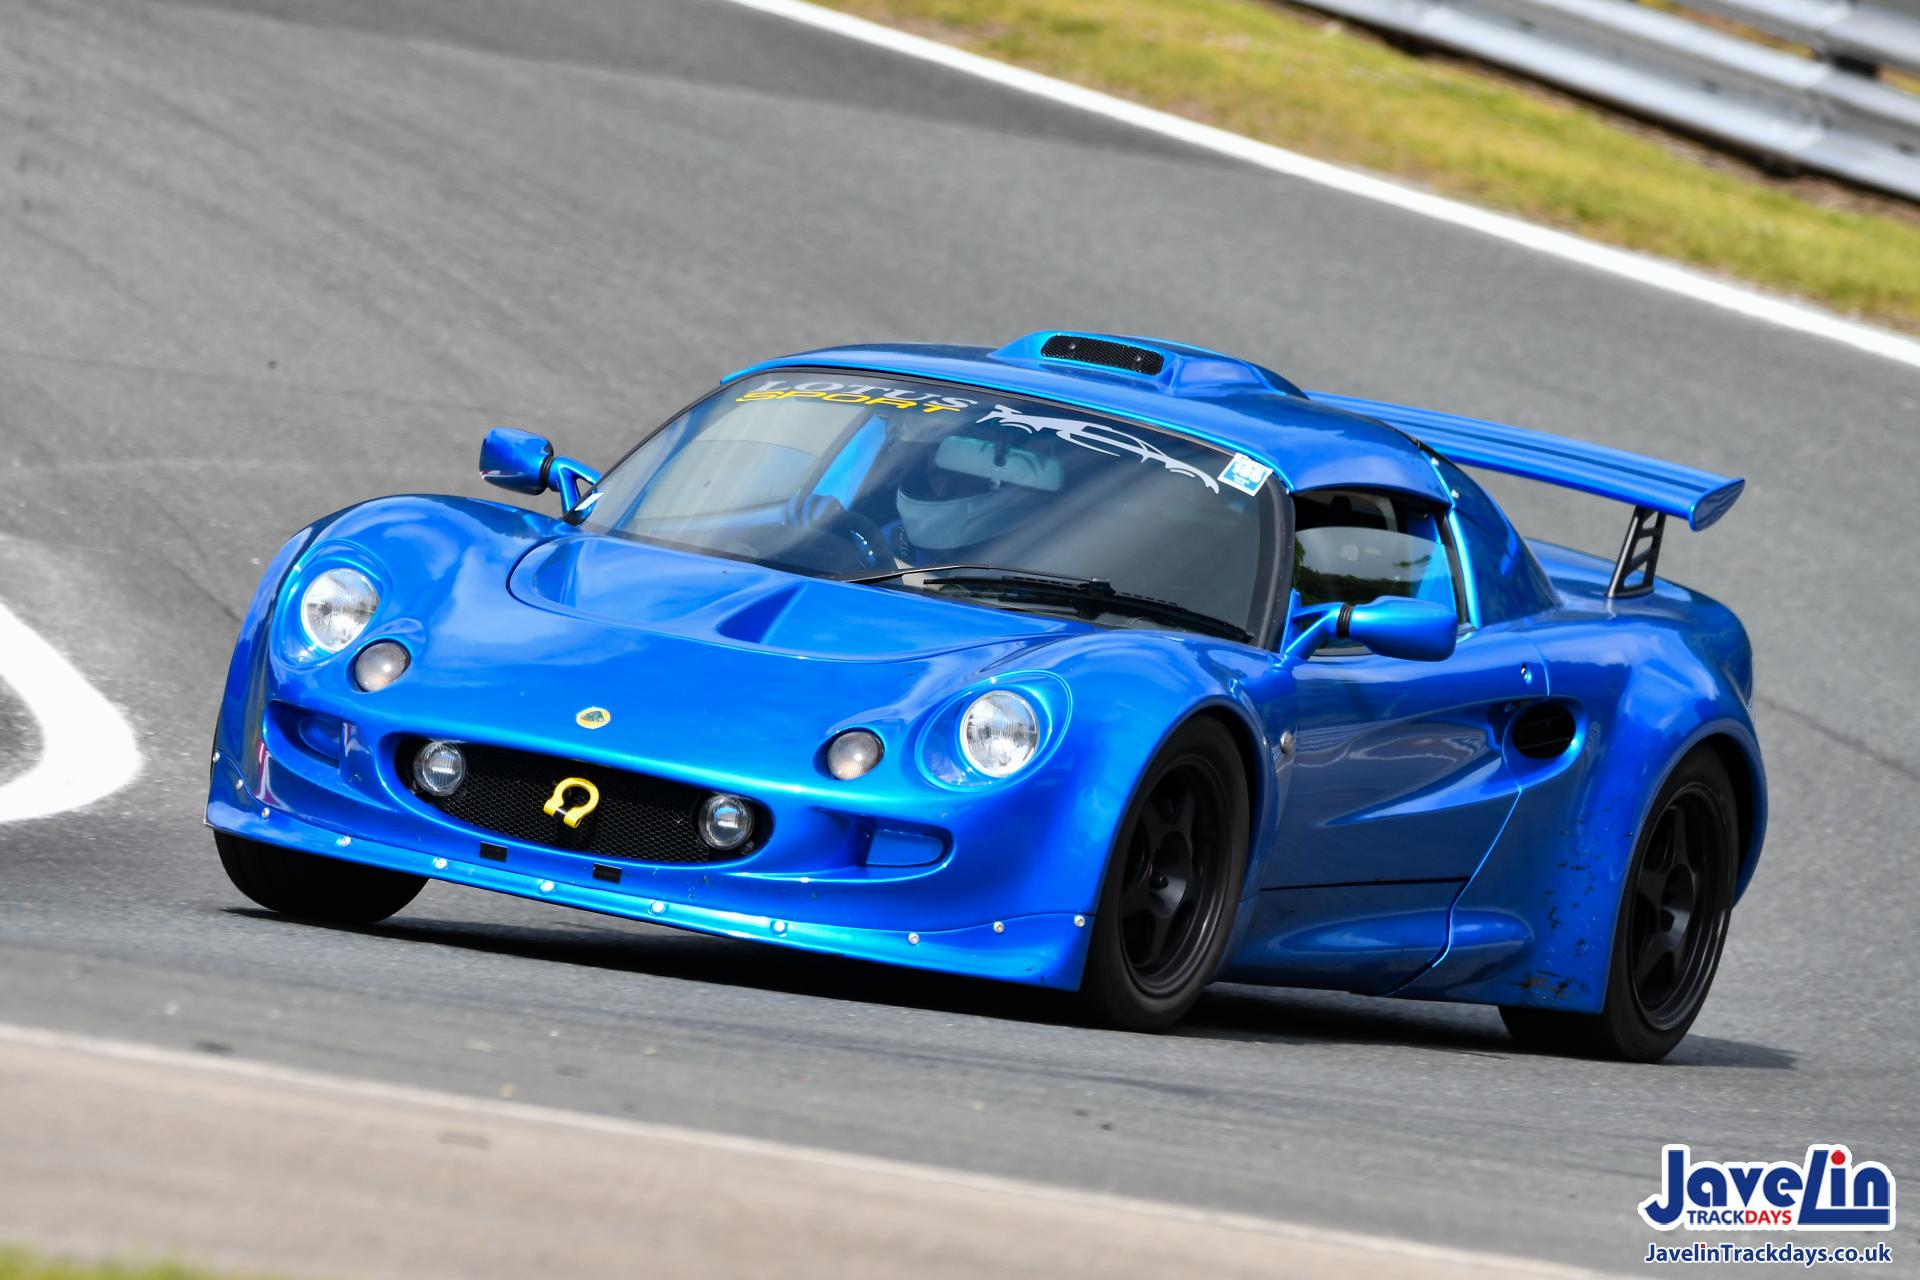
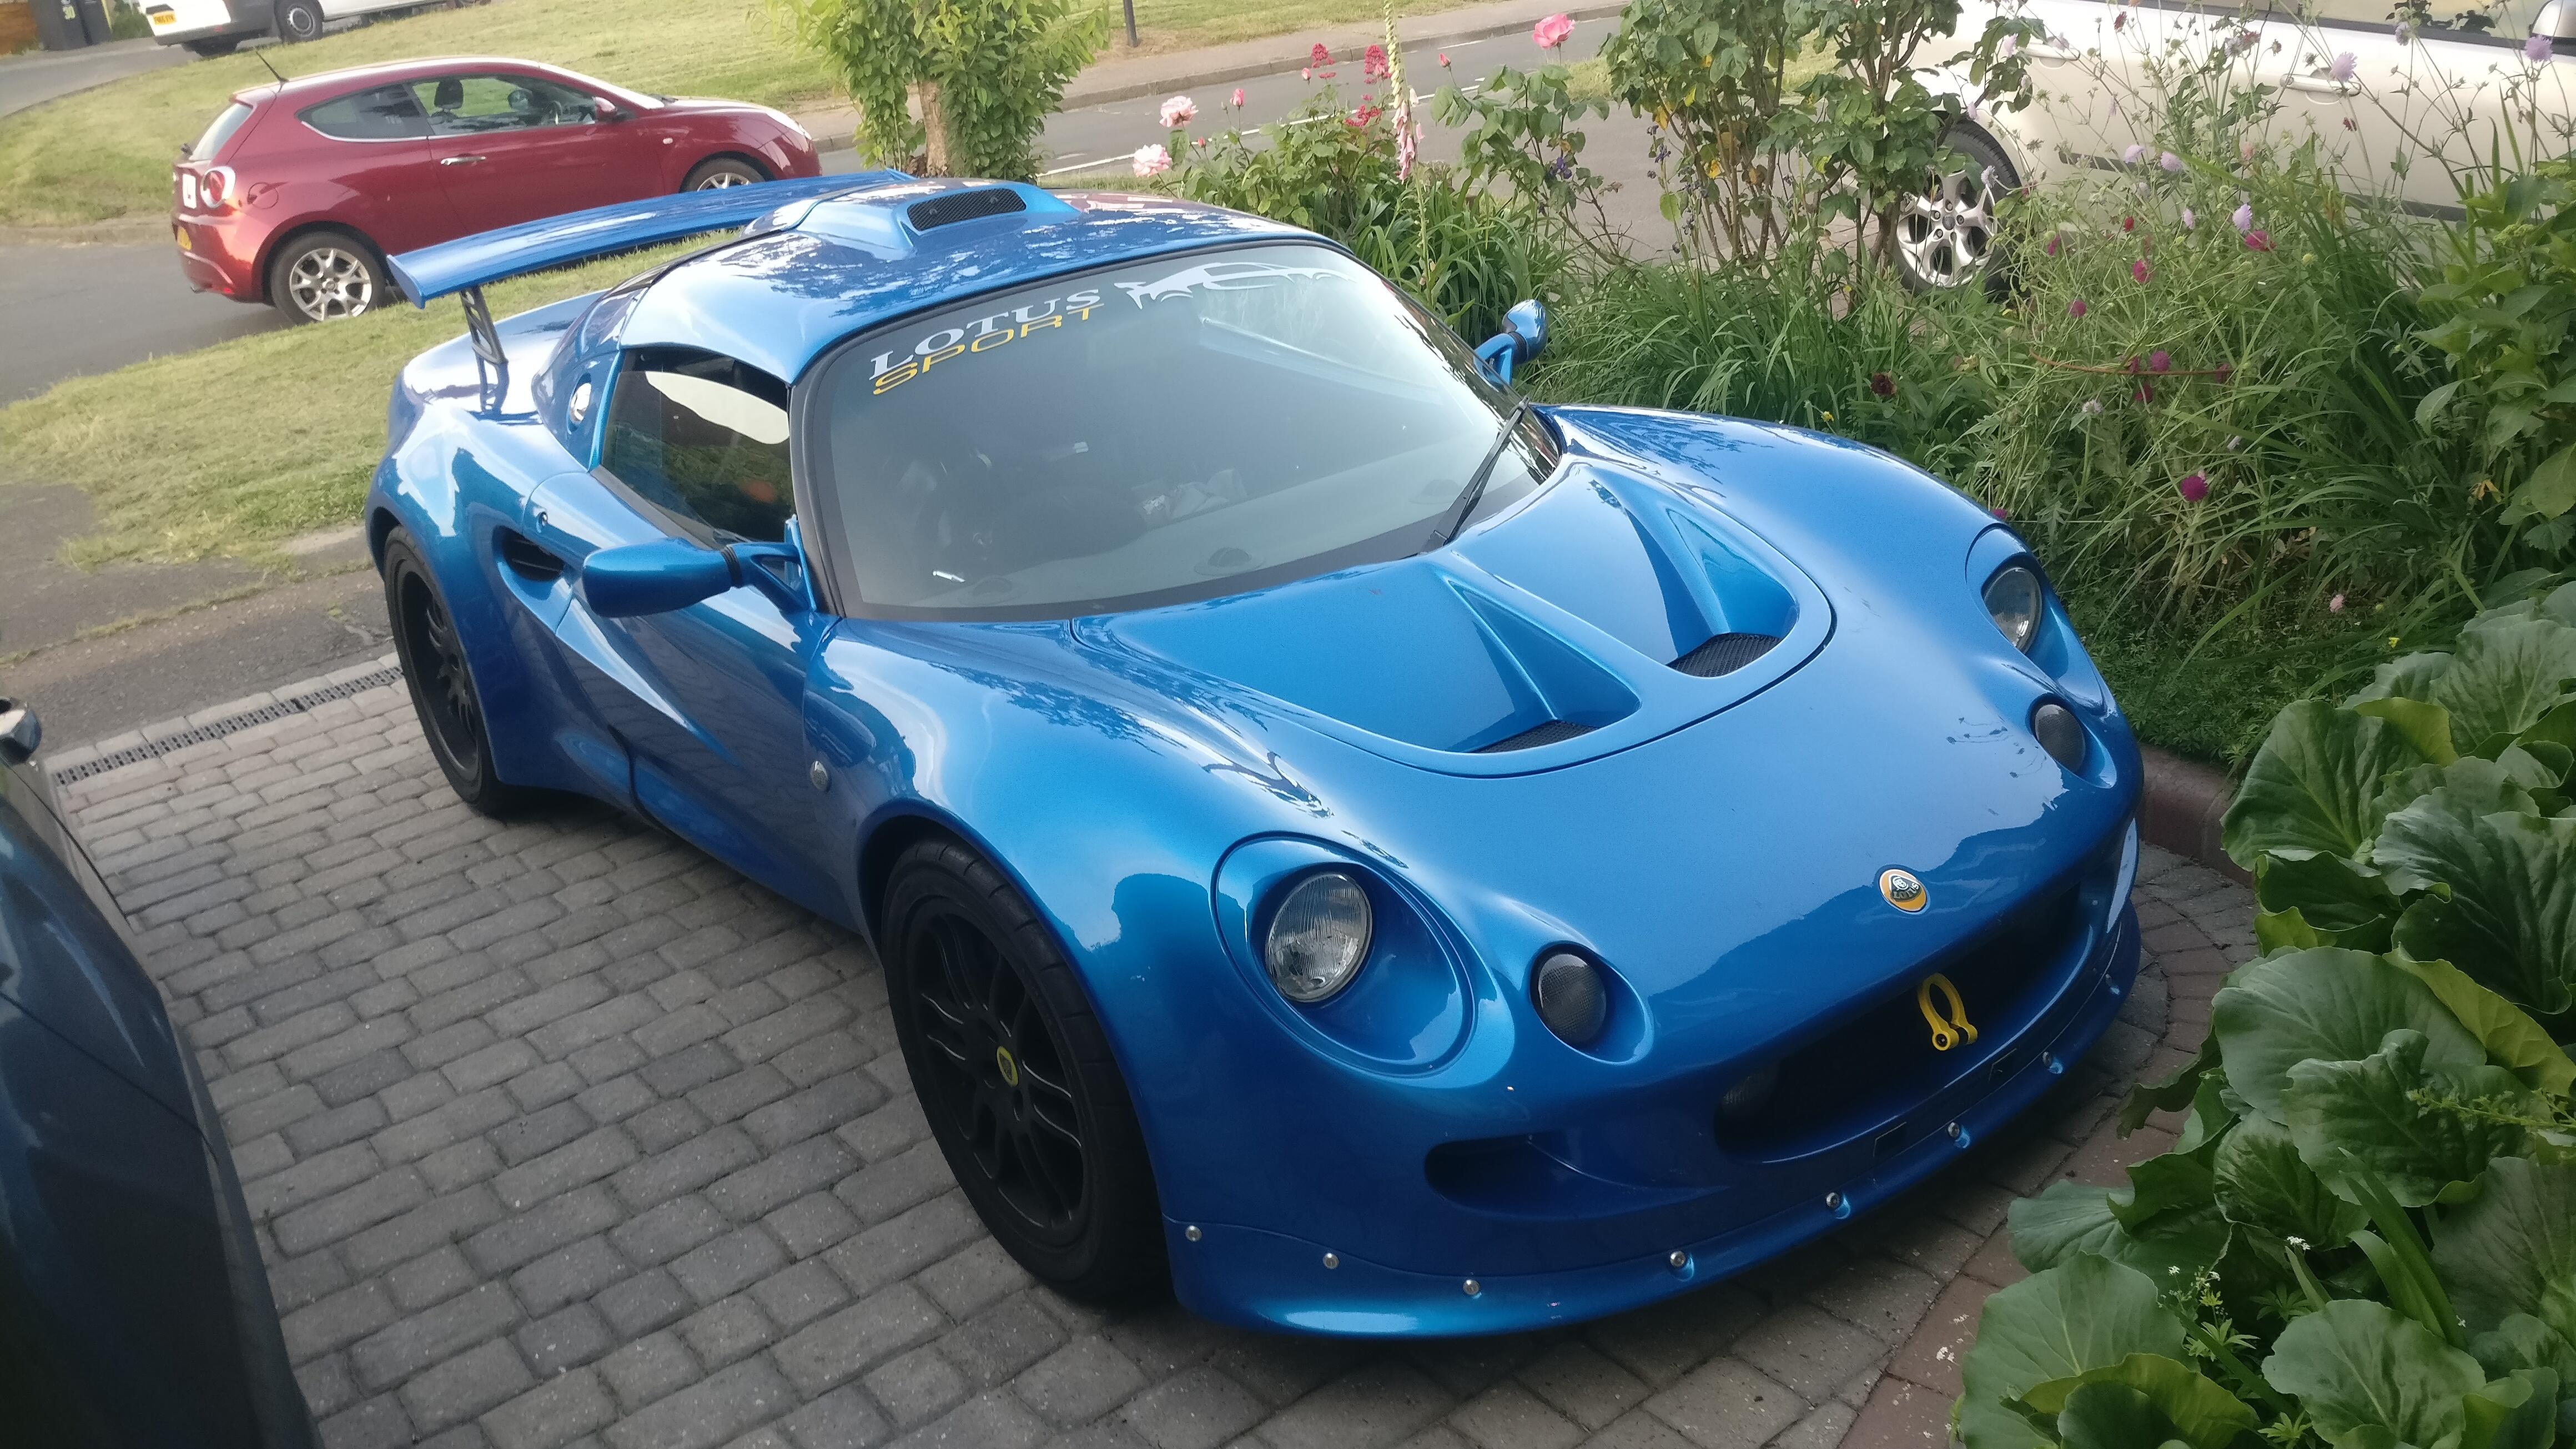
At Anglesey ready to go, glad I kept my smaller Elise size track wheels as they make a big difference to how the car feels to drive, I’ll definitely keep the 15/16 set up for track, and they don’t look too out of place in the bigger arches either.
I’m glad I took a few pictures beforehand as this is the cleanest and least stone chipped the car will ever be!
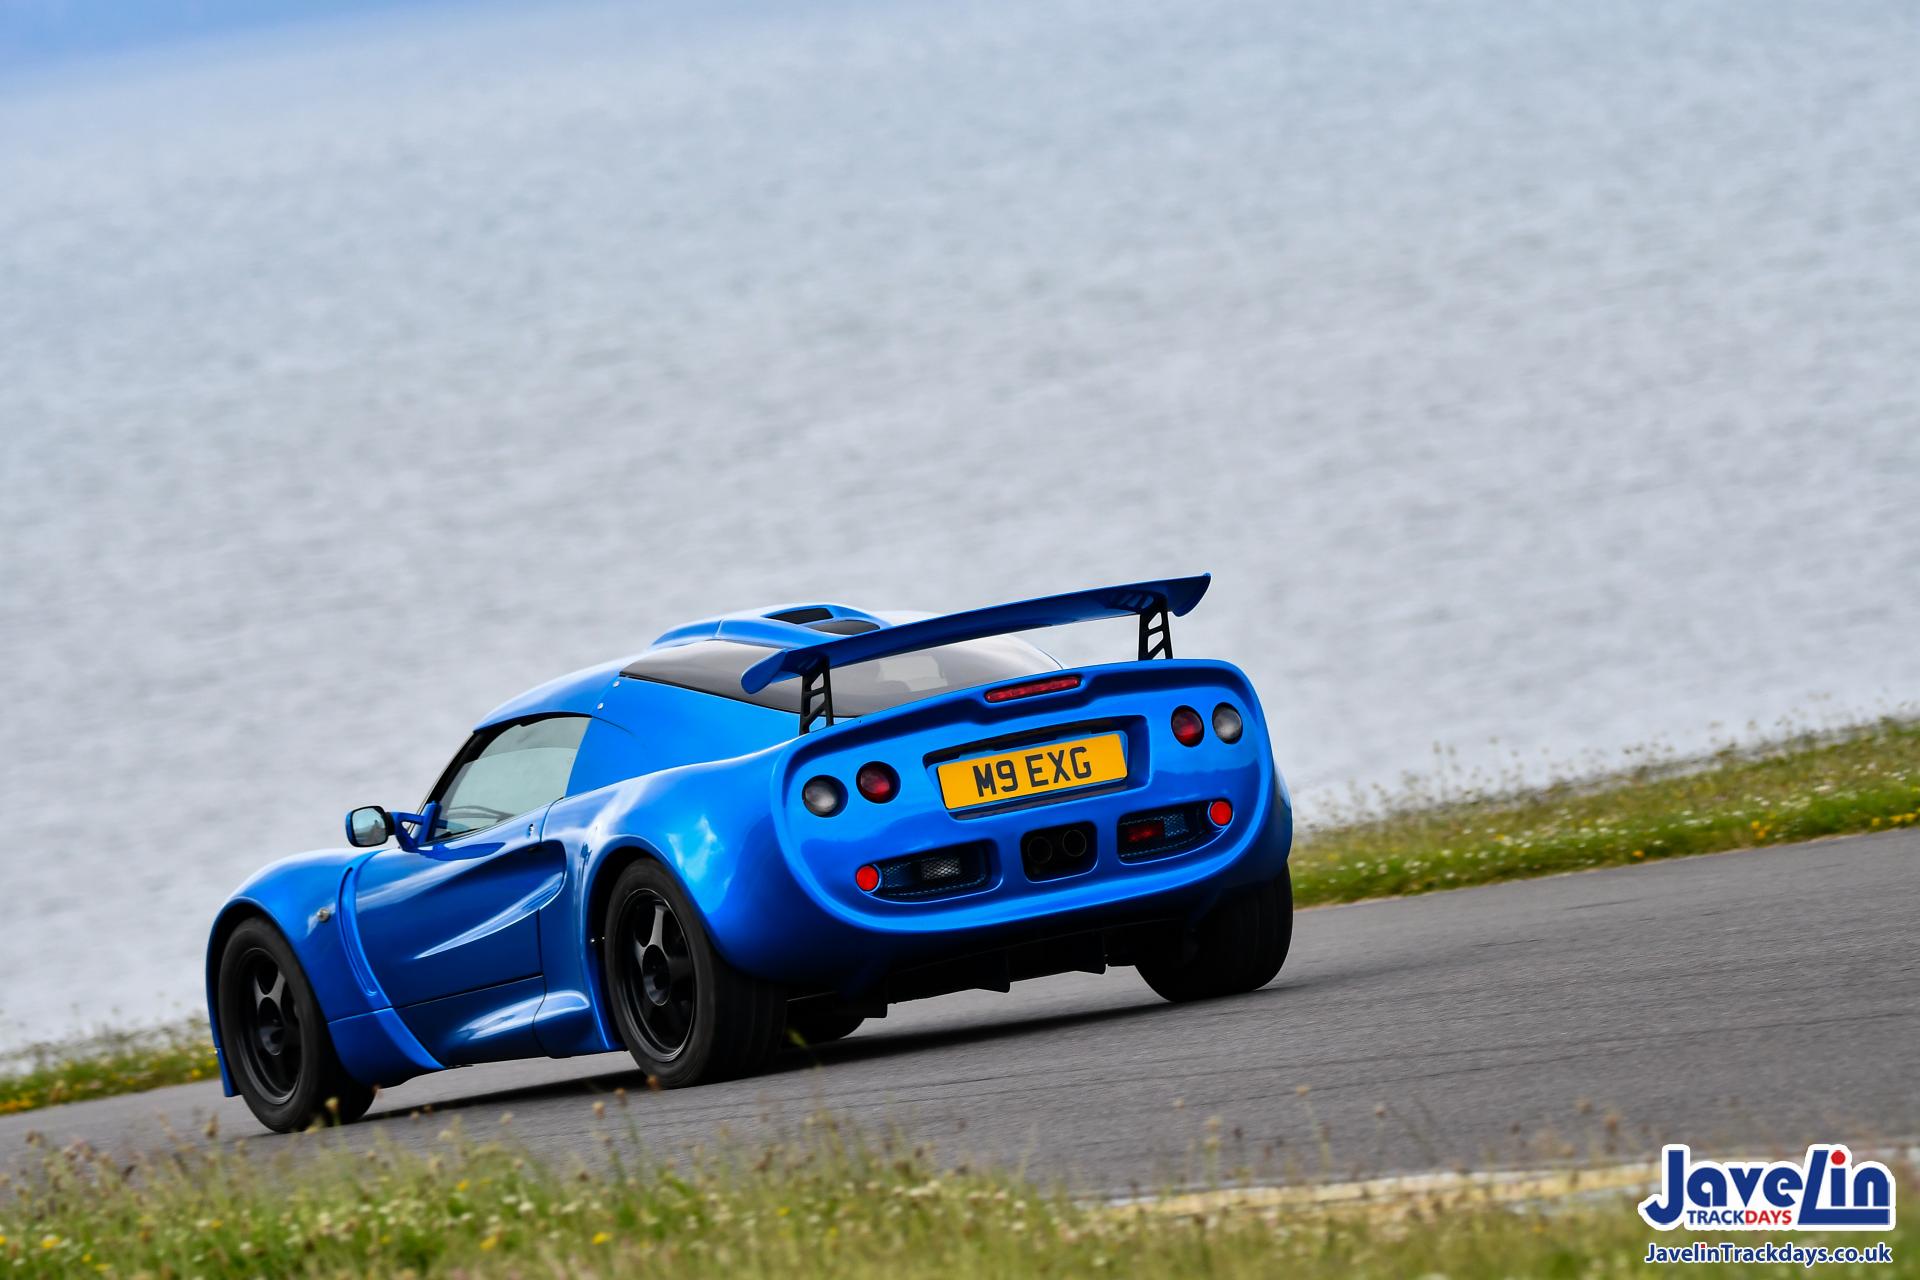
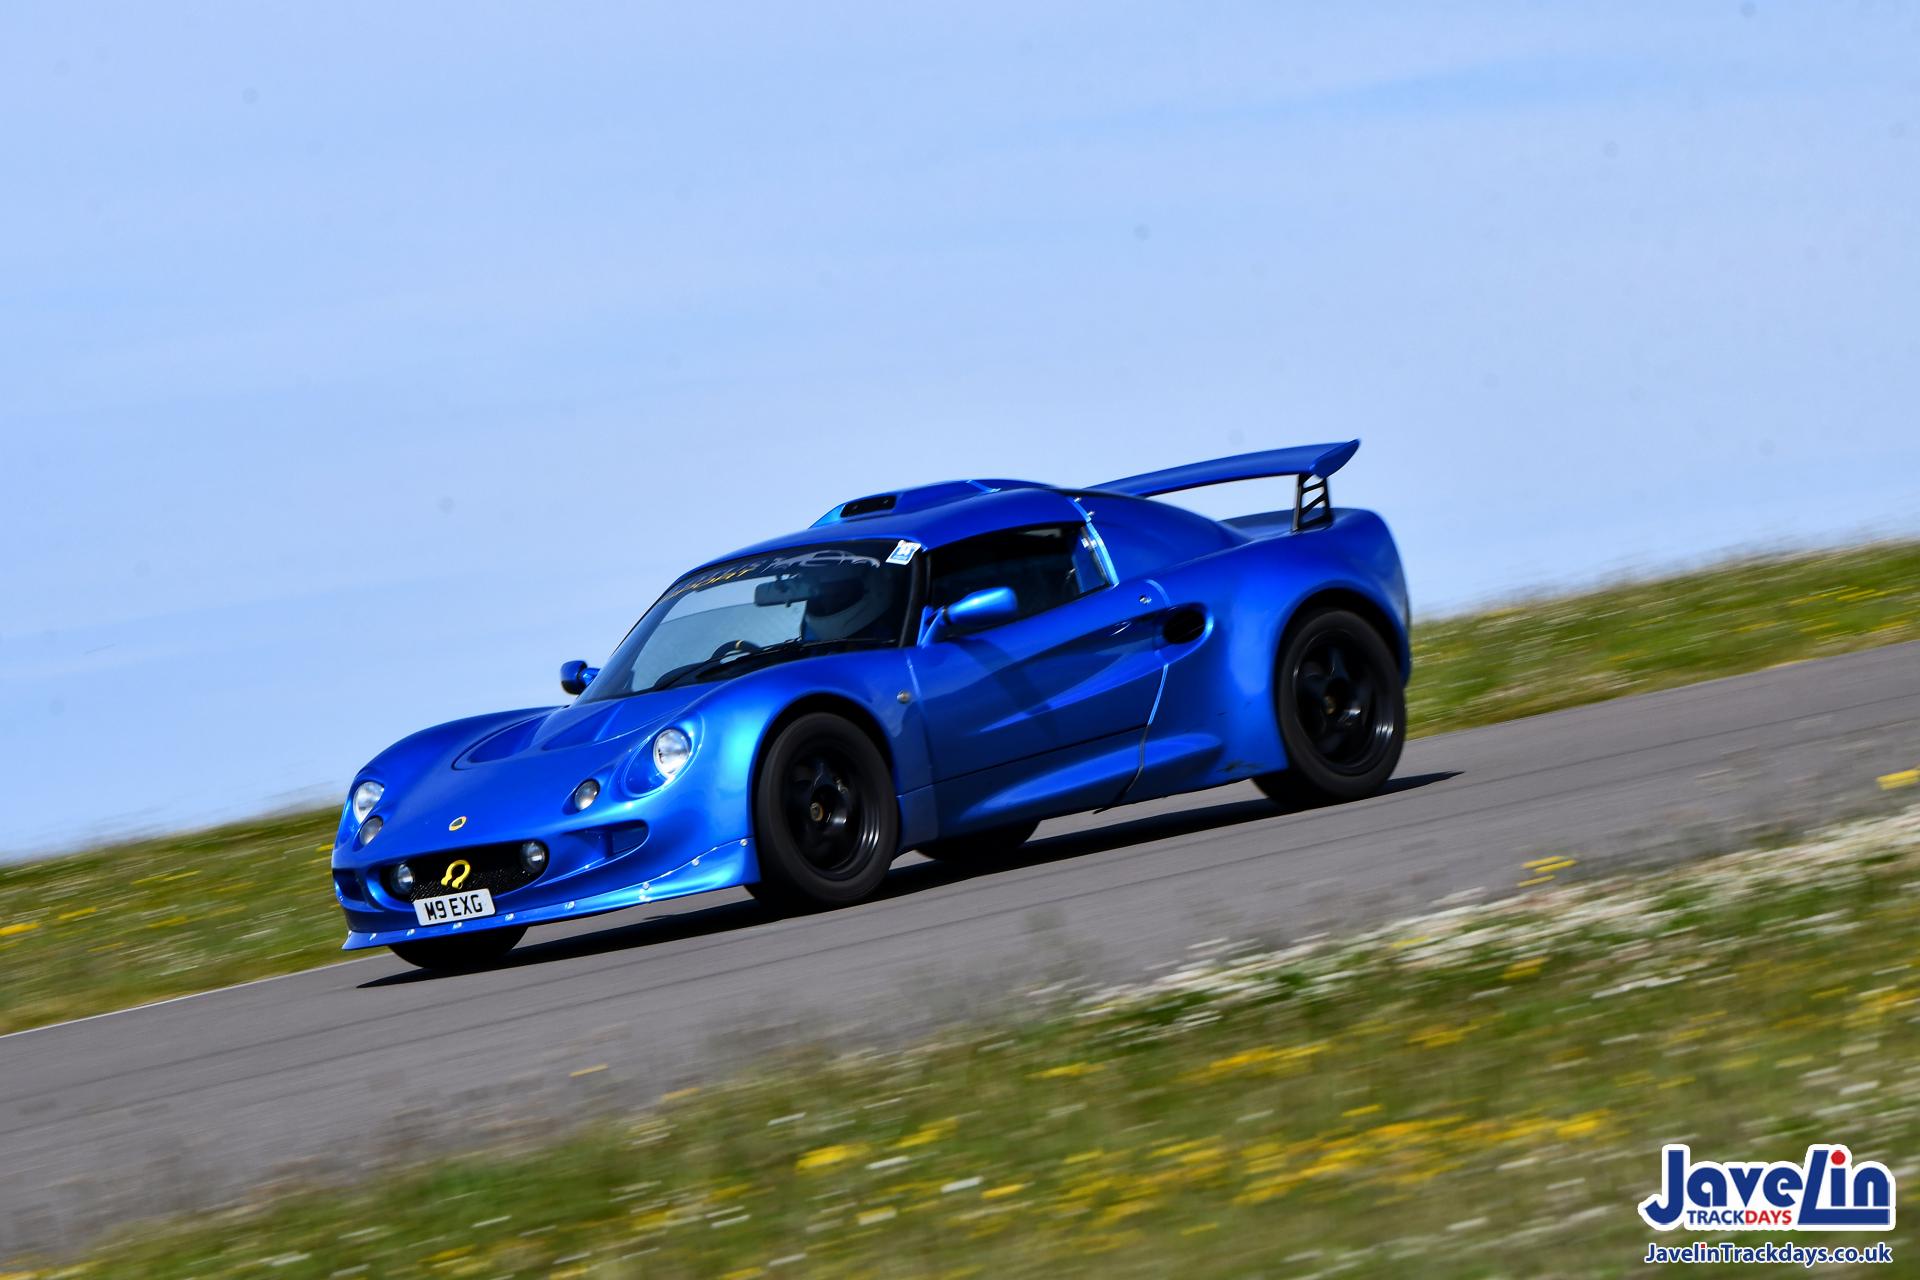
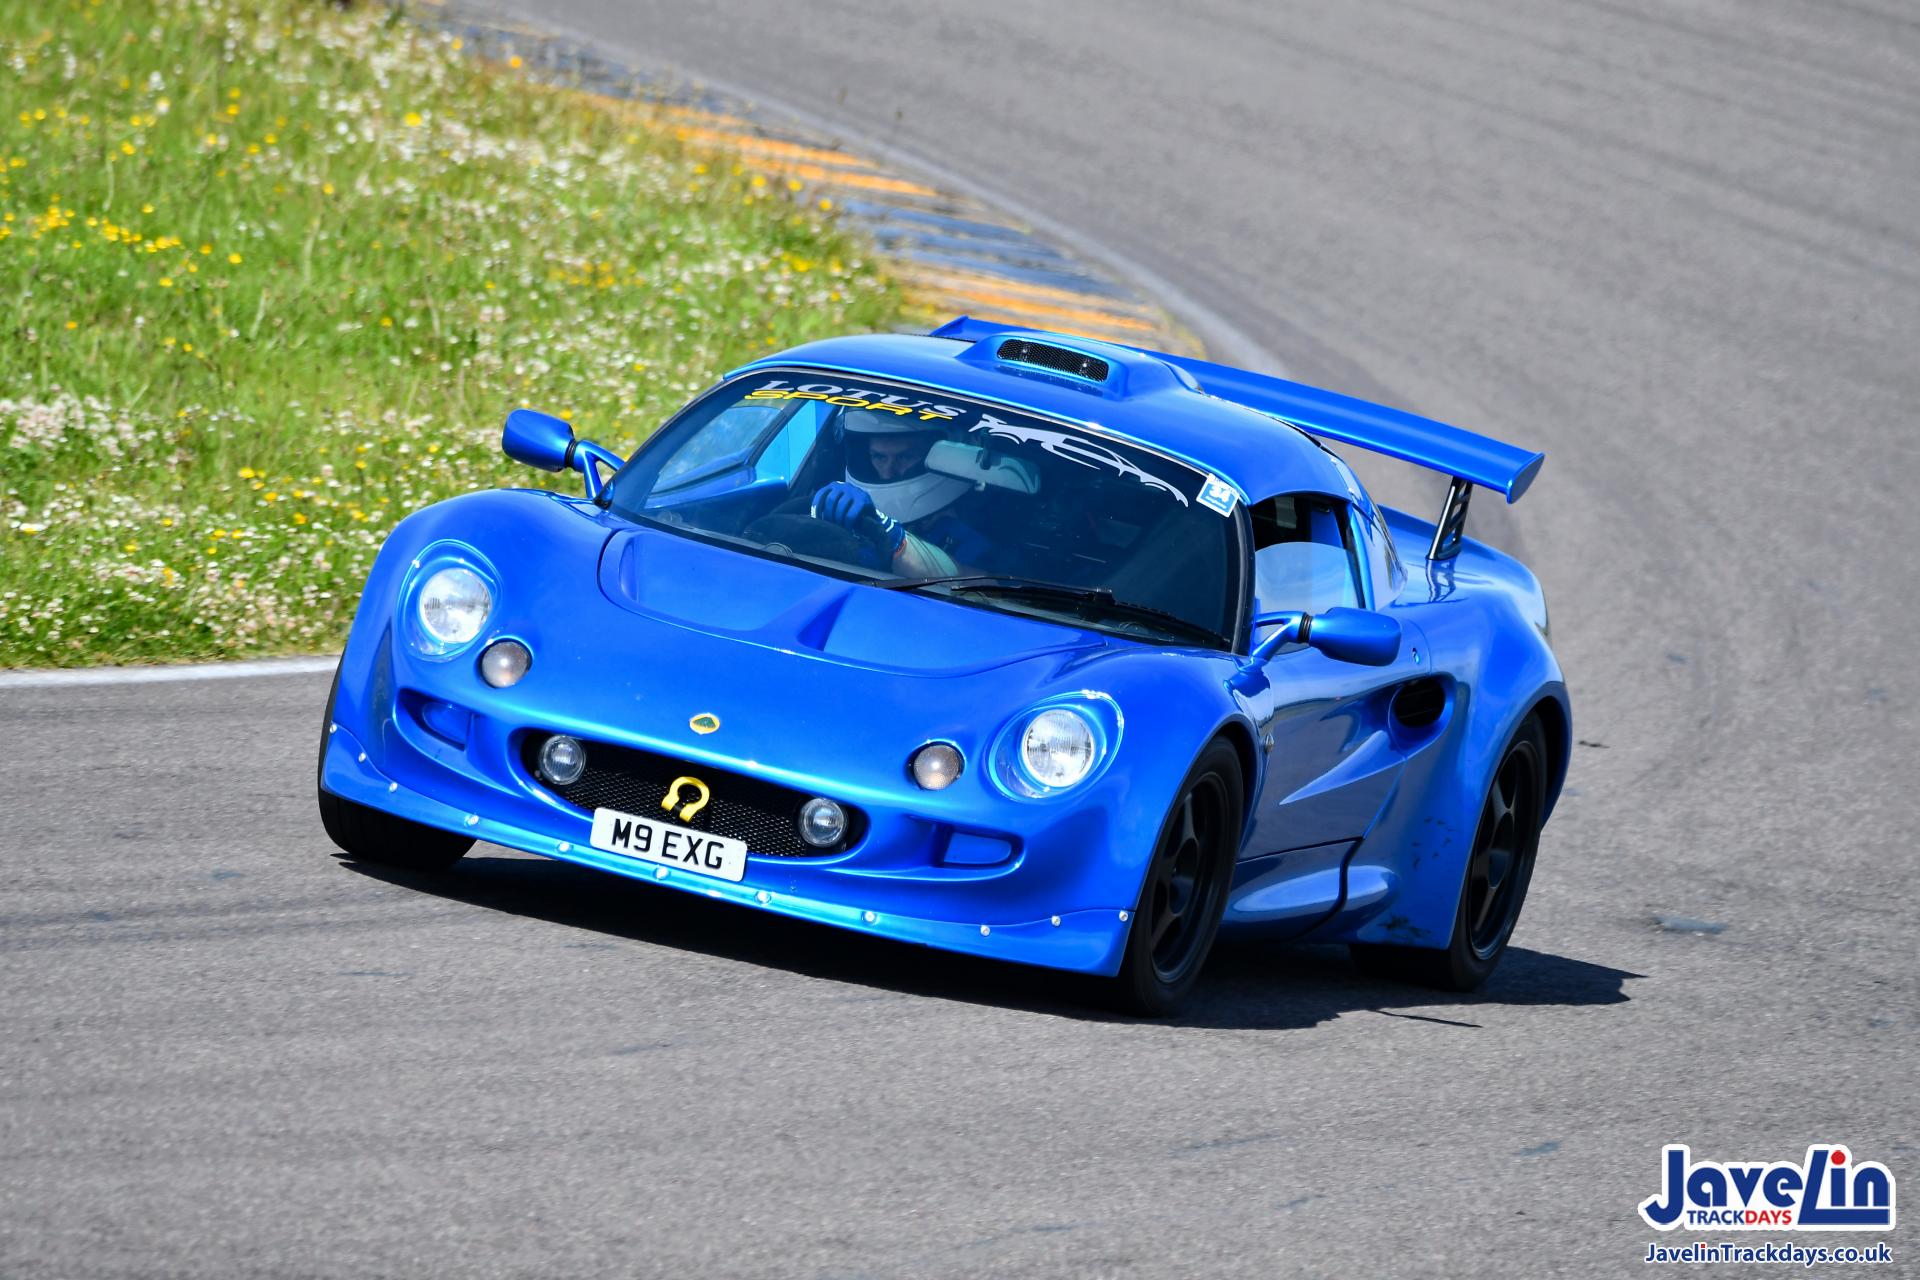
Day was great and car was flying, felt extremely good to be driving the car in that manner again! Only a few small downsides to the day from my perspective.
The first was that the track was covered in a LOT of crap, so I’ve picked up a fair few stone chips. However it is a car used heavily on track so I was never going to be too precious about that, just a shame I didn’t have time to get the stone guard decals on in time.
The next was that my super duper velco wasn’t enough to keep my front number plate on. I noticed about half way through the afternoon that it was no longer there and was no where to be seen. I imagine it was dis-lodged by a piece of rubber or something as it shouldn’t have just blown off, it managed the 5 hour drive up there fine. I’ll buy another plate and still use this method of fixing but remember to take it off before any track driving.
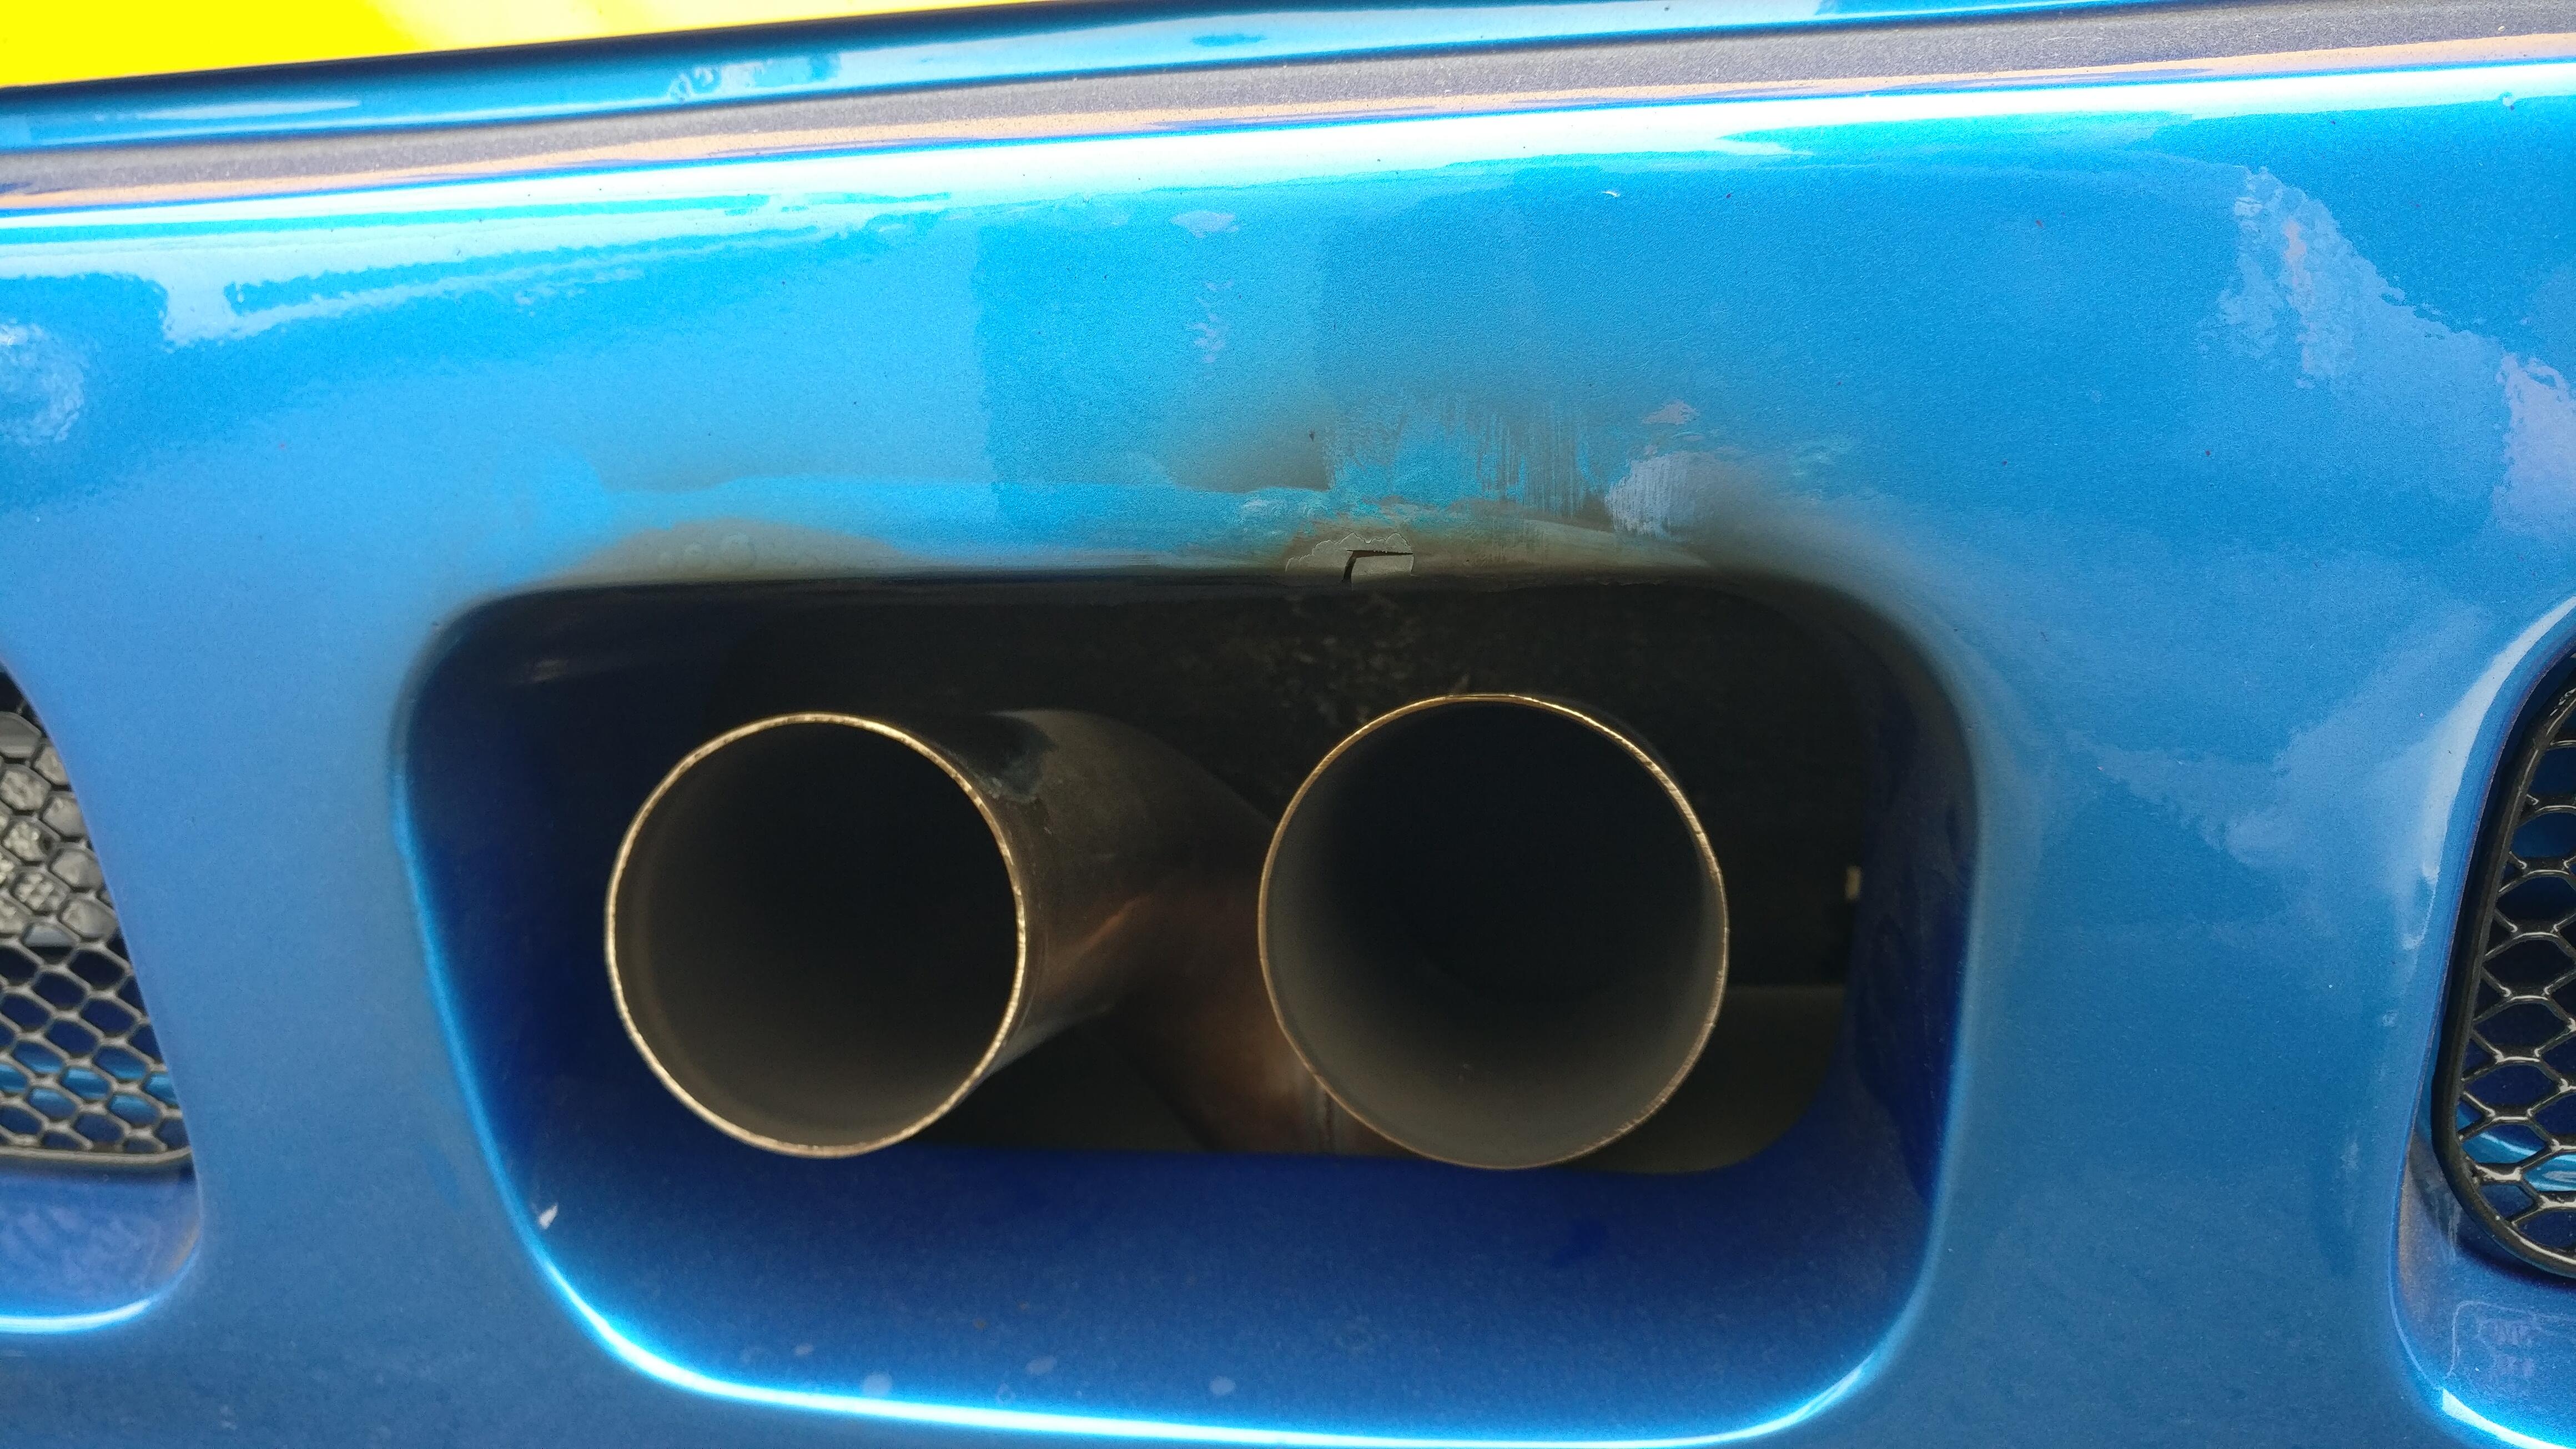
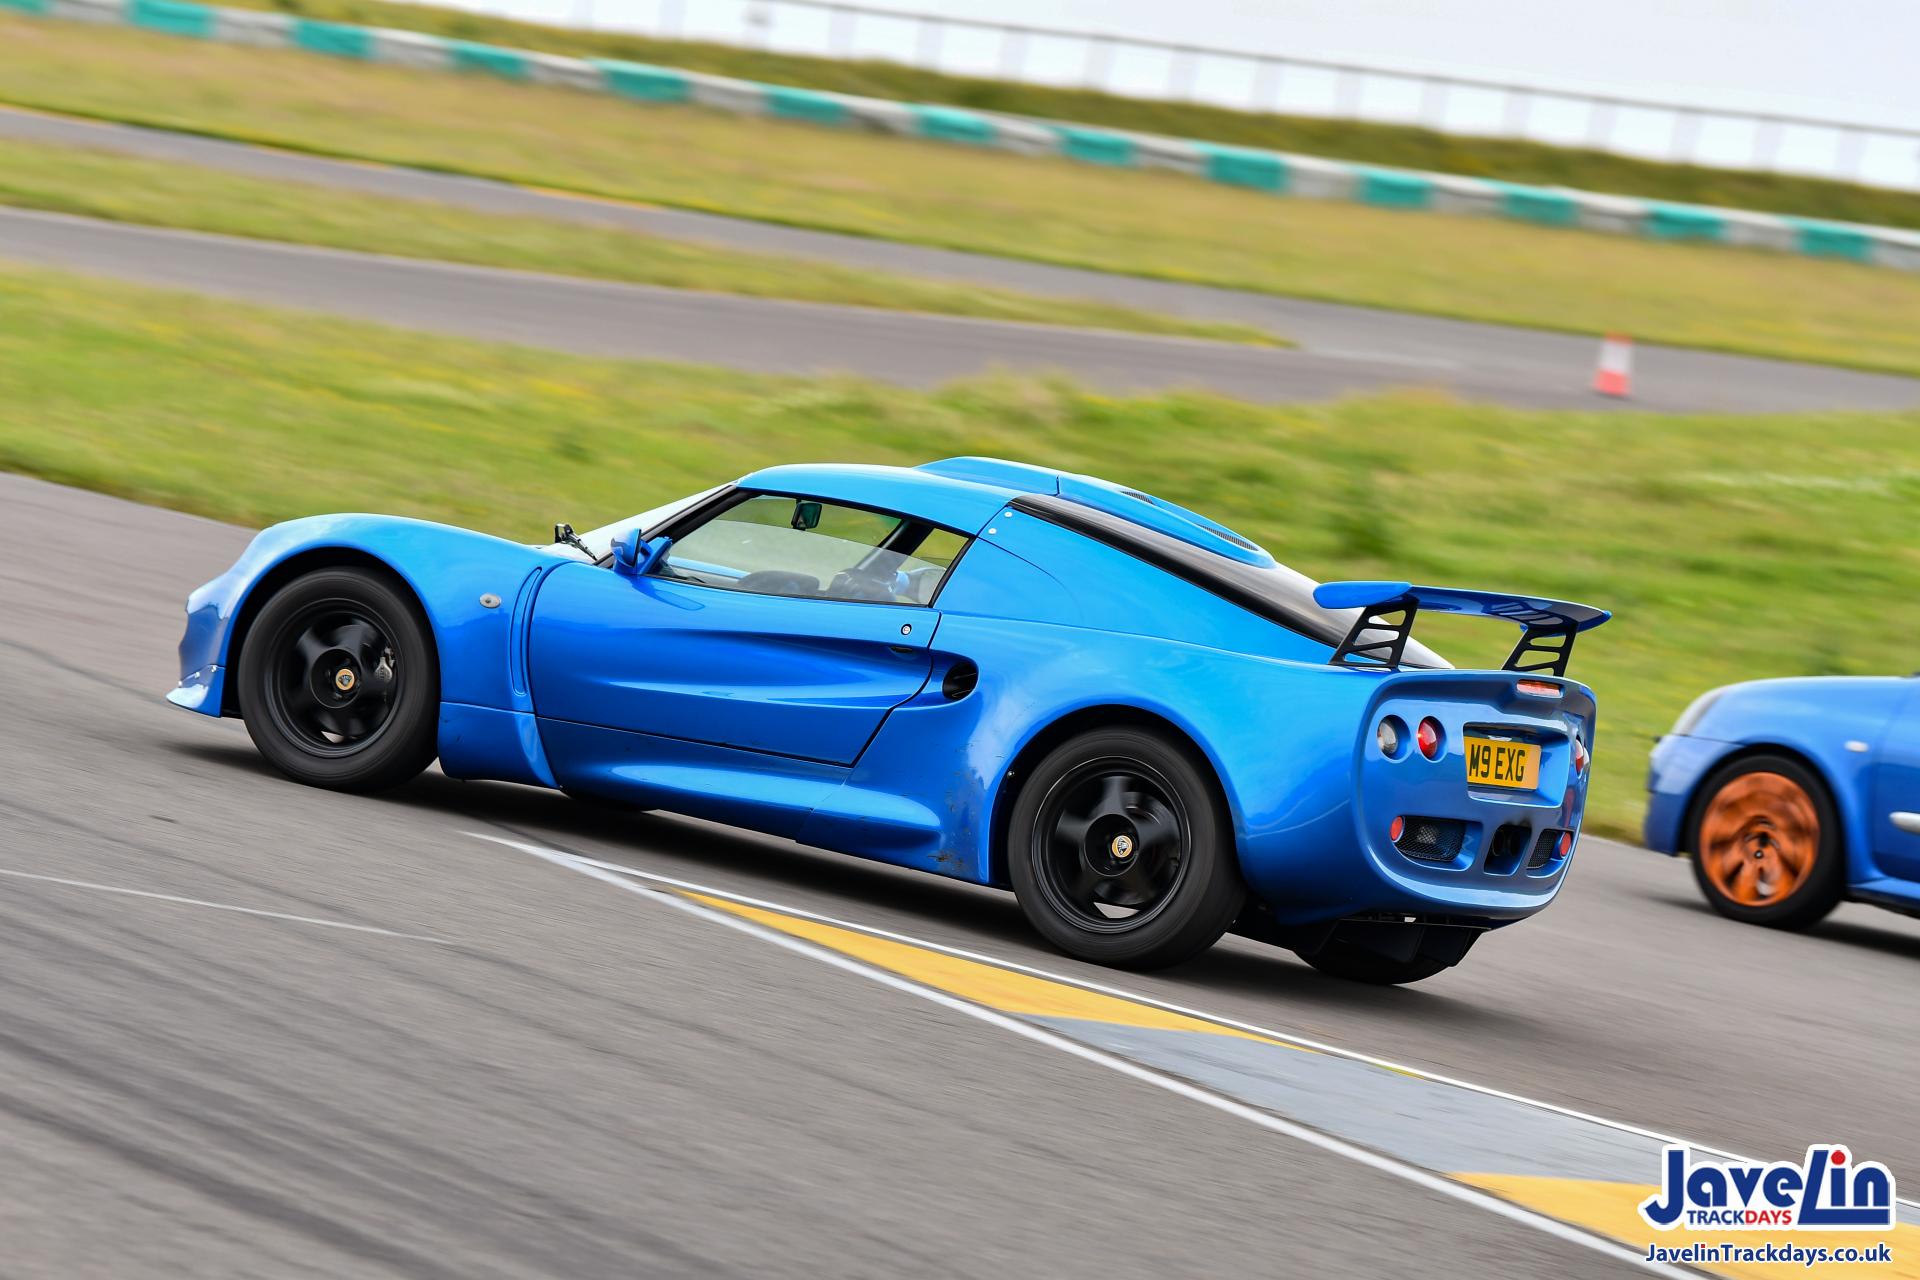
The final and probably biggest downside was that I have burnt a bit of the rear clam. I knew the exhaust tips were shorter than ideal being an Elise system but I think it happened when I stayed out for a 25 minute stint (refusing to come in until the train of M3s had stopped holding me up!).
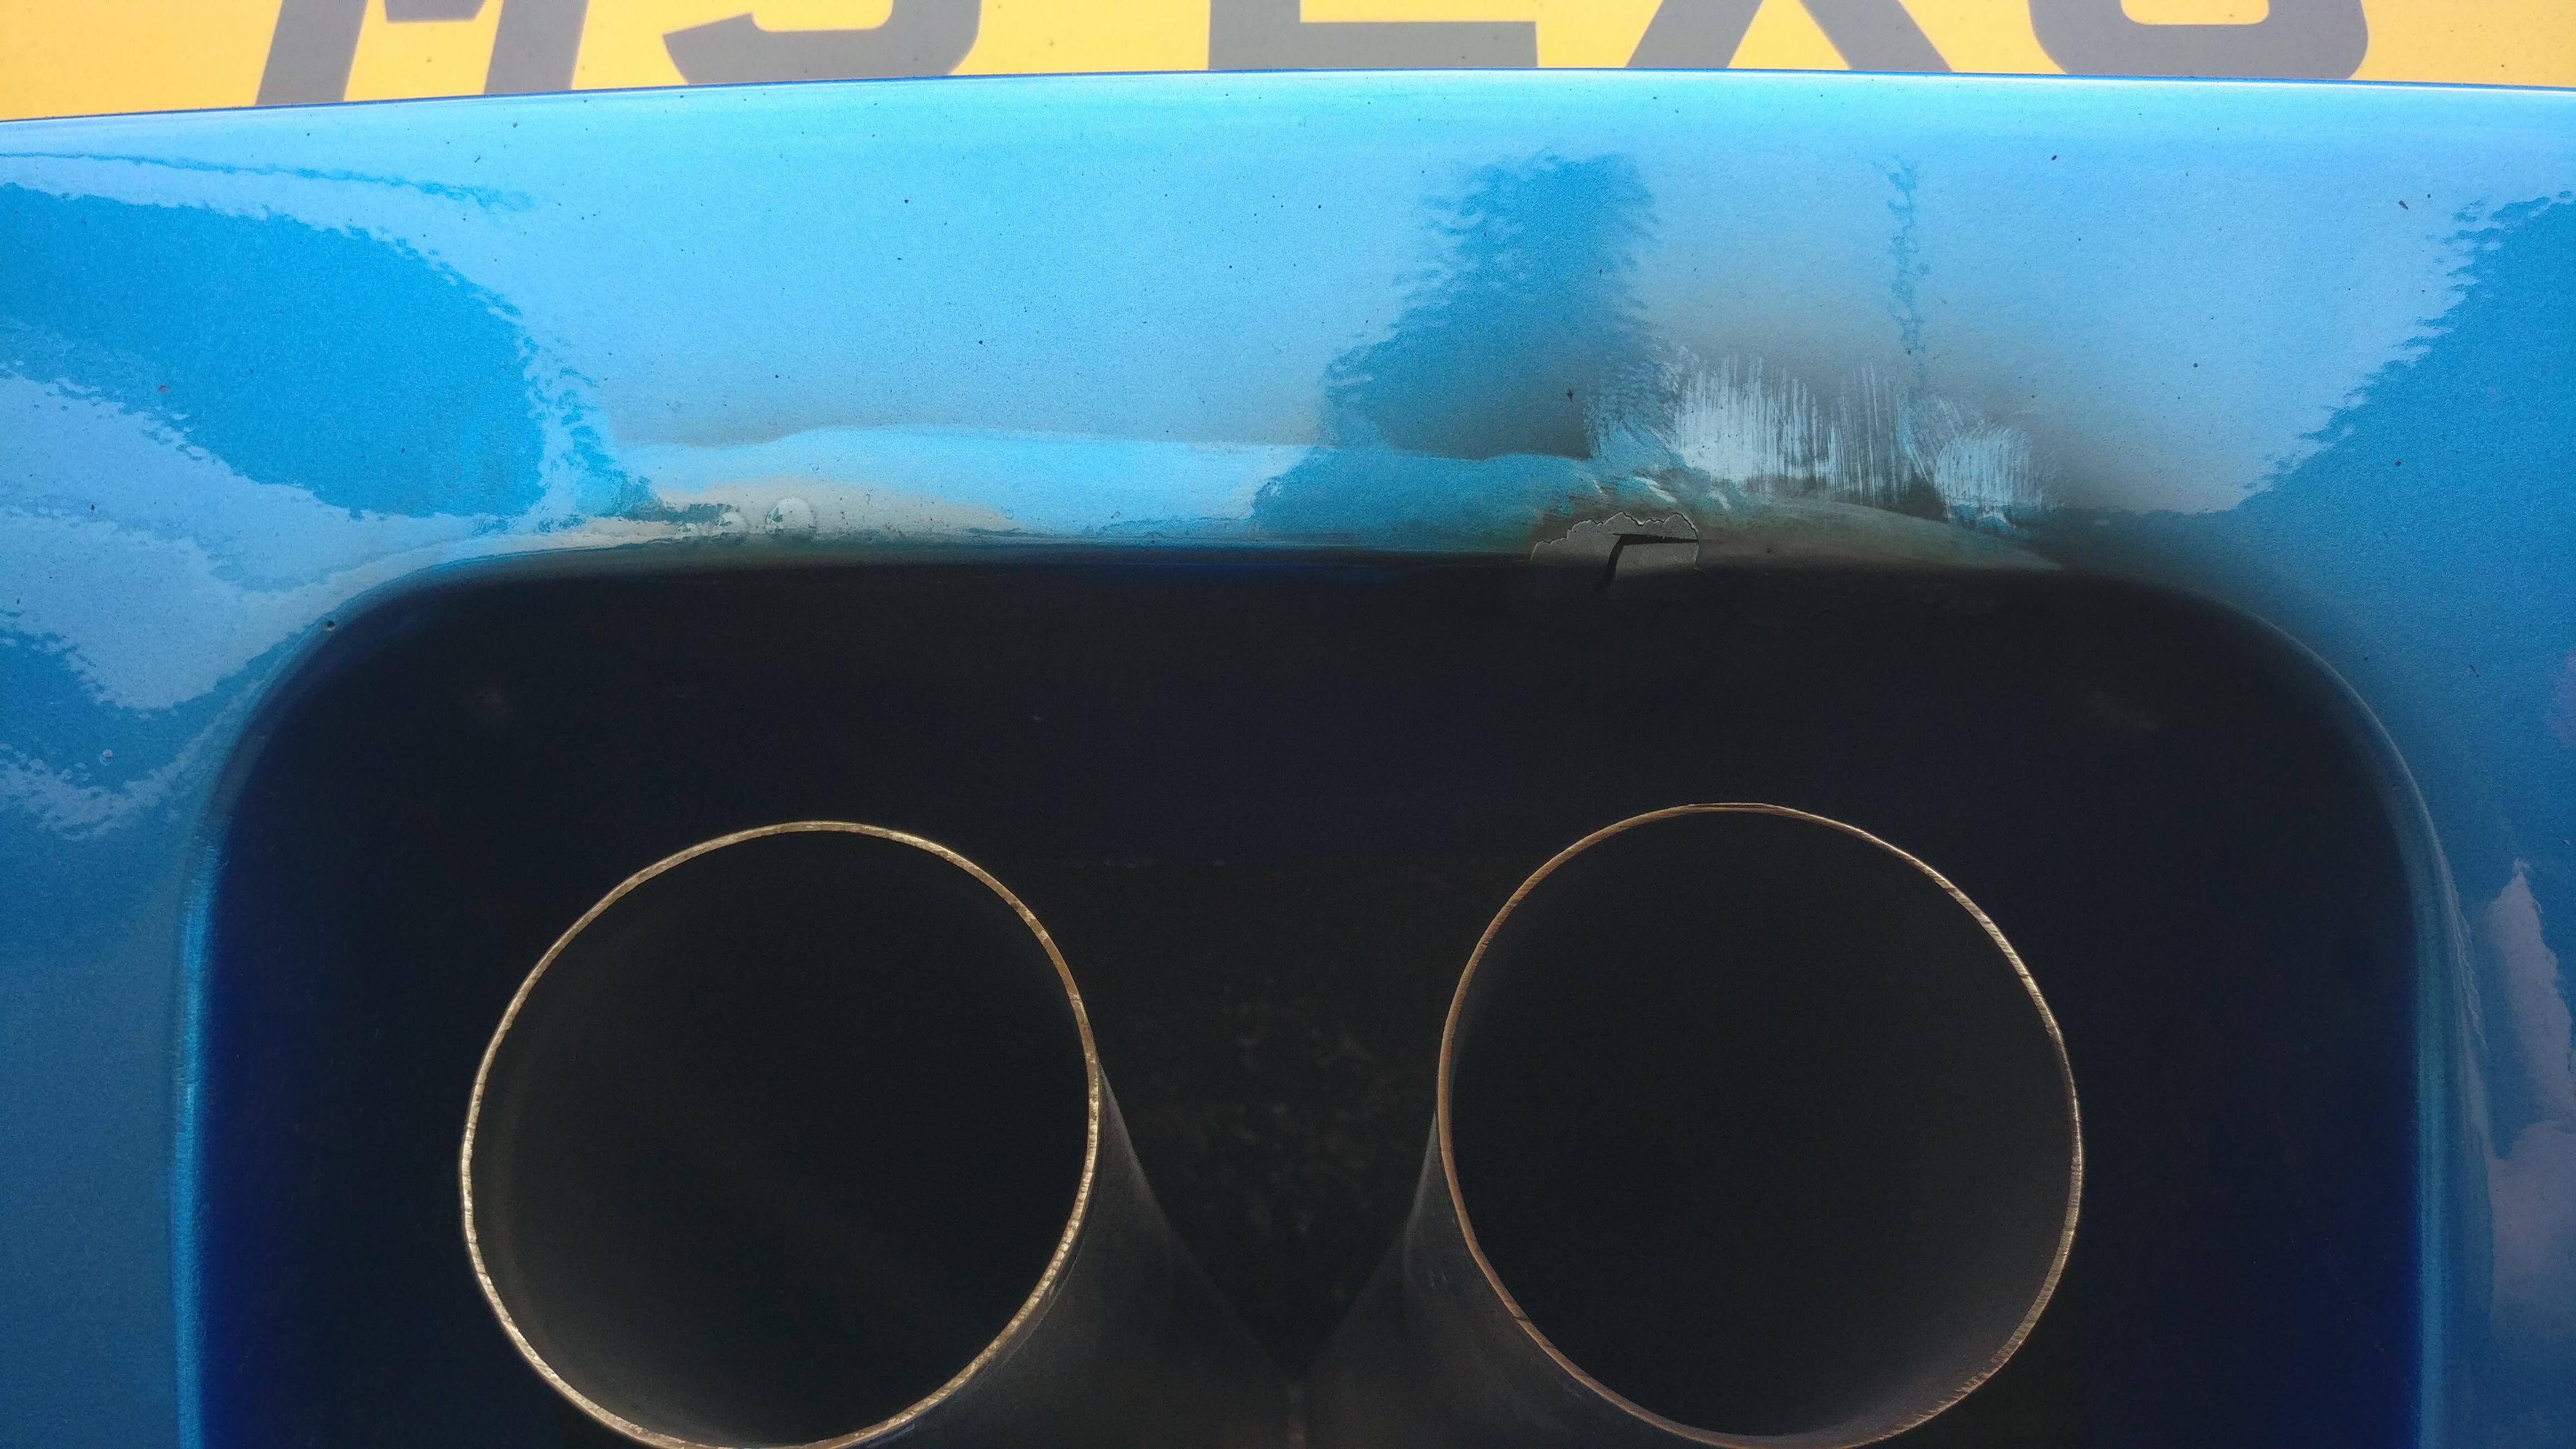
The paint has been dis-coloured slightly but a lot is just fumes, but a bit of damage has been done to the actual fibreglass. Again not the end of the world and I don’t really mind the burnt look, very Le Mans classic but I decided to spend an hour taking the diffuser off to get to the jubilee clip to rotate the tips down.

I must admit I probably prefer how the tips look now in relation to the opening and they actually stick out past the clam now so fingers crossed will be ok going forwards. They are probably where they should have been from the start but one of those things…

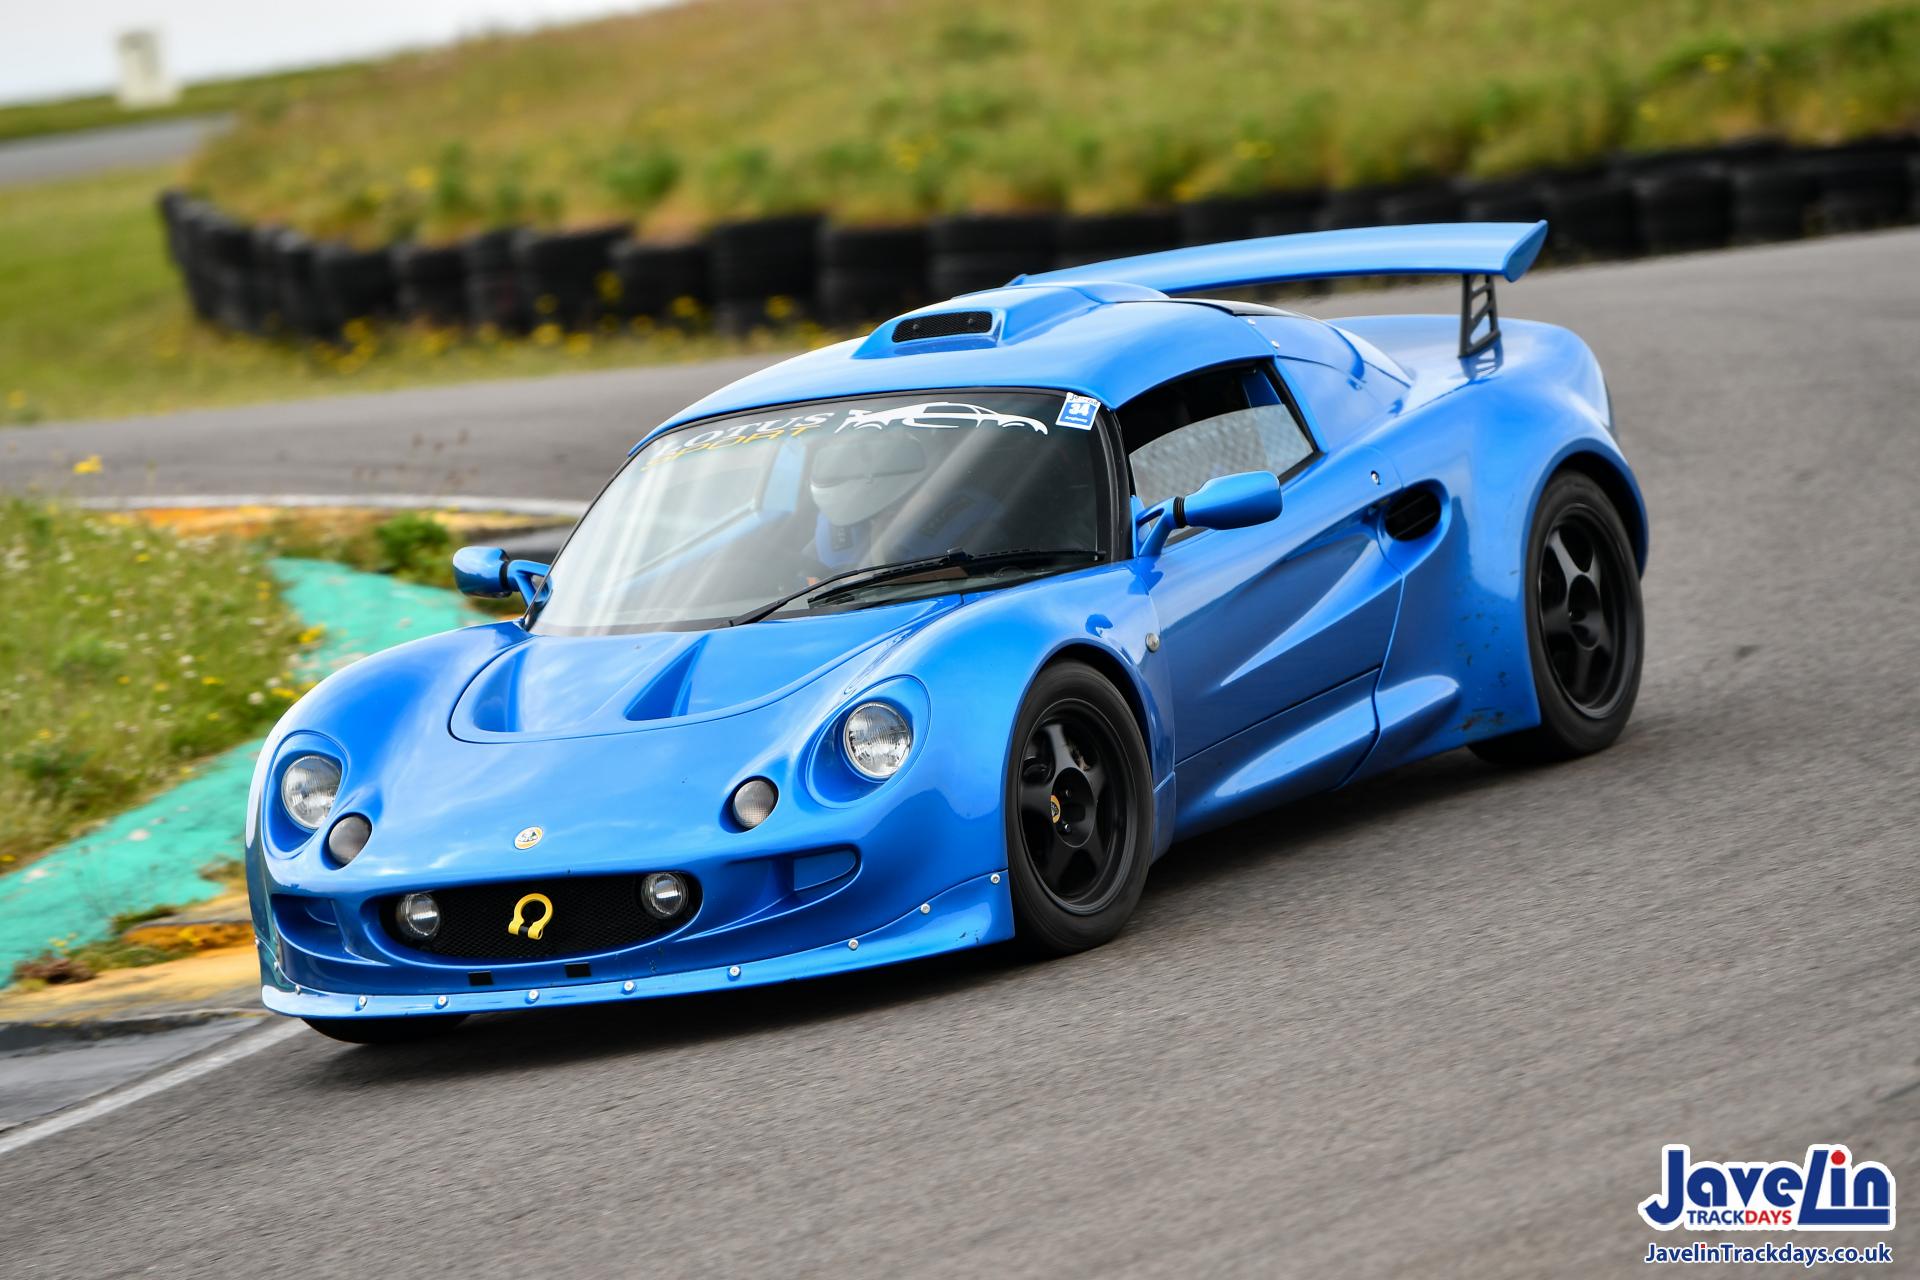
I hadn’t taken any pictures of the car with the Exige wheels on, so I grabbed some when we stopped for fuel on the way to Oulton Park. The 255 rear tyres have rubbed a bit of the wheelarch liners away, but my Elise wheels did that before too in the same place and the extra width looks really good and fitting for the wider stance.
Next day was Oulton Park and the day started with 3 red flags before I had even made it out on track. When I did eventually get out the car felt really good and the track is amazing (possibly my new favourite), which makes it more of a shame that in the first run I suddenly got a box of neutrals. I was very fortunate that it went just before the last corner so I was able to carry just enough speed to get up the hill to the pits and roll it to our set up.
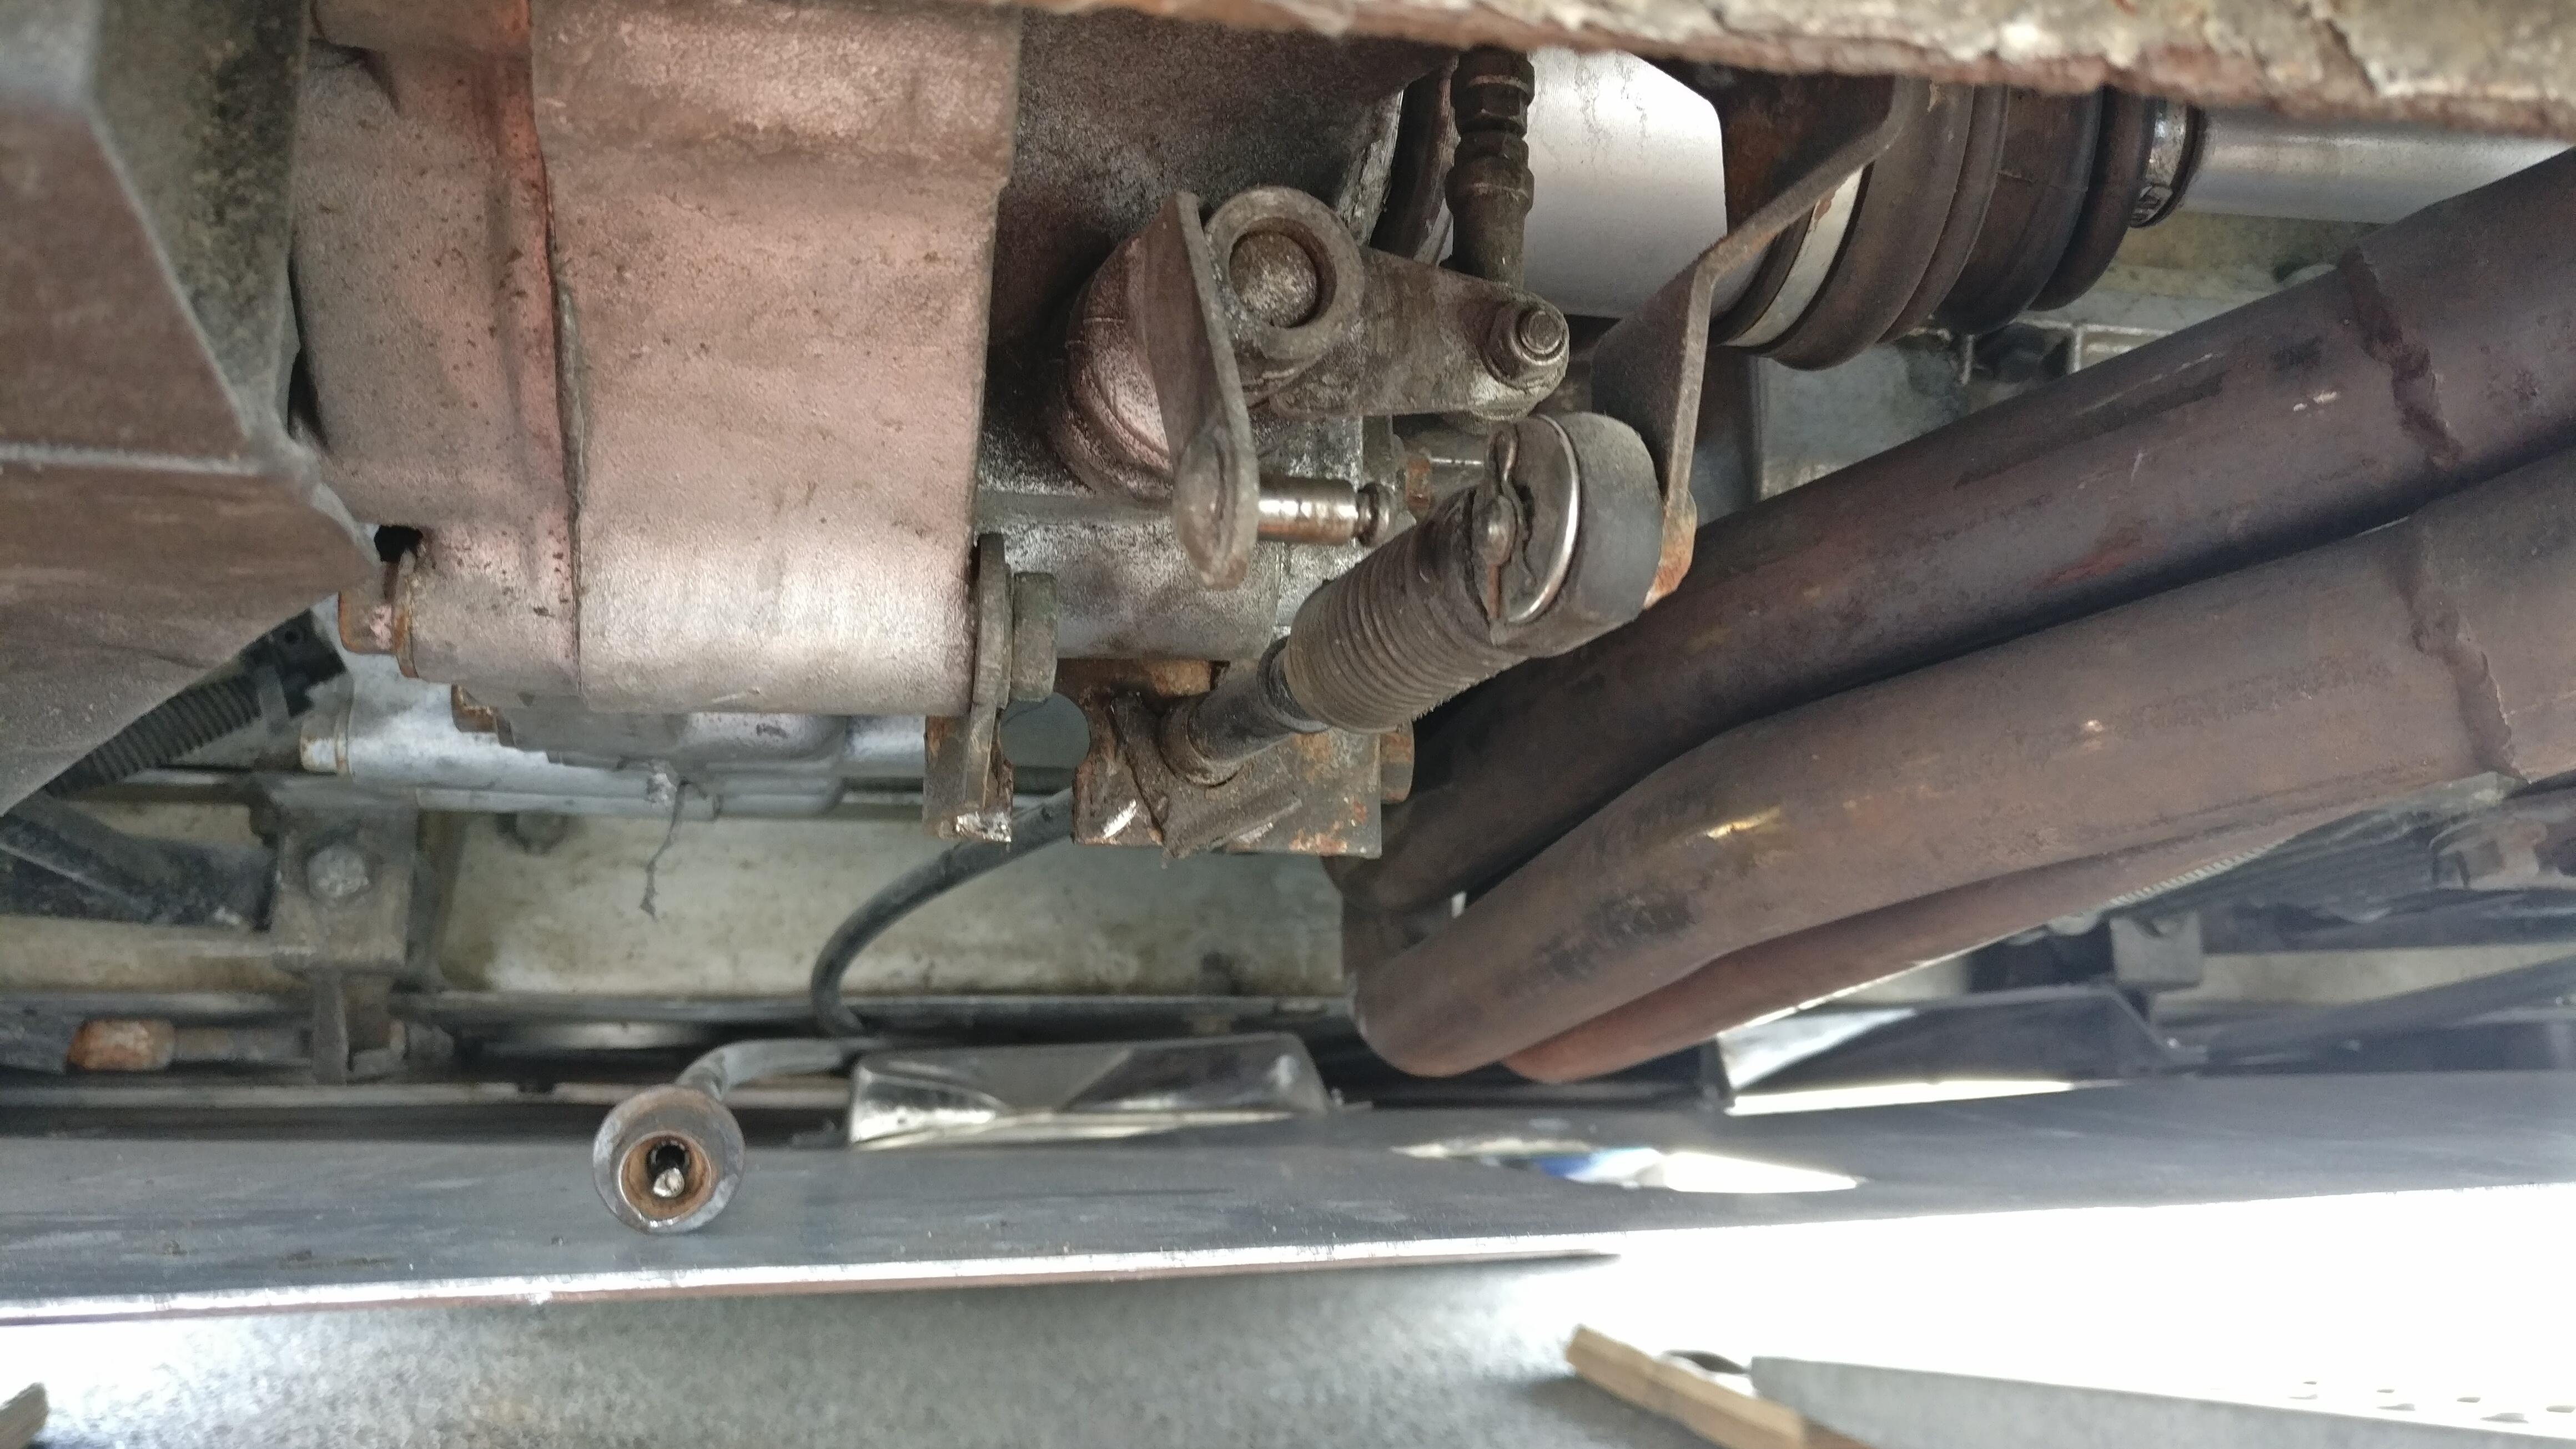
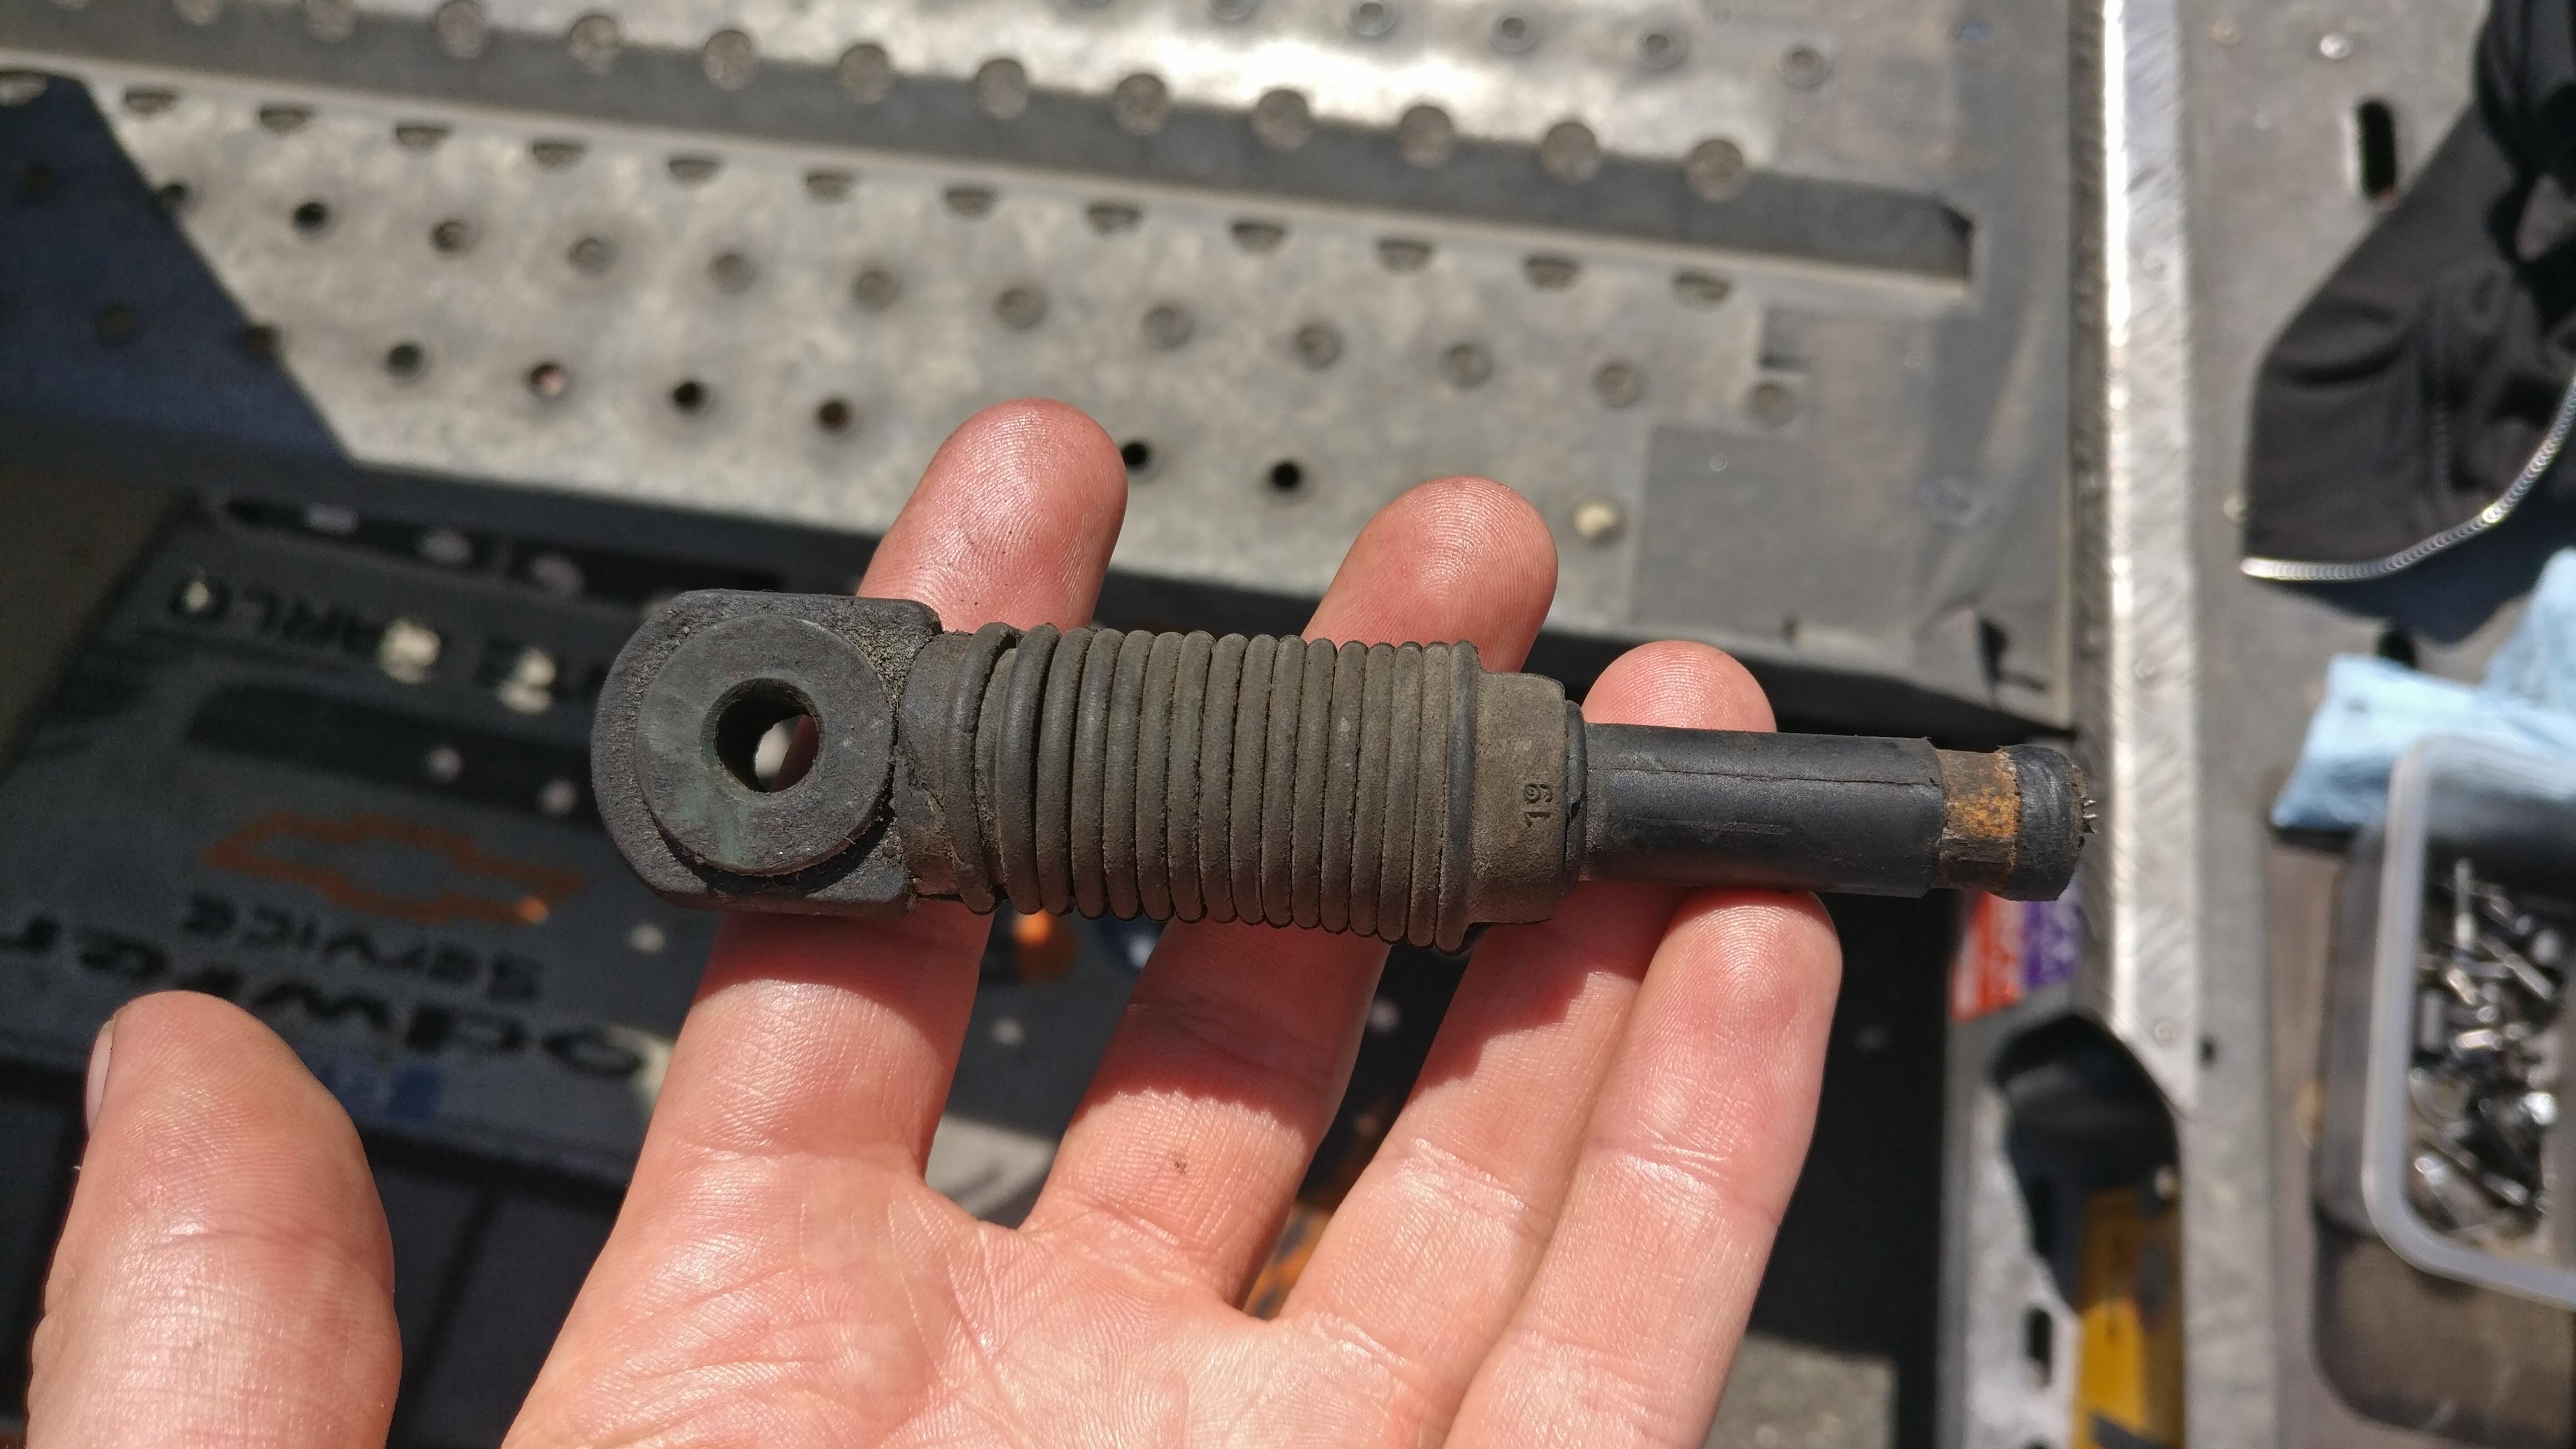
The culprit was a snapped gear cable, snapping right at the point where the cable connects to the rose joint type thing on the gearbox end.
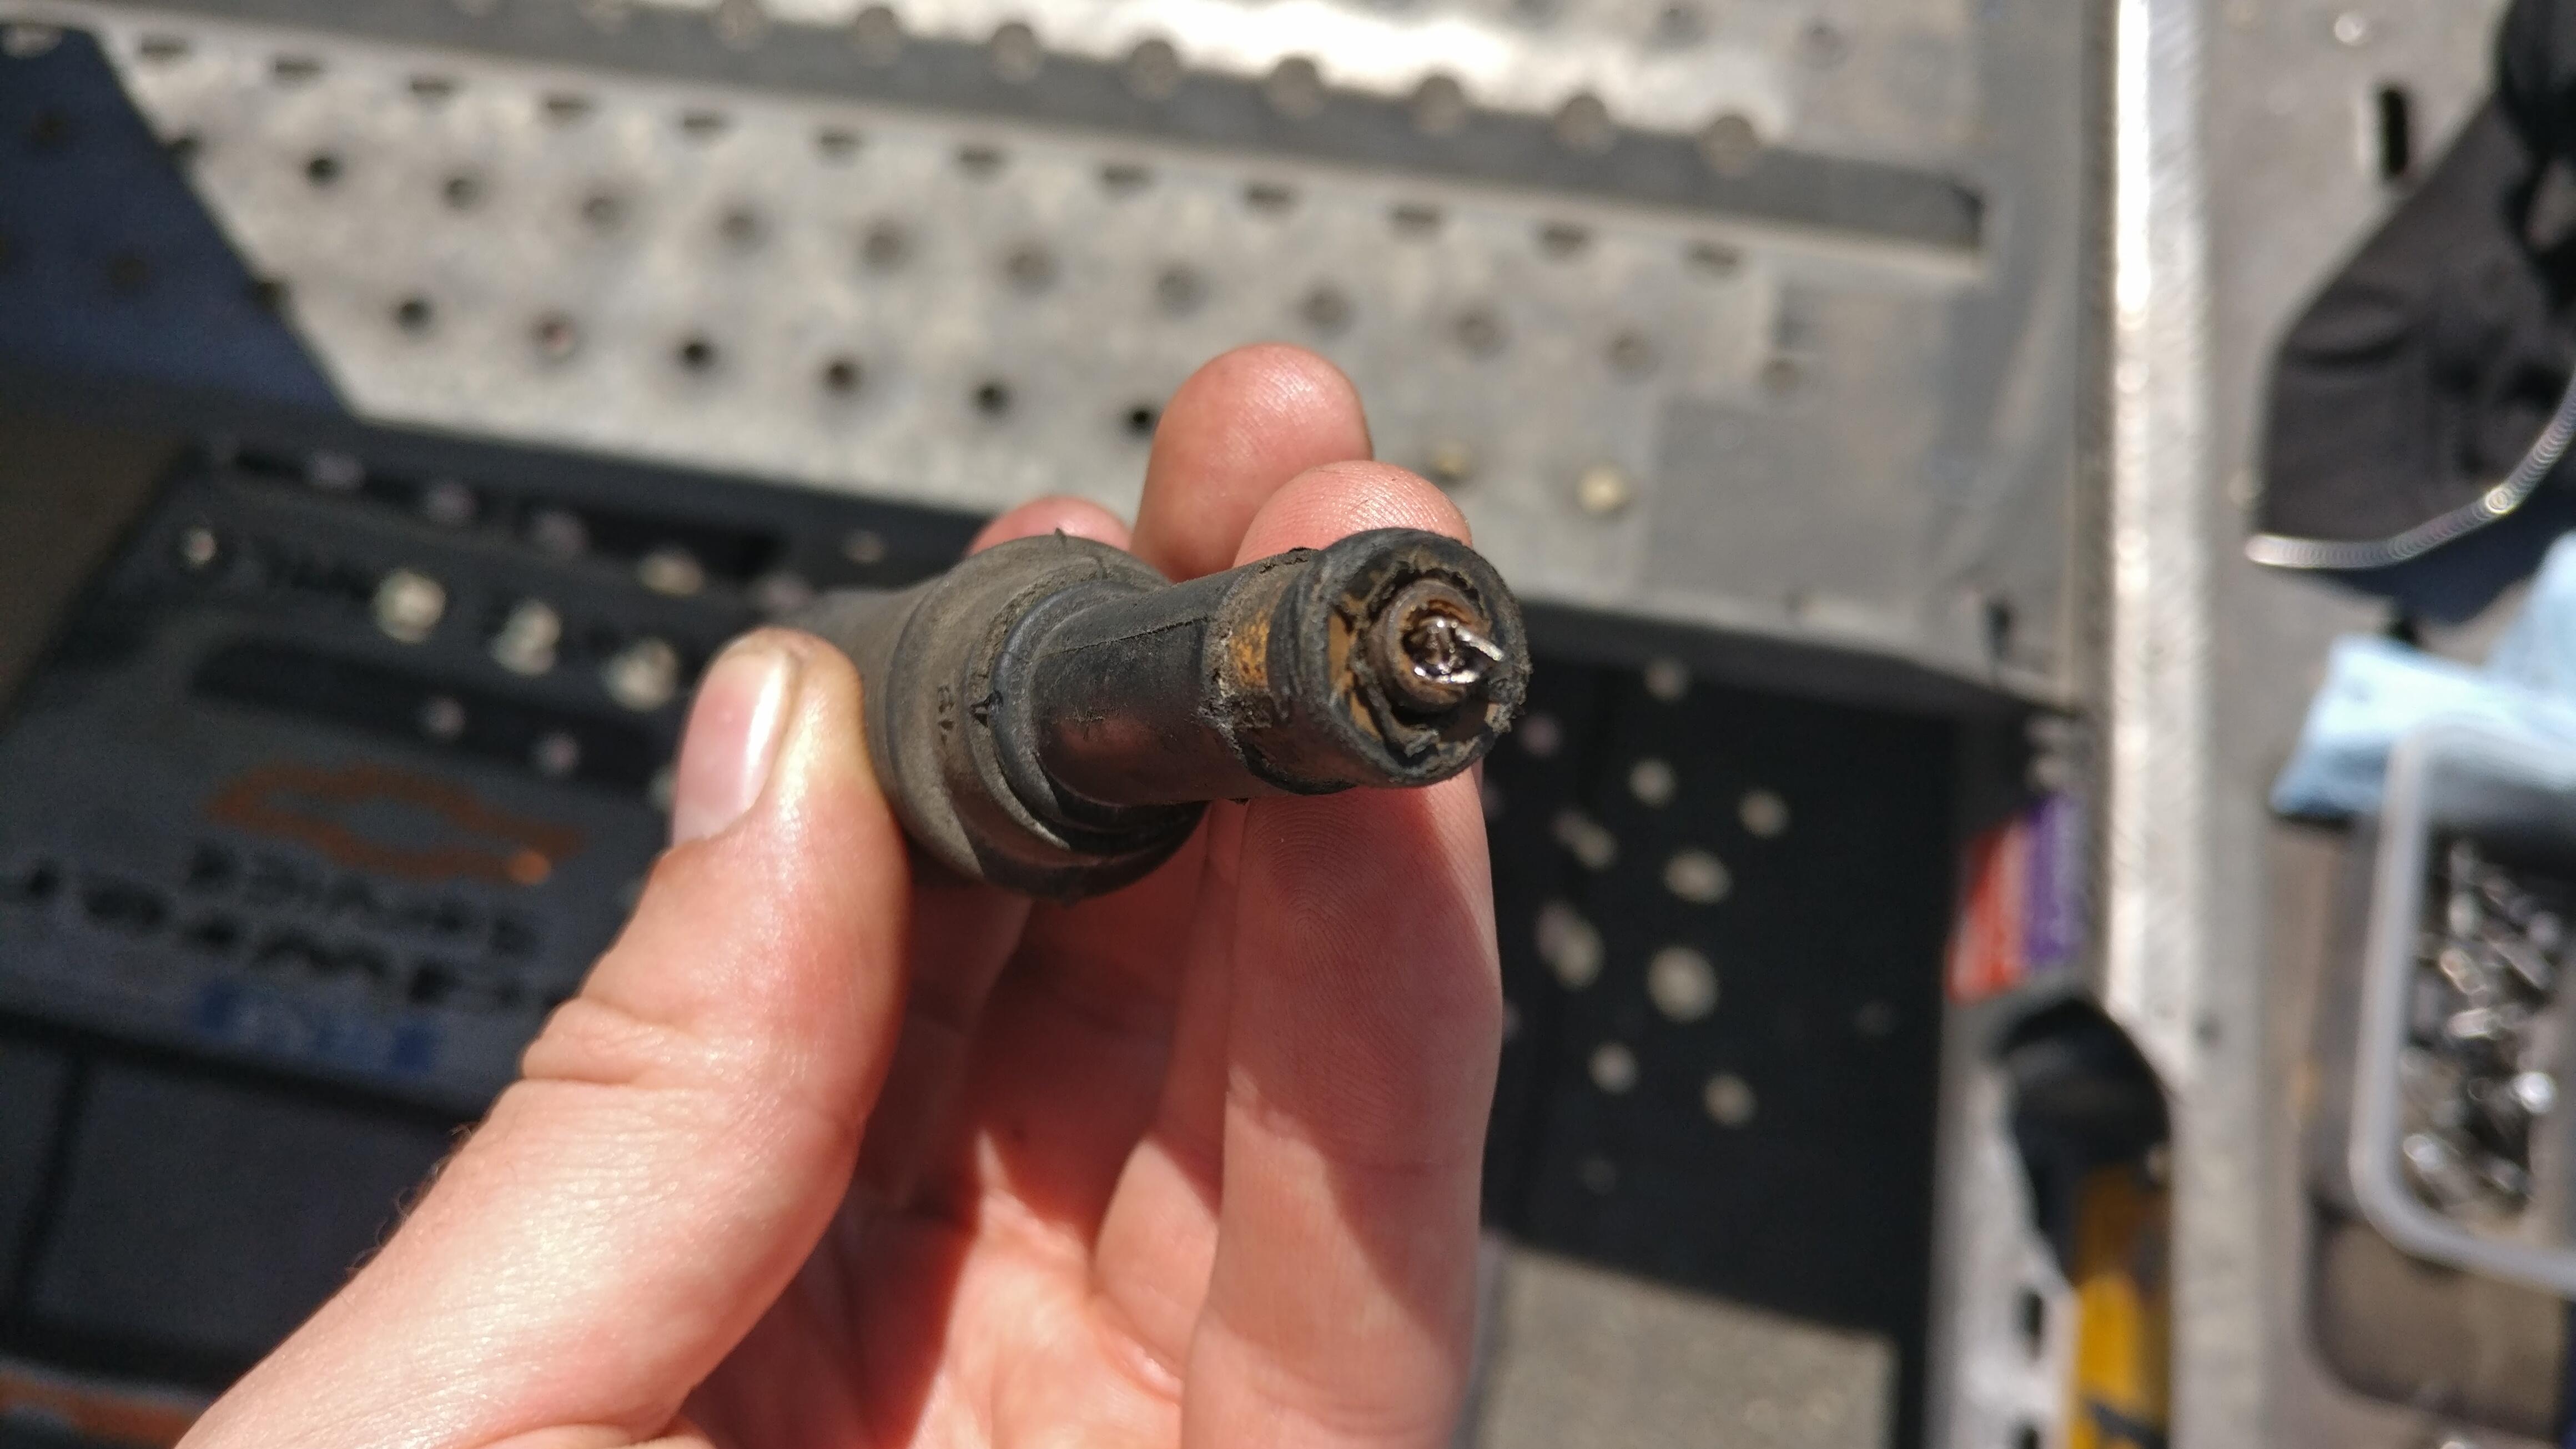
Frustrating but one of those things, it was going to go eventually being the original cable. Me and Dad then spent most of the day then patching and bodging it together to get it home back to Essex, as I couldn’t put it on his trailer as his S2 had suffered probable HGF at Anglesey and was knackered.
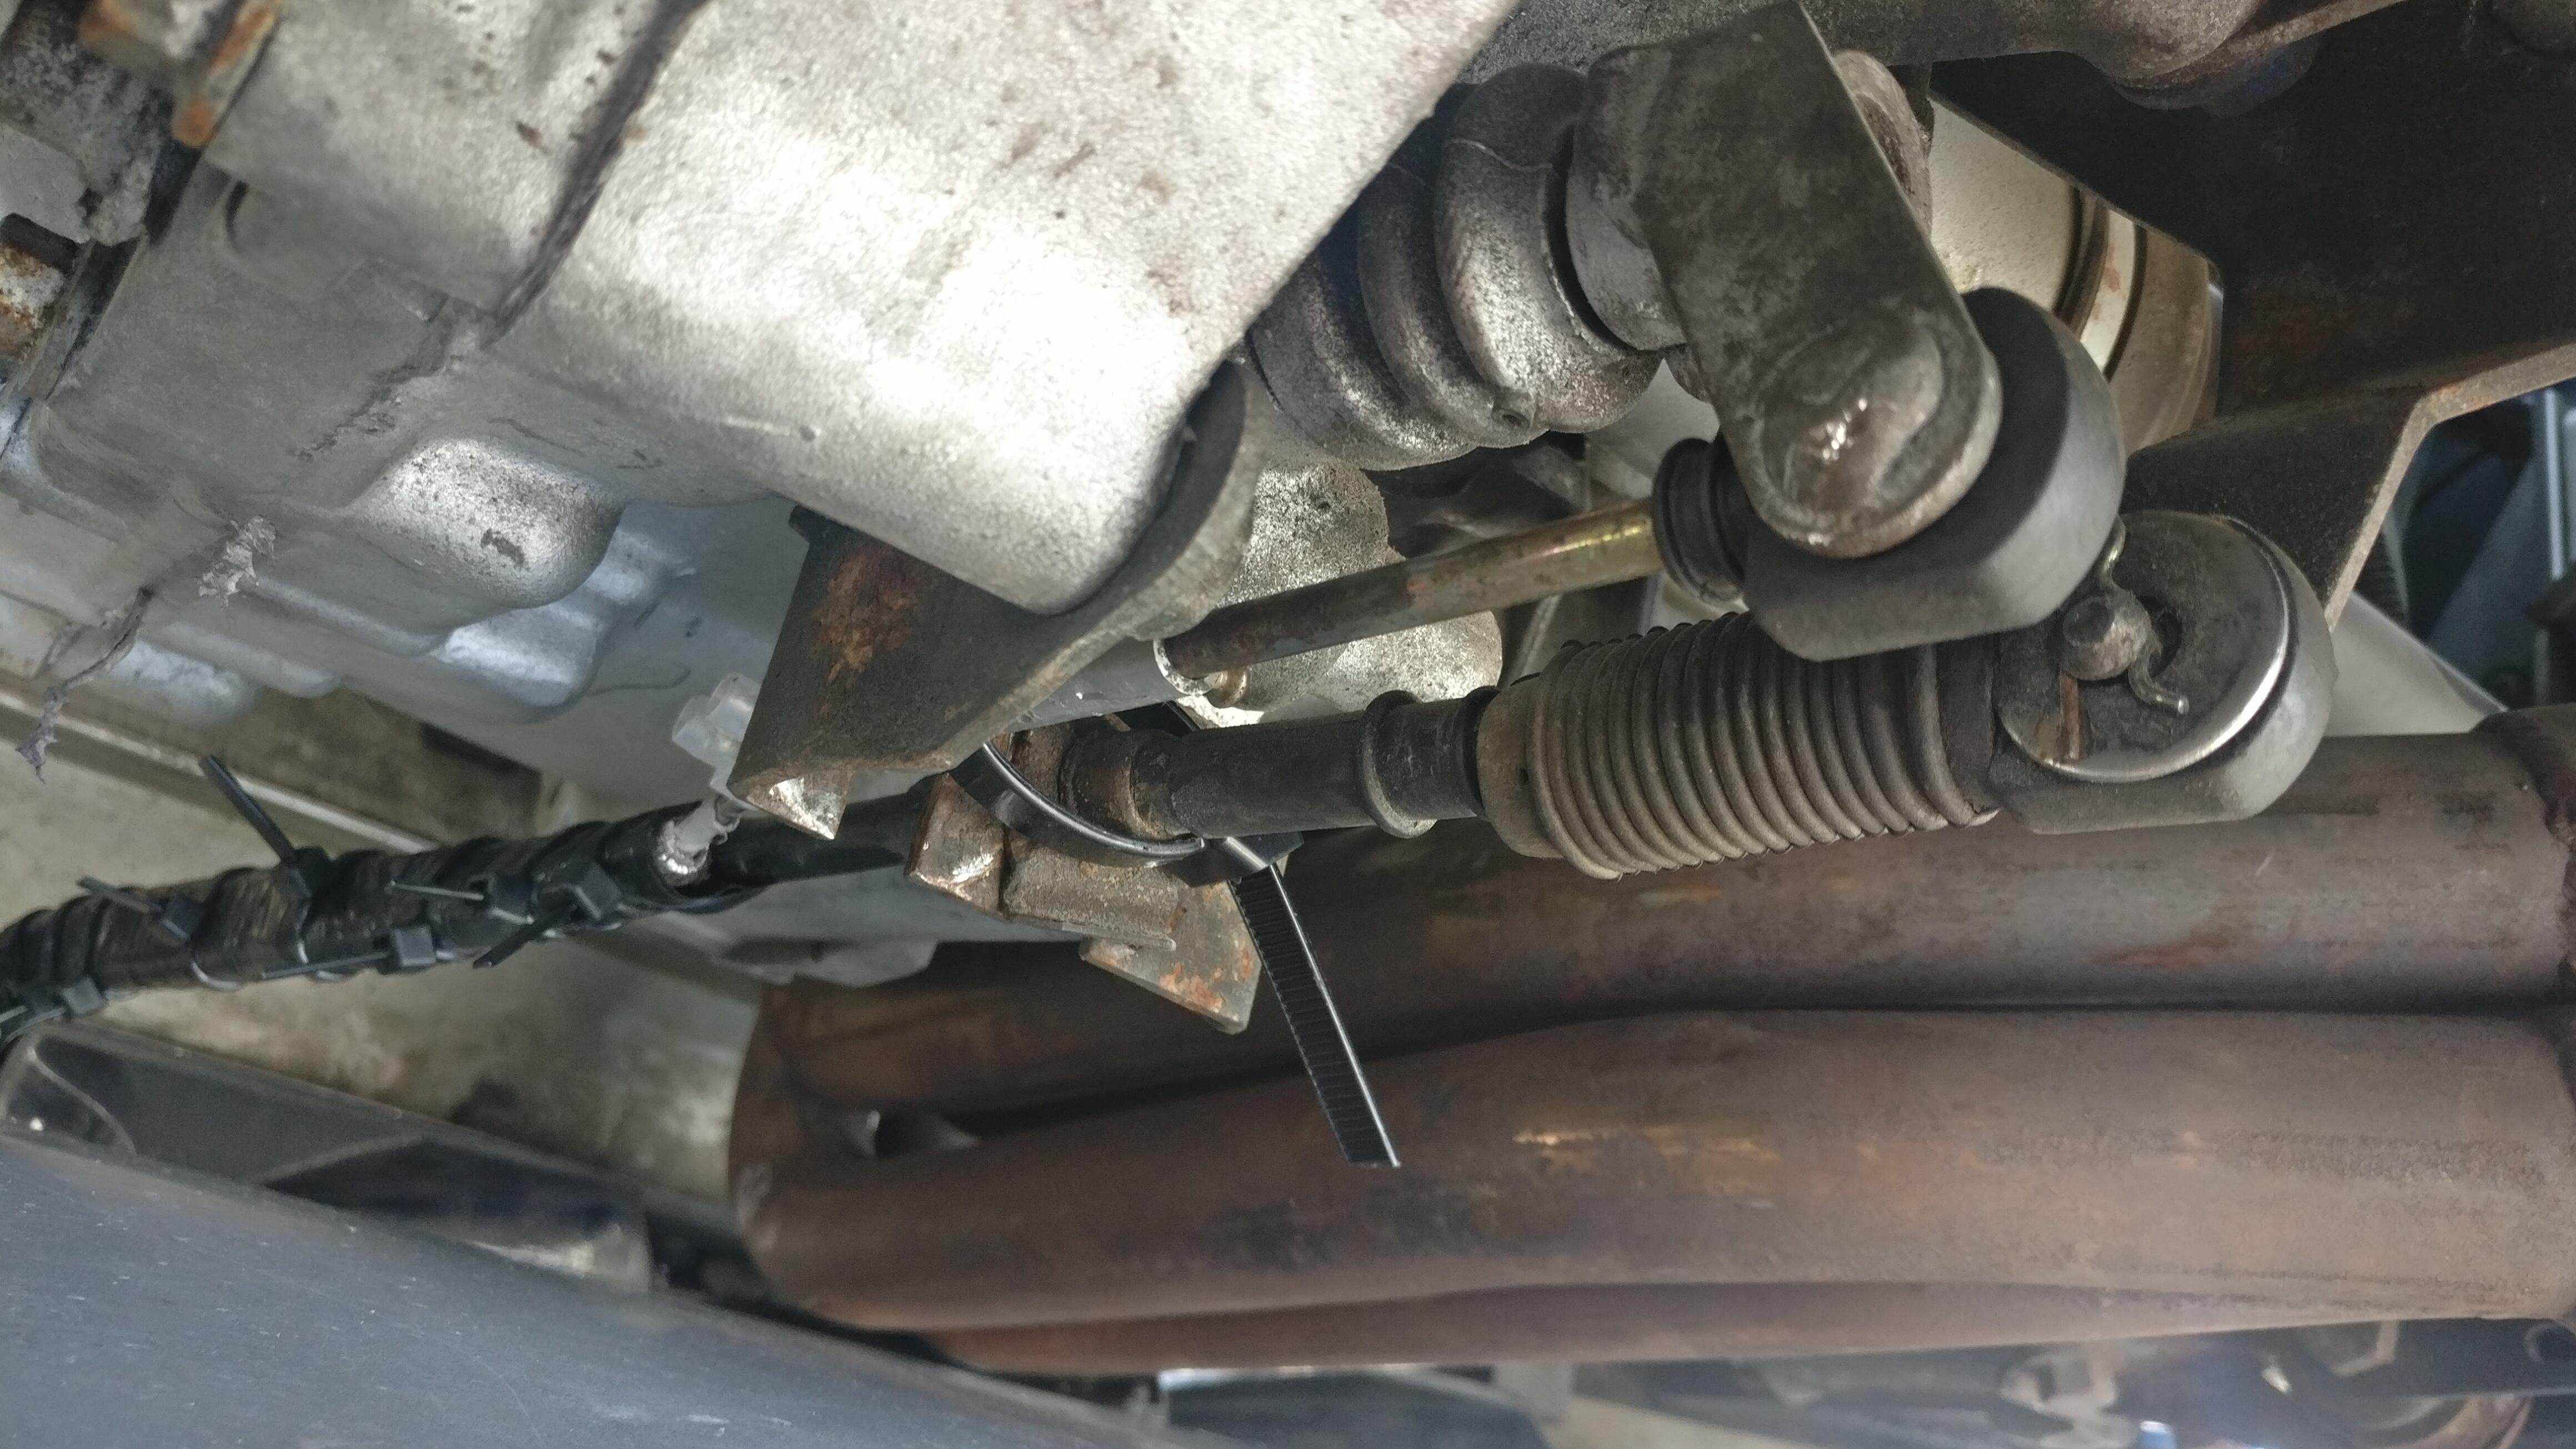
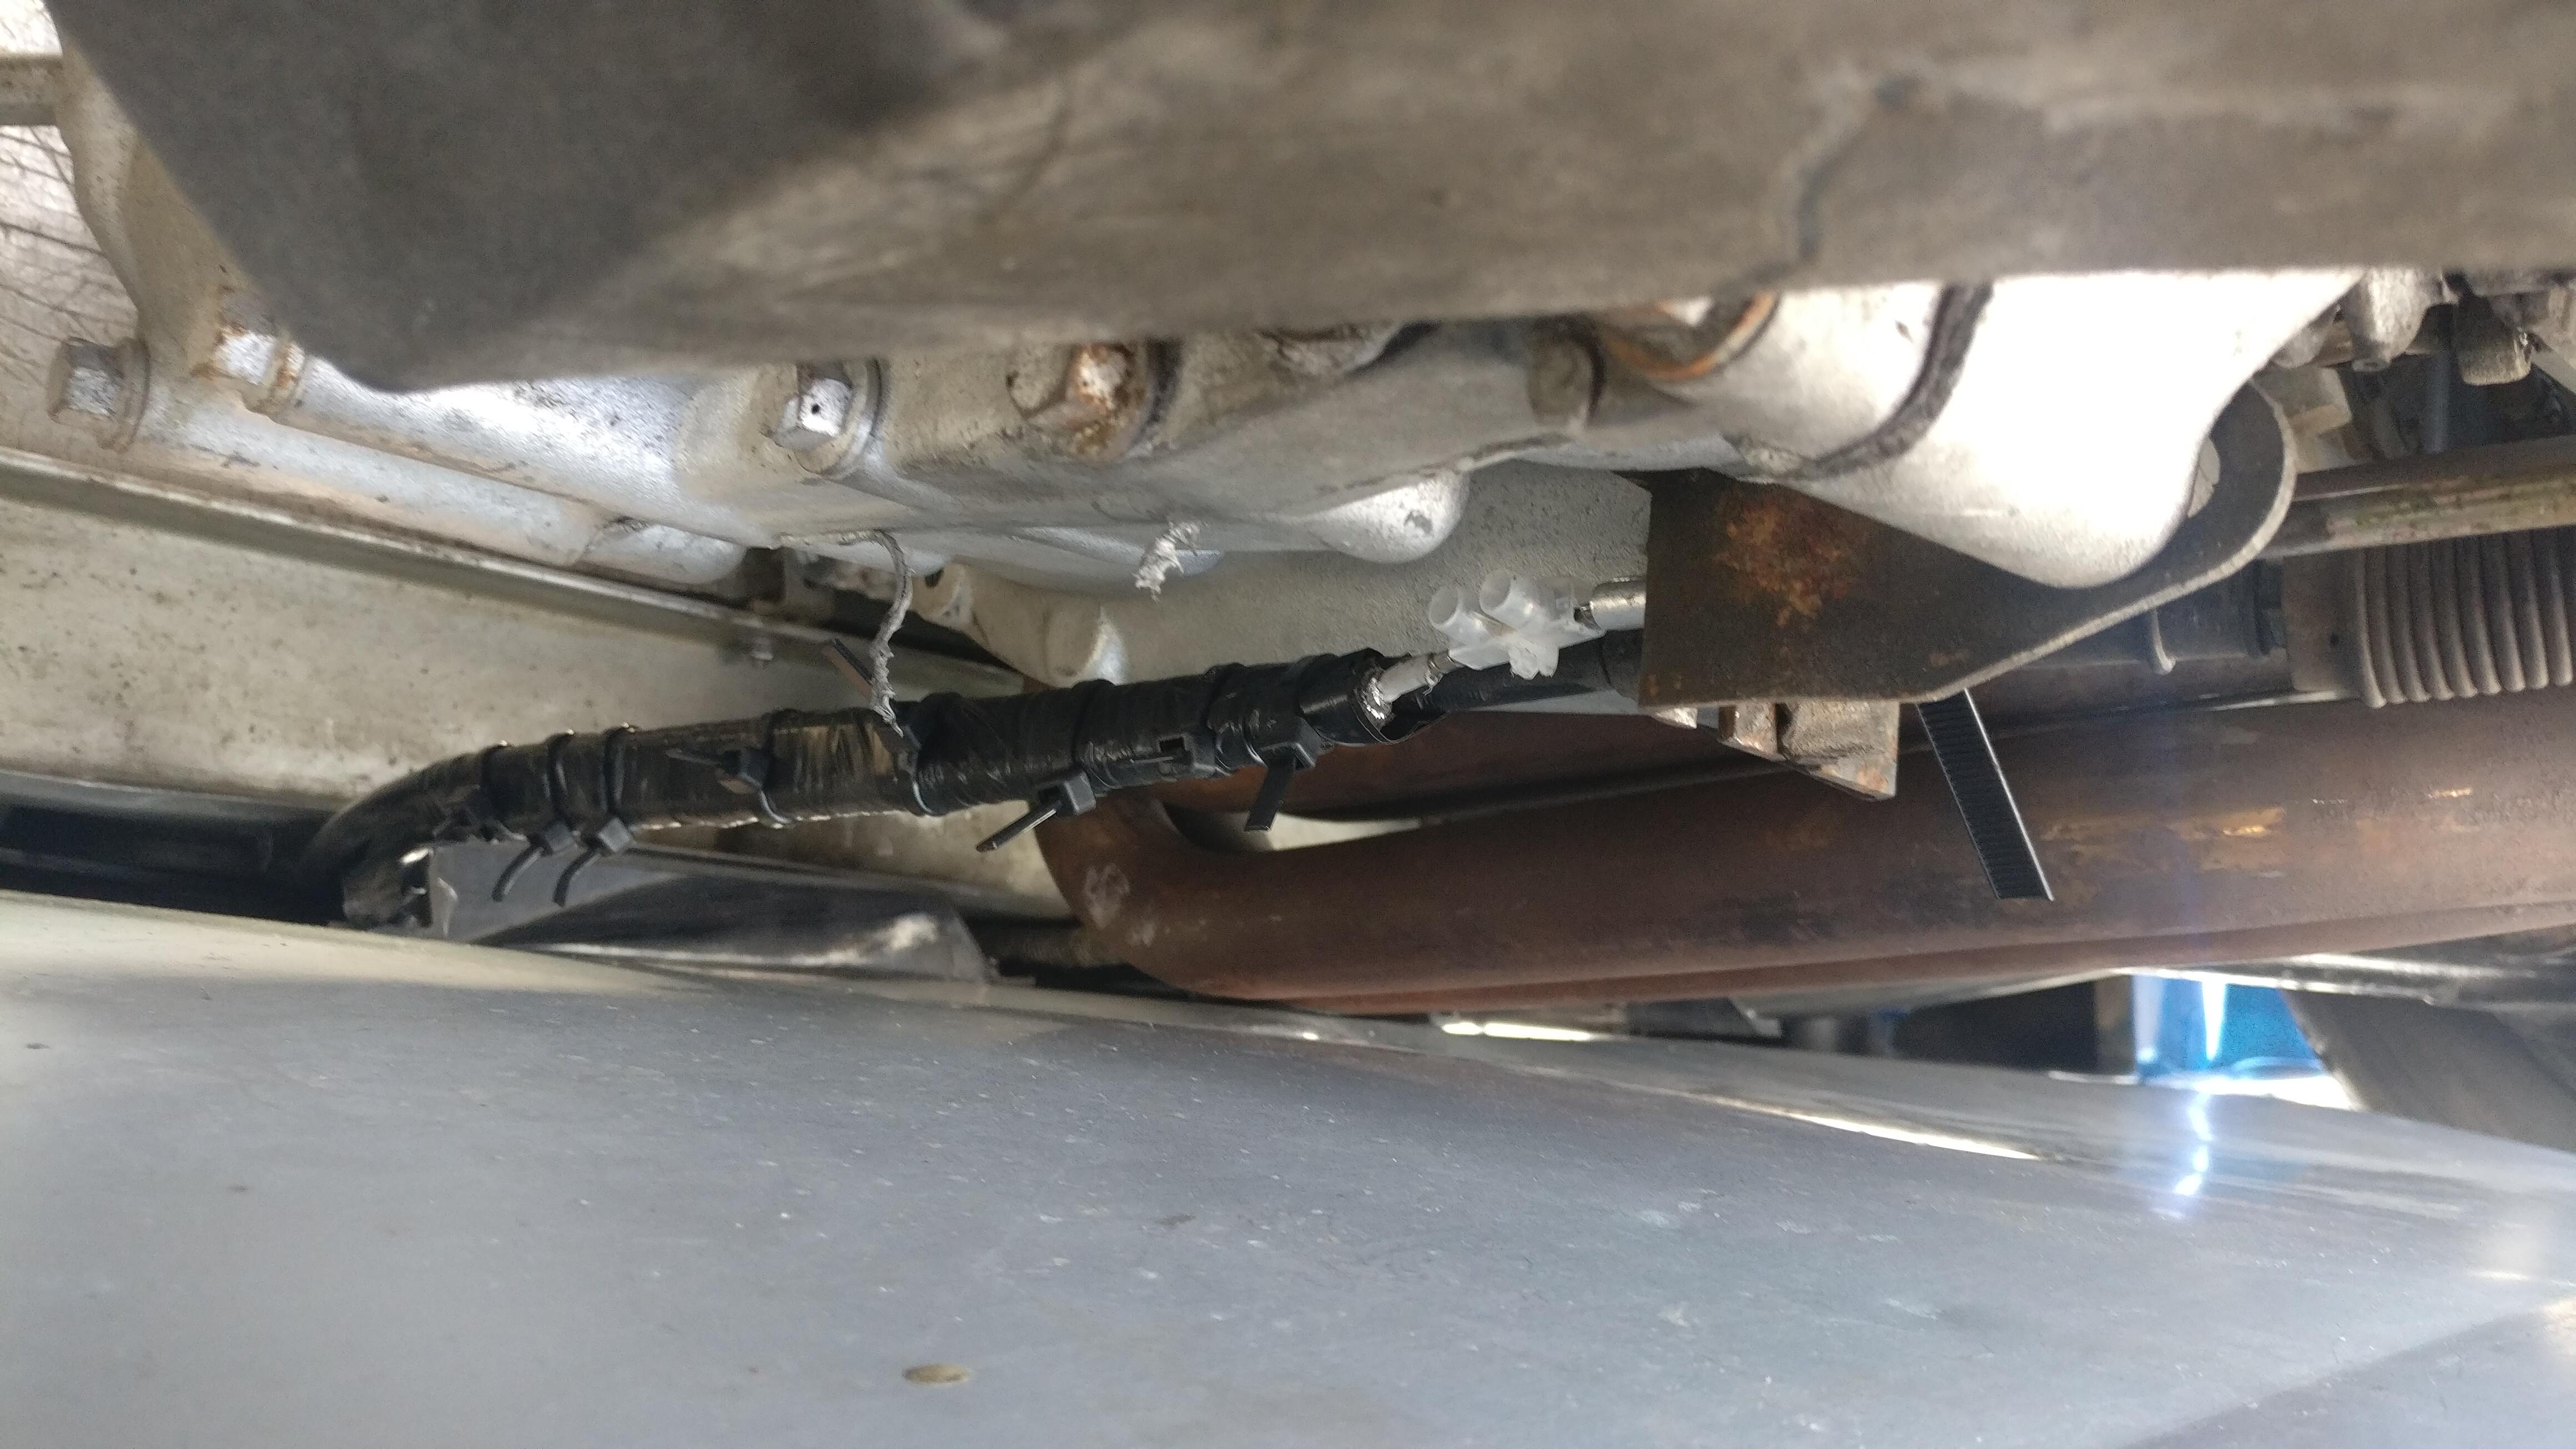
The solution was to crimp the two pieces inside an aluminum tube and then use tape and cable ties to secure it to the reverse cable to keep it from bending when going for a gear change.
I was able to get all gears and limped home. Good thing about the B4 box is that you can go pretty much anywhere in 5th quite easily which reduced the number of changes I needed to make.
So the car now needs some motorsport cables and a few other touch ups, then to finish off all the other bits on my less important list, but these will be done over a longer period of time, I need to spend some time away from the bloody thing for my sanity!
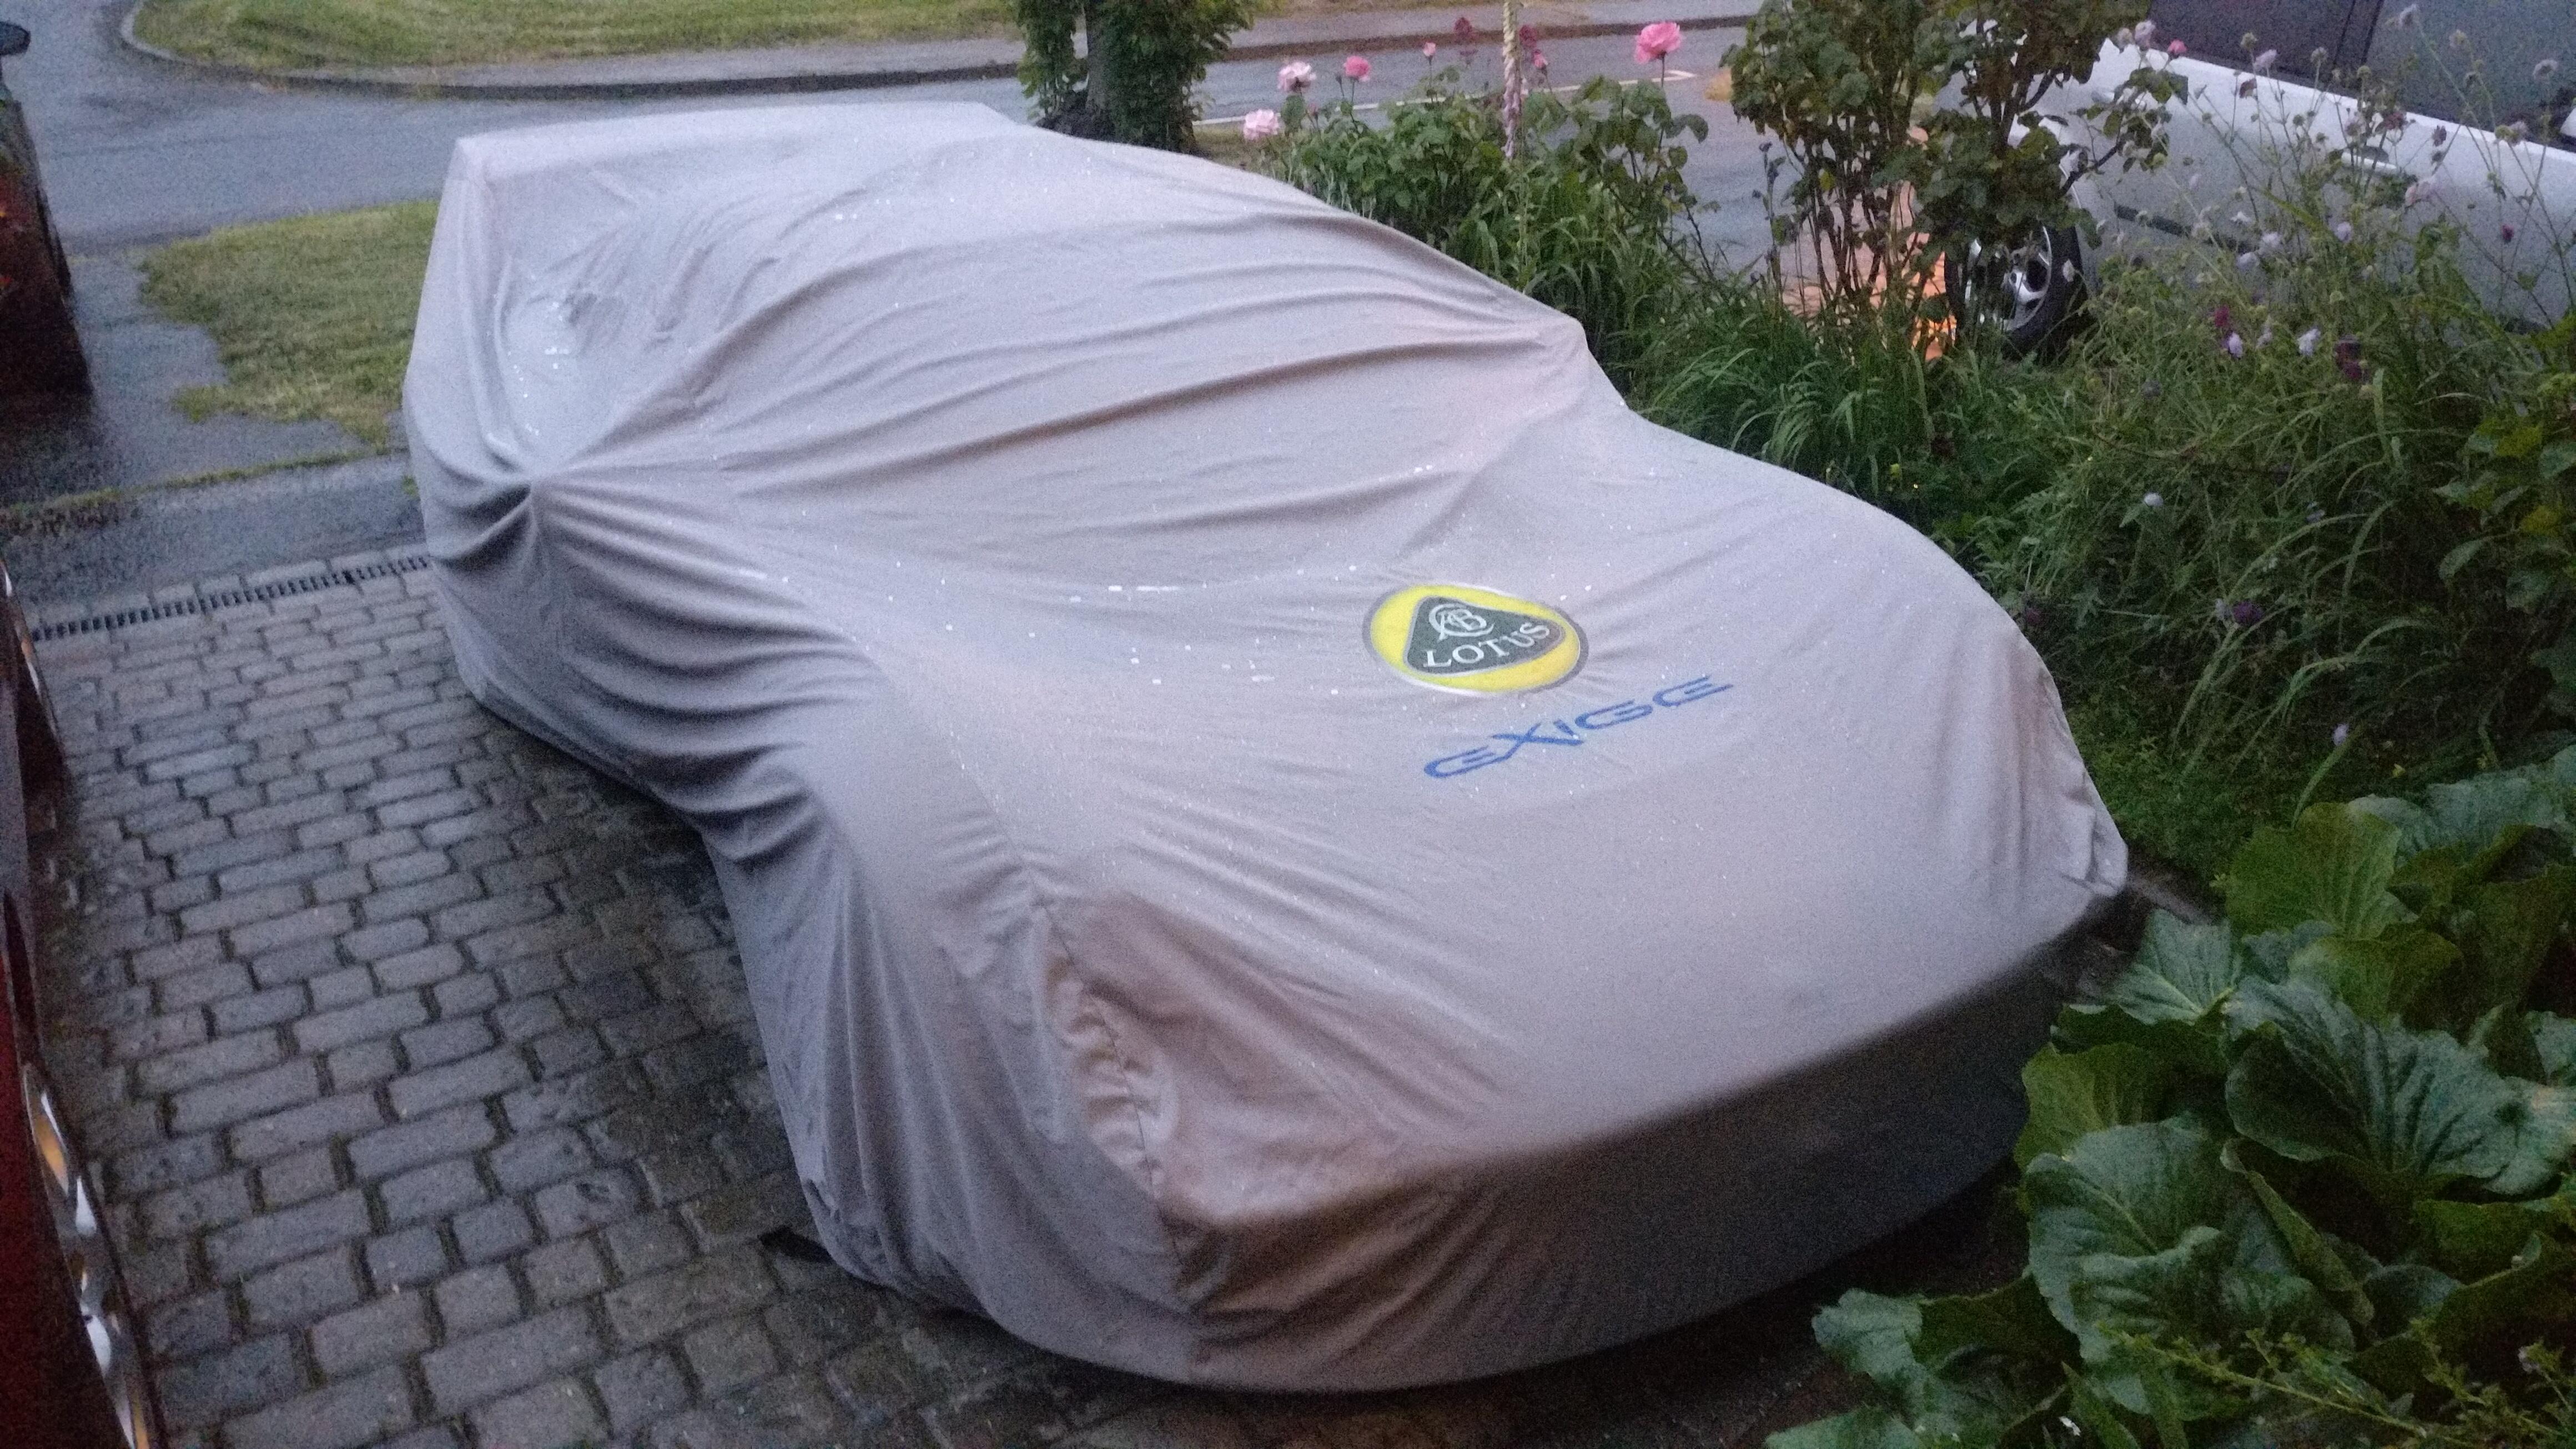
The stormy weather gave me an opportunity to test out my car cover I’d had since Christmas. Great fabric that the water just rolls off of, just wish it had the wing mirror pockets to avoid some of the creasing and water pooling in places along the side (plus they put the wrong Exige logo on it!)
An eventful few days but just driving it felt good, just got to plod along now to finish all the small details and get the new gear cables in.
Awesome pictures! It’s looking great - you should be really proud!
Nice job indeed!
![]()
That’s looking great James
Shae about the exhaust burn hopefully the paint shop can blend it in.
I feel your pain with the cables happened to be years ago luckily enough though i was reversing out the drive when it went so not too far to push it back into the garage
Enjoyed this latest episode. Thanks for posting
Excellent work, very impressive ![]()
An amazing job James, enjoy! ![]()
I’ve really enjoyed watching this build over the last few months, what’s the next project that I can look forward to following? ![]()
I definitely won’t be having another project for a while!
Still got a reasonable way to go with this one to get it completely finished (aesthetically) which will take a few weeks I think.
![]() brilliant
brilliant
Well done sir; glad you got some track time in and certainly that’s some shakedown!
Well done for getting the conversion sorted, It looks excellent James!
…Well if you want to see pretty much the same thing, I’m just about to start on my S1 Exige Conversion! ![]()
Totally! ![]()
Are you sticking with the K series or are you going Honda?
I don’t want to fill up James’ build, but will be sticking with the K Series at this stage, the donor car is a Sport 160 (I know, I’m not very popular with the S160 guys) but will get a set of VHPD throttles and Link ECU etc.
Time to start a new thread, will enjoy reading it as I have James’. These threads are fantastic to follow and like James kudos for the effort in not only the build but documenting and sharing. Both are hard work.
And I can imagine how S160 fans feel about it ![]()
![]()
I’m not done yet yellas ![]()
Brilliant! Well done, a great result after so much time and effort. Car looks fabulous and panel fit looks better than on my “original” Exige.
Keep posting on your progress.
the car came together well, you done a good job!
I enjoyed the updates. ![]()
![]()
![]()