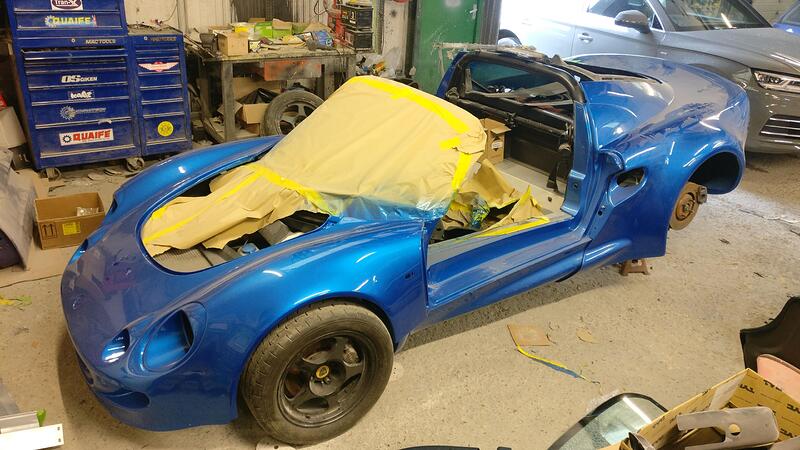
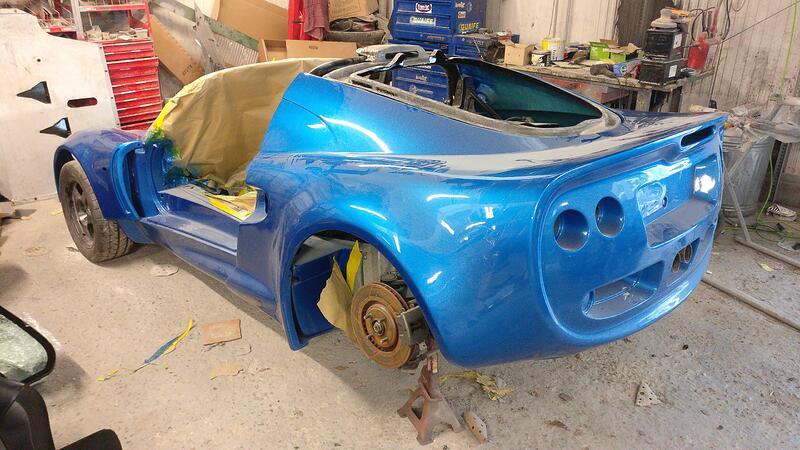
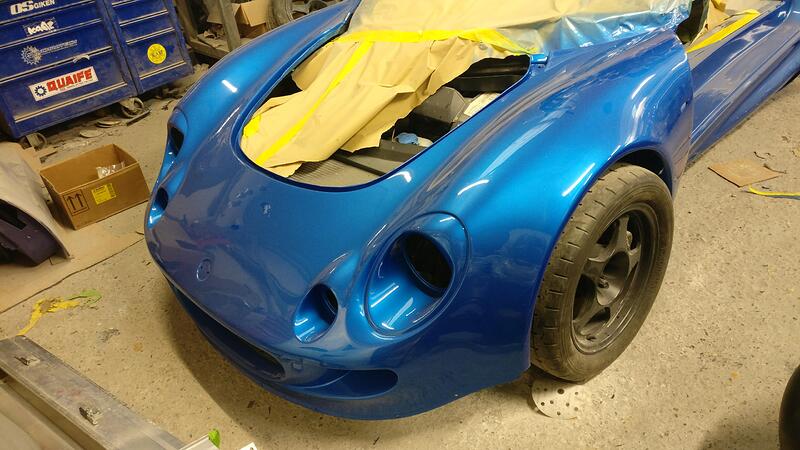
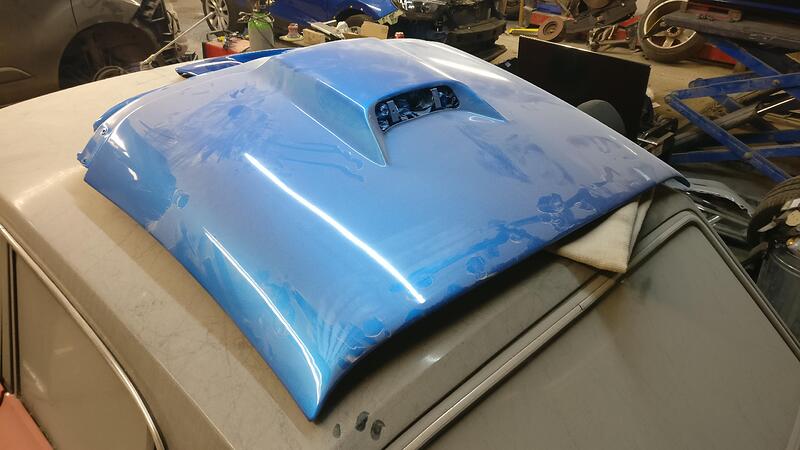
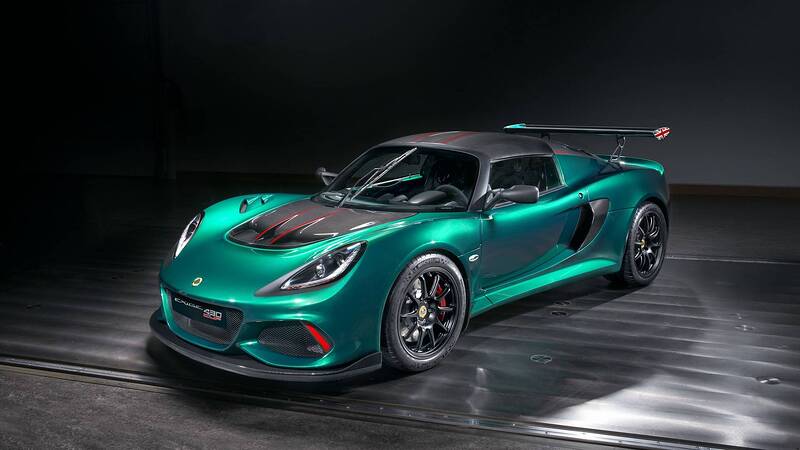
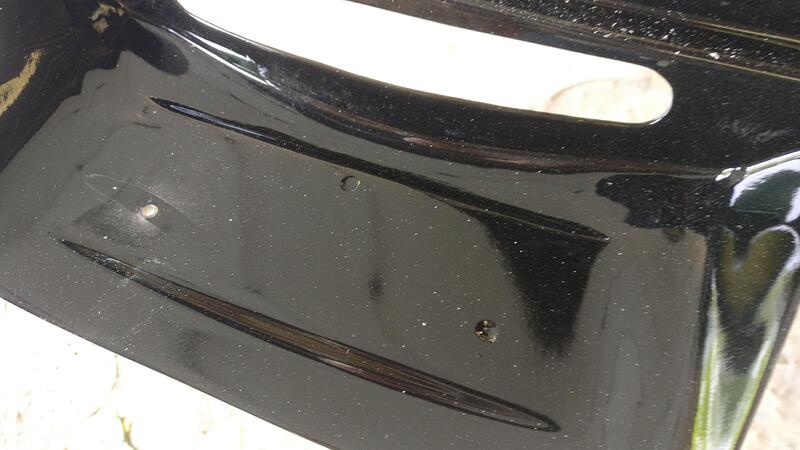
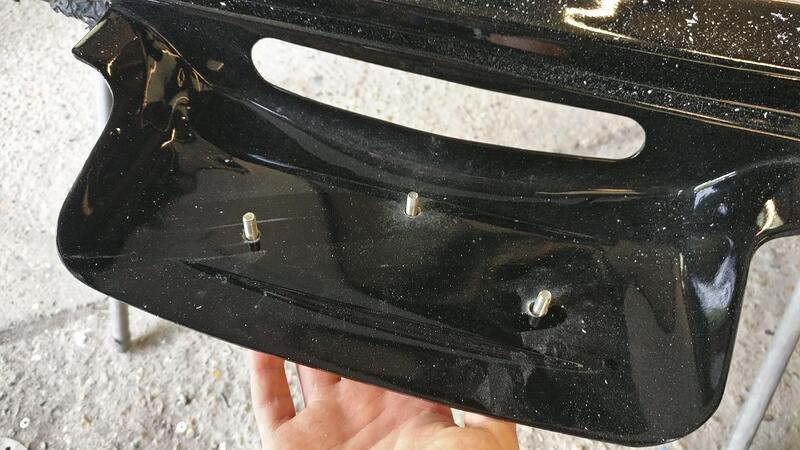
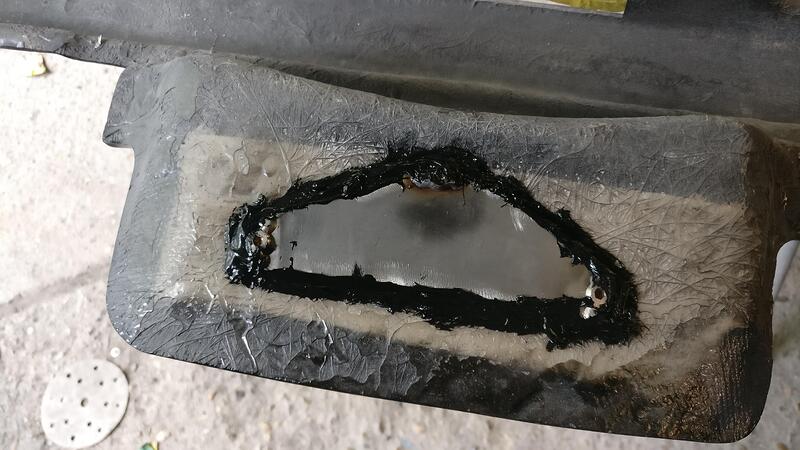
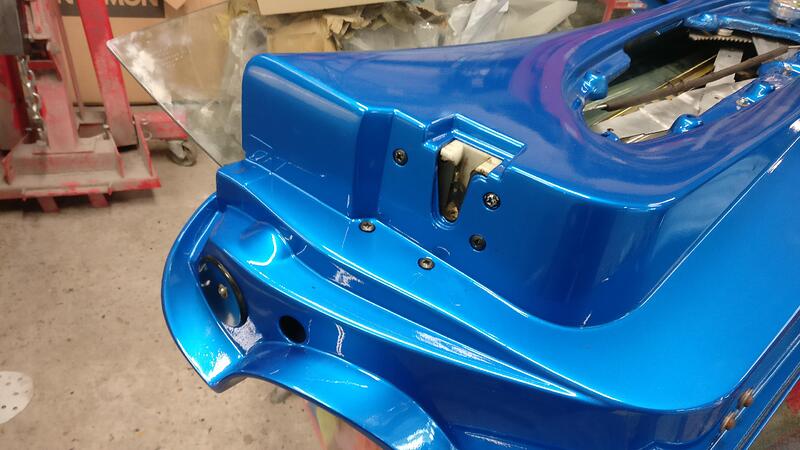
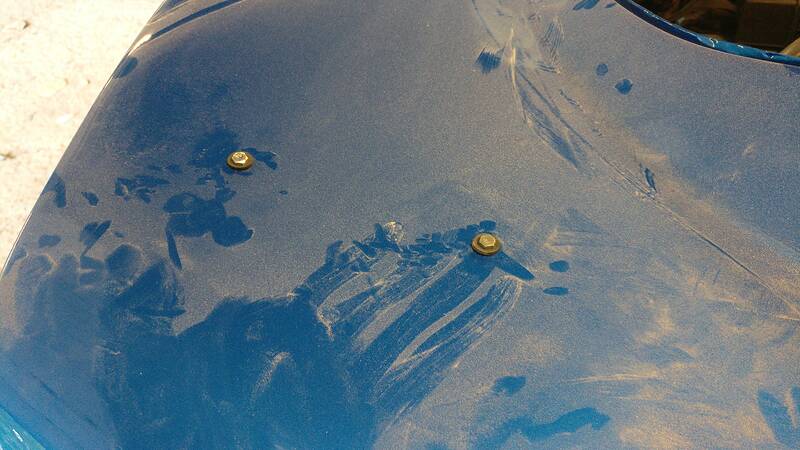
That looks stunning ![]()
Looks very good!
With this color you would need a set of silver decals, as far as I know.
![]()
Looks amazing! Great choice!
Excellent colour, it looks great, I bet you can’t wait to get it all together.
Classic colour!/ Good choice
Looks great James ![]()
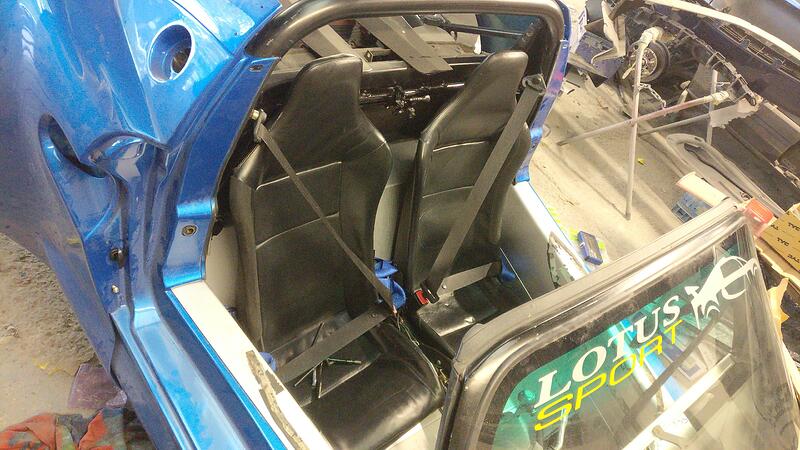
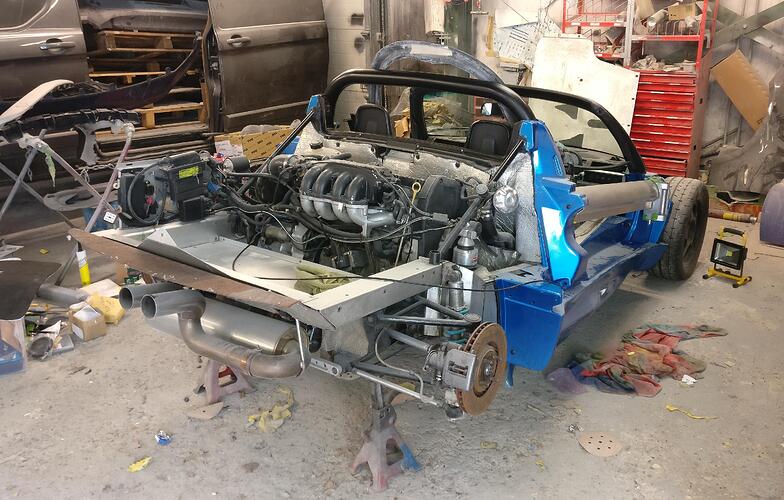
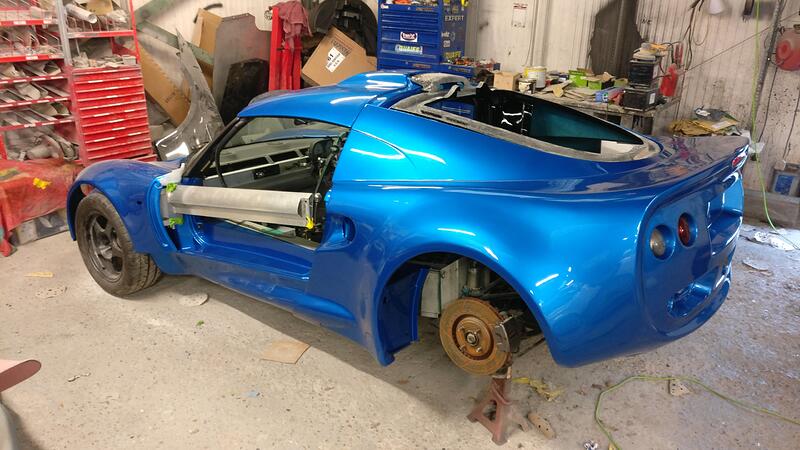
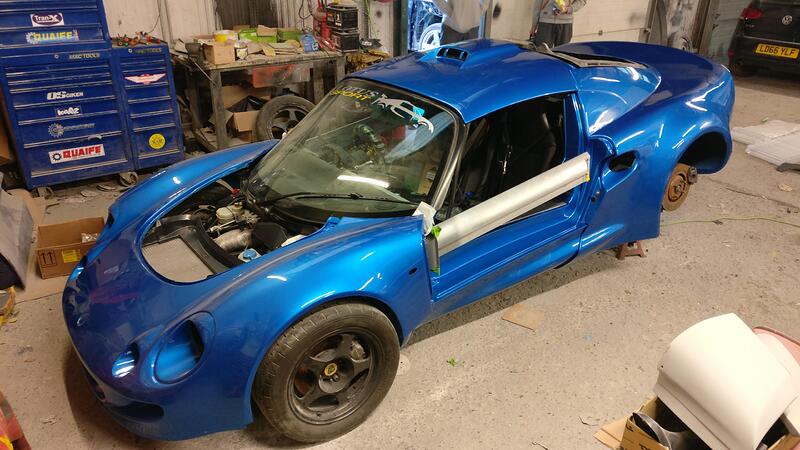
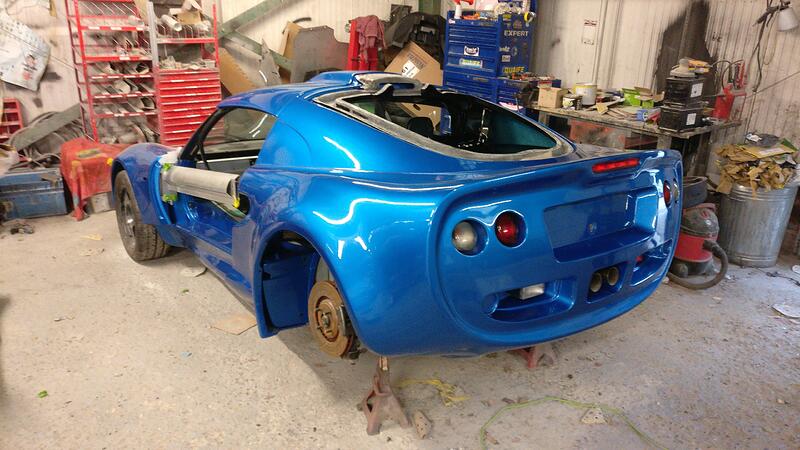
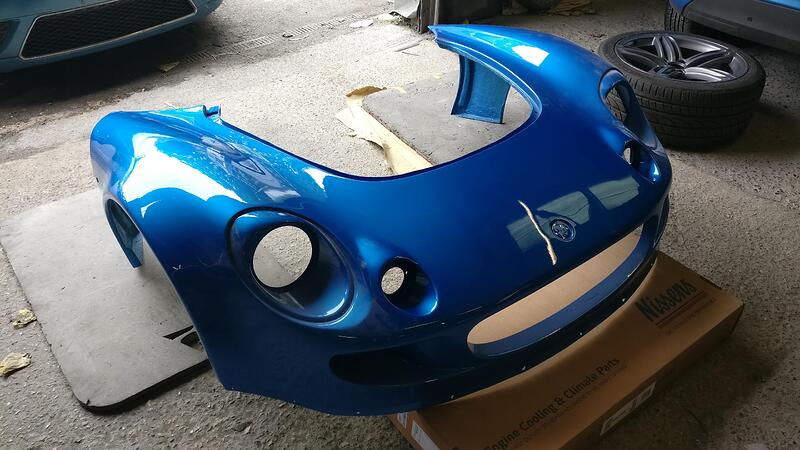
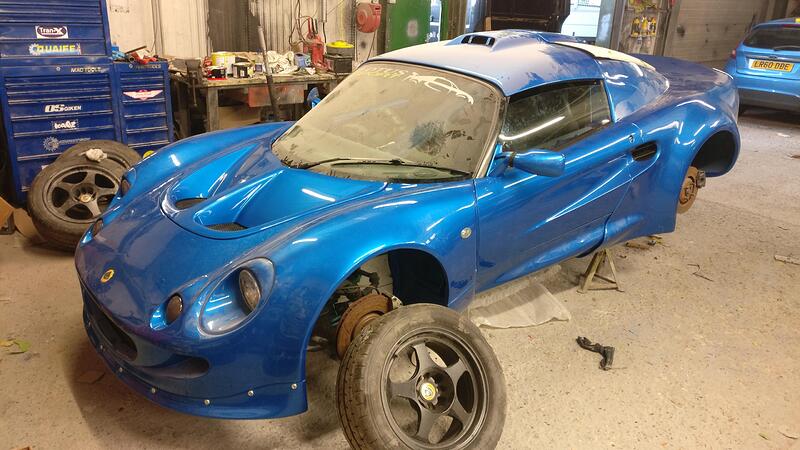
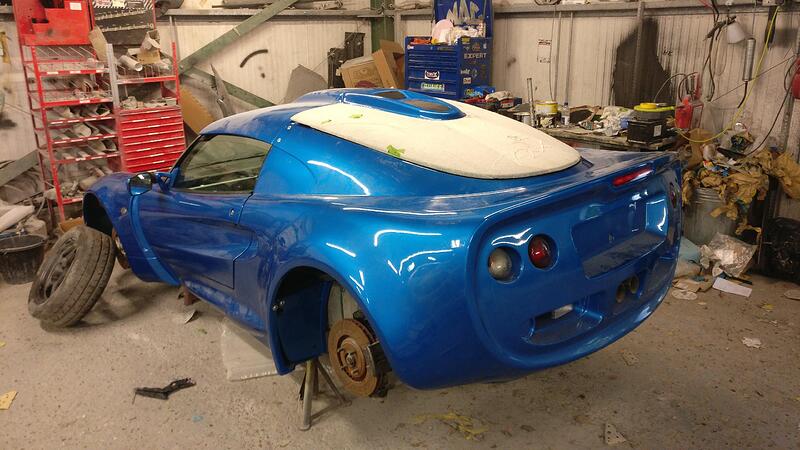
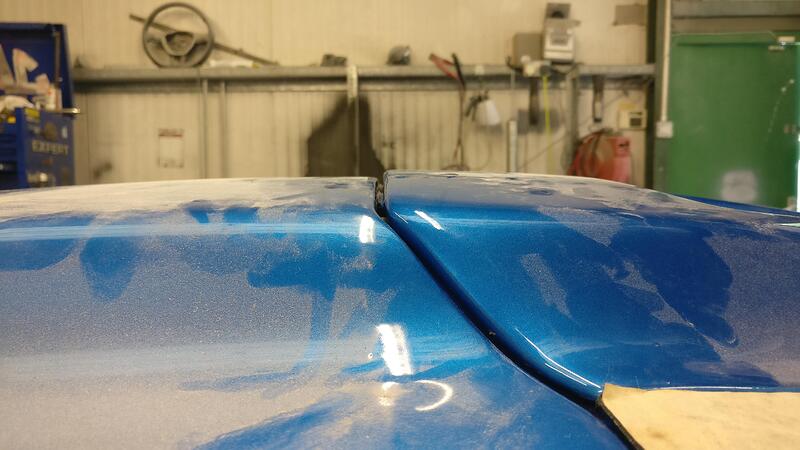
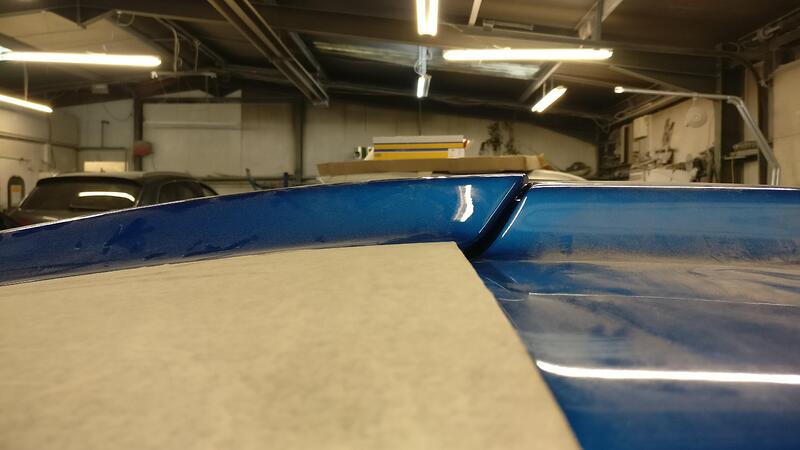
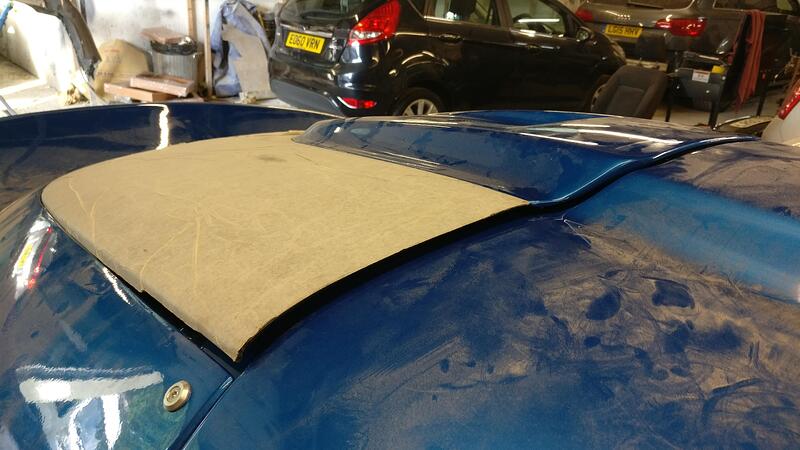
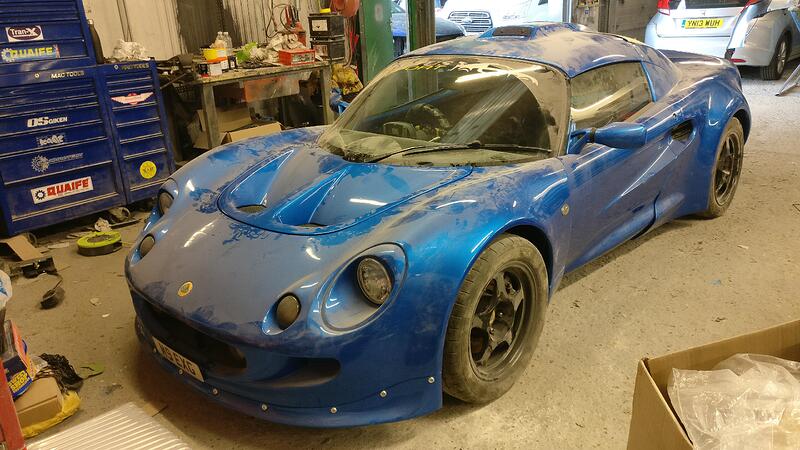
Here is how I found the car when I got to the bodyshop yesterday. The clams had been put on the car to save space with other bits scattered around the place.
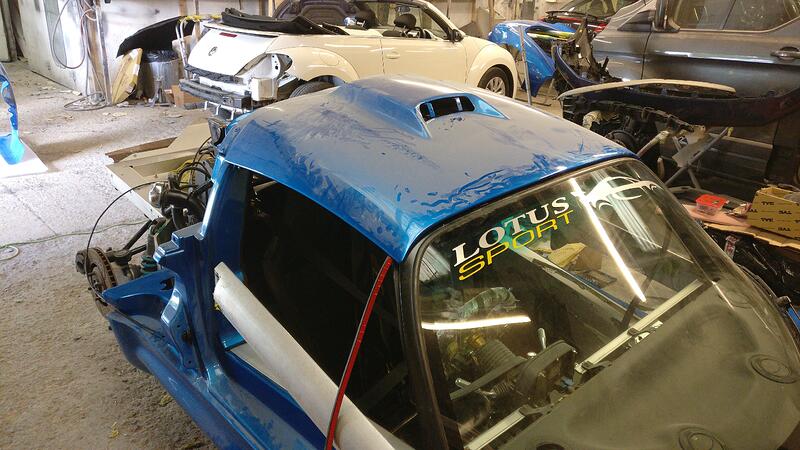
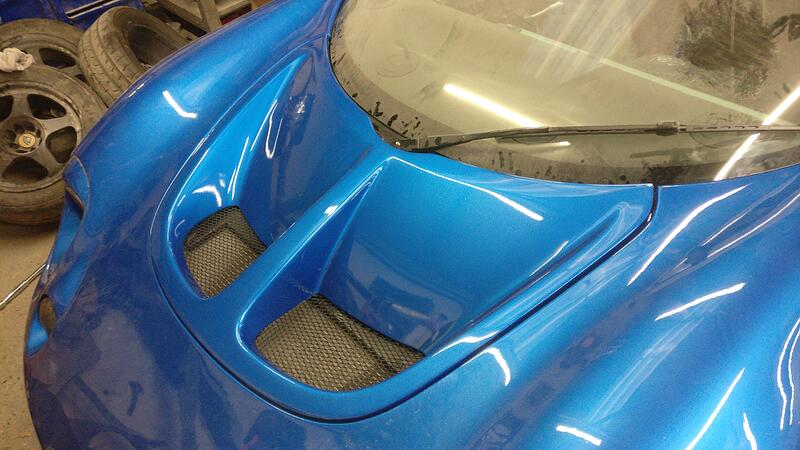
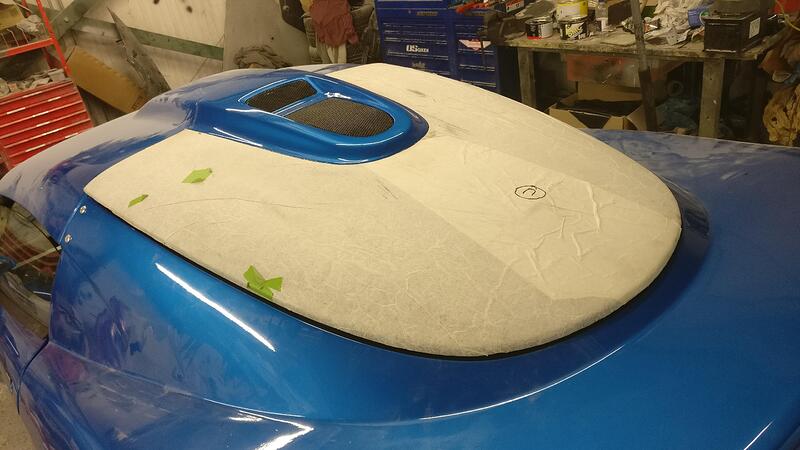
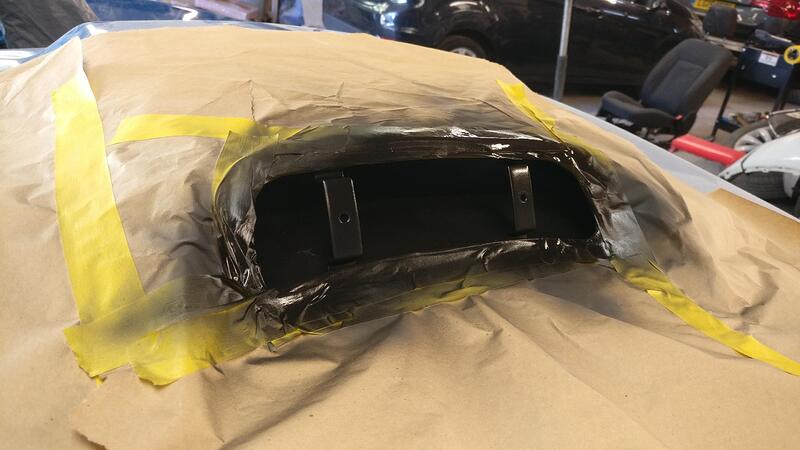
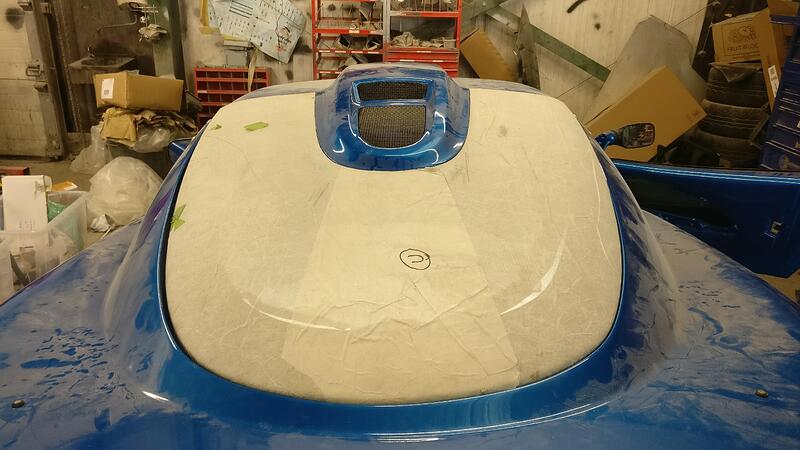
I’ll need to tape up and blow in some black paint for the intake on the roof to better match the black of the grille that has to go on, but this will be done later.
Due to lack of space I couldn’t take the rear clam off, so decided to start on the interior. It was a bit tricky to remember the order everything had to go back on, essentially working in reverse of everything I’ve done before, but I started with the pull chord for the boot. It was pretty fiddly with the rear clam on as I had to make sure the washer and nut didn’t fall off into the sill while trying to feed it through the two holes.
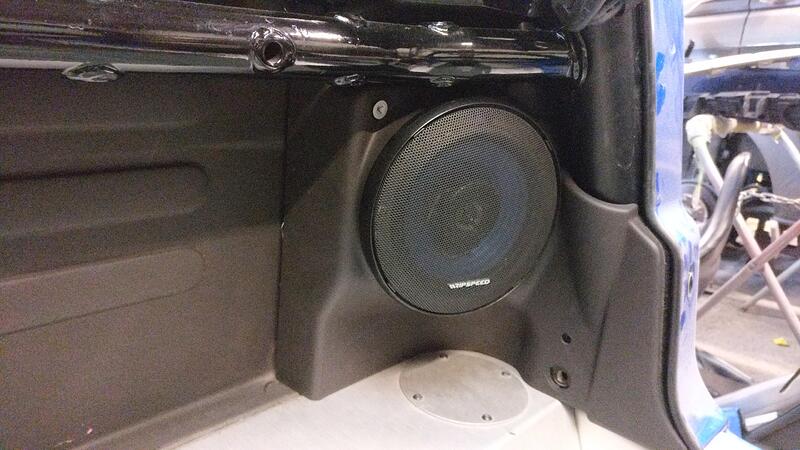
Next up were the speakers. The driver speaker covered the pull chord (hence the assembly order) but had to go on before the seats. I also added the cargo net hooks to the speakers too.
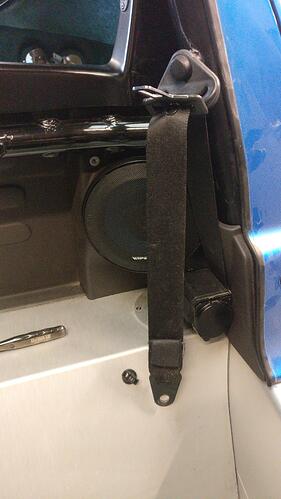
Seat belts were easy, just had to get the angle right to pull enough belt out to get the length for the bolt to line up.
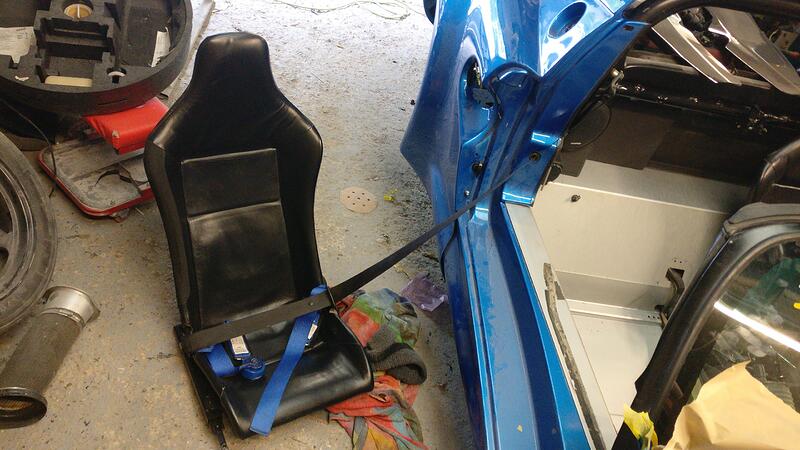
I remembered from before the lack of space to attach the other seatbelt point to the seats once they are in the tub bolted down. Because of this I decided to bolt the seat belts onto the seat outside the car, then simply bolt them in place afterwards.
Interior partially finished. I will put the rest of the interior pieces back on outside the bodyshop to avoid getting covered in dust.
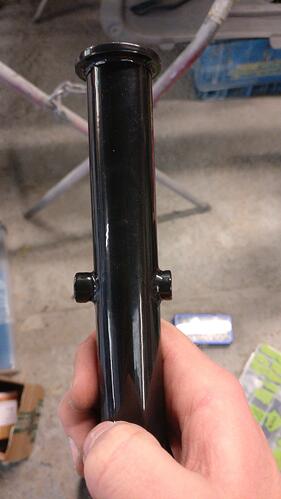
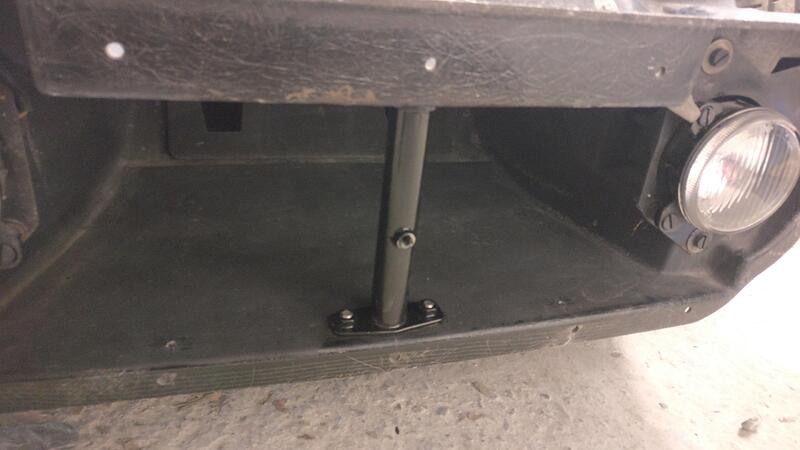
Some space came up so I took the front clam off to add some bits. I noticed the tow bar post had a slightly smaller lip on one side which I put facing forwards to get the tow bar hoop as far into the car/intake as possible.
Tow bar in place and bolted to the crash structure.
I noticed one of the driving light brackets had snapped, so I used some Loctite glue and braced it together to help bond it back together. I checked back in a few hours and it was rock solid so happy with the fix.
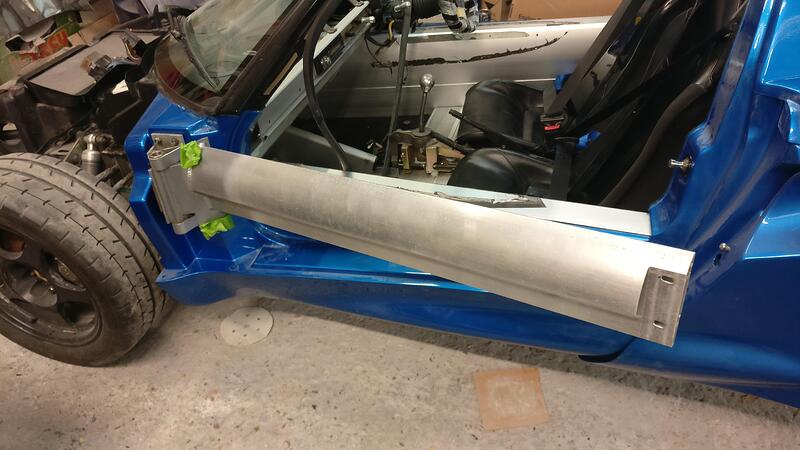
I removed the tape over the door hinge plate and roughly guessed the packer pieces to be equal both sides. I did originally plan to get the front clam secured that day which is why the door bars went on, then fit the doors onto the bar. However I thought the door would be too complicated and fiddly to put together on the car. I’ll now take the front clam back off and fit everything onto that (headlight brackets/nose badge etc) and take the door bars off too and build them up off the car as well, then put it all back next weekend to get the door position correct against both clams and sill.
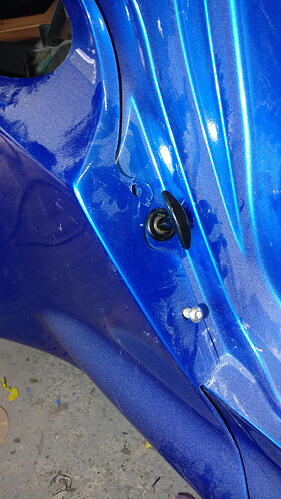
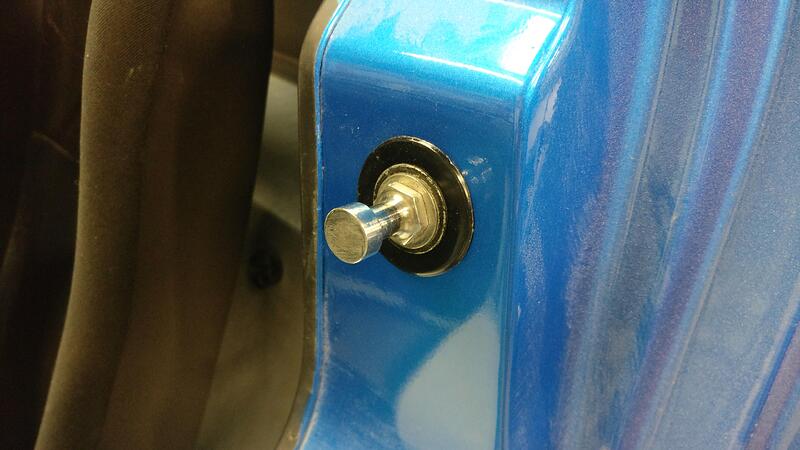
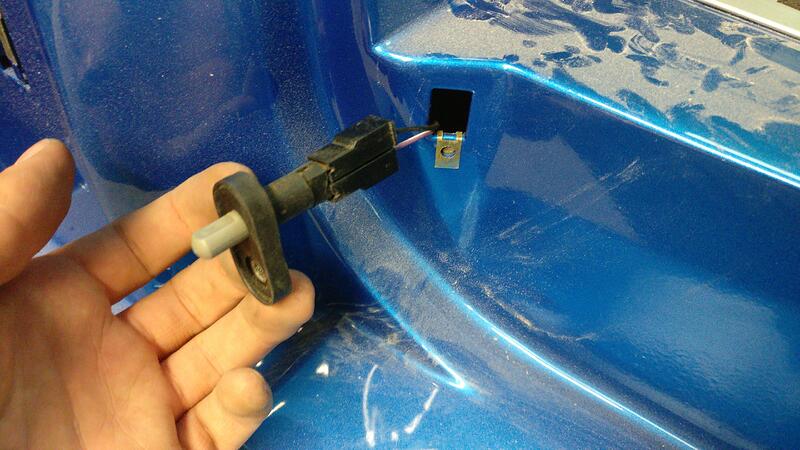
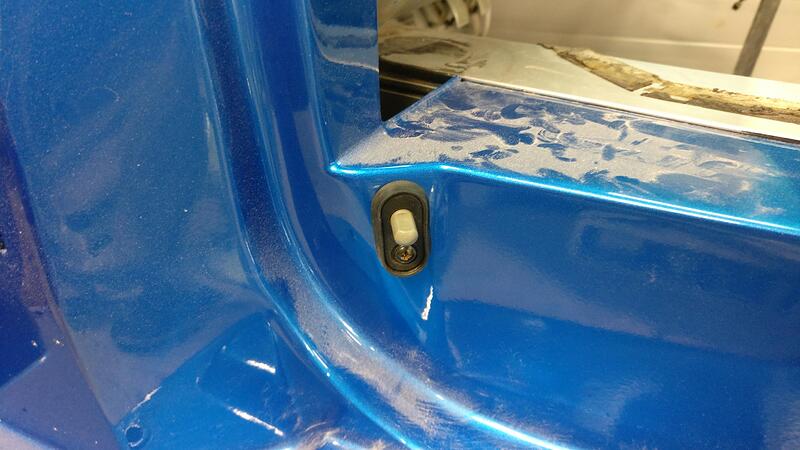
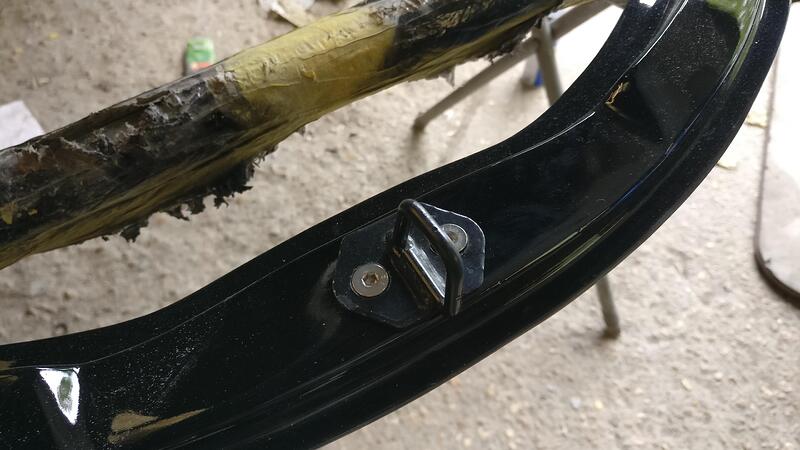
With the sills done I put on the door striker pins and interior light switches. All sprayed pieces haven’t been polished yet, but this can be done around these pieces.
Space then became available to take the rear clam off to start building it up to be finalised on the car, but that wasn’t the next priority.
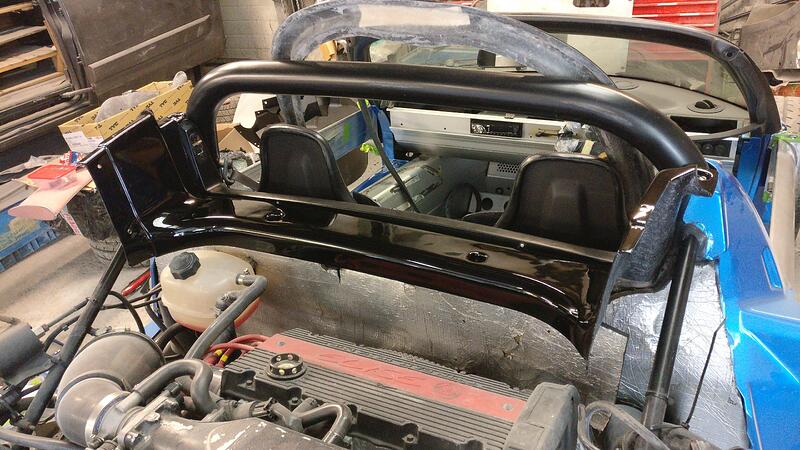
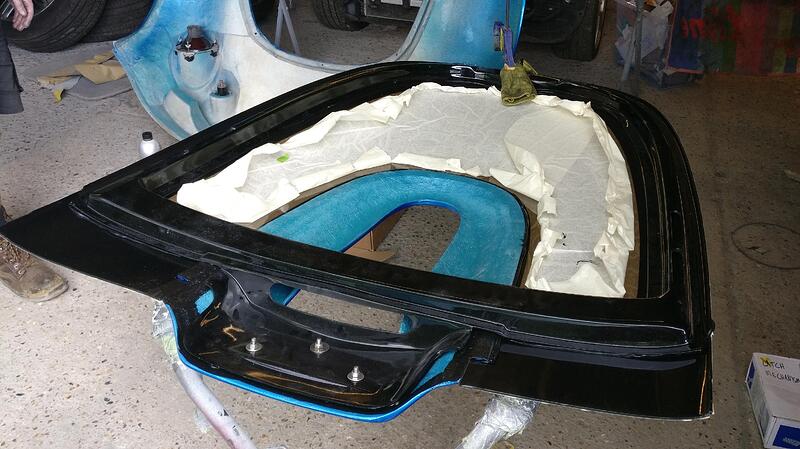
Again trying to think the order things needed to go back on I went for the main engine finisher panel, as this is fitted under the roof. Looks really good in gloss black and tidies up the engine bay massively.
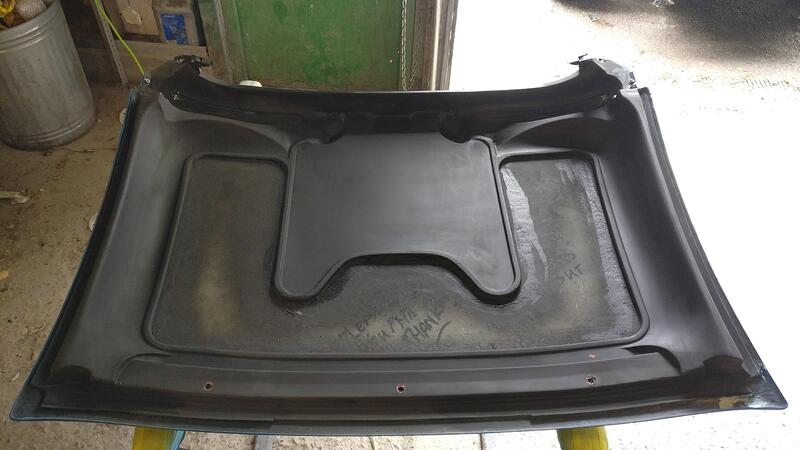
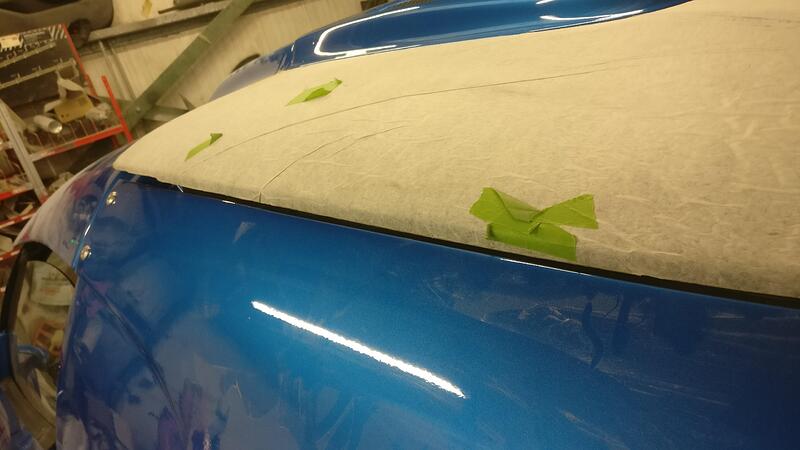
Next into the roof. I removed the paper and tape and cleaned off the dust and crap.
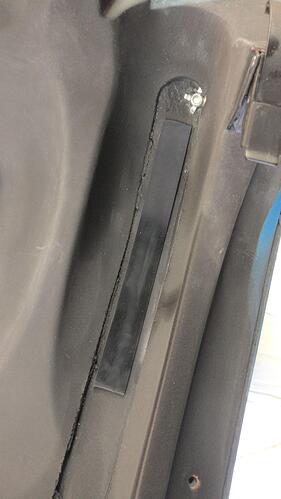
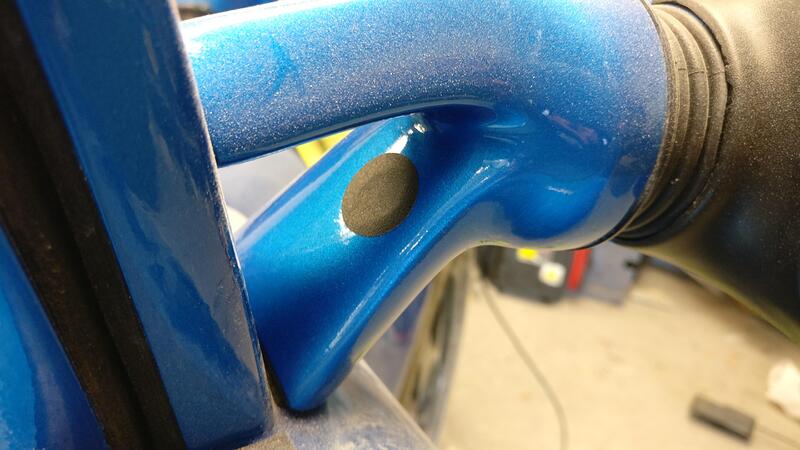
I places strips of rubber onto the roof where the roll bar goes and just behind the latches where the roof hits against the top of the sill to help with some vibration dampening.
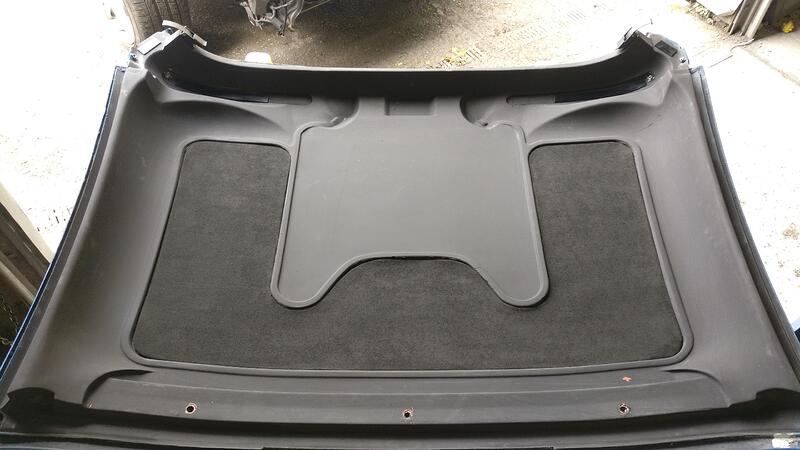
Finally I peeled off the backing for the headliner and stuck it in place. I didn’t use any other adhesive for the headliner so will see how long it lasts. I deliberately made it a bit tight against the edge of the recess to help with securing it too.
I also attached the window retention plates onto the roof and cut and stuck the large D weather seal at the front, but left the P seals for the side off for now.
I popped the rear screen into the slots and placed the roof in position. I left the front clamp off as well as the P weather seals for the sides off as I’ll need to know where the top of the window comes up to to access the best place for the side seals to go, or if the P seals will even work.
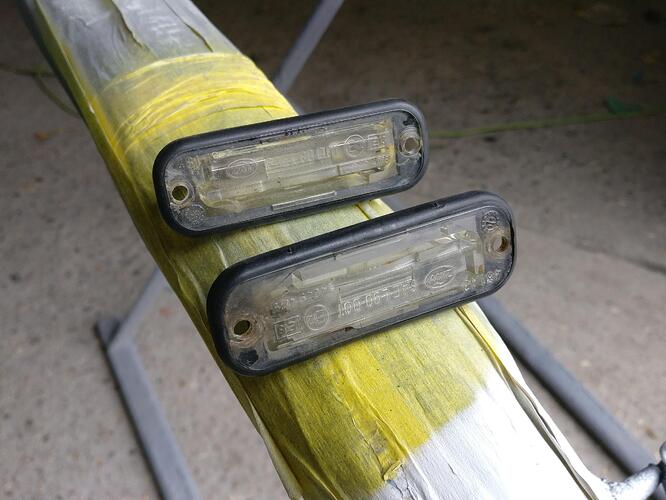
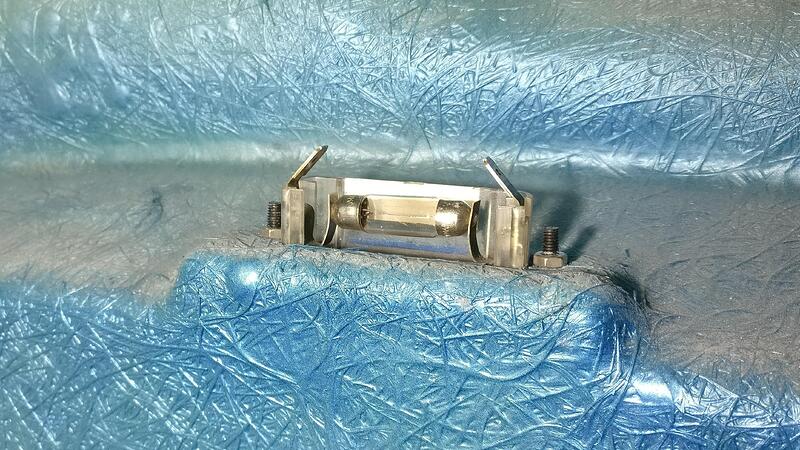
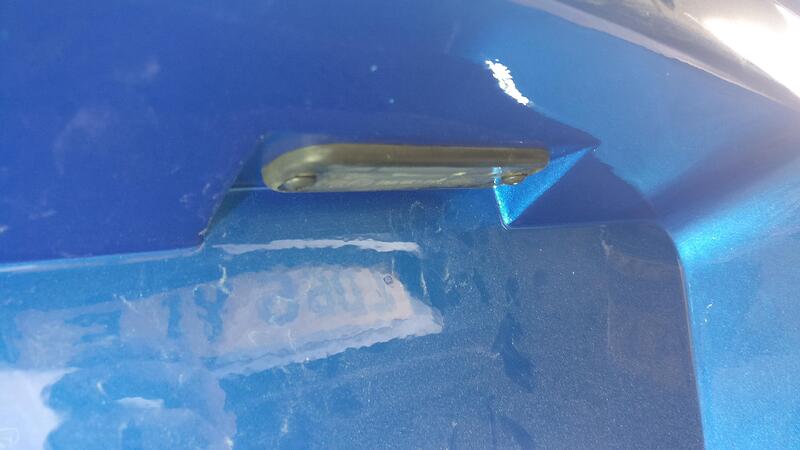
I then turned my attention to the rear clam, cleaning up the numberplate lights as best I could.
Using black M4 bolts and a nut on the inside I had to fix these with the clam off, as unlike the original fixings there was no spire nuts type fixing for these so they can’t be easily taken out with the clam in place, so hoping the bulbs don’t fail any time soon.
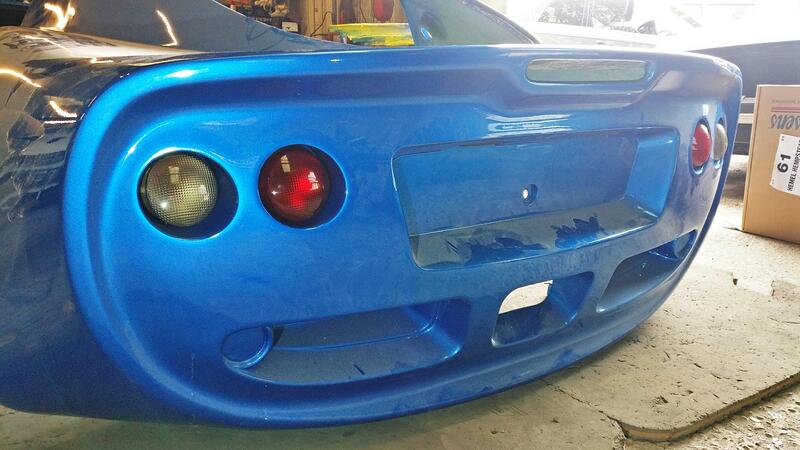
Indicators and brake lights were next, easy to do secure.
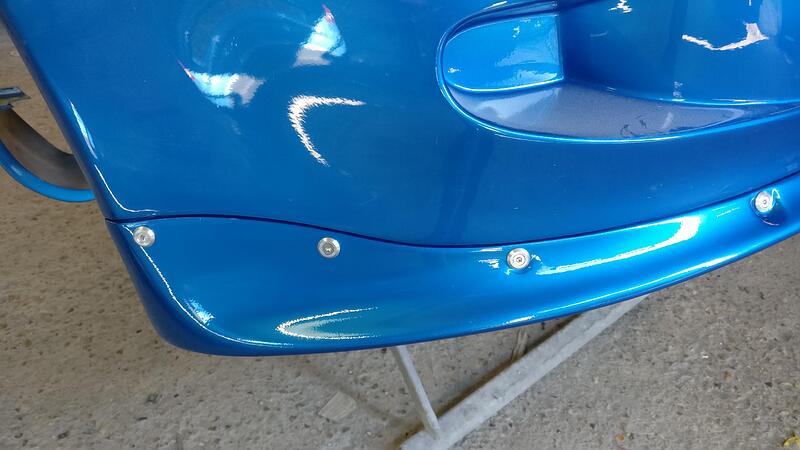
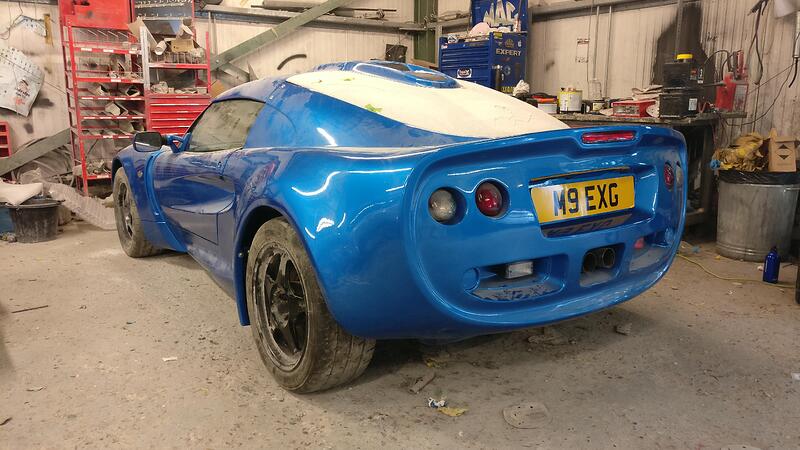
I think the Laser Blue colour looks so much better with clear indicators all around.
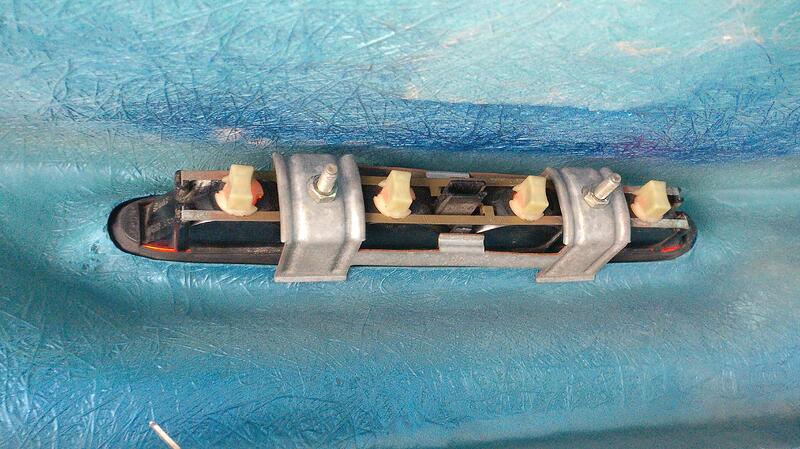
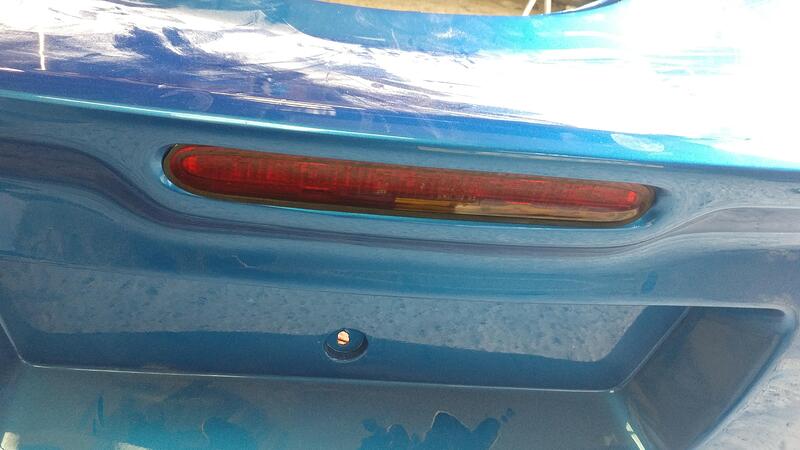
The central brake light was pretty tricky to get into a decent position and took a lot of trial and error. It was especially hard as I had to guess from the inside, then walk round and see what it looked like from the outside.
I eventually got it to a point where it wasn’t perfect but I kind of got fed up trying to get it any closer as I was wasting a lot of time. You can see the end closest the camera the rubber isn’t perfectly flush against the clam, but this was as close as I had been able to get it so I felt was good enough.
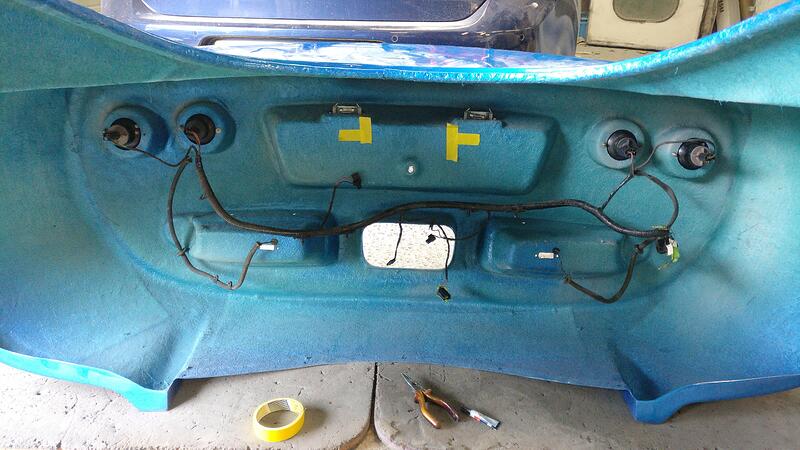
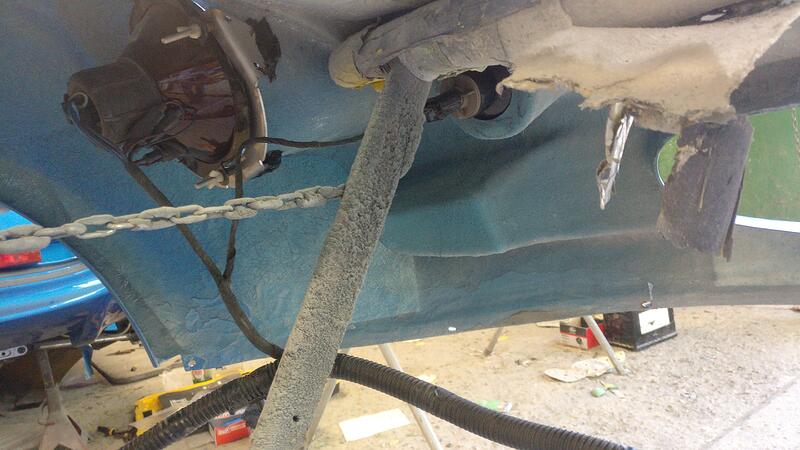
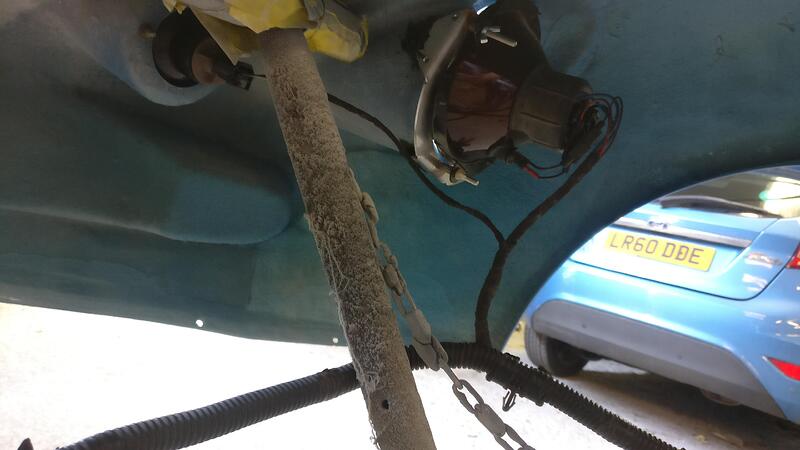
I was going to do all the lights in one go, but couldn’t find the bolts for the fog/reverse lights, so decided to hook up the lighting loom. You can see yellow tape where I positioned the plastic backing plates to secure the loom. I tried to attach the plates but I didn’t have the right adhesive and to be honest felt I didn’t need them, especially as they would block a lot of the access to the fog lights which would already be a pain to get to should I ever need to change a bulb.
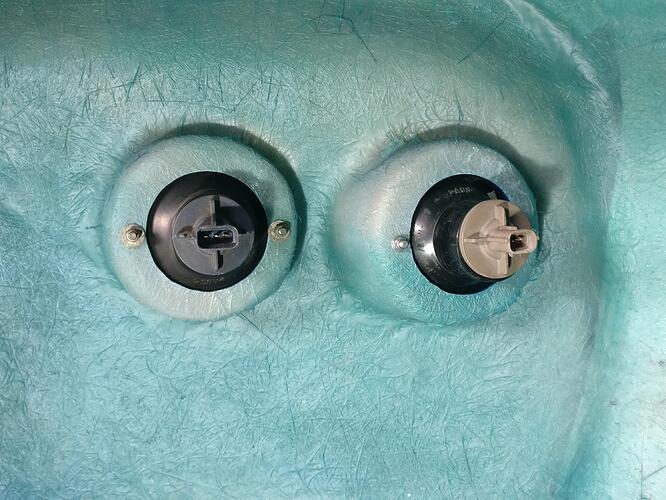
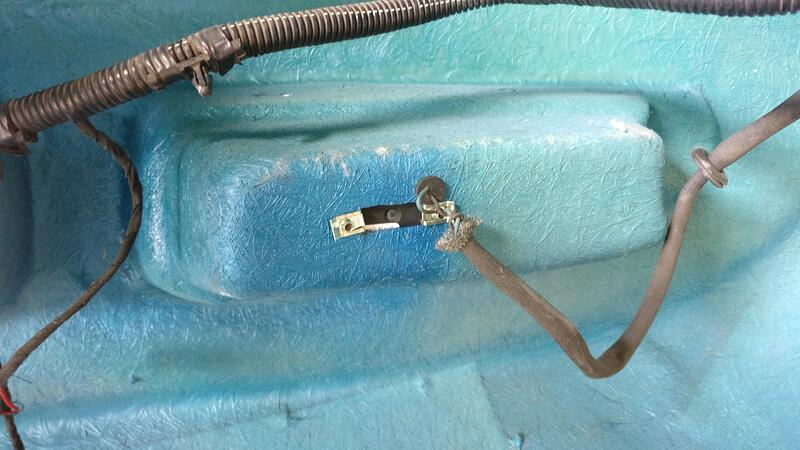
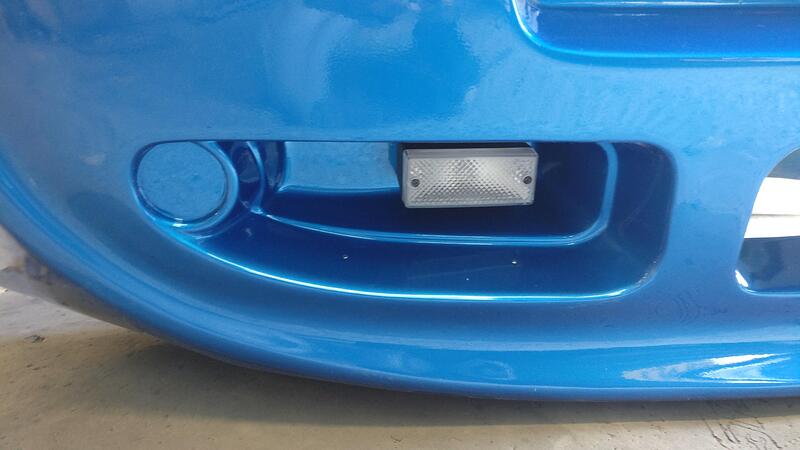
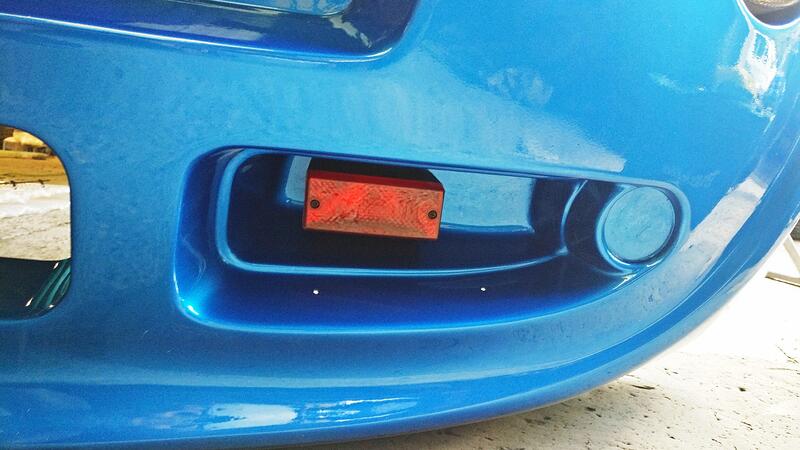
Eventually I found the M4 bolts for the fog/reverse lights so on went the spire nuts and through went the loom, stopping at the rubber bung. I connected the loom to the lights and pulled the excess wiring back out so the reflectors went flush into the light housings.
Definitely worth getting new lights as they look great against fresh paint.
I was planning to put the grilles over the lights but as it hadn’t been polished yet and I was running out of time, I decided this could be done afterwards and wanted to get the rear clam back on.
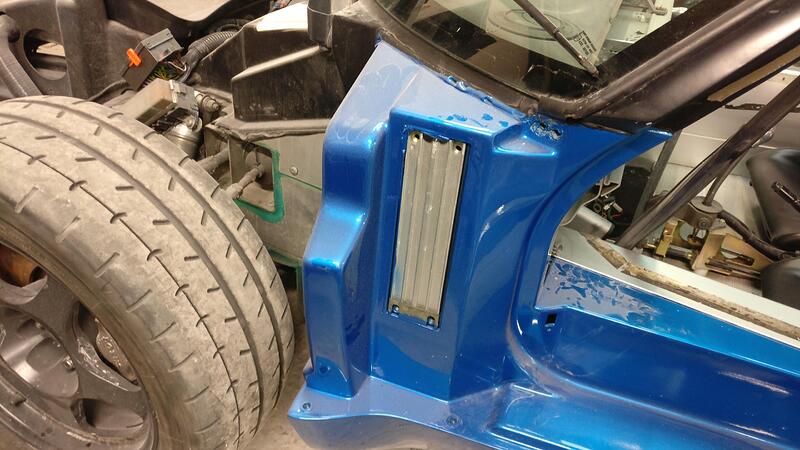
There were a few small things I wasn’t able to sort on the rear clam, like the side intakes and drainage hole, but these can be sorted before the wheel arches go on.
I was a bit unsure the best way to go to get the rear clam on, either attaching the sheer panels to the clam first, trying to slide them in afterwards (which I remembered was a pain before and would definitely scratch the paint up, so I decided to fit them loosely to the longerons first. 3 of us then took the clam and carefully pulled out the sides and guided the back over the exhausts. Once roughly in place I undone the sheer panels and moved them right forward so the clam could slide fully forward, then carefully pushed the bottom on the clam down where the drainage holes are and moved the sheer panels into back into position inside the clam.
Still a lot to do on the car and a few bits I’m a little apprehensive about like bonding the side intakes on and headlight brackets etc, but I’ll hopefully tackle them next weekend.
Just had a catch up on this thread, keep up the good work ![]()
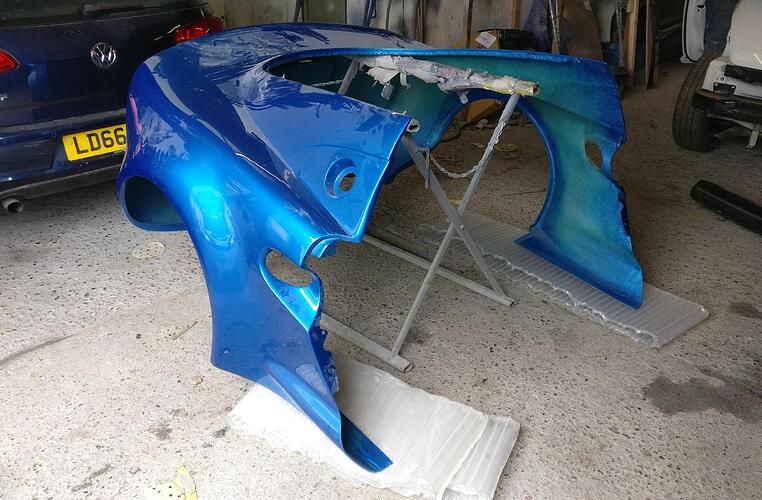
Many colours crossed my mind, but as I always planned to go as OEM as possible I went for Laser. It was the colour of my first S1 (after the dealer I bought it off sprayed over the limited edition Millennium blue essentially ruining the car!) and always loved it.
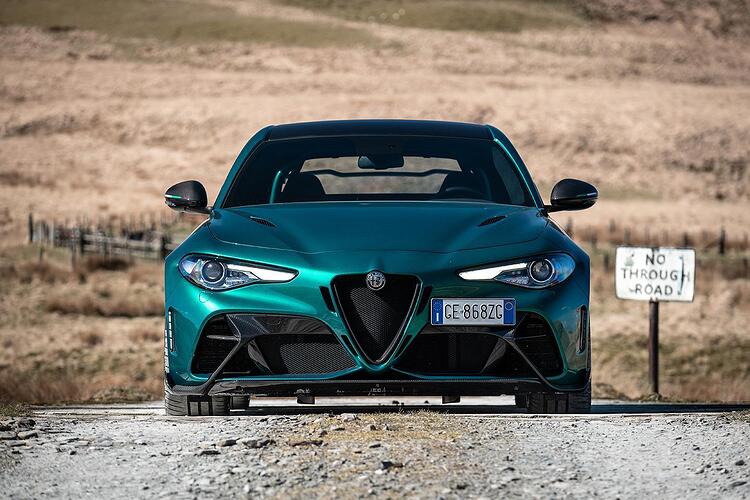
If I were to do something non-Lotus for paint, I’d have maybe gone for something like the Alfa GTAm
Or I do really like the BMW turquoise
Other Lotus colours would have been either Vivid or Scandal or the racing greens
I was also tempted with purple but I’m really happy with Laser and it is too late to change my mind now!
Great progress!
Wow, that’s a great colour choice.
Not a particularly successful day yesterday, didn’t get nearly as much done as I’d like. I came across numerous set backs which was quite frustrating and was distracted by lots of people.
Despite this I was able to sort a few of the more daunting bonding jobs so I’m pleased they’re out the way and Monday should hopefully go much smoother.
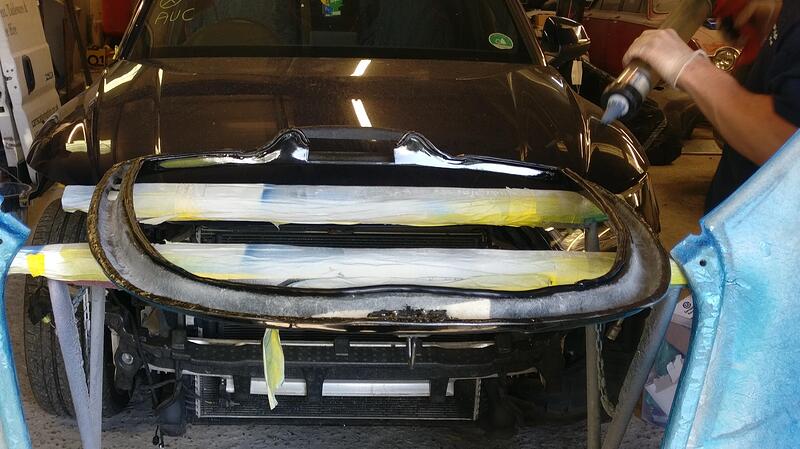
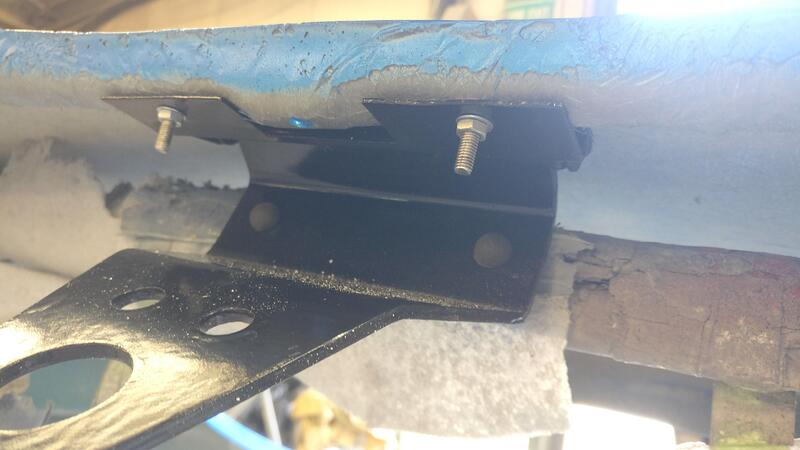
I started the day working on the engine cover frame. Later on a windscreen fitter was coming to help bond it all together, so I wanted the fixing plates bonded asap to give them time to set. What was handy was the frame had indentations which indicated where to drill.
A test fit with the fixing plates (I got them from Dom at The Lotus Factory along with the headlight brackets) and I was happy with the positions.
I then used plenty of PU adhesive to bond them to the inside of the frame. I may have gone OTT with it but as these areas are not accessible when the cover is complete I didn’t want them coming loose any time soon.
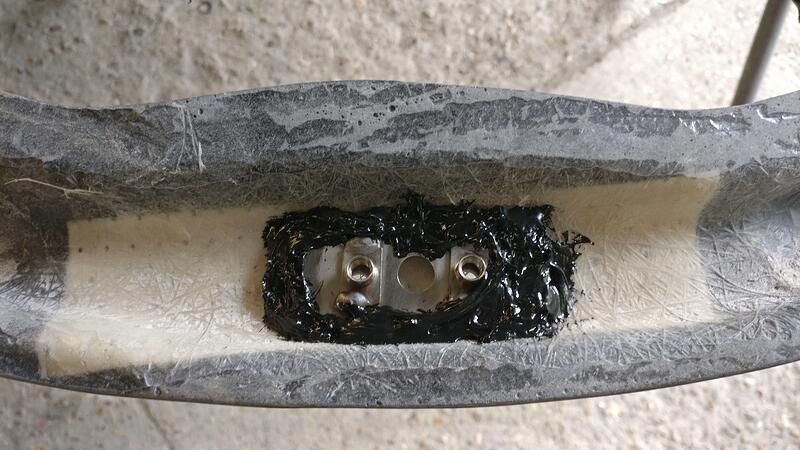
I then added some washers and bolts along with the striker latch to pull the plates against the frame and waited for it to set.
I noticed that you could see this area of the frame through the grilles when everything would be assembled, so I used some black spray paint to hide it as best as I could.
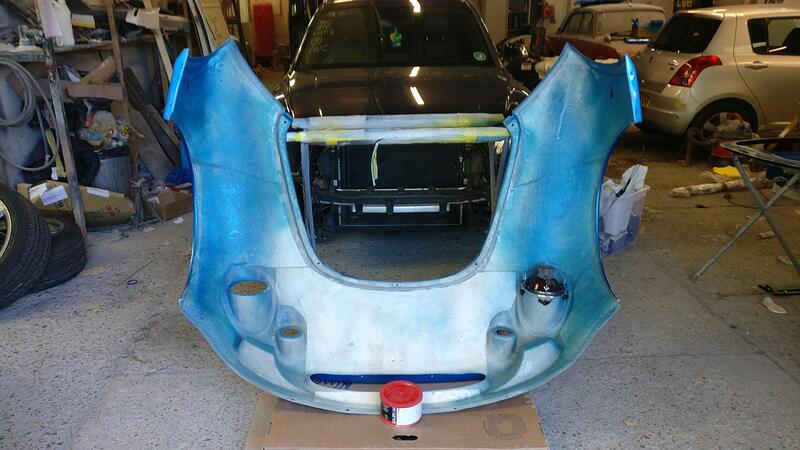
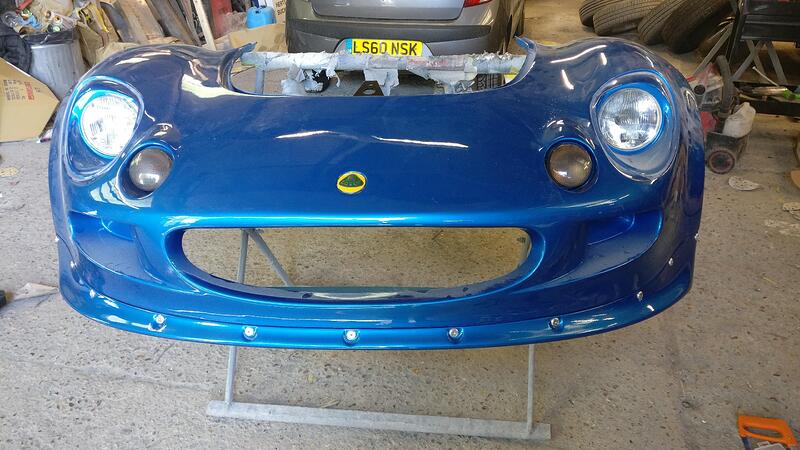
Moving onto the front clam I decided to sort all the lights and bits hoping to get it finished and onto the car by the end of the day.
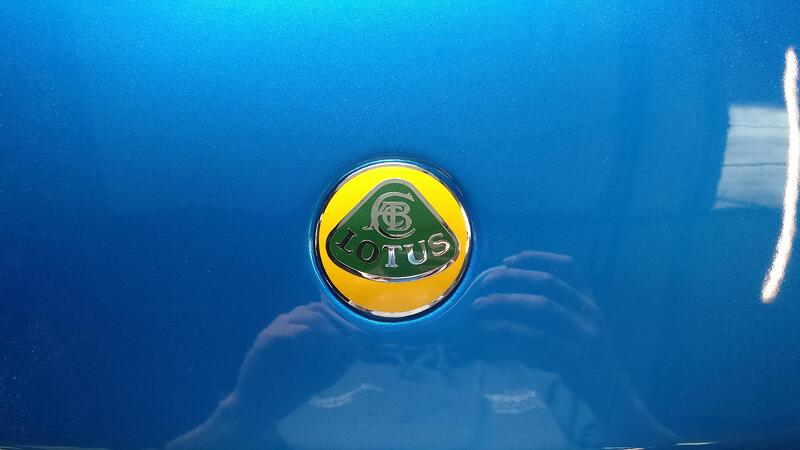
I love how the badge really pops against the blue! I also prefer the recess for the badge in the Exige clam over the Elise, makes it seem less of an after-thought and leaves a more flush look.
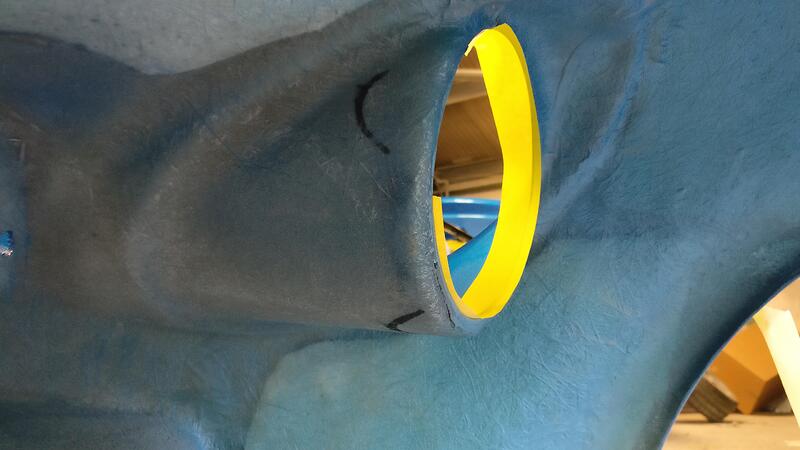
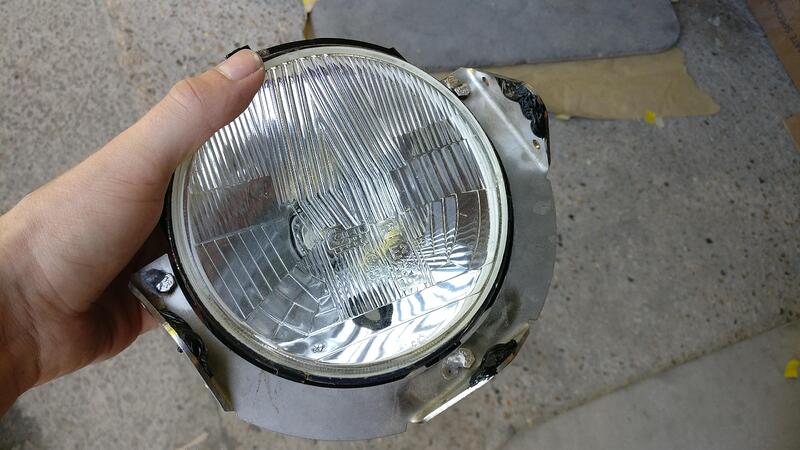
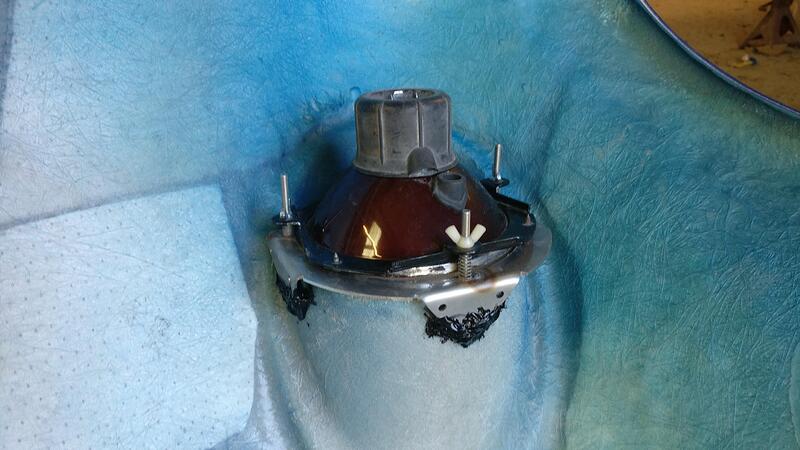
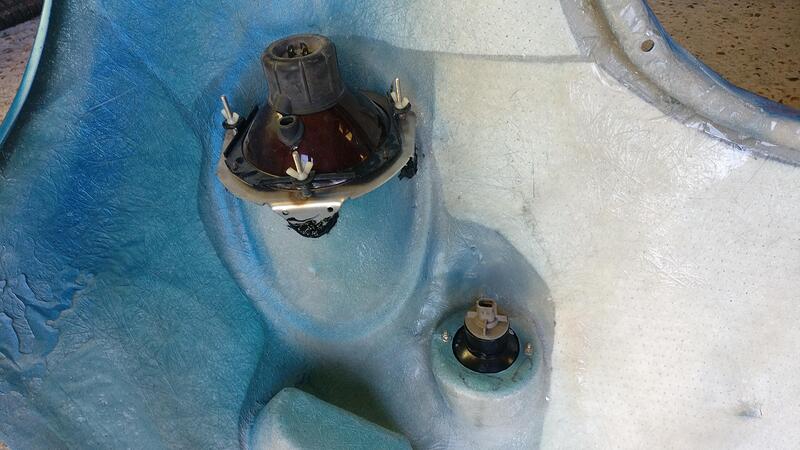
The headlights were another area I was extra careful over, especially after messing this area up earlier in the build. It was a little tricky doing it on my own by not being able to see both sides at the same time to adjust the position. After a few trial goes I found the position I was happy and used a pen to mark where the bracket tabs would go.
I originally planned to remove the headlights and just bond the brackets onto the clam on their own, but then I thought I’d probably get the distance wrong and then they’d be buggered. I chose to use the units complete to ensure the position and distance was spot on.
I flipped the clam upright to use gravity to hold the headlight assembly in place, as trying to brace it the other way wasn’t working. Then again lots of PU adhesive to secure them to the clam.
On went the indicators and left everything to cure. Unfortunately that was as far as the front clam went, so no side indicators, no splitter, no oversill pieces and no loom hook up.
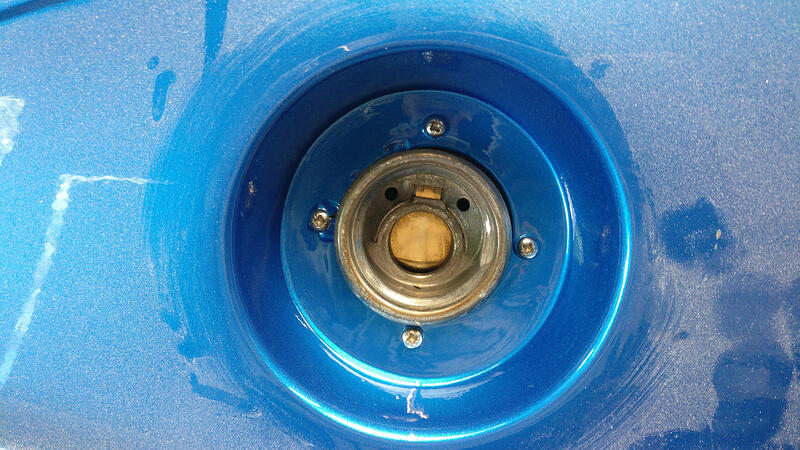
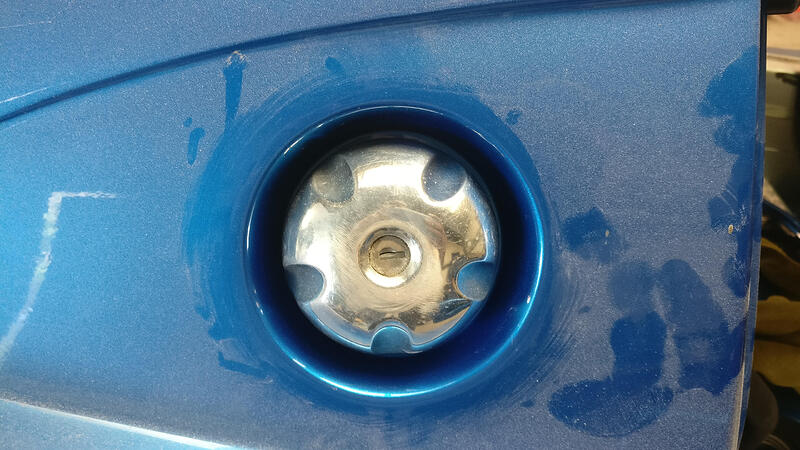
I bought some nice new screws and pulled the fuel filler flush against the clam. I chose against reusing the metal ring as it was tatty and I couldn’t be bothered to revamp it so just went without. As a result the screw on the left chewed the fibreglass a bit, but it isn’t seen with the cap on so not bothered.
The cap itself needs a bit of work as it has become a bit scratched up and could do with some fine sanding and a good polish similar to my window winders right at the start of the build.
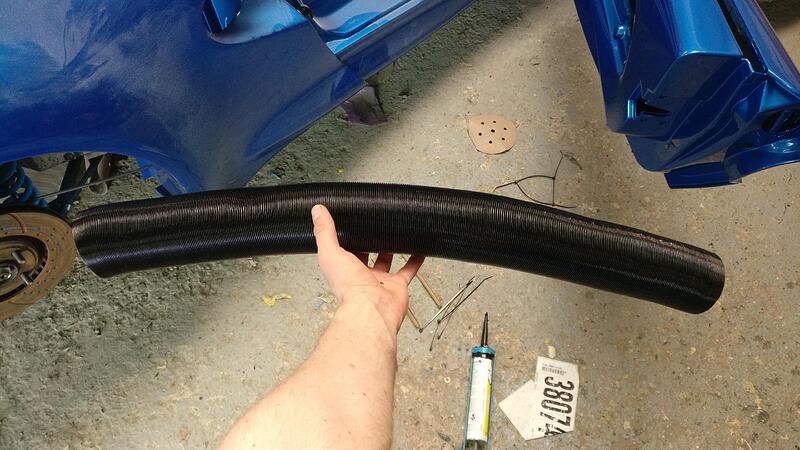
I treated myself to a new alternator cooling pipe, black of course! My old one took up the whole side intake and wasn’t very flexible, so this corrugated one should be much better and allow air to flow around the engine compartment better than before.
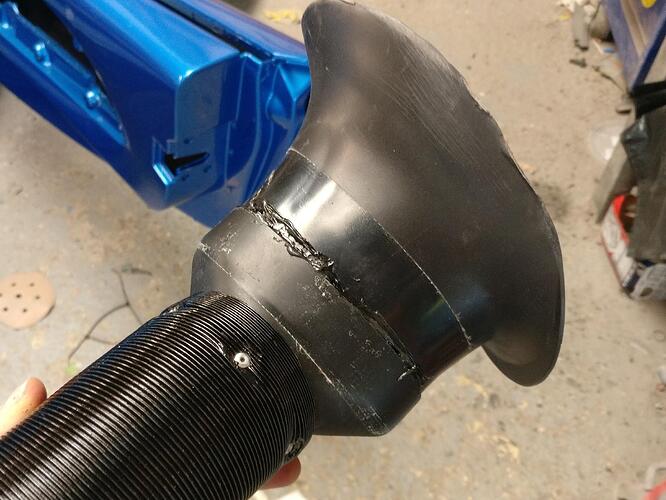
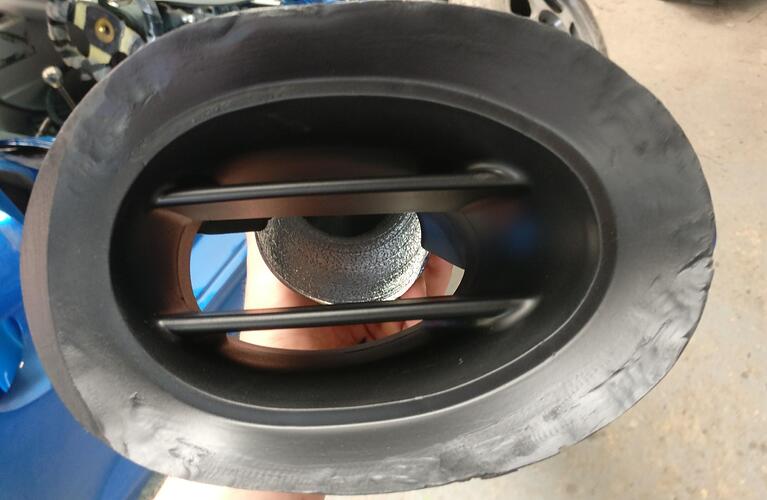
I attached the extra duct piece to the intake using PU adhesive and cable ties and then pop riveted the pipe to that.
Not quite sure how you would test how effective it is but surely better than not having one and is pretty much the OEM set up.
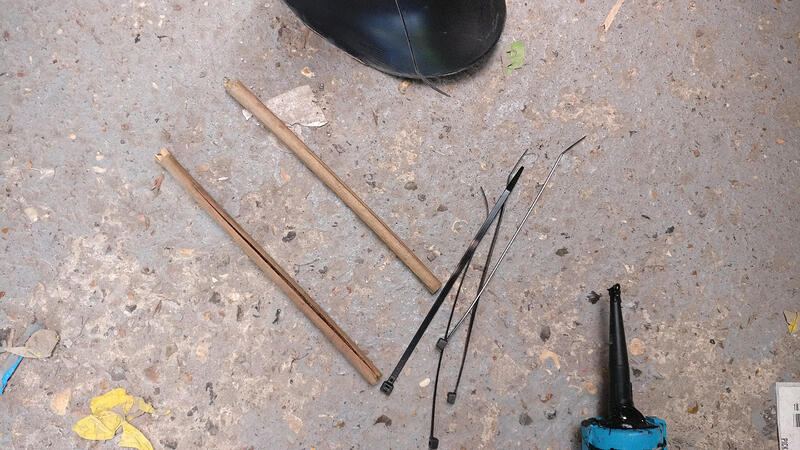
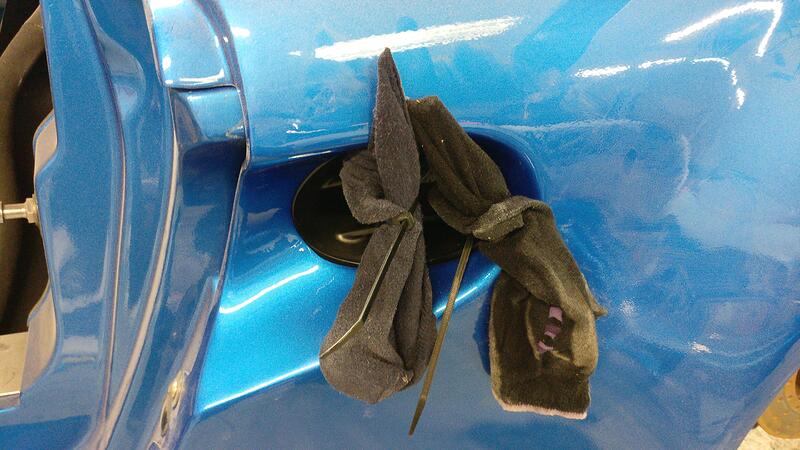
I was a little unsure how to bond the intakes to the rear clam, as the clam was on the car to stay. Thankfully Dom gave me a good tip using cable ties and in my case I used some bamboo sticks.
I looped some cable ties through the intakes applied PU adhesive to the fixing edge. Then holding the intake in position I pulled the cable ties tight and (after placing the bamboo in socks to protect the paint) I looped the cable ties around the bamboo and pulled the the cable ties tight. While the adhesive was still pliable I positioned the front of the intake as neatly against the front of the opening as I could, not worrying so much about the rear as this could be covered with the carbon side scoops, whereas the front is still visible.
As a side note that held me up a lot, I stupidly tried putting one of the intakes in the wrong way and ended up getting loads of the adhesive all over the sill piece. Although this wouldn’t be seen I would have known it was there and if the clam ever came off you’d see these horrible massive black blobs all over it, so I then had a mad scramble to scrape and get it off as quickly as I could before it set too much. Removing the adhesive was made trickier by having the clam on the car, limiting room a lot. I found using my finger nail was quite effective and when it was mostly scraped off I used some white spirit which seemed to break down the smaller bits until the sill was clear.
My advice is to definitely fit the intakes when the clam is OFF the car! I rushed and wanted the clam back on when we had the correct number of people to put it on but wish I’d have don’t this job before, but never mind, they came out looking good in the end.
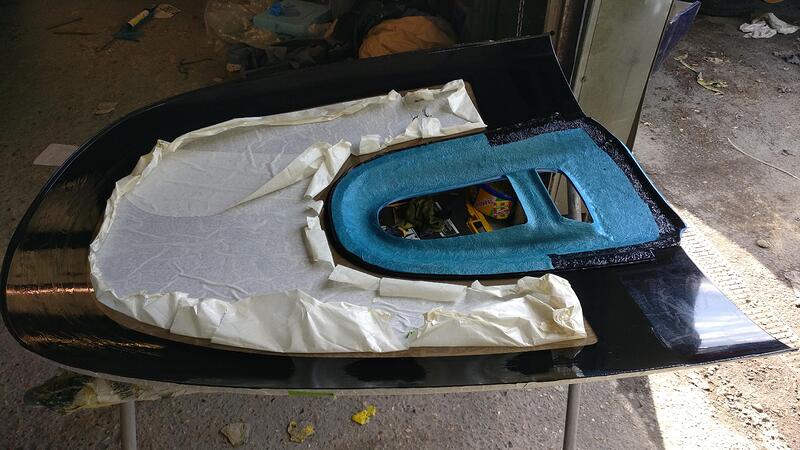
Next the windscreen fitter turned up and together we began work on the engine cover. We were a little unsure how best to attach it, but decided on using gravity again to hold the painted piece in place. Then using a trolly jack handle across the perspex, we were able to apply just enough weight to bend the cover enough to get a nice flush connection between the two pieces.
We had to then wait 30 mins for the first bit of bonding to cure, during this time we discussed if it would be better to add the adhesive to the frame or to the perspex. In the end we decided on the frame as it would be too much guesswork to apply to the perspex, so I left the striker latch on to act as a grab handle and between us positioned it in place.
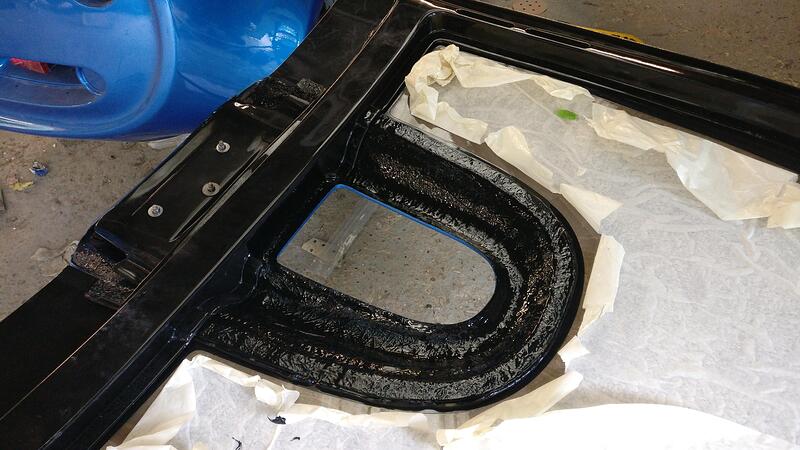
A bit of pressing and squishing and a clamp on the striker place and it was left to cure until Monday. I think I’ll end up painting the underside of the central piece black as the blue overspray looks pretty crap against the nice gloss black of the perspex and frame, plus it’ll will help prevent moisture blistering the paint from the underside.
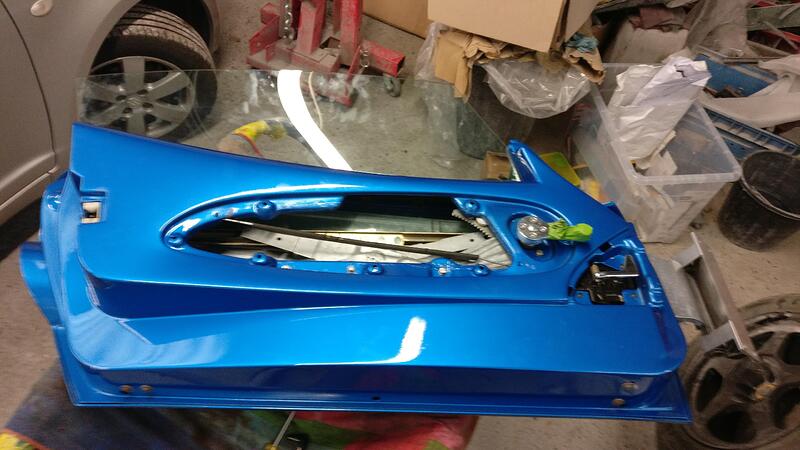
I move onto the doors, but I found assembly was pretty tricky and time consuming so only got most of the passenger side together. The second should go together much faster as I now know the correct way each component needs to be connected and secured etc, which wasted a lot of time on the first door with trial and error. I didn’t take a picture of where I got to but if I remember I will Monday.
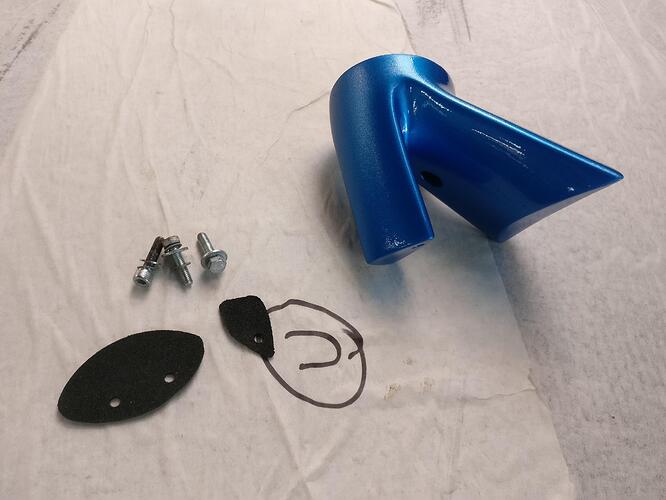
I had bought some fresh wing mirror felts and chose the best finished plinths to go on the doors, praying these ones don’t seize like the one I had to cut off.
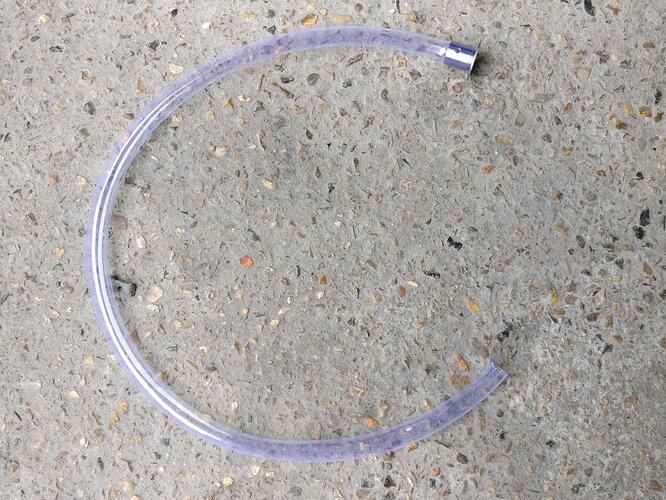
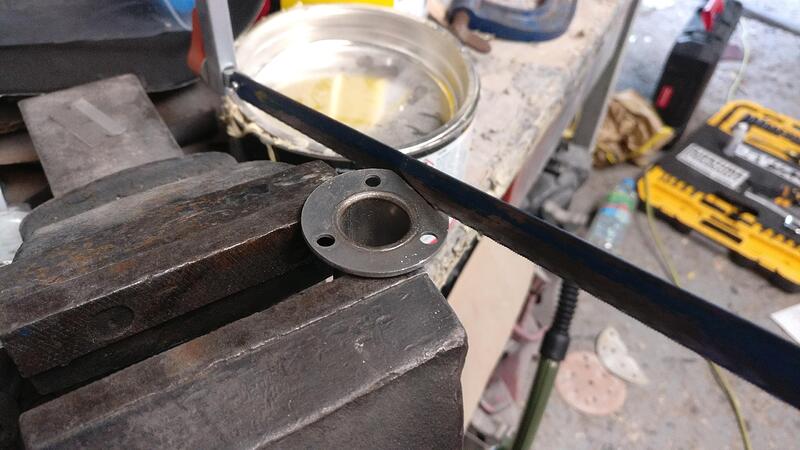
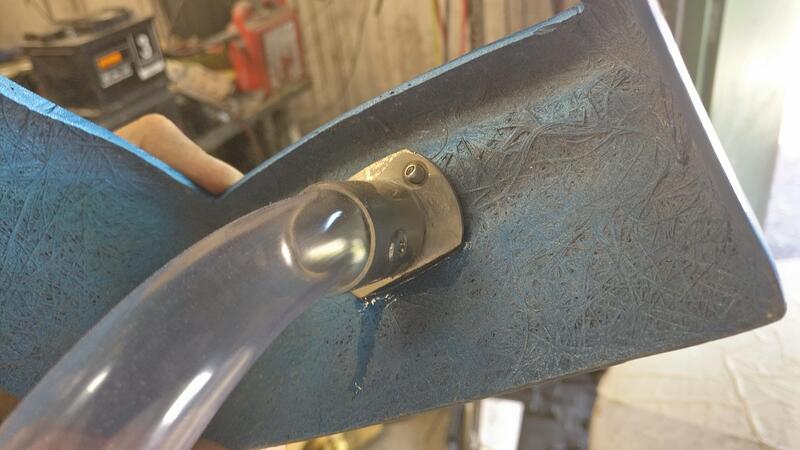
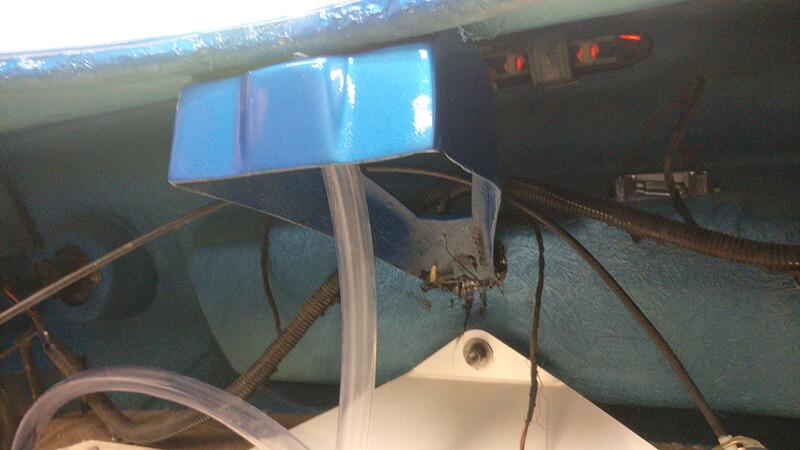
A final thing I was able to mostly sort was the drainage pipe for the rear clam. I spent about £3 on a pipe and slide it over the wardrobe pole holder, drilled a hole through the pipe and put the screw through to secure them. I want to cut off one side of the wardrobe flange thing to it doesn’t protrude past the clam edge and with cut the pipe to the correct length after pop riveting to the clam. I’m also waiting to see if it clears the engine cover latch brace, which it should.
Hopefully Monday is a much more productive day and I can finish off a lot more stuff and get it ready for its MOT and a good test before Anglesey and Oulton on the 14th-15th June ![]()
Looking great James. Always takes longer than expected but the result from the pictures is brilliant. Well done ![]()
More great work, well done.
Better progress made yesterday, still had a few hiccups and delays, but managed to get the car further along.
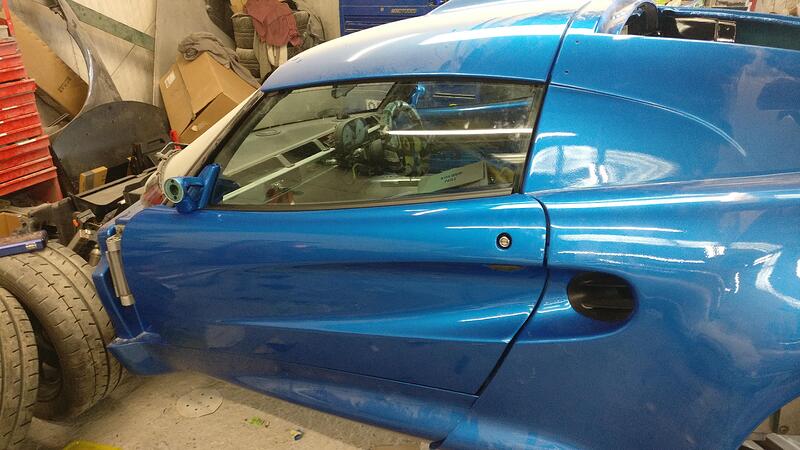
Started with finishing the doors, building them up and roughly setting the window positions as time is against me and this is something I can adjust later. I’m still going to leave the flocked pieces off until I get the car back home.
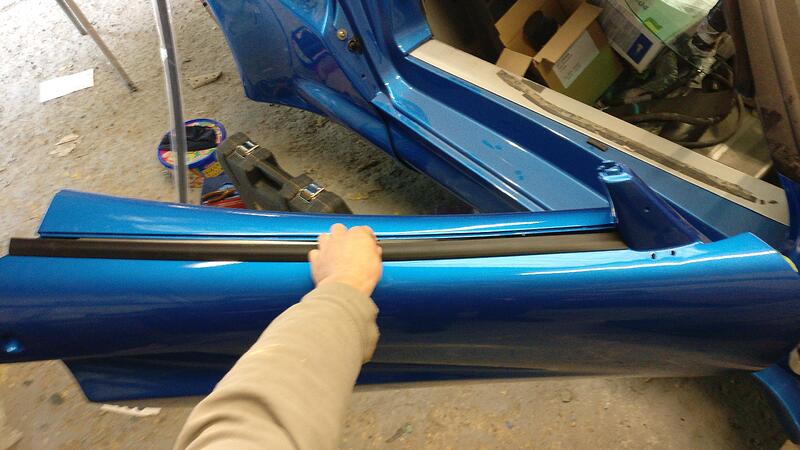
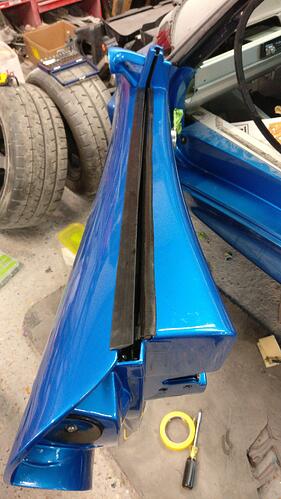
My outer seals were split, quite brittle and were pretty much destroyed getting them off the car, so I bought some nice new ones that needed cutting to shape and size.
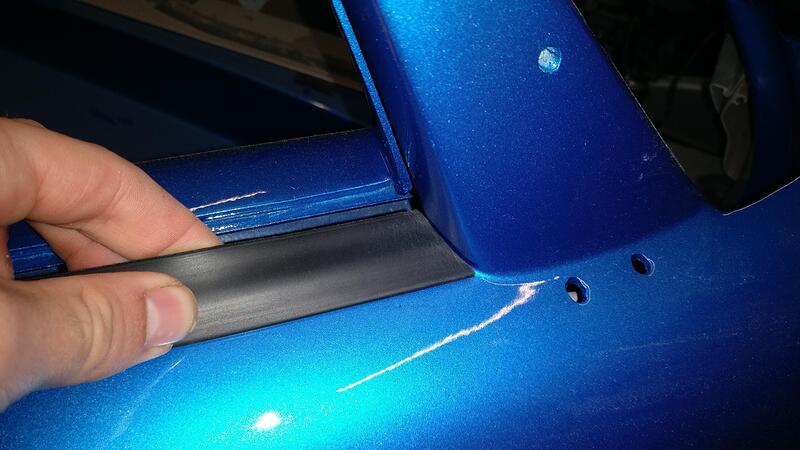
I used my dremel to sand the A pillar end around the little upright piece on the door, just made them look a bit neater.
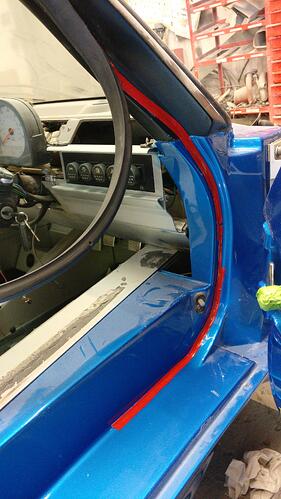
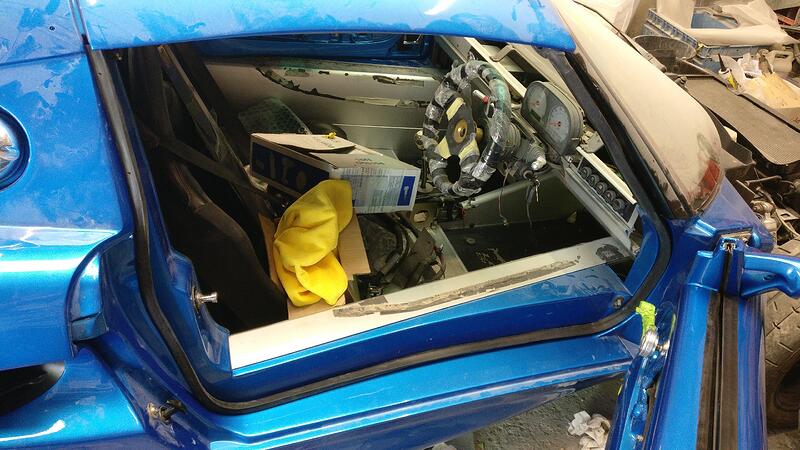
I was able to reuse the inner seal, but I was finding it difficult to get it on the door working on the tressel so I decided to mount them to the car.
Then I ran some washing up liquid along the ridge and slid the seals onto the doors. (I cut this outer seal a bit short but shhhh!)
Moving onto the sill seals, I used my super sticky tape to attach them and keep them in place. Not the easiest tape to work with and is quite narrow so I had to use multiple strips and doubled the width.
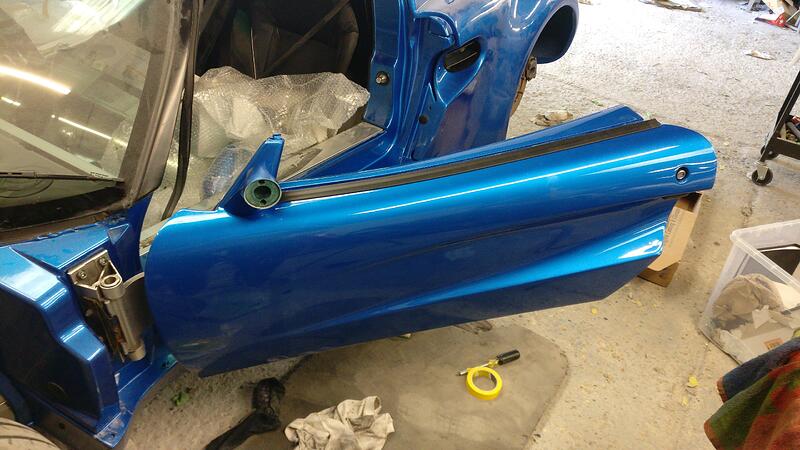
Doors complete for now. I did get held up a fair bit with the second door, getting all the way to attaching it to the car to realise I’d left the wing mirror off! No way of getting to it with the support bar inside so pretty much everything had to be removed, which was frustrating.
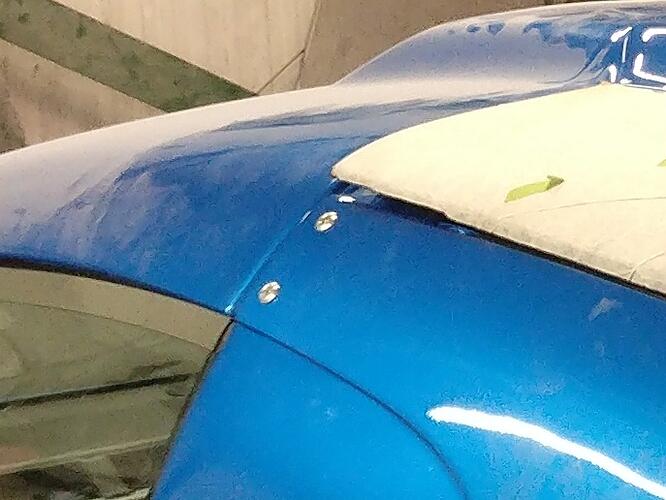
I then added more fixings to the rear clam now that the roof could be clipped down again, adding the extension fixings and the clam to roof fixings.
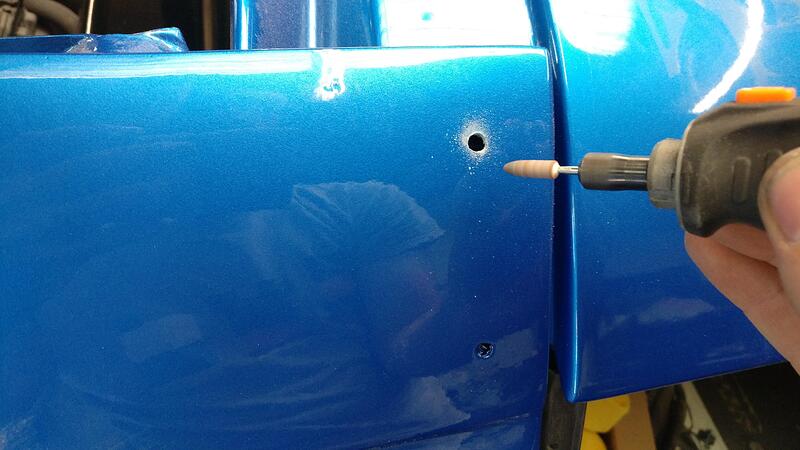
Despite most things lining up ok, a few holes did need opening up a little to get the bolts though, including one of the clam to roof fixings, which I opened up using the dremel.
Unfortunately I didn’t take a picture of these fixings but you can kind of see them here.
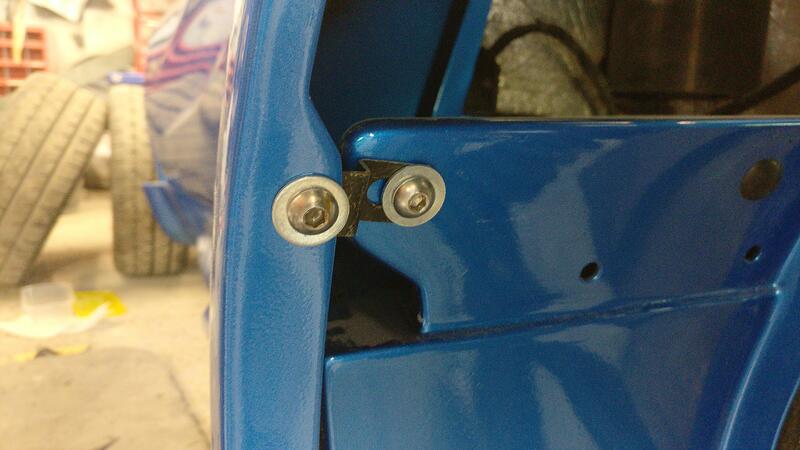
I worked on the front clam again, drilling and fitting the bonnet hinge. The clam had indent marks on it like the engine cover frame so was easy to position. I initially wanted to pop rivet it on, but my gun wouldn’t fit in the channel so went for a bolt and nut option. I also ended up cutting the bolts down to allow for full movement of the hinge.
Next I hooked the lighting loom up (except the side indicators as I think the internals are still in the old and tatty side indicator units) but I left off the little support shelves I had made due to the rivet gun not fitting and I didn’t want a load of bolts in the weather channel.
On went the spire nuts for the splitter and it actually went on really easily and first time with no adjustment which was nice, the hours of test fitting and sanding paying off! I’ll double check how it looks on the car and adjust it accordingly if I need to.
I then attached the oversill pieces to the clam as you can’t really get to the fixing bolts between the two when on the car and carefully got the clam onto the car. I then attached the bonnet and went for a test fit. It fit well but after the first bit of adjustment the bonnet is now stuck shut. The alignment mut have been out and I was rushing a bit so will have to sort this the next time I work on it. Pain in the butt as I wanted to test all the lights for the MOT but the battery isn’t connected and now I can’t get to it.
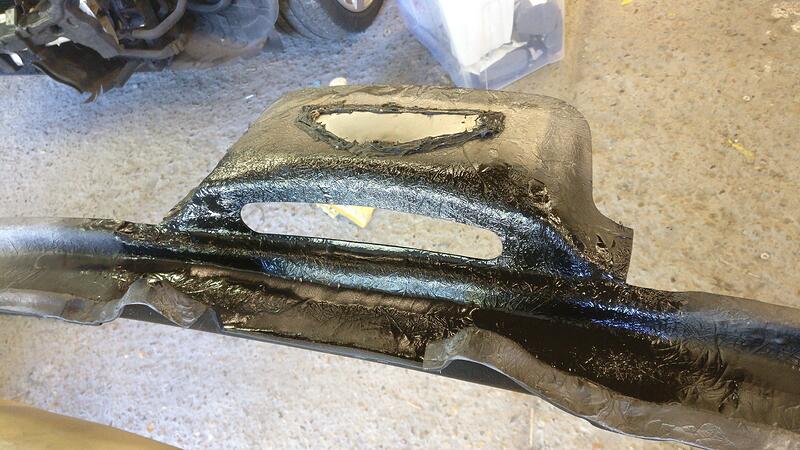
The underside of the engine cover looks so much better now the blue overspray has been painted over with the Hammerite I had left.
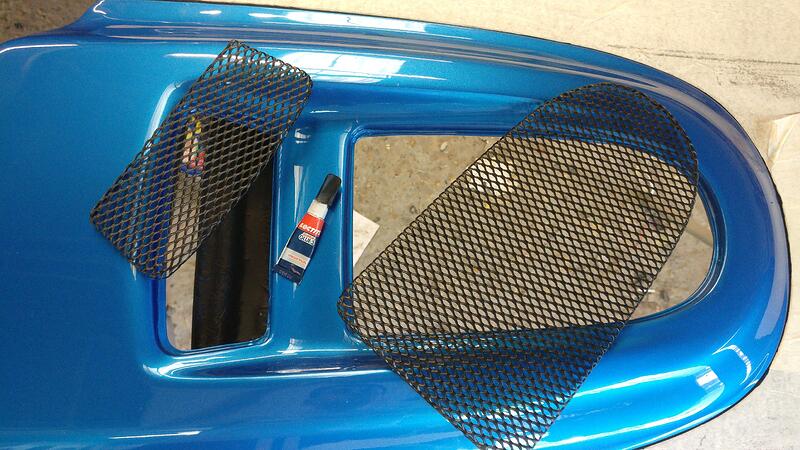
I thought because this was the best access I’d have to the cover I would stick the grilled on with some glue, so I left a few heavy objects on them for 30 mins to really set them.
On went the hinge and roughly bolted down, then the engine cover went onto it.
Unfortunately the weather seal I bought is too big and the cover sits pretty proud, especially at the front. The latch would probably keep the rear down but I’ll need to buy a smaller one and maybe even sand the fibreglass lip down to get the desired connection and height.
The perspex also sits a little bit too much on the passenger side. I’m not sure if I can open the hinge adjustments out a bit and be able to push it over a touch, I’ll double check how the blue pieces fits against the roof scoop. I might just have to suck it up and have uneven gaps if the blue painted sections line up well. That is the danger of not having OEM parts as I had no idea how well it would fit until it was all bonded and cured, in this case the frame was probably slightly off on the perspex which is a bit gutting and can’t be changed now.
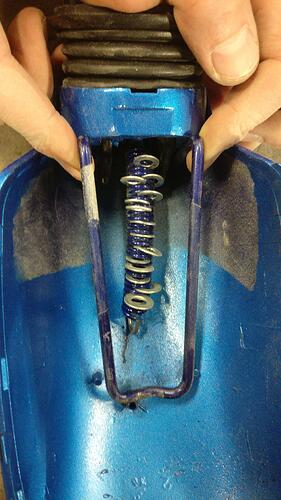
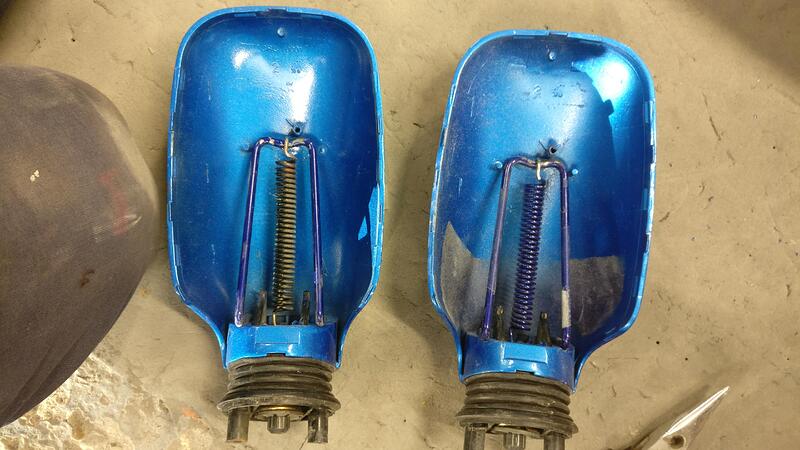
The wing mirrors were horrible to reassemble. The spring was ridiculously hard to try and get back into place and in the end I had to get some help and wedge washers in the coil to take some on the tension out of it and stretch it before getting a set of long nose pliers and pull as hard as I could and hook it over the frame bar inside.
Eventually managed to get both springs back together (after slicing my finger open and dripping blood everywhere), if they ever need a touch up I’ll just mask them rather then dissemble.
Another item ticked off the list. I’ll add the blanking stickers later.
And that was where I had to leave it after another 8am-9pm day flat out. It is close to being ready for its MOT and a lot of the details I’ll have to do as and when afterwards, but I need it roadworthy for the 2 trackdays in 2 weeks.
The main points moving forwards would be to get the engine cover latch and fitment sorted and to get the bonnet open and re-aligned. The roof also needs the side seals fitted for the windows but these I think will come later and I’ll just gamble on some nice weather as I’m still not sure the P seals I bought are going to work. The spoiler got it’s final spray that day so I couldn’t mount it, but would have left it off anyway until the latch had been fitted.
Great ingenuity at times. You must be so pleased with progress
I’d be happier if the bonnet wasn’t stuck shut and I didn’t have to re-do things through my own incompetence! ![]() The drivers door needs a bit of adjustment and hoping moving the striker pin in I can get a better shut line to the rear clam as it’ll bug me every time I have to get in it. None of the clam fixings have any packers so might have to go around the car afterwards and fine tune.
The drivers door needs a bit of adjustment and hoping moving the striker pin in I can get a better shut line to the rear clam as it’ll bug me every time I have to get in it. None of the clam fixings have any packers so might have to go around the car afterwards and fine tune.
I really want to get the car to a stage on Saturday that it’ll be ready for an MOT the week after. Don’t think it’ll need too much but need to get all lights working and get the engine cover latch sorted, hopefully getting the cover itself a bit more even but as I’ve said I might just have to suck that one up.
Fantastic work James, looking forward to seeing the finished car! ![]()
I think a lot of lurkers like me are ![]()
Another day yesterday on the car, the trackdays on the 14th & 15th are fast approaching so apologies for certain things not being photographed as in depth as before but it all eats into the time that is quickly running out.
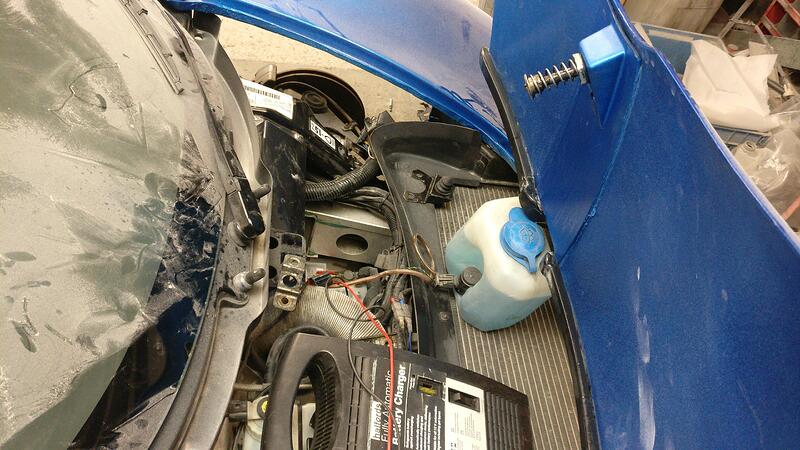
I started by getting the bonnet open. At first I tried to unscrew the spring catch from the bonnet, however the limited room made this difficult and hard to get any sort of purchase on it. In the end I got a very small rachet and a 5 hex bit and managed to get my arm up each side between the bonnet and chassis rail thing and got the 2 fixing bolts out and the whole assembly fell apart. With the bonnet open I then stuck my battery charger on and would come back to the bonnet later.
I didn’t document it but I basically reassembled the latch and Removed the spring catch from the bonnet, placing it into the latch and tested the pull chord a couple of times, which moved freely and popped the spring up and out. I then placed the spring in again knowing it was nice and plumb and lowered the bonnet on the hinge to see if it lined up. From there it was trial and error to adjust the 3 hinge bolts and positions until the bonnet fell directly onto the spring fixing. I then release the spring and attached it to the bonnet confident everything now lined up and the bonnet now catches and opens as it should. Serves me right for rushing and just pushing the bonnet down so don’t make the same mistake I did because it is a pain to fix!
After not being happy with how the drivers door fit against the rear clam I remembered that the striker pin had quite a bit of movement for adjustment. I loosened it and pushed it as inboard as I could and now the door has a much better shut line with the rear clam without compromising how the front fits.
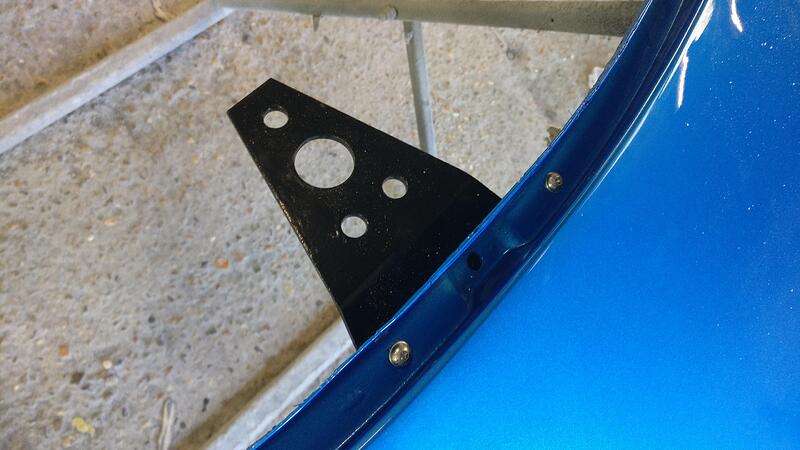
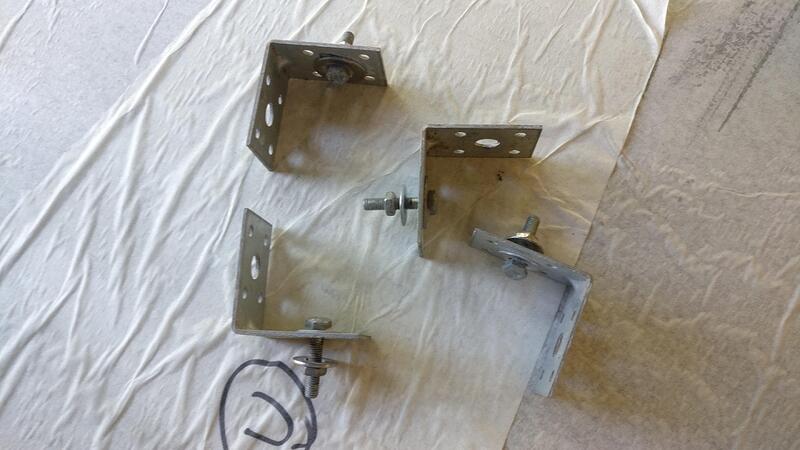
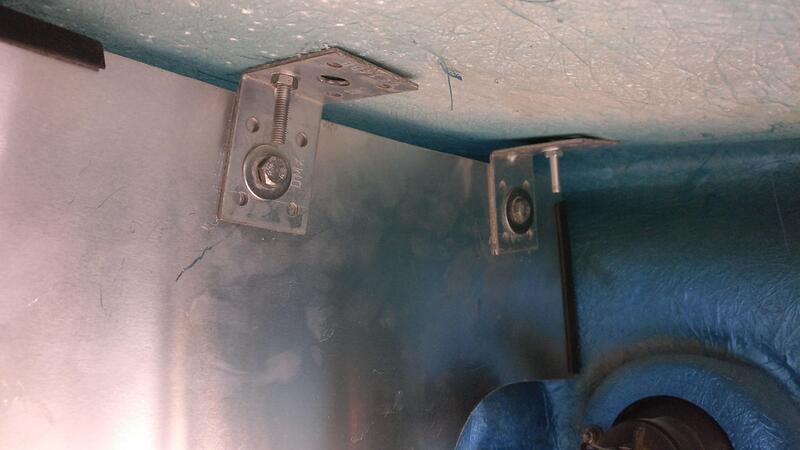
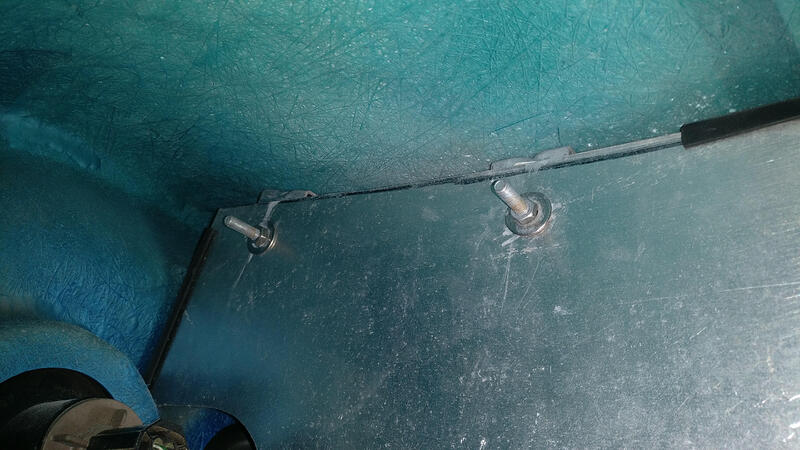
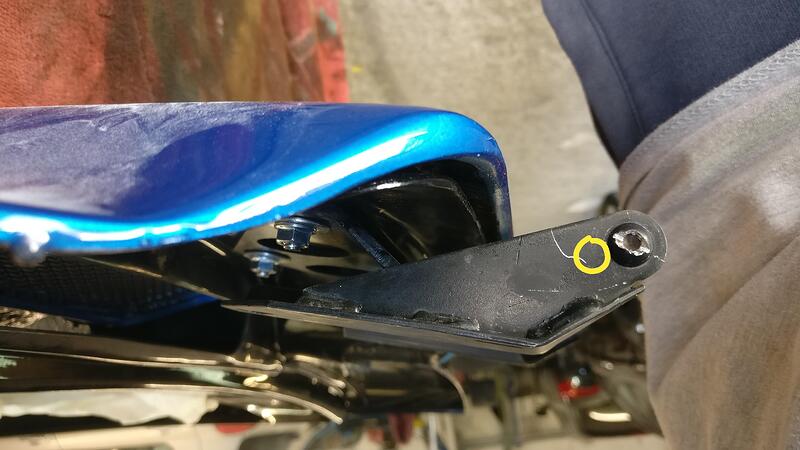
Unfortunately the car hadn’t been polished and the rear spoiler hadn’t had the spraying finished on it so I left off the support arms but still wanted to get my DIY support brackets in the correct place to save time.
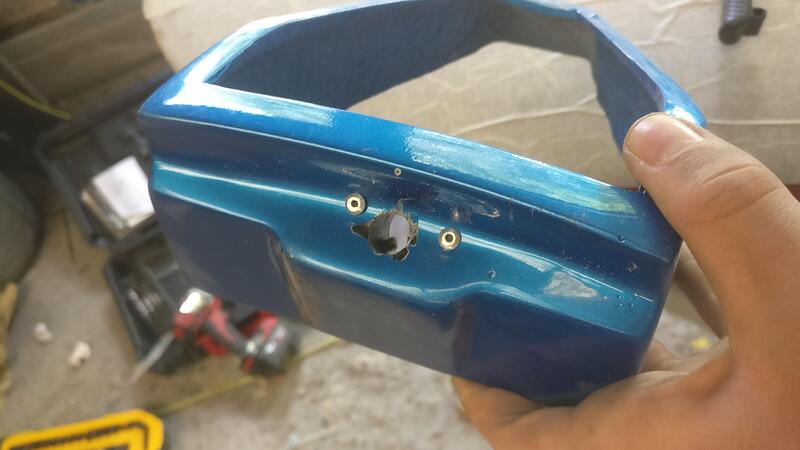
I’ve just noticed in the photo that the forward screw goes through the wrong hole on the bracket but doesn’t really matter, I’ll get it right for the proper support arm fixing.
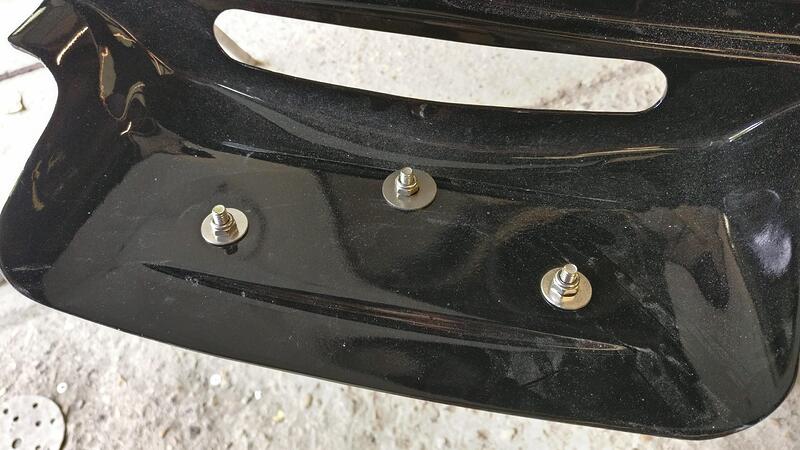
But the bracket to sheer panel fixings are finalised so should be really quick to get the spoiler mounted when it is ready.
To save the bodywork and still allow for polisher wheel to pass over I used a rubber washer under the bolt head.
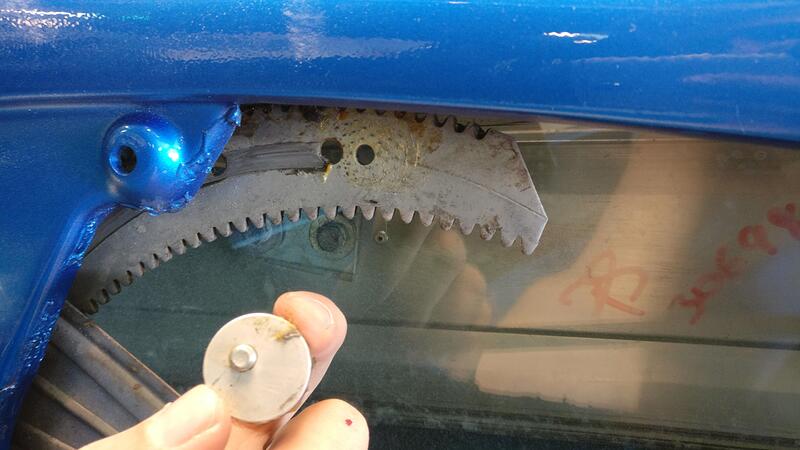
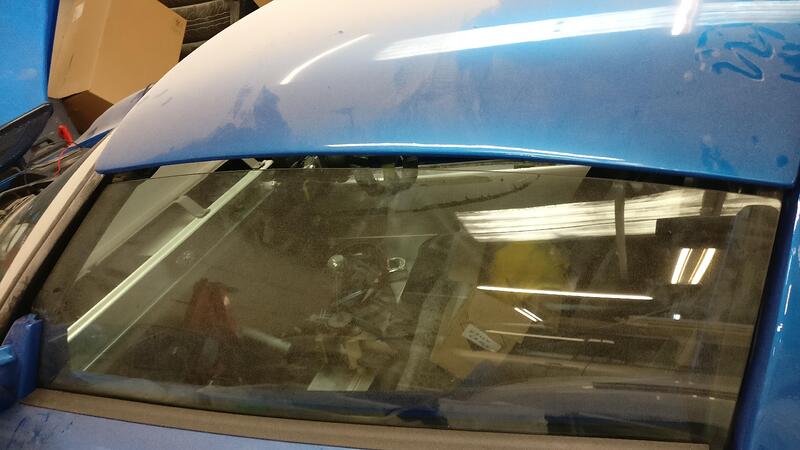
Due to time constraints I decided to leave off the side seals for the roof but wanted to see if the windows could get any closer to close the gap. I removed both bump stops and tested where the windows could be fully wound to.
I actually was able to get them both a little higher than this photo shows but the gap did close, meaning the P seals I bought will probably work. When I go to fixing them to the roof I’ll drill another hole in the scissor mech and refit the bump stops and readjust from there.
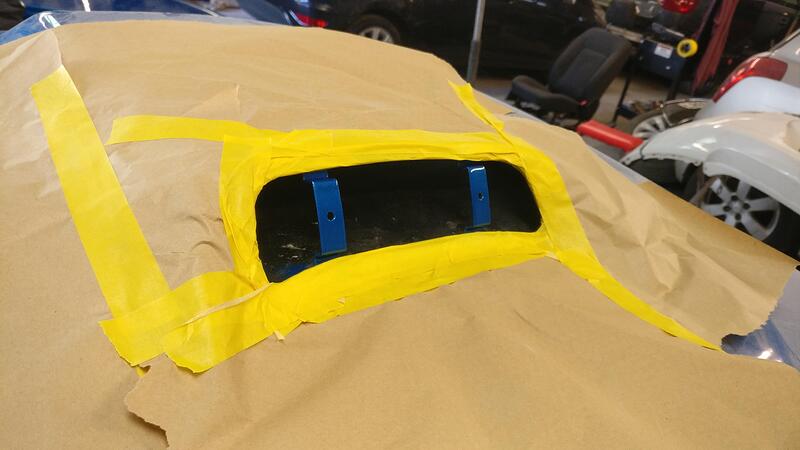
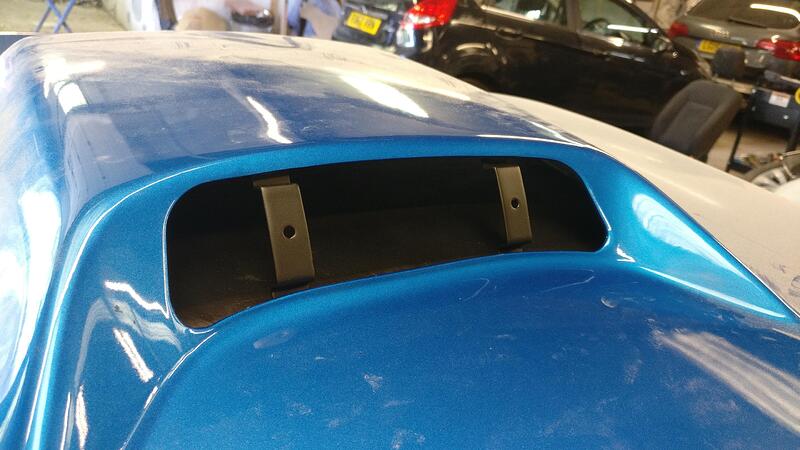
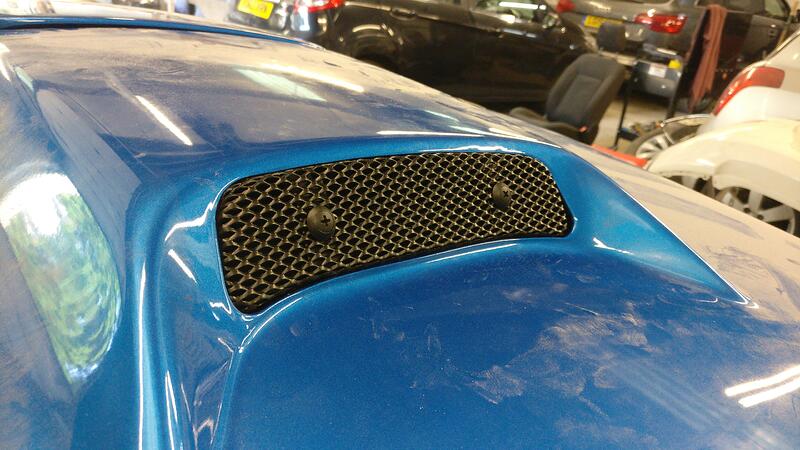
As I’ve said before I’m not a massive fan of the rather crappy plastic fixings for a lot of grille pieces on the OEM cars, and as my roof is a genuine piece it came with the fixing bars across the intake. Unlike the front arch grilles I decided to keep these fixings as I was unsure how I would fix the grille securely in the empty hole, plus when the grille arrived and had the holes already punched in them that confirmed they would stay.
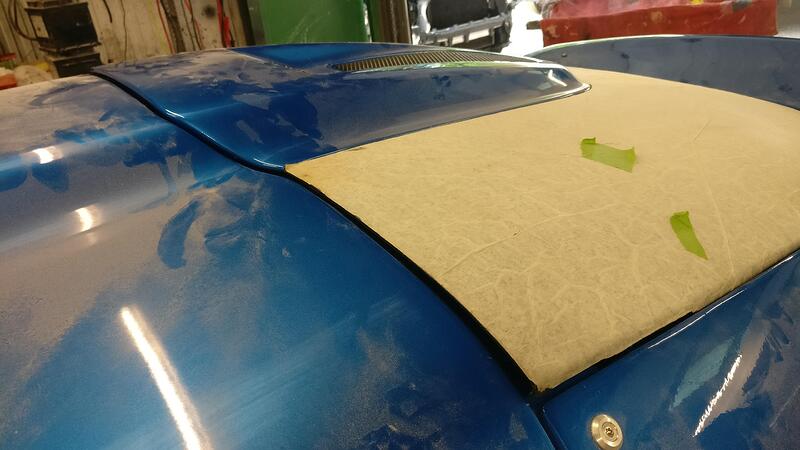
I had asked my sprayer if he could blow in some black to hide everything, however he has been so flat out with other things I felt it would be easier for me to do it myself. Excuse my awful taping.
I still had matte black spray paint left so I used that to gently build up the layers and get it into all the spaces to cover the blue overspray.
I think the black came out really well and was definitely worth doing.
On went the grille and secured in place with 2 of the smallest plastic fastenings I could find.
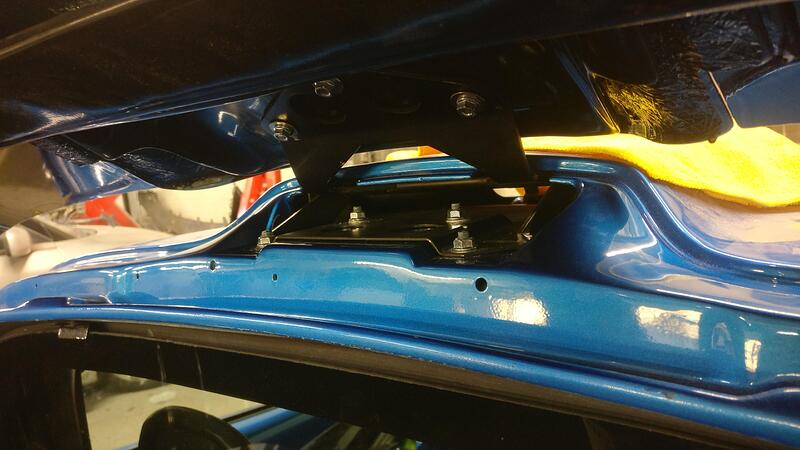
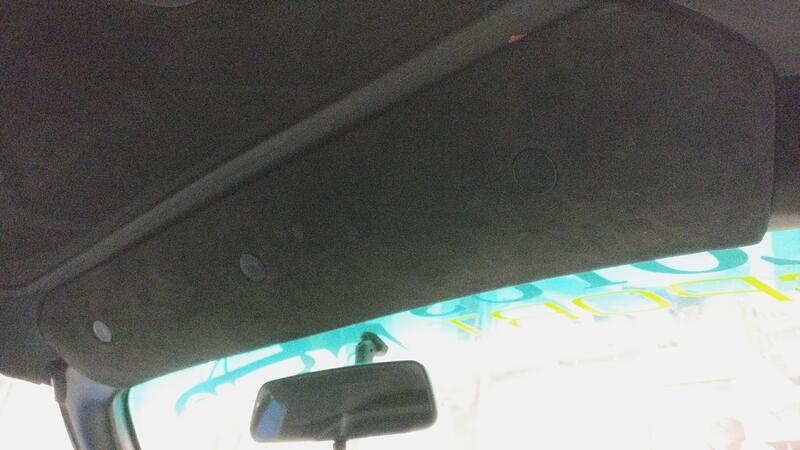
Staying with the roof I decided to fit the clamp and hope it wouldn’t get too dusty, but looking at how the headliner has kept pretty dust free it should be ok. Finished off well with the smaller rubber bungs, poor picture and the alcantara needs a wipe but I think it looks good minus the little pink chip that unfortunately didn’t quite get covered by the clamp.
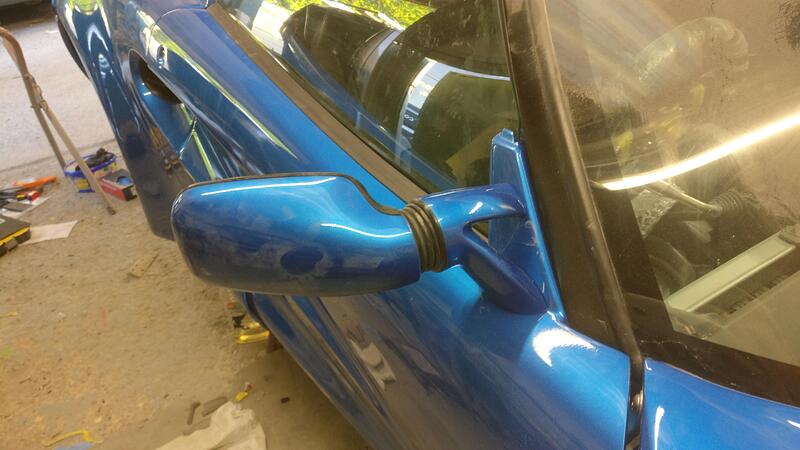
Before I forgot, on went the blanking plates for the wing mirrors.
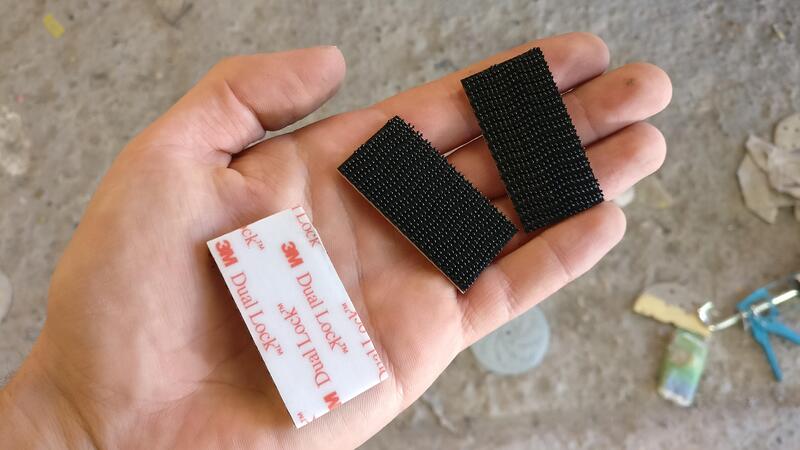
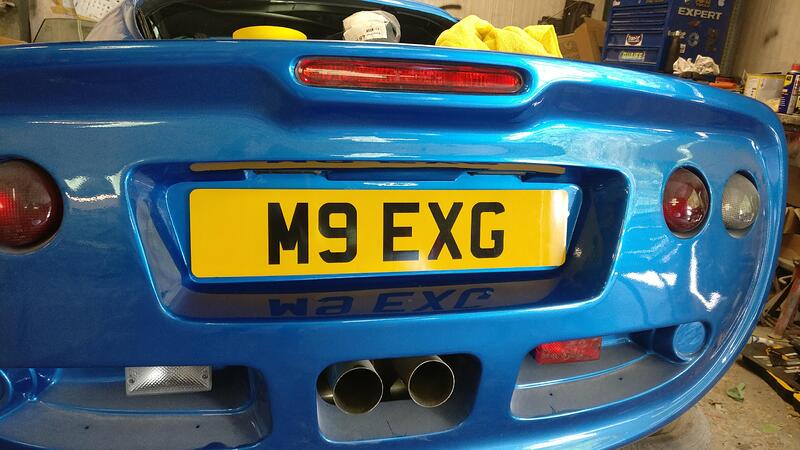
I found out when taking my Elise rear clam off ages back that having the numberplates permanently attached was a pain if you ever wanted to get to the rear fixing bolt. Because of this I decided Velcro would be a good way to go. I got these 3M strips (not cheap!) but are super strong and will hold the plates on securely but can be easily removed if needed.
Big thanks to Carly for keeping hold of her plate for me, definitely an improvement on my S reg to hide the fact the car isn’t a real Exige ![]()
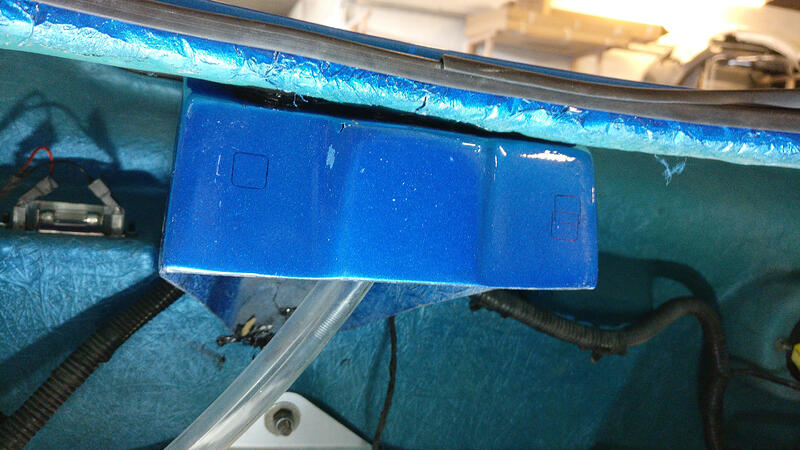
I am glad I waited until the rear catch mount was ready before attaching the drainage pipe to the clam because my DIY set up is a little different to the OEM version. My version only has the mount bonded to the clam, whereas from what I could see from pictures and with the 2 indent markers on the clam the OEM has the drainage pipe riveted/fixed to the weather channel. For my set up I had to cut off two parallel sides of the bracket to fit it flush against the mounting bracket.
I used pop rivets to attach the pipe to the mount and then a strong glue for the bottom edge.
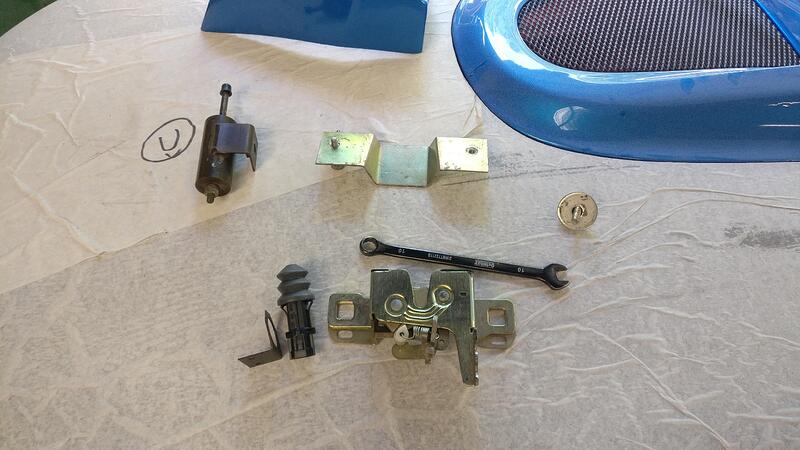
The position of the pipe meant that I couldn’t use the backing piece of the latch mech as it wouldn’t clear the pipe. However as it doesn’t do anything other than having a captive nut on one side I decided to leave it off and use a simple nut and bolt set up with some very large washers to spread any loads.
I had actually held the latch bracket in place before attaching the pipe and drilled a hole that was lined up with the drainage hole in the weather channel on the clam. It was now ready for mounting to the clam.
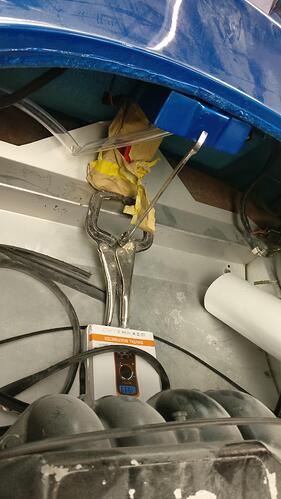
Bonding the rear latch bracket to the clam was the final ‘nervy’ thing I had to do. It would have been much easier to have done off the car but such was the rush of many elements of this reassembly it was left until now. I put some tigerseal on the contact surfaces and held it in place. After a little while of manually holding it in place I tested if it had cured at all, removing my hands to see the latch slowly drop, catching it before it fully fell. I kind of knew I’d have to brace it and leave it for a few hours but didn’t want to accept that as as you can see, bracing it in position was easier said than done. In the end it took my phone battery charger wrapped in paper to avoid any nasty tigerseal going on it, a G style clamp, a 30mm spanner, my multimeter box, some rubber trim and 2 large sockets to wedge it in position and secure it enough that I could leave it to cure.
After a few hours I came back and found it was nice and solid, the makeshift brace doing its job. Now I was ready to sort the latch position.
Unfortunately my new weather seal for the engine cover hadn’t arrived yet, so I had to used some other trim to guess the height where the perspex and frame would sit. With the rubber in place I dropped down the engine cover and managed to crawl up the driver wheel well and reach around the sheer panel and hook the latch mech to the striker as there isn’t room for the mech to clear the weather channel with the cover up. I then positioned the latch where it needed to be on the bonded bracket and drew around the fixing hole. As you can see the passenger side wasn’t quite level on the first go so I straightened the latch after popping the cover back up out the way. It also shows the bracket isn’t quite central but as long as the latch is that’s what matters.
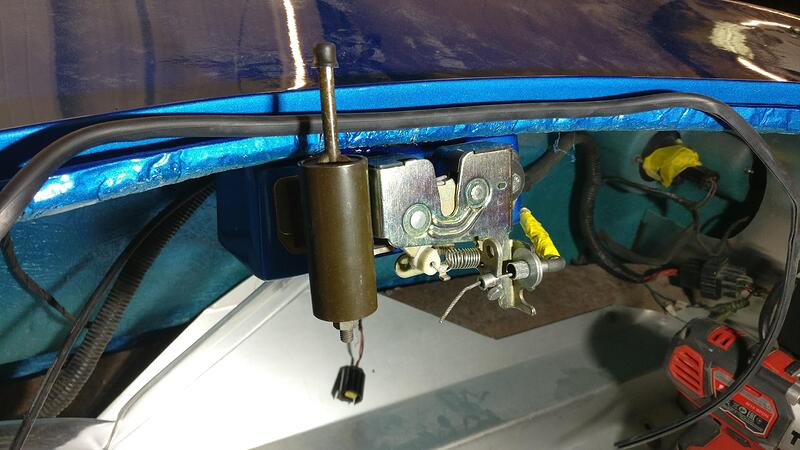
I then assembled and attached the mechanism after drilling the fixing holes (the yellow tape was removed from the pull chord) and it was ready for a test. I was less worried about testing this latch as it doesn’t need to be as accurate as the bonnet and is much easier to reach through the wheelarch and manually open from inside.
After a few test fits and adjustment, mainly of the spring system on the latch to get the cover sitting level it was secure. However, I think when we bonded the frame to the perspex we should have clamped the hinge end to get the two pieces as flush together as we could as currently the cover is sitting proud.
Now the bonding has fully hardened there is no way to compress the pieces any closer together, so currently there is a pretty nasty gap.
To combat this I thought I would dismantle the hinge and drill a new lower hole, dropping the level of the frame down as I can always pack it out if needed, then probably opening the fore and back adjustment to get it sitting where I want it. However on trying to dismantle the hinge the heads just rounded and my usual fix of grinding a groove and using a flathead on a racket didn’t work. I think they have just seized being some 20 years old. My only conclusion is that the bolts need drilling out and the captive thread re-tapped and then use bolts rather than button heads to avoid this happening again. As time is very much against me and I need the car road-worthy this may have to wait until after the trackdays, along with a lot of the smaller details if I can’t get them done in time.
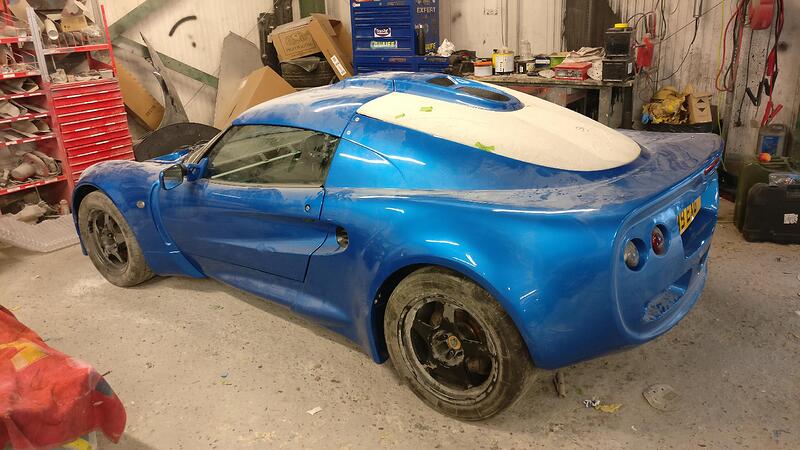
Here is the car now ready for its MOT on Friday. We are leaving Sunday to get to Anglesey so I’m hoping it passes as that doesn’t leave a lot of time in between to sort anything. As you can see a lot isn’t quite finished (decals, grilles, spoiler etc) but as long as the car is able to get back on the road that’s the important bit.
