S1 Exige Conversion

No matter what I tried I couldn’t get the passenger wing mirror plinth off. 2 of the 3 fixing bolts just kept spinning, so I had to resort to cutting it off.

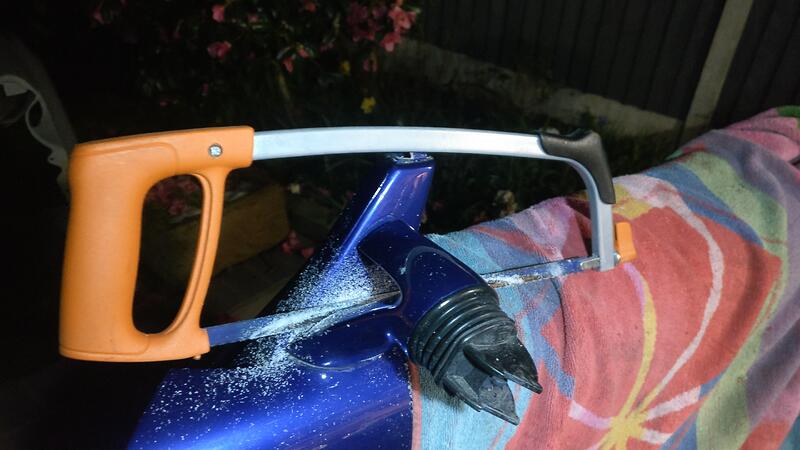
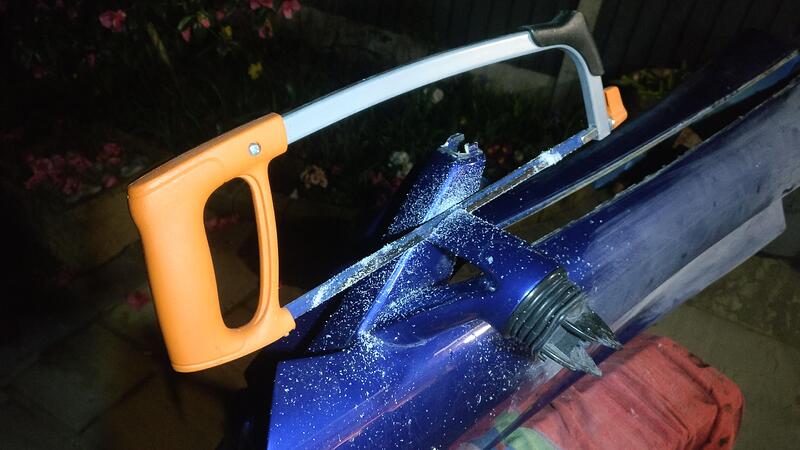
I took out the one bolt that wasn’t spinning and took my hacksaw to the plinth. I began sawing as close to the door as reasonably possible to ensure I went through the bolt and not have to cut twice.

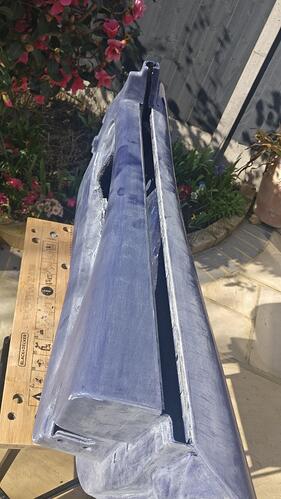
The first bolt came out easy enough, but the second was a bit more of a pain. I cut down in a very similar angle to the first bolt, getting as far down as I dared to avoid cutting into the door. I positioned a towel to help protect the door.

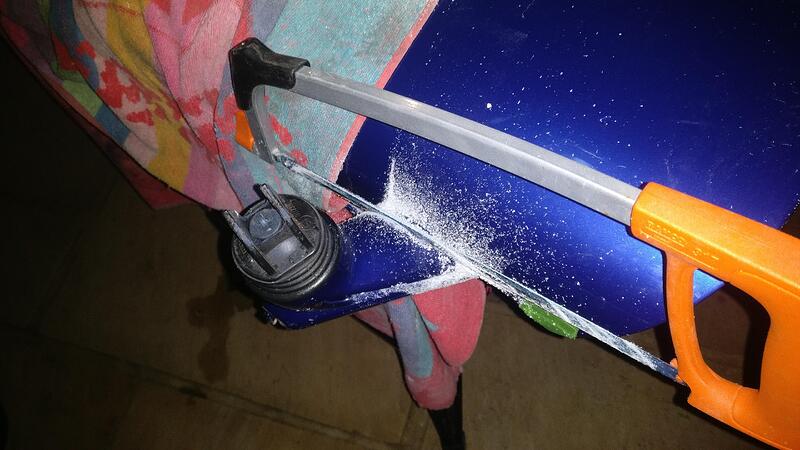
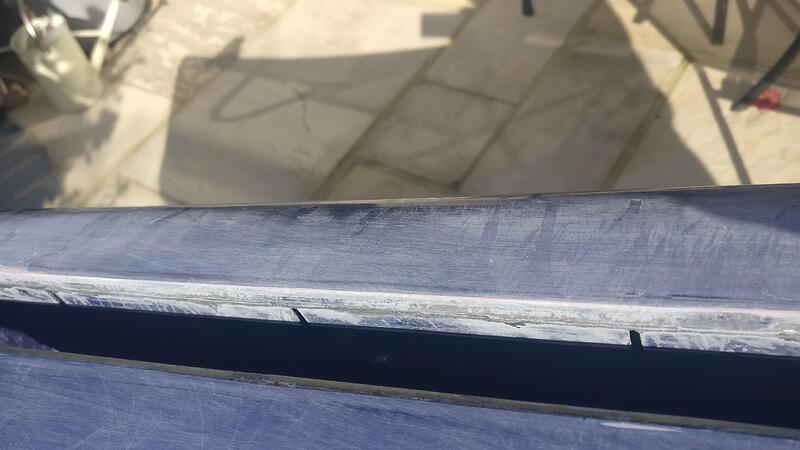
Once I couldn’t saw any more, I gave the plinth a wiggle but it was still stuck. I flipped the door on its side and cut again to hopefully meet the other groove.

As you can see here, the second cut was the one that actually cut the bolts, but I think I still needed to do both cuts anyway.

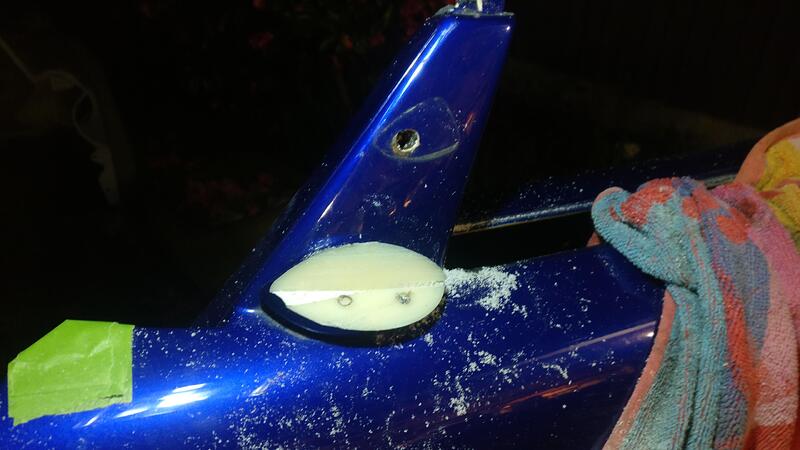
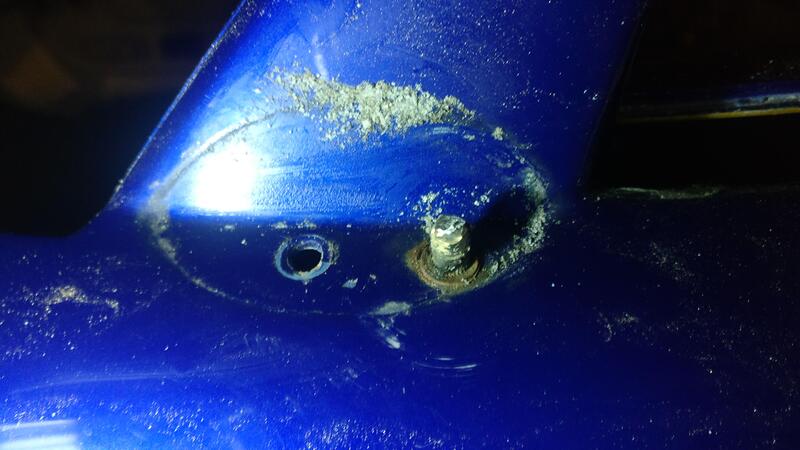
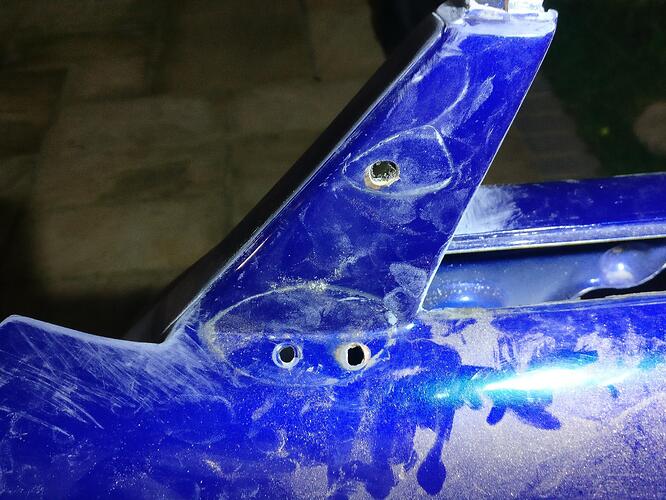
I couldn’t quite twist the remaining plinth piece off, so I took my dremel and ground around the stuck bolt to help release the tension. The piece eventually came off and I was left with the bolt and captive nut.

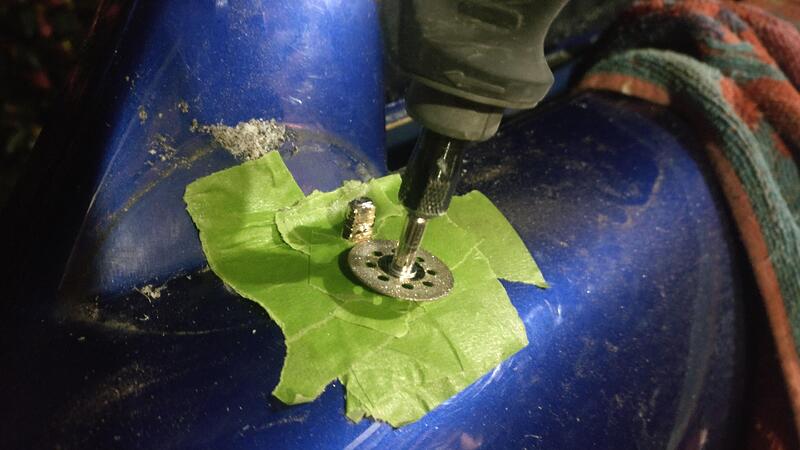
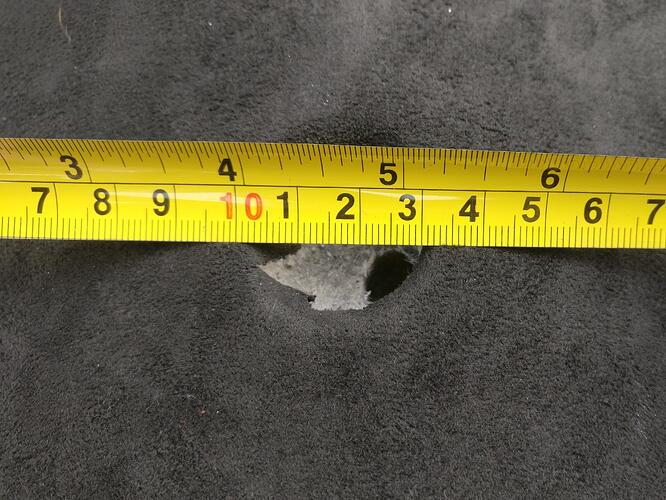
The only way I was going to get the bolt out was to drill it, so I cut the bolt to give a flat surface to drill into. I used tape on the door to help protect from the dremel.

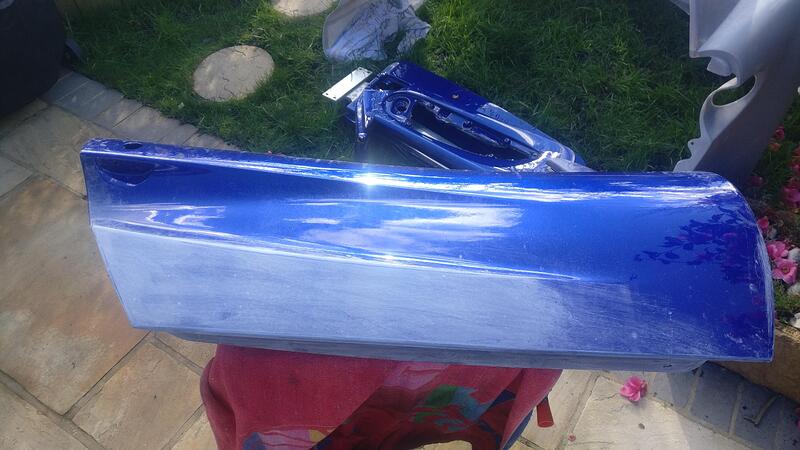
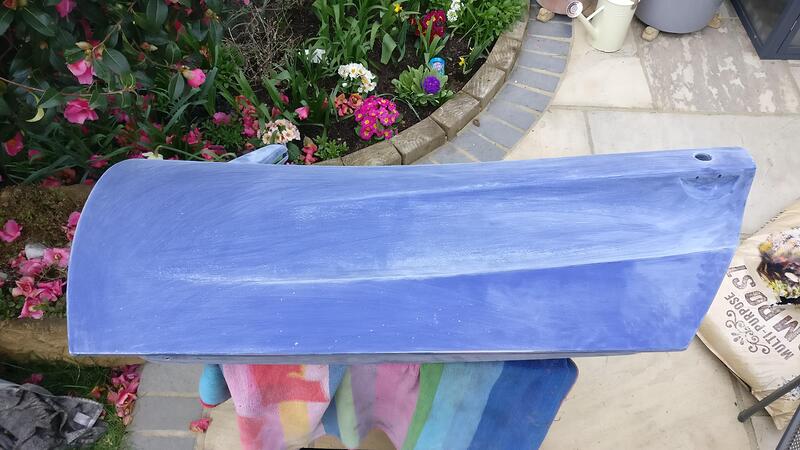
The bolt was quite soft so drilled out pretty easily. Finally the door was ready to sand.
I could have left the plinth on the door and sprayed up and around it as best as possible, but the finish would have been sub optimal. It was a shame to have to destroy a discontinued item (Deroure says discontinued anyway), but I put the quality of the spray job as priority.

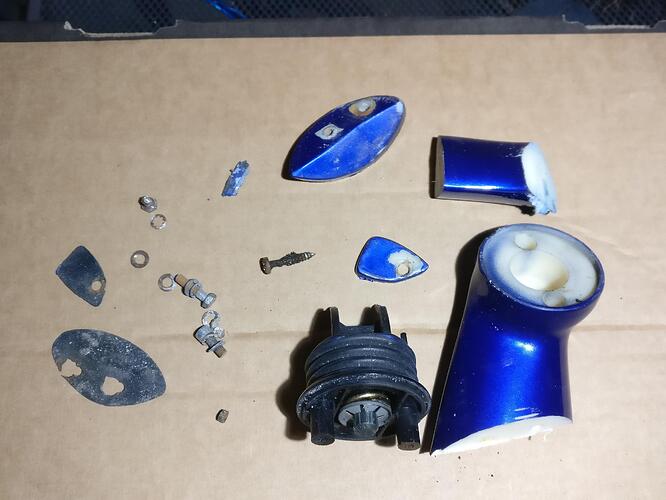
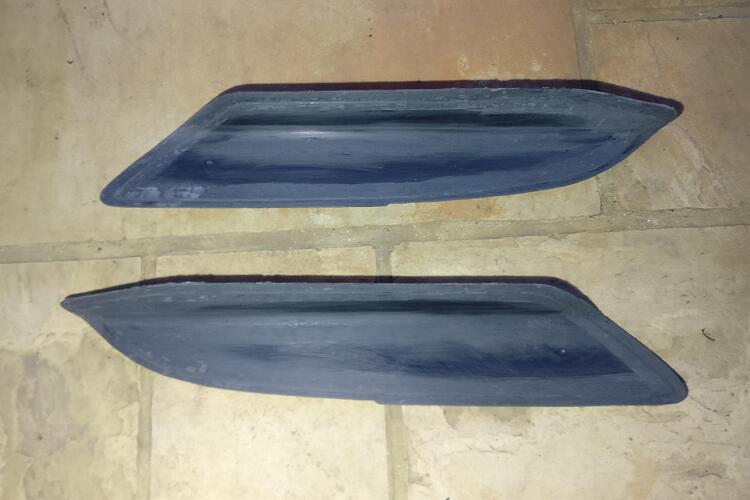
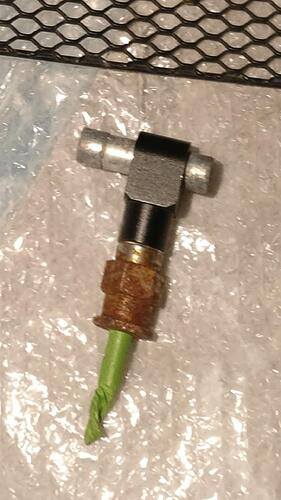
Here are the remains of the wing mirror plinth. Many of the bolts were very rusty after 23 years of rain seeping between the gaps. Glad it is off and I have spares to replace it.

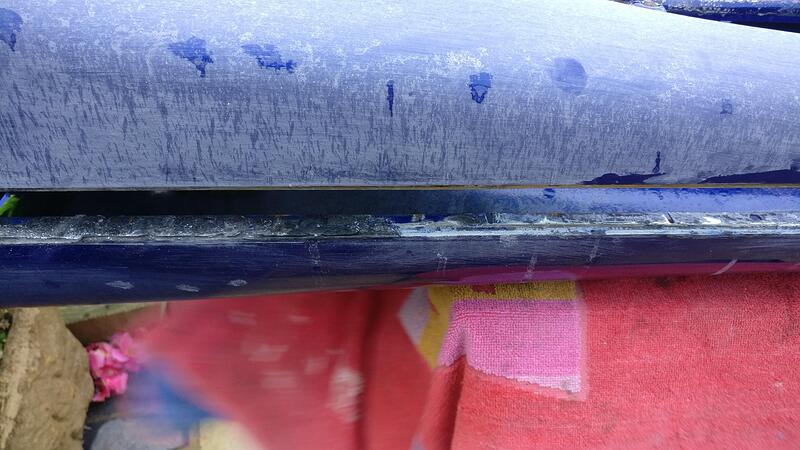
When pulling off the outer window trims some rubber and adhesive was left. I’ve bought some new trims so I needed to clean off all the remaining adhesive etc. I took a flathead screwdriver and scraped the majority of it off. I then took some sandpaper and ground off the remaining crap.

Clean surfaces ready for the new trims. I was able to pull off the inner trims ok so planning to reuse them.

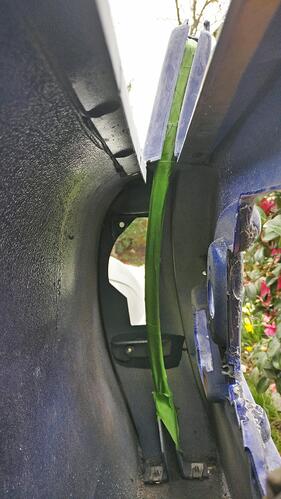
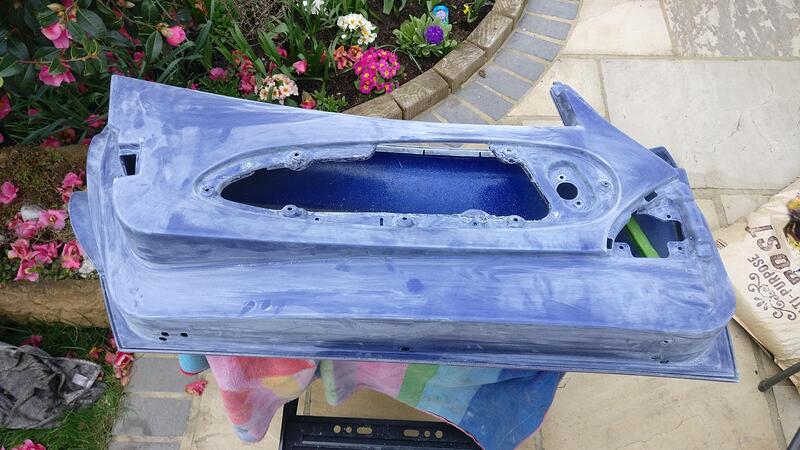
The inside of the doors are pretty complex so took a fair while to sand and key, pretty fiddly and frustrating at times. I sanded with 320 grit just to key the surfaces ready for primer.

The outside of the doors are fairly stone chipped. I blame this on the cars age and amount of trackdays (and not the fact it went into the Donnington gravel twice in one day :joy:)
I did still take the 320 to this side of the doors and will ask if the body shop can primer over them to fill the low spots. If not I’ll get them to go over the outer side of the doors with the machine like with the sills to get rid of the chips.

The doors are pretty gutted but I left the front window runners in the shells as I couldn’t figure out how to get them out after taking out the fixing screw behind the rubber insert. I didn’t want to force anything so put the screw back and just taped the runner instead.

Doors are now done my end.
Outstanding work, really admire your dedication to this project :clap:

So since purchasing my car I have been lead to believe that it has a Vulcan head developed by Kiwirog and part of the PTP kits. It even says so in an invoice for the upgrade. However after posting for help deciphering the head stamps, I discovered something different.

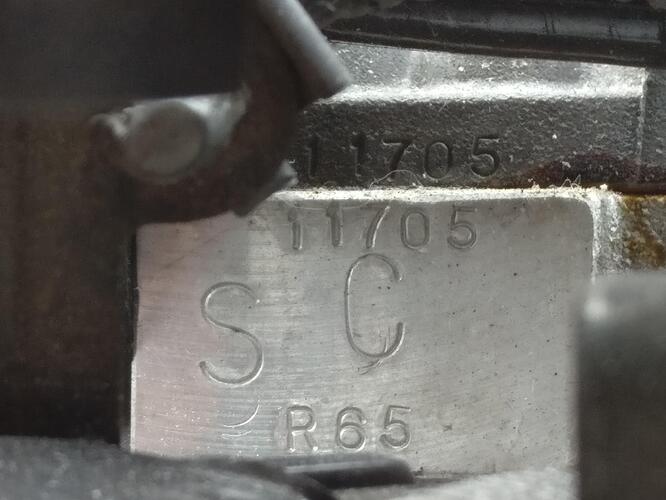
Here is the stamping on the head that first got me intrigued. I asked Seloc but no one knew what the ‘SC’ or ‘R65’ meant, but did tell me that it wasn’t a Vulcan head as these had ‘PTP’ stamped on them and had a much higher (and therefore newer) Janspeed serial number, in the 14,000’s I believe.

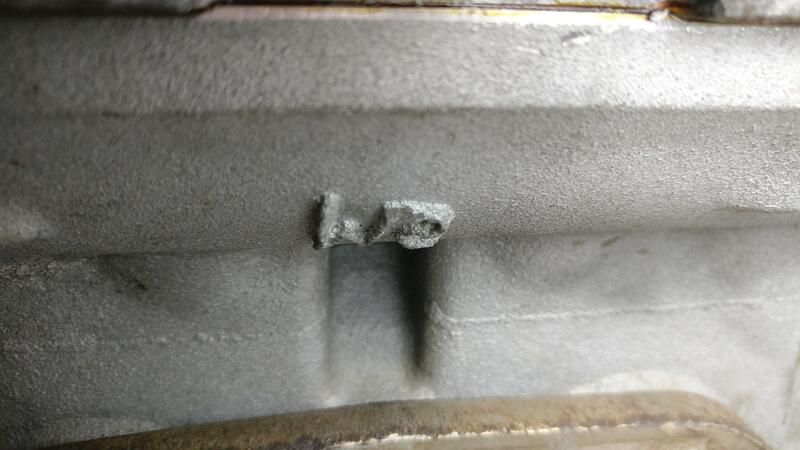
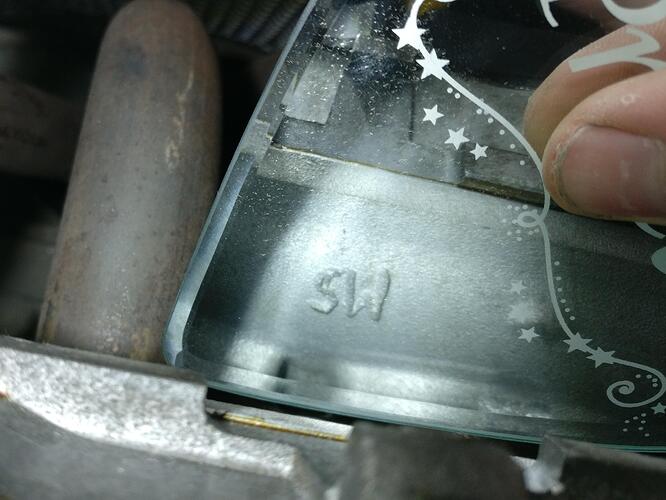
This got me a little panicked that I had a crap head after thinking all this time it was a nice large valve etc, so I got searching for other clues. I found this on the back of the head just above the exhaust ports. I could make out a W but then just looked like a blob.

I got a mirror and could see the blob was actually an S. With this information I was then told what I actually had was an early ‘MS’ VHPD head. The MS being scribed into the sand cast the correct way to appear as WS on the head. Though not as good or rare as a Vulcan I was happy to find it was still a large valve head. Phew!

The mechanic at Maidstone who did the recent head gasket replacement commented that it looked a good head and had good porting, but when swapping the exhaust manifold I noticed the exhaust port looked pretty standard, so not sure if he was getting confused with another head or if mine is actually ported.
There is a lot I don’t actually know about my engine, whether it has VHPD valve springs or hydraulic or solid followers etc. I learned from Kiwirog that the inlet cam has a duration of 276 degree, which is the same as a few more aggressive cams such as 285M and 1444 cams which use solid followers and is over the safe limit of hydraulic followers as advised by people like DVA, which seem to be at 274 degrees (285H as an example).
I don’t want to strip it all down to find out but this type of information would be nice to know if I ever decide to go for hotter cams in the future or build a forged engine.

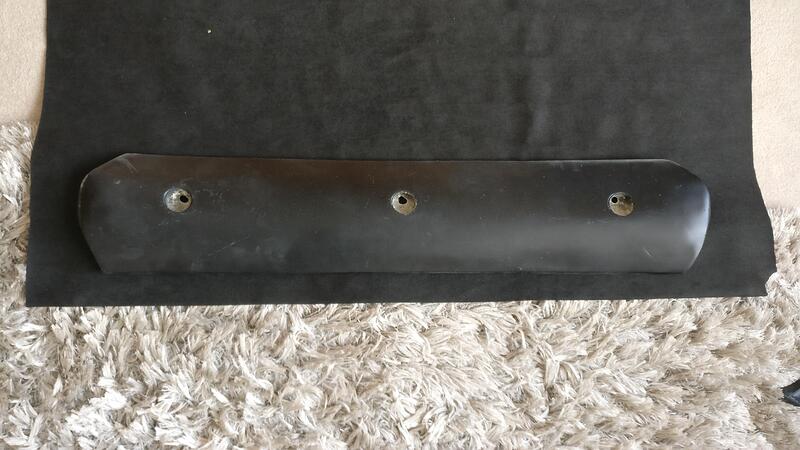
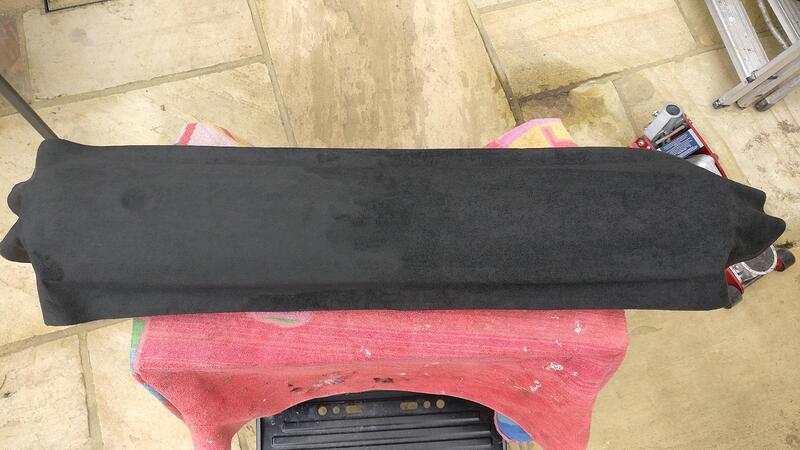
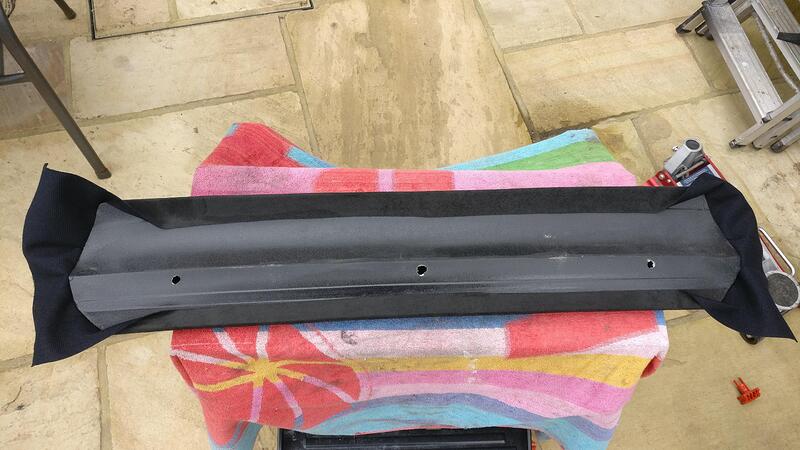
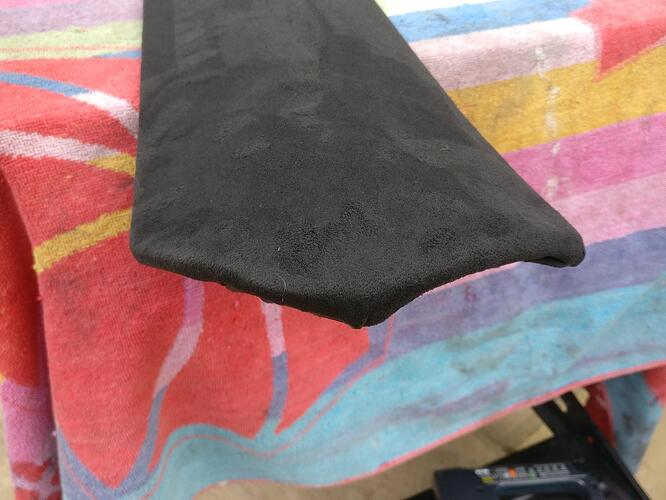
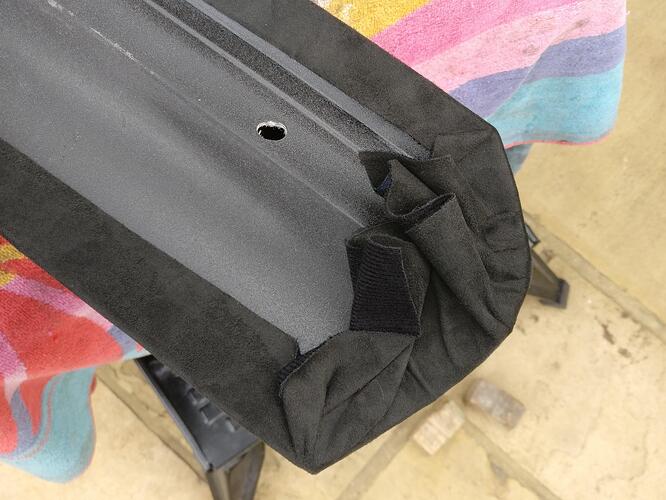
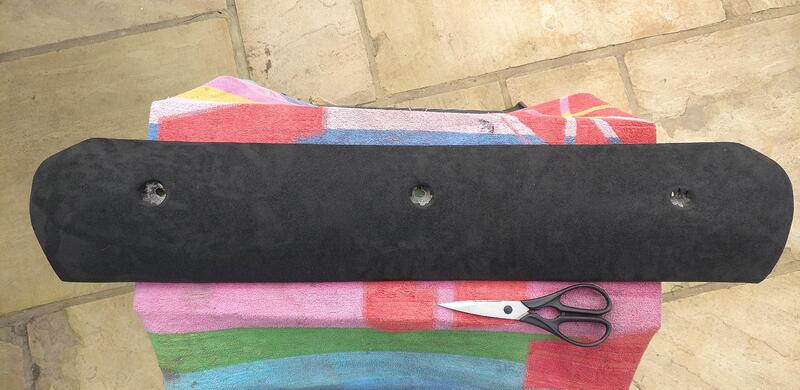
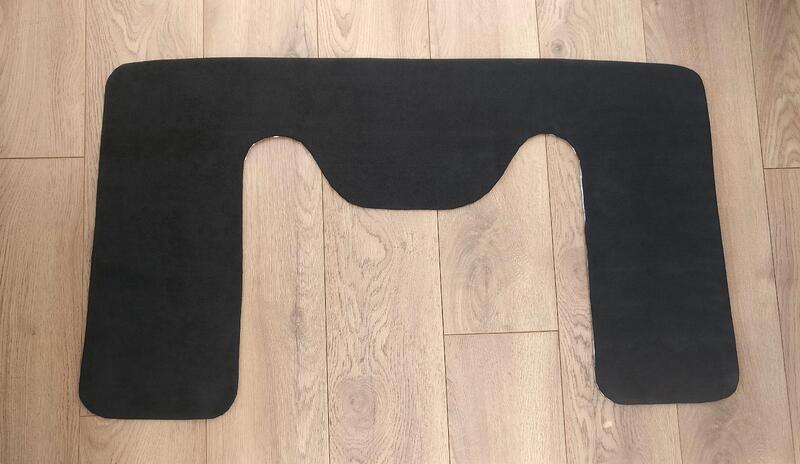
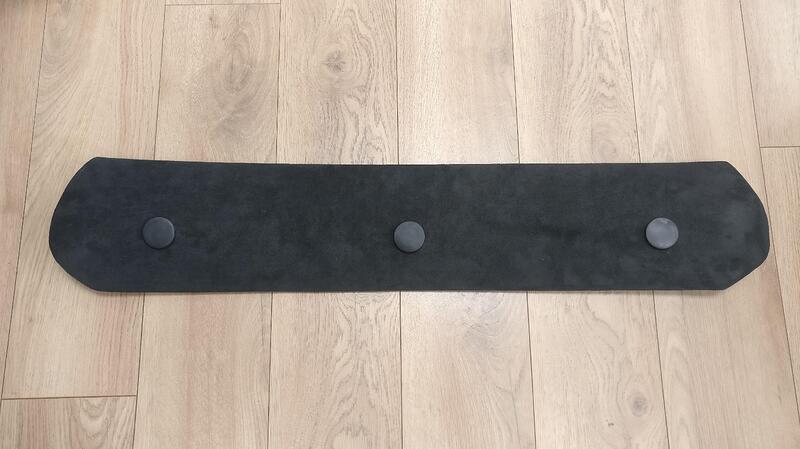
I am going to retrim the sill covers with alcantara to match the headlining/roof clamp etc. I don’t like the fake leather of the current ones and the alcantara will match the other interior pieces much better.

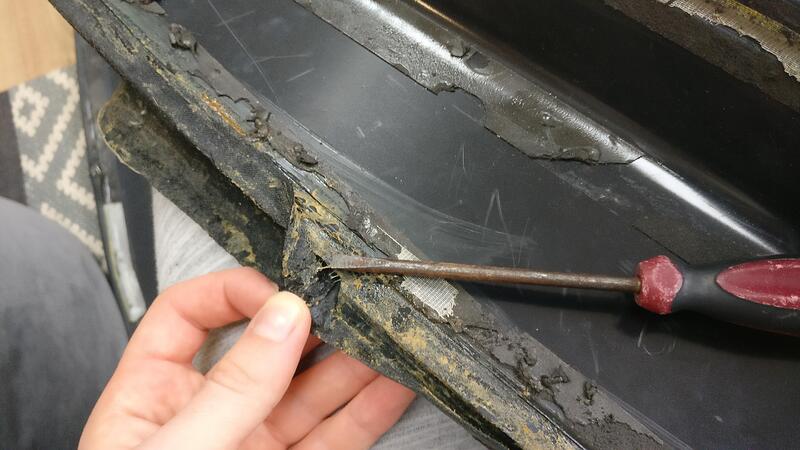
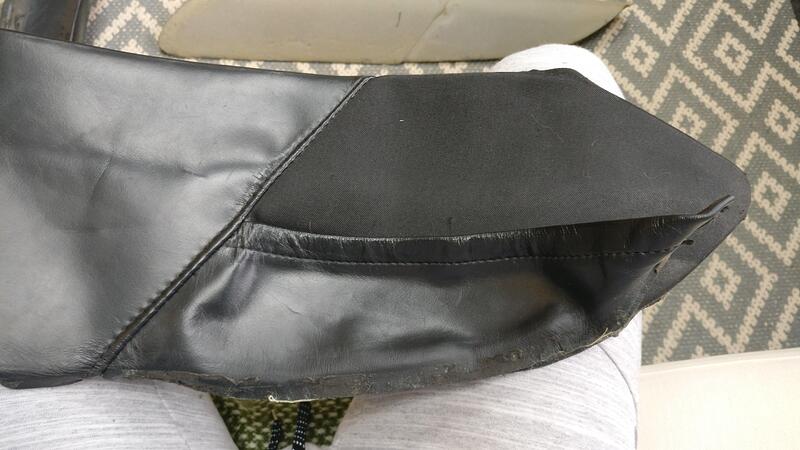
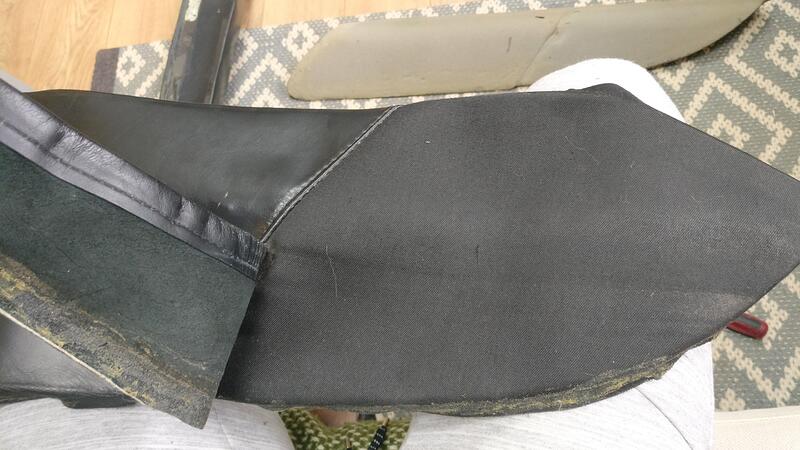
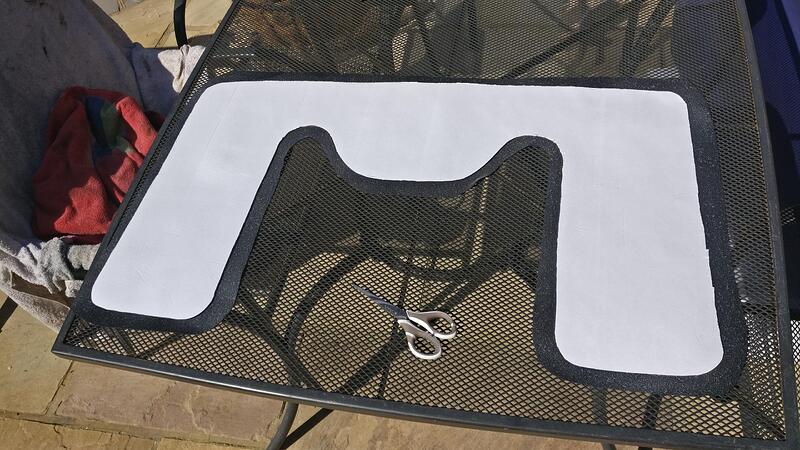
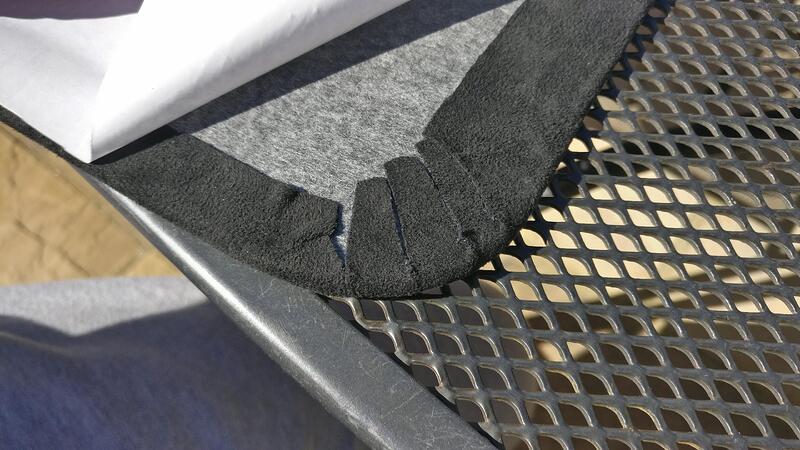
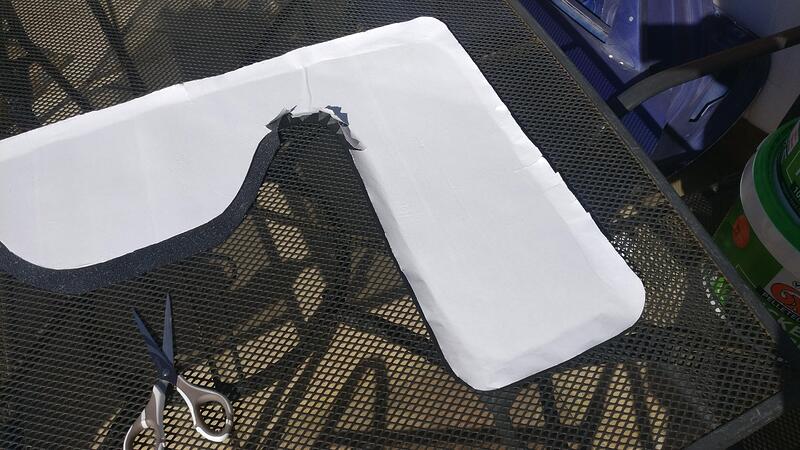
There was a lot of glue and some staples holding the material onto the backing board, so I slowly scraped and peeled the leather off the plate.

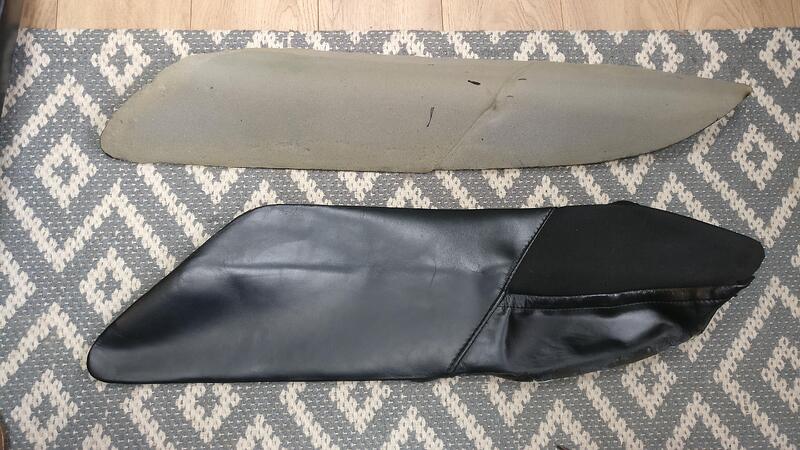
The fabric pieces came off in one piece which was nice, and the foam looks in reasonable condition too. I took care to keep as much on the backing plate as possible.

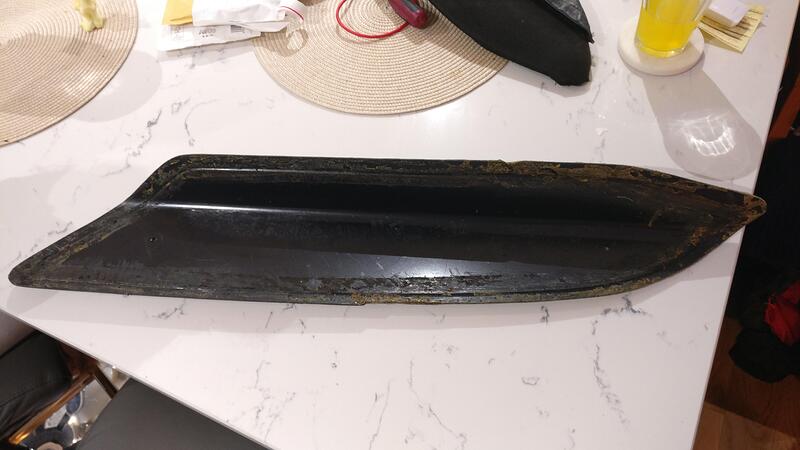
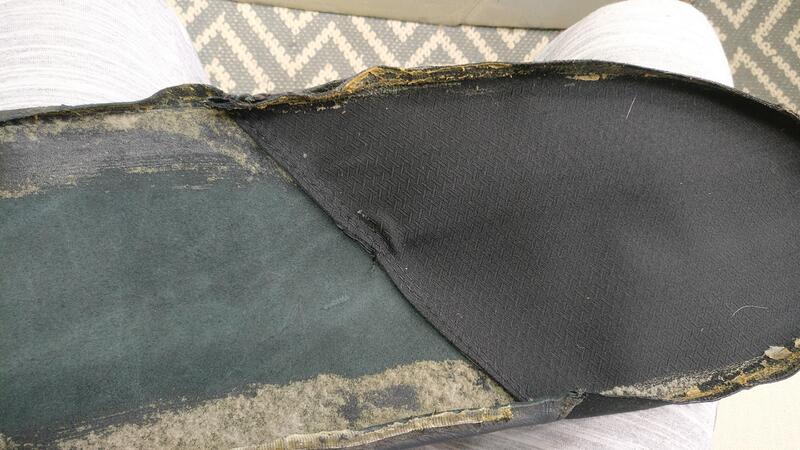
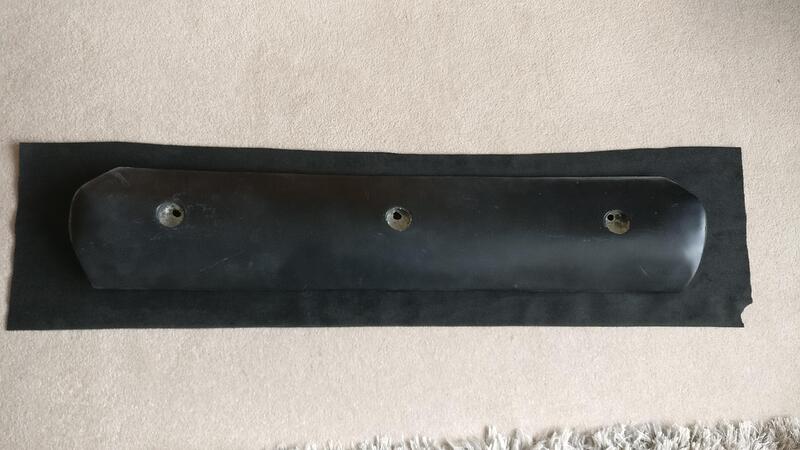
I needed to get all the old glue off the backing ready for the new glue. This is how they looked after I had scraped as much of the glue and adhesive tape off as I could.

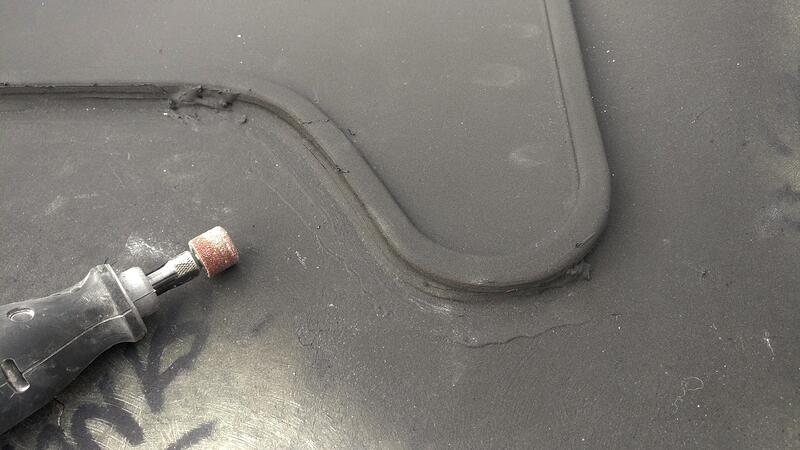
I then took my dremel and ground off all the remaining crap similar to the side intakes, then took some sandpaper to get it a bit smoother. It is now ready for fresh glue. I will fix them to the sill using some good velcro strips.

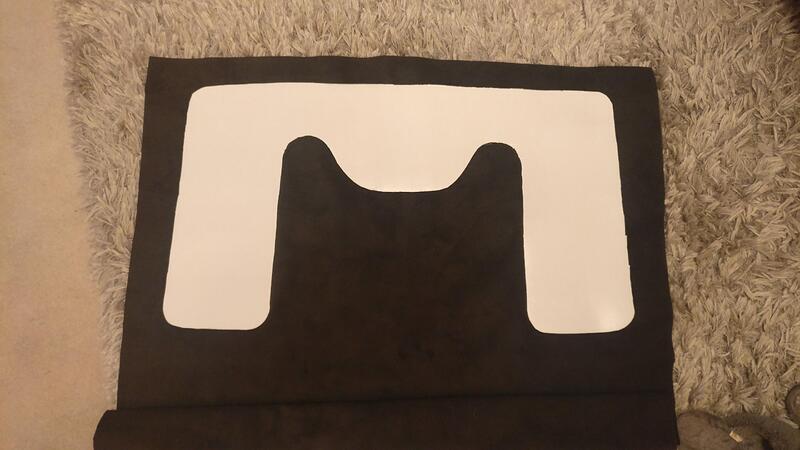
With the fabric coming off in one piece I will use these as a good template for the new pieces of fabric.

The covers are made up of only 3 pieces, so should be pretty simple to replicate.

Will update soon when I’ve given this a go.

More great work👍 Interesting re engine. Keep us posted

Before paint I wanted to get the front clam grilles sorted to avoid scratching up the fresh paint when shaping and test fitting them.

Similar to the roof intake grille I’m not a massive fan of the very visible fixings, so thought I could achieve a cleaner look. I bought the mesh a fair while ago, nice and cheap but wide enough to have the grille direction upright once on the car.

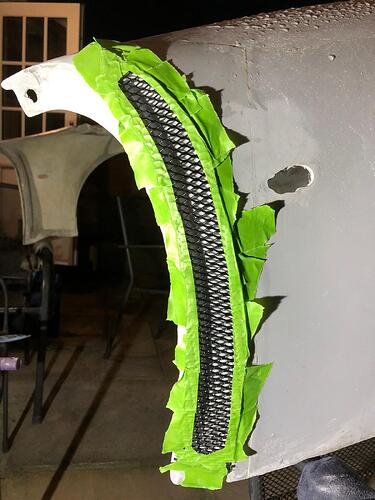
I tried 2 methods of sorting the grilles, the first I tried ages ago when the mesh first arrived. I roughly cut the mesh out and used tape to fix it to the clam. I then used more tape to outline the shape needed for the recess.

This gave me the template to start bending the mesh along the tape line. Once it was roughly bent into shape I decided to push the mesh into the recess (well the recess on the other side to mirror the shape) to shape and finesse them further. This got them fairly close but wasn’t the best method to fine tune and afterwards I’d have to shape the plastic insert behind it as well, which could have meant changing the shape of them to test fit the new backing etc.
Unfortunately I didn’t take a picture of the result of the first method.

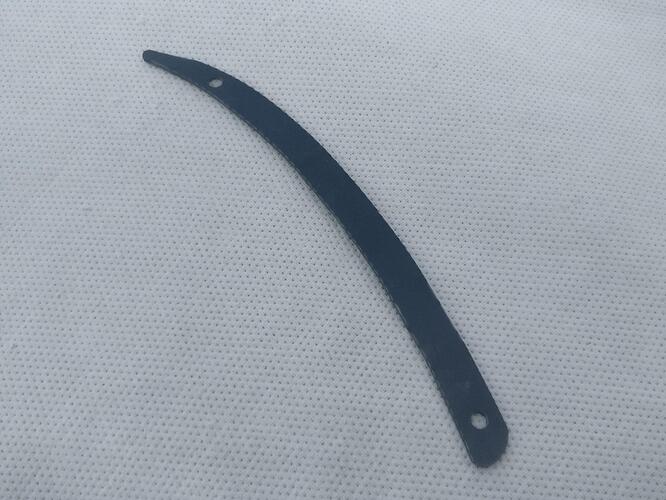
So onto the second method and the one I used to finish the grilles. I was able to get an insert piece that I would use as a template. Obviously this template has the fixing holes in it so not something I’ll use on the car, but if I could shape the mesh to this shape I could then trace around and cut the new backing plates out to this exact template and not have any holes.

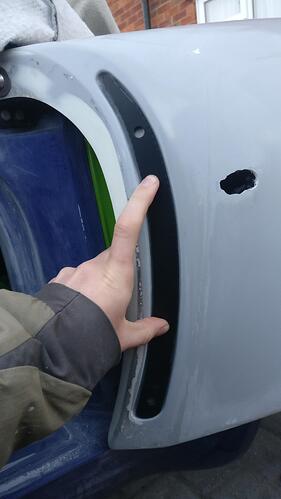
I test fit it into both recesses and it fit really well, so I was confident to move forwards using it as a template.

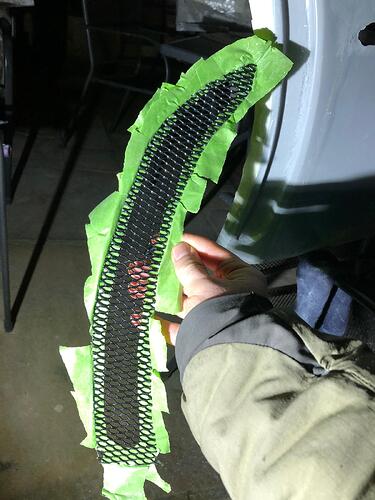
I cut a new piece of mesh (I had loads left) and taped it to the template to help maintain the position. I then pinched and bent the grille up tight against the insert piece and occasionally used a small hammer to get it even tighter when I came against a tougher angle of mesh. This method allowed me to keep the mesh as flush and flat against the template as possible to get the kinks as tight as they could be, whereas in the previous method the mesh kind of domed over because there was nothing to keep the mesh flat against while I bent it. It took a bit of finessing and sometimes I would bend it open again to retry getting it tighter, but this way was a much better and more accurate way to shape them.

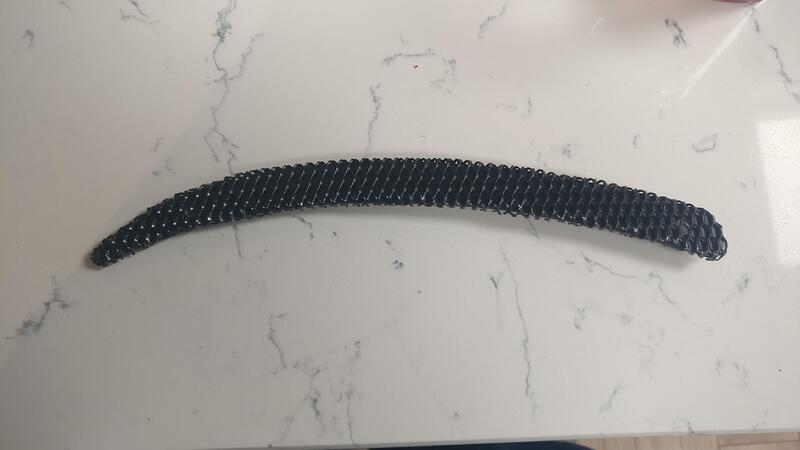
Here is the result after getting it as close to the template as I could. Not perfect but I’m sure the Lotus parts aren’t either.

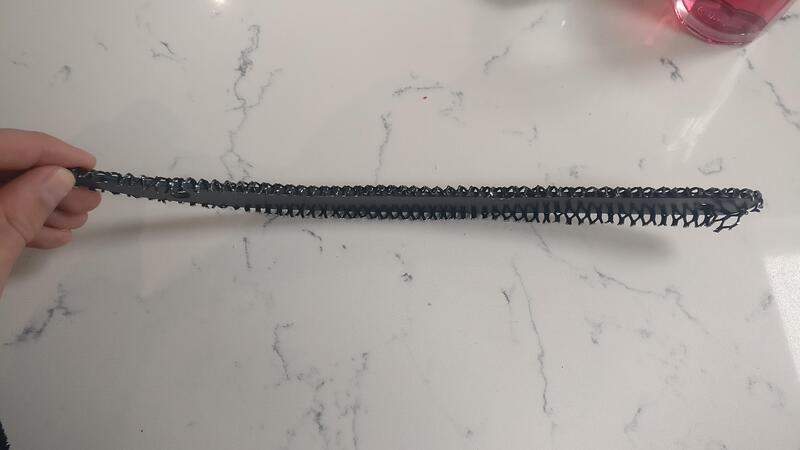
The sides had some extra mesh that would have to be trimmed.

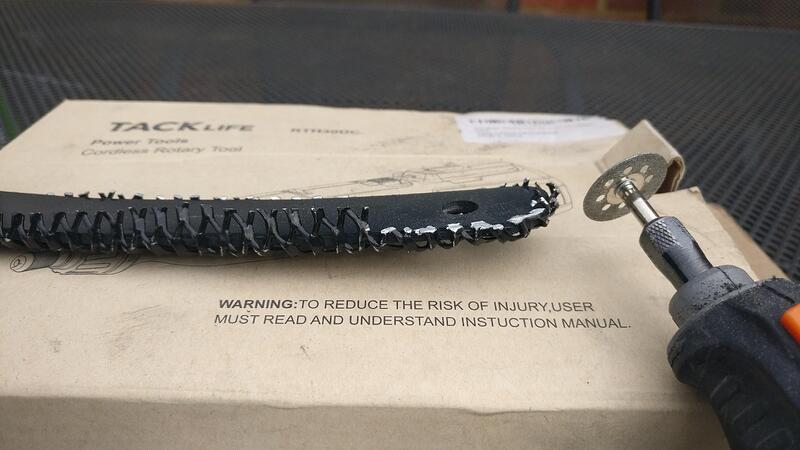
To trim the excess I used my dremel and a combination of this disc and a sandpaper wheel to cut and grind flush to the backing piece. These cuts revealed the silver of the aluminium (some of the hammer work did too on the visible side) so I’ll chuck these in with the other bits that are being powder coated.

EDIT: I’ve just had it pointed out to me that the mesh is the wrong way up, the passenger side is correct so I will re-do this side to get them to match.
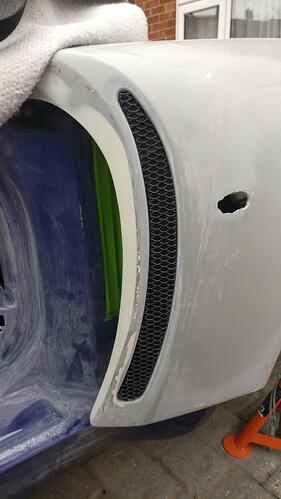
Here is one of the final test fits, I think they look pretty good, but as you can see it is wedged in there. I didn’t want this type of fit as it would definitely scratch the fresh paint getting them in which isn’t ideal. So to get the fit and gap I wanted I took sandpaper to the recess and opened it up a bit. There was a fair bit of gelcoat there so sanded ok, only a few small spots needed patching with filler. After back and forth test fitting and sanding (it was handy that the mesh marked the gelcoat a bit each test fit so I could easily pin point where needed to be sanded) I got the recess where I wanted it so that even with primer and paint layers, there should still be the tolerance so the grilles don’t scratch anything when fixing them to the clam. I’ll use a glue/adhesive to bond the insert to the recess, keeping that clean look and the mesh itself might need a bit of glue on a few spots just to help hold it as close to the backing plate as possible.

Now the majority of the exterior stuff is done, I turned my attention to the interior.

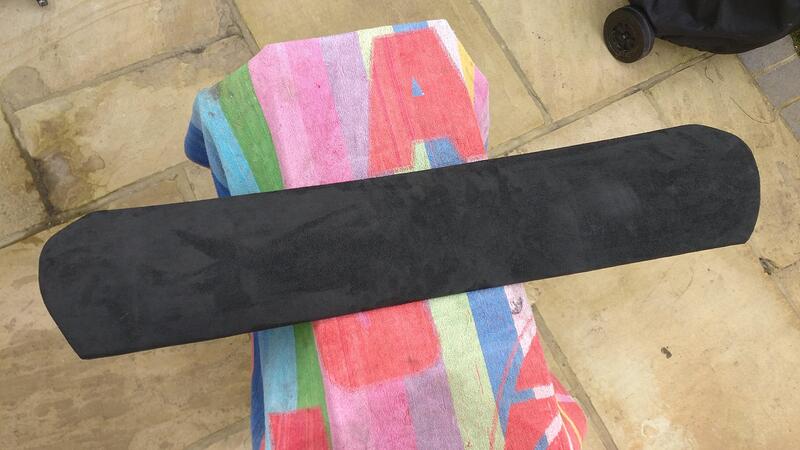
I placed the roof clamp onto the alcantara to get a gauge of where to cut.

Simple scissor cut and I had my material.

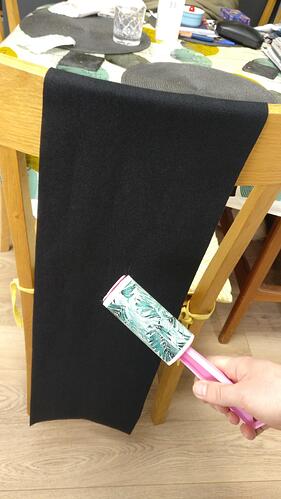
Due to cat hair (not mine, don’t like the buggers) I used a lint roller to clean the alcantara ready for the clamp.

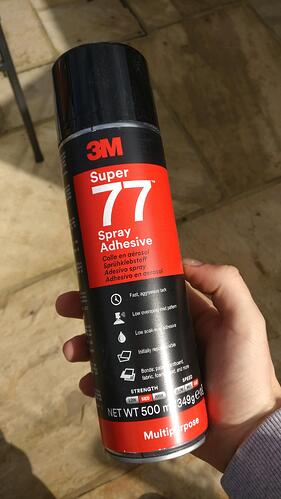
I bought this 3M adhesive, which apparently leaves very little wet residue which is important for this type of material as I don’t want a patchy finish.

It was quite a windy day so I set up my handyman in the little shed and applied a few sweeping coats of the adhesive, first to the underside of the clam before flipping it over and covered the top.

Rather than throwing the alcantara straight on I left the glue to go tacky to get better adhesion and also to prevent the unwanted wet patches as best as possible. I tested the tackiness with my finger to know when to go with the fabric.

I couldn’t hold the fabric and take a photo at the same time, but I let the fabric droop in the middle and gentle laid it down going outwards to avoid any kinks and folds.
As you can see on the fabric half is laying one way and the other is laying the other. This is because I laid my hands in the middle and spread them outwards to get the fabric lying nice and flush against the clamp surface.

I flipped it over and pressed the middle edges onto the clamp against starting in the middle and working outwards.

I then folded the ends over, making sure the side that inward edges (not against the windscreen) was neatest as this side is most visible.

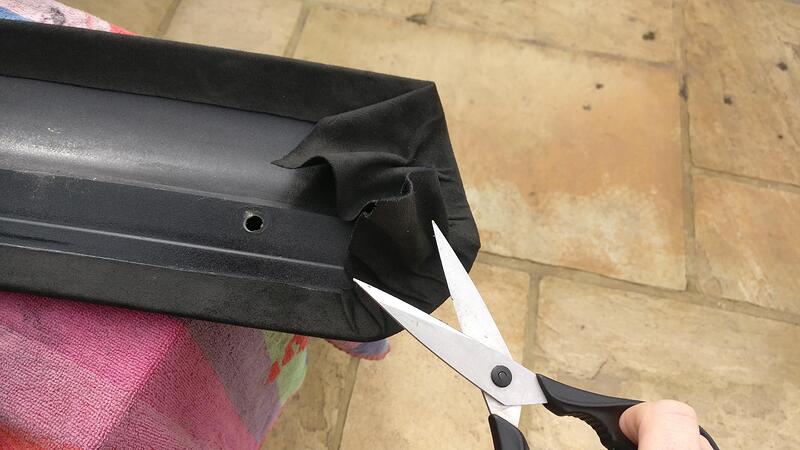
The excess fabric caused a fair few folds, which would need to be trimmed.

I just took the scissors and cut down the peaks on the folds. This took out the large folds but a few small ones remained, but these wouldn’t effect the clamps fit against the roof.

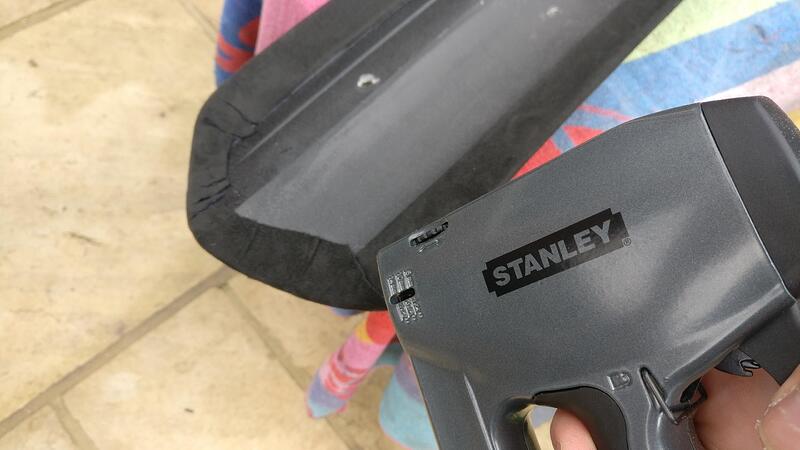
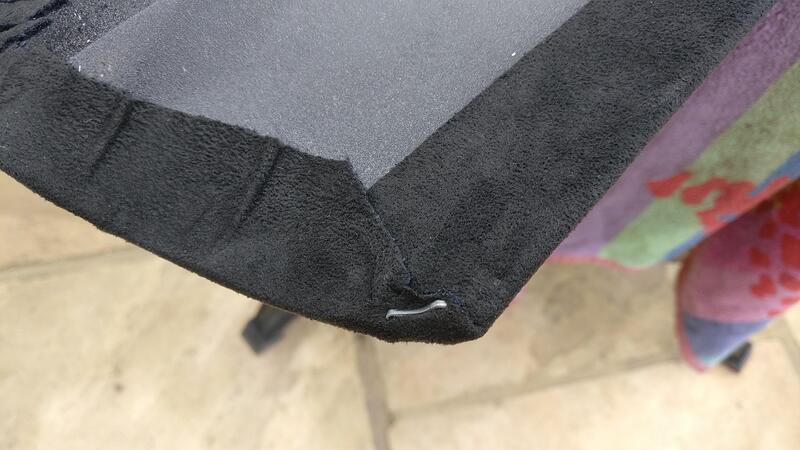
There was one little fold that was too small to trim but did stick up a bit, so I took a staple gun and added just one staple to keep the fold down. I wanted to get this fold down as it was the more visible side.

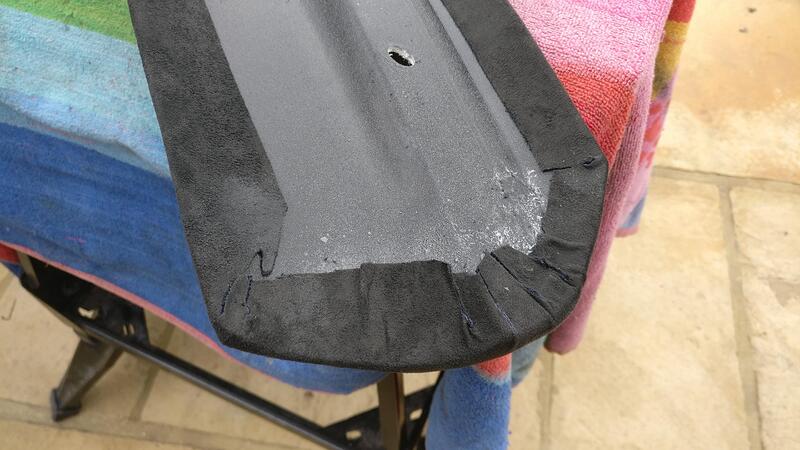
The second end I did was neater so didn’t need any staples.

The clamp was definitely getting there and looking good.

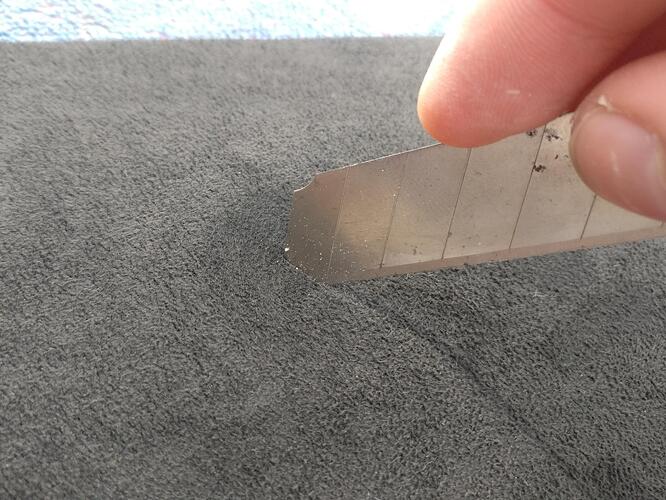
I needed to cut the fabric to allow for the fixing bolts to work. I took a stanley blade and poked a slice into the recess.

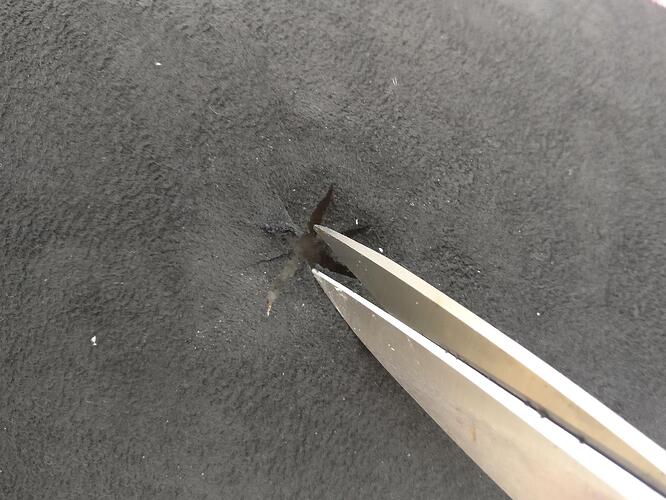
I then took some scissors to more accurately cut the fabric.

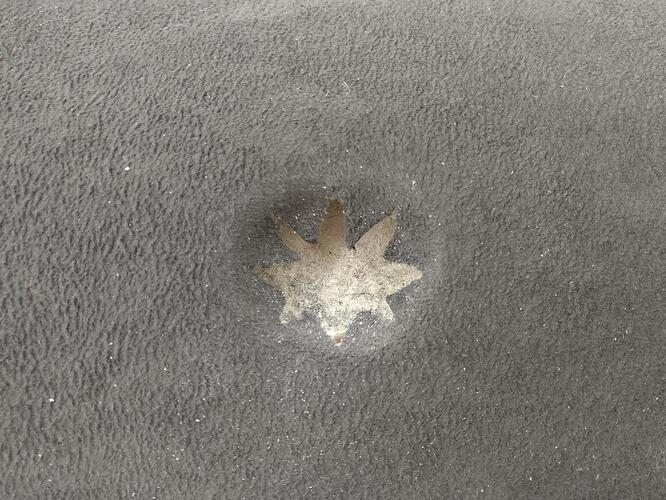
I cut 1/8ths and not quite right to the edge of the edge of the recess.

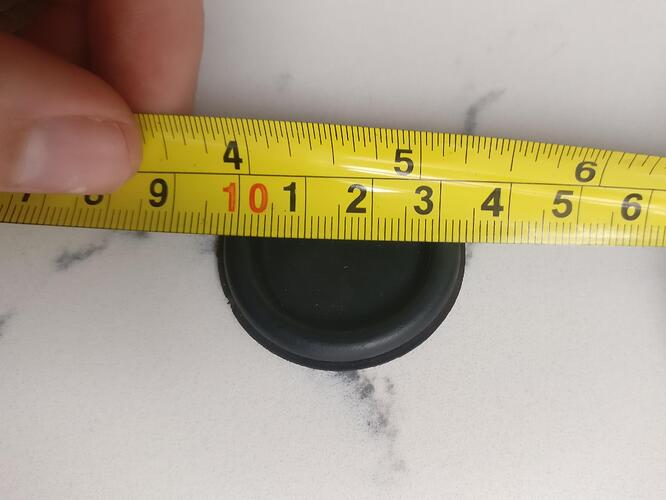
I will finish the clamp off with some rubber grommet bungs, but I needed to know the diameter. It was roughly 32mm and seemed to be a common size on ebay so seemed a good choice.

Lots of finger marks on it which makes it look a little mottled, but very happy as this was the first fabric thing I’d ever done. Fairly straight forward and the adhesive was very good and no residue marks. Will take a picture when it is finished and on the car with the bungs and matching headliner.

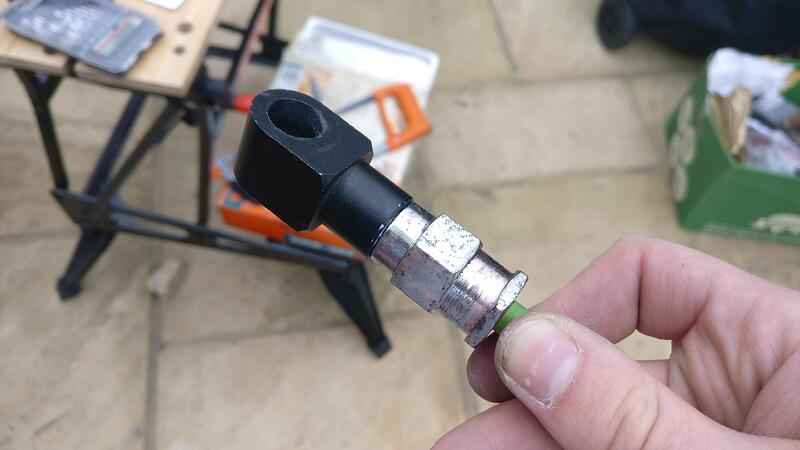
Another very quick job was to clean up the toe eye by removing the rust ready for powder coating.

Constantly open to the elements as I never took it off my car it had developed a layer of surface rust.

Quick wire disc on the dremel and it cleaned off the rust ready for paint.

Excellent results there. Looks spot on

Neat job :thumbup:

More interior/roof stuff sorting the headliner.

I noticed when sorting the foam for the headliner that there were a few blobs of rubbery adhesive that stuck out and meant the foam didn’t fit flush. I decided to grind them off a bit to get a better fit.

As I’d already shaped and cut out the foam it was time to add the alcantara to match the roof clamp.

This was done in much the same way as the clamp, where the foam was laid down and coated in a few fine layers of the 3M adhesive. I tested the tackiness as I went and found that because the foam is quite porous, a lot of the glue was going into the holes and not laying on the surface.

To counter the porous nature of the foam I decided to spray directly onto the alcantara to add that extra layer of adhesion. I was apprehensive about doing this as it would increase the chance of wet patches on the fabric, but it spread well and didn’t show through the other side which was good.
I then gentle laid the fabric onto the foam the same way I did with the clamp, letting it droop in the middle and then spread the fabric outwards to avoid air bubbles and folds.

I then took some scissors to cut out away the excess material, leaving enough to fold and wrap over the edge.

Like the clamp I cut little triangles out the fabric at the corners so it would wouldn’t overlap. This was the first corner I did and others were neater, but as the headliner kind of sits under the lip on the roof recess the edges would be mostly covered anyway.

I didn’t use any spray glue on the underside of the foam as I bought some with a sticky backing, so just rolled and pressed the alcantara onto this. I left the majority of the backing on as I’ll use this sticky backing to help fix it to the roof along with another strong adhesive on final assembly.

Overall happy again and ready to go onto the roof.

The dash piece on my car obviously had the Elise sticker on it, so this was peeled off to leave a blank panel. I was originally going to just stick an Exige sticker in place of the peeled off Elise one, but 23 years of sunlight had left the surface under the sticker a completely different colour, meaning you would see where the original sticker was under the new one. This is one of the main reasons I decided to flock the interior. With this decision I wanted to keep the Exige logo so made a plan.

I thoroughly cleaned the panel with white spirit ready for painting.

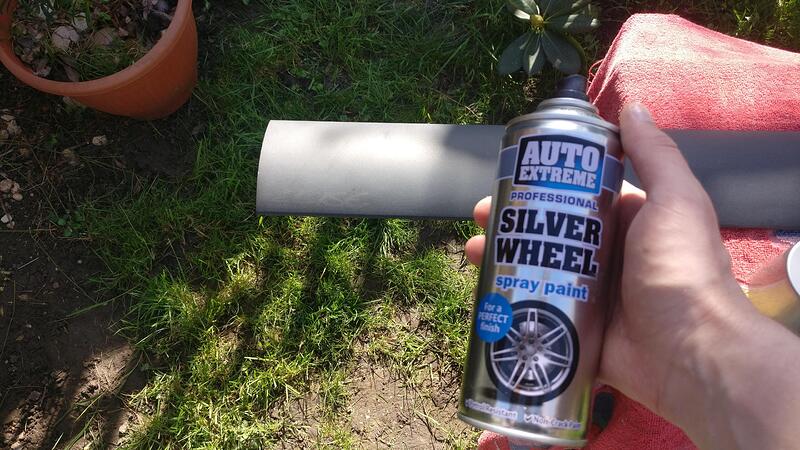
I bought some silver alloy paint as this had good resistance against water/petrol etc so shouldn’t need any clear coat.

I had made a note previously about where the original sticker was but forgot to take a picture of it, but it is basically 10mm from the side and bottom. I’d try to stick to this as best I could with the Exige logo.
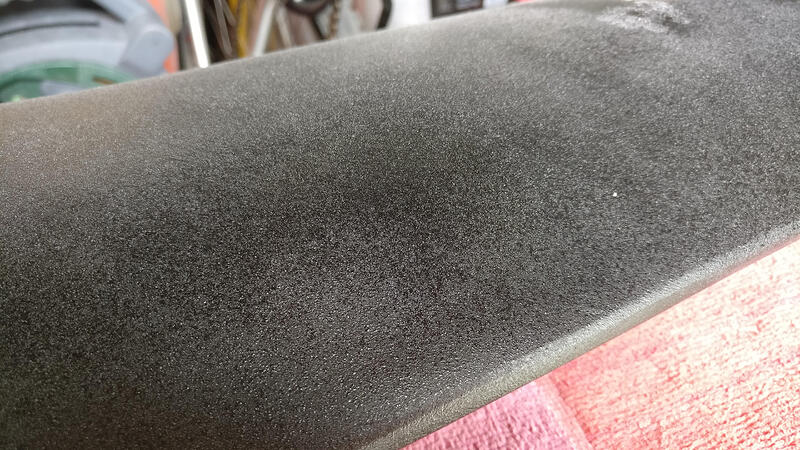
As you can see I built up the layers nice and gradual as I wanted to keep the textured look of the original panel.

It took many coats, probably 7 or 8 to finally cover the Elise discolouring, but eventually the end of the panel was silver.

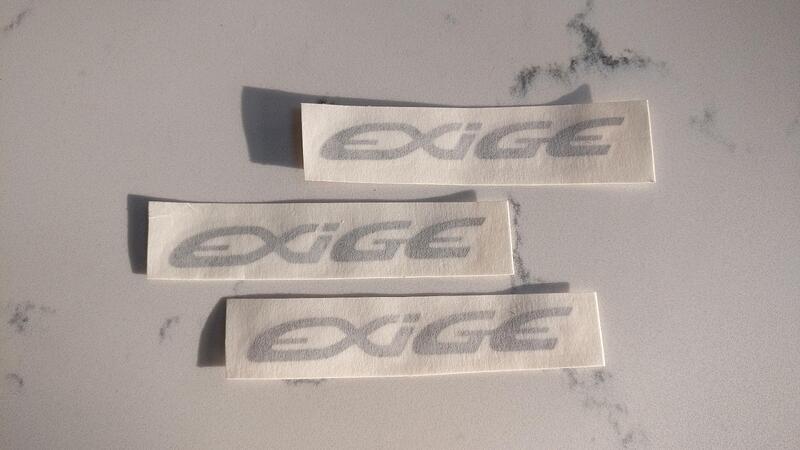
One thing that is handy about my skill set is being able to make things on the computer, making my own Exige logo to the exact dimensions of the OEM sticker.
They were so cheap to make I bought a few extra in case I cocked up or needed them for something else.

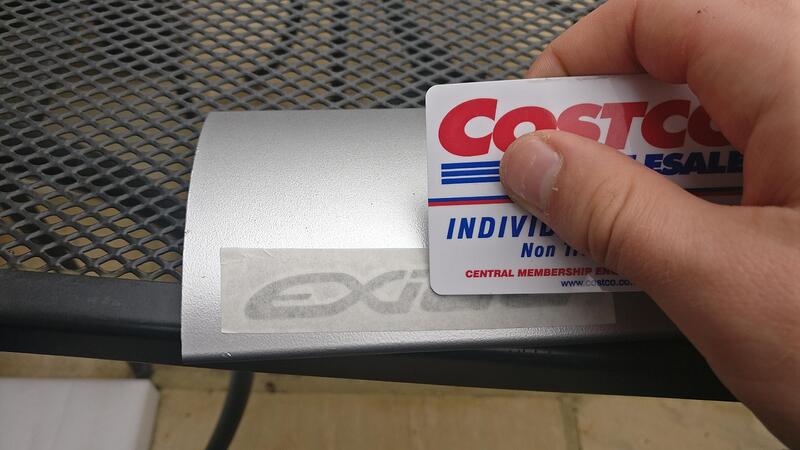
Really easy to apply, just pull the backing off, stick it down, use a credit card and peel off the top layer.
I didn’t bother using and tape line it up as it is a small vinyl so was easy to position.

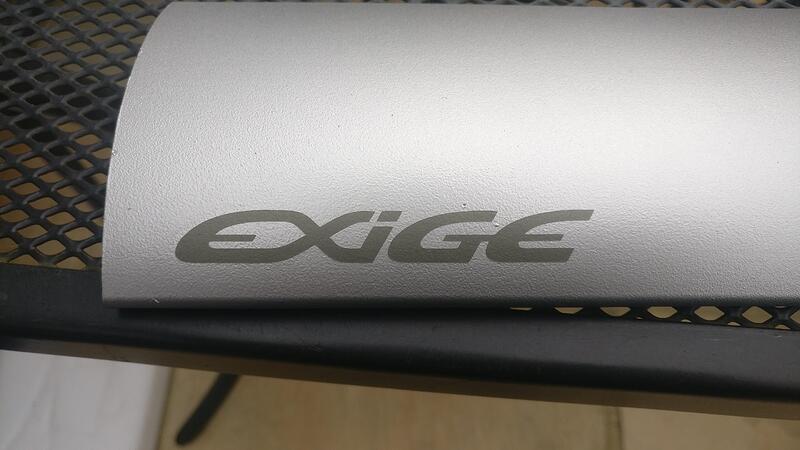
I also didn’t do much measuring to get it exactly where the original went because there were a few small blemishes in the paint that I didn’t want to be seen in the logo. These can be seen above the G and between the G and E. I positioned it so it just missed the blemishes but still kept the 10mm from the bottom and as close to the original as I could. The whole panel will be flocked and then when the stencil is removed it should show the silver paint underneath, the flocking hiding the blemishes in the paint. I’m excited to see what it looks like once it is finished and should be fairly unique to my car along with the other bits I’m getting flocked.

The rubber bungs I ordered didn’t fit which was quite annoying.

I bought 32mm bungs, thinking it would plug a 32mm hole, but seems the measurement came from the centre of the rubber, so they are 4mm too big.

I think they’ll look good when I buy the correct size, 28mm should fit nice and snug. At least they’re cheap.

The pain in the a… is that the dashboard panel was painted with Senotex paint and as far as I know
the only one that still has it is Elise Shop…

Kind regards

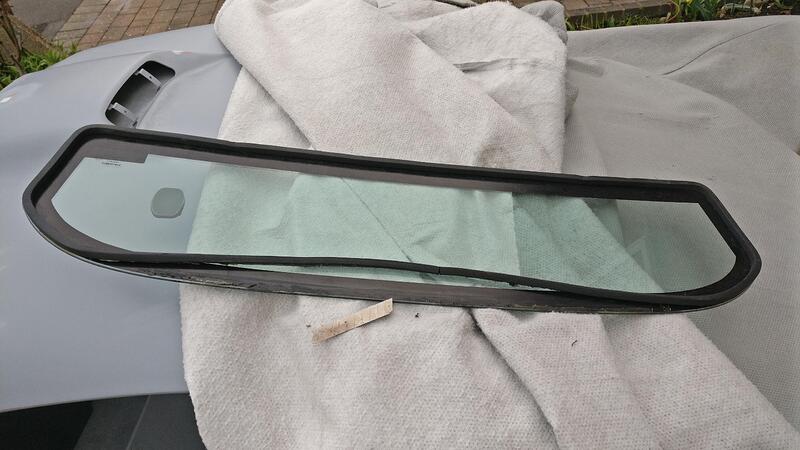
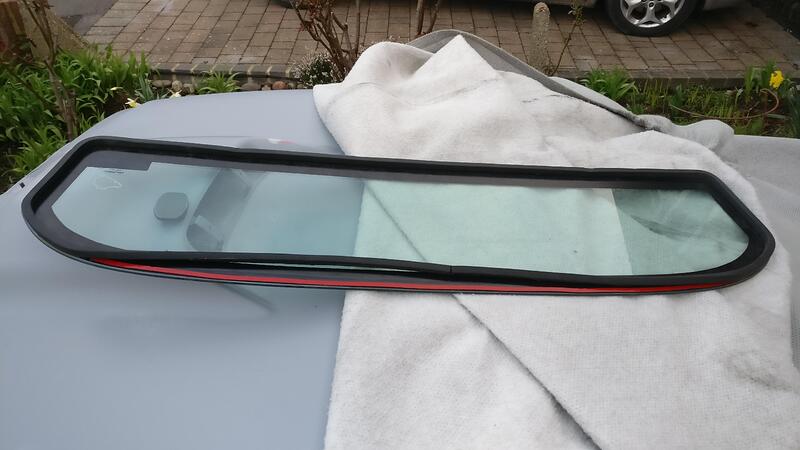
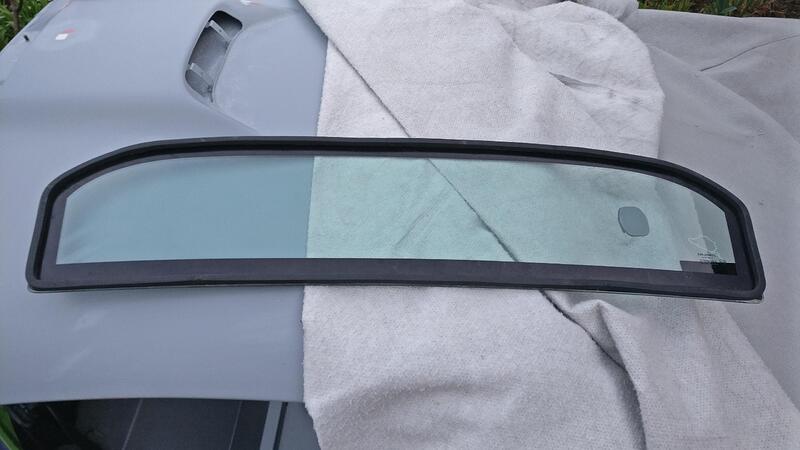
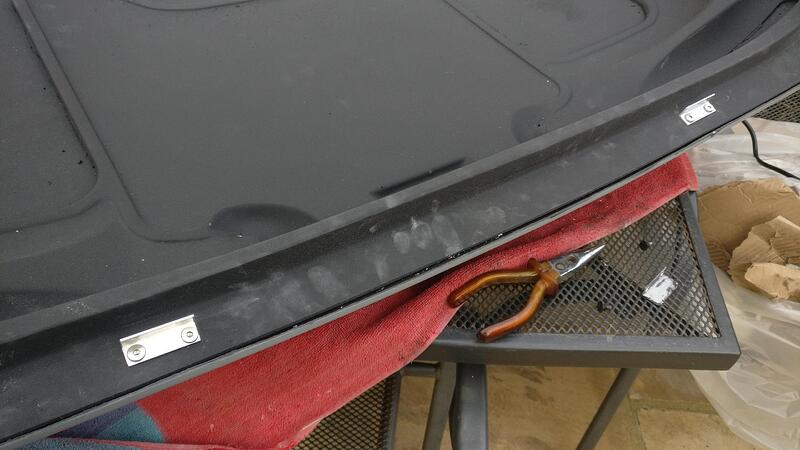
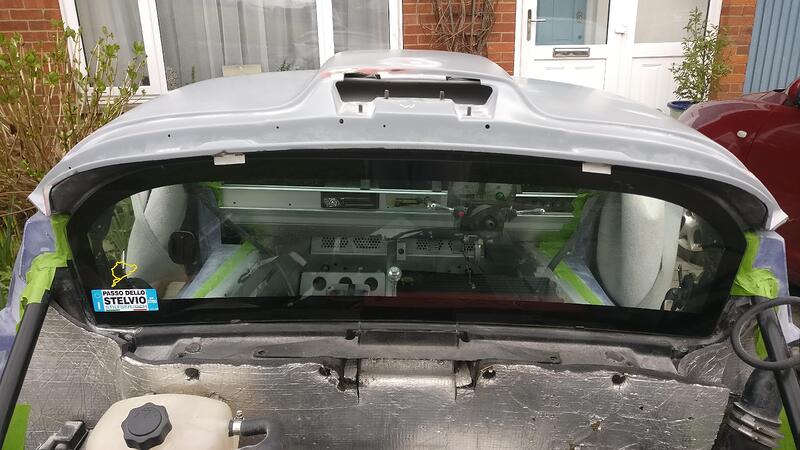
I needed to sort the brackets for the rear screen, so I got it out of storage and noticed the rubber trim had come away from the glass a bit.

It had come away along the top edge.

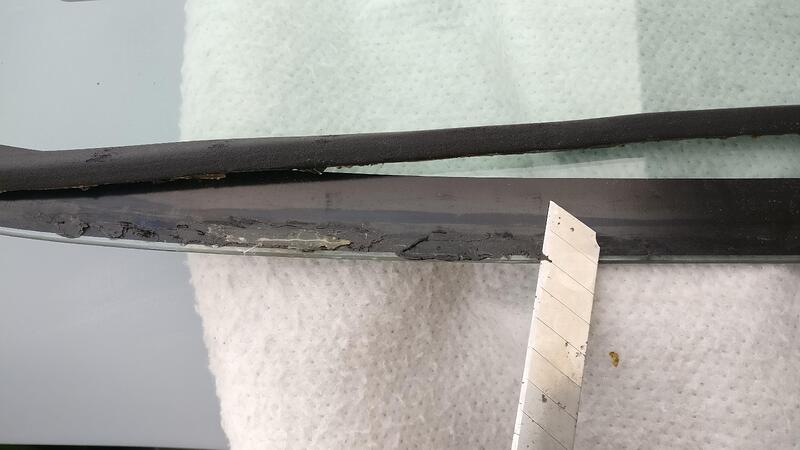
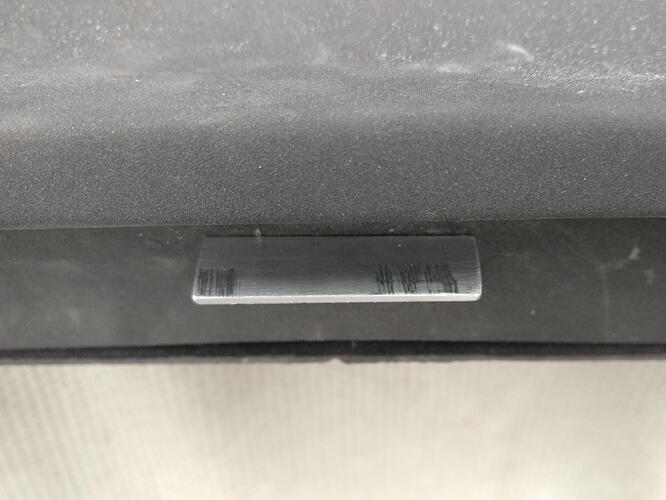
I took a stanley blade and ran it carefully along the glass to get off the old adhesive and rubber that had been left behind, leaving a clean surface for the new bond.
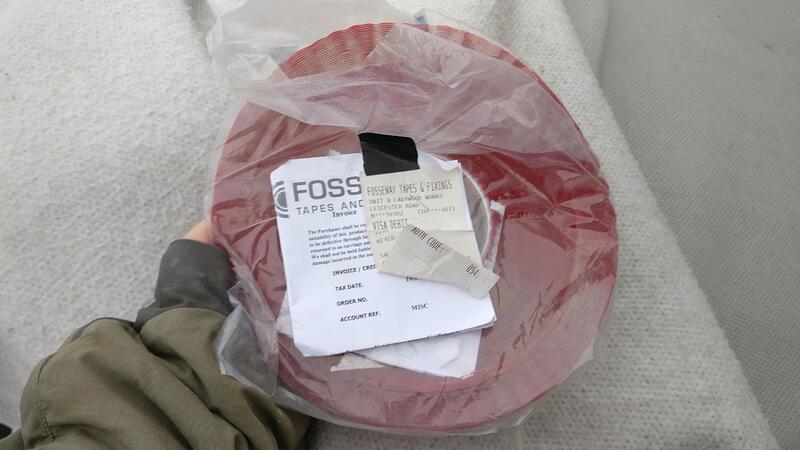
I used this super sticky tape by Fosseway, which I’d used before to stick the carbon side scoops on my Elise clam and the front numberplate, it is very good tape.
I applied a strip across the top where I had scraped the old crap off. I pressed the trim onto this new adhesive and made sure it was all secure.

It formed a strong bond and does hold the trim in place well. Once it is on the car the trim is pressed against the rollbar so doesn’t/shouldn’t move, but good to secure the trim properly.

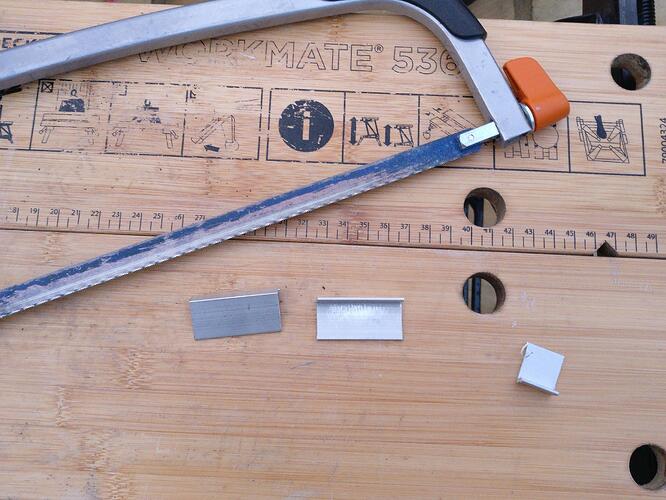
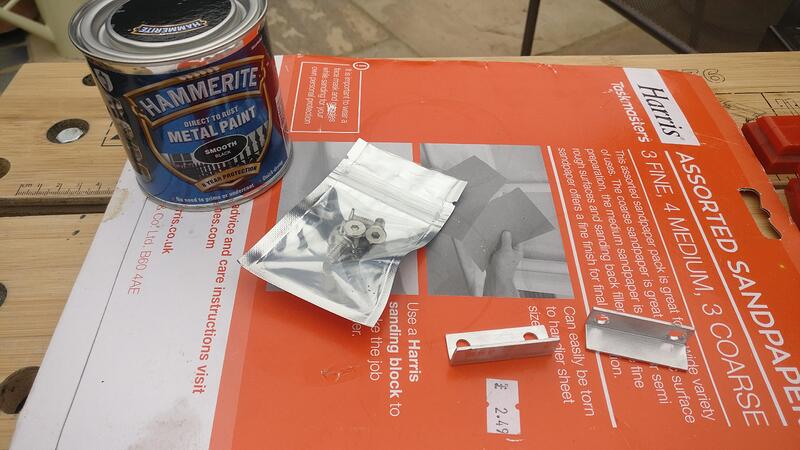
I had originally tried to buy the rear screen fixing brackets from Deroure ages ago but it took so long (I’m talking months) and they still never showed up so I gave up and made my own. Also the fact they were £12 each plus VAT and delivery put me off.

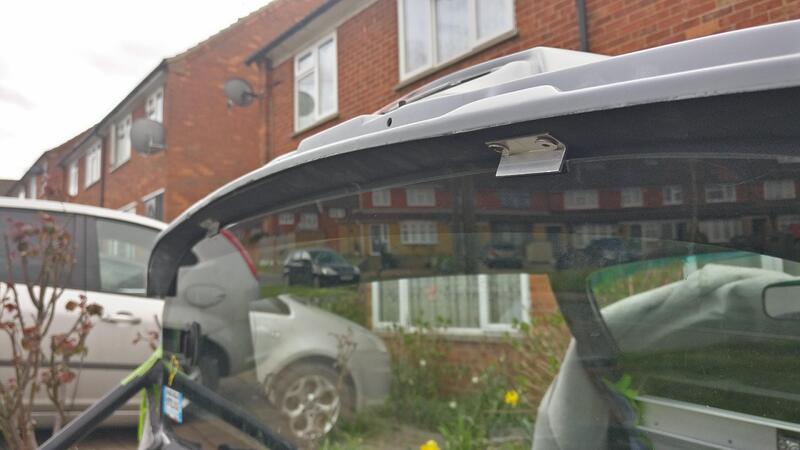
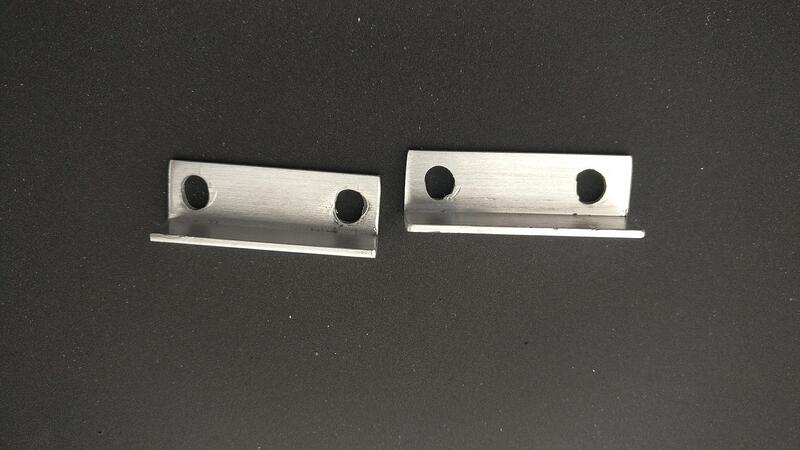
I got an angled piece of aluminium 10x10mm (which cost 99p from ebay!) and cut it at 40mm intervals. I then measured the distance of the pop rivet holes in the roof, which were 30mm, then drilled the brackets to accept the fixing.

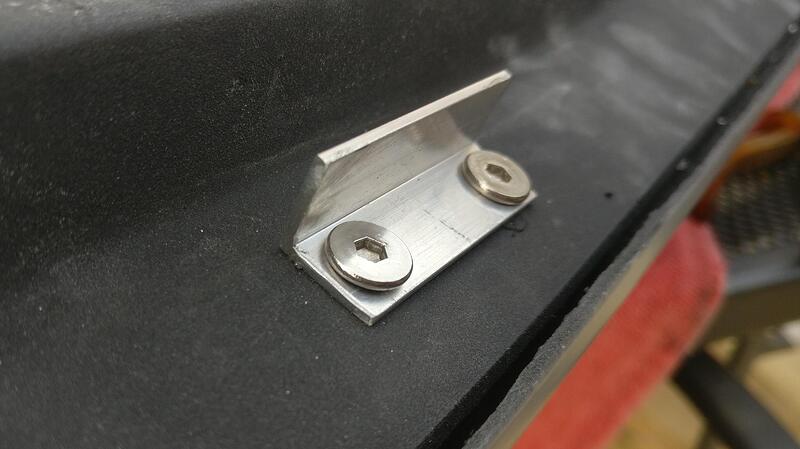
These should be pop riveted on, but my rivet gun wouldn’t fit down the side of the bracket to allow for it to secure it tightly, so decided to buy some flat head M5 bolts.

I drilled/opened up the rivet holes in the roof up to around 4mm so the M5 bolts had material to grip to. The fixing was nice and secure.

After a test fit I found the brackets were very right against the glass, but they worked well at securing everything.

To ease some of the tension I opened up the holes in the bracket to give a bit more clearance.

This fit much better and wasn’t such a struggle to get the window on.

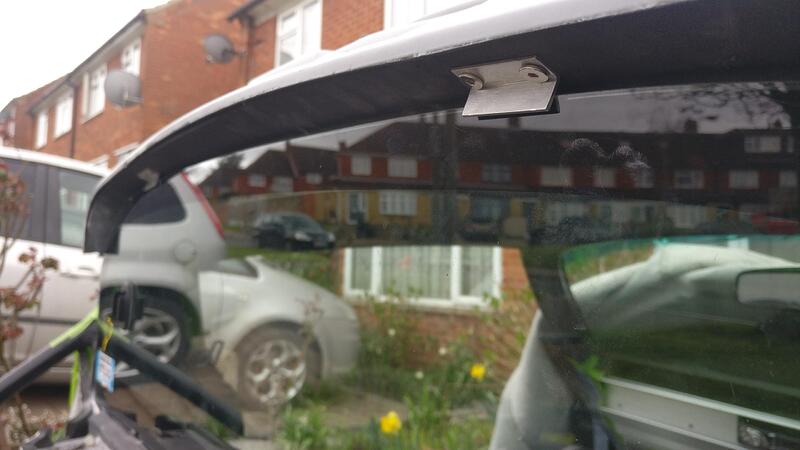
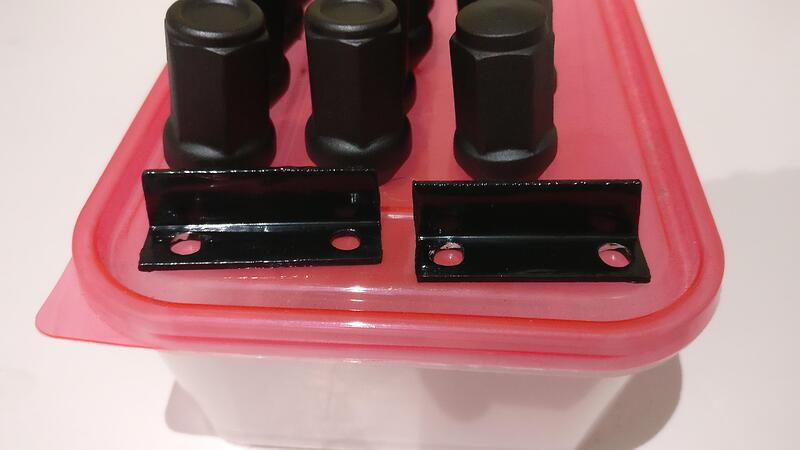
The brackets are still a little tight and being soft aluminum they scored a bit against the glass. They also stick out a lot being silver in colour against the black of the window. A layer of paint would hide them better and protect against the scoring.

I usually prefer matt or satin finishes for small components, but because the surround of the glass looks gloss, I decided to go for some smooth Hammerite.

The gloss should go well with the glass surround, and I painted the bolt heads too. Will see what they look like on final assembly

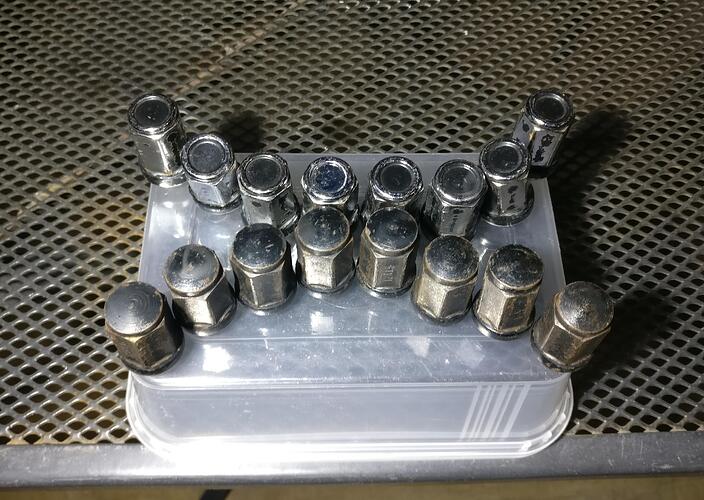
To avoid scratching my wheels as best as possible I use the smaller 17mm wheelnuts, this mean a smaller socket (I use the plastic sleeve ones) and more clearance in the recesses.

Like most Exige wheels mine are matt black, and rather than have silver or gloss wheelnuts I wanted them matt as well to hide them. I always prefer hiding the small things rather than making them stand out.
I also noticed that there are two types of nuts, one domed top and one concave, the domed having kept the original paint better. My OCD will mean that I’ll have to match the nuts on the wheels front and back.

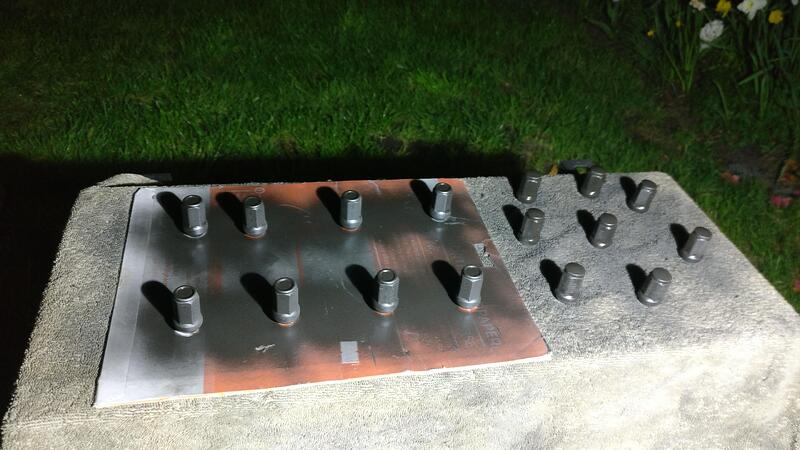
I was tempted to use the same Hammerite to paint the nuts as it is a hard wearing paint, but would then leave the gloss shiny finish I didn’t want. I do have some matt clear coat but I don’t think I have enough to cover all of them, the can feels very light. So I decided to use a matt black spray can I bought to sort something else, and hopefully it is hard wearing enough to withstand the socket marks.

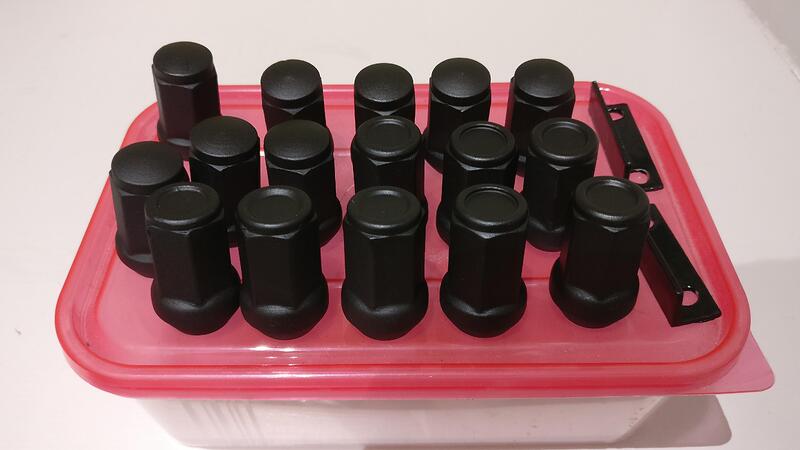
All dried and cured, happy with how they look. Will have to see what they look like after they’ve been taken on and off at the body shop, as I’m sure they won’t be as gentle as myself when using a gun or socket, and my track wheels have a smaller but recess than the Exige wheels.
If they scratch/chip and look crap I’ll have to use the Hammerite and hope I have enough matt clear coat to cover them all.

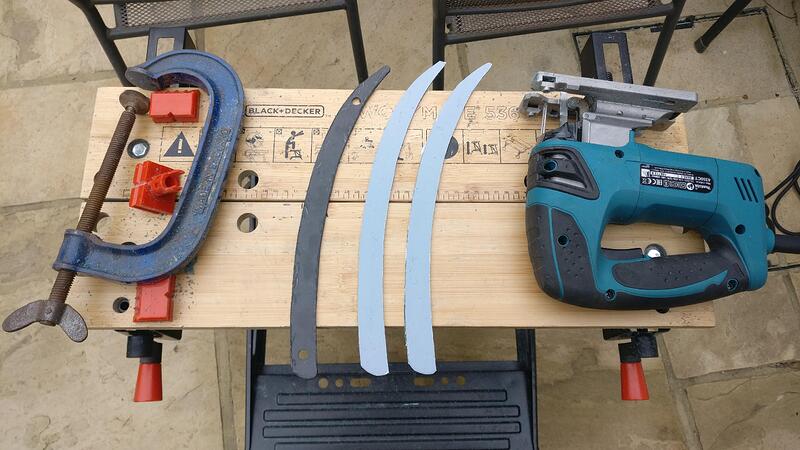
I had to make up new inserts for the front clam side grilles.

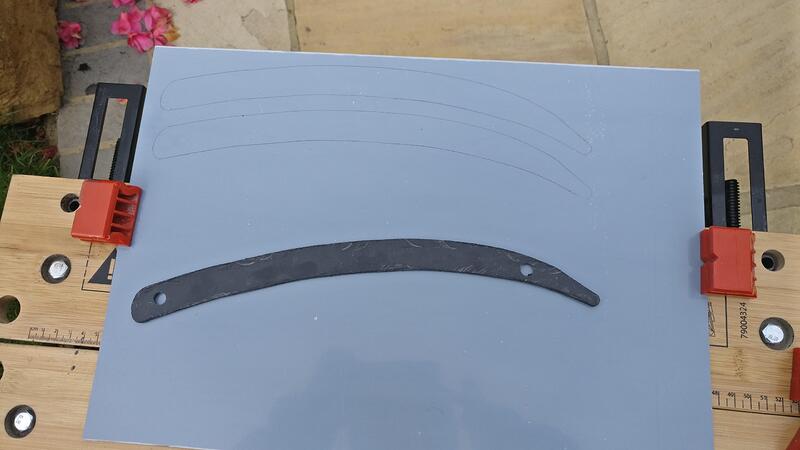
I bought some 3mm thick black perspex and used the original holed insert as a template to get the cut lines.

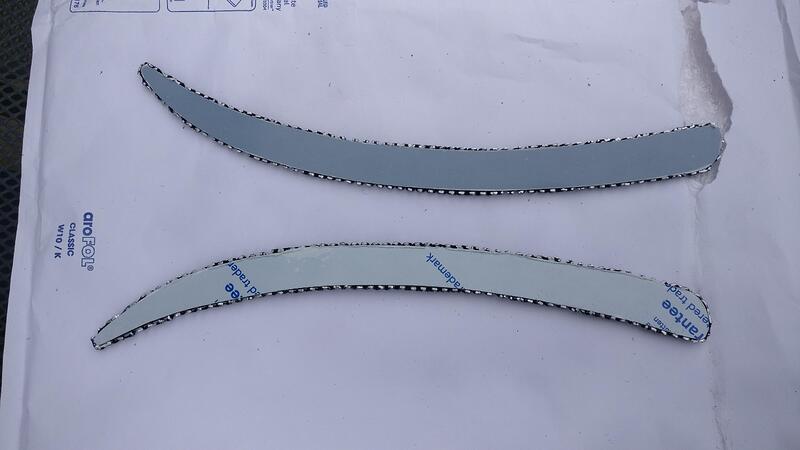
I used my jigsaw to carefully cut along the line to get an exact match with the original.

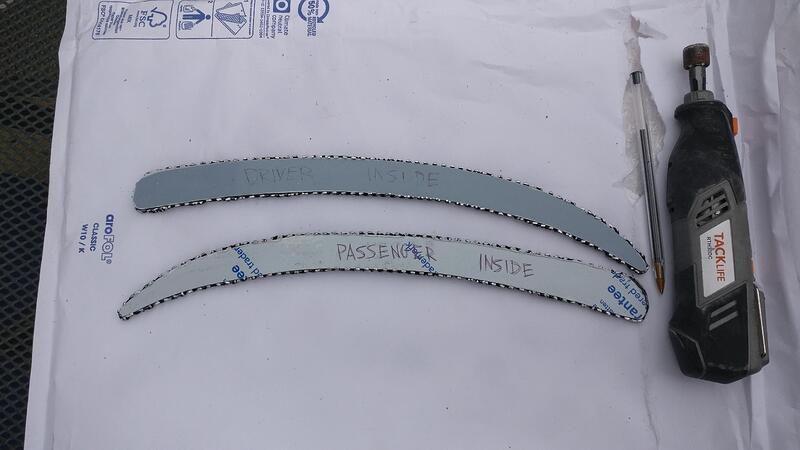
I then took some sandpaper to finesse the edge. I took a tiny bit more off the middle of each insert as this was where the original was tight when placed in the recesses.

With the inserts now slightly narrower the mesh needed a bit of reworking to get it folded and tight against the edge. I also took my dremel with sandpaper wheel to grind down the bottom edge of both meshes to get them to fit into the recess a bit better due to the curvature of the gel coat.

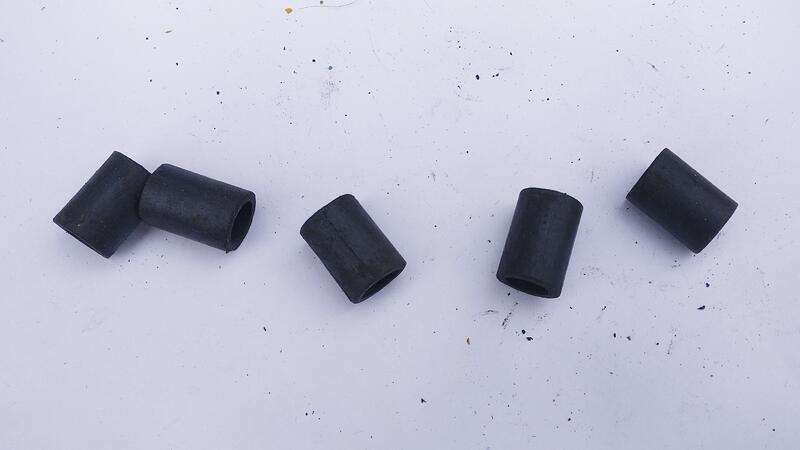
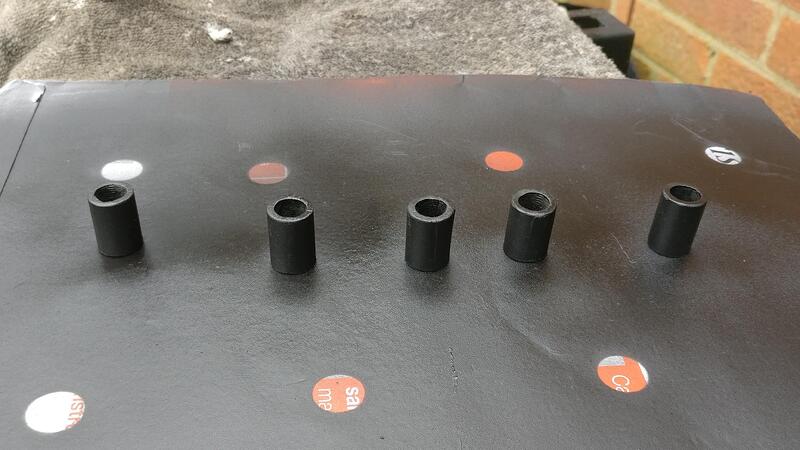
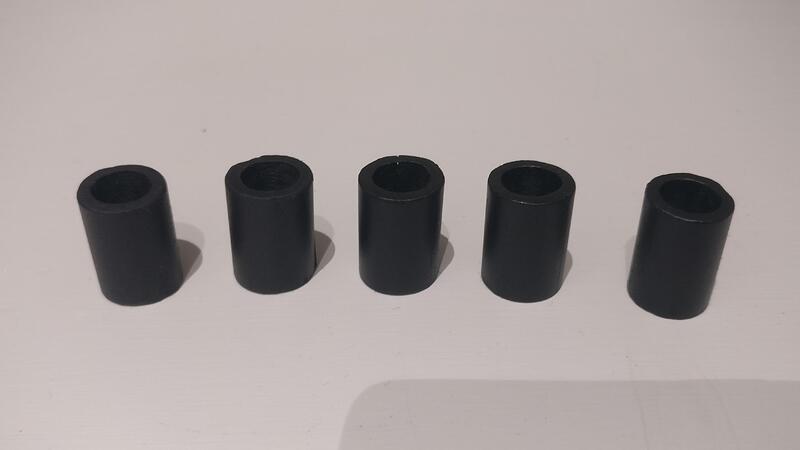
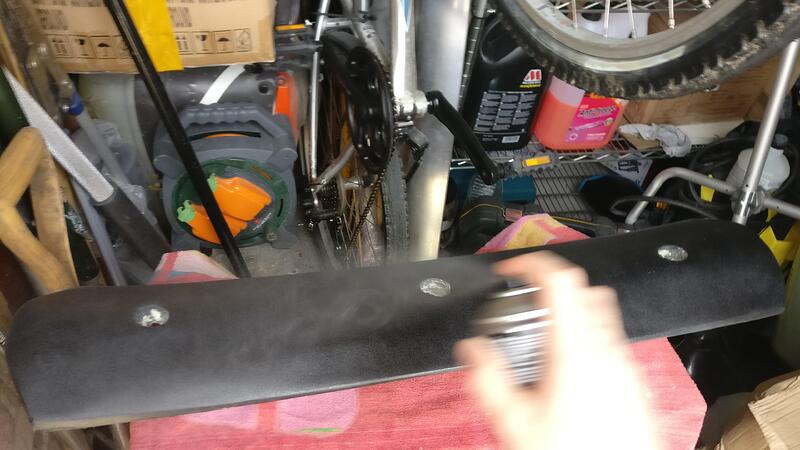
Things are getting silly now, decided to clean up my diffuser spacers.

They were fairly grubby so cleaned them up with white spirit ready for paint.

Matt black and ready for final assembly.

1 Like

There cannot be too many bits you have not tidied up on here!