S1 Exige Conversion

I had almost forgotten about the bother bits of bodywork I’d have to sort, being so tied up with both clams.

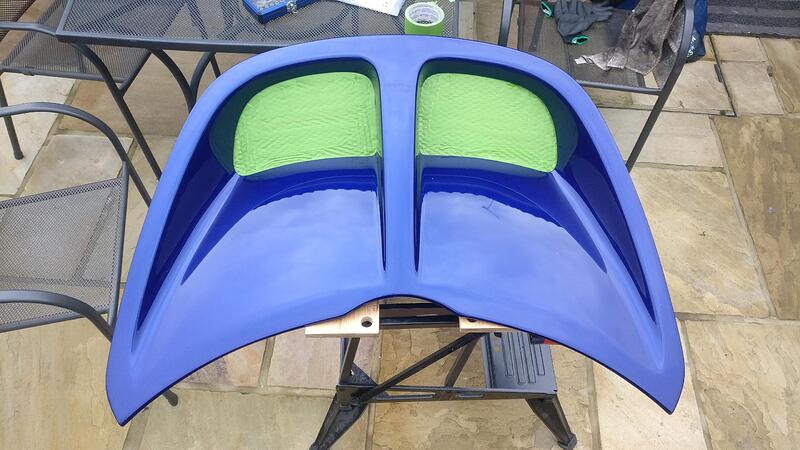
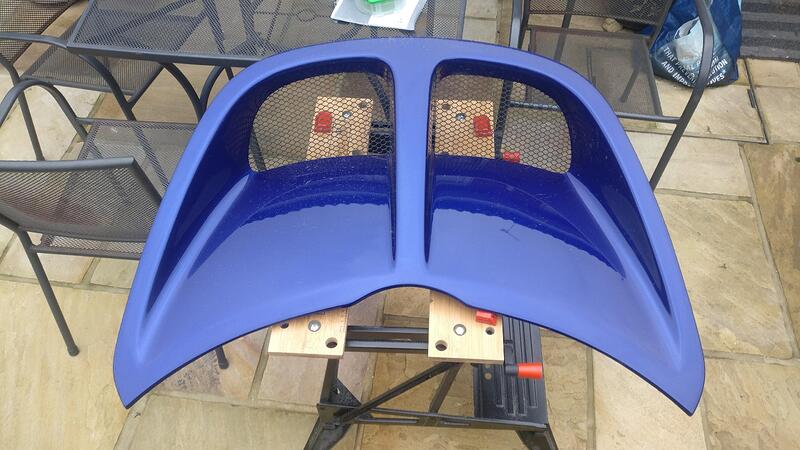
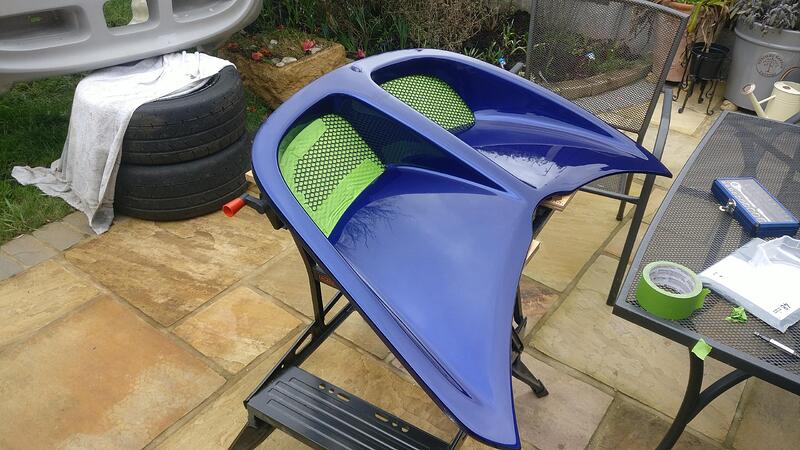
I started with the bonnet as it was already off the car.

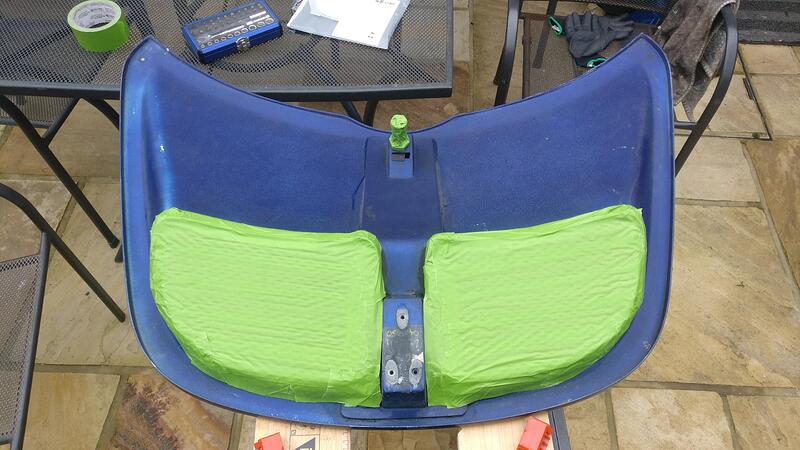
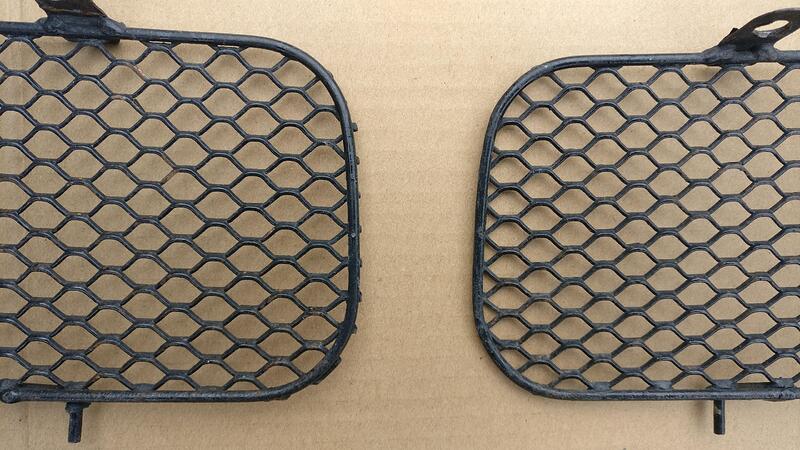
Taping up was relatively easy other than right up to the edges and under the lip to cover all of the grilles. The grilles are in really good condition and so don’t need any spraying or refurb.

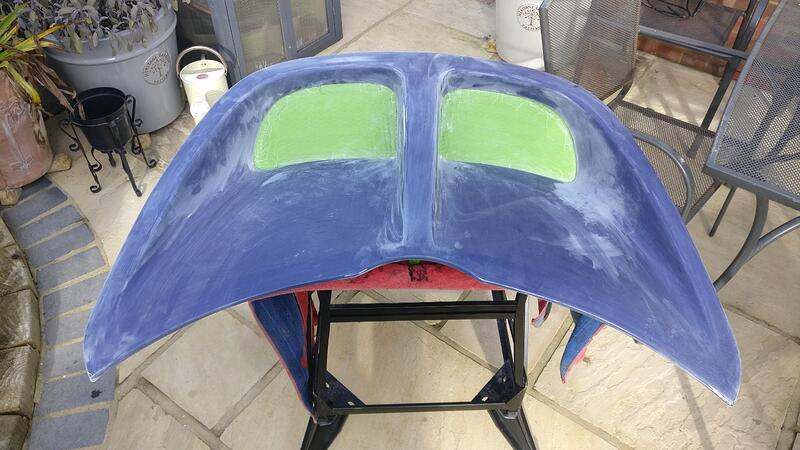
All taped and ready to sand. There are a few stone chips that will need filler but most will be covered by primer.

I also taped the under side and will ask for this side to have a spray of base coat (no primer) to hide the respray.

I sanded with 320grit to get the key needed for the primer to grab hold.
I also need to key the doors and sills but it is much easier than sanding right back.

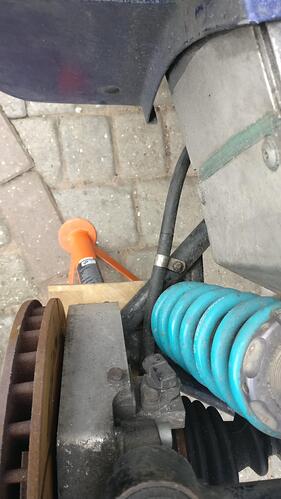
Due to the larger width Exige wheels along with the 255 rear tyres, they came very close to rubbing against my handbrake. I decided to create a bit more distance between the two.

Here was the before. There was probably only a few mil between the wheel and cable.

After loosening the 10mm nut in the bracket I twisted it and then tightened it back down.
It is a little more kinked than before but I’m confident it won’t affect its performance and getting the clearance was more important as I leave the car in gear on any type of gradient.

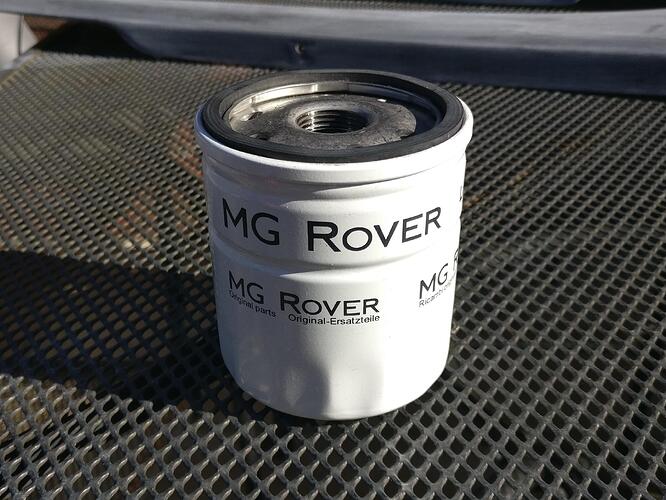
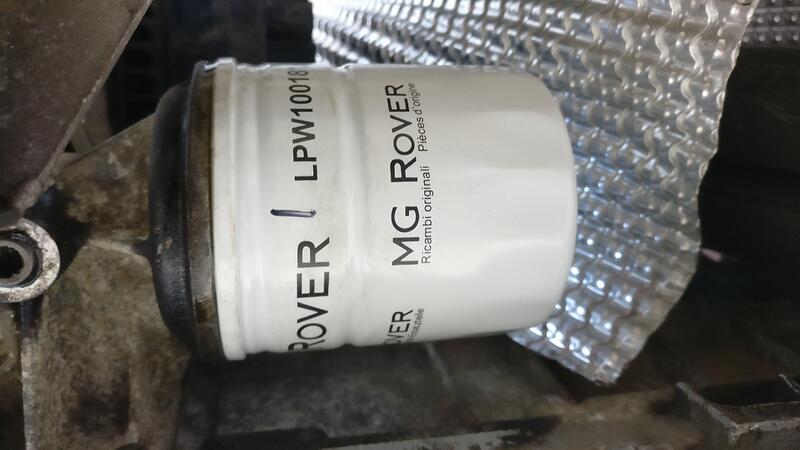
To complete the exhaust manifold swap I had to get a new oil filter as I decided to go to a thicker oil.
I bought a new 5l bottle of 10W50 to replace the 10W40.

I didn’t get anything fancy and just bought a £5 Rover part.

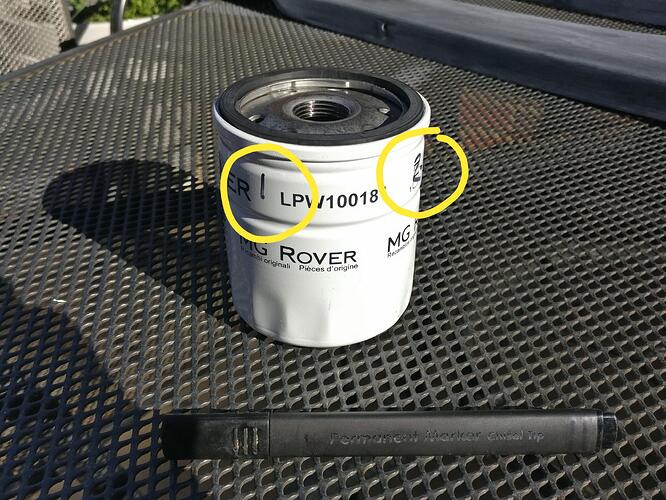
I noticed it didn’t have any indication marks on it to help with the install tightness, so I marked 1 through 4 at each 90 degree mark.

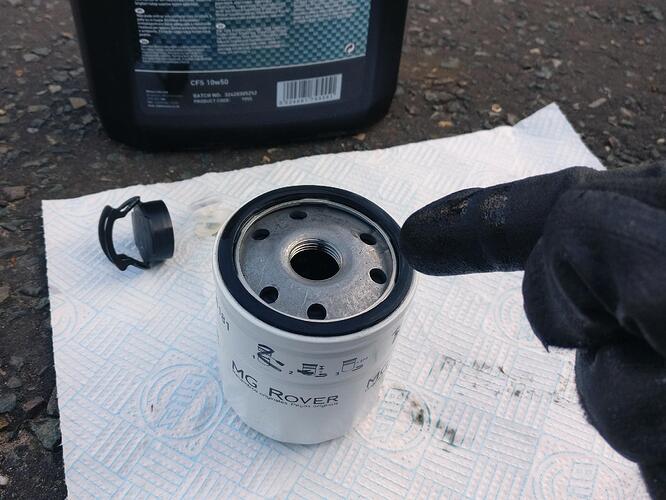
I lubed the rubber gasket part with the new oil before hand tightening it onto the thread.

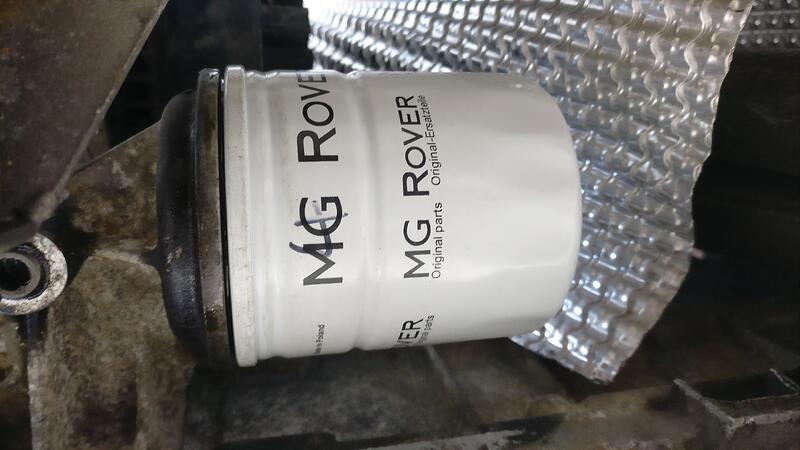
Once it was snug I noted the number on the filter, this time it was 4. Once snug you then have to rotate it another 3/4, which is where the numbers come in.

In my case the final number I had to rotate to was 1. It is important not to over tighten them. Most filters seem to have this number system already on them, but it is a bit of guess-work to decide when it is ‘snug’. You can see between the two images the rubber has been compressed but not squeezed to death.

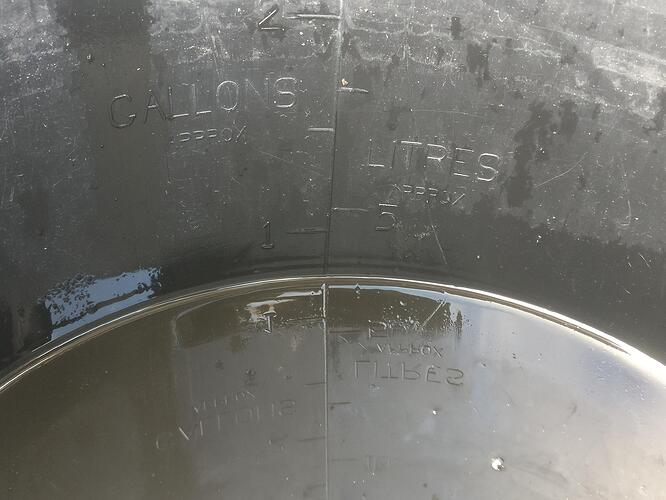
I noted the amount of oil that was drained from the engine at about 4 litres, so this is what I would put back into the engine.

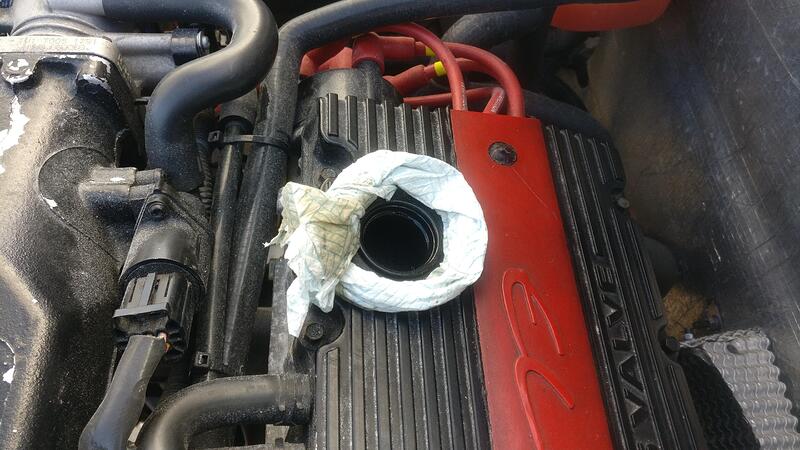
I always do a little tissue ring around the oil filler to catch any spills.

The car took the 4 litres and I fired it up to circulate the new oil and saturate the new filter. I was a bit concerned when smoke poured off the engine and manifold but confident it was just excess oil burning off the surfaces. I let it get to temperature and gave it a few blips to hear what it sounded like. I can’t really tell much of a difference which was good but on tick over it might be a tiny bit quieter. I kept it running until the smoke finally stopped, which should also have been long enough to cure the exhaust paste too. After all this I checked the oil again, where the level was perfect.

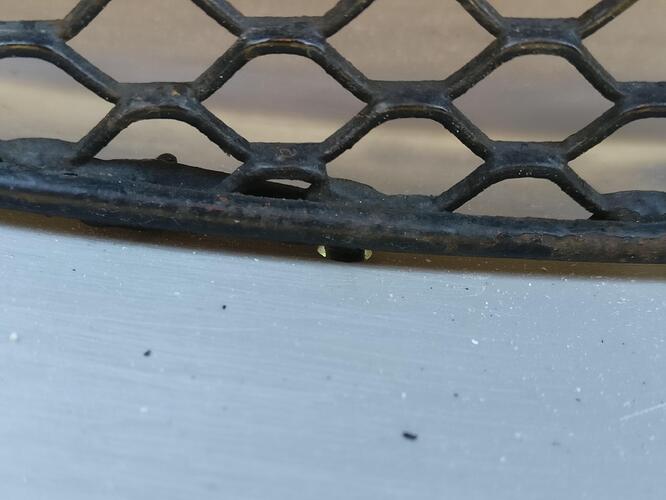
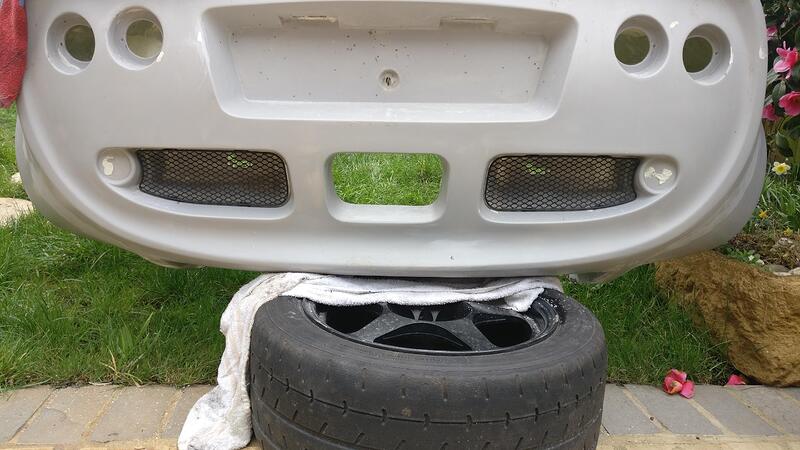
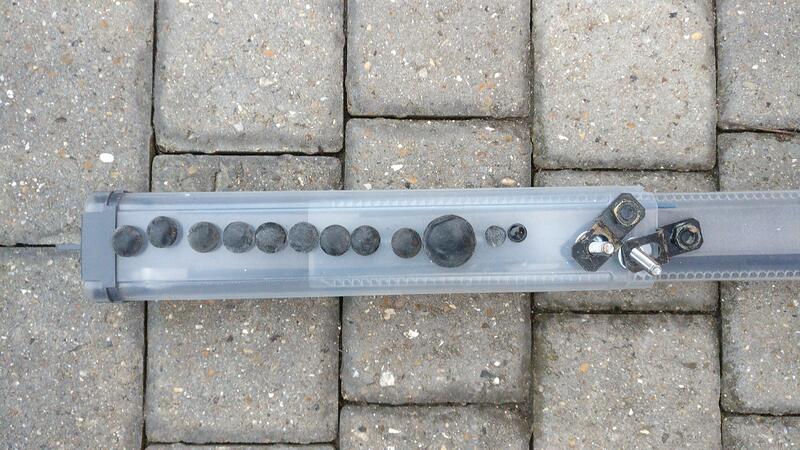
All genuine rear clams have these little packer items to raise the rear grilles up off the clam.

My clam obviously didn’t have any so I had to sort my own.

You could leave them off and just have a hole, but personally I think the gap around the fixing pins looks crap.

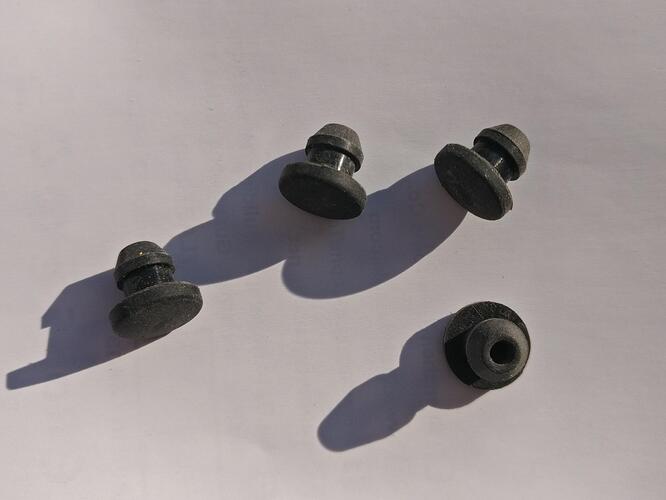
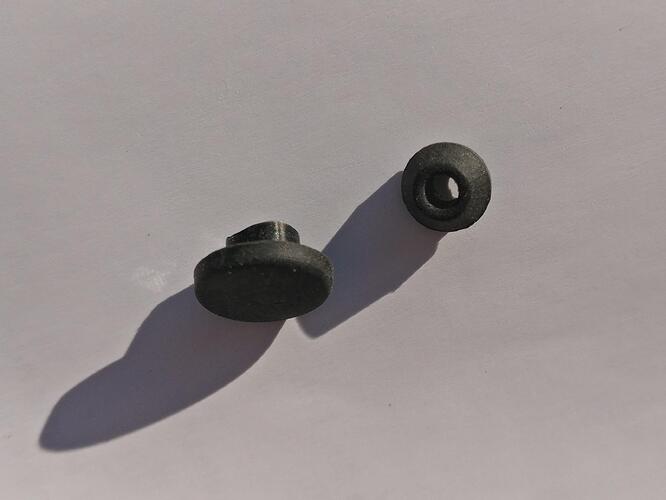
I sourced these small rubber bungs to do the same job.

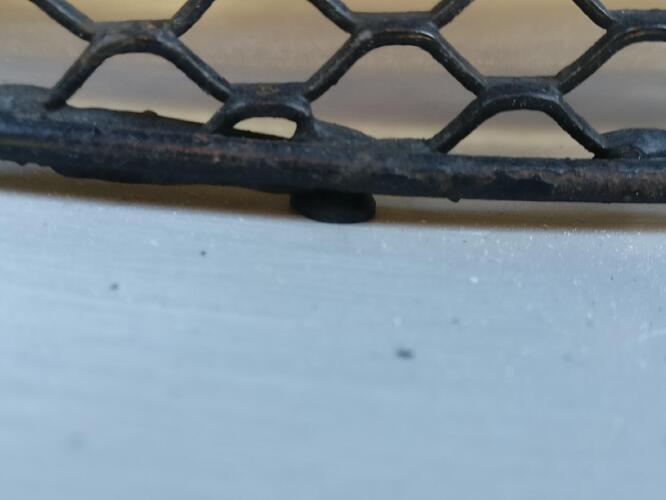
I originally tried to push them through the underside of the clam, but being soft rubber they just wouldn’t do it. So I cut them in half and would just slide them onto the fixing pins.

So much better than before and keeps the grilles up from just resting on the clam.

I definitely didn’t have to do this stage, but looking at the grilles again made me realize I could improve them. I took my dremel and ground the extra material down so the outer edge was much neater. These will get a fresh coat of paint when putting them on the finished car.


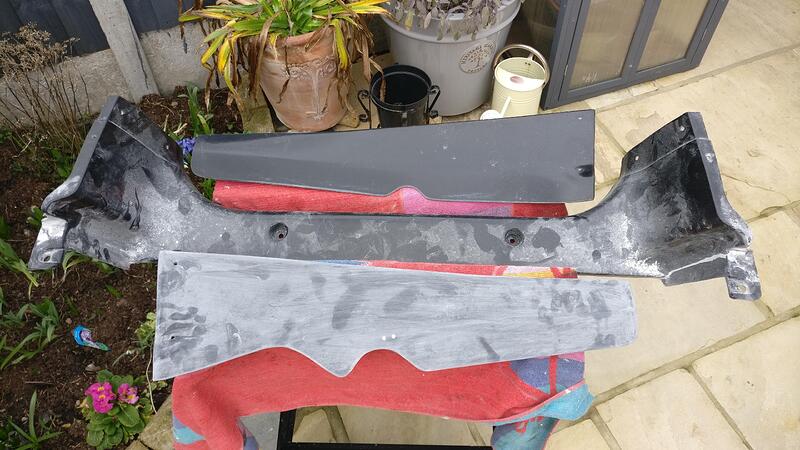
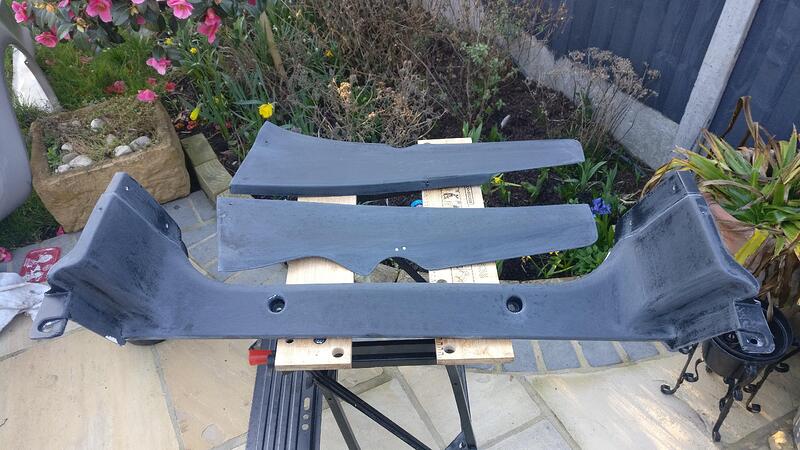
Along with the bonnet, doors and sill, there were are few other bits that needed sanding to be prepped for primer.

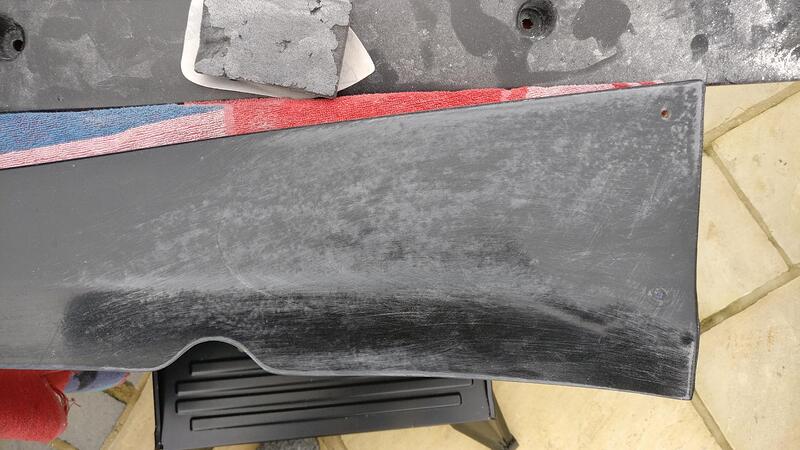
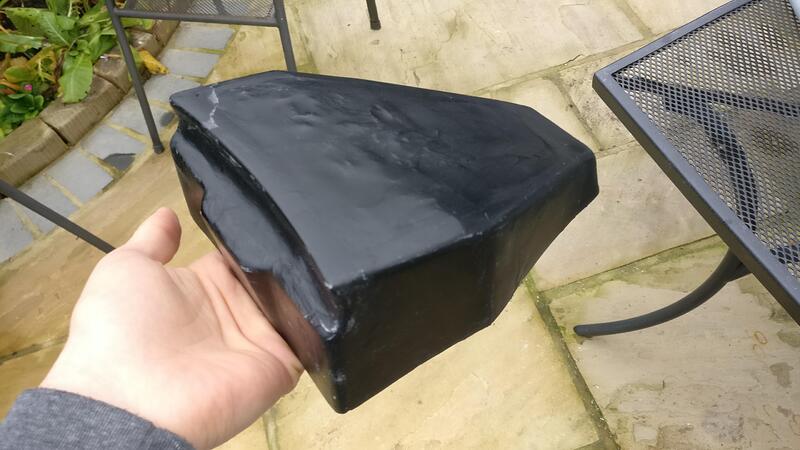
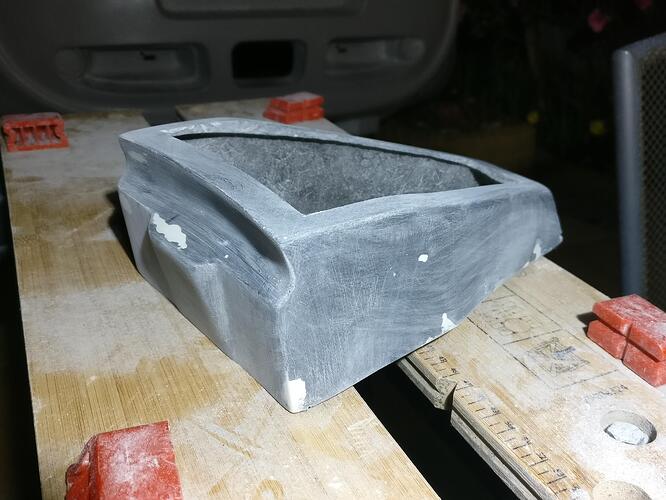
The engine bay finisher panels needed the surfaces keyed so I took some 240 grit and gently went over them. The 320 grit was taking far too long and I was told 240 would be fine, especially as I was doing it by hand.

Not only did the surface get keyed, it also took out the high spots and left a better surface afterwards, so a win win.

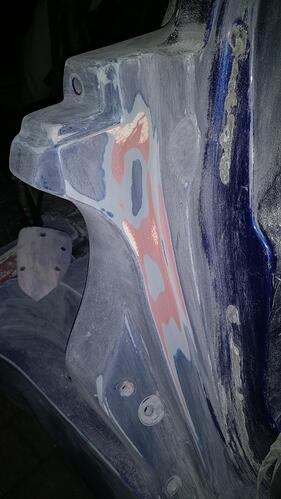
Ready for primer. A few areas needed a bit of filler to take out the low spots sanding wouldn’t, but everything is nice and flat.

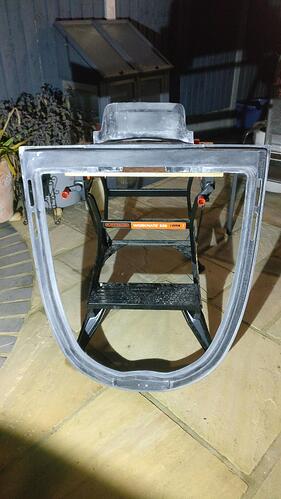
I also sanded the engine cover frame down too and filled any imperfections. The frame is less visible than the finisher panels so didn’t spend as much time getting them perfect, but should still look great once finished.

You must have spent hours hand sanding?

You have no idea! All of it has been by hand except for the dremel bits :sob:

Steady progress!

Hoping for a big push in the next week or so. Work wants everyone to take 5 days off between now and end of April so will set a few aside to blitz through the car and get it (mostly) out of my hands.

When it does go to the Bodyshop I’ll likely have to run down the primer etc to get the ‘mates rate’ so I won’t be completely free from it, just a pain it is 30 miles from where I live with lockdown.

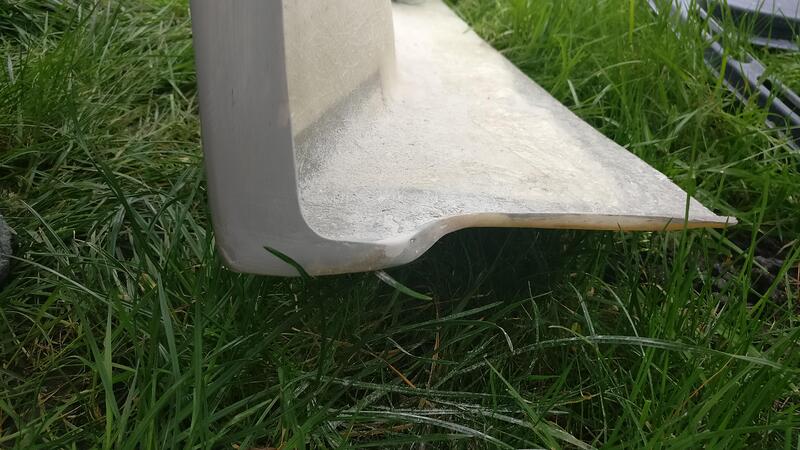
Been slowly but surely finessing the rear clam while it is off the car. The main area of focus has been neatening up the edge and correcting any inconsistencies.

The main surfaces I’ll leave for the body shop, but I think the edge and inner surfaces may not get the same attention.
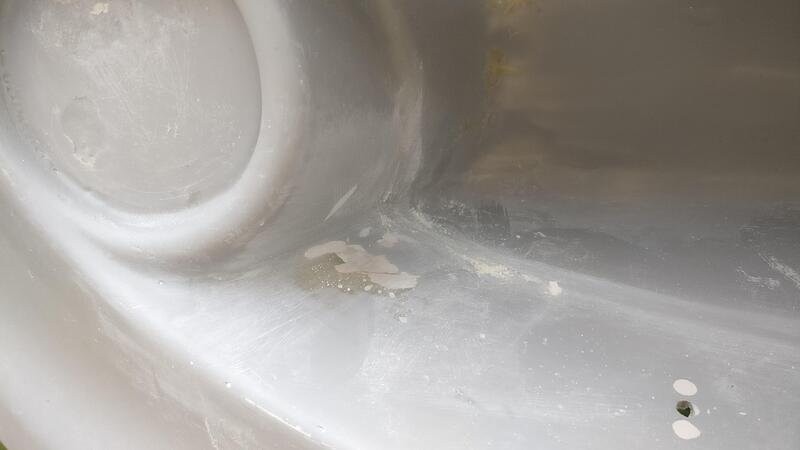
I took out the high spots and filled the low to get it nice and smooth. I know a lot of this isn’t seen for the most part, but when the doors are open etc it is on display so I’m happy I spent the extra time to sort it.

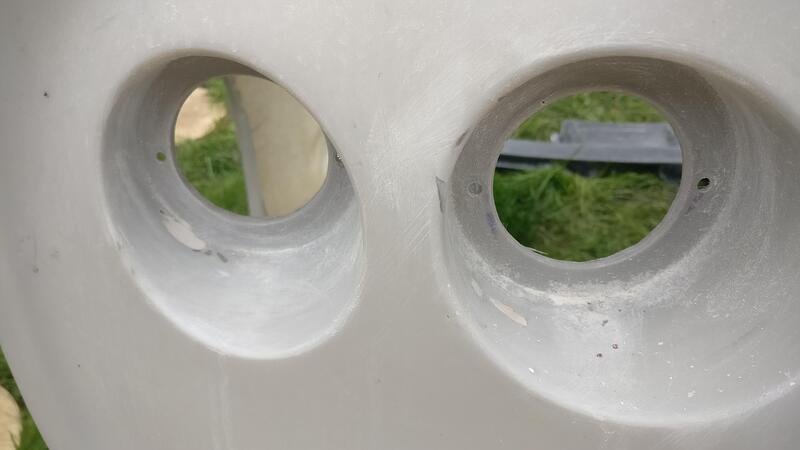
Again, these areas aren’t really on show, especially the rear light recesses, but I wanted to get them consistent and level.

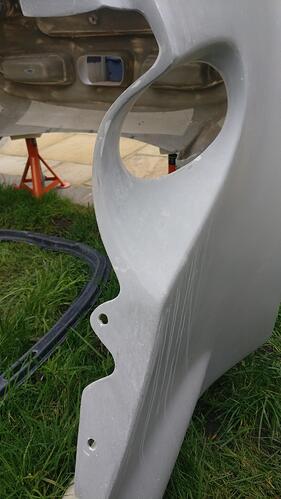
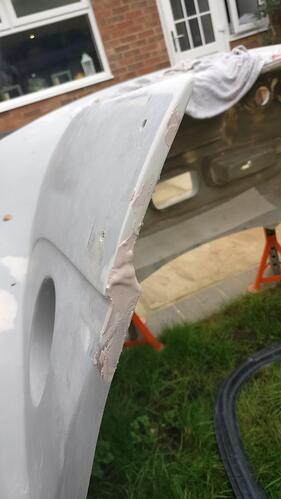
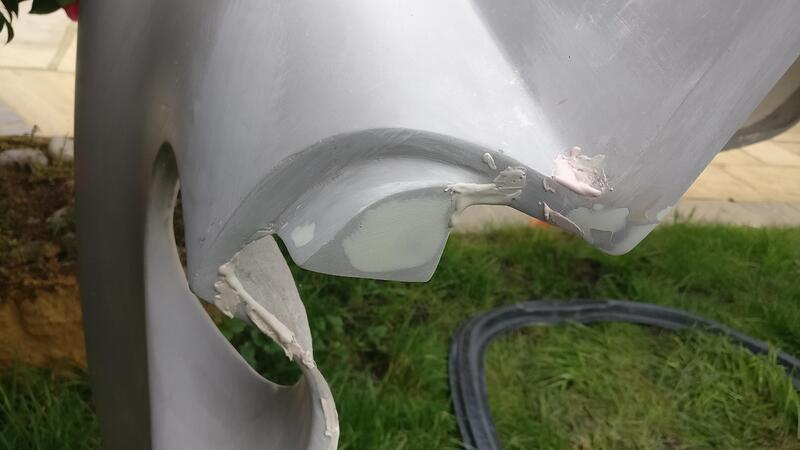
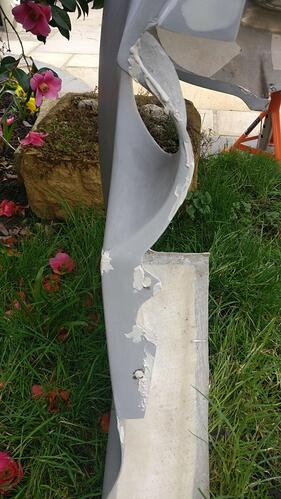
I will be making my own extension pieces for the wheelarch areas, but as you can see these areas even with the wheels on I tidied them up.

I’ve got the driver’s side left to finish but everywhere is filled ready to sand down. I found a slight crack in this area of the filler, so to be safe I ground it out and refilled. I think it might have happened pulling the top of the clam outwards to get the roof off once with the clam still on, so I’ll be avoiding doing that again.

I could have left these areas near the wheelarches as they’re likely to get chewed up a bit anyway with stones off the tyres, plus they’re aren’t really seen but as I had the filler out there was no point missing it and doing it half arsed.

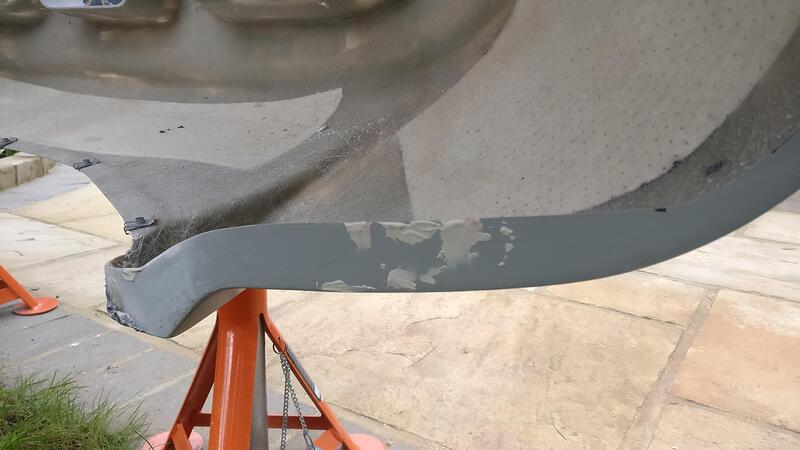
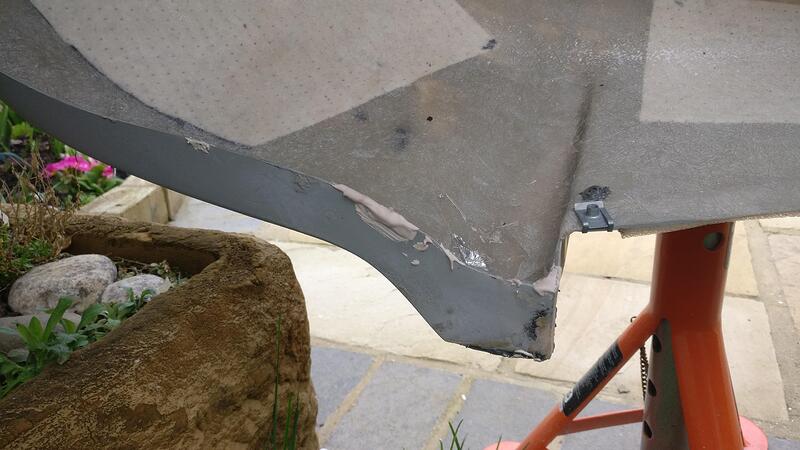
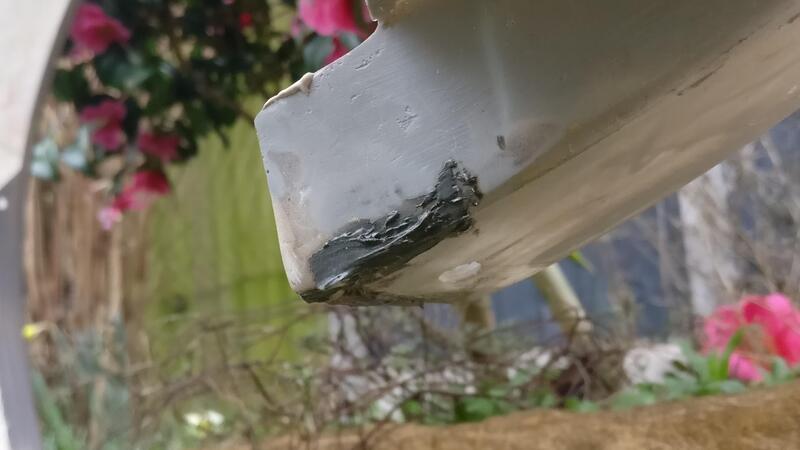
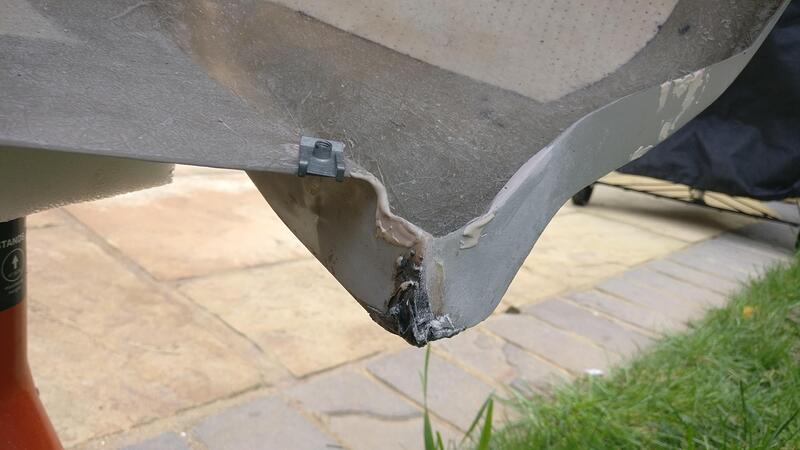
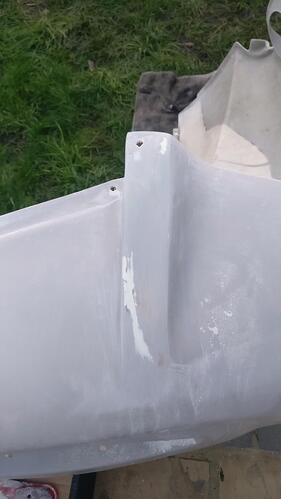
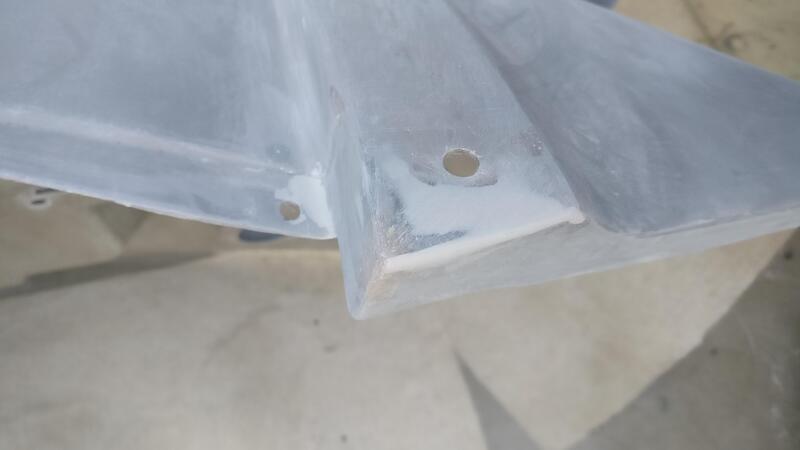
When transporting the clam back home from Wales the rear clam had to go on the roof of Dad’s van. Although we did our best to protect it I think this was when the tips by the diffuser got chipped. I built them up ages ago with JB Weld to get them strong but will probably need some more filler once this has been sanded back. I also added some dolphin filler to areas where there were saw marks and cuts etc.

I decided to flatten off the brace piece for the tailgate latch to make it a bit neater. Same process of taking out the high spots and filling the lows. Should look more like plastic when it is sprayed.

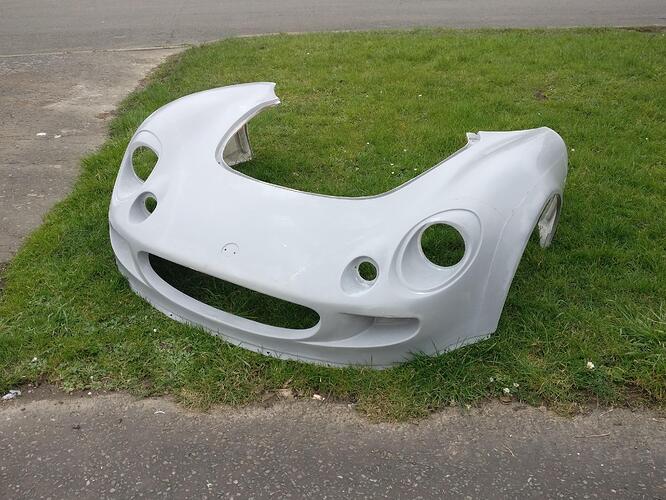
I removed the front clam to finish up a few bits.

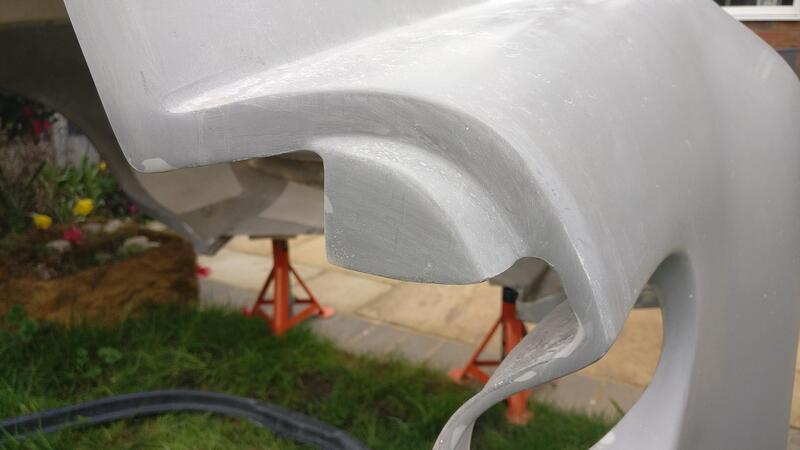
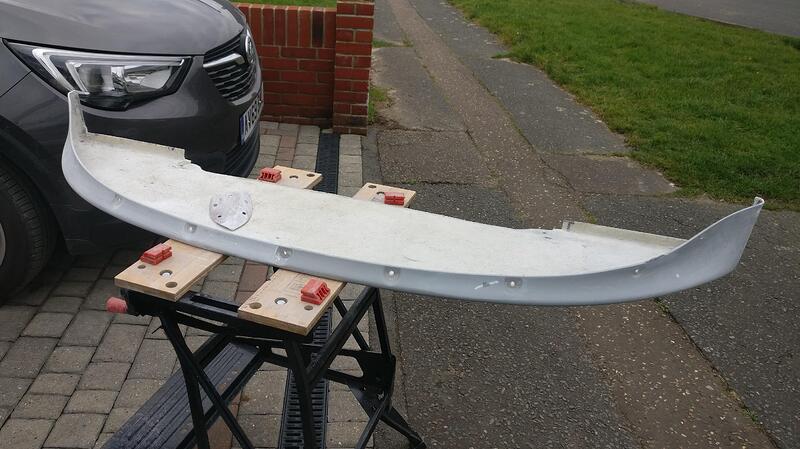
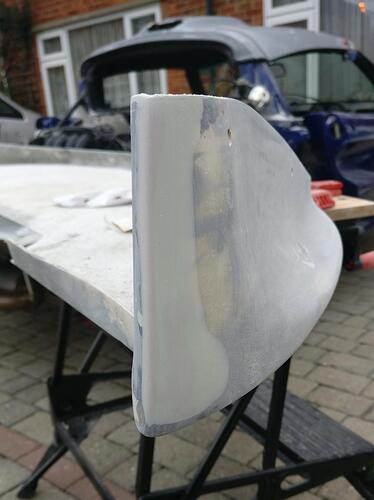
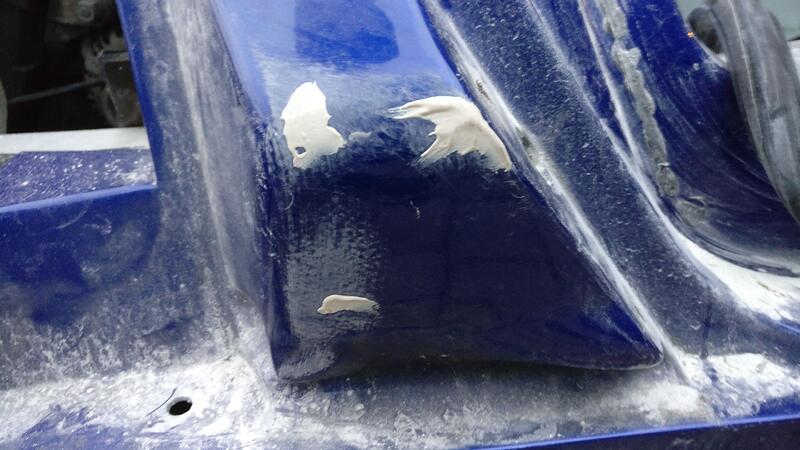
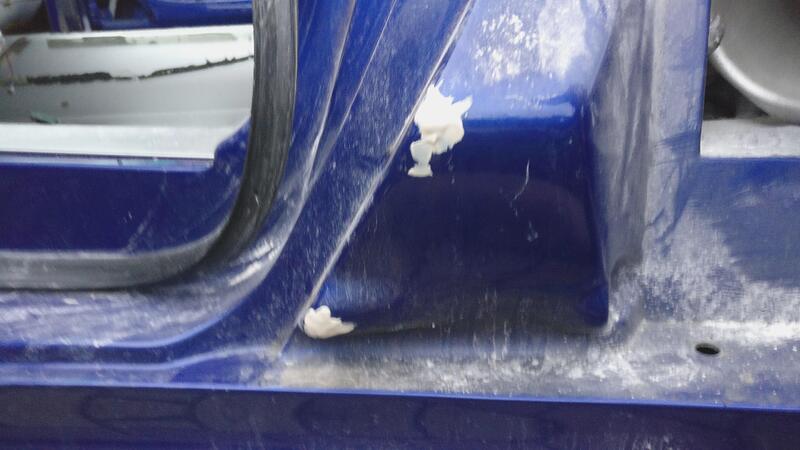
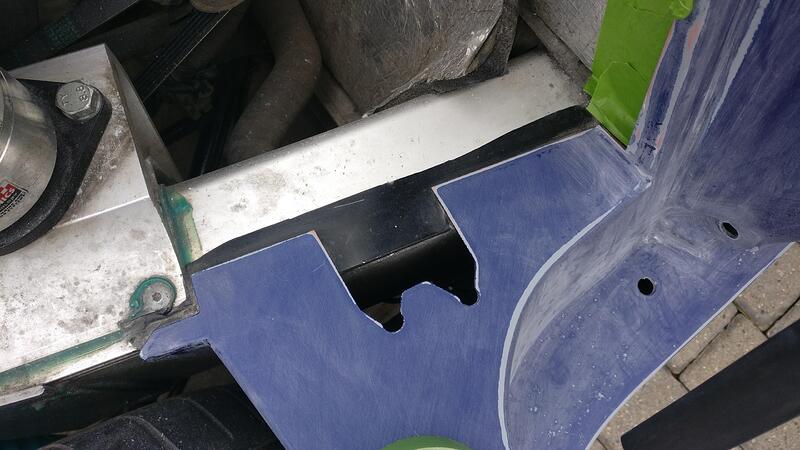
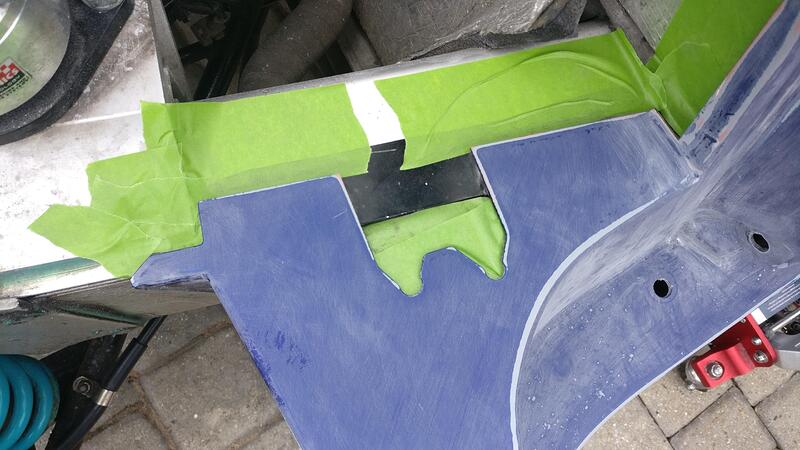
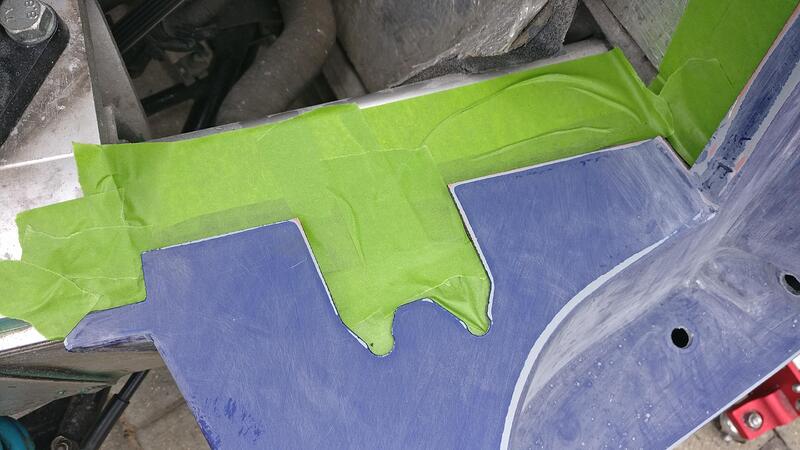
The main focus was to sand the front splitter ready for primer. I took some 240 grit and lightly went over it to key it as the gel coat is pretty smooth and I don’t think the primer would take well to it without doing this.

I noticed one side of the splitter was more rounded compared to the other, so I added more filler and made the radius tighter to get it matching the other side. You can see the new tighter radius from the more red coloured filler.


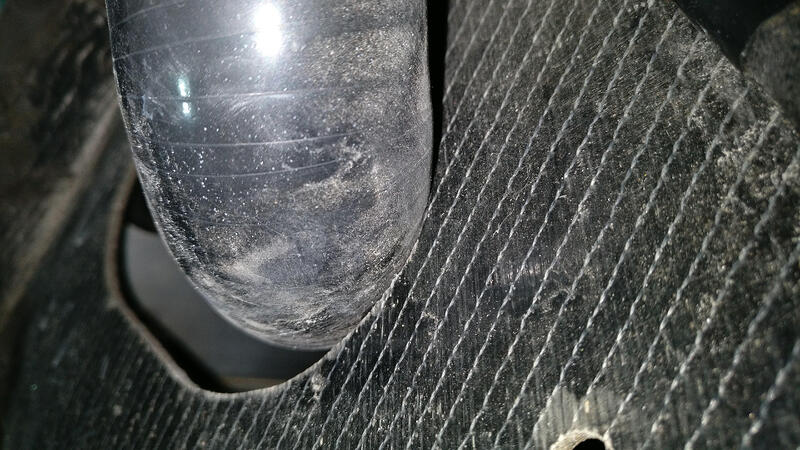
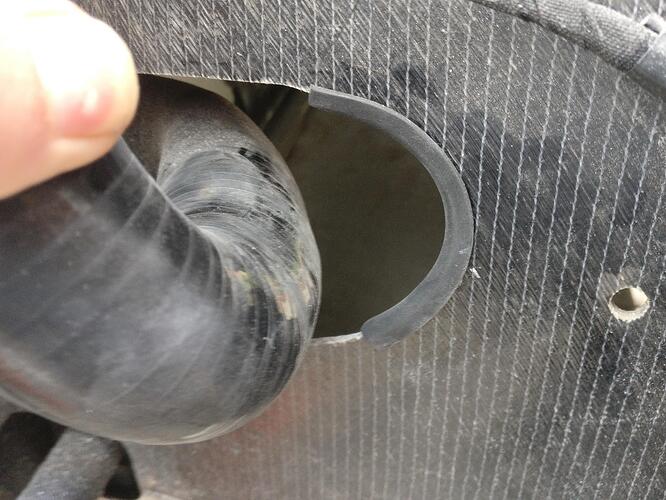
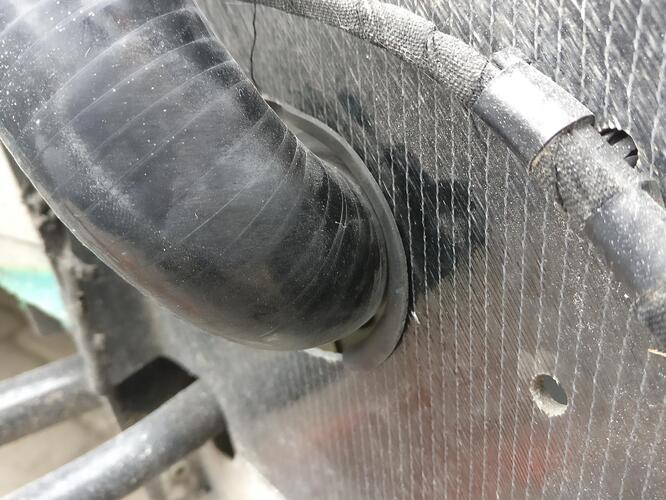
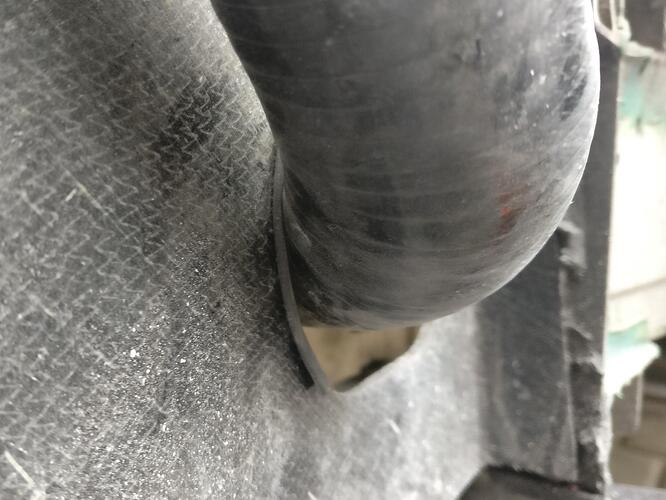
Another area was the radiator pipes. These are in good condition and are silicone, but they do rest against the crash structure.

To help against these rubbing and splitting or causing any wear, I put some rubber edge trim on it to give it a soft edge to lie against.

Pretty fiddly to put on as the pipes didn’t allow for much room, but happier now they’re on.

To get the sill ready to sand I made a note where the rubber bungs were located and removed then.

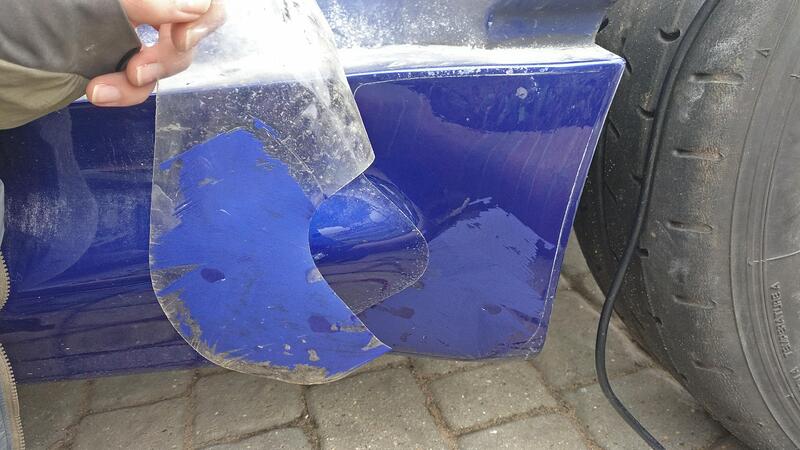
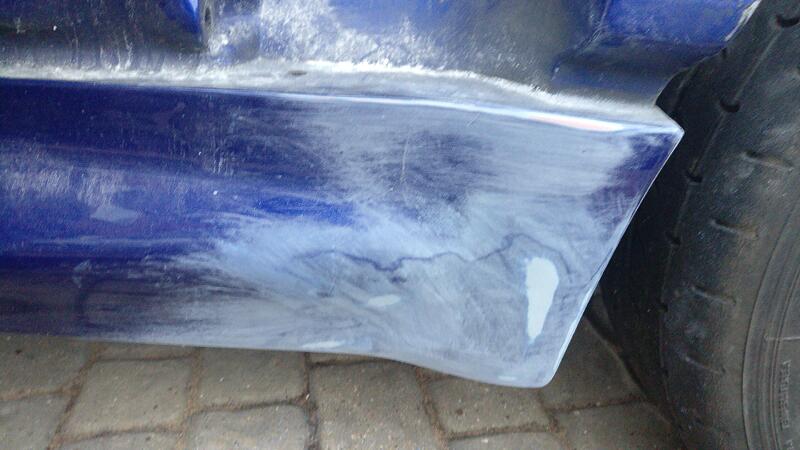
There were a few dings and nicks out the sills so I added some filler which I’ll take down when I key the sills. I’ll also need to borrow a hair dryer to remove the sill protector film.

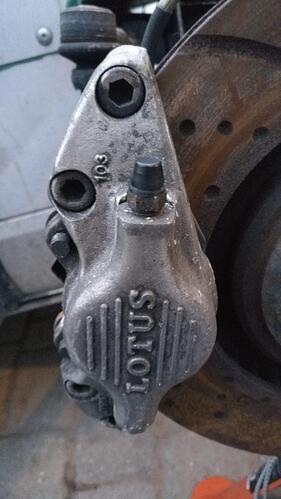
I also treated the front calipers to new bleed caps as one was completely split.

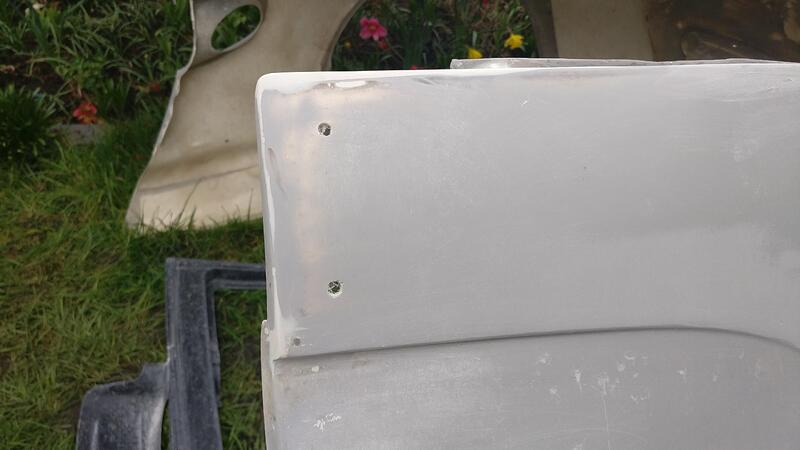
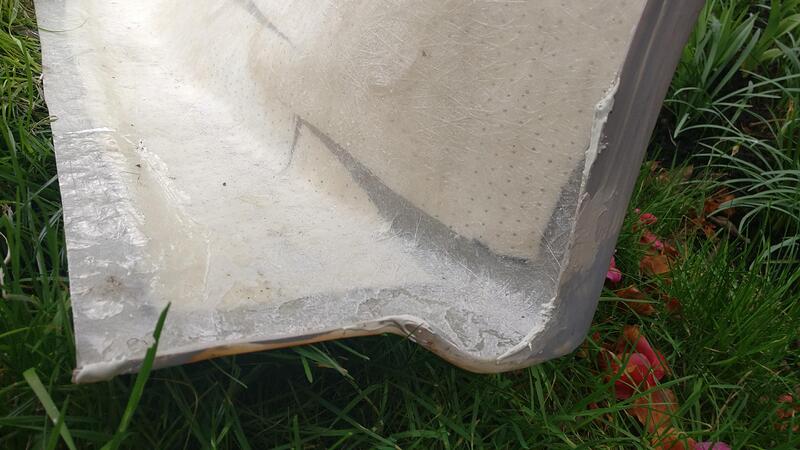
Along with tidying up the other edge of the rear clam I also sorted the bottom surfaces.

These had a fair bit of JB Weld on them to keep them strong in the meantime, but I sanded most of it back and re-applied some dolphin filler. There was also a groove in the gel coat I filled.

These areas aren’t seen too easily but I still focused on getting them even and smooth, especially seen from the back.

Overall I’m happy with how they are now looking and once the primer is on you should never know the damage was done to them.

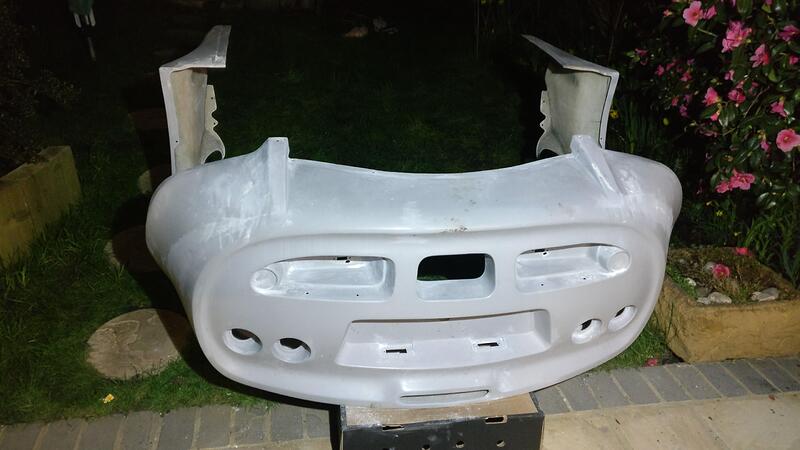
Tidying up a few other areas like the fog/reverse areas and the numberplate lights and the rear clam is ready to go to the body shop. They’ll take off the flashing lines and sort the overall surfaces now I’ve sorted all edges and fixing positions.

Great work James, just caught up the last few pages over my morning coffee - really enjoying it, keep it up. :thumbup:

Cheers pal, it is so close to being somewhat drivable again, but still have all the interior bits and bobs to sort too.
I think any engine stuff will have to wait unfortunately, saving for a house deposit.

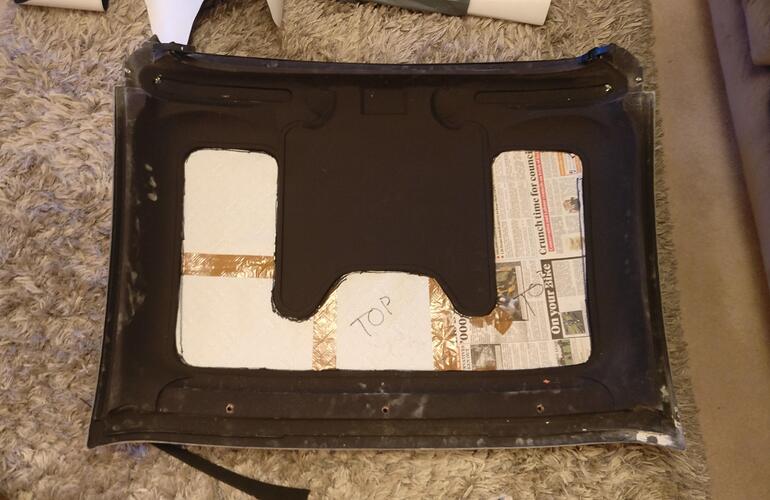
I’m going to make my own headlining and side sill covers. First up was the headlining

I made a template out of the only suitable materials I had lying around, which turned out to be a political leaflet and some kitchen roll.

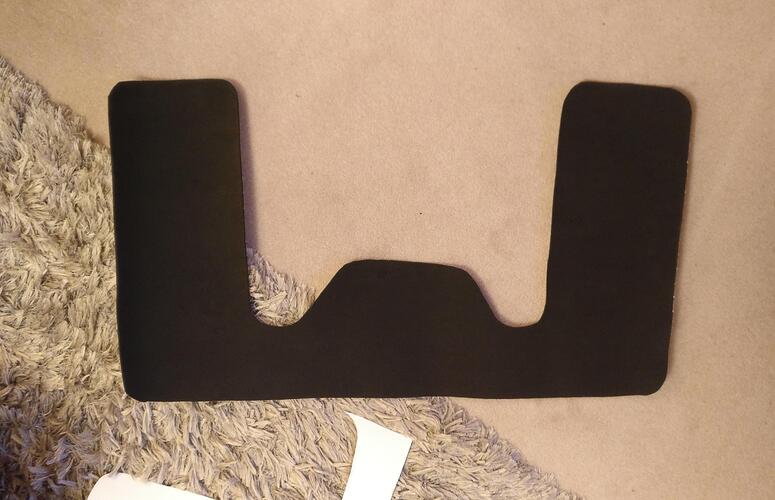
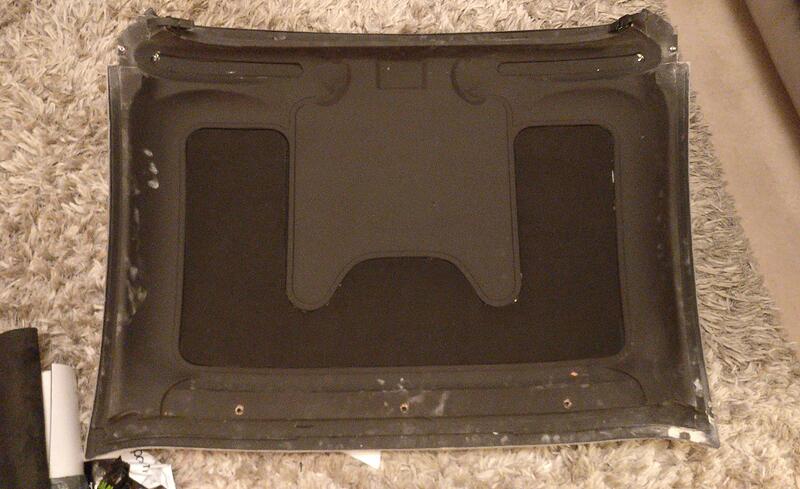
I bought some foam sheeting to be used as the base, which will then be covered in black alcantara. I transferred the template onto the backing of the foam and cut it out with scissors.
I also bought enough foam sheeting to make a new boot floor as I think it’ll be a much cleaner look than reusing my old boot floor which to be honest is falling apart.

I fine trimmed and finessed the foam with a scalpel blade to get it to fit properly. I was half tempted to keep it as foam, but as the roof clamp will be covered in alcantara I thought it best to match them. These will be covered once I’ve cut the pieces for the sill covers and I can do them all in one go.

Not much left to get ready before the body shop now, but I tackled the sills.

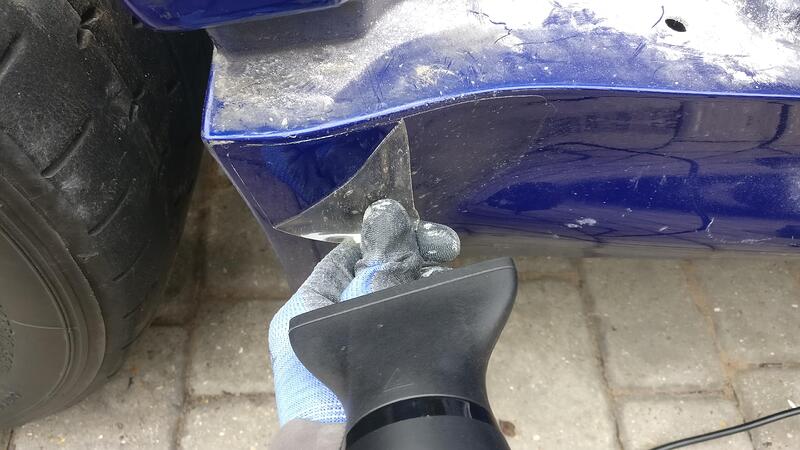
First step was to get the sill protector vinyls off. These were a little bit stubborn but a bit of heat (not too much otherwise the vinyl just stretched and tore) and they came away slowly and gently.

As gentle as I could be the vinyl still took some paint off the sill. Not a real issue as I was going to sand the sill anyway and it would be covered by the Exige clam, but still a bit of a pain leaving a step in the paint I had to sand flush.

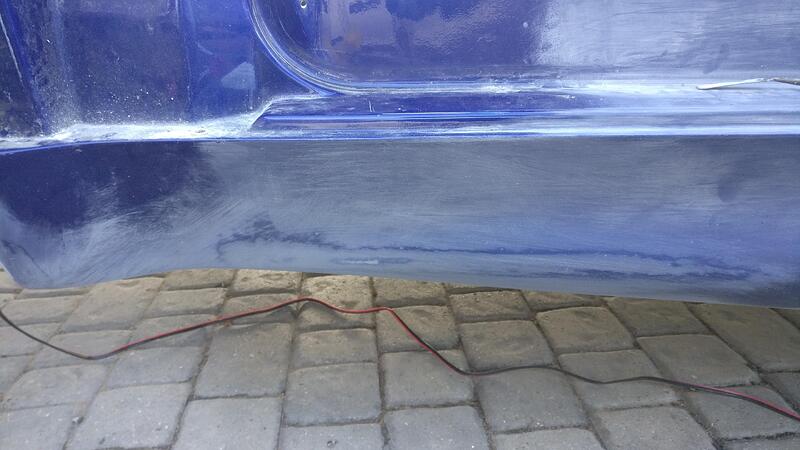
A bit of 120, then 240 before finally 320 saw the surface flush. Bit overkill for an areas that ultimately won’t be seen.

The driver sill had a sticker talking about the fuel filler cap. I tried to peel it of but it was so brittle it just broke away in tiny pieces. In the end I decided the best method would be to sand it off.

I took some 120 grit and over a little while it eventually sanded off and I blended the surrounding surfaces.

I took the front clam and doors off to allow for the masking to begin. The doors would stay off as they can be easily transported off the car and need sanding as well which will be much easier loose.

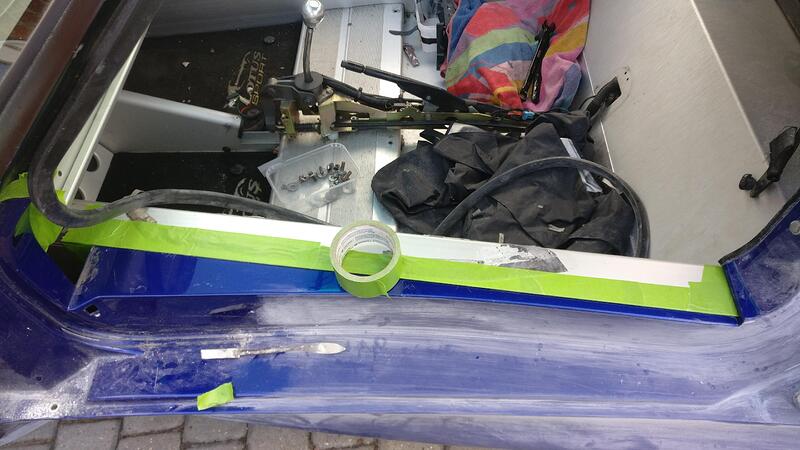
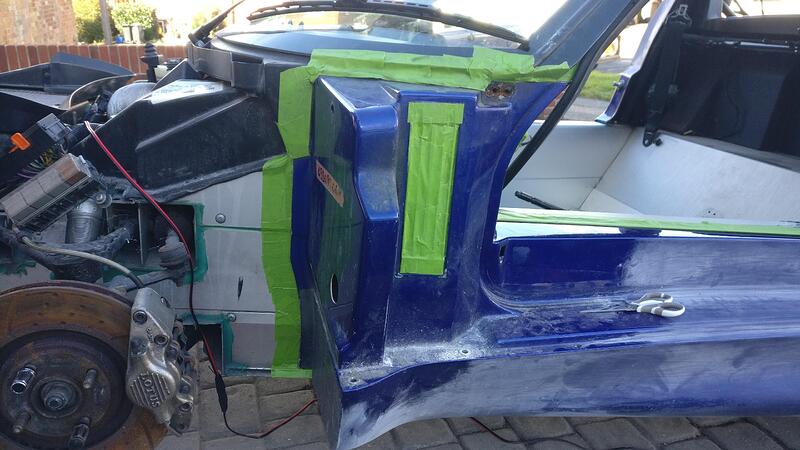
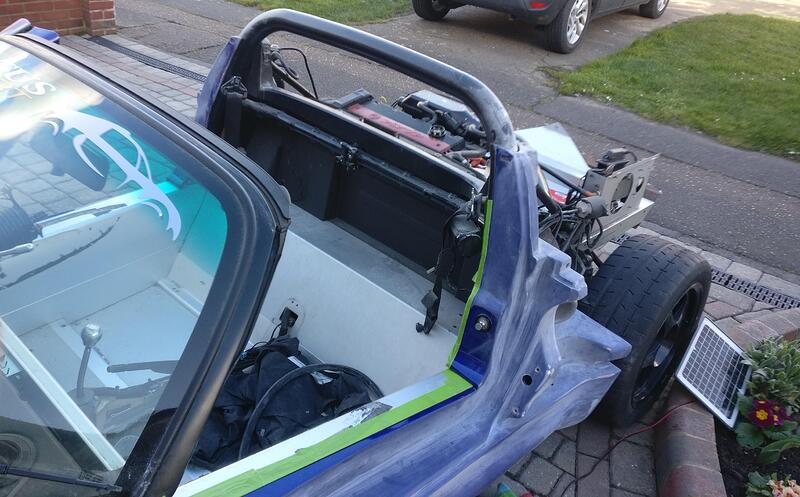
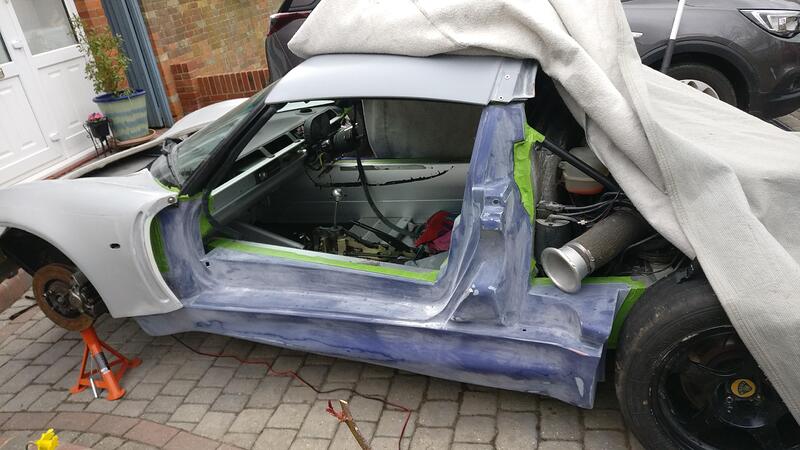
I took some frogtape and began to tape up the surrounding pieces. The interior sill but was quite easy as the tape slid underneath most bits of the aluminium and wrapped over well. I’ll let the body shop do the rest/main taping.

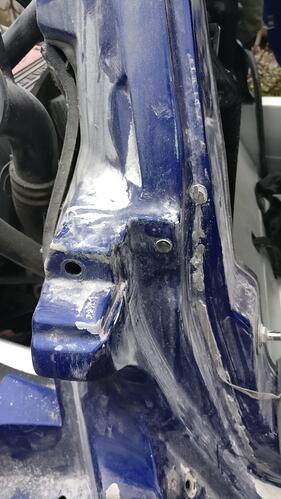
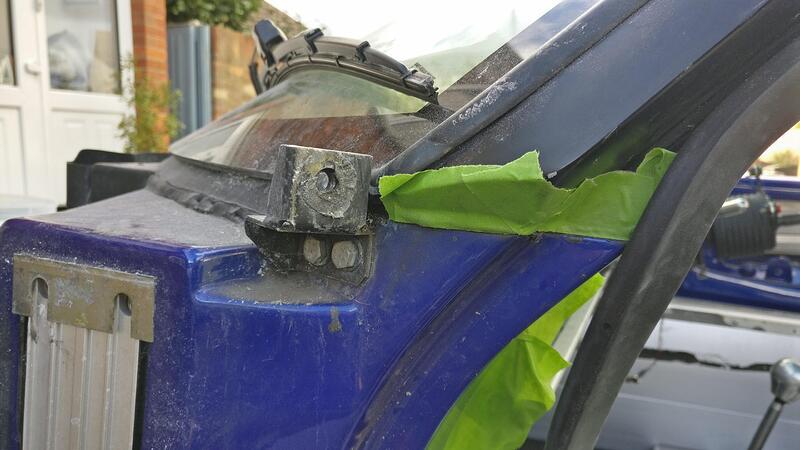
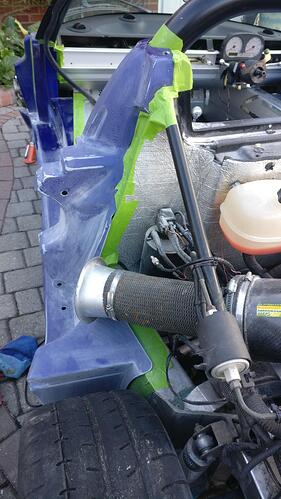
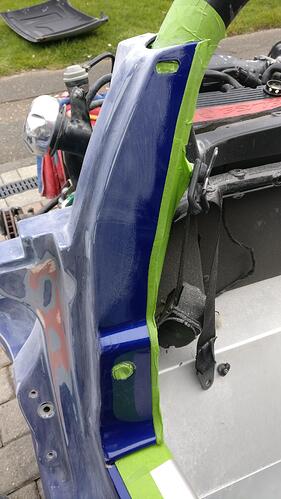
I noticed the front clam fixing needed to come off to sand behind them. I would have to put them back on afterwards to fix the front clam for transportation. Removing them also let me tape up around the windscreen. Also since these photos I have removed the extra door shim that I missed and taped over first time round.

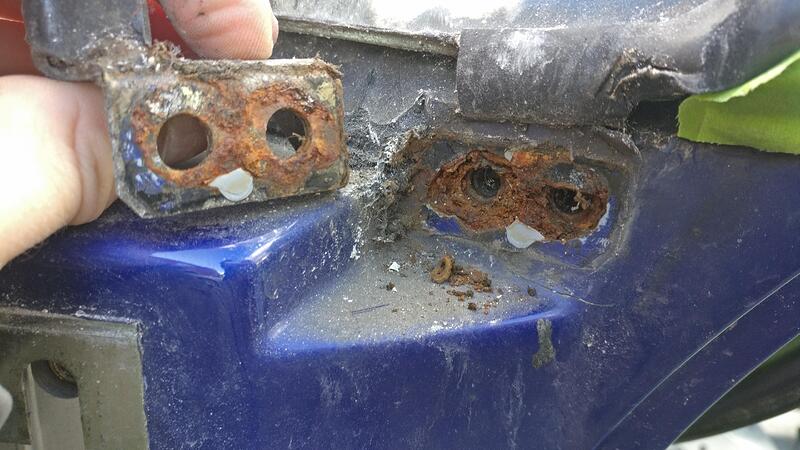
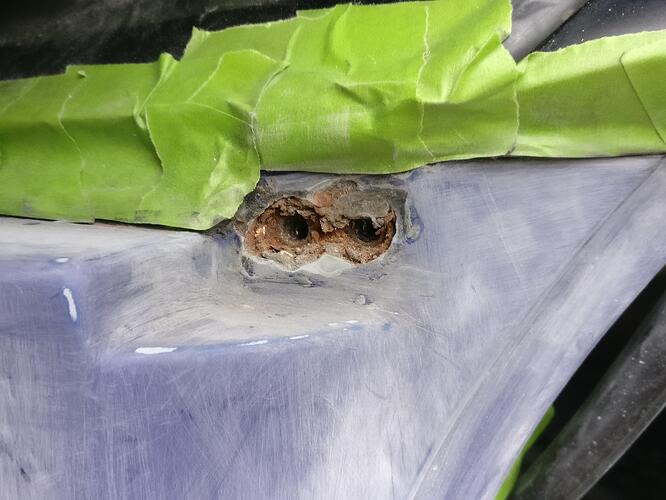
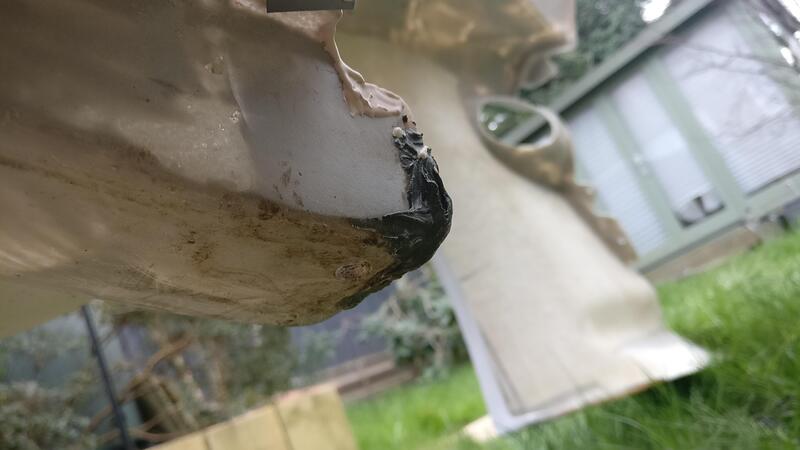
I was a little surprised to find the underside had gone rusty and had rotted the fibreglass a bit. I scraped out a bit of the loose bits but wanted to leave most the material still there as it isn’t doing any harm and gives the plate material to fix against.

I taped up around the windscreen and the front of the sill down the aluminium, plus all underneath too.

I then took the roof off to get better access to the top of the B pillar and tape up around the roll bar.

I was pretty anal with the taping, where every little jot out and kink in the tape was were the rubber adhesive was, so the respray should miss all the black adhesive and hopefully should be very hard to tell that the paint has been changed, rather than having overspray. Again probably overkill as this won’t be seen really. I did the same on the back as I did at the front and taped all down the chassis and underneath the car.

When taking the 320 grit to the sills I noticed that they were quite badly stone chipped, probably from the amount of trackdays the car does, not being a garage queen and also being nearly 23 years old. I started taking some 120 grit to it, but it was taking ages and thought it would be better to leave these areas to the body shop to quickly blitz over them with their machines.

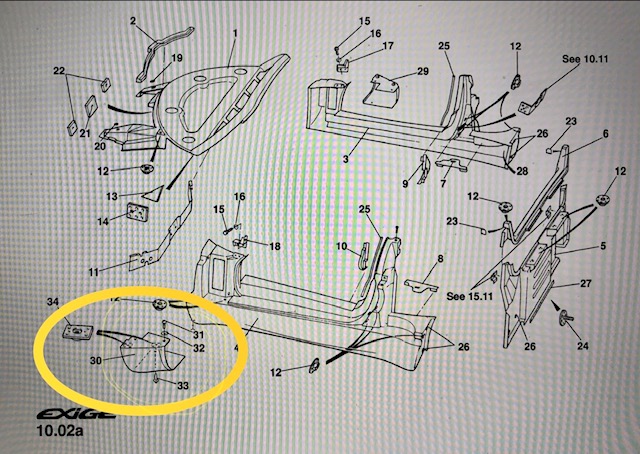
Something different on the driver’s sill is the hole in the back of the sill by the engine mount.

I was able to get my hand up into the inside of the sill and place 2 strips of tape on the underside. I could have left this open but didn’t really want paint sprayed up inside the sill and onto the chassis rail.

I finished off with tape on the outside which strengthened the strips underneath

With the doors removed I took off the striker latches and taped them up along with holes left by removing the small soft top clip things. I tested pulling off the little rubber edge trim but they were well glued on so I carefully taped them up.

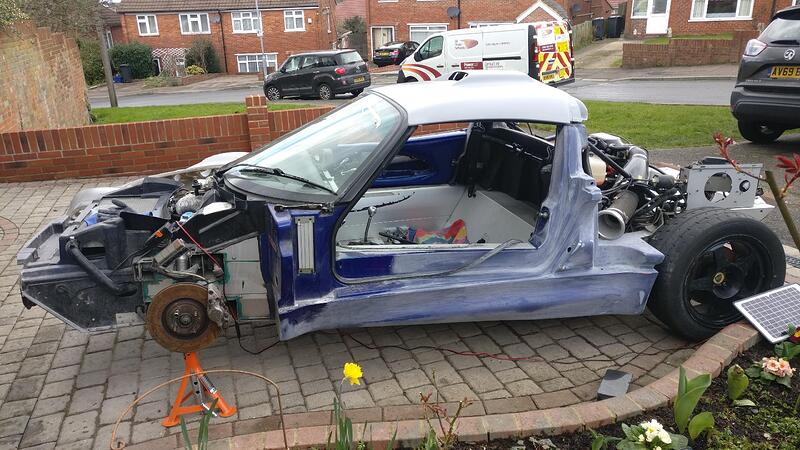
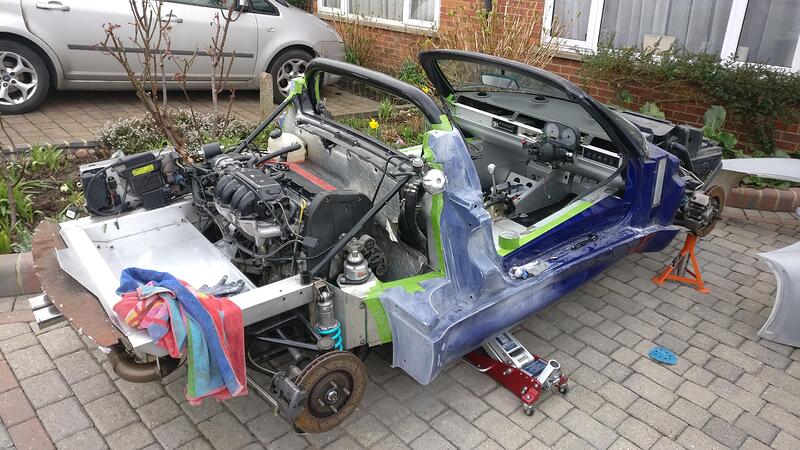
I have never seen my car so bare!

Here is how I left the front clam fixing part of the sill, should still be strong as most material was left, just a little moldy.

I forgot to take a picture of the fully sanded and taped sill before I put the clam back on, but happy I spent the extra time getting the tape where I wanted, so hopefully at the end you won’t be able to spot the colour change.
I bet having the panels on helps see the light at the end of the tunnel.
Its more great progress.

Do you already have the two sill extensions?

Cheers

:thumbup:

Yep I have the oversills, got them from Dom at thelotusfactory.co.uk who did all my other panels. I shaped them to my sills earlier on in the thread.

Some great work going on here, I’m really enjoying following your build thread.

It’s going at such pace, I’m having difficulty keeping up with it! :thumbup: