S1 Exige Conversion

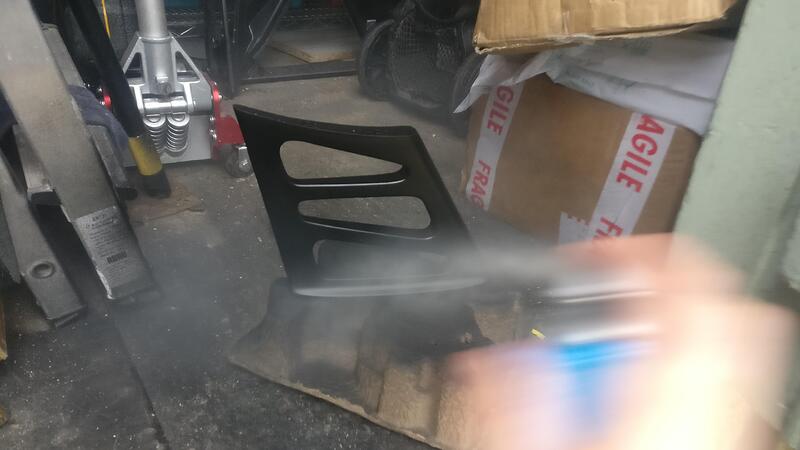
Managed to get some matte clear coat spray for a few bits so finished them up ready to be packed away ready for assembly.

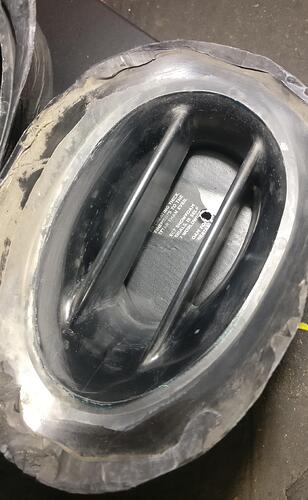
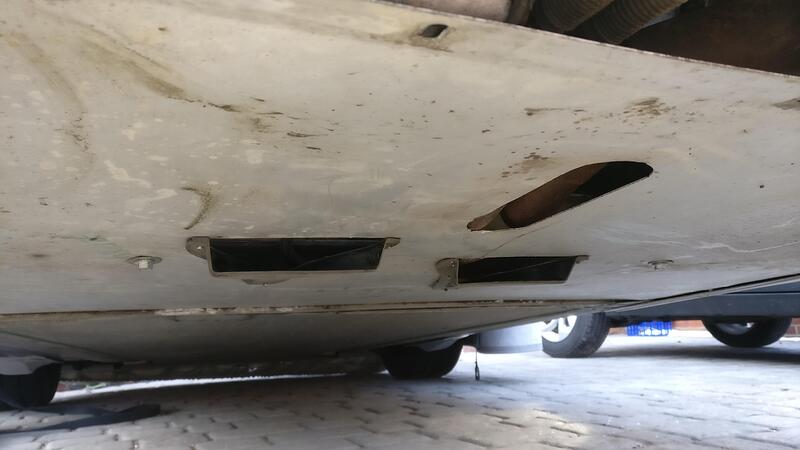
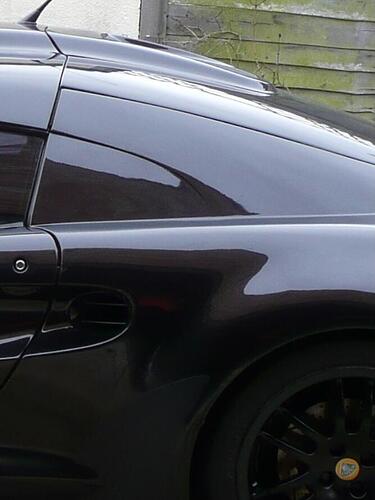
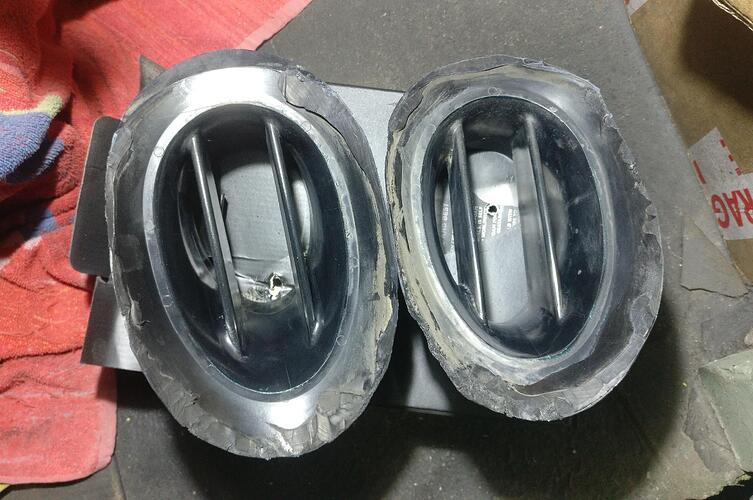
I was able to get some genuine side scoop grilles as I sold my Elise clam with then still attached. They are in good condition but had age related marks and dirt along with a fair bit of the rubbery adhesive.

I first got my dremel and sanded/chopped/sliced away all the adhesive so I knew they would sit flush against the Exige clam when bonding them back on. I then took some 240 grit paper and just went over them lightly to get rid of any high spots.
After that I took some white spirit and cleaned them all up, getting rid of all the dirt and grime. The plastic was quite patchy with light and dark areas so it was a job worth doing in my opinion.

After a few coats of the same paint as the spoiler supports they looked so much better. However whilst I was airing them outside a quick rain spell happened and left the surface with small spots which mottled the finished, my own fault for leaving them outside. So I lightly sanded again (which wasn’t the end of the world as the first few layers of paint acted like a primer) which left an even smoother finish once the final layer was applied.
Finally I gave it a few layers of the matte clear coat and left them to dry.

These are mostly going to be covered by the carbon side scoops, but they look much better and would have annoyed the hell out of me if I didn’t clean them up

While I had the cans out I took the spoiler supports out of storage and gave them one last sand and paint, finishing them with the clear coat. I wrapped them in soft cloth ready for final assembly.

Looking great James, keep up the good work! I’m really enjoying reading your build thread :+1:

:thumbup: :thumbup:

Lucky boy getting those side pod ducts im after some too.

Try Dom at TheLotusFactory.co.uk or Greenelise86, he might have some he can mould for you. If not I got mine from Maik in Germany, he’s on ebay I can find his username if you want/need, think he hacked them out of a crash damaged clam he had.

i tried dom a while ago, he said

“I don’t do the side ducts for the s1, I made a prototype for the internal black plastic one but not had a chance to produce more
Thanks Dom”

Oh, well I’ve seen there are a couple of rear clam sections on ebay which I think still have the grilles in, probably not the cheapest way of getting hold of them though.

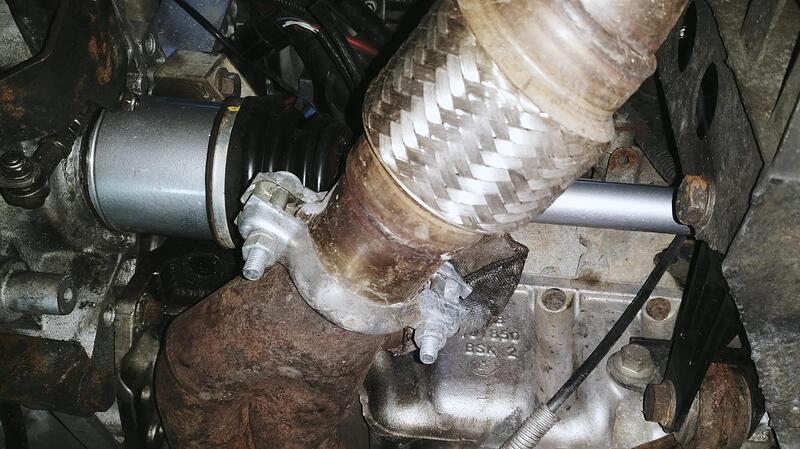
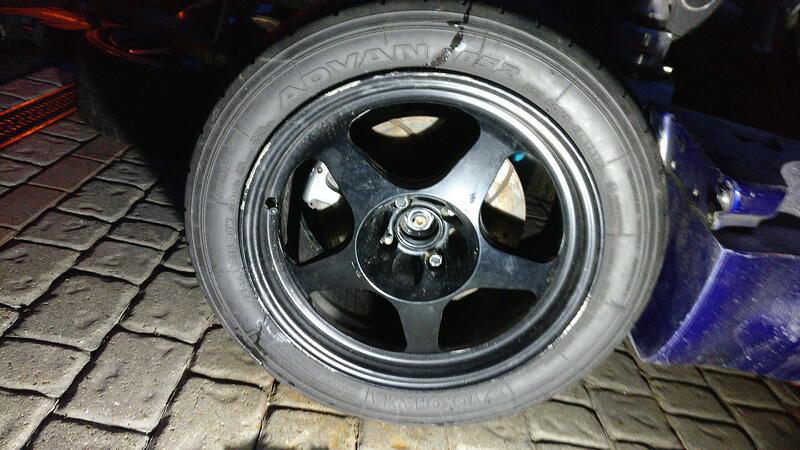
Doing my best to dodge the rain today managed to swap out my broken driveshaft. Pretty sure the Tripod was knackered and although this could have been replaced on its own, I though it best and easier to replace the whole shaft.

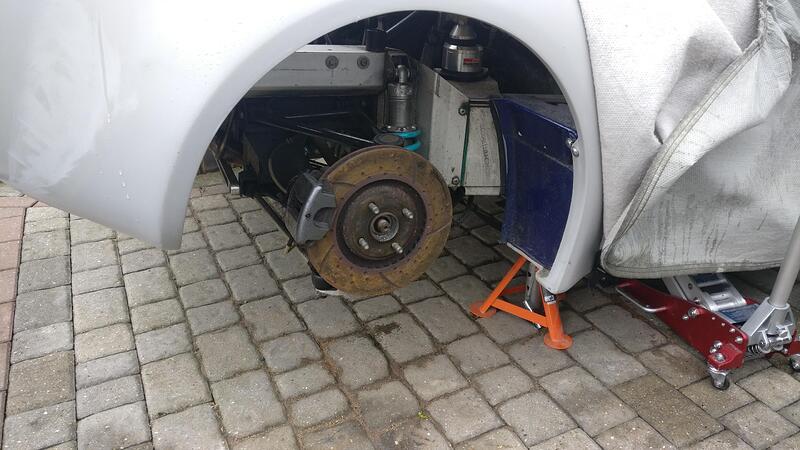
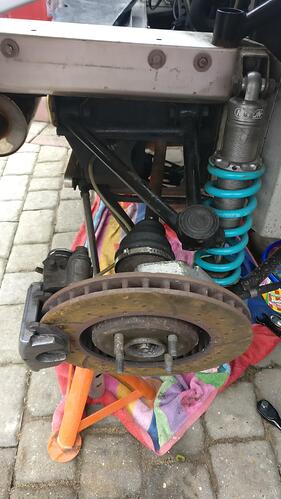
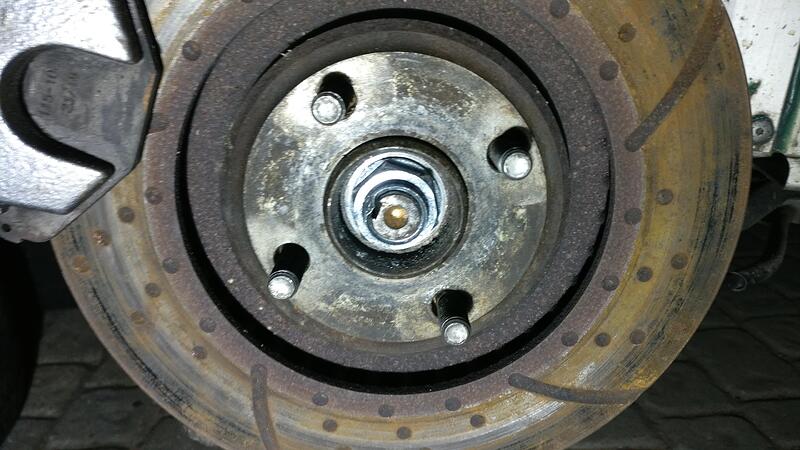
With the hub nut now off the first thing I did was jack the car up and put axel stands on the back, removing the wheel and releasing the handbrake.

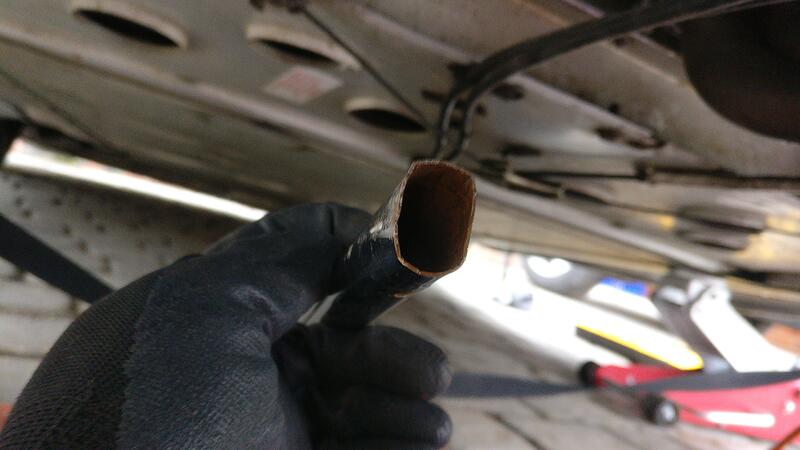
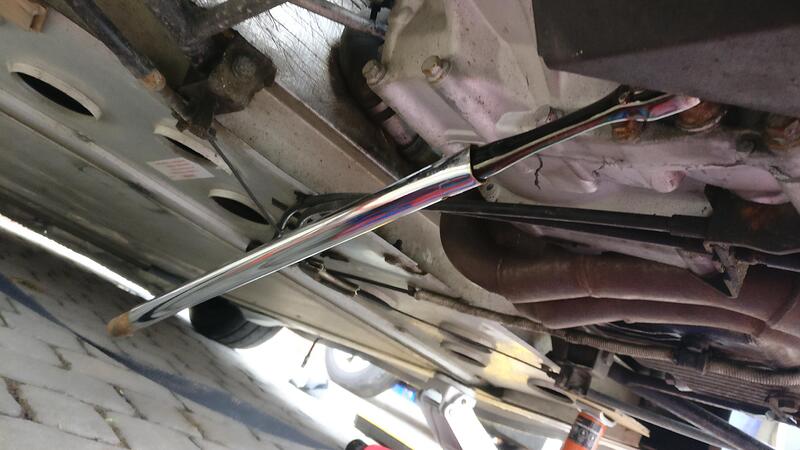
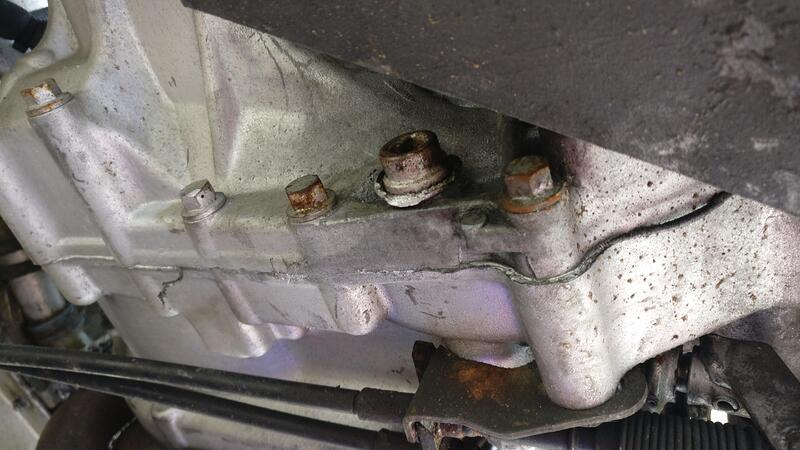
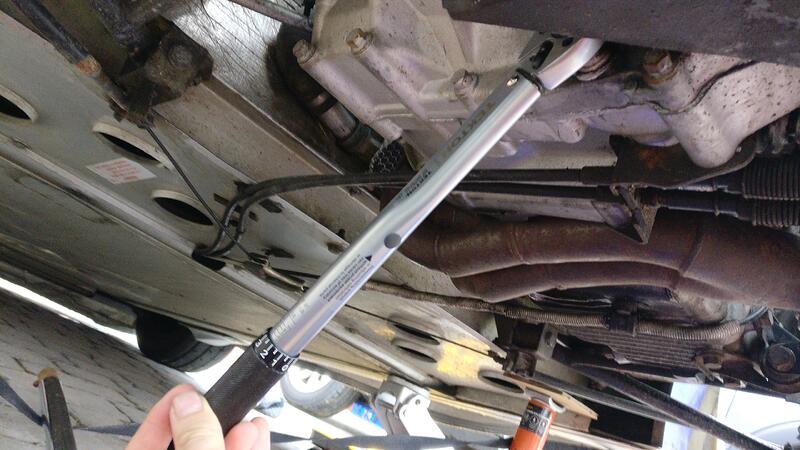
Next I needed to drain the gearbox oil. This oil is less than 6 months old so I am keeping it and putting it back into the box afterwards. The drain plug is removed using a 3/8" wrench, but due to the limited space under the car, it was much easier to use an extension pipe to release it. I found an old tube and hammered the end into a more rectangle shape, which was a perfect fit for the wrench so will be keeping it for future use.

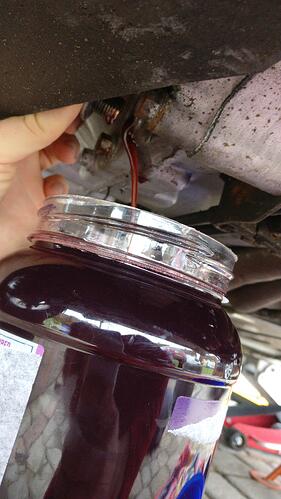
You don’t need to worry about any oil coming out after cracking the plug loose so I didn’t put anything underneath just yet and got the plug loose enough to be undone by fingers.

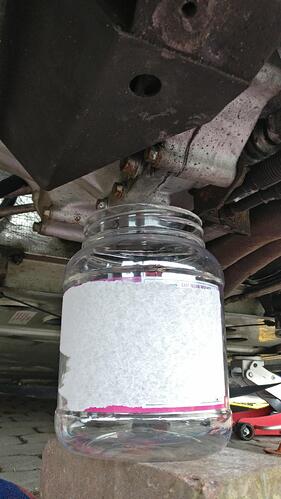
I had found this container and measured it could hold 2.3 litres of water. As the oil you drain is roughly 2.1 litres I was happy it was big enough to catch all the oil and cleaned it up to keep any contaminants out if the oil.

There wasn’t much room left but I popped the top on the container and put it somewhere safe out the rain.

I put the drain plug back in and torqued it up to 45nm. I’ll refill the gearbox using a large syringe and pipe probably through the speedo drive.

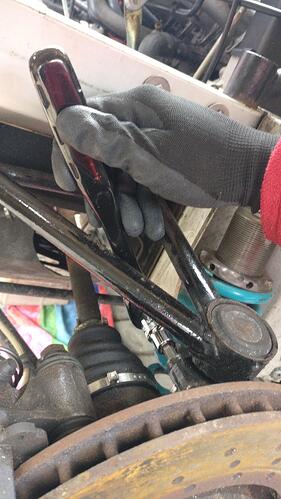
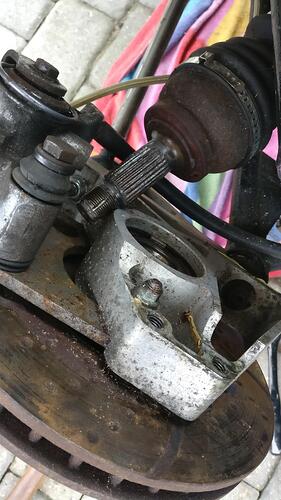
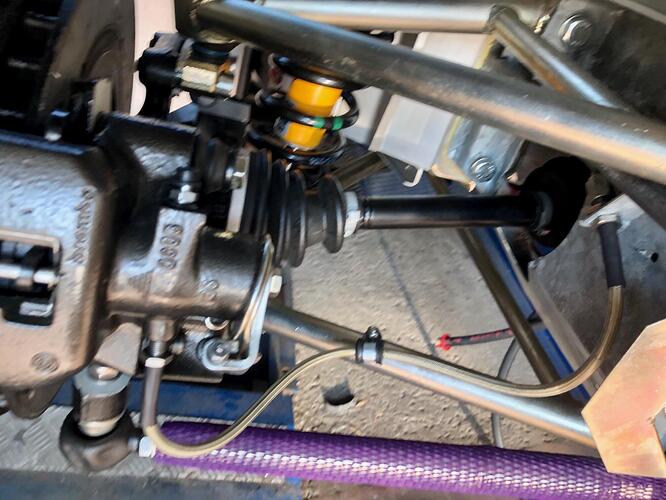
I then took an 8mm hex and undone the two bolts connecting the hub to the upper wishbone. This is all you need to give enough movement and clearance to get the driveshaft out.

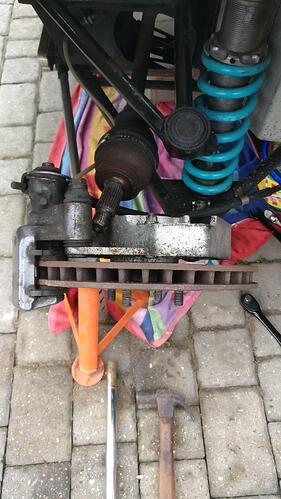
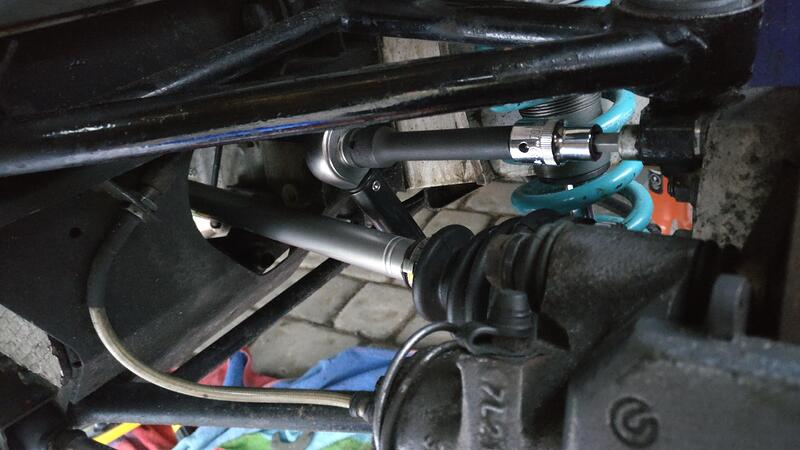
I had to use the extension pole and a hammer to gently tap the end of the shaft to get it out the spline, but then it pulled out easily.

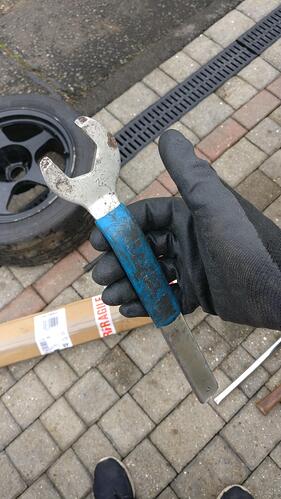
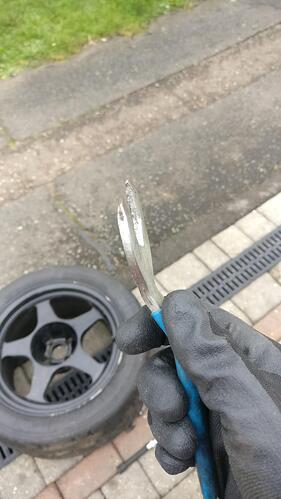
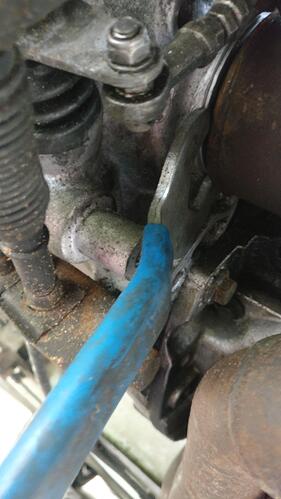
To get the driveshaft out the gearbox Steve Butts very kindly let me borrow his modified spanner.

The spanner has the ends filed down to gently prise the driveshaft out the gearbox by tapping the end with the hammer, then it slid out nice and easy.

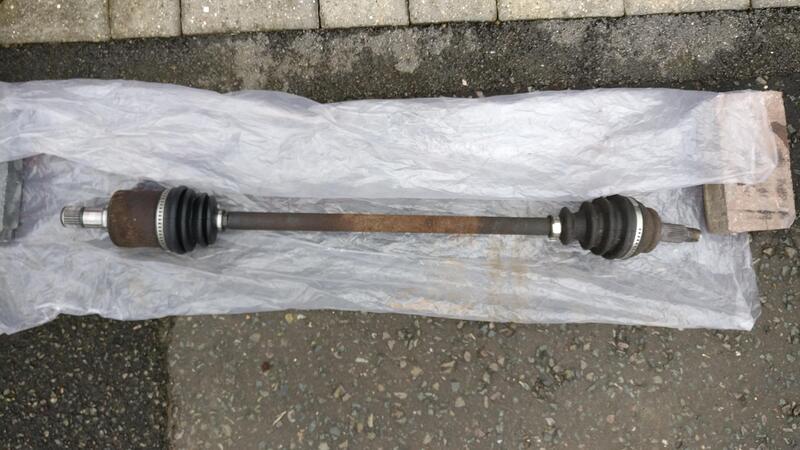
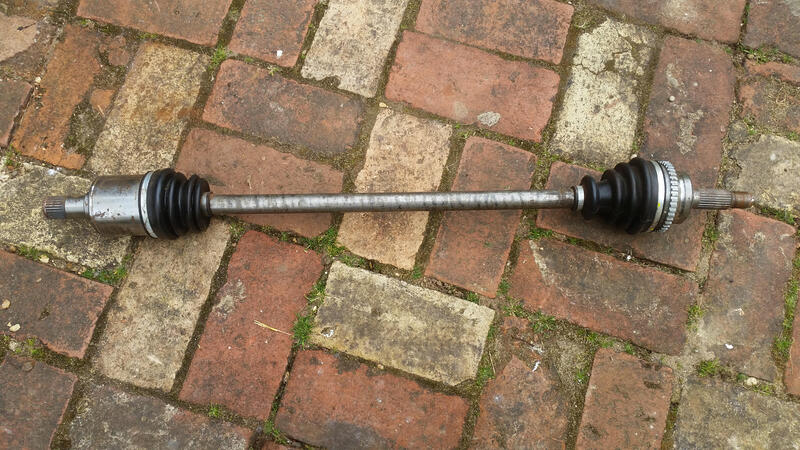
The offending driveshaft, definitely lots of play in the tripod and needed changing. I didn’t have the time.or patience to open it up today and have a proper look, but I’m sure the Tripod is the issue.

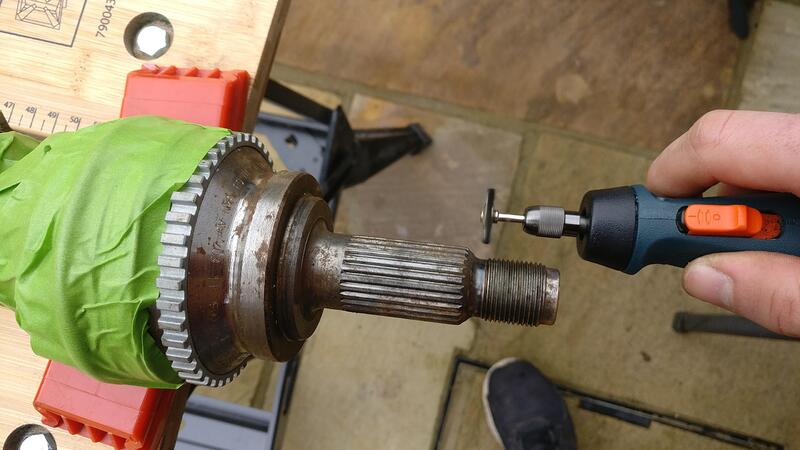
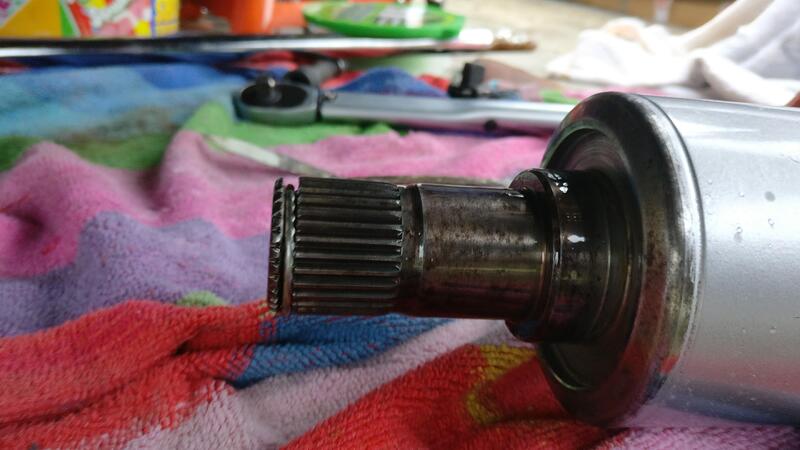
I sourced a new driveshaft from Junks, slight surface rust but brand new from Lotus, pre-greased and ready to go.

To clean it up and get rid of the slight surface rust I took the dremel and a wire disc and gently went over the driveshaft.

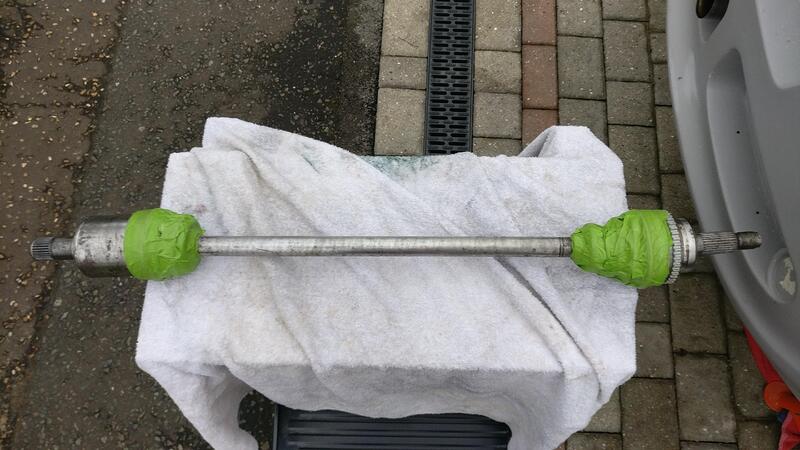
I roughly taped the gaiters to protect them from the wire disc and the paint.

Comparison between old and new driveshafts. I would have preferred to have used black paint, I don’t like mechanical things being too blingy, but all I had was some silver alloy wheel paint. A couple of coats and it should now be all fine for rust protection. It’ll probably get covered in dirt soon and turn black anyway!

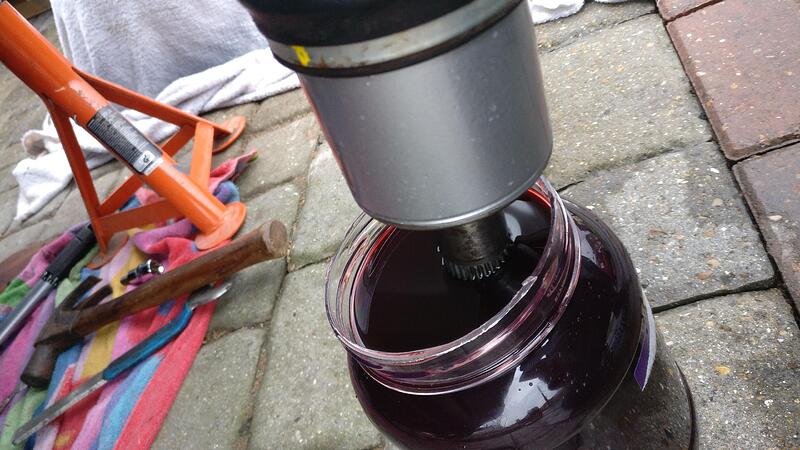
I had to judge when to put the driveshaft back in to miss the rain. When I had a dry spell I quickly dipped the tripod end of the new driveshaft into the gearbox oil to help lube it up. I let the excess drain off and put the top back on the pot.

All lubed and ready to go back in.

It slid in most the way, but there was about an inch left that wouldn’t go in by just pushing, so I got the hammer and extension pole again and tapped the end of the shaft to get it the final distance.

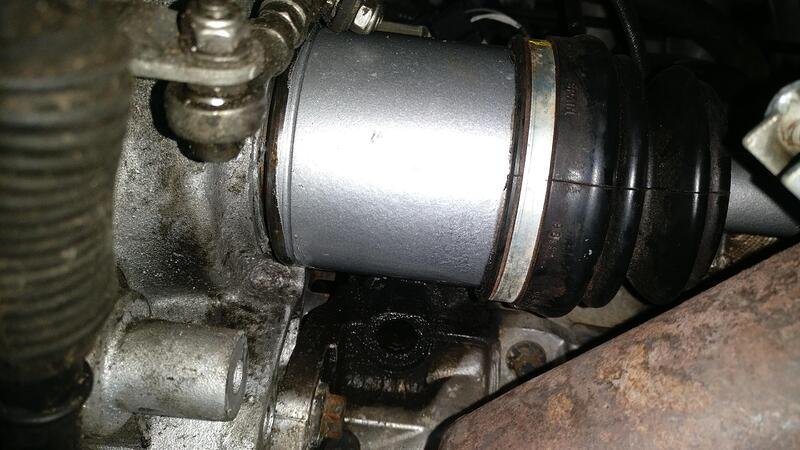
I put some grease onto the CV end and slid it into the flange nice and easily. I then put the hub to wishbone bolts back in and torqued them up to 45nm.

All back in situ ready to go, pleased to have got it done and another job I’m proud to complete.

All that’s left is to fill the gearbox back up but need the syringe to be delivered first.
Nice job, but I agree with you that painting the drive shafts in black would look better:

Cheers

Yeah black would have been preferred, nevermind at least it is relatively tucked away out of sight. I have been tempted to do a wishbone refurb where I would change the colour of them to something a bit more jazzy, but they’re all in good condition and nothing is worn so I’ll put it off for now. Just want the car back on the road asap.
:thumbup:

Booked Anglesey and Oulton for the 14/15th June, so best be ready for then!

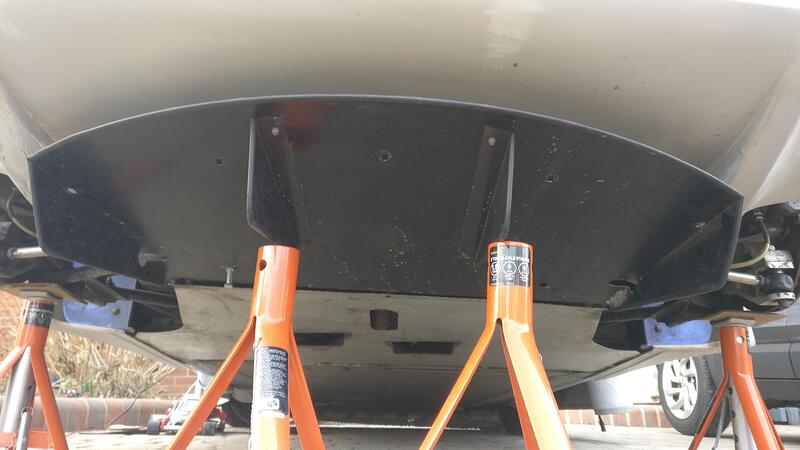
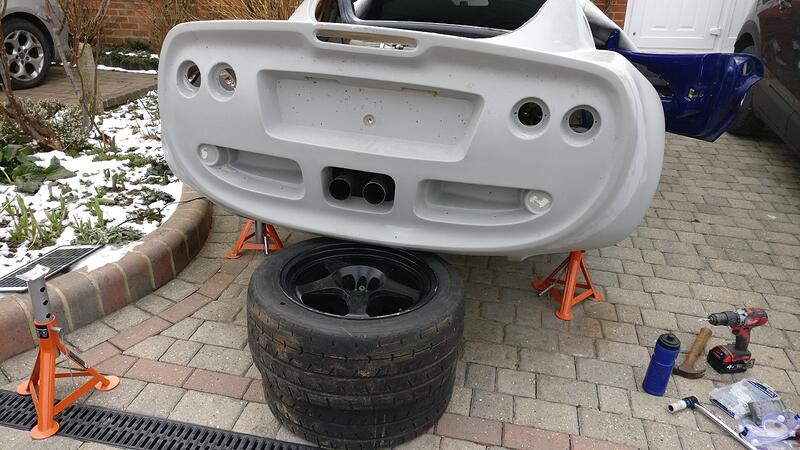
Did a bit of work on the rear clam and drilled the bolts for the diffuser position.

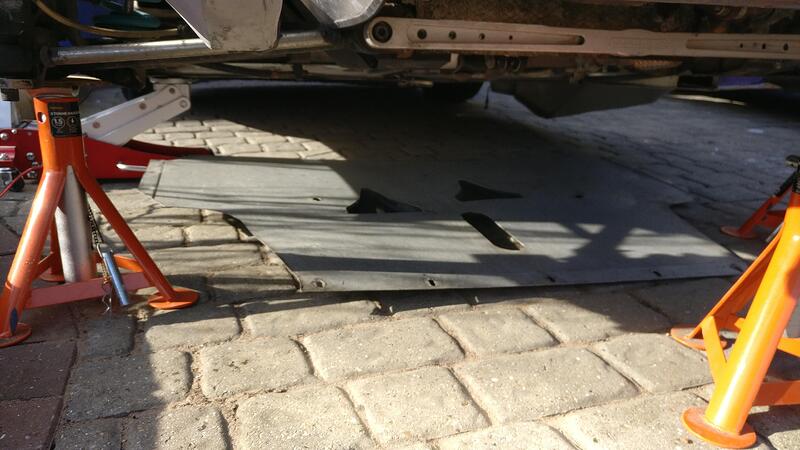
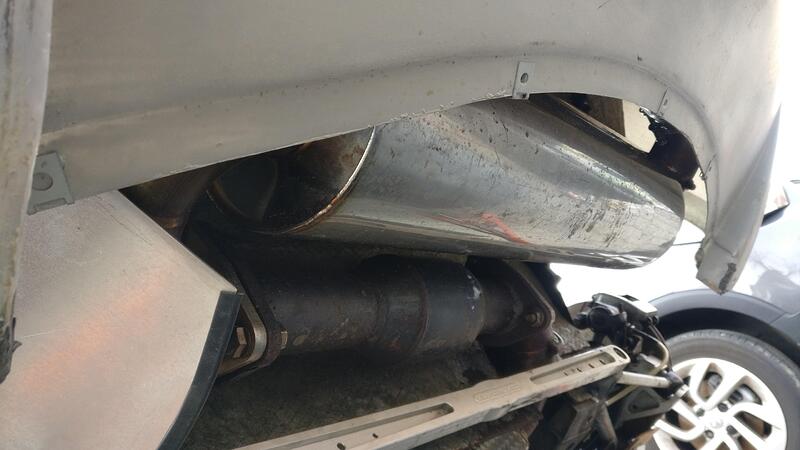
First step was to fit the undertray.

To do this I removed the fixing for the sill bracket so I could pull the rear oversills pieces outwards to get the undertray fitting inside them.

Little tricky when the car is so close to the floor, but once it was in position I fitted the two larger central bolts. I didn’t bother with the side fixings.

I then roughly positioned some new M5 spire nuts so I could have a better indication where to drill the holes.

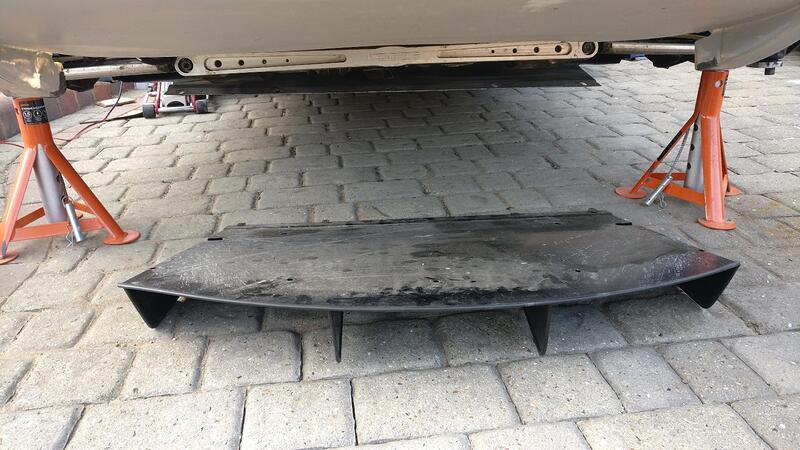
My diffuser is aftermarket and fit the Elise clam really well, but with the Exige clam being longer will be interesting to see where it sits.

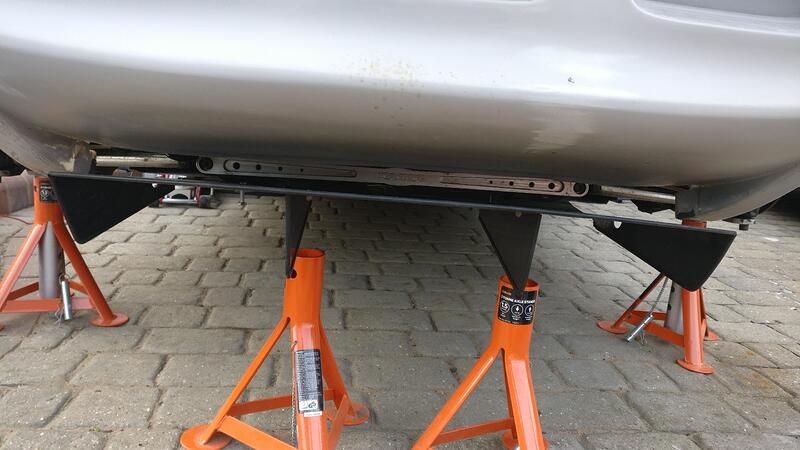
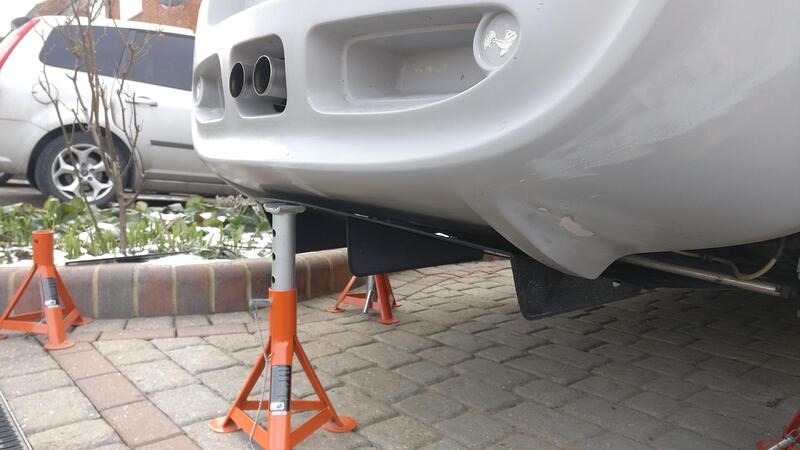
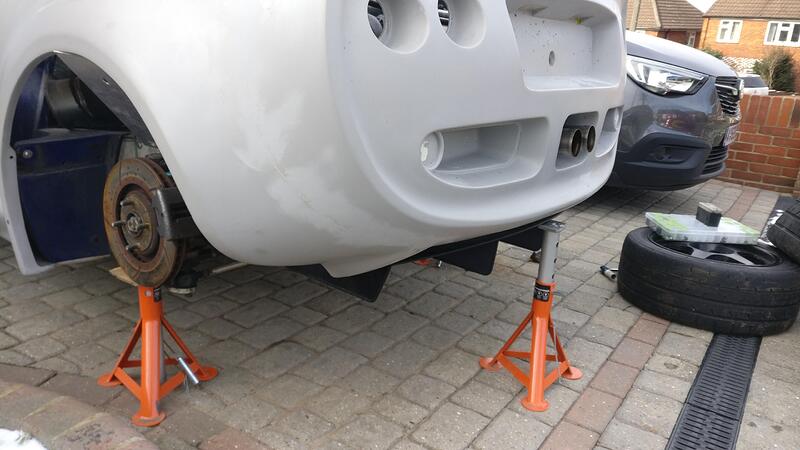
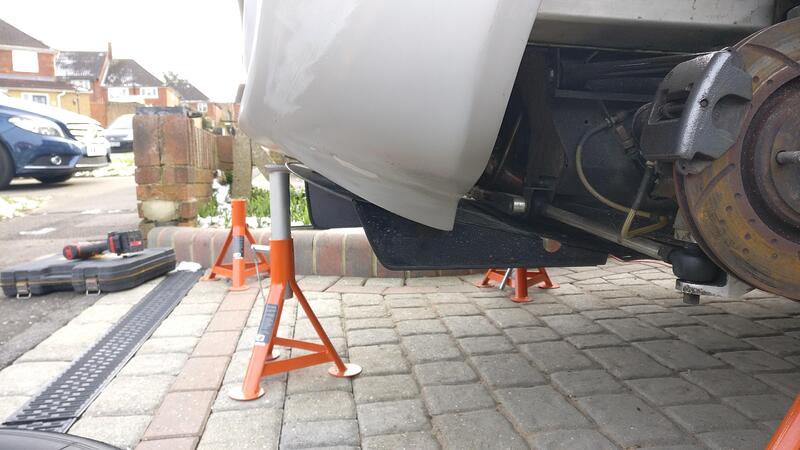
I used a couple of spare axel stands to help position it while I fit 2 of the bolts to fix the diffuser to the undertray.

With the diffuser fixed to the undertray I could fine tune where the spire nuts needed to be positioned.

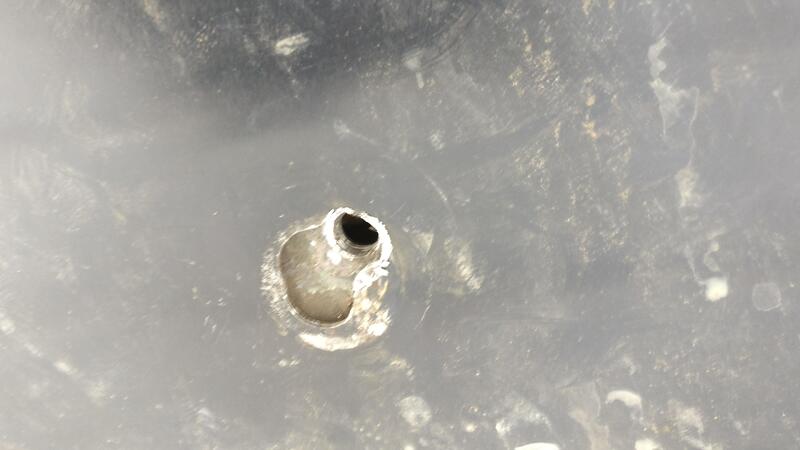
I then drilled up through one of the spire nuts like how I did with the front splitter. This helped roughly fix the rear of the diffuser while the others were adjusted and meant I could remove the axel stands and get them out the way.

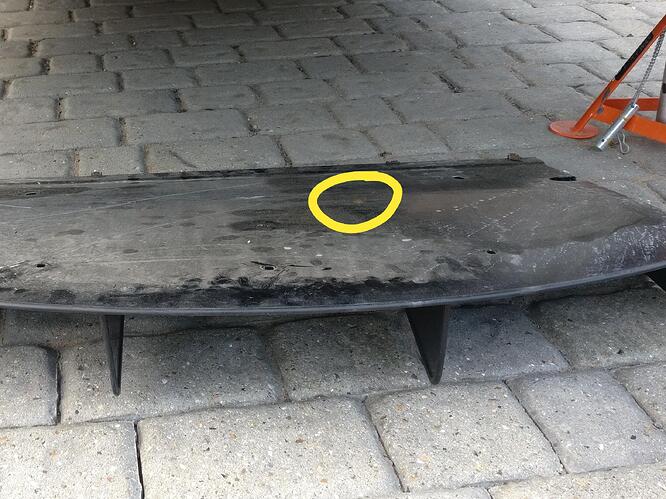
To get the final positions of other rear holes I had to open out one of the bigger subframe holes to pull the diffuser in and get it centred. All clams are different so I was expecting some fettling would be needed.

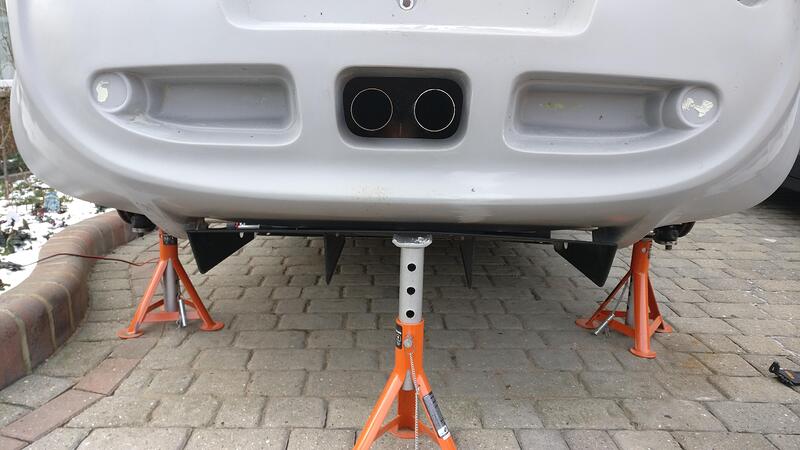
I have misplaced the diffuser spacers and washers so didn’t fit the diffuser fully, but using an axel stand I was able to see pretty closely how it would look.

It is a little tucked away but overall I’m happy enough not to change for something longer. Also means it shouldn’t scrape as badly anything longer.

Definitely a long winded and fiddly process just to drill 5 holes, but needed to be done before paint and another job ticked off.

I got a delivery from Eliseparts that had the new hub nut to finish the driveshaft replacement.

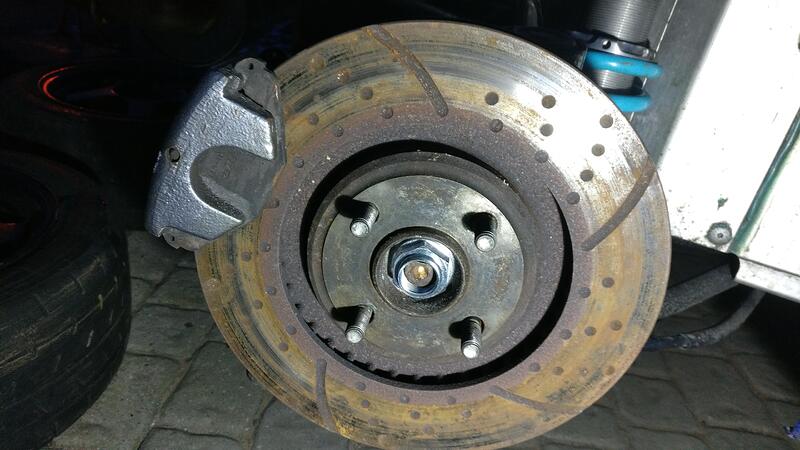
Popped the nut on and did it up roughly with my breaker bar.

I tried to tighten it to the 220nm with just the handbrake but it wasn’t having it and the disc would turn before the required torque. I out the wheel on and dropped the car down on that side.

Unfortunately my torque wrench only goes up to 200nm, so when I heard the click at 200 I just did a little bit more to get it roughly 220nm.
To finish it I took a flat head and knocked the tab into the slot on the driveshaft.

One of the more nervy jobs was to install the jacknuts for the roof to rear clam fixing. I’ve never used them before and there isn’t much room for error using them… As I found out.

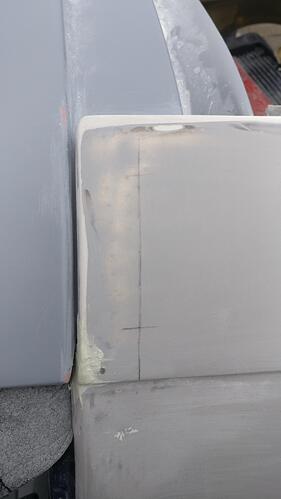
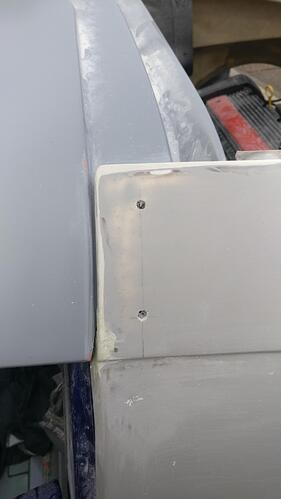
First up was to mark where to drill. I thought 70mm was a good gap between the two fixing bolts and seems to match the reference pictures I could find online. I also measured 28mm from the edge of clam which looked about right too.

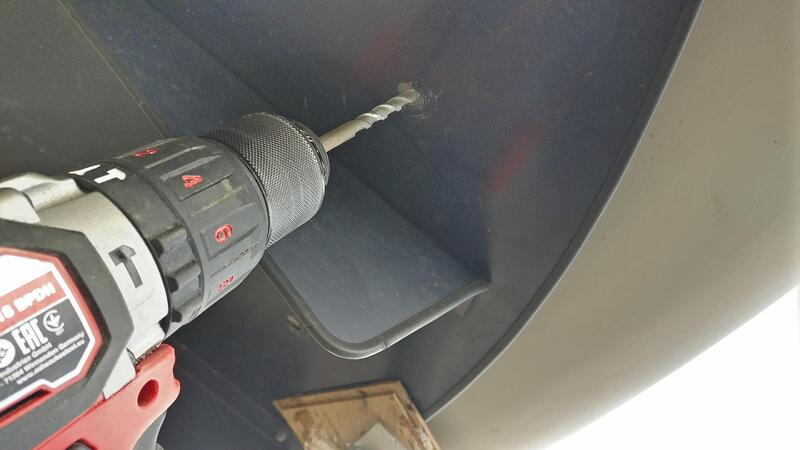
I took a small drill bit and pushed the clam up against the roof how it would be when bolted up and drilled through both the clam and roof. I then took a 6mm drill bit and opened up the clam holes. The fixing bolts will be the same as the splitter which are M5, so this would give a bit of extra adjustment room.

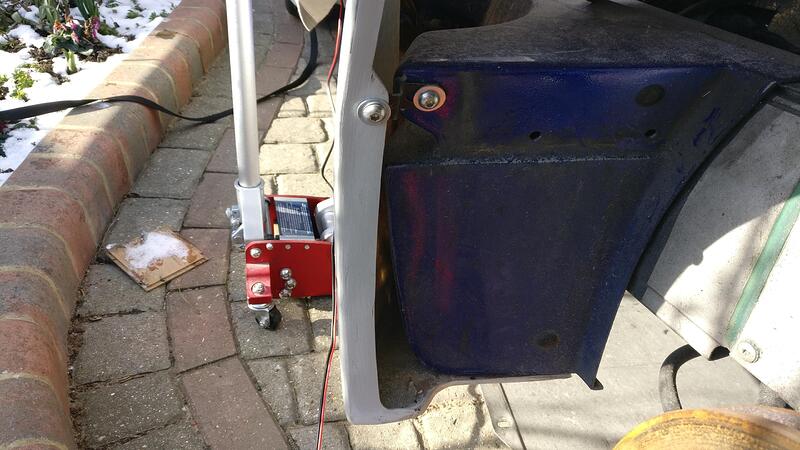
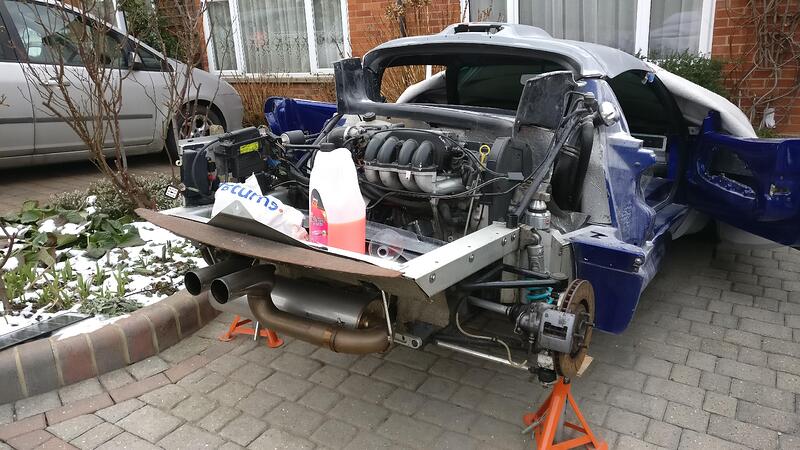
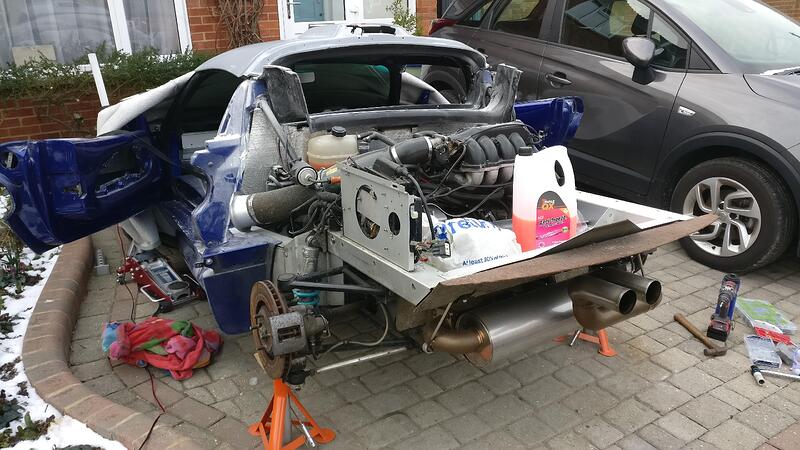
I needed to get the clam off the car to do the remaining work on the roof. I took all the bolts off and placed the wheels under to support it while I undone the final bolt by the number plate, which I think is the most important fixing.

The clam took a bit of wiggling and pulling the sills outwards to clear things like the rear discs etc, but is something you can do on your own.

With the clam off I can get to stuff much more easily and is a good time to sort a few things I’ve wanted to for a while.

The holes into the roof needed to be opened up to allow the jacknut to fit. I only had one spare jacknut which I did a test run with using some wood before attempting on the roof, which I actually messed up and ruined by not using a big enough hole and bent the spreader parts when trying to hammer it into the hole.
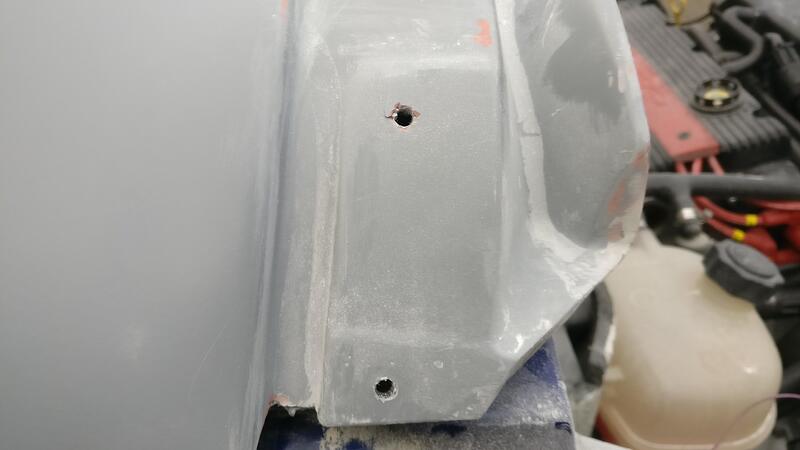
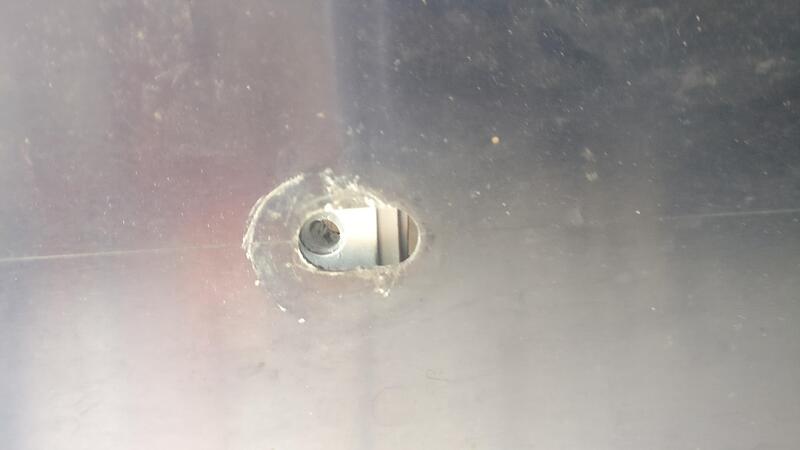
To avoid this I opened the holes on the roof right up to 10mm, which unfortunately I didn’t take a picture of until later, but meant the bottom hole got close to having very little material underneath it which I’d have to be careful with.

After googling how to install a jacknut I saw you kind of needed a special tool to hold it in place while the end of the jacknut spreads out while it is tightened, and it is this spreading that makes it secure.
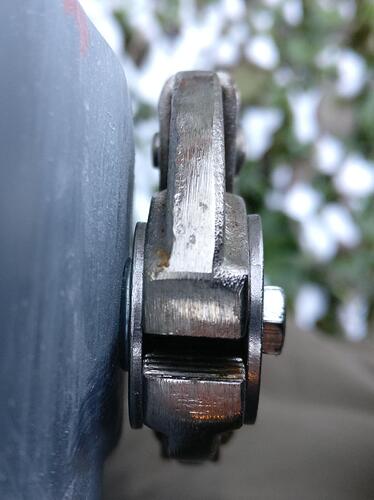
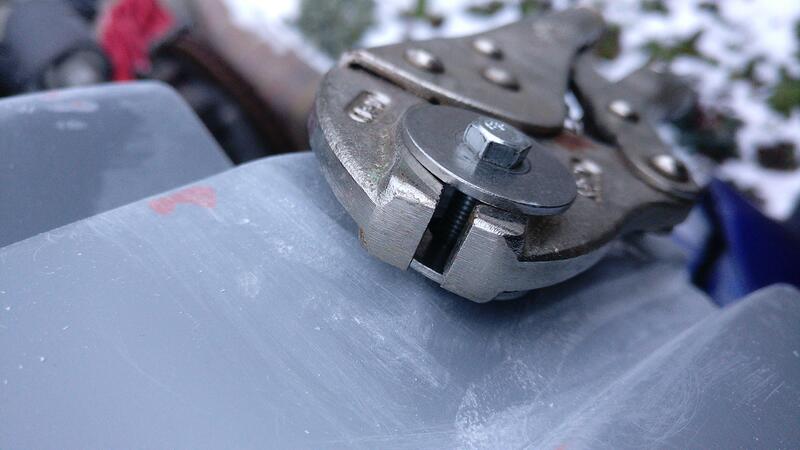
I had a think and came up with this method of securing the jacknuts. I used 2 penny washers and a locking plier to keep the jacknut flush in the hole while the bolt could tighten and pull the end of the jacknut upwards, spreading the ‘arms’ outwards to make it strong and tight.

I then unwound the bolt a little to take the tension off the pliers and they came away from the bolt. Then just unscrewed the bolt completely.

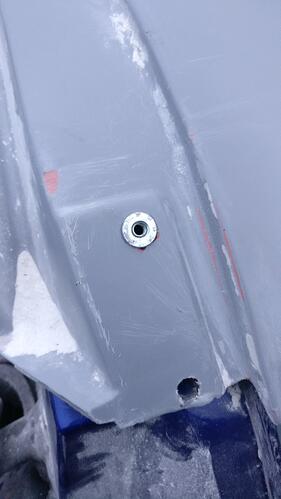
Here is the fully installed jacknut. I’m hoping they are strong enough as they will be under tension by pulling the top of the clam inwards against the roof, but they did feel very secure when I tested them by pulling on the bolt used when installing them pretty hard so fingers crossed.
The photo also shows how the bottom hole is quite close to the bottom of the roof material after being opened up with the 10mm drill bit. In hindsight perhaps I could have closed the distance between the two fixings to maybe 60-65mm toincrease the material under the bottom hole, but it feels strong so must have enough material there for it to be ok. Also the bottom one is under less tension than the top as it doesn’t need to pull the clam in as far at that point. Only way to find out is to put the clam back on and try.

The “funny” thing is that on the first cars made, mine is # 016, the fixation wasn’t there…

:thumbup:

Interesting, just realised mine doesn’t have them either! Can’t believe I’ve never noticed :laughing:

Keep up the good work James, fantastic build thread and progress :thumbup:

“Un détail amusant est l’absence des deux vis maintenant le haut du masque arrière jusqu’à l’auto #069. La #073 et toutes les suivantes possèdent ces vis, le changement s’est donc opéré entre ces deux exemplaires.”

“A funny detail is the absence of the two screws holding the top of the rear mask to auto # 069. The # 073 and all following have these screws, so the change was made between these two cars.”

:smiley:

Strange… #192 with no external fixings!

That is really interesting, I wonder why done have then and others don’t.
There was no way I could avoid them as the tips of my clam needed pulling in, but kind of like it without, cleaner look.

Cheers for the encouragement, it’s not the nicest at the minute being -4 degrees outside!