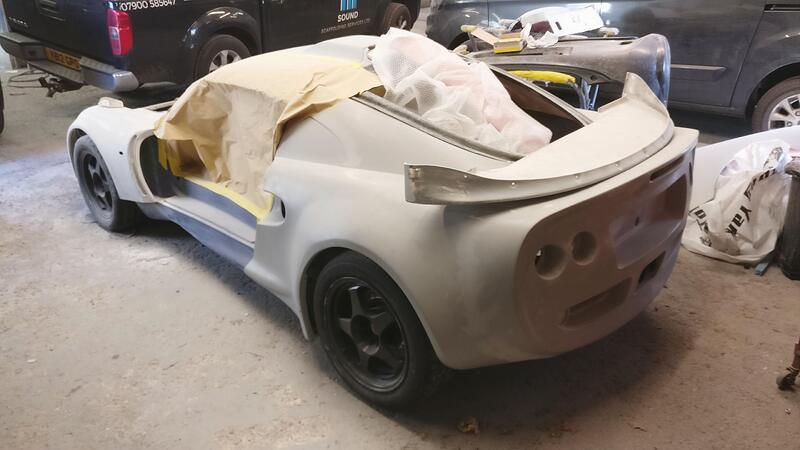
S1 Exige Conversion

:heart_eyes::heart_eyes::sunglasses::+1:

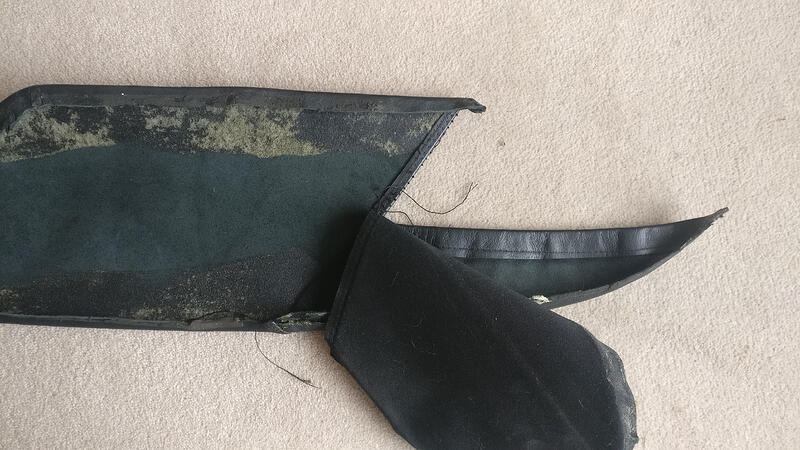
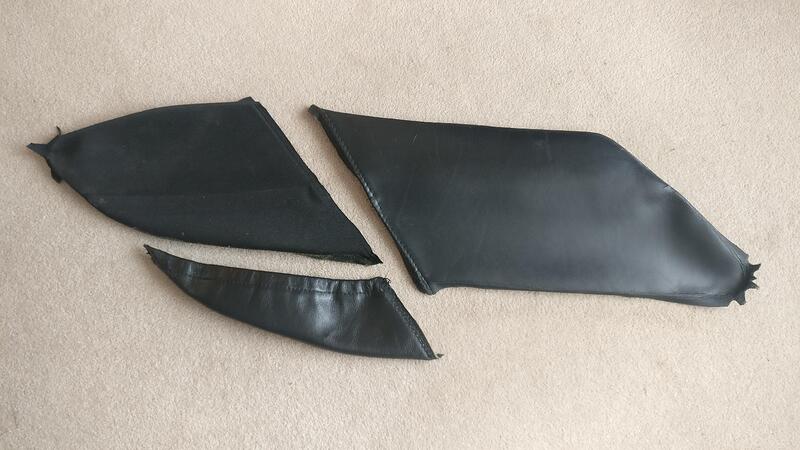
With the sill covers off the backing piece I was able to take them apart to use as templates for the new fabric. I was never a fan of the leather look and think alcantara would look/match with the roof better.

The originals were pretty easy to pull and cut apart, a small blade cut through the thread.

I only needed to take one sill apart and would just flip the templates for the other side. The originals also showed how much fabric is folded under the backing piece which was helpful.

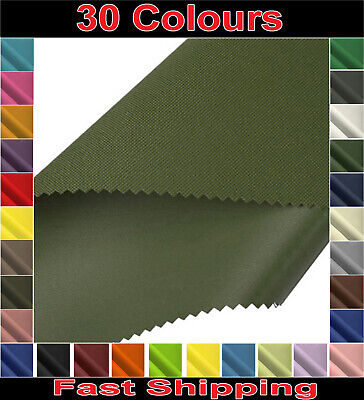
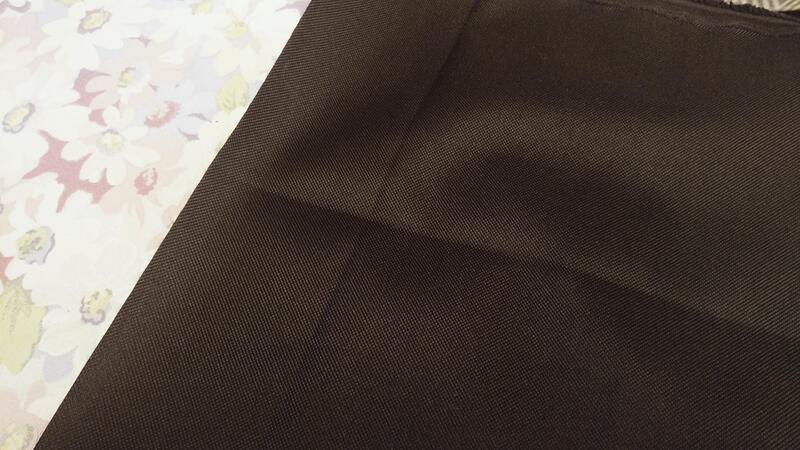
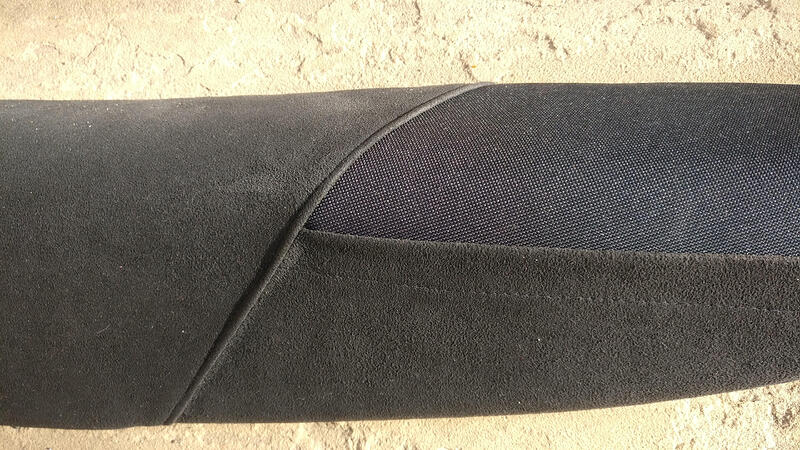
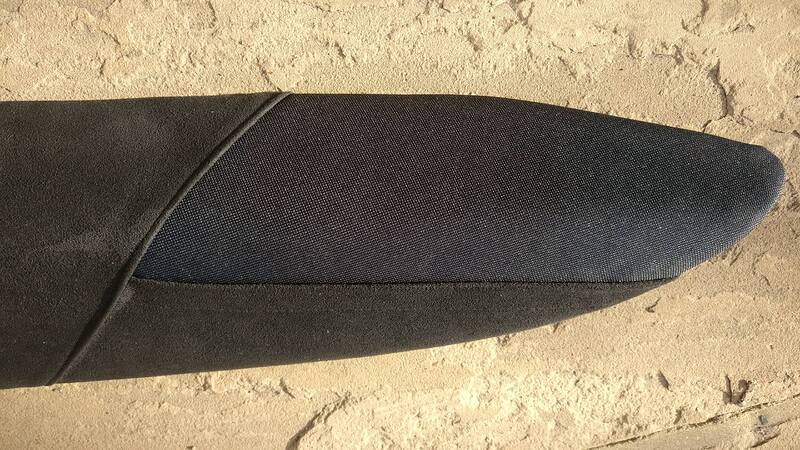
I will use the same alcantara fabric as I used for the roof and clamp piece for the main sill fabric, but I also bought this tough textured fabric for the inner pocket piece. Unfortunately it came folded and had large creases where I couldn’t get the template to fit on a flat part of the fabric.

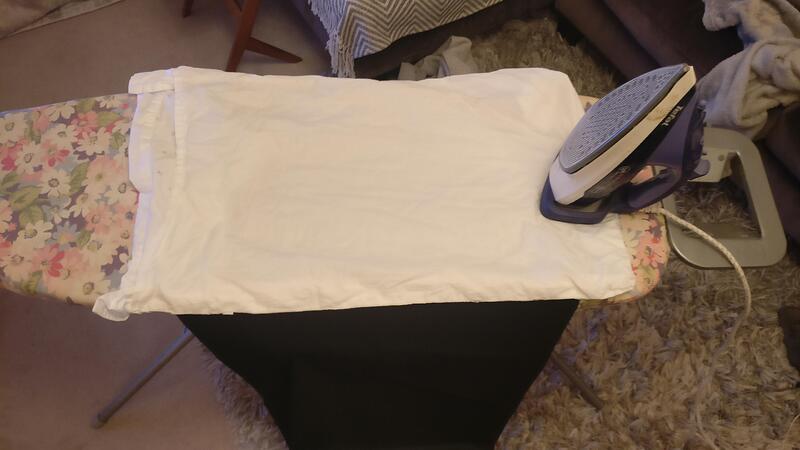
To remove the creases I decided to put a pillowcase over the fabric and used lots of steam to take them out.

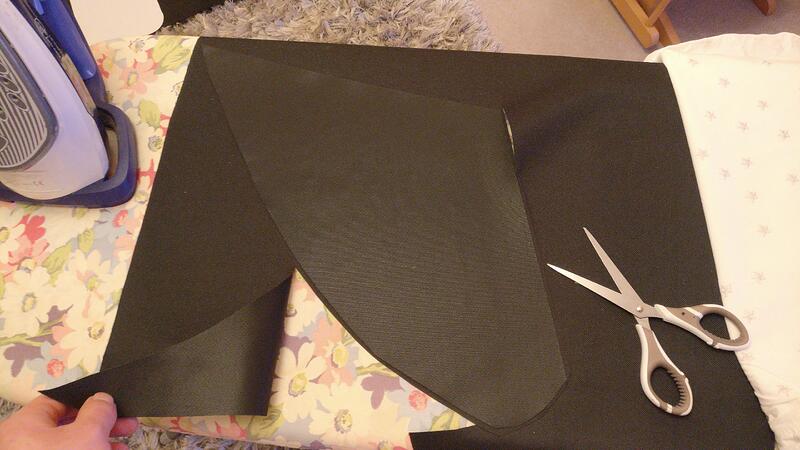
The fabric was now flat and I cut around the original template to get the new pieces.

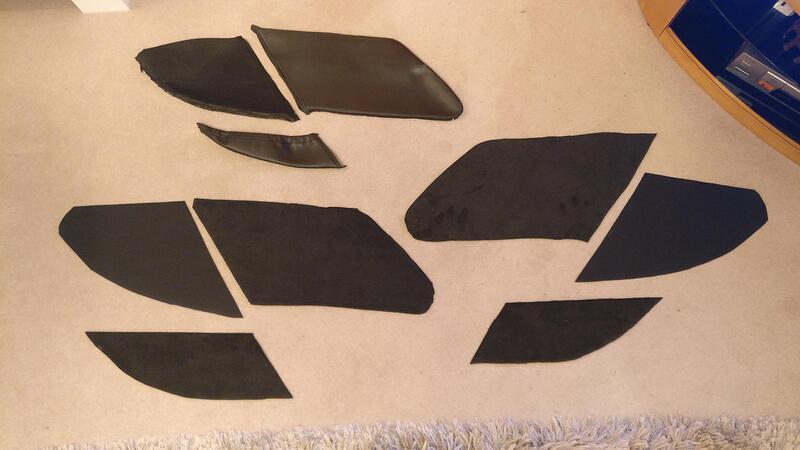
All pieces cut ready for stitching.

I asked my mum if she could sew the pieces together and left the templates and complete original pieces with her, with pins where I could place them to help with the fold distances etc. Happy with how they turned out and grateful for the help.

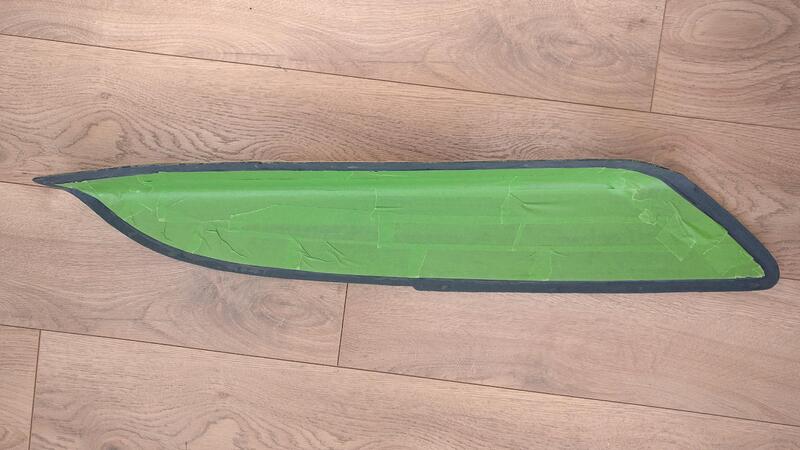
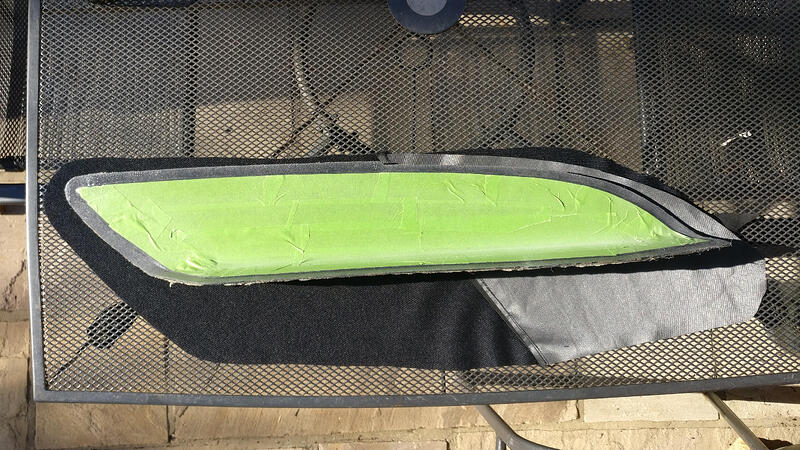
The next step was to tape up the backing plate ready for the spray adhesive. The spray tends to remain super sticky even after days of drying, so I only wanted glue on the areas that needed it. I will try using velcro to attach them to the sills, which was another reason to keeping the middle surfaces clean.

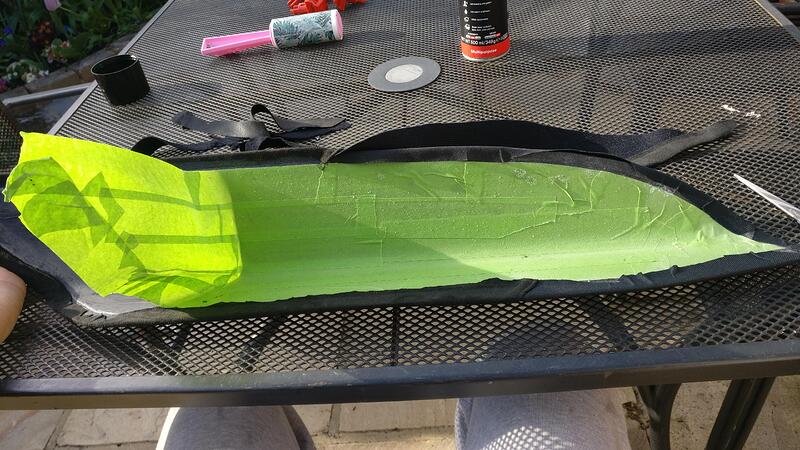
I sprayed a fair amount of glue and left it for a few minutes to let the adhesive go tacky, then placed it over the fabric ready to roll and stick the fabric over onto the glue. Similar to the foam for the roof liner the sponge padding is very porous, even more so than the foam so I didn’t even bother spraying the underside of the fabric.

I trimmed away the excess and cut the corners into triangles the same way I did the roof curved edges to avoid overlaps. I then peeled the tape away, but left a little bit on near where the pocket pieces needed to be folded under as this section required more glue.

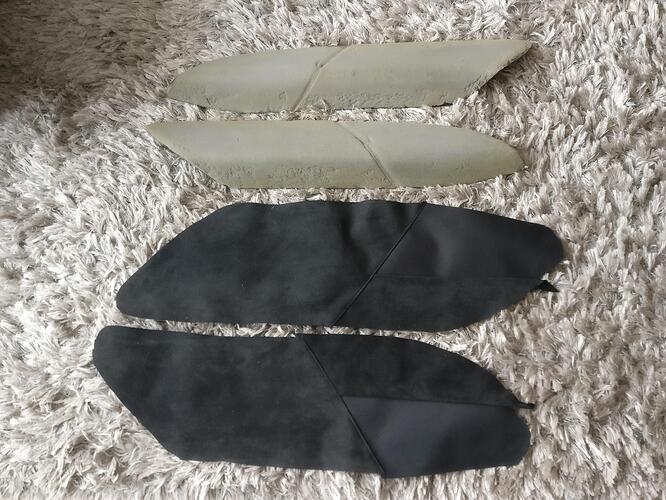
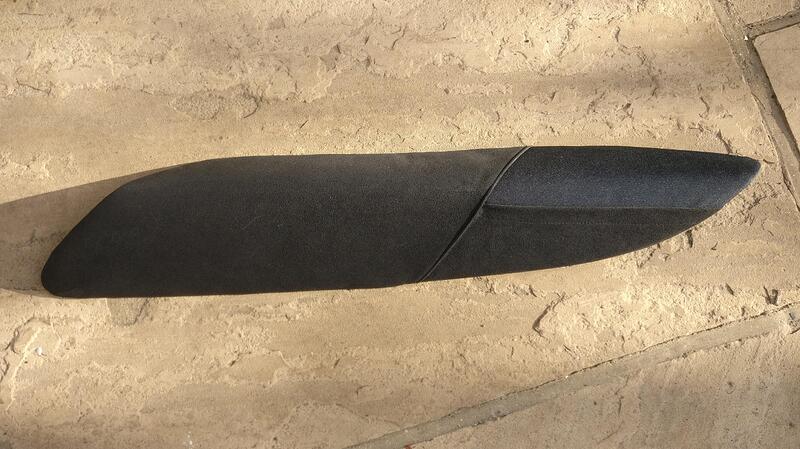
Here is the finished panel. Very happy with how it turned out and much cheaper than Allon White (no way was I paying £90 each for them!) All in mine cost less than £15.
Should look good on the car and I’ll see how they hold up, hopefully the sun doesn’t turn them brown too quickly.

For someone who’s not very good at stuff you’re doing a great job!

Where did you get the non alcantara fabric from? Is it the same as you get on the originals?

I’m thinking of doing mine in the future, but will probably use the leftover Keprotec I’ve got.

Learning a lot while doing it! I did make my own scale model for my final uni project so enjoy doing more practical things.

I got the fabric from ebay, just a waterproof canvas. Not the OEM stuff as that seemed quite stretchy and this stuff isn’t, we’ll see how it all holds up.

As with most things the second side I did was neater and I’m more happy with it, but I can’t be arsed to take a picture!

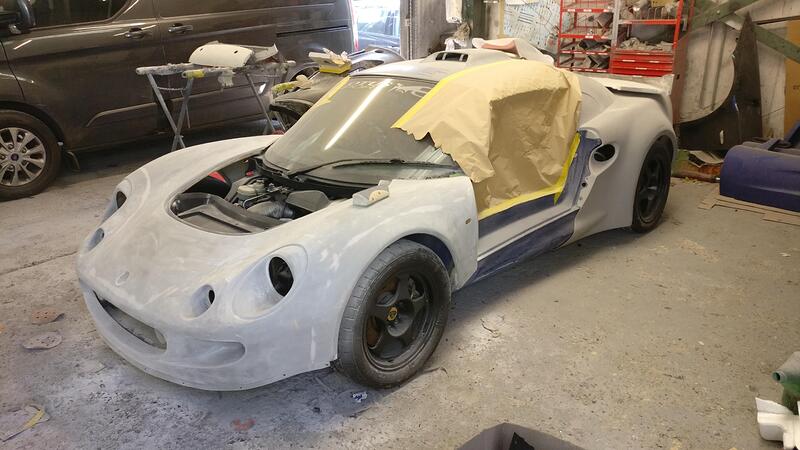
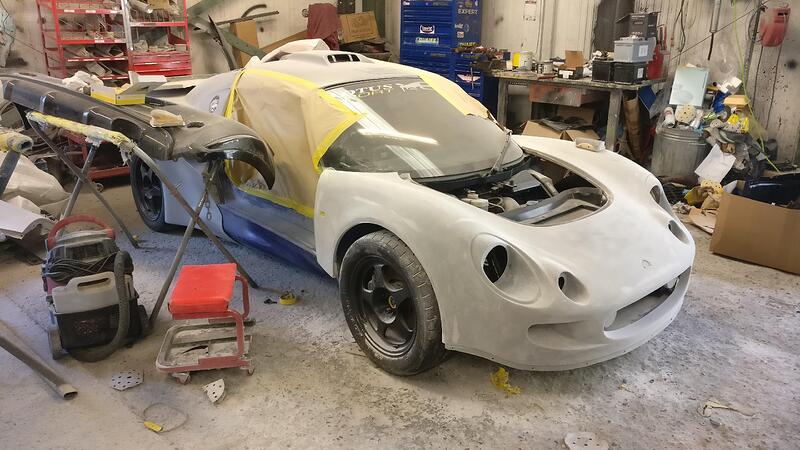
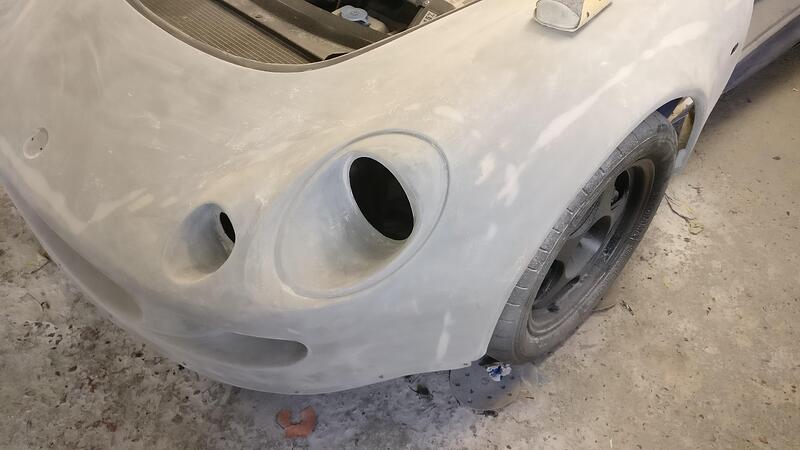
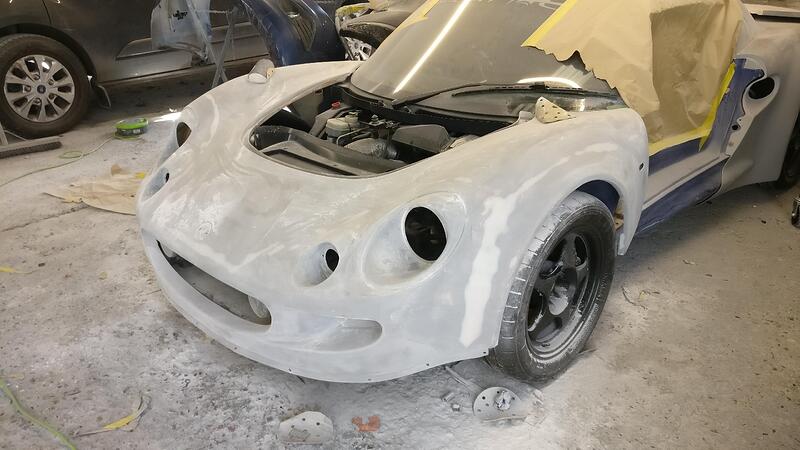
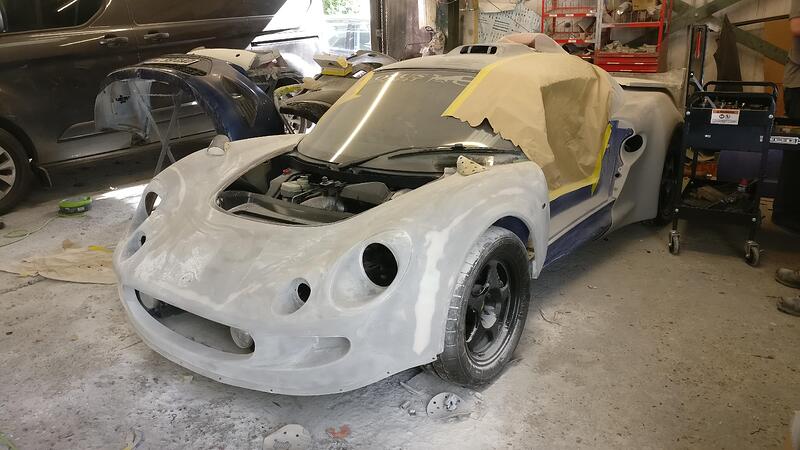
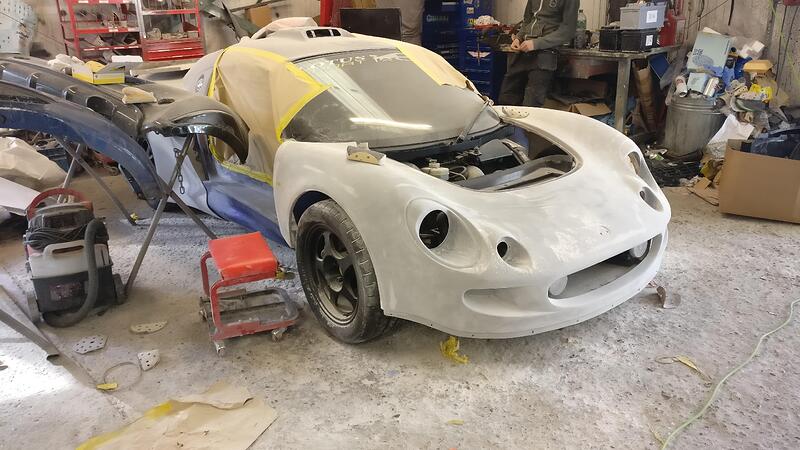
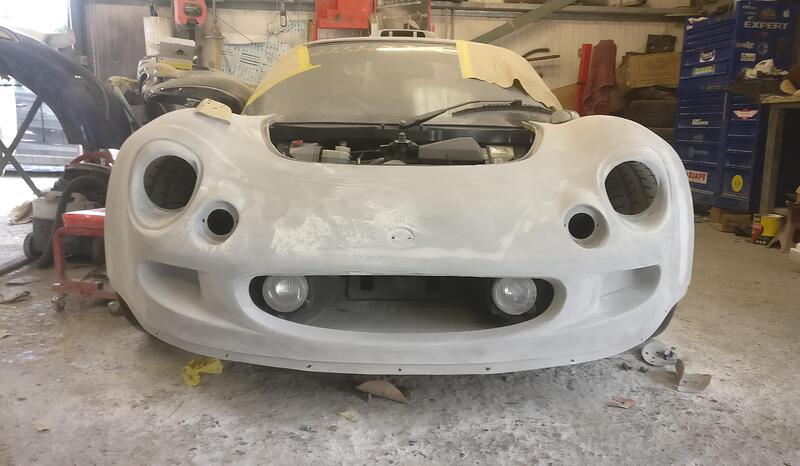
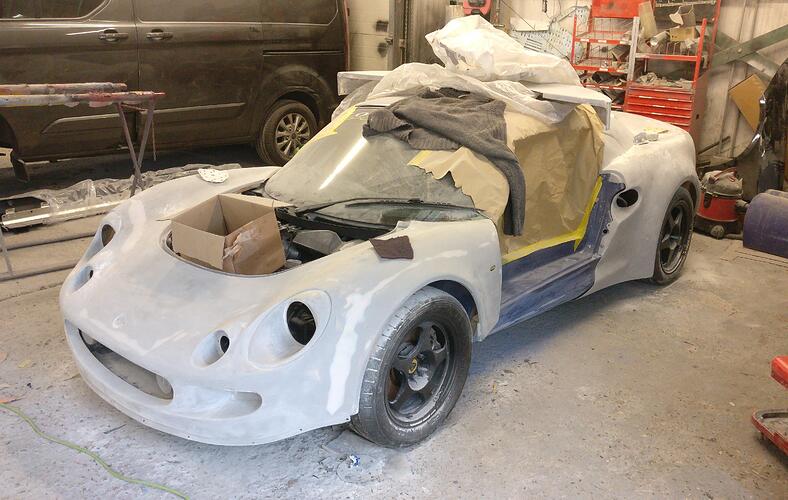
Good day today as I managed to get over to the bodyshop to do some work on the front clam.

I took the DA sander and went over the clam with 80 grit to take out the flashing lines. I had never used the air compressor when sanding so took it very slow and steady.

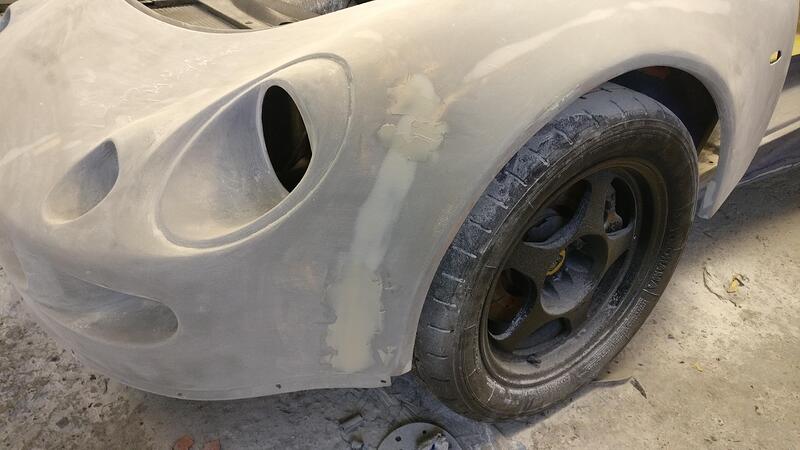
The dips were roughly filled using a Upol filler more suited to deeper areas than the fine detail filler I have used before, going over it again with the DA.

I think a combination of me not being used to the machine and having concave surfaces meant a few slight grooves had formed in places, so I added more filler and used a hand block to smooth out the concave areas. Took a bit longer not using the machine but I was able to smooth everything out.

I also sorted a few other areas and went over everything on the clam to get it ready for paint.

The car won’t be a garage queen and will be driven hard on track, so it is bound to get stone chipped. Because of this I won’t be completely precious about the surface finish of the clams (especially the front) but will get them as good as I can.

The bodyshop will go over it on Monday to sort anything I missed then it is onto the rear clam.
I also added a bit more filler to where I filled the aerial hole on the roof scoop and then sanded it back down with the hand block to get the surface smoother, as I wasn’t happy the slight dip it had.

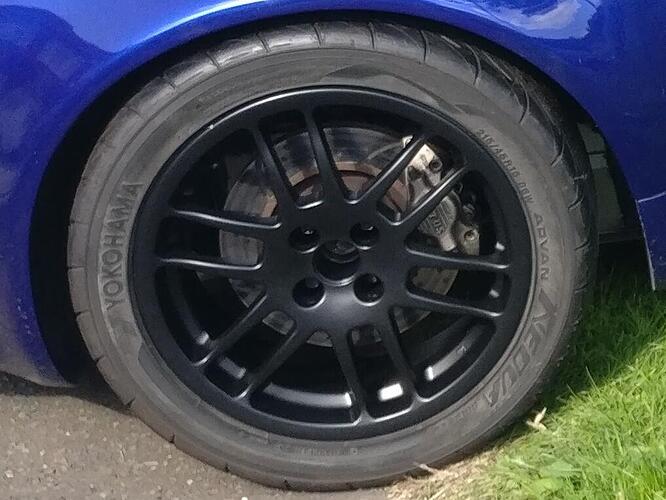
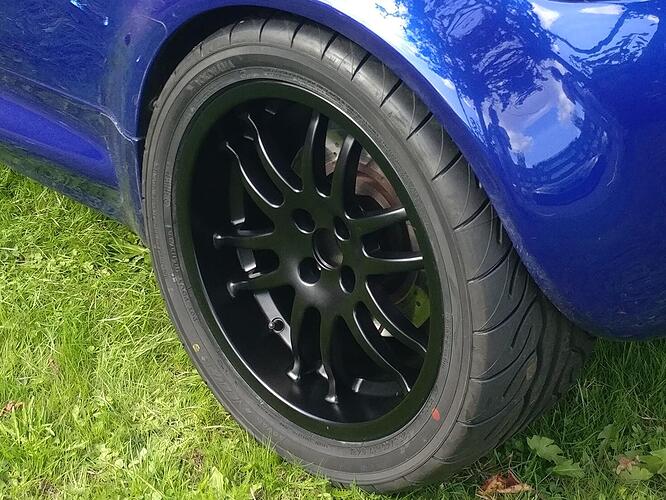
Moving onto the disc brakes, I remembered that the rust on them really stood out against the black of the wheels and looked crap. For the finished car I wanted to stay away from this as best I could.

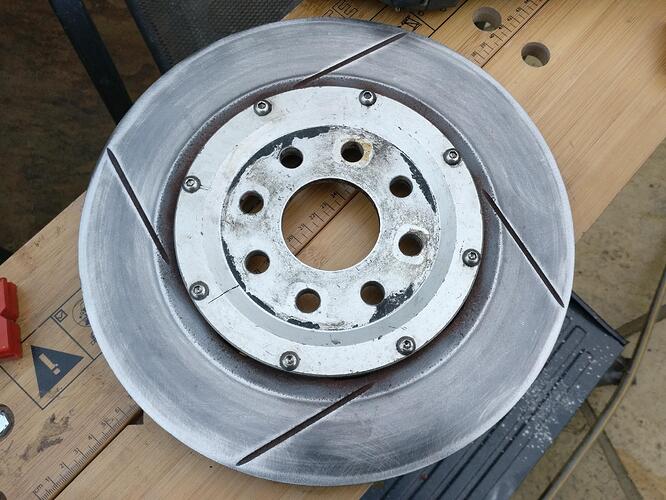
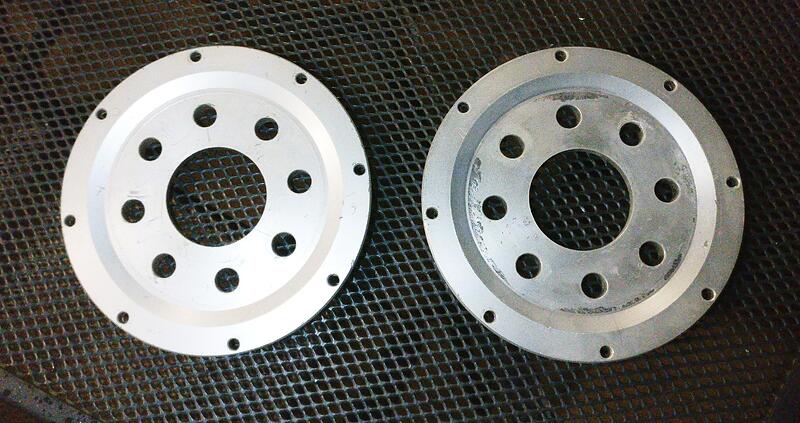
Generally the ally belled discs were in good condition, but I felt I could improve them.

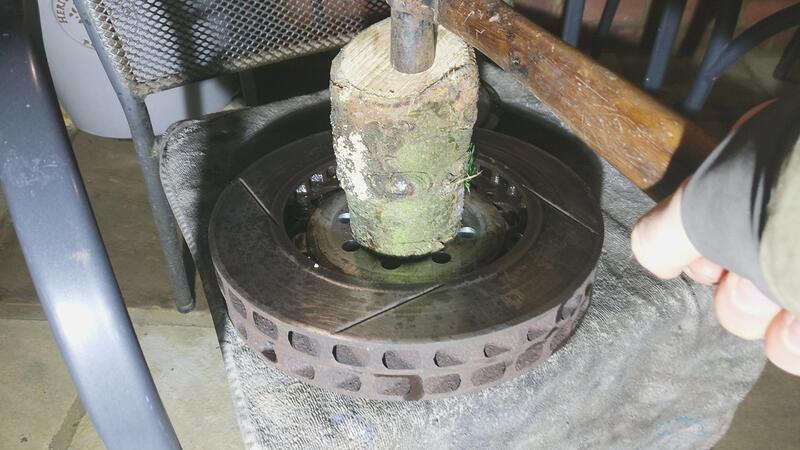
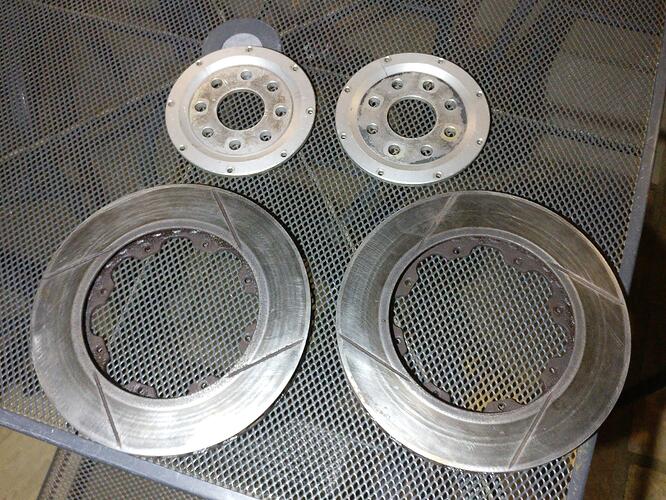
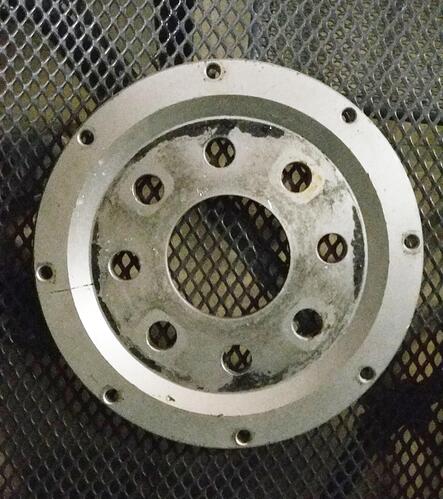
I needed to separate them, so took out the bolts and tried to push the bells out. Unfortunately they were stuck solid, so I used a block of wood and a hammer and shocked them out.

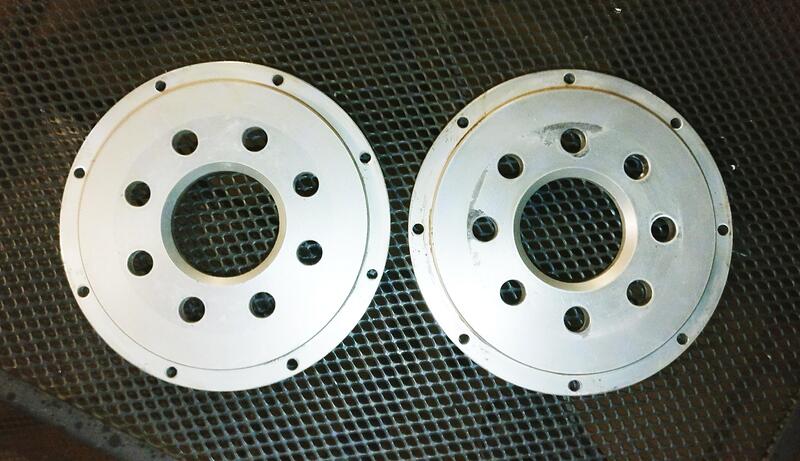
All separate and ready to have some work done.

The bells were pretty grubby, but I didn’t want them to stay silver as I felt they would stand out too much against the black wheels.

I cleaned them up and got them ready to paint.

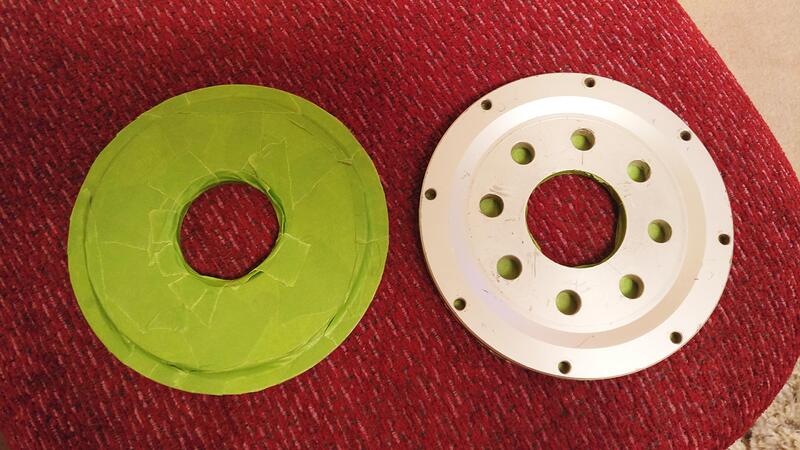
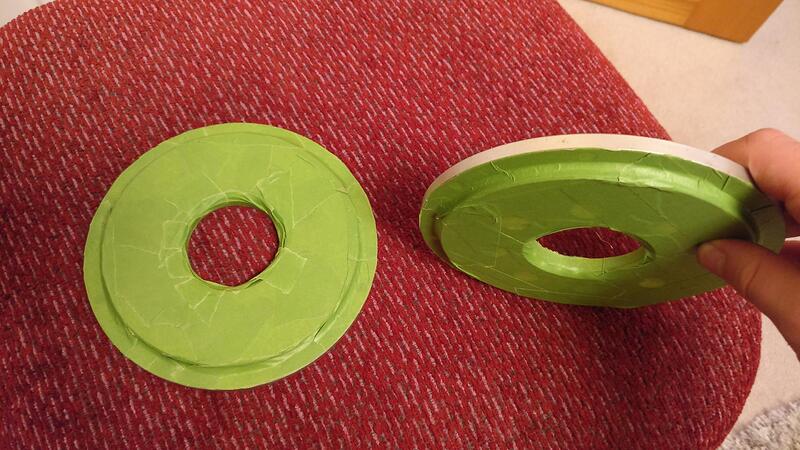
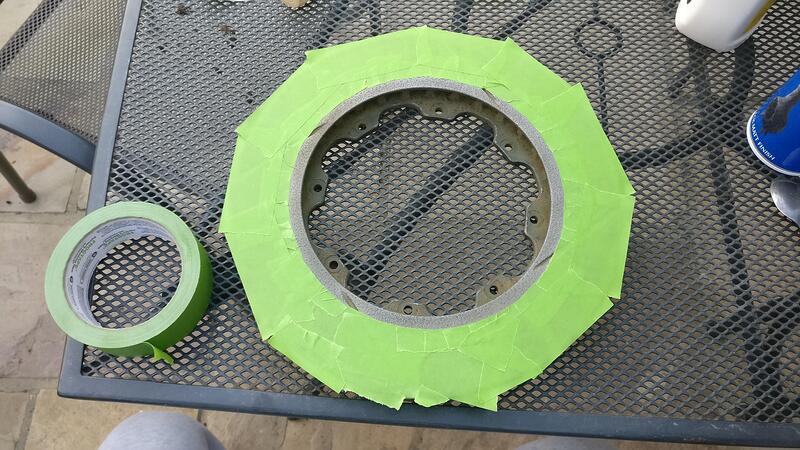
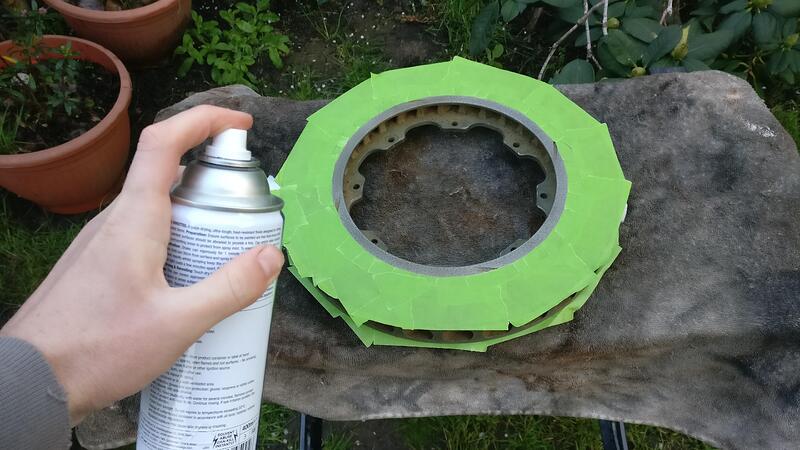
I felt it was important to keep the mating surfaces free of paint, so I masked these areas off.

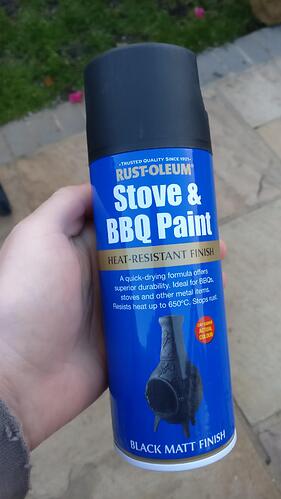
As I’ve said before I don’t like shiny stuff inside wheels and like to hide things as best as I can, so I bought some matte black paint. Due to the high temperatures the bells and discs will go through I bought some stove and BBQ paint.

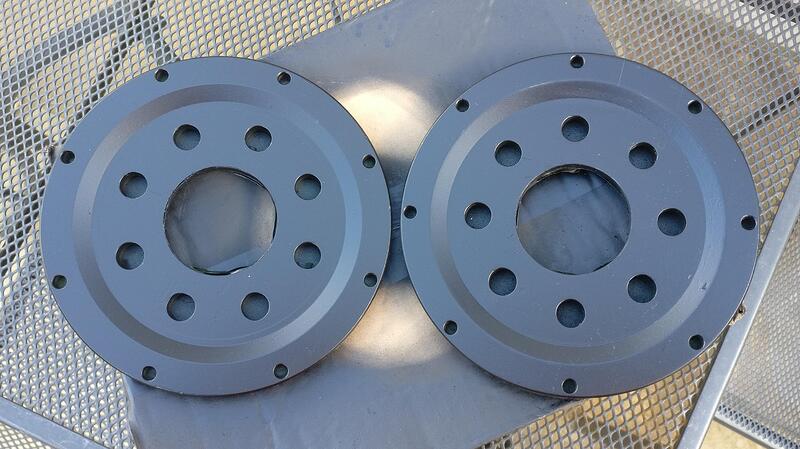
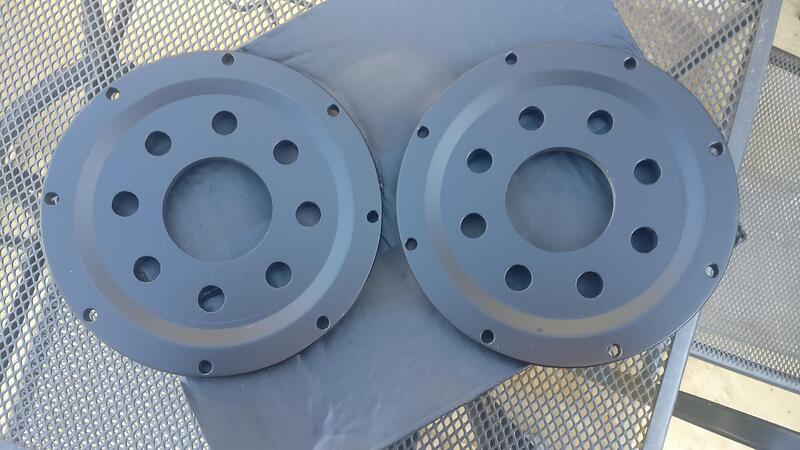
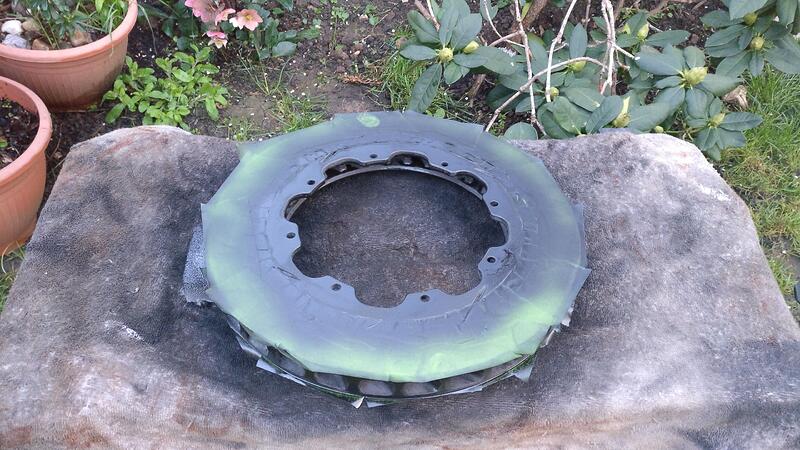
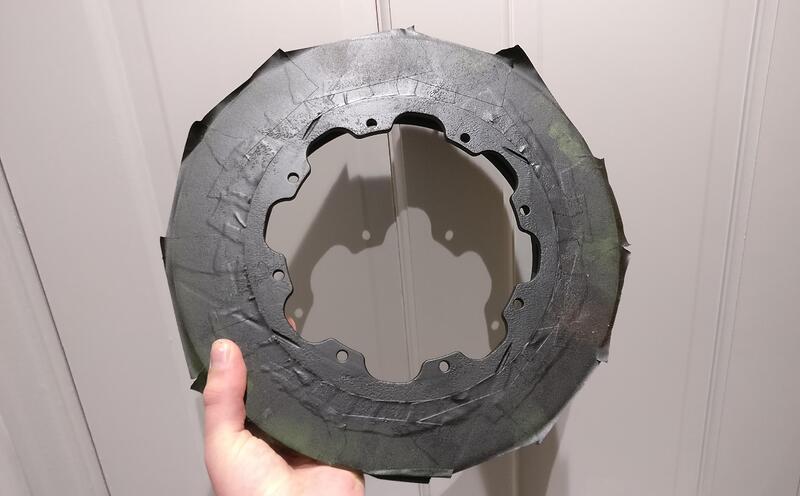
I gave the bells a few light coats of the paint, sanding afterwards to get a nice flat surface ready for the final coat.

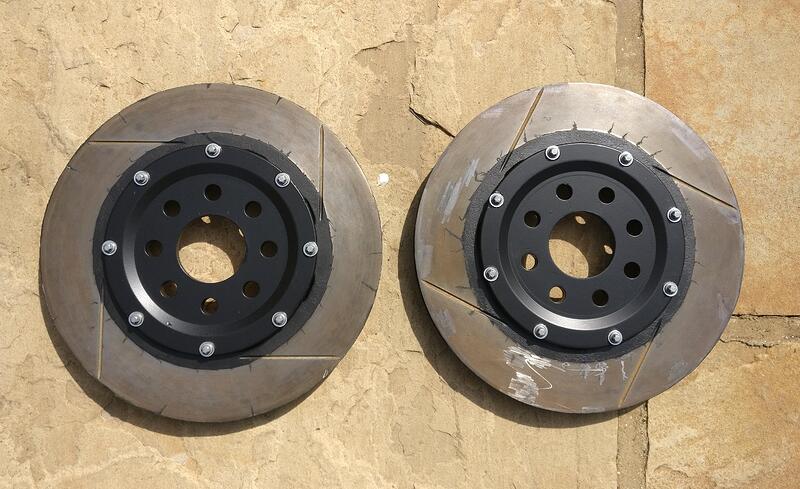
Here are the finished bells, the paint isn’t very durable so will have to see how they hold up.

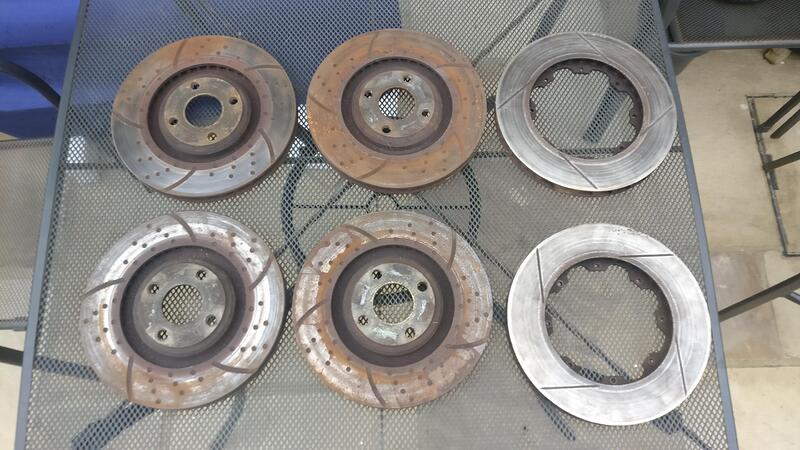
I to the discs now, where I wanted to clean up the surface rust. The AP Racing discs aren’t too bad, but the fully cast ones have been on the car a while so have a fair coating of rust on them.

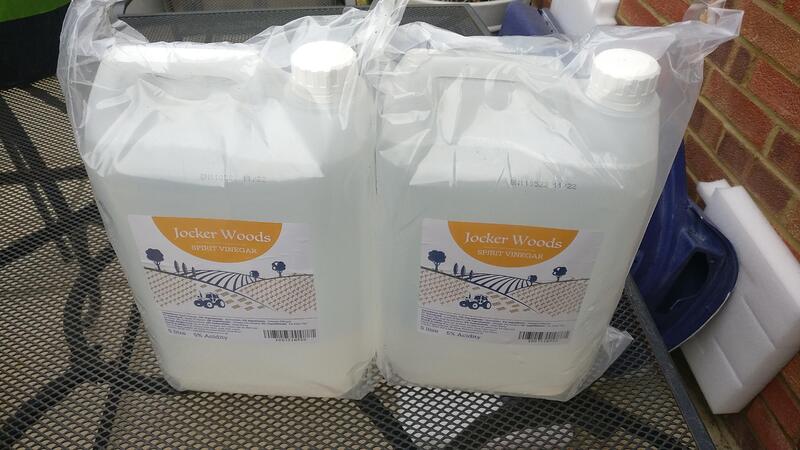
I found a thread that said vinegar cleans up rust safely, so I bought a couple of cheap bottles to give it a go.

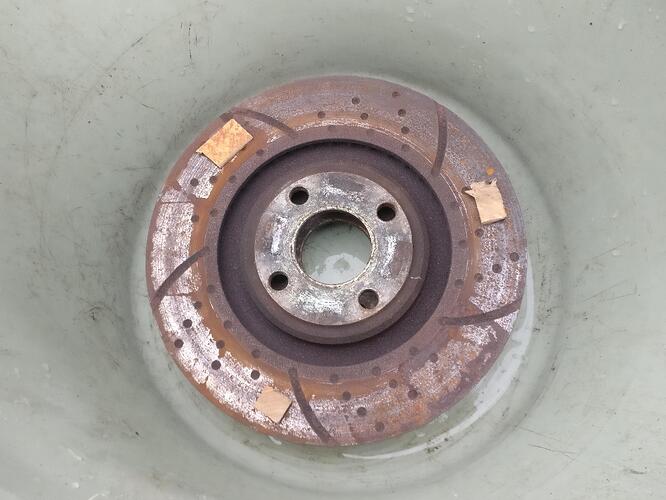
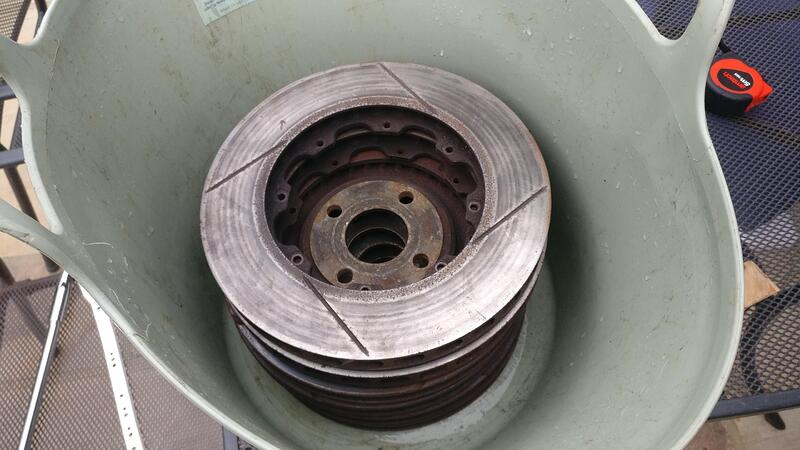
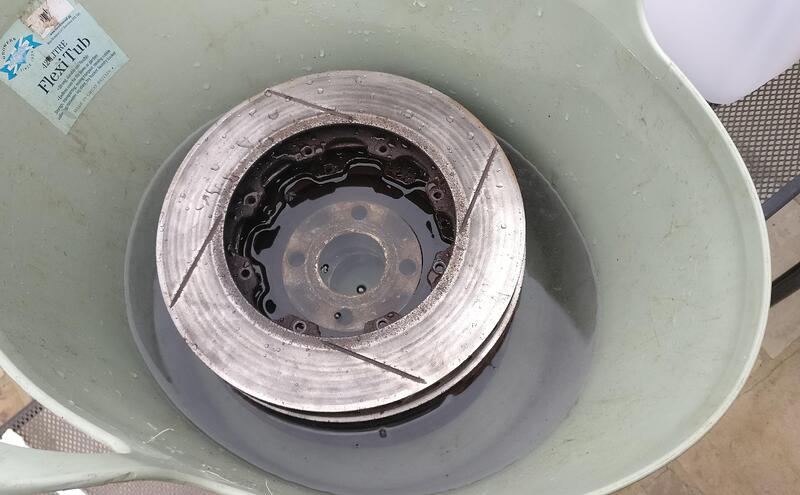
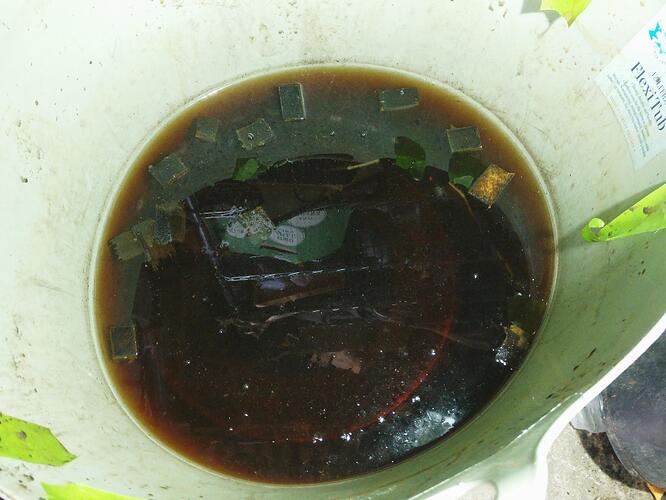
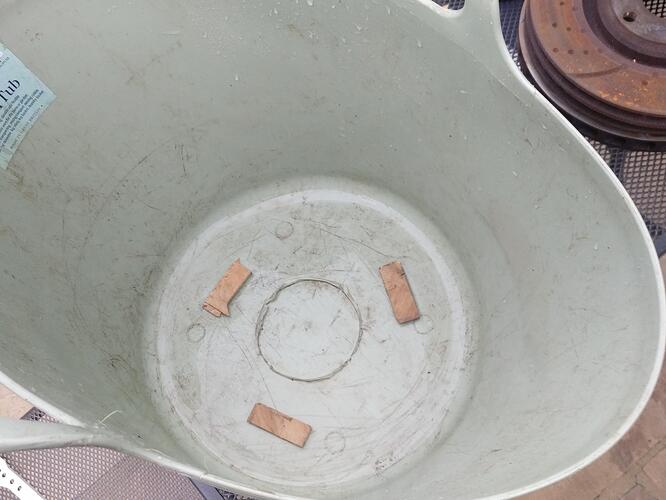
I got a large bucket and placed a few small wooden blocks in the bottom. I used these wooden blocks to separate the discs so the vinegar would be able to penetrate all surfaces.

I placed the blocks on the contact areas for the pads so any rust that wouldn’t be penetrated wouldn’t be an issue as it would clean up under general driving.

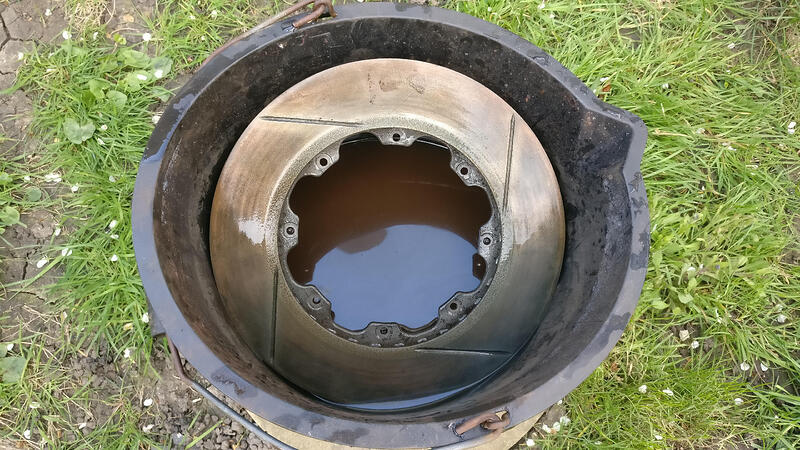
All stacked ready for the vinegar.

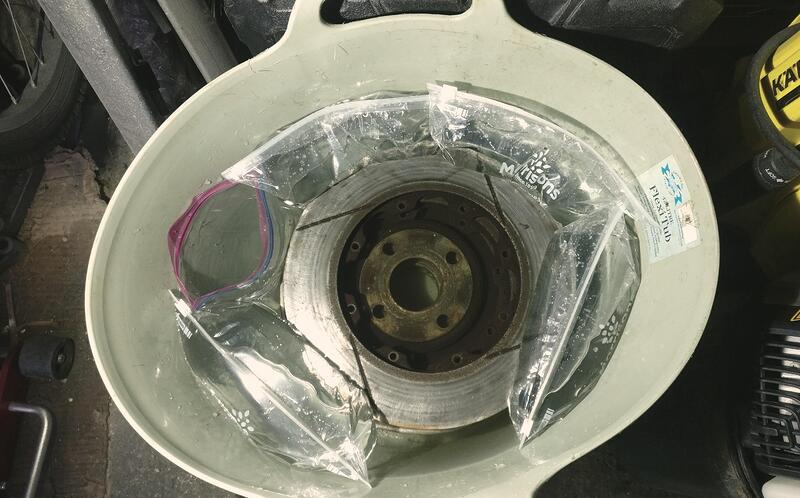
Unfortunately the vinegar didn’t quite cover the 6 discs, but I had an idea.

I filled sandwich bags up with water and places them around the discs. This displaced the vinegar more and meant the discs were them fully covered, and being in sealed sandwich bags the water didn’t dilute the vinegar solution.

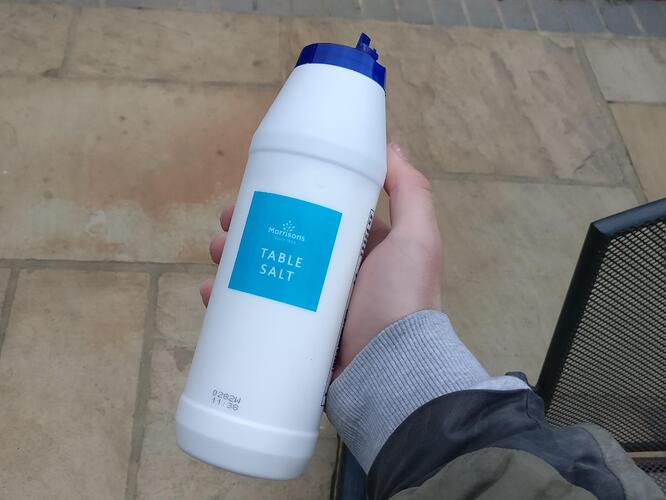
I had also read to add some salt to help speed up the process, so bought some super cheap table salt and scattered it into the solution and gave it a stir.

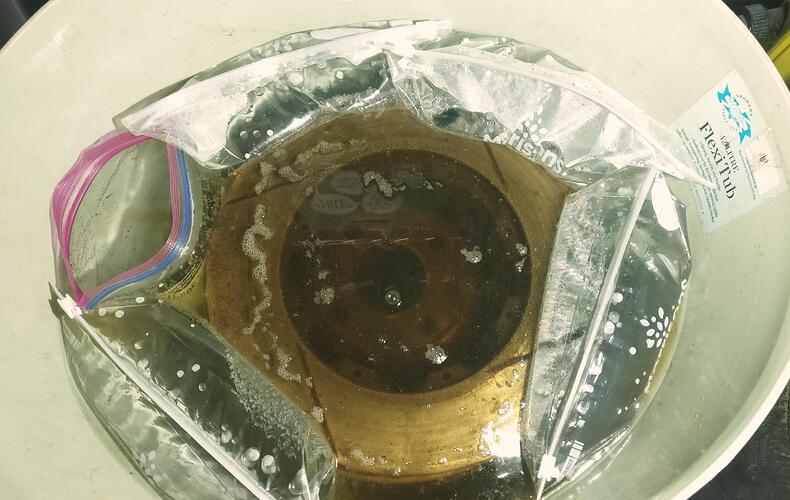
After only a few hours the water was turning rusty so I knew it was working.

Unfortunately, the day after I was told to get the car ready to go to the bodyshop, so I had to take the 4 fully cast discs out and put onto the car. I left the 2 AP Racing discs in the solution for another 3-4 days. The solution was definitely filled with rust after the 4 days.
I kept the solution to use for the cast discs once the car is out the bodyshop and will follow the same process as a what follows here. I’ll post some pictures of them finished shortly.

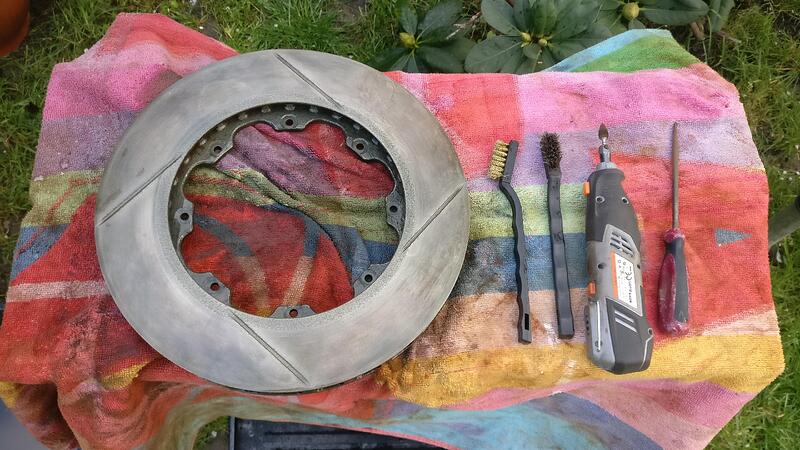
I took the discs out and scrubbed them with wire brushes to remove as much of the loose rust as I could, changing the water for fresh occasionally.

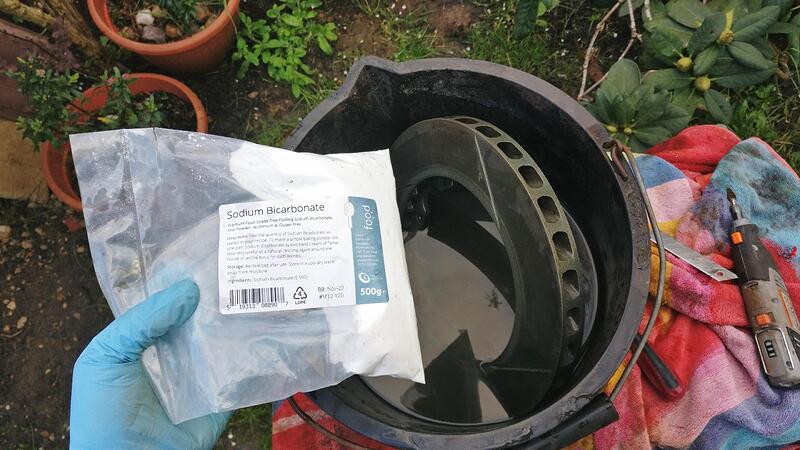
Once the discs were as clean as I could get them I used some sodium bicarbonate to neutralise the solution on the discs in some clean warm water.
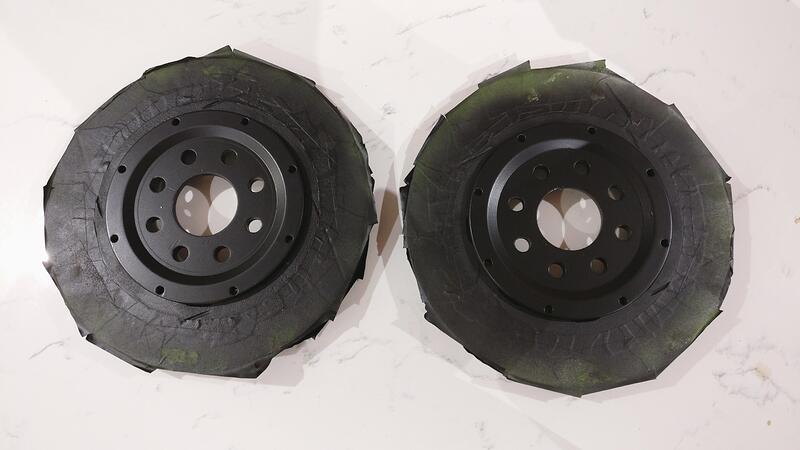
I would have liked to have left the discs with this appearance, however they would only rust again so I decided to paint them to match the bells.

After the bicarbonate bath I dried them as quickly as I could with a towel and a hair dryer and then taped up the pad contact patch. I had to move fast to avoid as much fresh rust build up as possible. You can see in the first pictures the rust was already starting to build again.
Due to the fast moving pace the spraying was pretty rubbish and was runny in some places, but I managed to cover all exposed areas and inside the vanes with the matt black paint to match the bells.

I then left the discs for 24hrs next to the boiler to cure.

I then gently tapped the bells back onto the discs, being careful not to chip the paint.

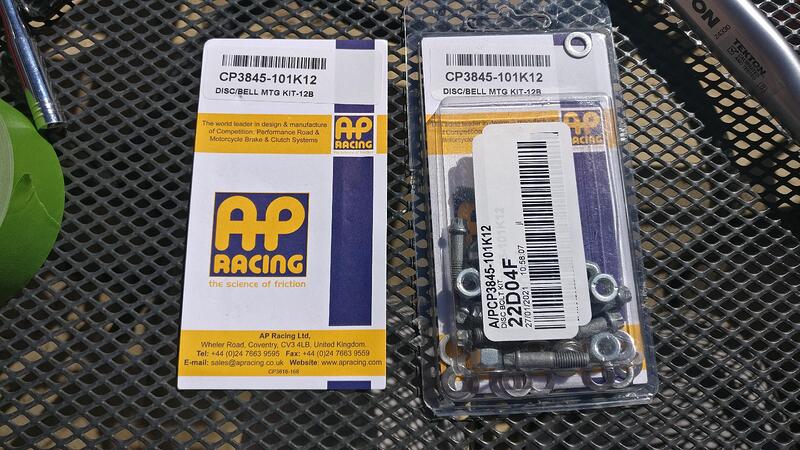
I bought some new AP Racing bolts as safety components aren’t worth the risk to reuse.

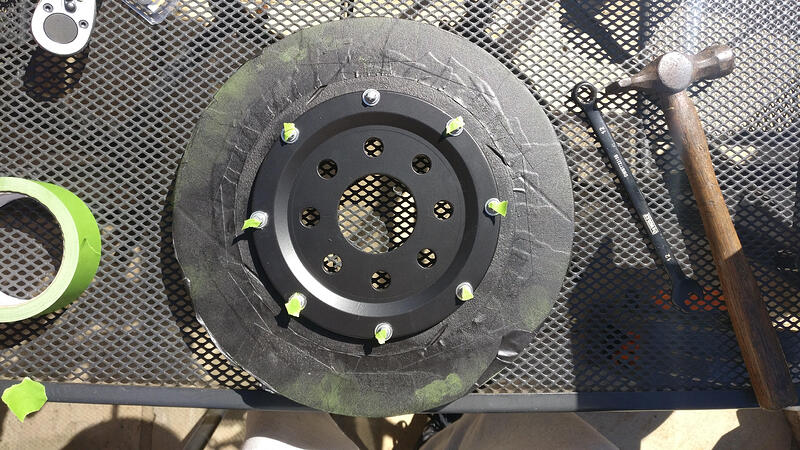
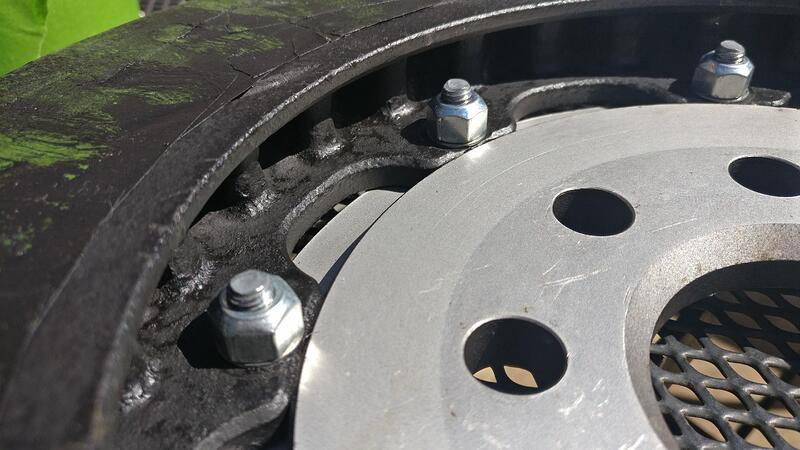
I gently tapped the bolts through and used tape to mark which ones I had torqued. I torqued each bolt to 14nm.

Here are the completed front discs. After torquing and removing the tape I found a bit of paint had made it’s way onto the pad contact surface, probably because I was rushing and put a few layers on too thick. On one disc I thought I would sand the paint off, but then realised it would probably be easier to just put an old set of pads in and go for a quick drive to remove the paint.
I am half tempted to spray the bolts if I have any paint left after spraying the fully cast discs, if not I think they won’t stand out too much.

1 Like

Quick one but thought I’d sort it before I forgot.

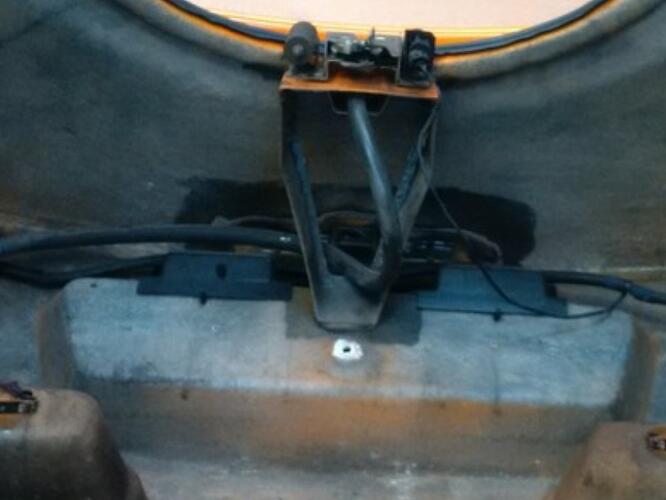
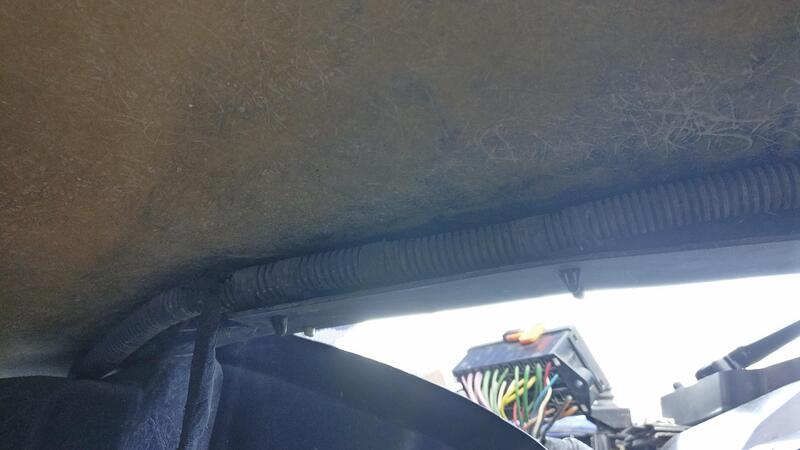
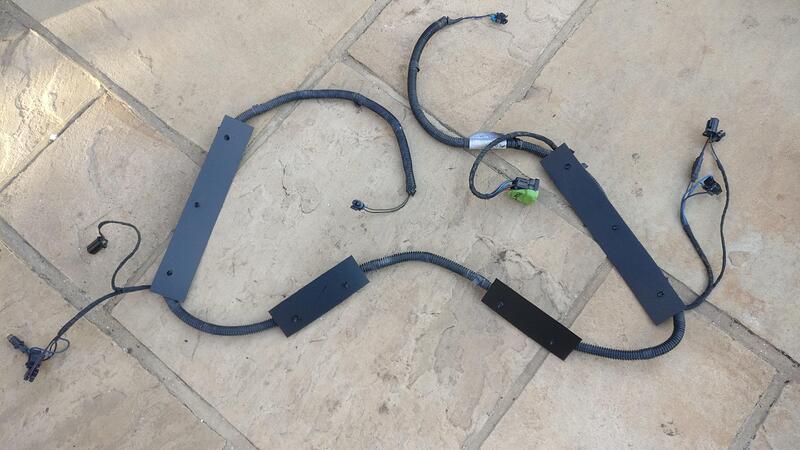
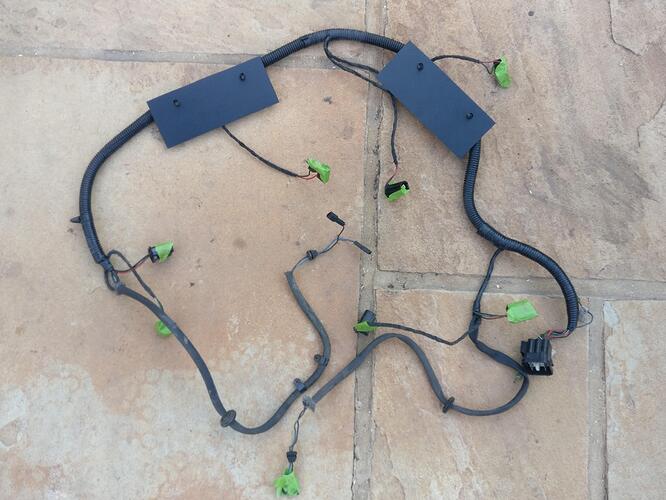
On the underside of OEM clams there are small plastic sheets that hold the lighting looms in place. There are 4 on the front clam that are fixed by pop rivets in the weather channel around the bonnet and 2 on the rear clam by the numberplate fixing bolt.

The looms have these small tabs that push through holes in the plastic shelves and secure it in place.

I used some thin HDPE sheeting for the shelves and cut them into rectangles. I then drilled holes in them and placed onto the loom. I will drill and secure them to the clams after paint. The visible side is of course matte black :wink:

Great work.

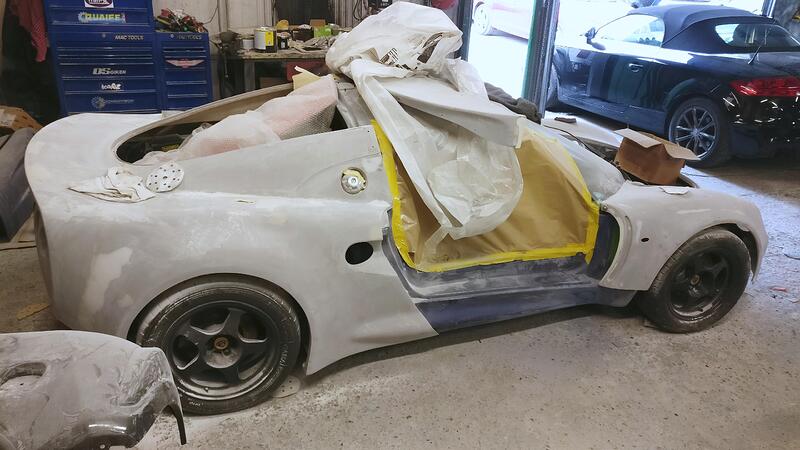
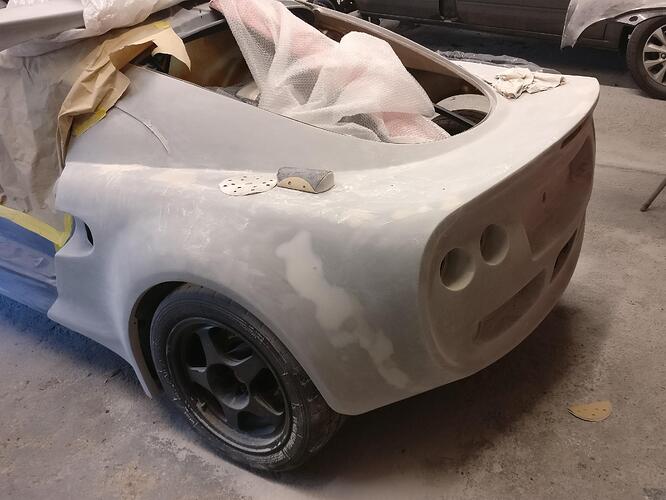
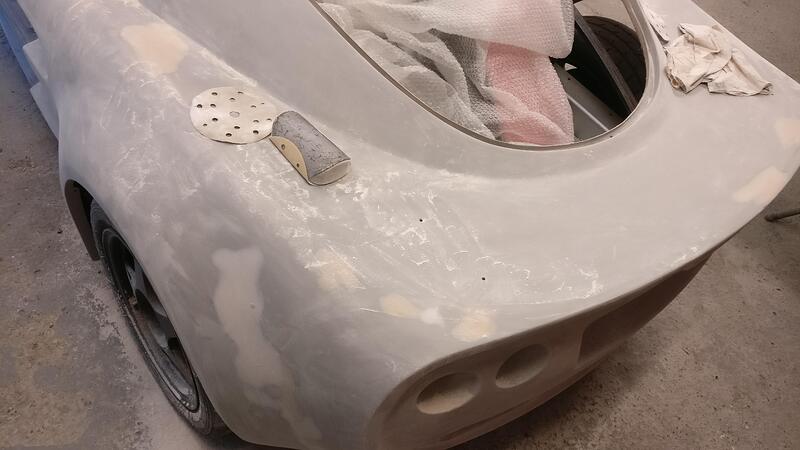
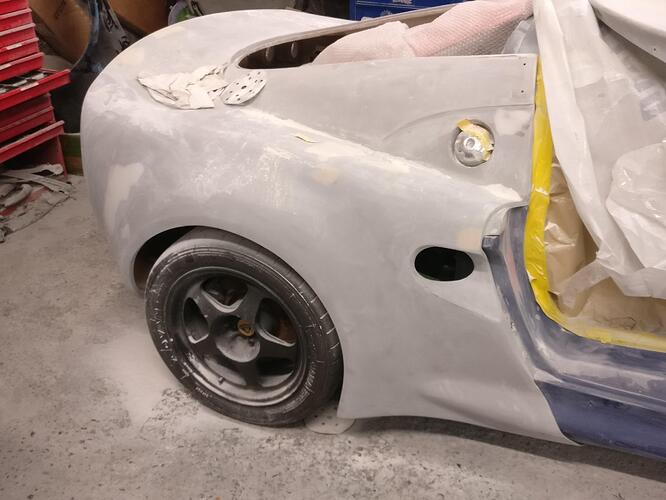
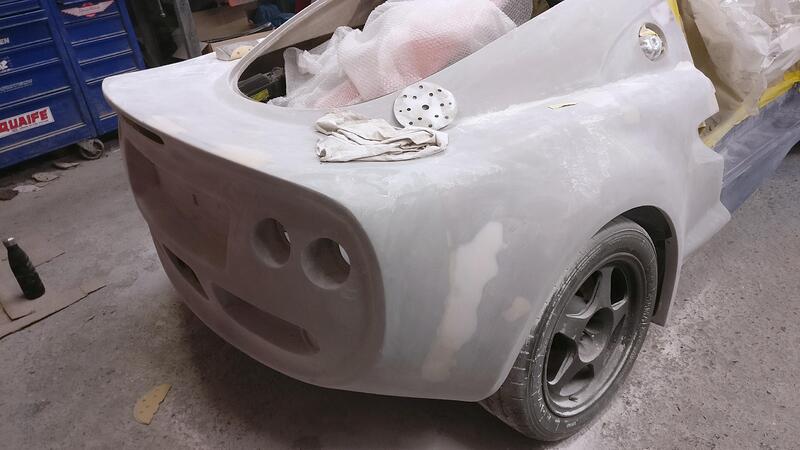
Another good day at the bodyshop, worked on the rear clam and got it ready for primer.

There were a few small bits on the front clam that needed touching up, but it is also now ready for primer.

Same process as the front clam last week, DA-ed with 80 grit and then I took a hand block and swapped between 80 and 240 grit.

The concave surfaces required the most work again to get them smooth, all with the hand block as I find I have much more control over how the surface comes out, plus it is good exercise!

A few ridges and little holes were filled on the top surface, hopefully won’t come out too wavy when finished.

Big mounds of filler dust on the floor but the rear clam is ready for primer too, so they’ll come off the car next week and onto stands ready to go.
The other loose bits will be primed at a later date when they can be fit in around other stuff the bodyshop has going on.

Thats some great progress there. Must be a big motivational help seeing the clams on the car

It certainly helps when sanding them being on the car! Unfortunately does mean everything they’re attached to gets covered in dust so not looking forward to cleaning that all up. Hopefully an air compressor can blow most of the crap off!

I wish the car was jacked up a bit as it is pretty achy on the back if you don’t have a little stool. Be interesting to see what progress is made to it in the next week, times running out to get it all finished.

Great progress! Yes is hard to see your car completely covered in filler dust…it just gets everywhere!
Looking forward to seeing what the colour is you are going for.

Cheers pal! Got something a little special (to me anyway) to share tomorrow.

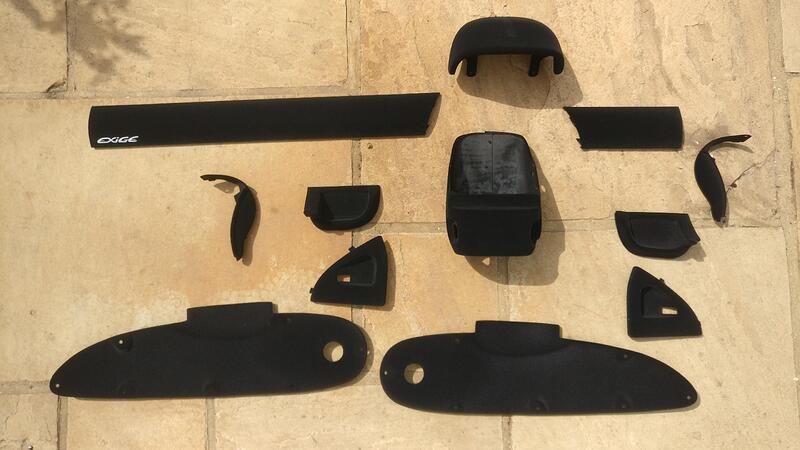
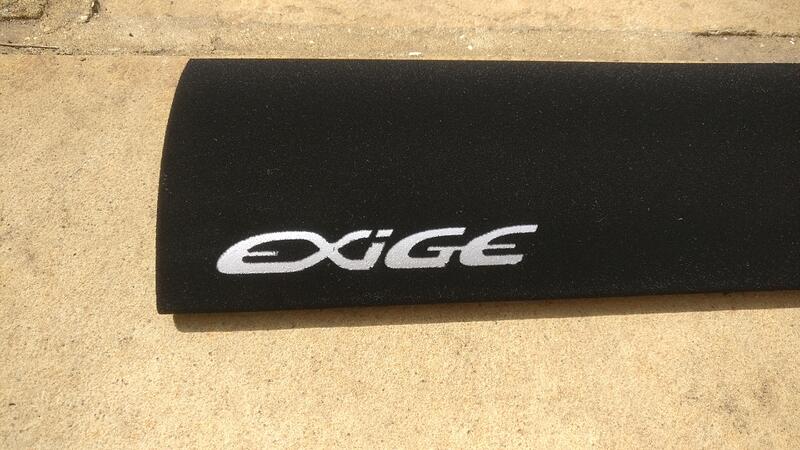
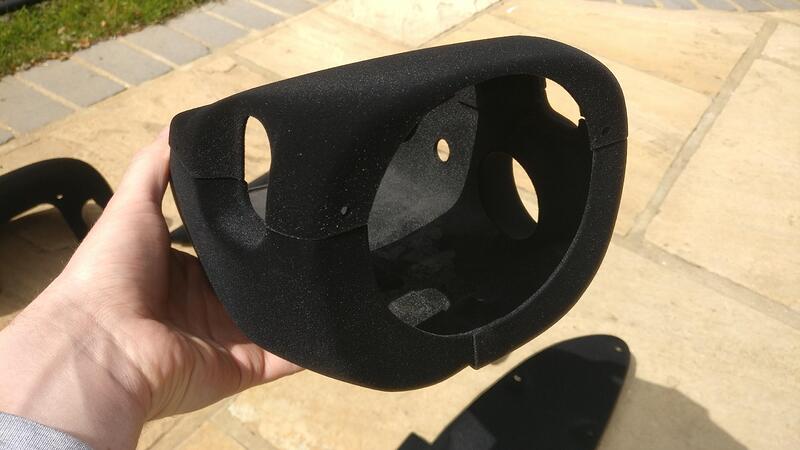
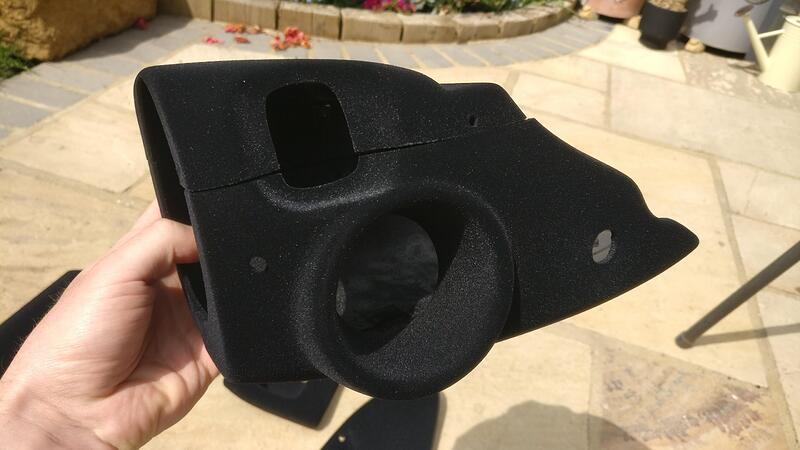
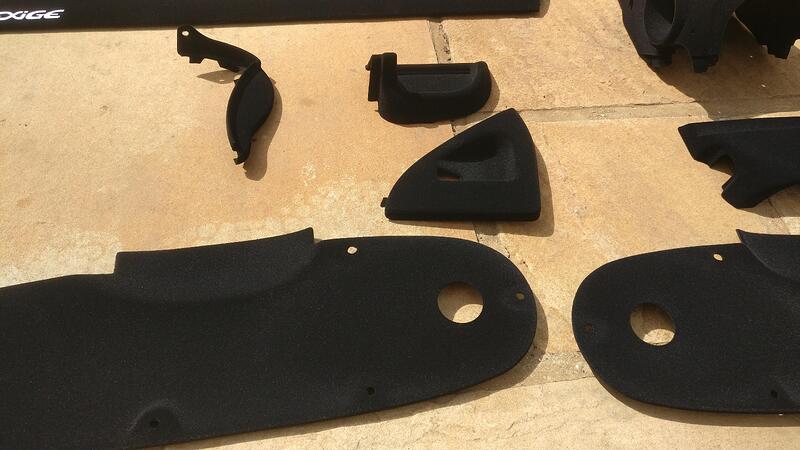
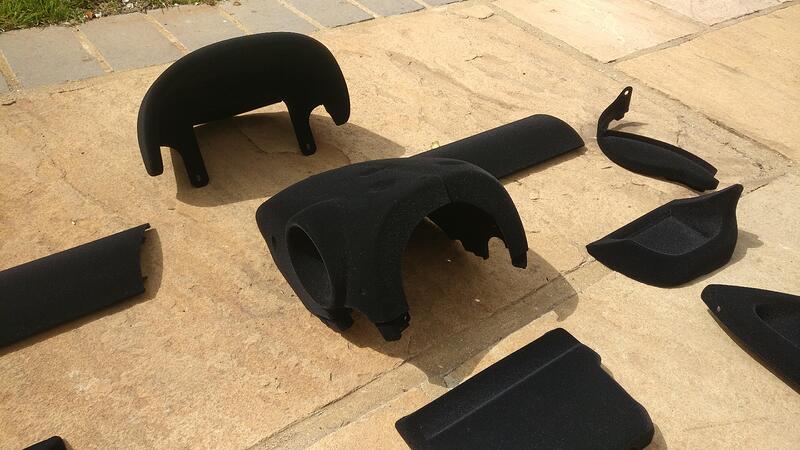
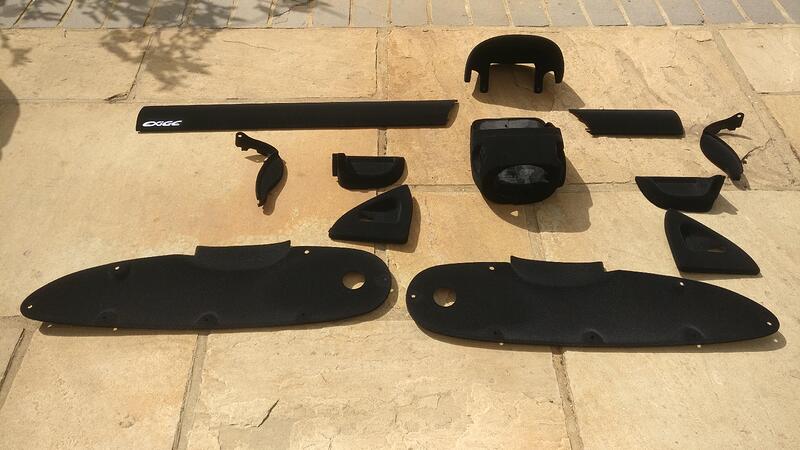
Yesterday I picked up my interior pieces from the flocking company. Really happy with how they look, I know they’re perhaps not for the purists, but they’re just what I was after.

The Exige logo came out great, really bold and striking on the dash piece. The flocking is really tough and resilient so I’m sure the logo isn’t going anywhere!

The finish changes in different sunlight. When no sun they are pretty much jet black, the company uses this colour for all the racing dashboards they do. However in the sun they glisten but never glare which is what I think would have happened if I went for carbon fiber.

I can’t wait to get them on the car when everything is being reassembled, seeing what the door pieces look like against the fresh paint. Like I said not to everyone’s taste but I’m very happy I decided to take the plunge. For those interested, the company is called ‘Thomas and Vines’ close to Watford, website is www.flocking.co.uk

Looks great, didn’t realise you could flock a logo :thumbup:

Those flocked interior bits look great, can’t say I’ve ever been a fan of the cheap plastic on the centre tunnel and the steering column shroud, definitely an improvement in my eyes :thumbup:

Cheers guys, I’m really happy with it all! If the gear lever surround and handbrake covers don’t look great painted I’ll flick them as well.

I forgot to say but the process to get the logo flocked was give it to the company pre-sprayed and with the stencil on, they then applied the glue all over, removed the stencil and finally applied the flock. So the logo is the painted silver and the flock surrounds everywhere else. The fact I did l the initial spraying and stencil myself it brought the price down for that piece which was handy.

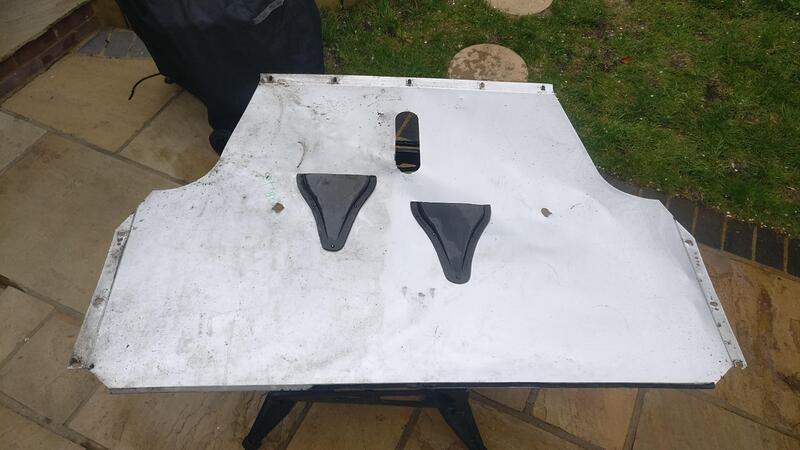
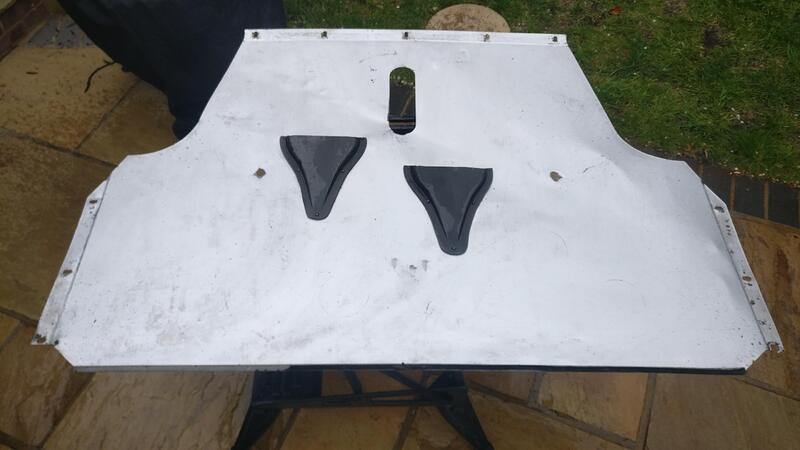
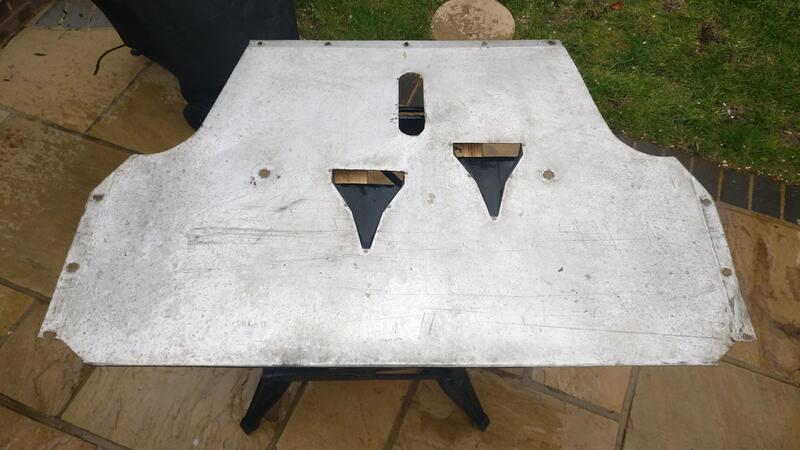
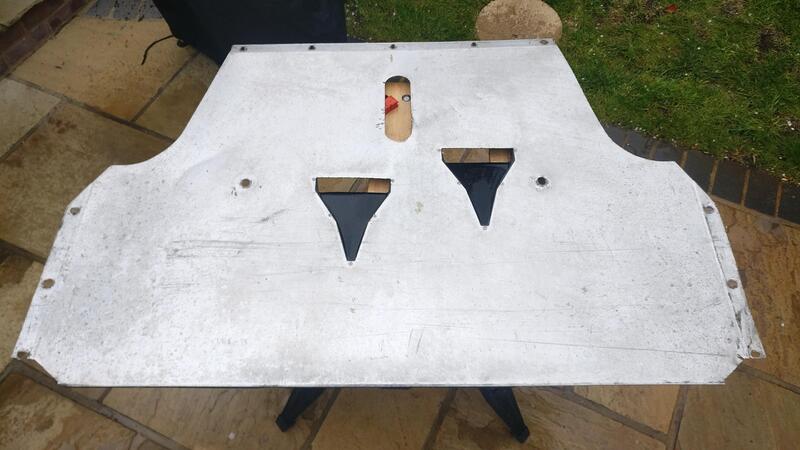
Boring job today but decided to clean up the undertray. A while back I bought a few Elise-shop magic sponges, one I used here and the other I’ll use on the interior. I forgot to take a picture of this side before, but you can see the difference between the two sides where the sponge really cleared up the grime after a bit of scrubbing.

Pretty clean but shame this side isn’t really seen.

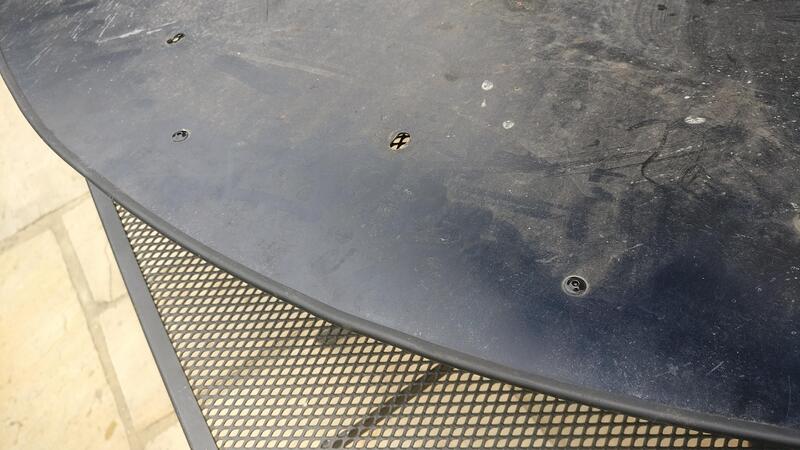
The side facing the road is a lot more beaten up, with scratches and dents from 23 years of driving.

In hindsight I should have started on this side first as I was fairly bored after spending over 20 odd minutes on the other side, but still cleaned it up a bit, not like you can see it anyway l.

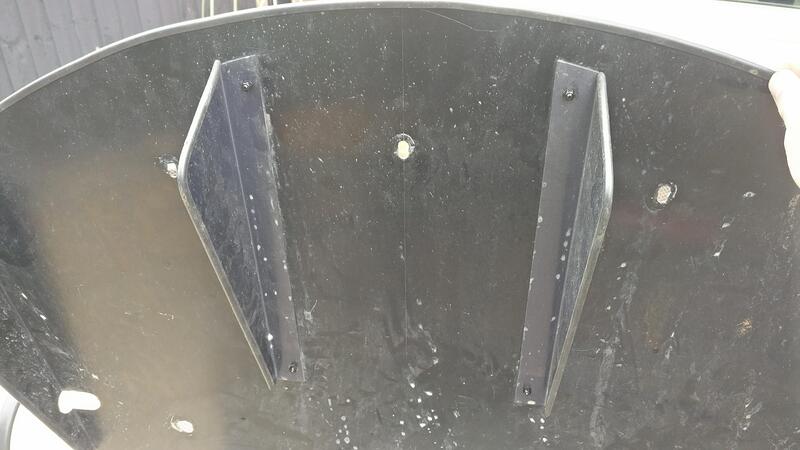
I also saw the screws on my diffuser had rusted a little being stored outside, so I taped up around them and took a wire brush over them. I then painted some Hammerite to hopefully keep them looking black

The flocking is a great idea! Very motorsport.

How hard wearing is it? Although hopefully it’s all in places where you won’t have much wear against it.

It feels really hard wearing. I mean I haven’t had a proper go at seeing how tough but I’m surprised how well the flocking seems to have secured the material to the pieces. Main place I tested with my finger was around the Exige logo and it didn’t look to be going anywhere soon which is good!