I’ve been lurking for a while… Hopefully this is welcome!
I’ve been wanting an Exige since I was pretty young. This year I decided that it was now time to get the project I’ve been dreaming of. I had been glued to the classifieds since I had put my 944 up for sale. The more I searched the more impatient I became to the point where I was asking many advertisers if they’d accept the Porsche as a part exchange - I knew this was a long shot due to the amount of work that had undergone on the 944 but it was worth a shot and in the end paid off.
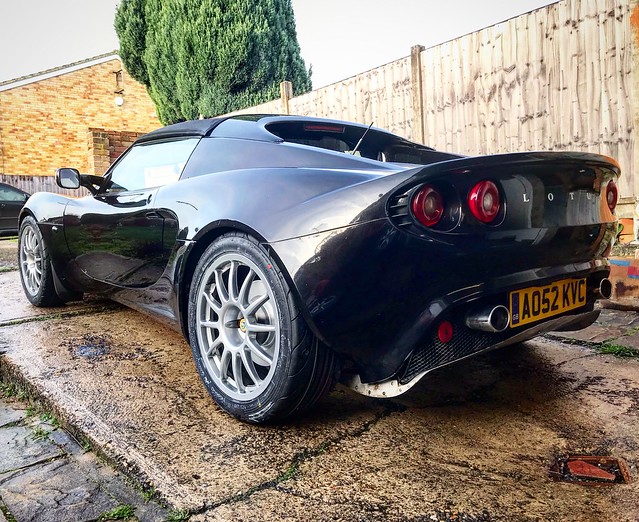
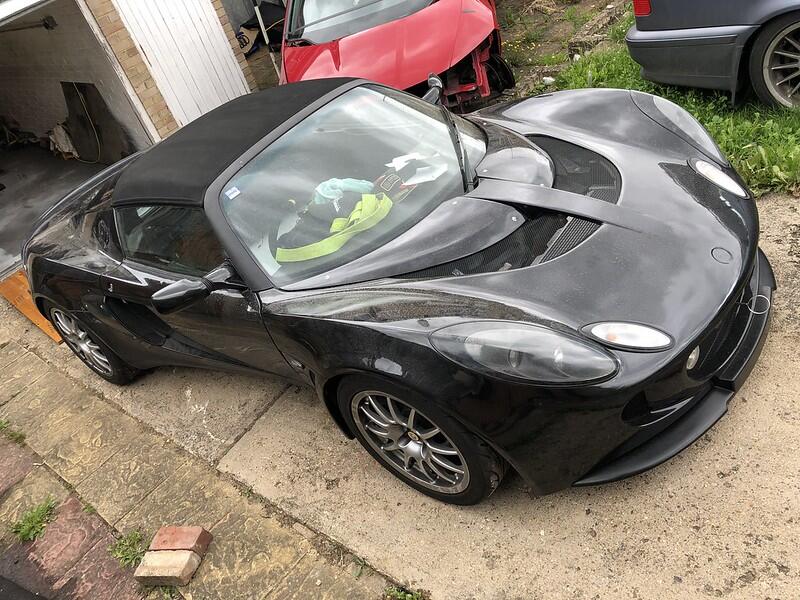
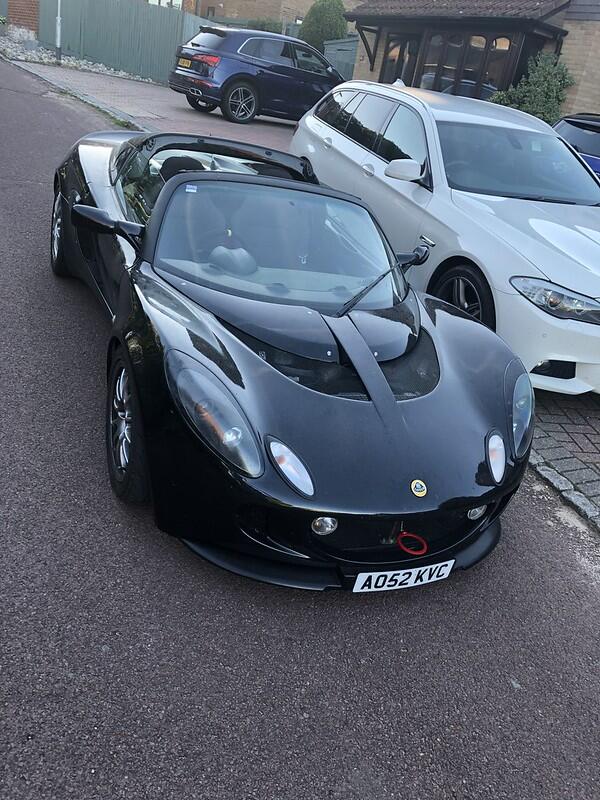
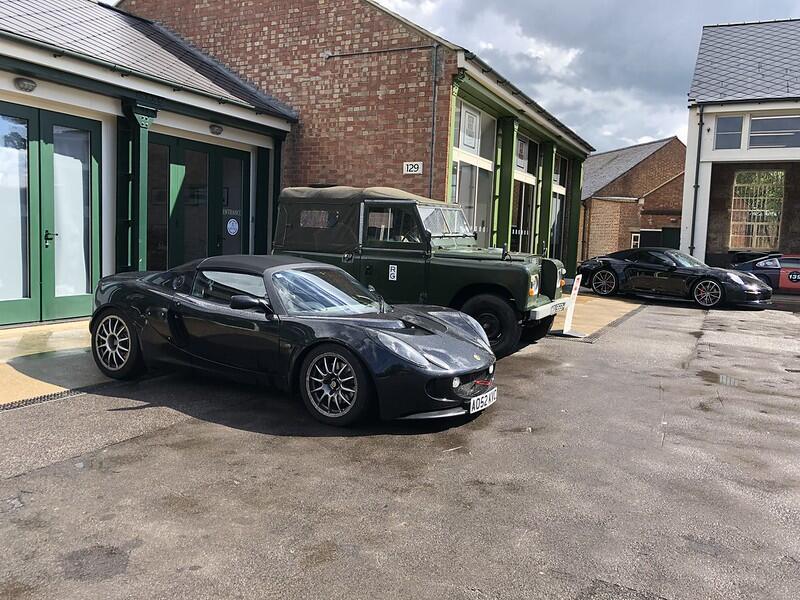
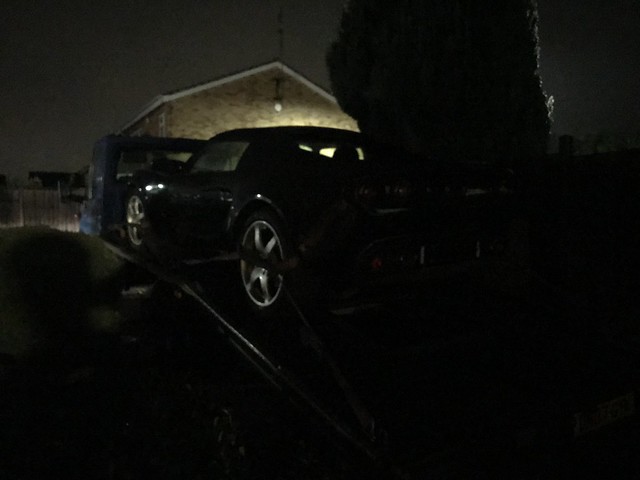
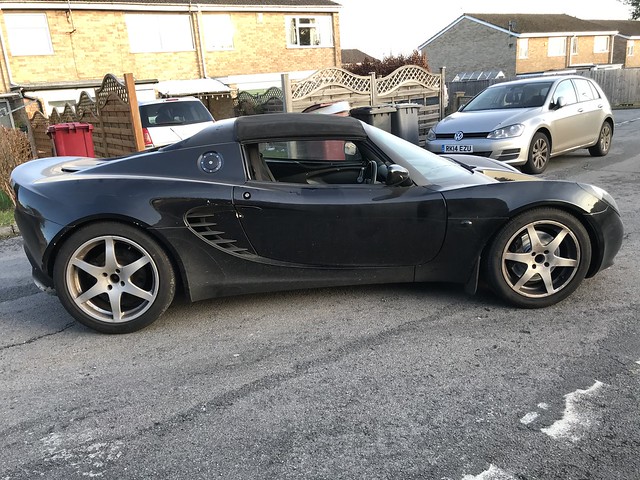
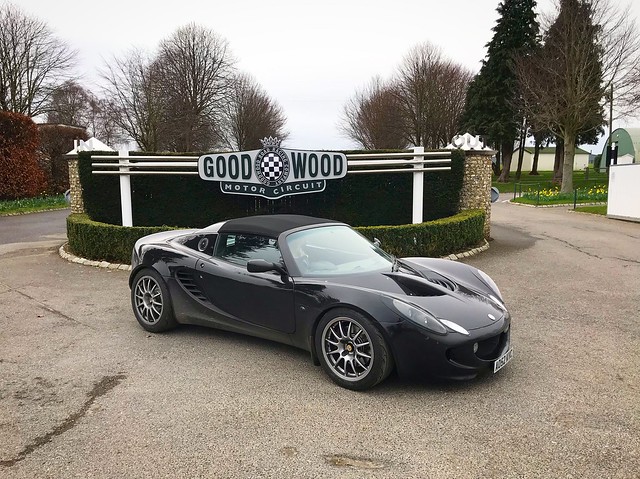
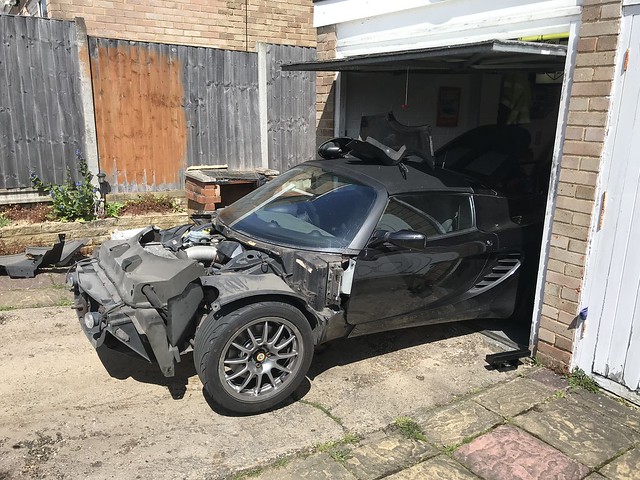
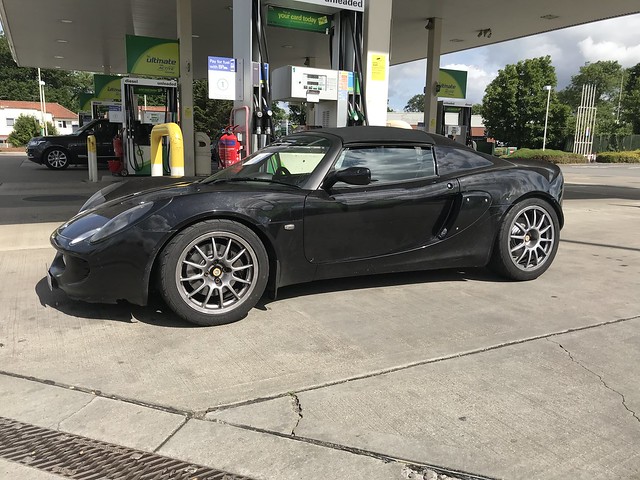
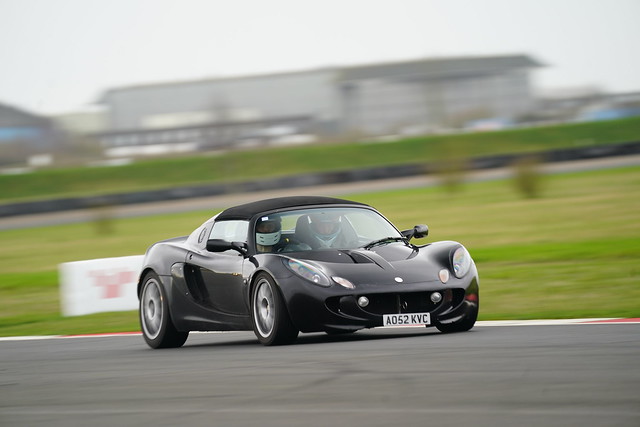
I contacted Jon Seal, which I know is not a new name in the Lotus world. He had in stock a perfect base model for what I have planned. A tatty Elise S2 that was begging to be put back on the road. We struck a deal and I was on the way home with what will be my dream car.
The car is a base model 1.8 Rover K Series early S2.
The car is not without its faults. Upon collection I had the following list to go through:
- Drivers dipped beam not working
- Passenger sidelight not working
- Wipers not working
- Washer jets not working
- All switches and right hand side of the dash missing
- Front bumper held together with duct tape
- Drivers seatbelt cut
- Missing seatbelt clasps
- Rear view mirror detached
- Missing wheel bolts and tool
- Missing centre console
- Struggling to Idle (revs fine)
- Horn not working
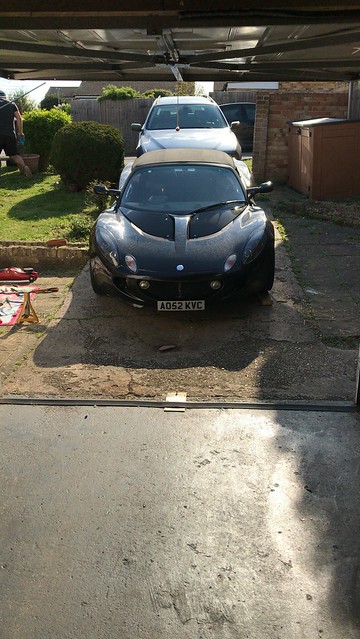
The first day after collecting my Dad popped over to have a look at the car then ended up spending the whole day helping me clean it!
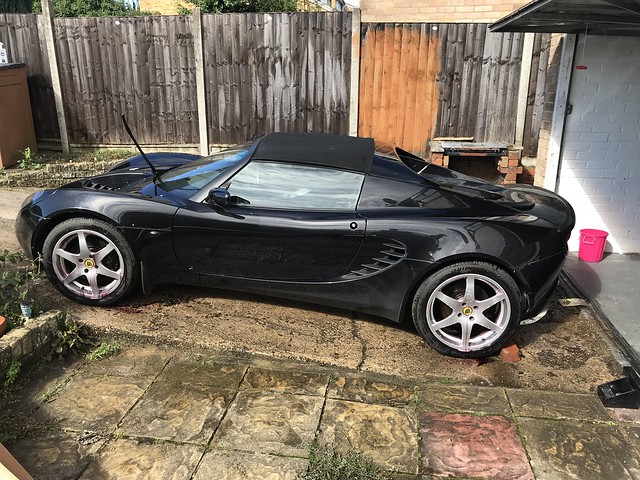
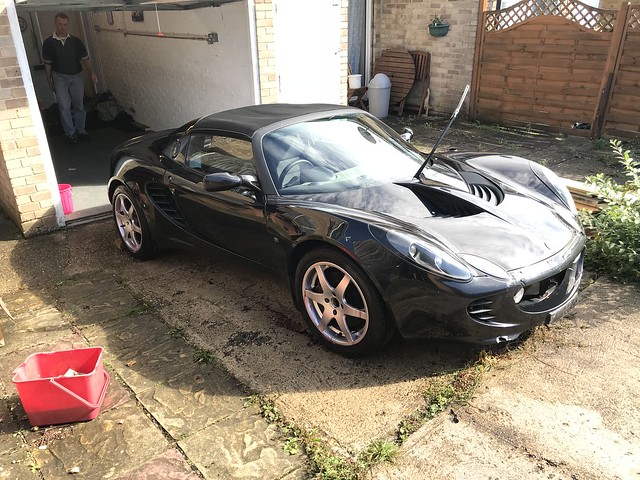


It scrubbed up very well considering it’s condition when we left Jon’s. He’d had it sat in the corner for a while and that on top of being parked for 2 years outside in Scotland had really taken it’s toll.
So the last couple of weeks I have been sourcing parts and trying to get it ready for an MOT so I can at least drive it.
I’ve not been able to source all the parts but I have addressed all the issues apart from finishing the body work.
That’ll be the wiper motor fault then…
Temporary decals for the light switches :lol (I’ve since fitted a fog light switch)
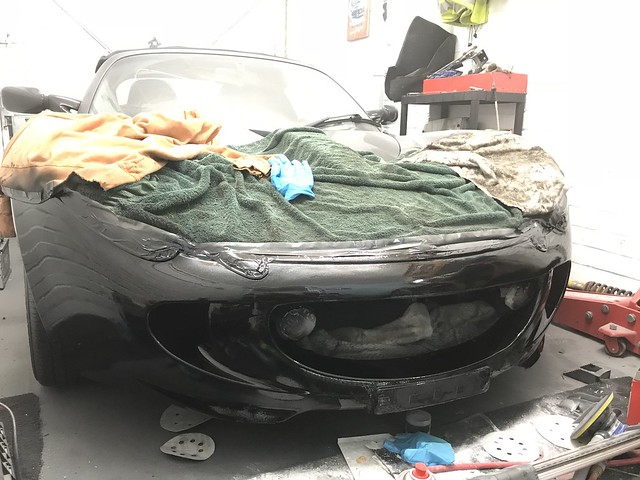
Temporary clam fix (this is still in progress)
So I have done quite a bit of work to get it road legal. All that’s left at the moment that I know of is a new idle control valve which should be here Monday.
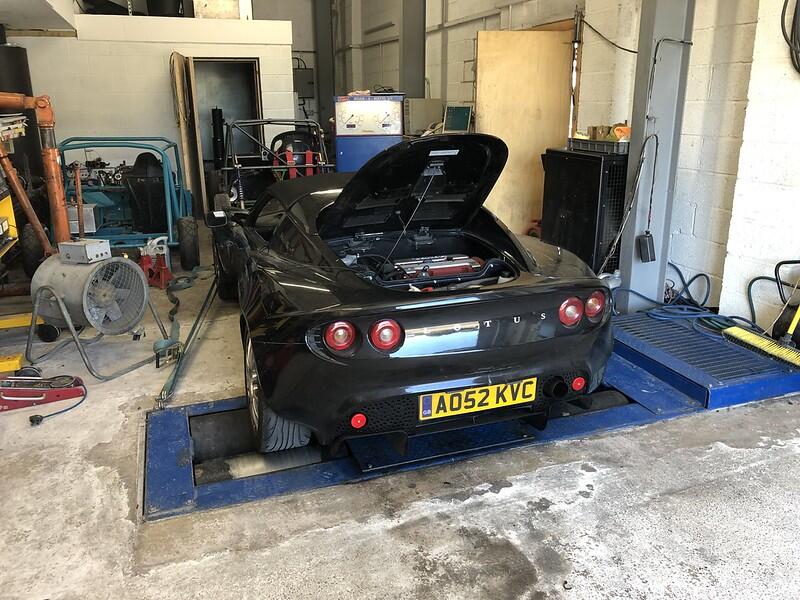
Thursday it goes for an MOT and Cambelt/Waterpump/Tensioner.
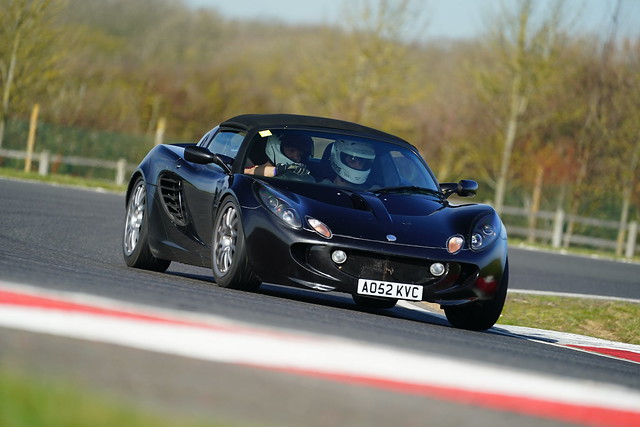
As you can see from the photos, this is not a perfect car. You may already be one step ahead of me from the start of the post but this car will change form. I look to change the clams for Exige clams and swap in some vtec.
Like the Porsche, this will be my weekend/track toy. So be ready for some track focused mods as well.
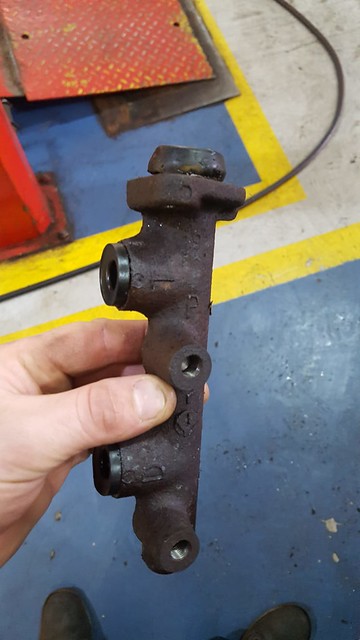
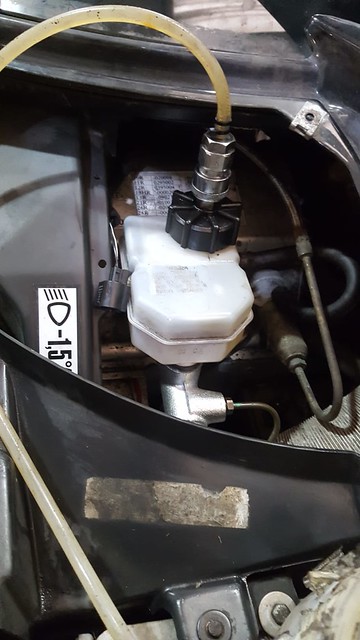
So I took the car for it’s MOT - Cambelt and Water Pump. The journey there was eventful… resulting in loss of brakes.
This was the culprit.
New one on pressure bled up
Surprisingly the car did very well on the MOT! :bc Only mention of Tyres and corrosion on the discs which both will get replaced soon enough.
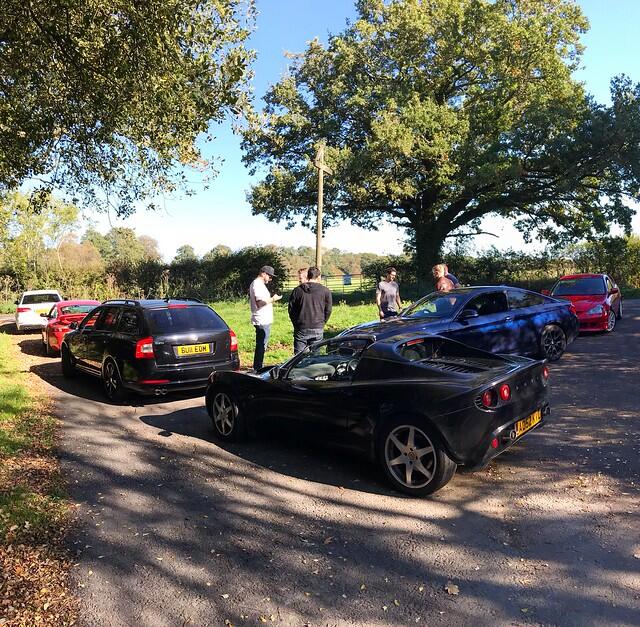
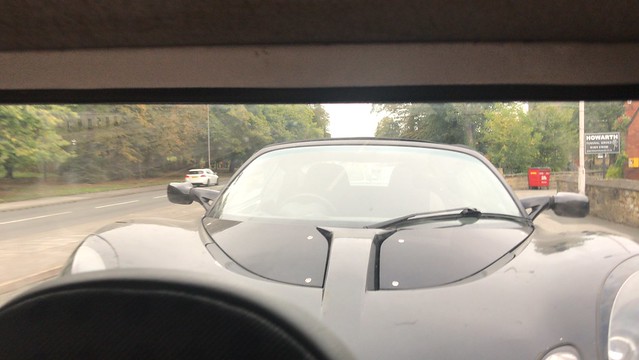
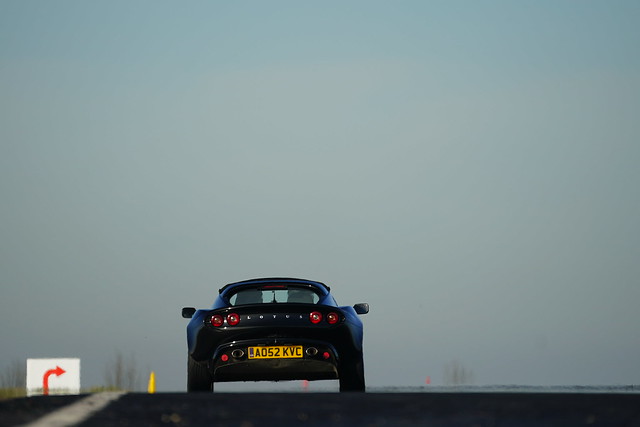
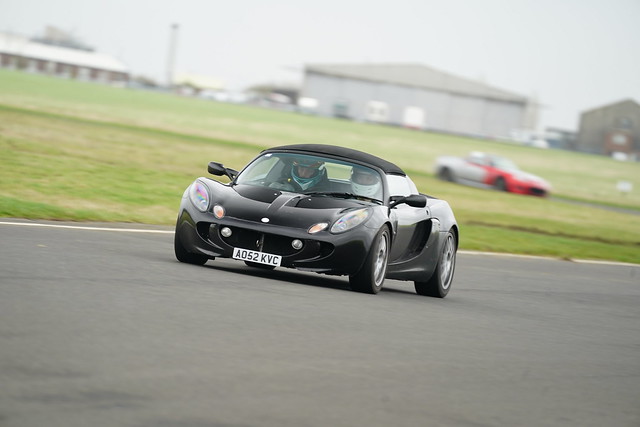
This meant I could take it for a drive :brum
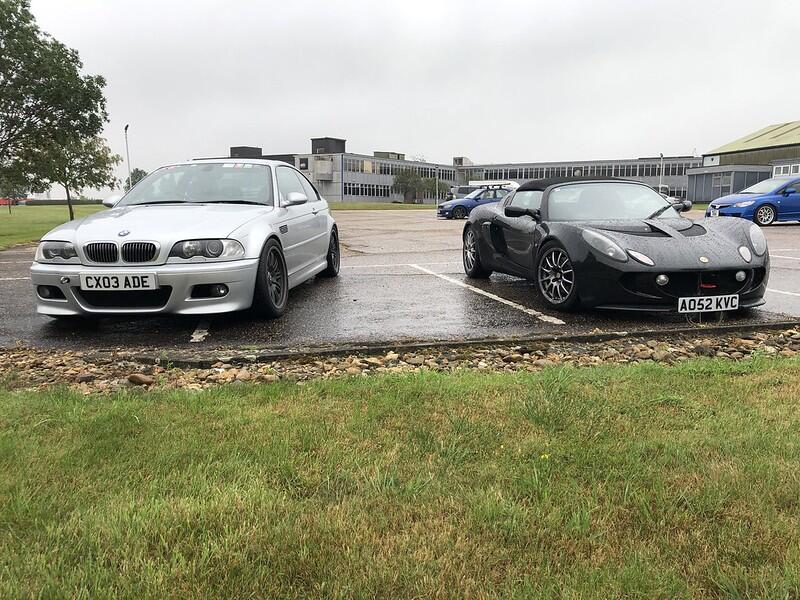
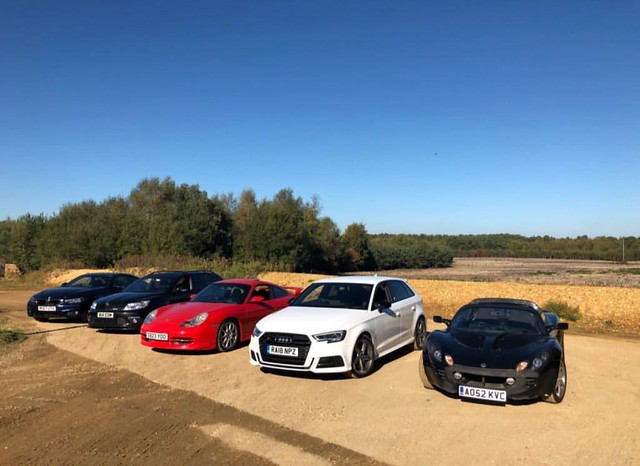
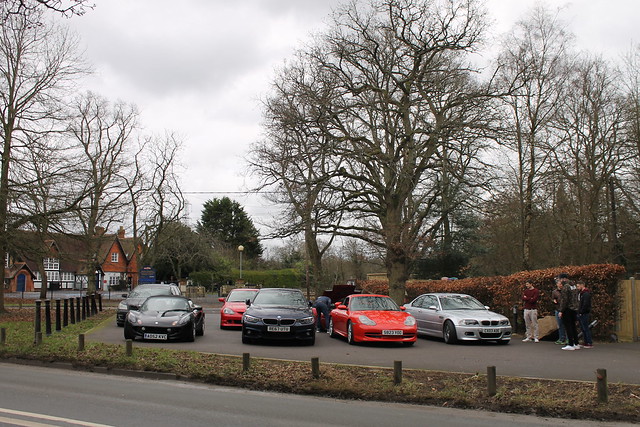
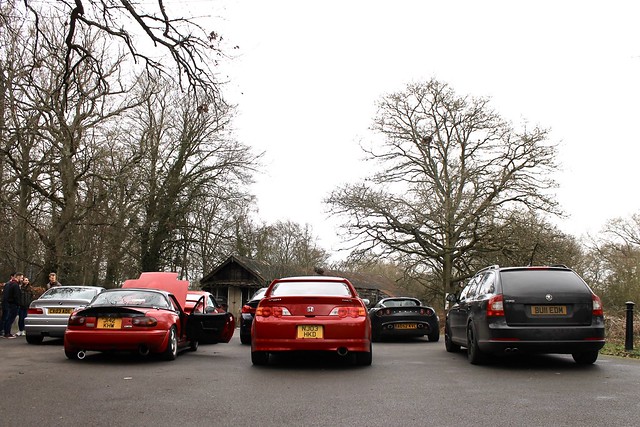
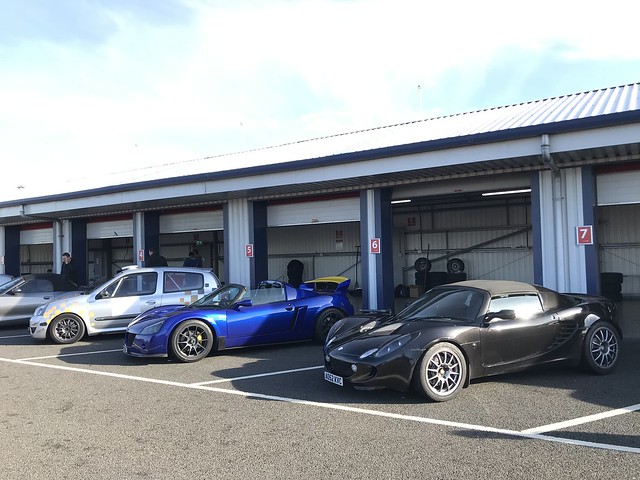
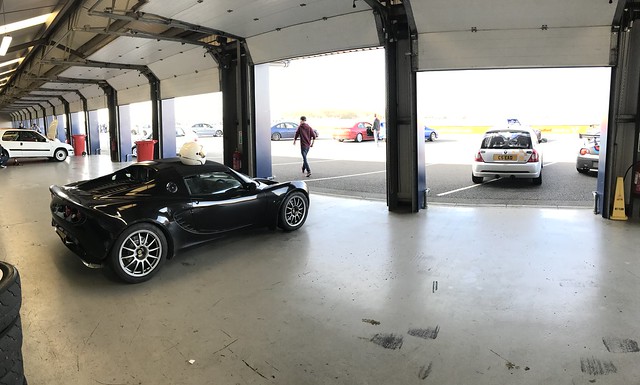
A very random assortment of cars in our friendship group, but all with the same car enthusiasm.
First impressions are I’m surprised how much I’m enjoying this car. I knew it was going to be good but I was always a bit worried the lack of power might bite me seeing as I’ve got so used to the turbo shove from the Porsche. I’m happy to say that is not the case! It feels very nippy and is so rewarding to drive. I clocked up a couple of hundred miles that day with my mates and it performed faultlessly.
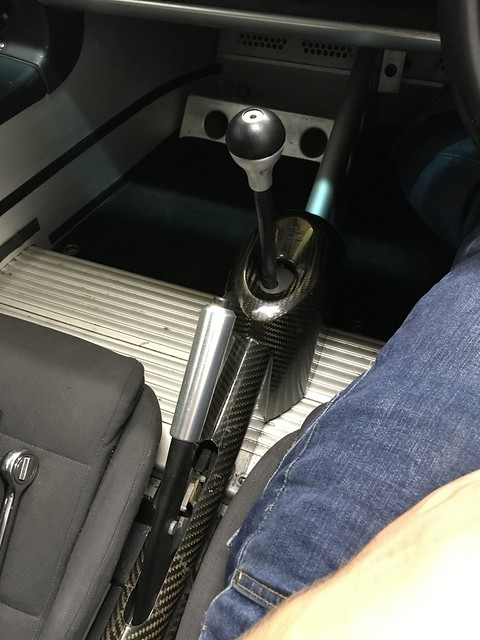
So on to the more recent changes. First up I got a carbon centre console off eBay. Finding a standard or any centre console for the early s2’s appears to be a nightmare.
This one isn’t perfect by any means but it’s better than nothing imo.
I’ve been using the car quite a lot just to see if there are any teething issues from getting it back on the road… It turns out there was one obvious one.
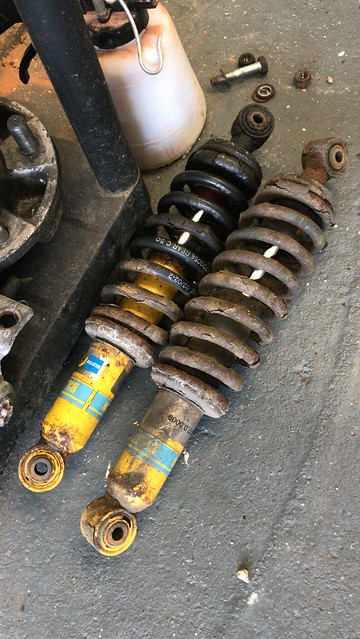
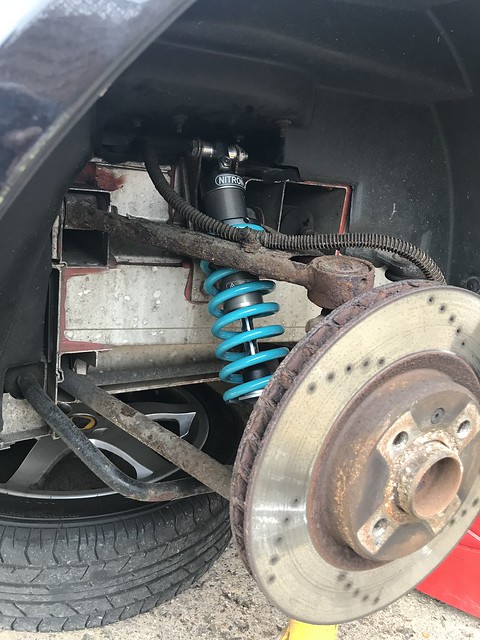
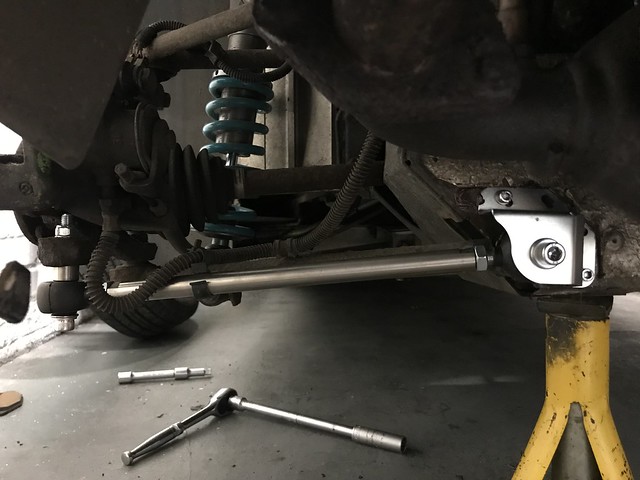
What I thought was a leaky brake line turned out to be a leaky shock absorber. :wall
I’m the type of person that likes to upgrade so to speak when something breaks. I’ve always planned of changing to adjustable coilovers on this car and it turned out this was the time to do it rather than spend money on temporarily fixing the issue.
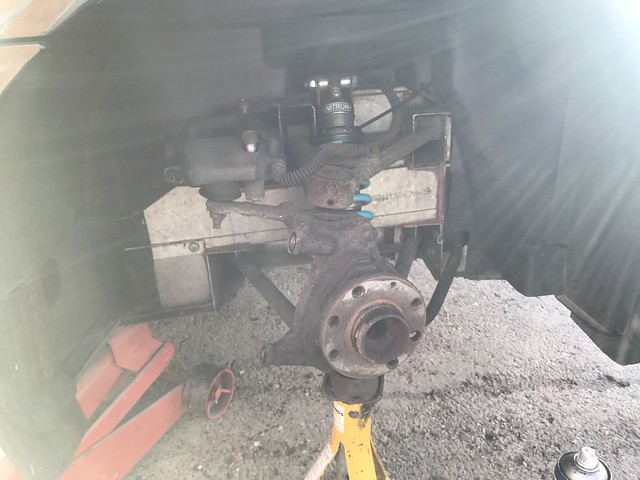
So out with the old…
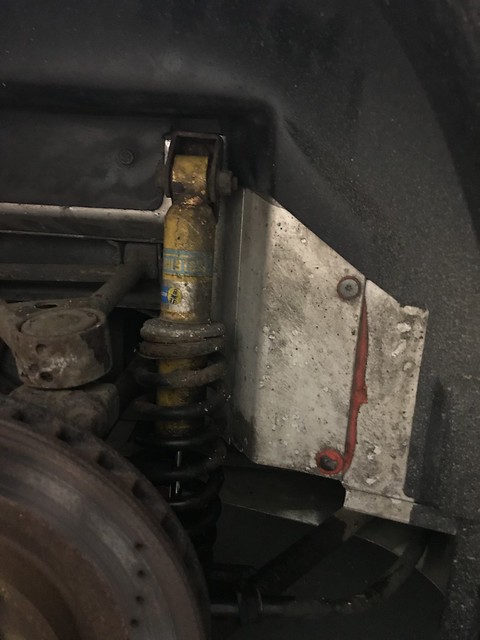
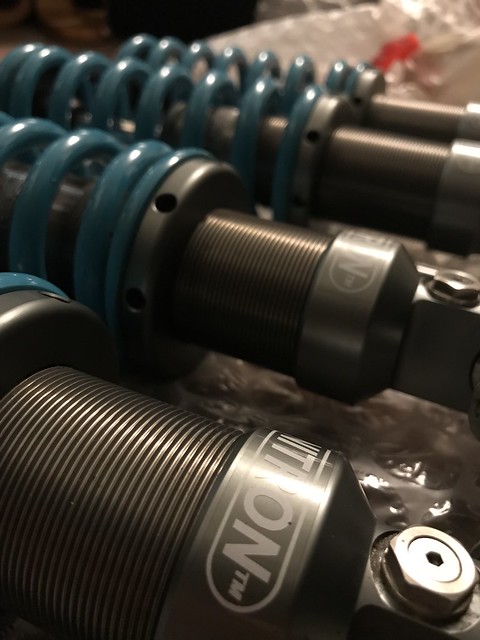
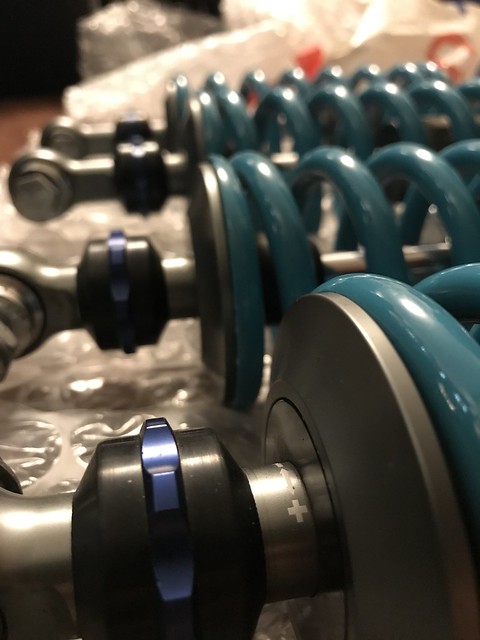
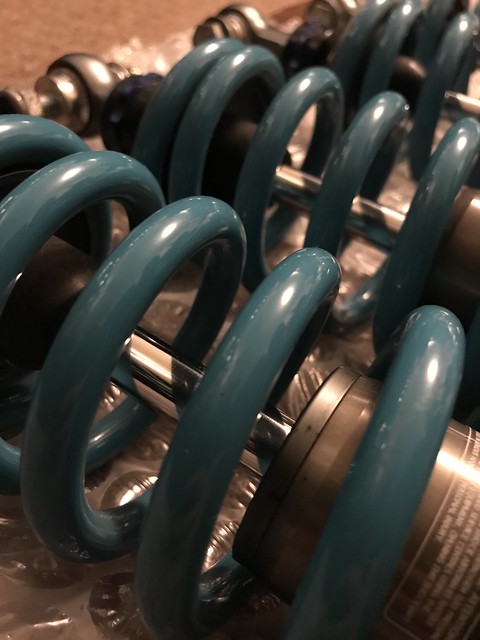
and in with the new…
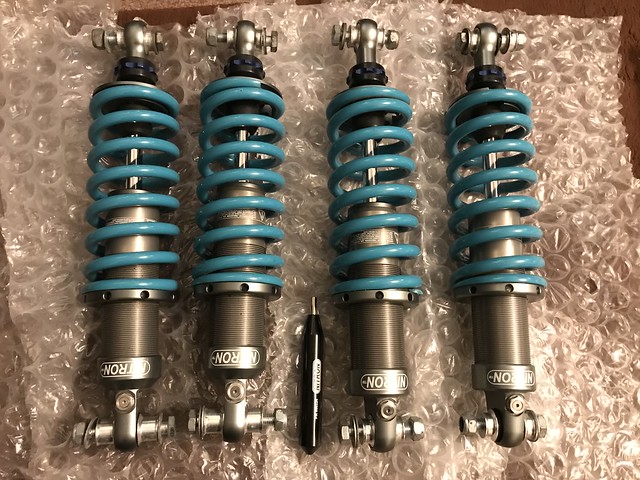
I’ve gone for the Nitron street series. They were for sale on Seloc and local to me so it was silly not to go for them.
I’m looking to do some track days in this car but I predominantly want it to be a car I want to just get in on a weekend and go for a B road hack.
I’m happy to report that these are exactly what I was after. Ironically a bit less harsh compared to the Bilsteins but they have the same character and the handling feels just as good.
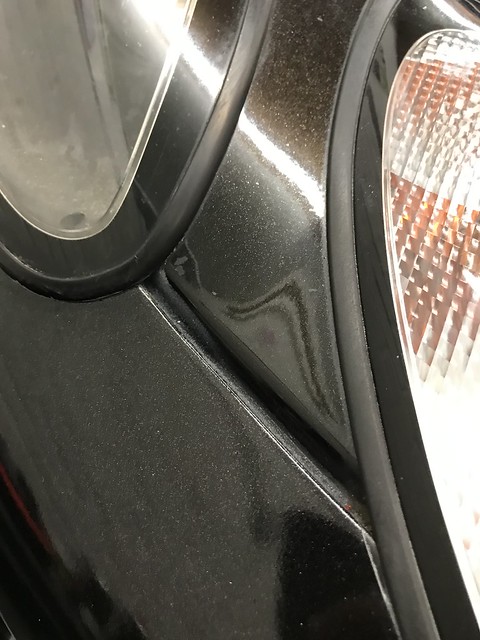
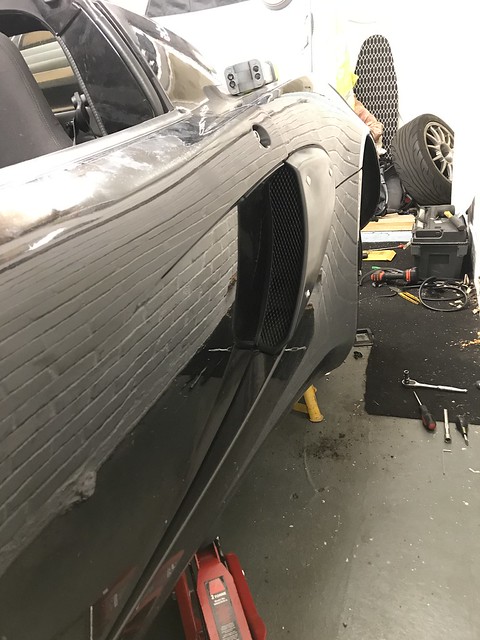
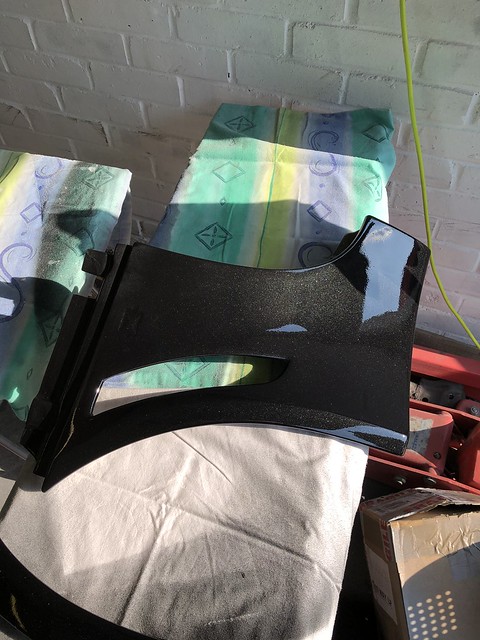
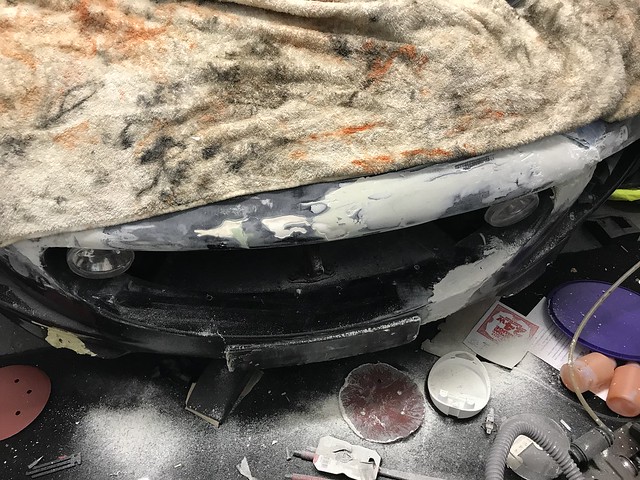
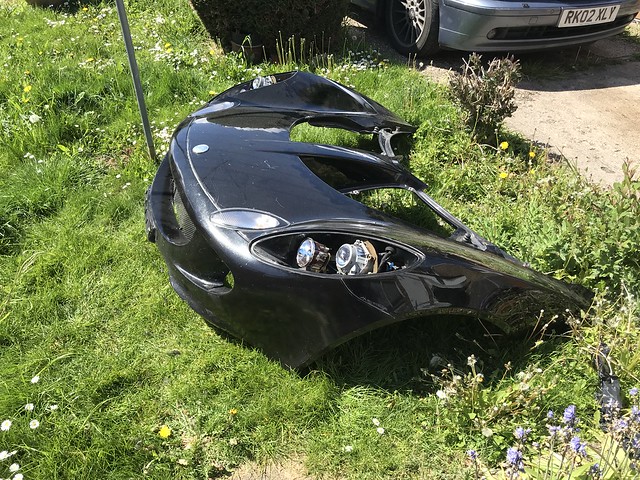
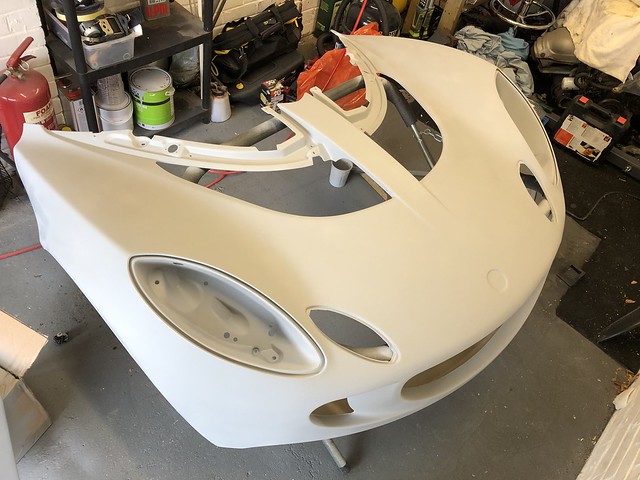
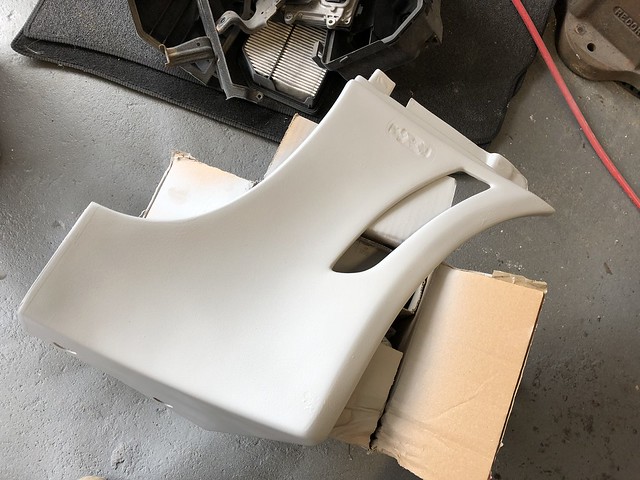
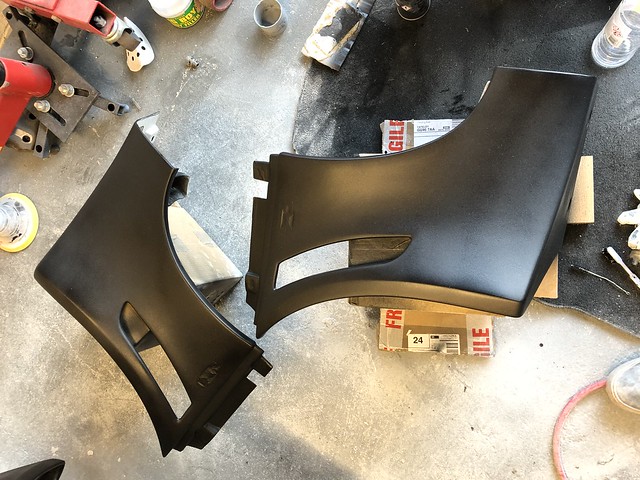
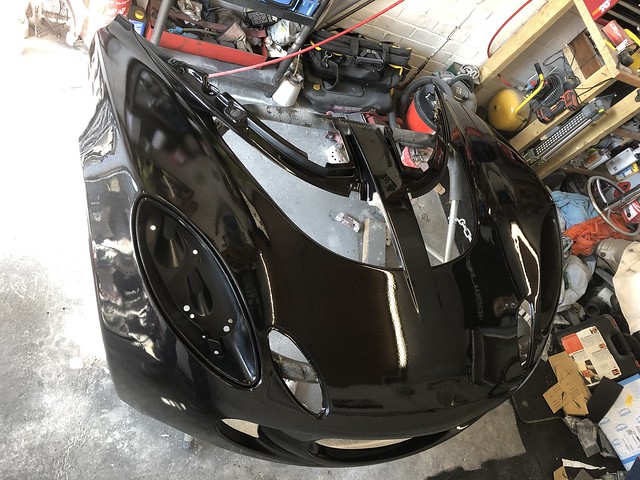
I’ve also made progress on the front end. The photos above of it looking Matte were just to make it MOT friendly. I didn’t want any of the sharp edges to be a problem for that.
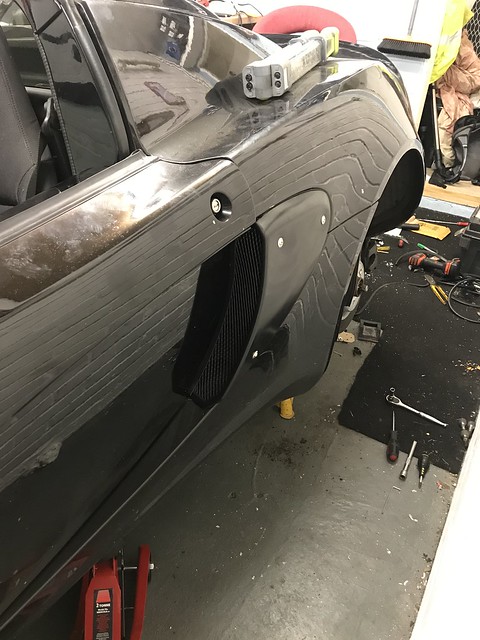
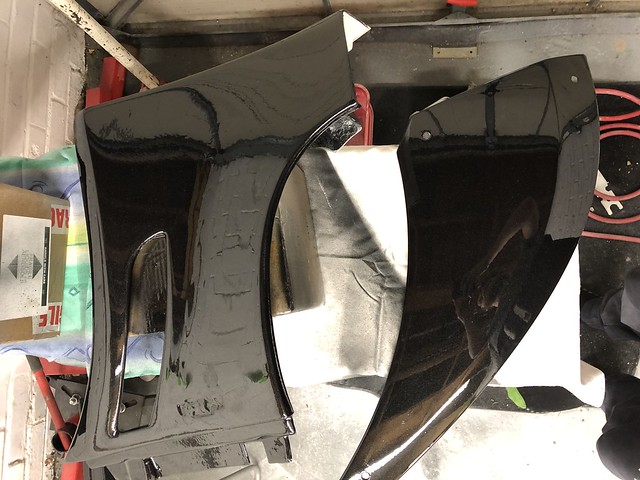
I’ve now sanded it all back and fibreglassed it back together and then primed/painted it. This is not a forte of mine and it’s by no means perfect but for my first attempt at anything this big I feel its gone quite well!
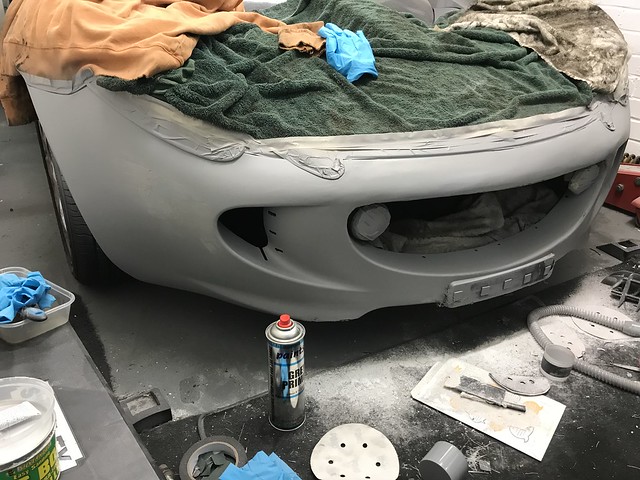
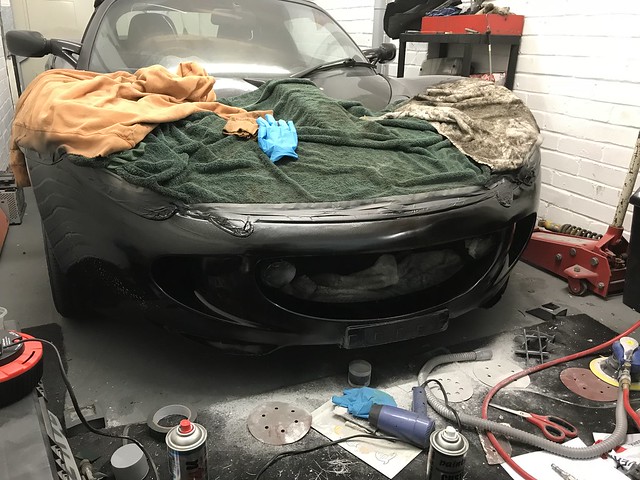
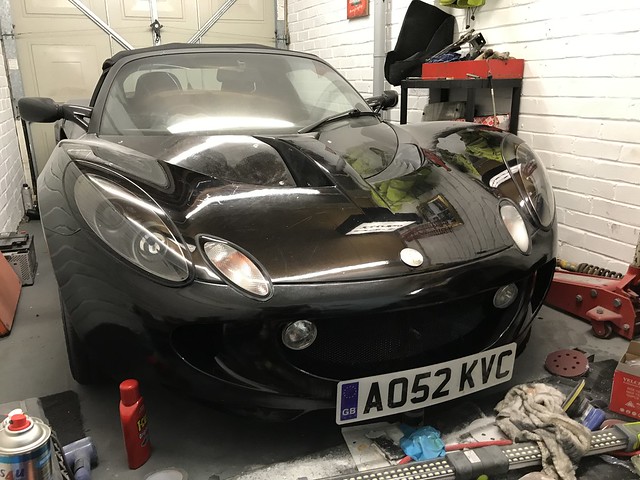
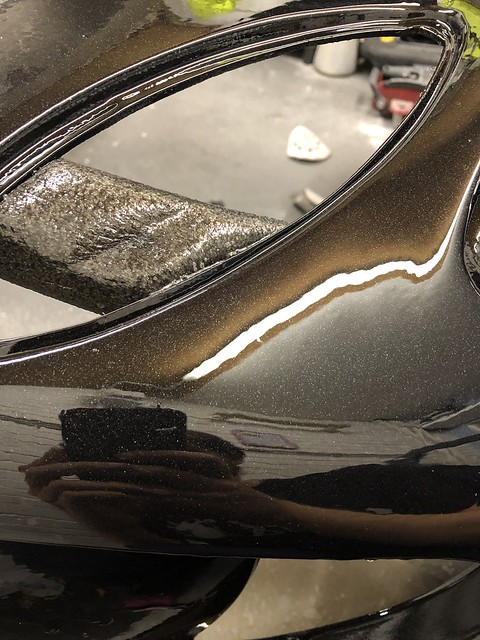
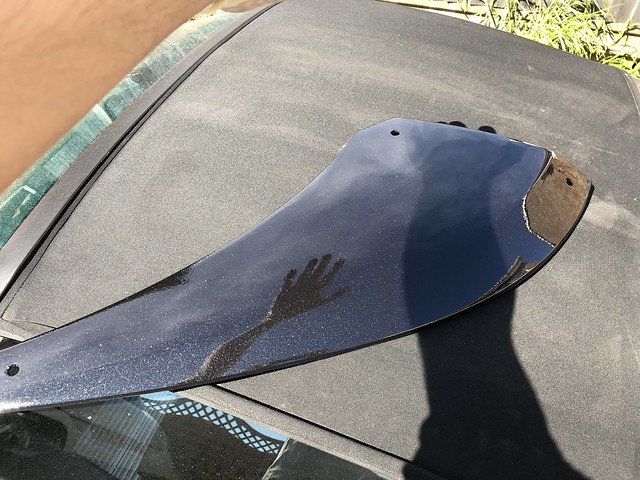
Original paint (top) vs New paint (bottom)
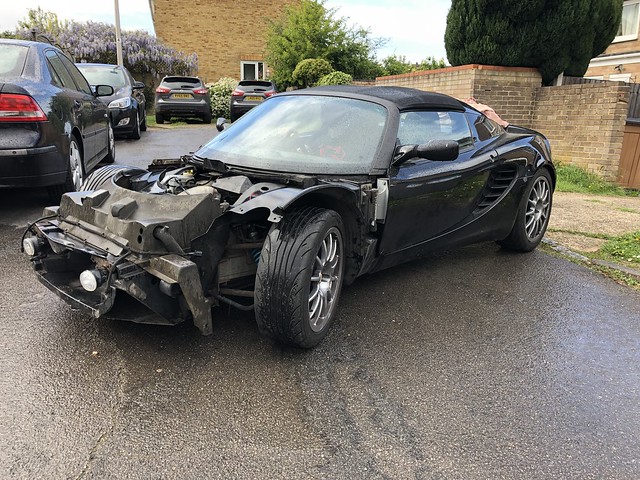
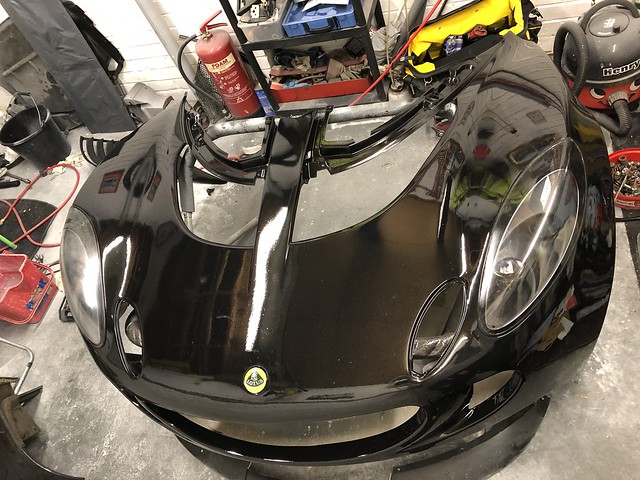
It’ll need a little bit of sanding back and polished up to get it as glossy as the rest of the paint but I’m happy with what I’ve done and know what I need to do better next time.
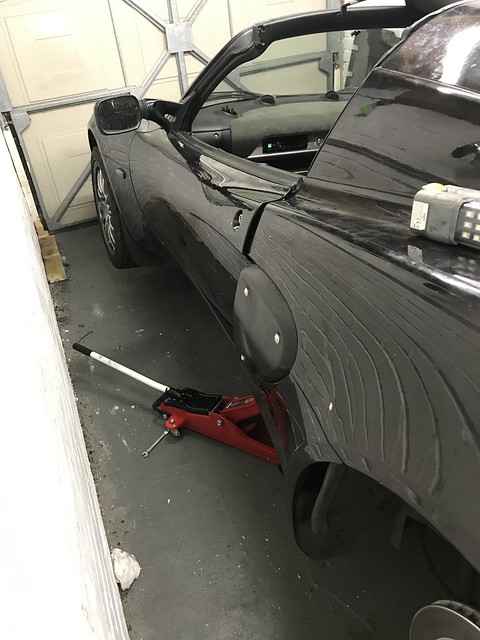
Please remember that this car will be getting the Exige front and rear clam. This is purely temporary and just something to make it a bit more respectful.
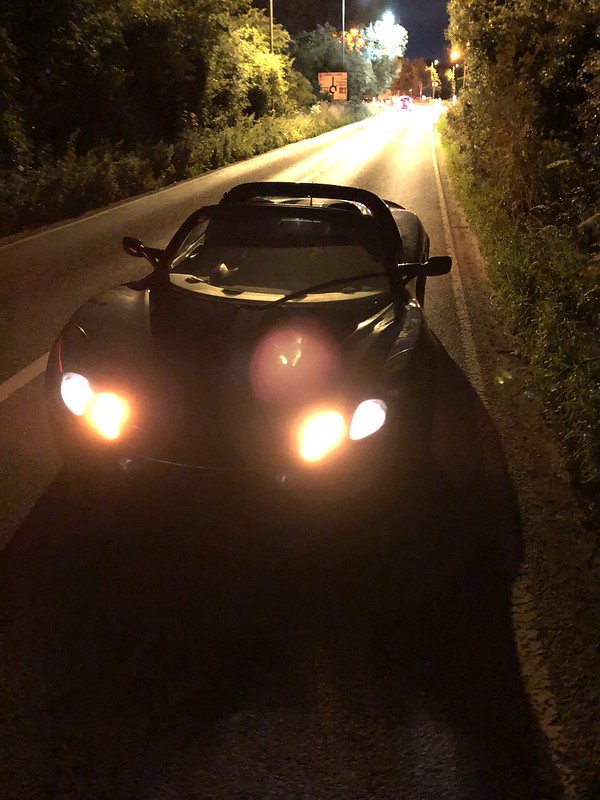
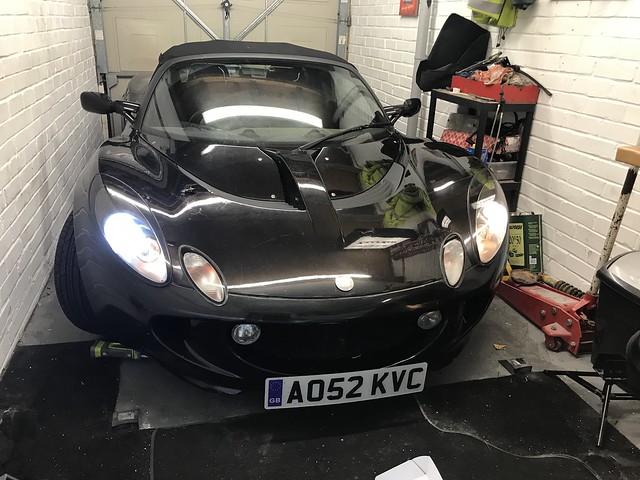
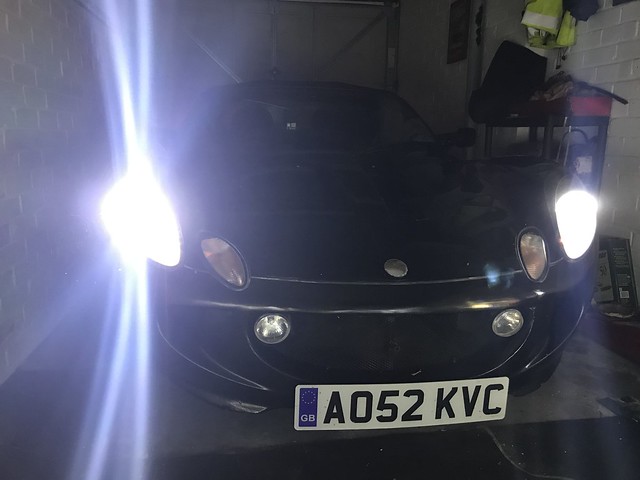
The car blew a bulb on the weekend so thought I’d try some LED bulbs. Got some nighteyes as recommended by a friend.
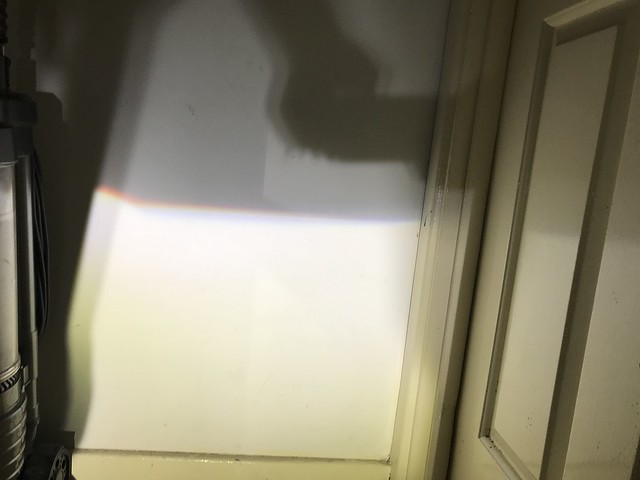
Here are the results:
50/50
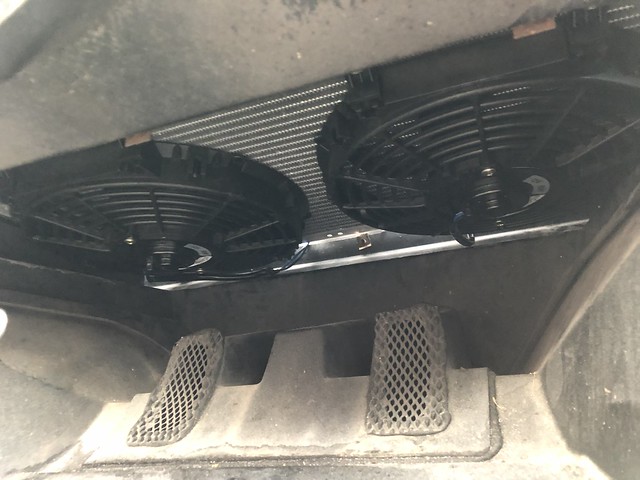
Beam looks very crisp
A bit of a tight fit and had to take out the cradle to get the bulb in due to the large fans on the rear. Hopefully these last
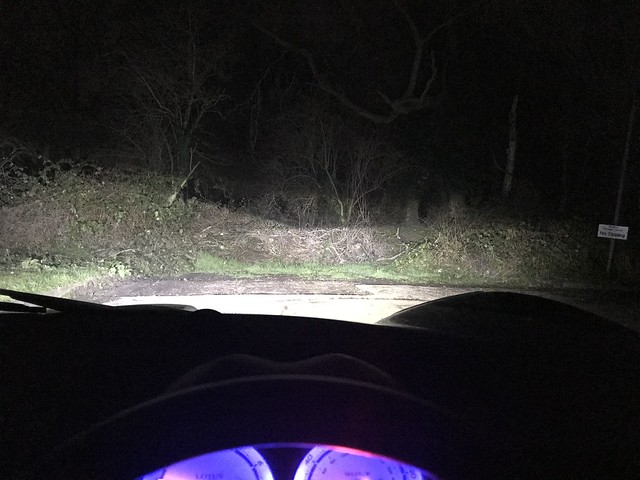
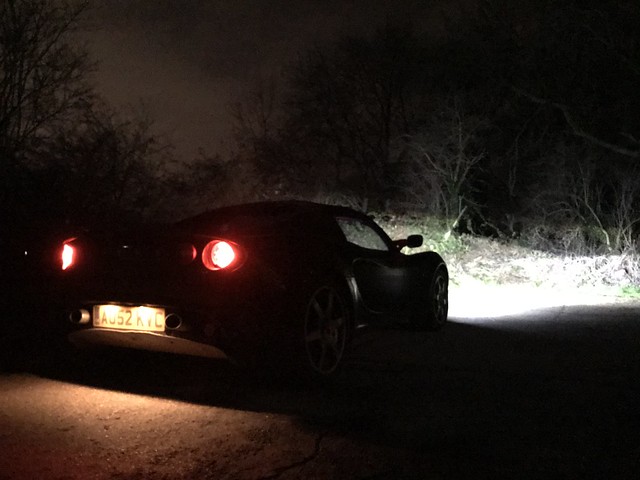
So following the previous update I decided this was a perfect excuse to take it for a night drive.
I’m very happy with these, light covers a very wide area and I’ve not been flashed so I don’t think it’s blinding anyone too badly either
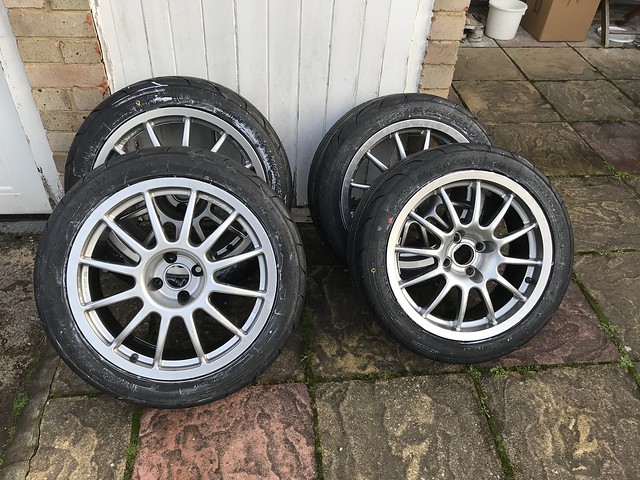
Due to a trackday being booked in February I’ve set about getting it ready for some track work - One key thing was to change the tyres.
I’ve wanted some Prorace 1.2’s since I got the car. I found a set on eBay - these are the 1.2S’s which are without the Team Dynamics stamps on the sides which I’m very happy with.
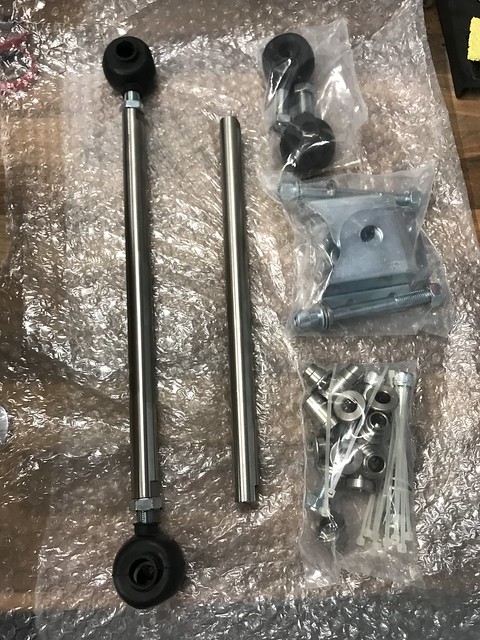
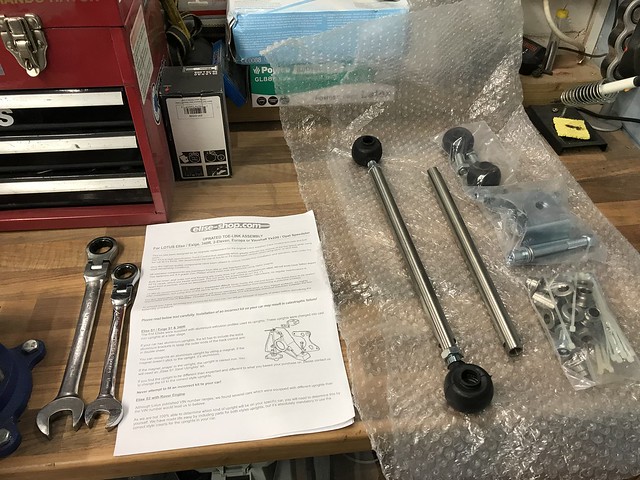
I’ve also purchased a toe link kit as I’ll be looking to put some stickier tyres on the car.
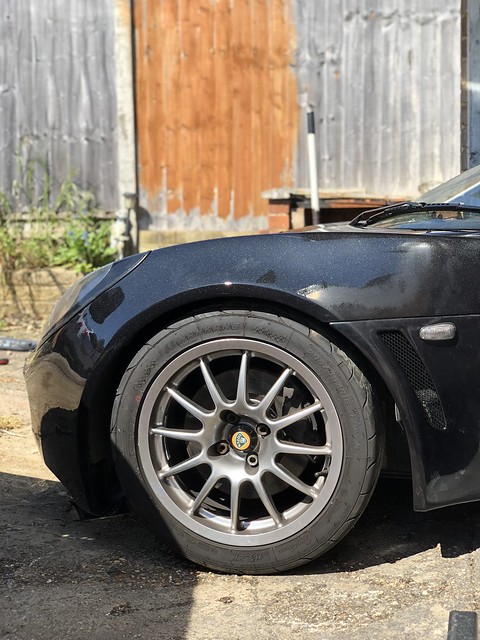
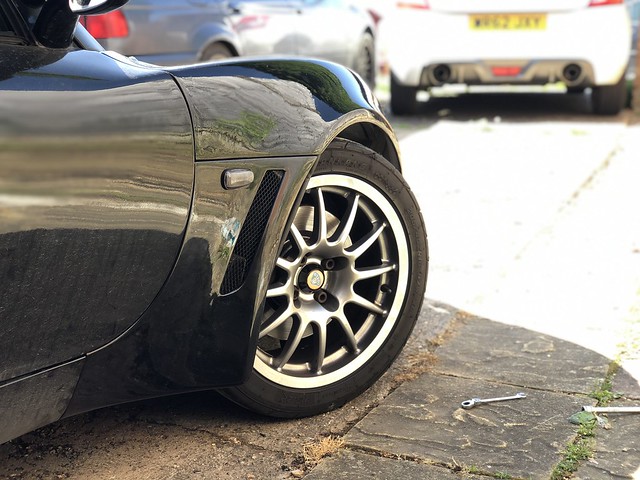
A test fit of a front wheel:
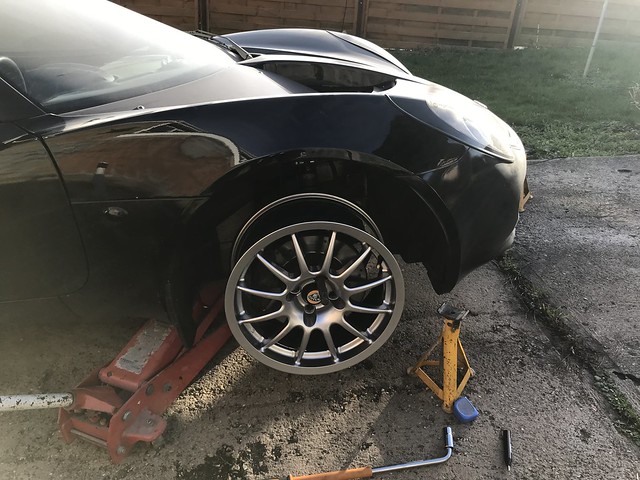
You can see in the above photo that the bumper is still a bit orange peely - I’ve just not got round to wet sanding/polishing yet… It’s on the list!
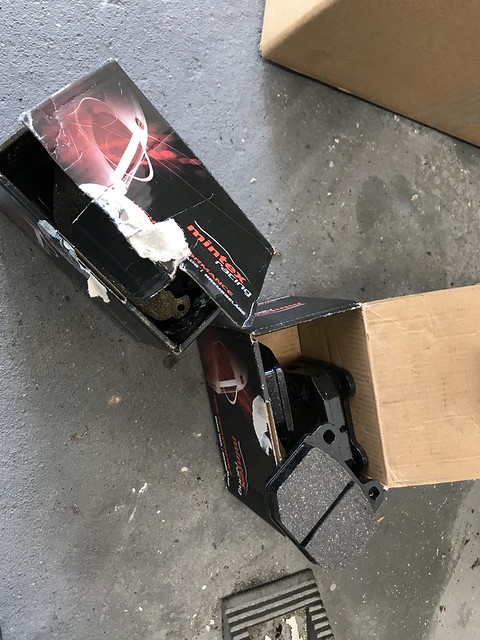
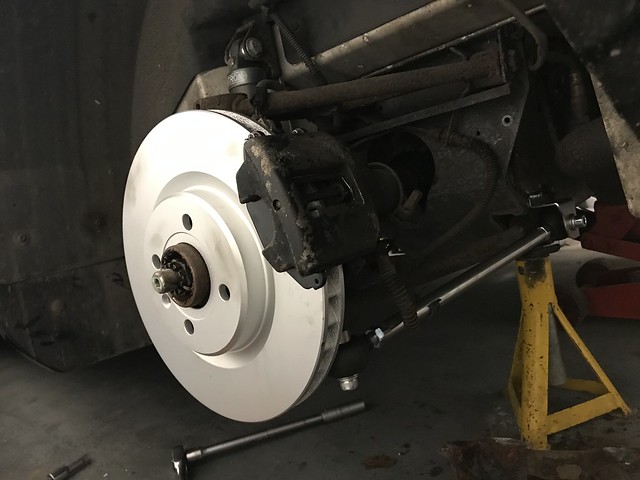
Another on the list to do was change the brake discs and pads. The stuff that was on it seemed a bit of a mismatch so I set about sorting all 4 corners. Unfortunately I ran out of time today so only managed the fronts.
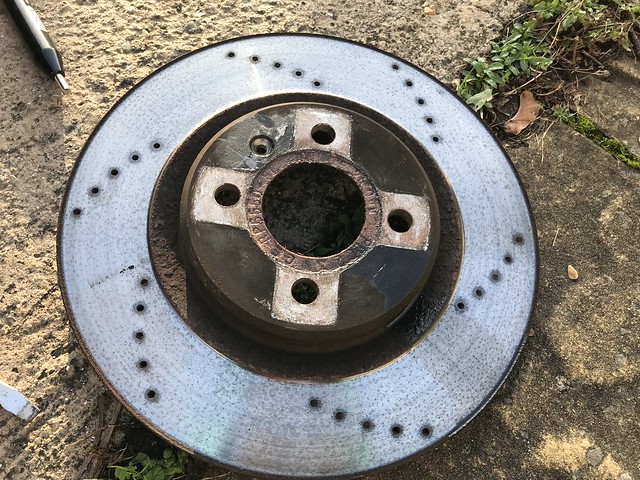
Mintex 1155’s going on. I’ve read some good reviews on these and my understanding is that these are the DS2500 equivalent which for what I plan to use the car for should be adequate. If I don’t get on with them I will look to replace with them with something a bit more hardcore in the future.
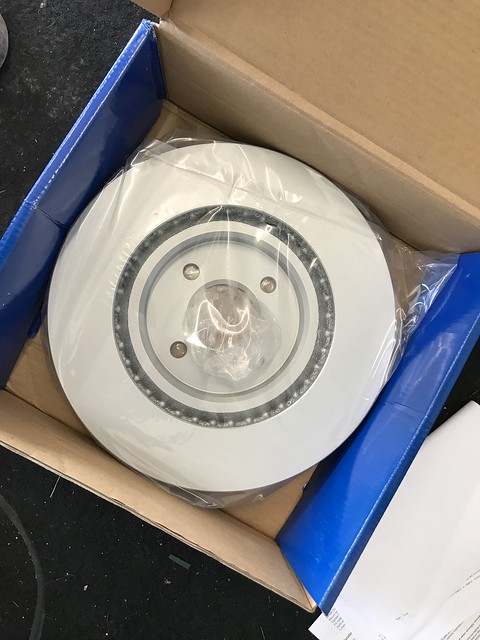
I’m not a fan of drilled discs as I’ve seen a few crack quite quickly when used on track so I’ve gone for some OEM paid plain discs.
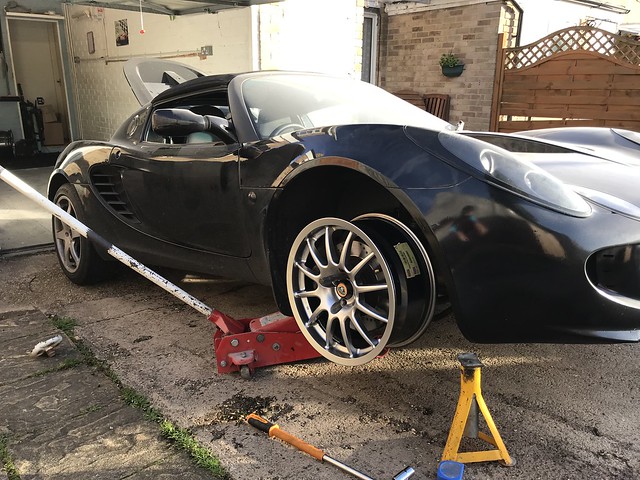
Fronts on. I’ve also lowered the front down a tad. This is mainly for when I get the new wheels and because I’ll be doing the alignment when I do the toe links.
I’m sure it won’t come across as busy as it has felt over the Christmas period but I have been doing a fair amount of work on the Elise.
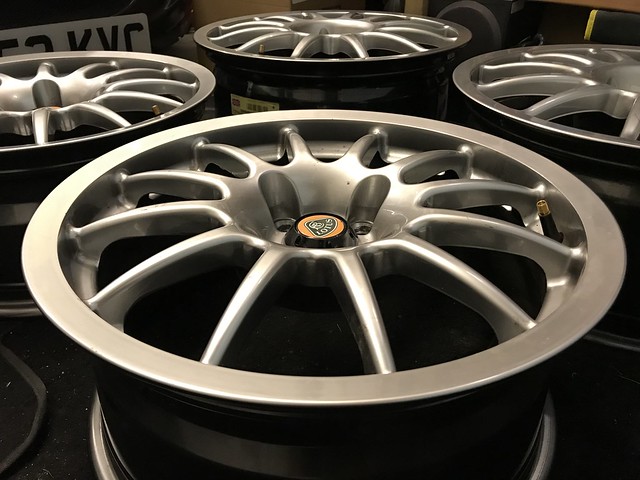
First up was I got the tyres fitted to the wheels. I’m running 205/45/16’s at the front and 225/45/17 Rear. They’re Nankang NS2R’s - I’ve used these before and have always been impressed by the performance especially for half the price of its competitors.

I gave it a quick clean

So that’s the wheels fitted - I’m very happy with them.
Next up was to finish fitting the brakes (rears) and fitting the new toe links.
The calliper will need glamming up at some point but that’s for another day.
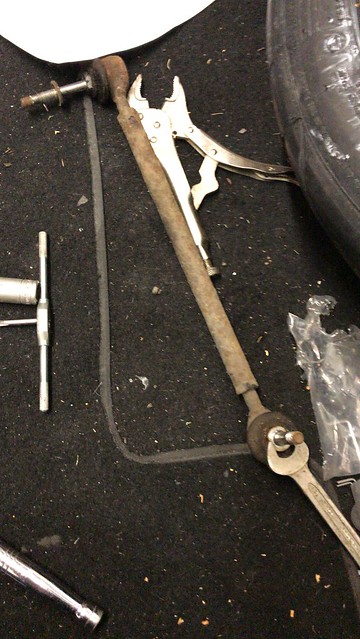
The old toe links - they’d seen better days and the ball joint dust covers had split so a good time to replace.
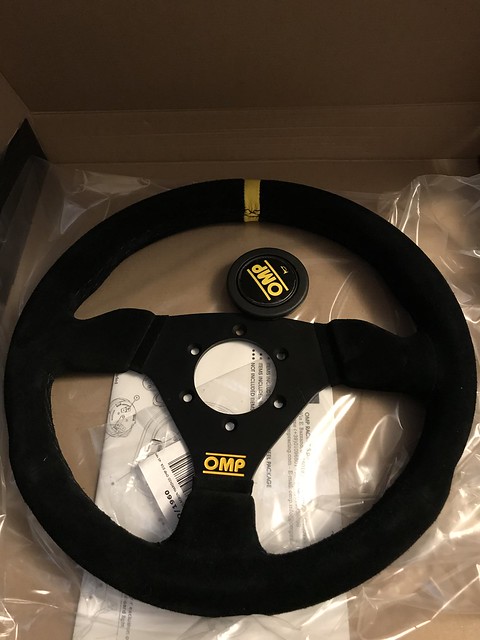
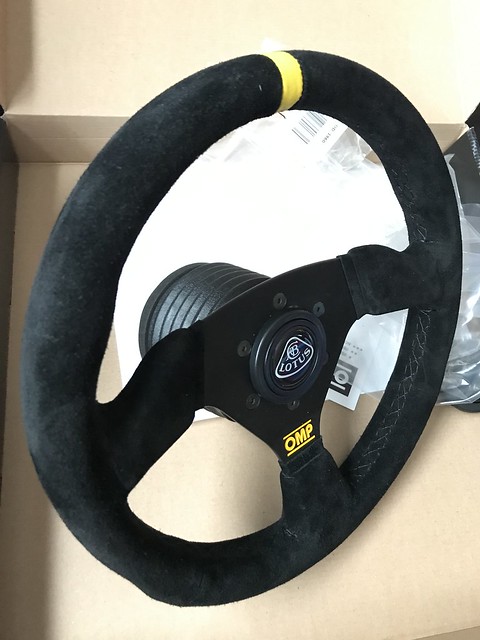
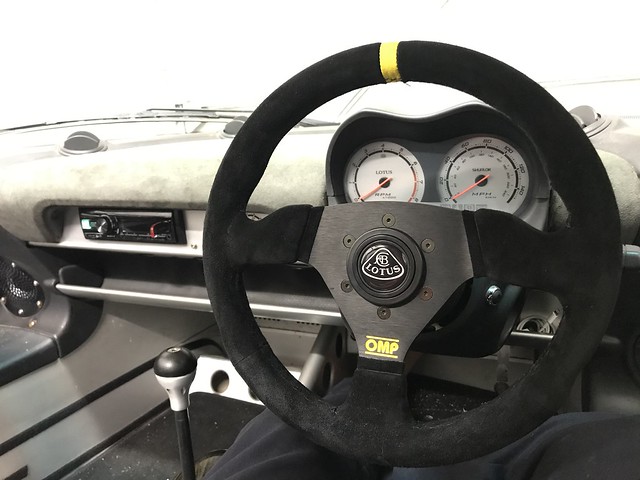
Next up is mainly due to me being 6ft2 and probably a slightly odd size - My legs are longer than my arms so I find the steering wheel a bit further away when I sit in a comfortable position for my legs.
So I’ve bought this OMP steering wheel with a MOMO boss kit along with the MOMO offsetting spacer.
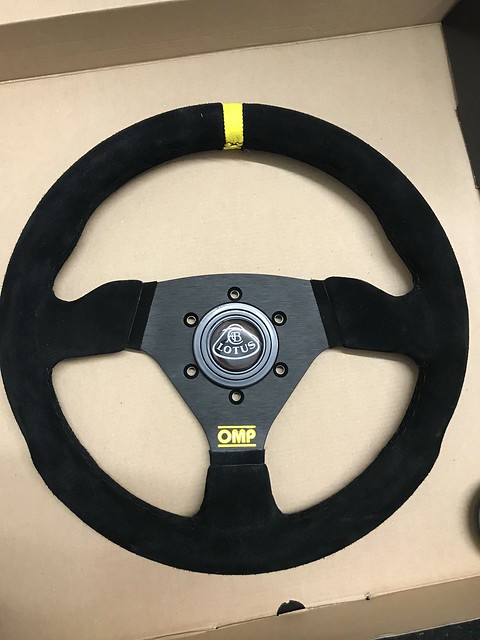
I bought a horn with a lotus logo so that it looked a bit more OEM. (I’m planning on going black/silver on all the badges)
Boss kit with wheel
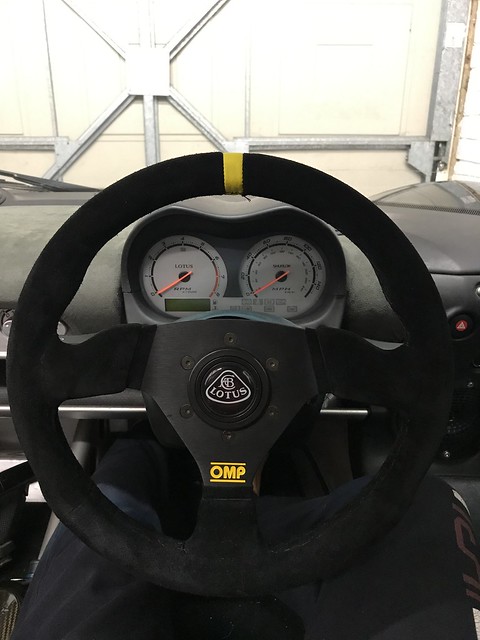
All fitted
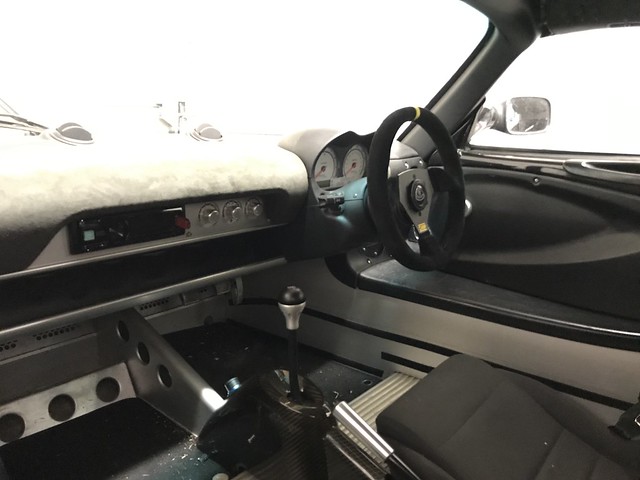
I also fitted some speakers and a headunit - I know this goes against the ethos of these cars but I need music in my cars for the days they’re not being thrown around like a go kart.
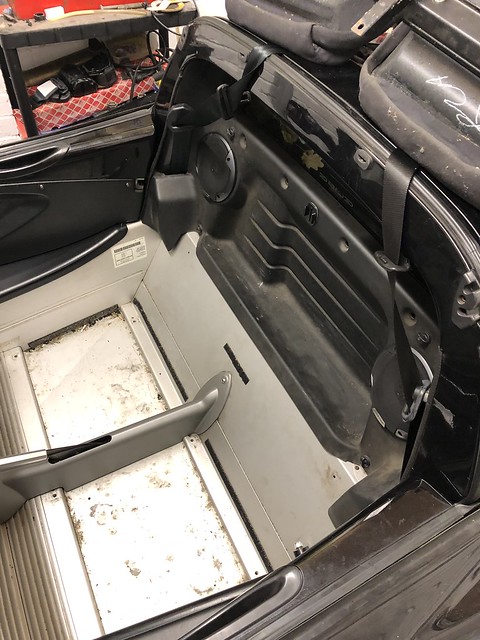
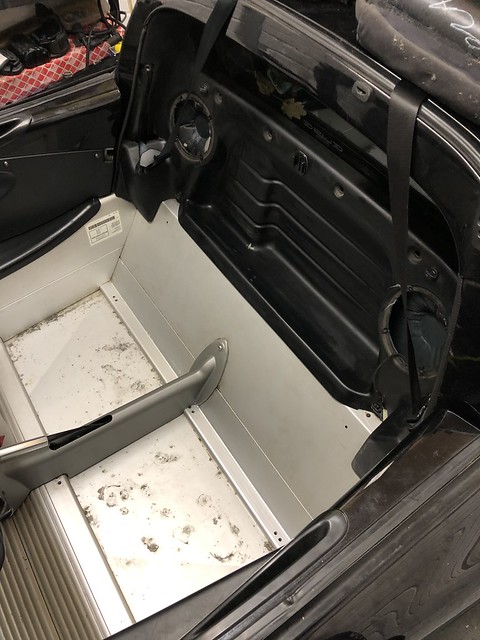
Removing the velcro strips on the sill is on the list to remove but it’s a task I know I’m not going to like so I’ve been putting it off :beat :lol I also need to clean the inside.
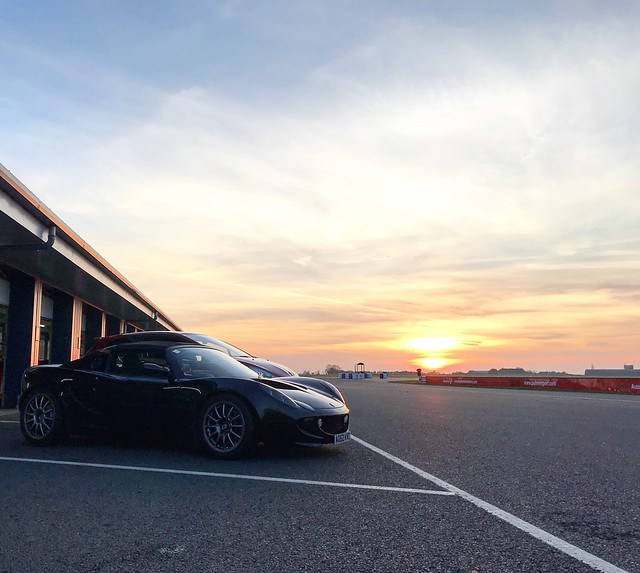
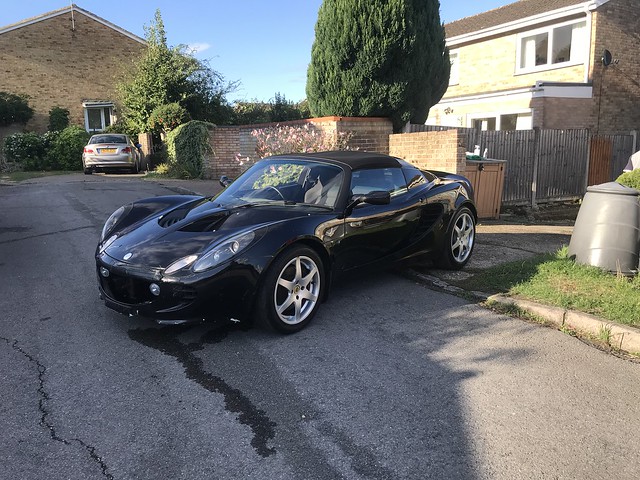
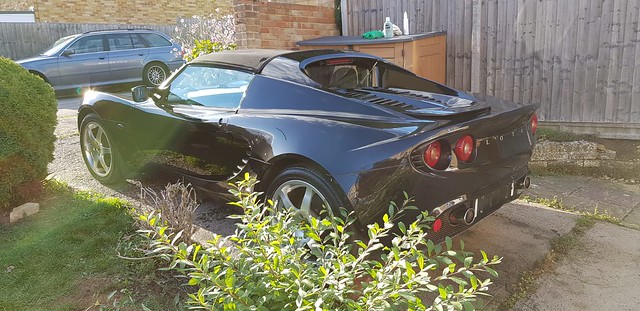
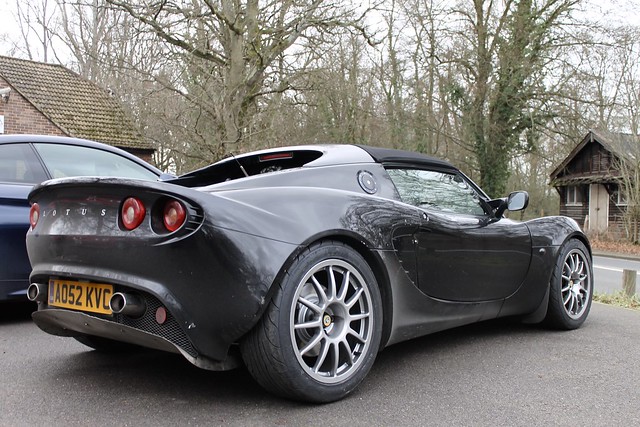
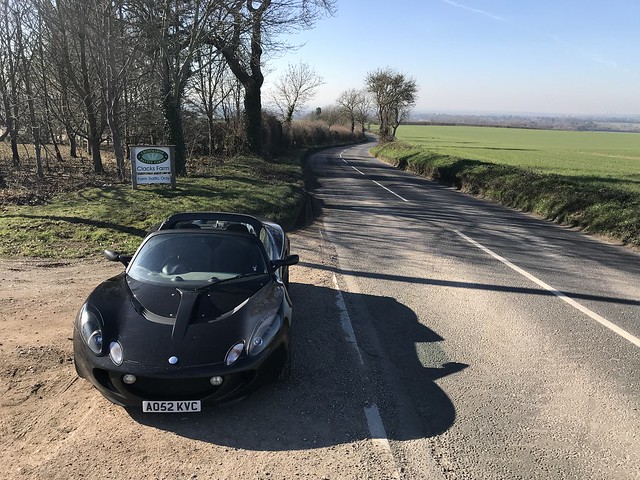
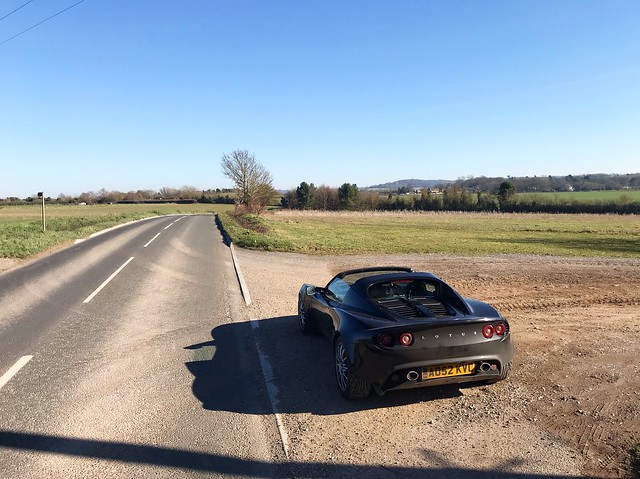
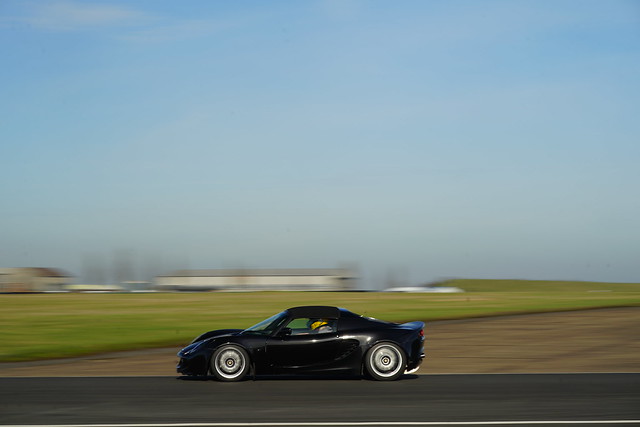
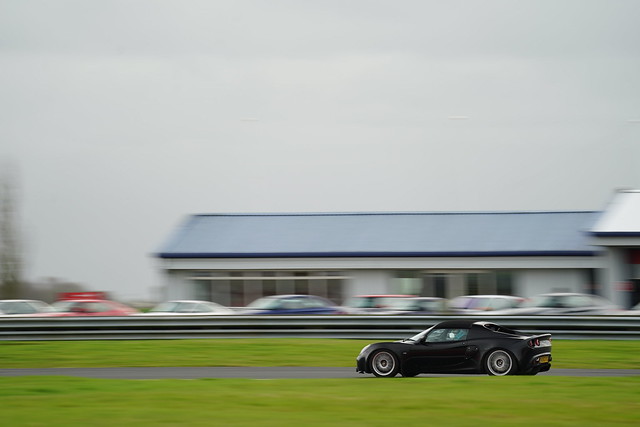
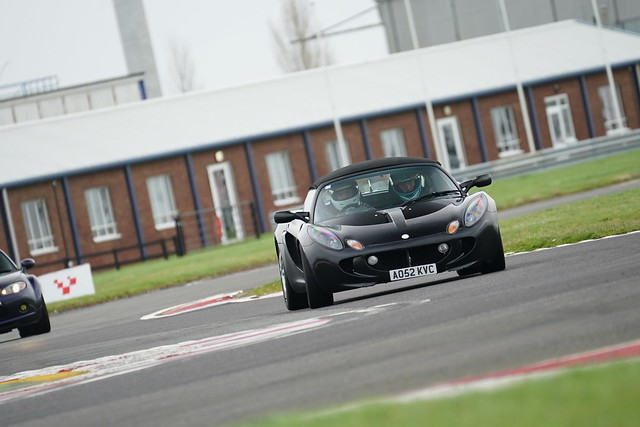
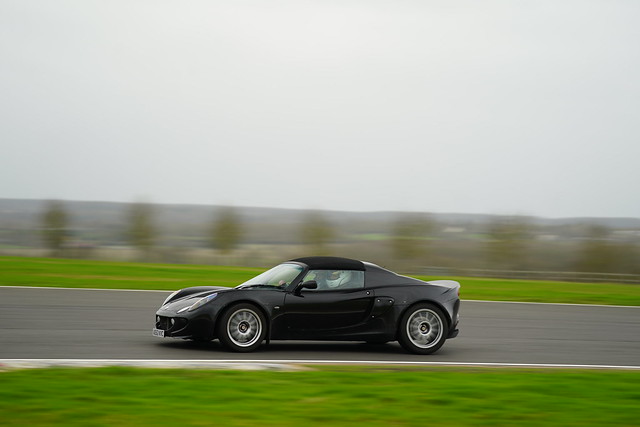
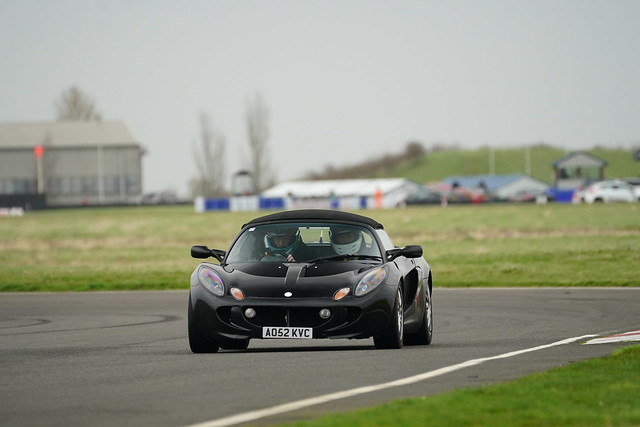
So I’ve been making excuses to use the car, my girlfriend and I have now taken up the hobby of just getting in it and driving until we think of somewhere to go :laugh:
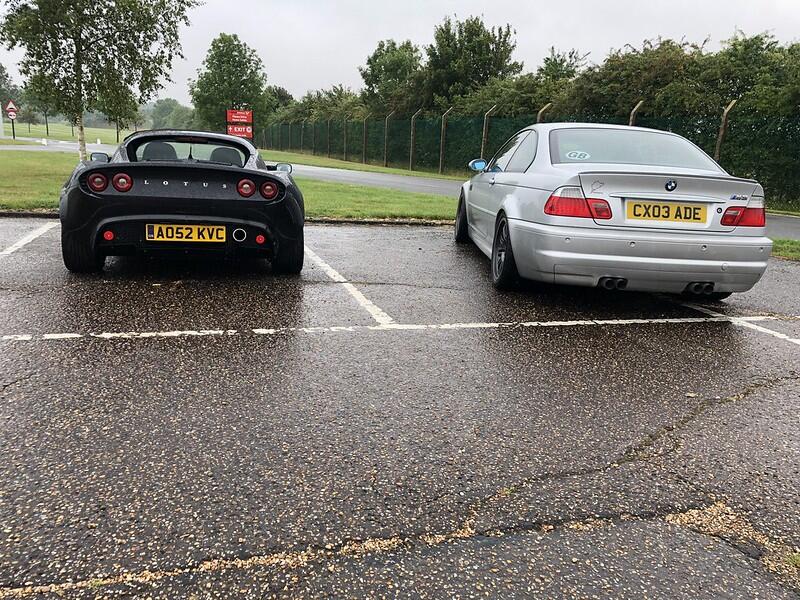
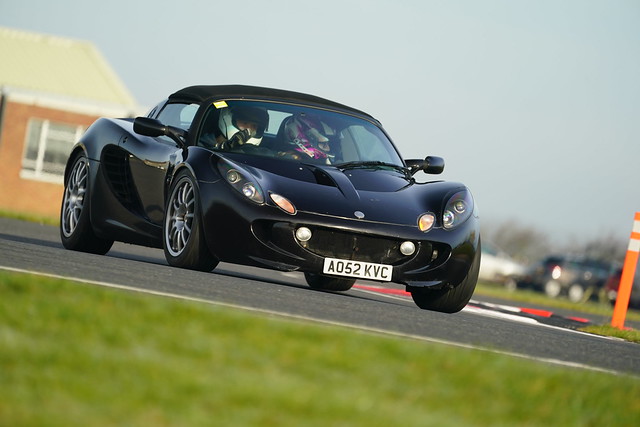
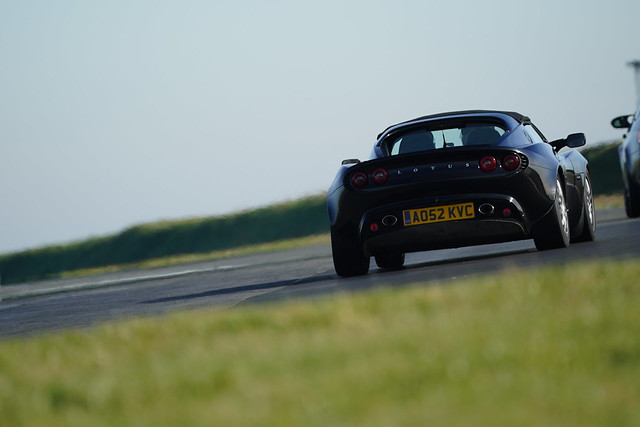
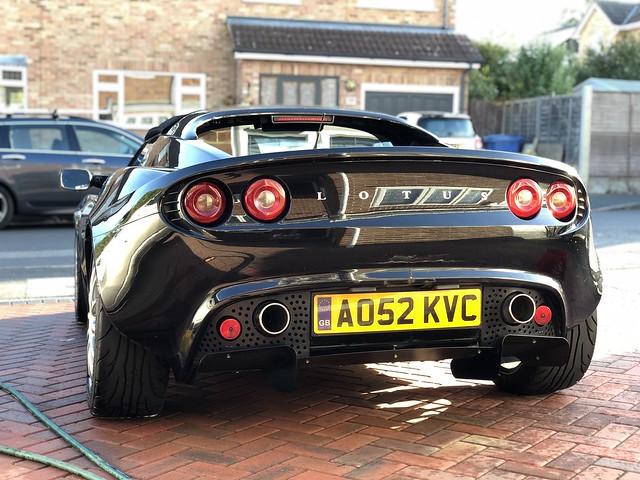
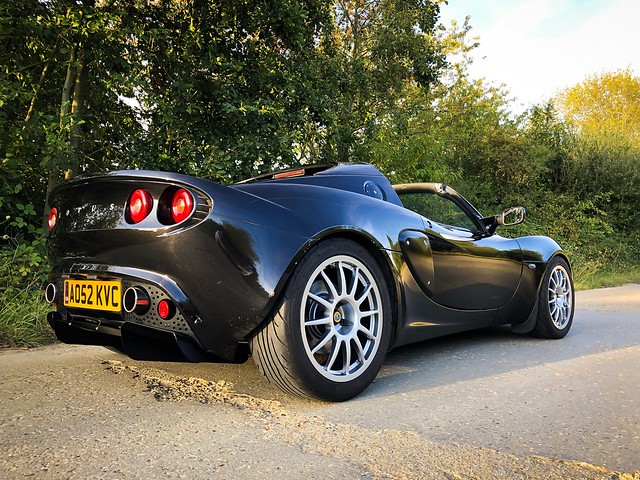
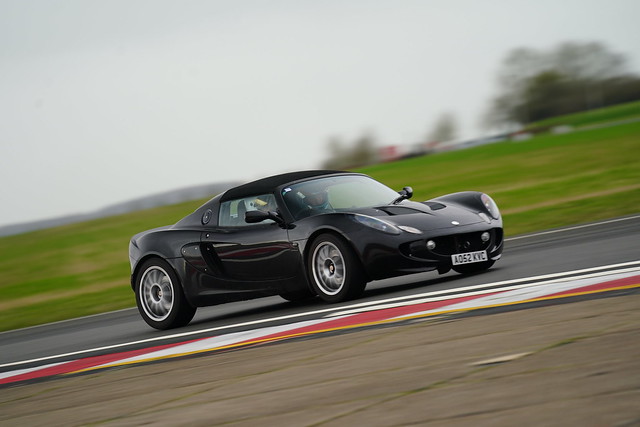
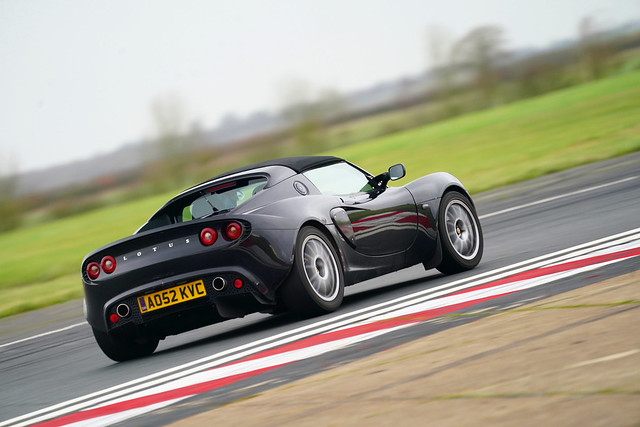
Here’s a couple of photos of it out and about:
On Friday, I took the Elise to Bedford Autodrome. I’m very happy to report that the car performed flawlessly all day!
I was a bit apprehensive about the track day given it’s not been on a track in my ownership and although I’ve got quite a few miles on it now I wasn’t sure how it would get on.
One thing I can say is this car is 10x better than the 944. The corner speed is much higher than I could/dared to achieve previously and the brakes really do anchor on! I was curious if this car would be faster than the Porsche - I knew the Porsche had it on the straights for sure but I knew this would make it back up in the corners. I got out some old footage of the 944 at Bedford in similar conditions and timed what looked to be its best clear lap - I then did the same for the Elise to compare and the Lotus was 3 seconds faster!
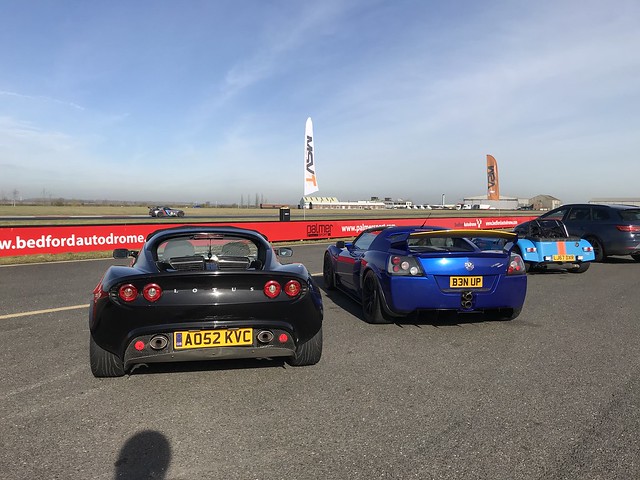
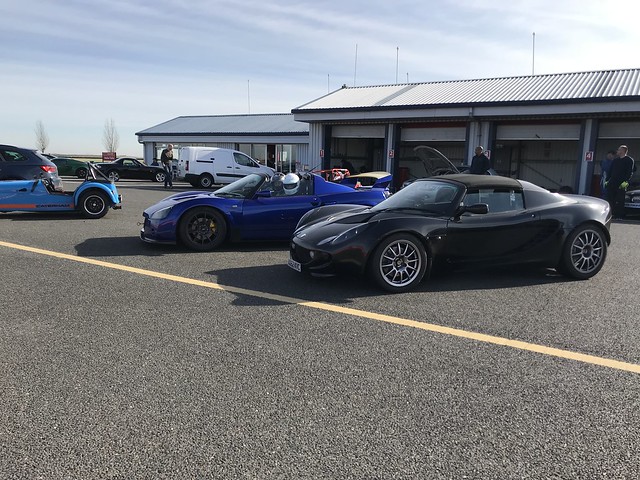
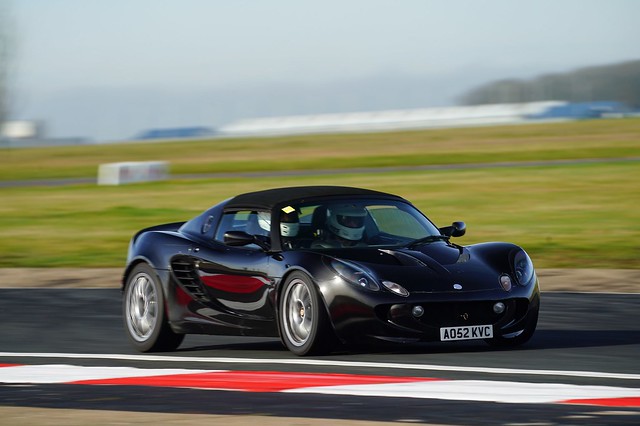
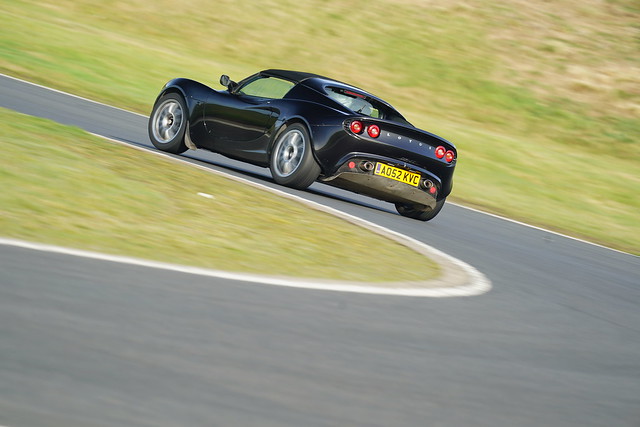
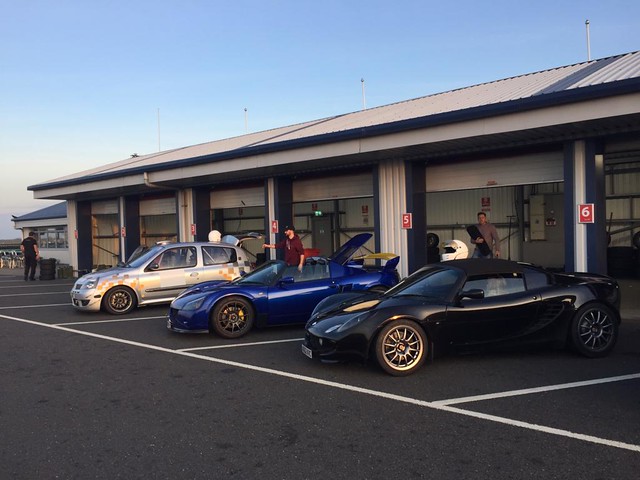
Anyway, enough of the essay and on to the important bit… the photos.
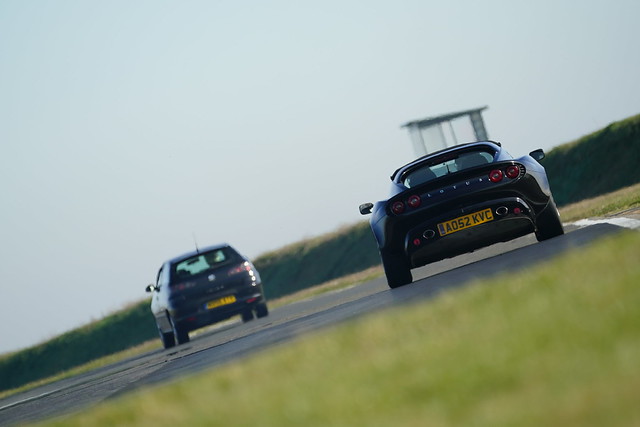
3 Amigos

In car footage for those interested:
https://www.youtube.com/watch?v=TQOuCE2eGV0&t=3s
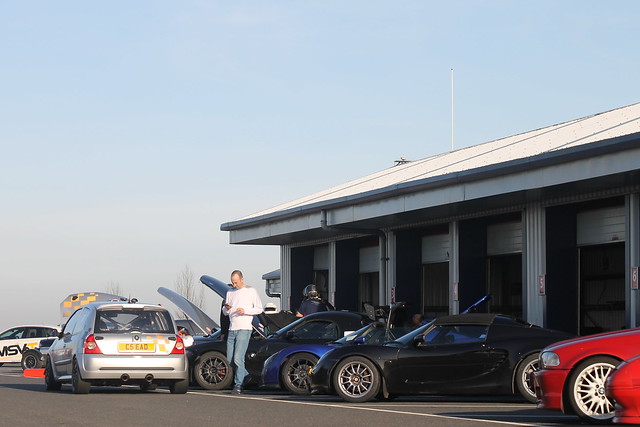
All 3 of our cars (Silver Clio 182 & Blue VX220) survived the full day, we’ve all come away with such a good vibe - It was definitely up there as one of the top track days we’ve done. The weather was perfect, the cars were faultless and the driving standards on the most part were also really good.
Luckily the car hasn’t caused too much grief since Feb and I’ve been able to enjoy it.
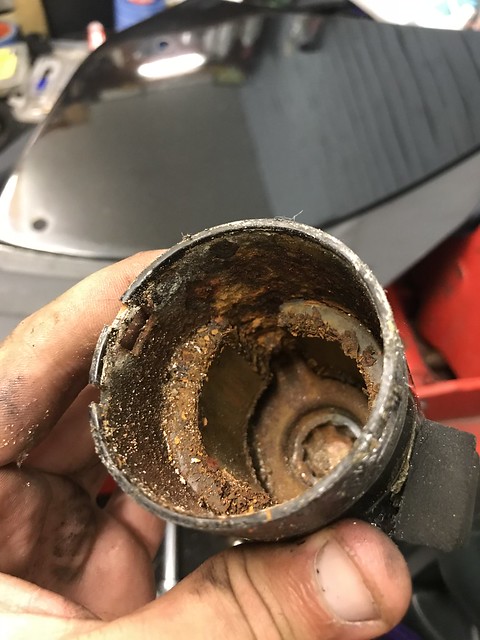
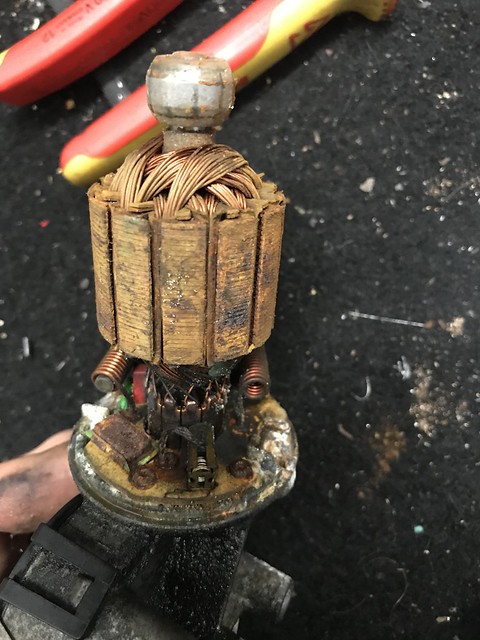
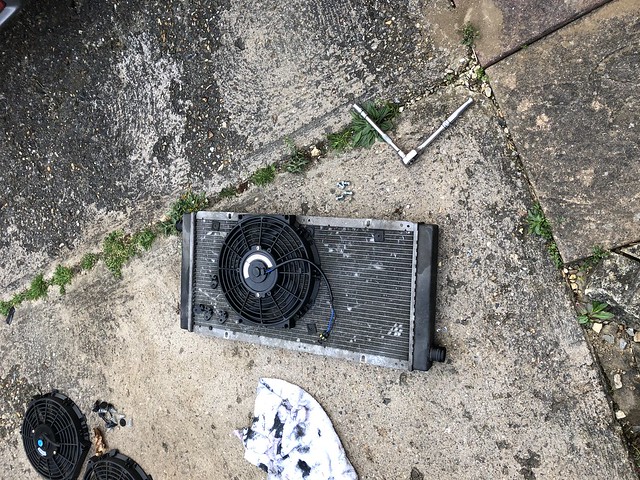
One issue which did appear was the cooling fan not coming on. This ended up being down to the motor in the fan itself being rusted solid :lol
So one weekend earlier in the year a friend and I set about sorting that.

Whilst we were taking it apart the tow hook mount decided to twist and snap apart, so that was replaced with a stainless steel version.
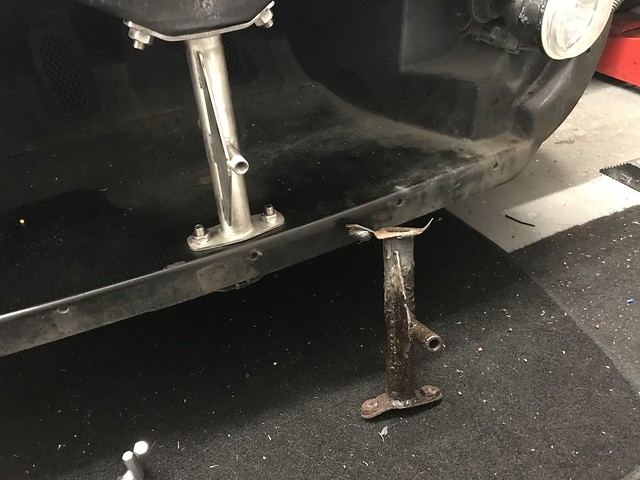
All back together:
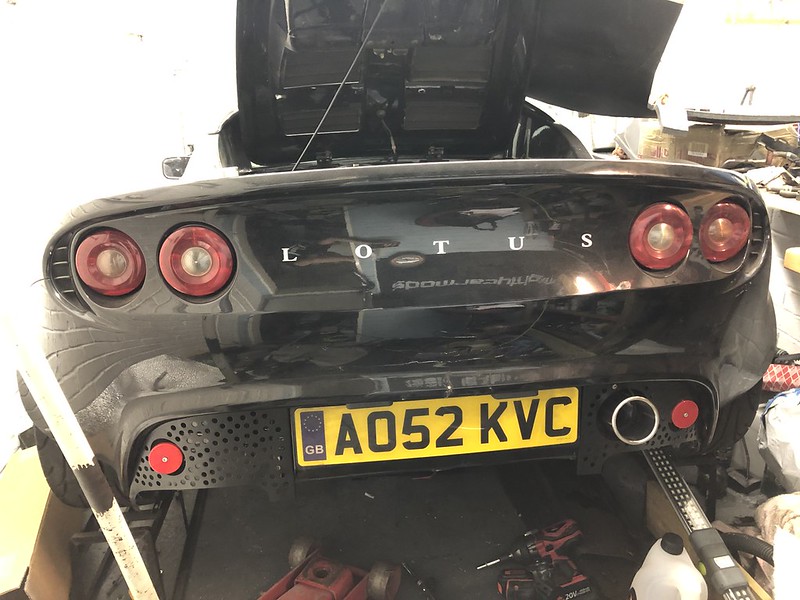
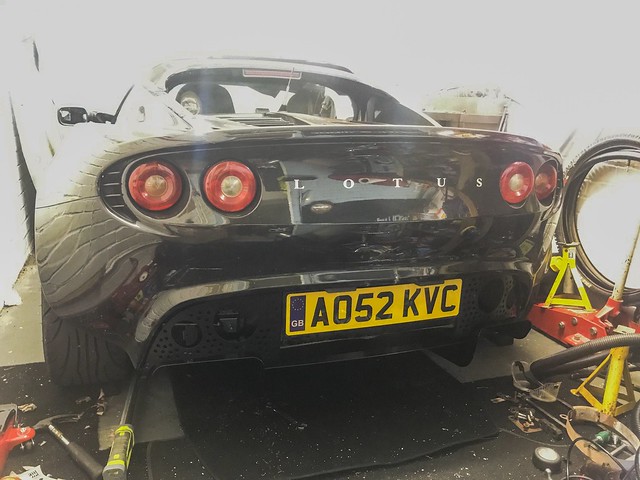
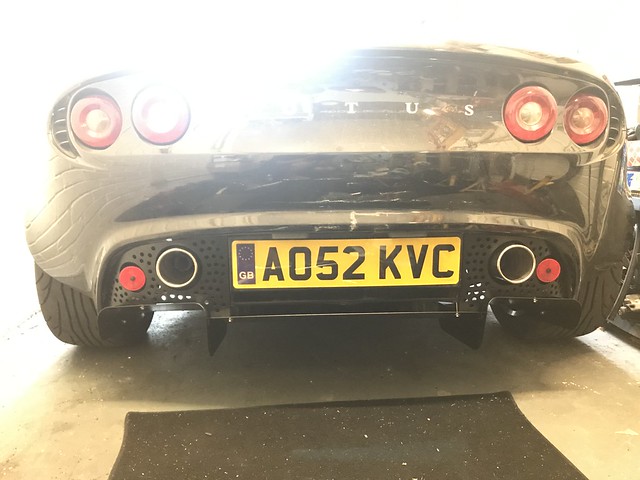
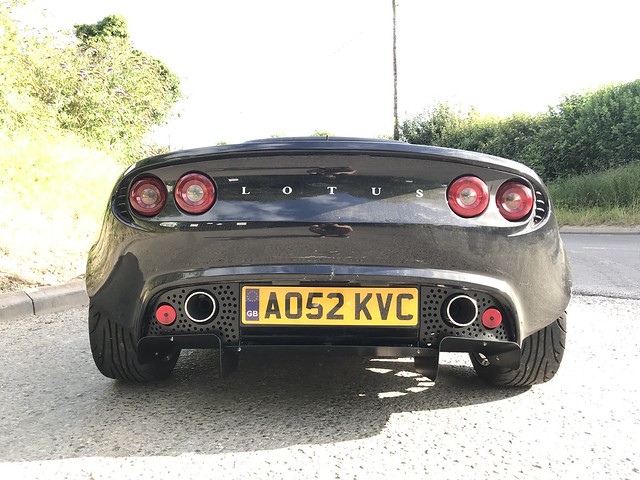
Next up was adding some Exige side scoops. These are still in gel coat as they will get painted properly when I change the clams. For now they don’t look out of place on the car.
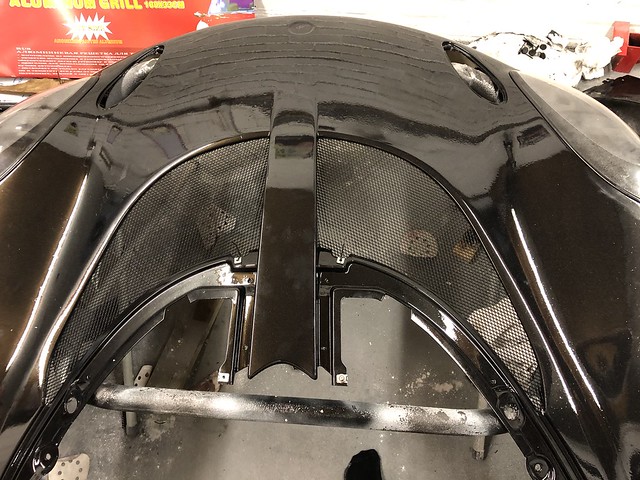
Next up was the addition of a 111S rear diffuser. I’m not sure if this a direct copy or if it is slightly different but is made by a company called Defuseco.
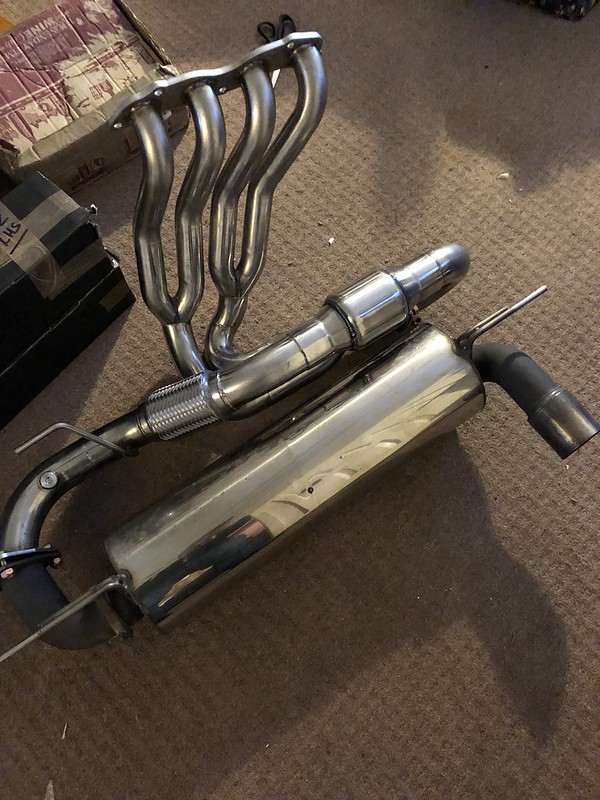
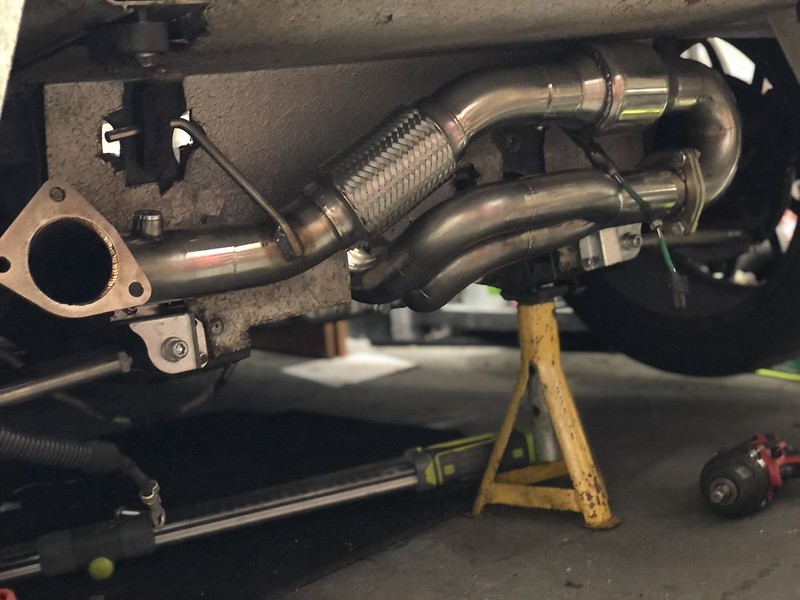
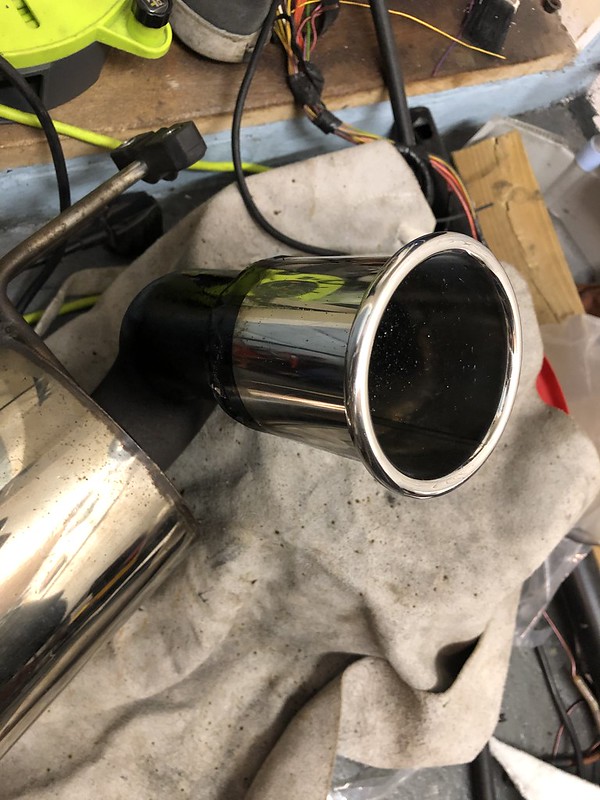
As most will know, in order to fit this the rear grills need to be changed. The exhaust tips also need modifying to fit in the correct locations.
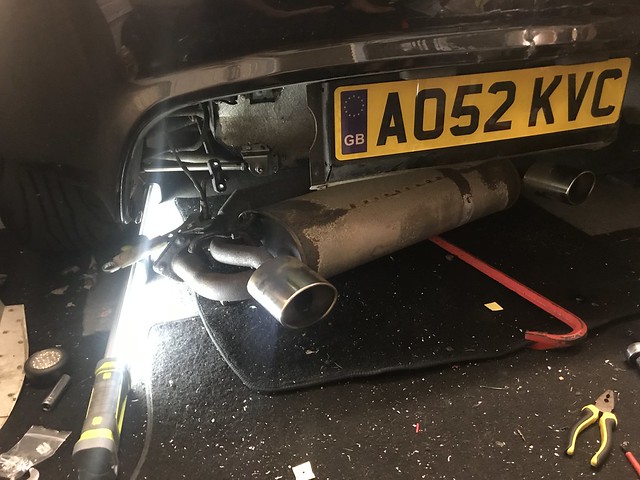
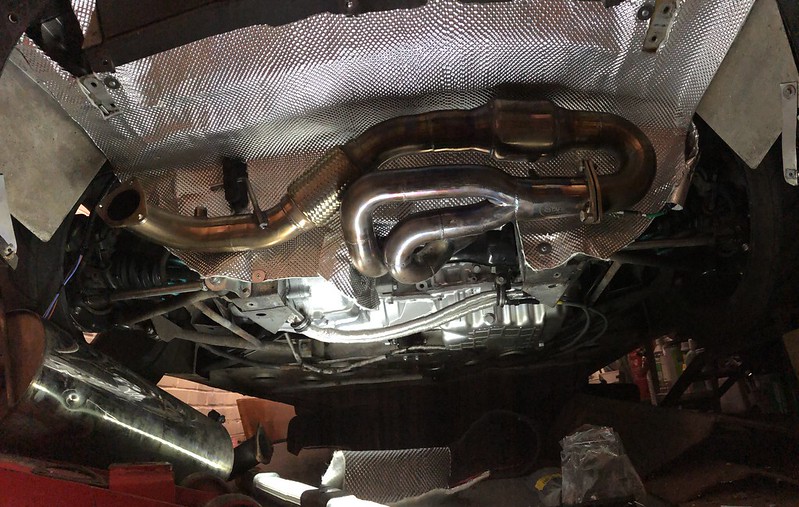
Because I like modding cars the hard way I cut off the existing tips and moved the pipes that the tips mount on out further and welded them into place to match the new location. I then used bolt on tips.
Mock up without the exhaust:
I went for the 3.5" tips to fill the holes in the grills. I think this looks a bit more aggressive.
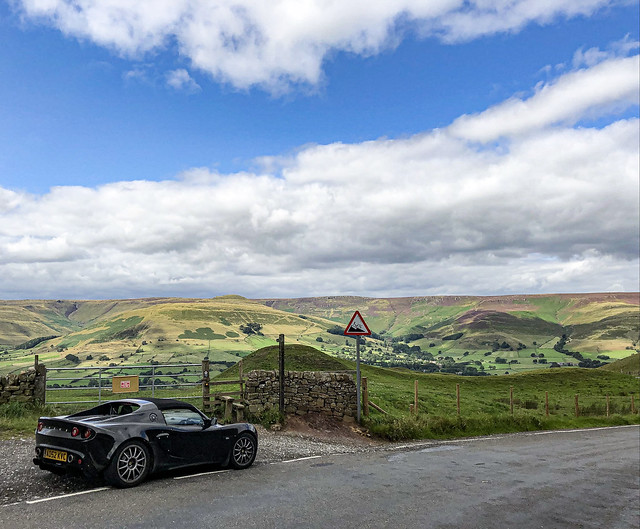
My Girlfriend and I took it for a blast around the Peak District.
Visited Caffeine and Machine

and last weekend my Dad gave it a much needed clean
So it’s been a little while since anything has happened. Over the last couple of months though I’ve been slowly gathering some parts.
First up I fitted a harness bar to the car - the initial plan was I’d be getting new seats next but as you’ll see on the next few updates it’s got a bit out of control and the seats will be on hold for now…
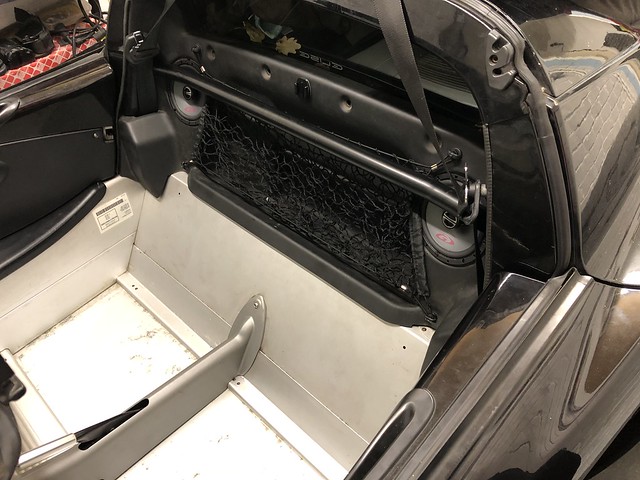
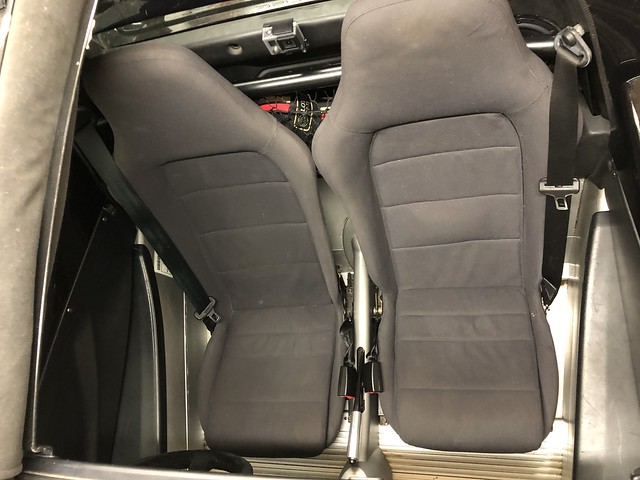
I took the time cleaning the rest of the interior too

I also took the car on another day at Bedford, almost exactly a year to the day to the last track day in it.

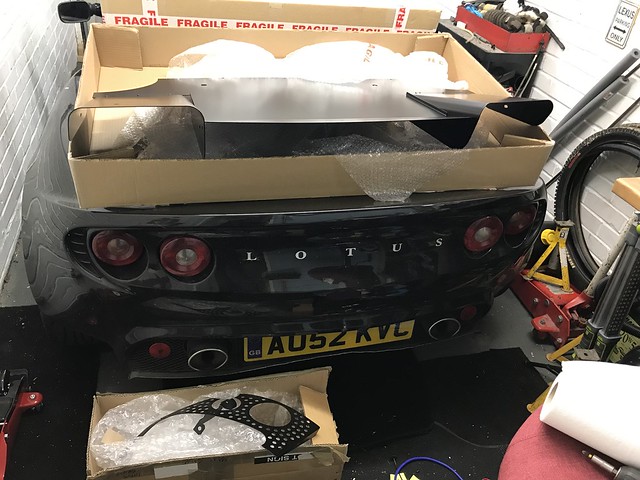
Another update is I’ve been collecting front end parts. This all started when I saw a cheap front clam on eBay. Unfortunately after a bit of looking into it, it would have meant that I would have needed to change my headlights which turns out is pretty difficult to source and expensive!
After exchanging a few messages with Jon Seal at Lotus Hardtops on the matter, I ended up purchasing the front clam, access panels and splitter from him. I’d managed to already source the hinge panels separately. He produces Clams for all era’s. This means I can keep my headlights.
The day after the track day he kindly hand delivered the clam:
The next update was expected long term but I wasn’t planning to purchase so soon:
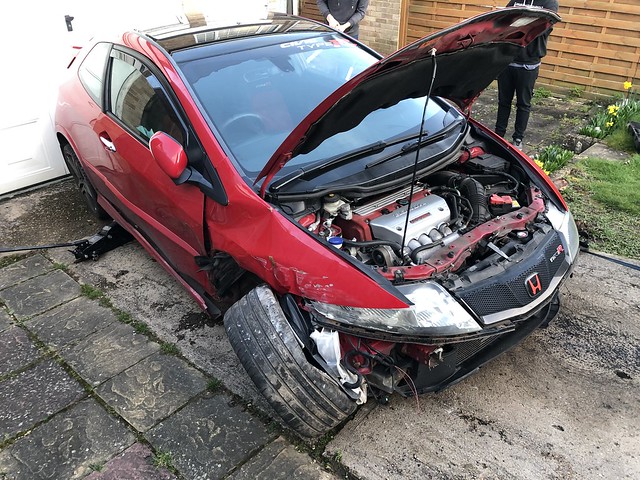
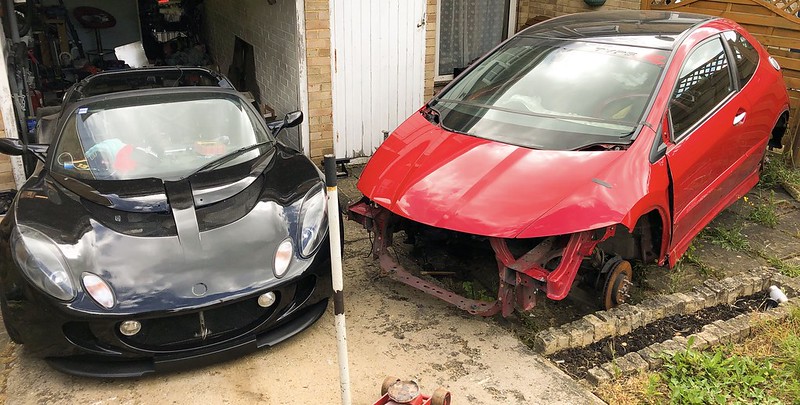
Yep, I’ve got an FN2 Civic Type R. Now I know this isn’t the conventional car for a K20 conversion. This came up for the price of an engine on eBay and only has 70k on it which to be honest at least I can verify over all of the “genuine” low mileage engines on eBay. I’m currently breaking it for parts - so if anyone needs anything send me a message
Anyway, my priority at the moment is to get the civic stripped and engine removed. That should be out tomorrow.
I’ve got some parts ordered to remove the balance shafts so I can run the smaller sump from a K20A2, along with a K20A2 engine loom, throttle body adapter and a cable throttle body.
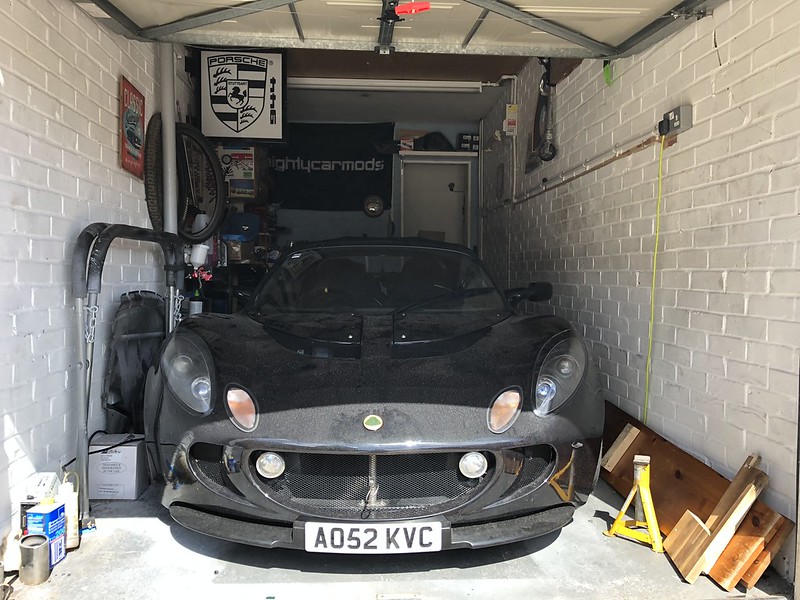
So now that we are in lockdown I have been busy doing some work on the Lotus.
First up was to try my hand again at some painting… Before anyone jumps on the finish, it is yet to be polished and I am not a professional painter - I’m merely someone giving it a shot at home in their garage
After some sanding and prep I primed everything:
There was a bit more prep work involved but I’m sure no one wants the details of each coat of primer and all the sanding required!
Some paint laid on:

and some lacquer:

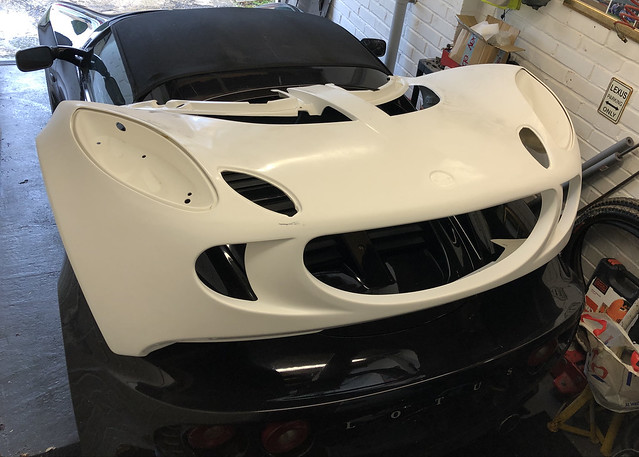
Old clam removed:
Assembly of the new clam:

The light covers placed on and a badge to make me feel like it was progressing…
Added some grills:
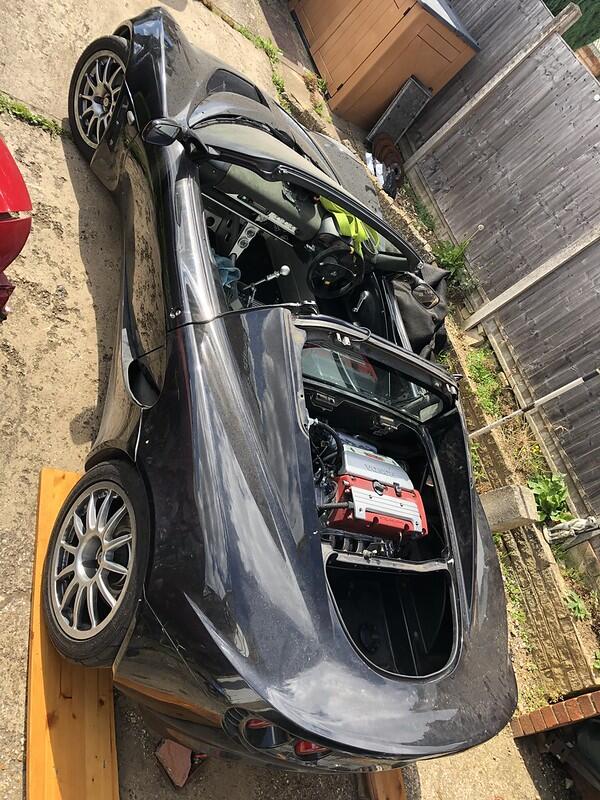
I then mounted it all to the car… no full shots yet though as I’m not completely finished yet.
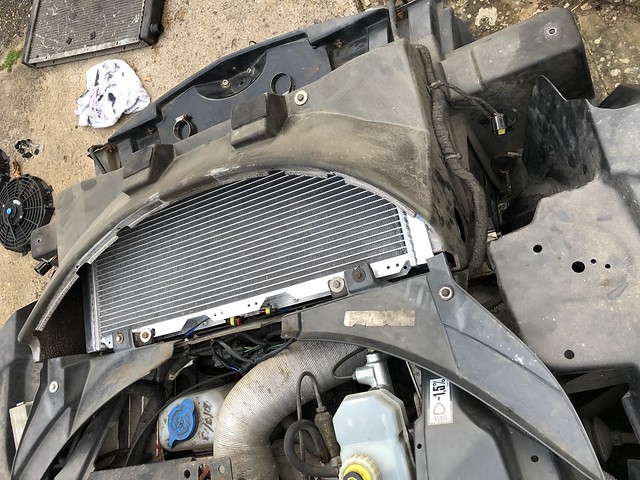
In other news, when I took the old clam off I replaced the radiator with an Alloy radiator.
old one removed:
new one fitted:
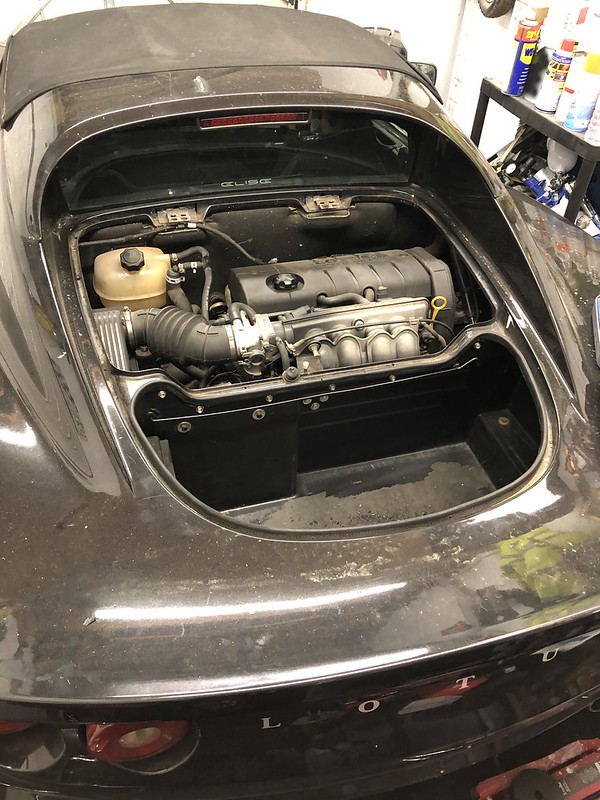
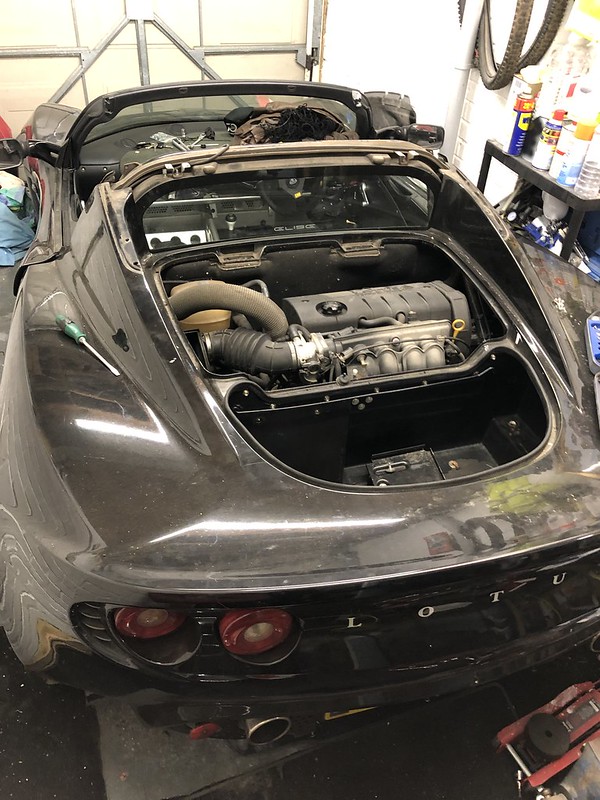
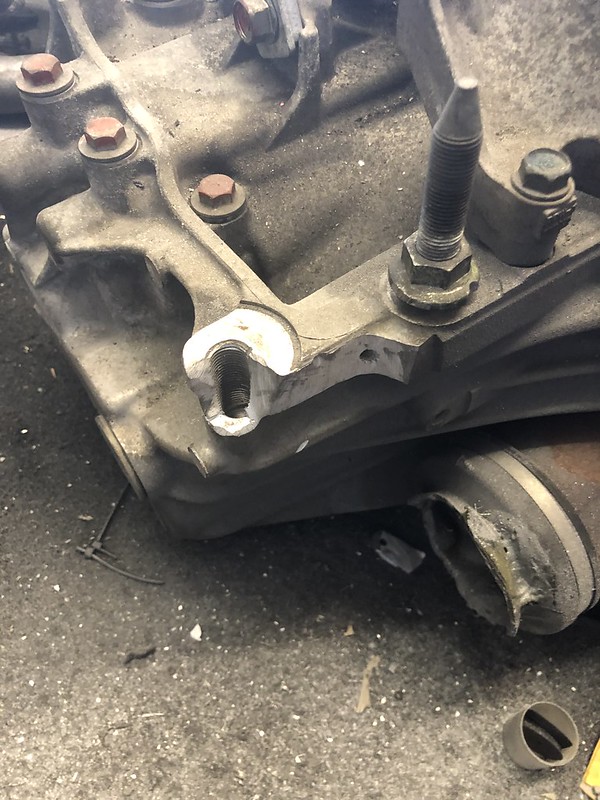
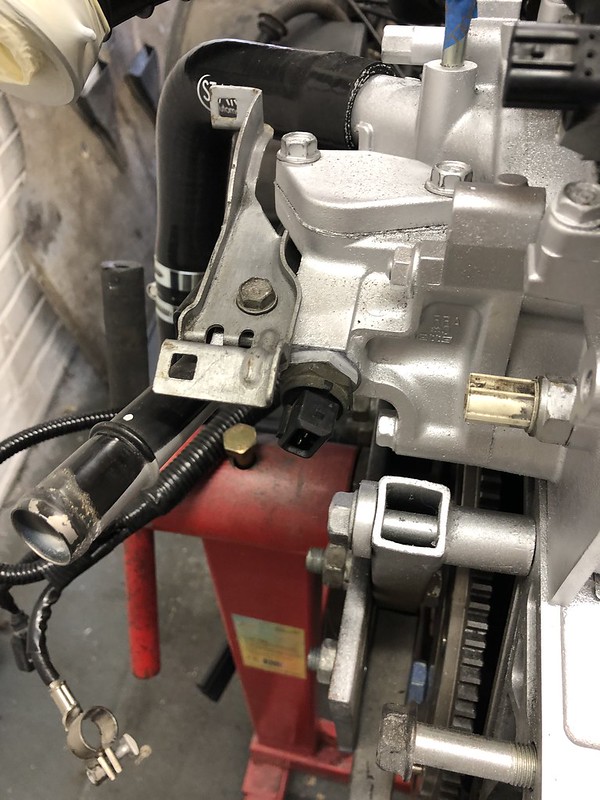
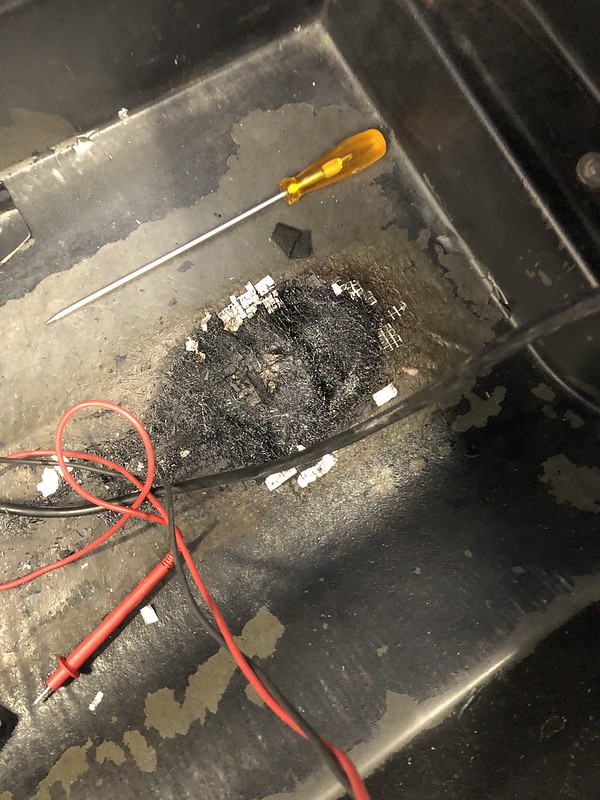
Now unfortunately there was some annoying news that came when doing this change. When removing the radiator hose I was greeted with this:
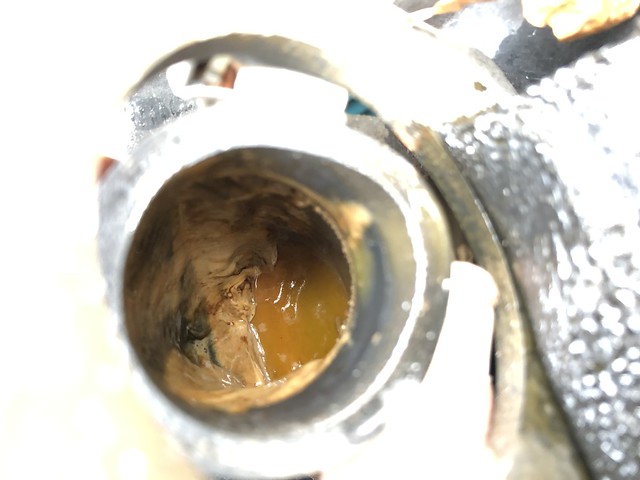
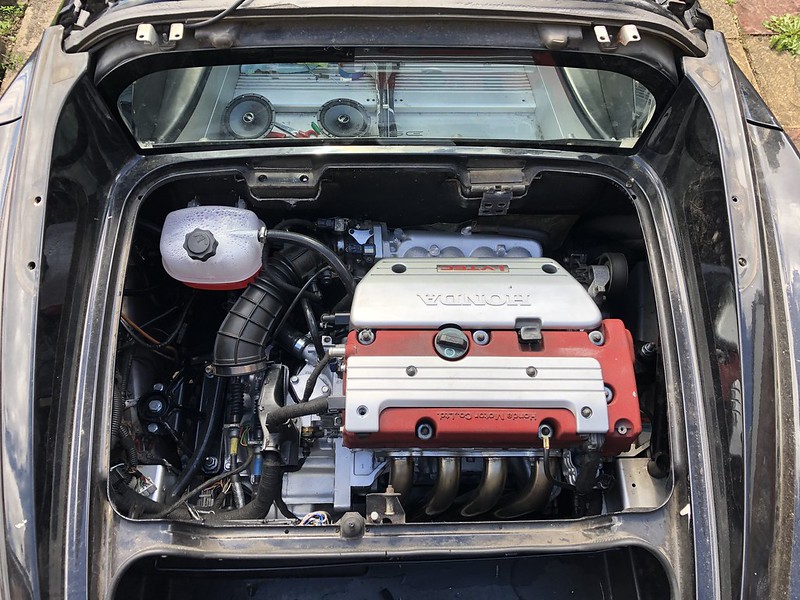
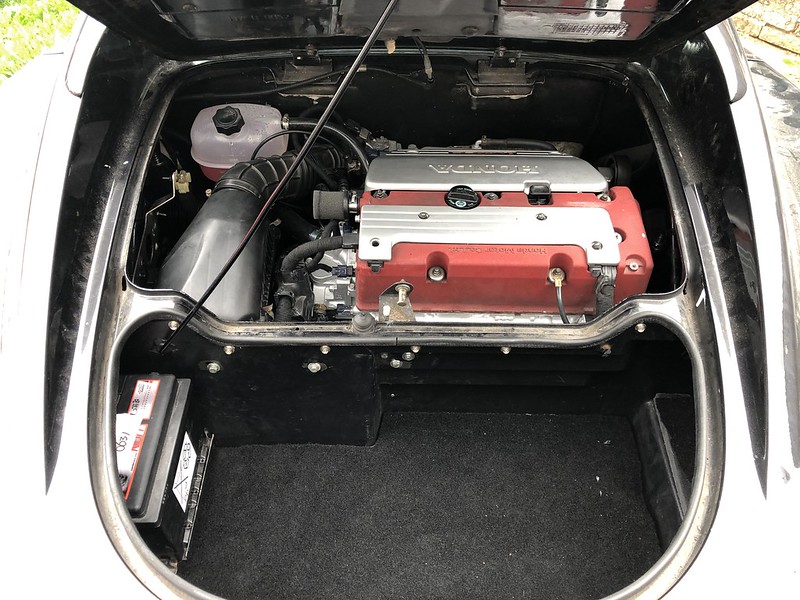
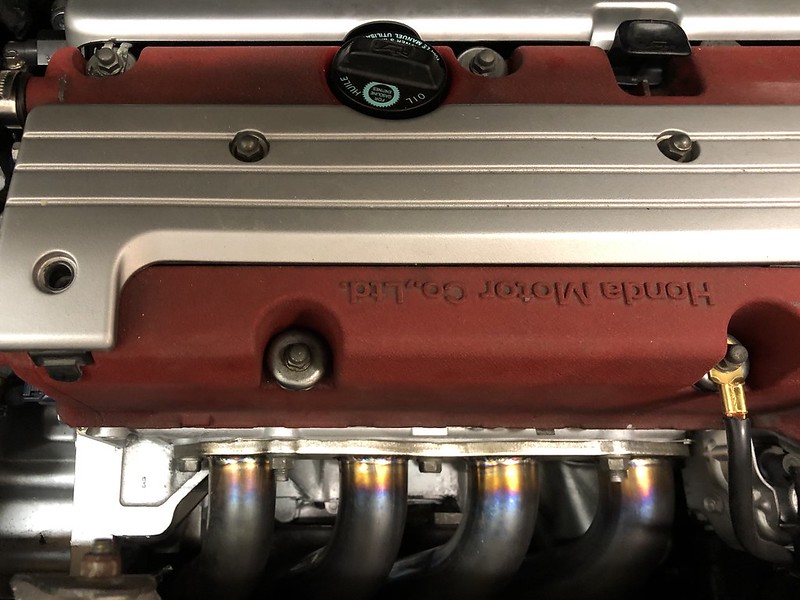
Now I know this doesn’t seem like the end of the world considering I have the Honda engine, however the plan was to continue using this engine until I was ready to make the transplant. This has now changed those plans. The Rover engine is being decommissioned and preparation for VTEC has begun.
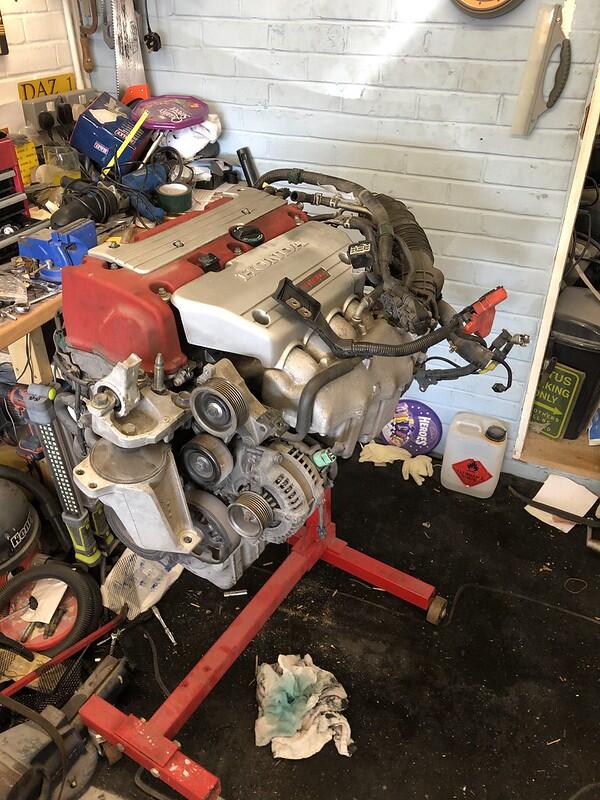
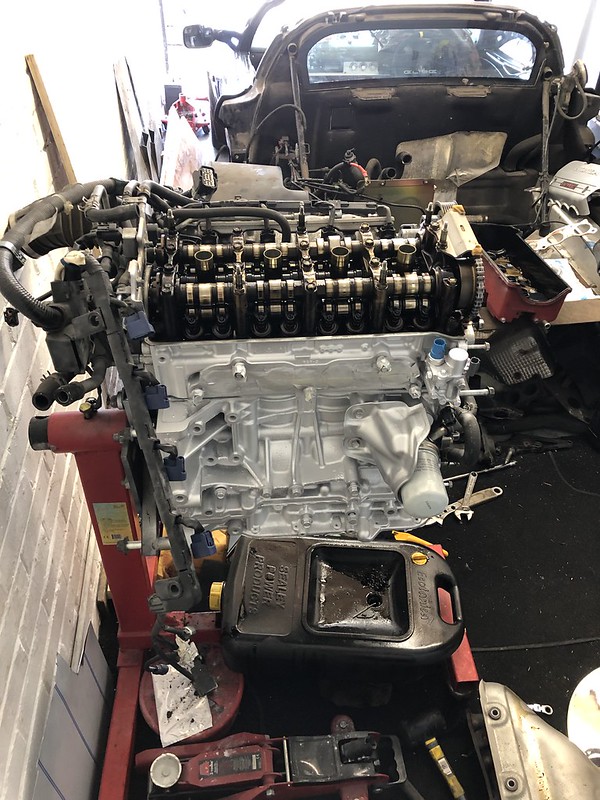
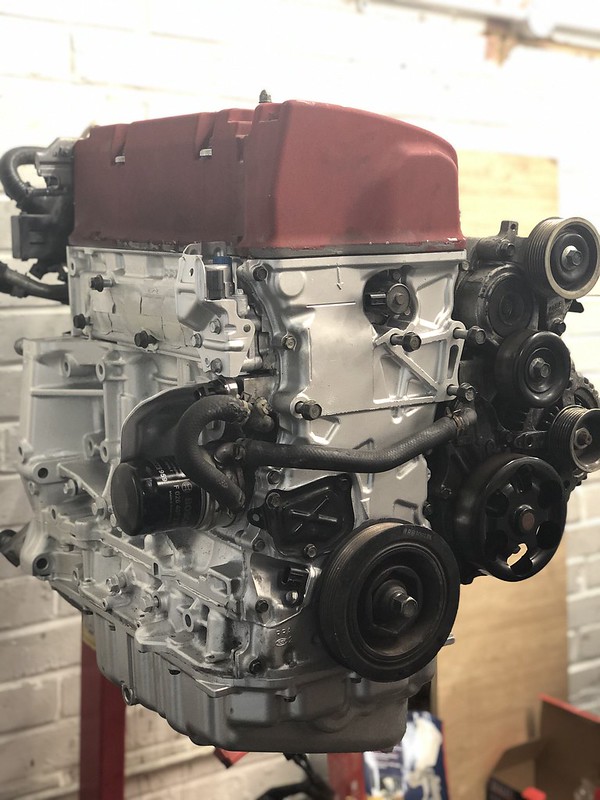
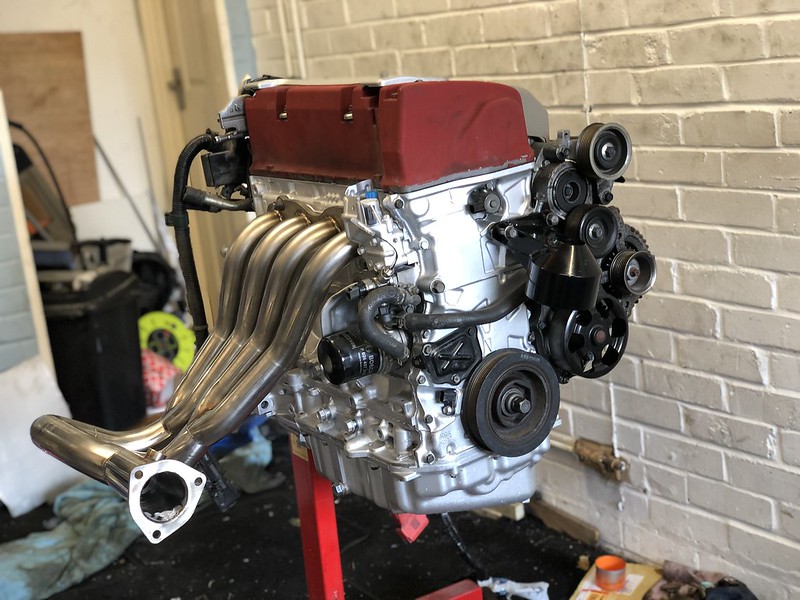
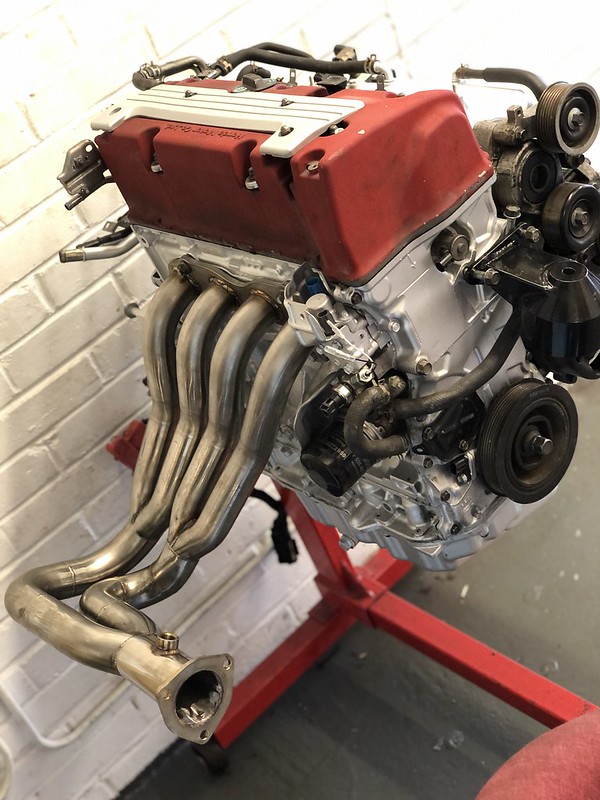
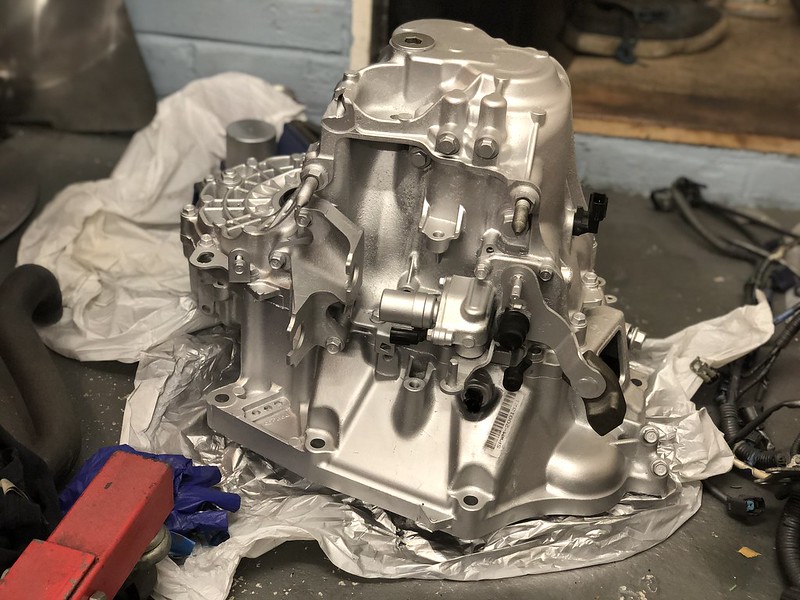
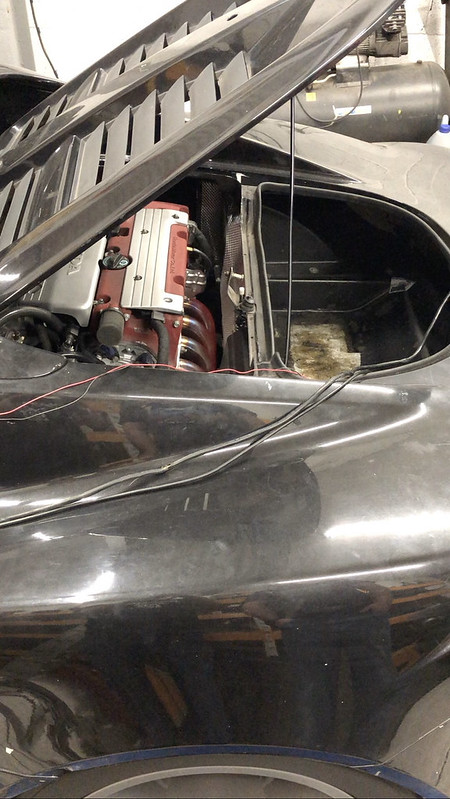
So a bit of an update, the K20 is on an engine stand
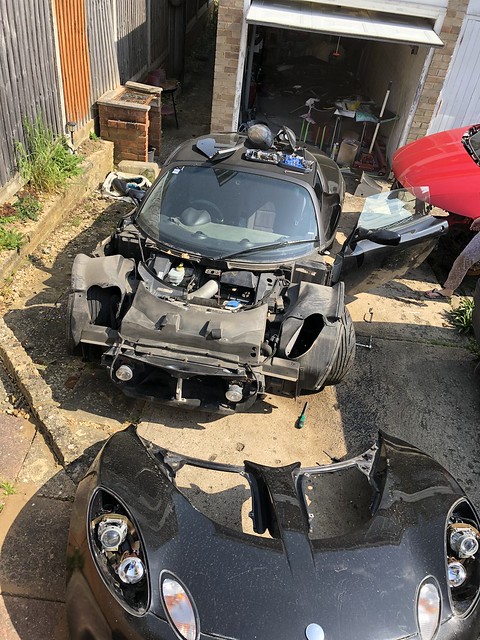
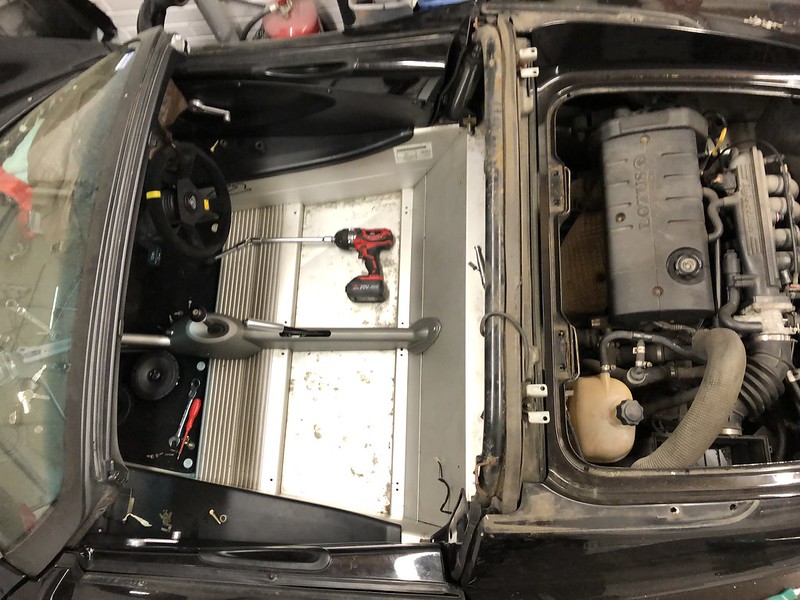
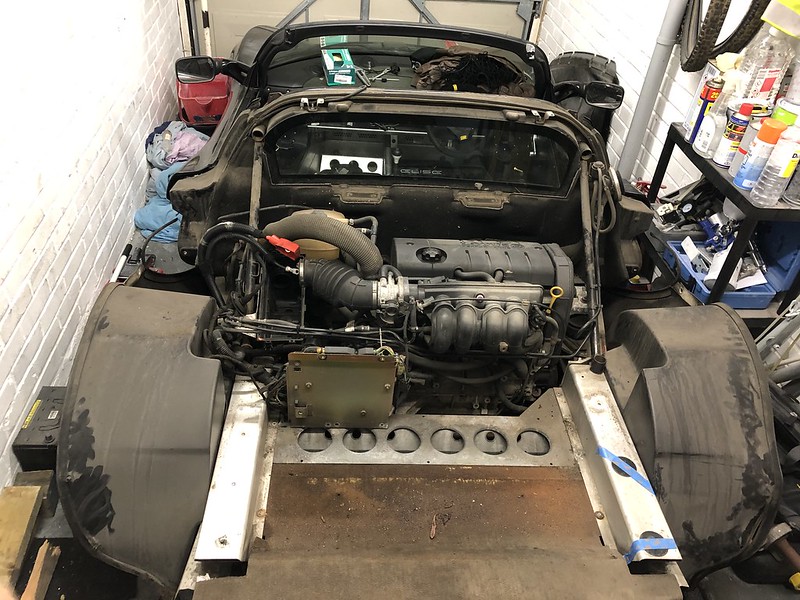
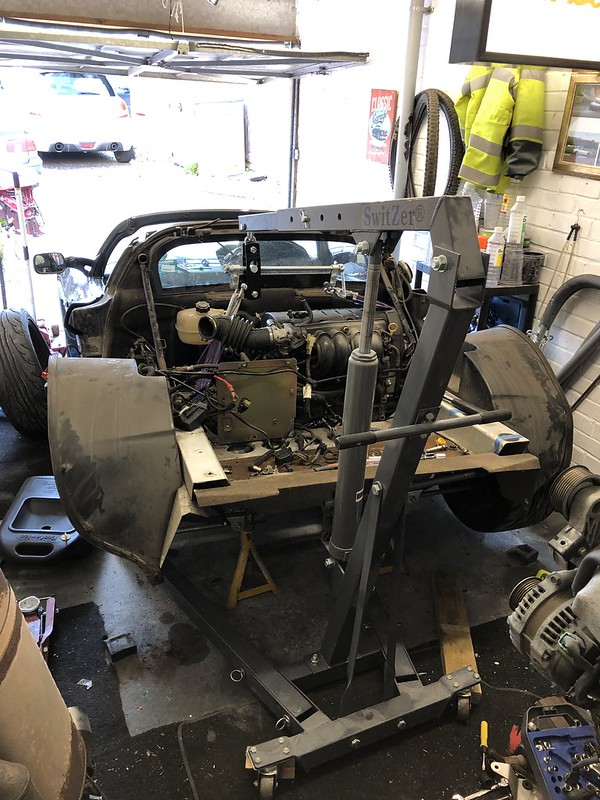
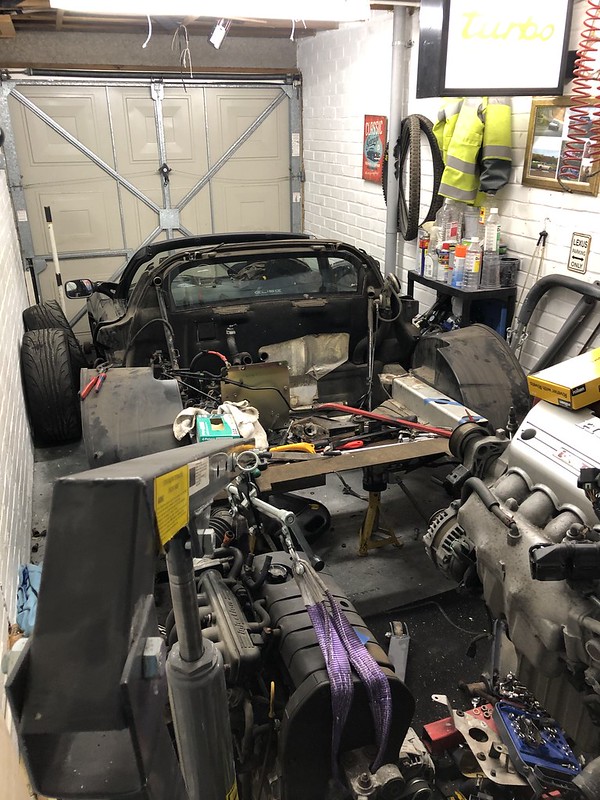
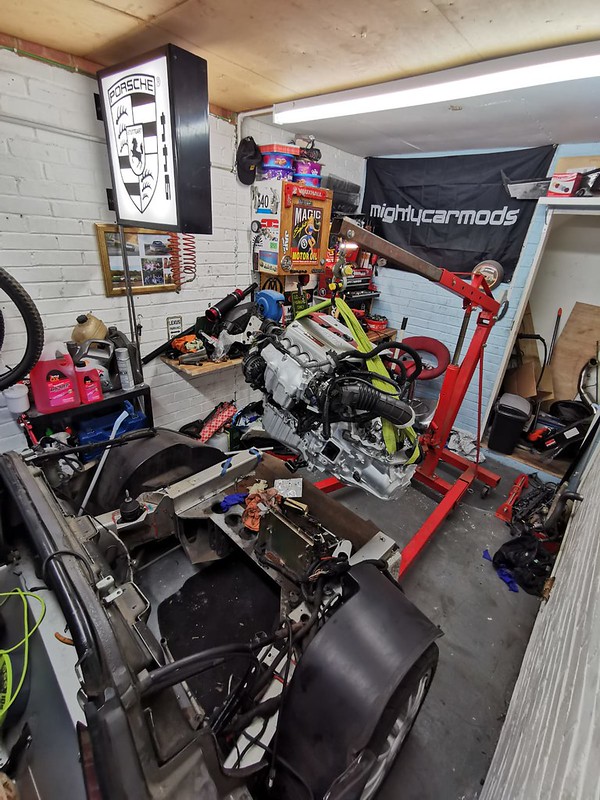
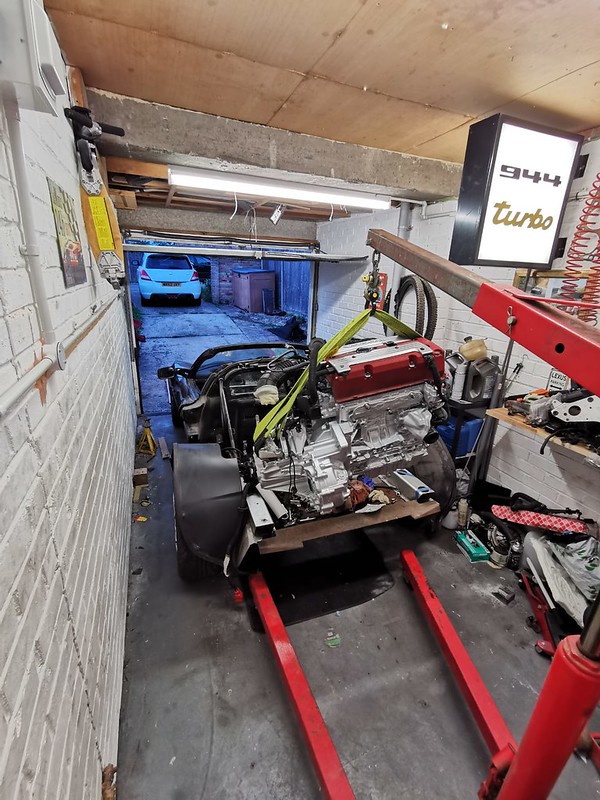
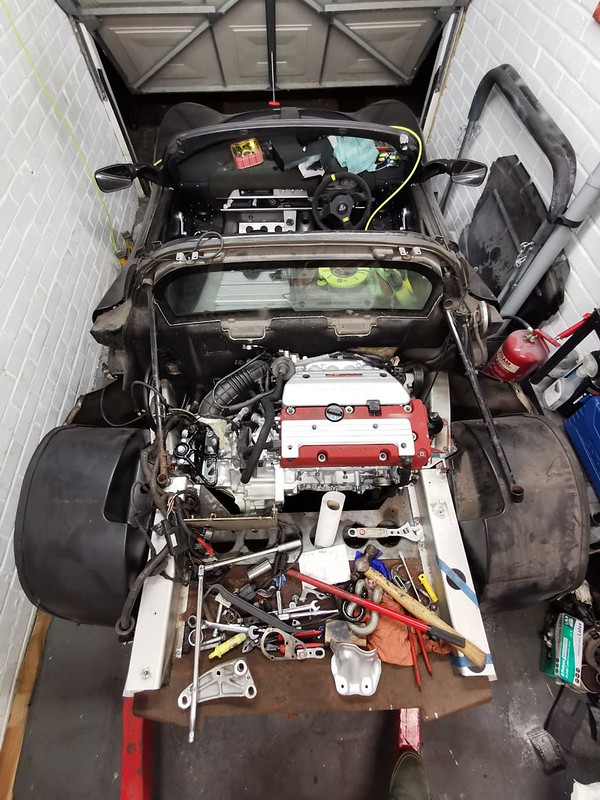
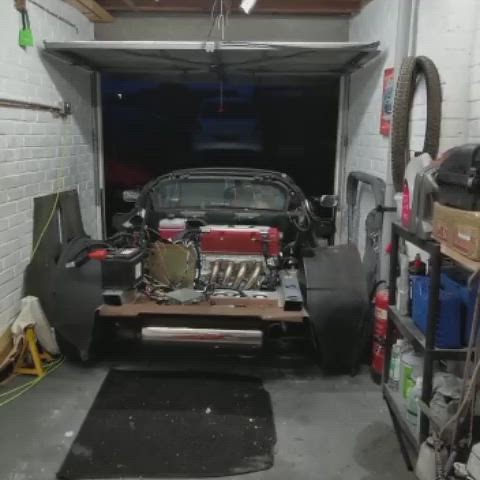
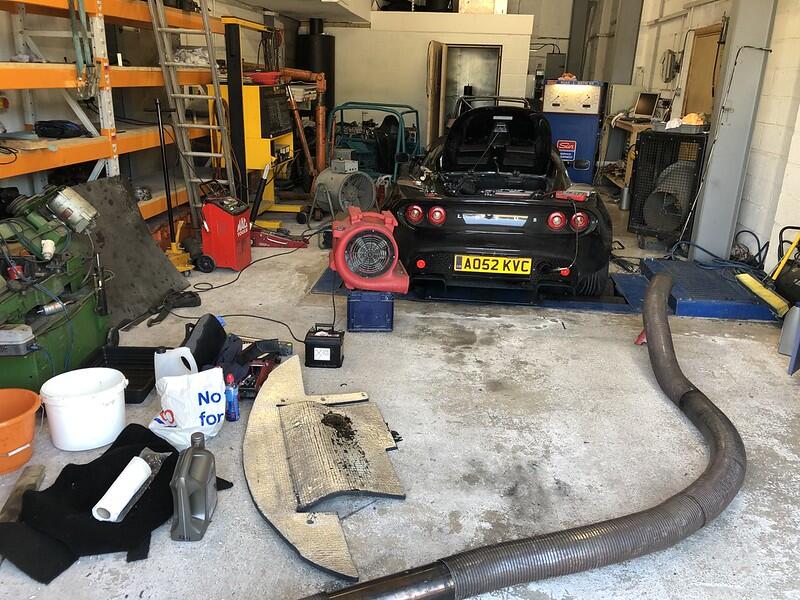
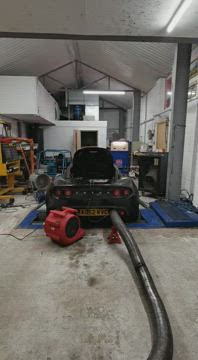
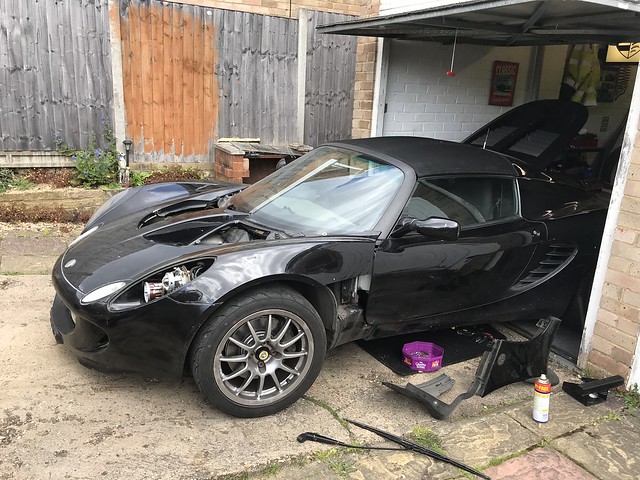
With that closer, I thought with all this time at home I best make some progress getting the Rover engine out
Excuse the mess… Things really got out of hand and it turns out doing it this way round in the garage wasn’t the most convenient for space :beat
Doing this on your own in a single garage is not recommended!
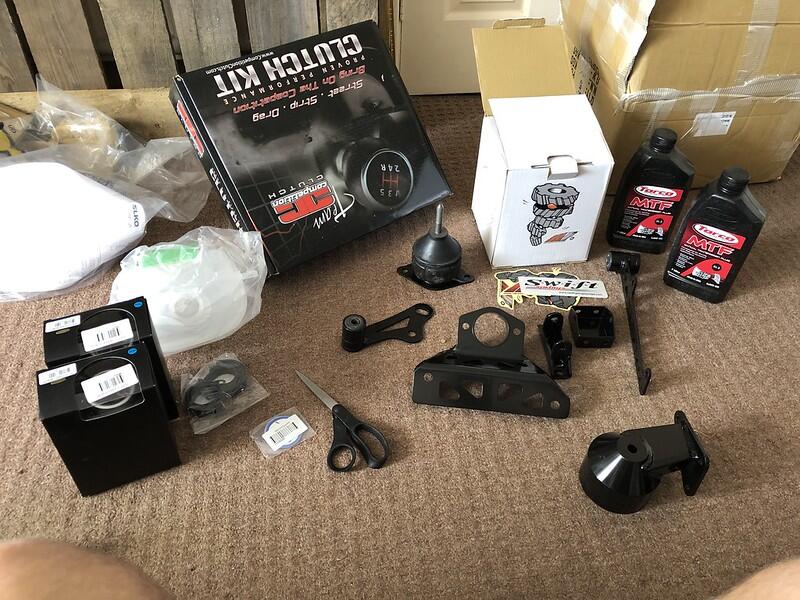
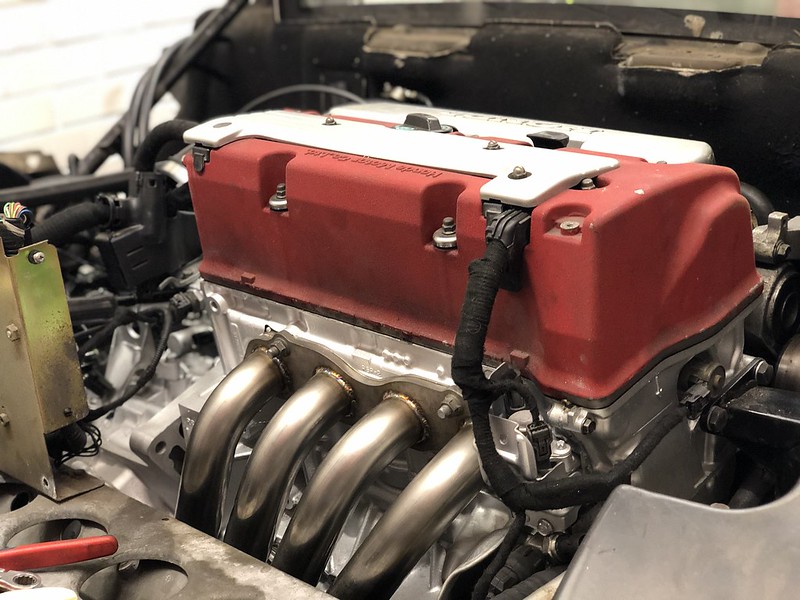
So this weekend I’ve spent a little bit of time cleaning up the engine, giving it some paint and also fitting the following list of items:
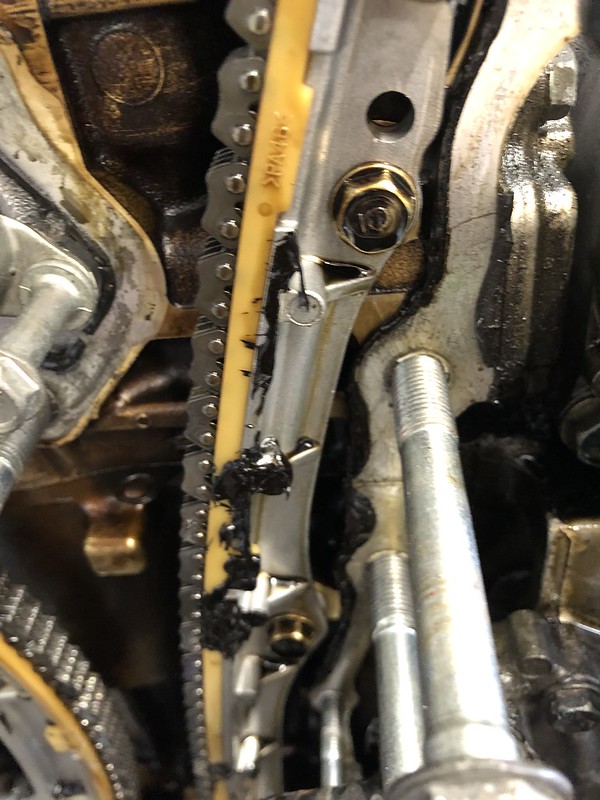
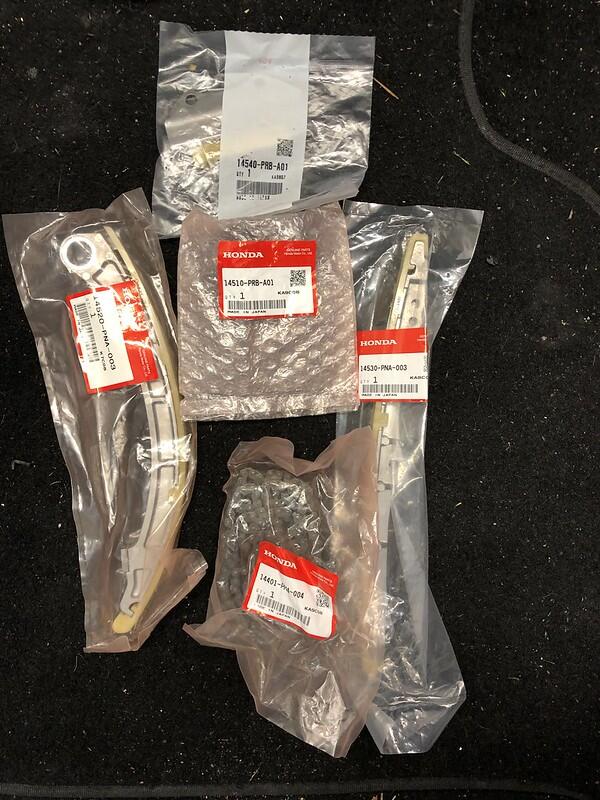
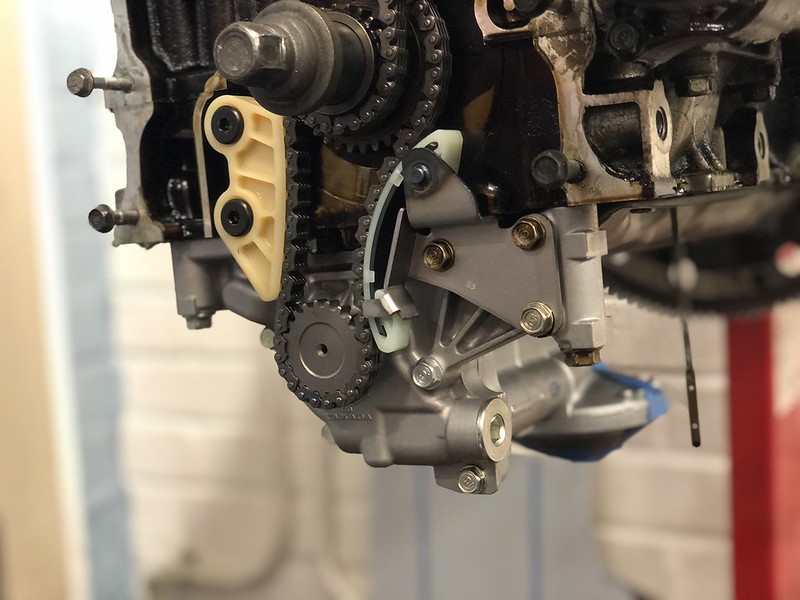
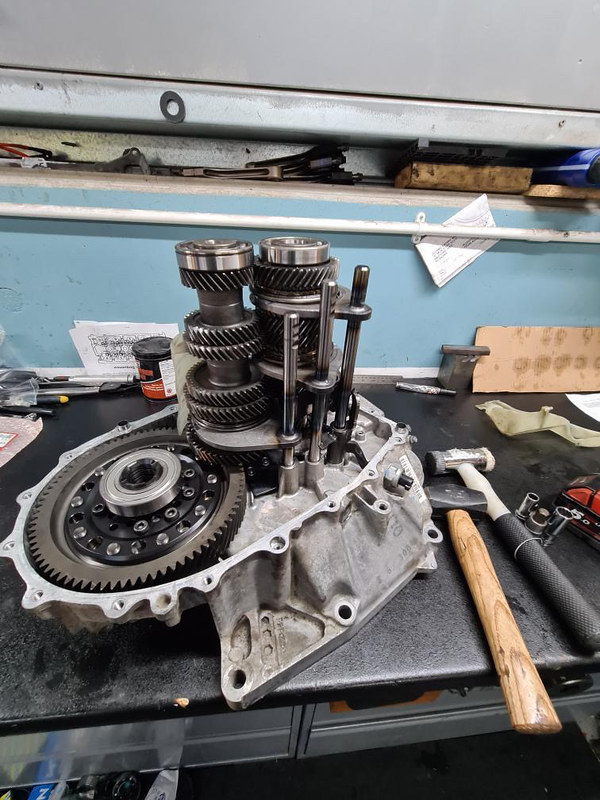
-Balance shaft removal kit supplied by MMR race engines - consists of K20A Oil Pump, Bolt to block oil feed to the old pump, new chain, new tensioner and guides, windage tray, K20A dipstick
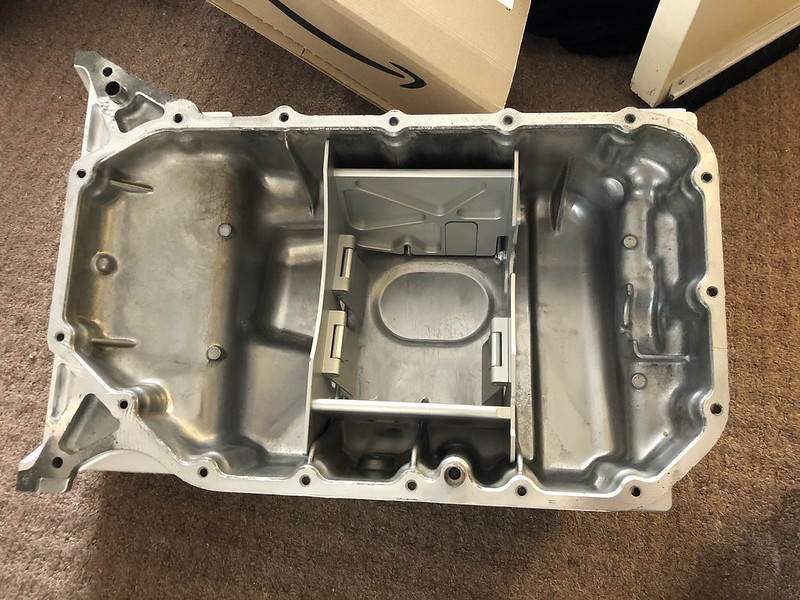
-Clockwise Sump Baffle
-K20A sump
-New timing chain kit - guides tensioner and chain
New sump and baffle:
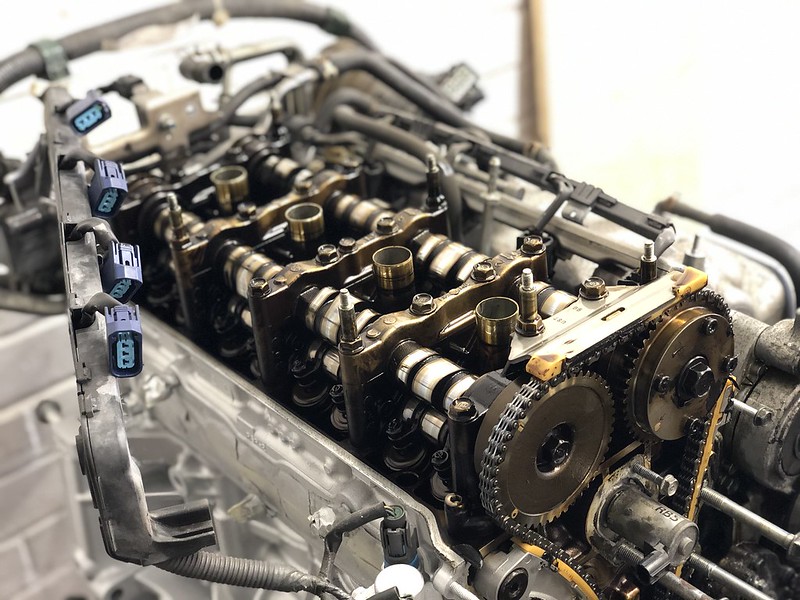
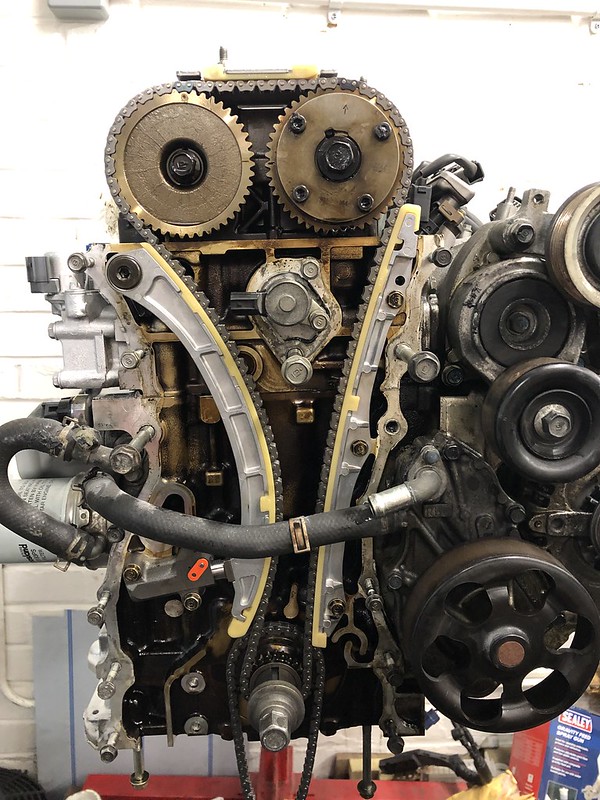
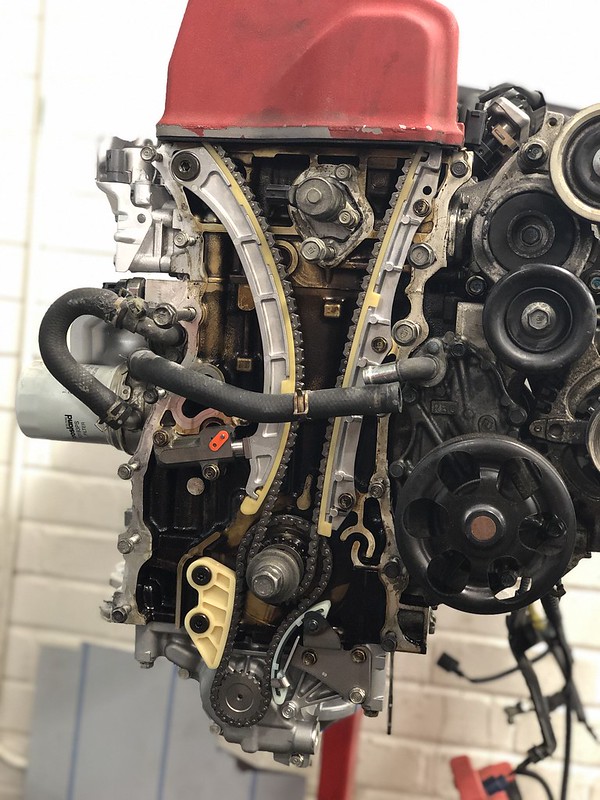
timing chain and rocker cover removed
Whoever previously installed the cover made a nice mess of it!
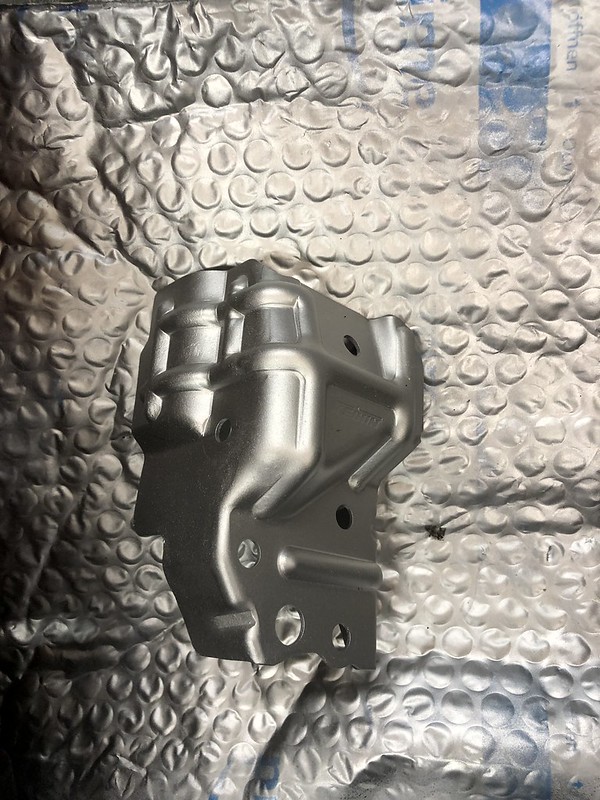
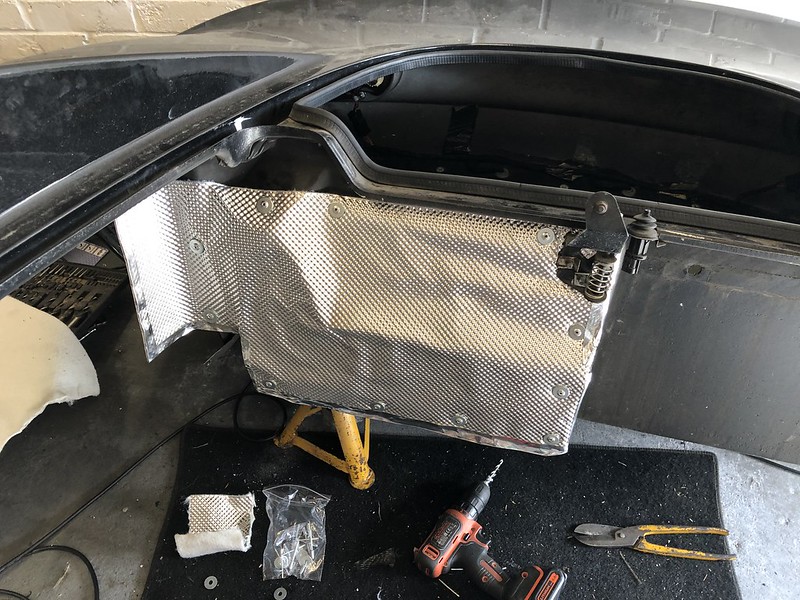
A heat shield wire brushed down and painted
Some paint on the block - not the most ideal way of doing it but I’m trying to take as little apart as possible on this build.
Timing kit
New oil pump chain and timing kit fitted
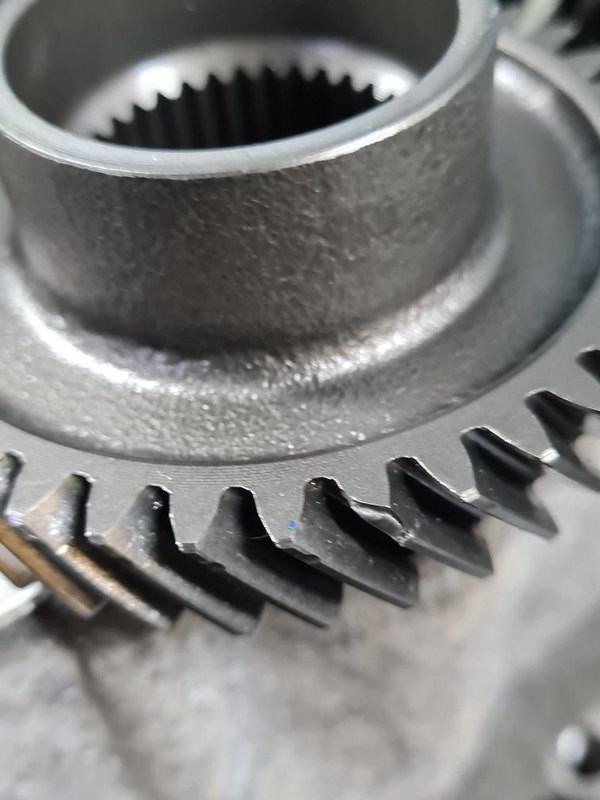
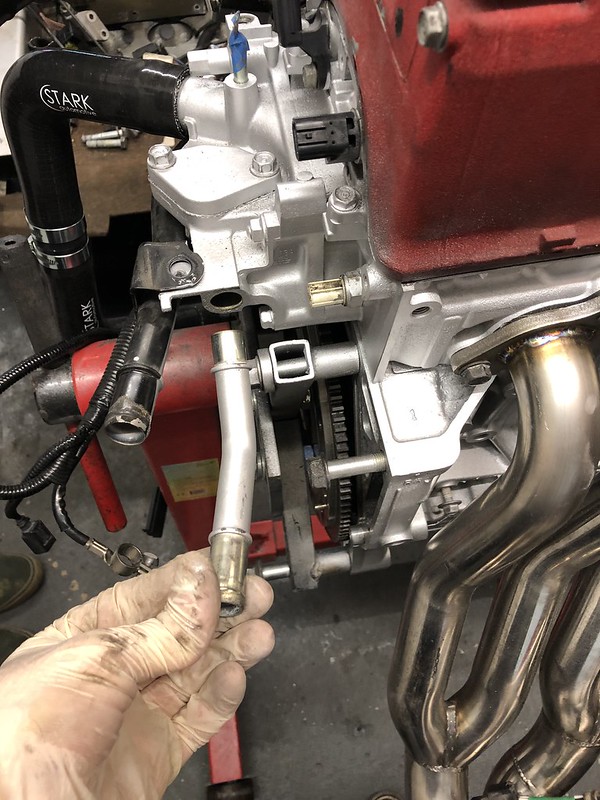
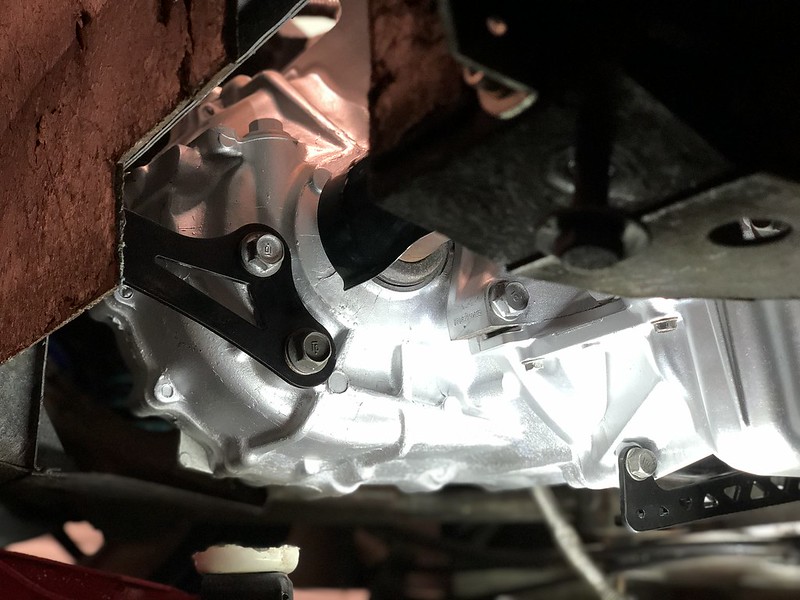
K20A pump modified to fit K20Z4 - you have to remove some of the excess material on the bottom of the pump to clear the girdle, I didn’t get photos of that process but hopefully it’ll make sense to those who plan to do it.
From the sump - you can just about see the shiny bolt that plugs the extra oil feed in this photo. I’ve read online some people have to tap the thread for this bolt, others may have the thread already there. I was one of the lucky ones and have a nice thread staring back to me after removing the restrictor
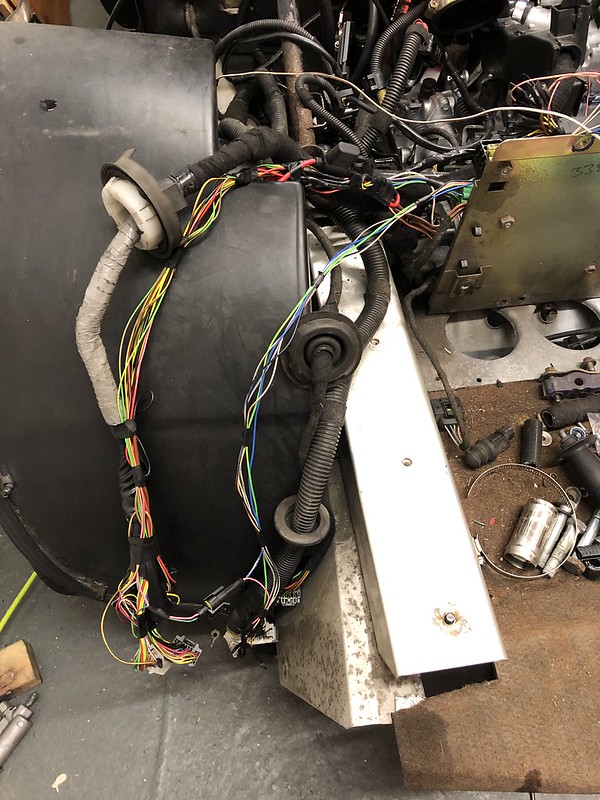
And that’s where I currently am. A few bits that I may do tomorrow - replace the drive by wire throttle for my new cable one. Remove the FN2 wiring harness and start sorting the EP3 harness I have. Otherwise I am waiting for delivery of the stark kit.
That should put us up to date. Hopefully the next few months should be quite exciting.
I hope it hasn’t been too hard to read - I’ve copied multiple updates and condensed into one.
Constructive feedback is always welcomed