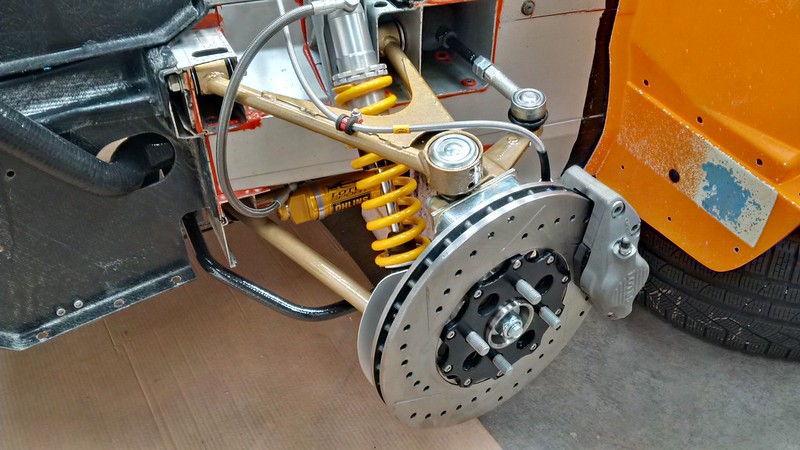
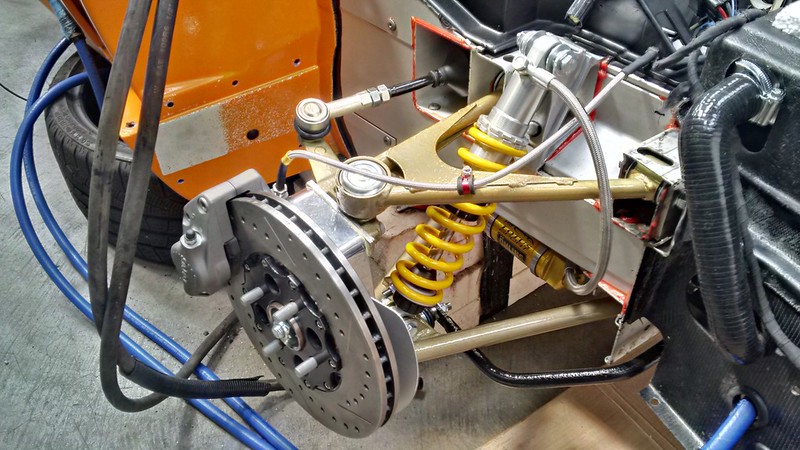
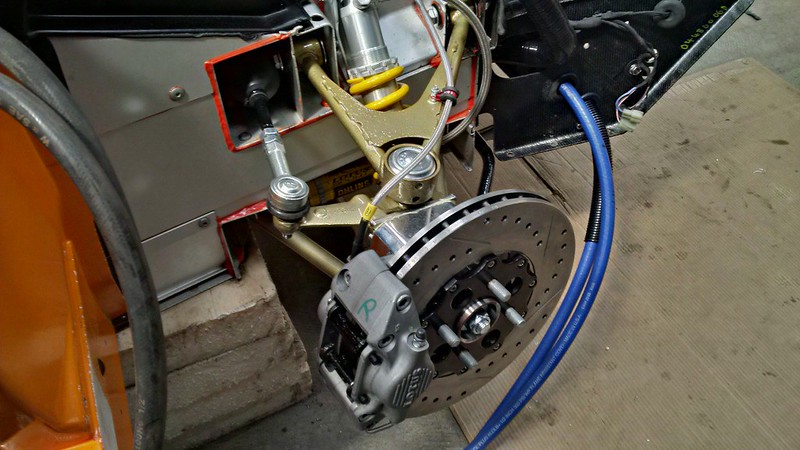
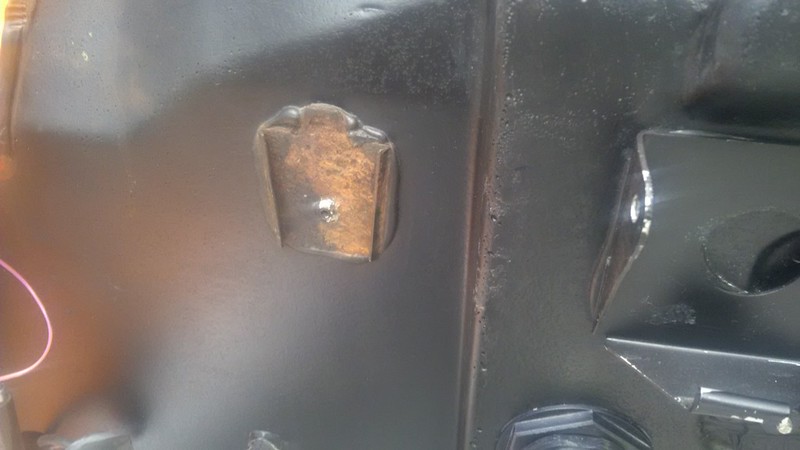
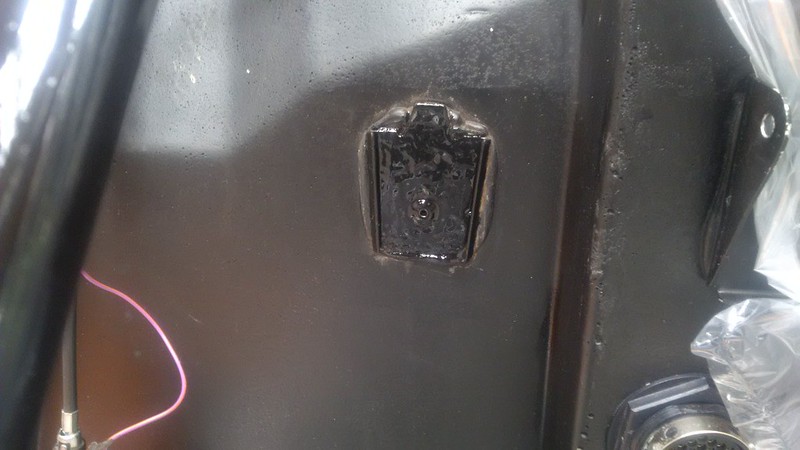
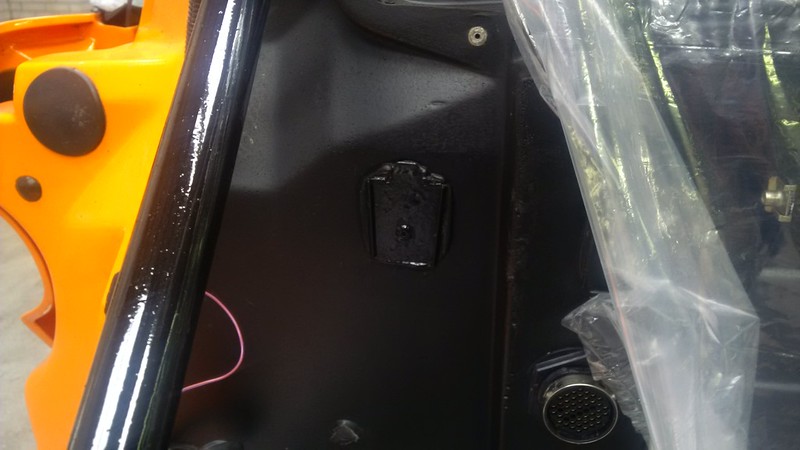
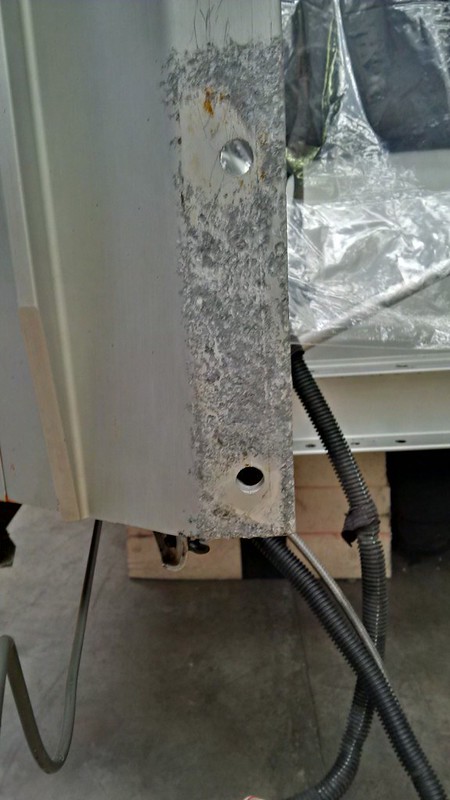
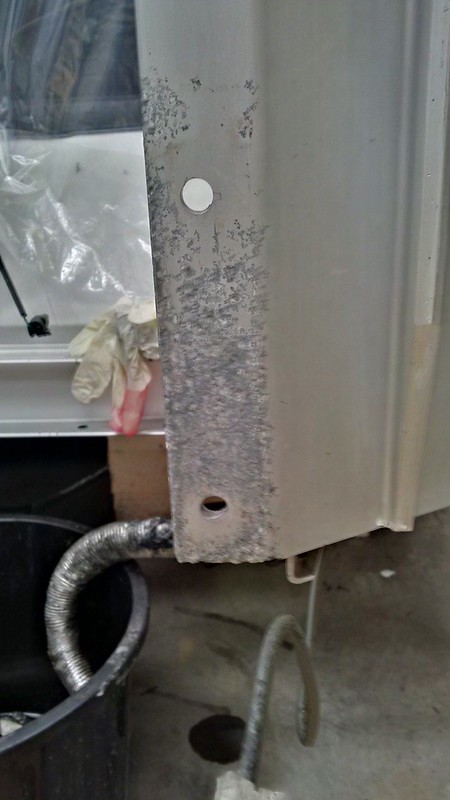
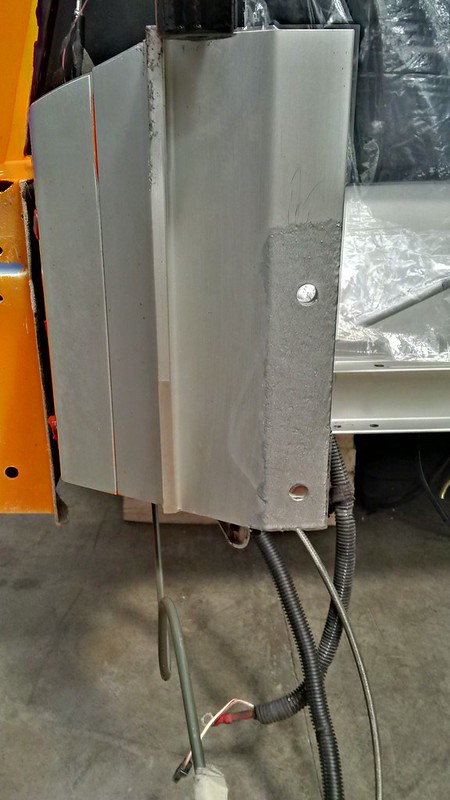
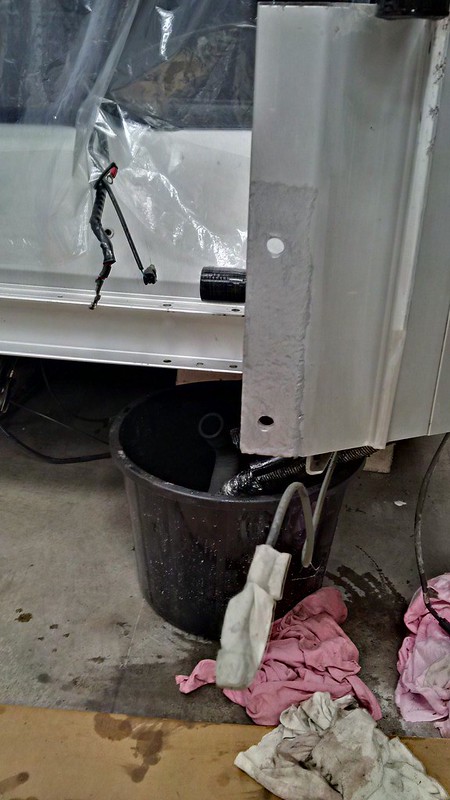
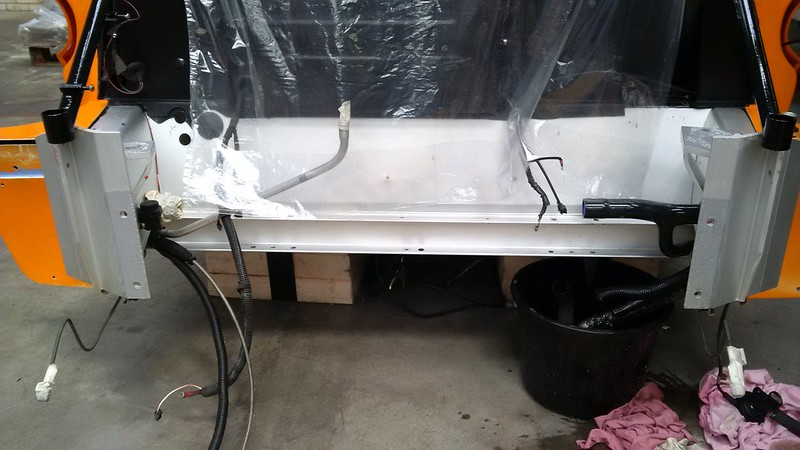
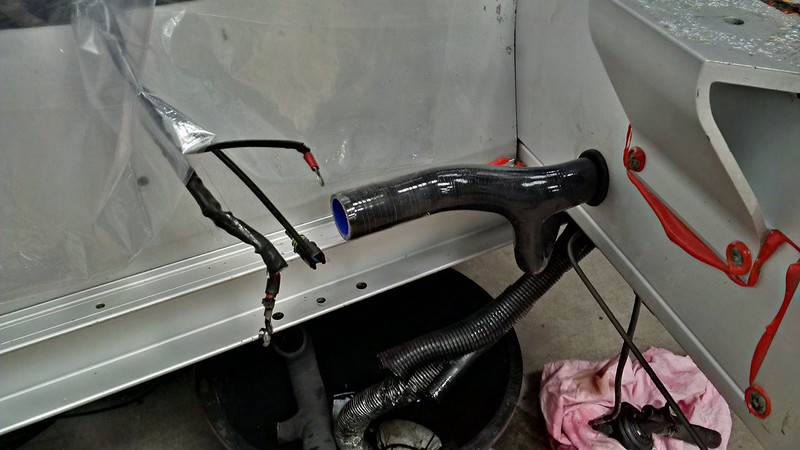
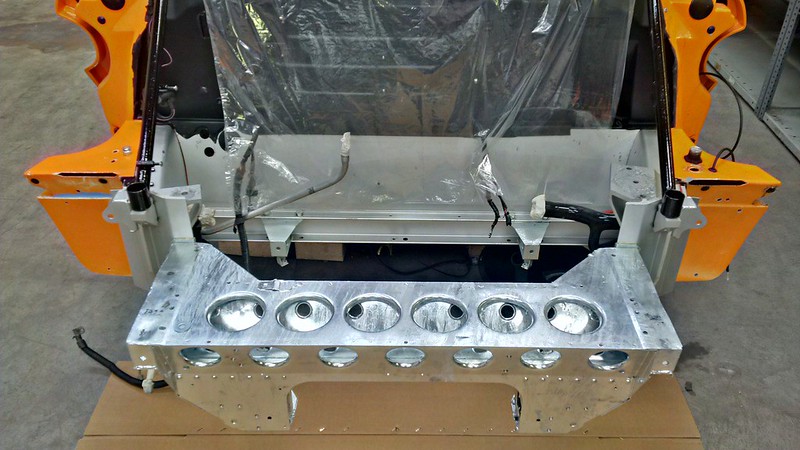
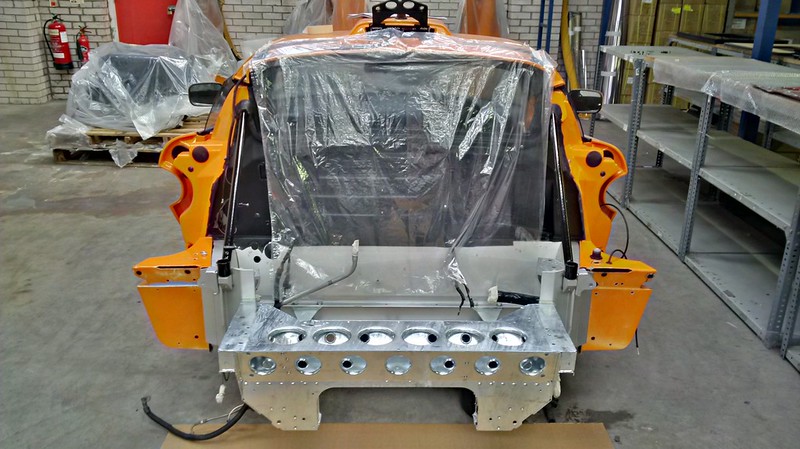
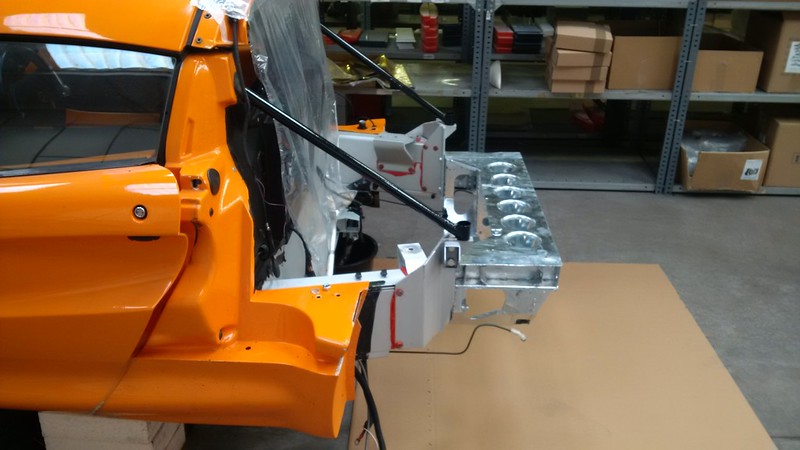
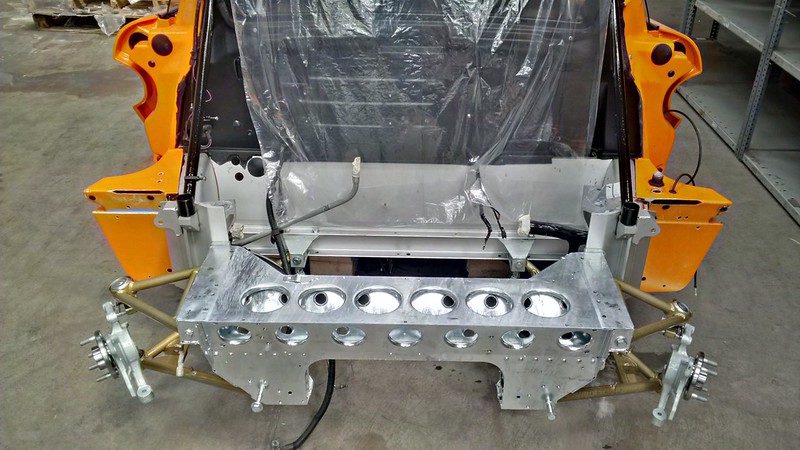
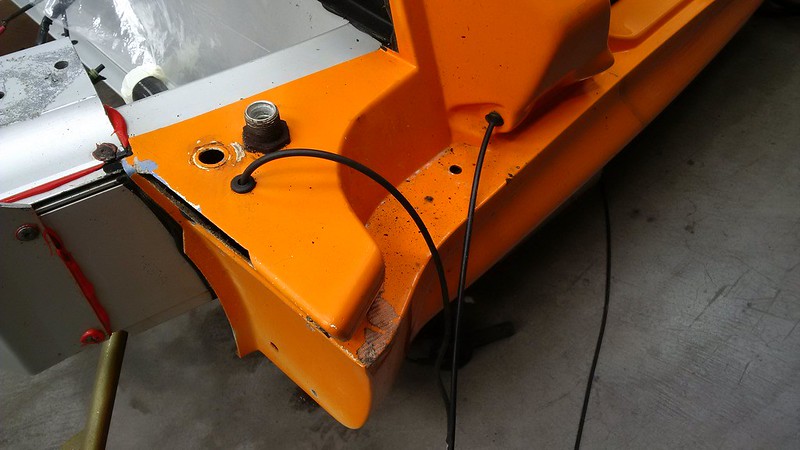
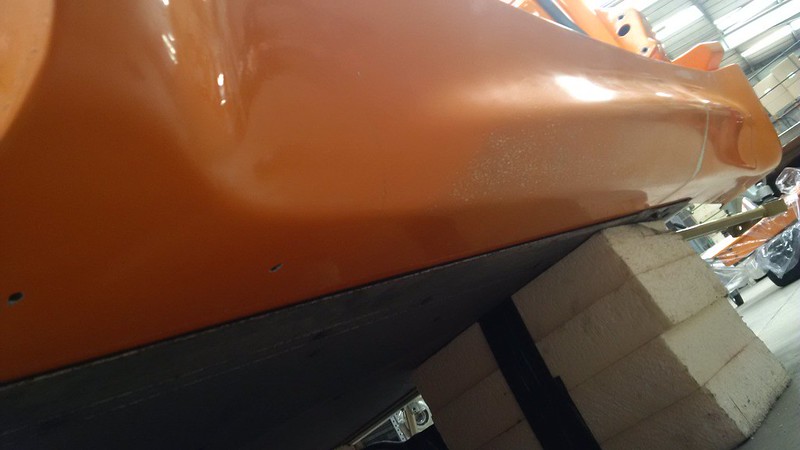
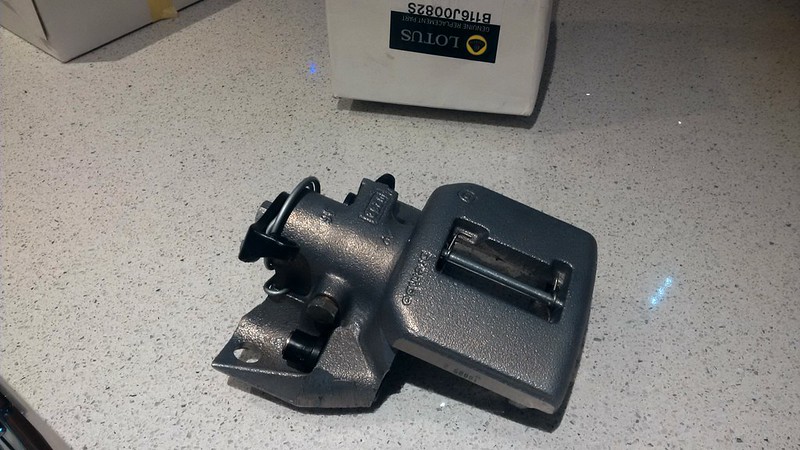
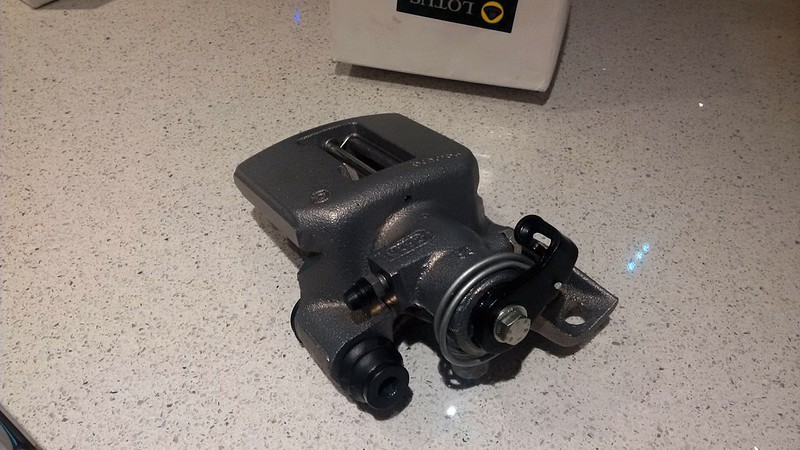
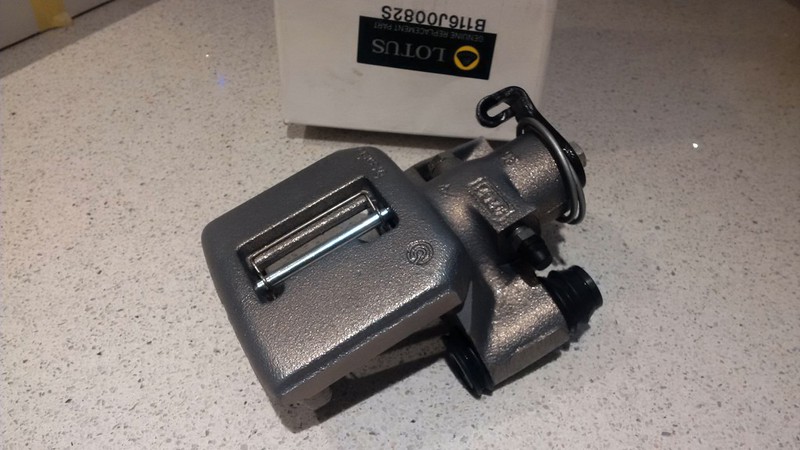
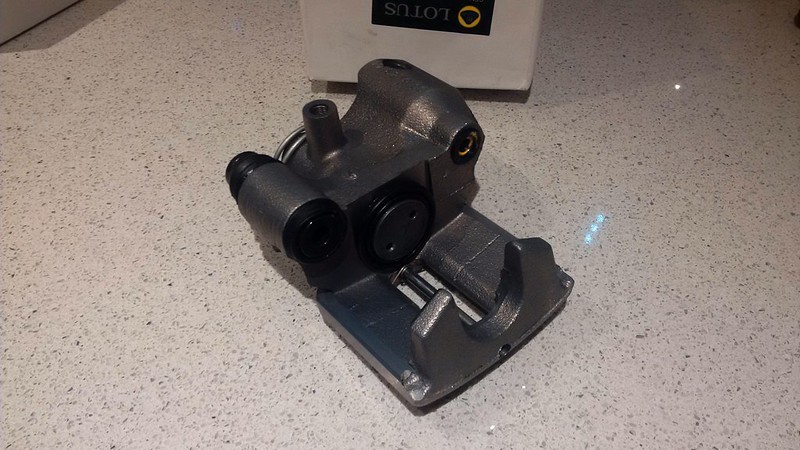
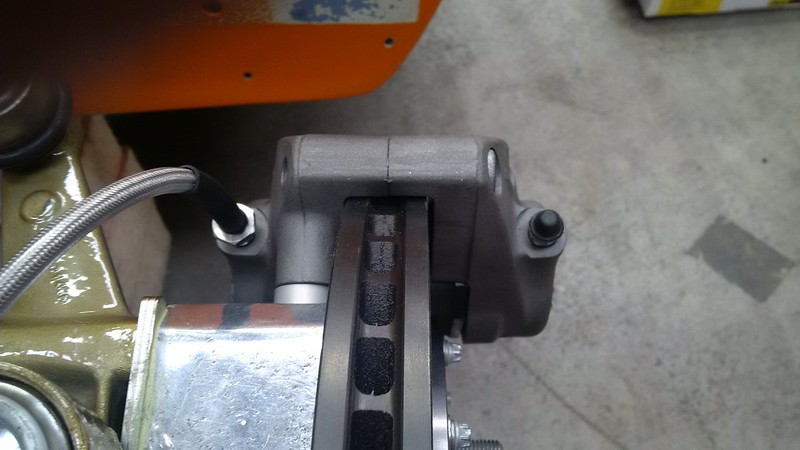
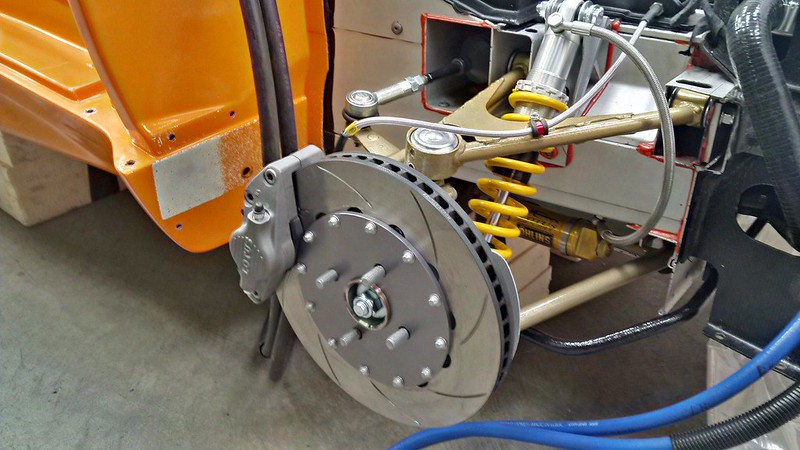
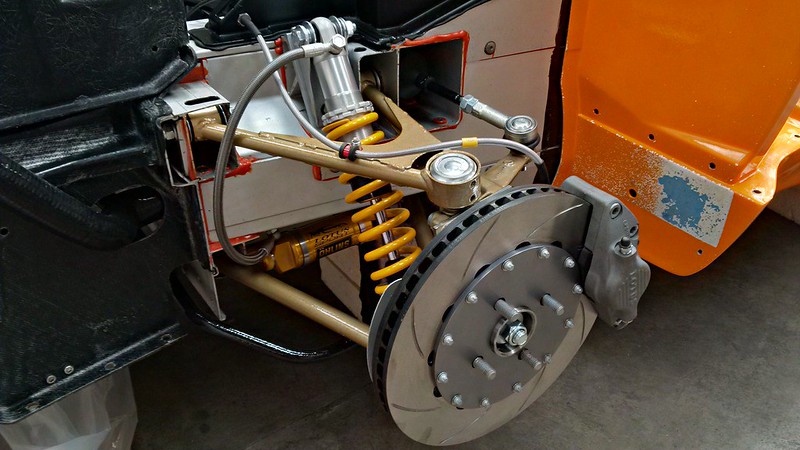
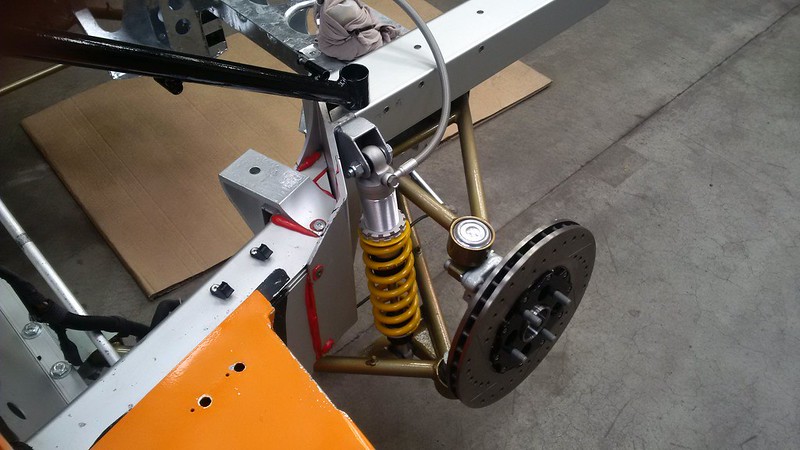
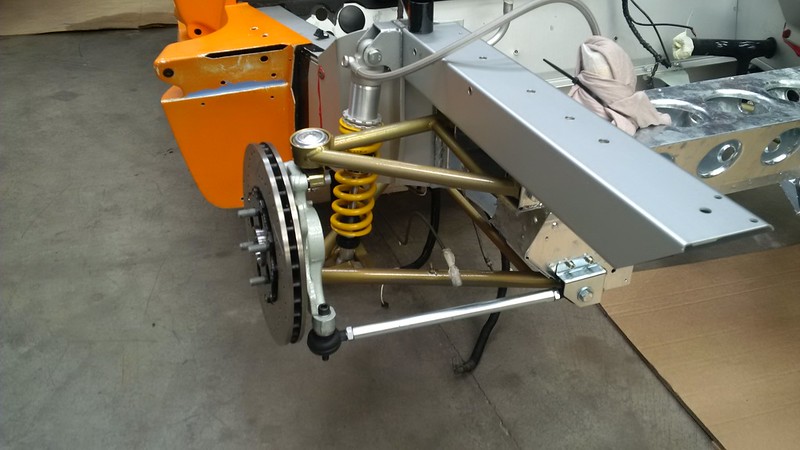
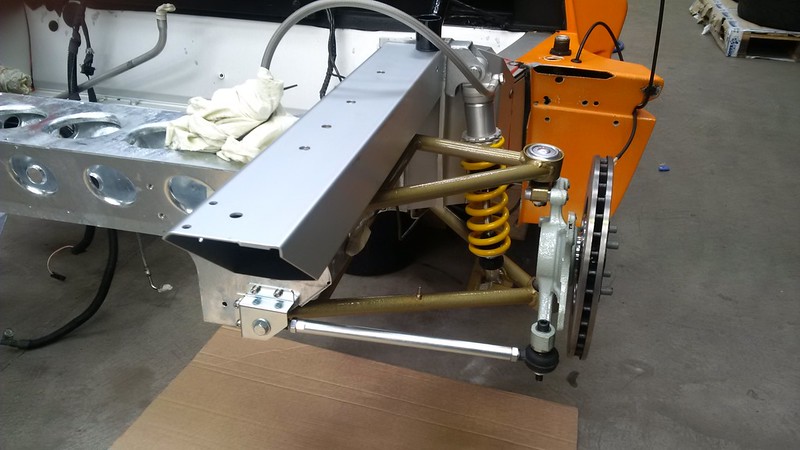
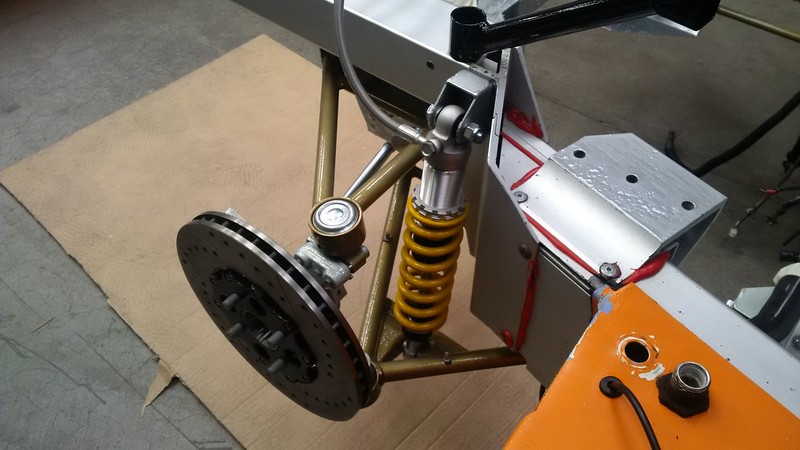
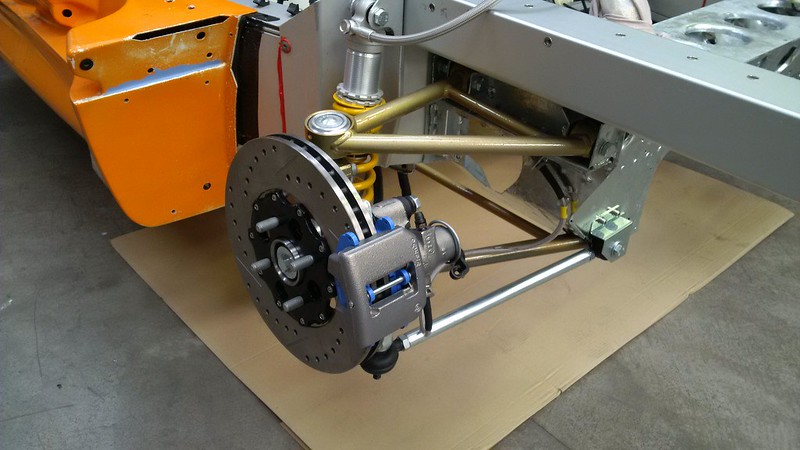
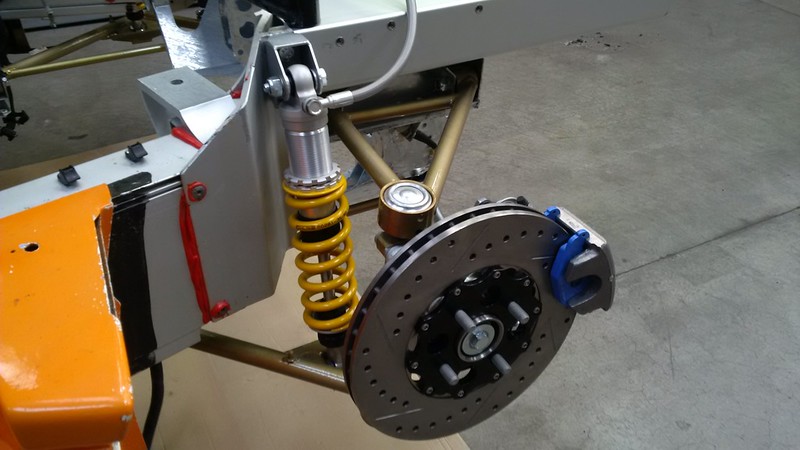
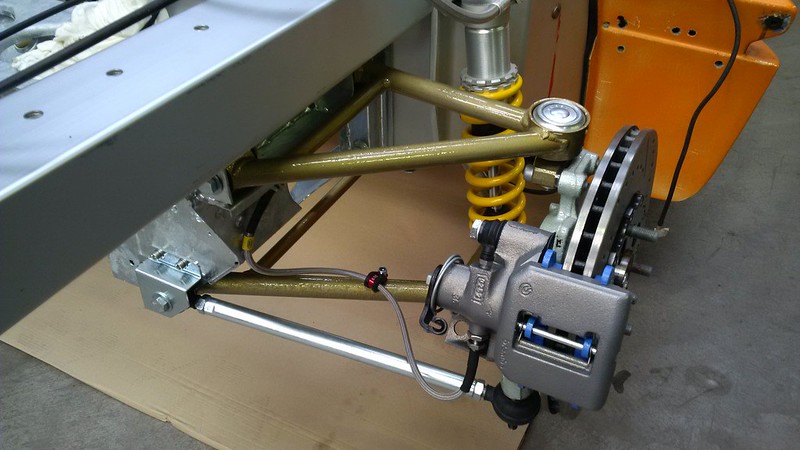
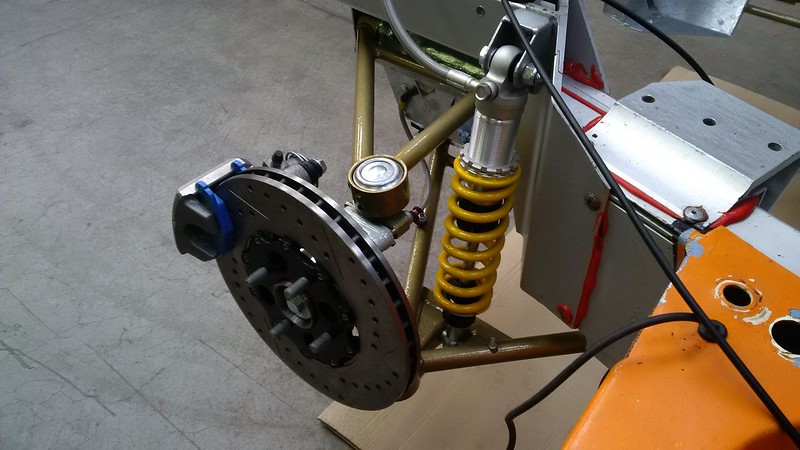
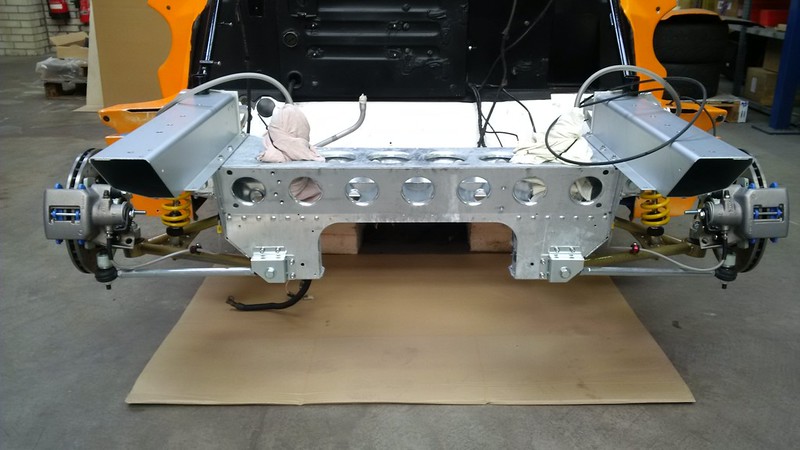
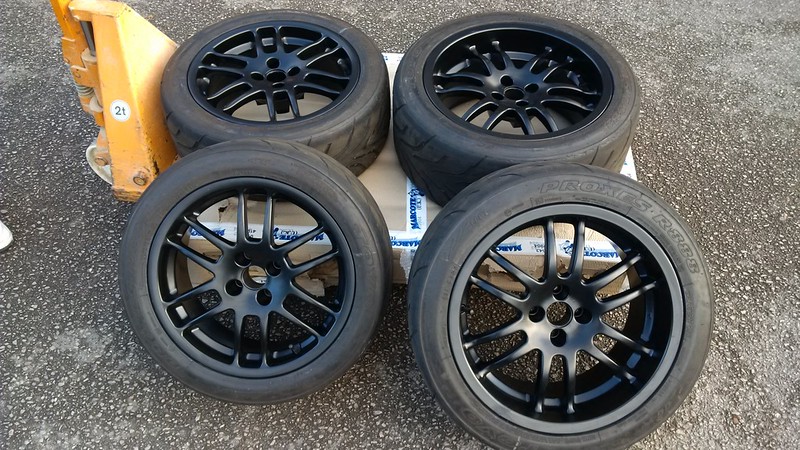
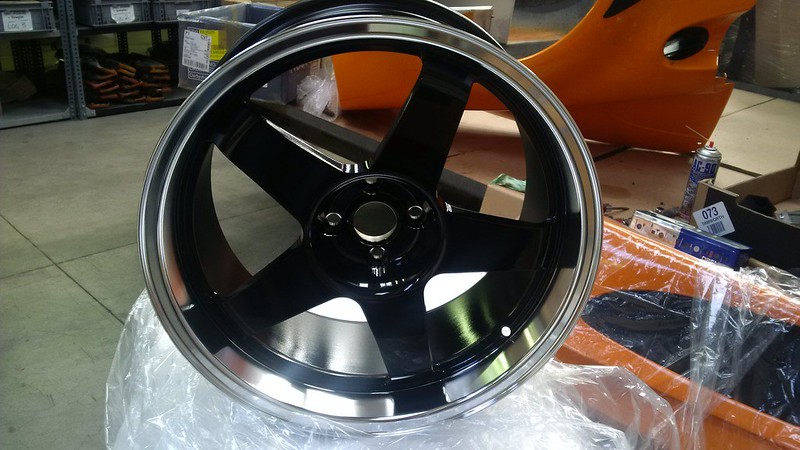
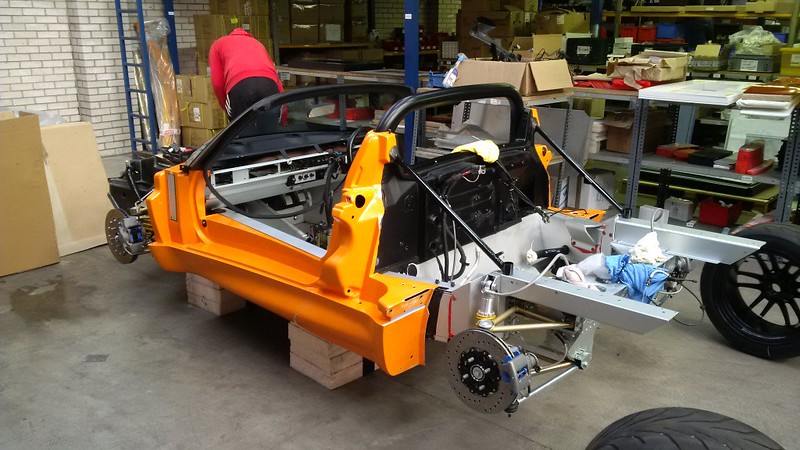
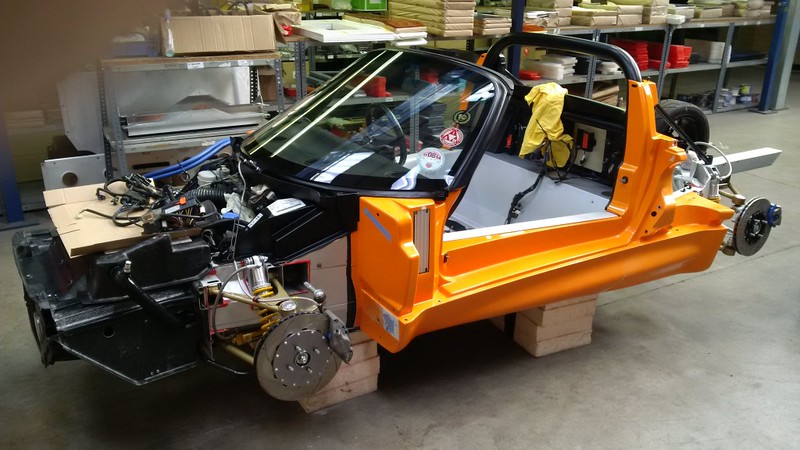
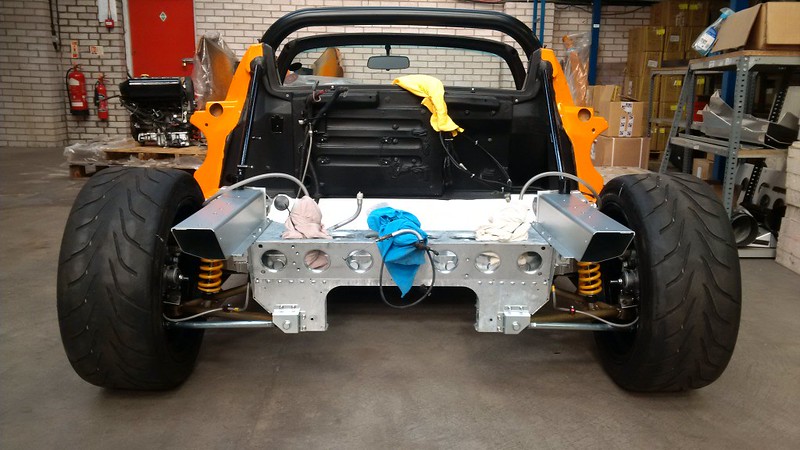
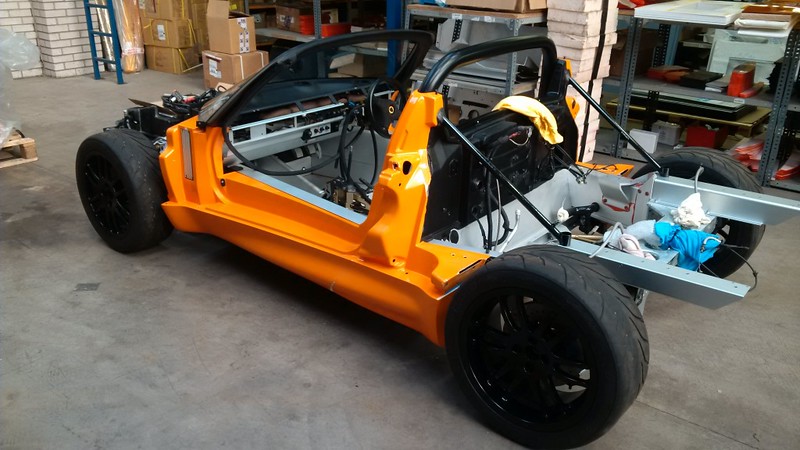
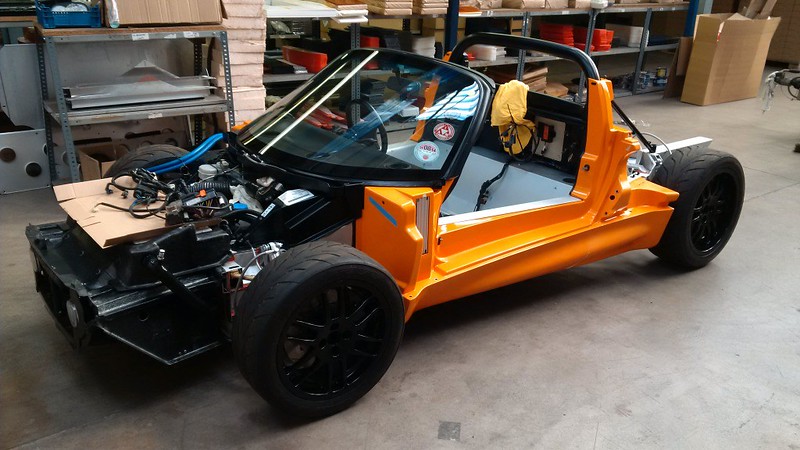
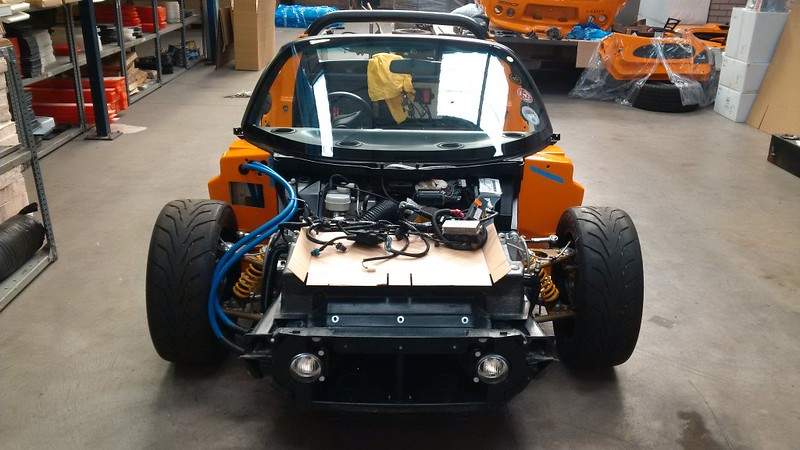
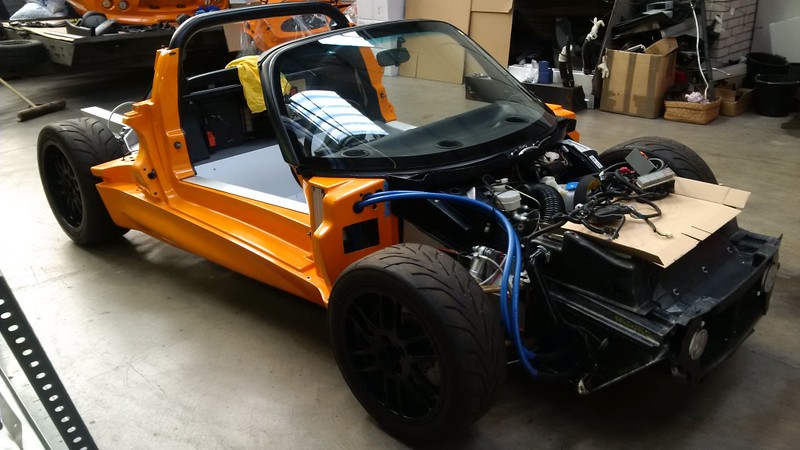
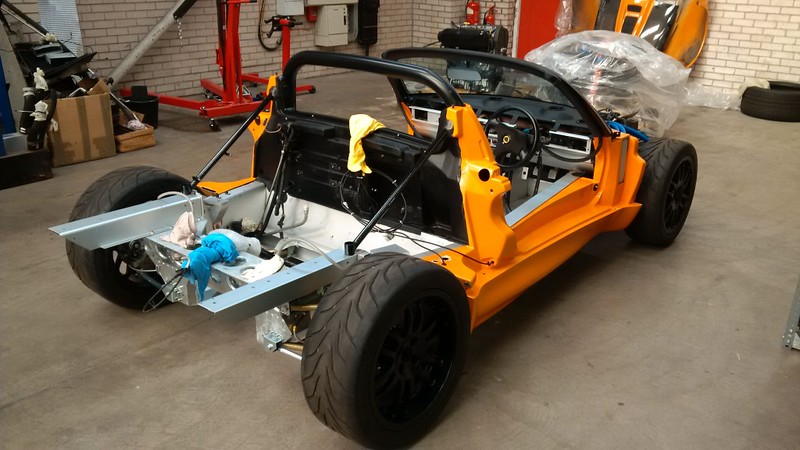
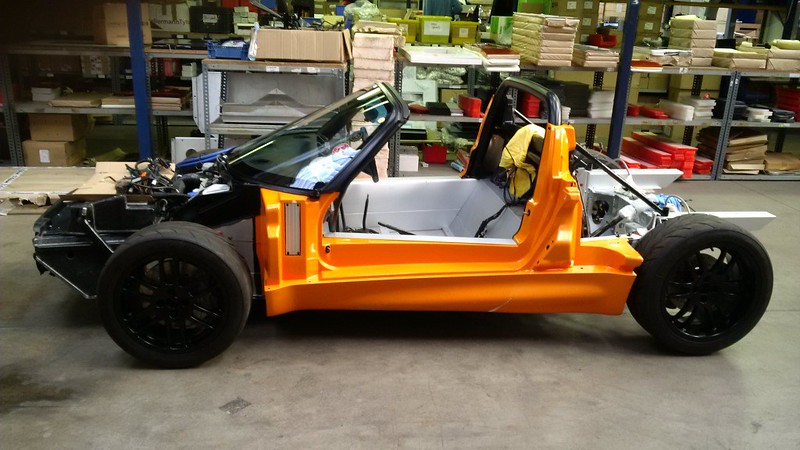
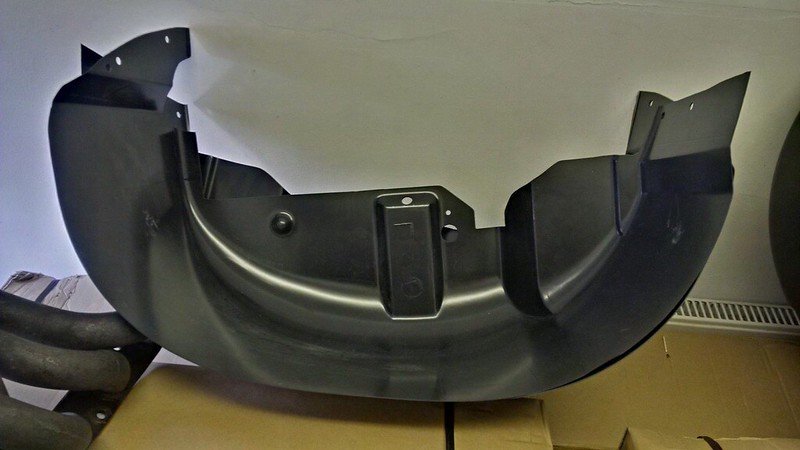
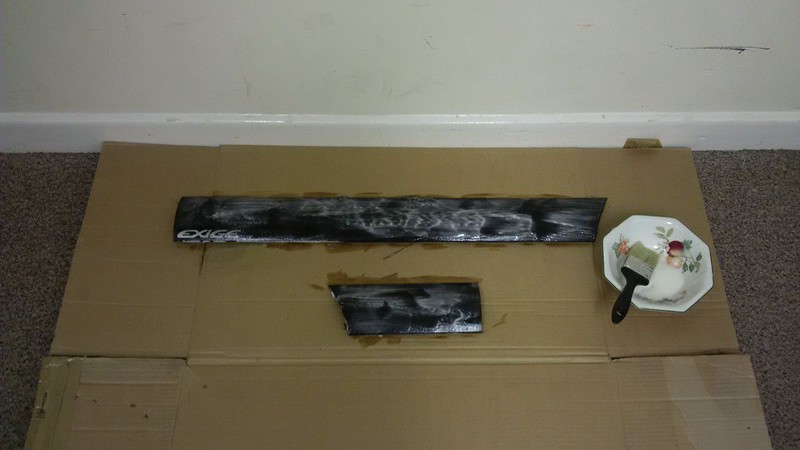
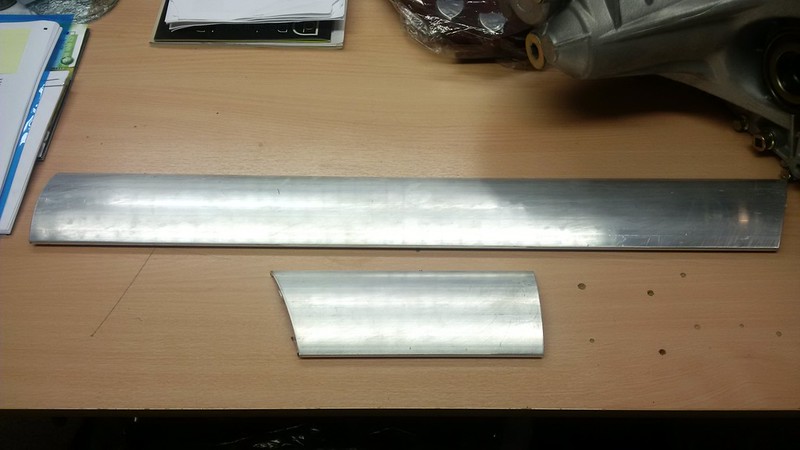
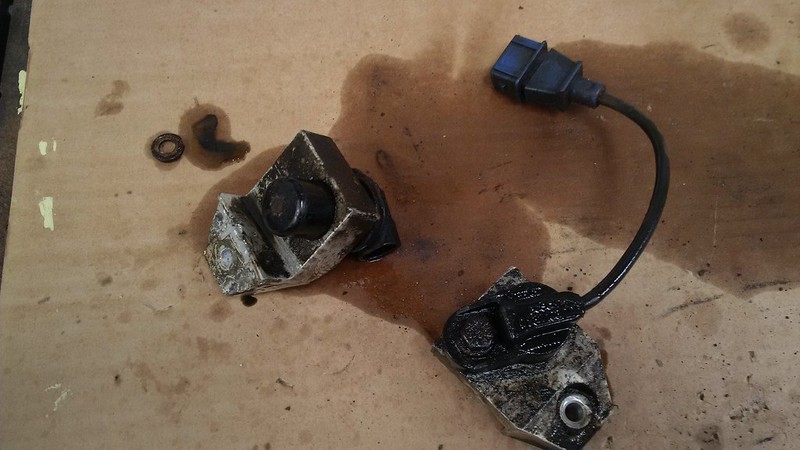
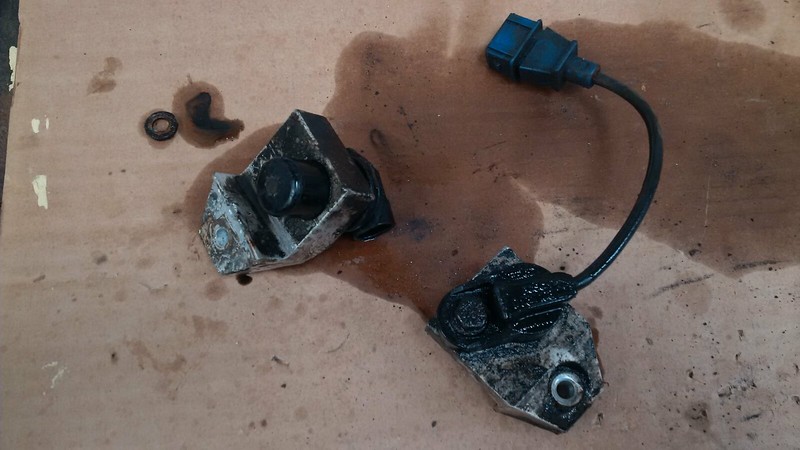
So in no particular order I got some jobs finished off with Dave this week. The front brakes are done, hose to and from the master cylinders and calipers attached. More cleaning inside and under the chassis, inside and round the fuel tank area which just leaves underneath at some point when I’m really really bored in the future. I didn’t take many photos as they don’t really show anything significant. Carried on and finished the charcoal canister bracket with two coats of POR black. Also did some silver POR prepping and painting on the chassis. Bring on more silicon piping!
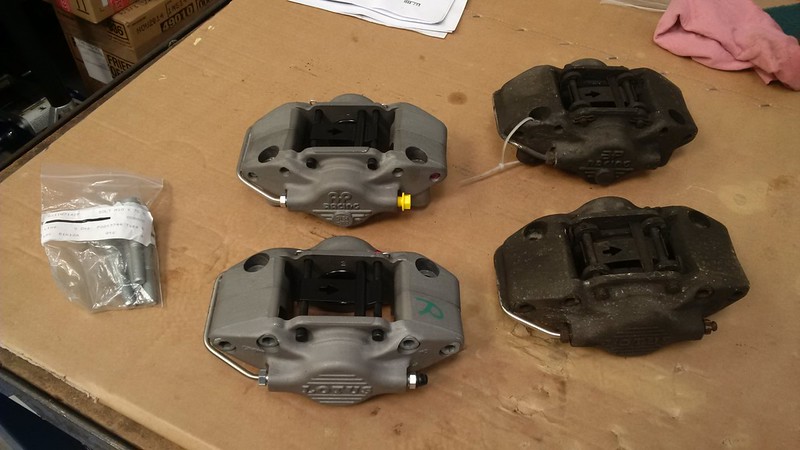
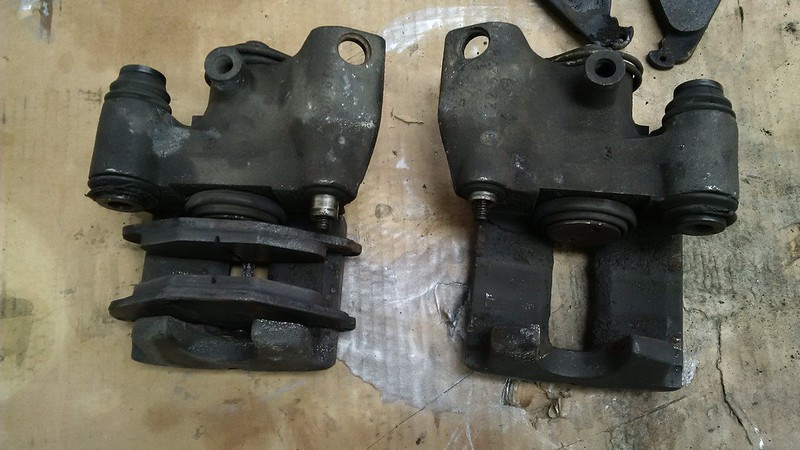
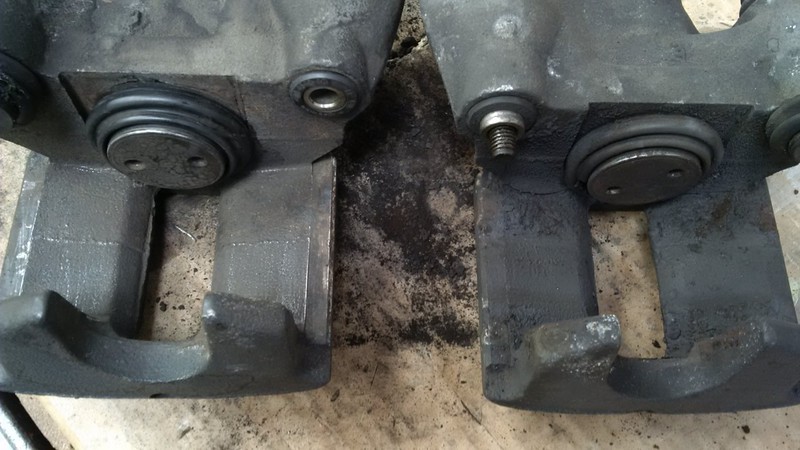
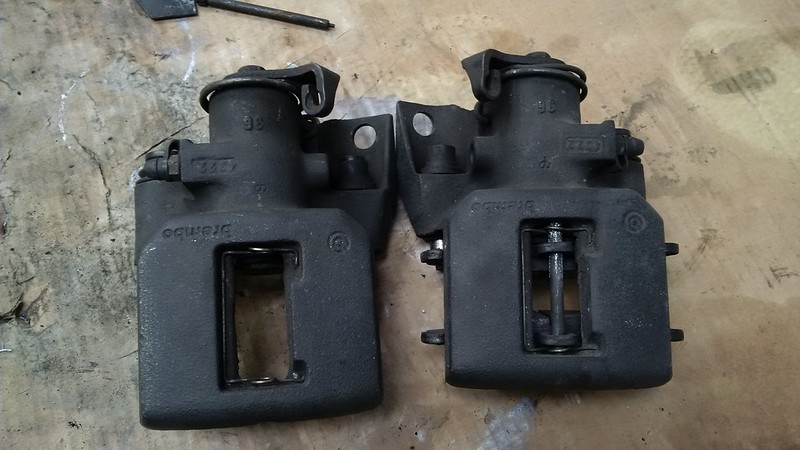
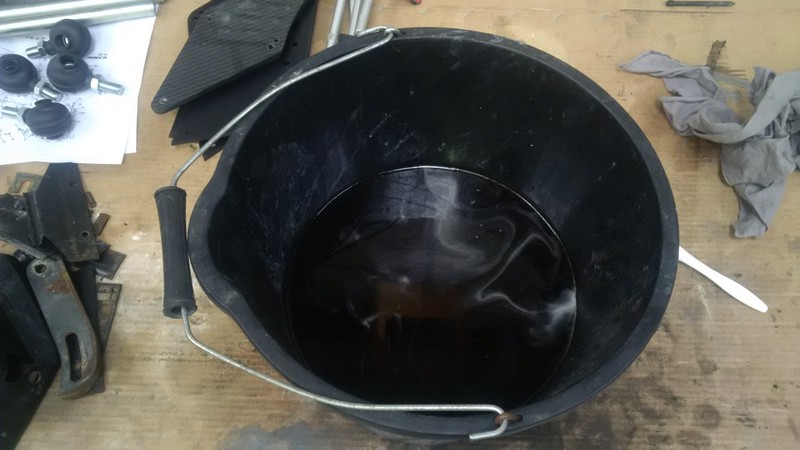
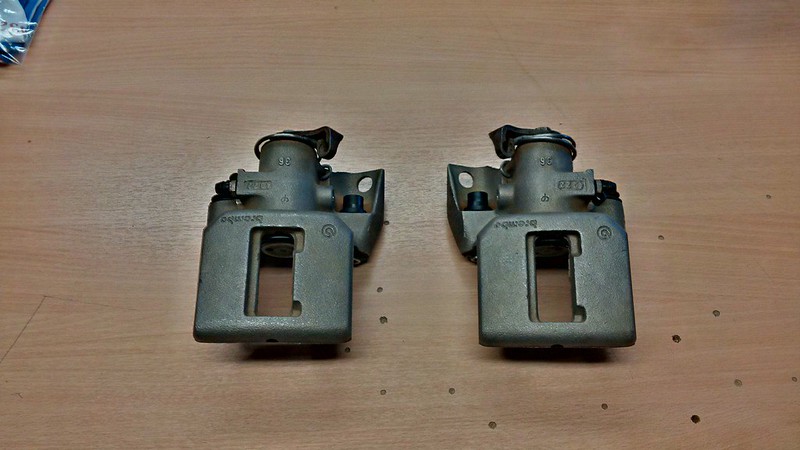
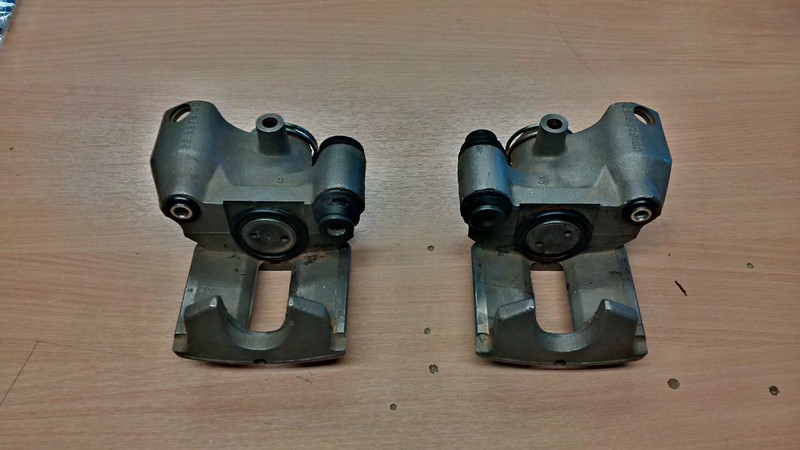
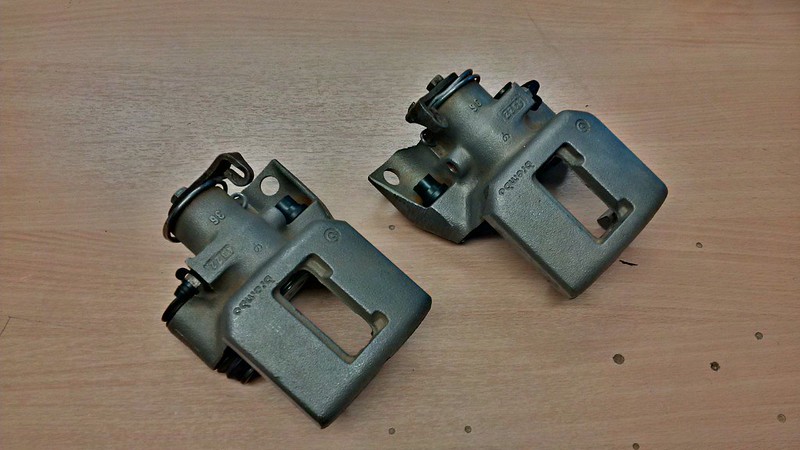
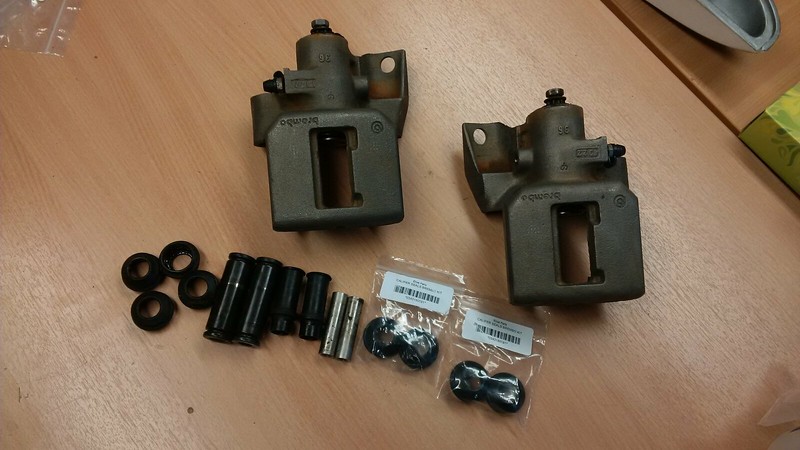
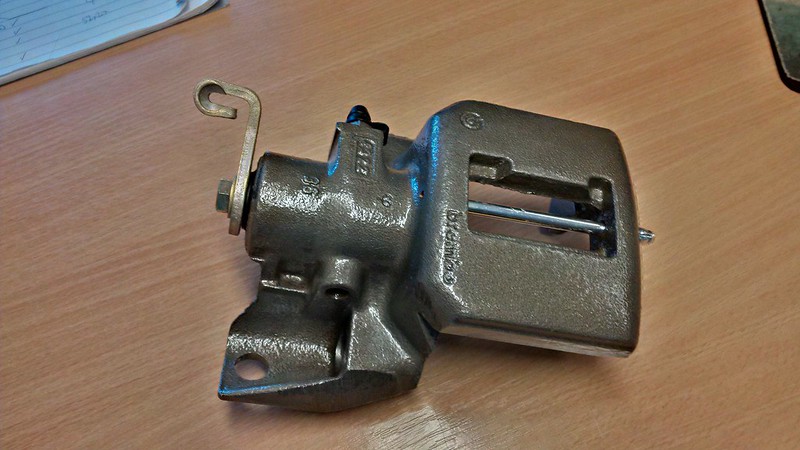
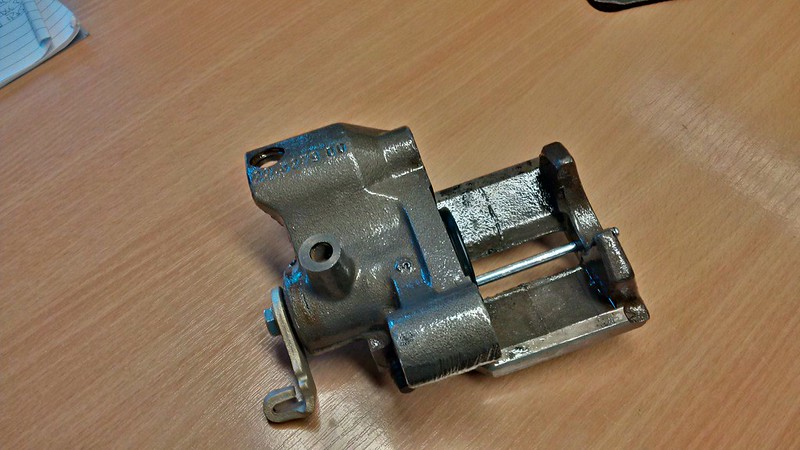
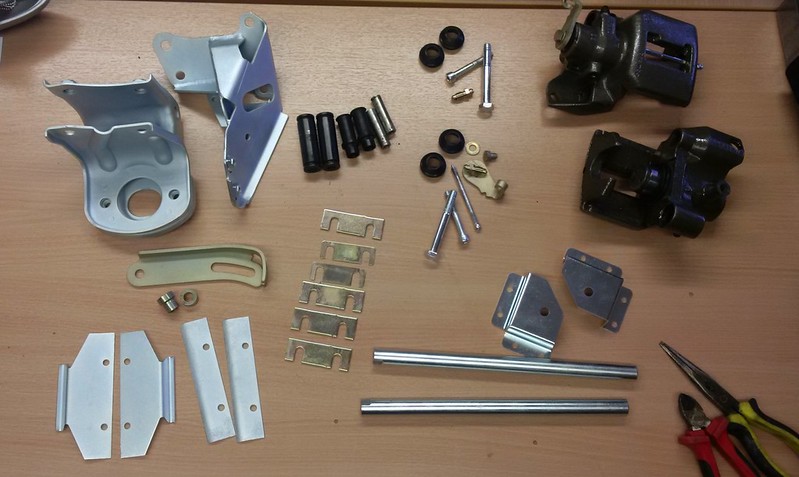
Why can you never get the top back off POR paint once you’ve used it. Anyway I started to refurb the rear calipers.
Decided a swap for new was a better option.
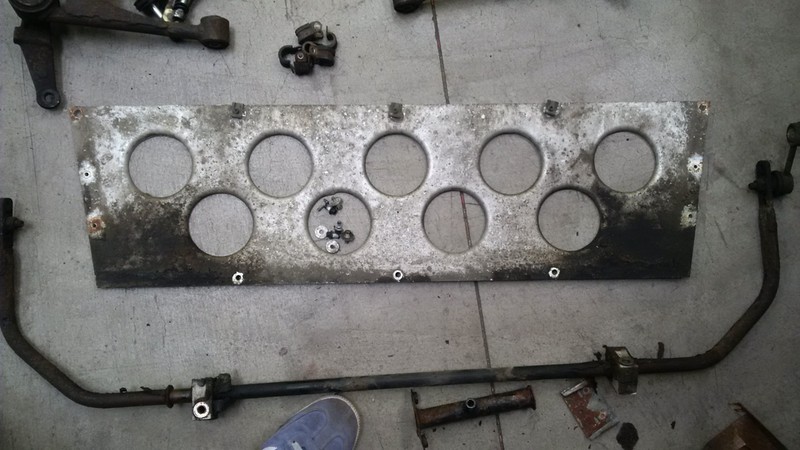
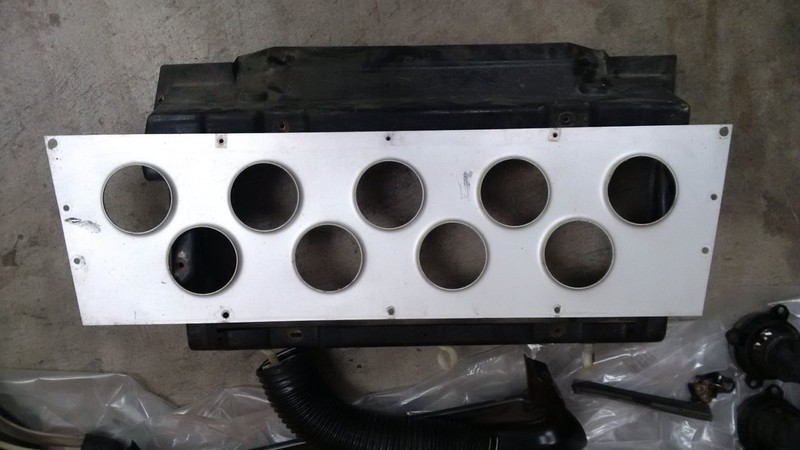
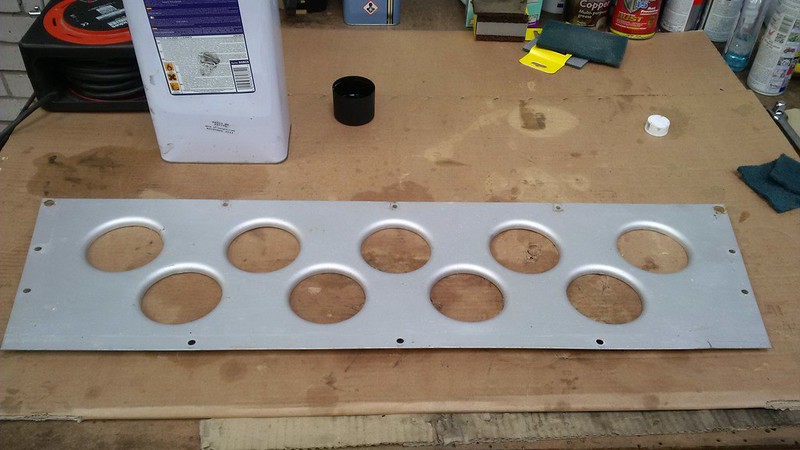
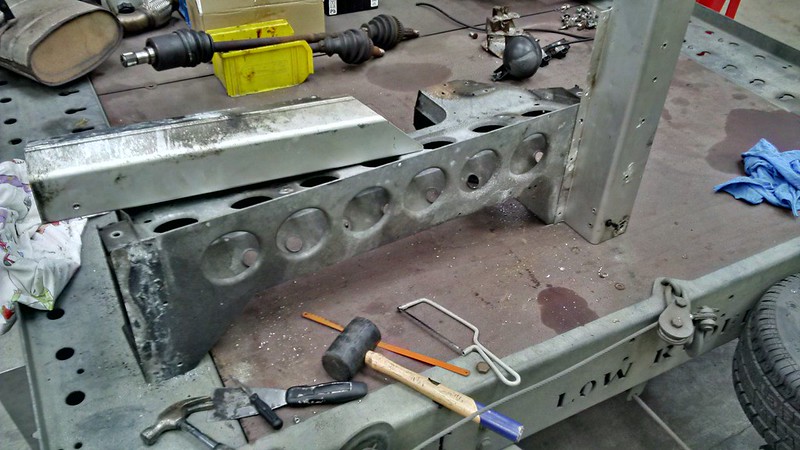
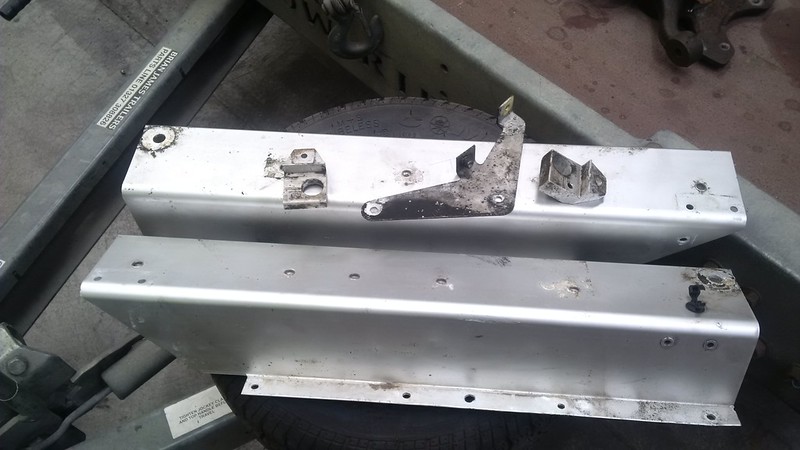
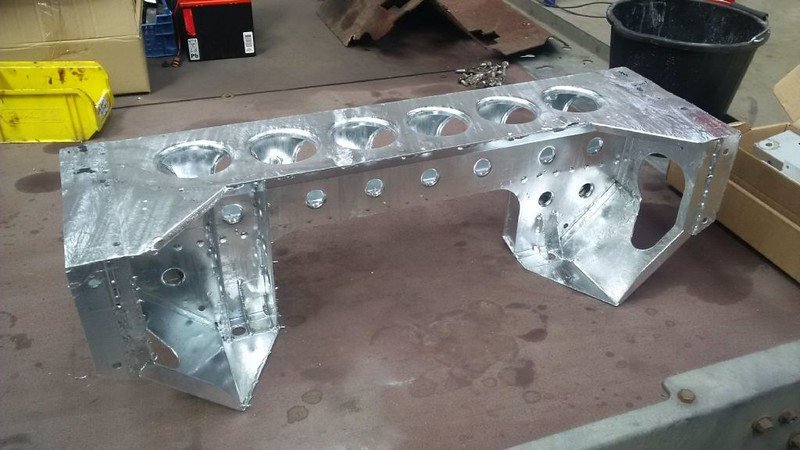
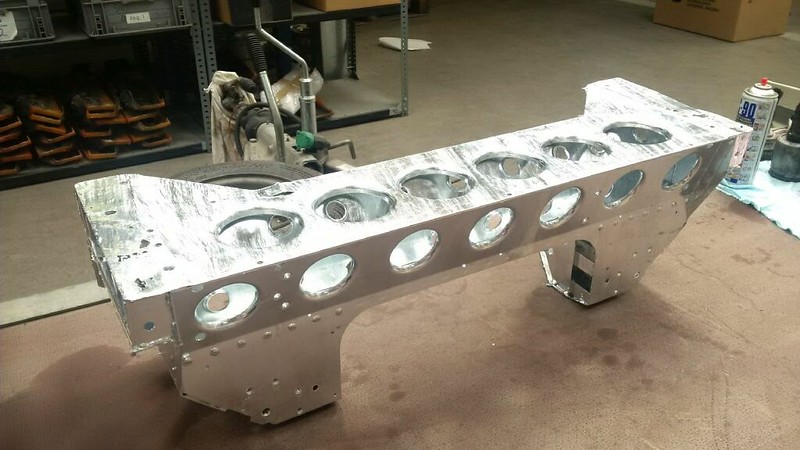
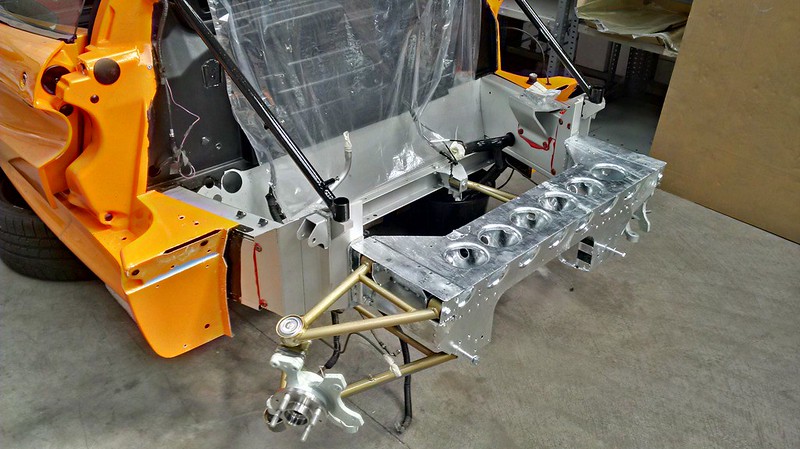
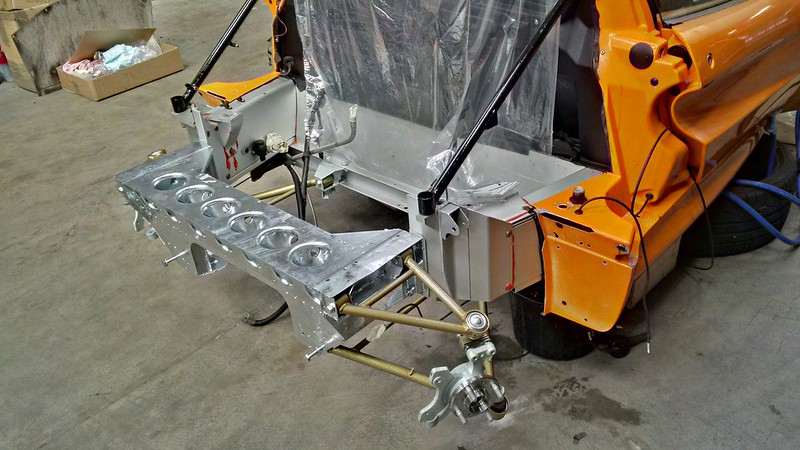
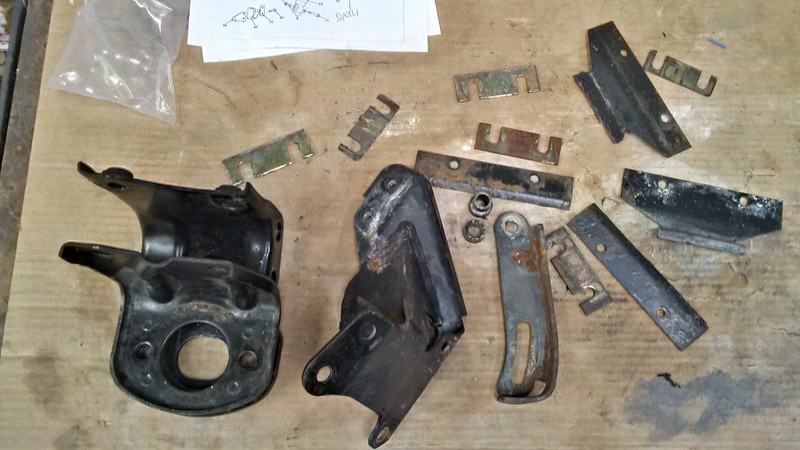
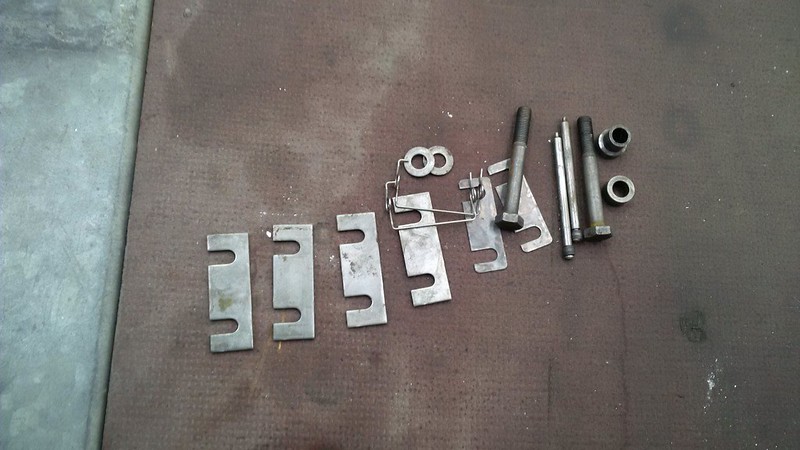
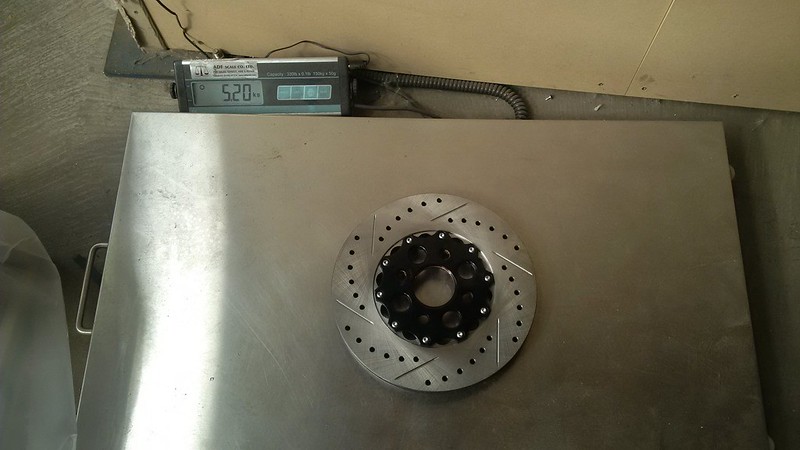
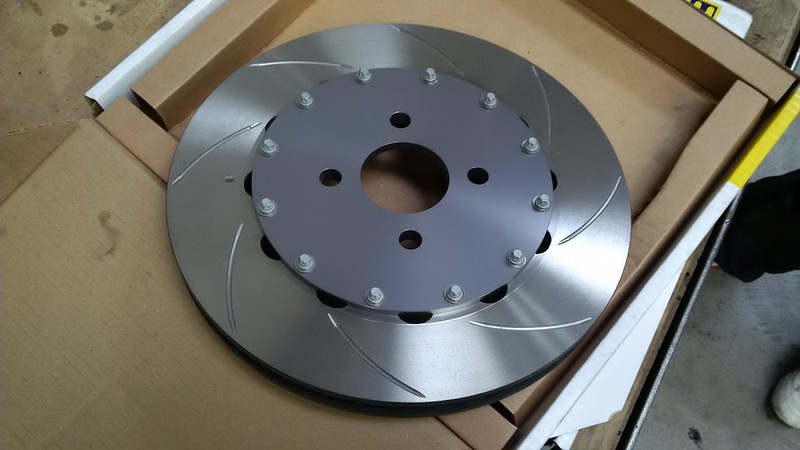
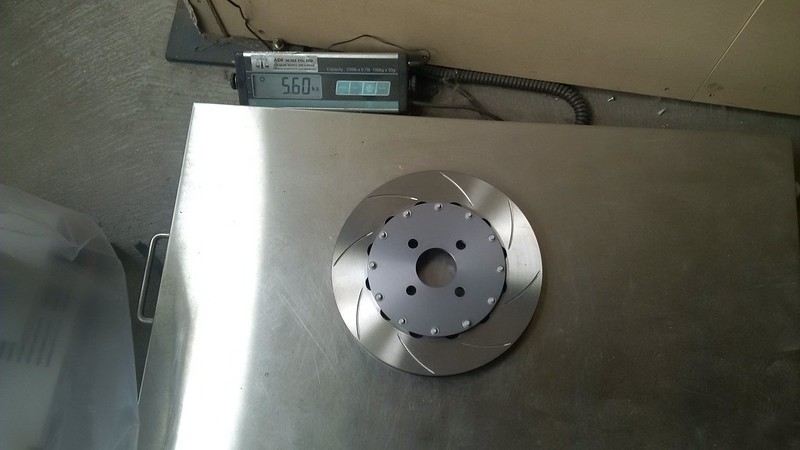
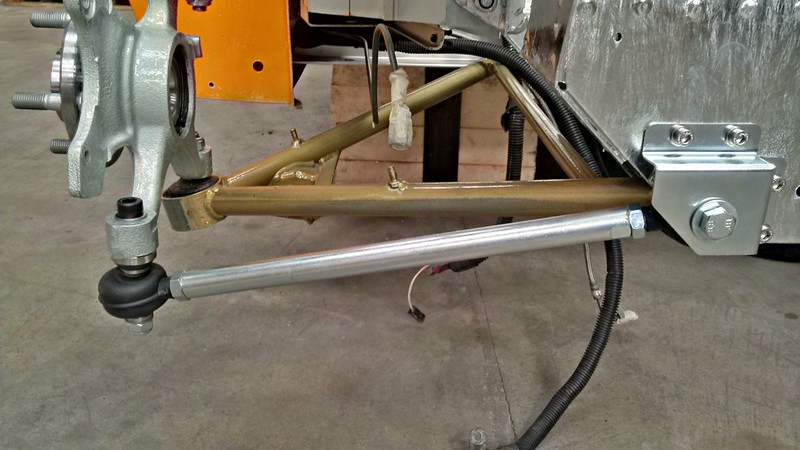
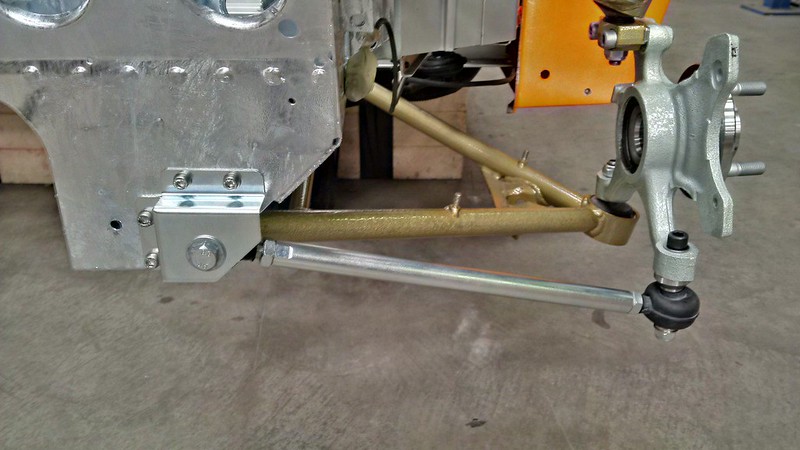
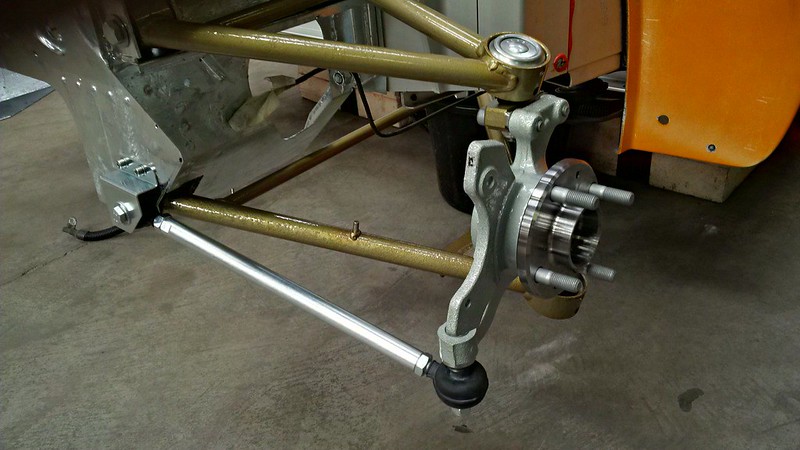
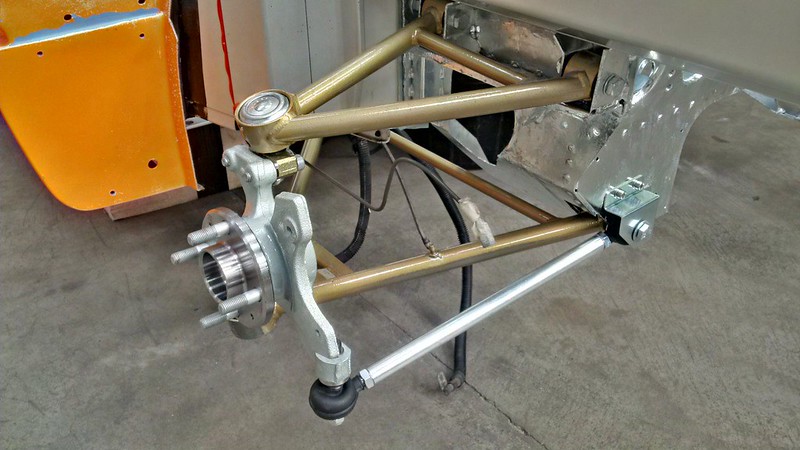
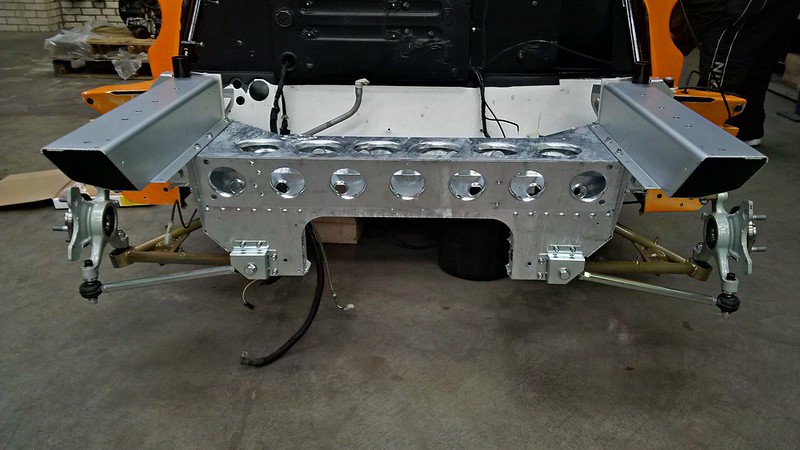
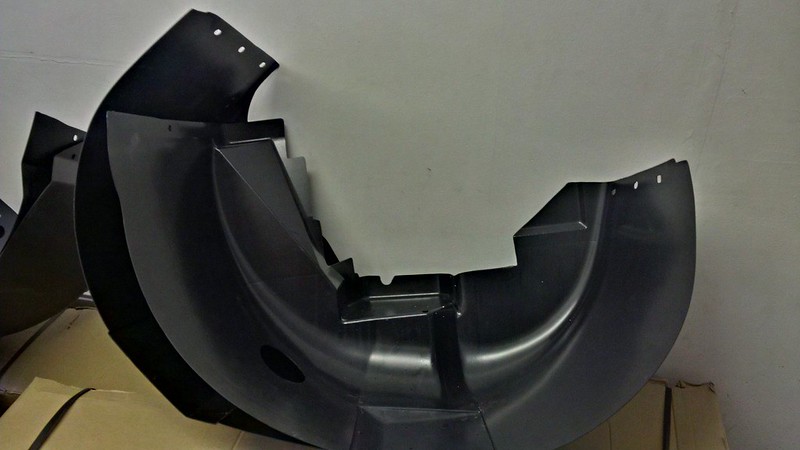
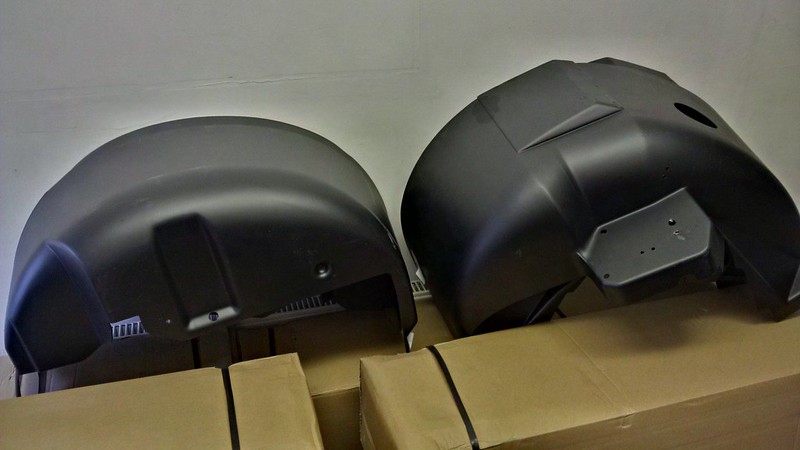
A load of stuff had to be stripped, shot blast and zinc coated. A little change at the front, AP295’s with EP 6.5mm spacers, looks mighty close! Brand new S1 longerons on (cheers Dave Seriously Lotus) and tow links. I had the tow links Zinc coated whilst I had the other stuff being done and I also like the silver finish ![]()
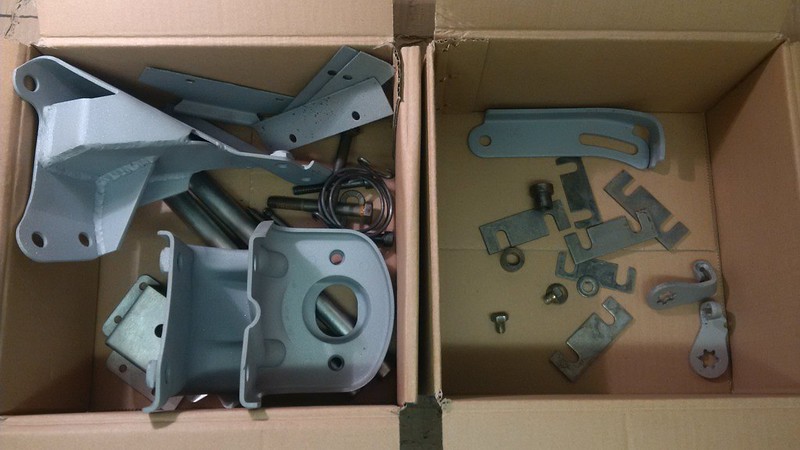
Shot blast and powder coated. Like new!
And look what else arrived!
Looking good (for the second time ![]() )
)
Agreed, thanks for re-posting the pics - I’m sure it’s a big ballache but it’s appreciated ![]()
… even if it does make me cry at the state of my suspension ![]() Those Ohlins look fab
Those Ohlins look fab ![]()
Wow looks good…Jonny…Have almost the same pix of my car…but your thread shows me some more things to do during the winter.
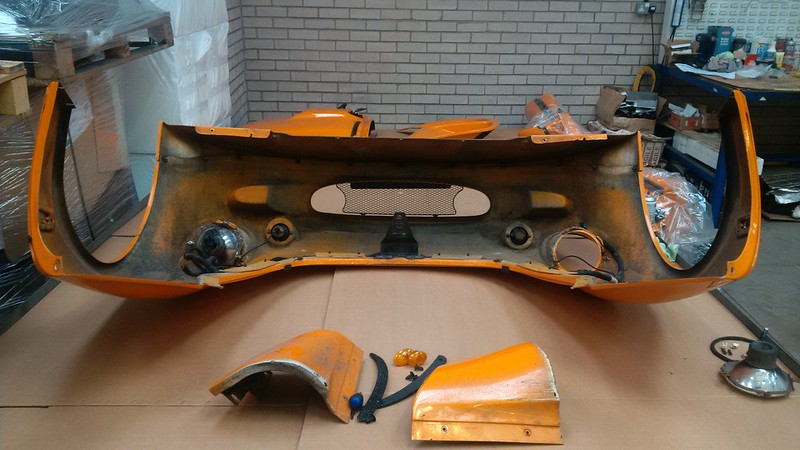
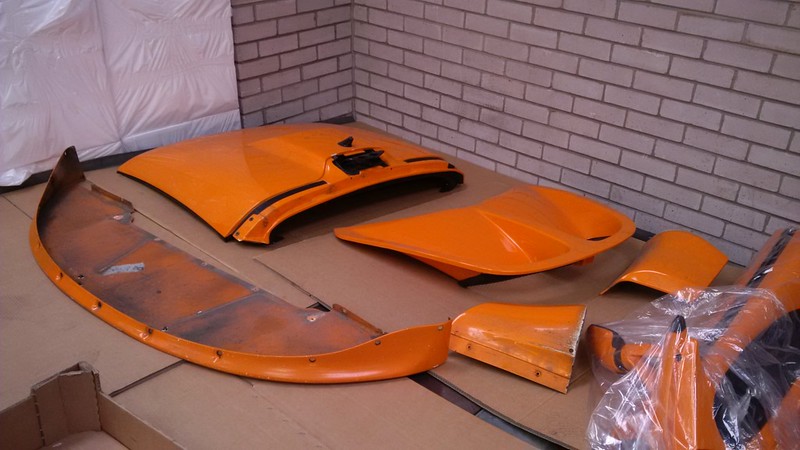
Clams off again. ugh.
Shows us all that even cosseted cars are going to corrode in parts that others cant reach…thanks to Lotus disregard for corrosion protection.
Keep up the good work.
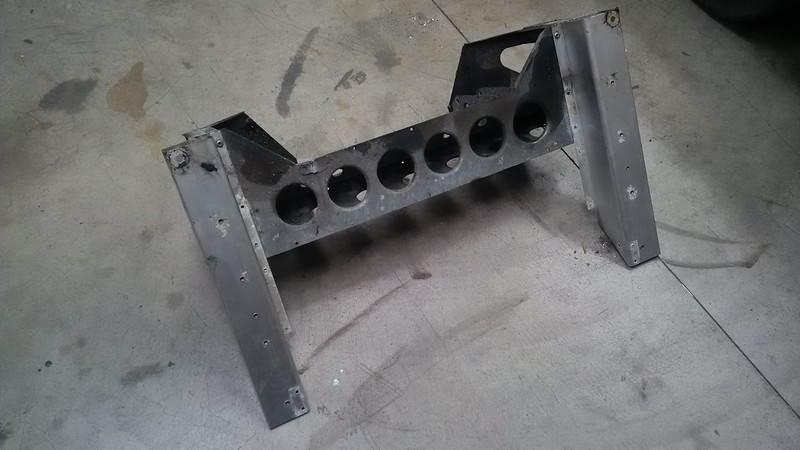
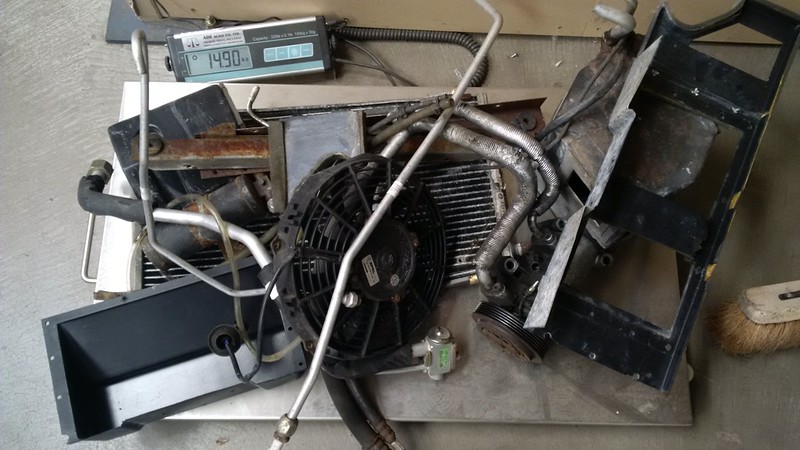
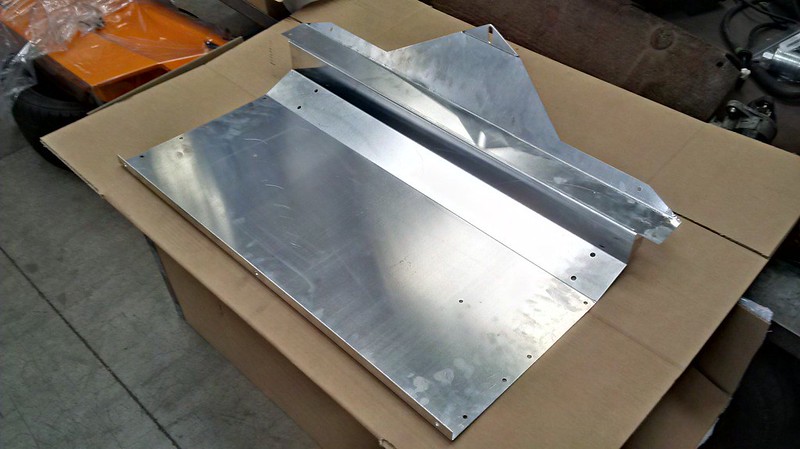
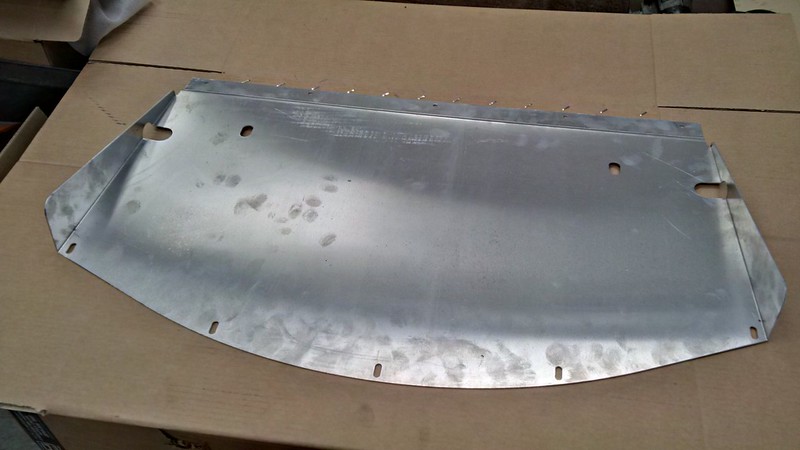
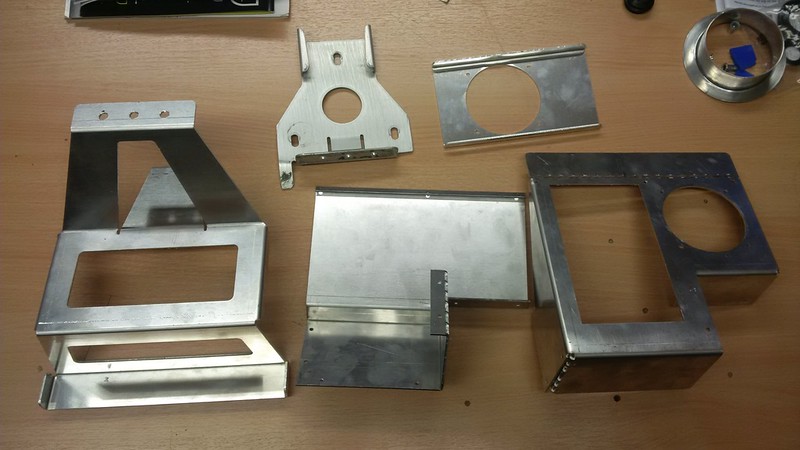
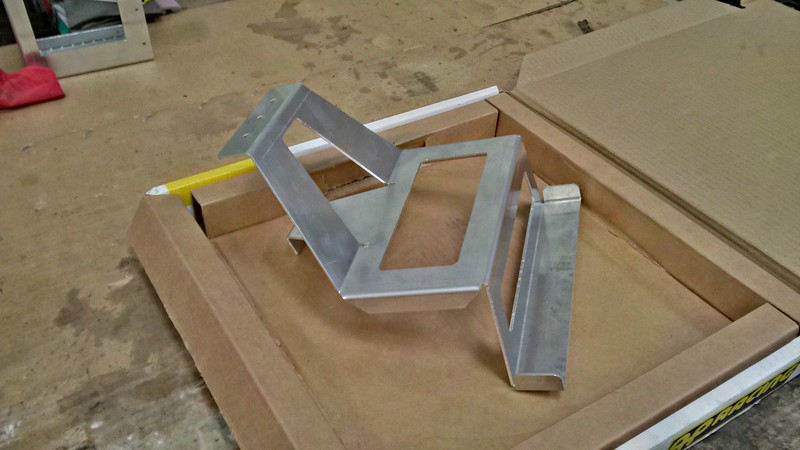
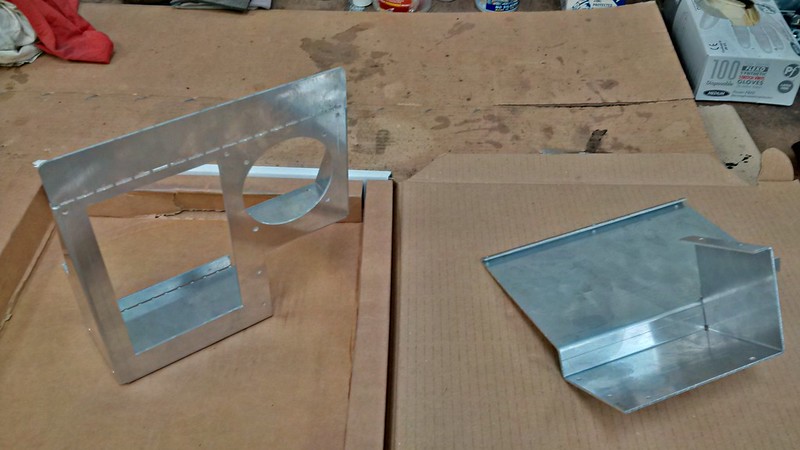
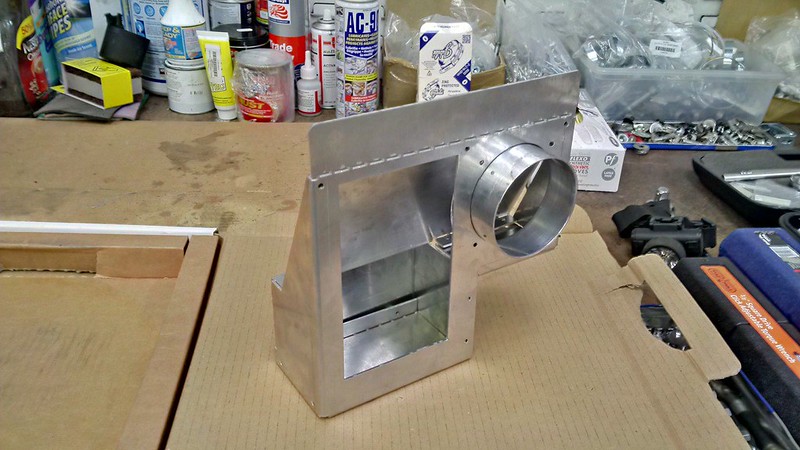
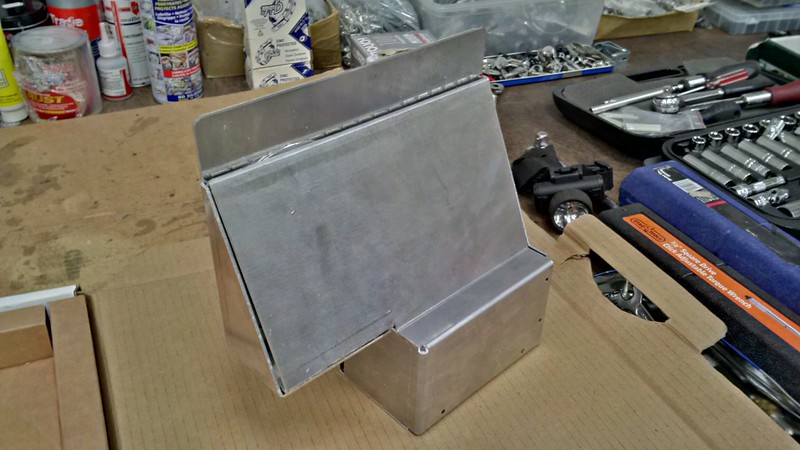
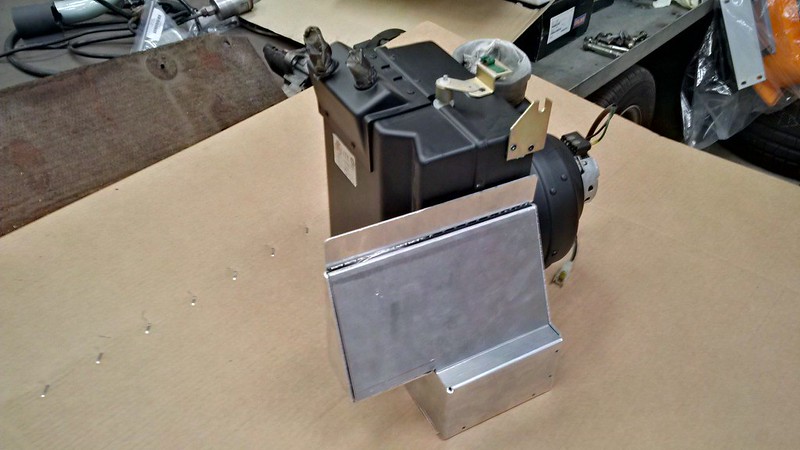
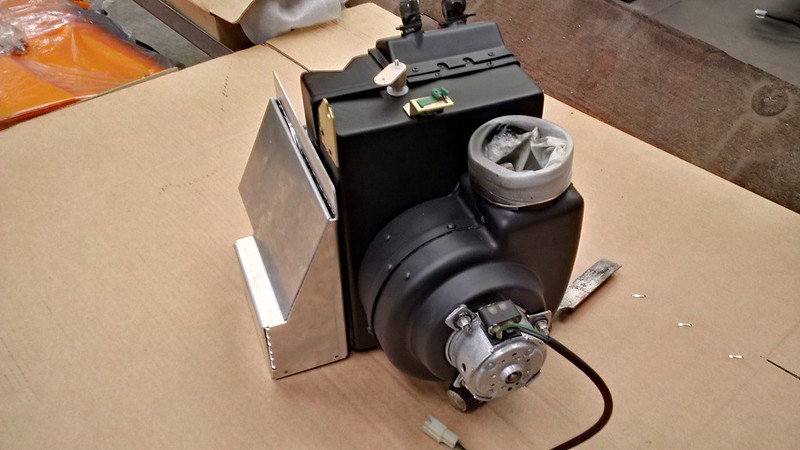
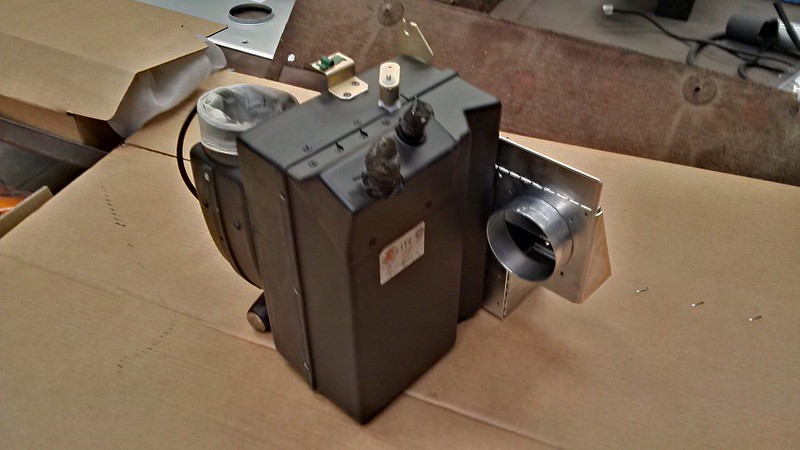
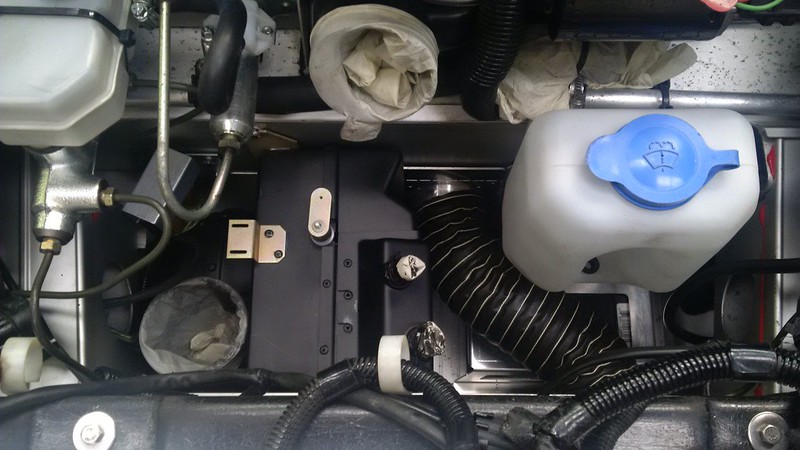
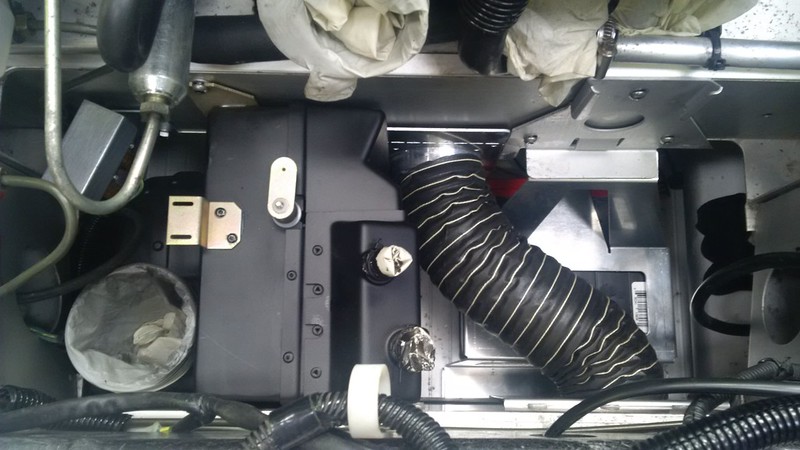
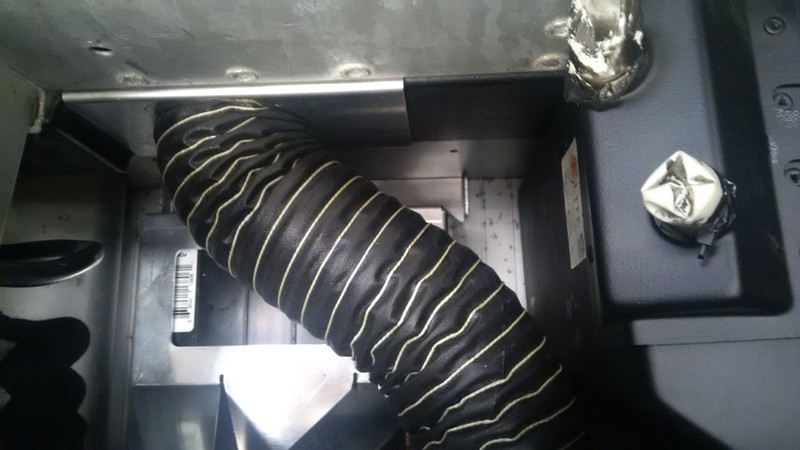
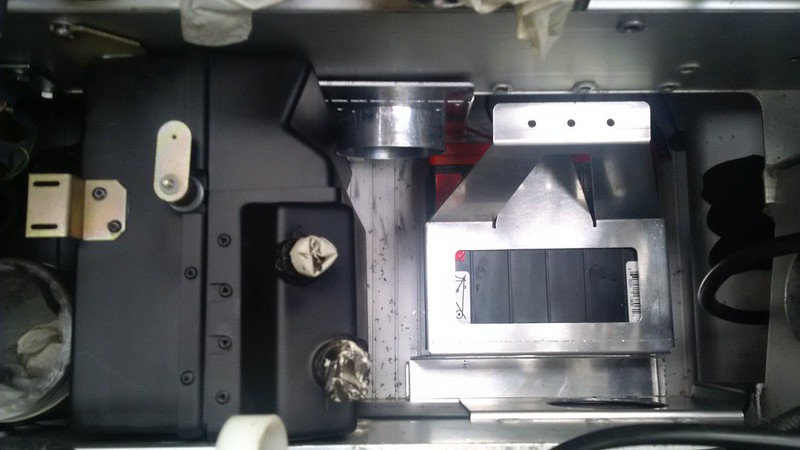
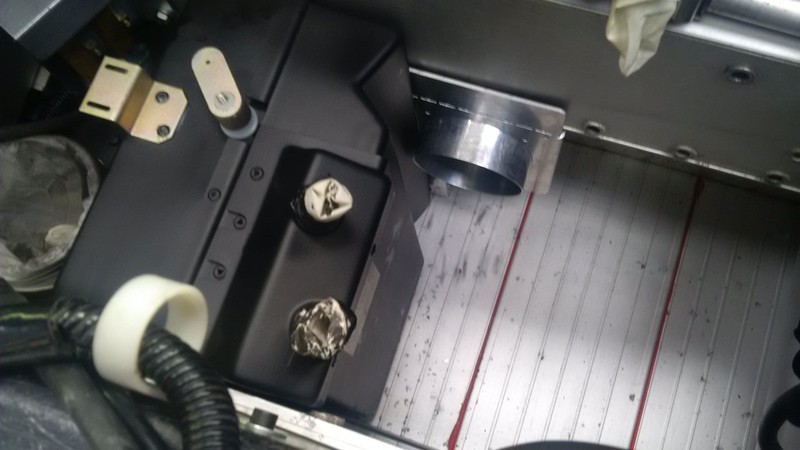
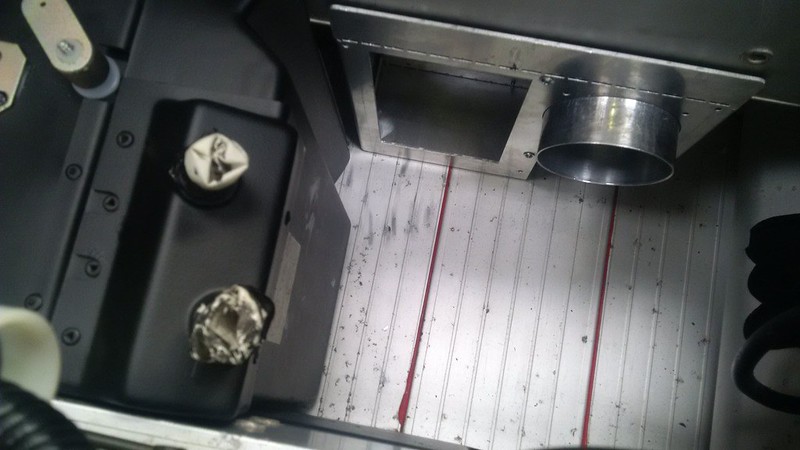
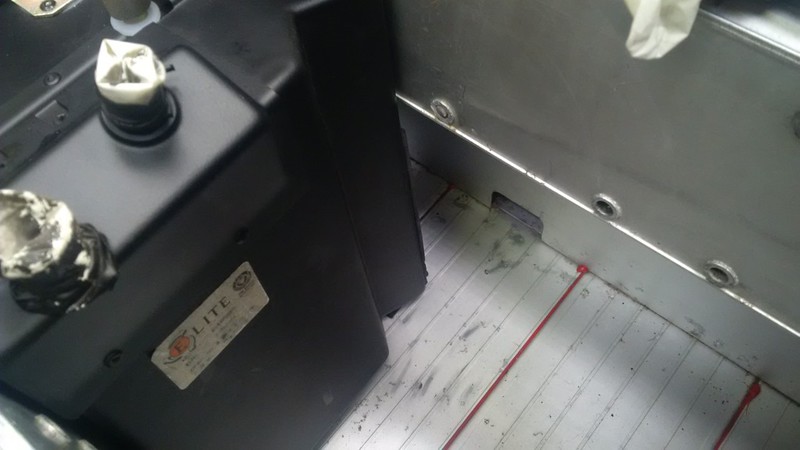
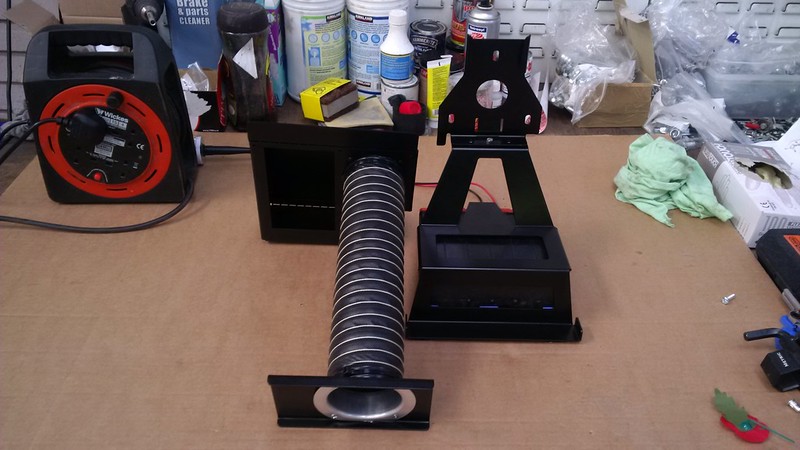
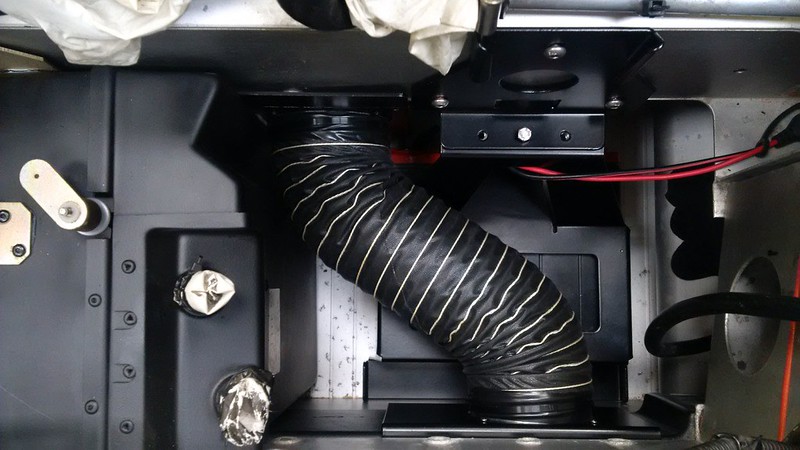
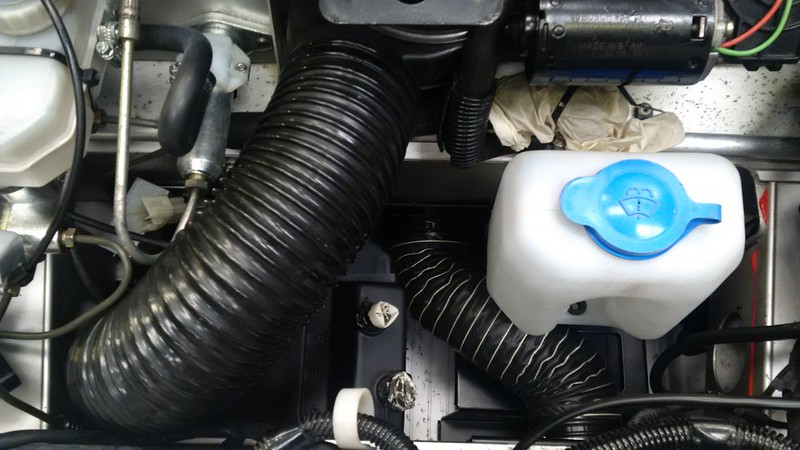
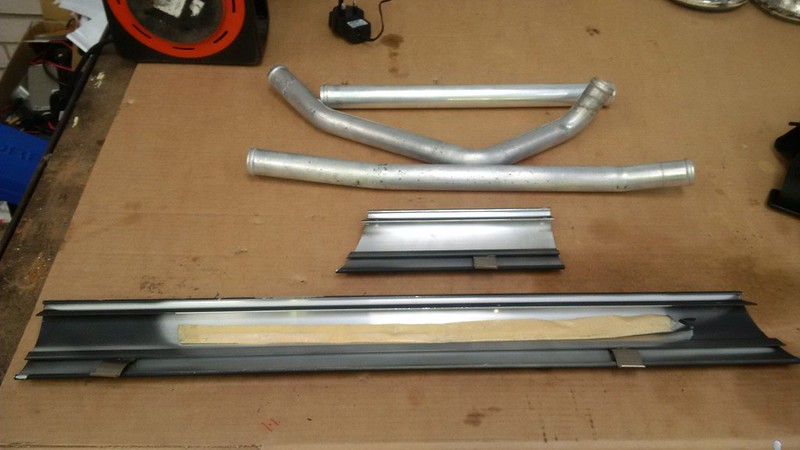
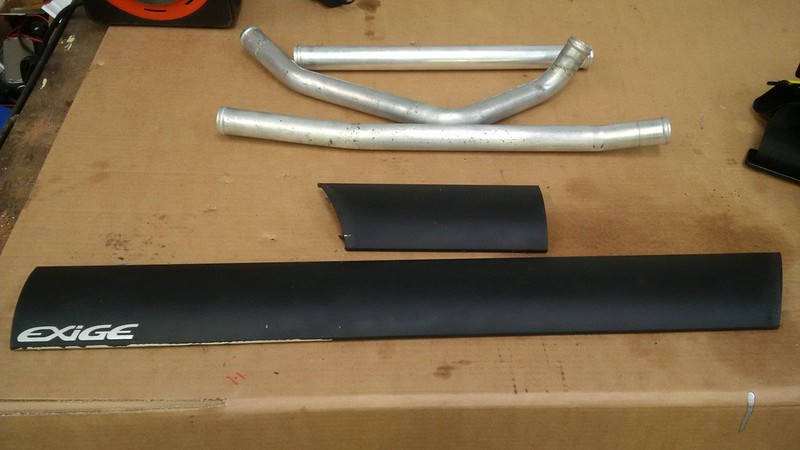
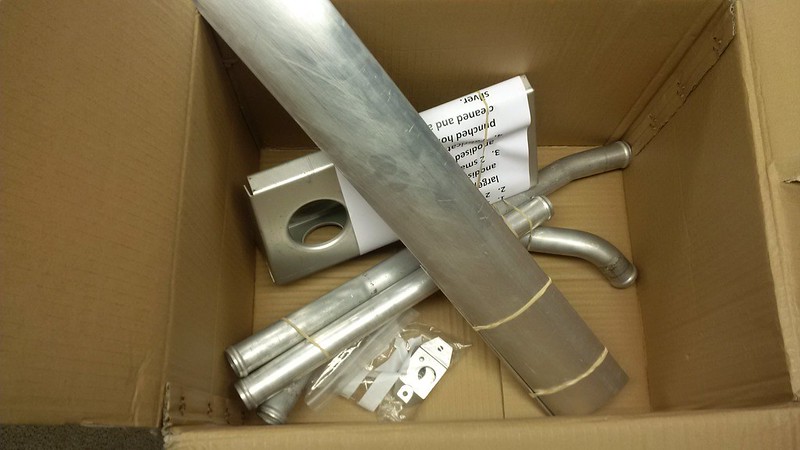
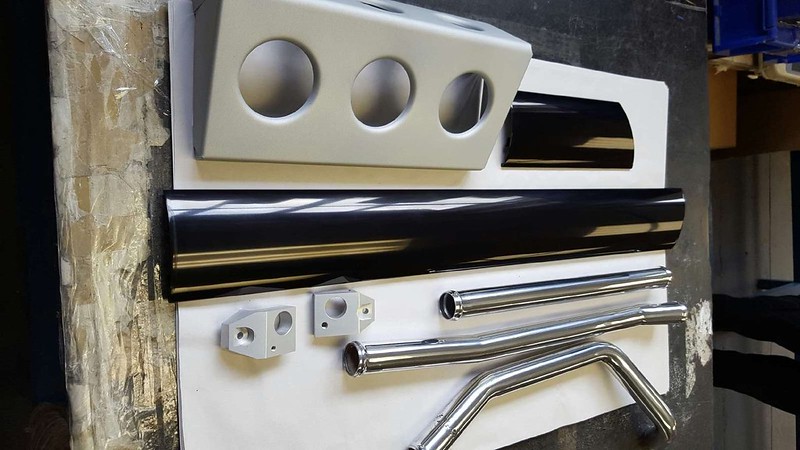
The aluminium parts for the heater came in so it was time for a test fit before powder coating. After removing the AC I was left with an issue of how to get the air from the outlet in the crash structure to the heater. With the evaporator removed the route to the heater was compromised. There is also no recirculation now. Anyway in a similar fashion to the plastic housing I removed on clean up I drew a two part housing that sits behind the heater, actually the heater clamps it in once attached properly. It’s shape gives me the room to accommodate the battery. Some ducting is attached which runs to an aluminium clamp which I will Velcro to the outlet (on the plastic housing) in the crash structure, it’s a tight fit already, perfect in fact. The second part to securing the housing behind the heater involves the washer bottle bracket, this sits snugly next to it once bolted into place. There is also a riv-nut I can use behind the top part of the housing, so absolutely no movement whatsoever.
The battery bracket courtesy of George, I had to slightly reengineer but that too once attached to the washer bottle bracket will not move at all. Not shown is how I’ve modified the washer bottle bracket further, you’ll have to wait for the finished image ![]()
So after a few months off time to get back on the job. Ideally I’d like the car back on its wheels, sills and interior painted and back together by Easter.
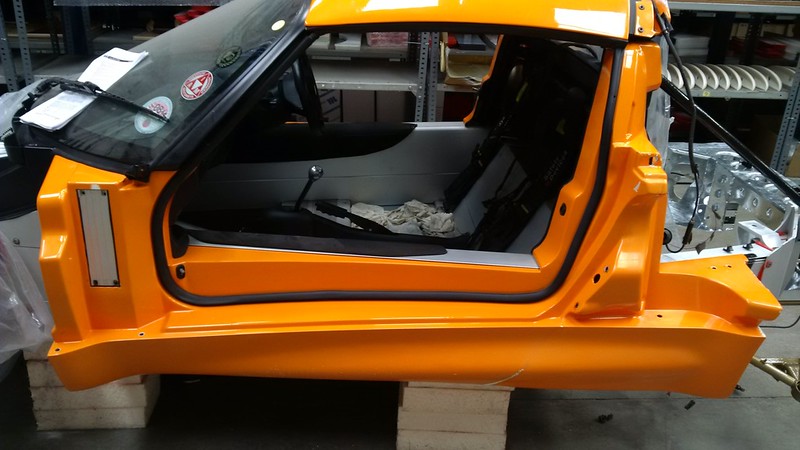
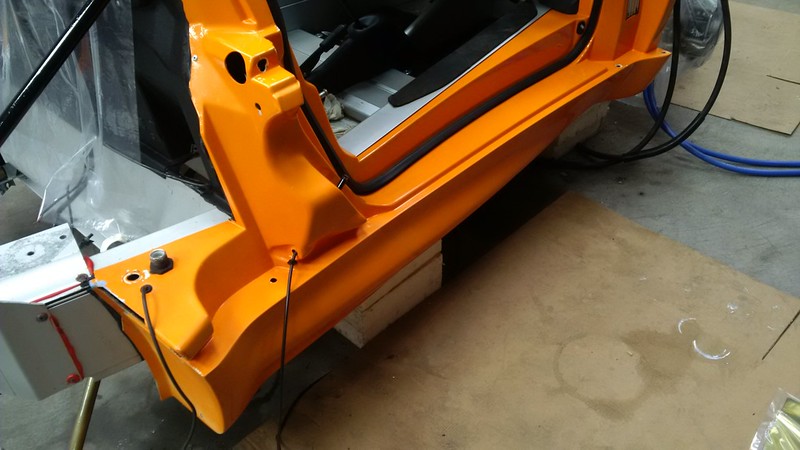
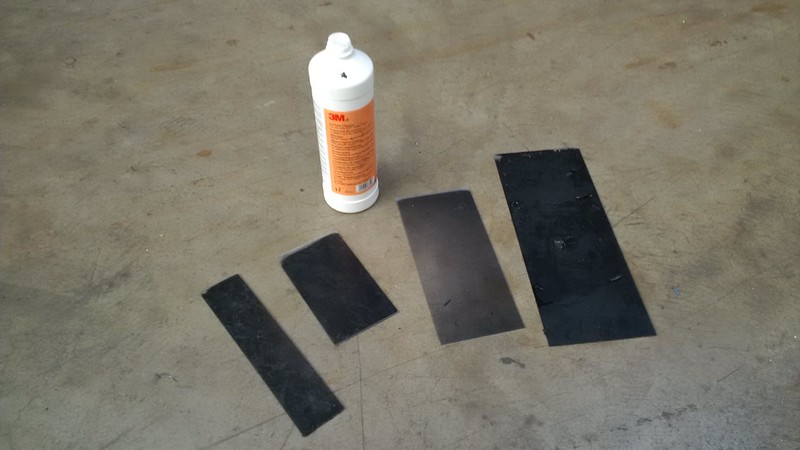
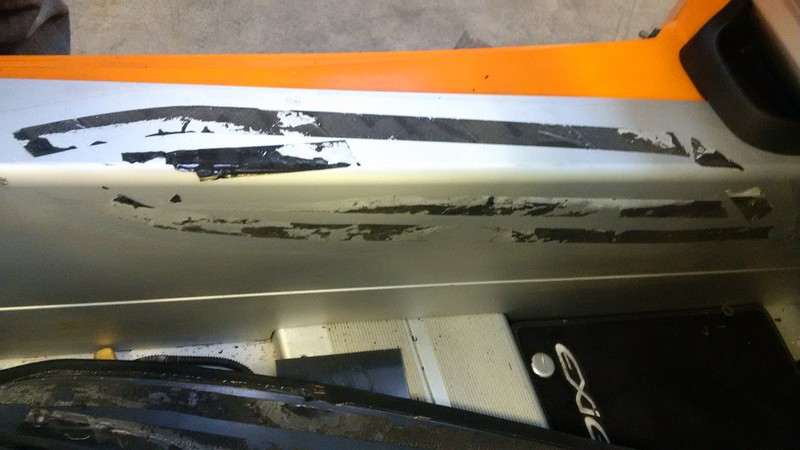
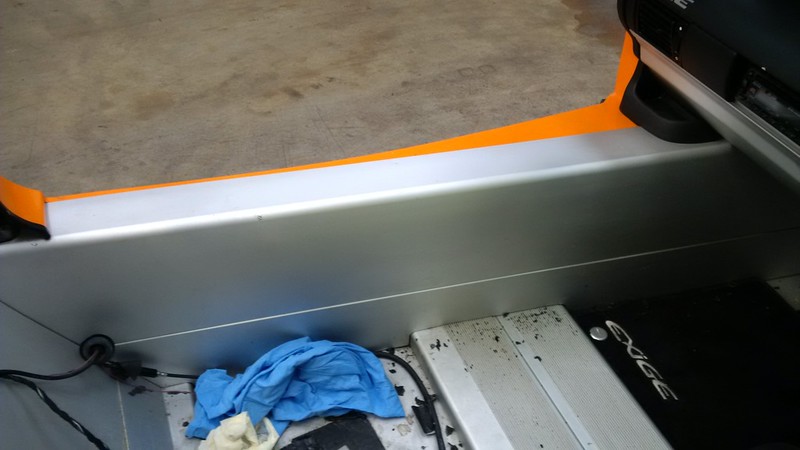
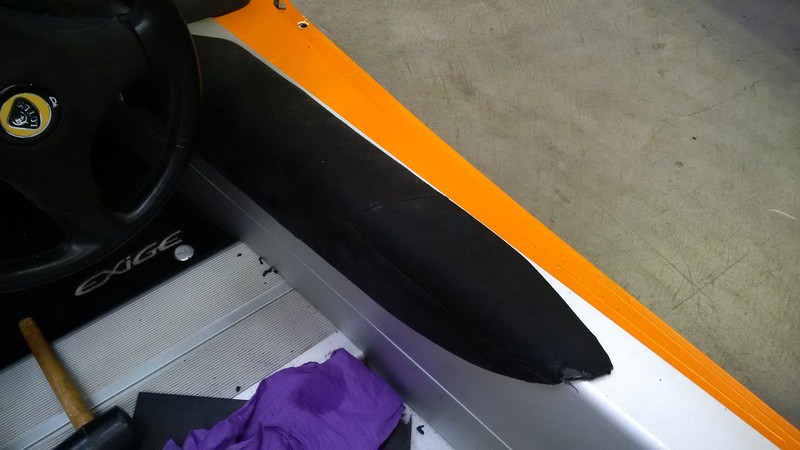
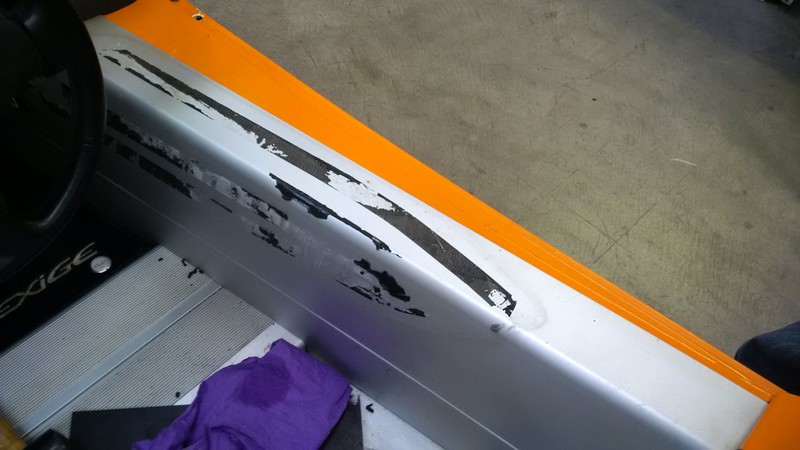
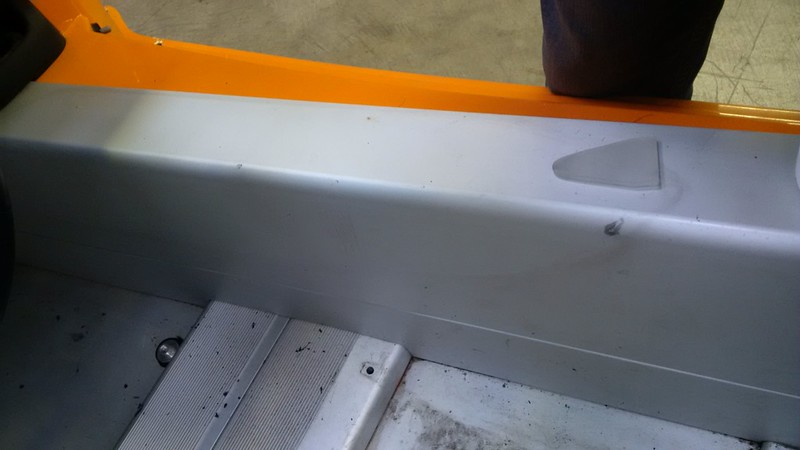
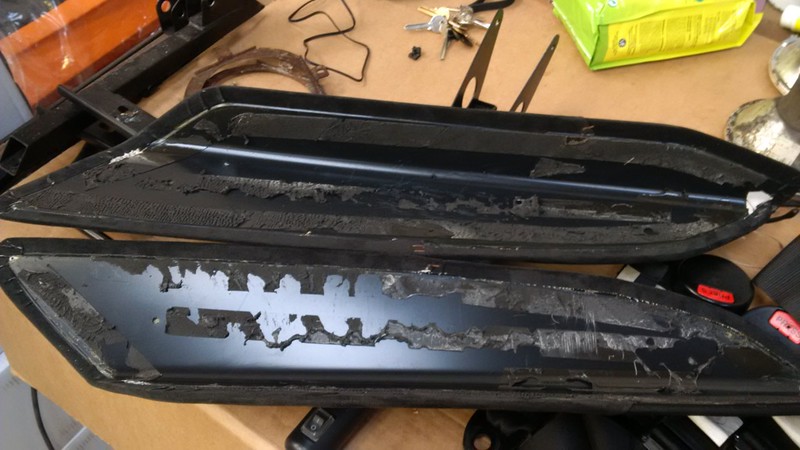
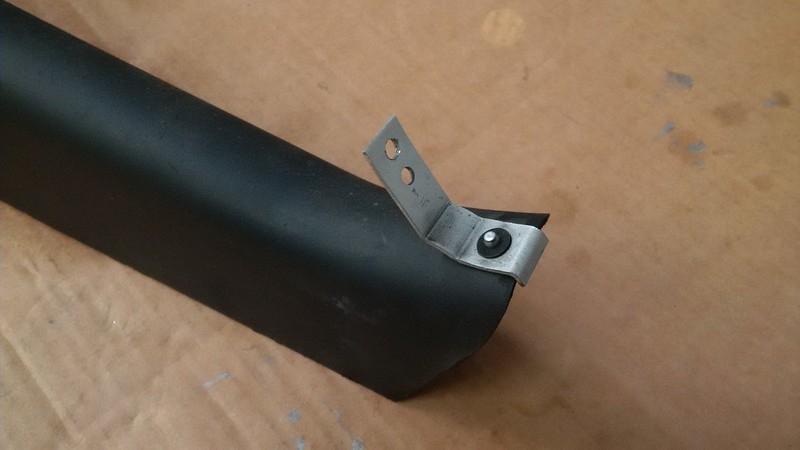
Armed with some off cuts of 1.5mm PVC and 3M Surface cleaner I got to work. I saw that the sill covers were bonded to the chassis with 3m VHB tape while helping Ben. I use this at work. So I sharpened one end of the PVC of cuts and pushed the desired piece under the sill cover (all my weight) about an inch at a time along the length of the top then along the side. And off they came, not a single mark either, spotless! The surface cleaner does a good job of removing firstly the foam on top of the tape then the adhesive. It’s messy, there’s soggy adhesive everywhere but it works.
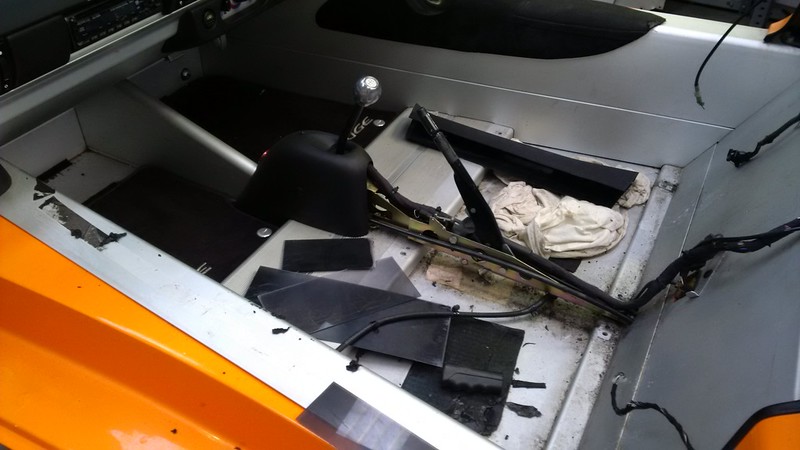
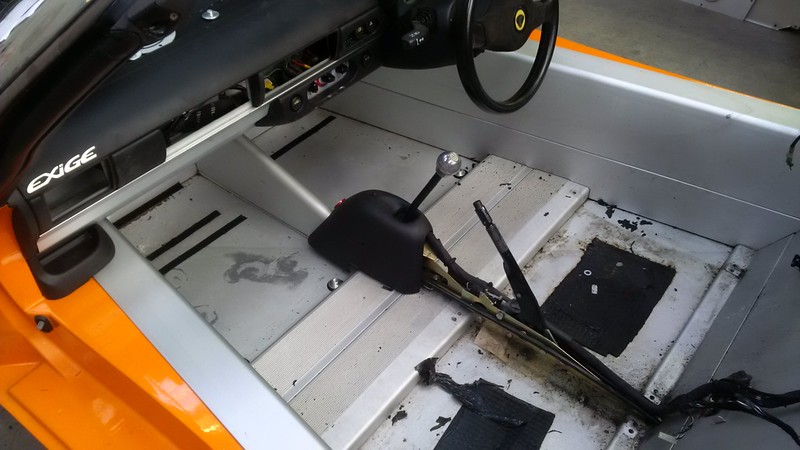
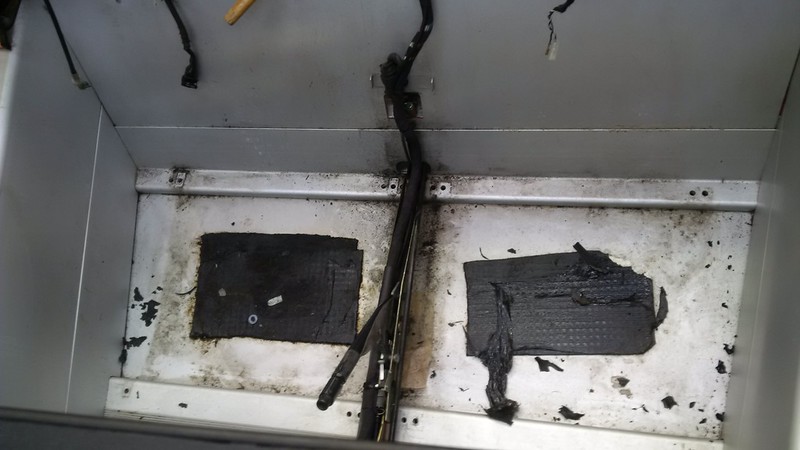
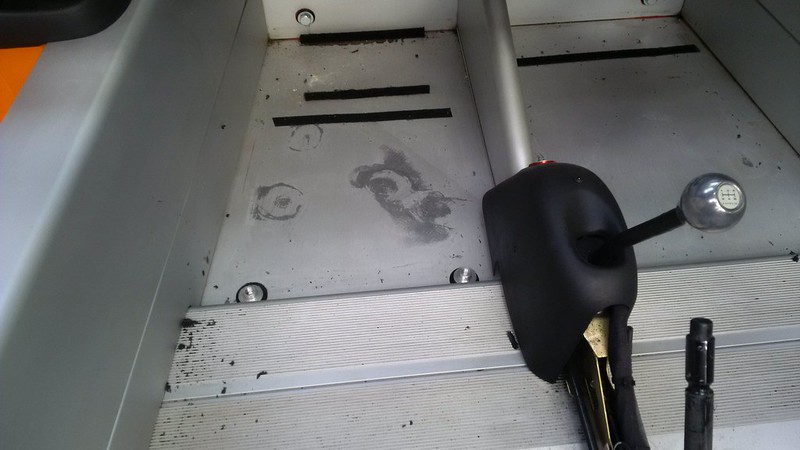
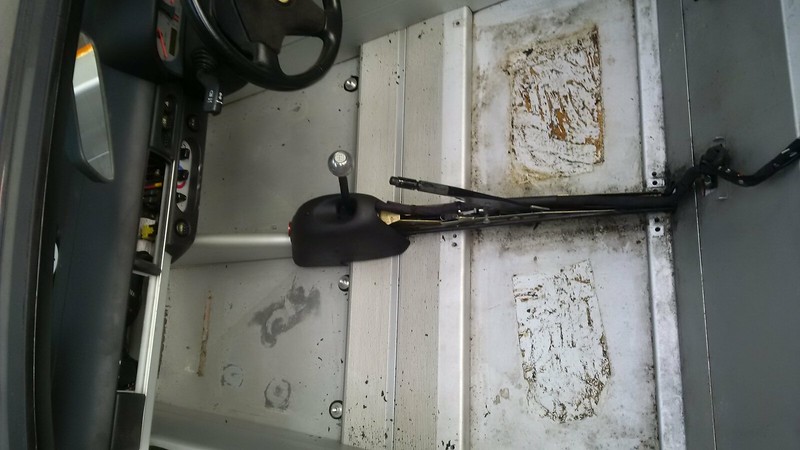
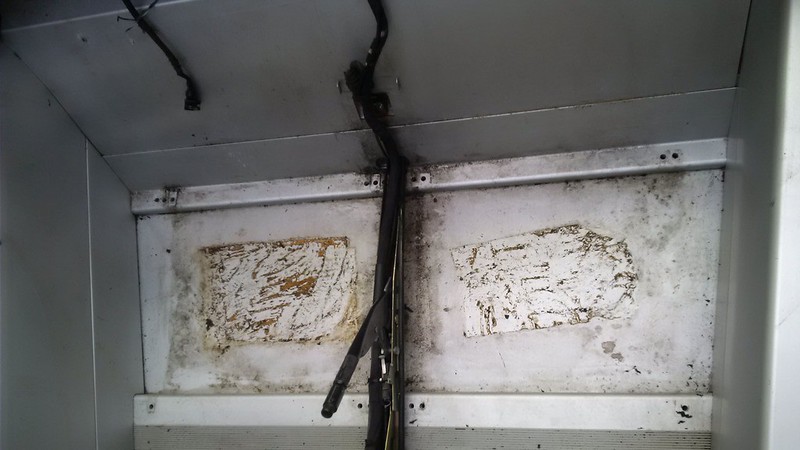
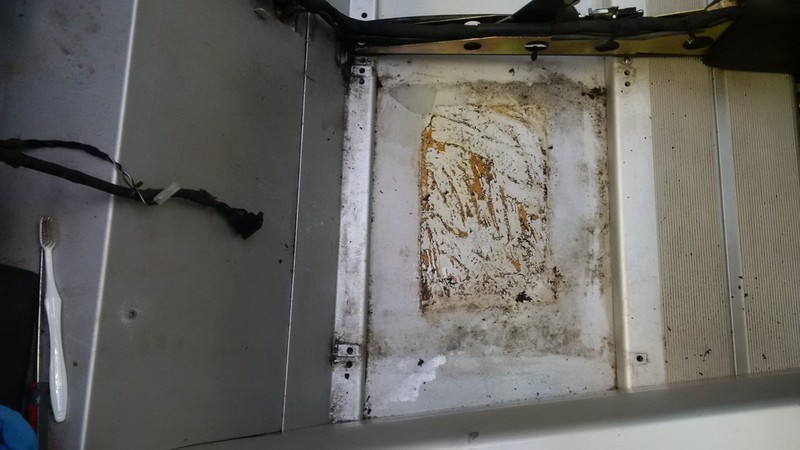
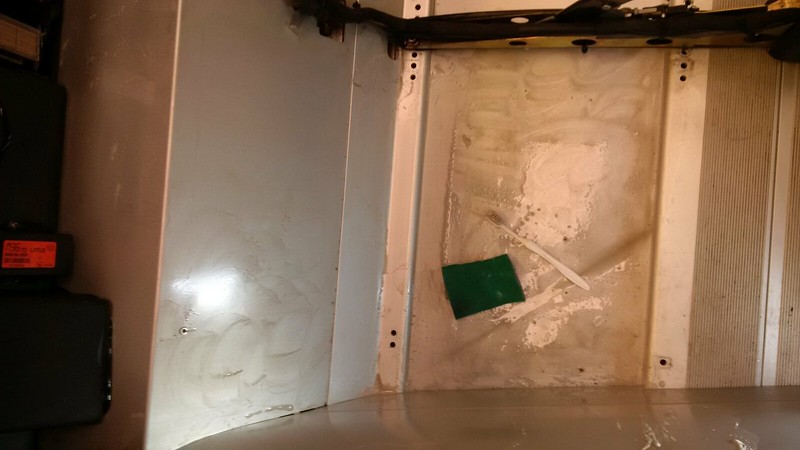
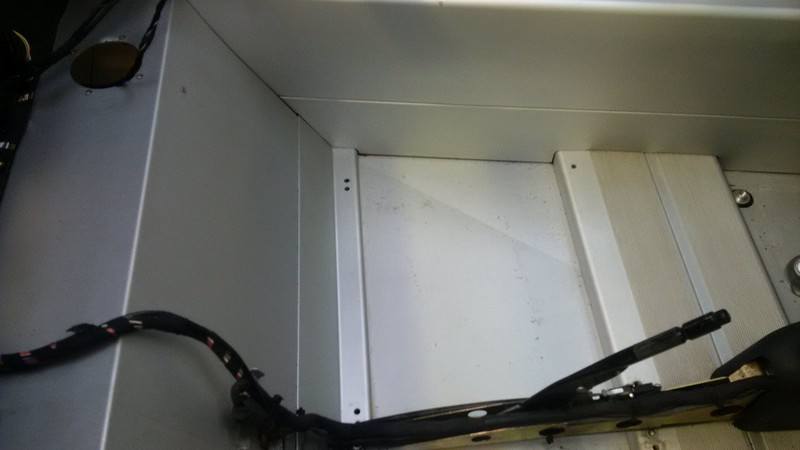
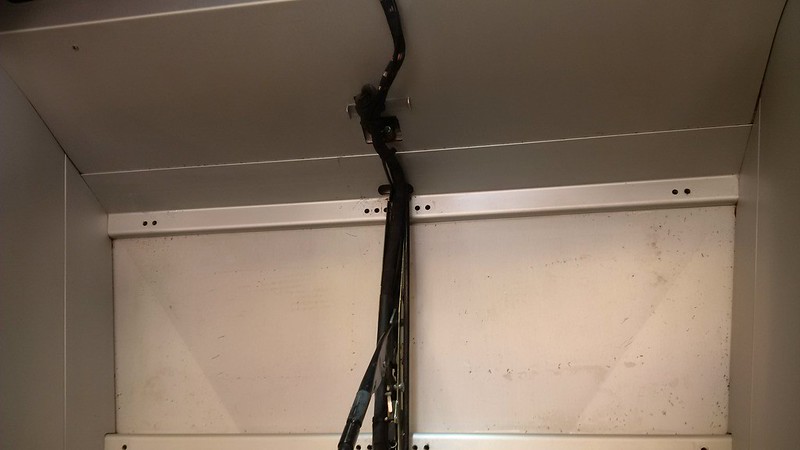
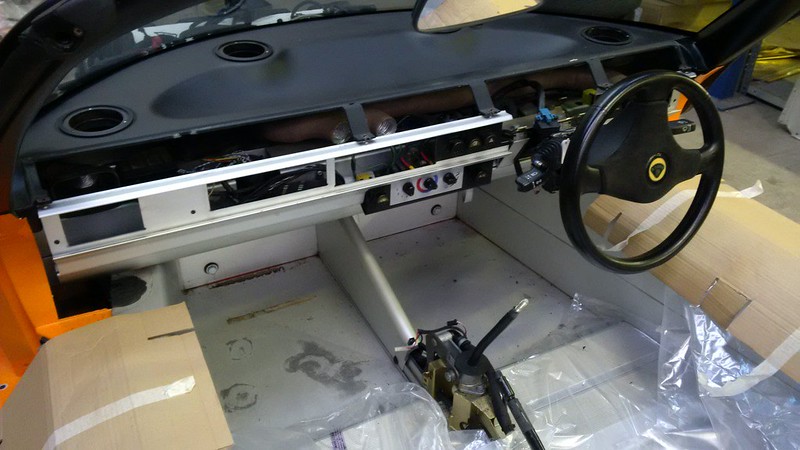
No idea what the stuff was under the seats, mega bonded to the base the PVC just wouldn’t lift it. Actually it was quite brittle so I gentle used a clean scraper and mallet to lift and snap a piece off bit at a time. Next out came the vac, more 3M surface cleaner followed by toothpaste, a brush and a magic cloth (type thing via Halfords). Haven’t done the footwells yet, will do them and the bottom dash panel when it comes back from paint.
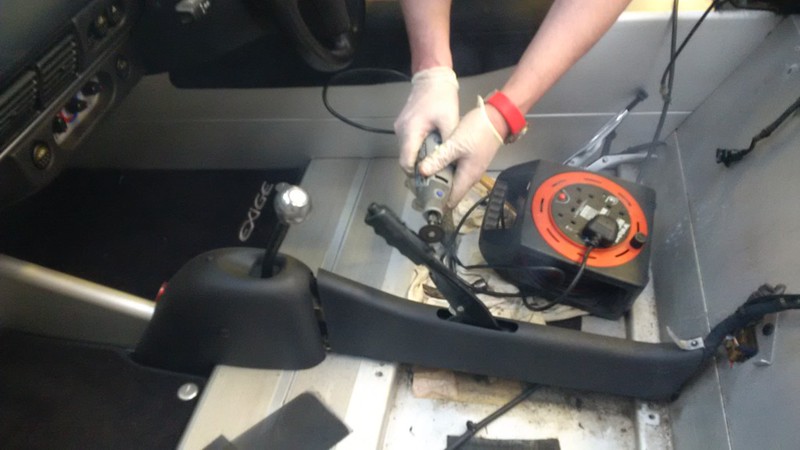
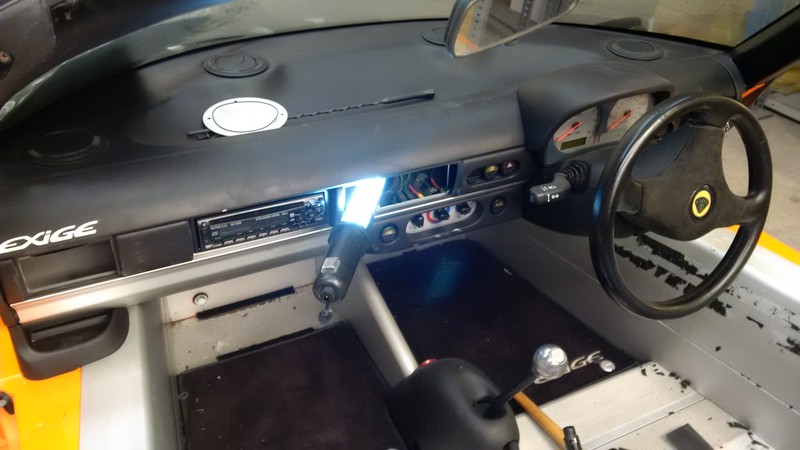
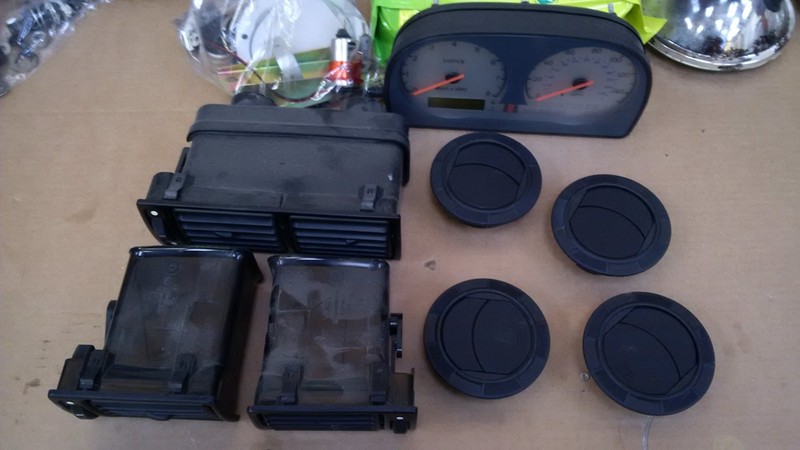
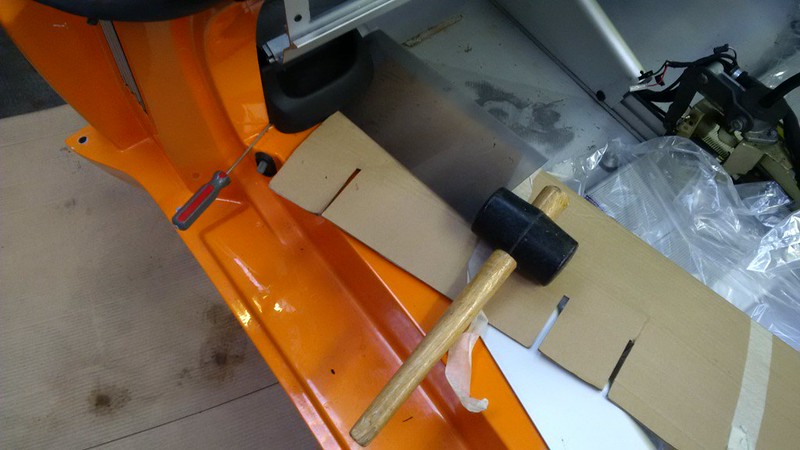
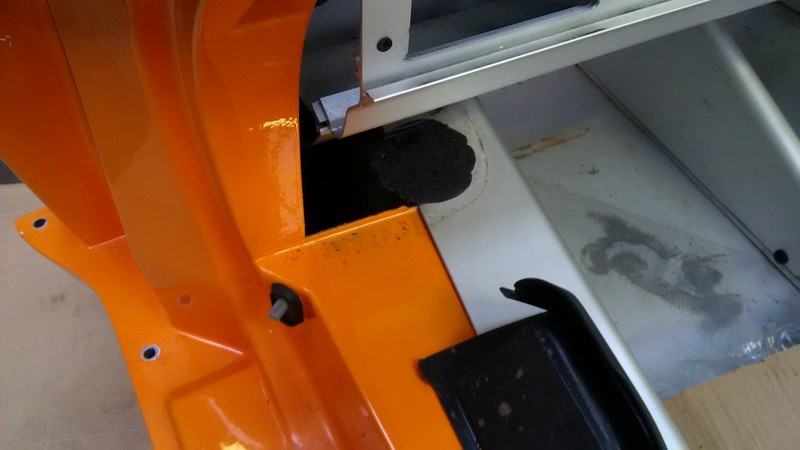
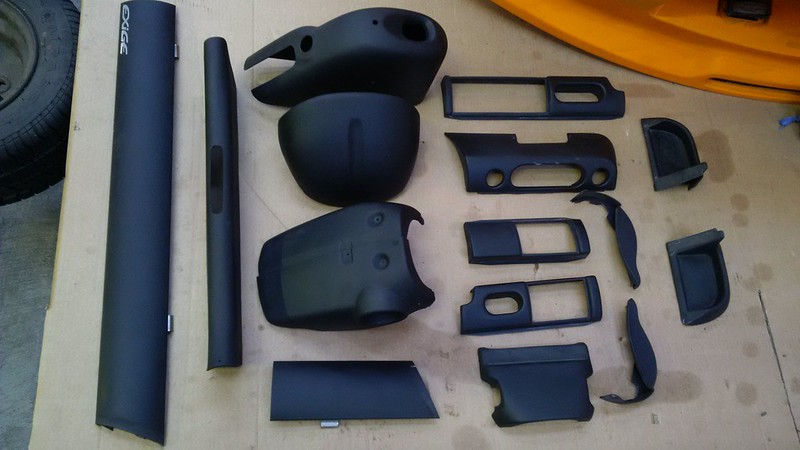
Next out with the interior. The coin trays I had to get an electrical screwdriver in from the side pushing through the bond front to back. Using those handy PVC panels I slide one under and hammered away with a mallet. The PVC proved brilliant once more not marking the chassis. Off it popped! The top vents came out really easy as well using a cable tie to hook around one of the three clips inside the vent, the Dobbo technique. That’s as much will come out, the outer part is riveted in although I am considering removing the windscreen.
After a proper good clean BONZA! We got the wheels back on baby, 13 months and its back on the floor, get in ![]()
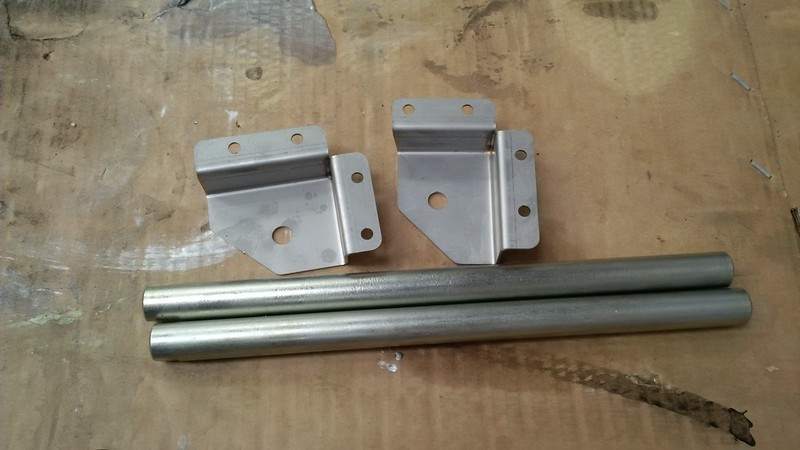
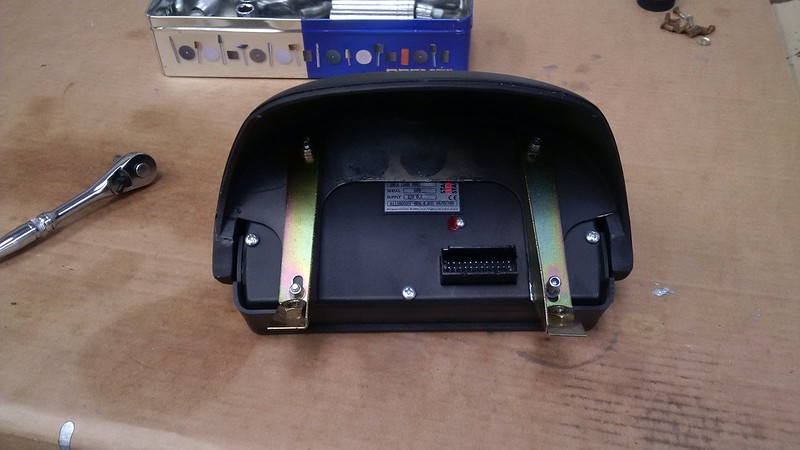
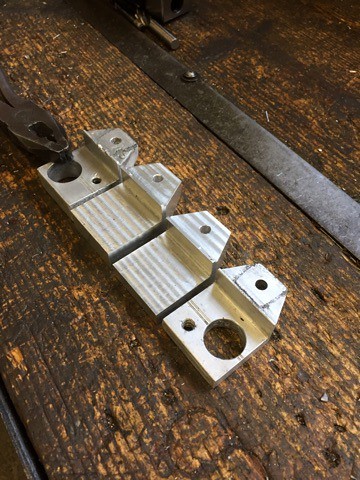
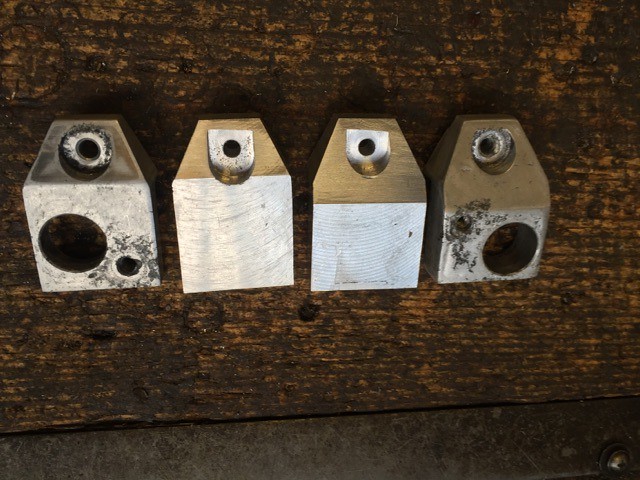
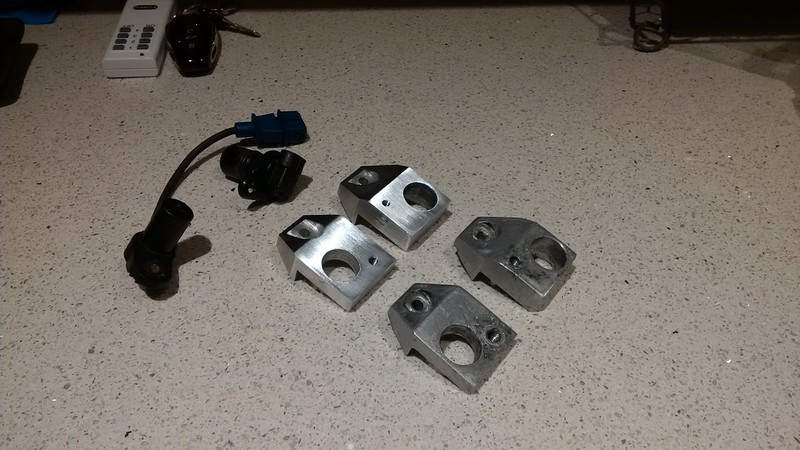
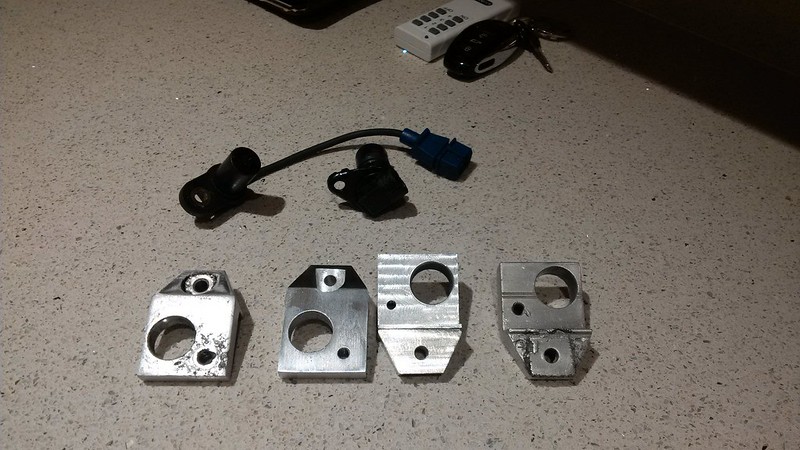
A friend of mine helped out with the speed sensor mounts, look great don’t they, started life as a round bar! Lots polished and anodised, really looks great! Having said that I will likely paint or trim the aluminium inserts. Despite looking rather lovely hard anodised I think it’s better they either end up painted the same colour as the rest of the dash or trimmed.
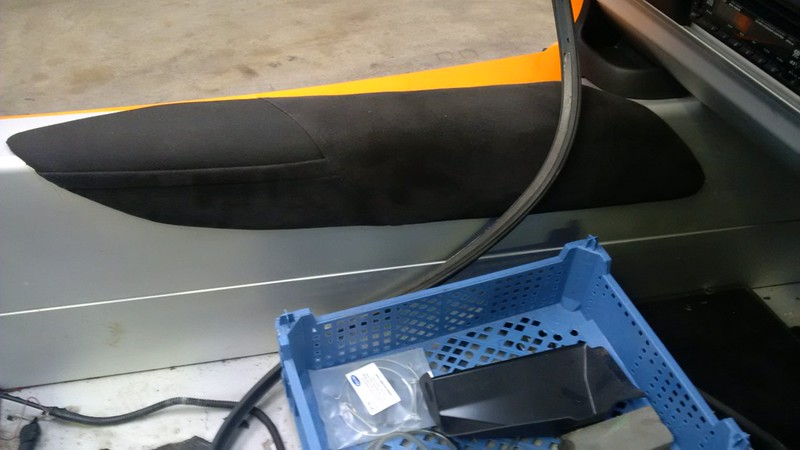
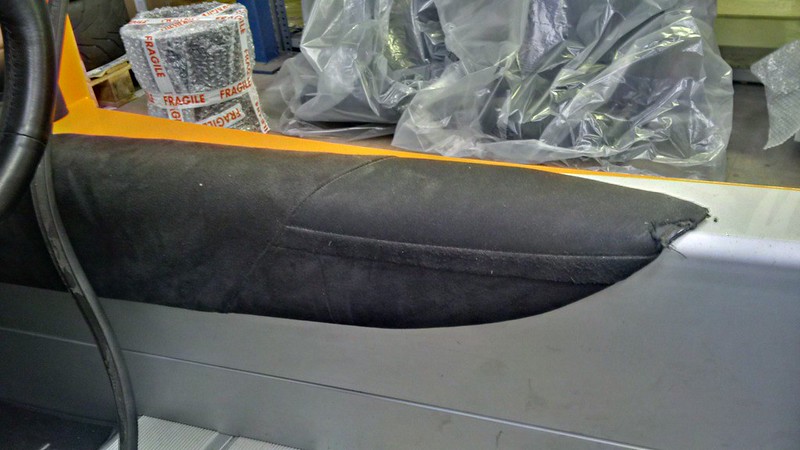
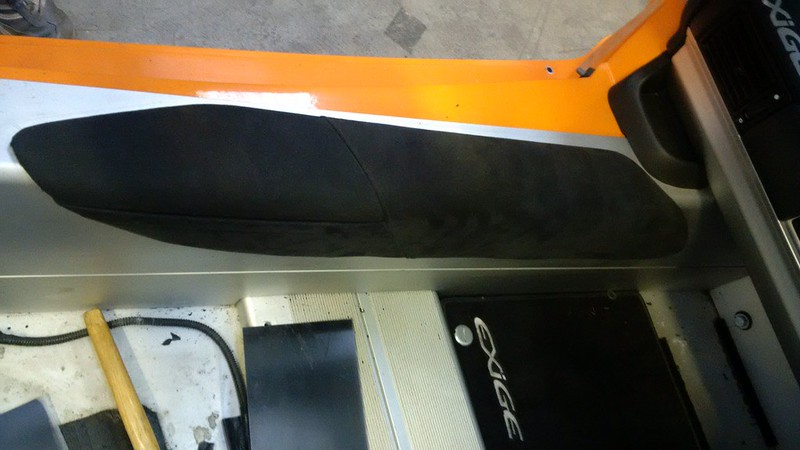
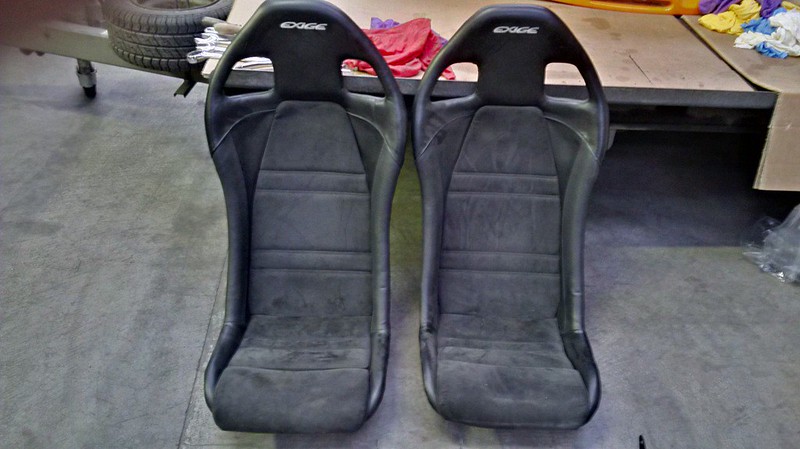
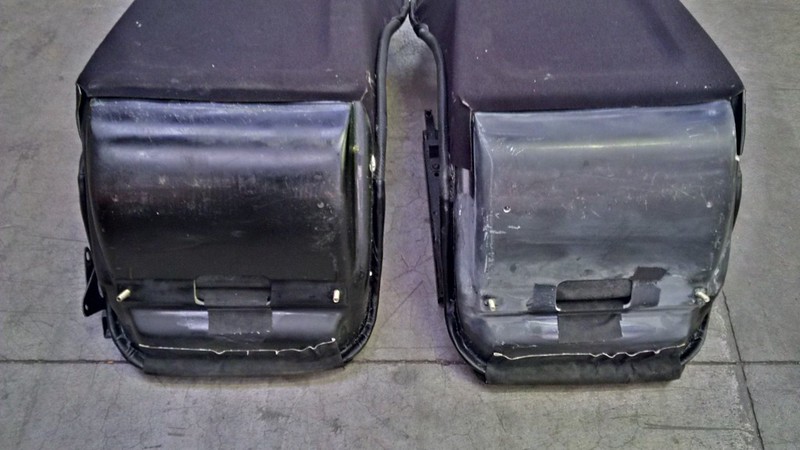
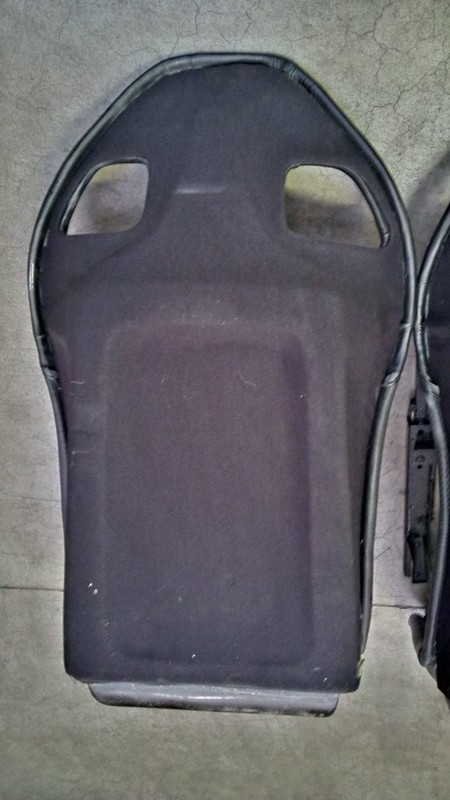
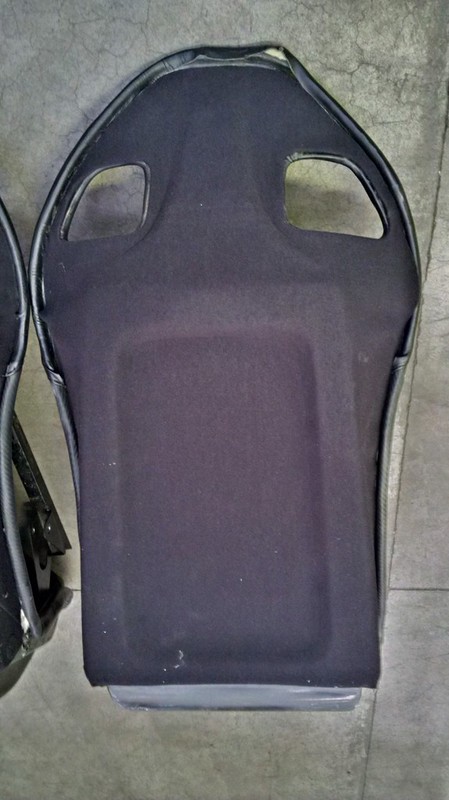
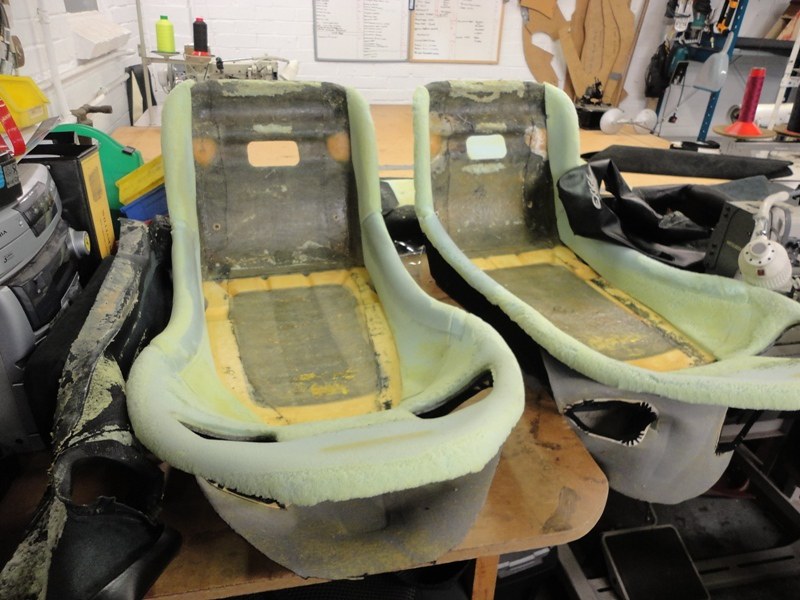
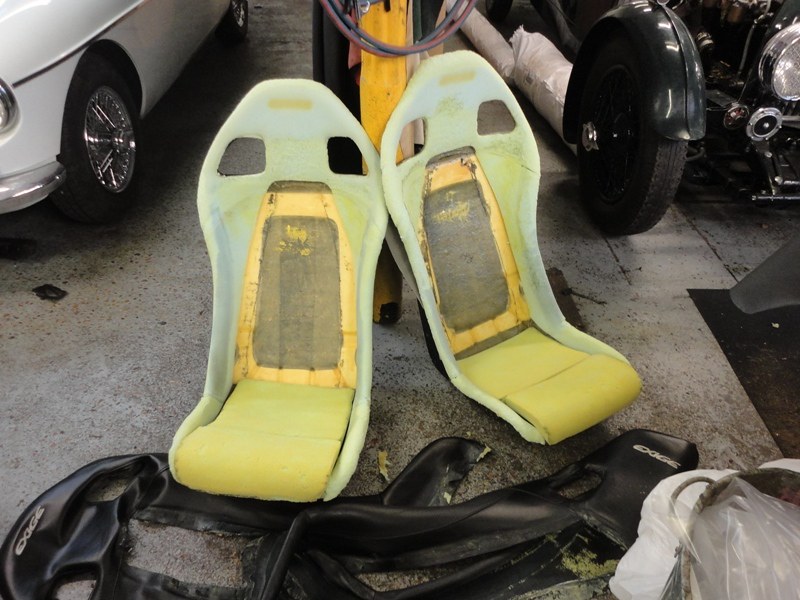
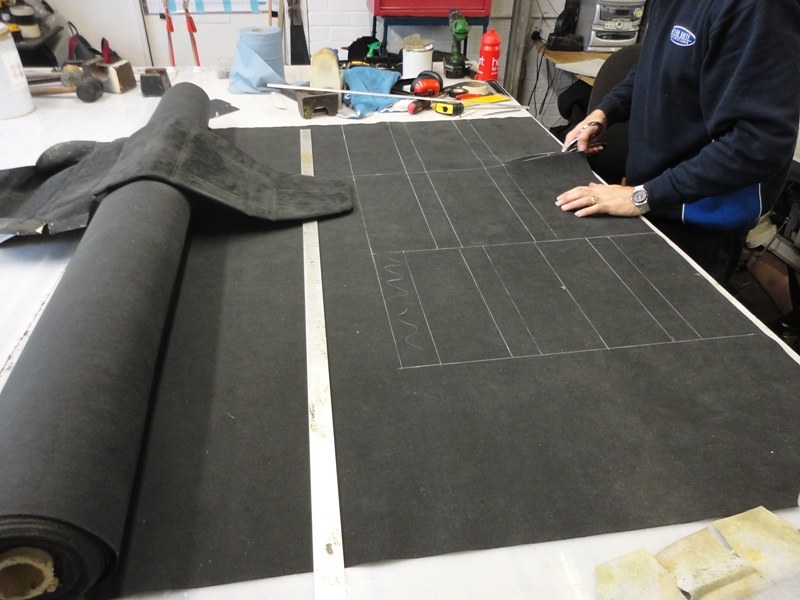
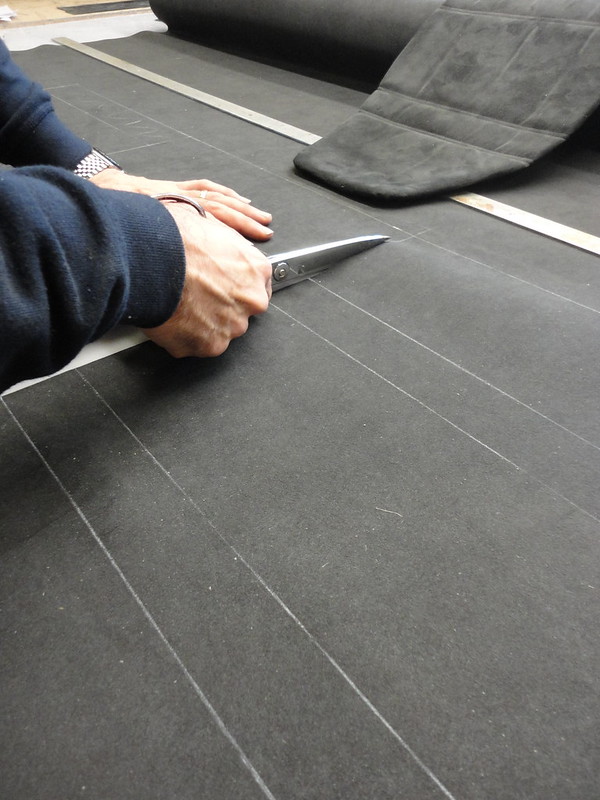
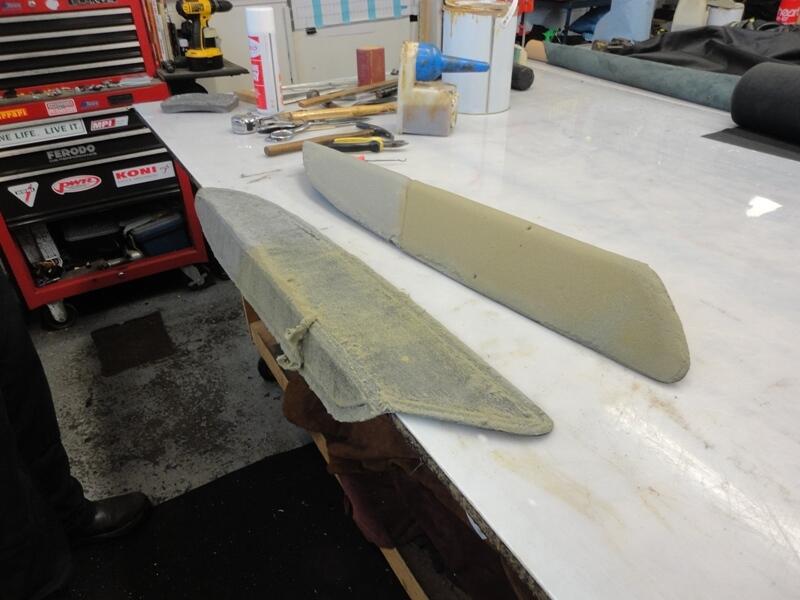
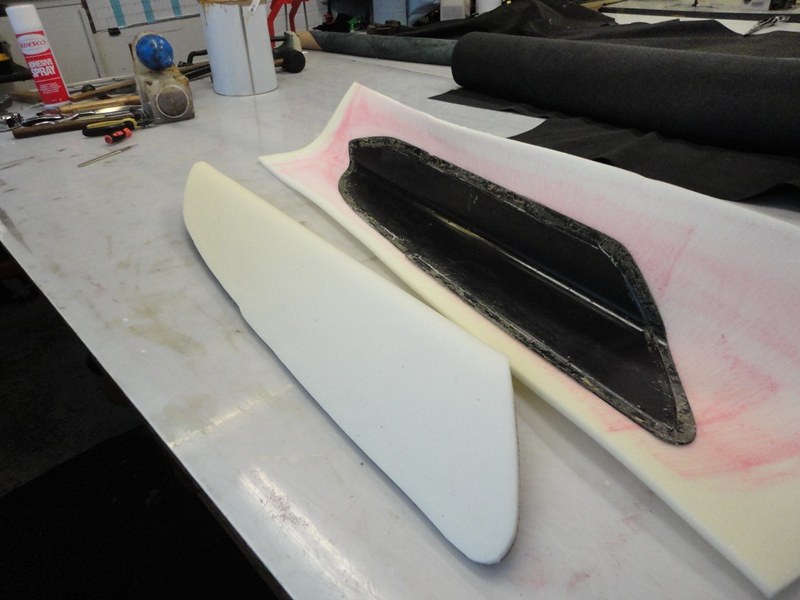
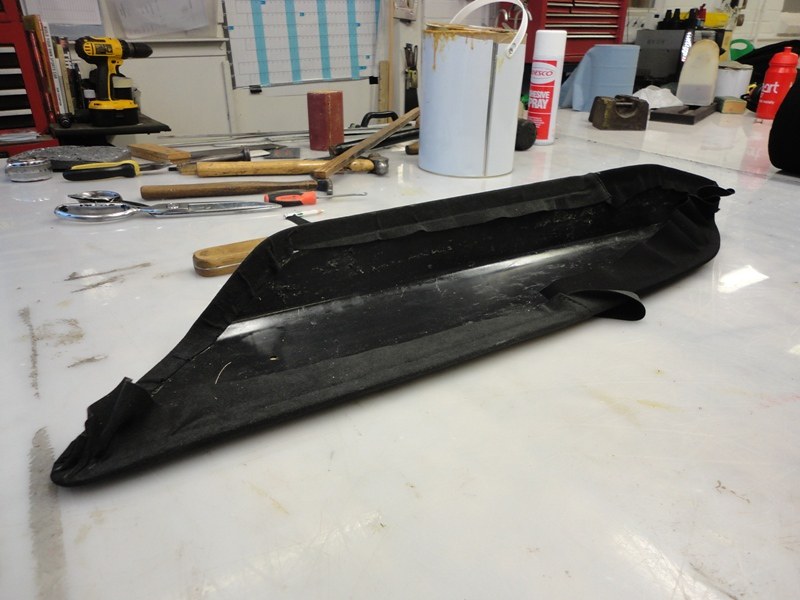
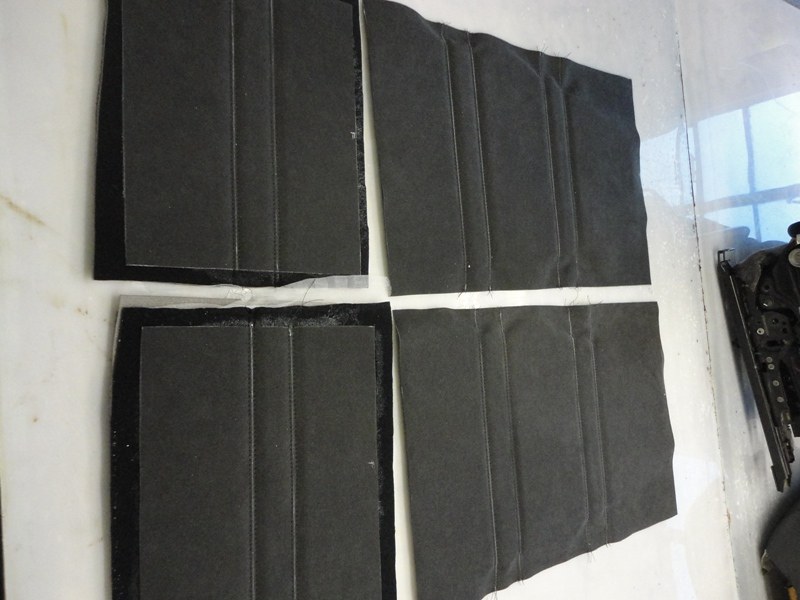
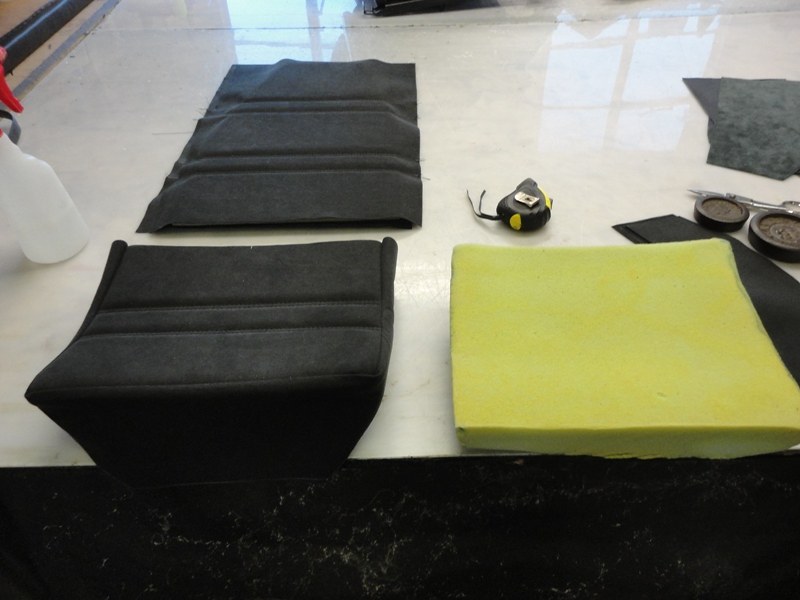
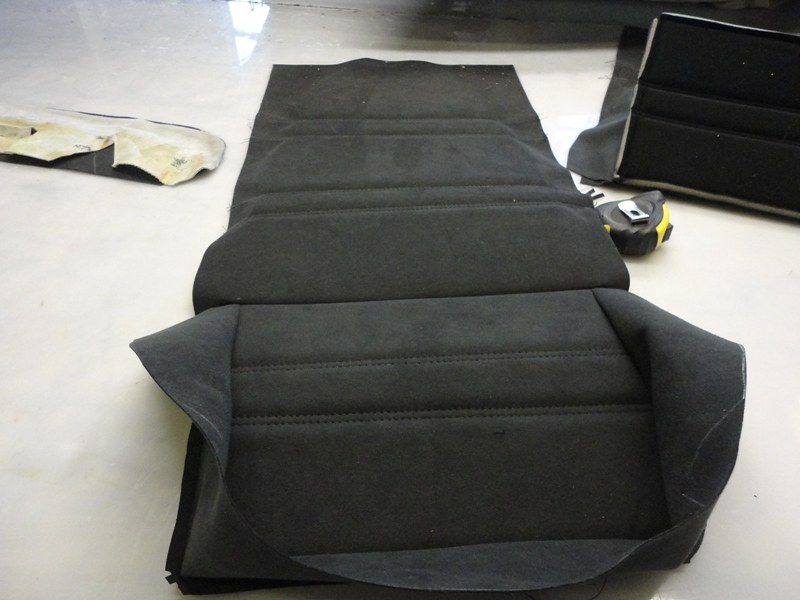
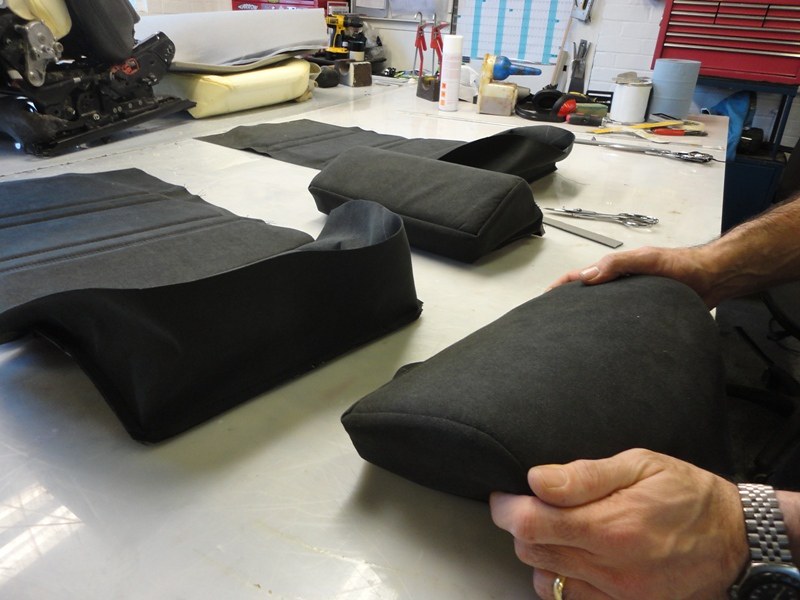
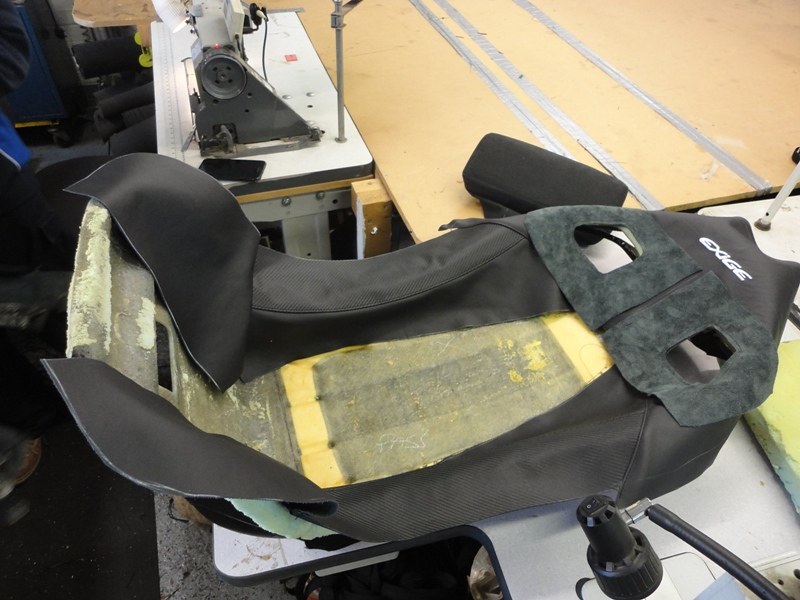
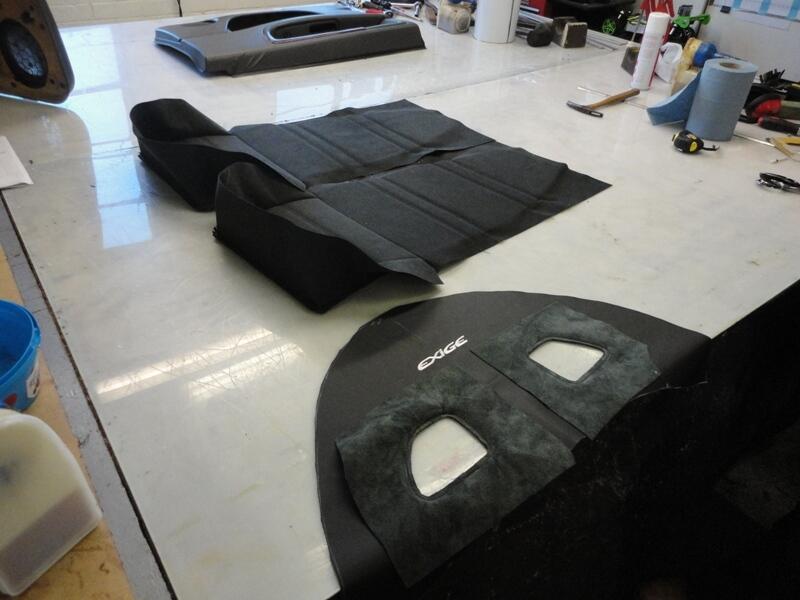
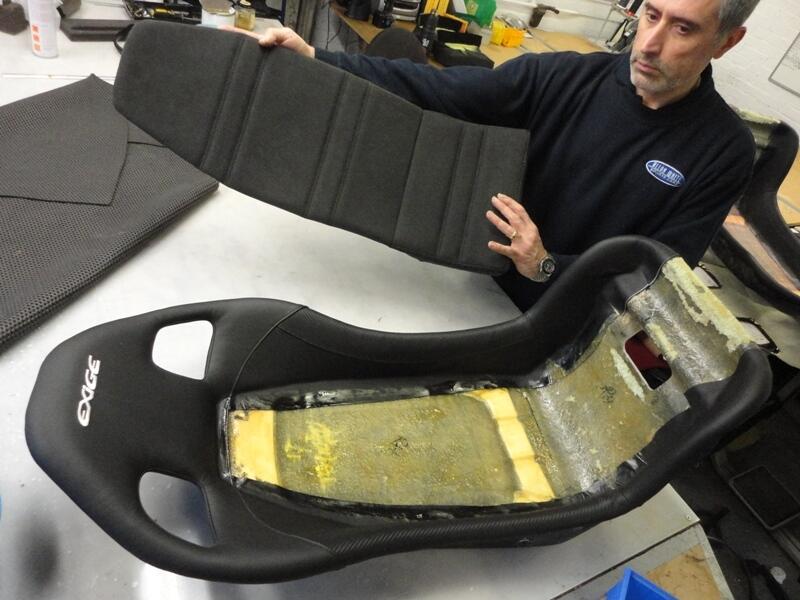
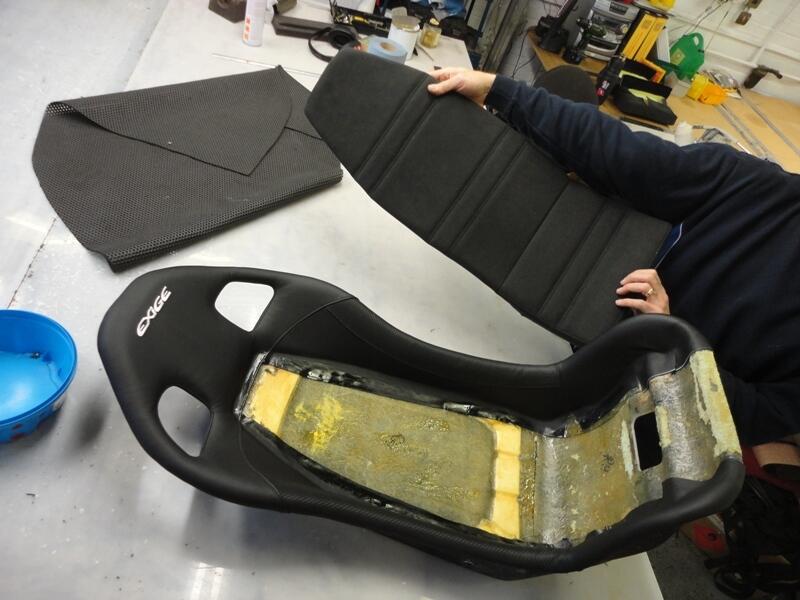
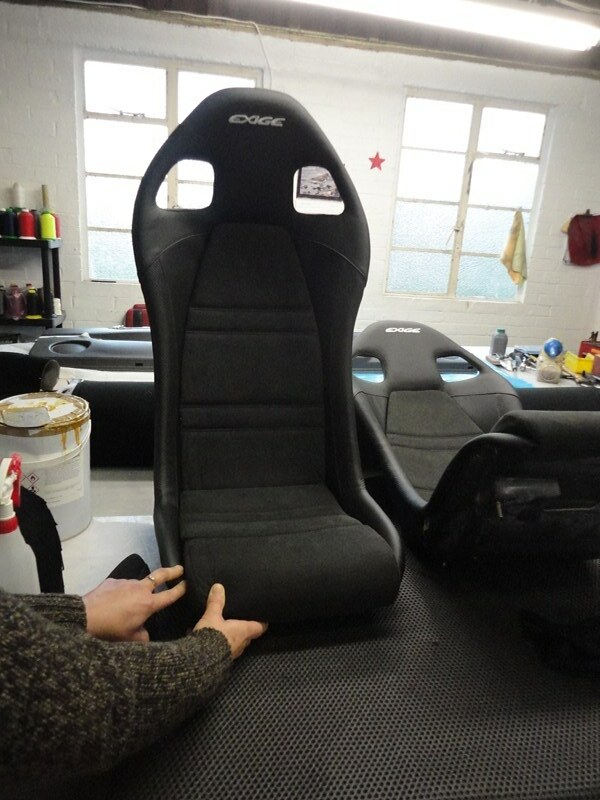
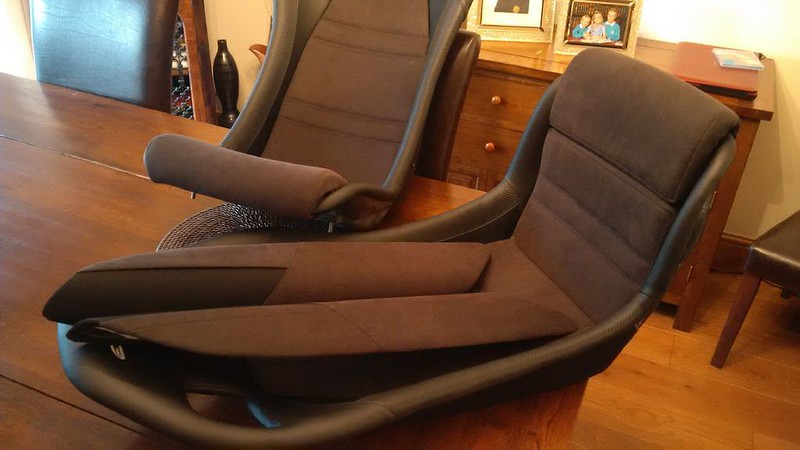
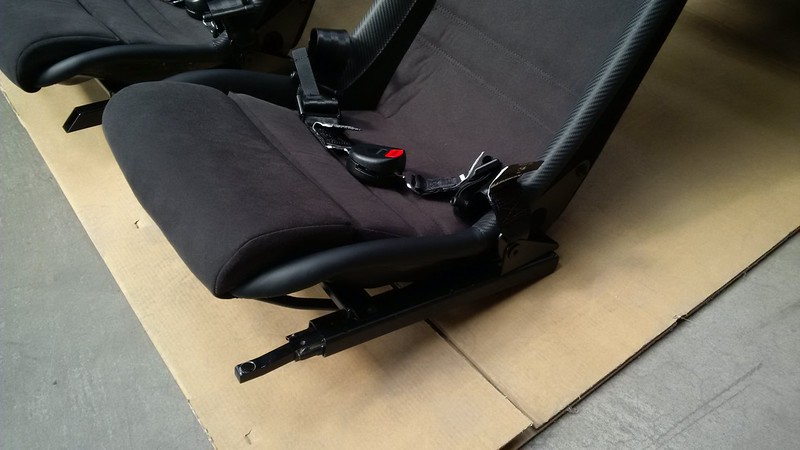
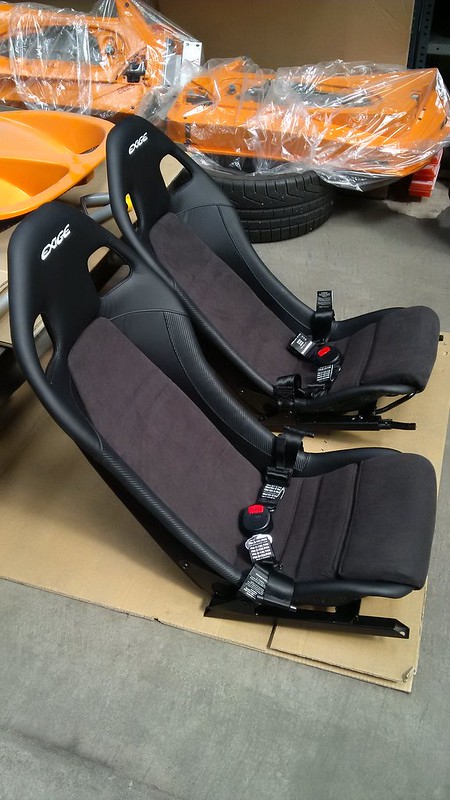
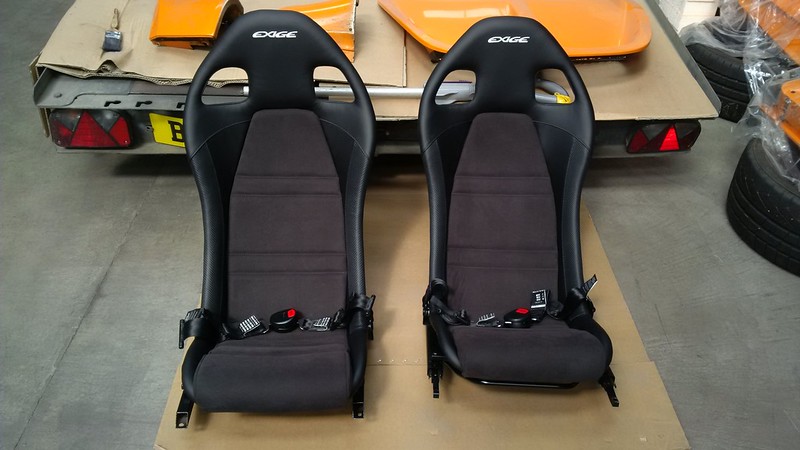
Had the seats and sill covers trimmed at Allon Whites in Cranfield, like for like. They look stunning, I’m absolutely chuffed with the results and would highly recommend there services.
And the difference…they look and smell like new ![]()
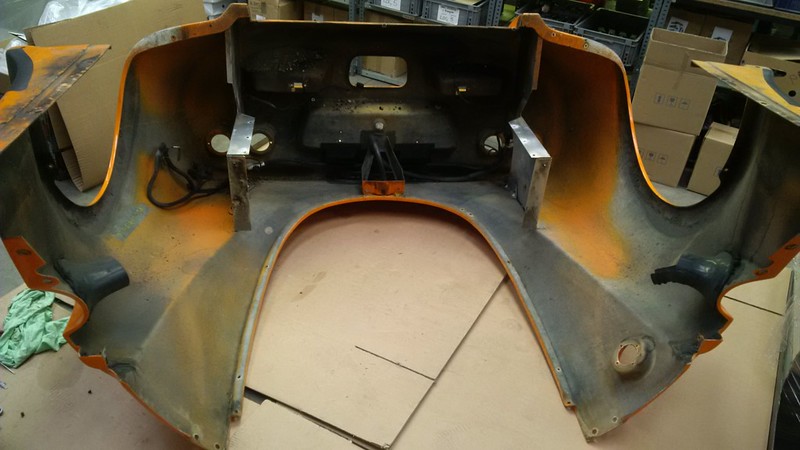
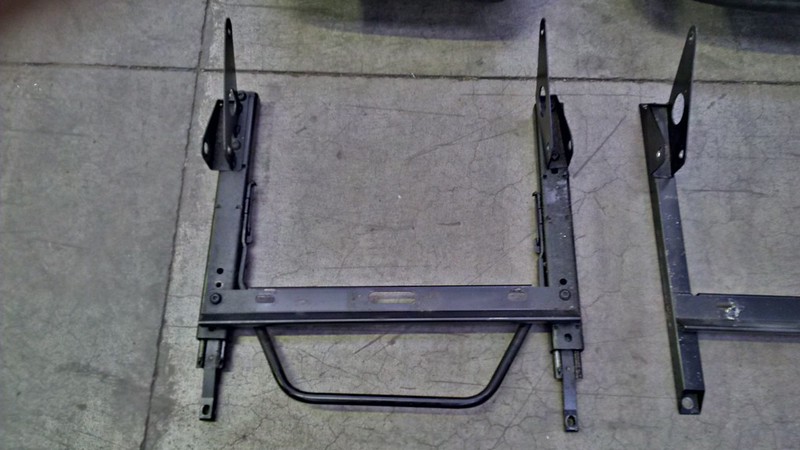
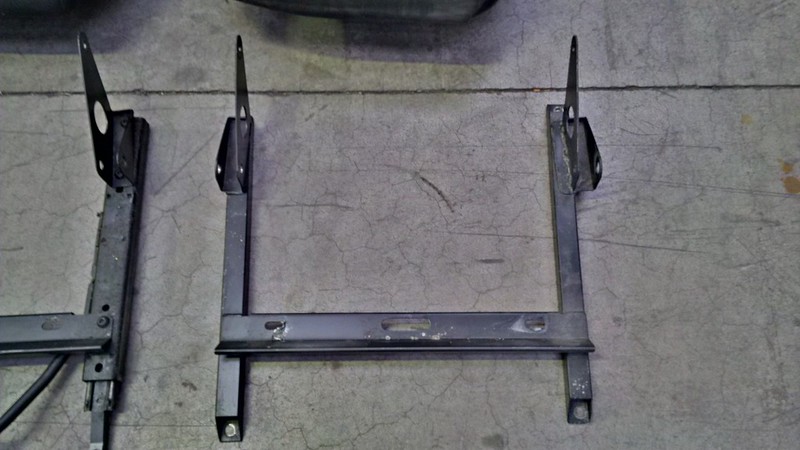
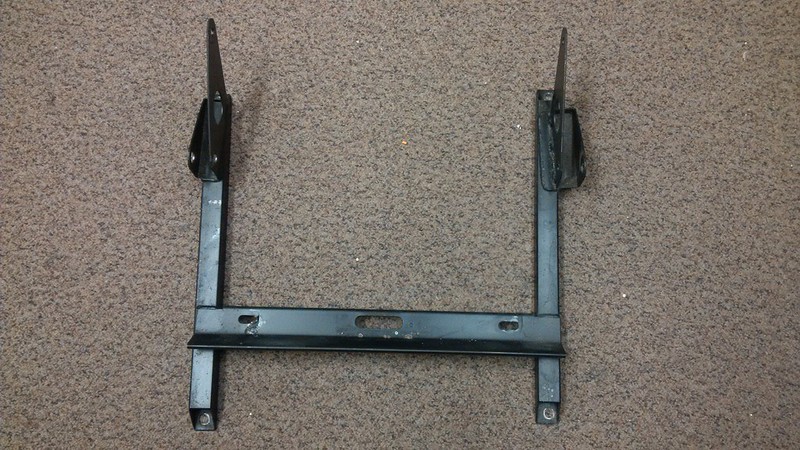
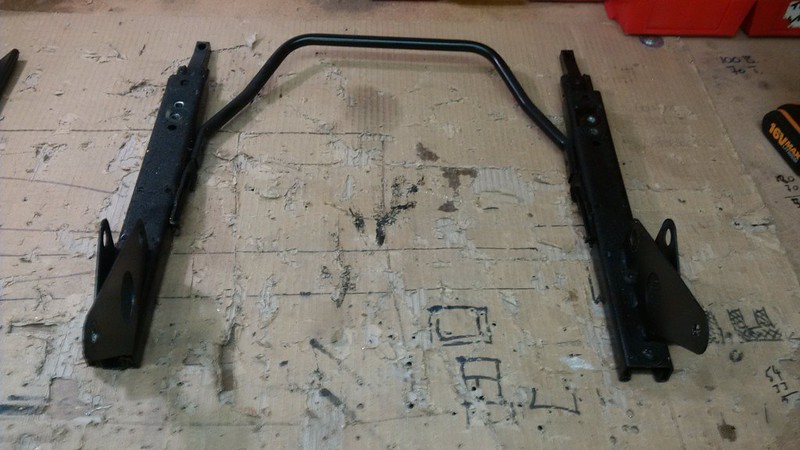
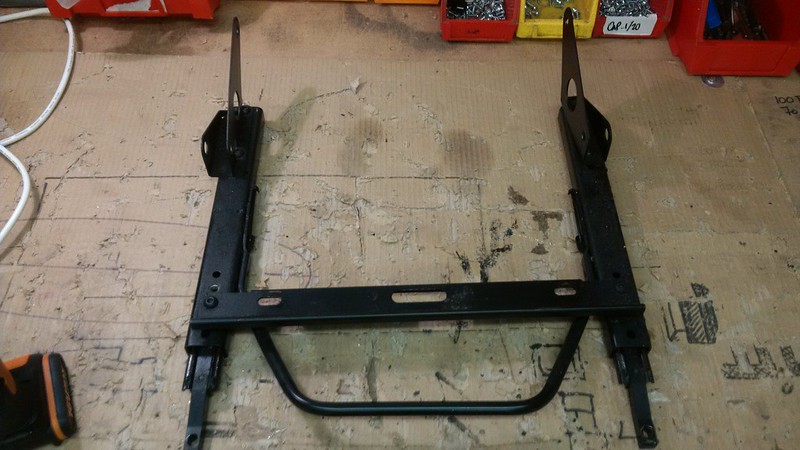
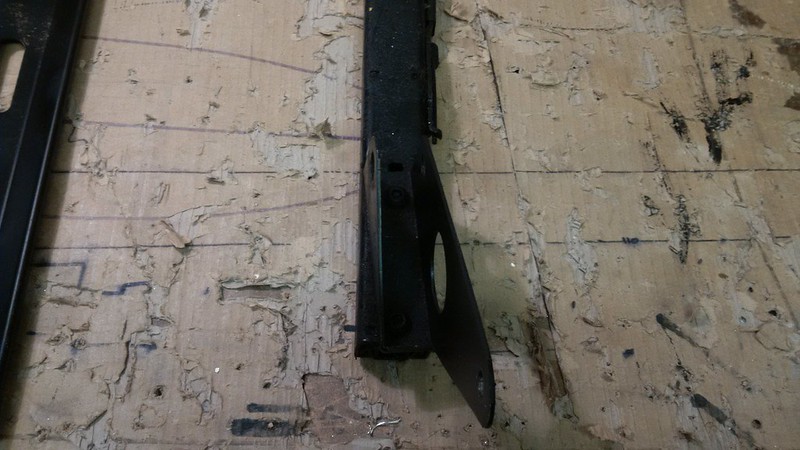
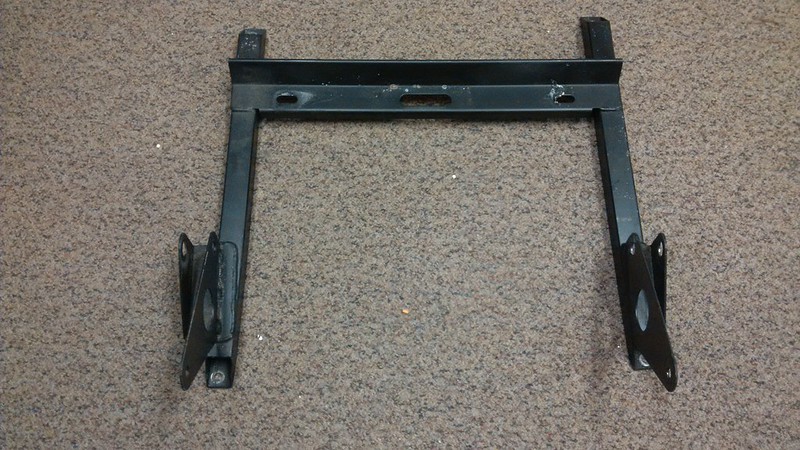
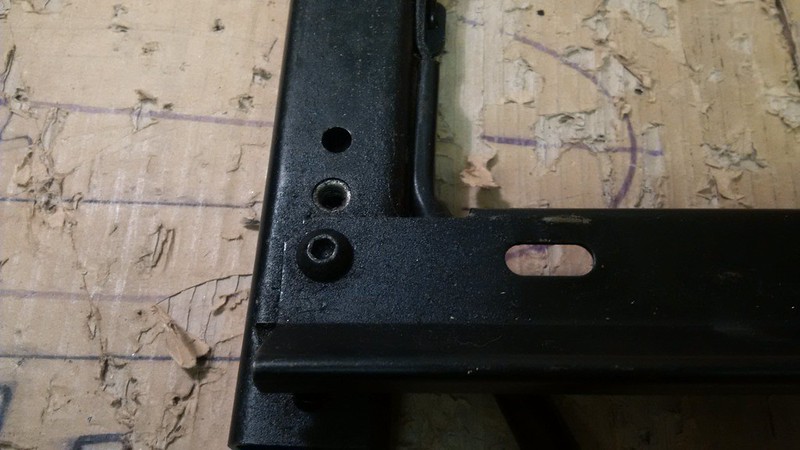
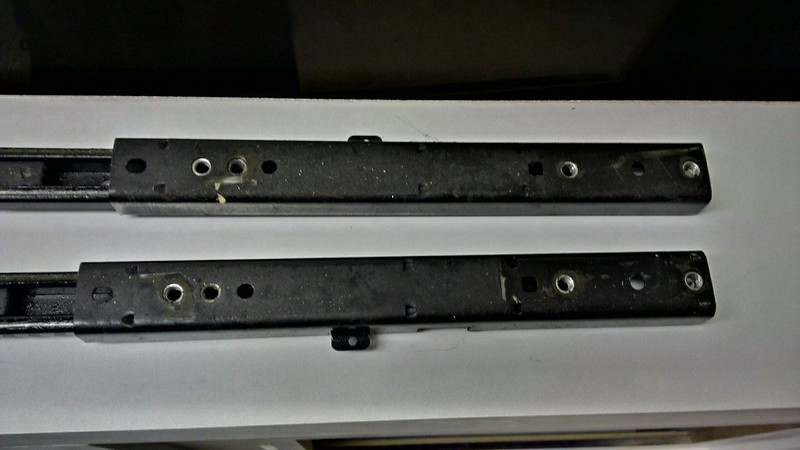
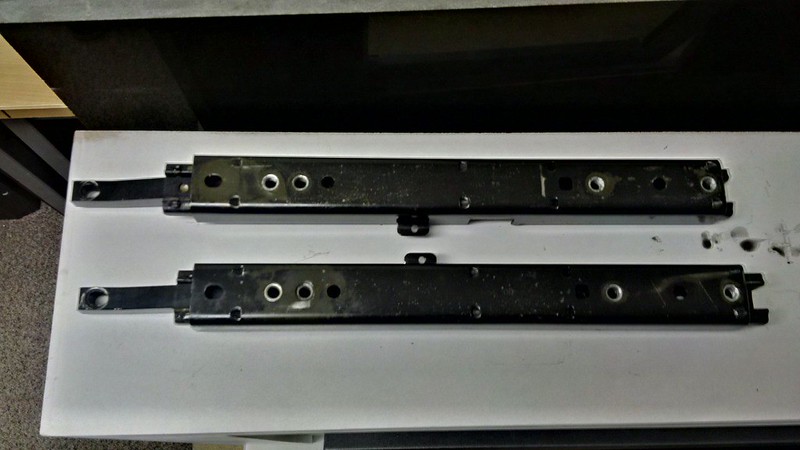
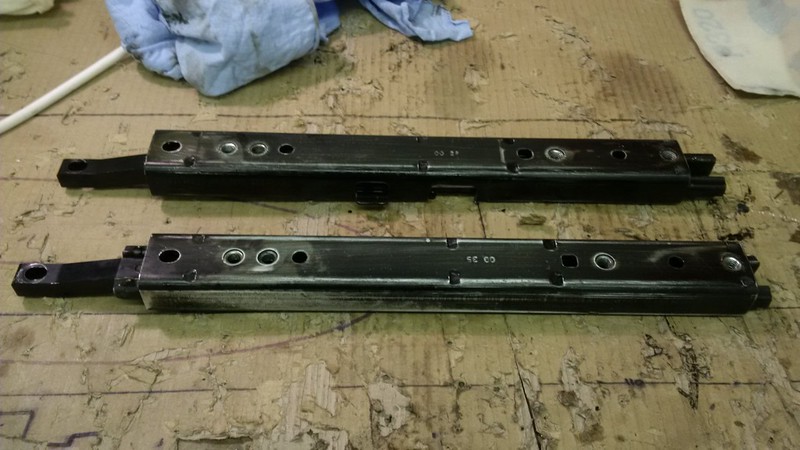
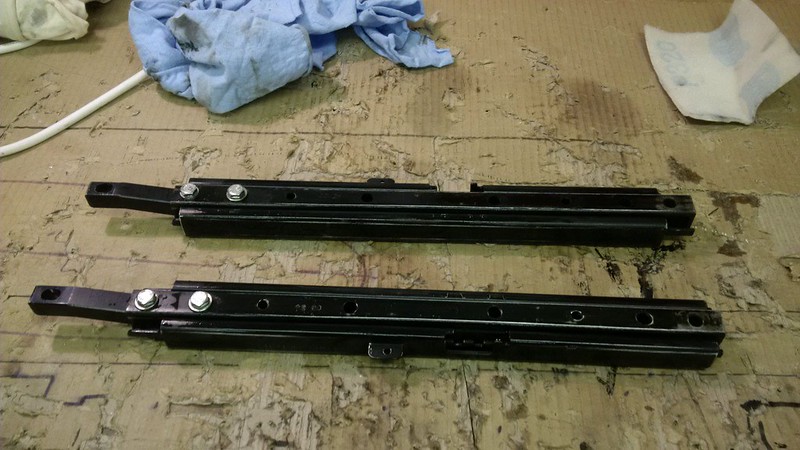
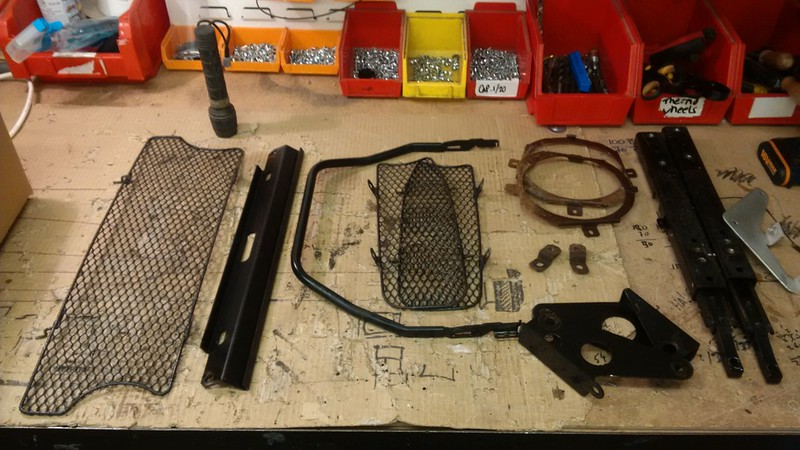
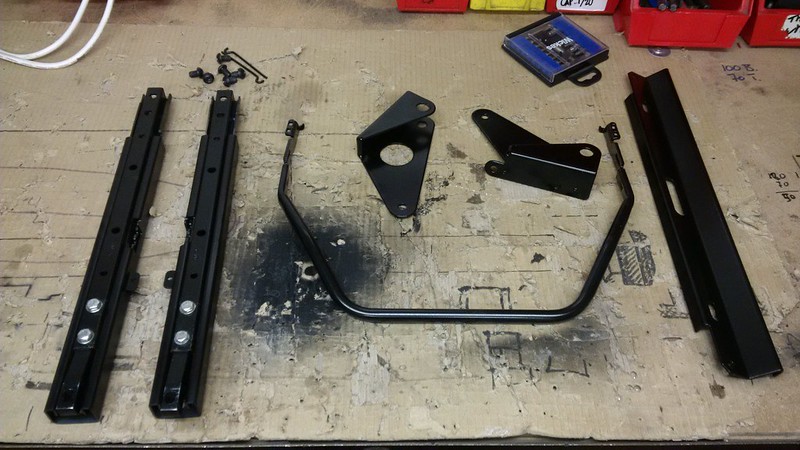
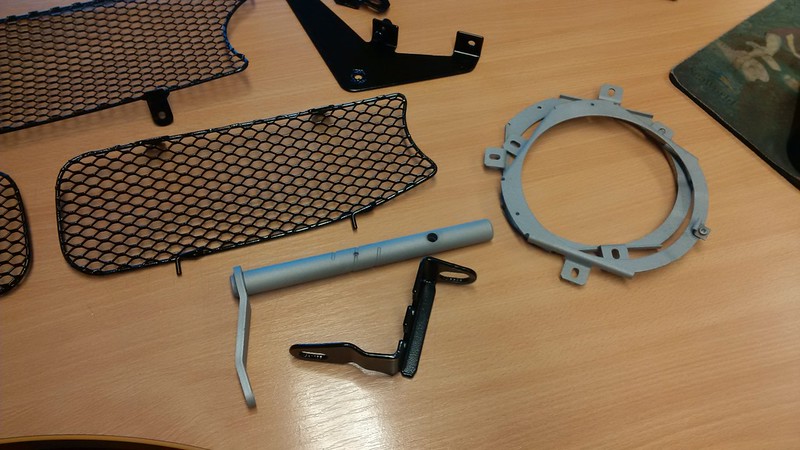
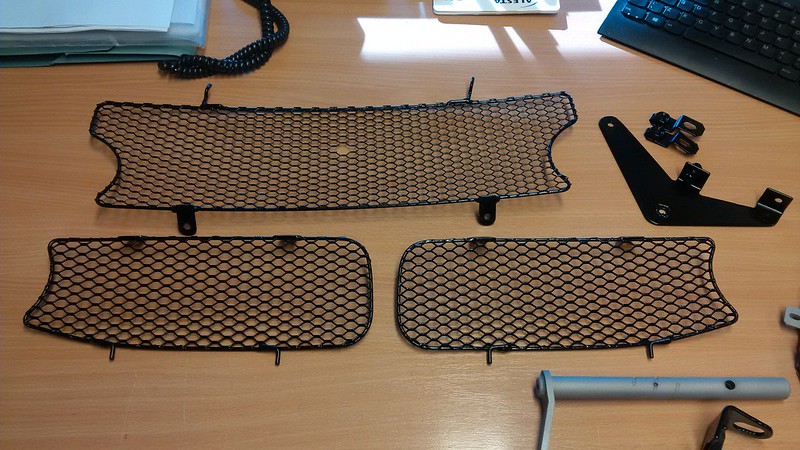
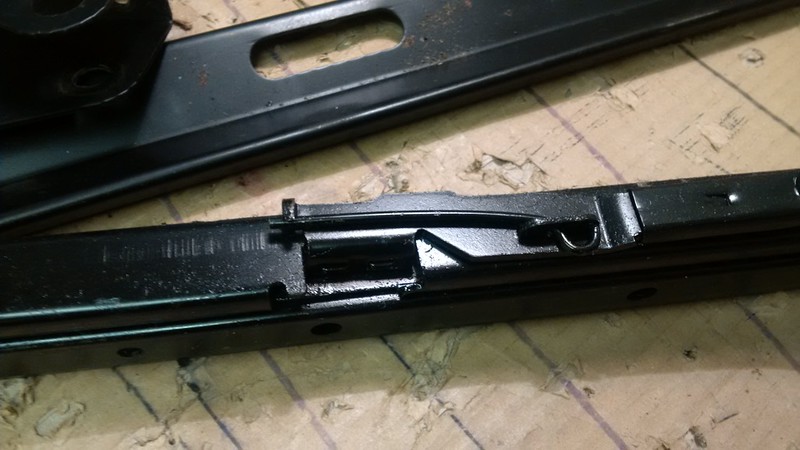
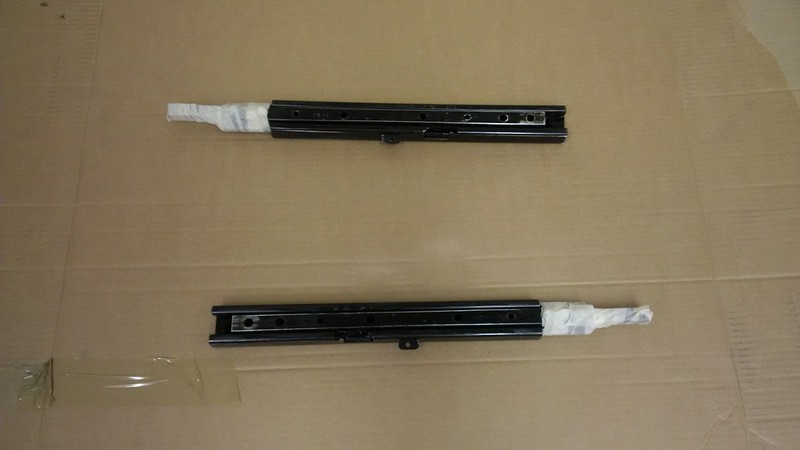
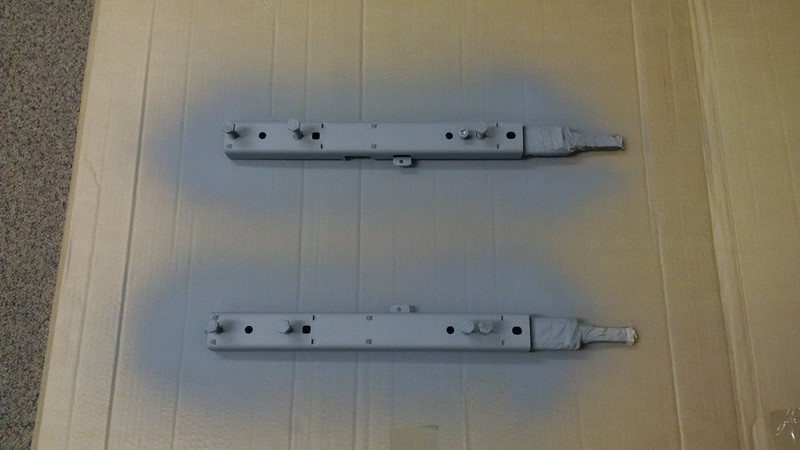
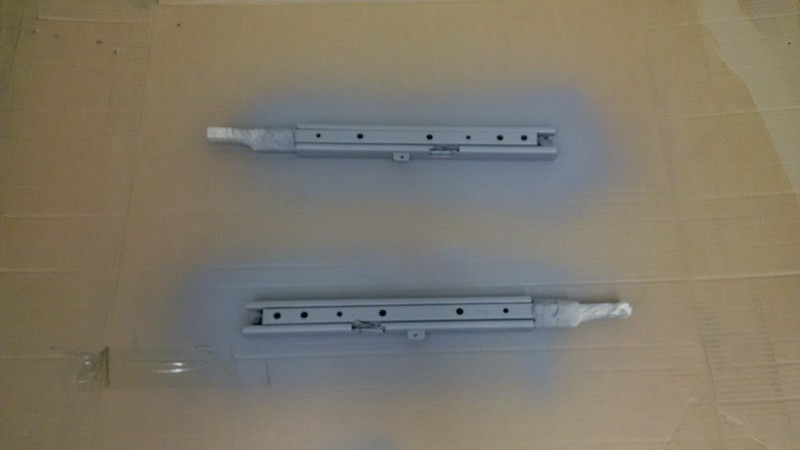
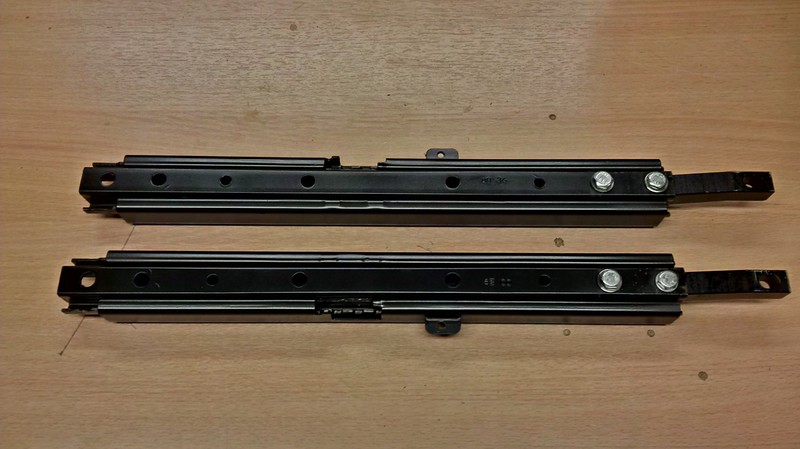
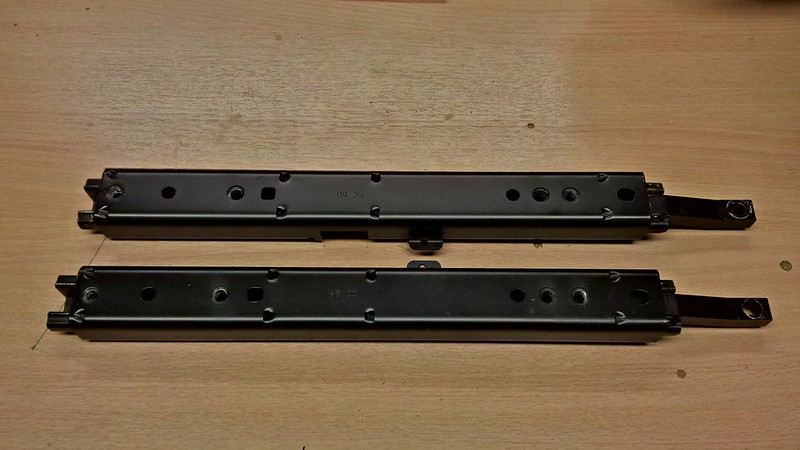
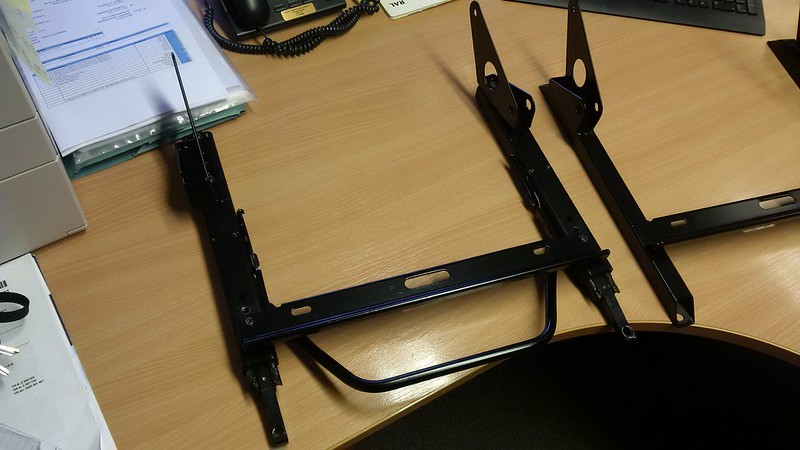
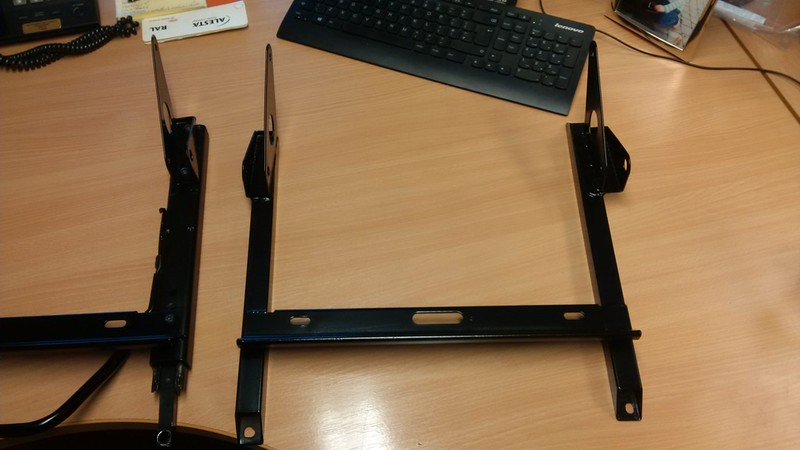
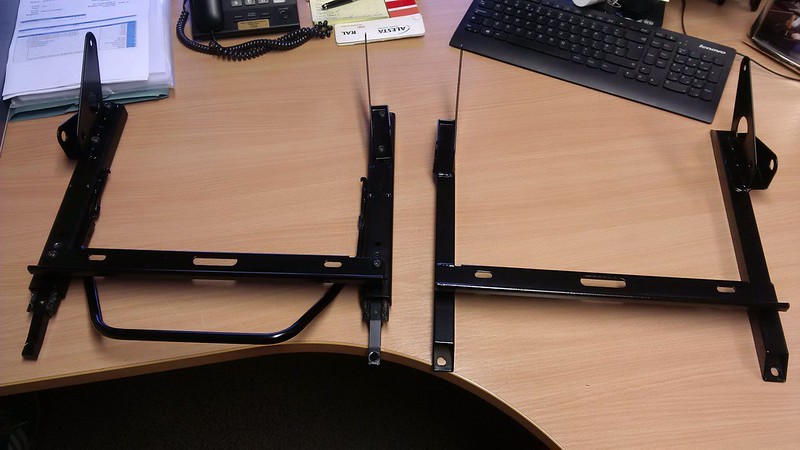
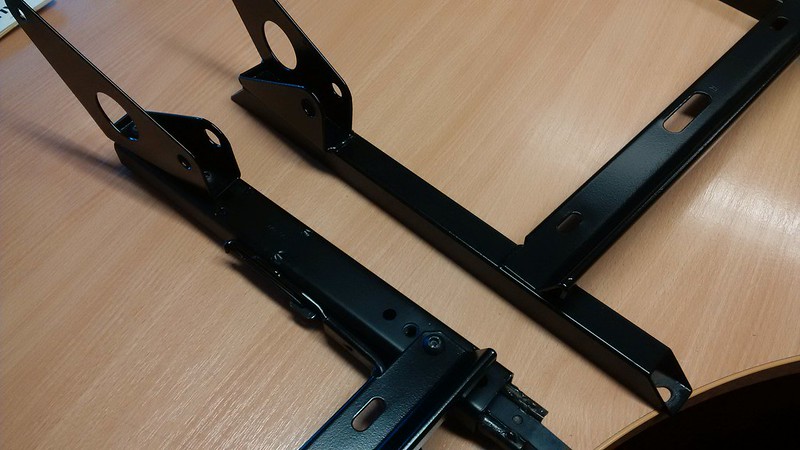
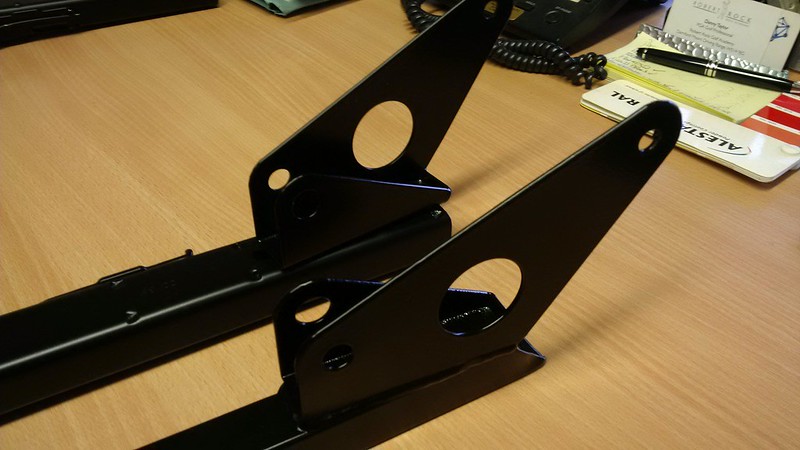
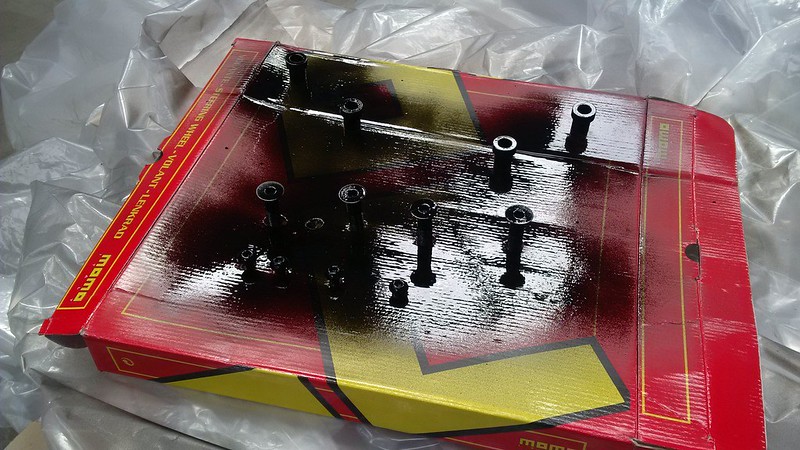
Shot blast and powder coated the passenger seat rail, a few bits off the drivers side and the grills off the front clam. Wasn’t possible to do the runners so they where keyed, primed and wet sprayed, three coats of each. I know Mark had a few issues getting the drivers side to come forward from full back so I had a good look found nothing, cleaned and regressed them ![]()
A couple of other bits shot blast and the clutch release and head light adjust plate ready fro Zinc coat.
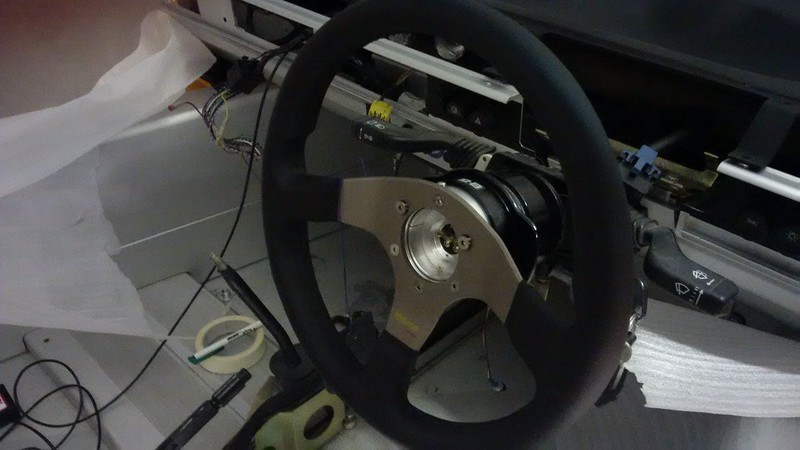
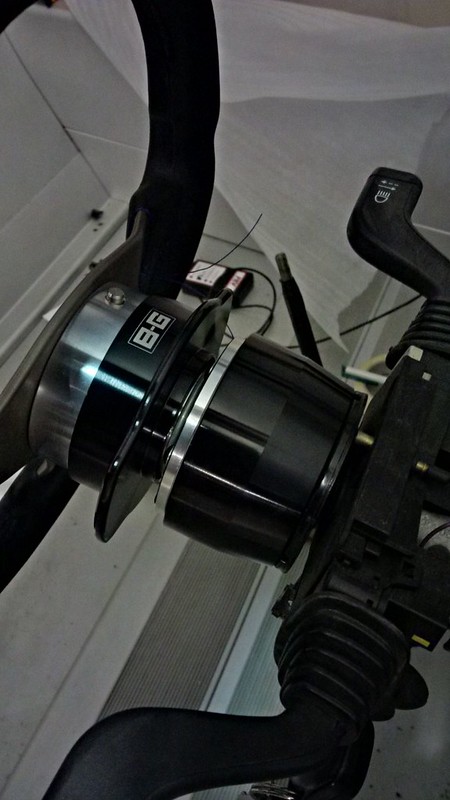
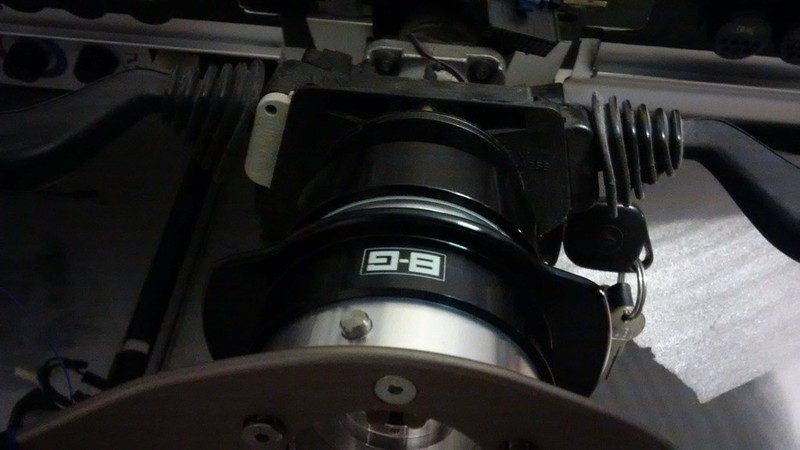
More top products from our Dave at Seriously Lotus but I may pop the original steering wheel back on at some point.
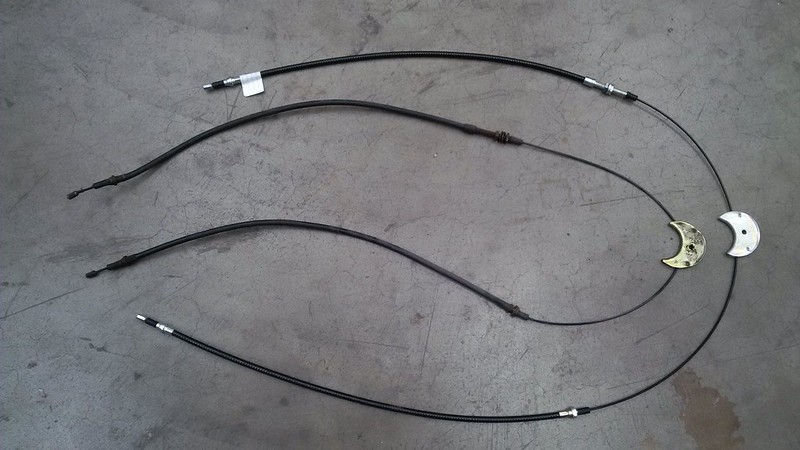
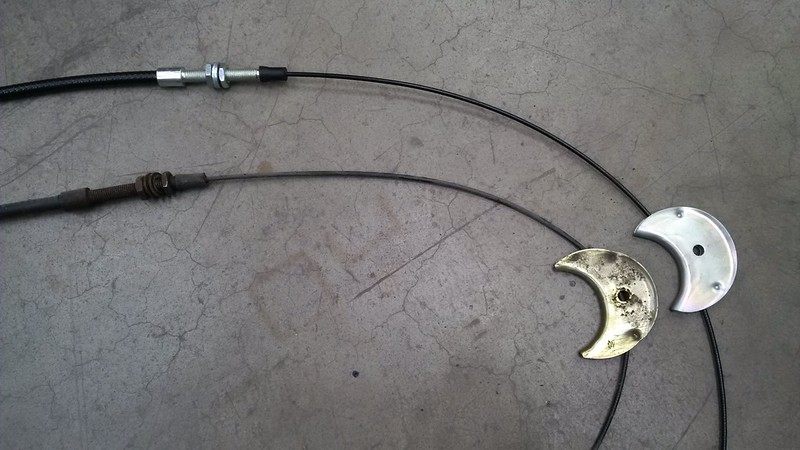
New handbrake secondary.
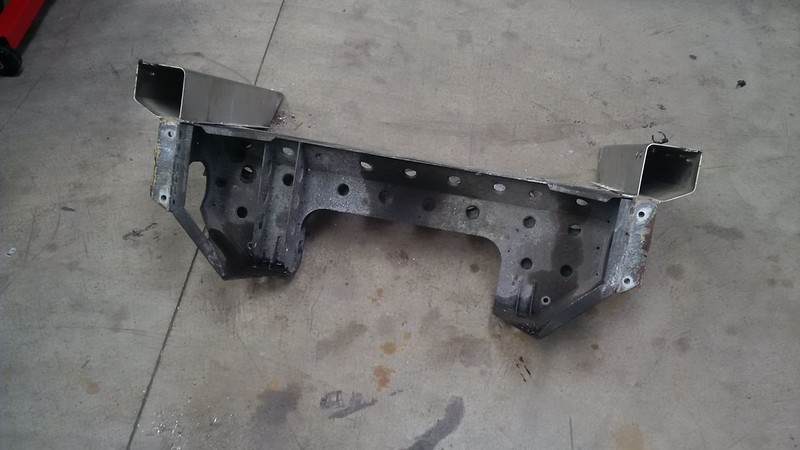
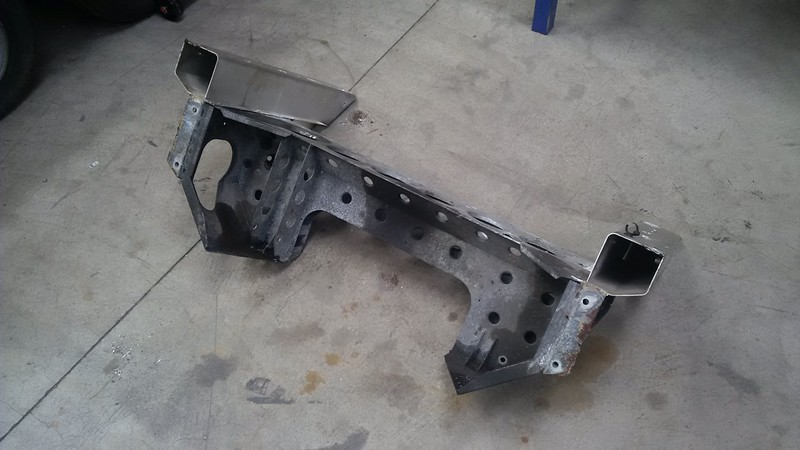
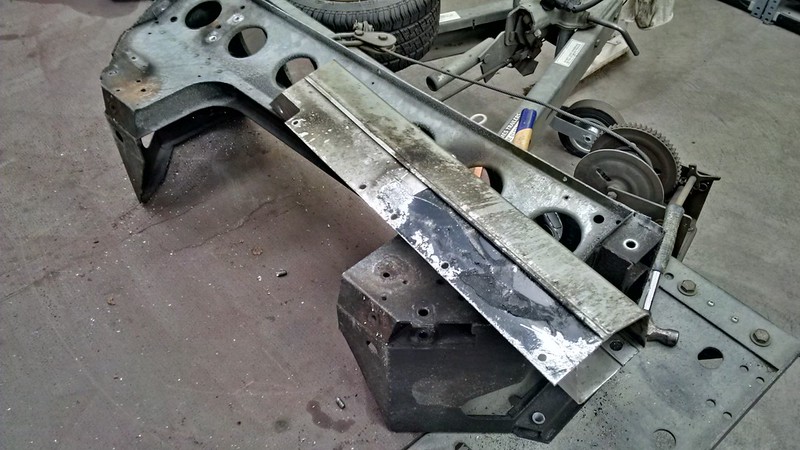
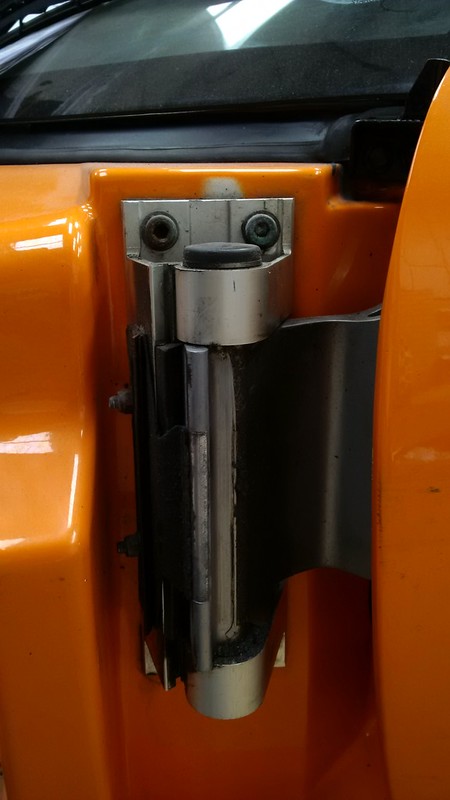
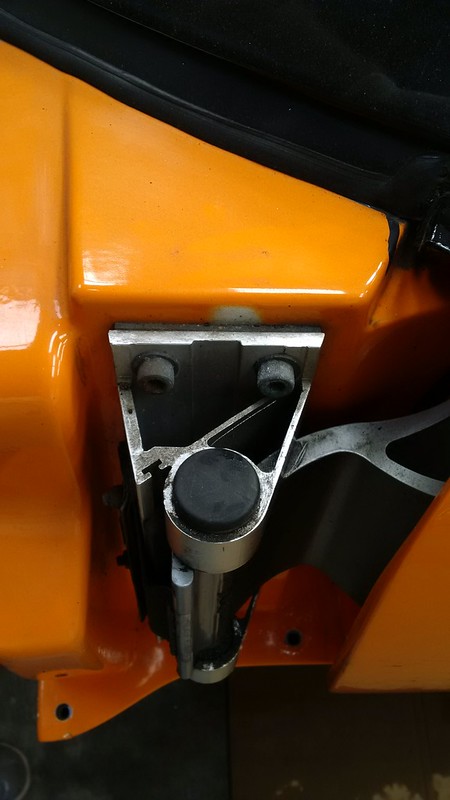
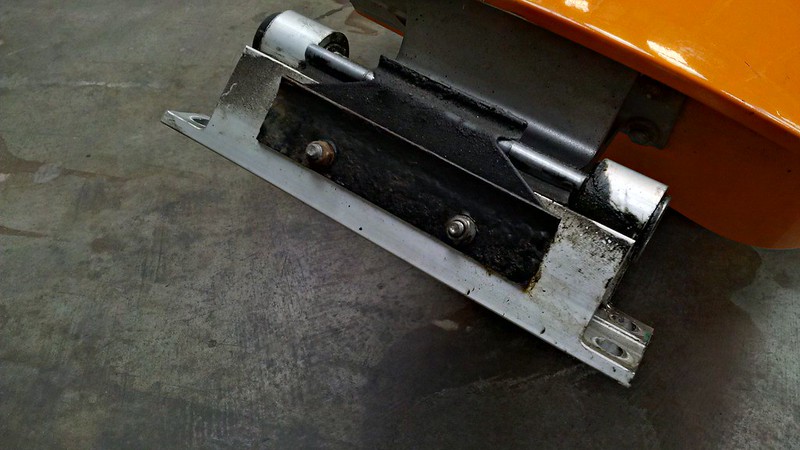
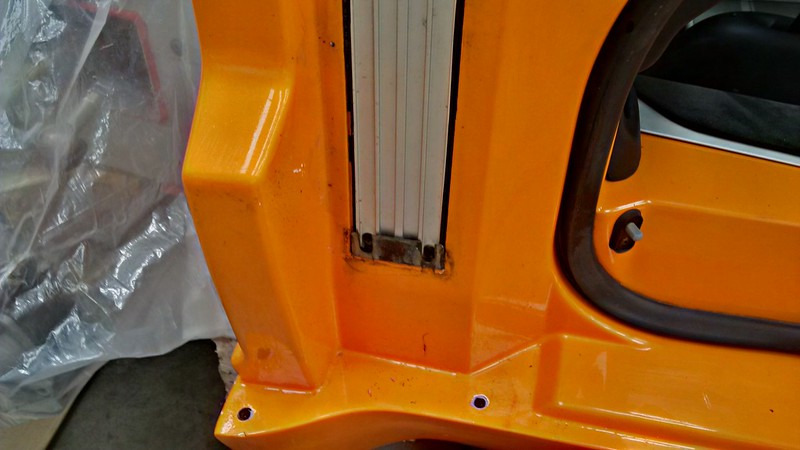
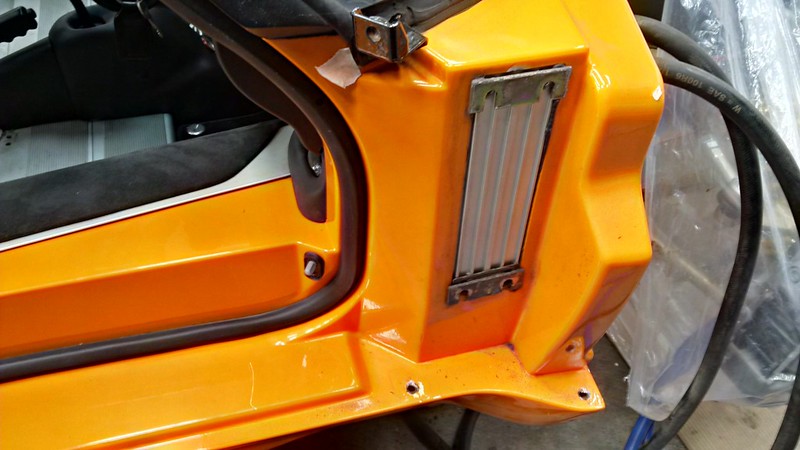
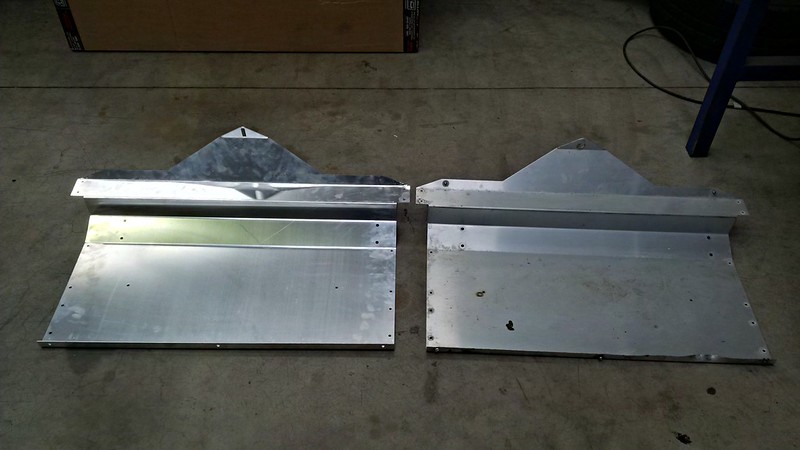
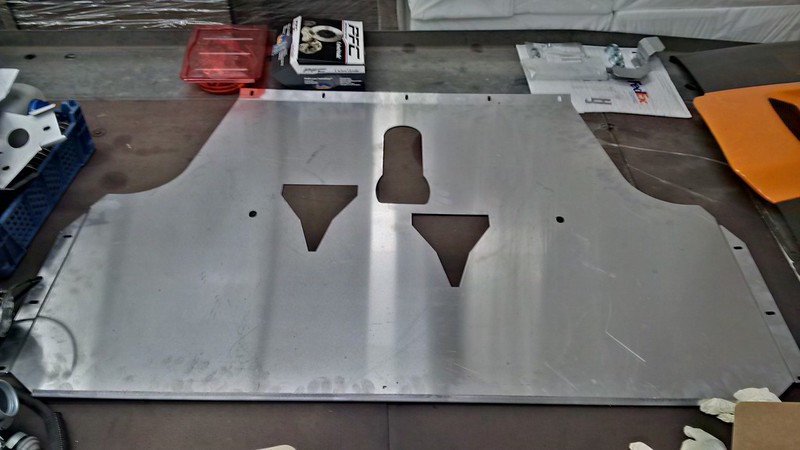
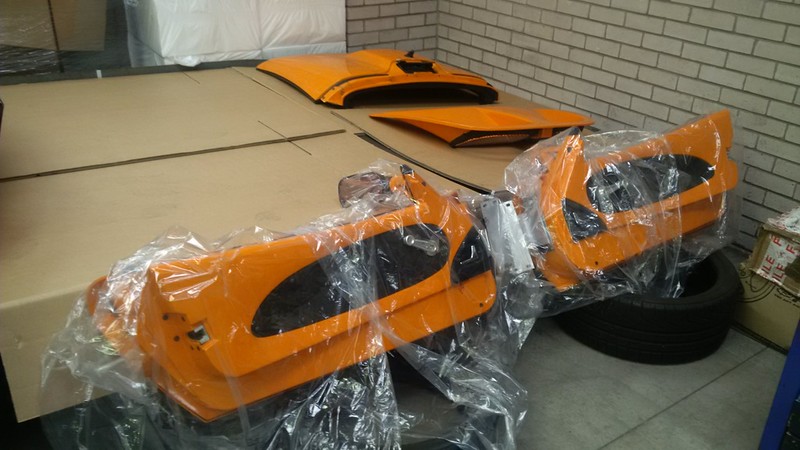
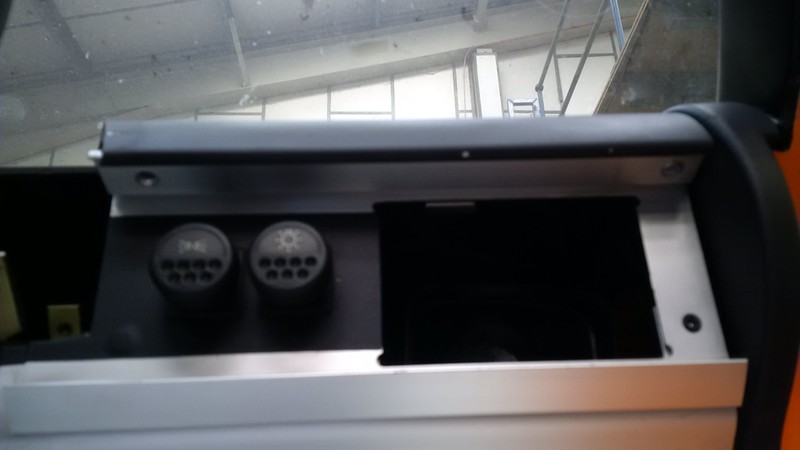
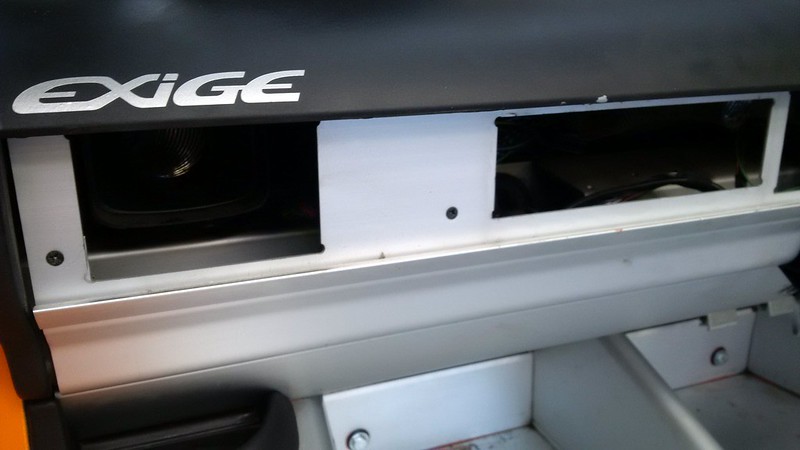
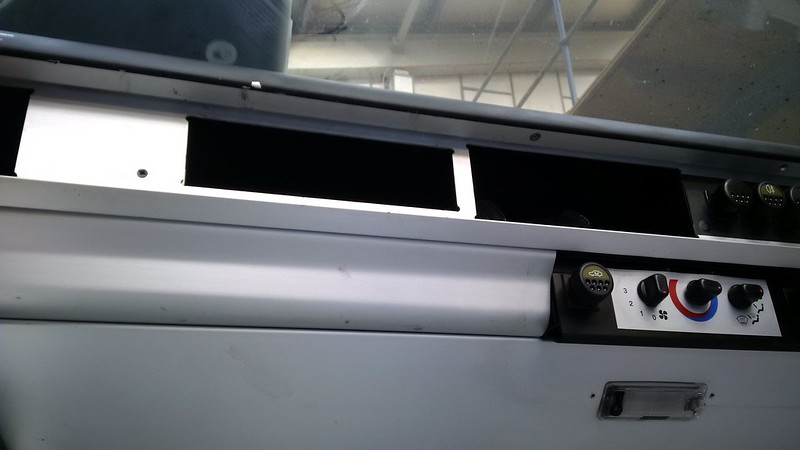
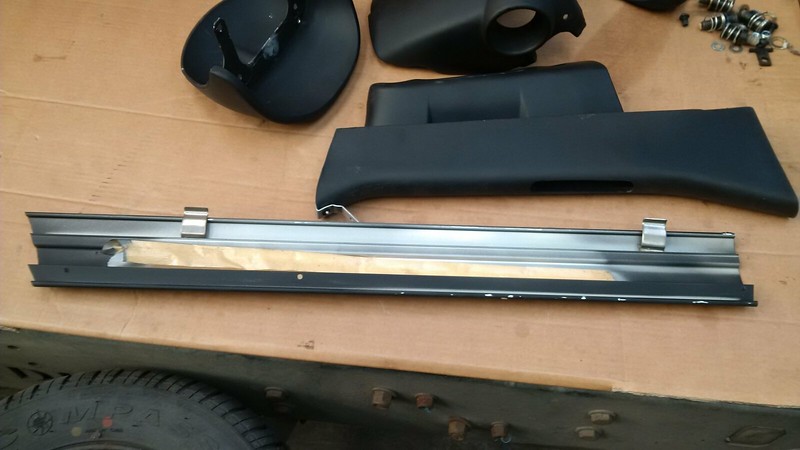
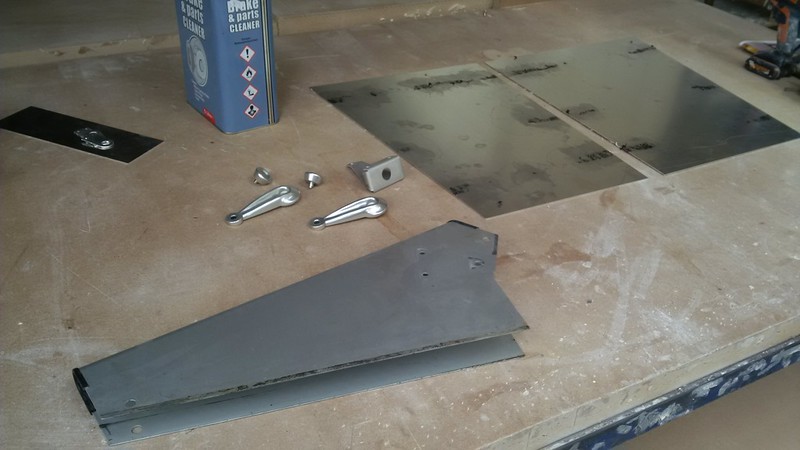
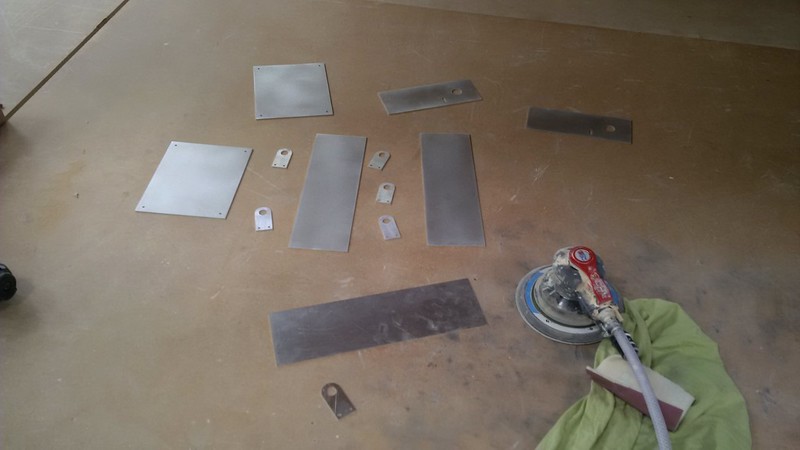
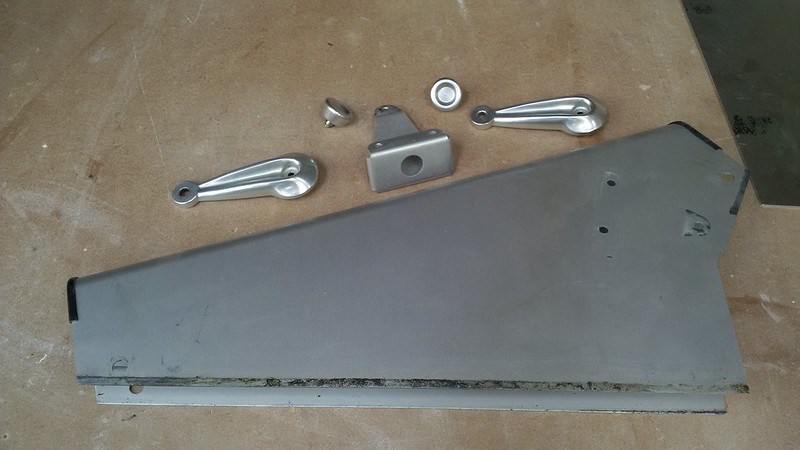
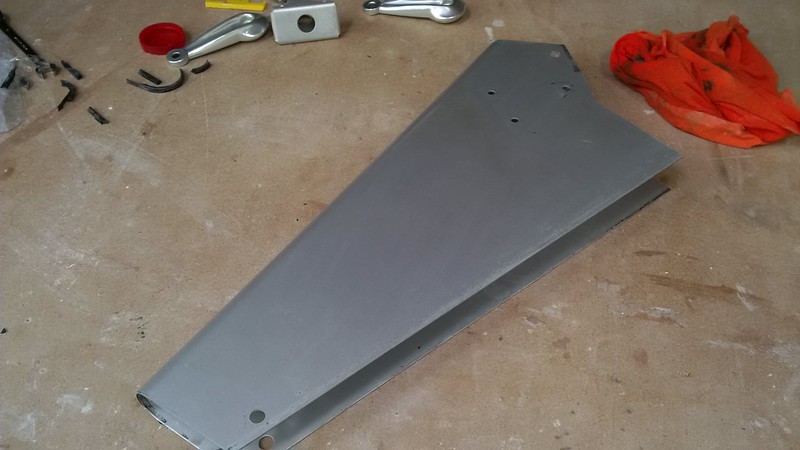
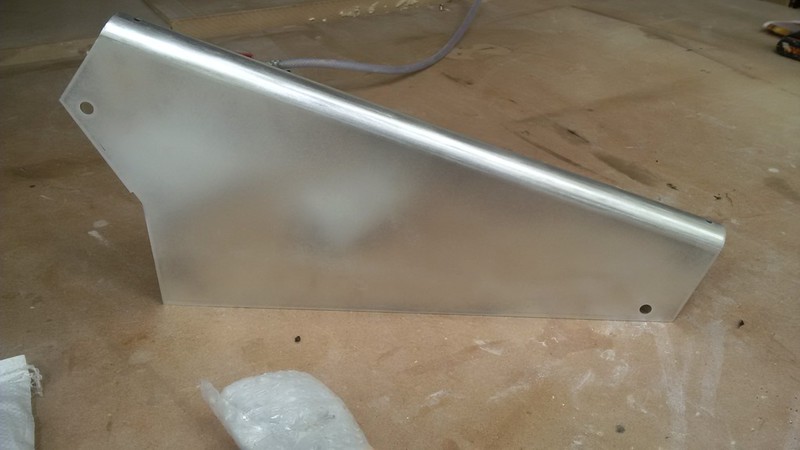
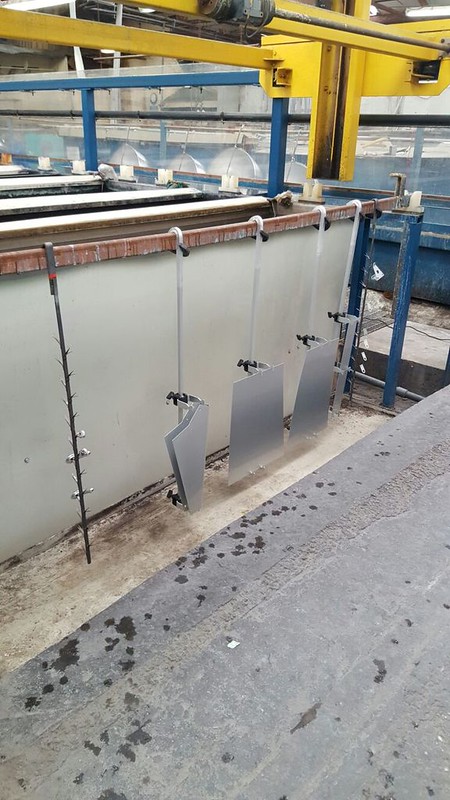
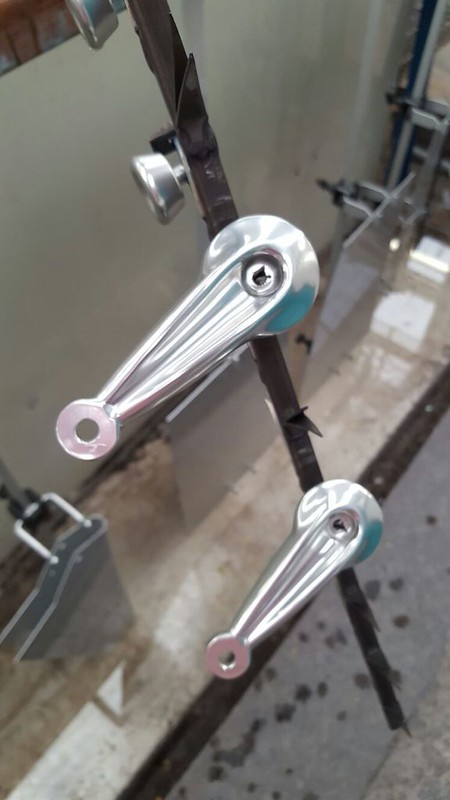
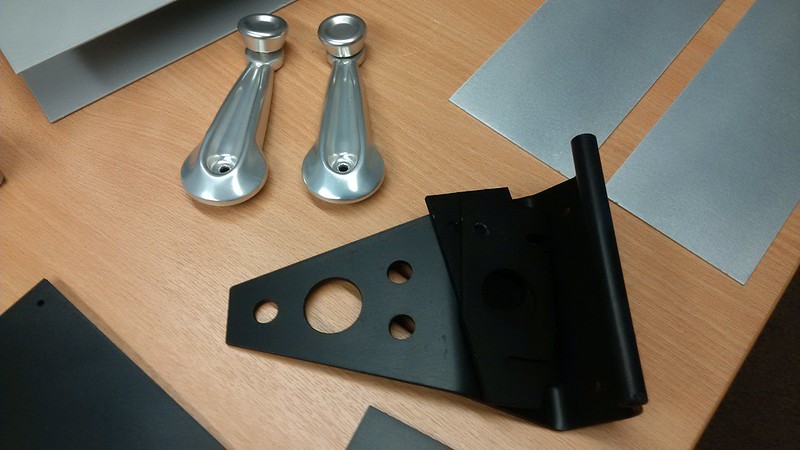
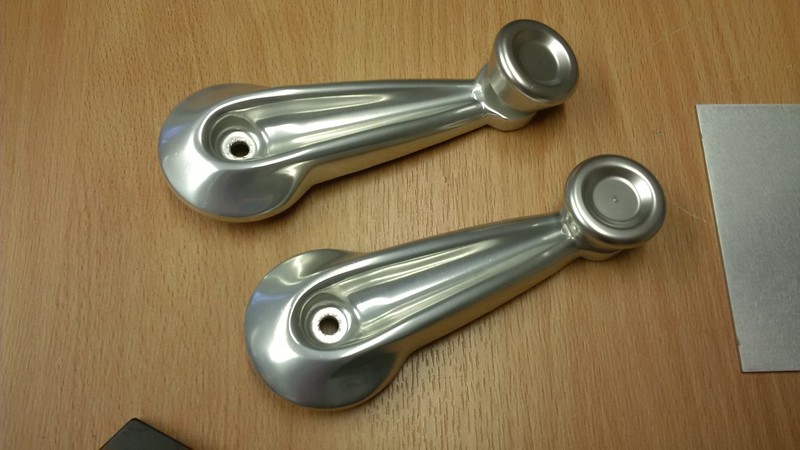
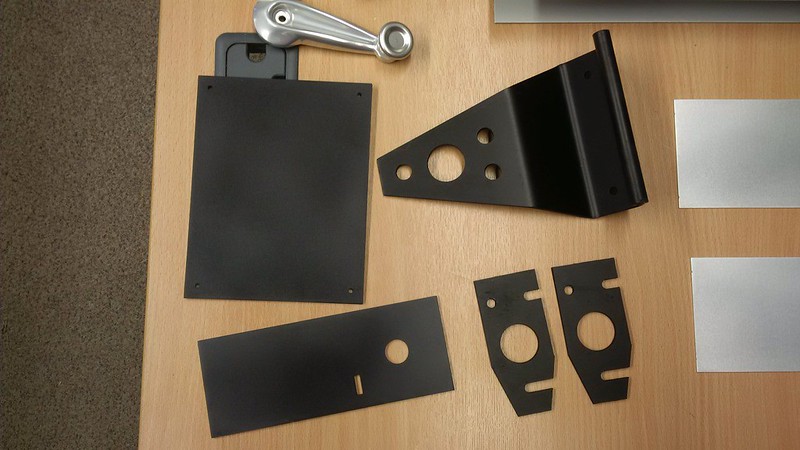
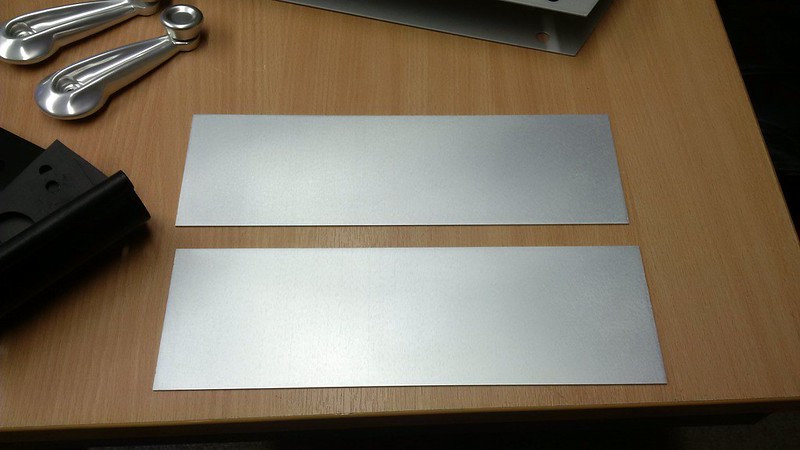
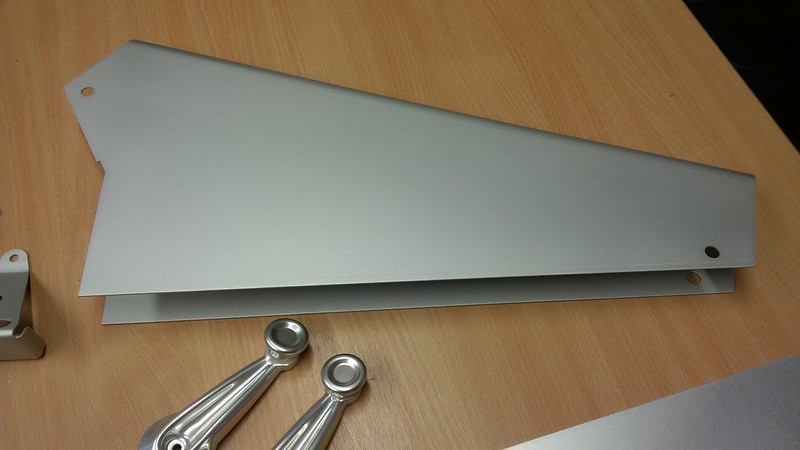
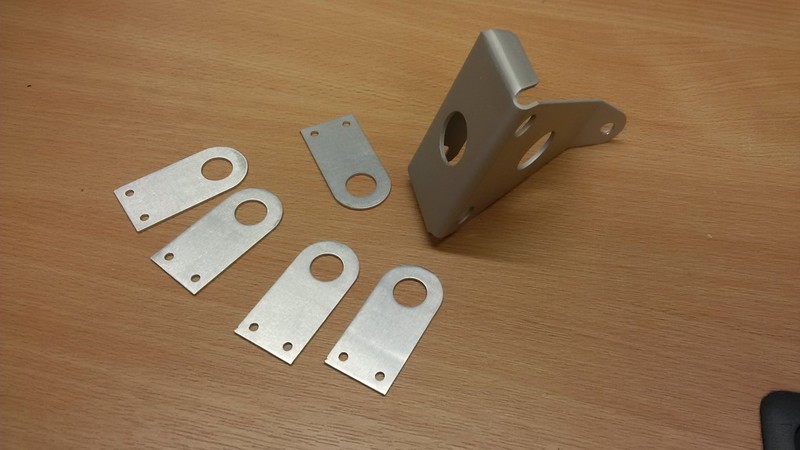
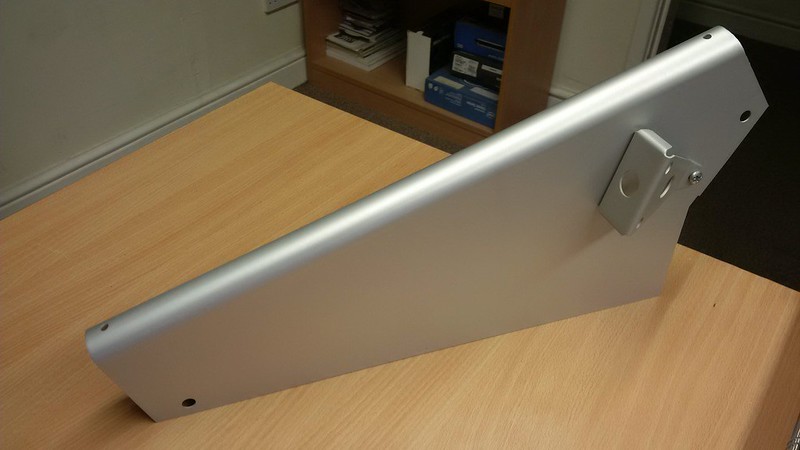
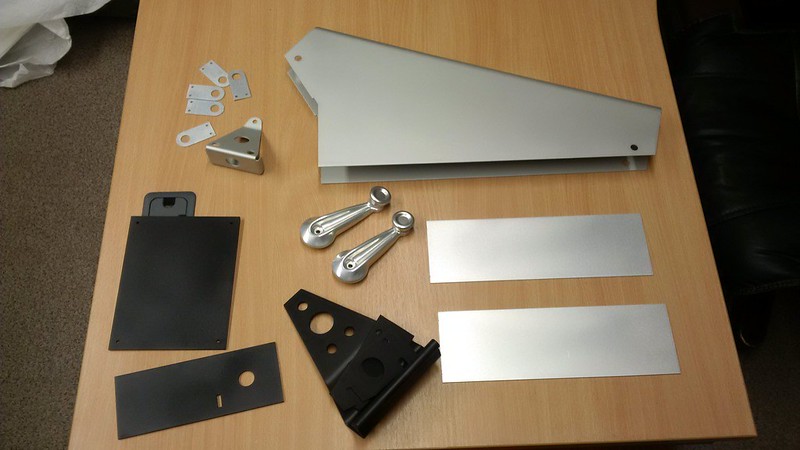
Lots more blasting, zinc coating, sanding, anodising and a little bit of powder coating! And a thermal coating here and there for good measure. Starting with aluminium panels for the footwells, radio blank which I’ll put the extinguisher control box on and a cover for the sill access behind the front wheels. Divider, footrest, window winders, extinguisher nozzle brackets, bonnet hinge, shims and new floor panels.
This is almost a time lapse restoration with that many pictures flooding in.
I really appreciate it because your picture are a kind of documentation or reference of how an Exige S1 initially looked.
I already discovered some details I didn’t knew because there were changed or missing on my car.
Keep the pictures coming ![]()
I’m still looking for a good picture showing the connector that connects from the engine bay loom to the speedometer wheel speed sensor (left hand side).
The connector is missing on my car and I’m not able to find a replacement.
If you mean the connector that plugs into the sensor, then I have new ones here?
