After my shenanigans at Blyton and flirting with the bank I ordered a right rear arch liner which is a part thats for the 2004 - 2006 exige only.
I ordered via scottrussellsportscars as he often has a few used parts in but not this time so ordered new.
Fairly straightforward part to fit with some minor words of encouragement required as some of the holes dont quite align without some minor manipulation.
After a solid 13hr sleep ( must have needed it! ) and a decent morning watching my youngest play football I found myself with a free afternoon. I mean how hard can it be retrimming a roof on a lotus?
My though process was if it all goes to shit I can just rip off the fabric and start again , or send it to a trimmer or just buy a carbon roof in the man maths reality that its cheaper to sell this mohawk to someone and buy a carbon one than pay someone to retrim …
Anyway, with the thought of carbon long gone I made a start. I laid out the fabric on the roof. Reality set in. I really have no idea what I am doing here …
I did the main section on the left , then the right. At this point I could smell the colour 13 so went for a walk outside for a bit. I returned after about 30mins and removed all the creases , used a gallon more adhesive an knicked the wife’s “best” scissors to trim the edges.
It resulted in a more than acceptable finish. There appear to be some marks on the lining on the image but I think its just due to the long exposure. There are none visible by eye …
Next I glued on the stretchy eBay fabric and carefully used double sided tape to roll the edges over. I also made a template in case I destroy it fitting it or anyone else needs a template.
It fits but needs gluing in. I’m probably going to use lots of high strength double sided tape to fit it as I’m worried about getting glue in the wrong places when install it upside down.
This is an awesome thread and given me some much needed motivation… I have a katana’d S2 in the same colour as yours and I’m looking to chargecool it and get the SCS.
I assume I have very little chance of getting an inlet manifold that will work though!? Any ideas?
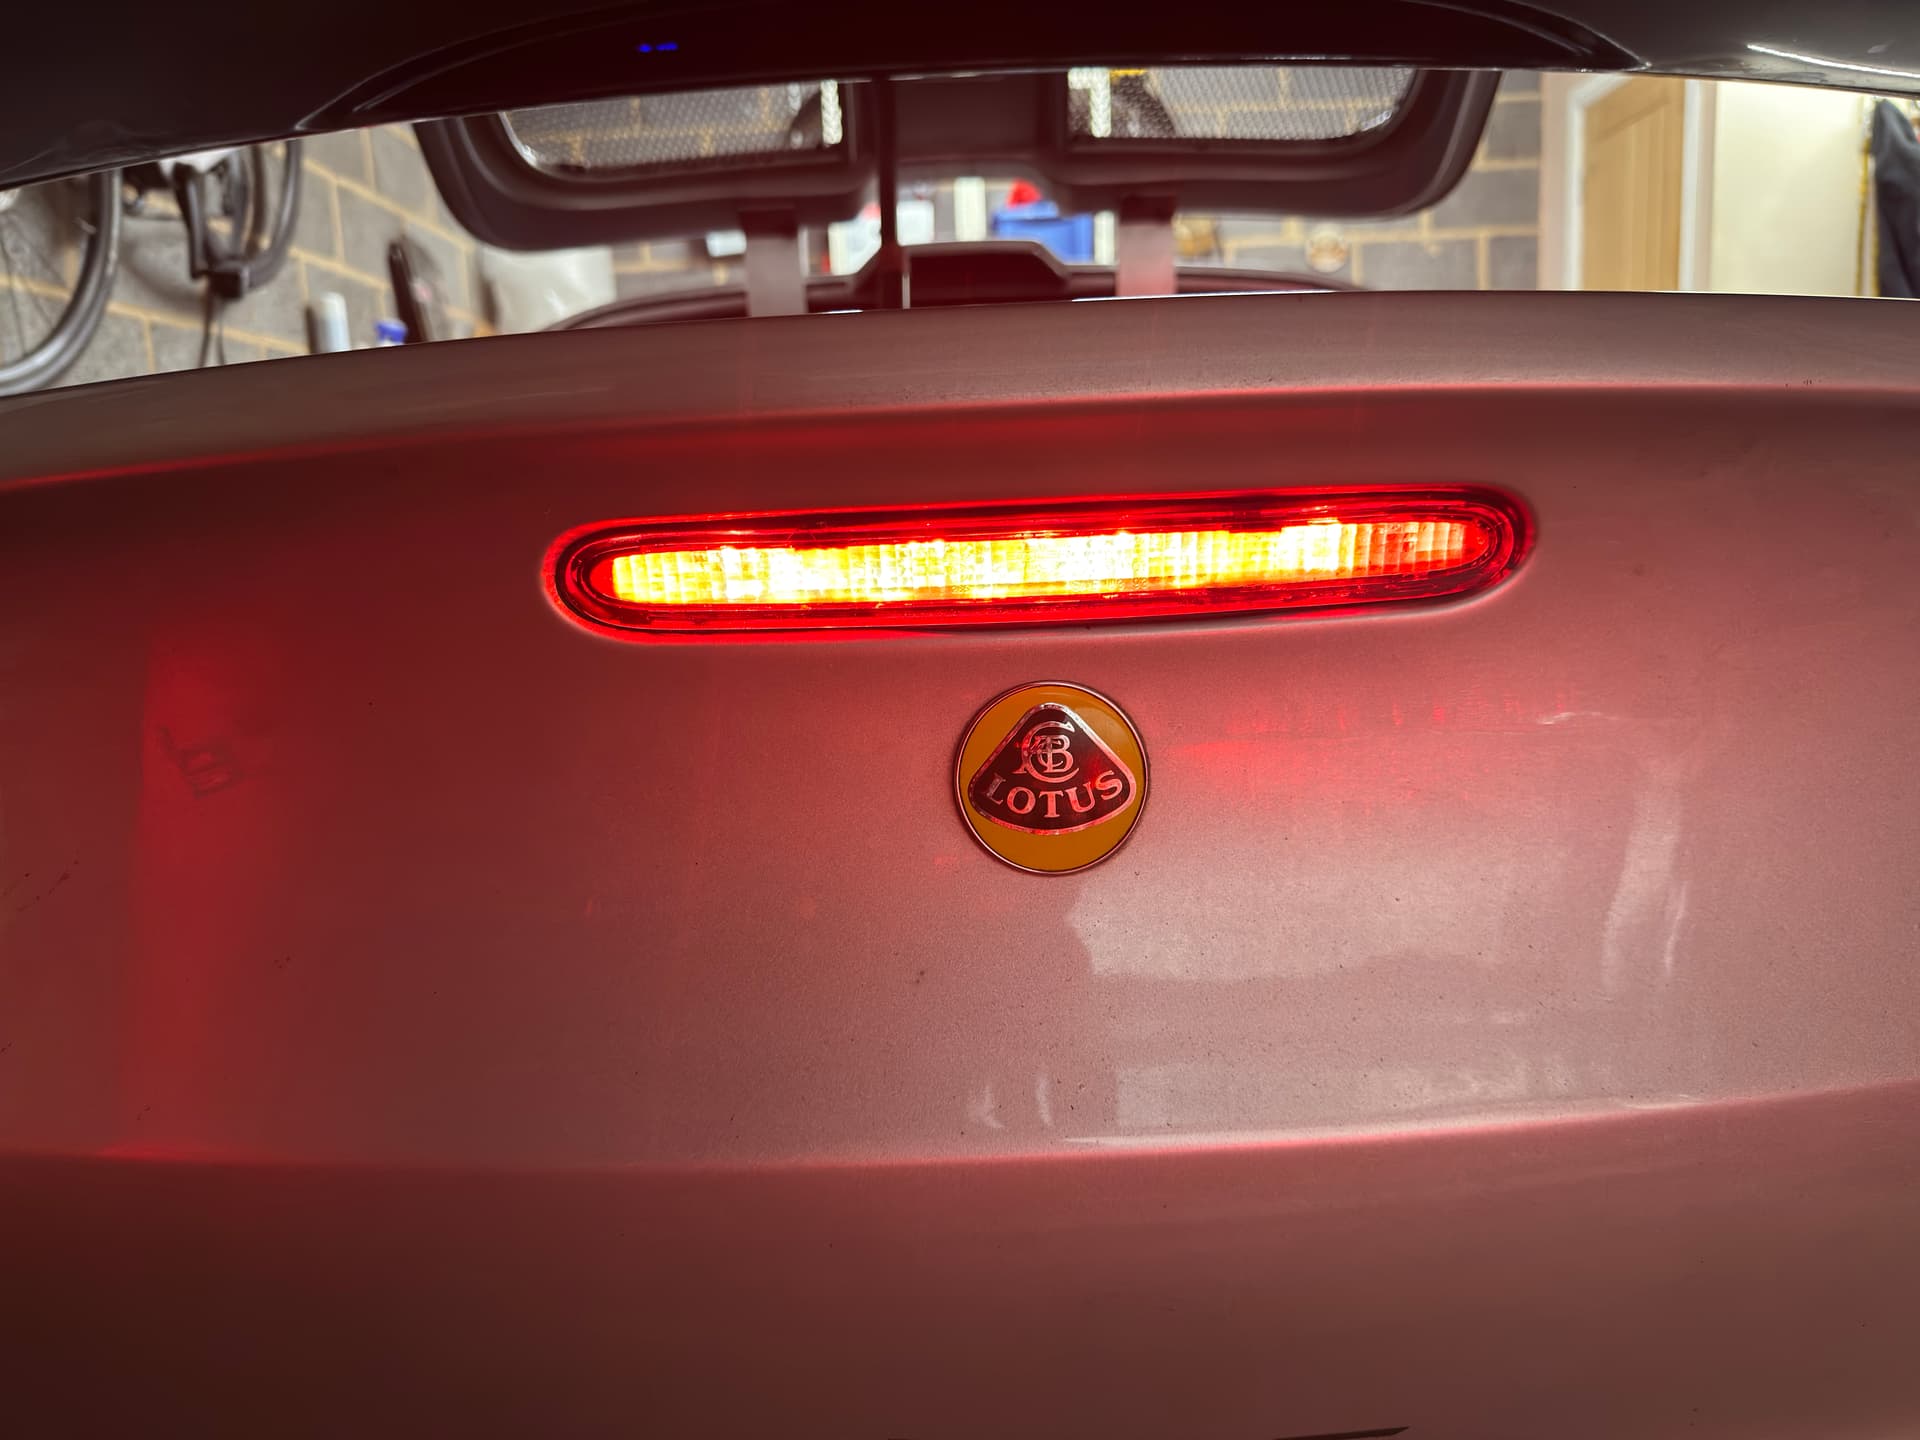
The rear stop light on the exige has bugged me for a bit. It had a crack in the lens. Fortunately I have been informed of the cross refence part. Its from a Saab 9-3 - and the convertible one fits for sure!
I found one on ebay for £24 ( used ) so took the plunge.
Someone has been here before me. I noted that nyloc nuts ( hardware not lotus group ) had been used and a nut was extremely tight. The other not so bad. I assembled a 10mm deep socket onto several extensions so I could start undoing. Eventually I managed to crack the nut off and removed the existing cracked lens.
You can just about make out one of the nuts that done up to 250nm or bastard tight as its also known