Something like this @Fonzey ?
Appreciate it’s still a rear lower exit exhaust
Something like this @Fonzey ?
Appreciate it’s still a rear lower exit exhaust
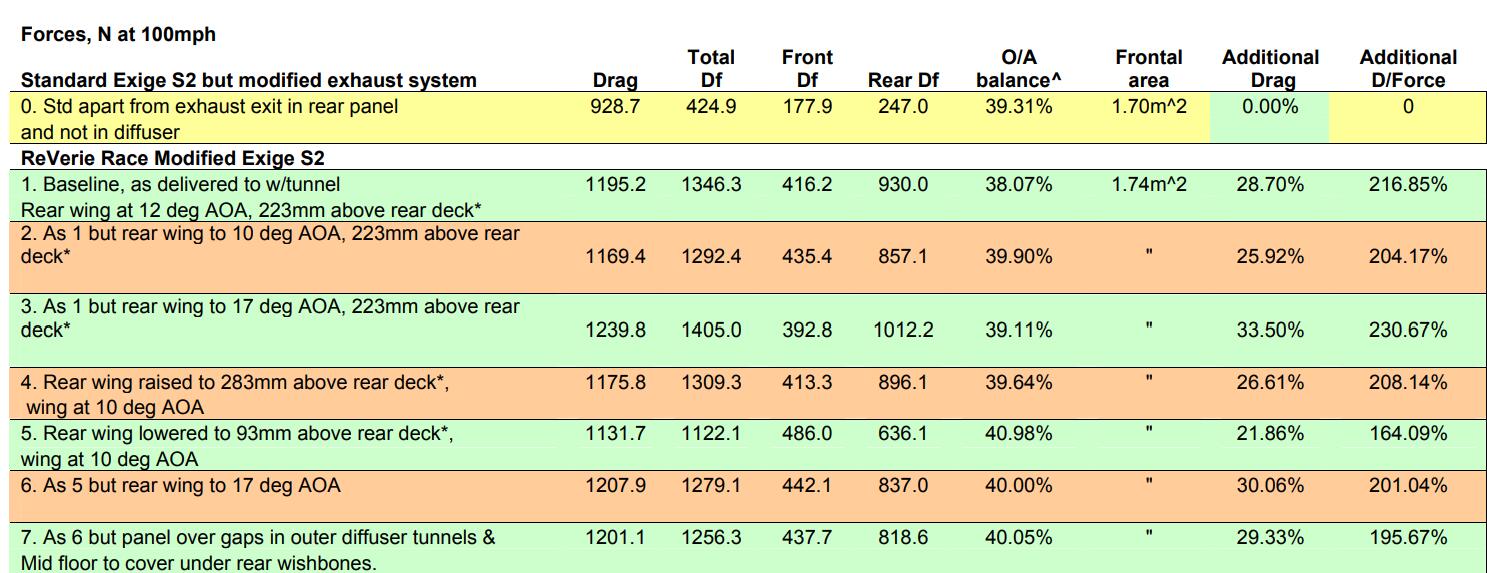
This is the test that they documented. Take note of the steps where they start sealing off bits of the floor, the drag drops significantly despite quite big rises in DF.
Microsoft Word - ReVerie Wind Tunnel Test Session.doc
The test is a little bit hampered because the reference car they used had a rear exit exhaust rather than diffuser-exit. They make observations in the conclusion that the diffuser exit exhaust on their ‘aero’ car significantly disrupted the working capability of the diffuser, but they couldn’t give any numbers for it. There are some quotes hanging around somewhere that suggest getting rid of that exhaust and coming straight out of the back is the single biggest improvement you can make. (providing of course you seal the hole up in the diffuser afterwards!)
You can see on this summary page the different shape floors which also work to seal up the apertures for the rear wishbones. These are CF so $$$$ but people have also achieve similar by simply rivetting on extra strips.
Lotus Under floor sections | Reverie Ltd
It relies on you running minimal droop at the rear, obviously the less droop you run - the more of the gap you can close up, but even with stock droop there’s still a bit more gap you can close.
I have done a quick read on this.
What a massive difference a rear diffuser makes. Admittedly a small increase in drag but a massive downforce effect.
However I am a bit confused with this table :
If I am reading this correctly its tell me that there is an increased downforce ( both front and back ) by adding the rear wing in various angles of attack until the new gucci rear difusser is fitted ( step 7 ) where it appears to have reduced the total downforce? ( 1279.1 to 1256.3)
What have I missed? Its either the rear diffuser or the wing as an option but dont mix the two?
Parts list ( needed with check )
Rear diffuser
Side skirts
Front reverie spoiler ( thanks @Fonzey )
To be decided
Vents for front arches
Moving the exhaust and butchering the rear clam
Big rear wing
I think it’s a case of once you start messing with the diffuser, you have to see it through to completion. If you scroll down to steps 8 and 9, the work around the diffuser is continued and it yields a massive boost, but doing half the job actually holds you back a bit.
Call me 1/2 a job ![]()
![]()
I’ll carry on reading
Step 8 is where I will aim for I think
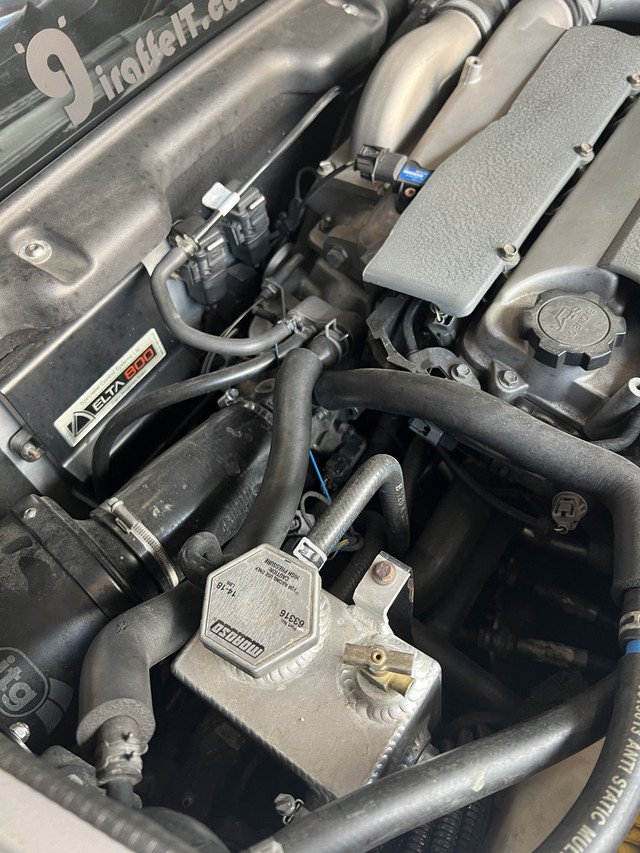
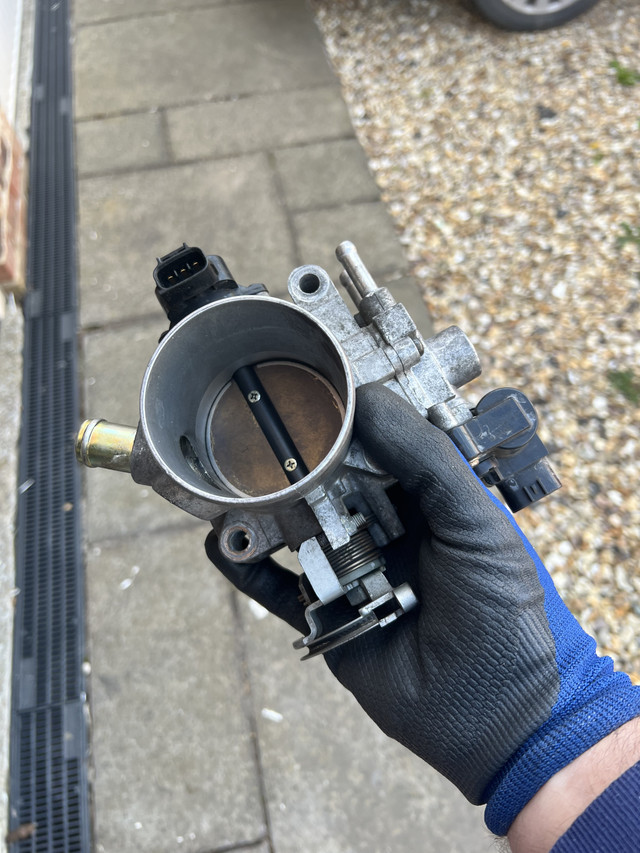
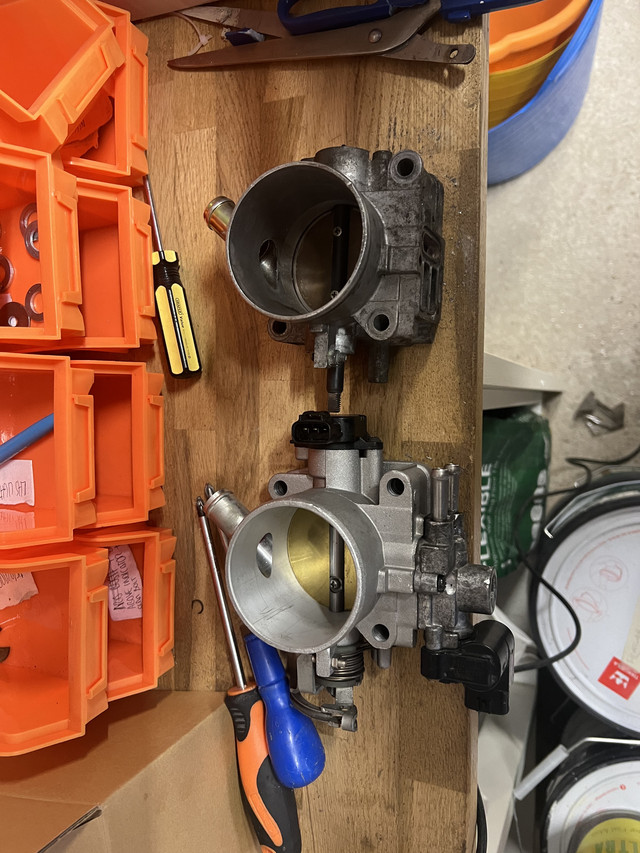
Tonights task after a moderatly positive day at work was to remove the old throttle body , split the IACV from it and refit all the gubbins onto the new TB.
Throttle body conviniently placed here at the end of the ITG filter
5 million pipes removed. Various fittings were taken off and sworn at as every single time I needed the other socket. 7mm this time Sir? You will need the 6mm for this clip.
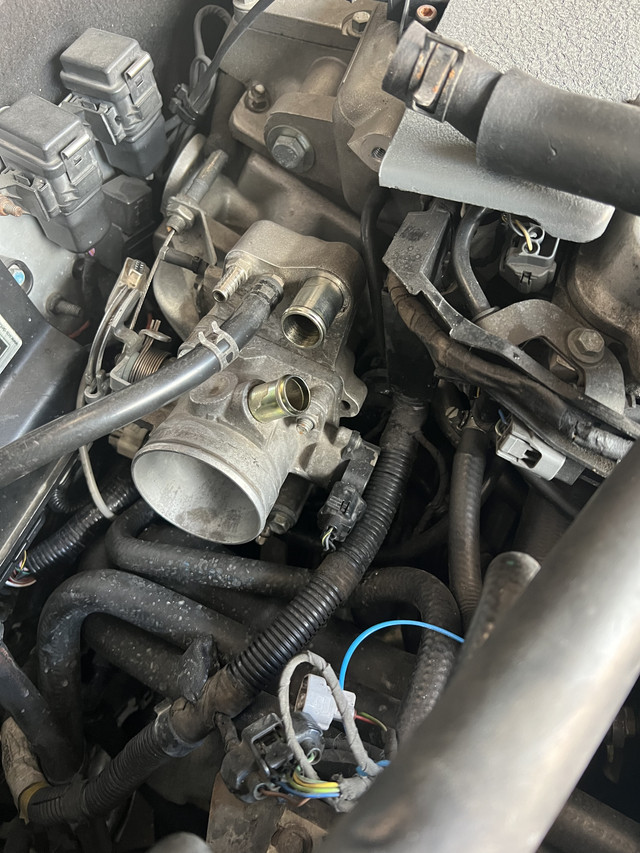


A single 12mm and 3 13mm nuts and voila. TB off. Someone has been here before me and bodged it. Why is one a 12mm? Why is one a threaded bar and the nut is stuck to it to clamp it down? Pretty sure the thread should stay in and the nut comes loose…
Anyway , its off. I plugged up the two water pipes underneath with some of the finest bolts known to man from my spare “Renault 5 GT Turbo spare bolts” tin

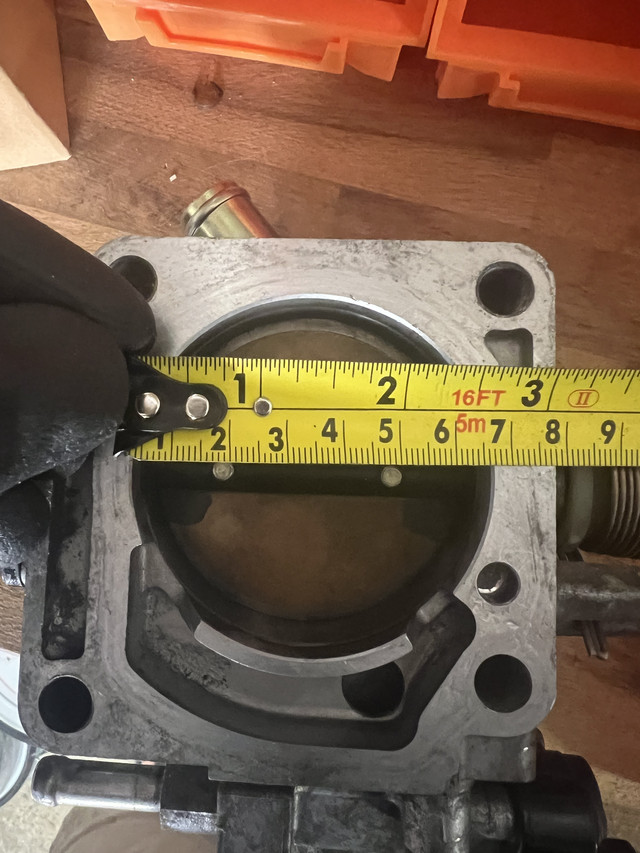
Lets grab the tape measure just in case I already have a shiny new 70mm TB fitted and I just wasted my money. Pictures dont do it justice and I dont have a vernier gauge. Its 65mm on the top TB and 70mm on the bottom new TB.

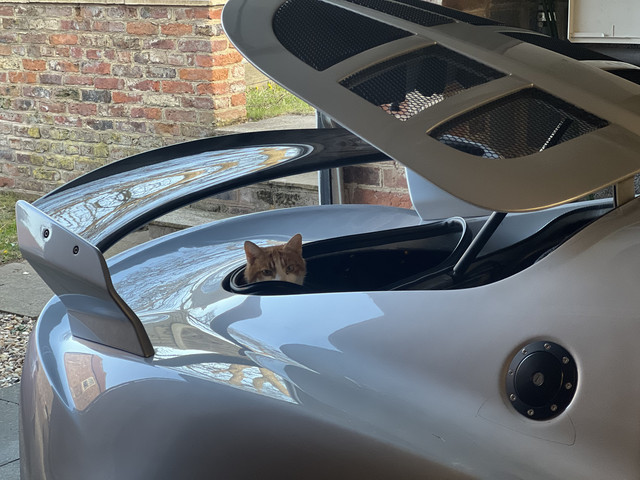
At this point I gained a supervisor. To be fair he is less hairy than some of the supervisors I have had before.

Now here is the money shot. Old TB stripped and new TB with the bits on.
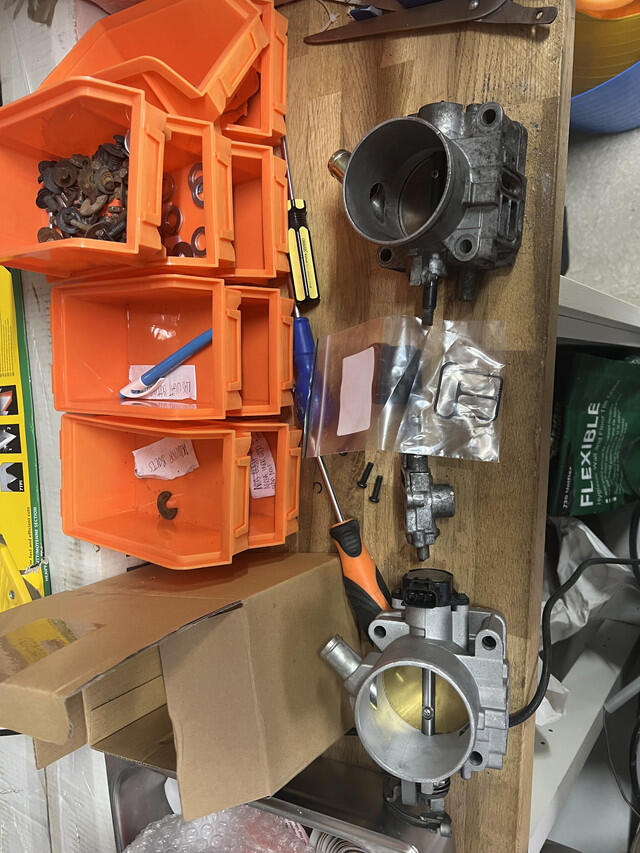
I must confess I had fun with two parts.
This was a riot. I undedid the screw gingerly and then oh so gently tool off the quadrant. Cue a spring doing the great escape and flinging its way 1/2 way across the garage into the spider wastelands. I did debate just ordering a new spring from Toyota and let the spiders have it. However I took a brave pill and got the spring
I knew these would be a bastard to get out. My screwdriver(s) would not dig into the slightly knackered posi head. Someone had been here before so I ended up drilling the heads, slipping about a jillion times and wacking the heck out of it with a cold chisel. Got there in the end. Not my finest work but unless you are John you wont see it. Changed the gasket over on the IACV , cleaned up the IACV and put in three new Toyota screws. I noted that the IACV had a magnetic part to it. I found this out as all the swarf was stuck to it. Cue more cleaning.
Nice work
Nice supervisor
Very entertaining!
Great stuff, there’s some fiddly fixings around that TB.
Just realised you have the same coolant tank as me! My plastic one failed the day after I picked the car up from the previous owner - flipping UV made it so brittle I think a long drive was enough for it to develop a load of cracks around the pipe connections… ![]()
I think you will find that you have the same coolant tank as me! ![]()
Had the same issue with mine! Unobtanium at the time so went for that one
In tonights episode of I did a thing …
I drained the ProAlloy catch tank.

Thats 3 years and about 8000mi worth of oil. In terms of trackdays - 11.
For anyone reading about swapping over a throttlebody I would strongly suggest putting the TB on but not doing up the top nuts and then putting the clips on the sensors next. Then do the bottom bolts and do the top nuts up tight

I risked life and limb next and started the car with the airfilter off. I have never heard such slurpy slurp noises. I was concerned that the contents of my garage would be enveloped by the new TB.
I was wrong but it sounded delicious all the same

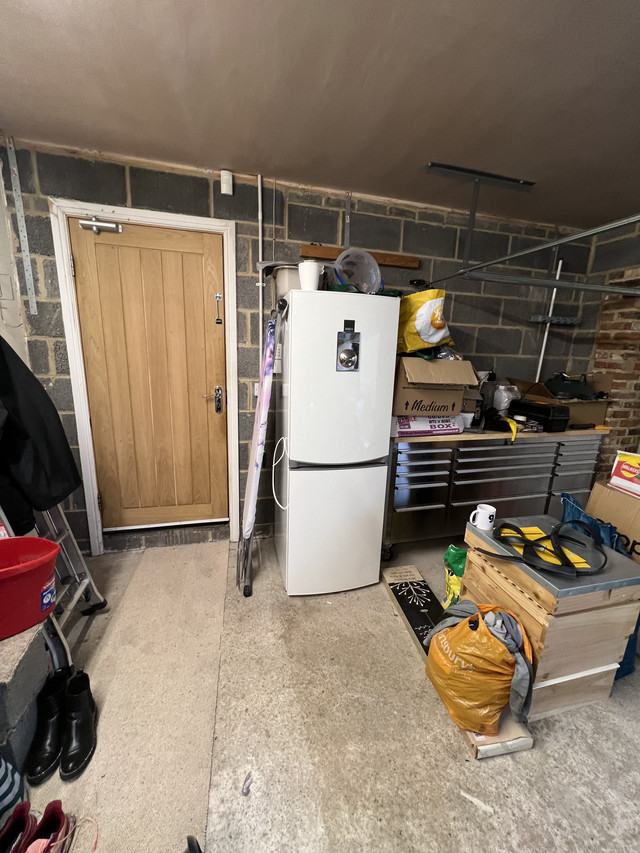
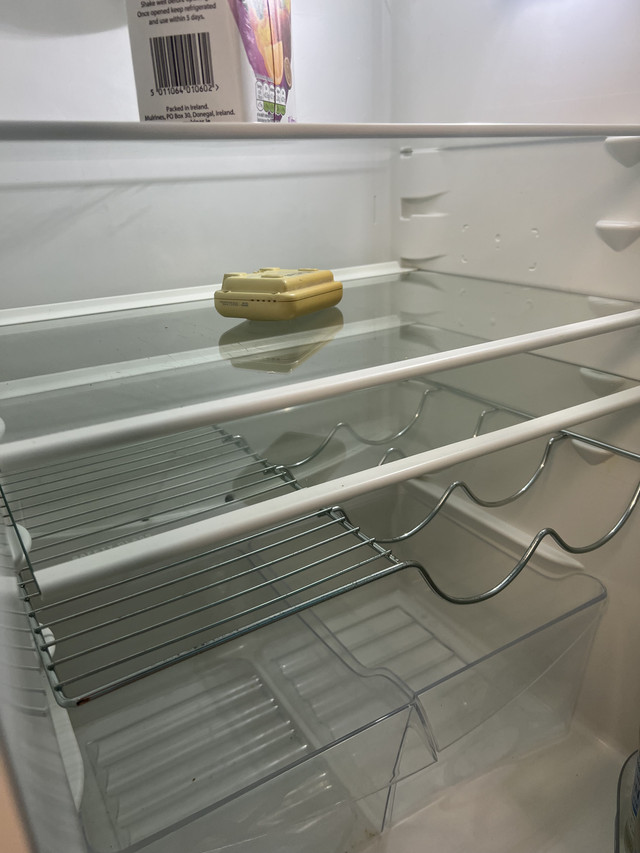
The only casualty of this was the carbon monoxide detector which kept on squarking even though the garage door was open.
It found a new home in the garage fridge for a bit
Idle is a little high - perhaps as a result of me cleaning the IACV and perhaps due to a new shiny TB. Either way Ill get the laptop out tomorrow evening and start some page down on the target idle RPM.
Best get some mapping booked in
Just be careful with the ole Carbon Monoxide mate - I had my garage door open and was trying to find an inlet manifold leak when I was playing with that r9ktuned plenum and I developed nausea and a crushing headache… a bit later, the carbon monoxide detector in the utility room started sounding (it was through a closed door into the garage) and basically I had well-and-truly tried to kill myself, apparently… Since then, I’ve added a detector into the garage, and yes, it goes off very twitchily, but I always stop what I was doing and get out of there for a bit… Better safe than sorry ![]() /grannymode
/grannymode
It’s a fair comment Matt TBH. I did stop
The engine that was running for about 30 secs and go stand in the rain!
My aero quest has really started now. I have to book in for mapping but it does need to stop me from prepping the front splitter.
I went into my grade A spray booth with full PPE
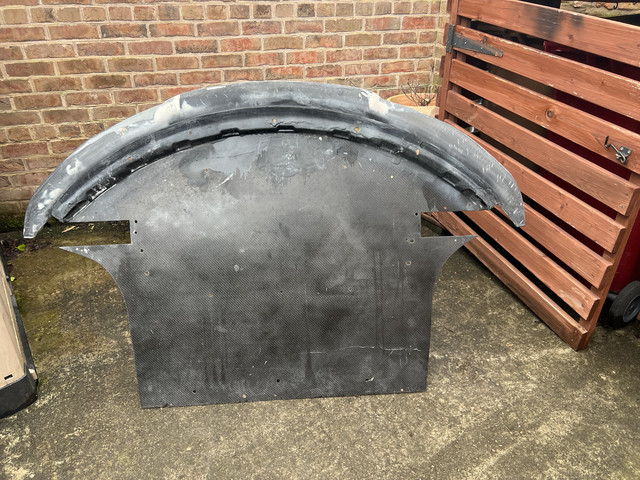
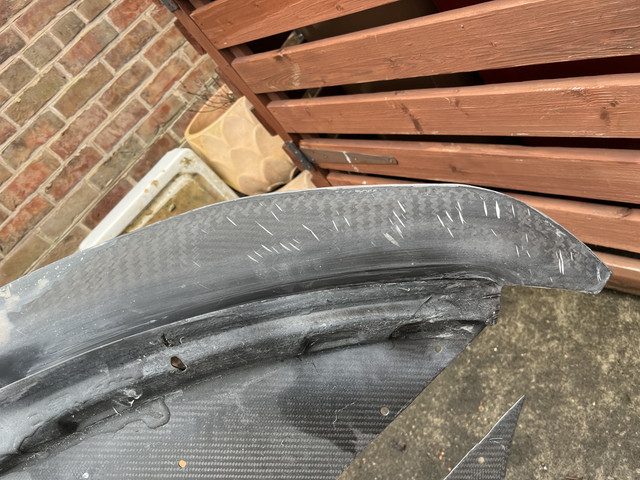
Panel wiped everything

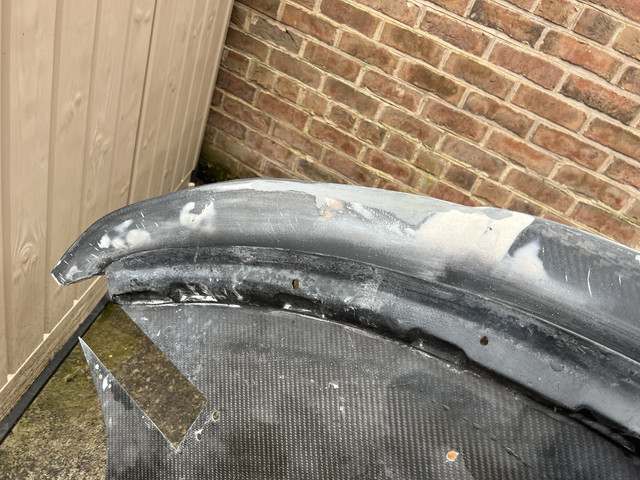

Let it flash off and then took to a rattle can.
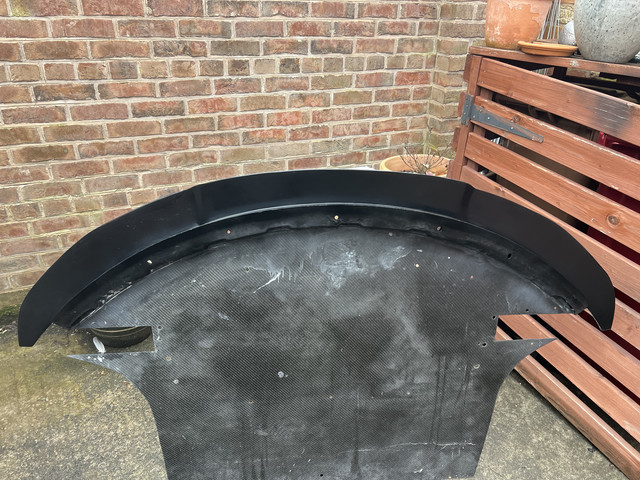
The finish will do for now. Ill have it painted in due course.
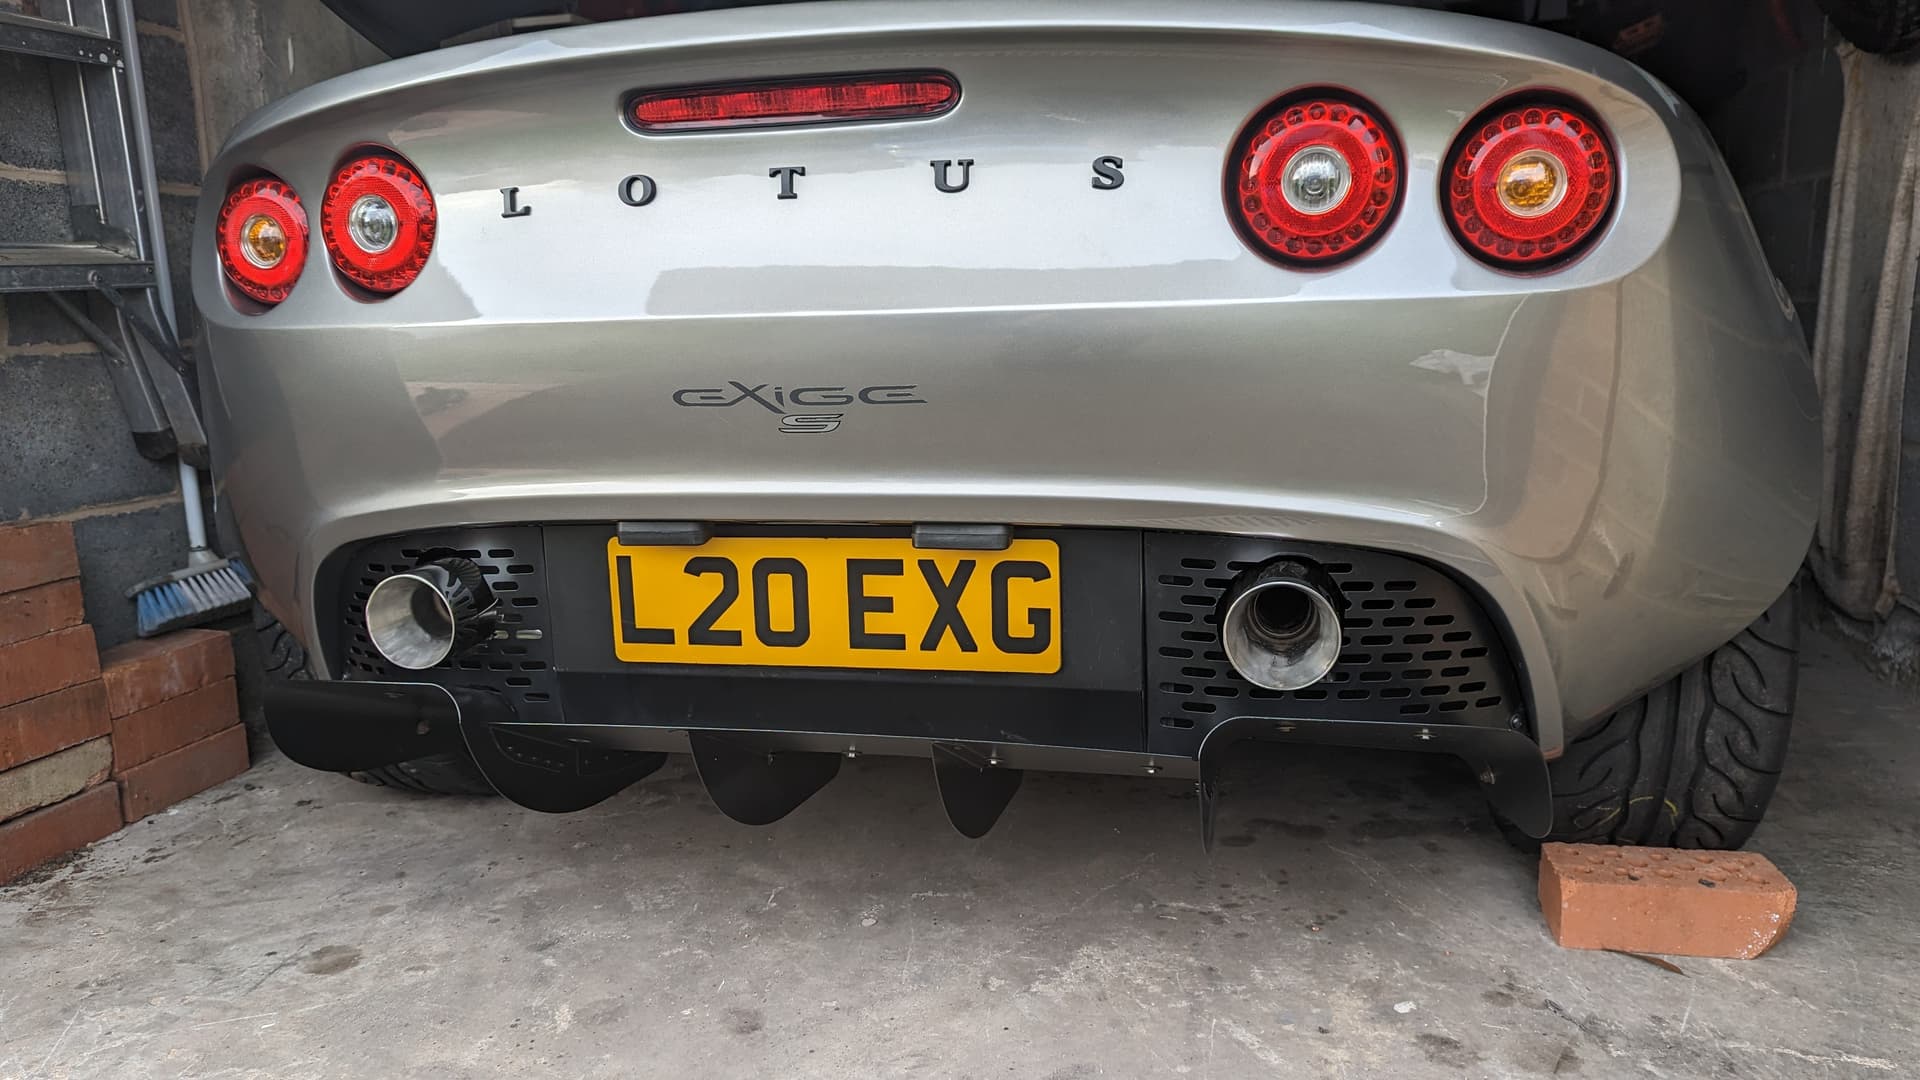
At the opposite end to the car I have started also to look at aero based on the figures that I linked to on an earlier post. It states that the aero is compromised by the exhaust exiting below the diffuser.
I am curious if I could replicate something like this ?

Note where the exhaust exits.
I appreciate that is a really wide non factory clam but it certainly is suggestive that it can be done.
Also wing.
That exhaust exit looks epic but you have a lot of cutting to do and you’ll loose some of your boot. Why not do what i did?
Honestly @johnfishcurtis I prefer the asthetics and uncomromising approach of the exhaust at hip height look.
Its full on racecar .
that would be easy enoguh for a fab shop to sort for you pipe wise. just be some chopping. or, get a racing rear clam with no boot.