Mrs Thommo thinks it might be crocheted (That’s pronounced “crochay”, I believe.) rather than macrame.
No crack smoking going on here . . .
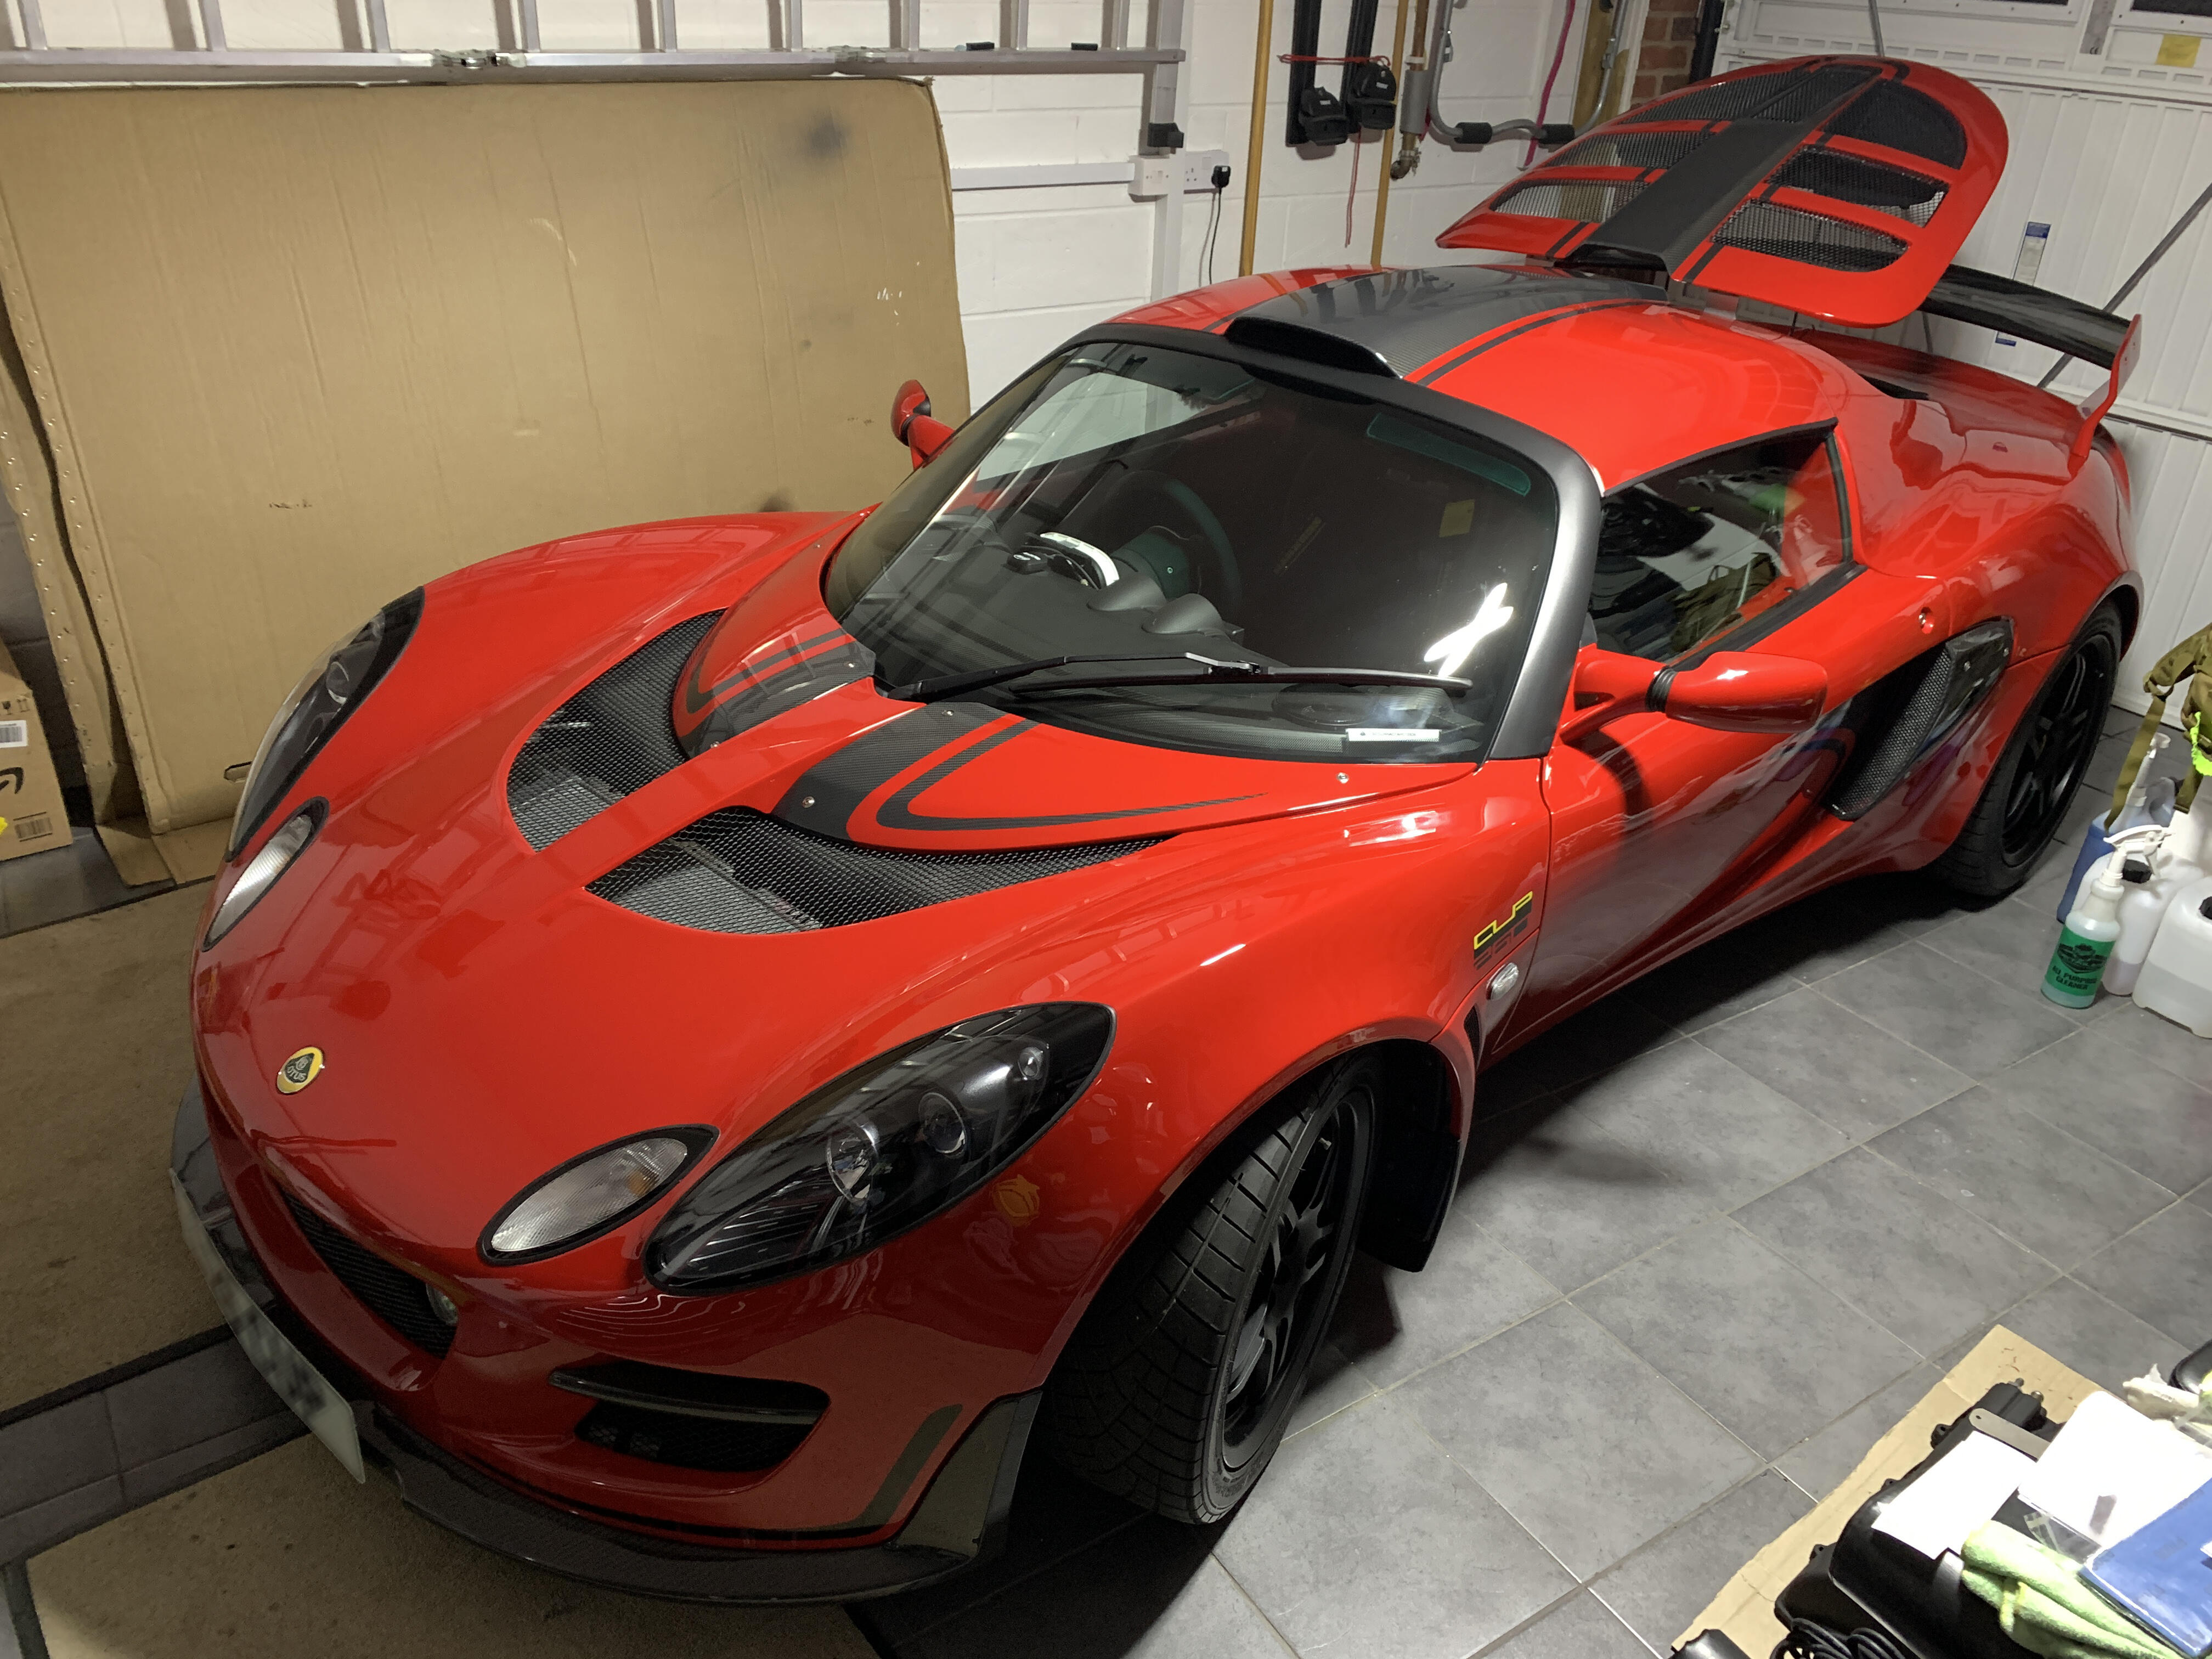
Cheers ![]() Looks like you’ve got the same diffuser as me too (Reverie)?
Looks like you’ve got the same diffuser as me too (Reverie)?
Yeah, reverie. I think yours was inspired by mine as I spoke to the previous owner of your car at a show a couple of years ago and he liked it. Yours is the only other cup260 I’ve seen in the flesh
I presumed it was the old diffuser was past its best! Being honest mine is the only Cup260 I’ve seen in the flesh!
Are you up north/midlands then? Would be good to yours as no two seem alike on final spec!
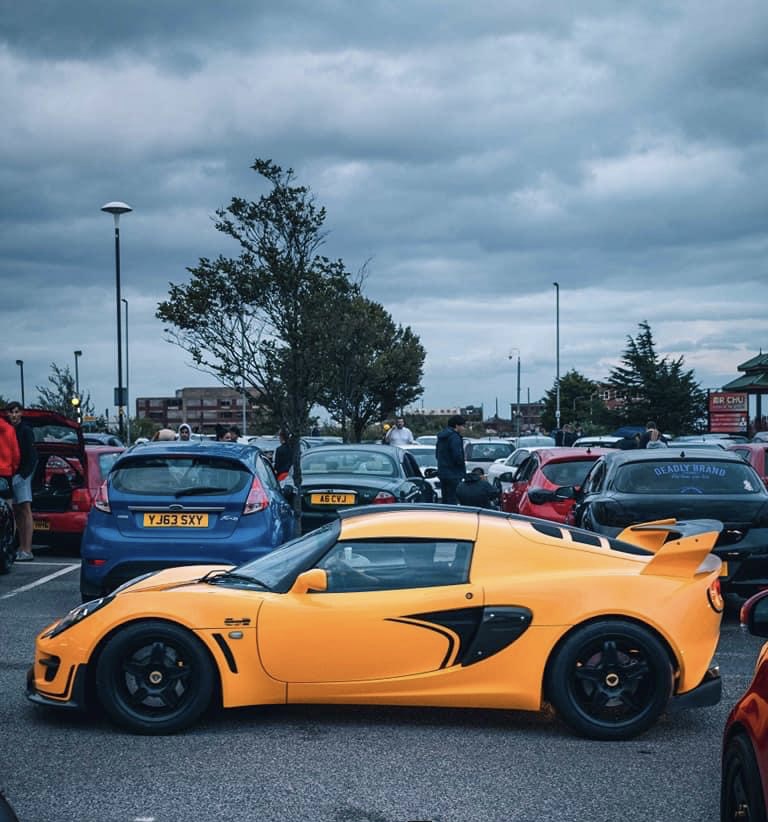
Lovely looking car! ![]()
![]()
So bank holiday weekend didn’t go exactly to plan, it was meant to be 4 days full of car stuff and some nice food. Reality was I was stuck working so it was back to midnight sessions again, really need to sort the new career thing…
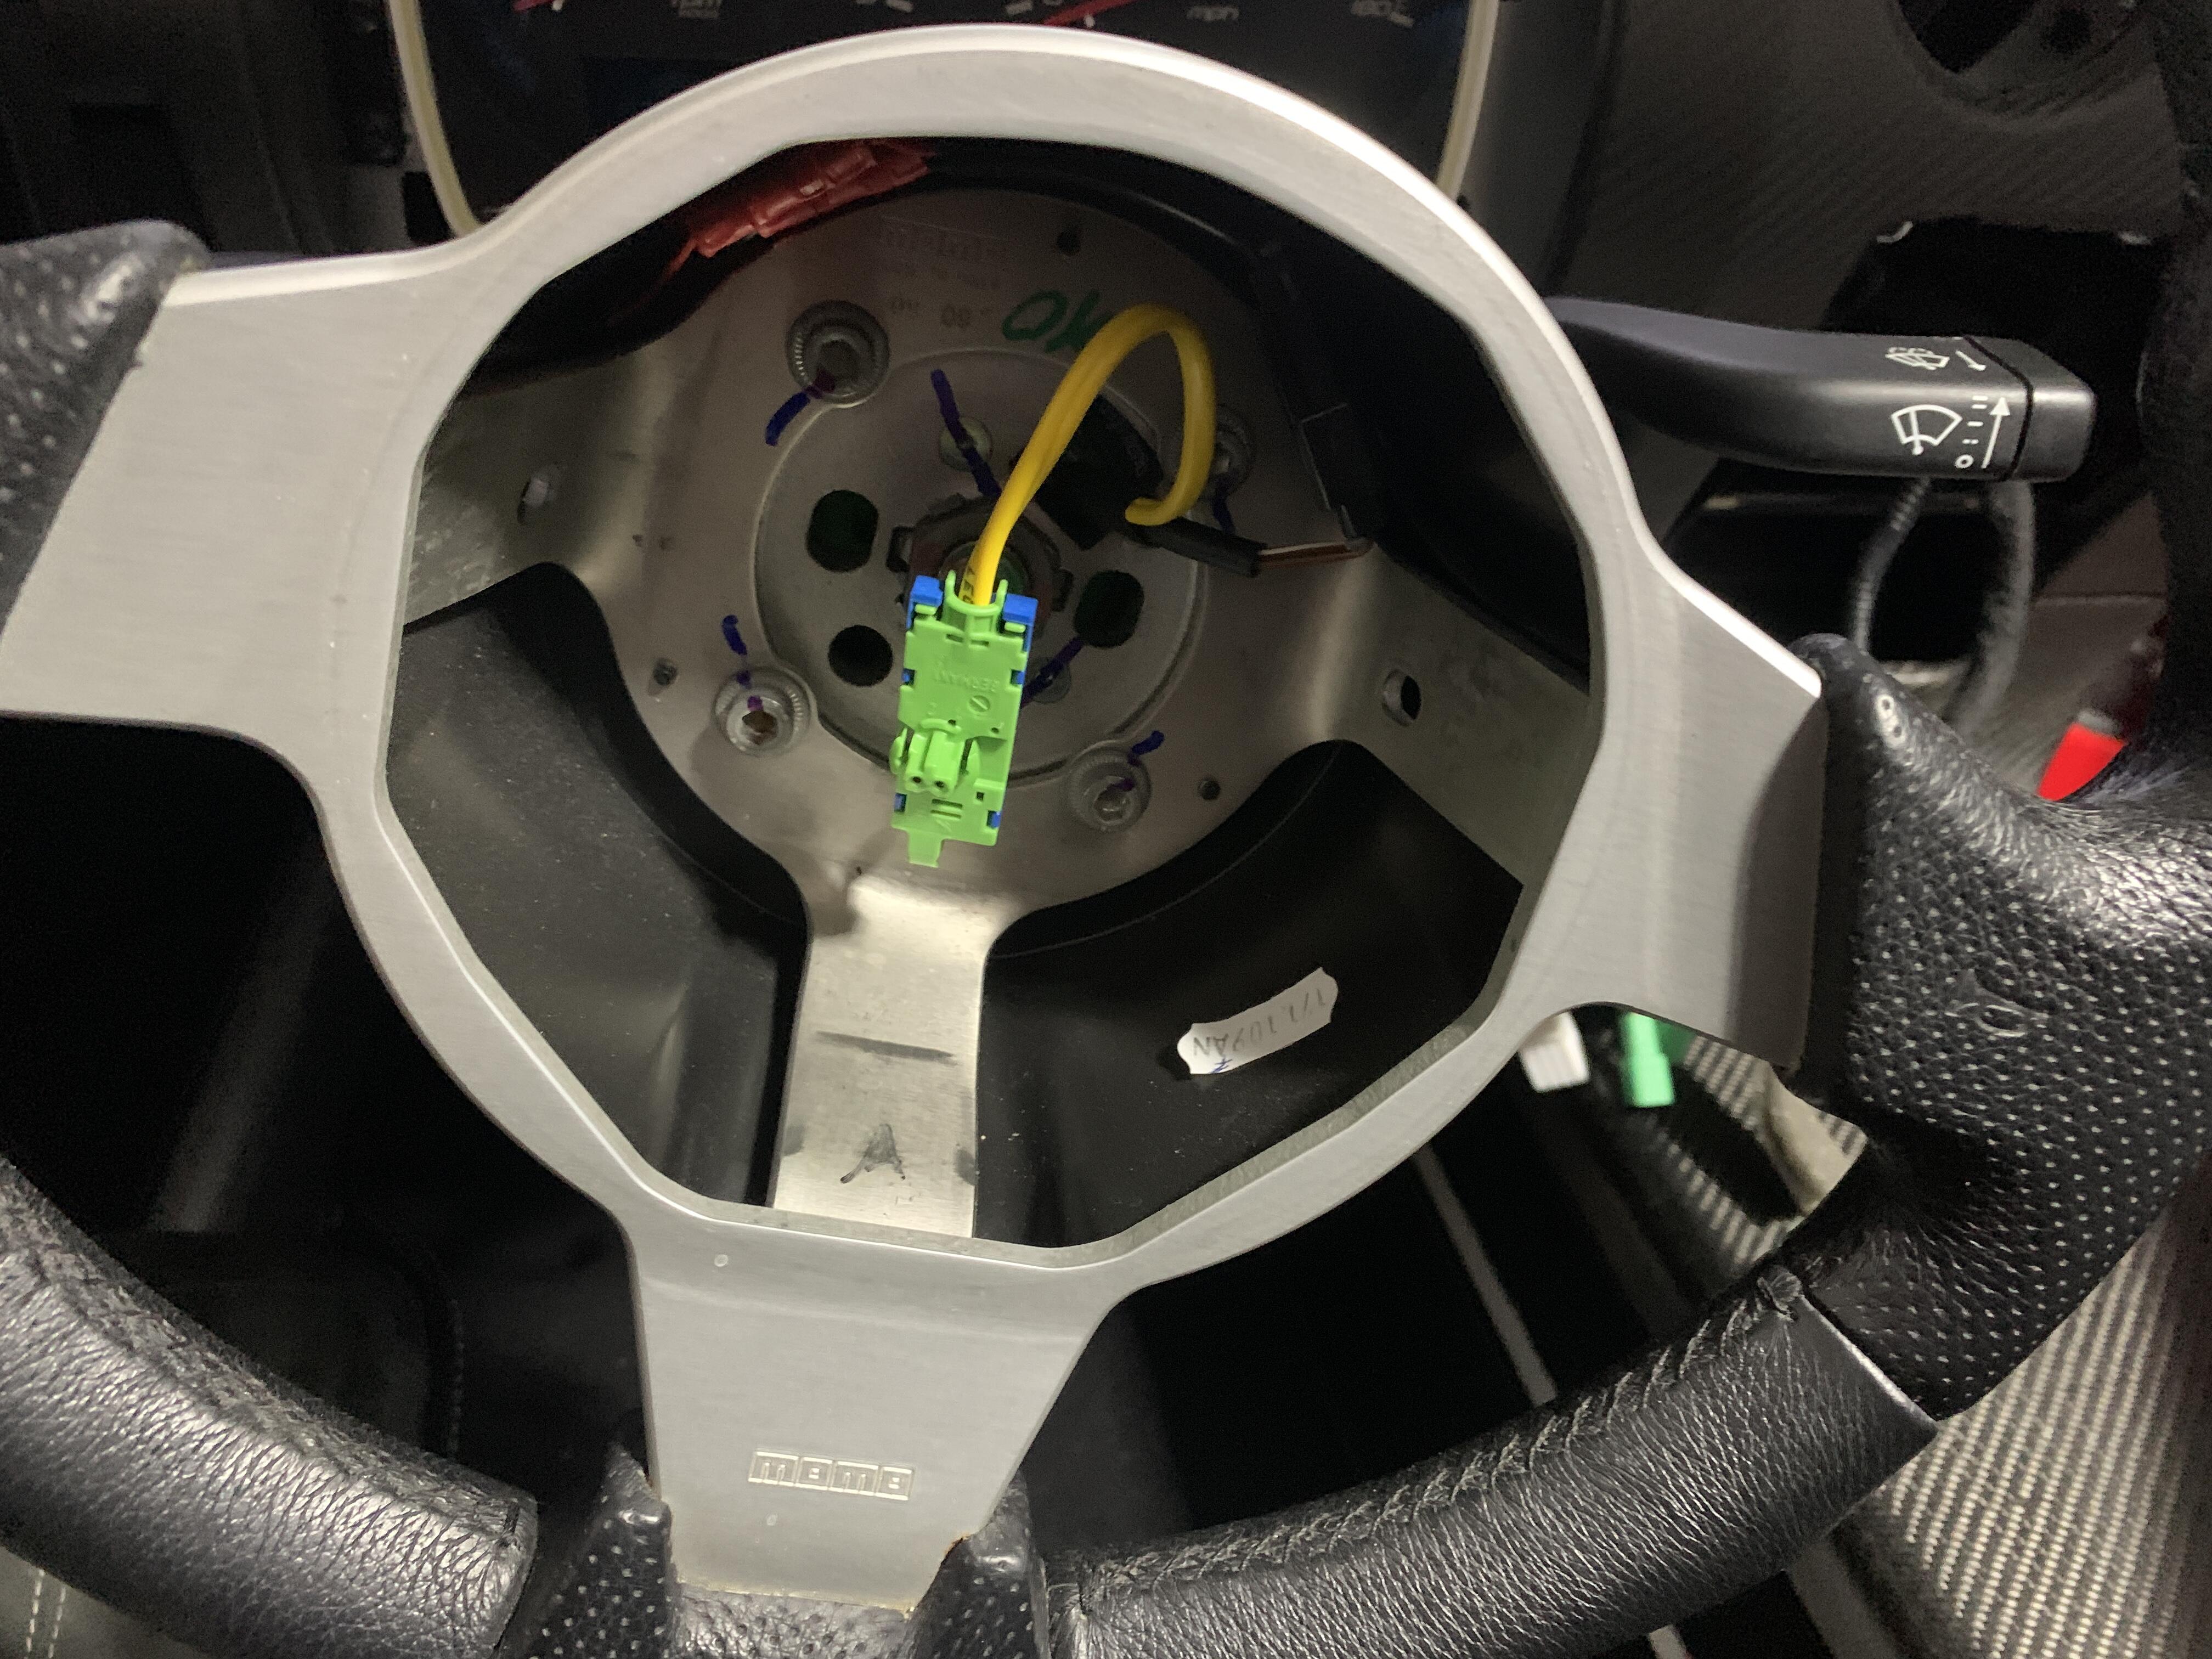
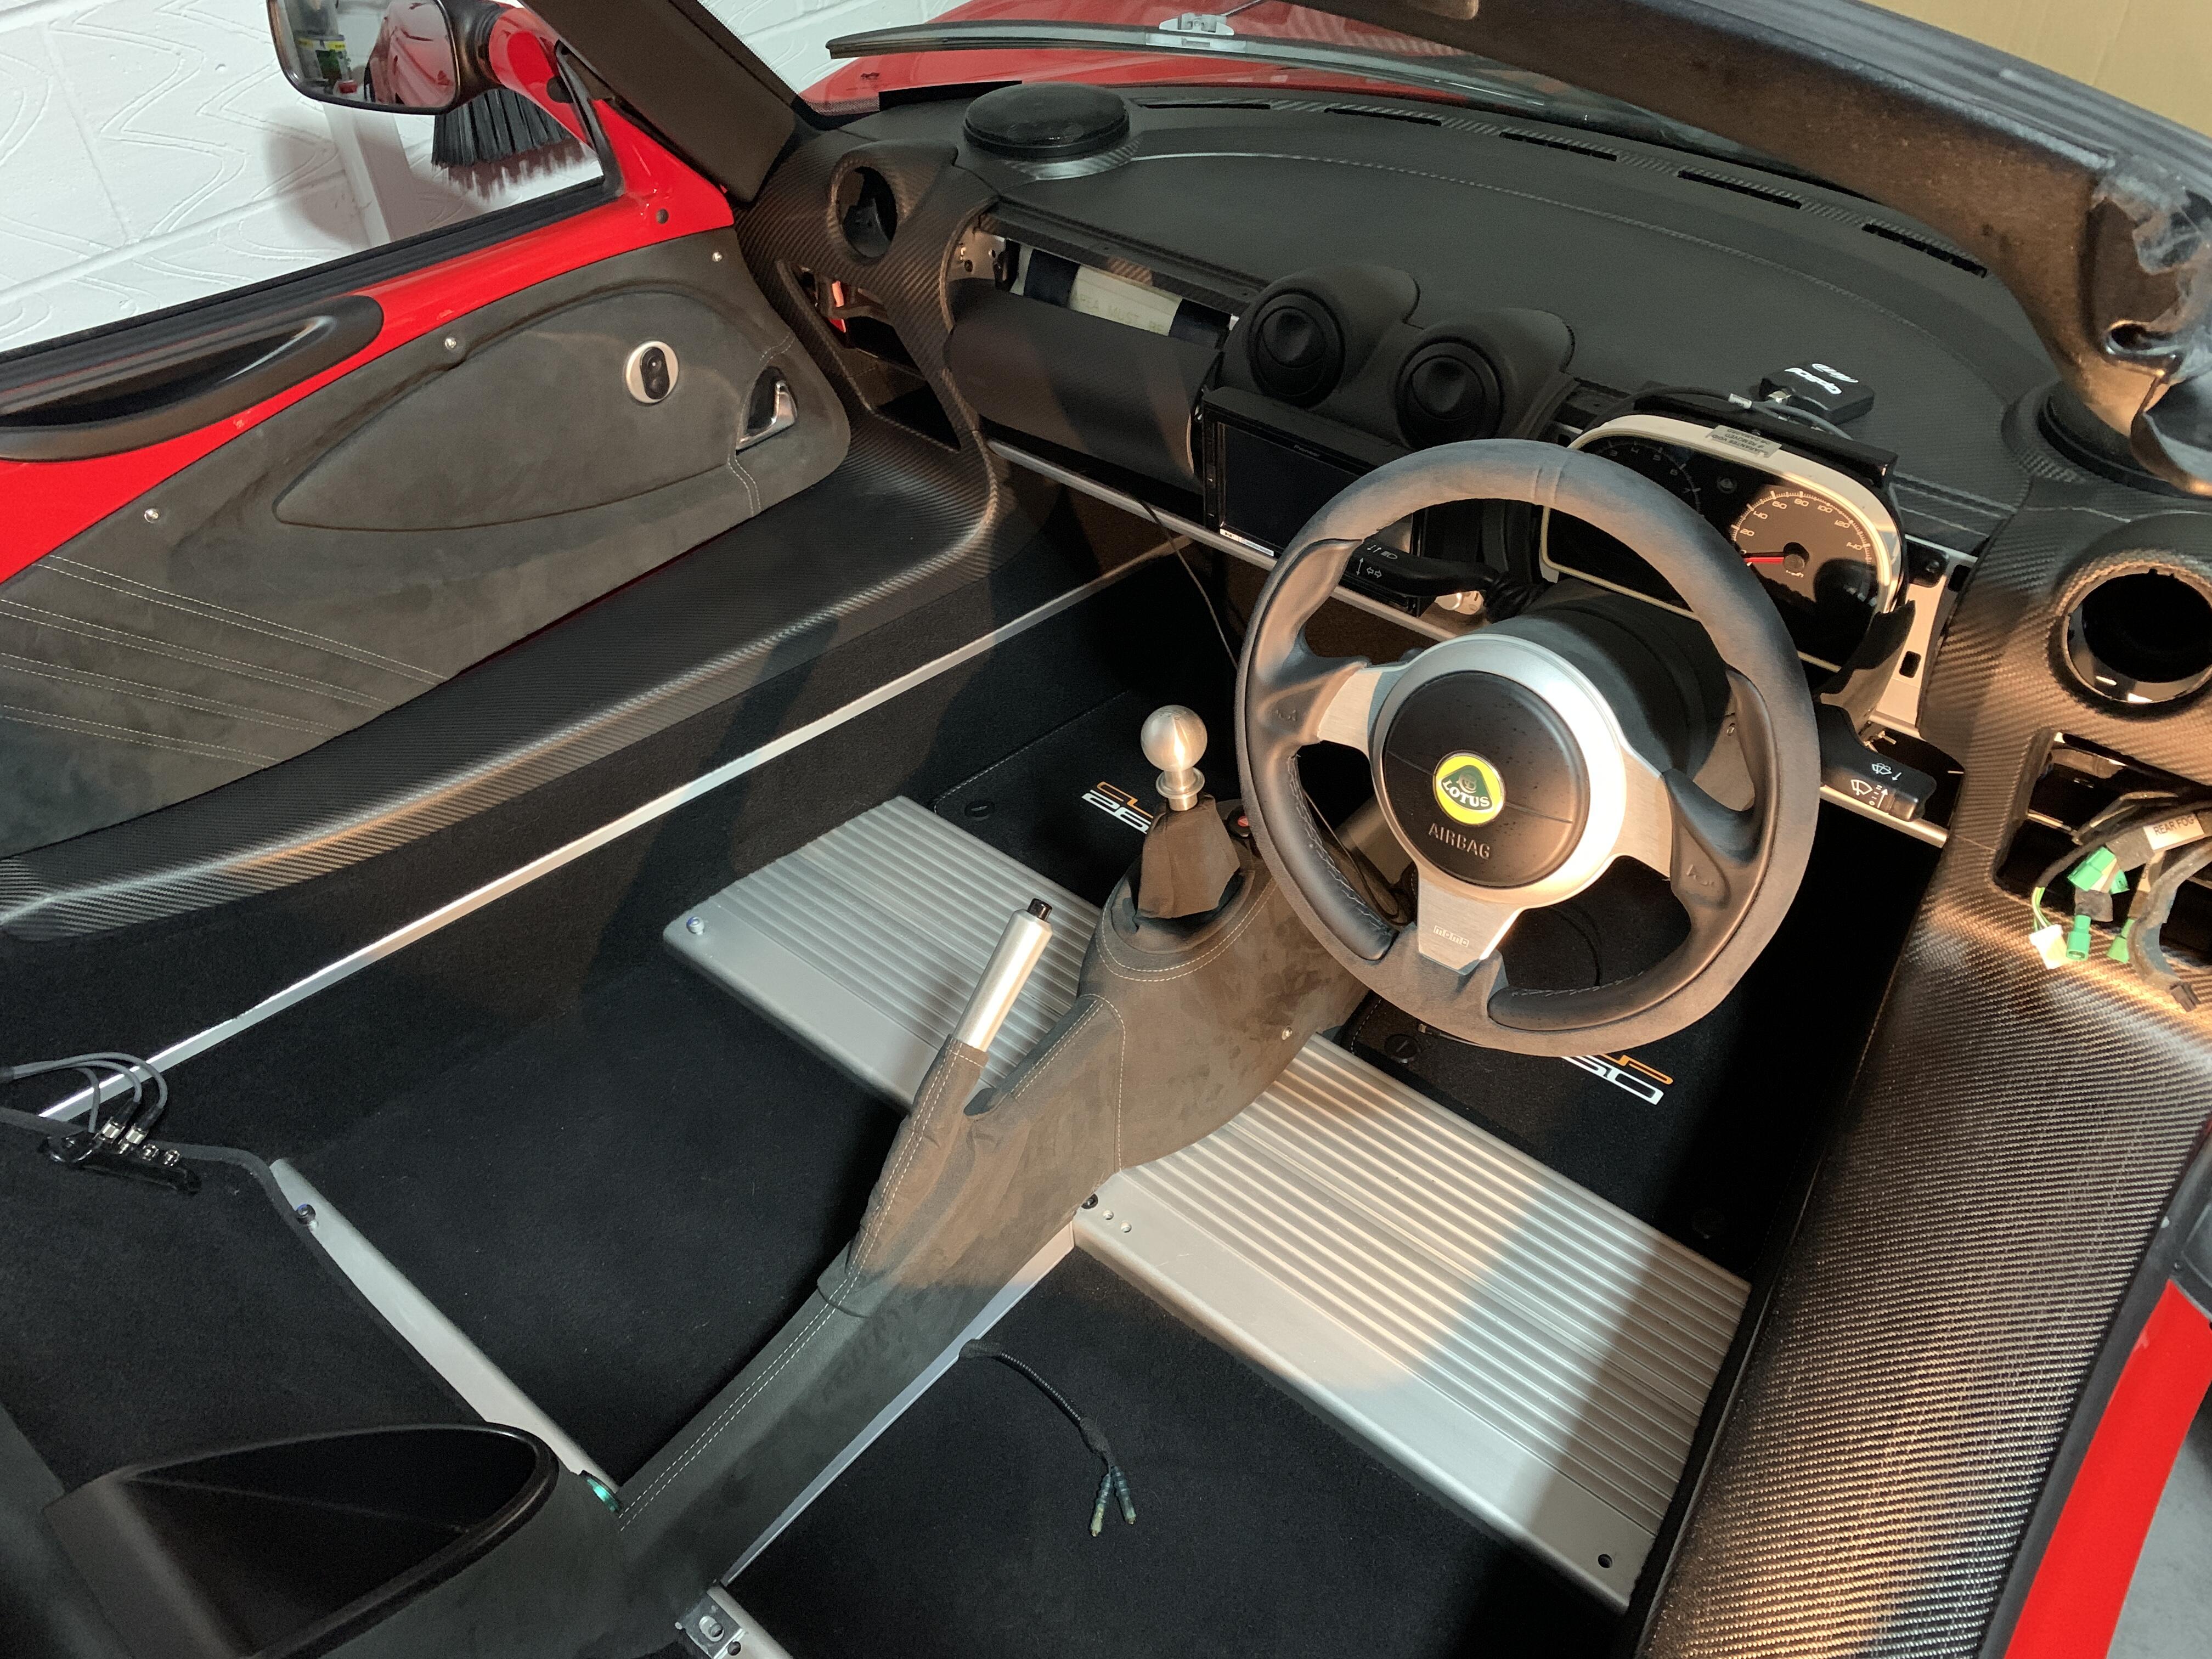
Time to get rid of this crappy wheel whilst the rest of the interior goes back in:
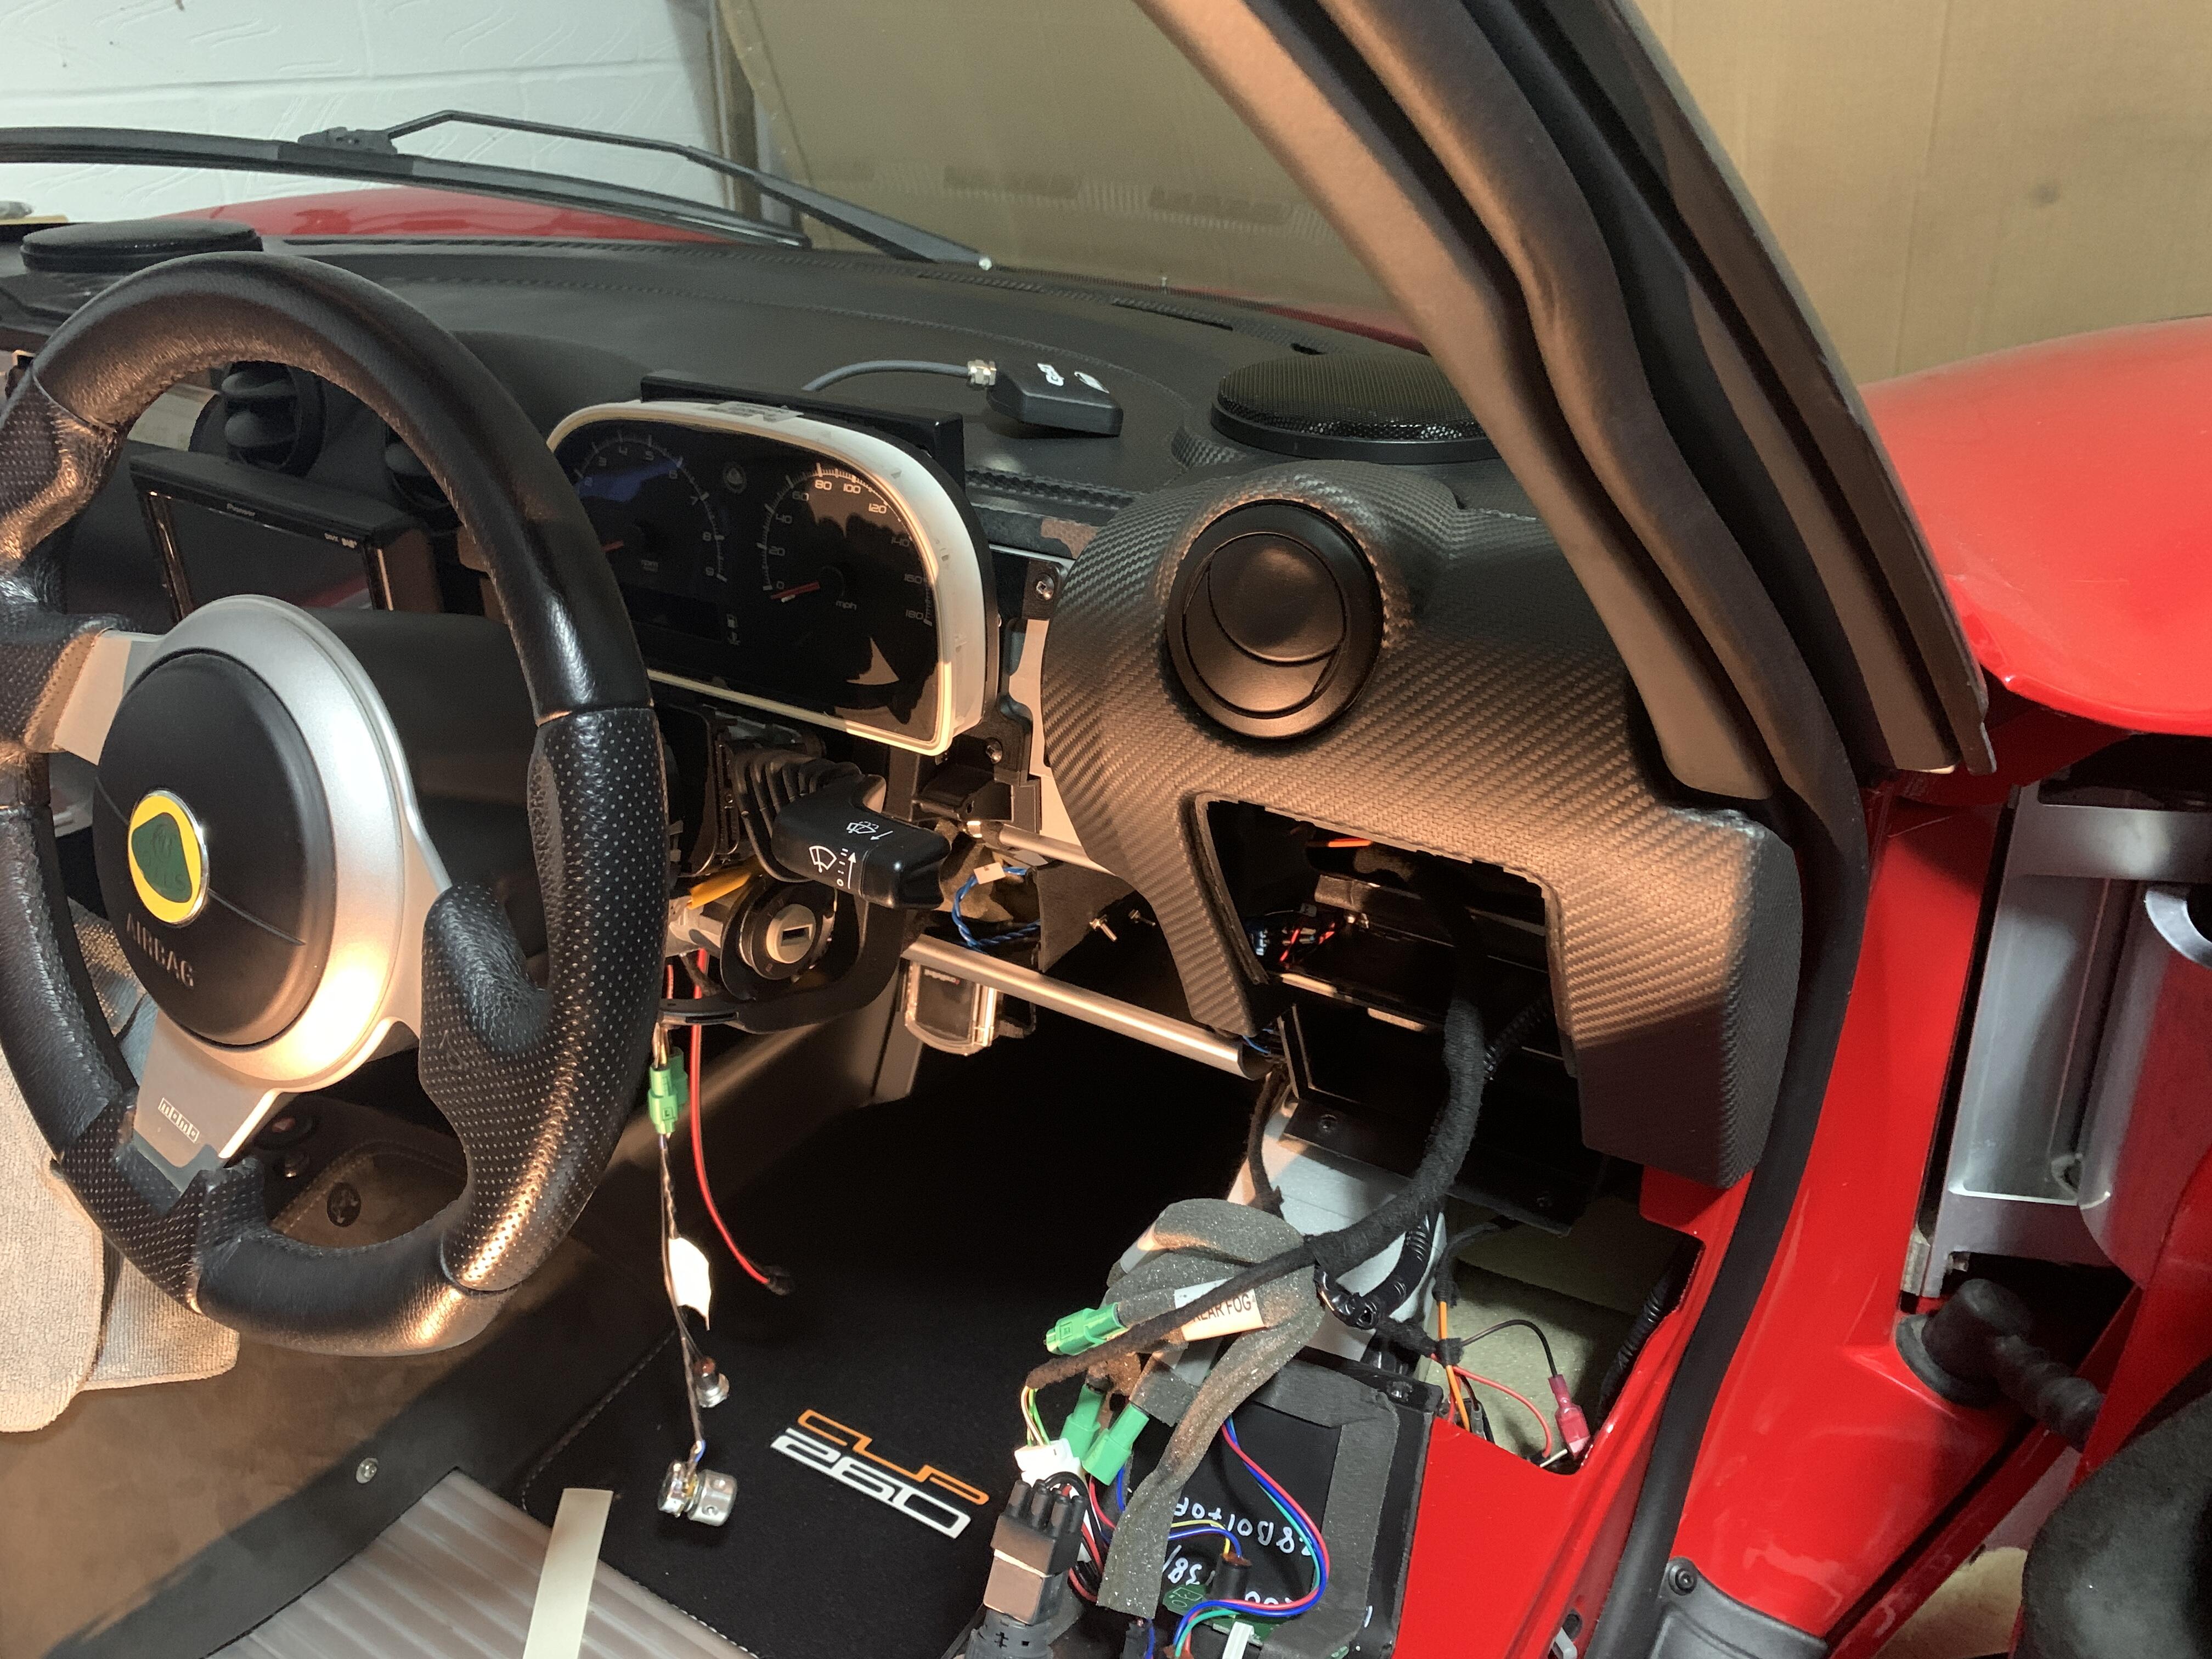
Usual power down so it doesn’t blow up in my face, and airbag was taken out, just thought I would show it as people seem to not post much on removing the airbag
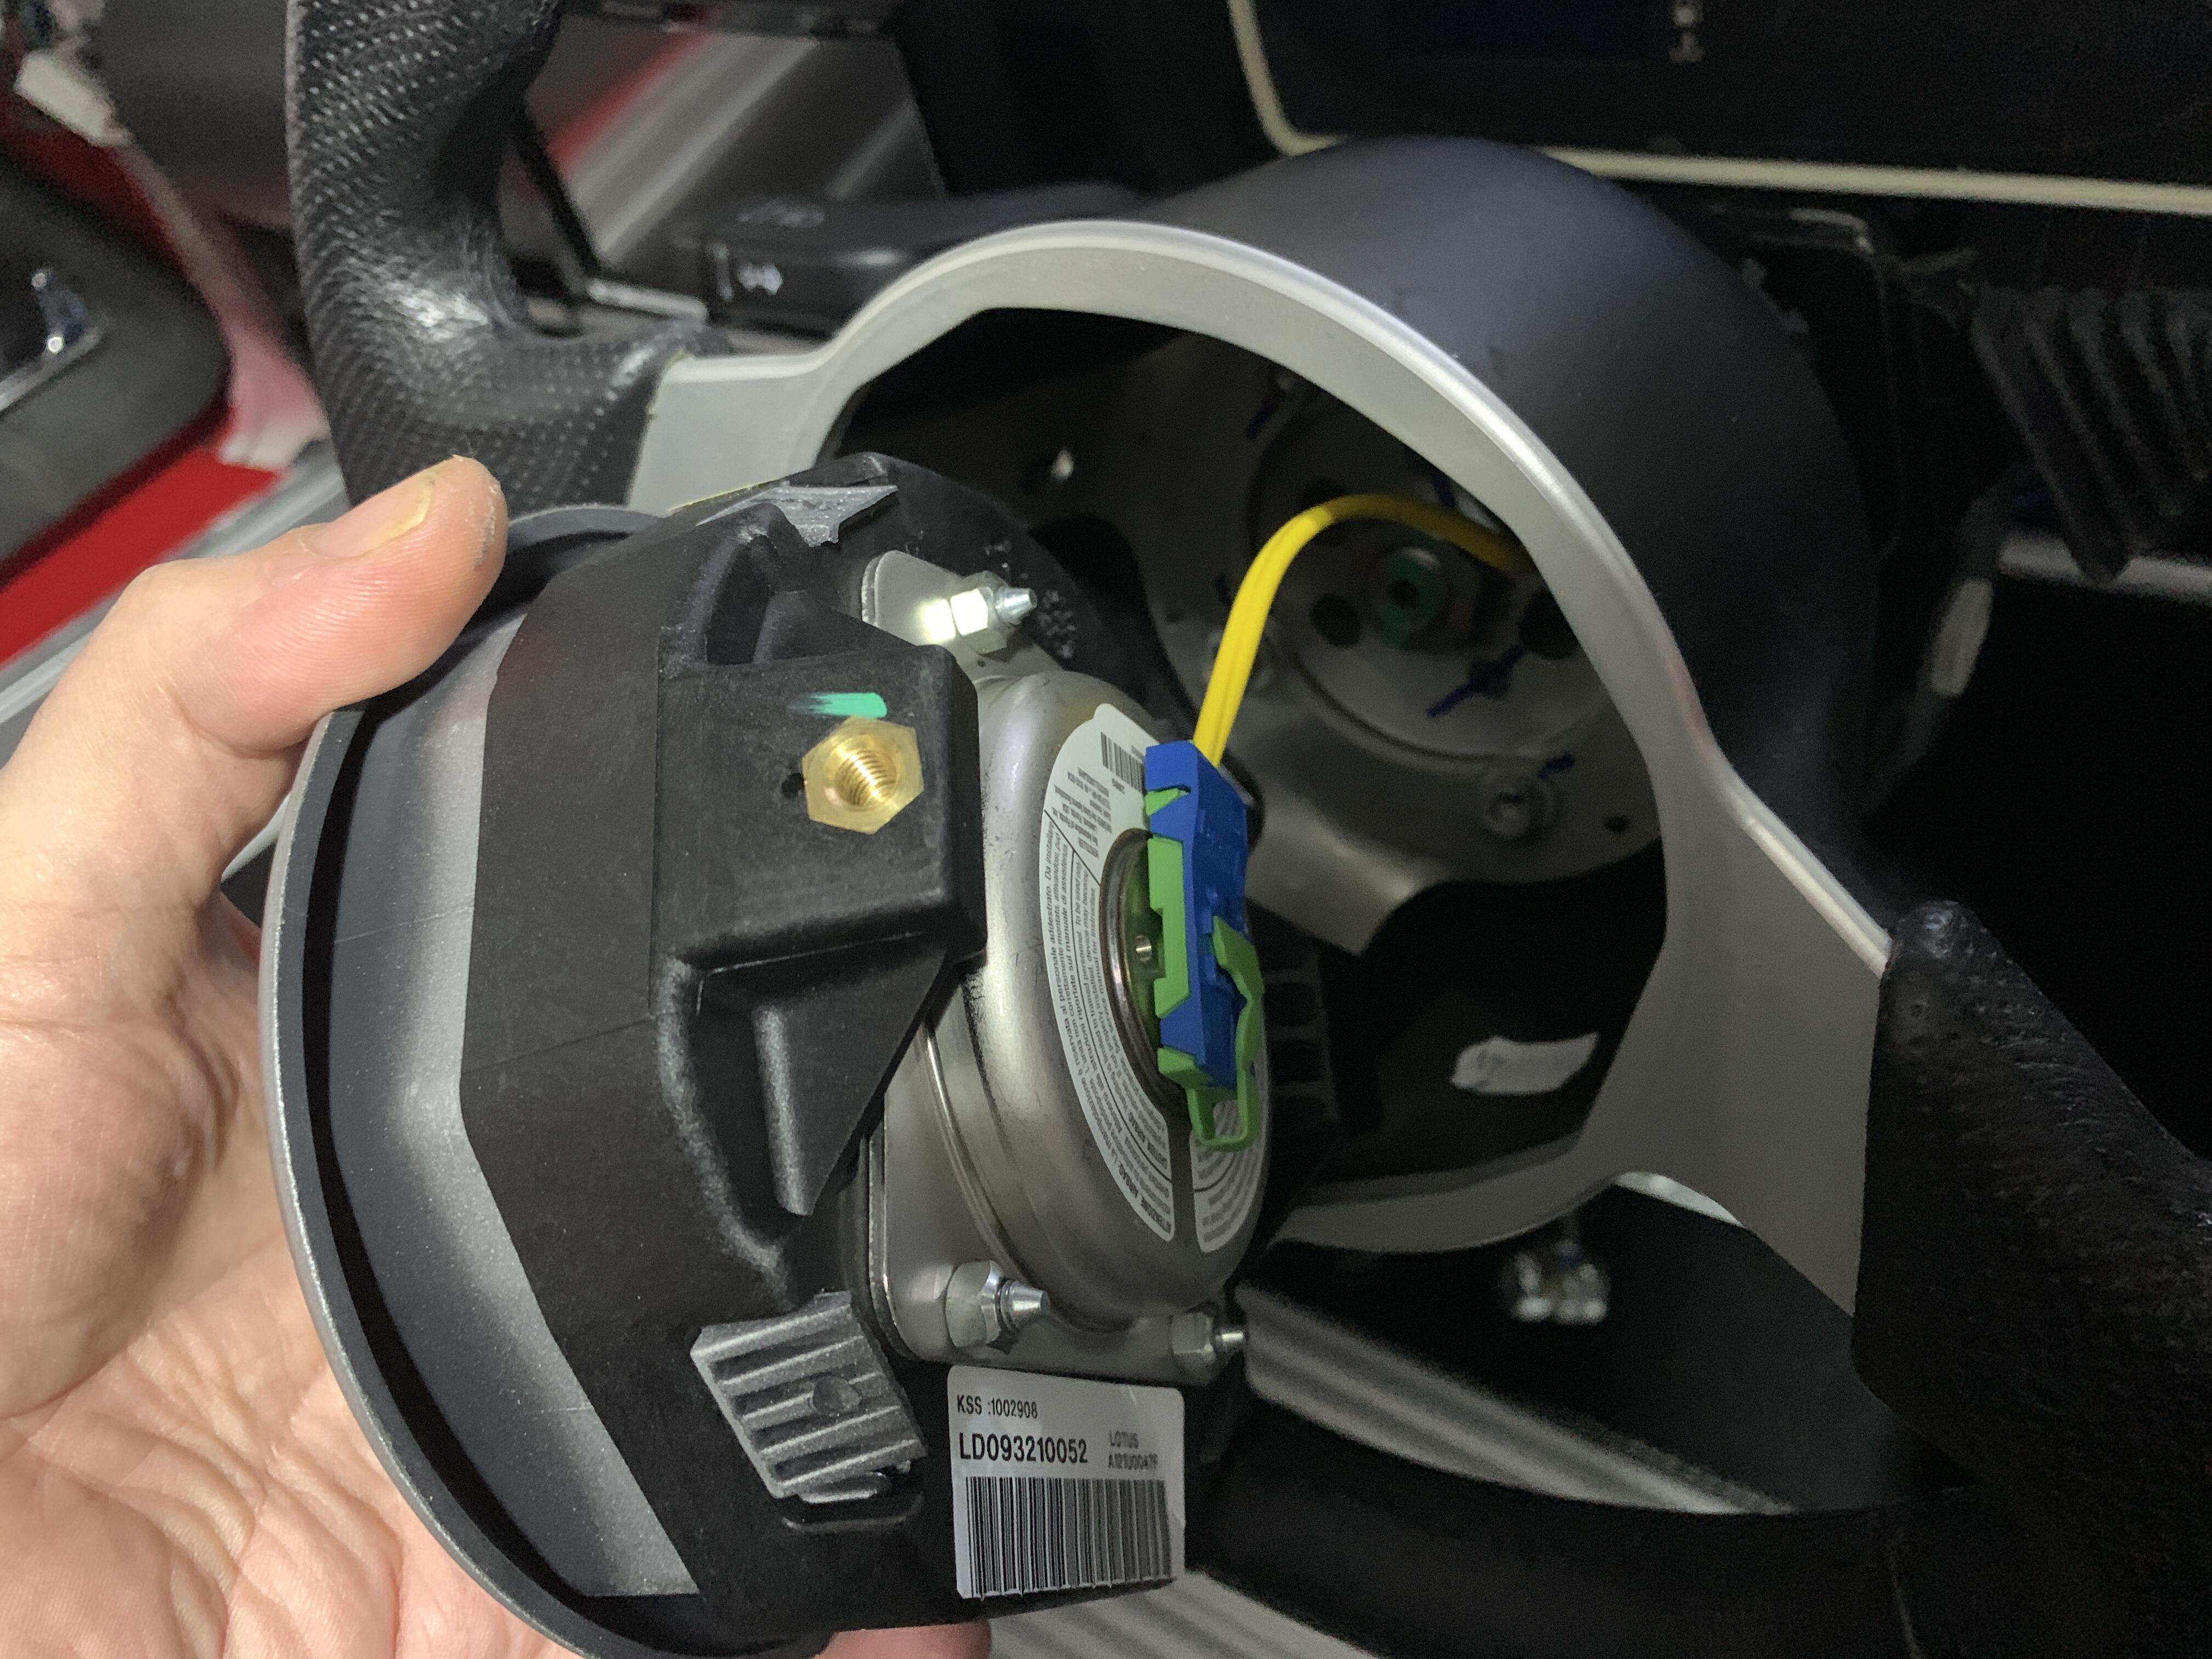
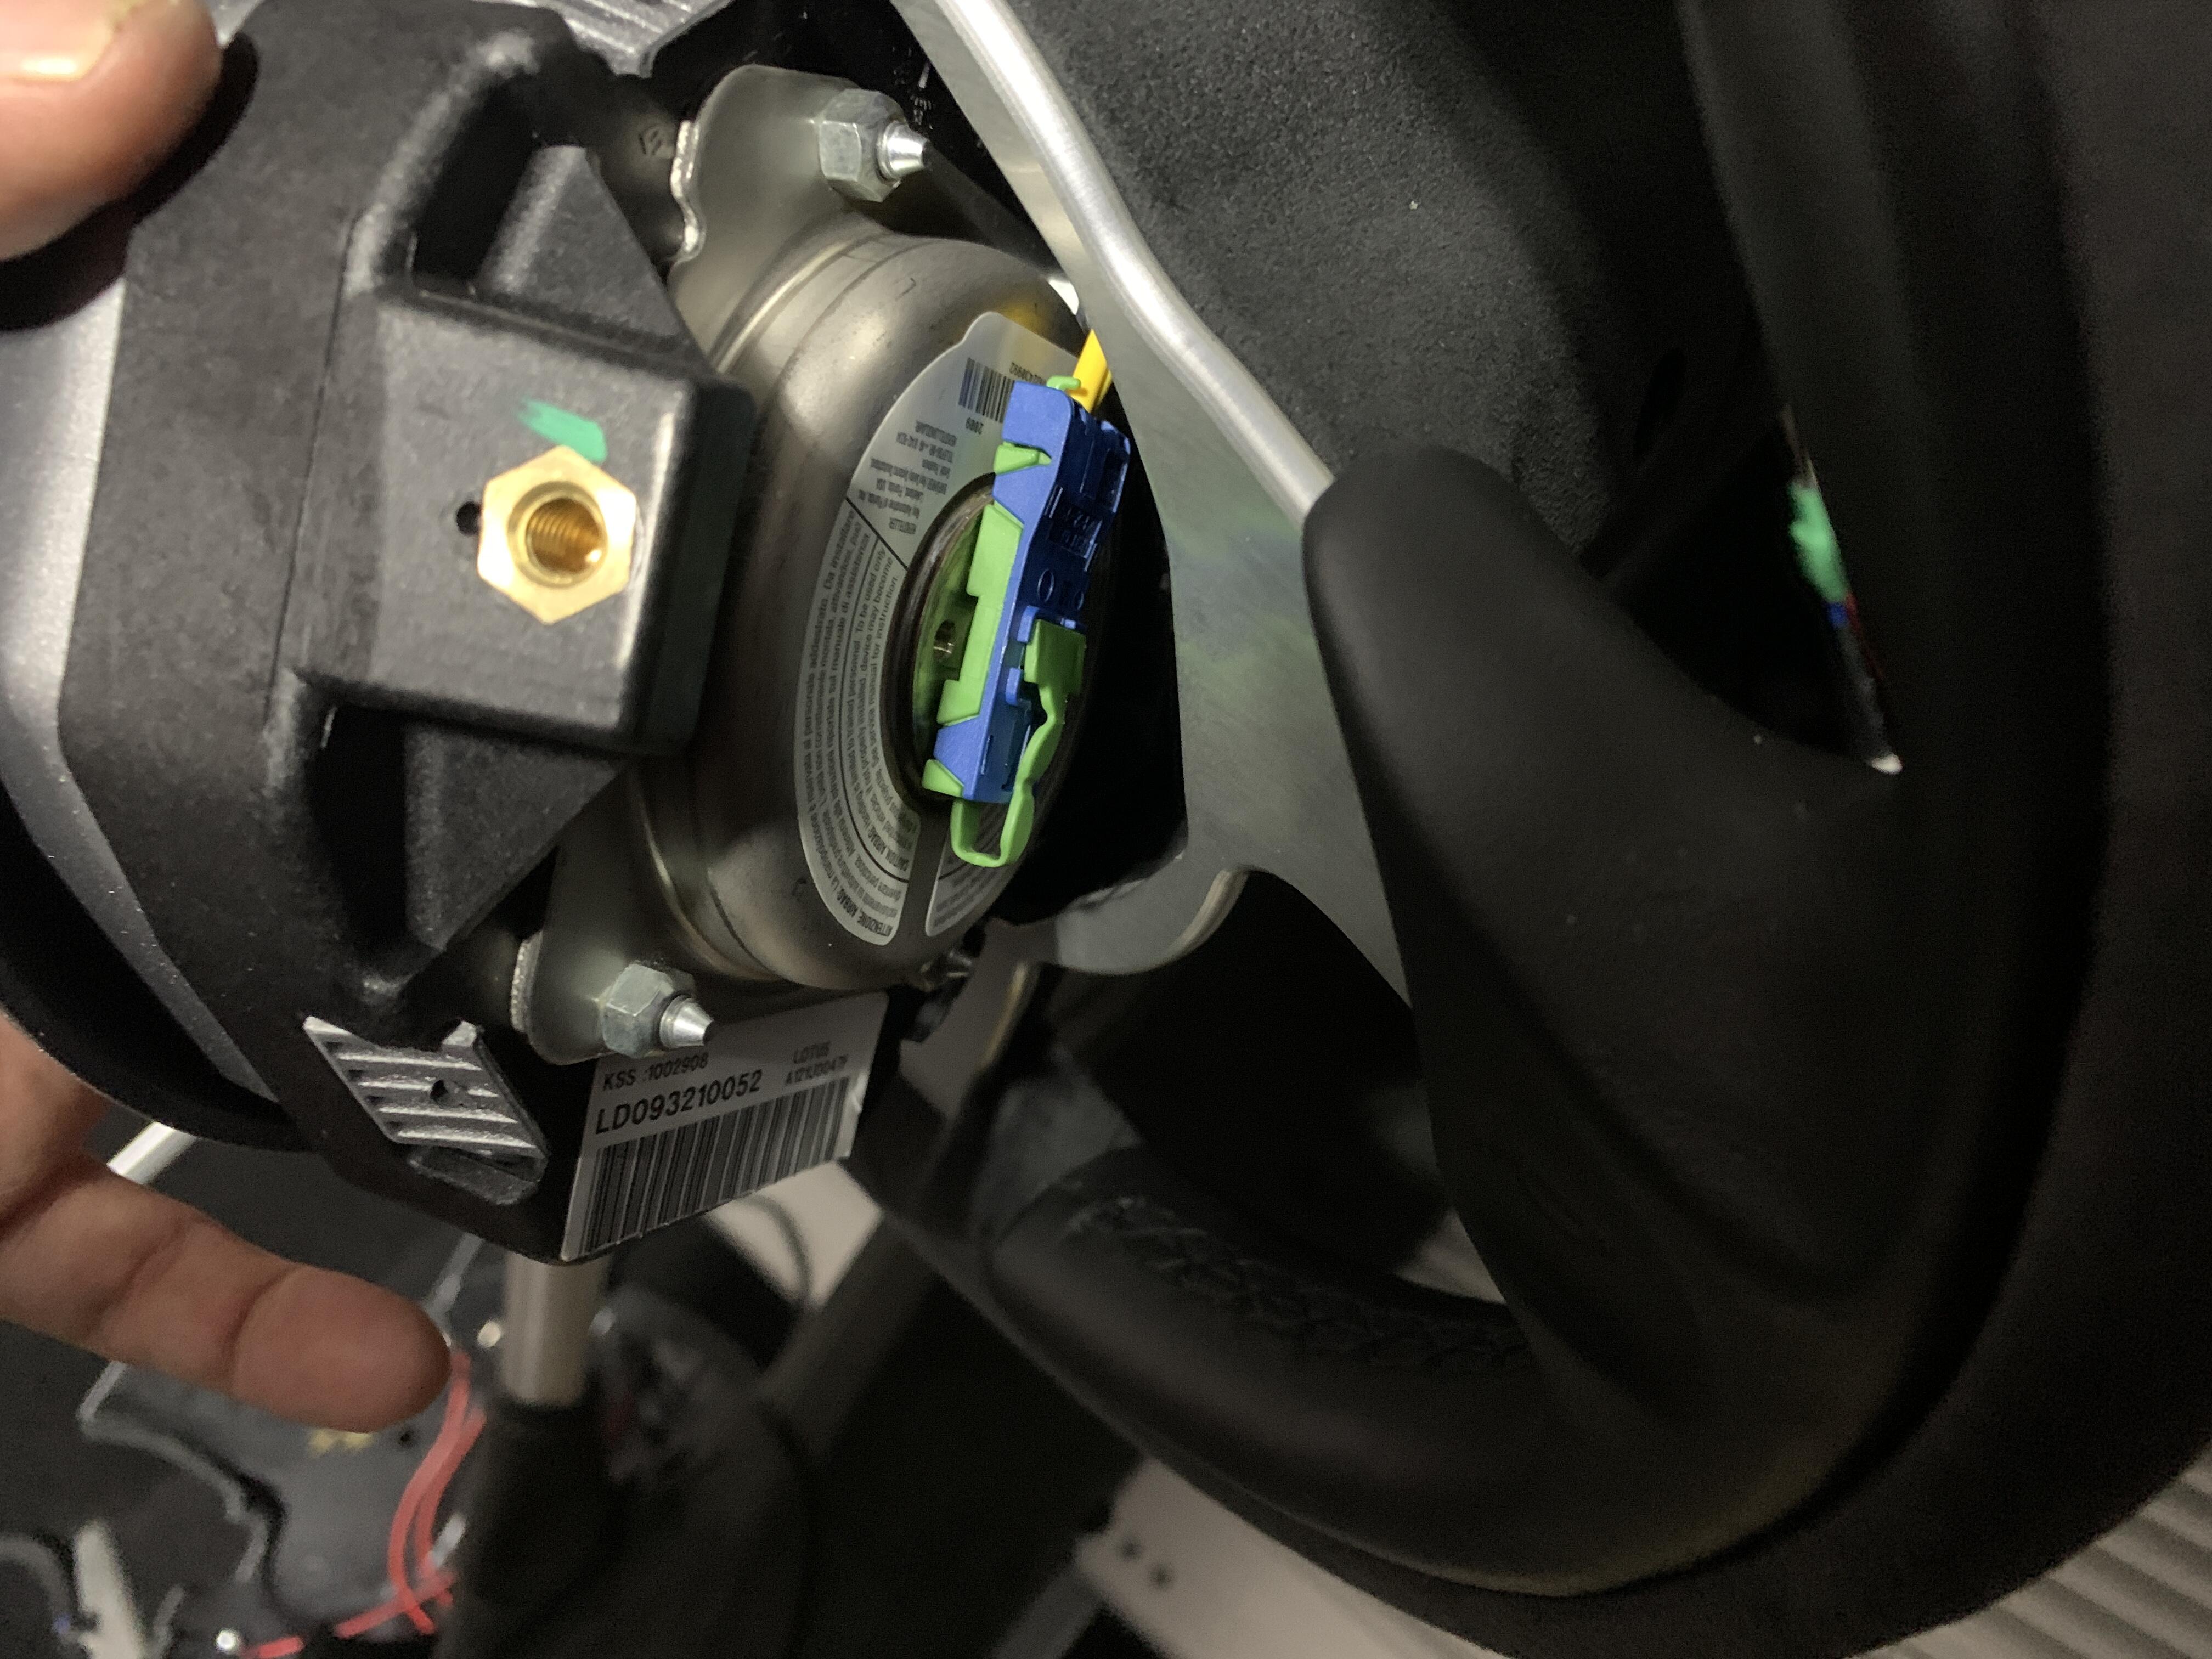
Remove this green tab to release the connector
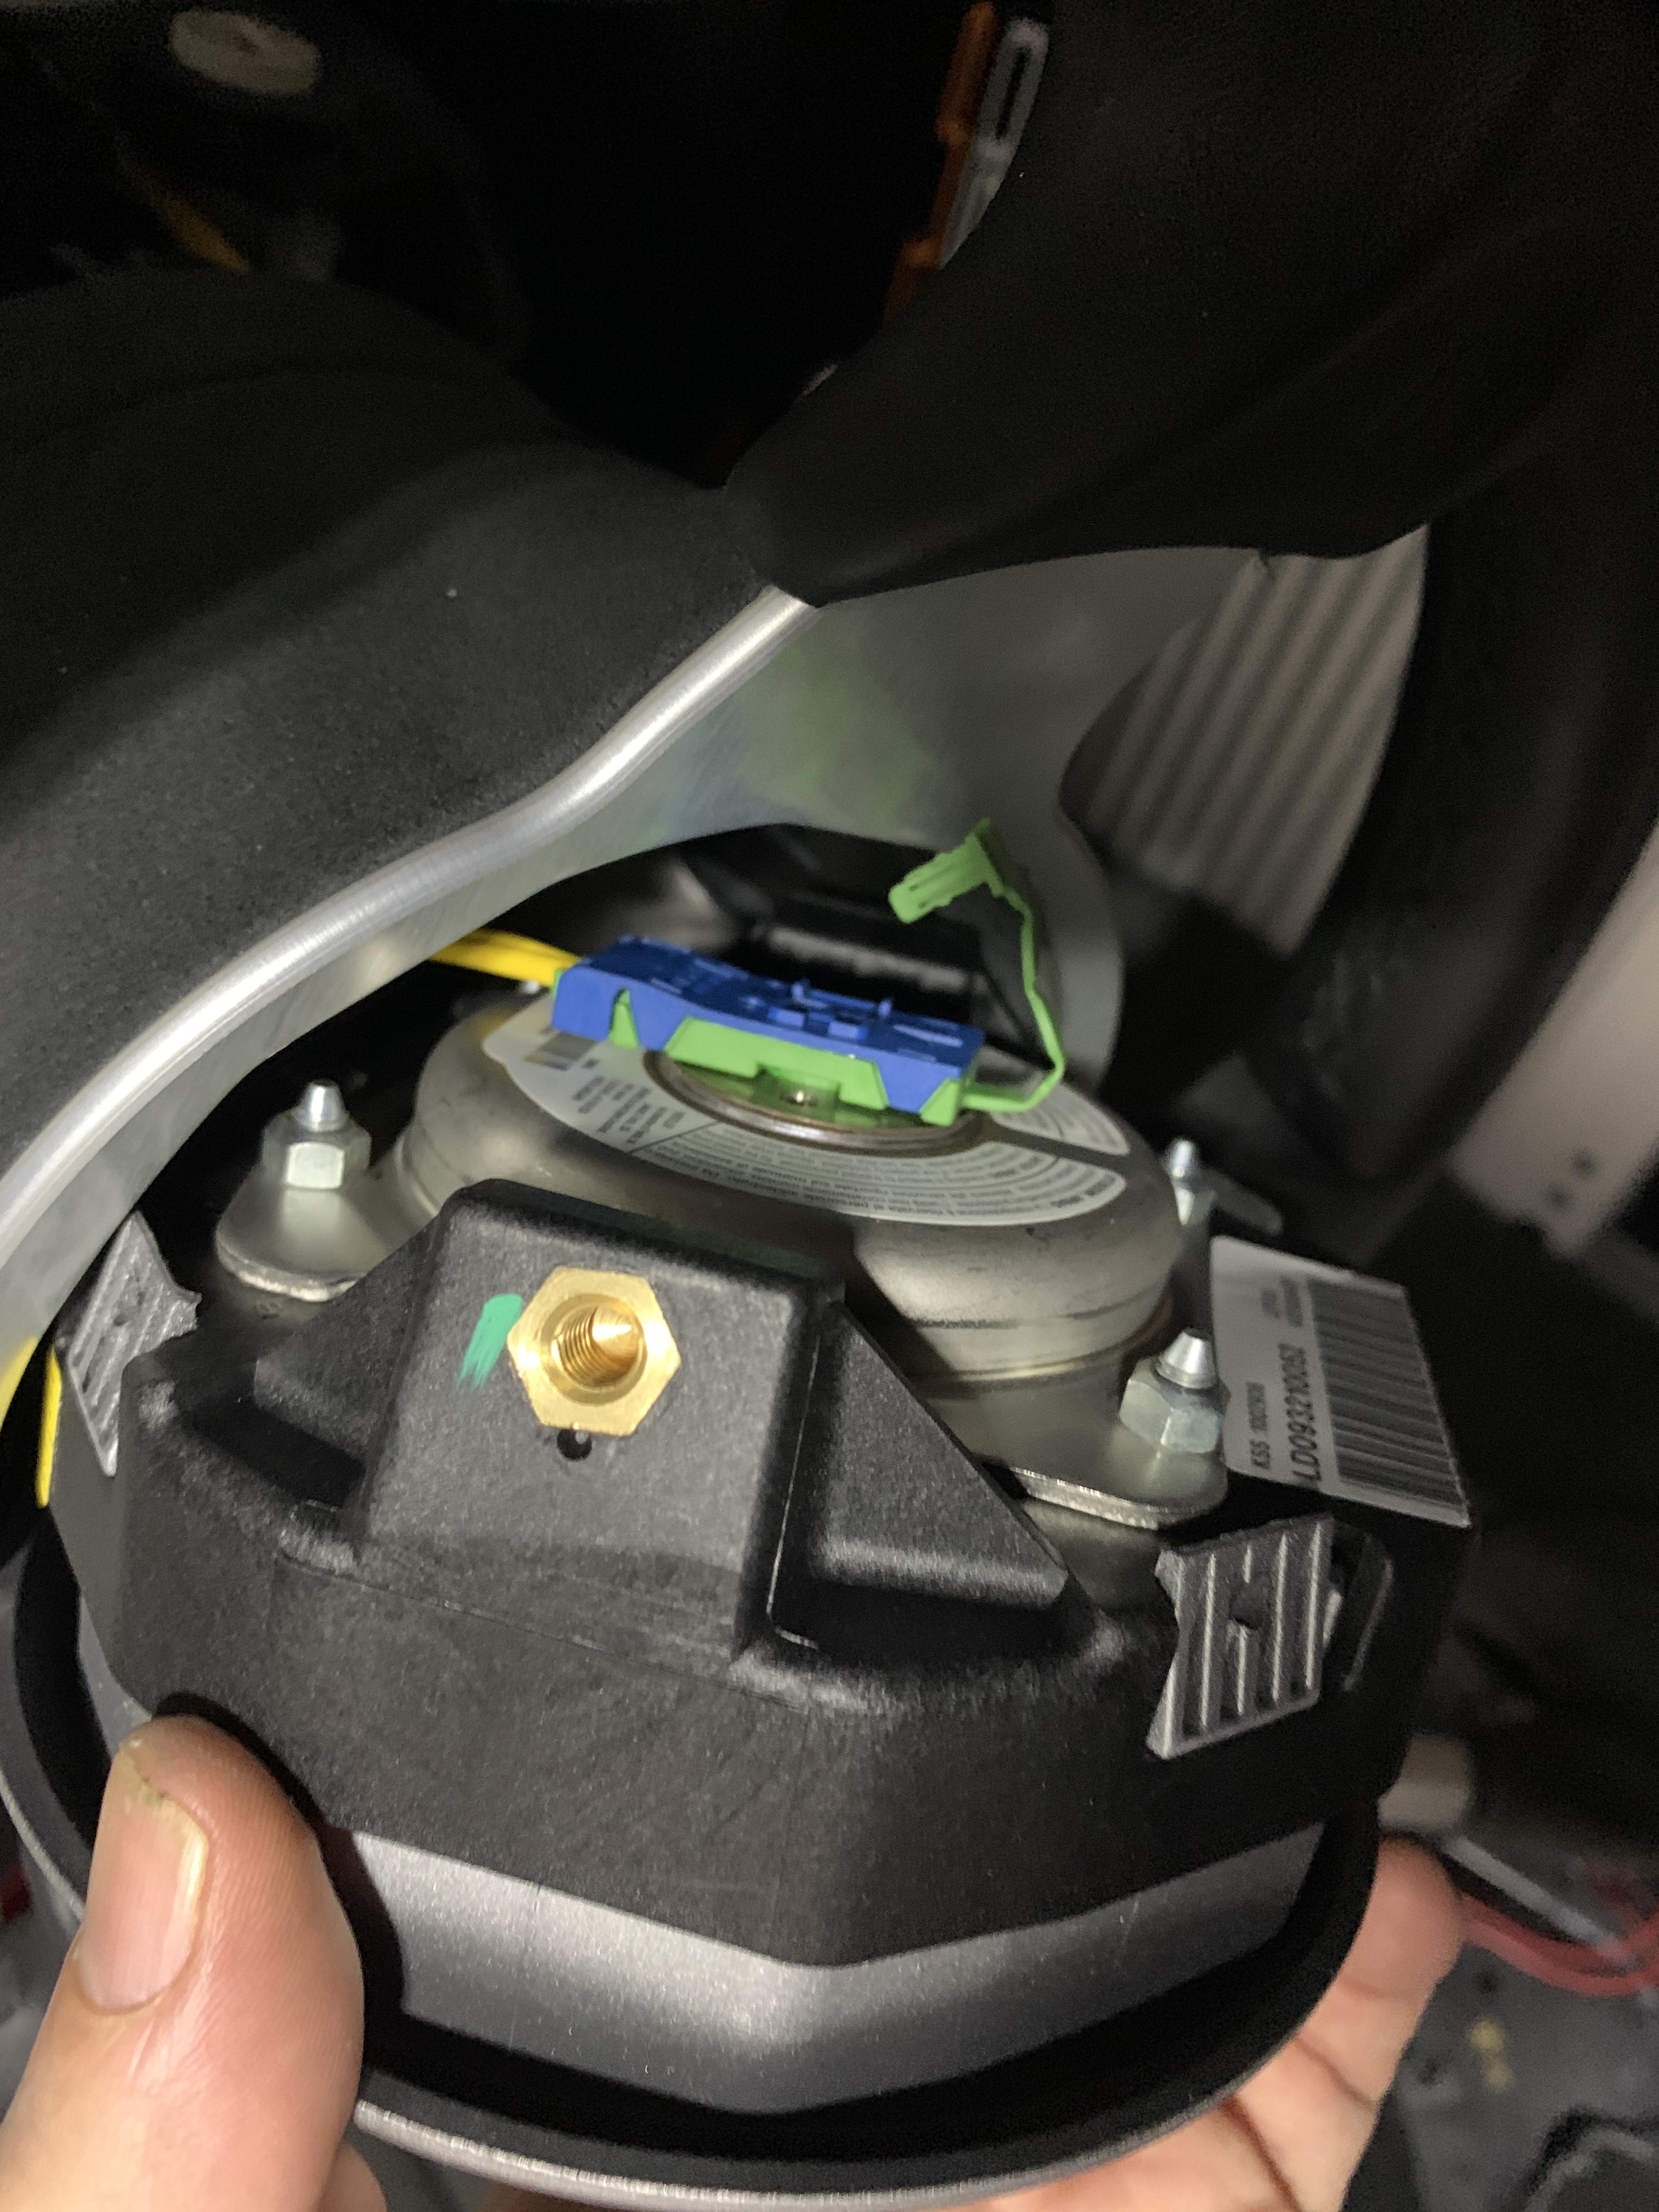
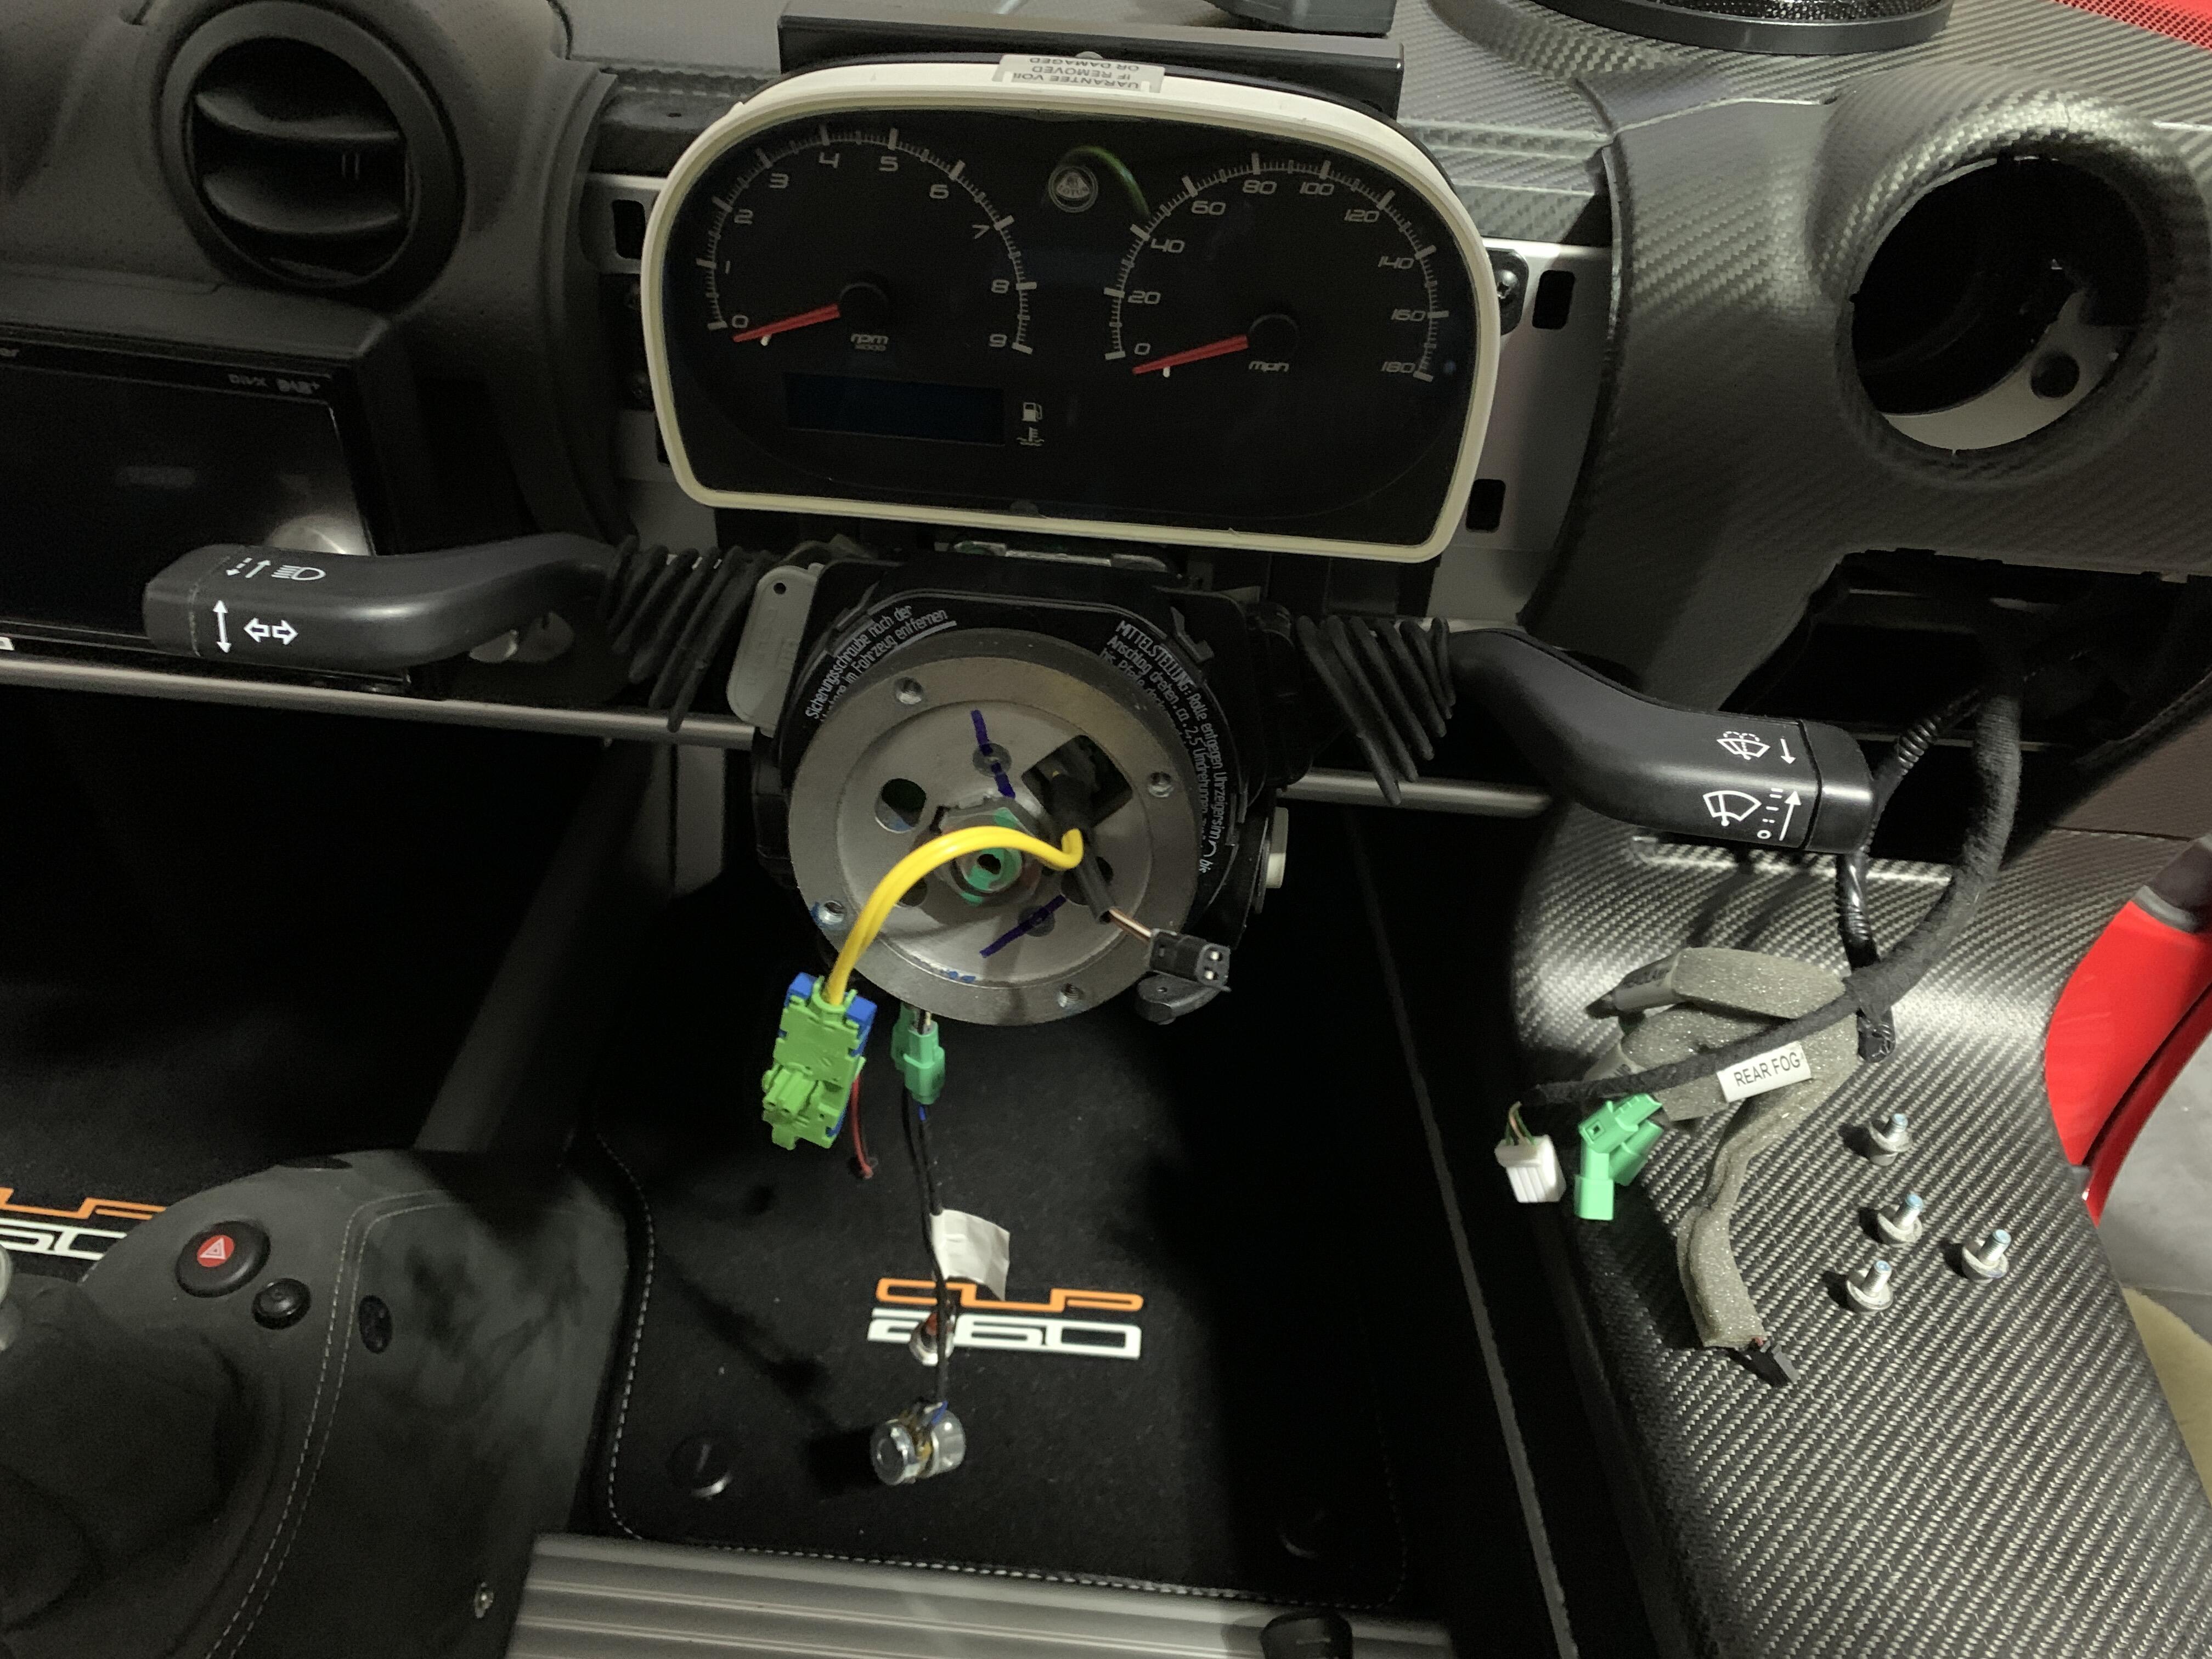
4 bolts to be removed
And wheel off
Then simply swap the old wheel, for the new wheel and spacer with longer bolts, installation is a bit tighter as the cable is about its limit, you could maybe run a 40mm spacer if you wanted to push it, but cables will be at their max on installation
New wheel, spacer and steering shroud done:
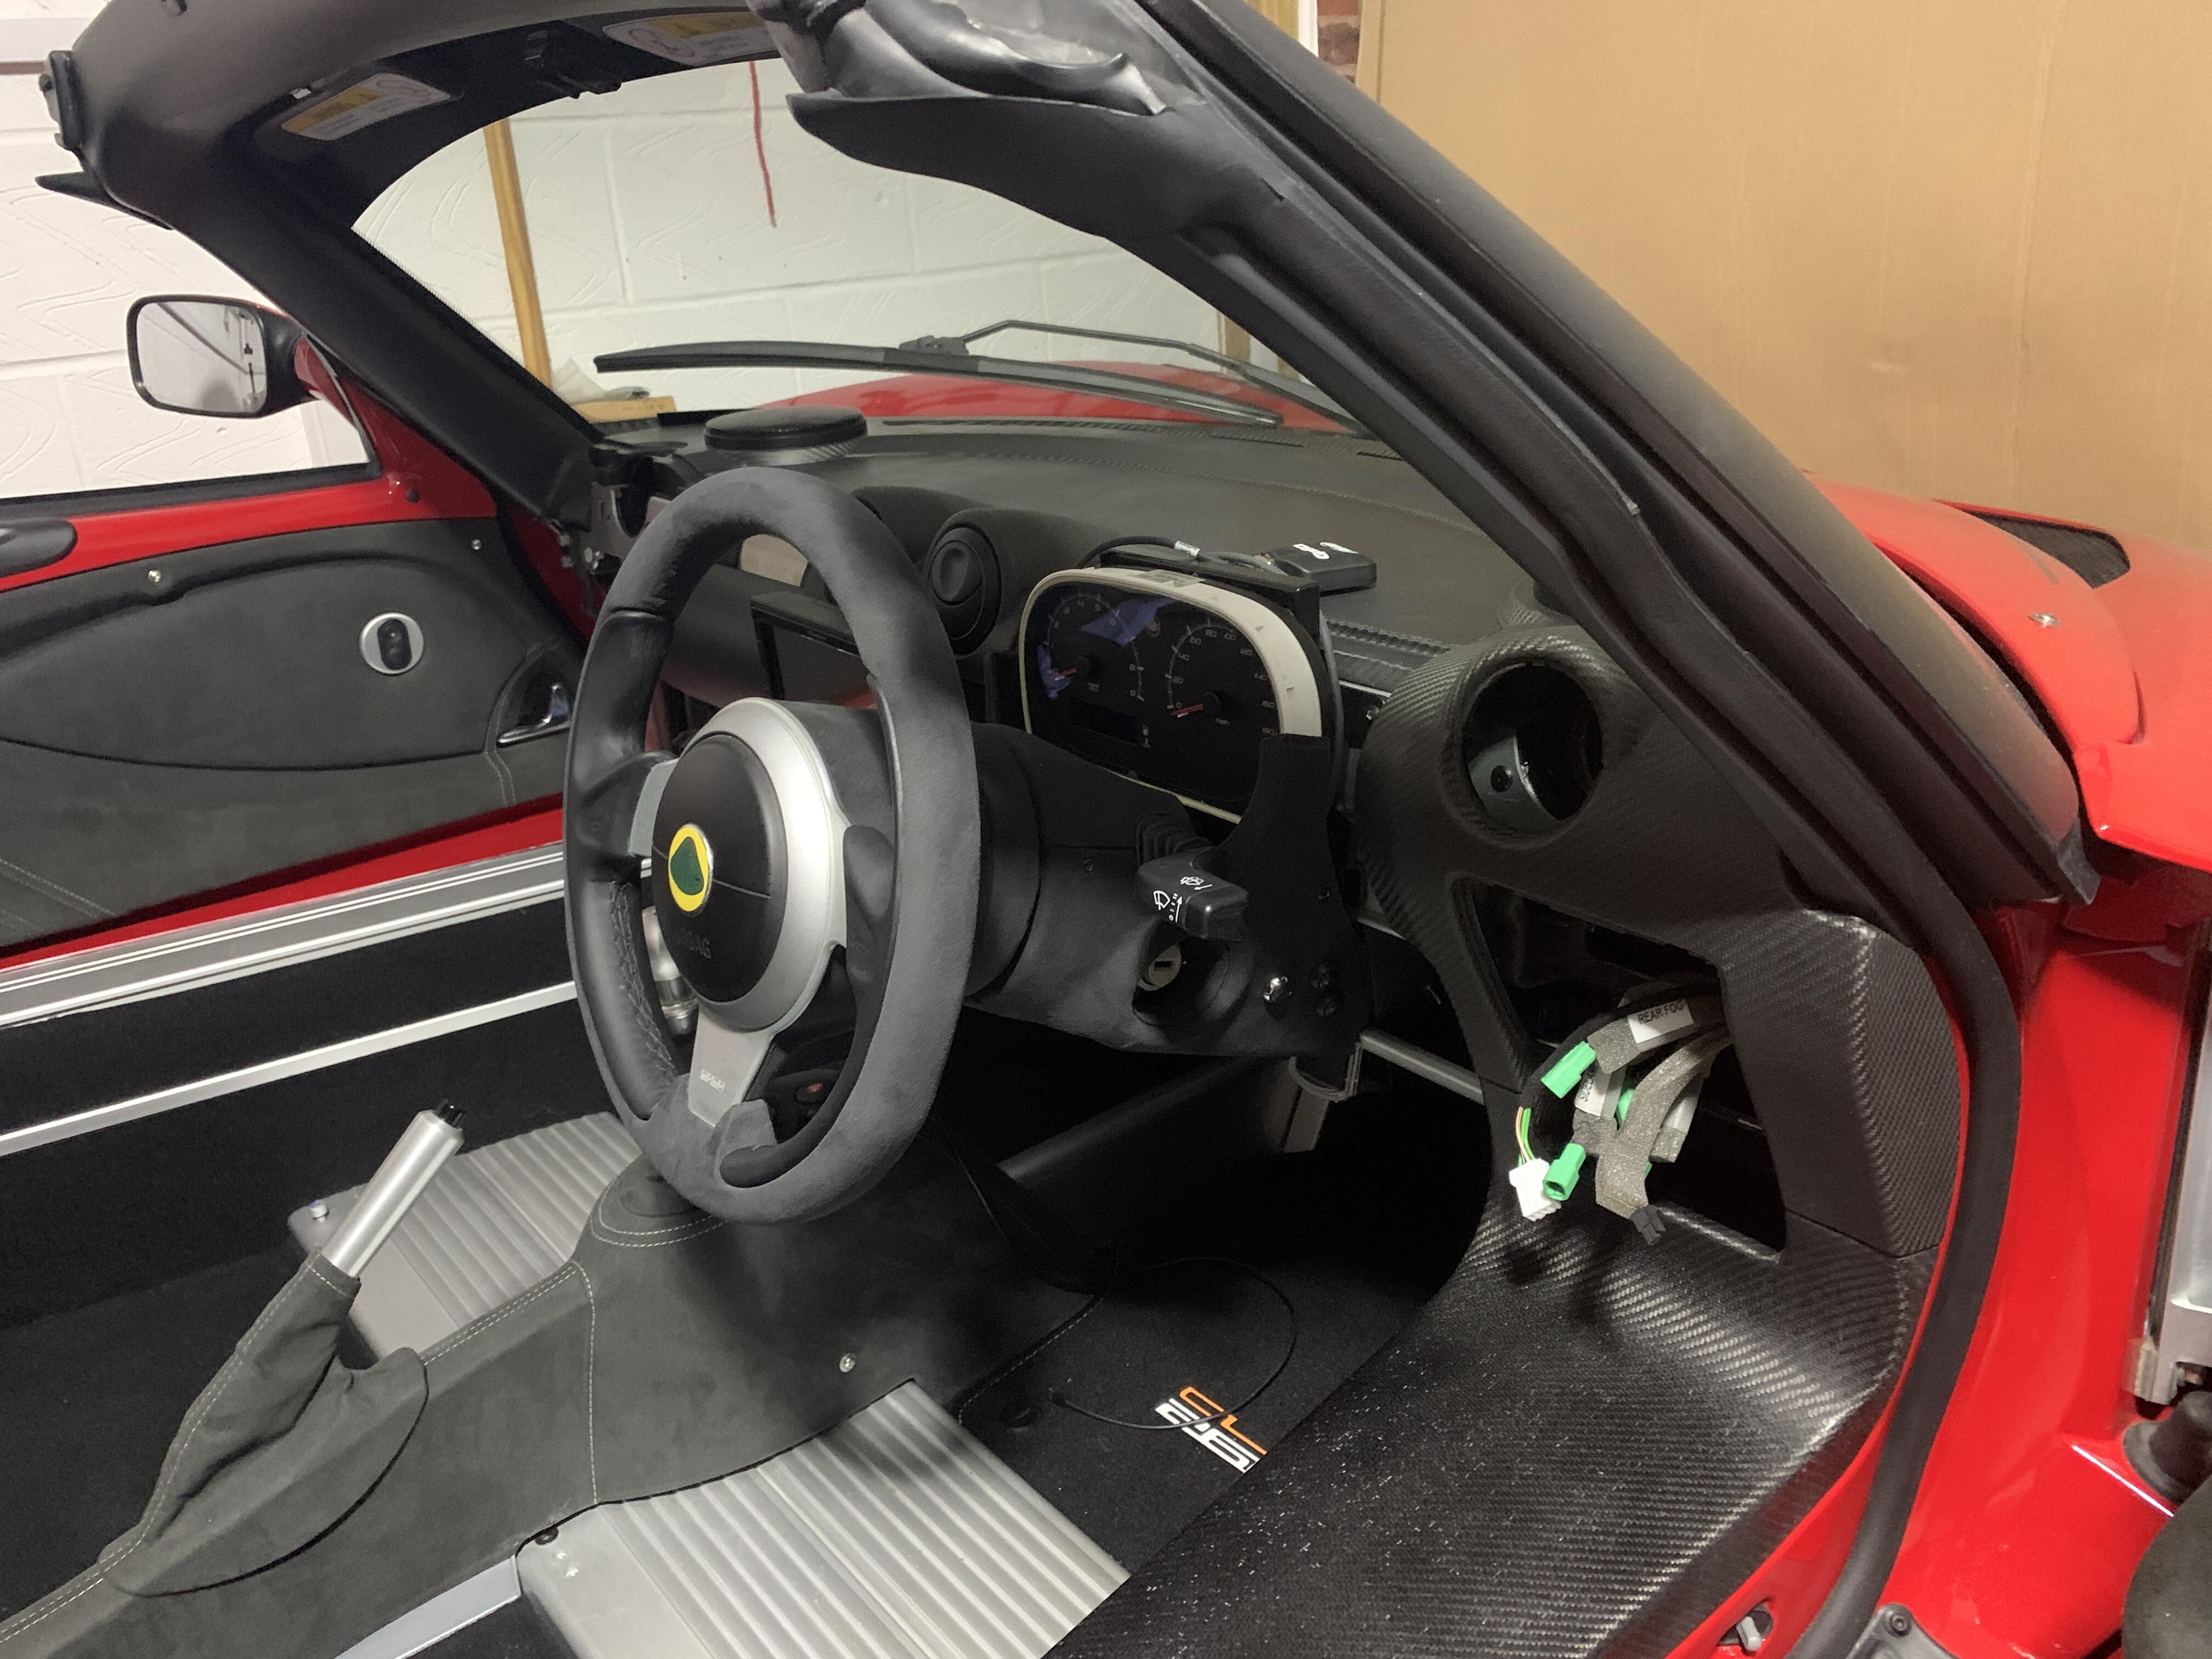
Looking good, wheel makes a massive difference. Not sure what they were thinking with that plastic “leather” stuff on the original…
I presume it was something along the lines of “how do we save 50p on one of the 4 main contact points for the driver?”
That 50p probably kept the company afloat at one point, so we probably shouldn’t grumble ![]()
Yeah I’m East Yorkshire just outside Hull. They do all seem to be different, my certificate says mine is one of 2 without the cutoffs and A-frame, the other one being white. Mines MY11 though so if yours is MY10 that’s maybe why it’s not mentioned
Small World, get yourself over to a NYLOC meet if/when they ever kick off again!
I’m sure they just make it up, I was going to get a COP but fear it will be some weird convoluted 1 of 1 type theory, i.e. the only car without cutoffs or A-frame, that is red, had its wheels put on by a chap called Barry, and had exactly 9.5 litres of fuel in the tank for the test drive. or they just hope we never compare…
Oh we’ll be back ![]()
Next up was reinstalling the interior. It took forever to get lined up and neatly installed, but the interim step looked like this:
Unfortunately I hit a problem at this stage, the tabs that hold the drivers switch panel and passenger cover panel, both had one broken tab and had to be fixed. Then I found some of the mounting tabs were also snapped. I stupidly didn’t take any pics, but had to rebuild the tabs which delayed things. As the panels were carbon and unique to the car they are not made any more, so I had no choice but to fix…
I won’t affix the passenger airbag cover or put in the dash binnacle, as I’m waiting on trimming and as it won’t be on the road for a few more weeks it’s a bit pointless wasting the sacrificial tabs.
Due to Covid apparently I can’t get anyone to embroider the Cup260 Logo on material at present! Its been going on months, I finally found somewhere that was going to do it in November but got delayed as they had backlog, by the time they were free lockdown2 came, repeat again then lockdown 3. They will embroider on their own material but not if I supply it due to covid risks, the alcantara has been locked in an airtight back for 4 months now - so if any bugs have survived that it probably deserves to take over the the world. Shorter story is getting custom embroidery is a complete ballache, and I think due to a lack of team sports they are all on furlough or doing corporate gigs only… So I will be trimming in plain alcantara then replacing with logo version later in the year. As with all things I have no issues with people not being able to do stuff, but long drawn out excuses and constant missed deadlines really bug me…
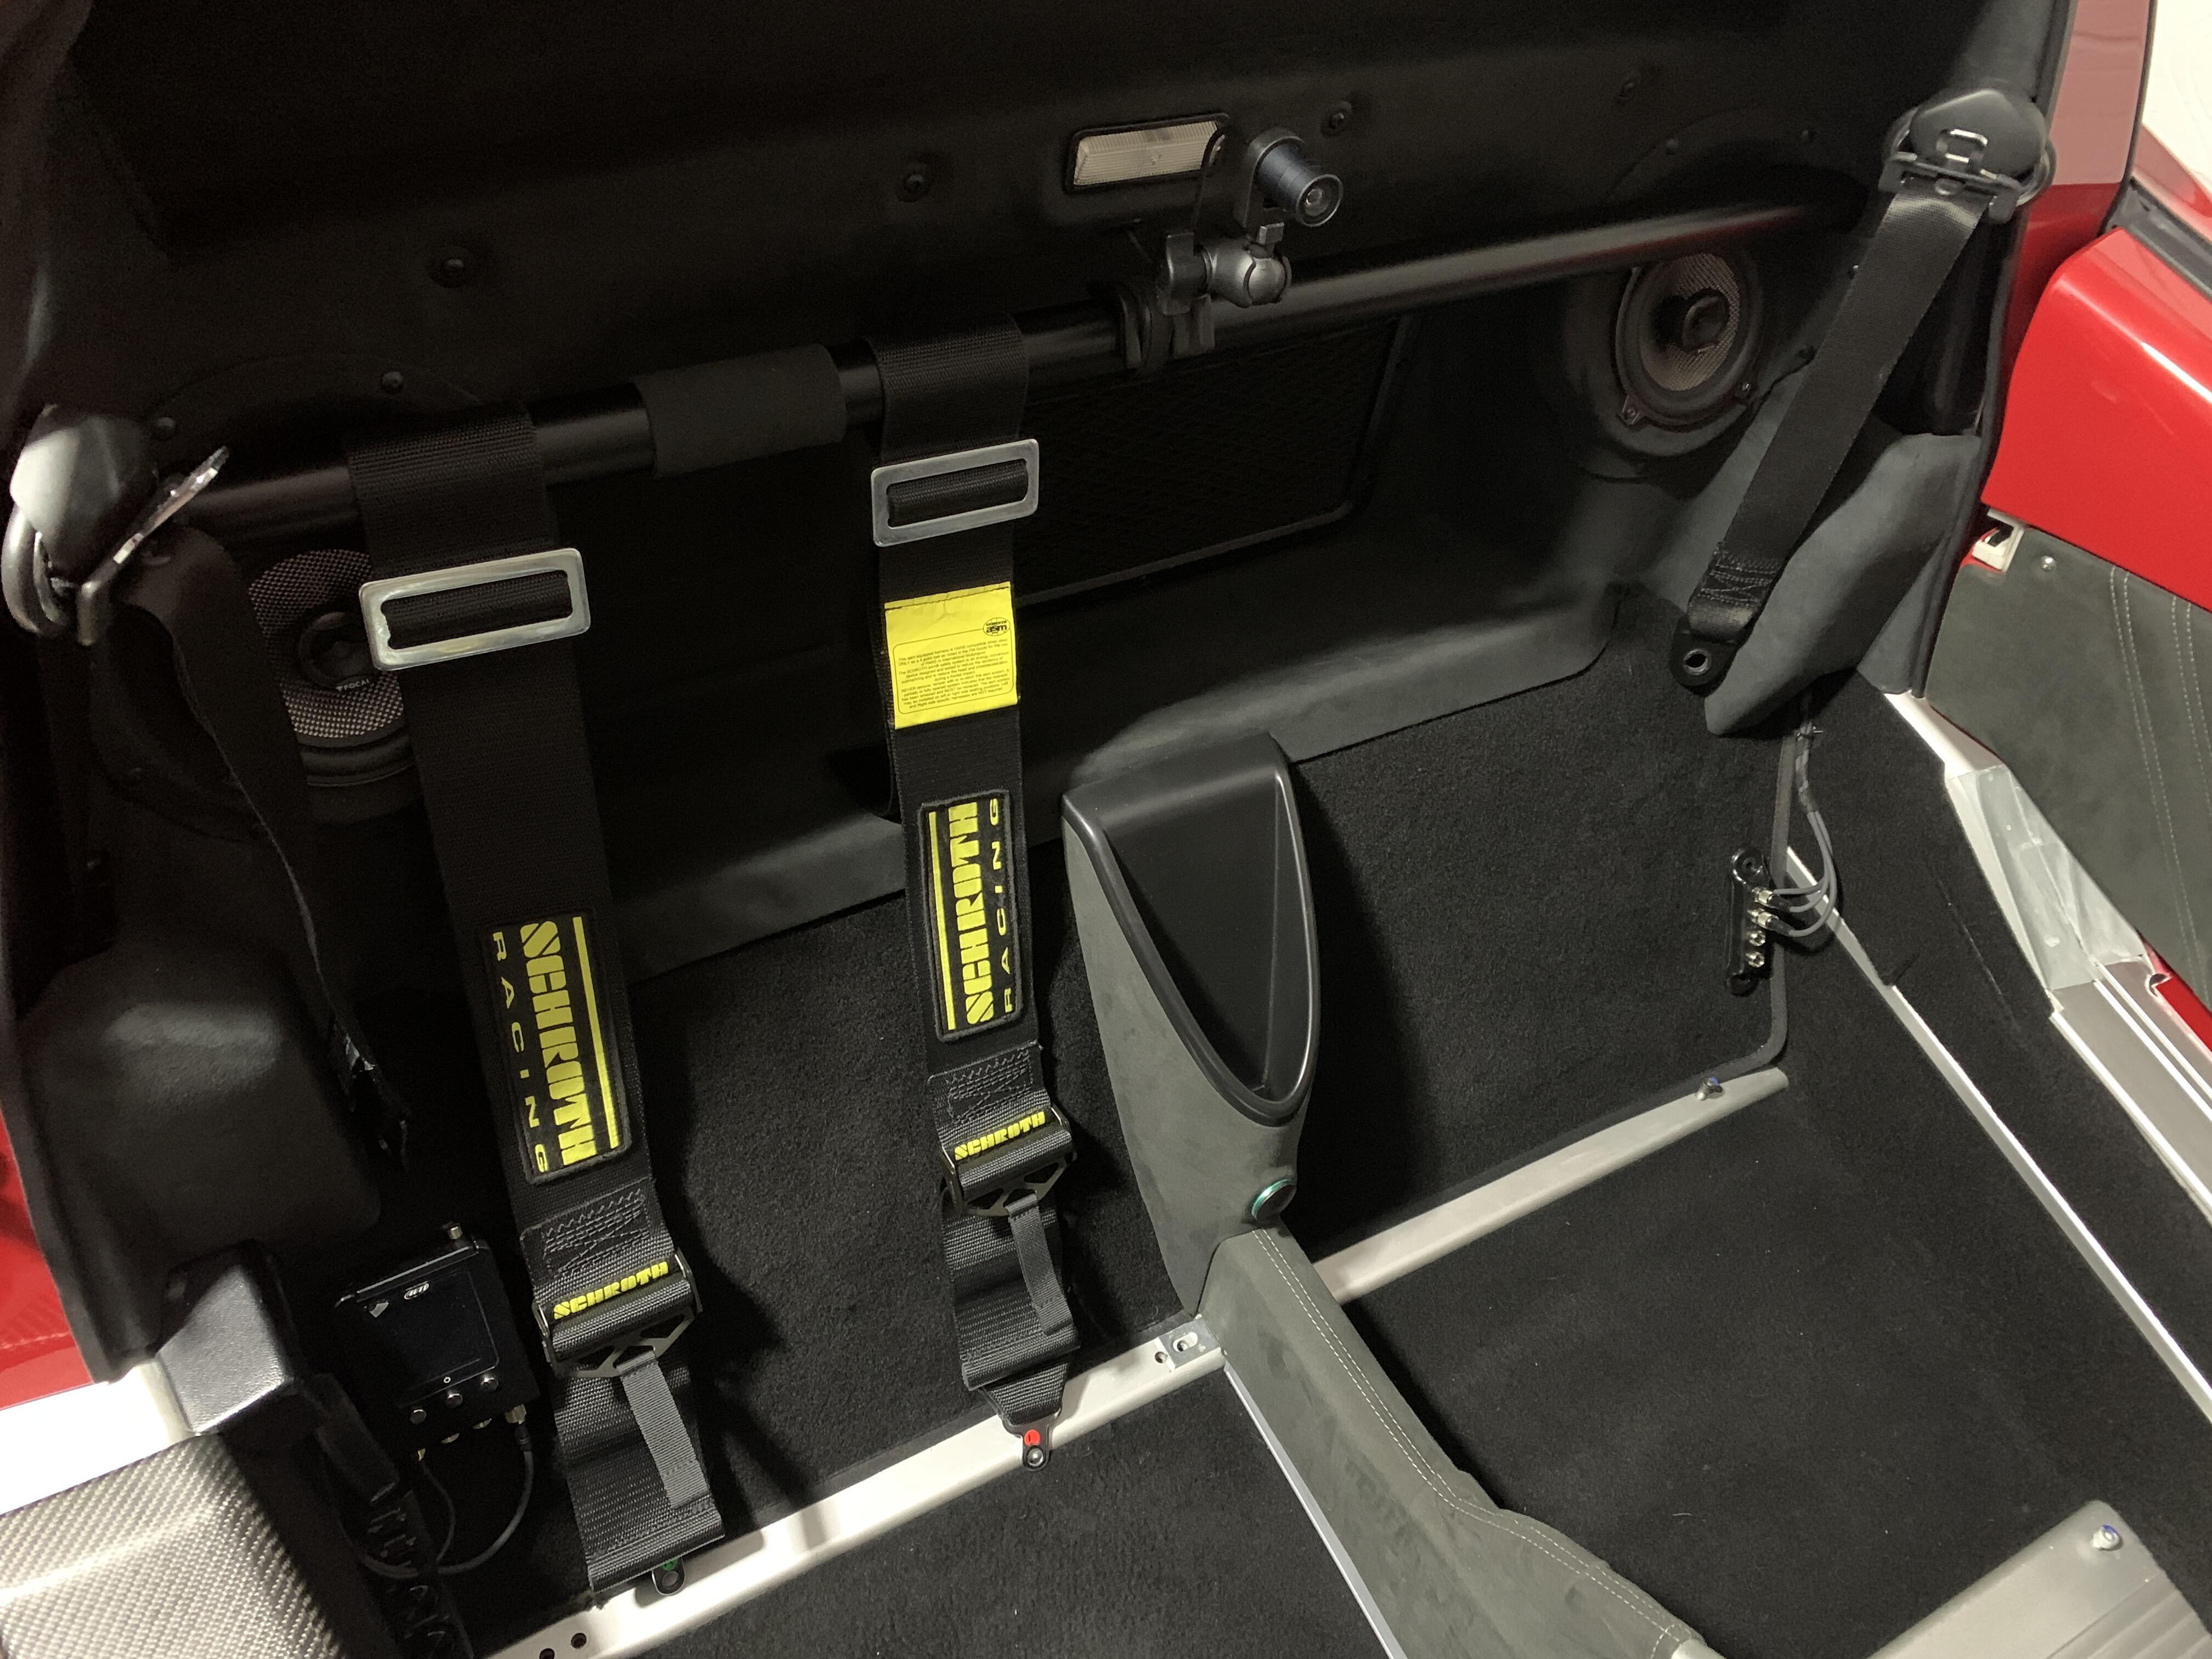
Another delay as I mentioned was harnesses, they had arrived but were wrong buckle. So whilst waiting for another set to be made (which took Schroth 2 months last time) I put in the set that came with the car, also added an alcantara pad to the harness bar where the seat just touches and previously chipped it, so bar was resprayed:
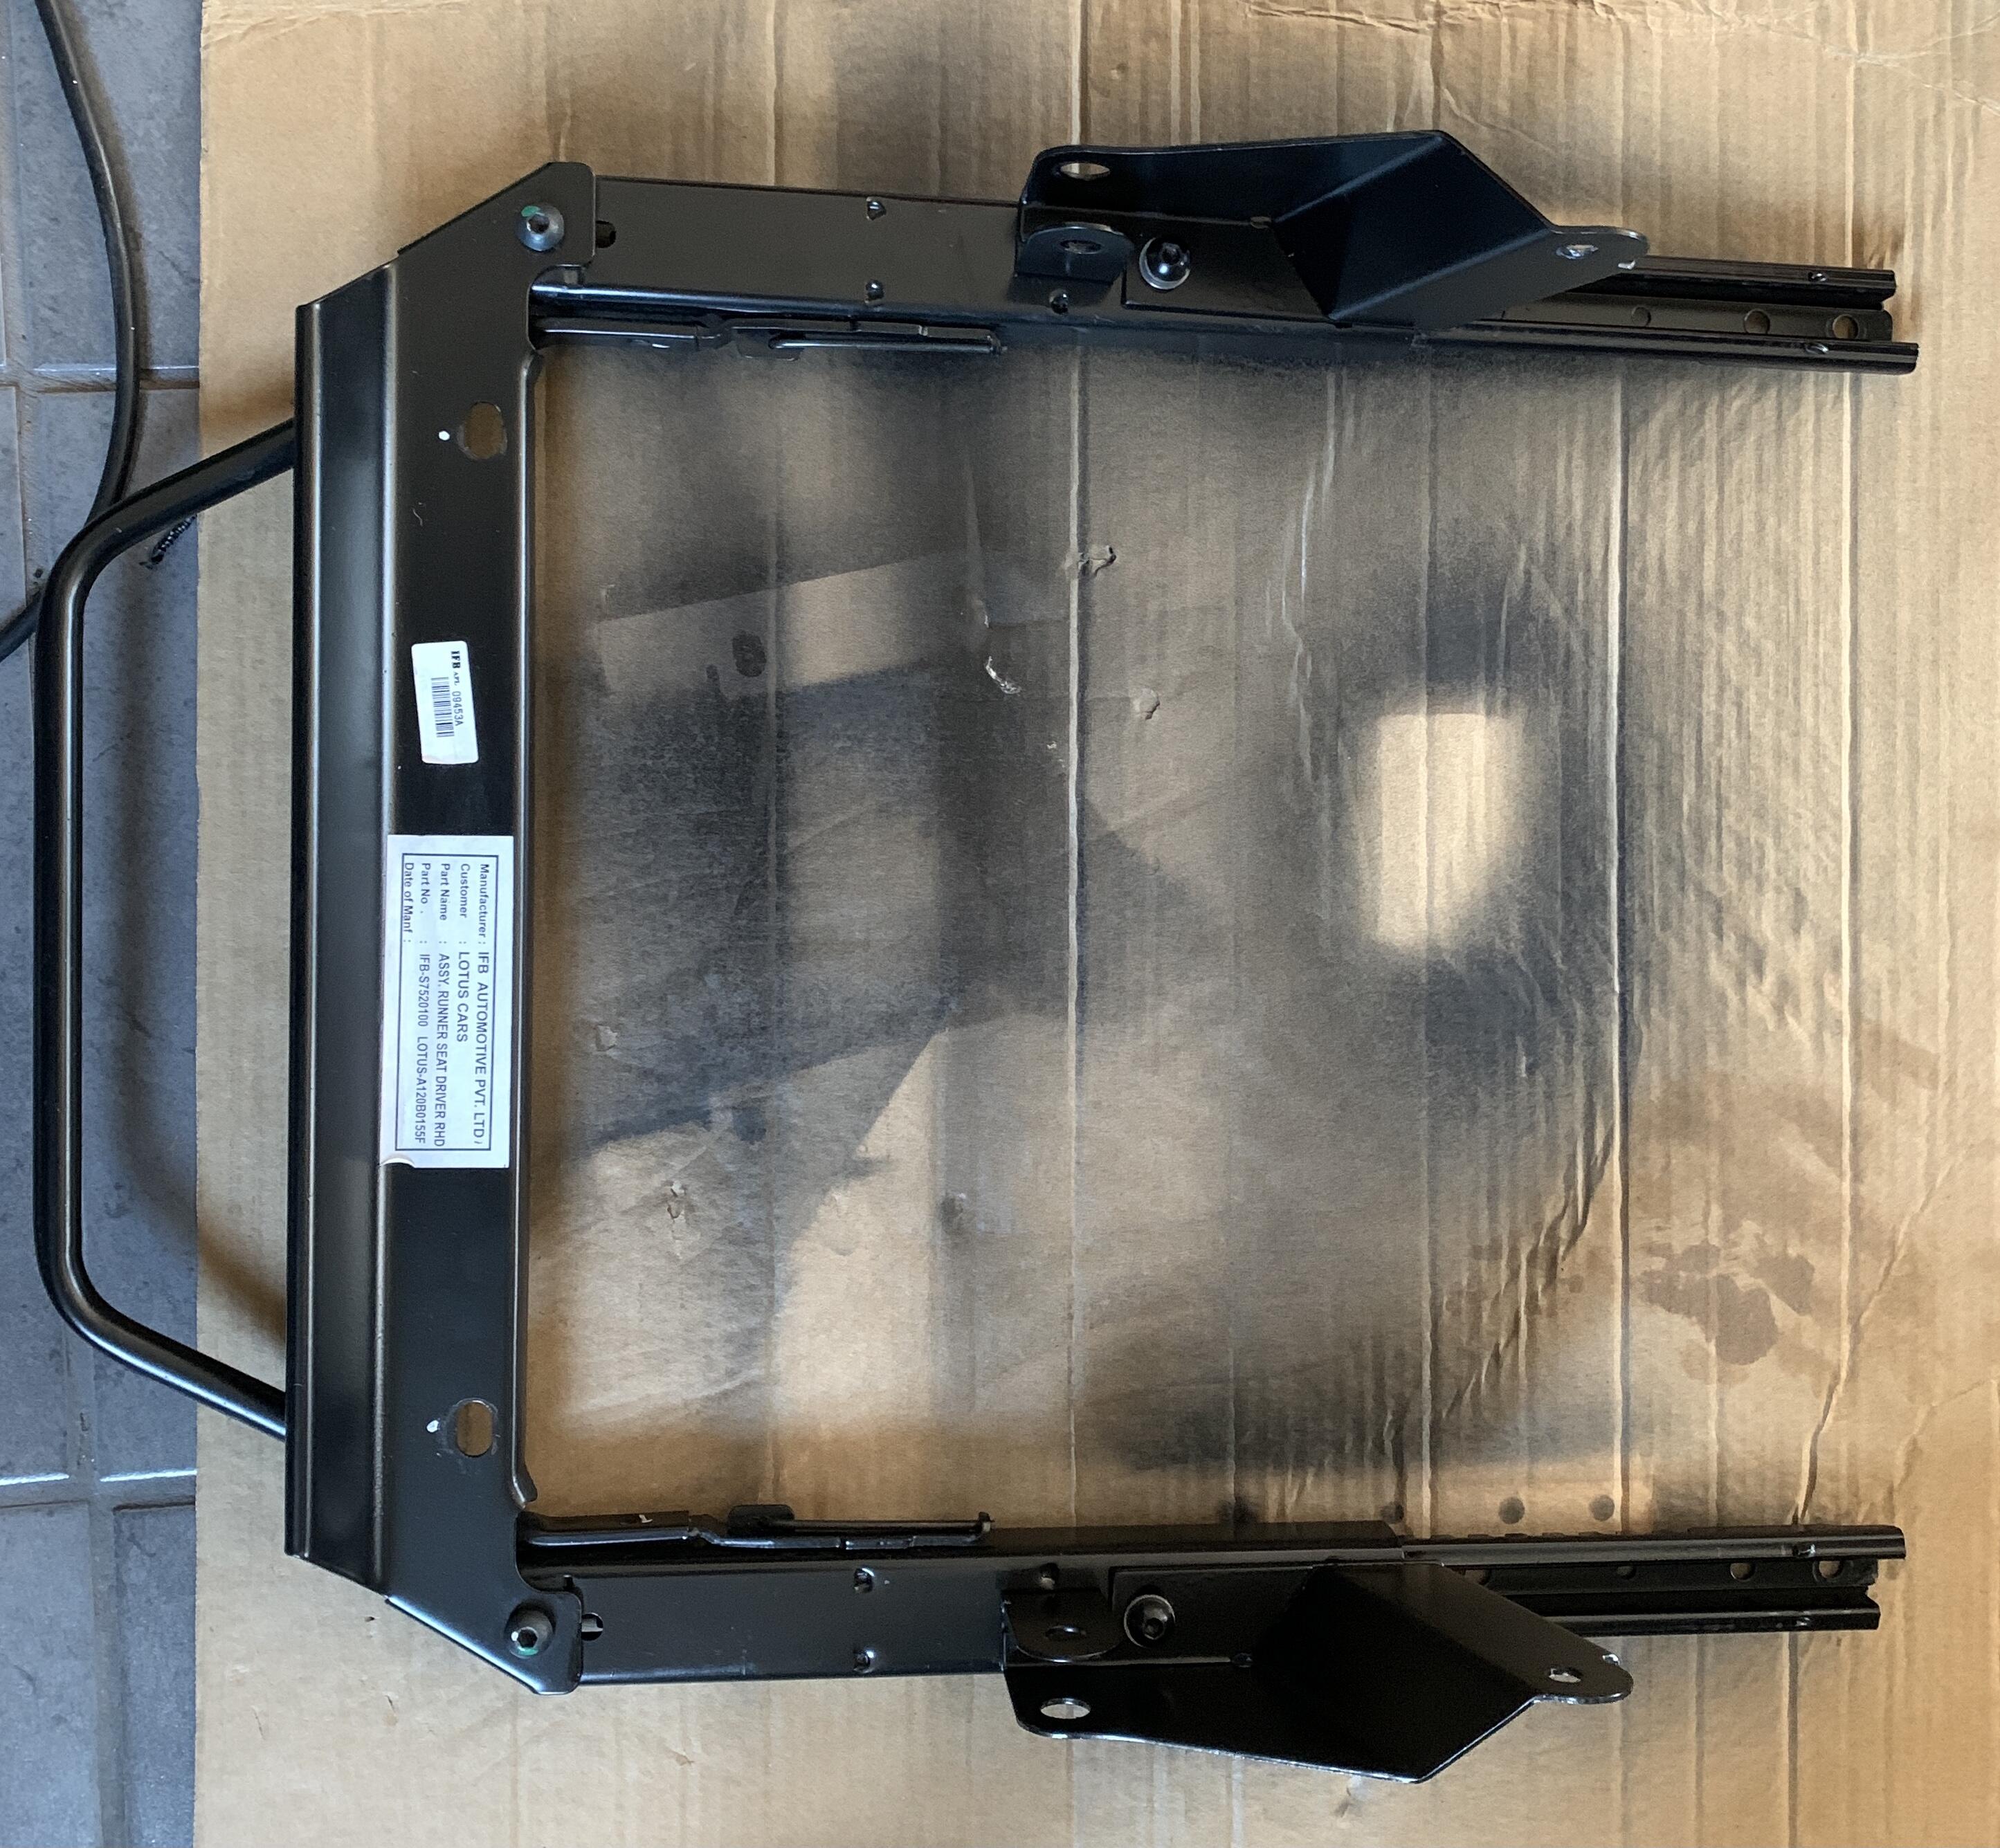
Seat subframes were a bit ratty, so I stripped and resprayed:
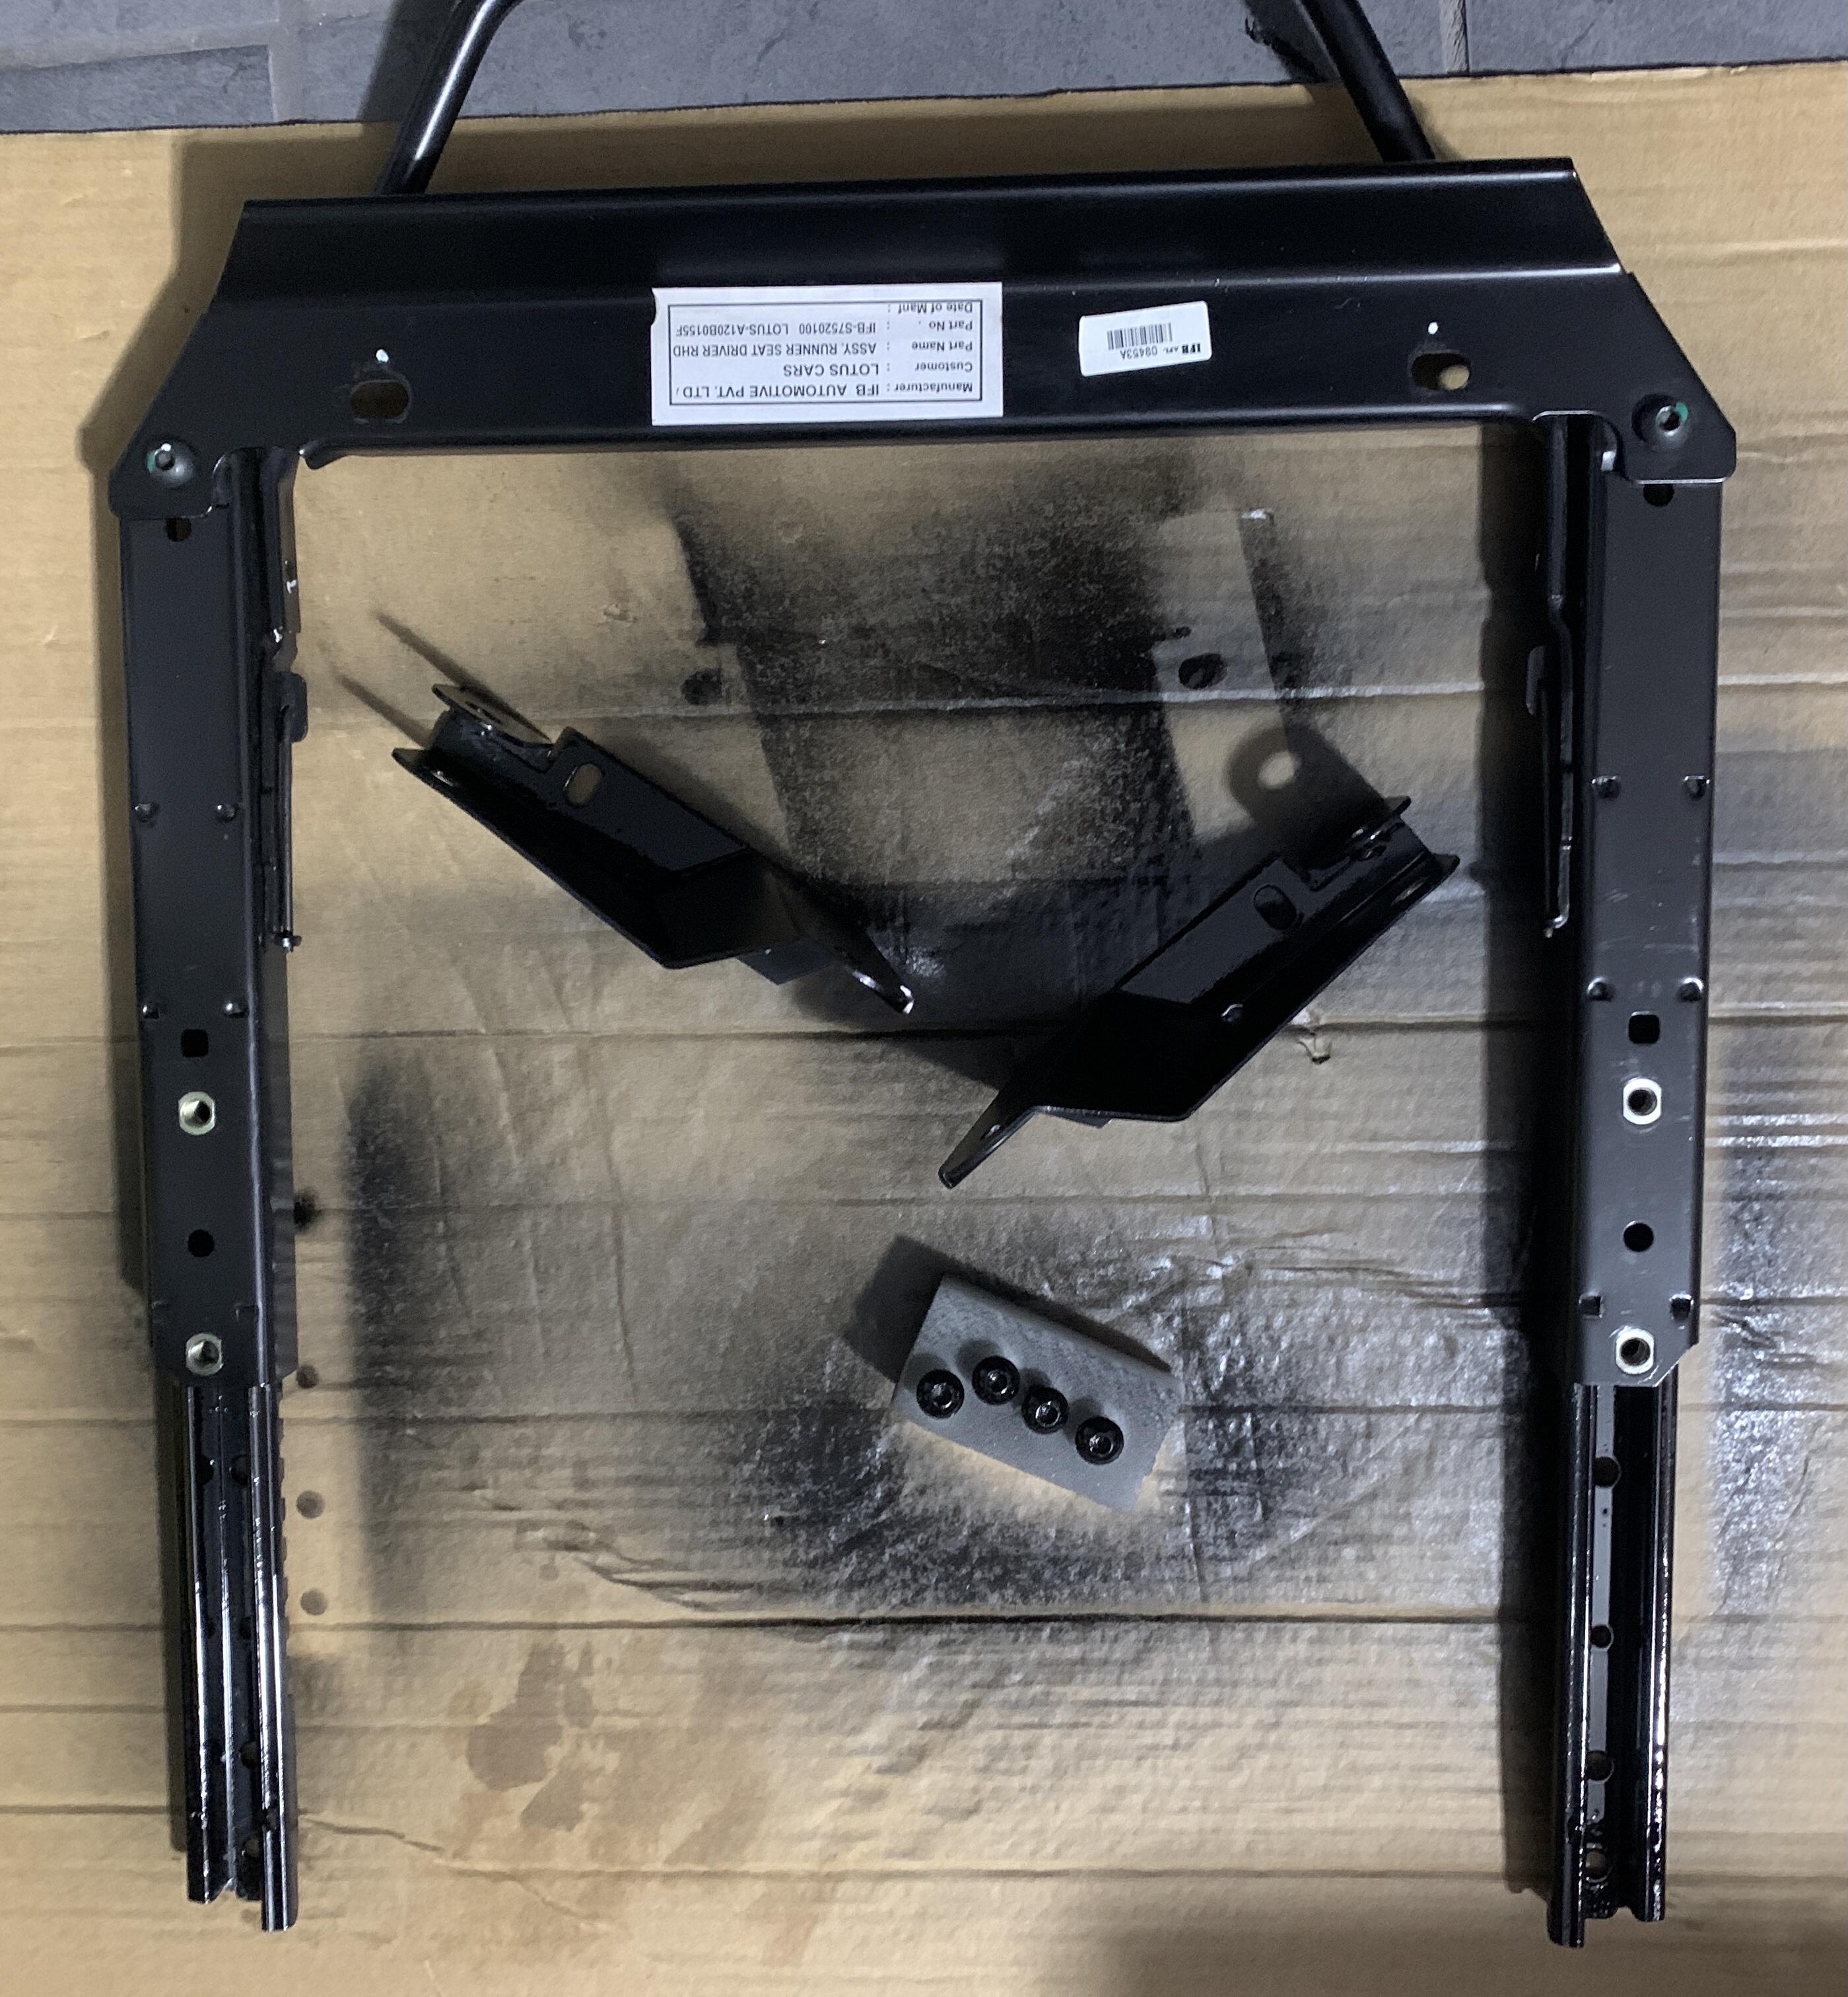
And all done
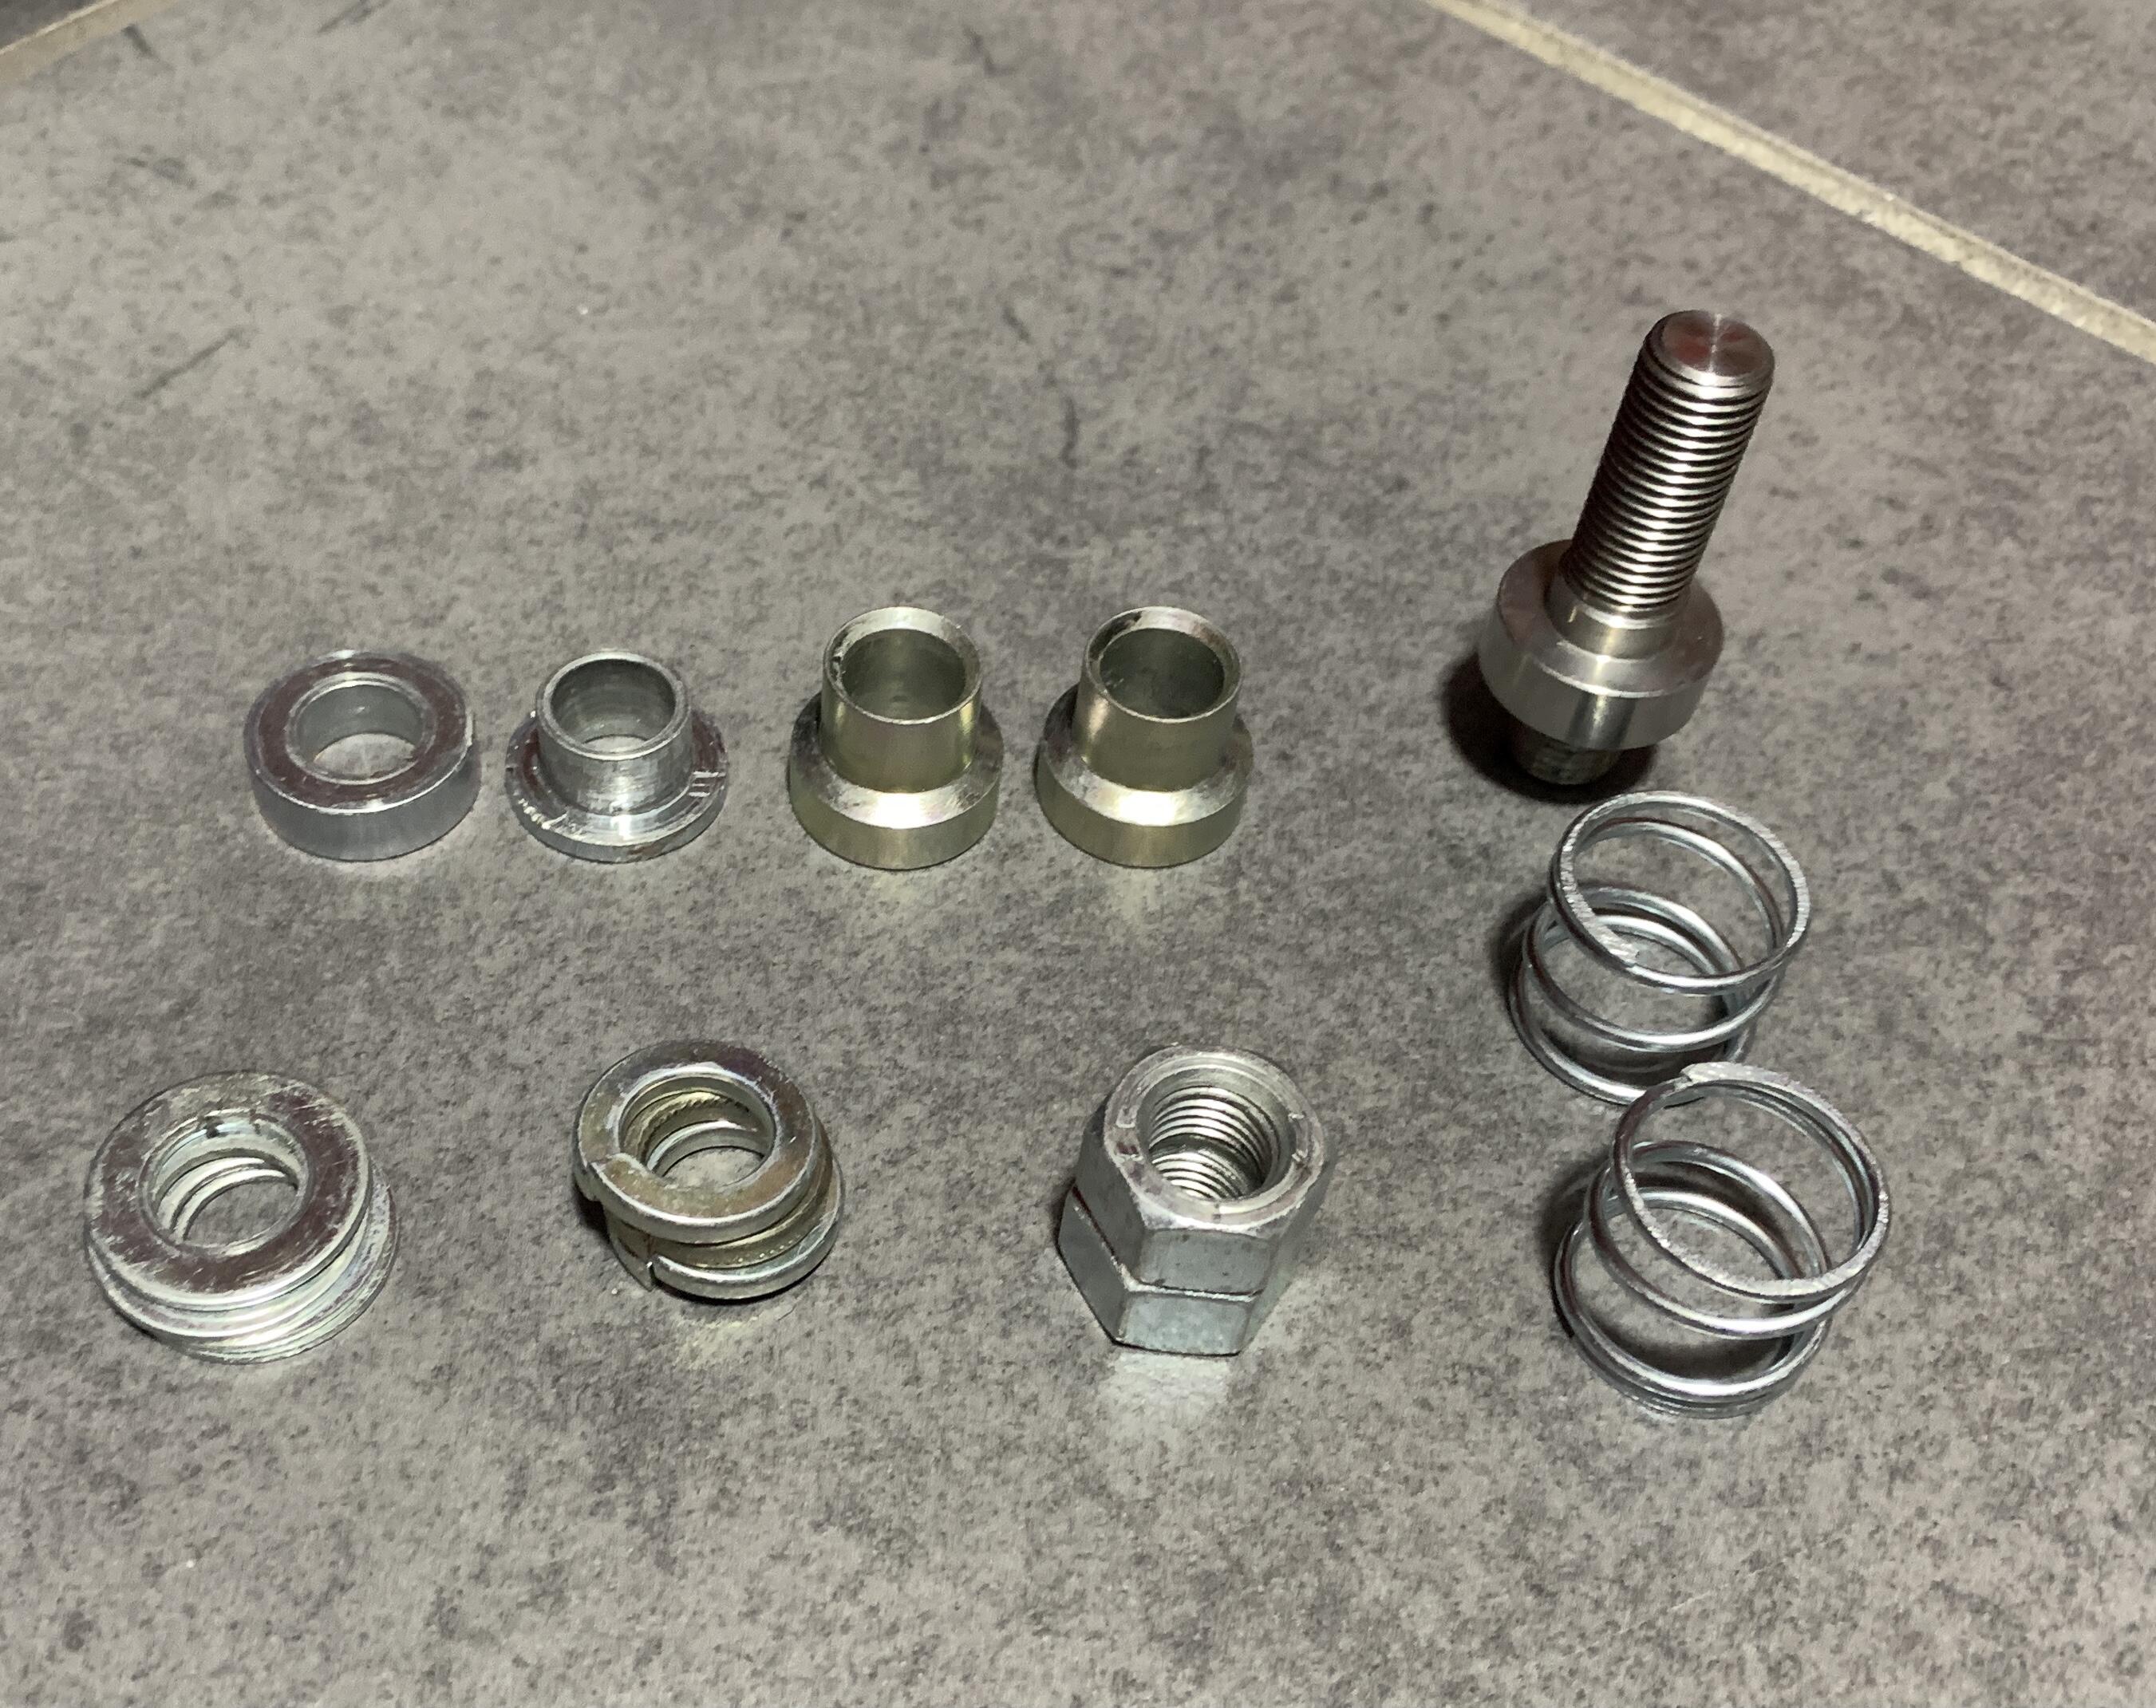
I wanted to keep both 3 points and harnesses, I rarely use 3 points but its nice to have the options, passenger harness will be rarely used but I prefer to have the pair. I am mounting with the Sector 111 kit that is now sold by Seriously Dave and MSAR, it was sitting in the parts bin from a past car as it doesn’t work with the new subframes. I’m sure its been seen a billion times, but here is the kit:
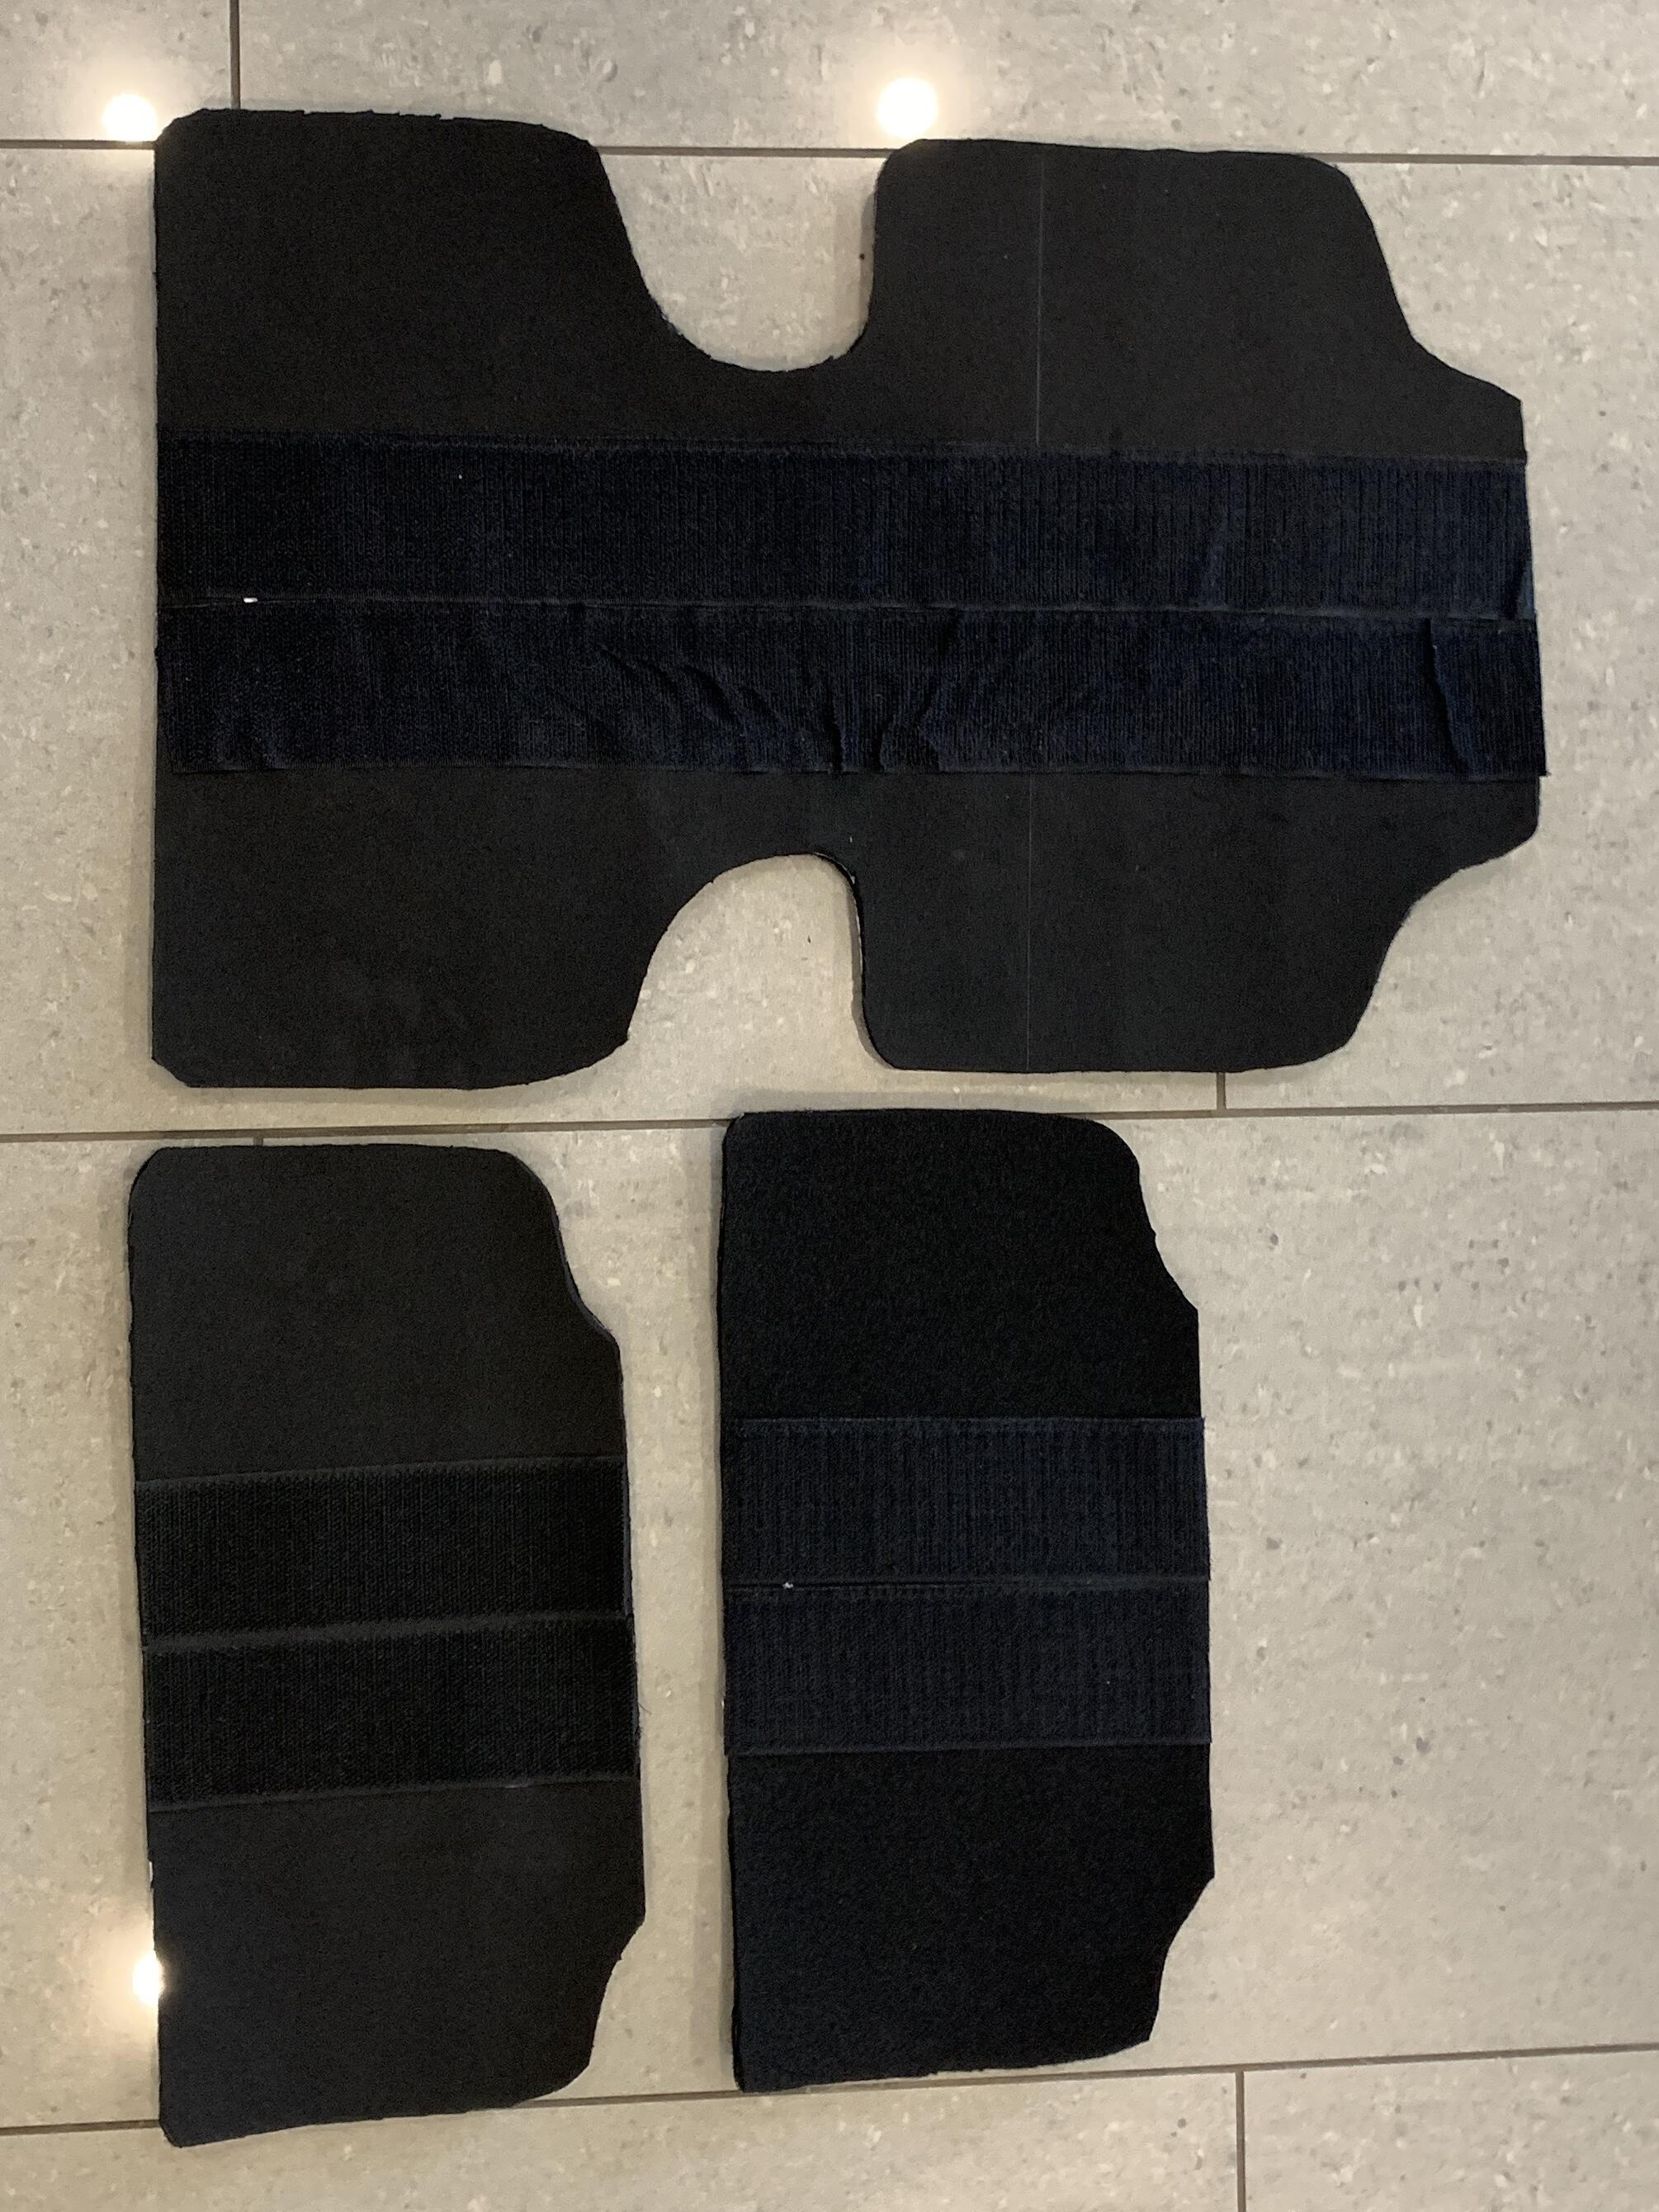
Thanks to my seat cushions being velcroed not glued in I made up some more lumbar support pads to try out in the summer, made with 3mm closed cell foam and trimmed with soft carpet
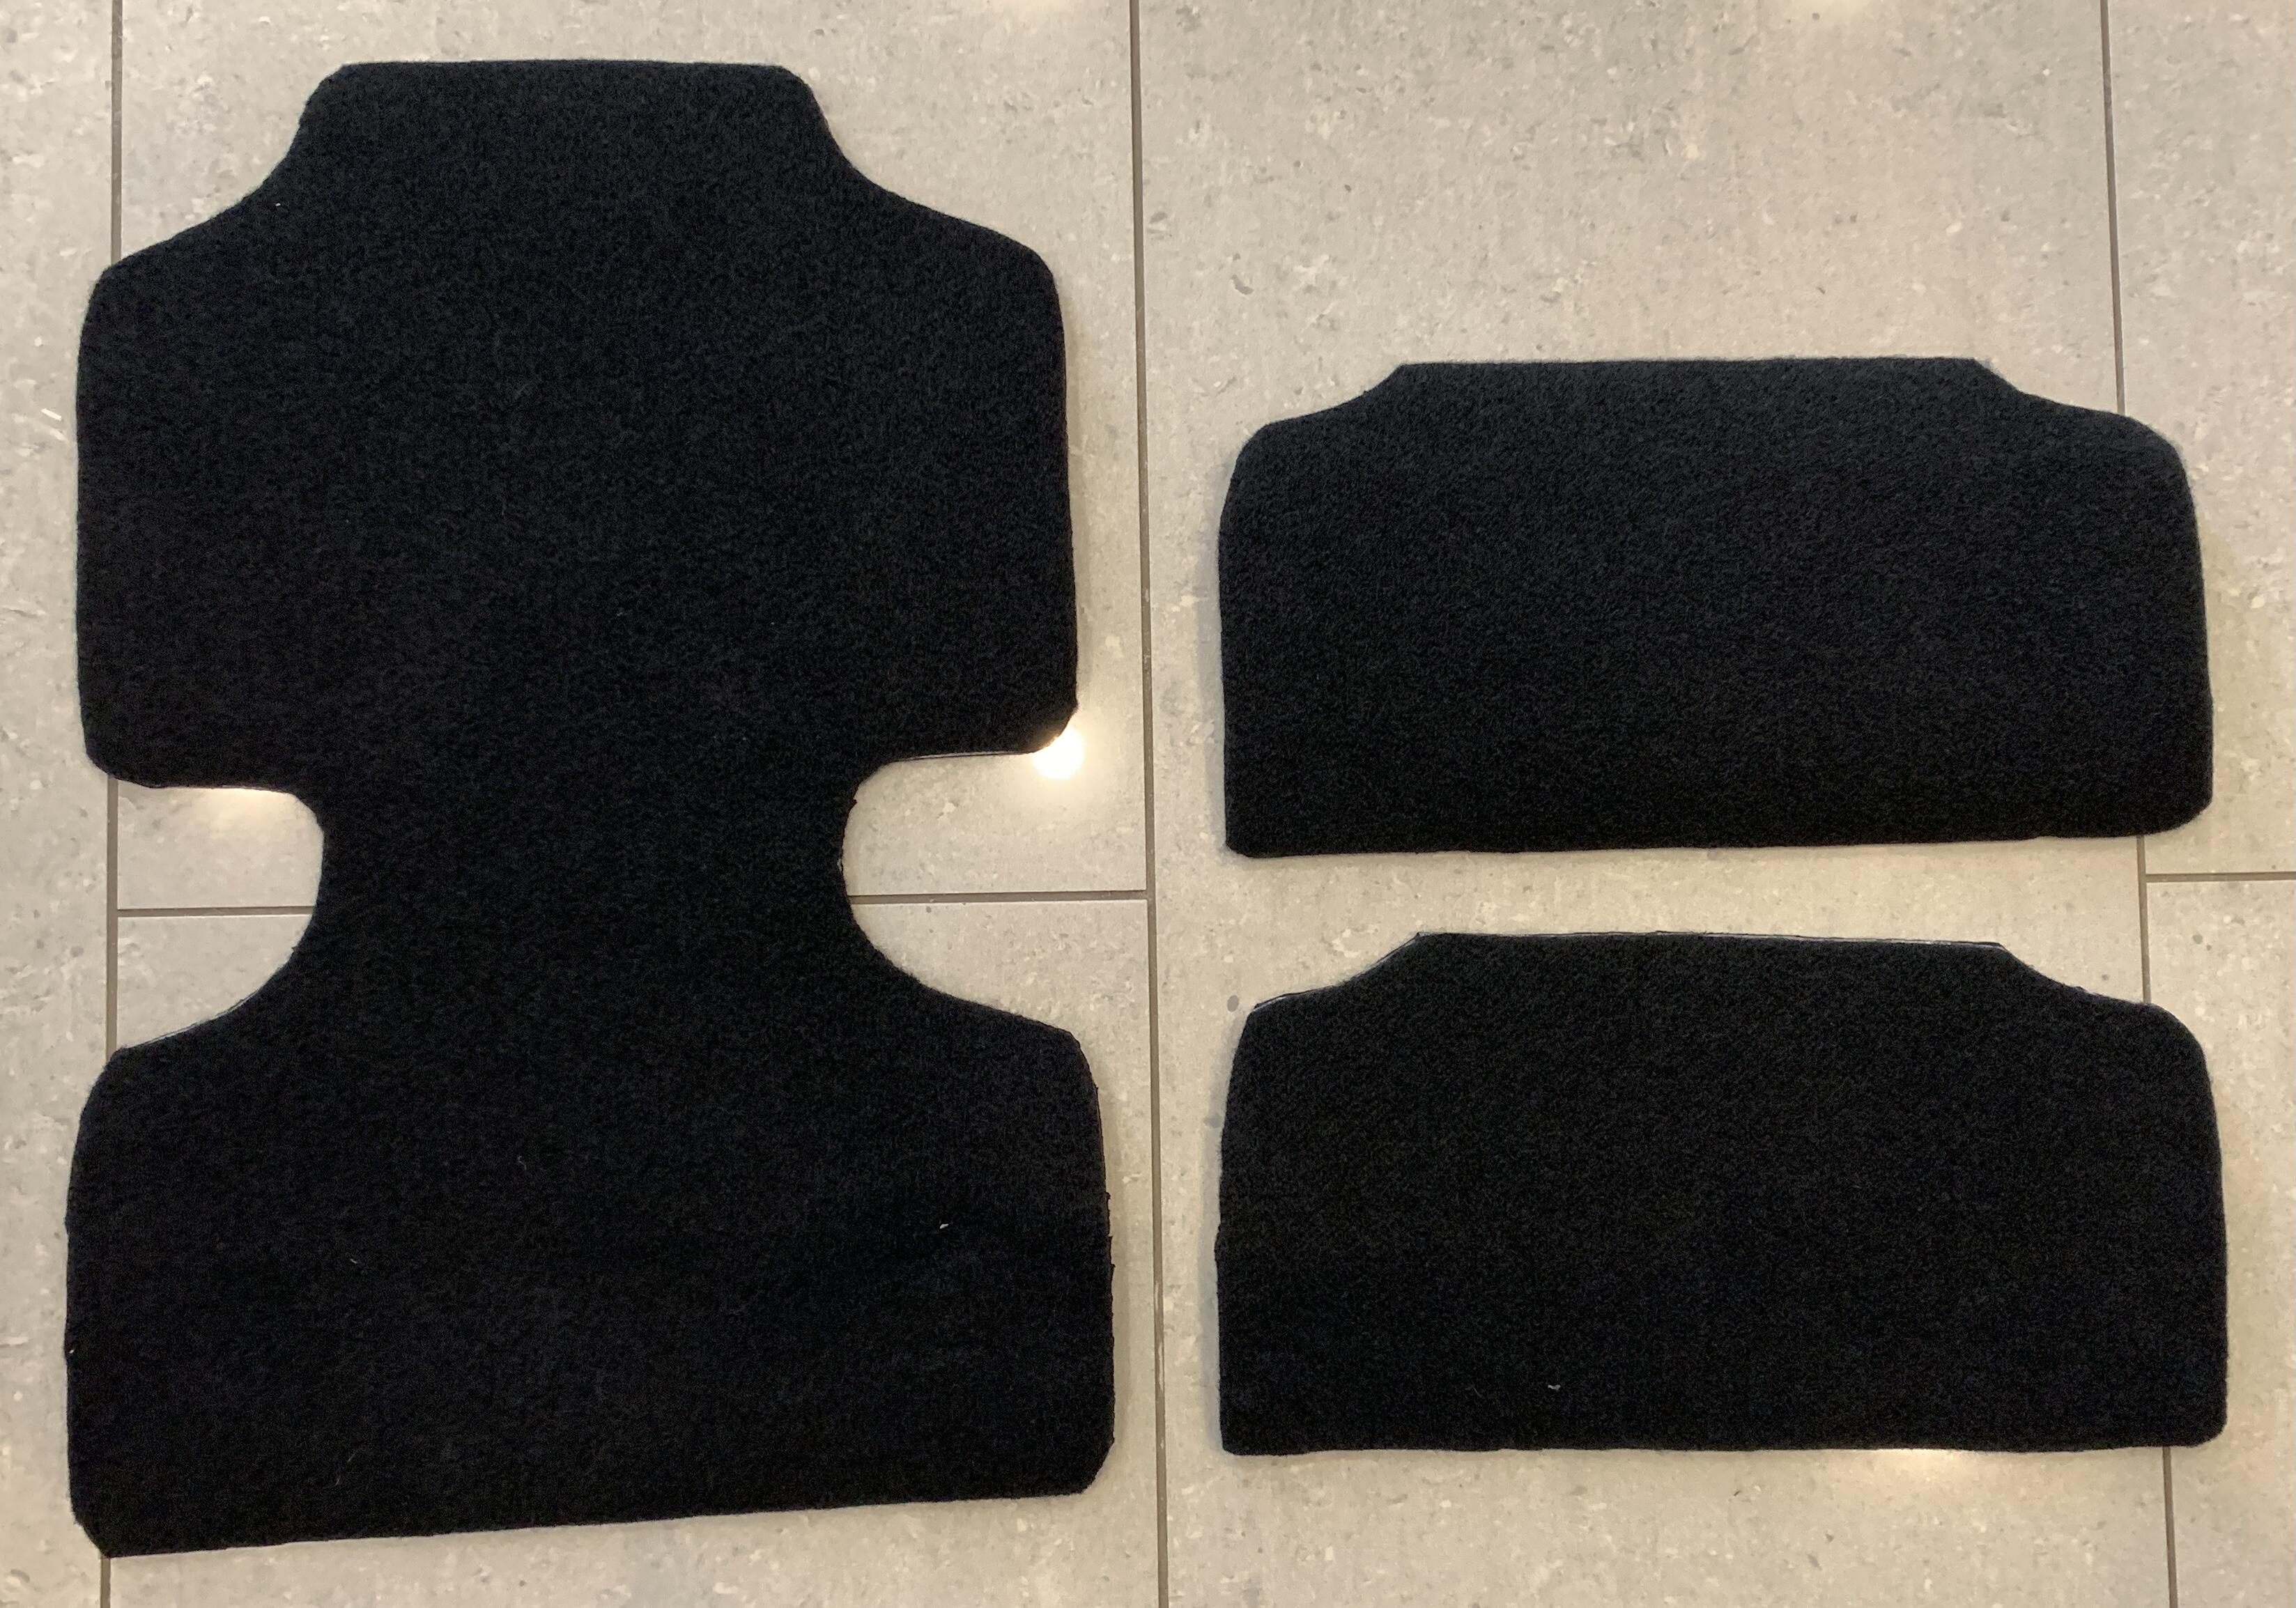
The Velcro strips on the other side to match the seats
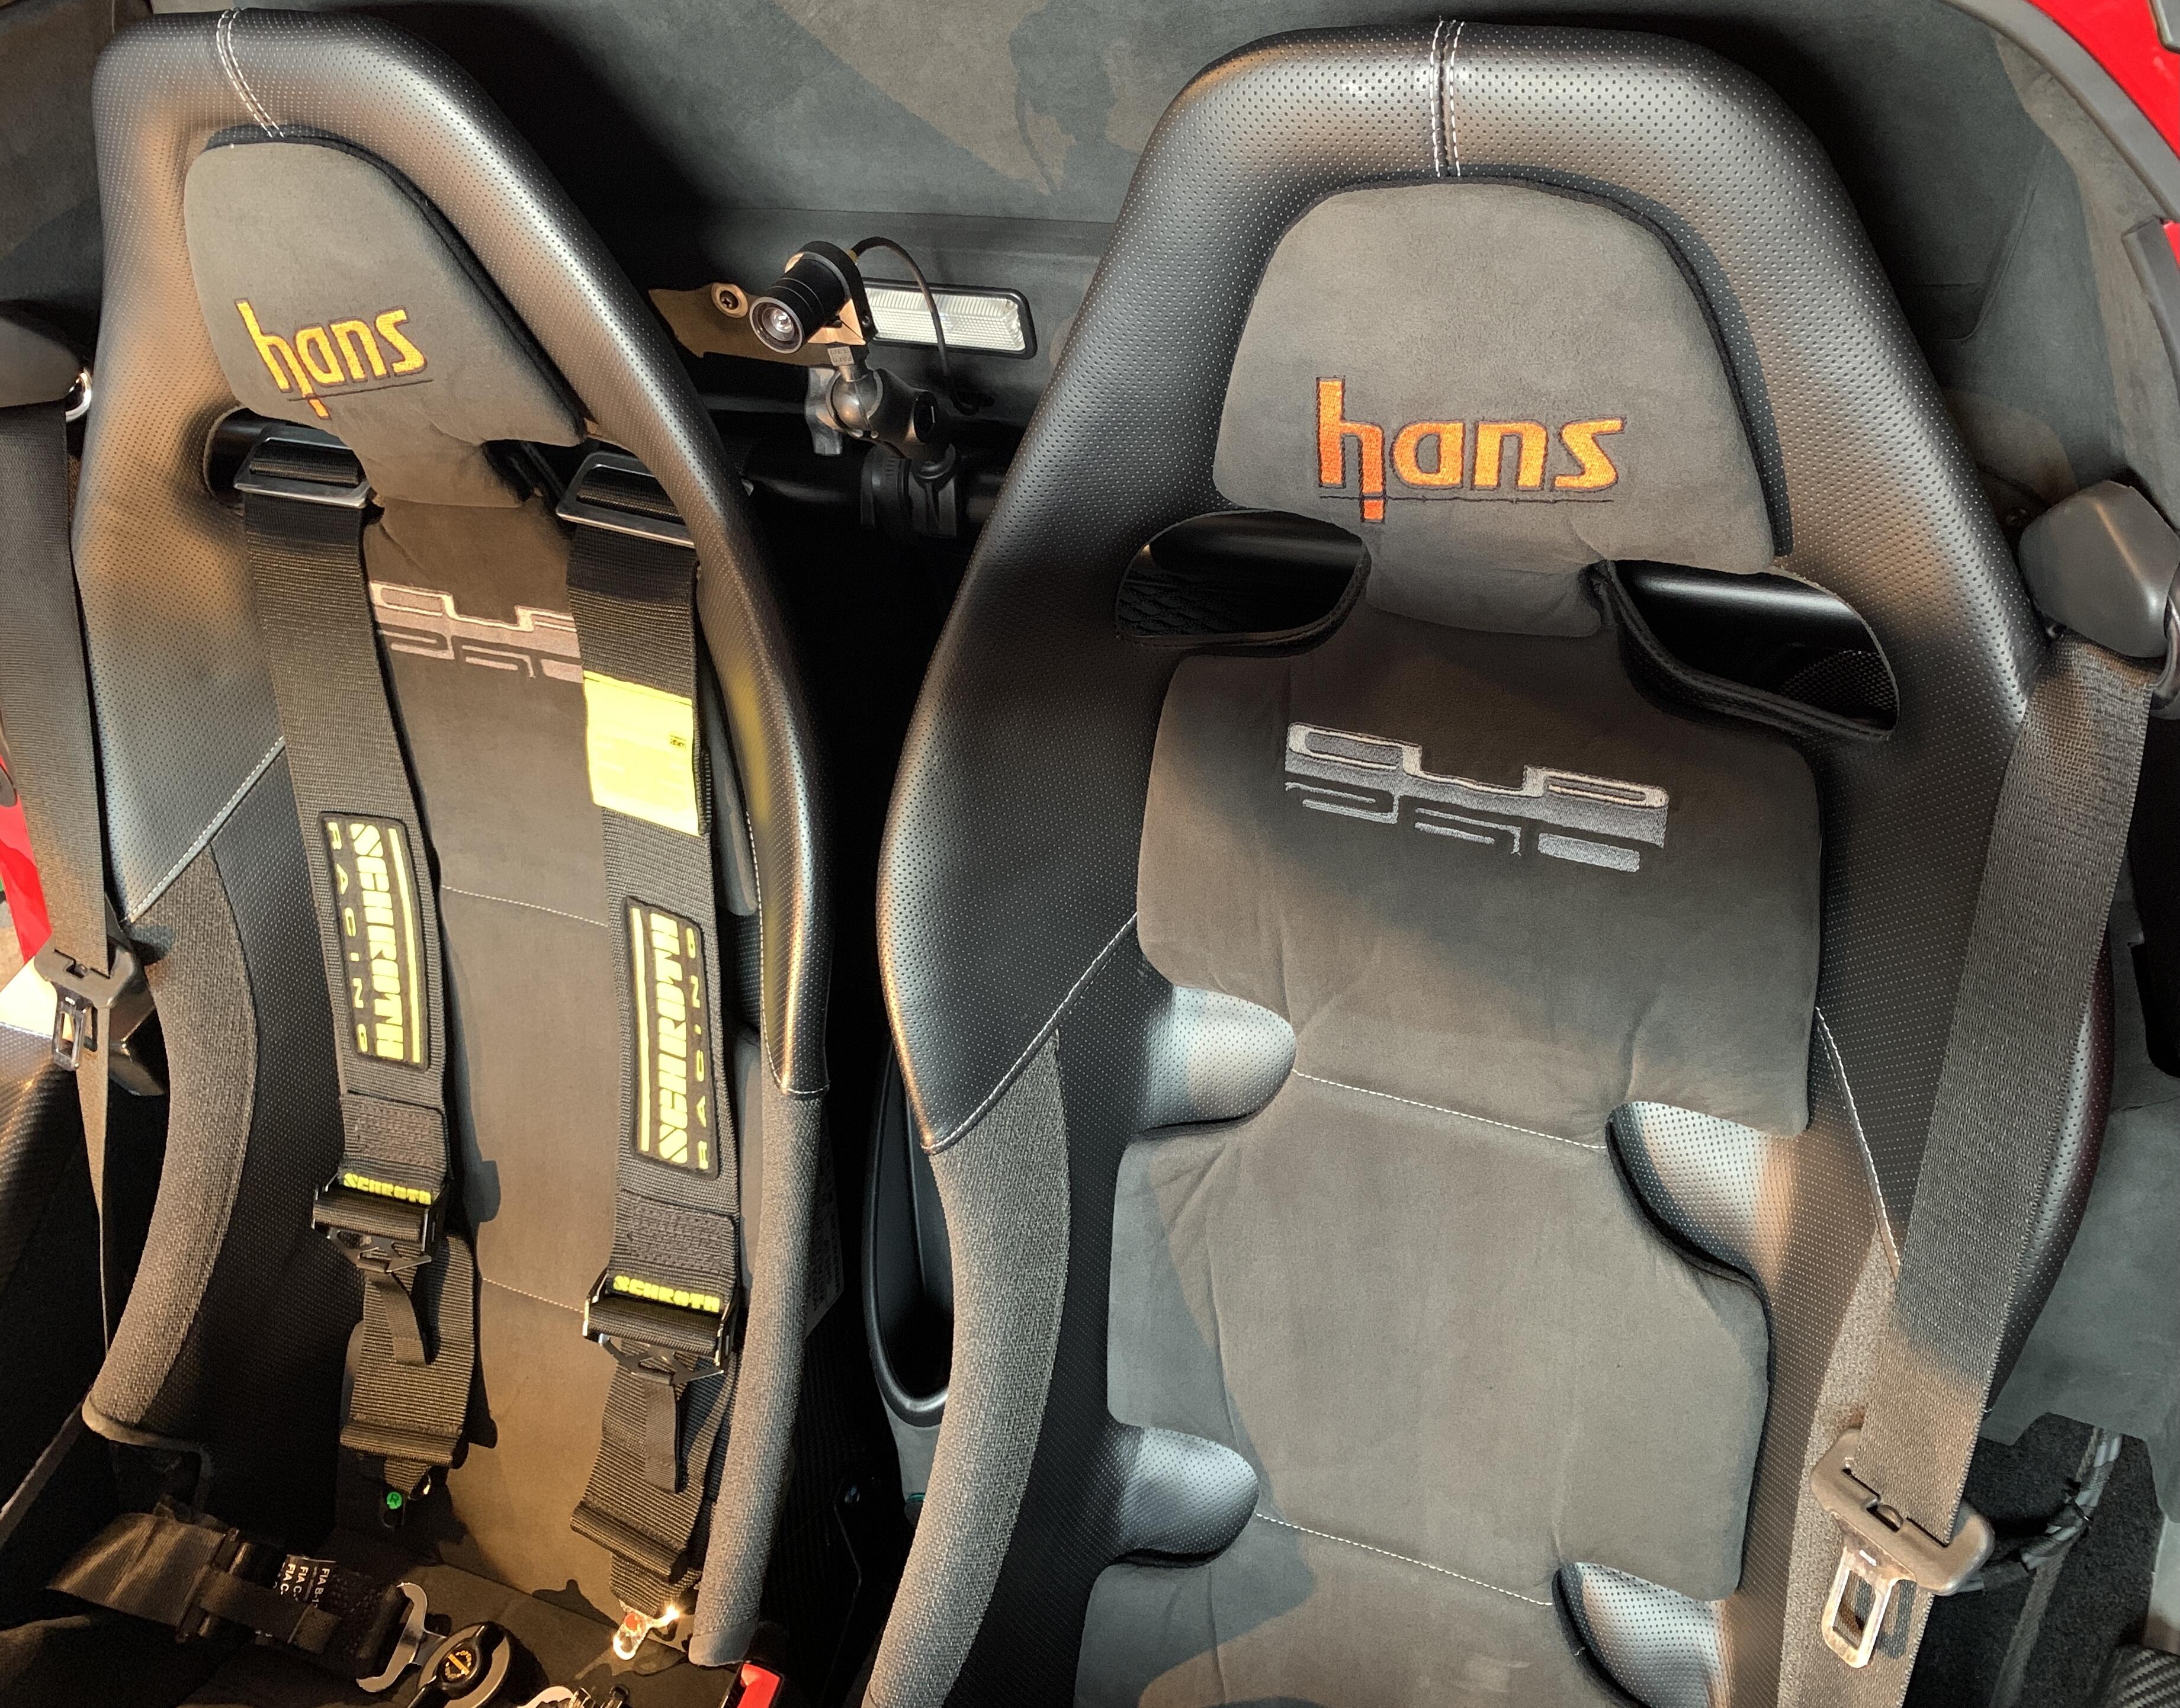
Passenger seat back in for the first time since December:
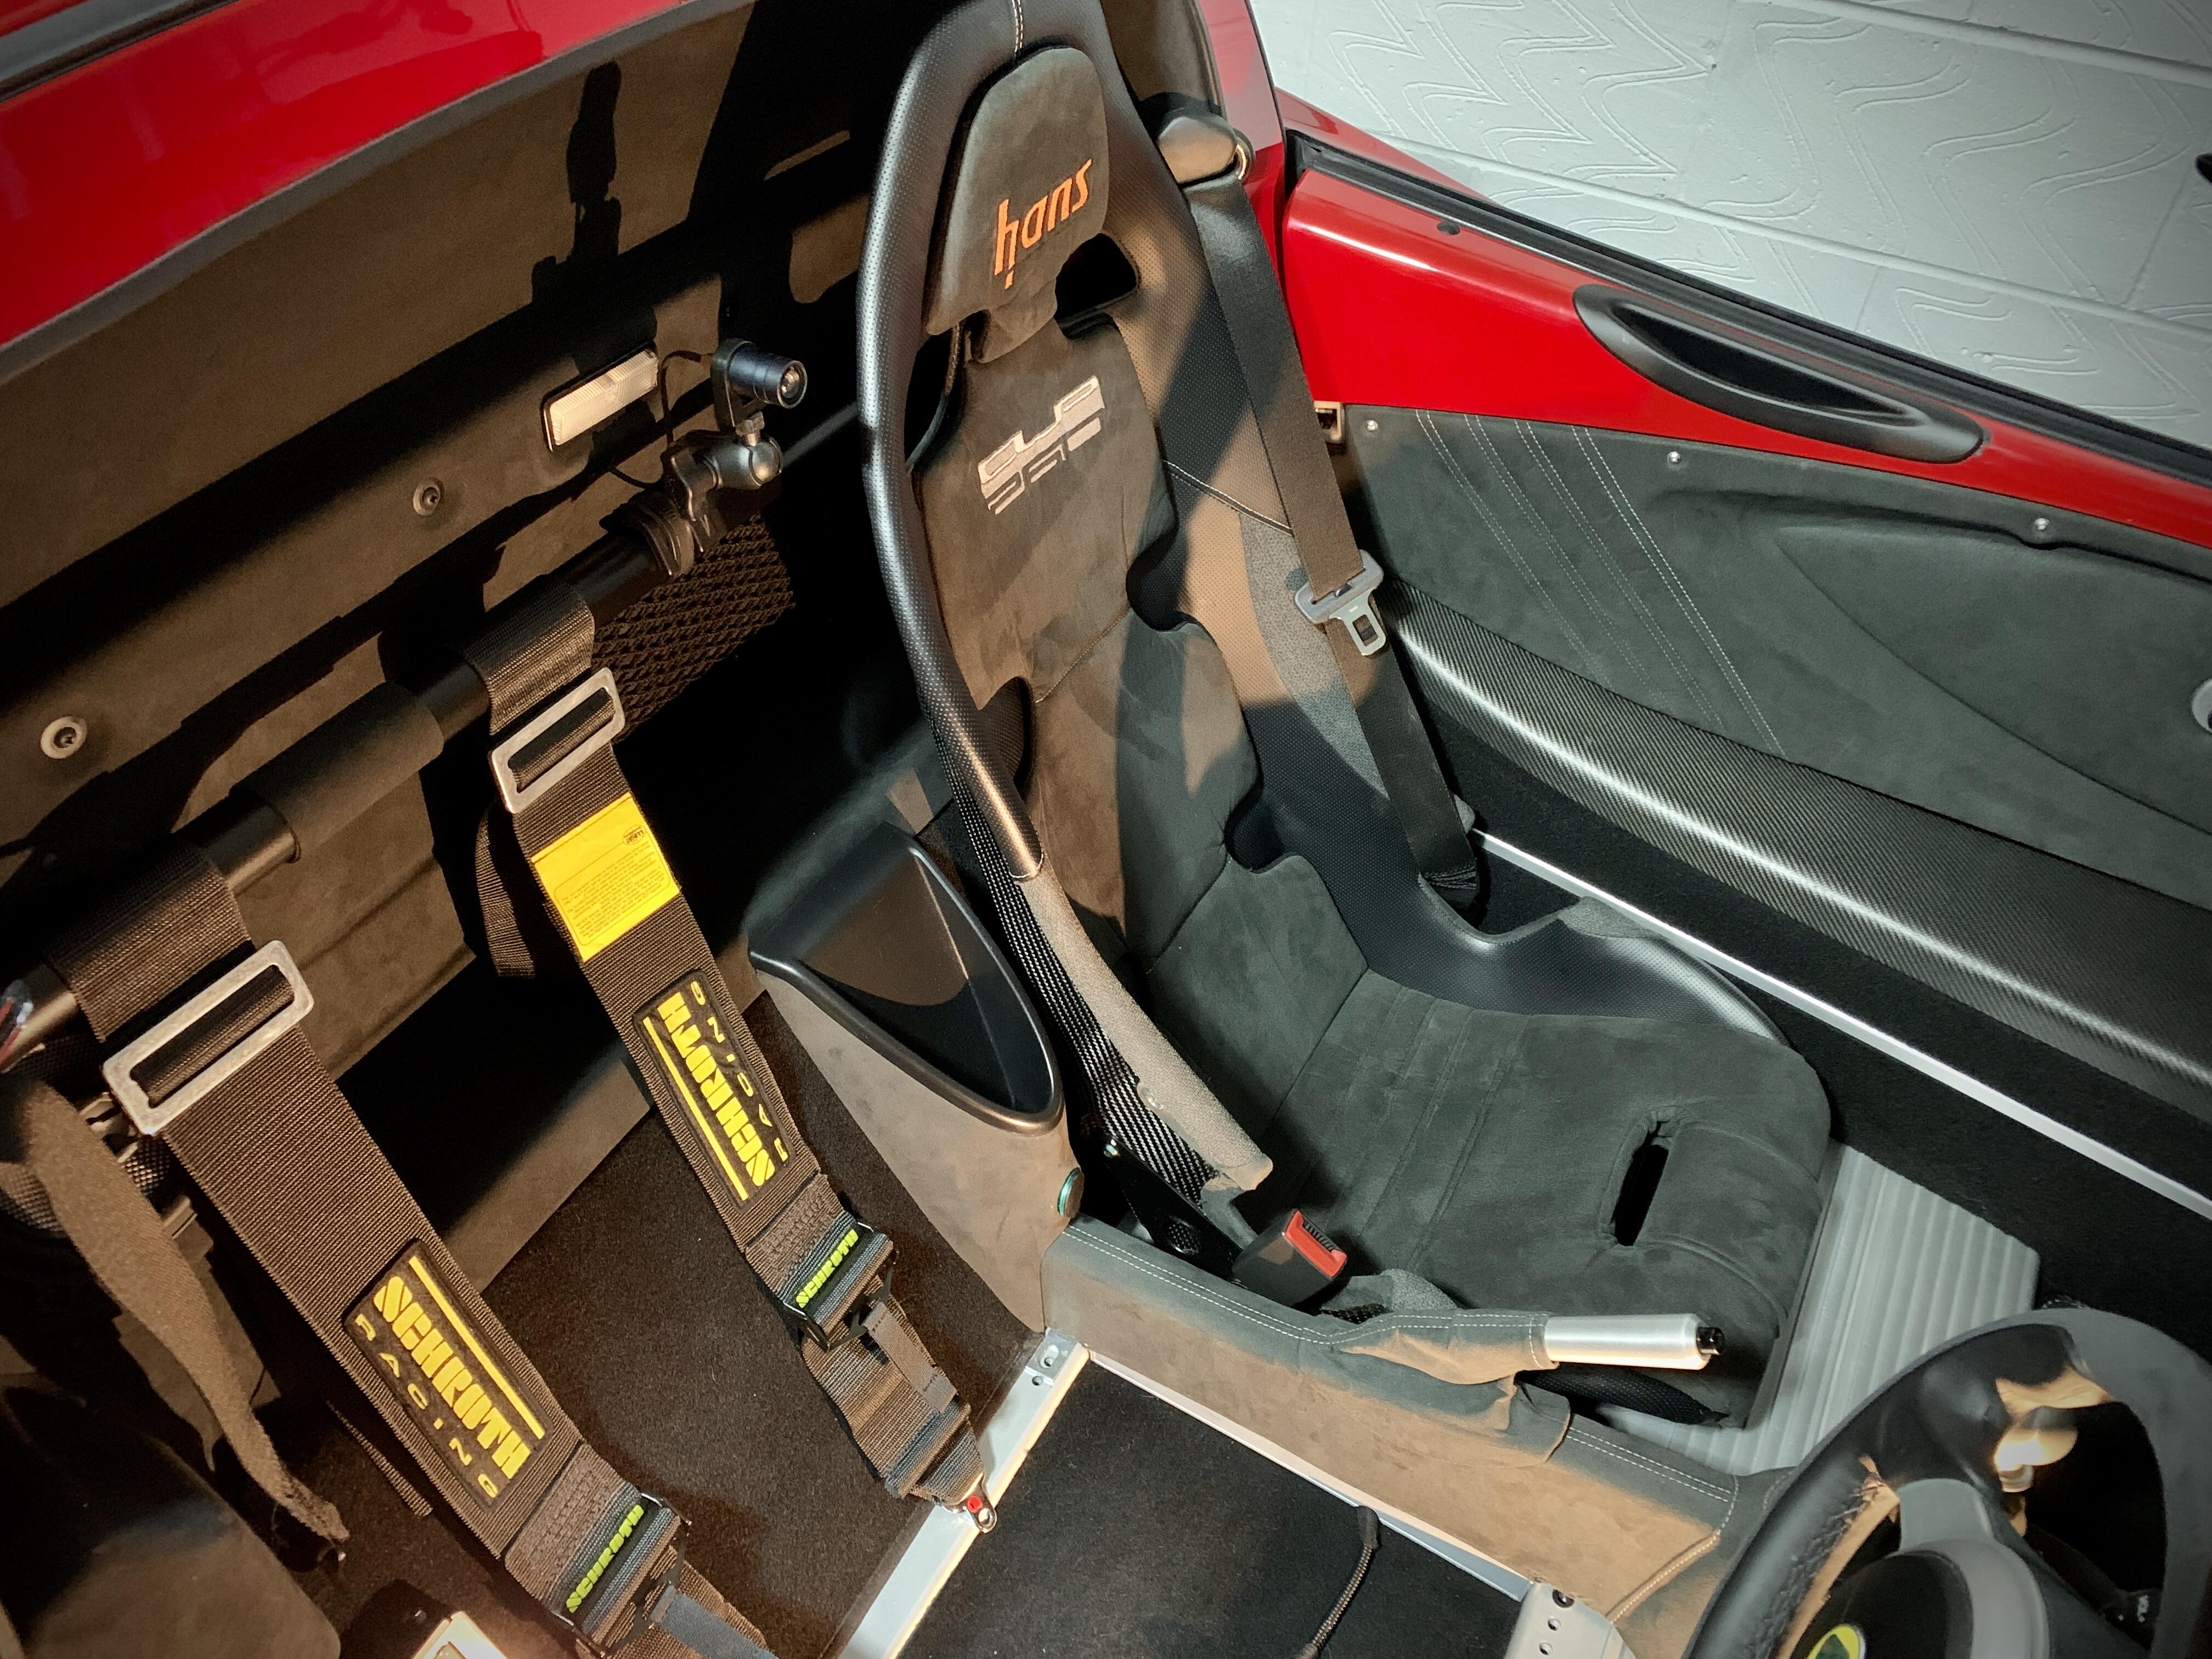
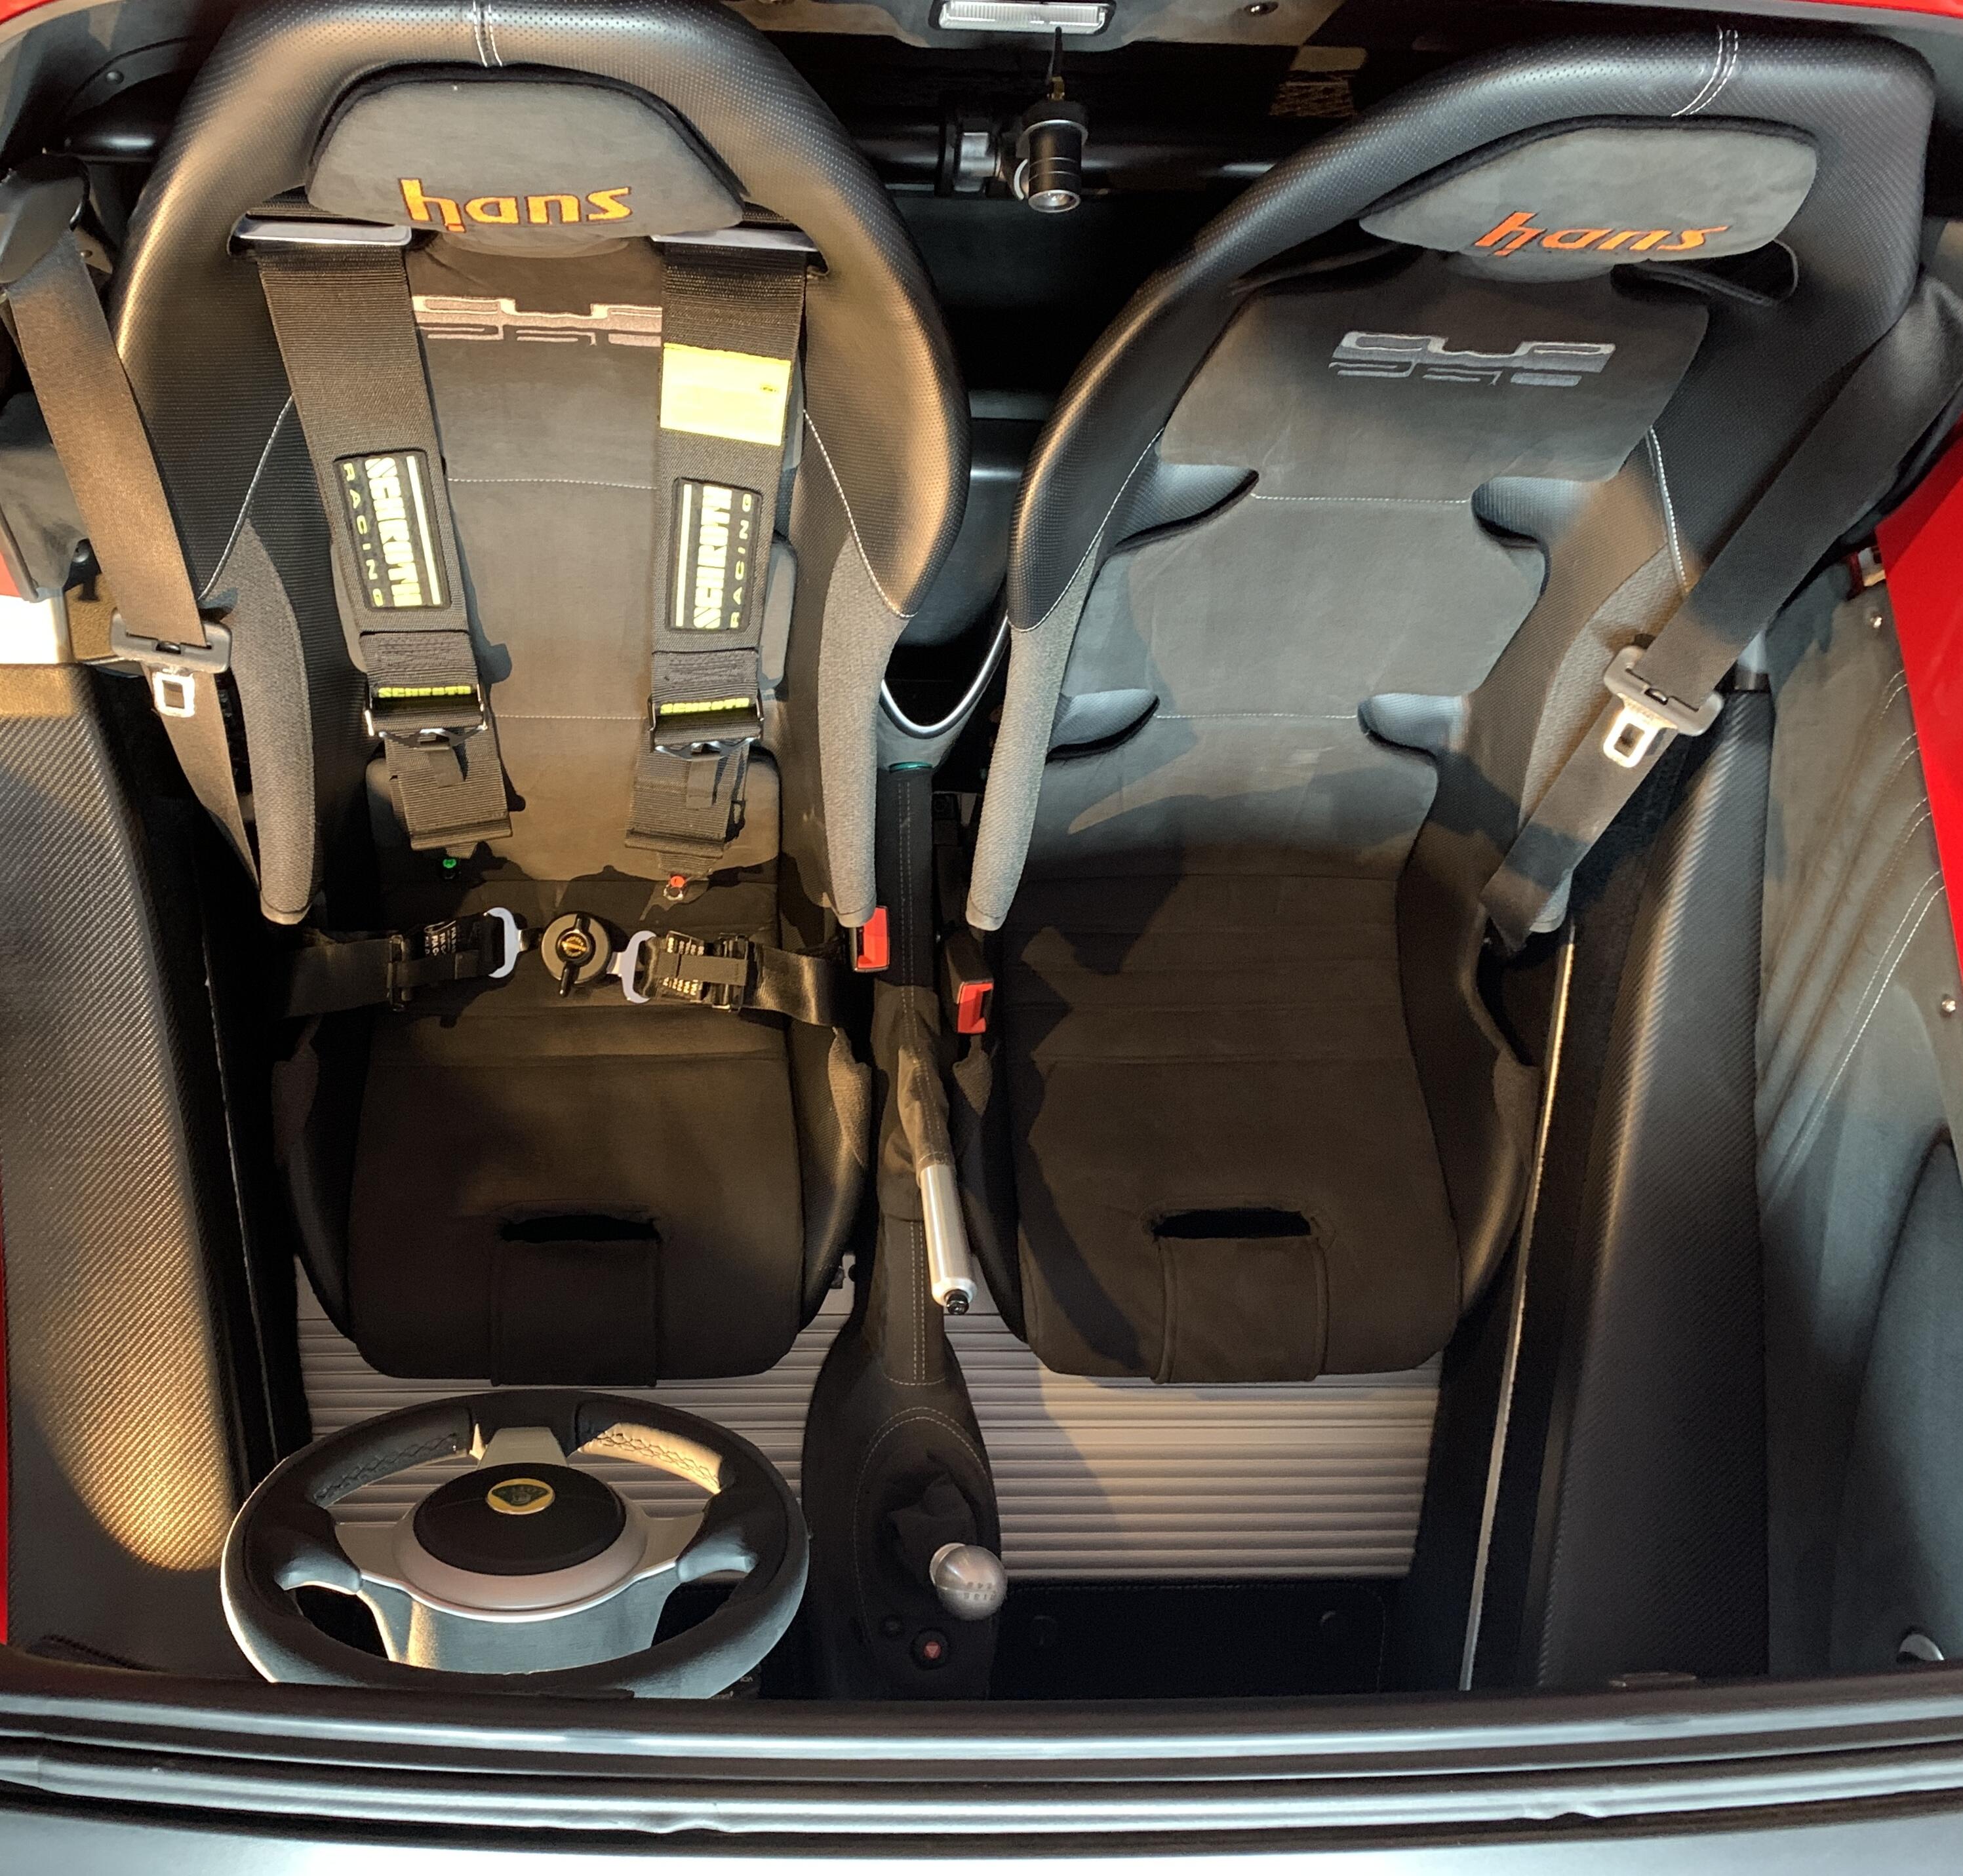
And both seats back in (HANS logos are same colour, it was just I had a 3500k light on the drivers side)
Head Unit was also properly fitted. I previously used flip screens in other cars, but went for floating screen this time. There are a couple of options out there, from Alpine, Sony and Pioneer with screens ranging from 6.8" screens up to 9" screens. Dimension wise the big 9" screens slightly overlap the airbag cover, which would mean in the event of deployment the pass airbag may not deploy properly or I would find an LCD screen being fired at my face…
So I though I’d go for the smaller screen and picked up a Pioneer SPHEVO62DAB - 6.8" fixed screen, carplay, time correction, crossover, reverse cam etc etc - best of all it came up on ebay for half the price of a new one. Finally fitted back in:
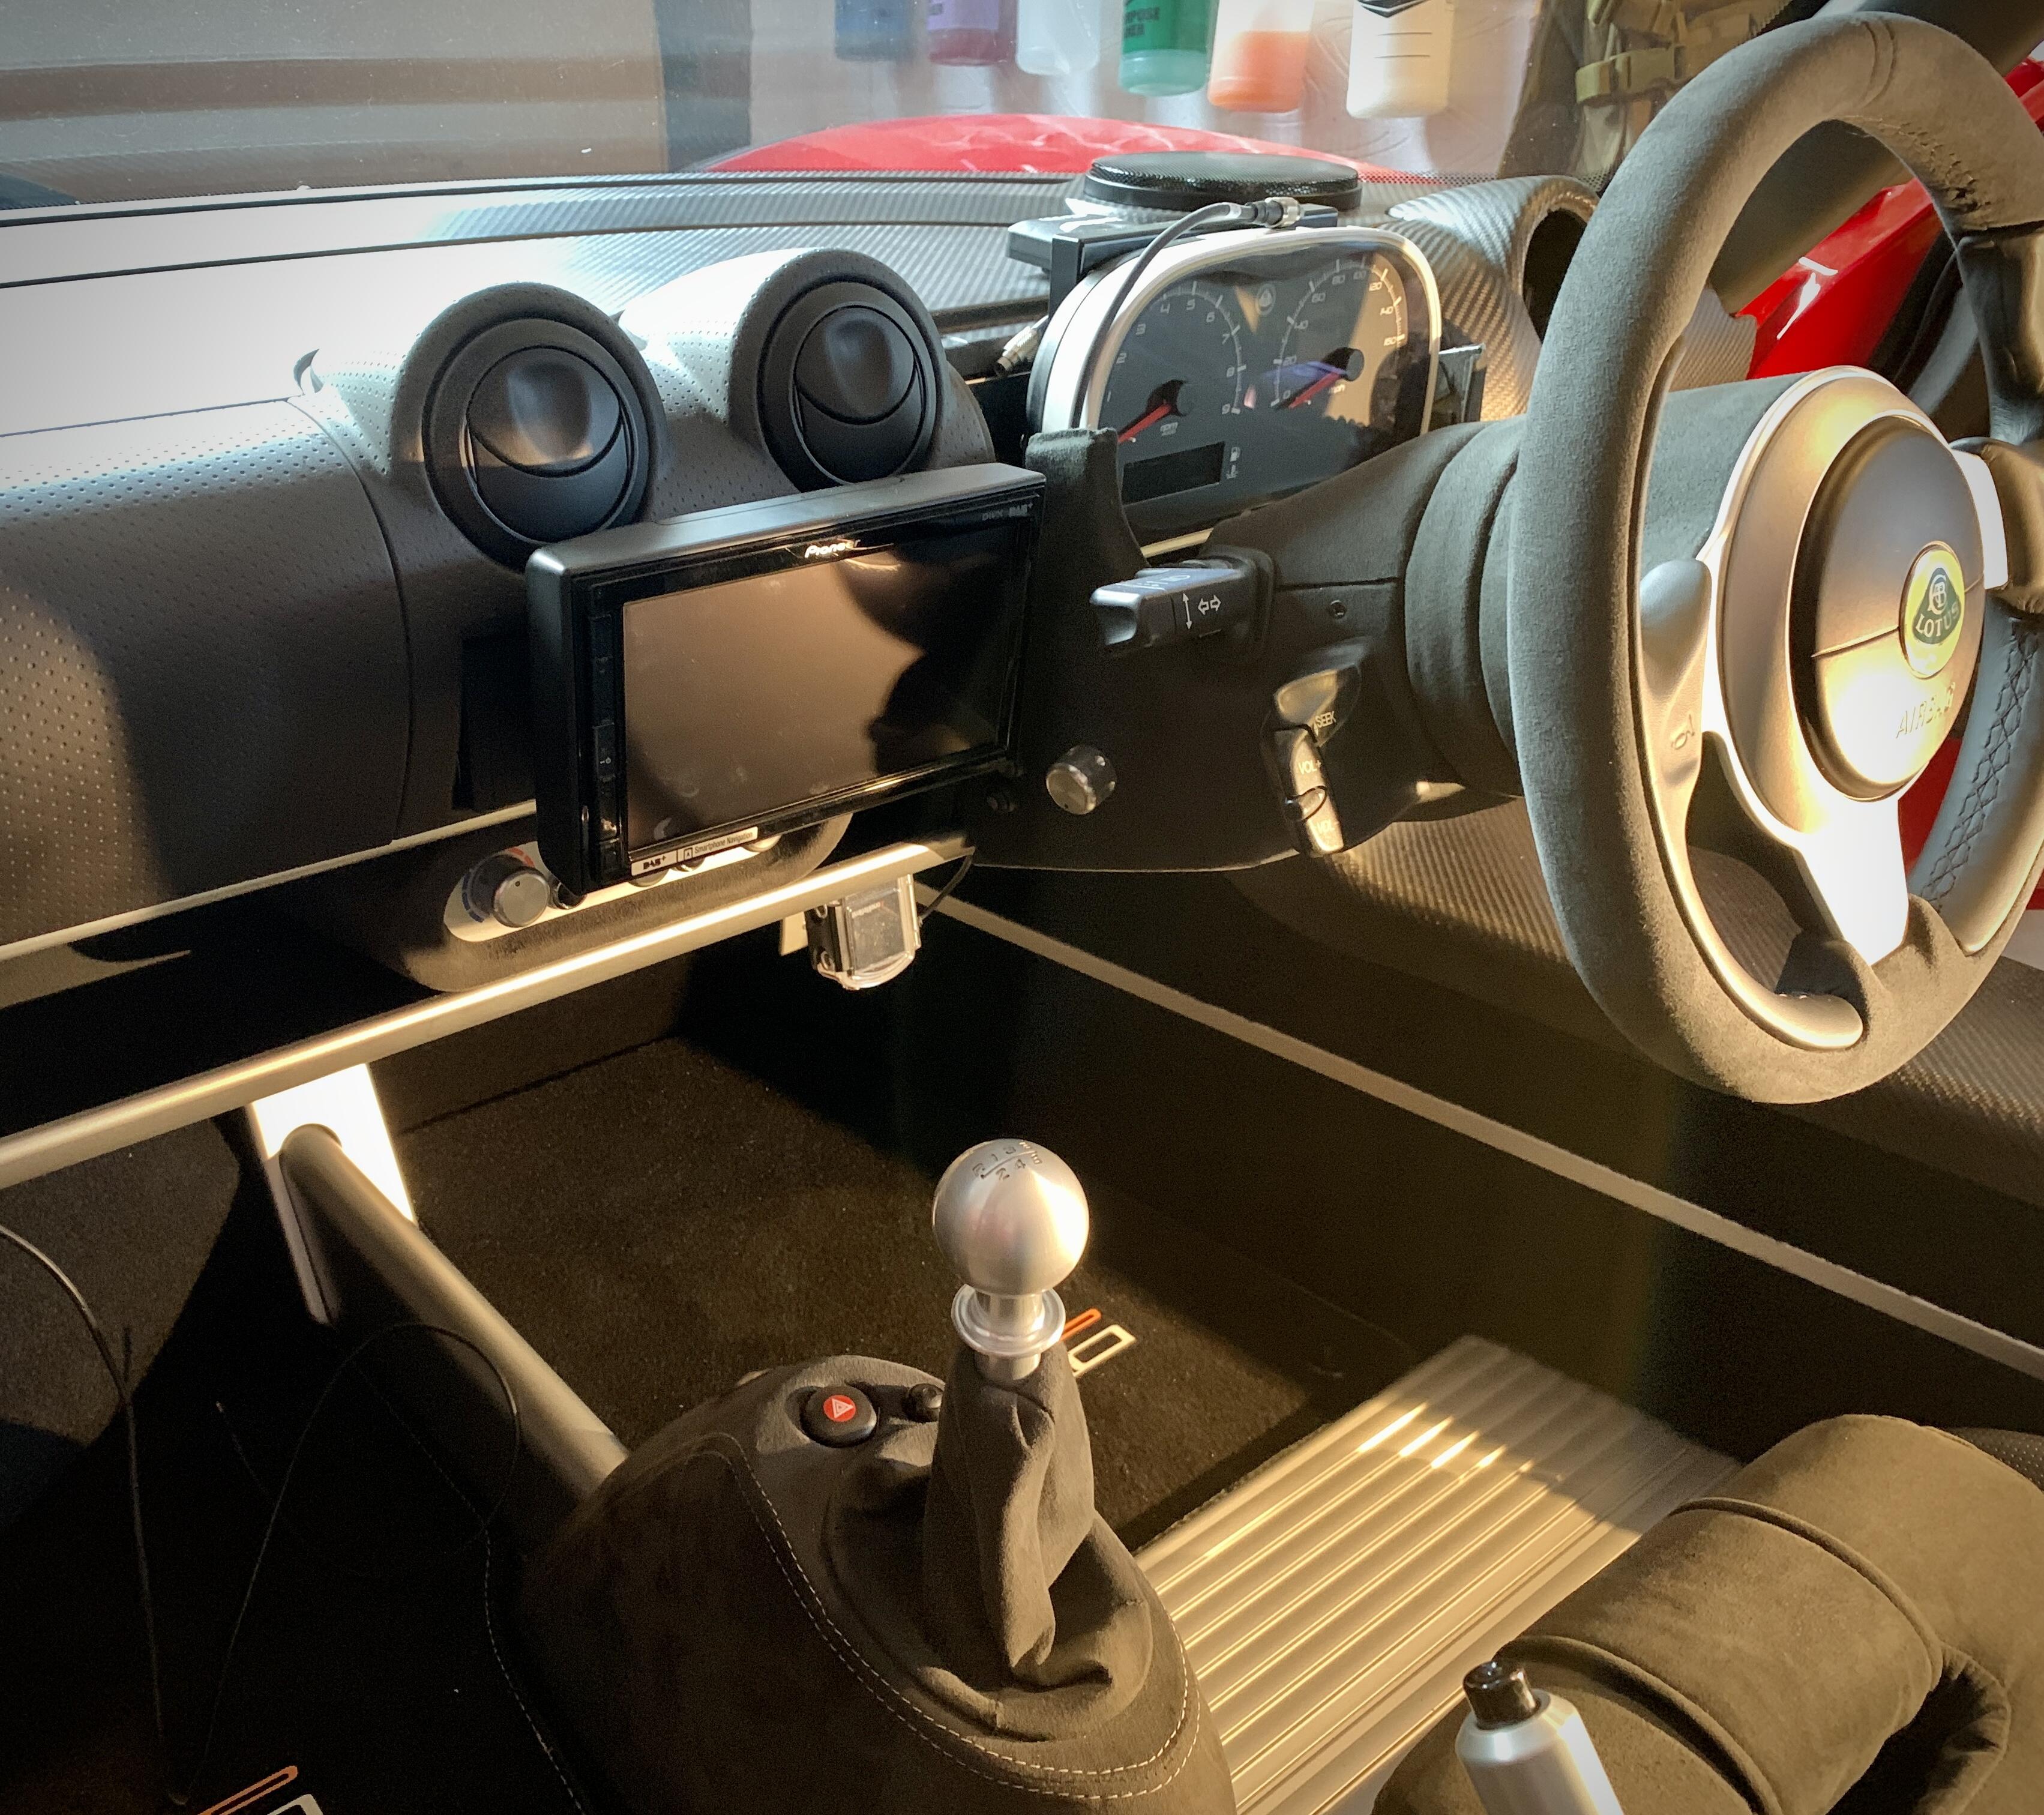
I will probably swap to the new version that is about to be released (SPH-EVO64DAB) as it has a skinnier screen and wifi
Stereo will of course have to come out again as I wait on retrimmed airbag cover, centre vents and binnacle - but that’s life I couldn’t have it on hold forever. So three more stages to interior:
• Replace airbag cover, centre vents and binnacle with trimmed version
• Seats back out to fit new harnesses and polish inside of carbon roof (I forgot)
• Replace airbag cover with embroidered version when the sewing machine folk start working again
Lovely job, looks tasteful and quality
Cheers Kyle ![]()
Obviously now I started putting it all back in after giving up waiting look what I picked up last night!
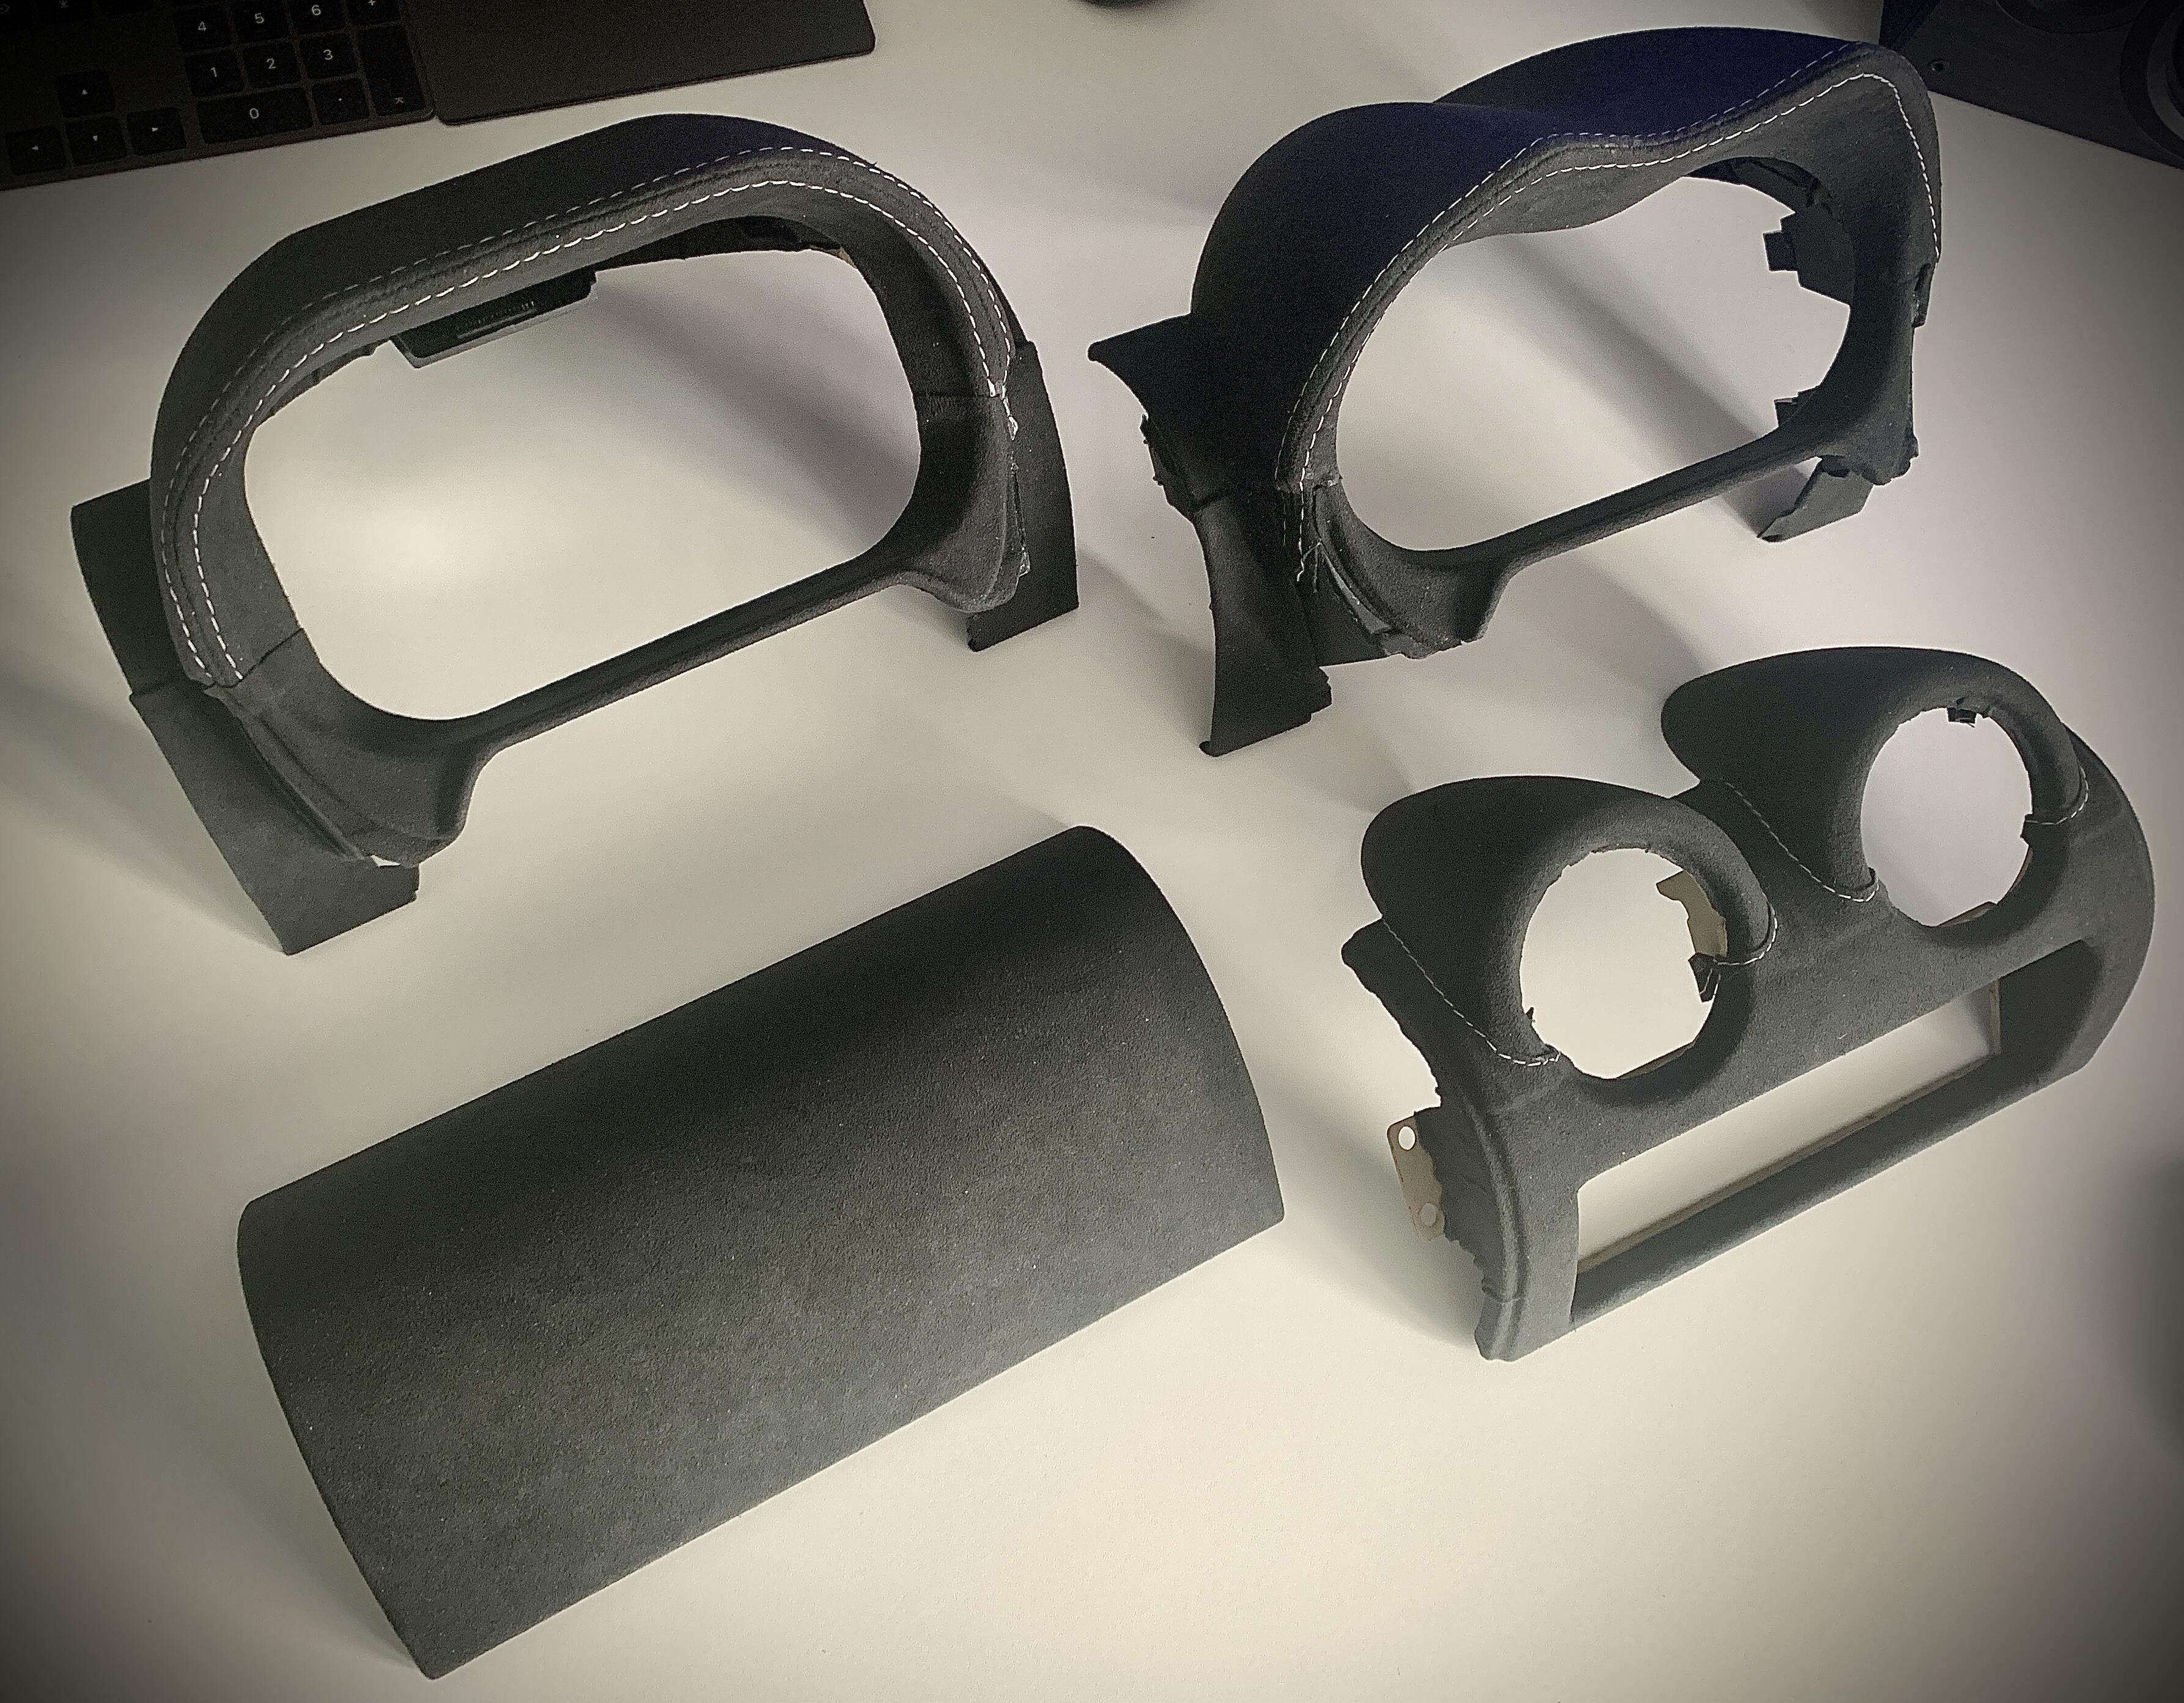
So I can now refit the correct trim ![]()
Then this morning I get an email from the embroidery folk saying they can now do the Cup260 logo on material! So am in a dilemma whether to get it done but save it for later so I can keep spreading the joy, or rip off the perfectly finished airbag cover to replace it with the logo’d up version. I know I should be pleased but its pissed me off they ignored me for months then get in touch once its a bit late!
Oh and I just heard back about the harnesses - they won’t be able to do push button in Red until mid May!! I’ll see if black will be quicker but I thought red would add a bit of colour to the cabin, as its quite dark without a rear window, but now thinking red will be a bit chavy?
No updates for a while, usual story of work being insane so zero evenings or weekends to do anything, and the car naturally drops down the list.
I will say, for this post if you think a car should be a bit battered and mirror finishes etc are pointless, probably best skip this read
Now the paint had been on for a month or so, I could PPF to protect the main contact areas. I’m not really a fan of the look of PPF being honest, it looks fine from a distance but will never give the shine of naked paint so didn’t want to go full car or anything
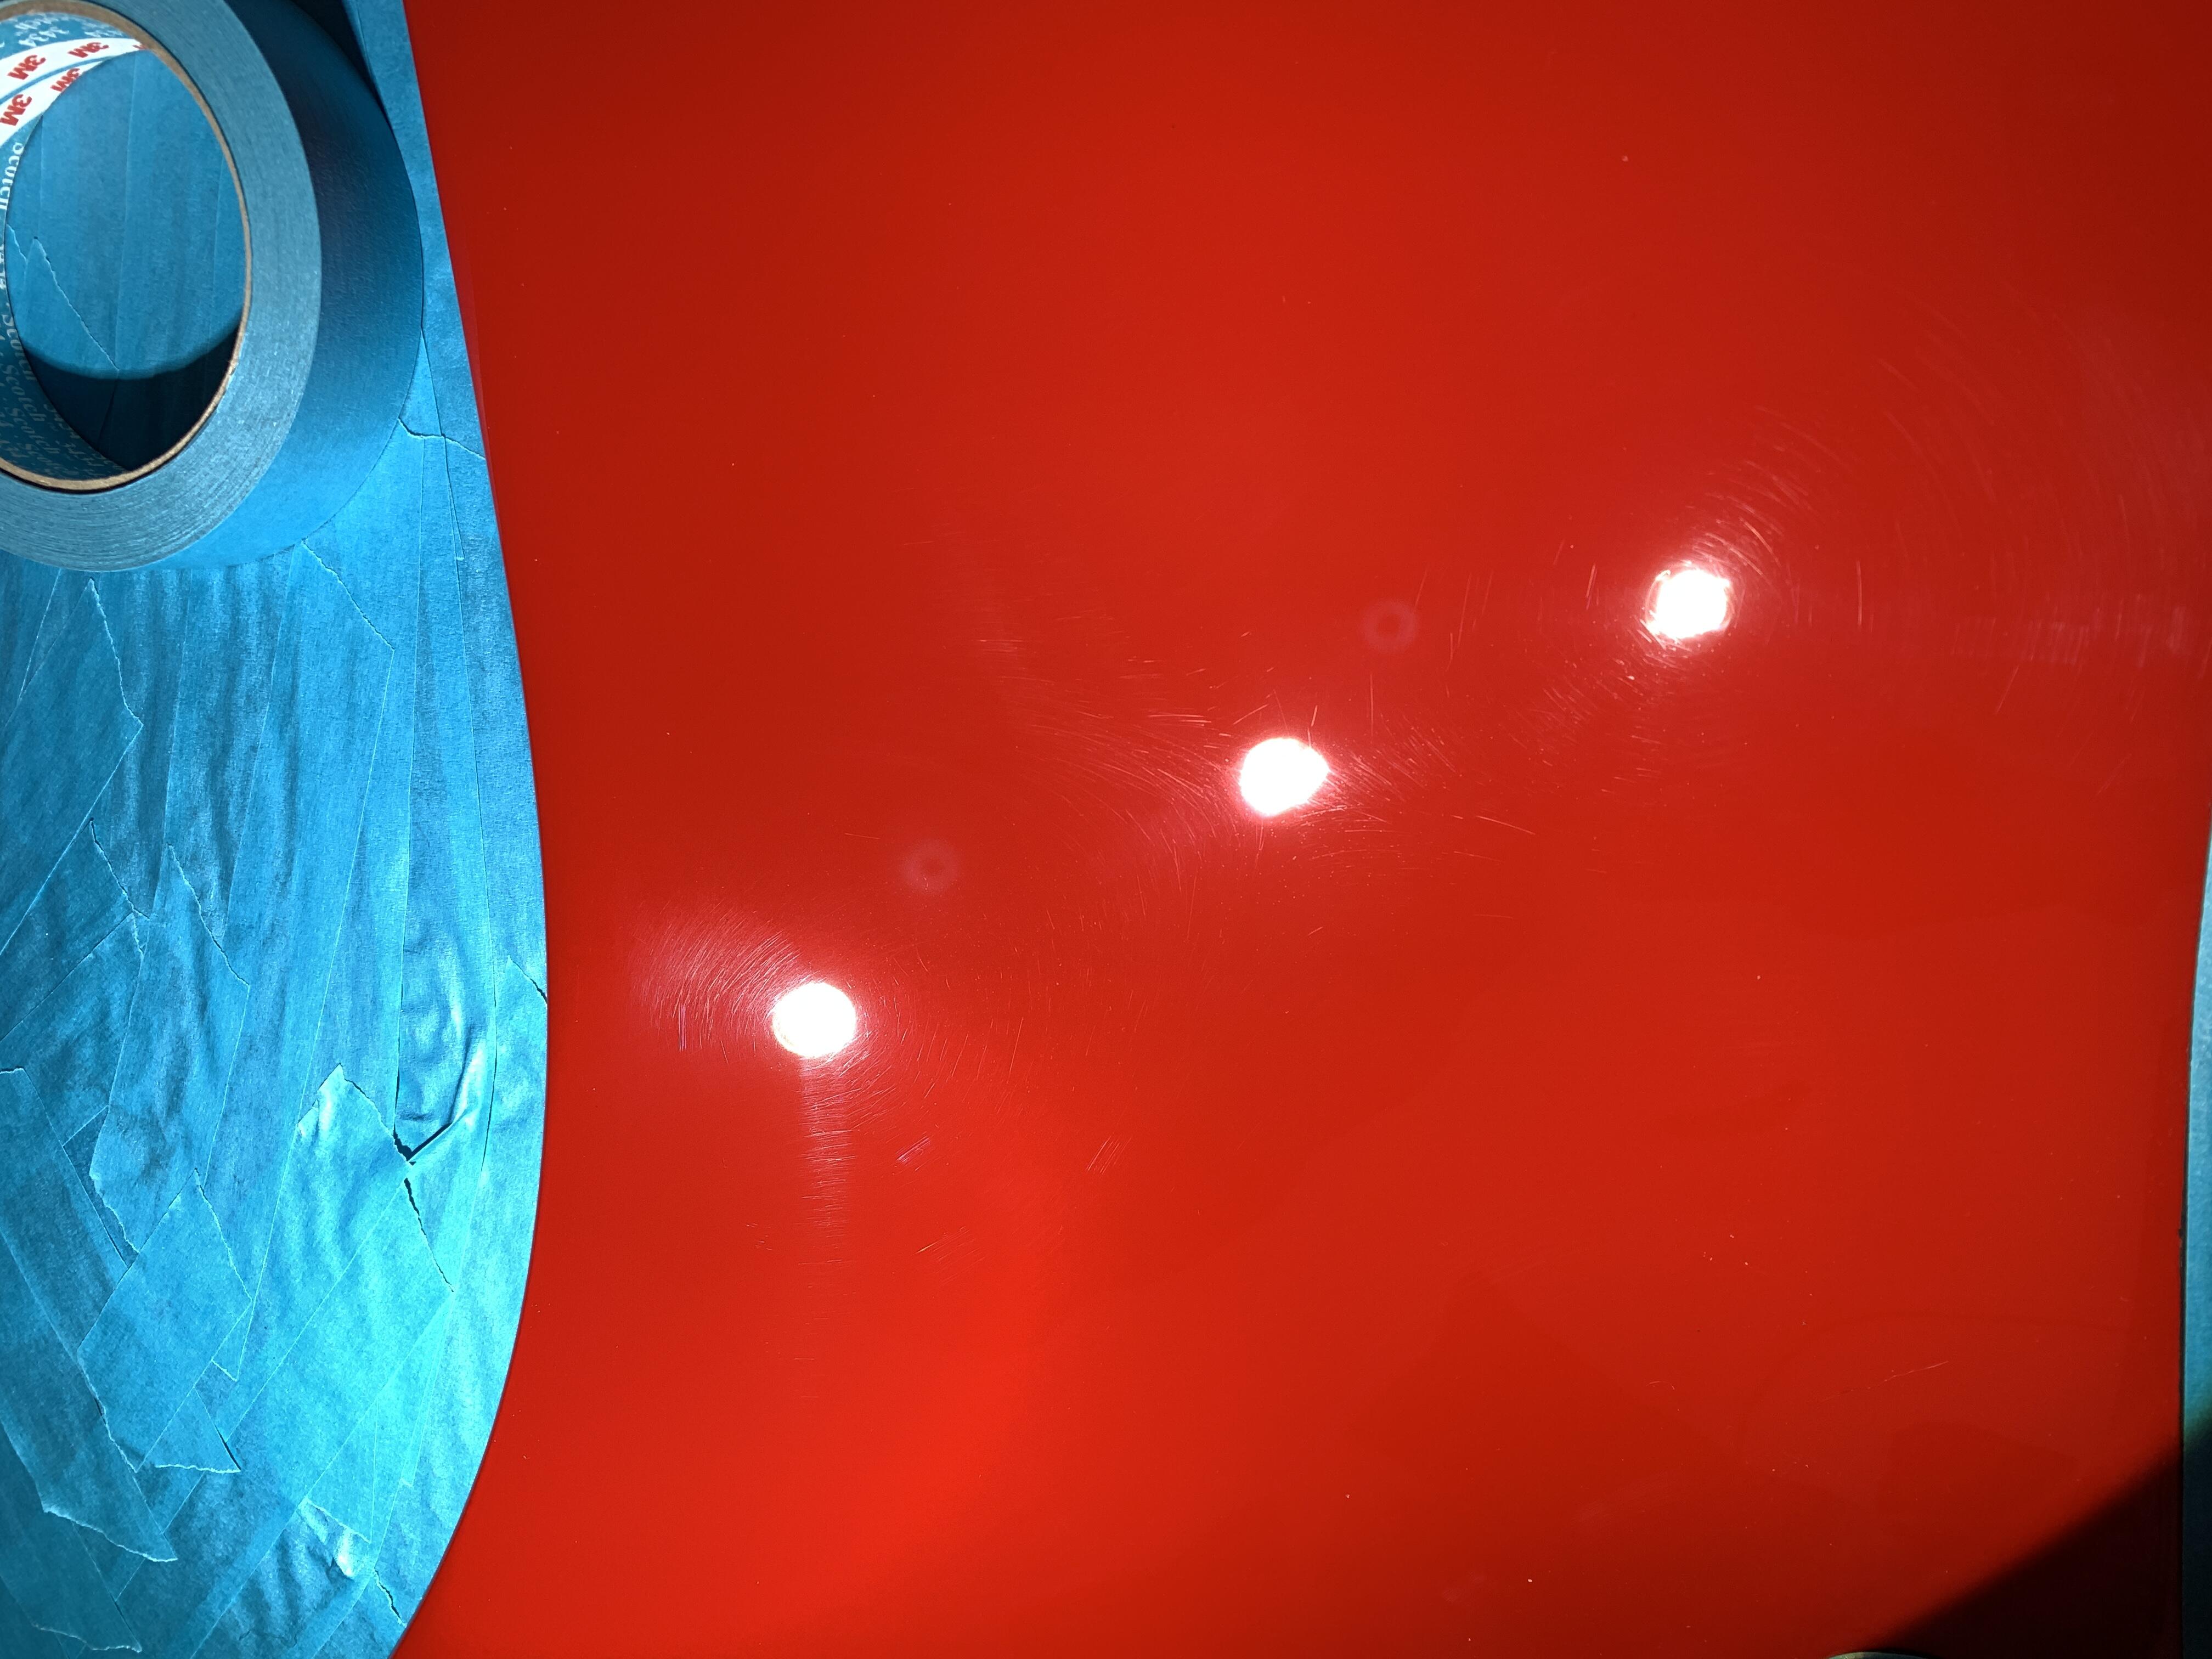
Before I could PPF I had to prep the paint, I had barely touched the paint but it was obvious the bodyshop had dragged many a dry rag over it, so was swirled to buggery. Also there was many defects as I already mentioned. As the car sits under bright lights, I’ll admit some of them you wouldn’t see in daylight, but they were still there. Since I’ve had it back I’ve been wet sanding theses defects out, some are dust nibs, some a pinholes from too thick lacquer, some even small drips - but its taken weeks to find them all and remove them.
I know I maybe look at it differently as I’m a detailing nerd and want the small defects fixed, plus I look for these things. But I would have been really frustrated if I needed to get someone else to remediate. As it was it just depressed me after all the time and money that went into the car.
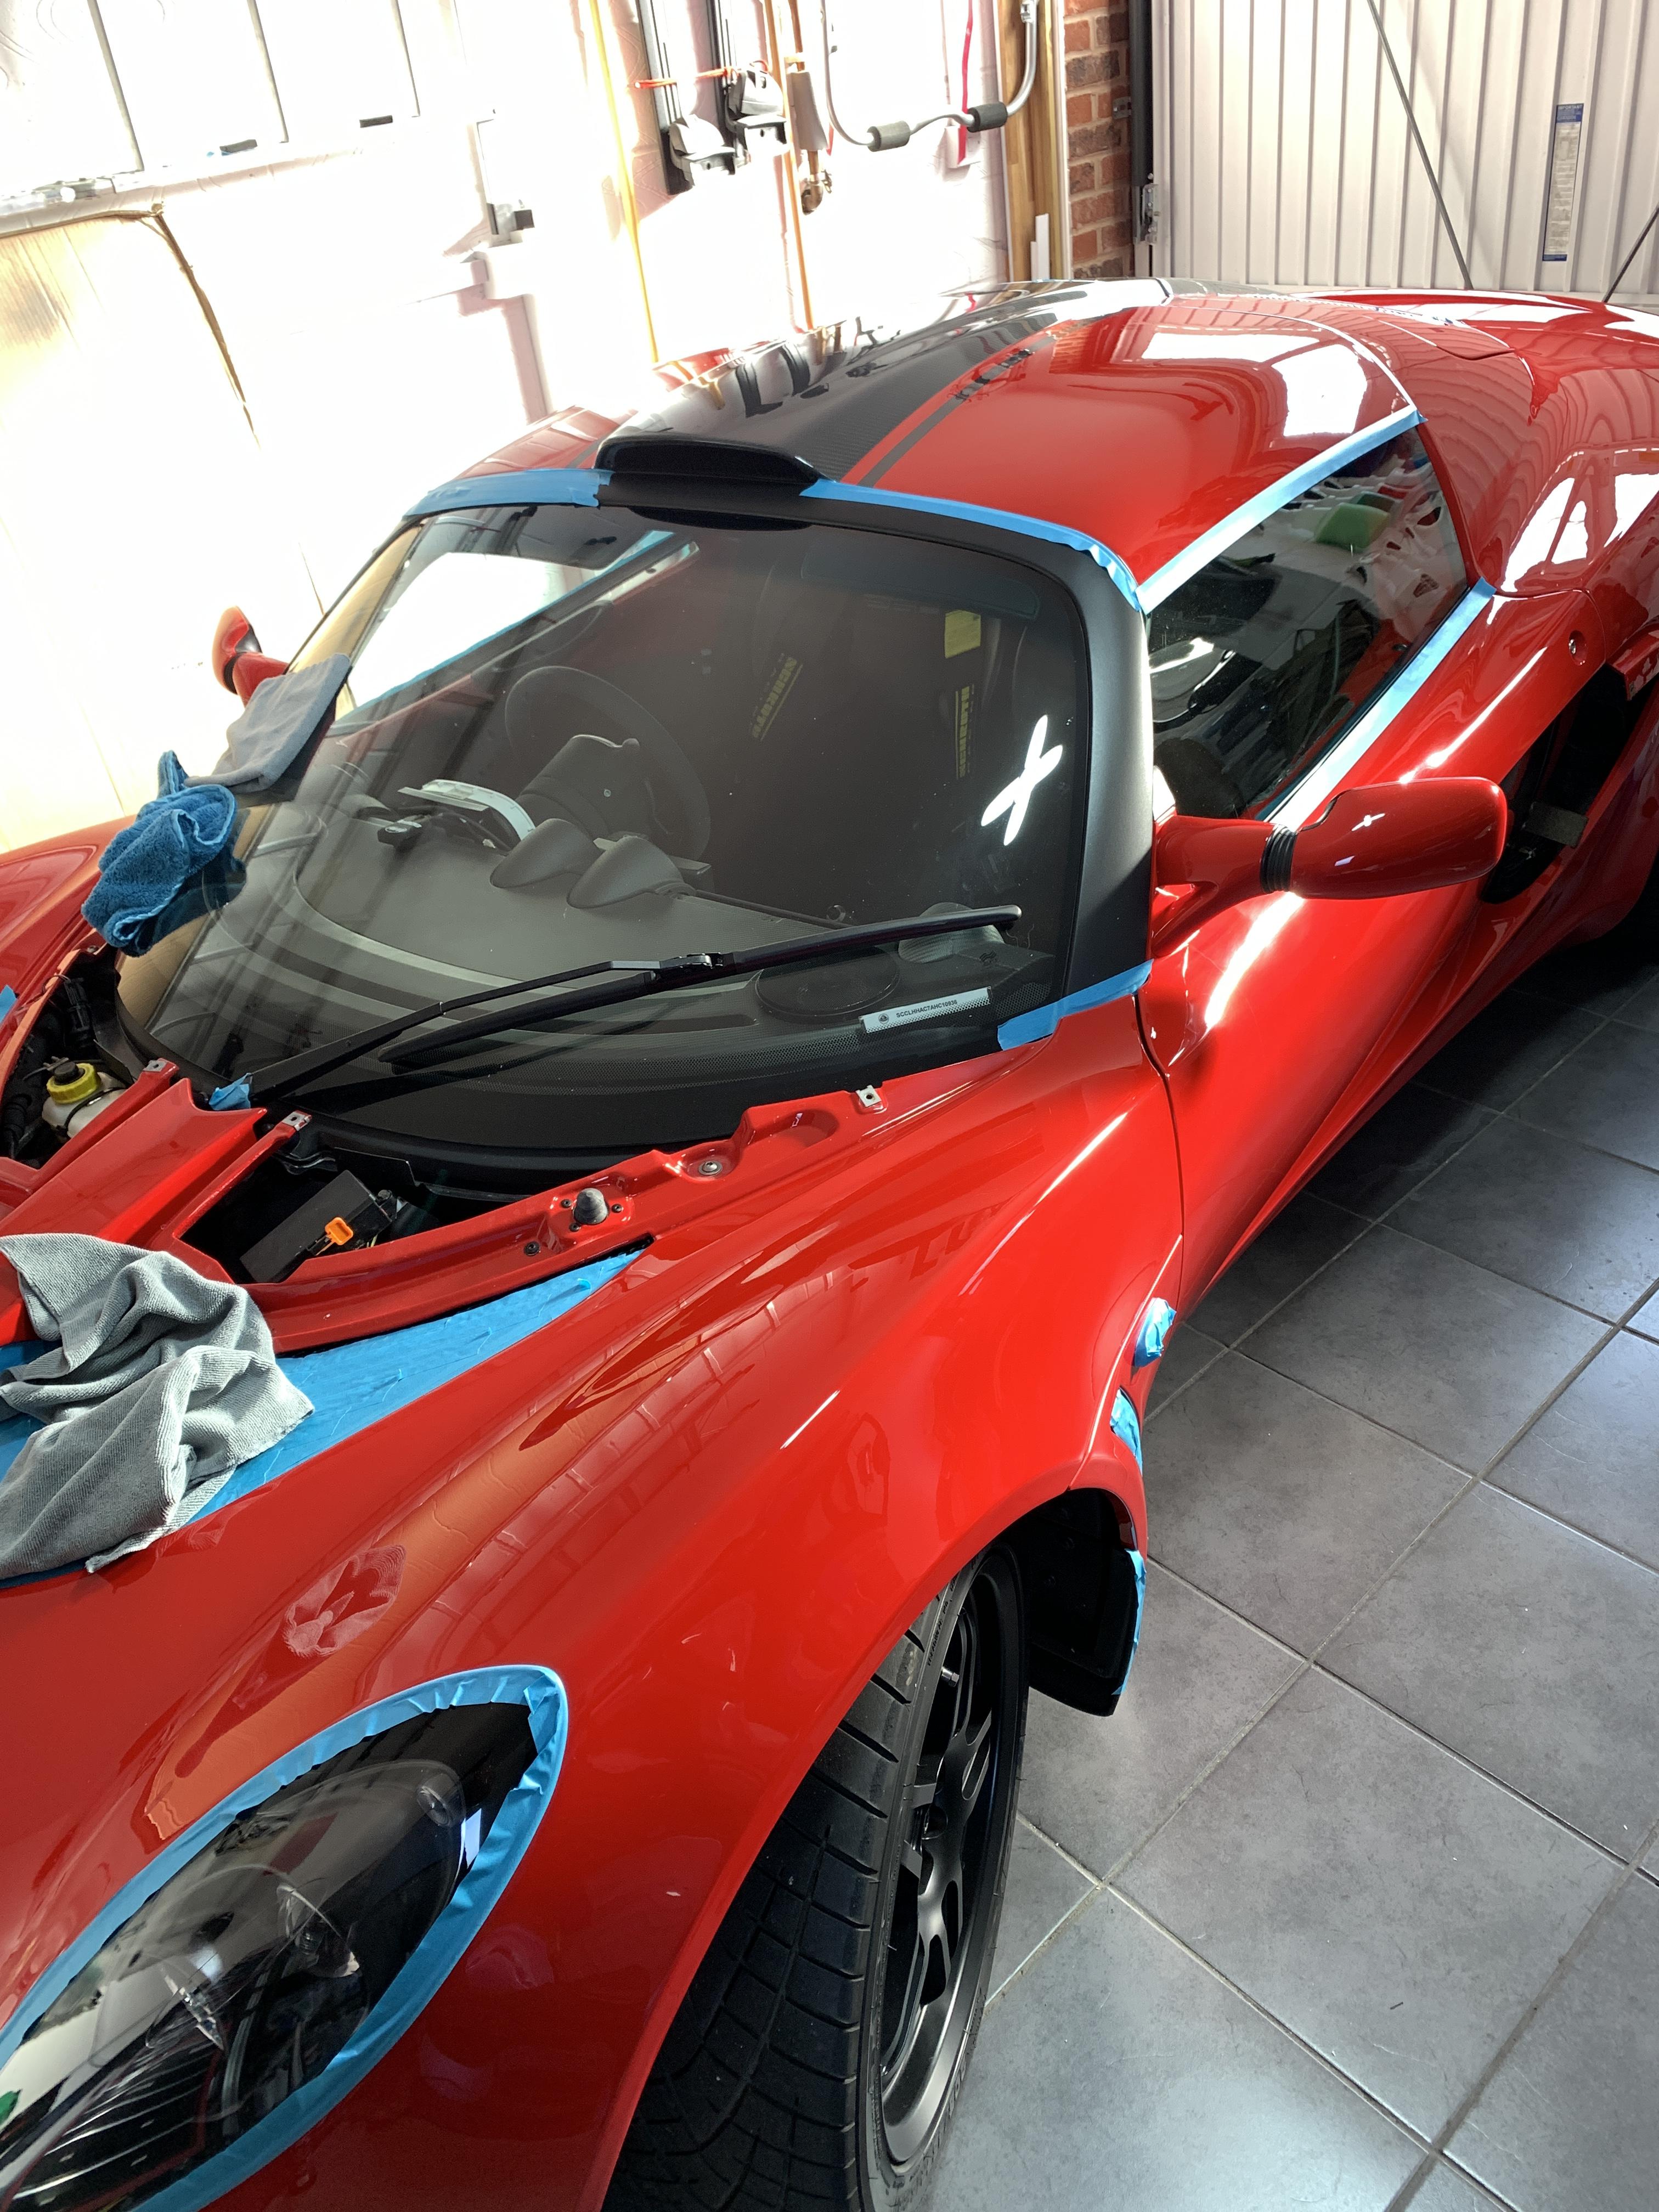
Anyway, once all the touch ups and wet sanding was completed (countless hours) I could polish properly for PPF. I was going for full front clam, splitter and access panel, full sills and some bits behind the rear wheels. These would be the areas I’dd focus and get flawless. Doors, roof and rear clam would get a single stage but I’d do them properly later, as I knew I’ve still got jobs leaning in the engine bay etc
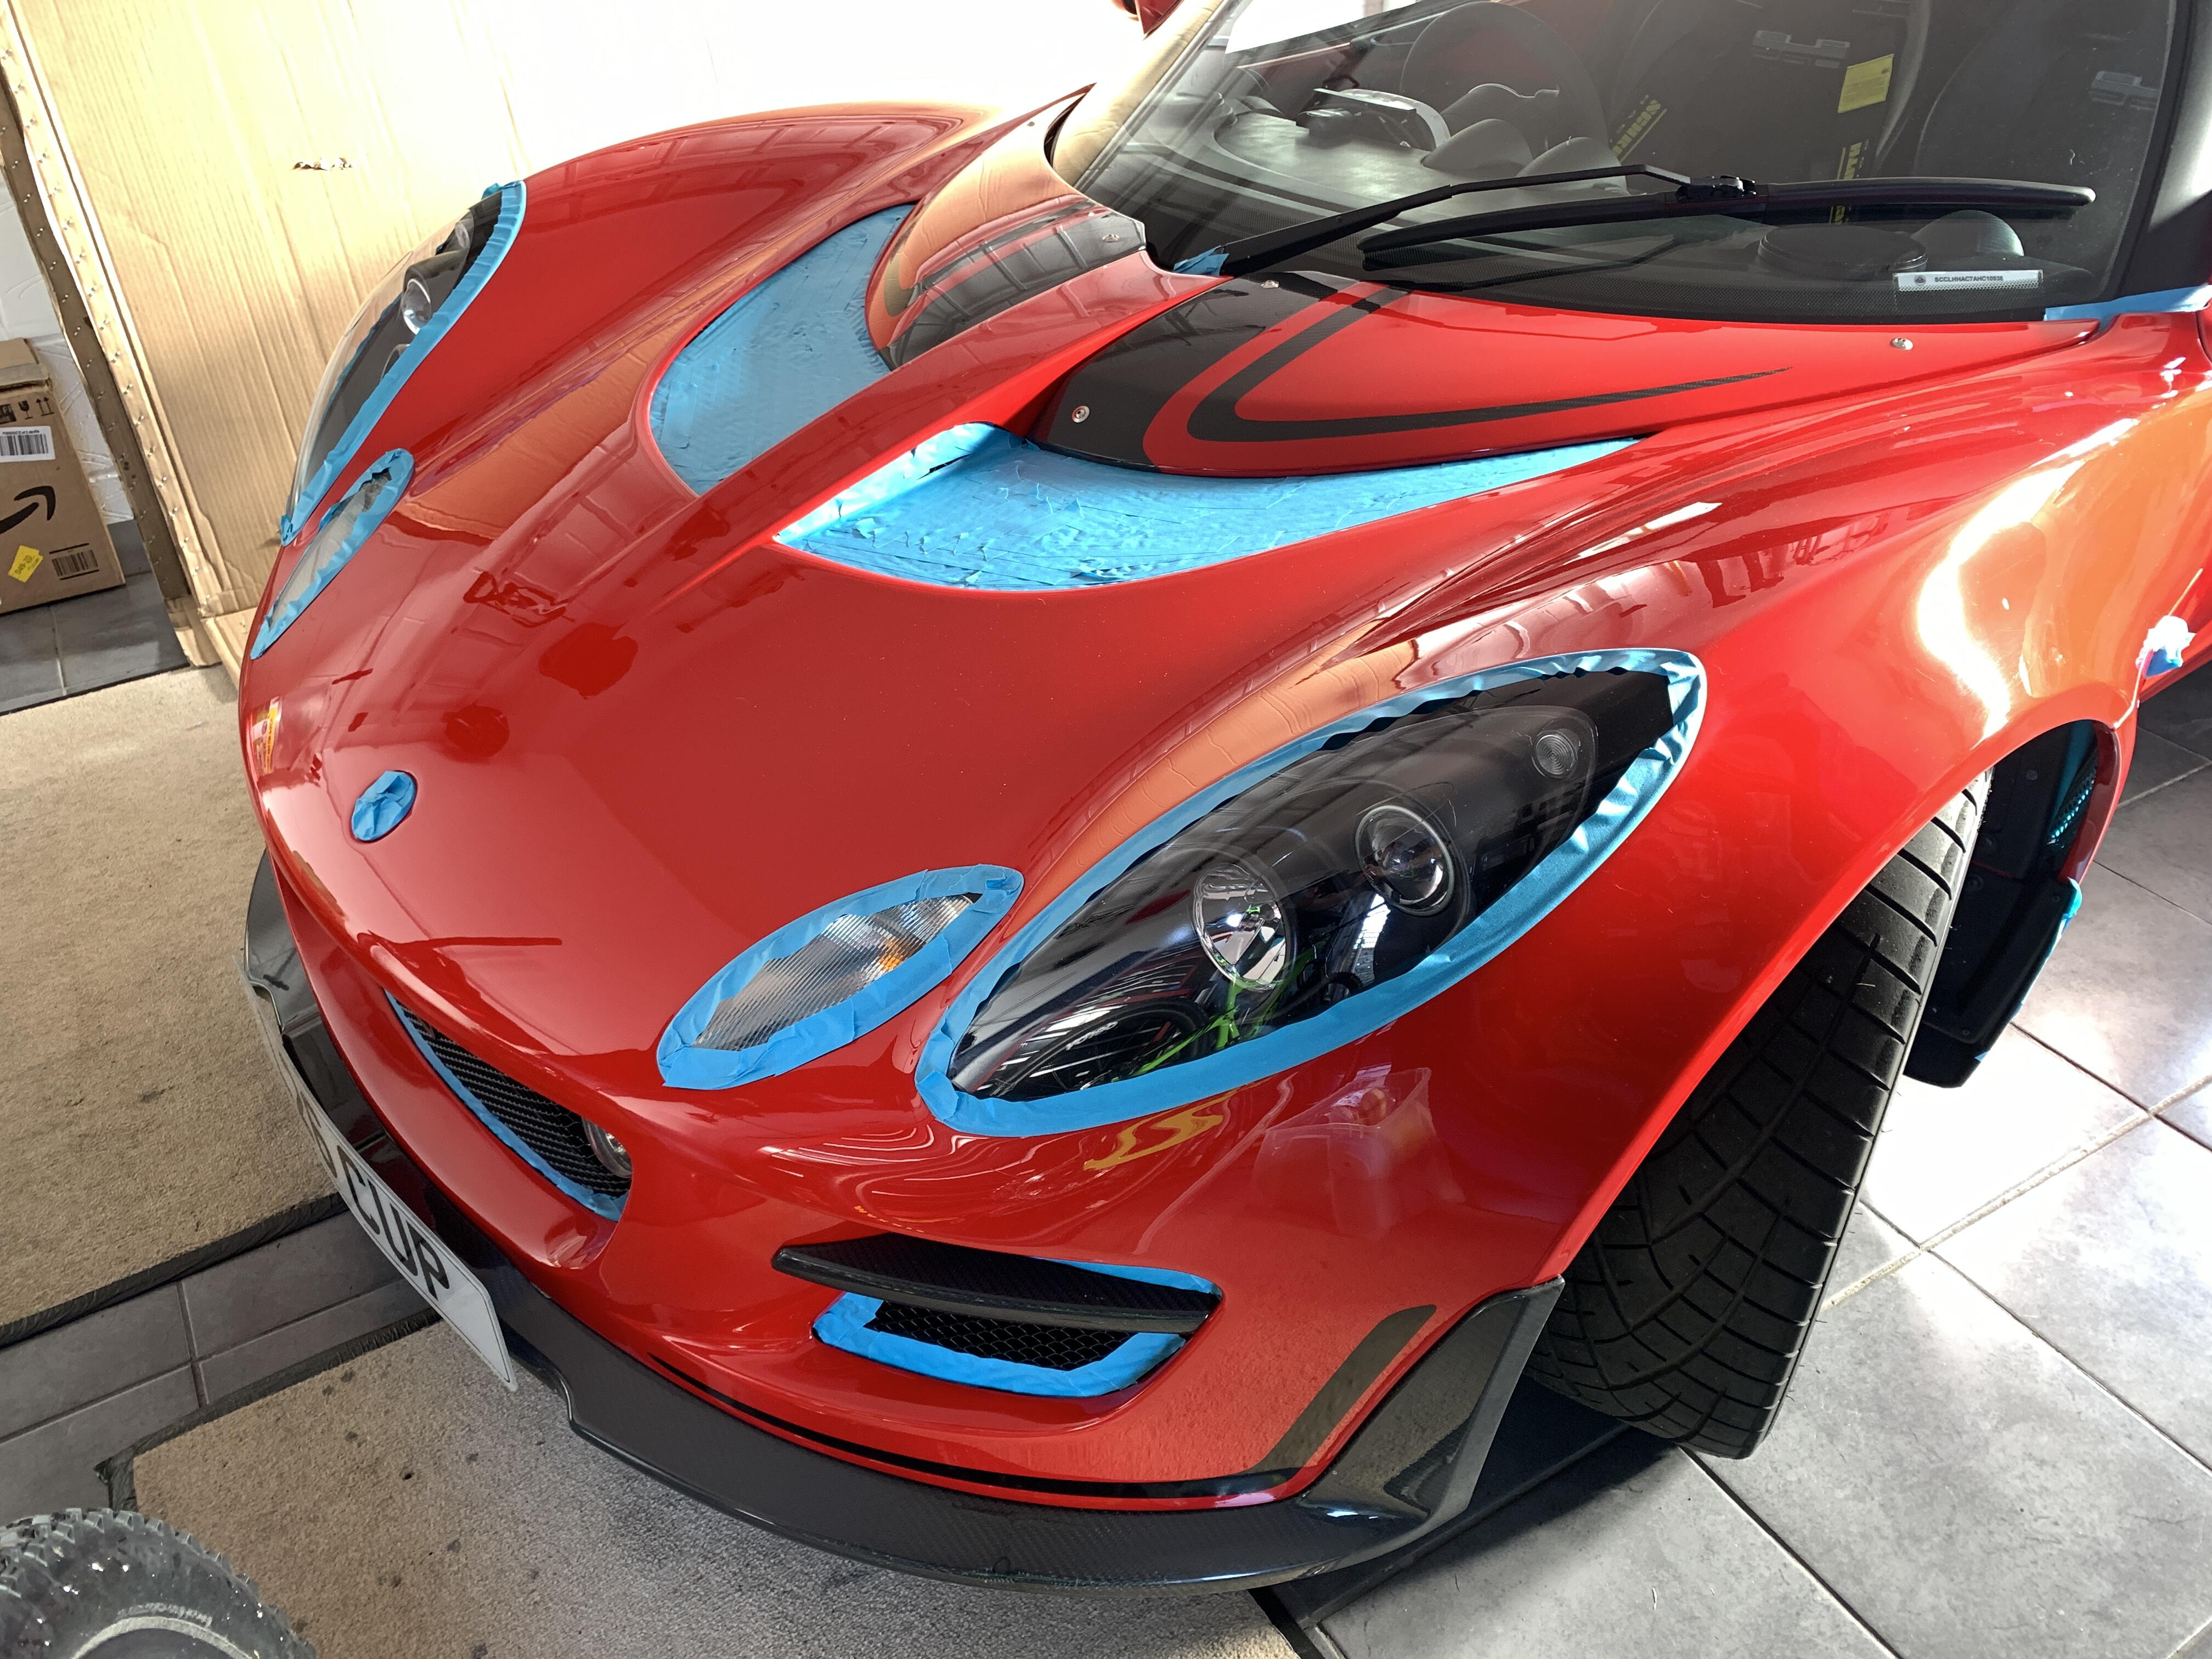
So she looked fine from a distance:
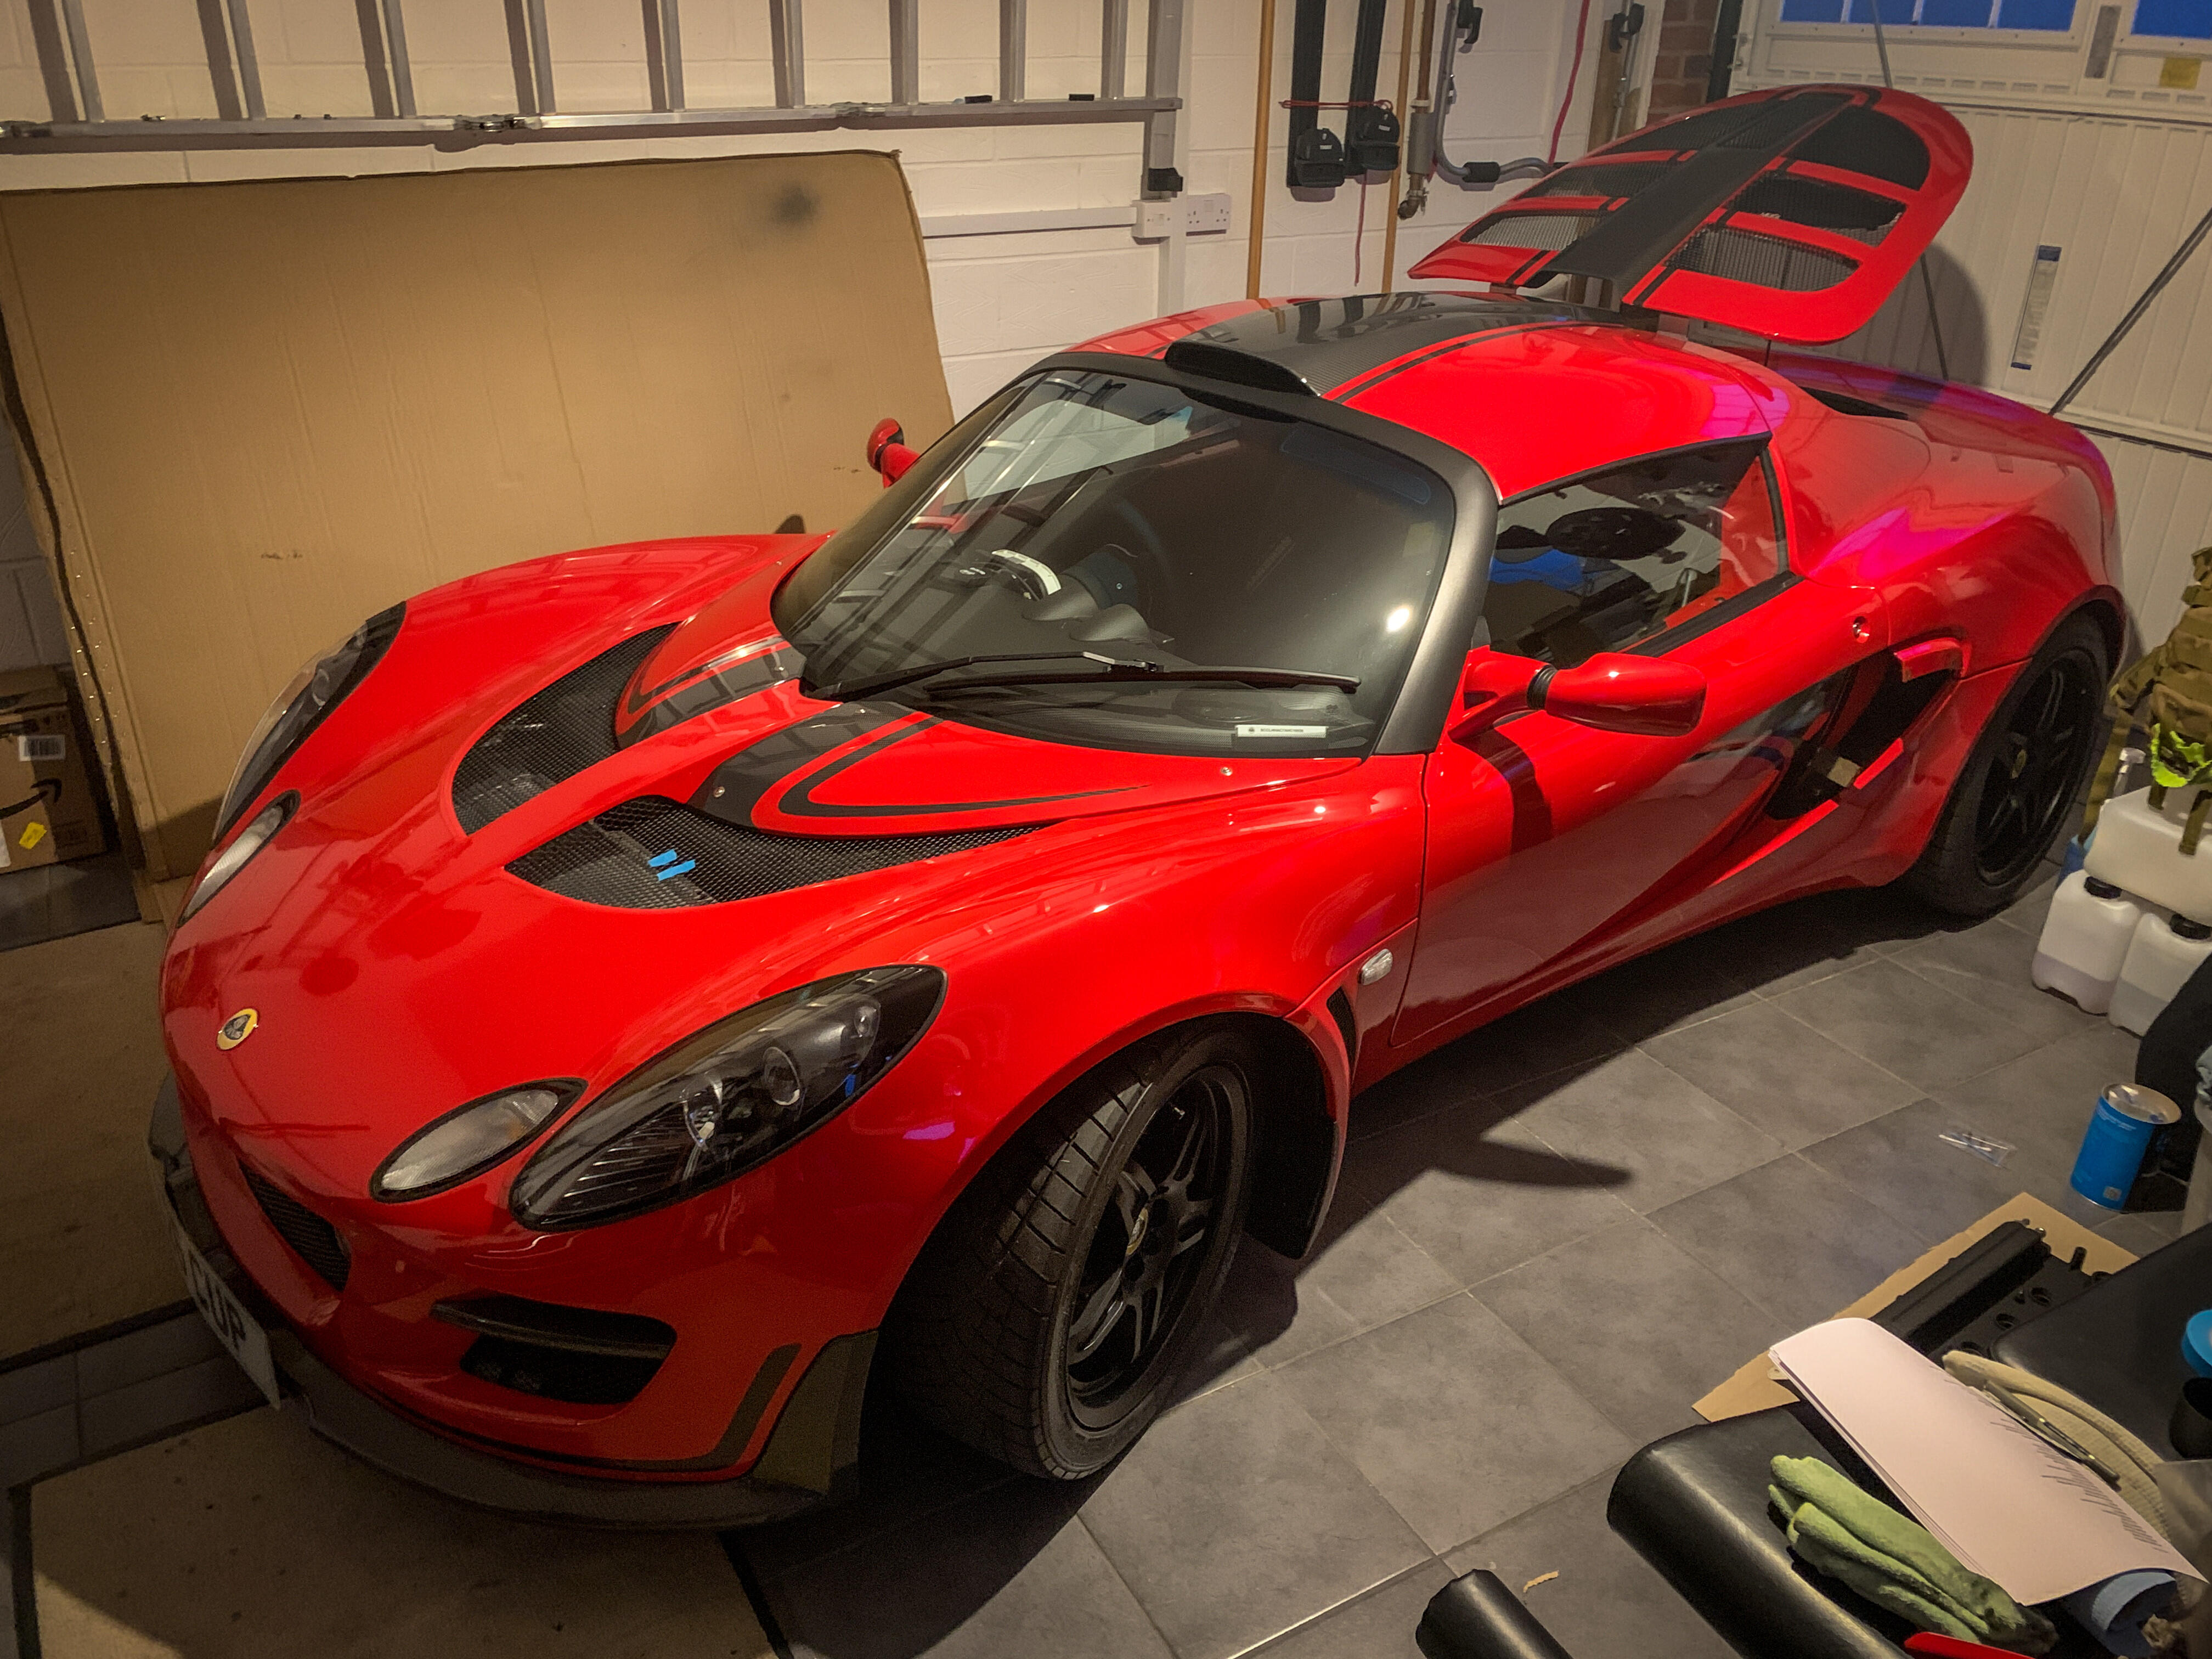
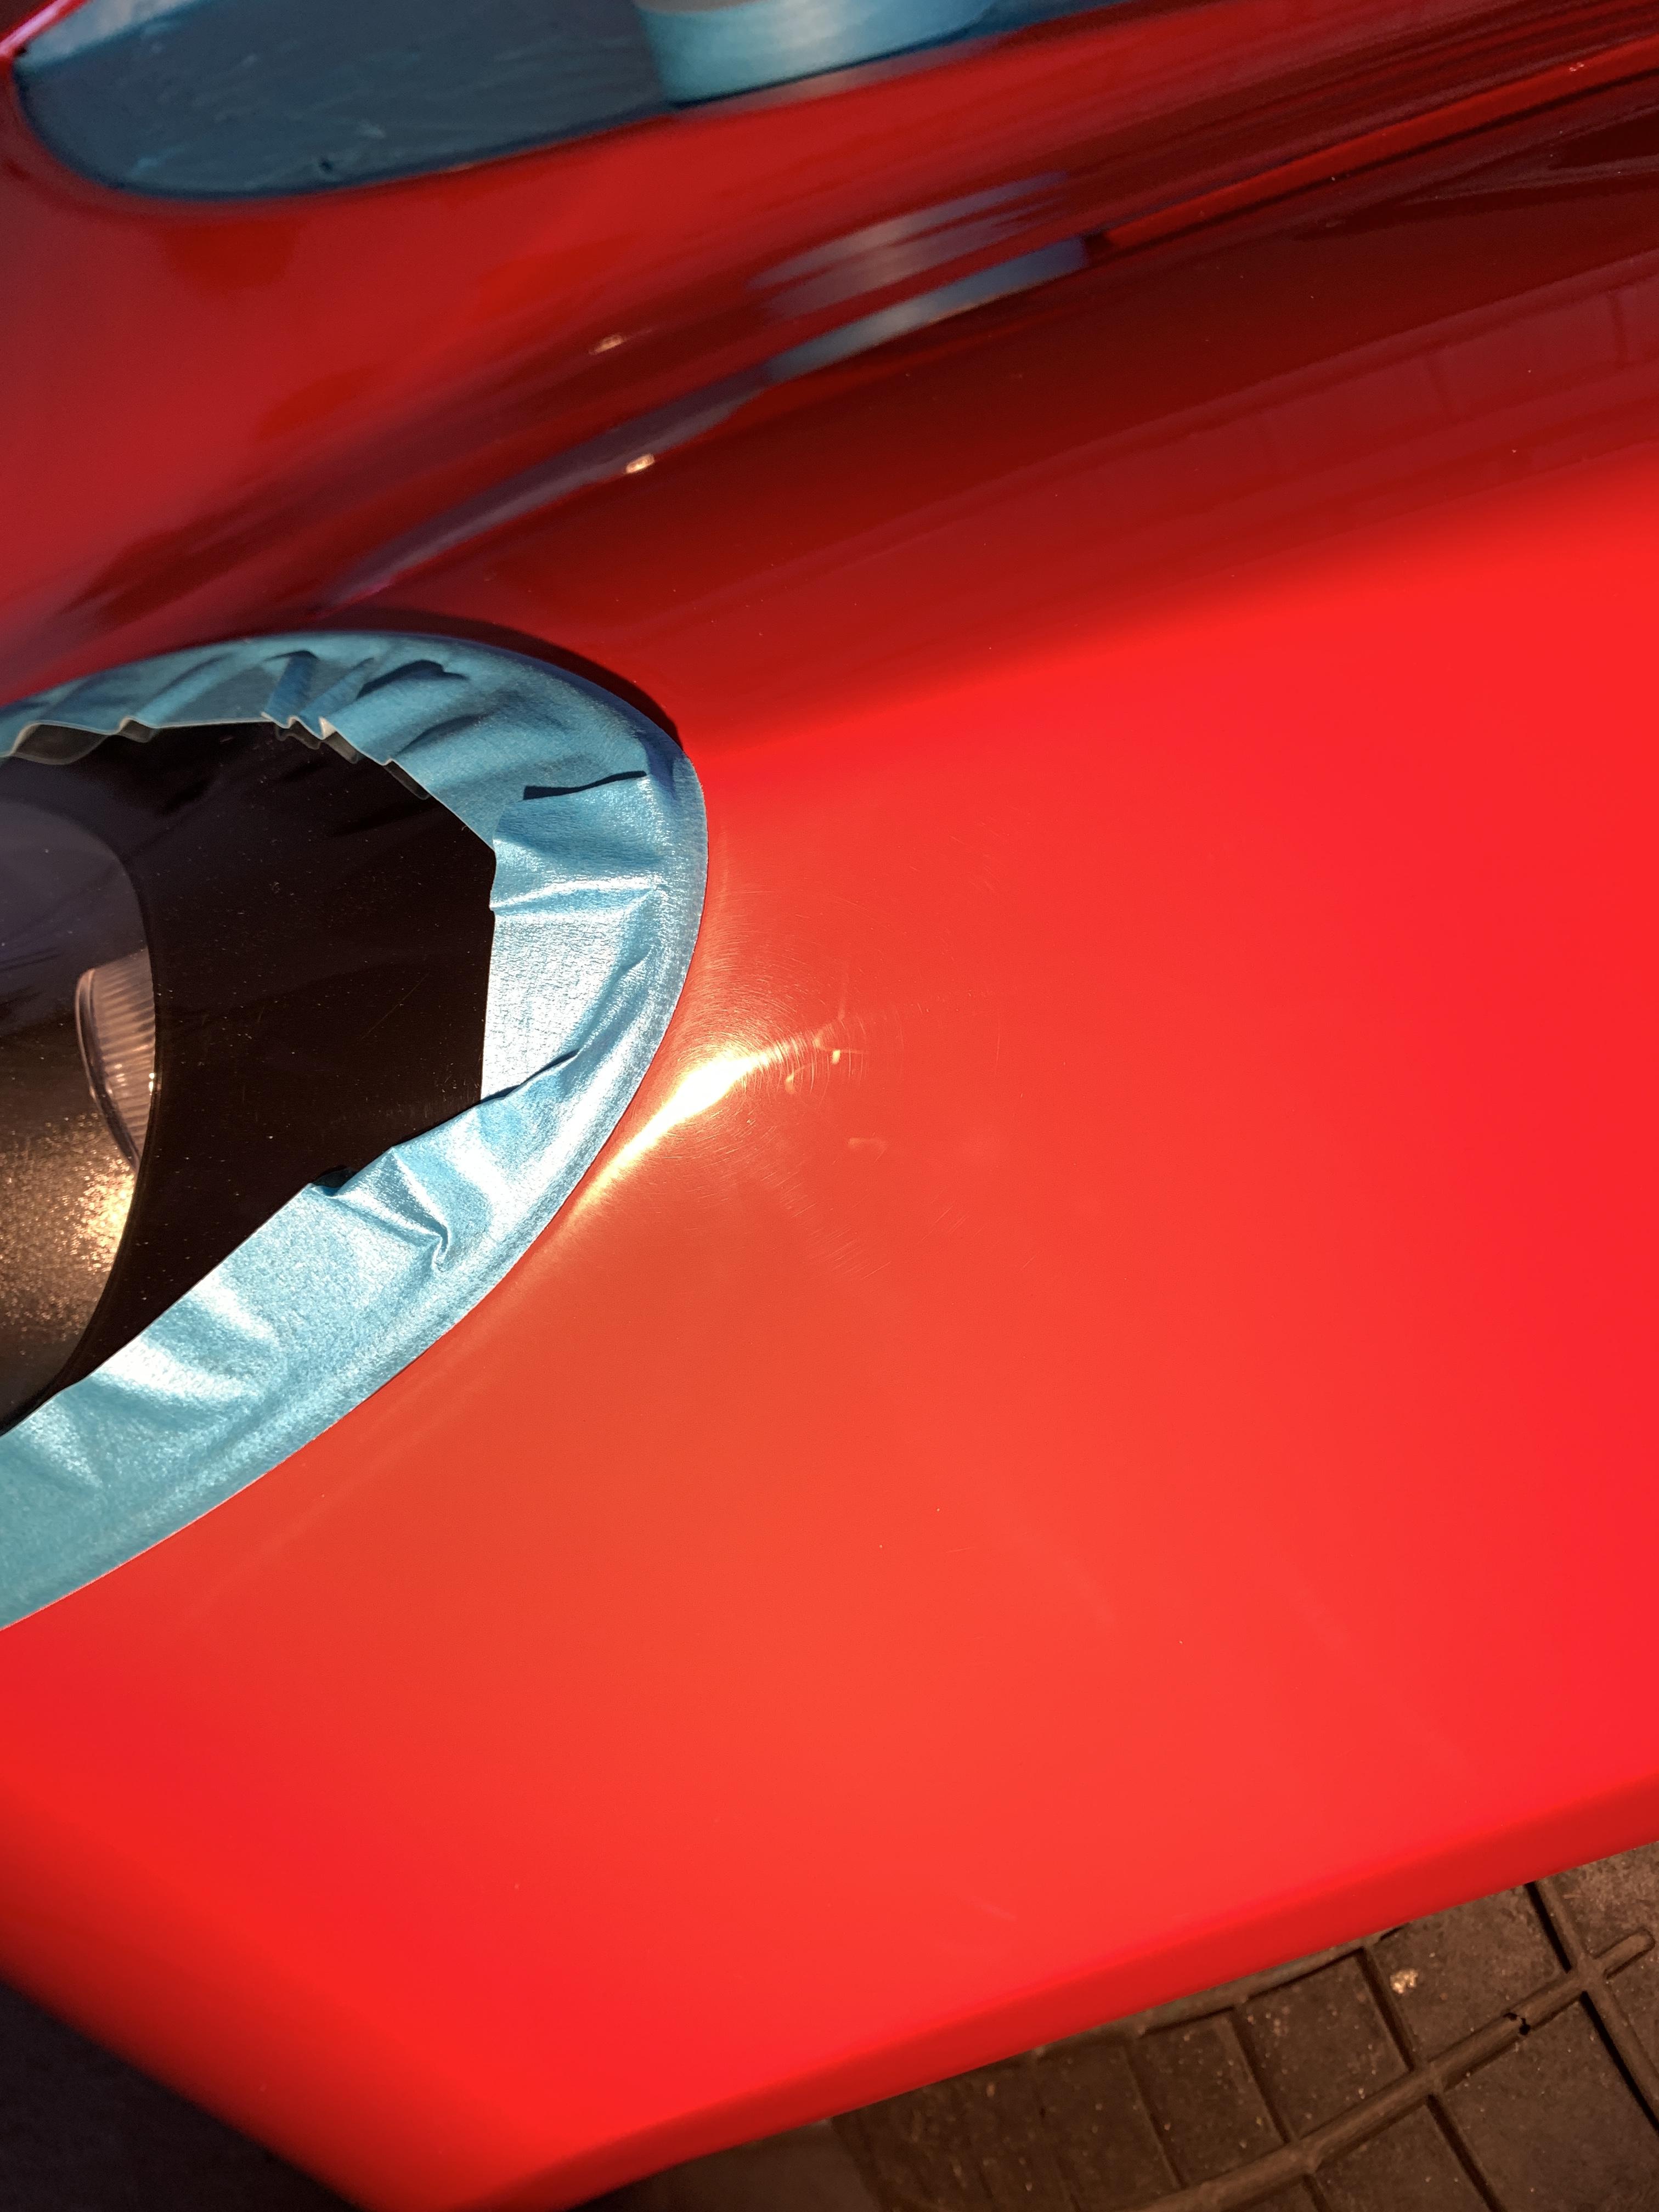
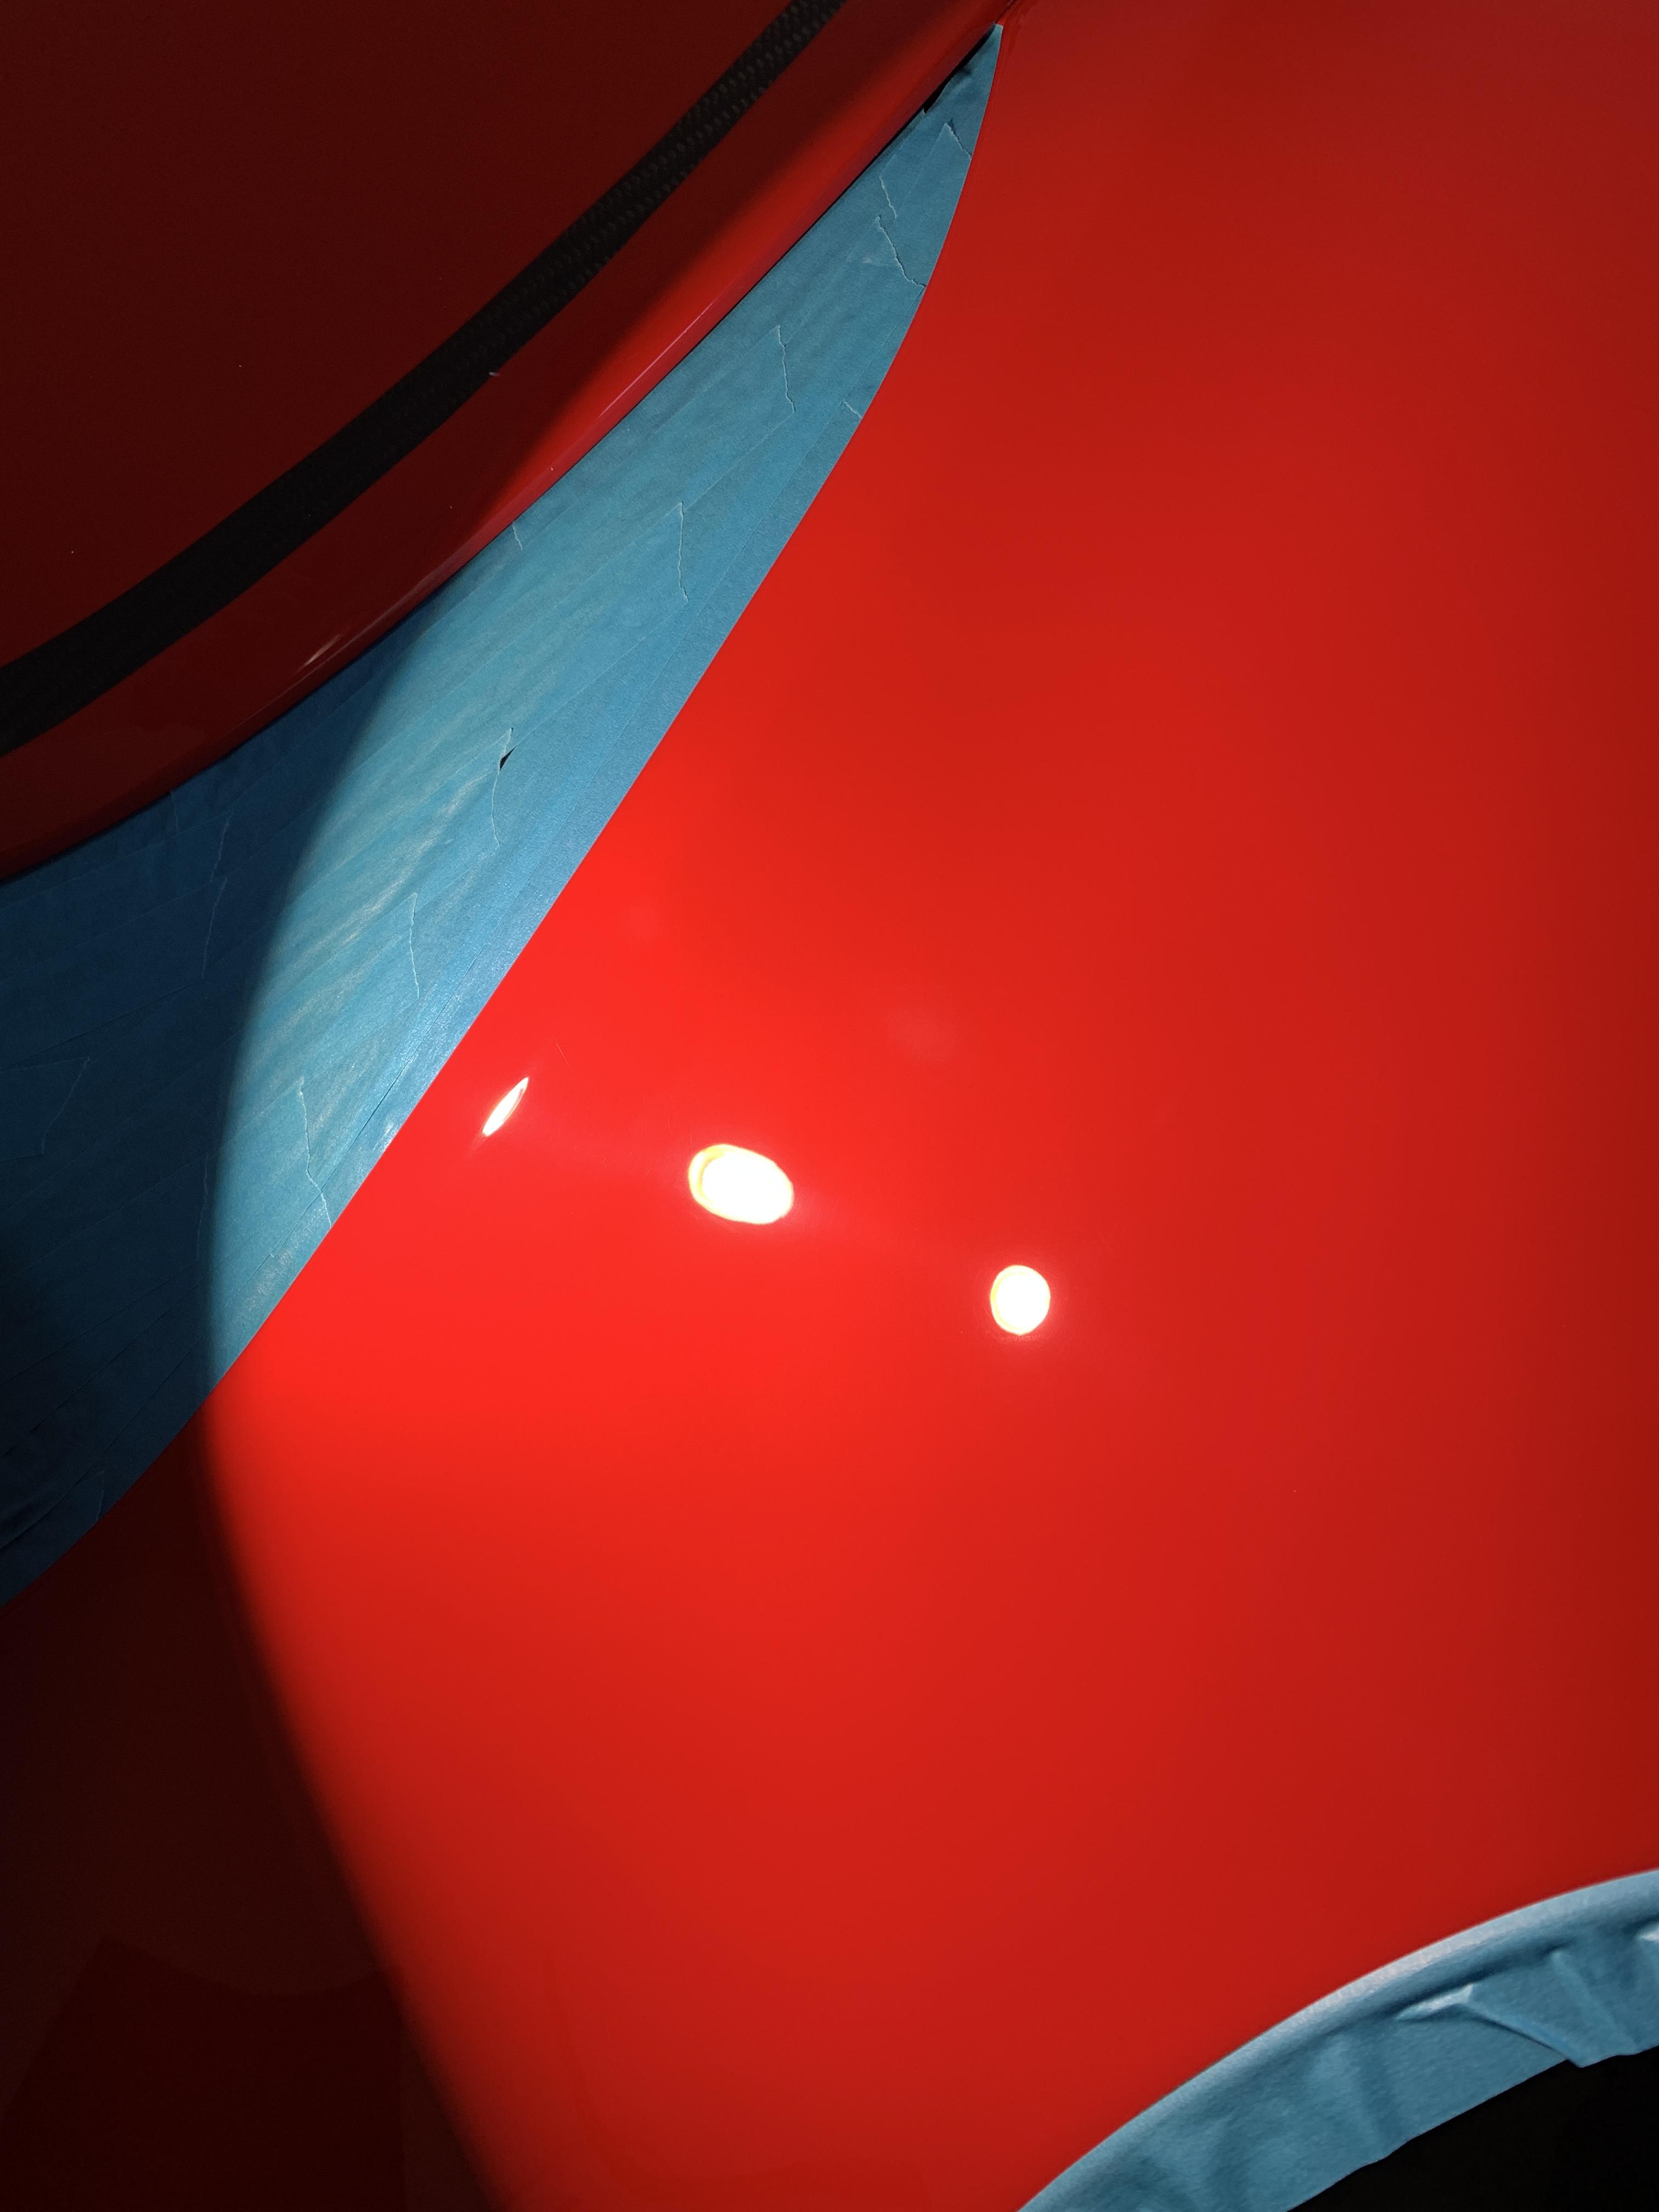
And look better with actual light, but harder to find defects being honest. Either way start taping up and spot polishing on the wetsanding areas. You can see in this shot, although it looks shiny, you can see the swirls and light scratches on the outside of the wing. You’ll also see the repaired splitter which will be replaced
A view of some of the remaining issues
Sanding marks on the top of the doors:
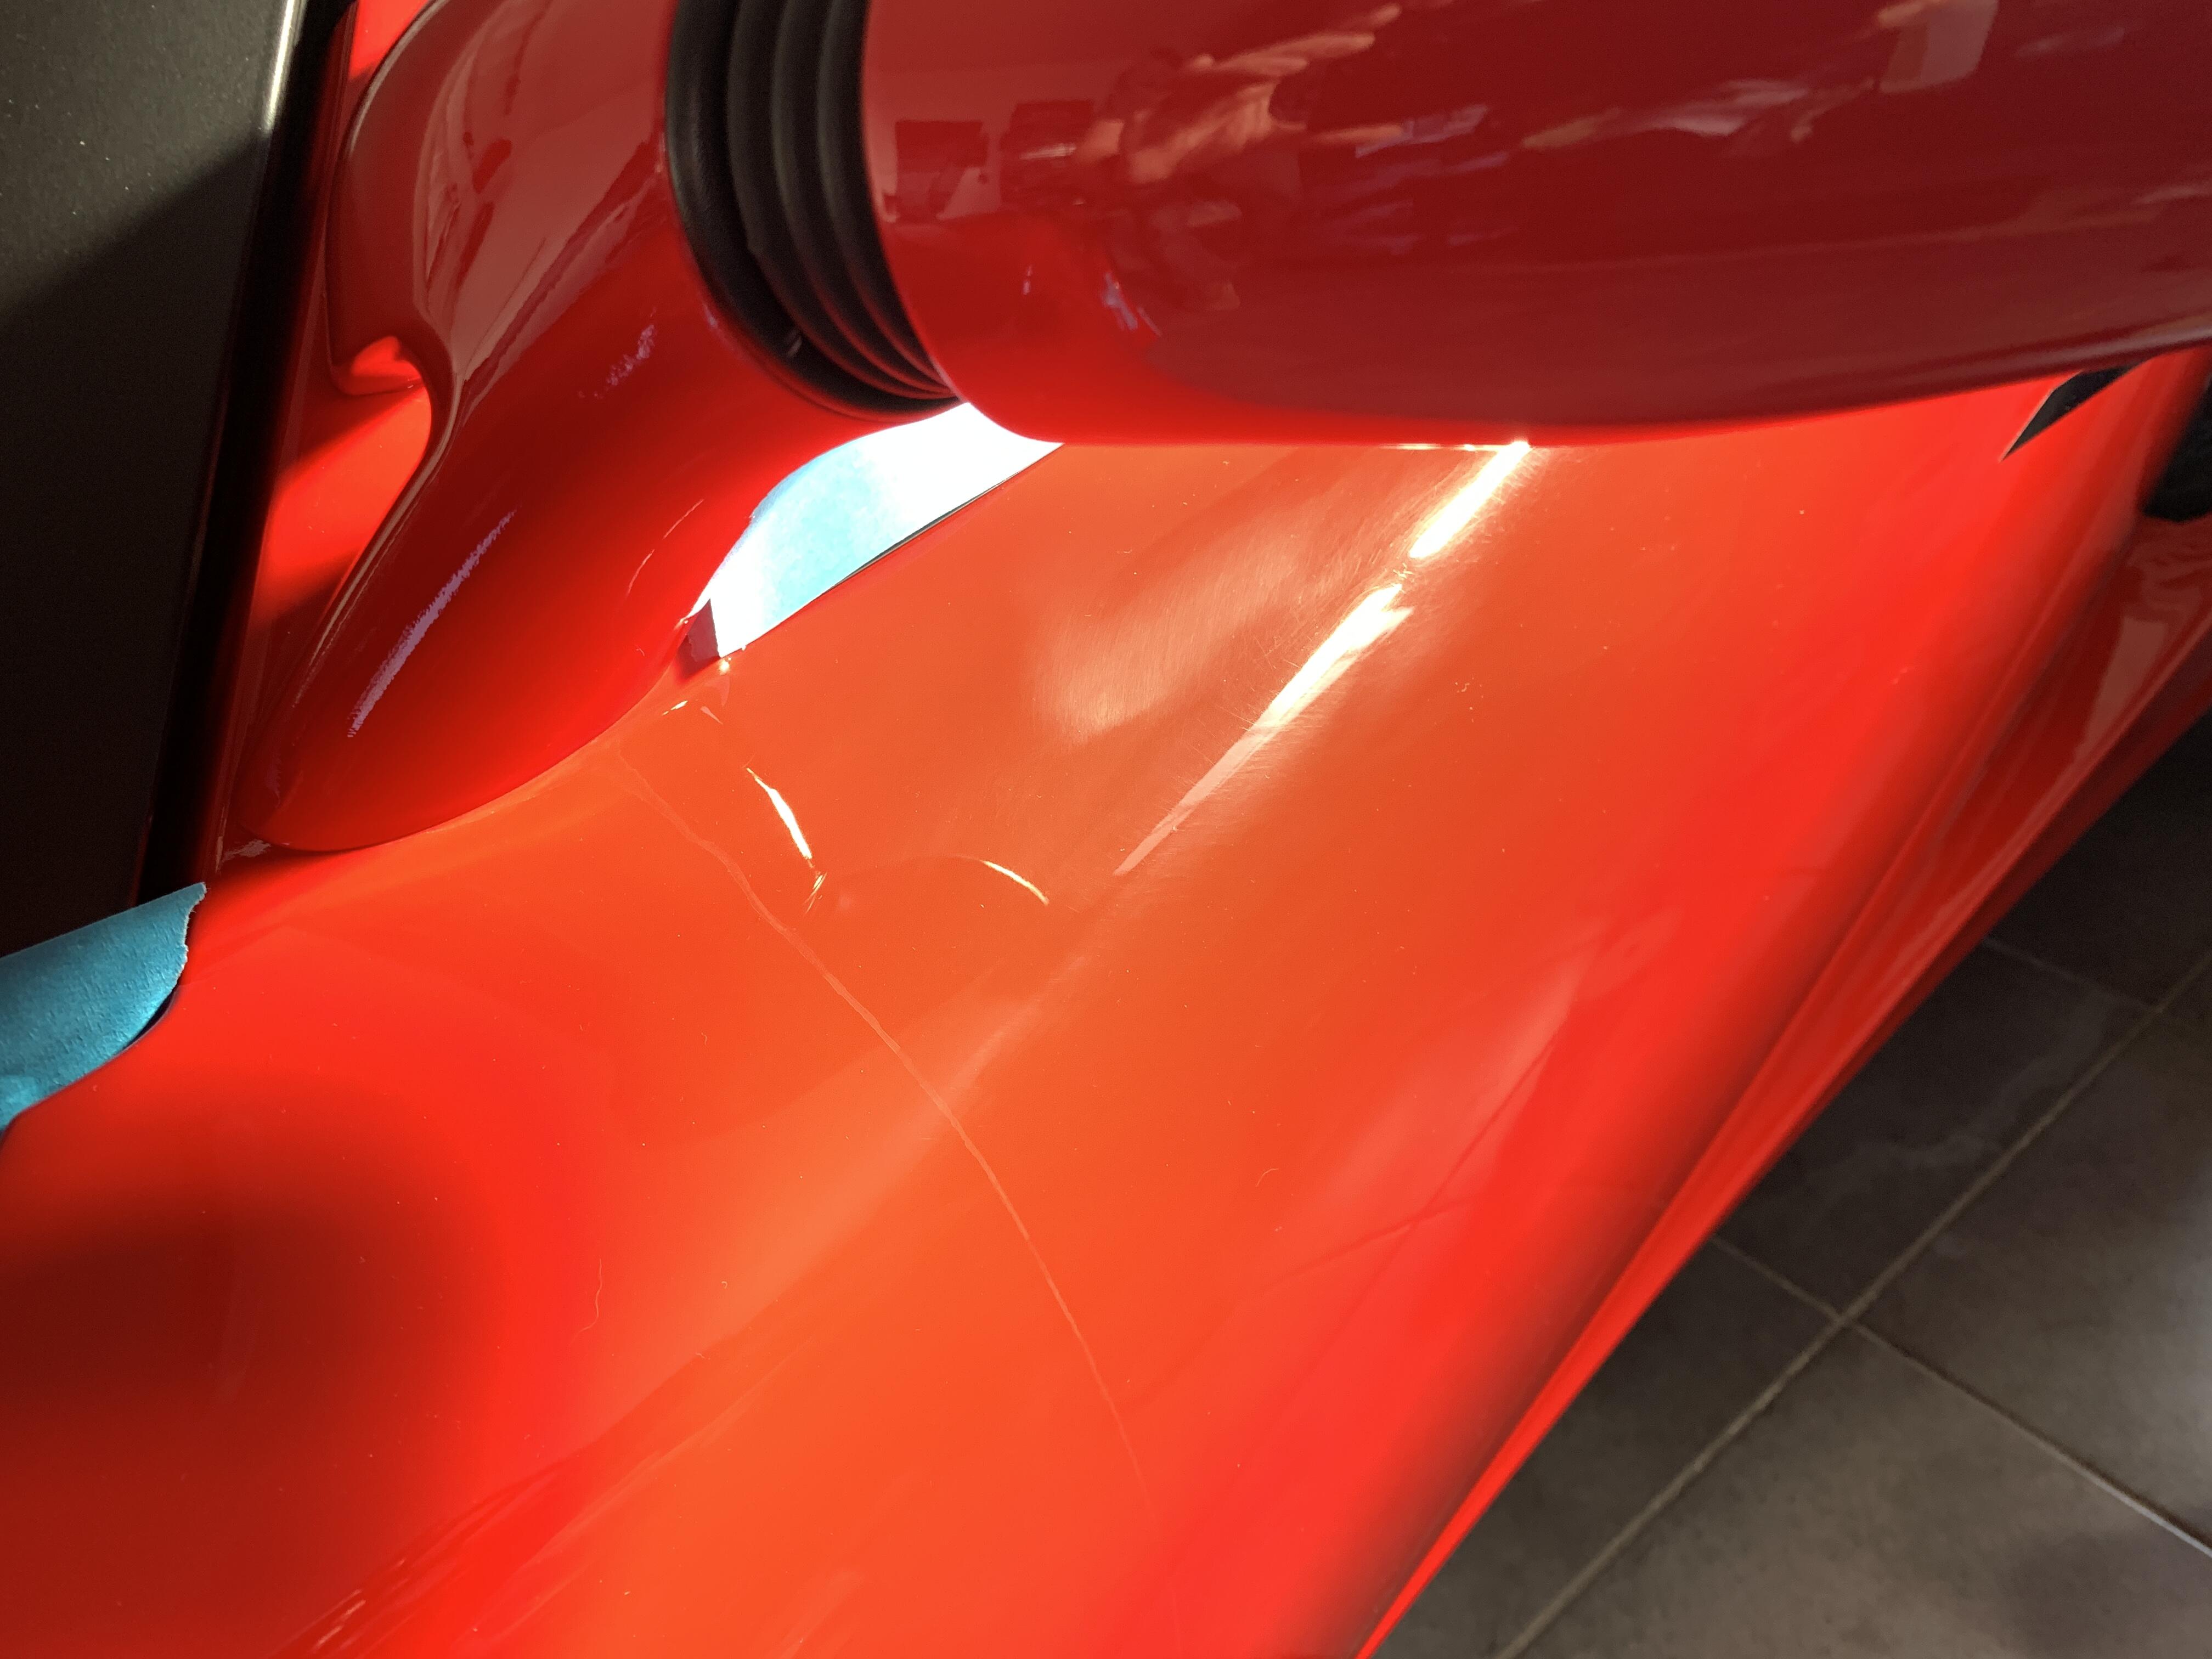
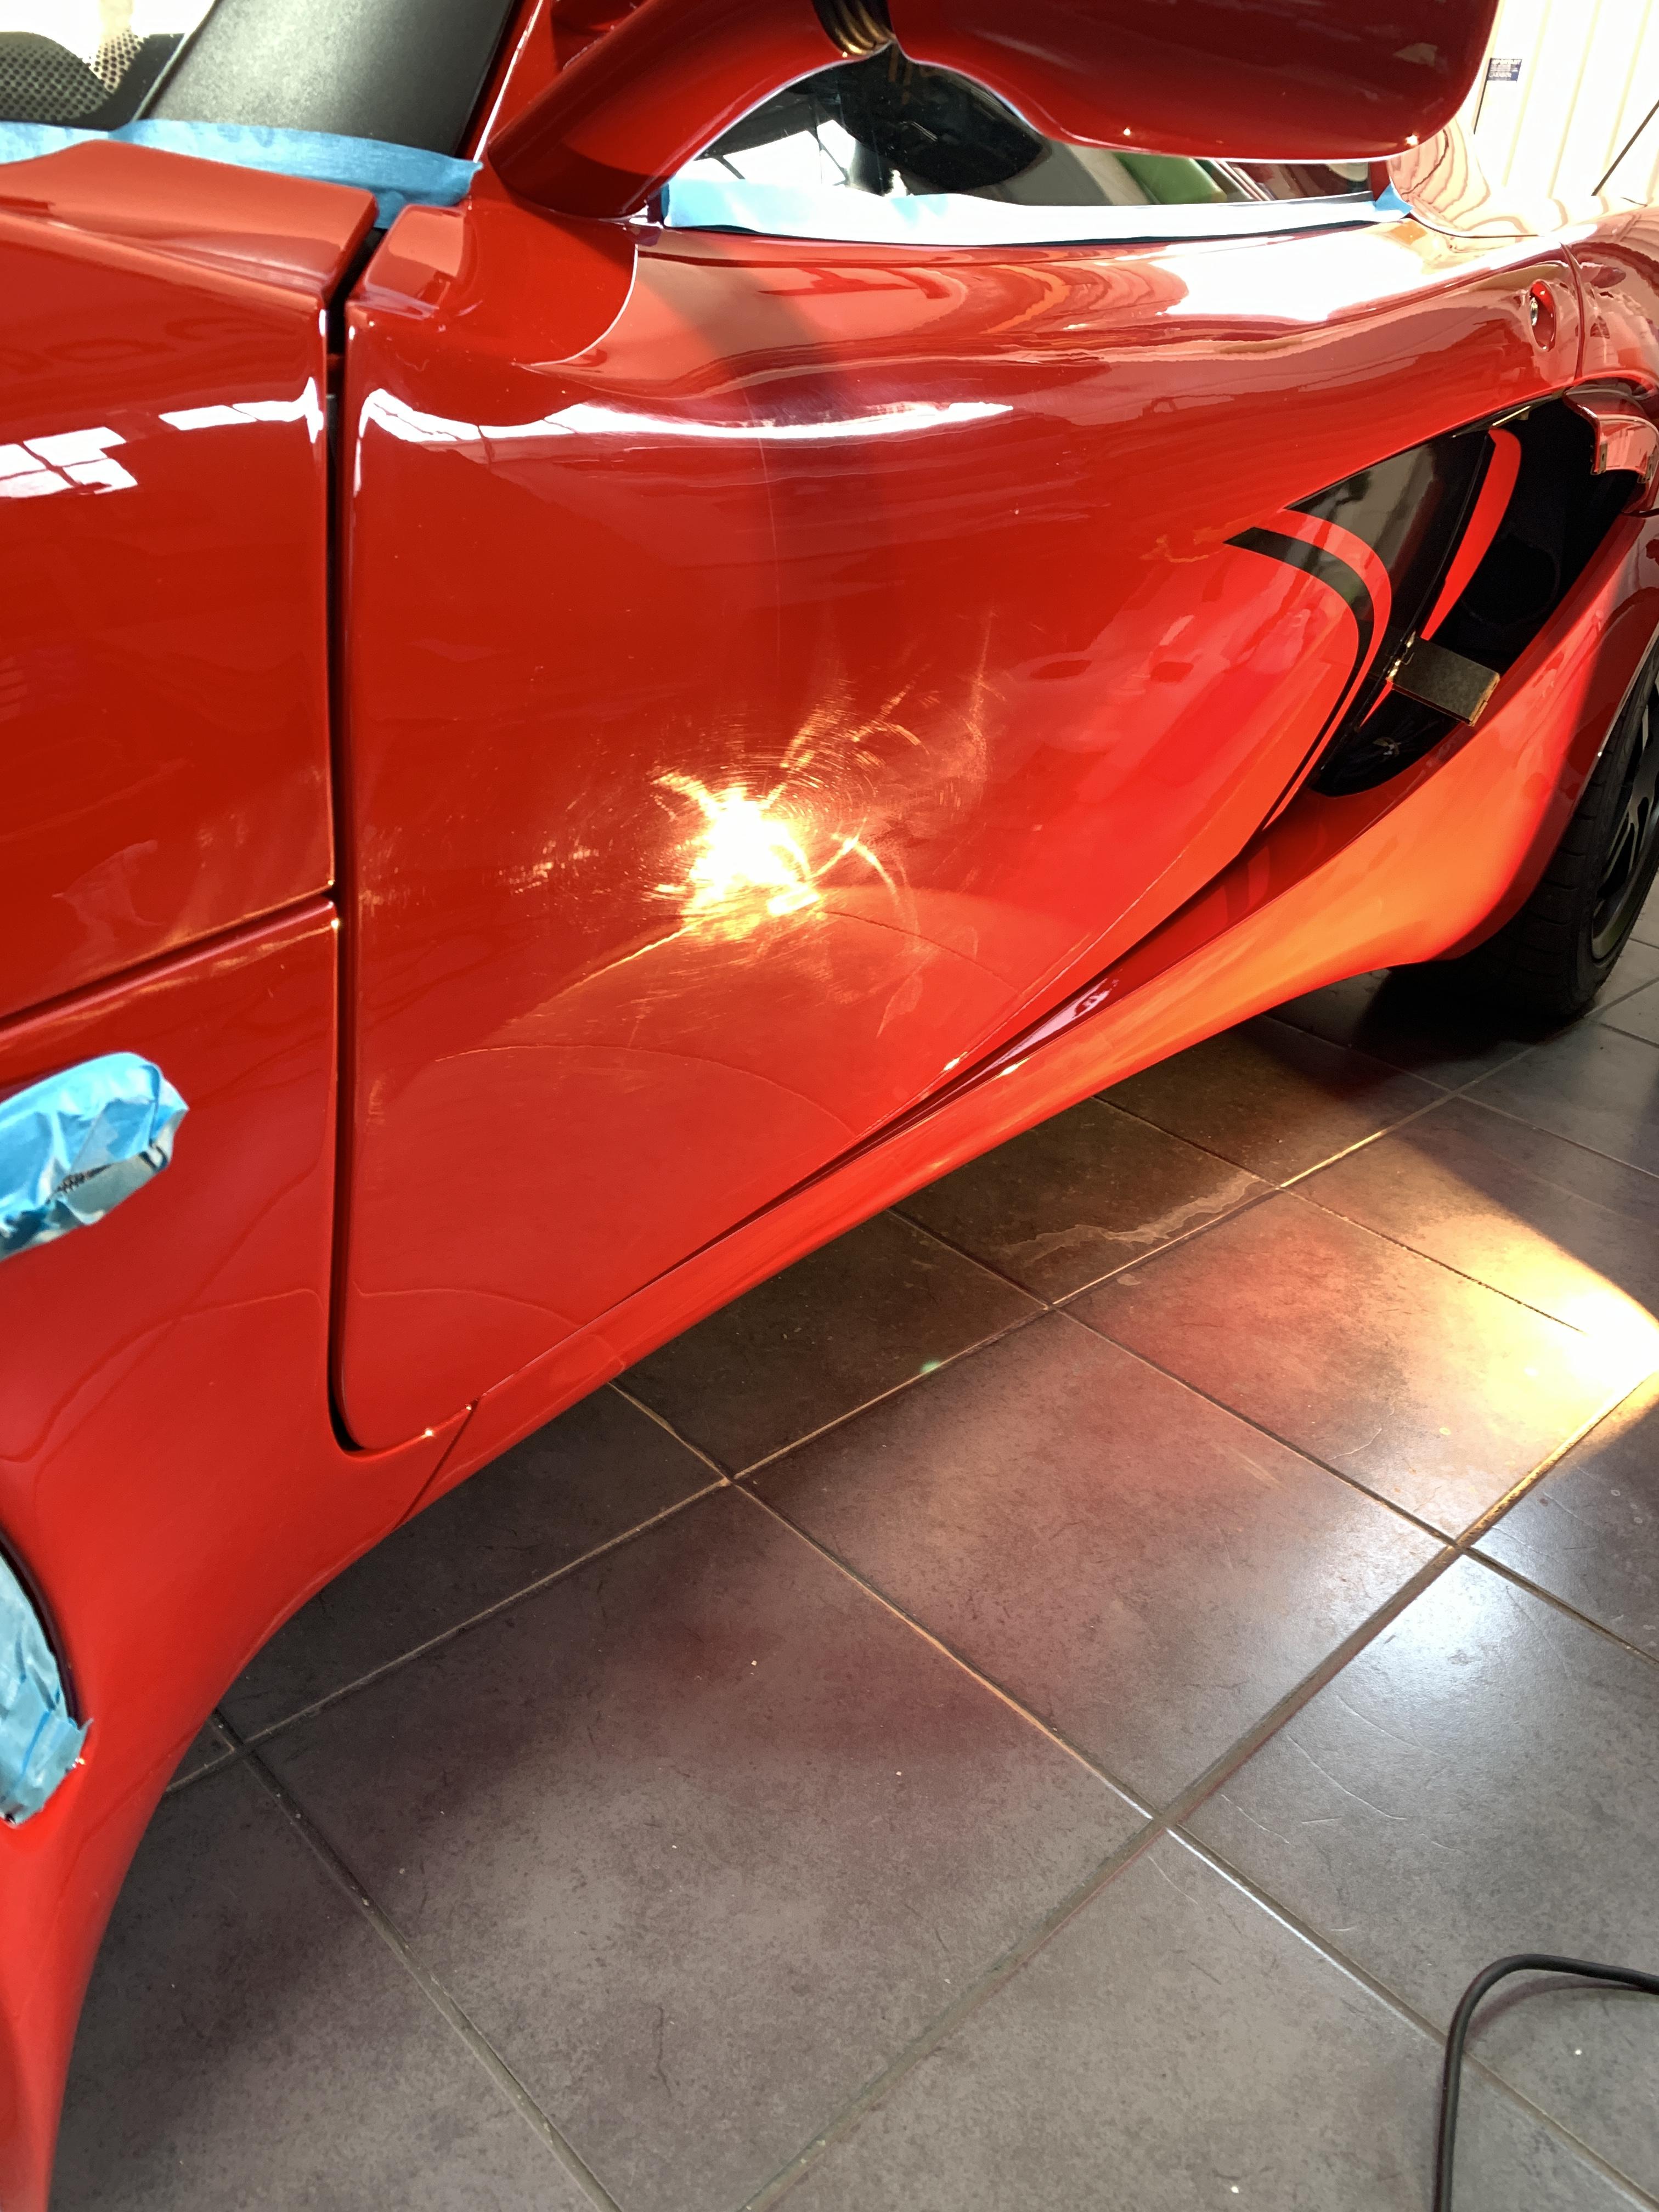
General swirlaramma on the clam:
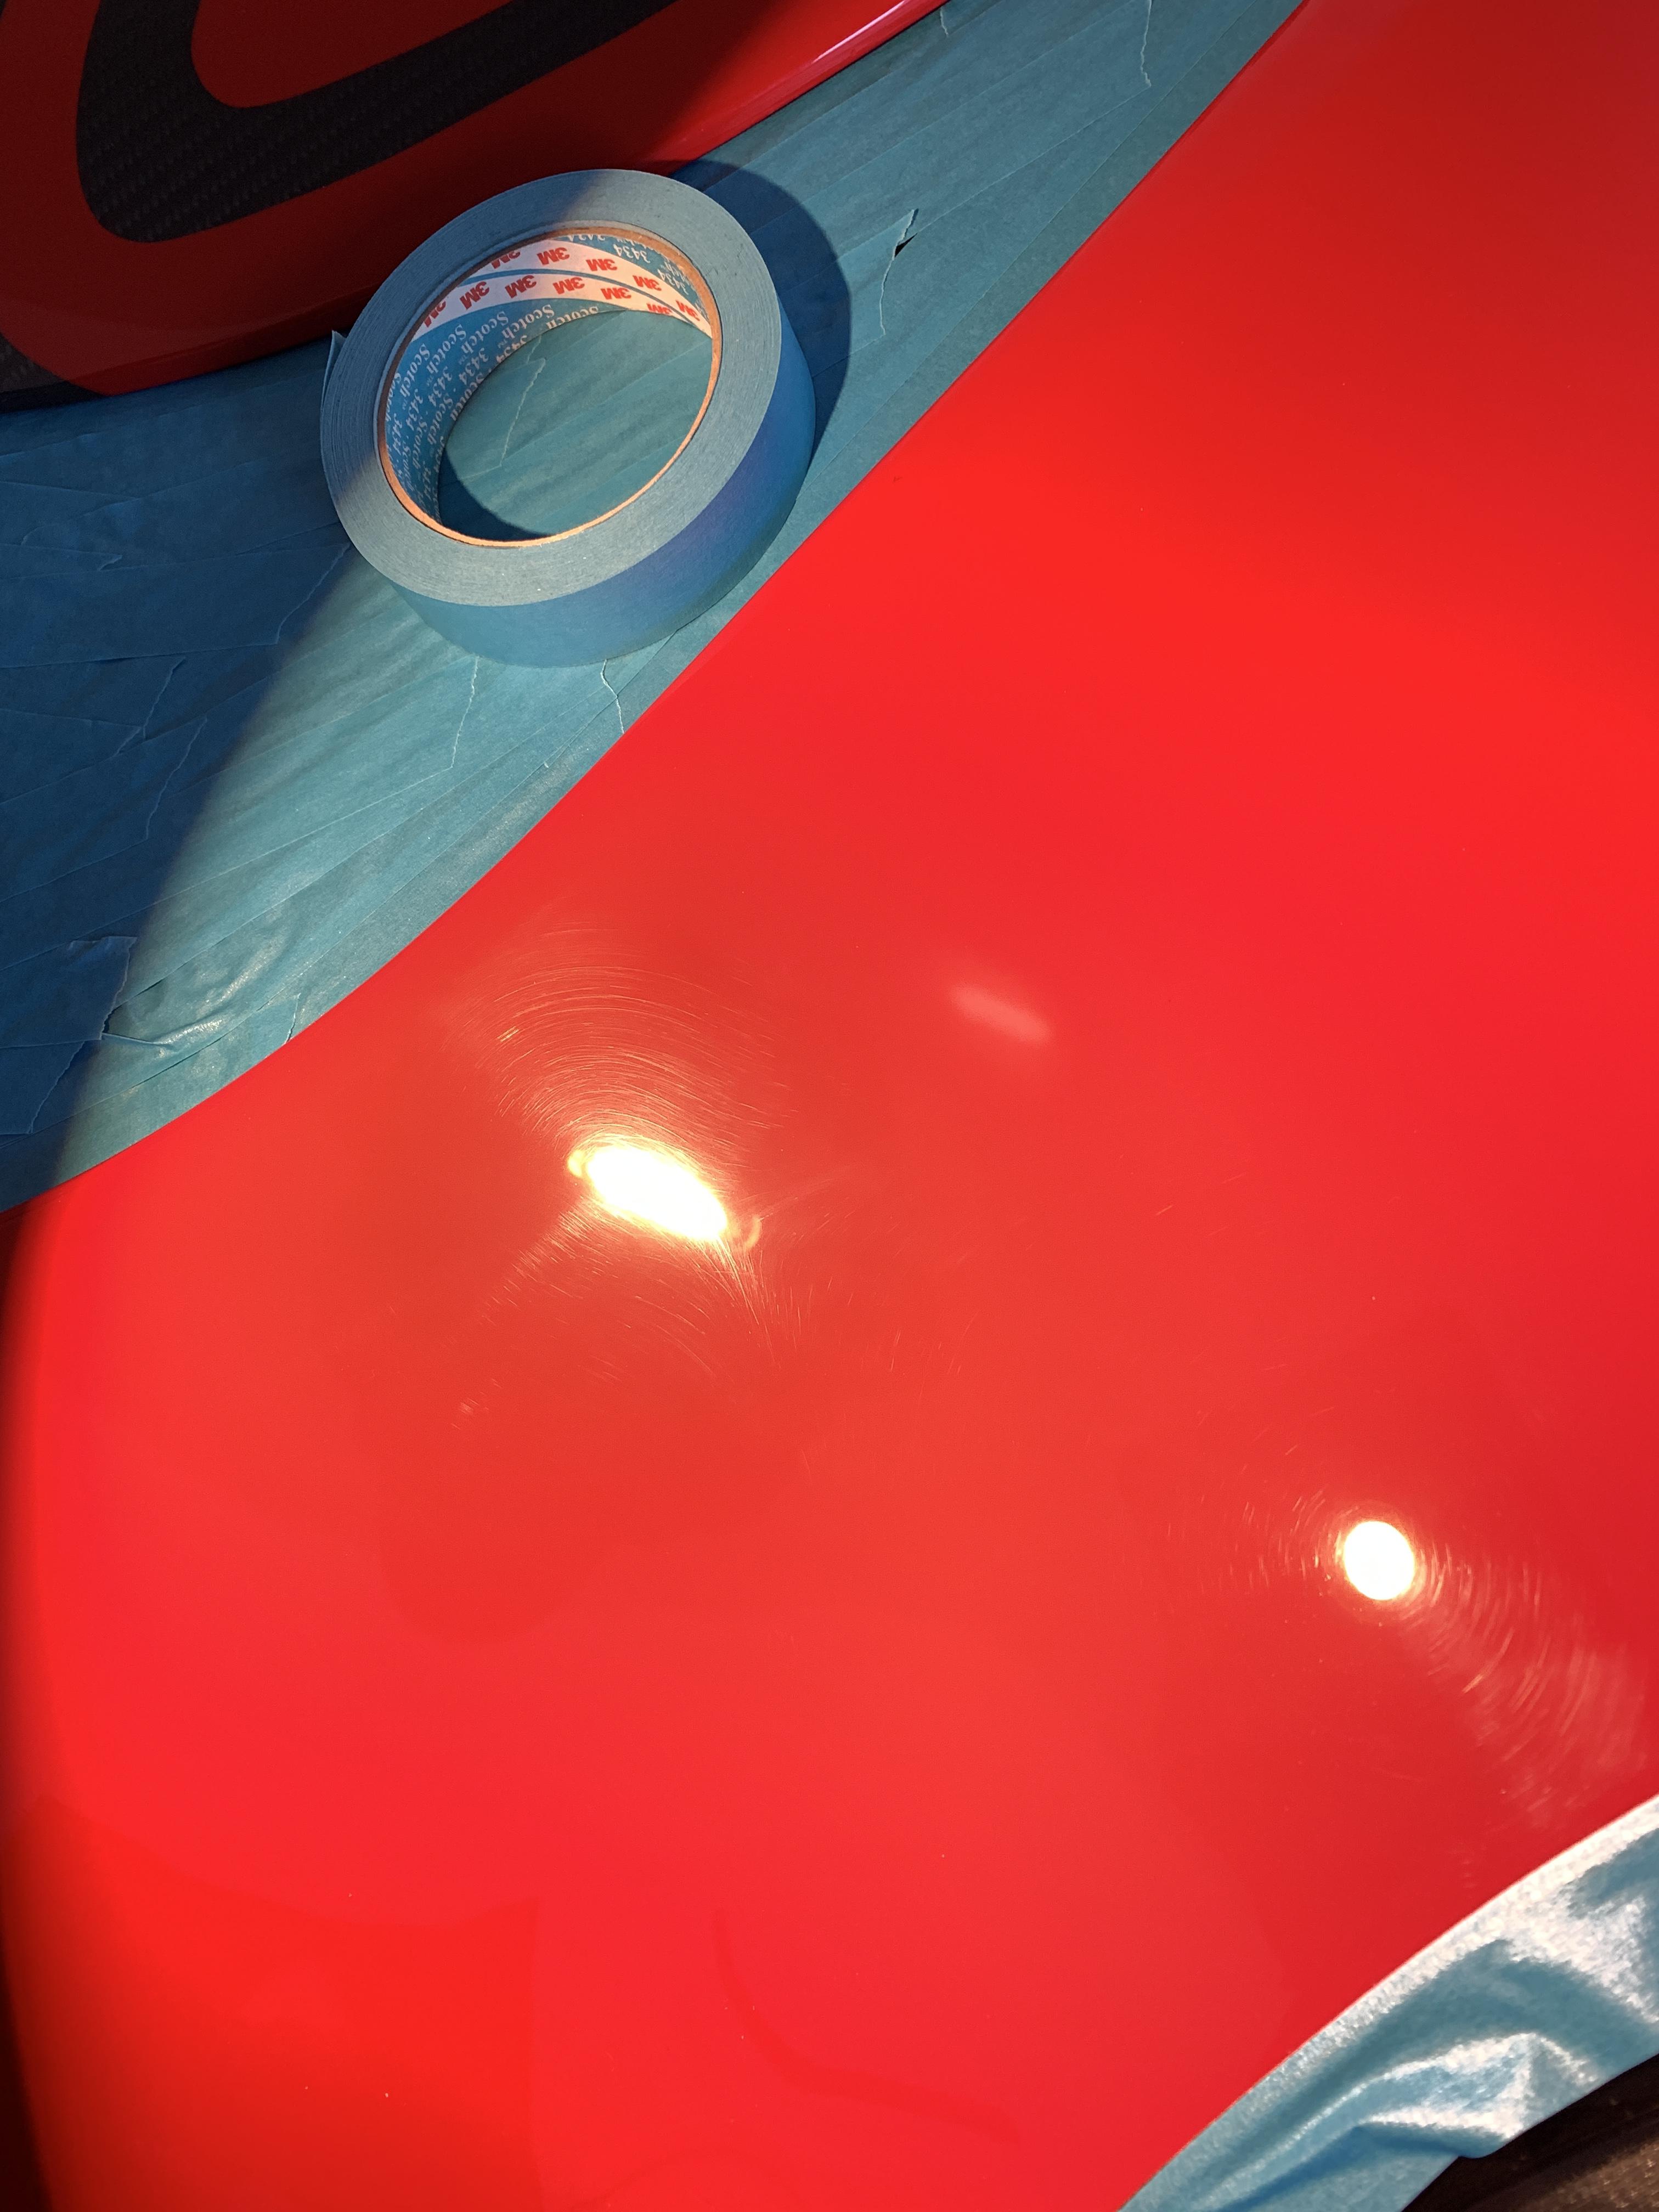
Buffer marks from bodyshop:
Even more on the door:
Splitter removed, I found this was much easier than doing this on a v6 - which had about 20 bolts, weighed a ton and to do on the floor required you to balance it with your head and foot, whilst bolting it in. Another win for the s2

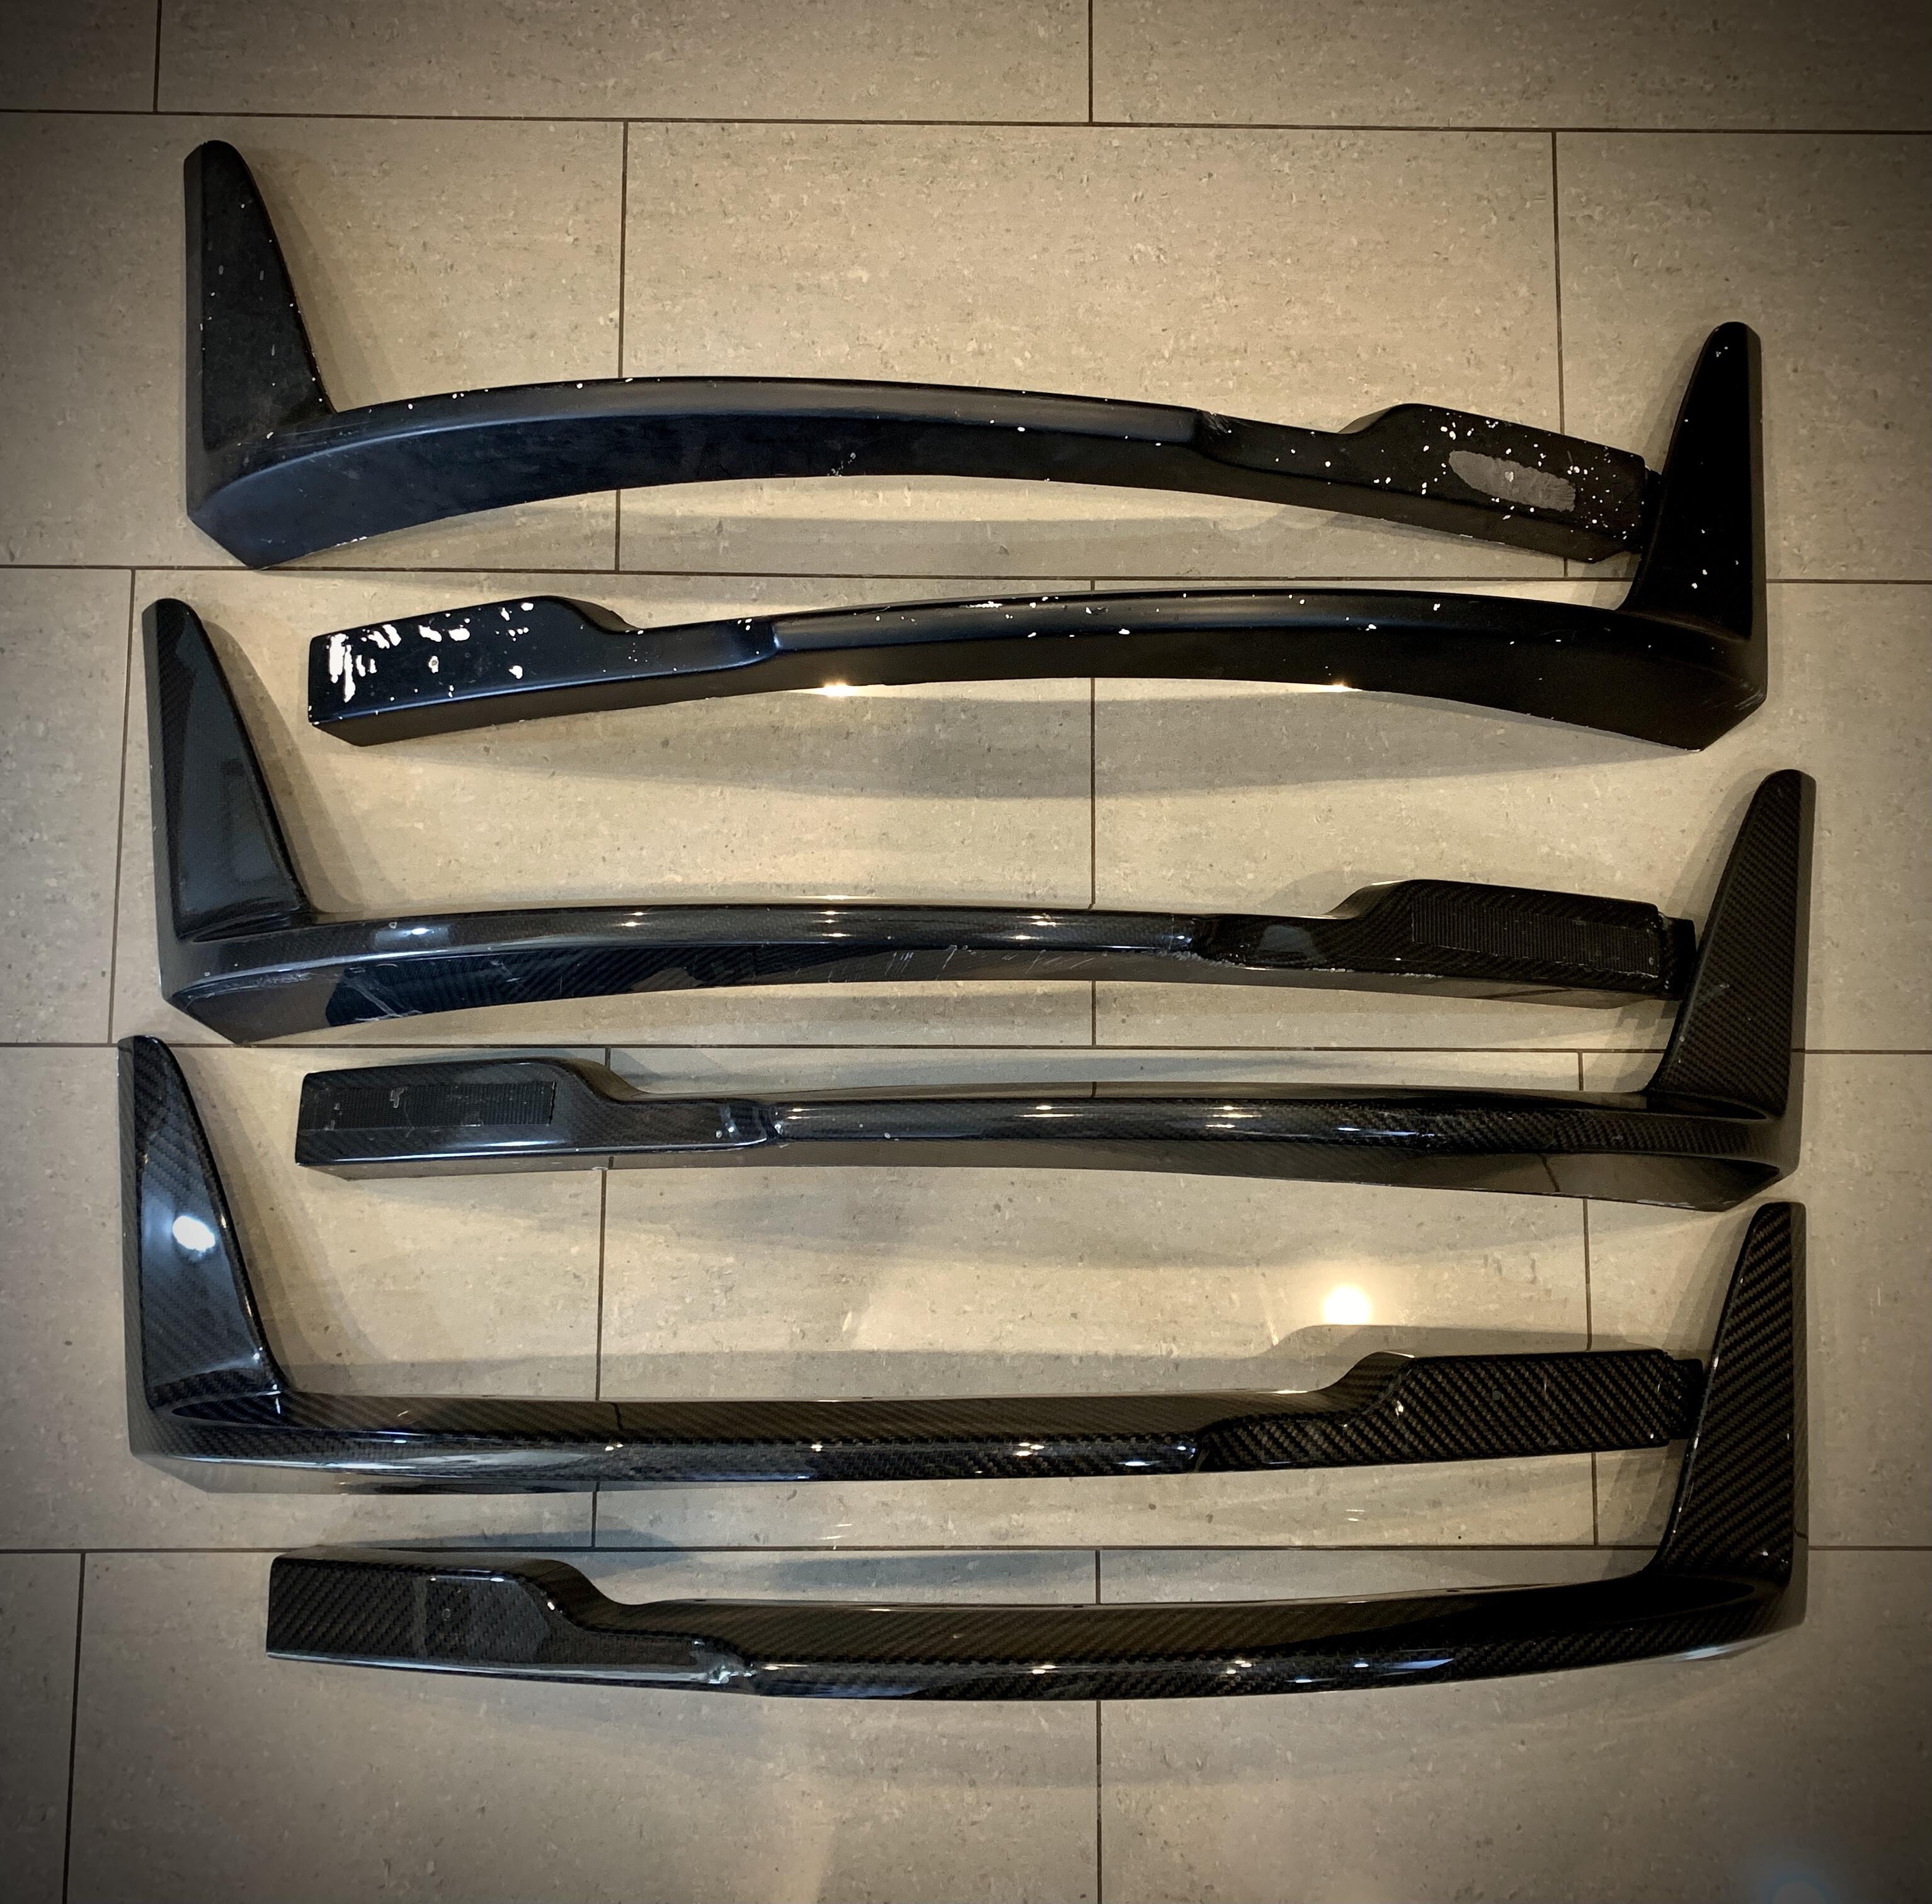
So I now have 3 splitters: manky GRP, slightly wonky carbon, perfect carbon. I may change for track, but its probably easier to not drive into stuff
Actually polishing is the next step, and yes I am well aware the paint it ‘fine’ but I want it better than fine ![]()
Onto the proper paint correction, it was a fairly standard approach
I generally use Rupes pads, I doubt they are the best these days (each year sees a new ‘game changer’), but like most its easier to get a system working for you and to work around that.
This paint was relatively soft, but the scratches where it had been dry wiped at the body shop were done when the paint was very soft - making it quite hard to remove, but also very easy to inflict fine finishing marks - an extremely frustrating combo.
Anyway combos I used on the car were (as people always ask):
Sanding removal:
Rupes Blue microfibre pad, Menz 400 heavy cut
Defect removal:
Rupes Green Foam Pad, Menz 2500 polish
Swirl removal:
Rupes yellow pad, Menz 2500 polish
Refinement:
Rupes yellow pad, Menz 3800 polish
I’d always try to go lightest first, but if there we a panel (like the door) that I needed to fix lacquer issues I need to go through 2 or 3 passes of each step
I also use 3ich pads on an LHR75E, I’d prefer to use the long throw LHR21Mk3 as its has a 21mm throw, but its pointless on the exige, the panels are just too small!
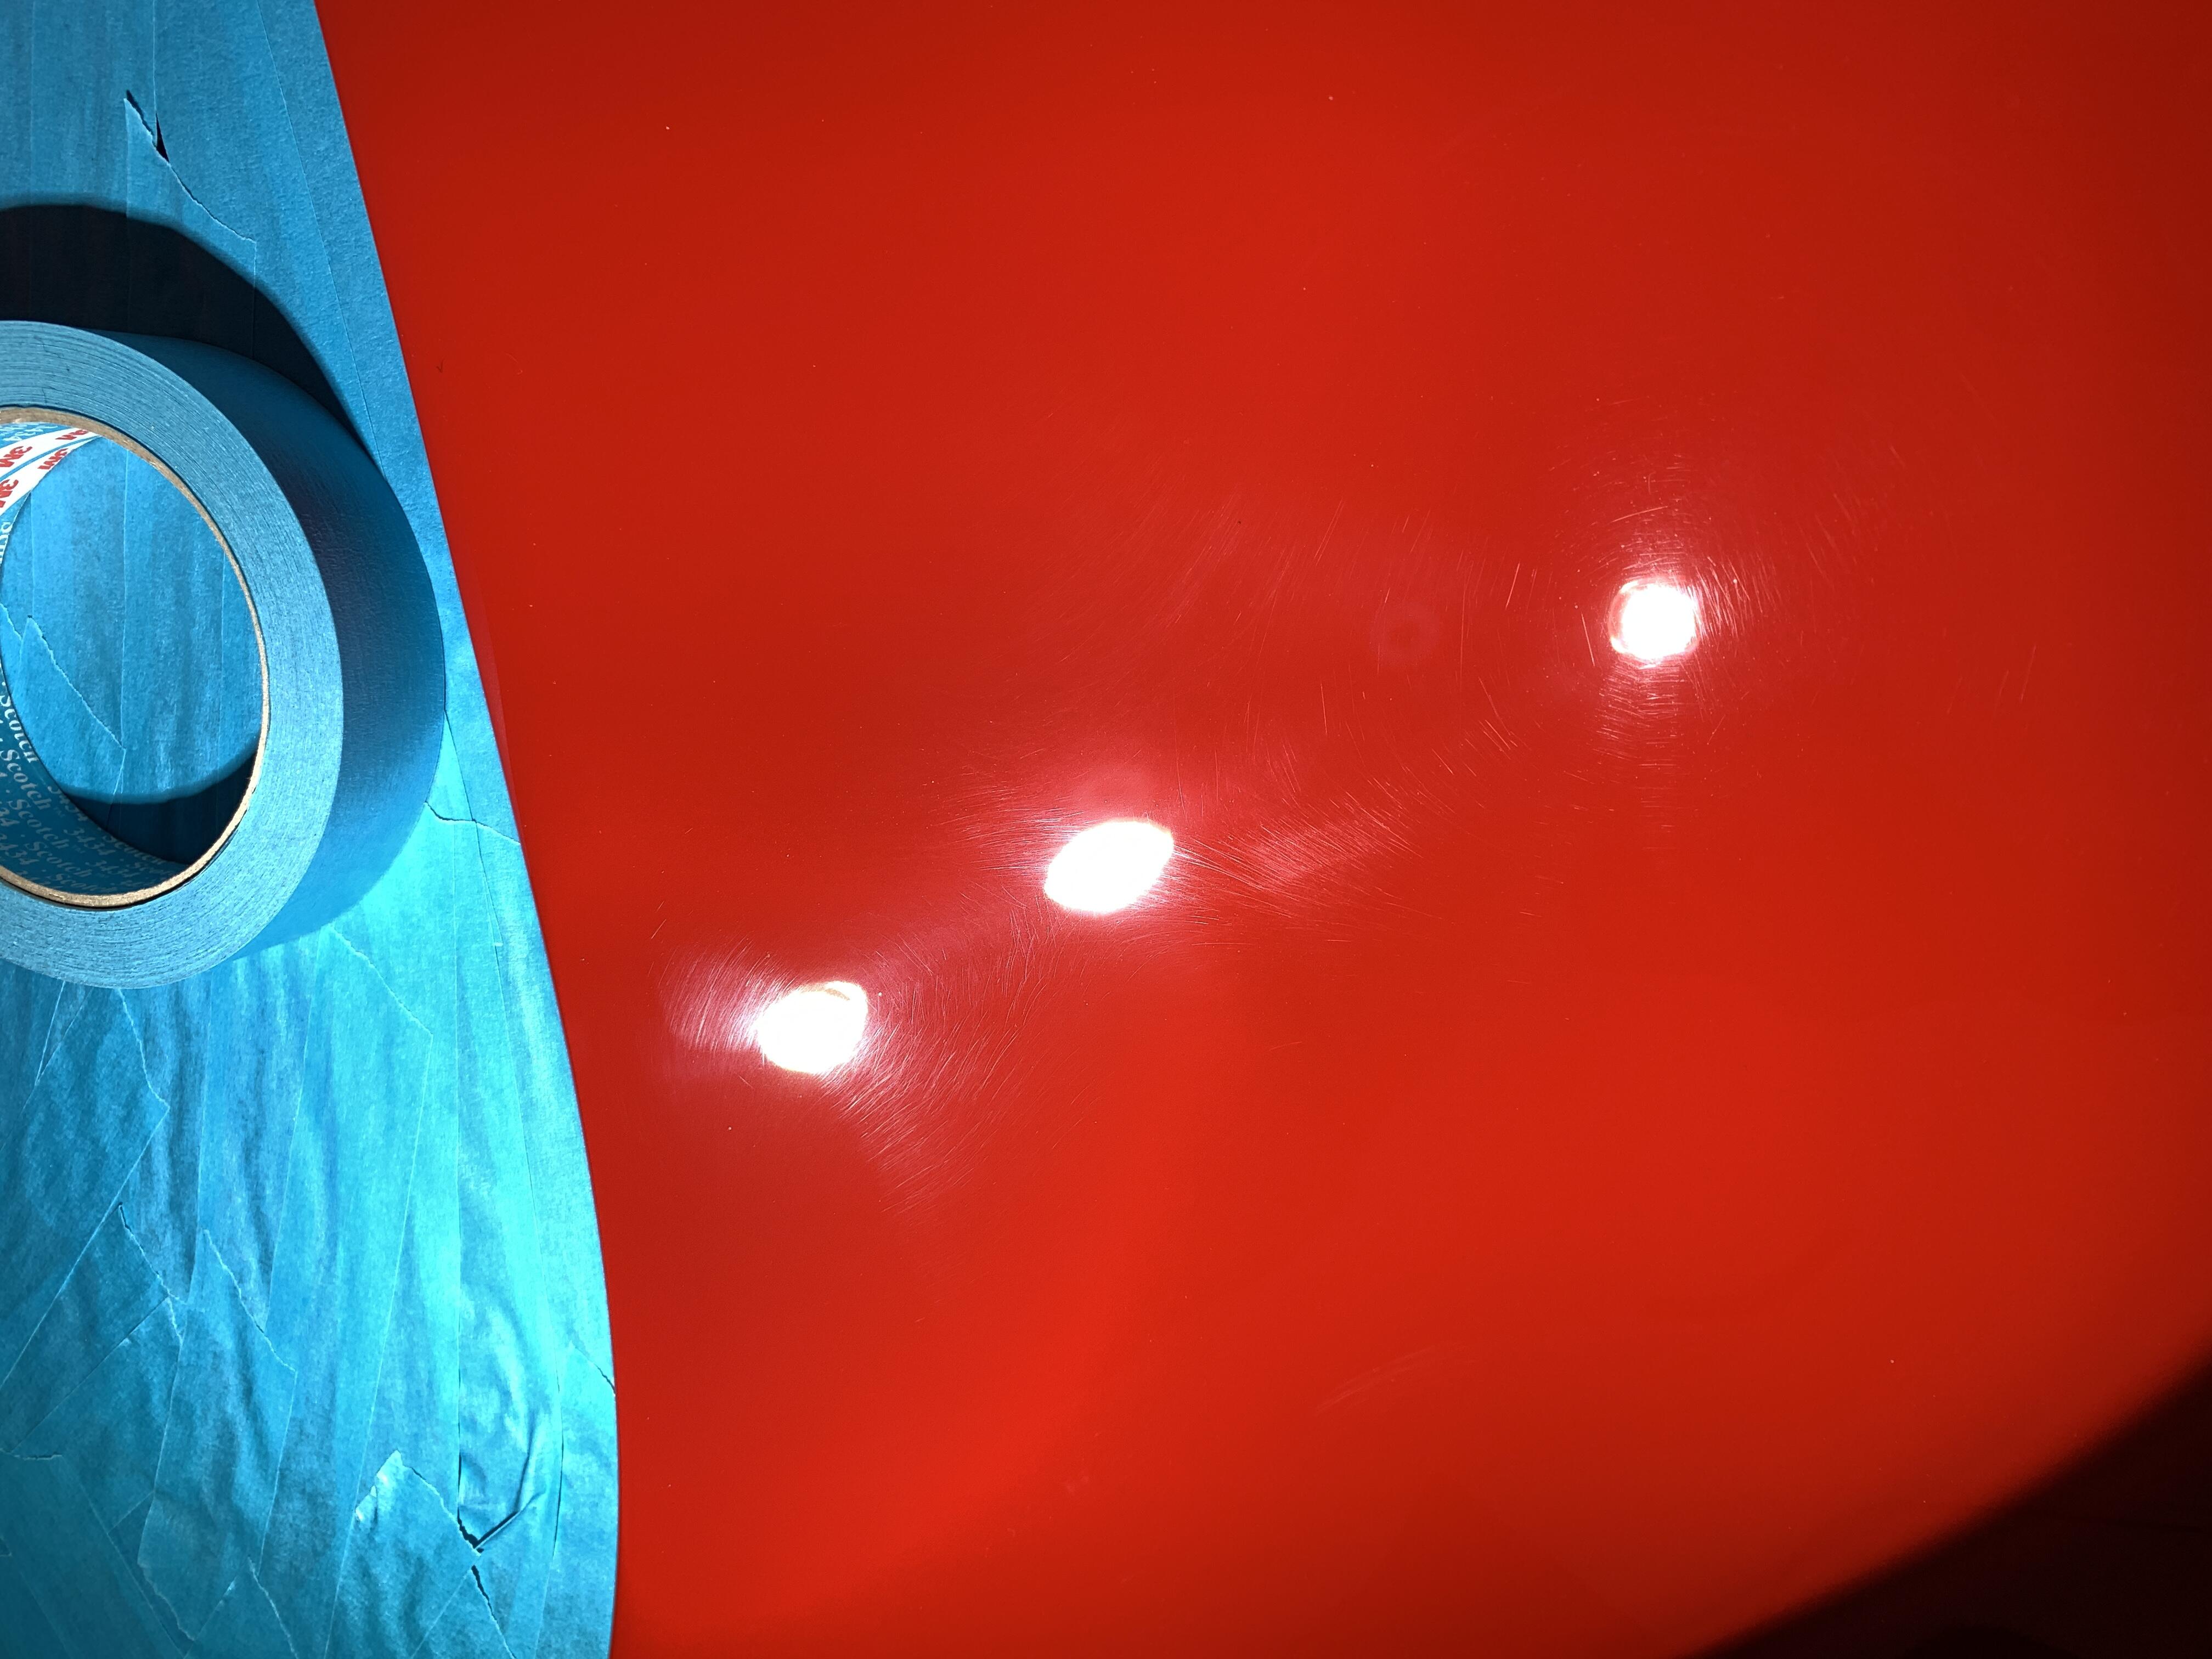
Anyway, heres an example panel (pass side wing), during refinement, starting with swirly, going to refined:
I then spent many many hours going through multiple stages on every panel
Here is single stage done on the roof and rear clam and front refined - you can see the overall definition difference on the door which hasn’t been done
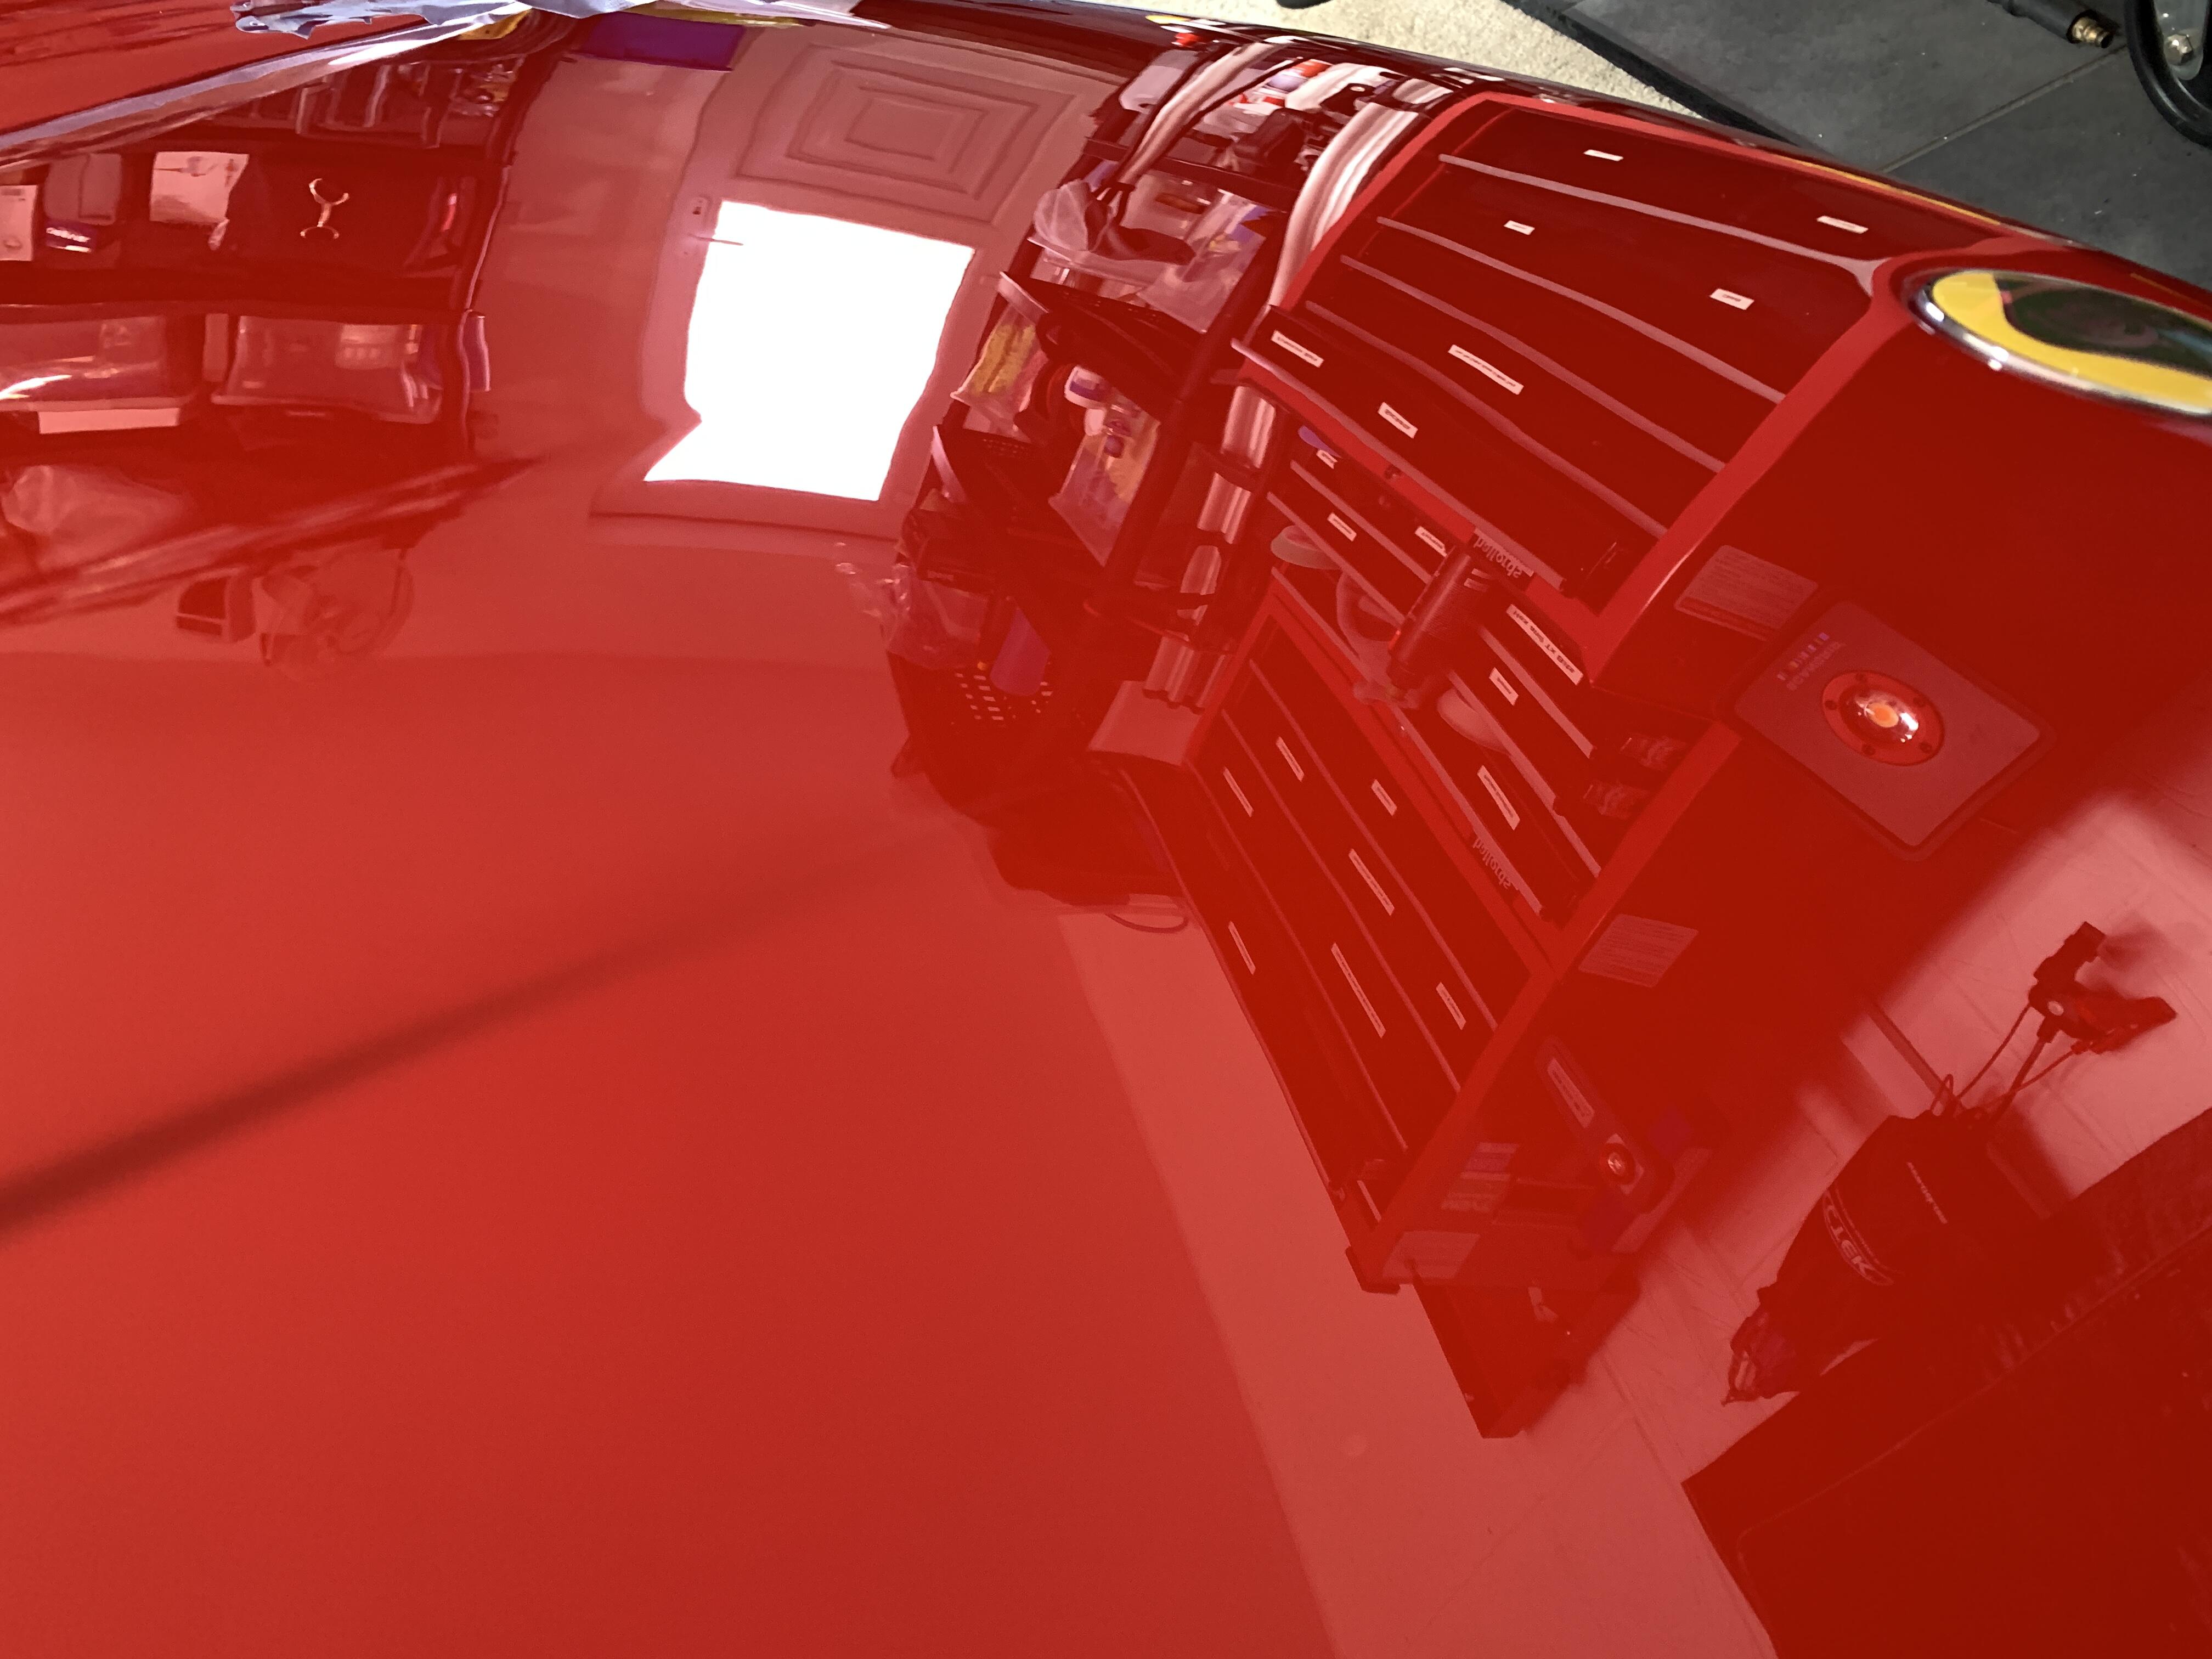
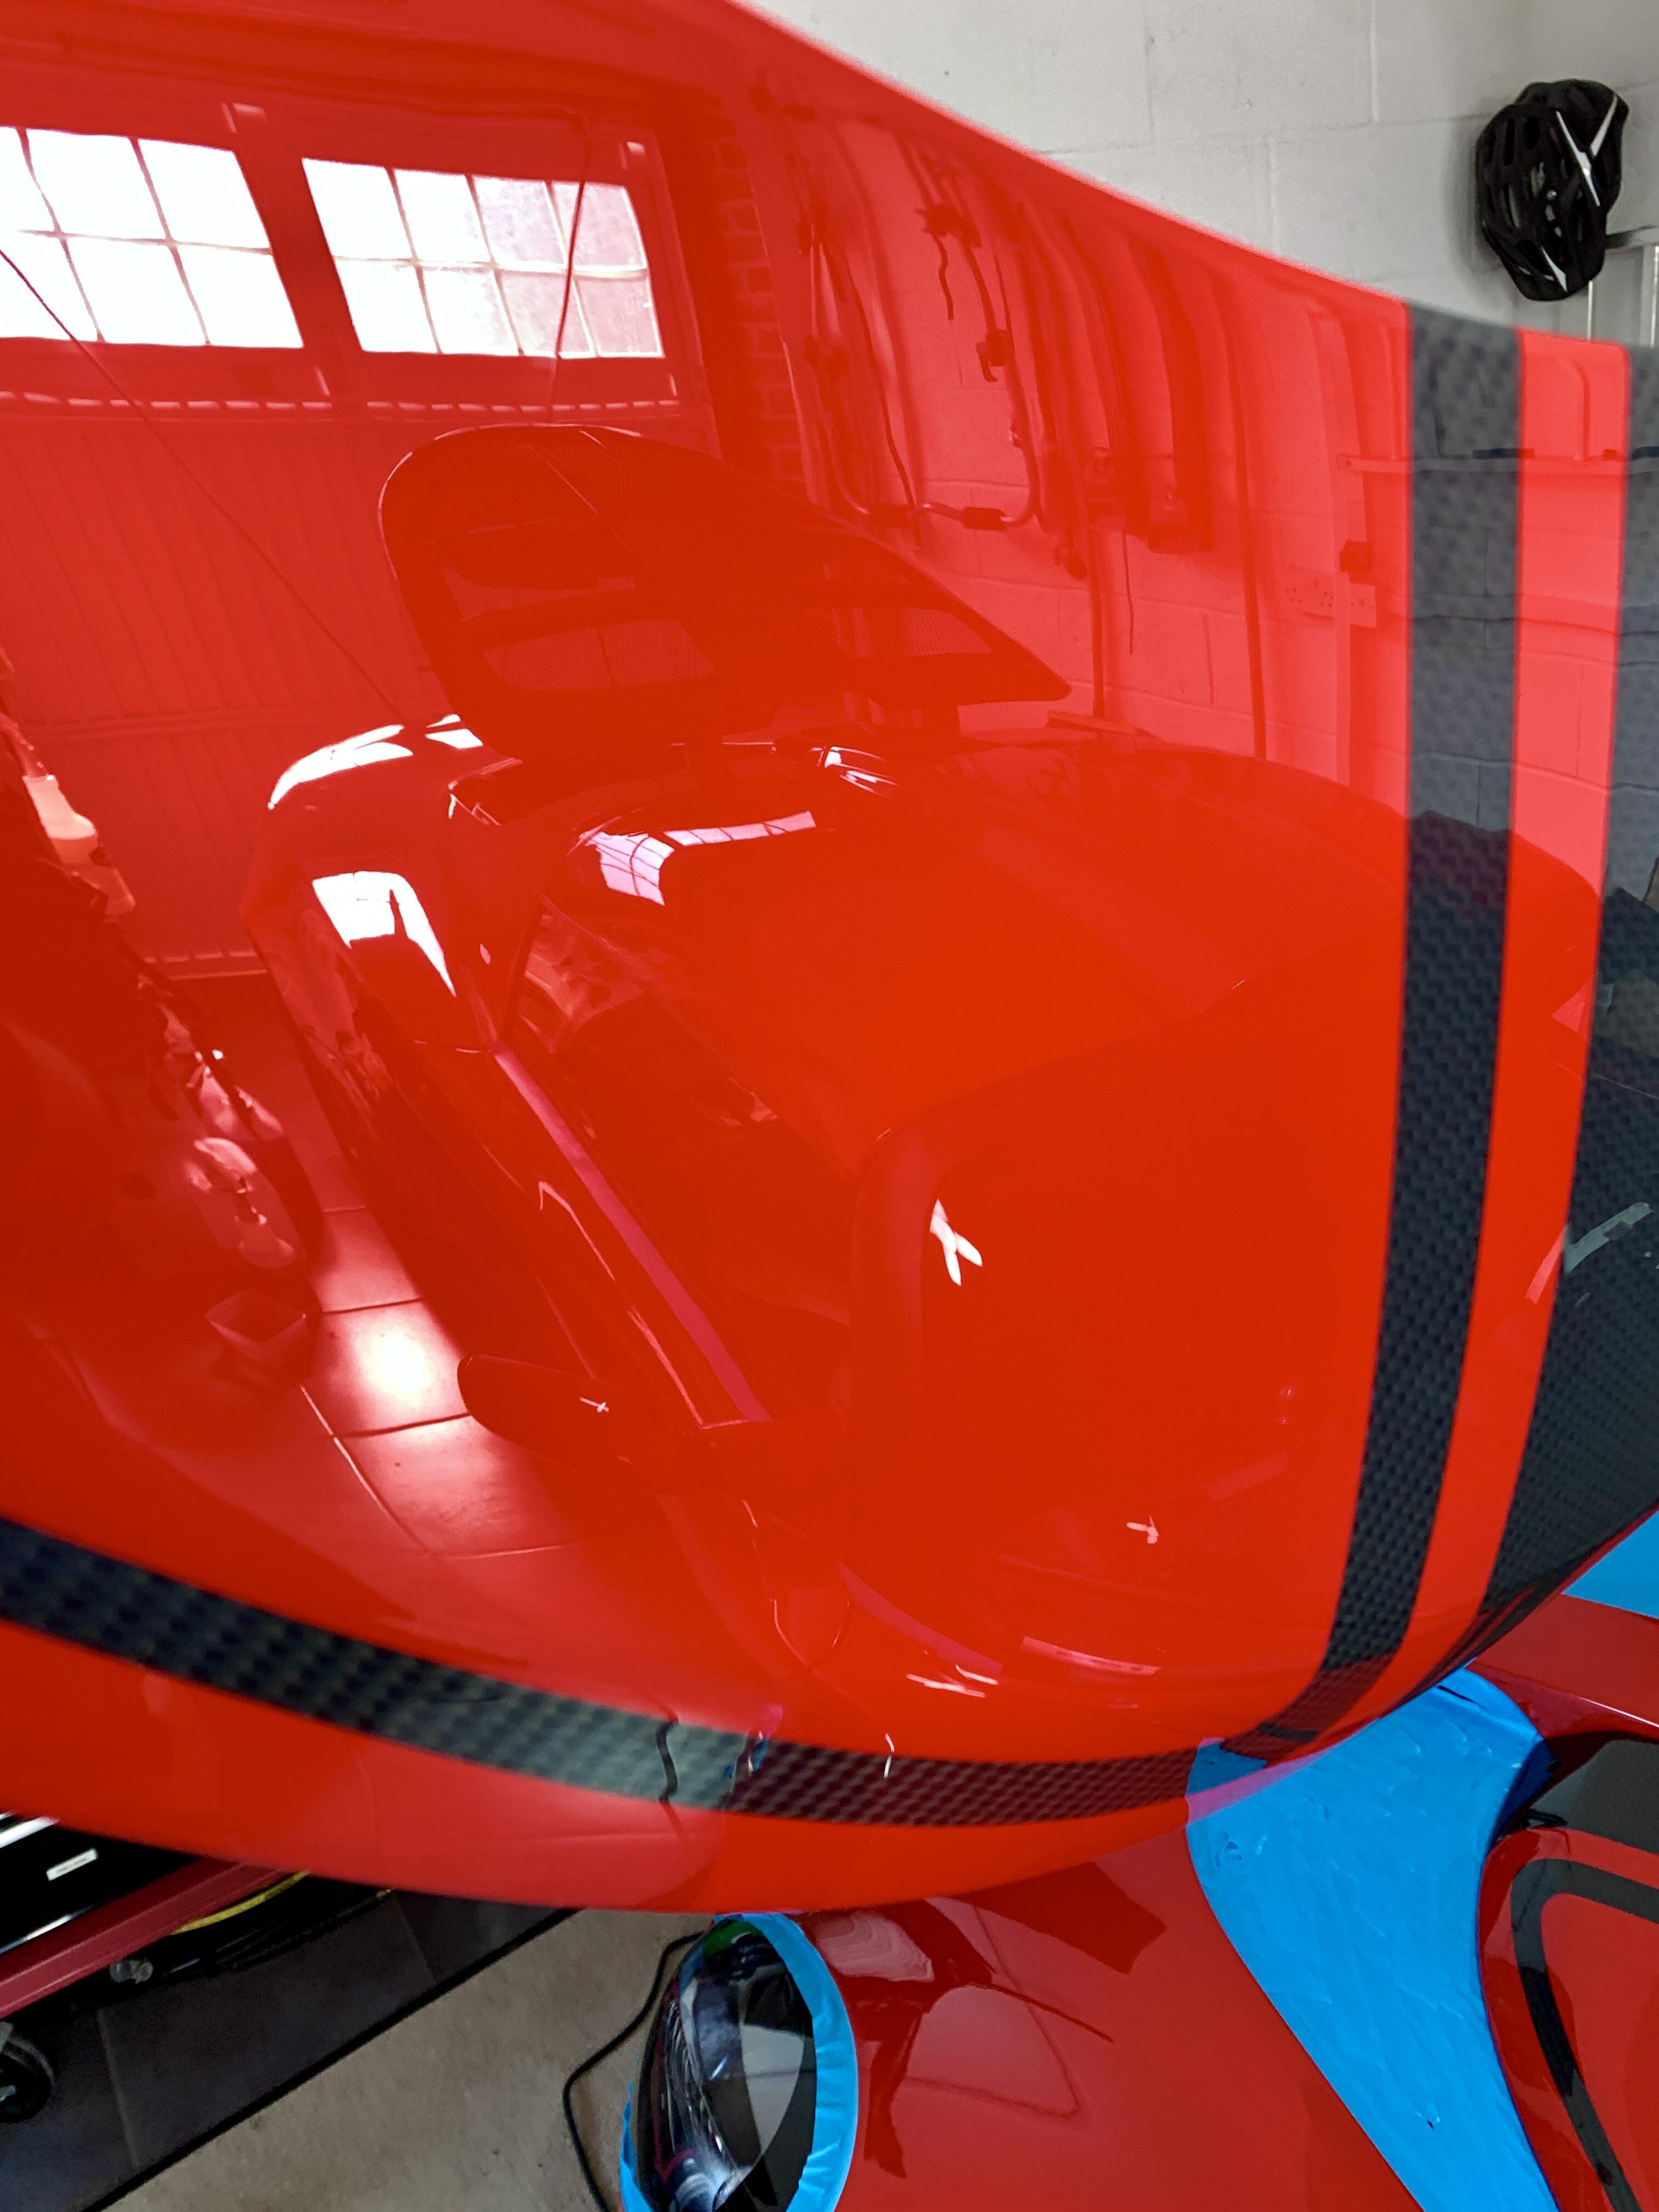
Here are some shots post correction
Front wing now like this:

Rear clam:
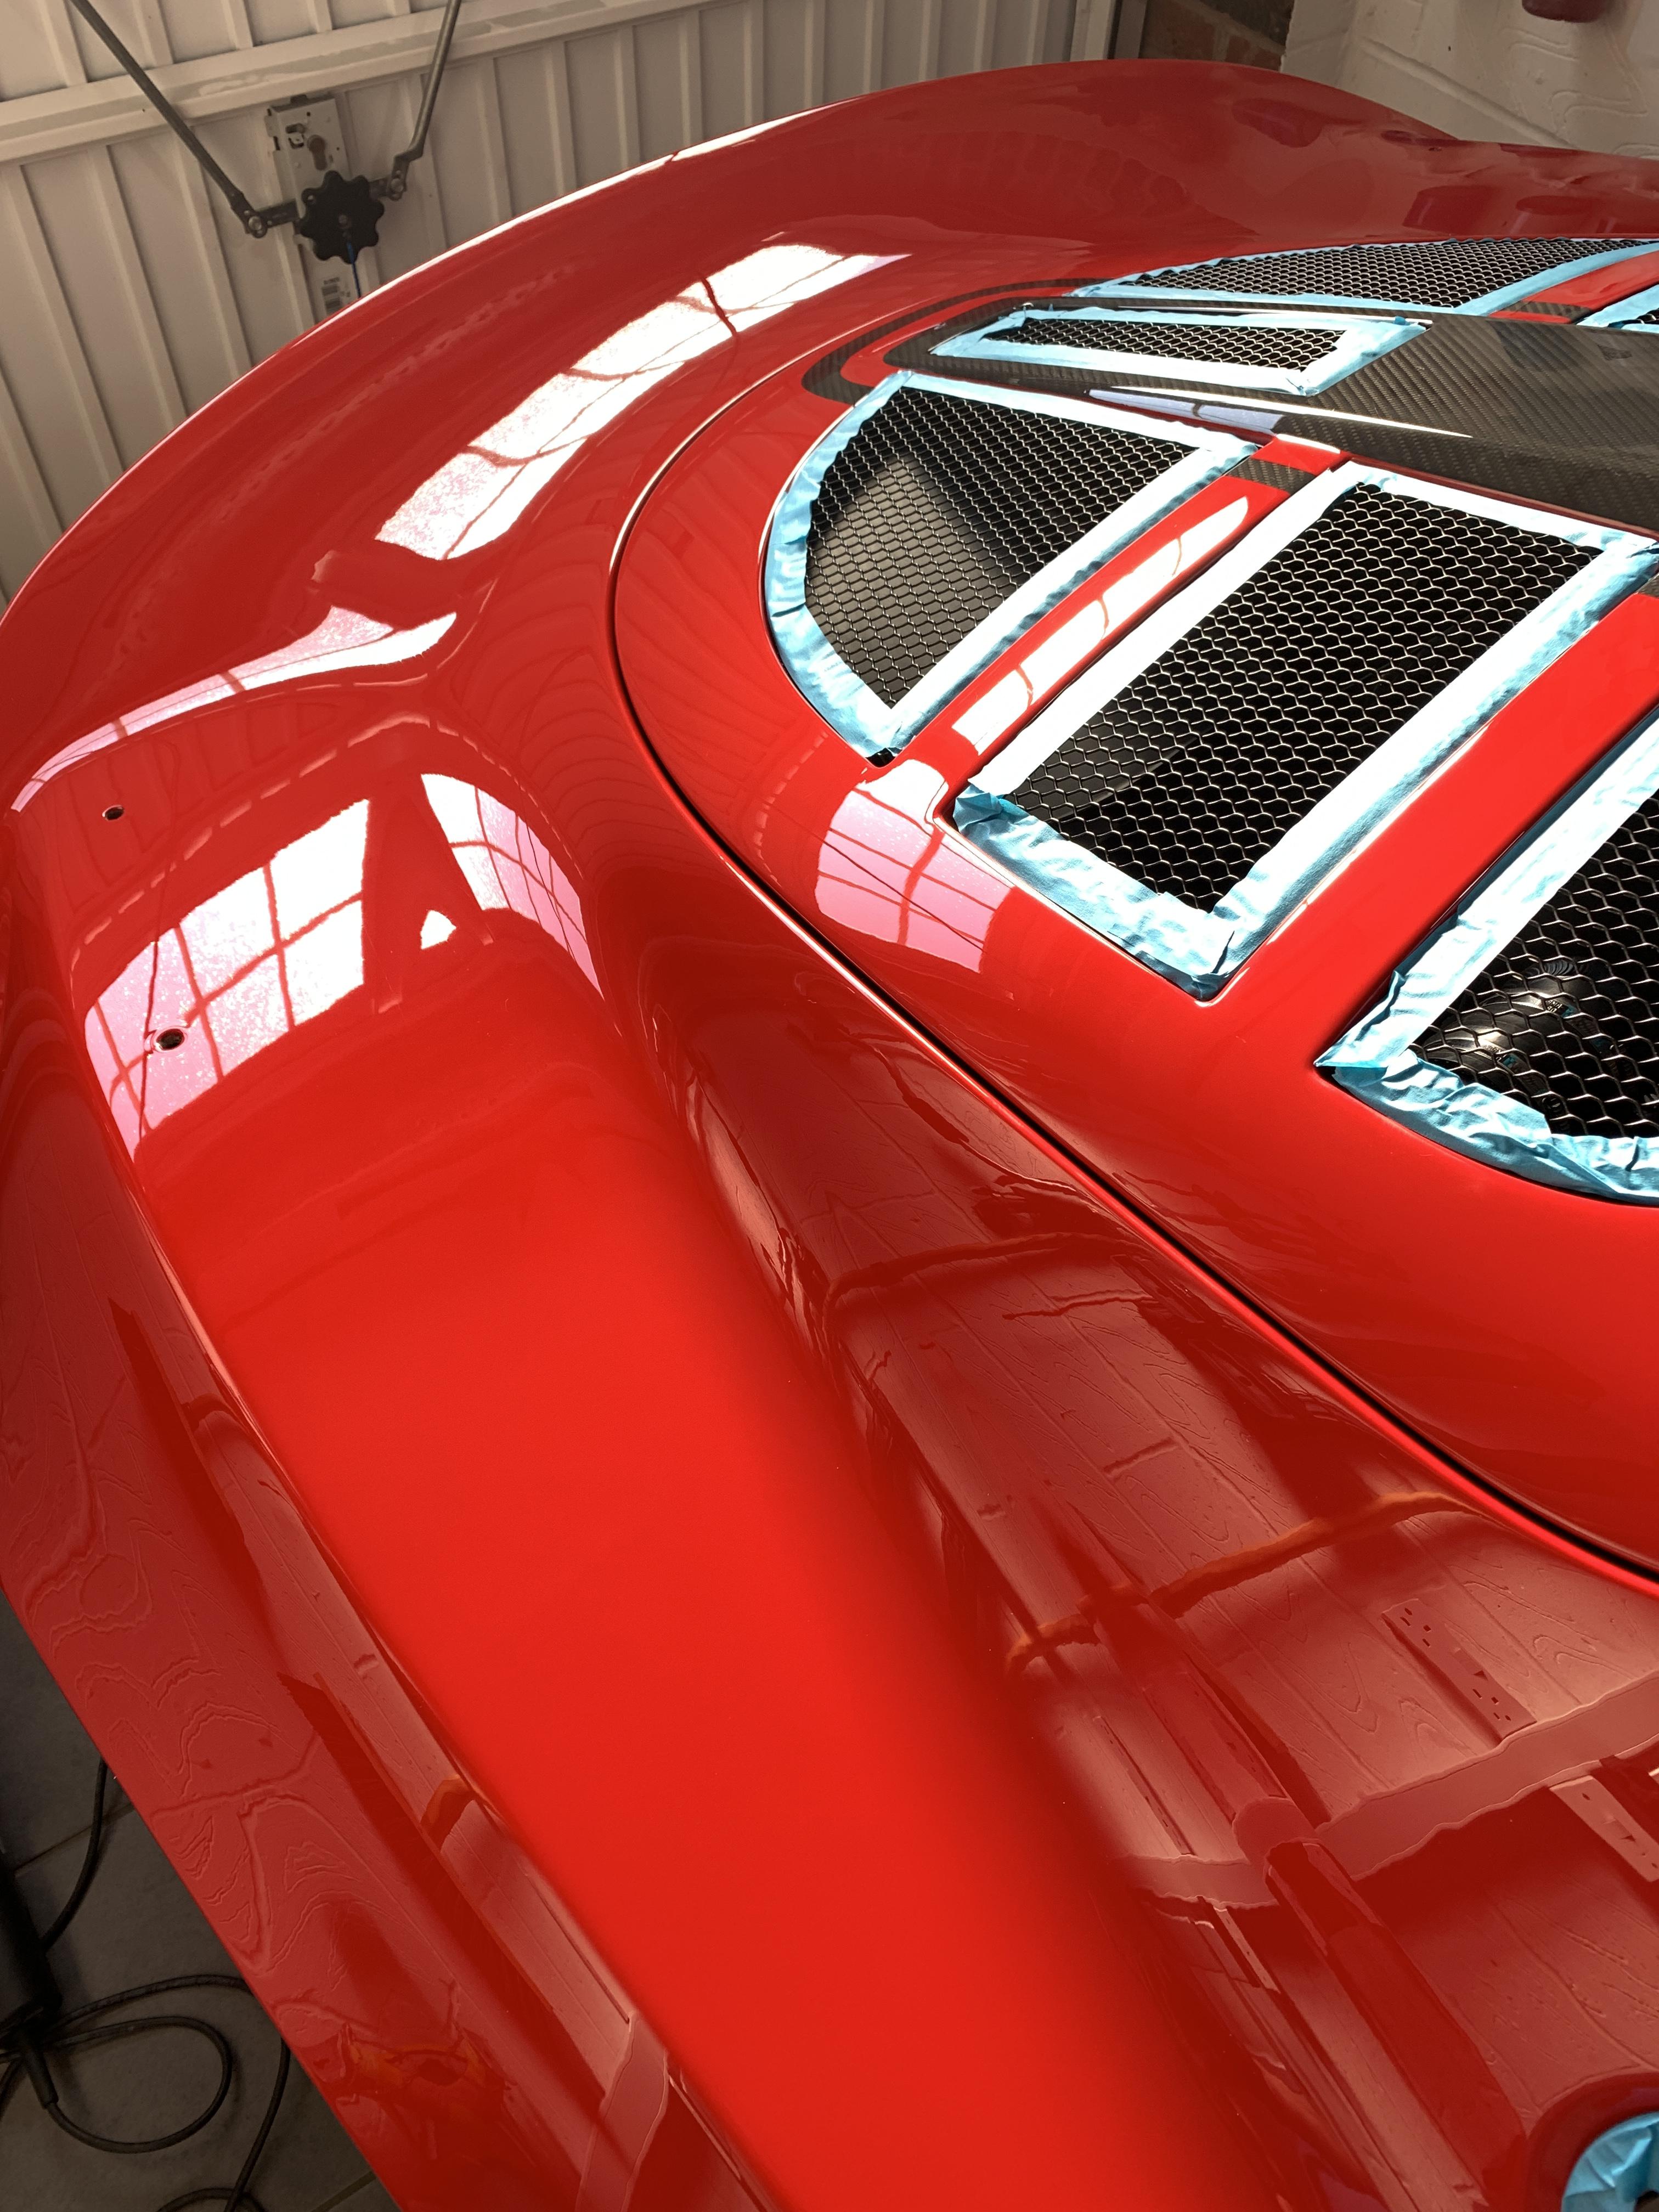
Front Clam:
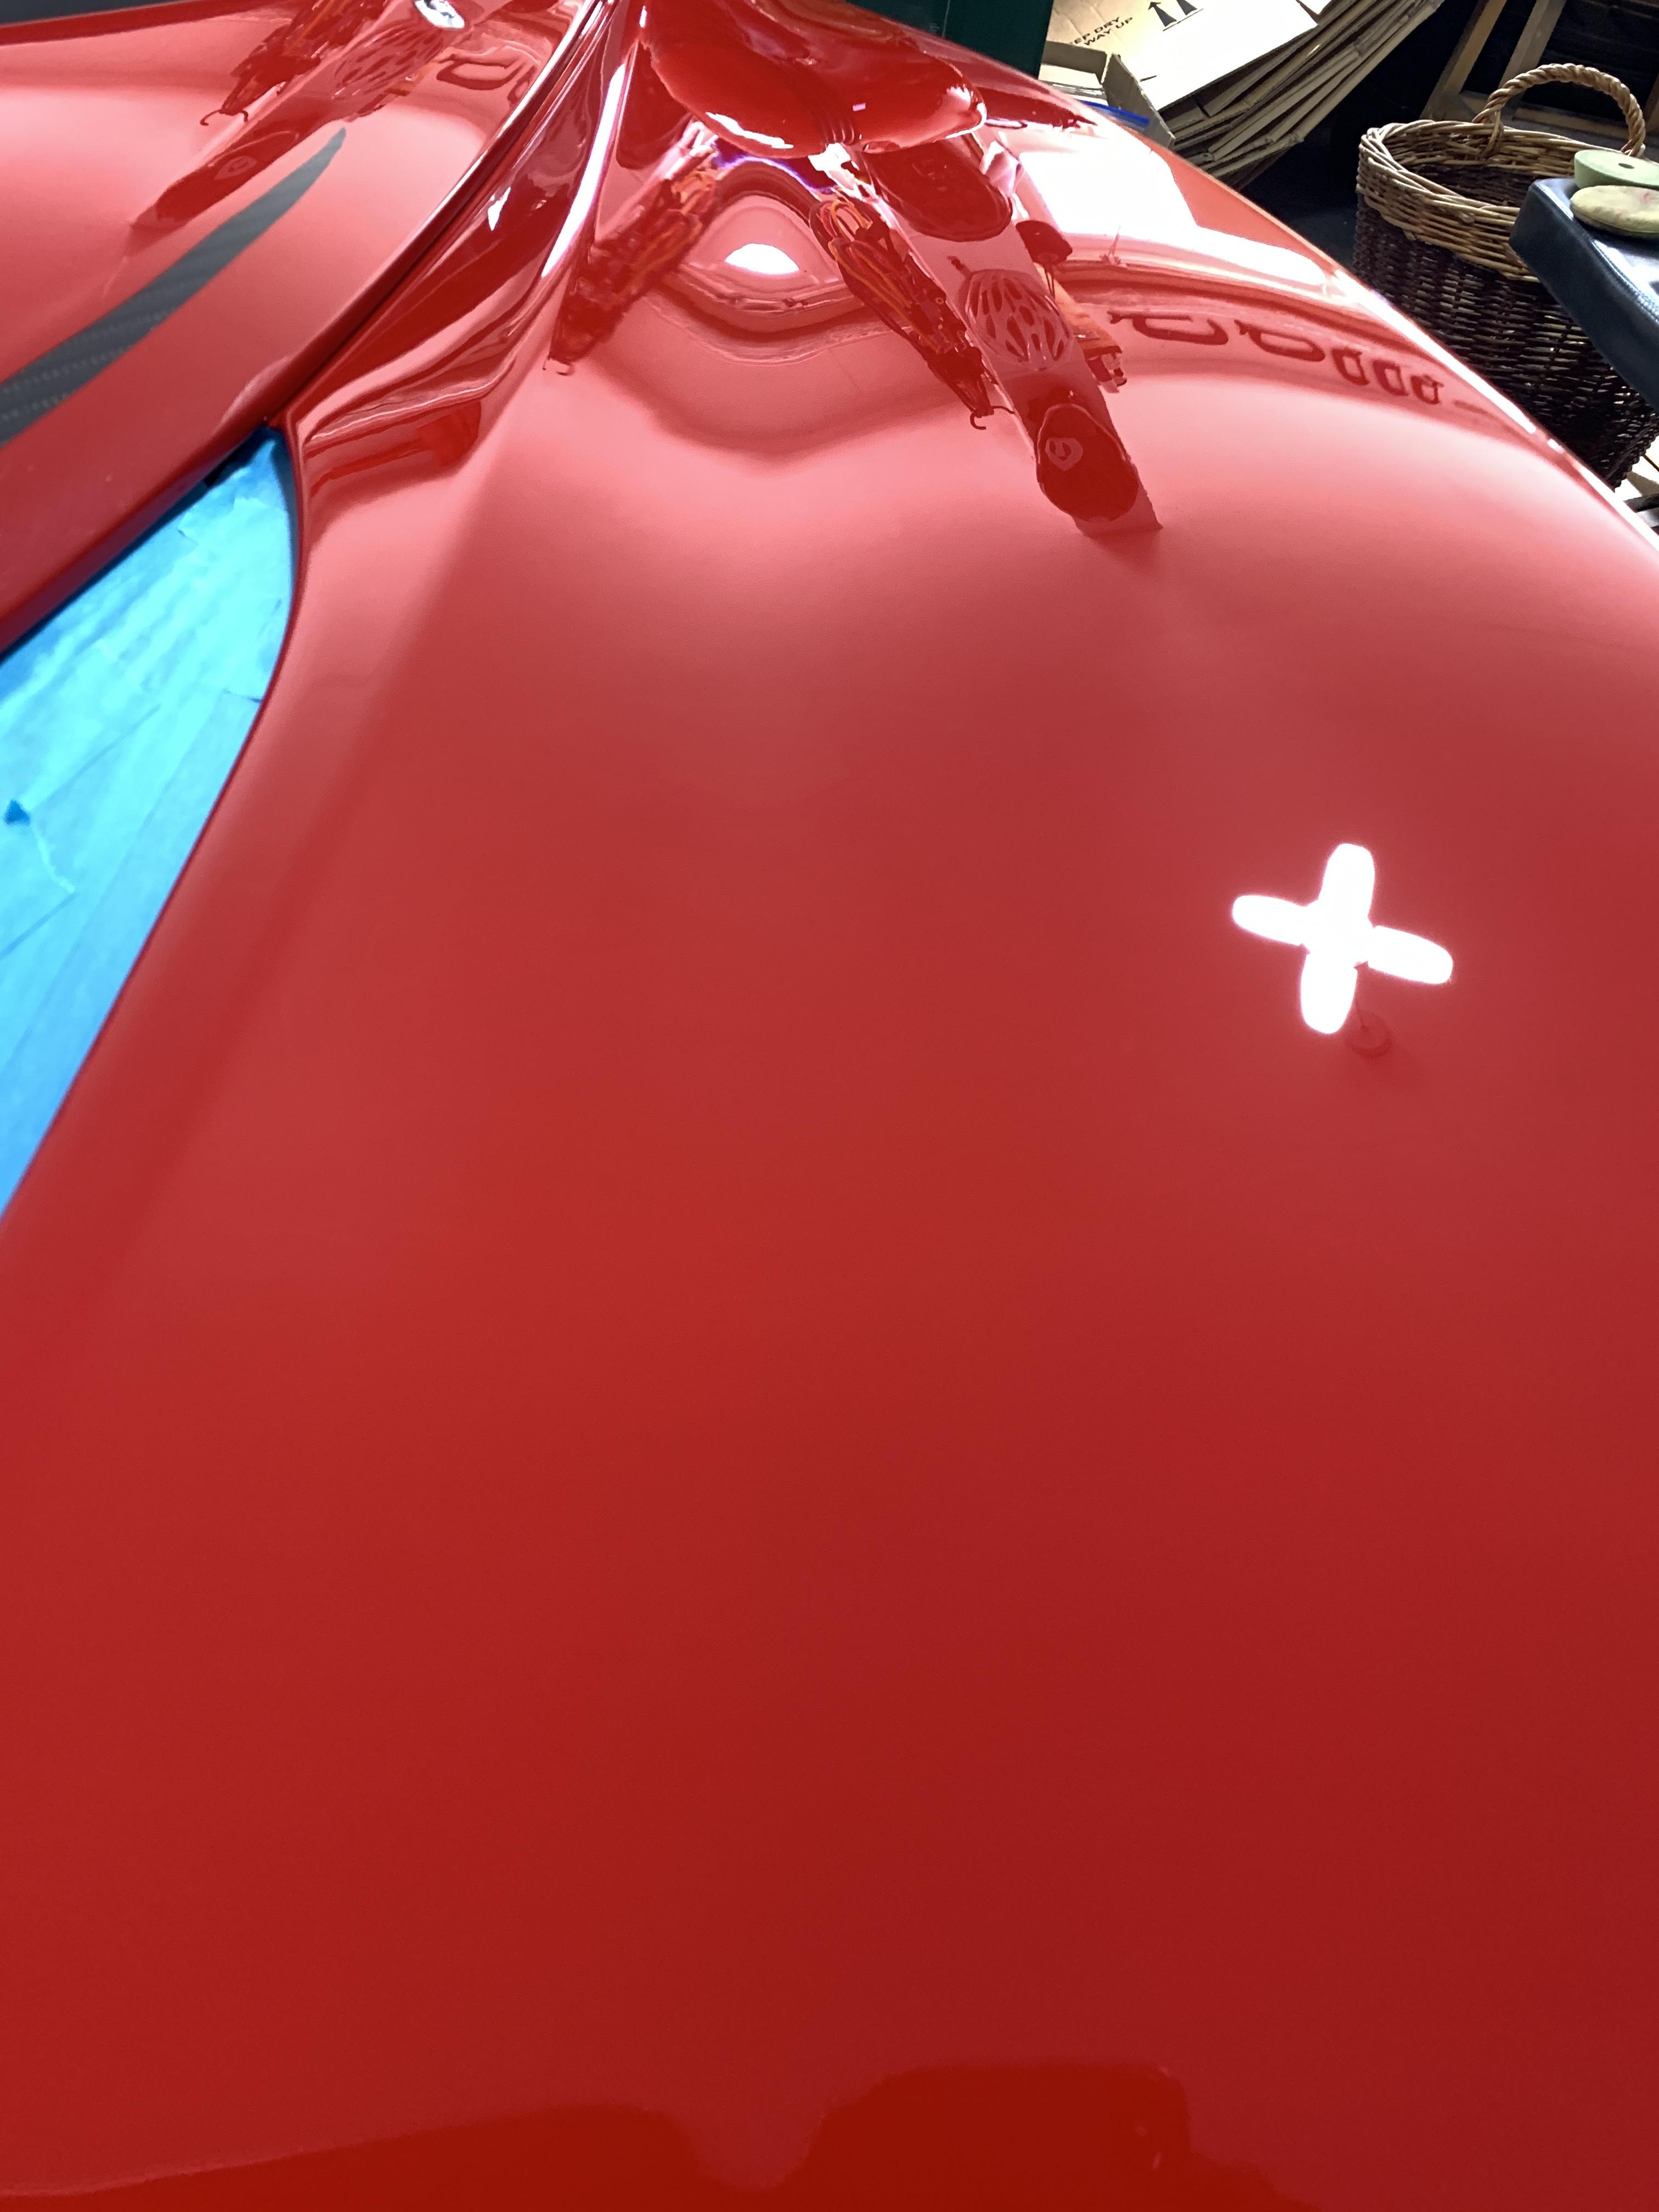
Reflection shot from front clam (all unedited and straight out of phone)
Beauty of removable panels is you can take them off and reflect the car on itself
Now paint was done I could start adding these stickers TitaniumDan (https://divinehandcraft.co.uk) made me (which were perfect and would recommend Dan for all your sticker needs, if all suppliers worked to his standard the world would be a better place ):

Wing stickers on
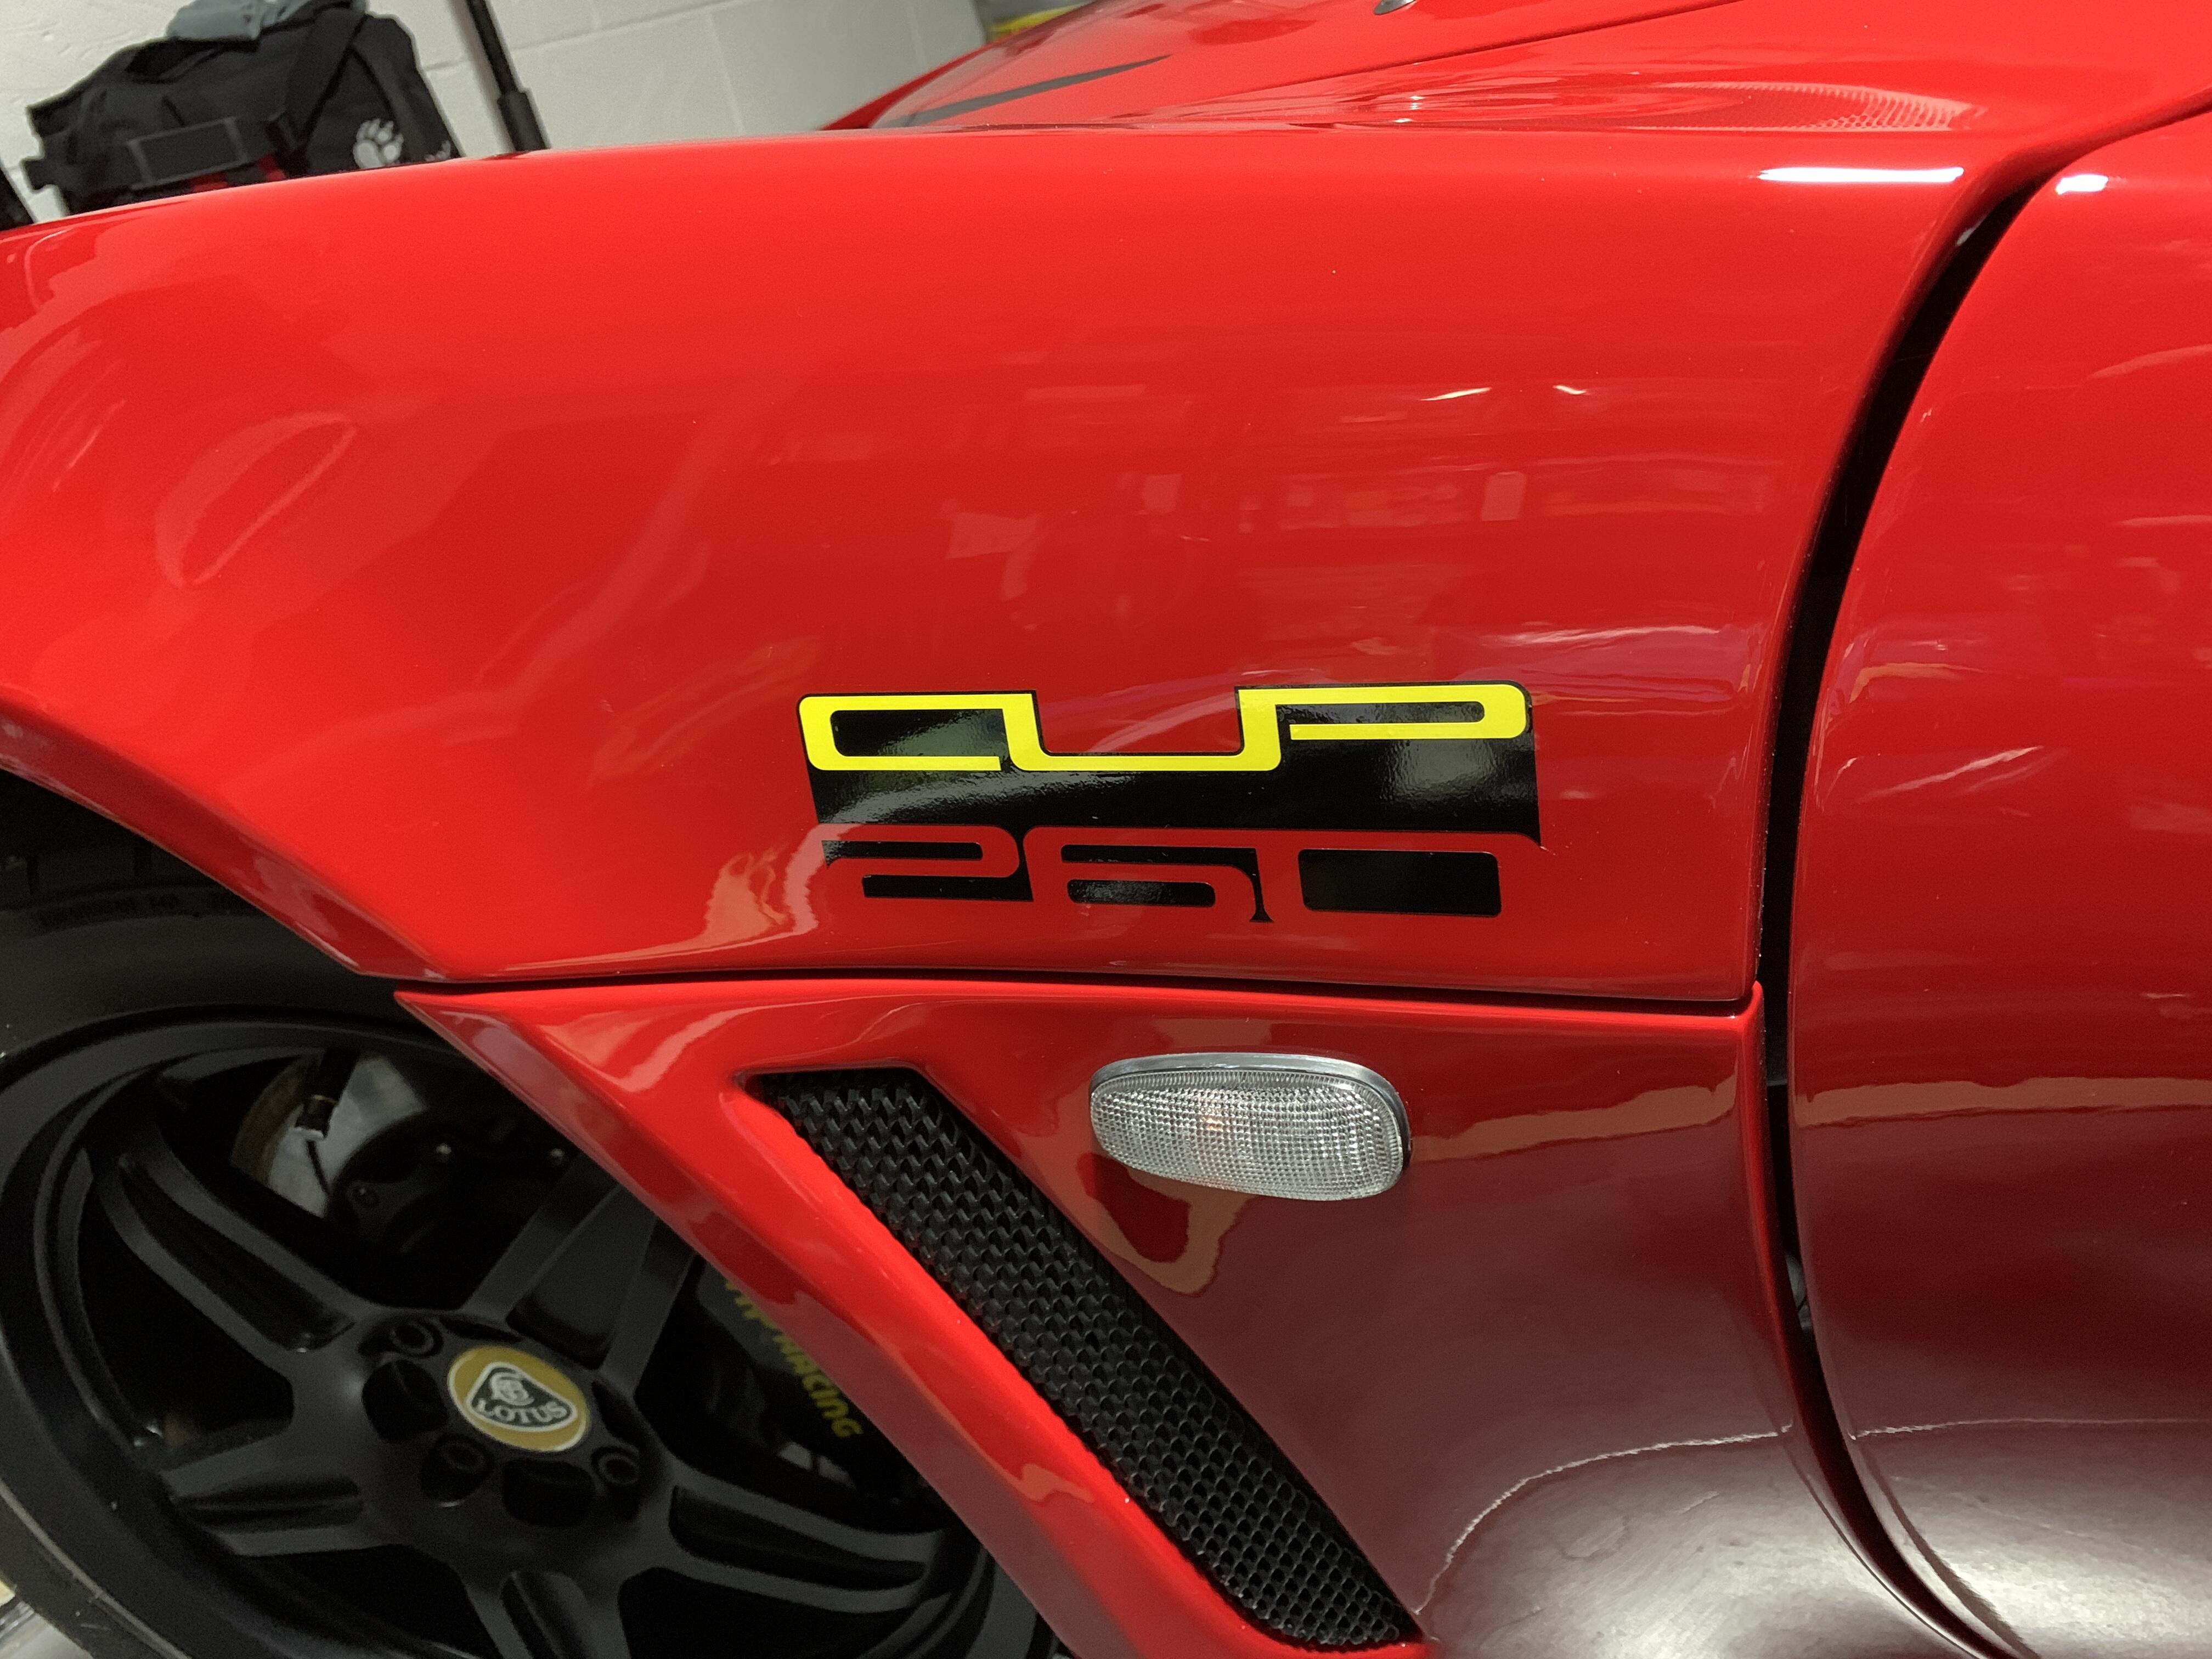
All done at about midnight before dropping off to do the PPF, splitter, wing and pods all back on.
I lost an hour at this point when I couldn’t find my number plates, it turns out they were under the carpet pads on the floor
Looking very nice ![]()