Exige Cup 260 - Restoration and Updates

As all the carpets were replaced, most of the interior retrimmed etc there wasn’t much to clean, but the seats needed doing. 10 years of farts are never a good thing to have in your seats

With my seats I can just rip the cushions out as they are velcroed in

Wet and drying drivers seat only produced this concentrated ass juice

I repeated until it ran clear, then did the same for passenger seat

Then all carpets were removed, interior as well as boot and treated

Using Gtecnhniq smart fabric

If doing this, spray onto sheeting or a box, as if you get it onto hard floors, you basically create the slipperiest floor known to man. Your wife then falls over, spills her wine and your evening is ruined

I also got some custom made floor mats, as I needed long passenger after removing the footrest plus I wanted the logo

Now testing all the cabling properly (continuity testing etc was done but best to trial fit kit), before interior starts to get refitted. Waiting on new harnesses and some retrimming of the hard bits I outsourced, but those bits are with a COVID hit trimmer who has been hit hardso my material and trim are stuck at his for the time being!

I shall try this product on our kitchen floor and video the results.

Interior looks fantastic. Please don’t ever park near my car.

Seriously the slipperiness on a hard floor is ridiculous , the cats running round the corner lost the backend and spun out. If it wasn’t for them breaking the tension I would have been sleeping in the car I think

Very informative (and entertaining) :clap:

Yet more dull as wiring - progress is still slow and taking place in the wee small hours, so I’m just trying to nibble away at it…

Test fit of the dab stereo went badly, not a single station found on FM or DAB, very very frustrating. Refiting old stereo to prove I had a faulty unit and that worked fine on FM - FML!!

Until I unplugged the arial on the old head unit and it carried on, it appeared to make no different to radio reception if the arial was unplugged or not… So it was broken somewhere.

Thankfully I found the break at this connector under the front access panel - replaced that and all was well again

Created an extension harness enabling me to switch off the sub and rear view camera

Under dash wiring now tidied up trying to make sure of no rubbing or annoying rattles

One thing I noticed when testing the AIM dash is that the logic of lights on buzzer doesn’t make sense, if you have the key in light on and open the door, you get a ping. If you take the key out you don’t. They may fix it in firmware, but they might not so I thought I should fix myself, but I needed to make it bypassable as I still can’t work out if I should out the AiM dash in or not!

Lights on pinger bought:

Then wired in with two bypass switches - the first defeats it completely, so running the OEM dash I can just forget (seemed sensible as two buzzers are annoying), then a second to add defeat if ignition on allowing you to open a door with the engine on and it not skwark at you . Switches added here:

You can also see a third switch and LED in that pic, that turns on the USB power for footcam and LED tells me when its on. Camera is set to auto switch on with USB, and start recording at switch on.

Then panel in position

Looking messy, and I found an old seat cushion from one of those bouncy ikea chairs makes laying in the footwell much more comfy (but not really easy to extract from)

Various bits of wiring about to be hidden under dash

Programmable relay added for wipers - allows you to programme wipe interval from 1 - 40 secs (utterly pointless, car doesn’t really see rain)

Wiring all taped up and hidden

Access hole cut in case for Footcam, pre neaten up, allowing camera to be hardwired - I could have gone frame case but I had this one spare and it worked so why not

Footcam now in place:

And the final monumental piece was the dash was put in - after removing just before new year, my car finally has its dash back in!!

Still waiting for my vents and dash binnacle to be trimmed, trimmer is ill so both the spare parts and the material is trapped at his - worst comes to the worst I stay with the black plastic versions I retained (I knew getting spares had merit)
Shiny new harnesses arrived yesterday, but with the wrong buckle -so they are being picked up tomorrow and wait for another set to come from Germany

Toyo UK finally got stock of 205 fronts on the R888r so I have a full set at last - now I have these I can take my spare wheels to be refinished - just booked them in for drop off!

These are the wheels in question, I’m sure I posted about them in the past but for those that missed it

They will be refinished Lotus OEM colour, Hi Power Silver - it’s a layered paint process by Feilacke so will be getting Radar wheels in manchester do it. Heres the finish on an Elise to show the look I hope will come out against the red, hopefully I get the same effect

Good progress!

Cheers, its now starting to come together after continually redoing lots of little bits as I keep thinking about slightly better ways of doing it :thumbup:

Right, so the boot was a bit of a mess - I had done an initial tidy up when I got the car, but knew I wouldn’t do it properly until the car was back from paint due to rear clam coming off and all the cabling and oil pipe having to be dragged through

As I mentioned before I found deposits of oil in the carpet, so I knew the Accusump had been a bit leaky…

After speaking with Canton they thought it would be the pressure release valve - if you keep pumping full of oil and don’t’ dump it, pressure will rise and it will mist oil. When I got my car I found the accusump wasn’t actually wired in in terms of the release valve, so this seems to have been what was happening. Oil kept being added but the valve did not allow it to release so before it blew it released pressure.

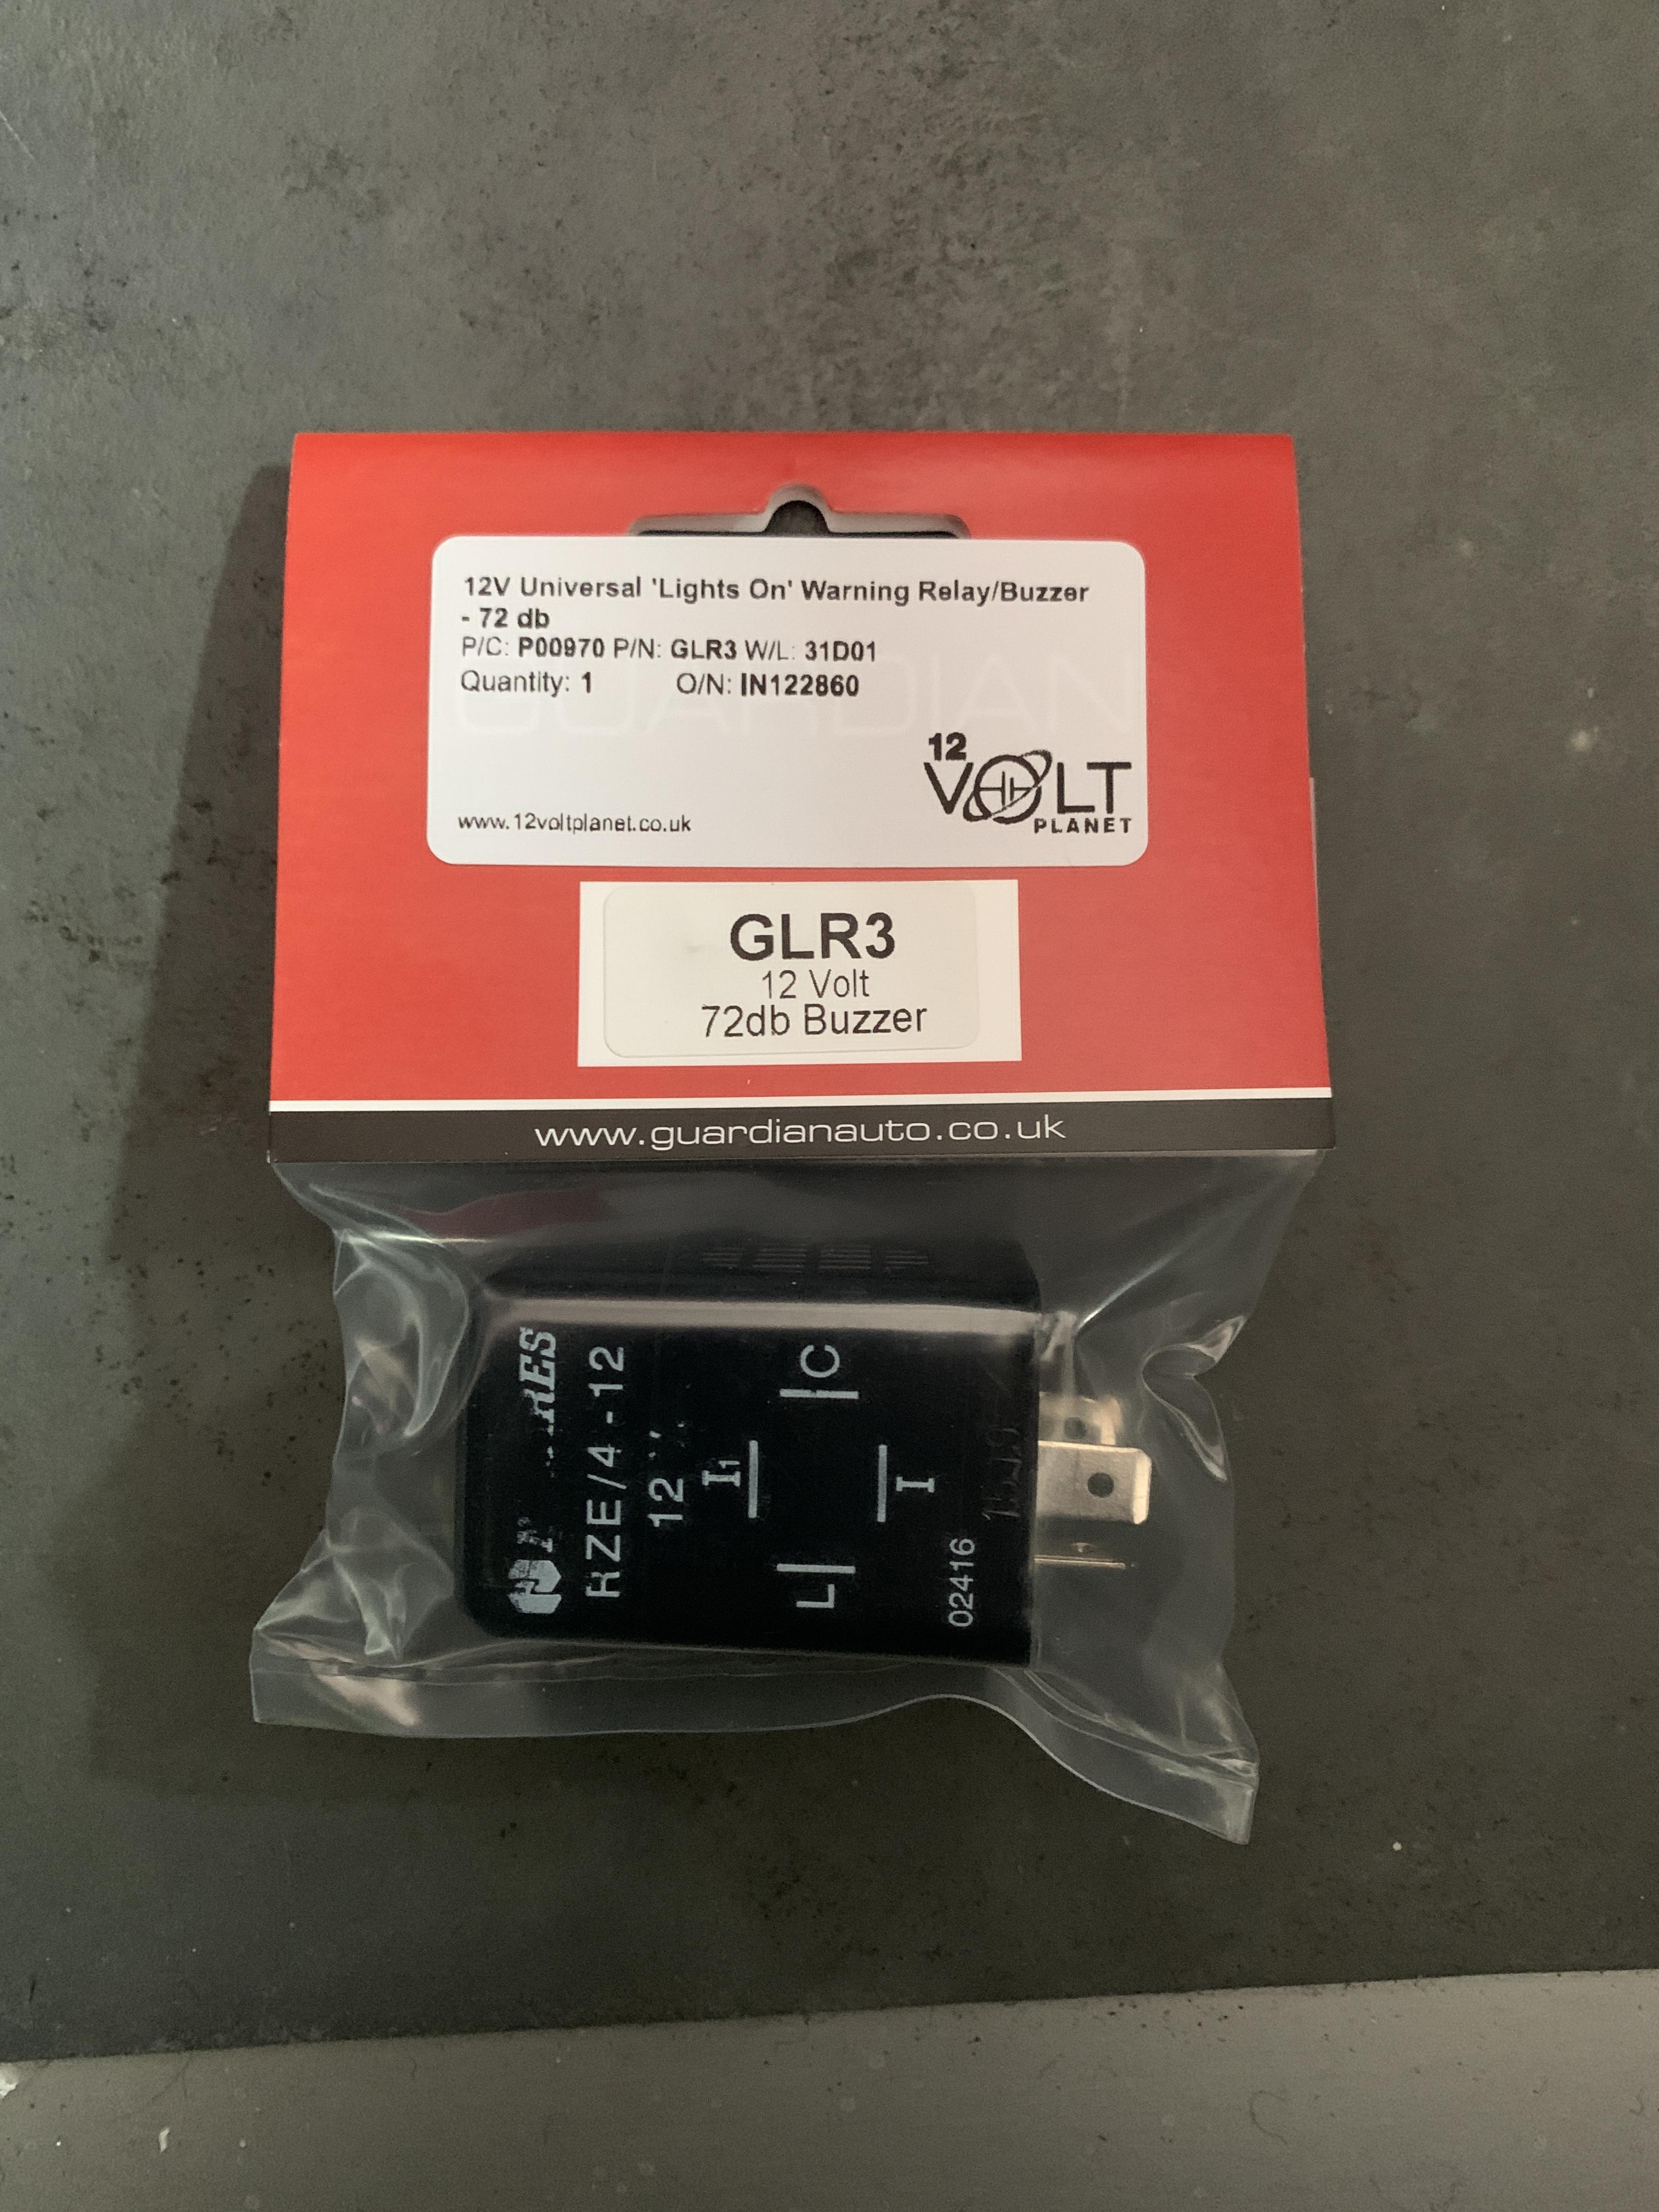
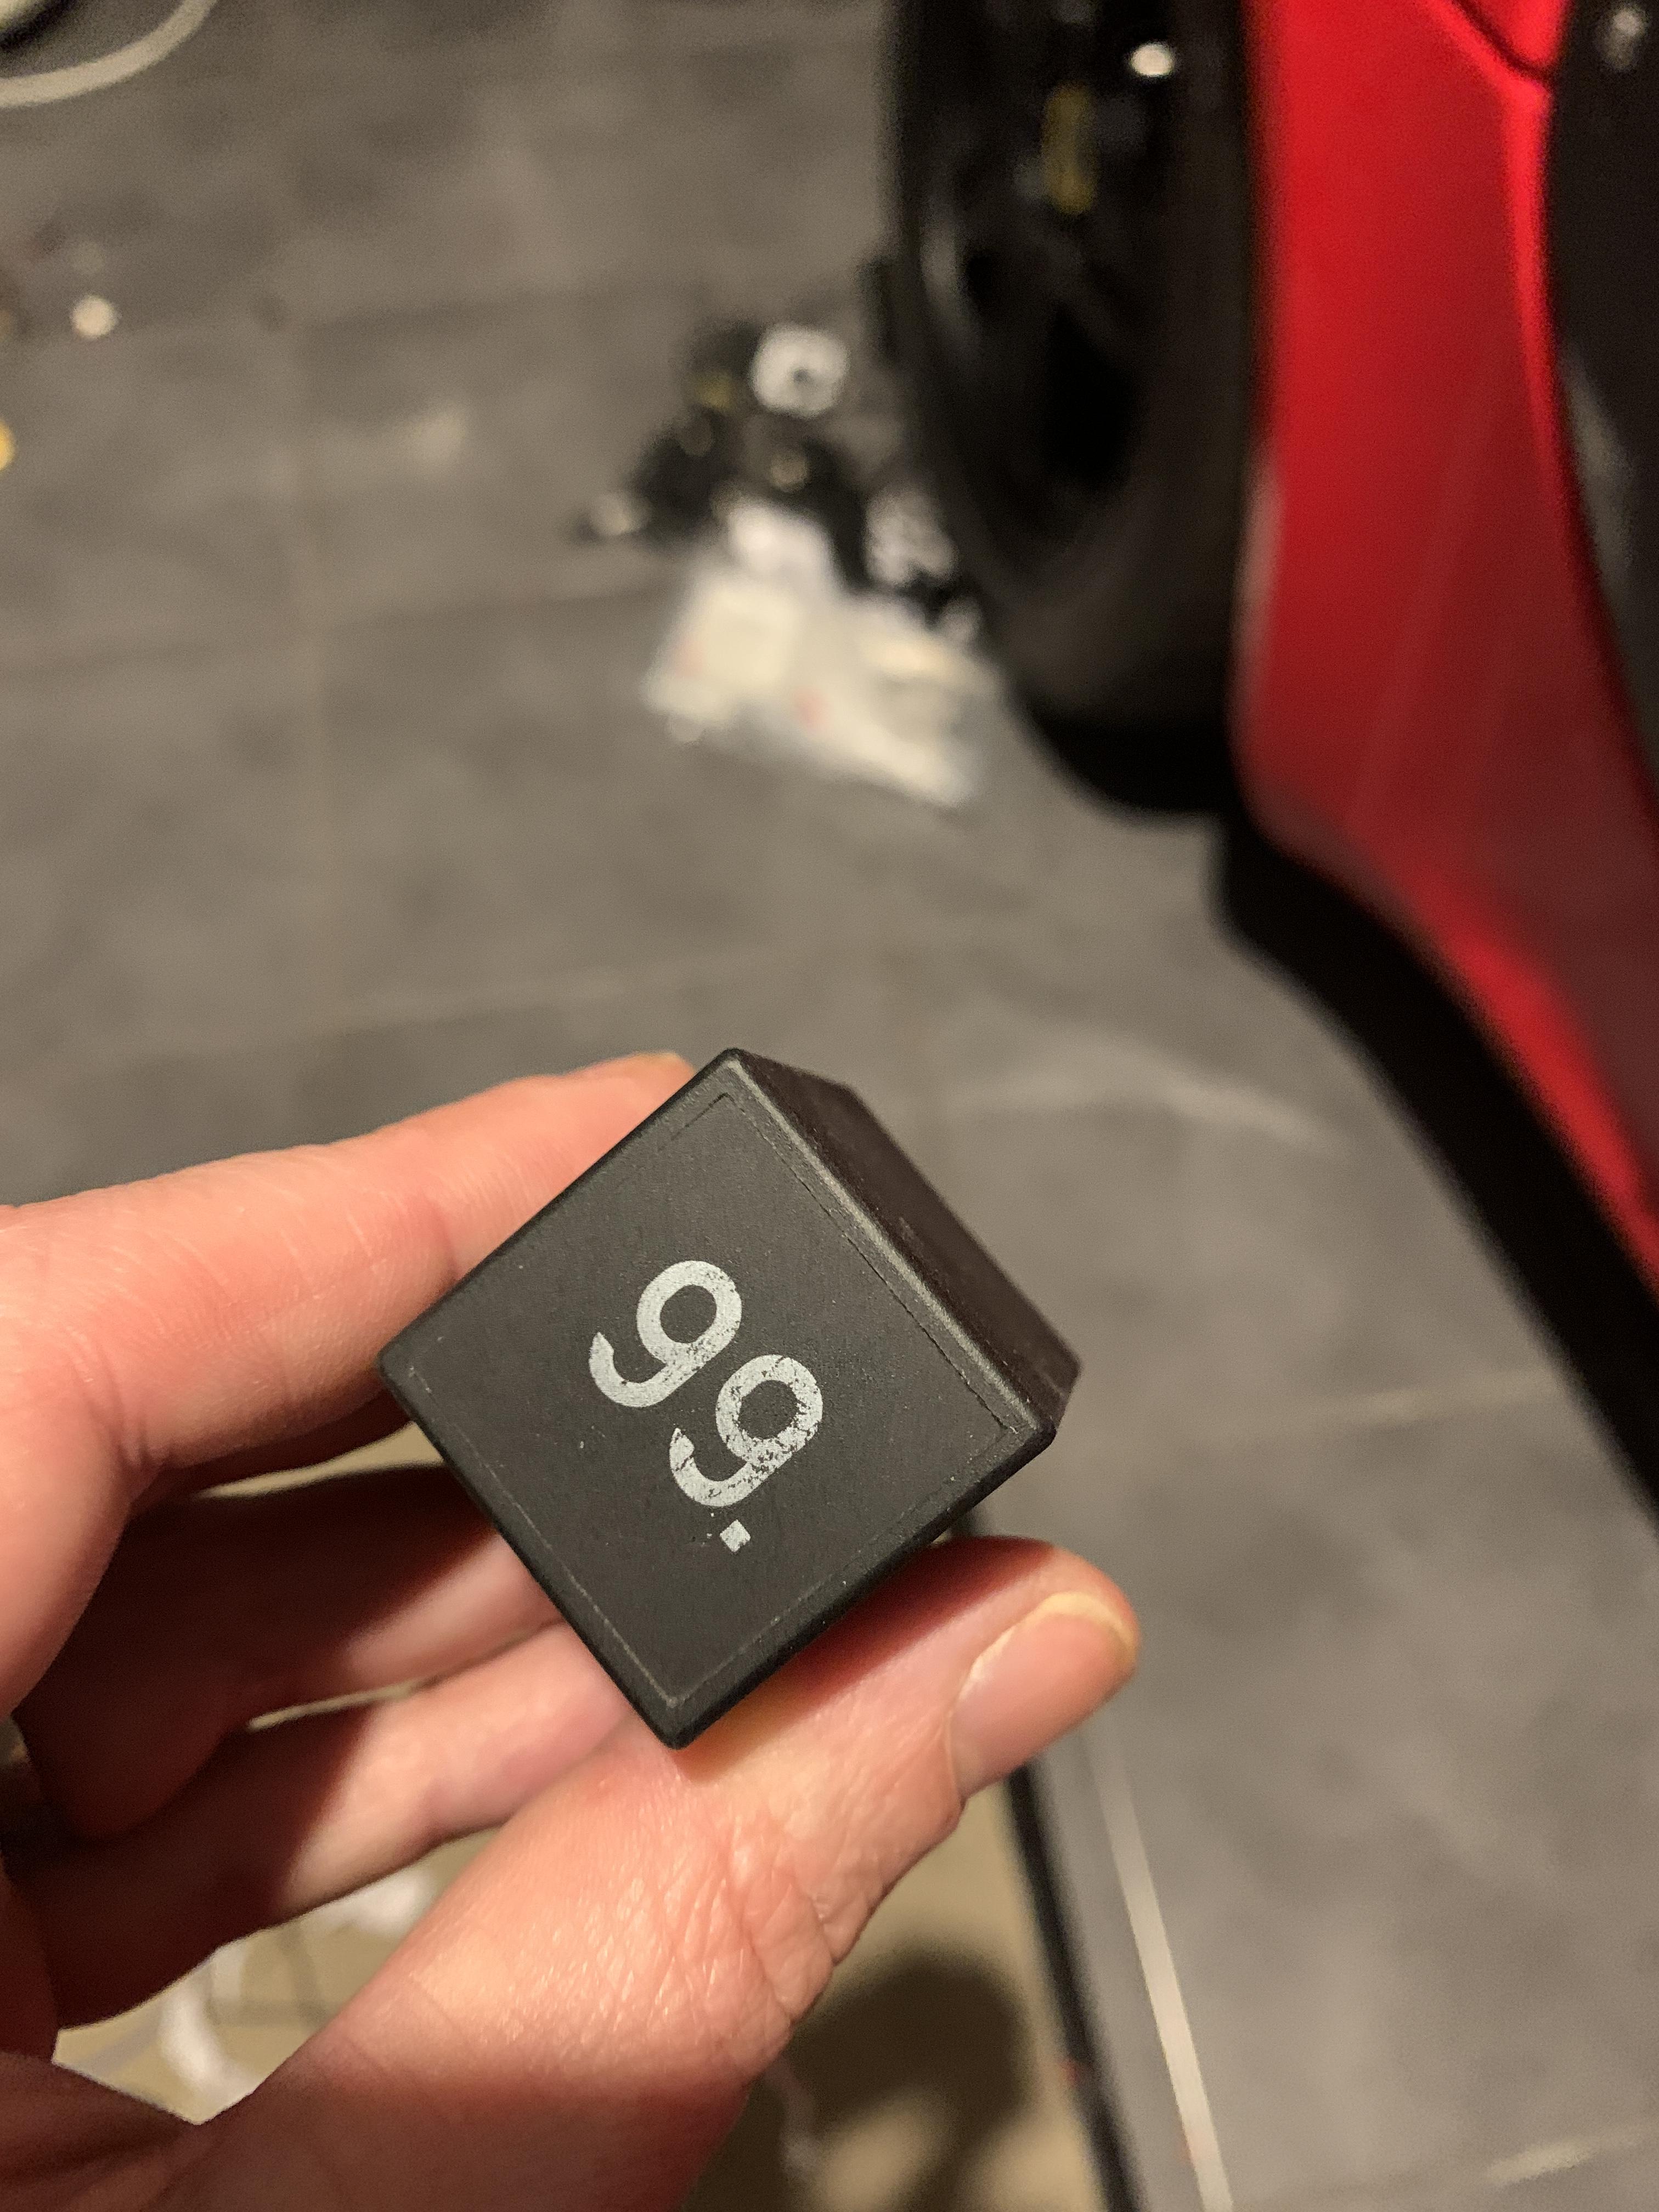
As a precaution I changed the control solenoid valve and pressure switch anyway, this is the switch and solenoid in question, well its library pic as I can’t find the pics I took of replacing it

I didn’t really know how the Accusump worked before I looked into so here (lots of people make authoritative statements without knowing its basic operation) is an explanation if you are really bored, only reason I mention it is several people have just said to rip it out - but I quite like its simplicity now I understand it. I thought it might be useful when people are trying to work out the point of them

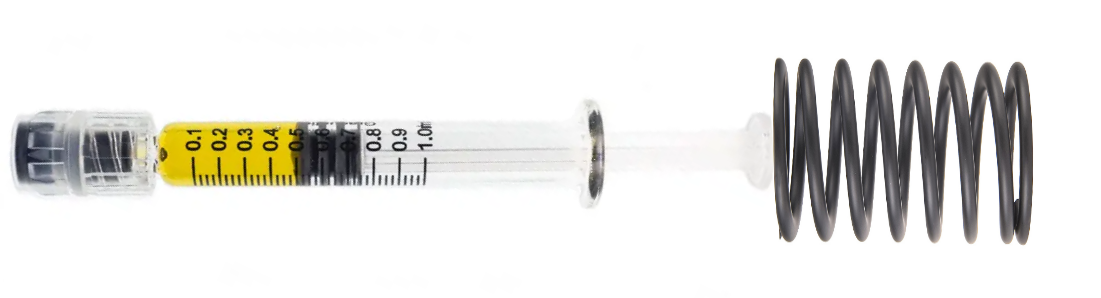
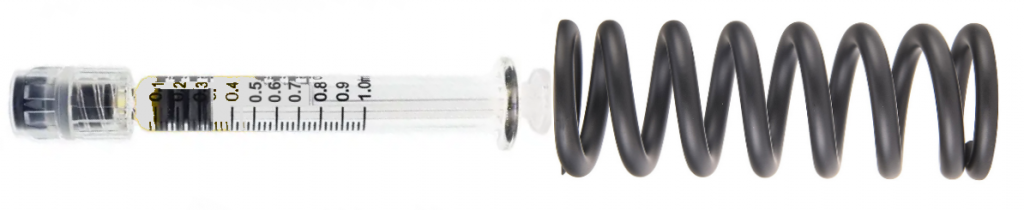
The Accusump is just a simple syringe which fills with oil and has a spring (air in this case), oil is pushed in by the engine under normal running and the spring is compressed

When the oil is needed due to low pressure in the engine, the valve is opened and the oil is dumped back into the engine to prevent starvation

This is an augmented view of the Accusump showing the air spring against the ‘syringe’ head

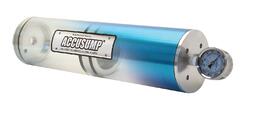
When the Accusump is completely empty you need to precharge the system, effectively providing the spring to push against the oil, so the dial even when empty will show about 15PSI

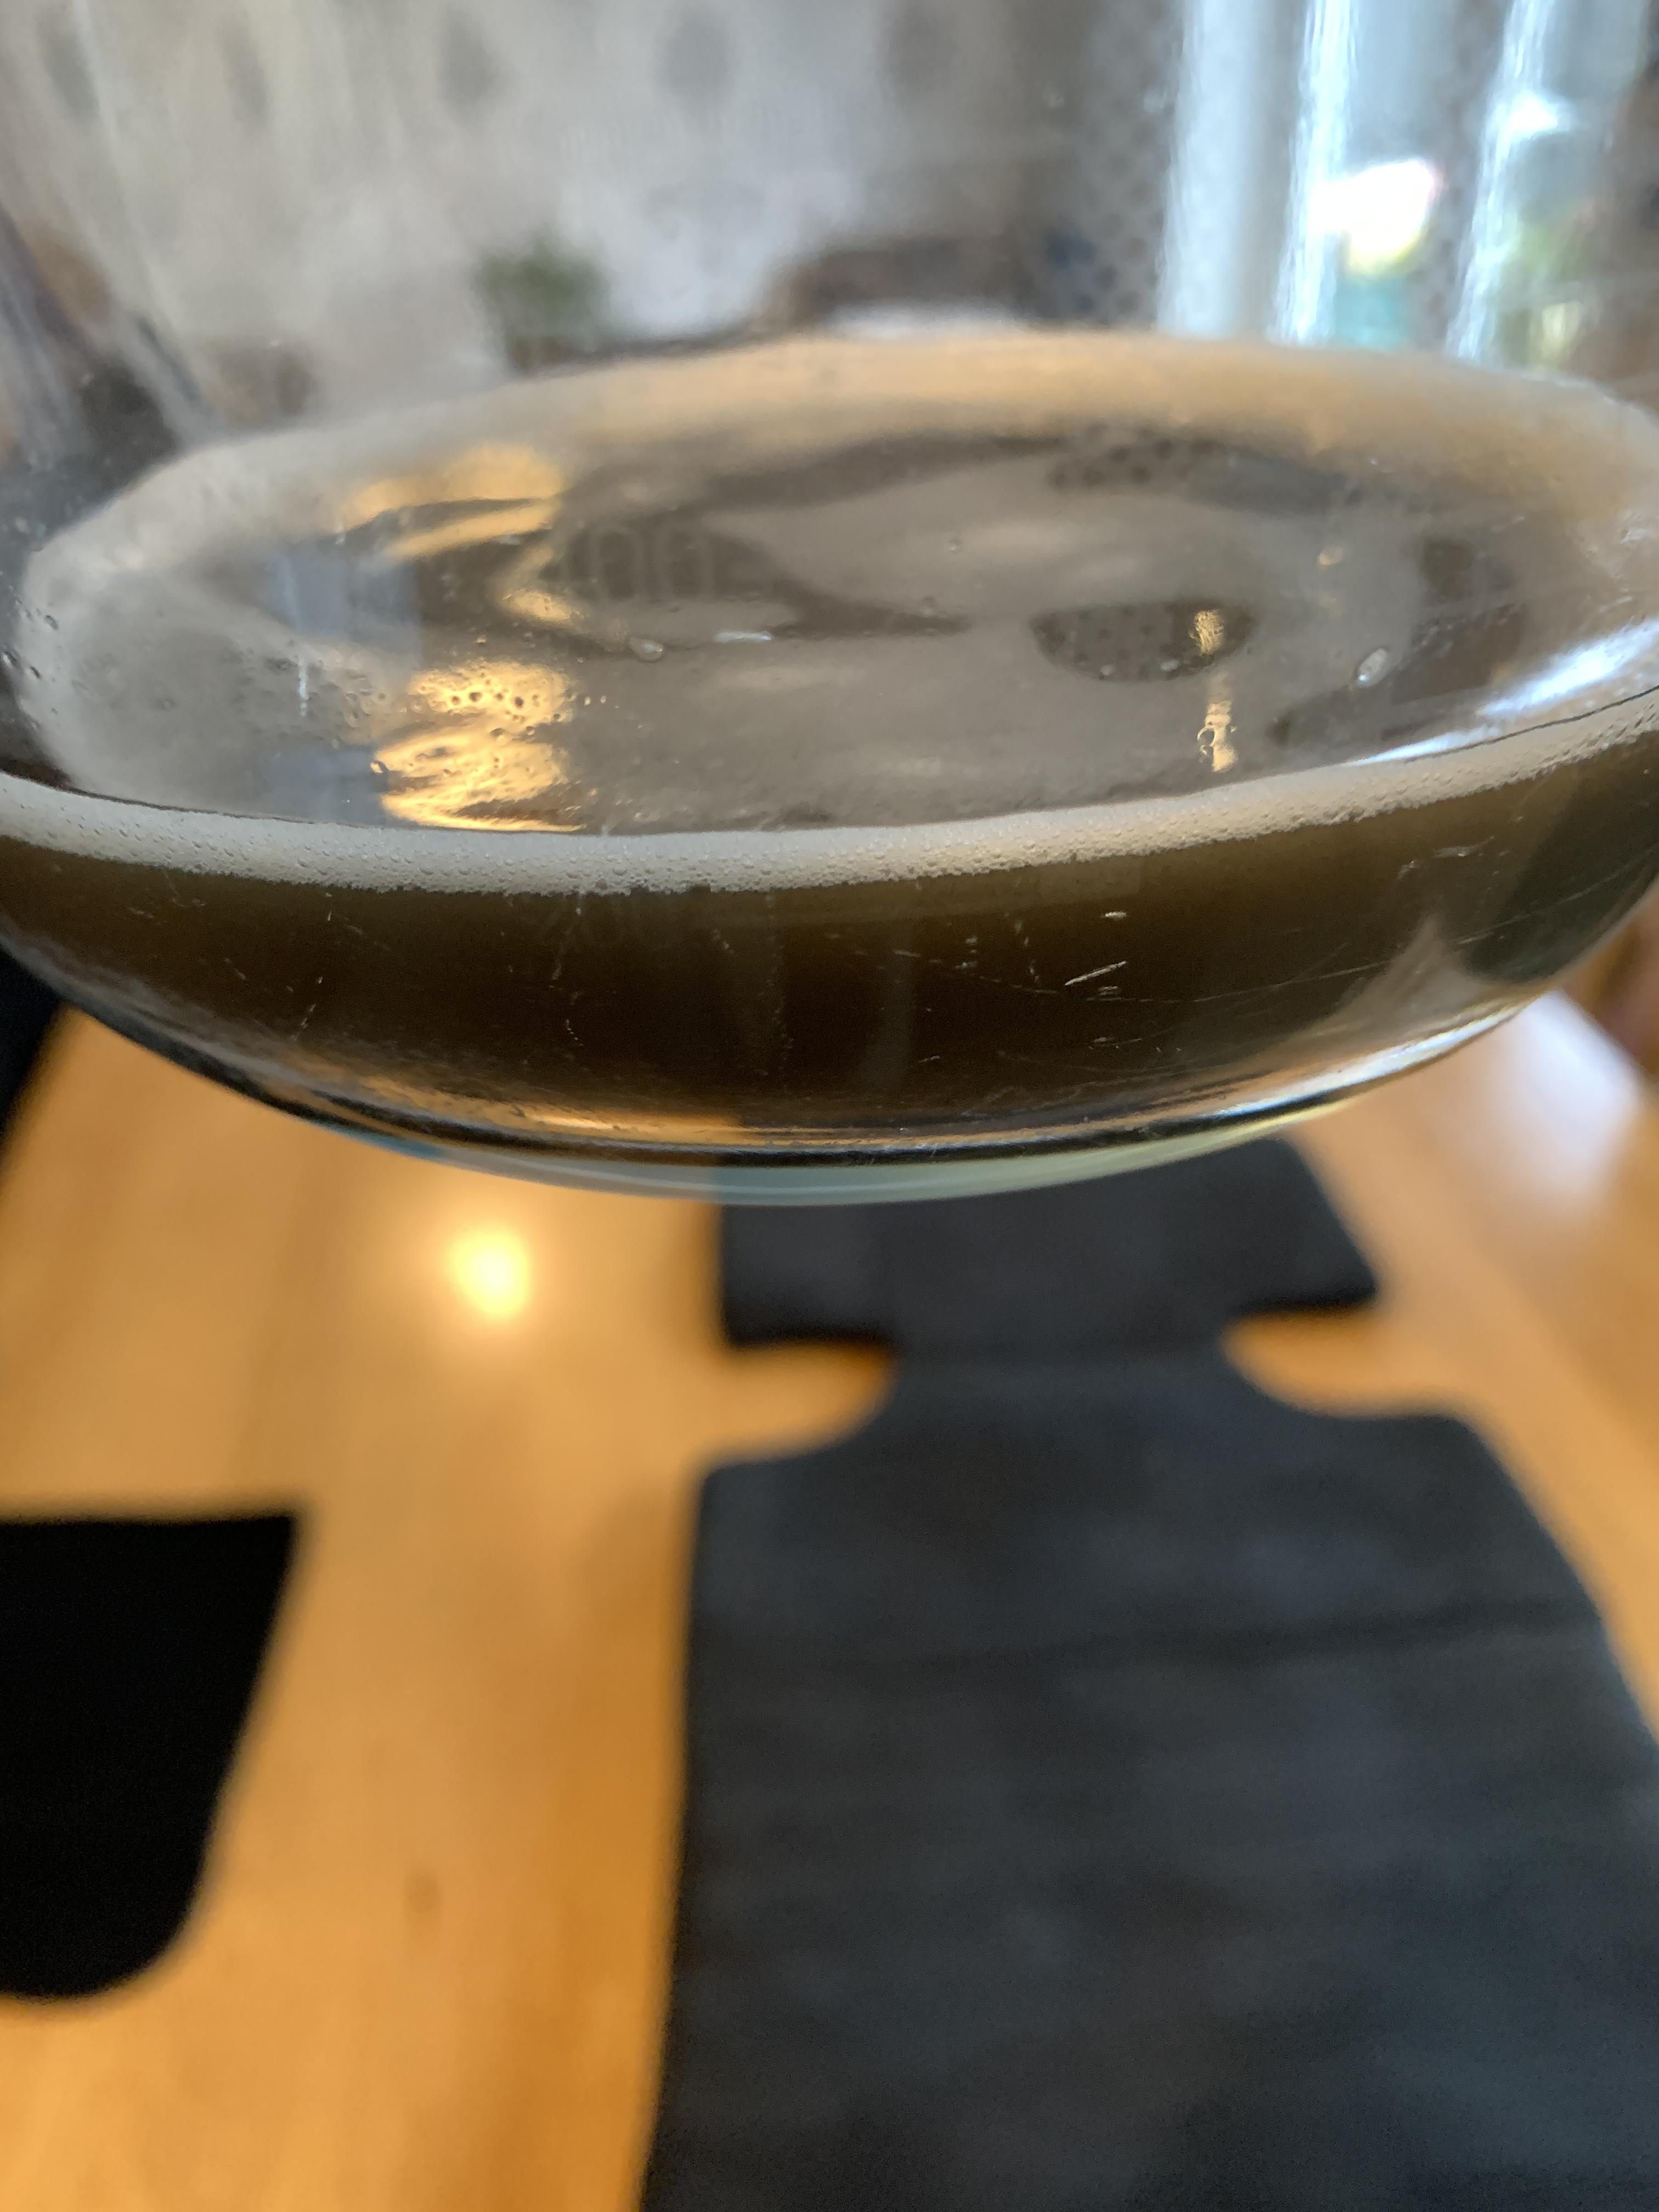
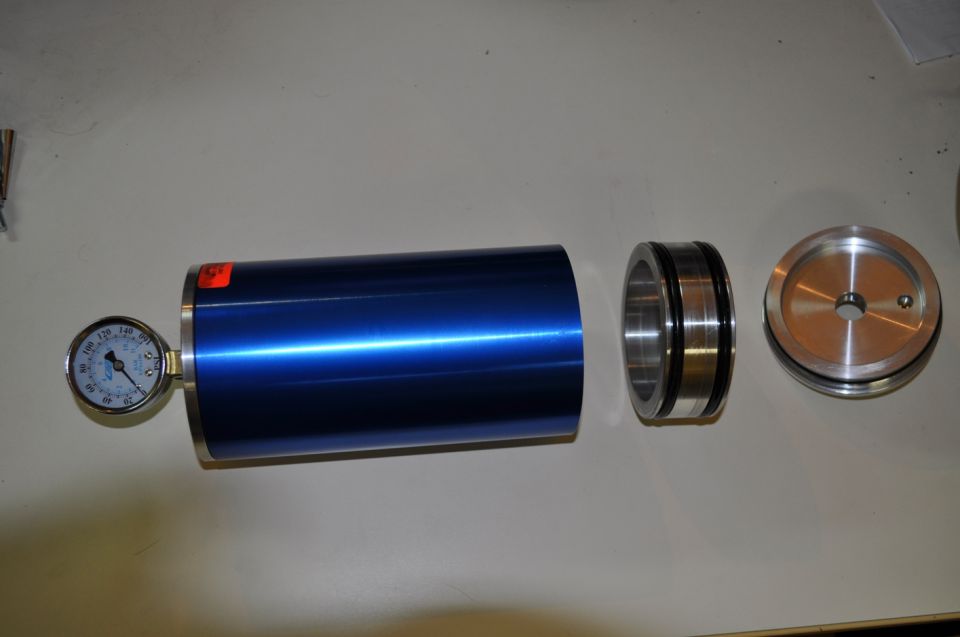
Here is an actual Accusump pulled apart, its all quite smooth with flow of the syringe so the brackets are on the extreme end, putting a clamp in the middle would likely block the ability for the piston to move:

So under normal operation the oil pumps around and slowly (well within a few secs) fills the tank, so apart from needing an extra litre of oil on fillup you don’t notice it

When low oil pressure coming after the pump is detected, the signal is given to the valve to release the oil and it dumps it back into the fuel circuit, a check valve prevents it flowing back to the sump

And that’s it really, it also does this just before start up so the engine is preoiled, this is the main reason I have retained it. That and the kids still think I have a can of NOS in my boot after watching the documentary Fast and Furious

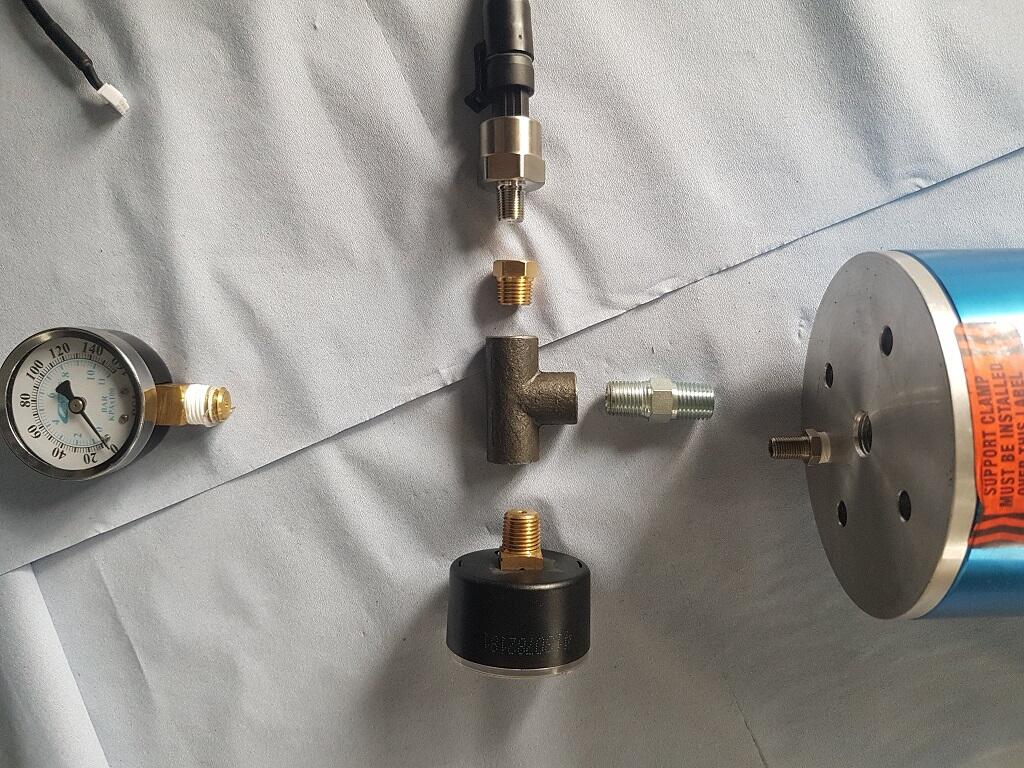
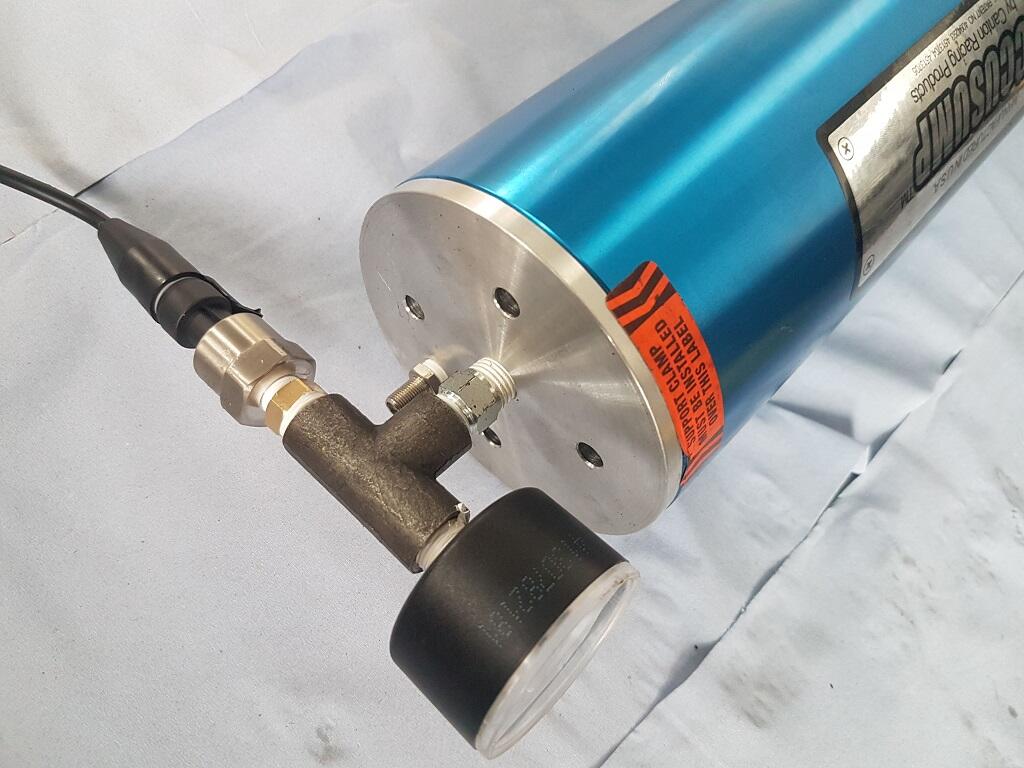
In the future I may add a T piece on the pressure guage to put in a sendor, then I can use this to run a guage on the dash so I can seen when I am empty - this is clearly in pointless nerd territory, but then so are most of the changes I made…

Heres and example of the setup I plan to copy

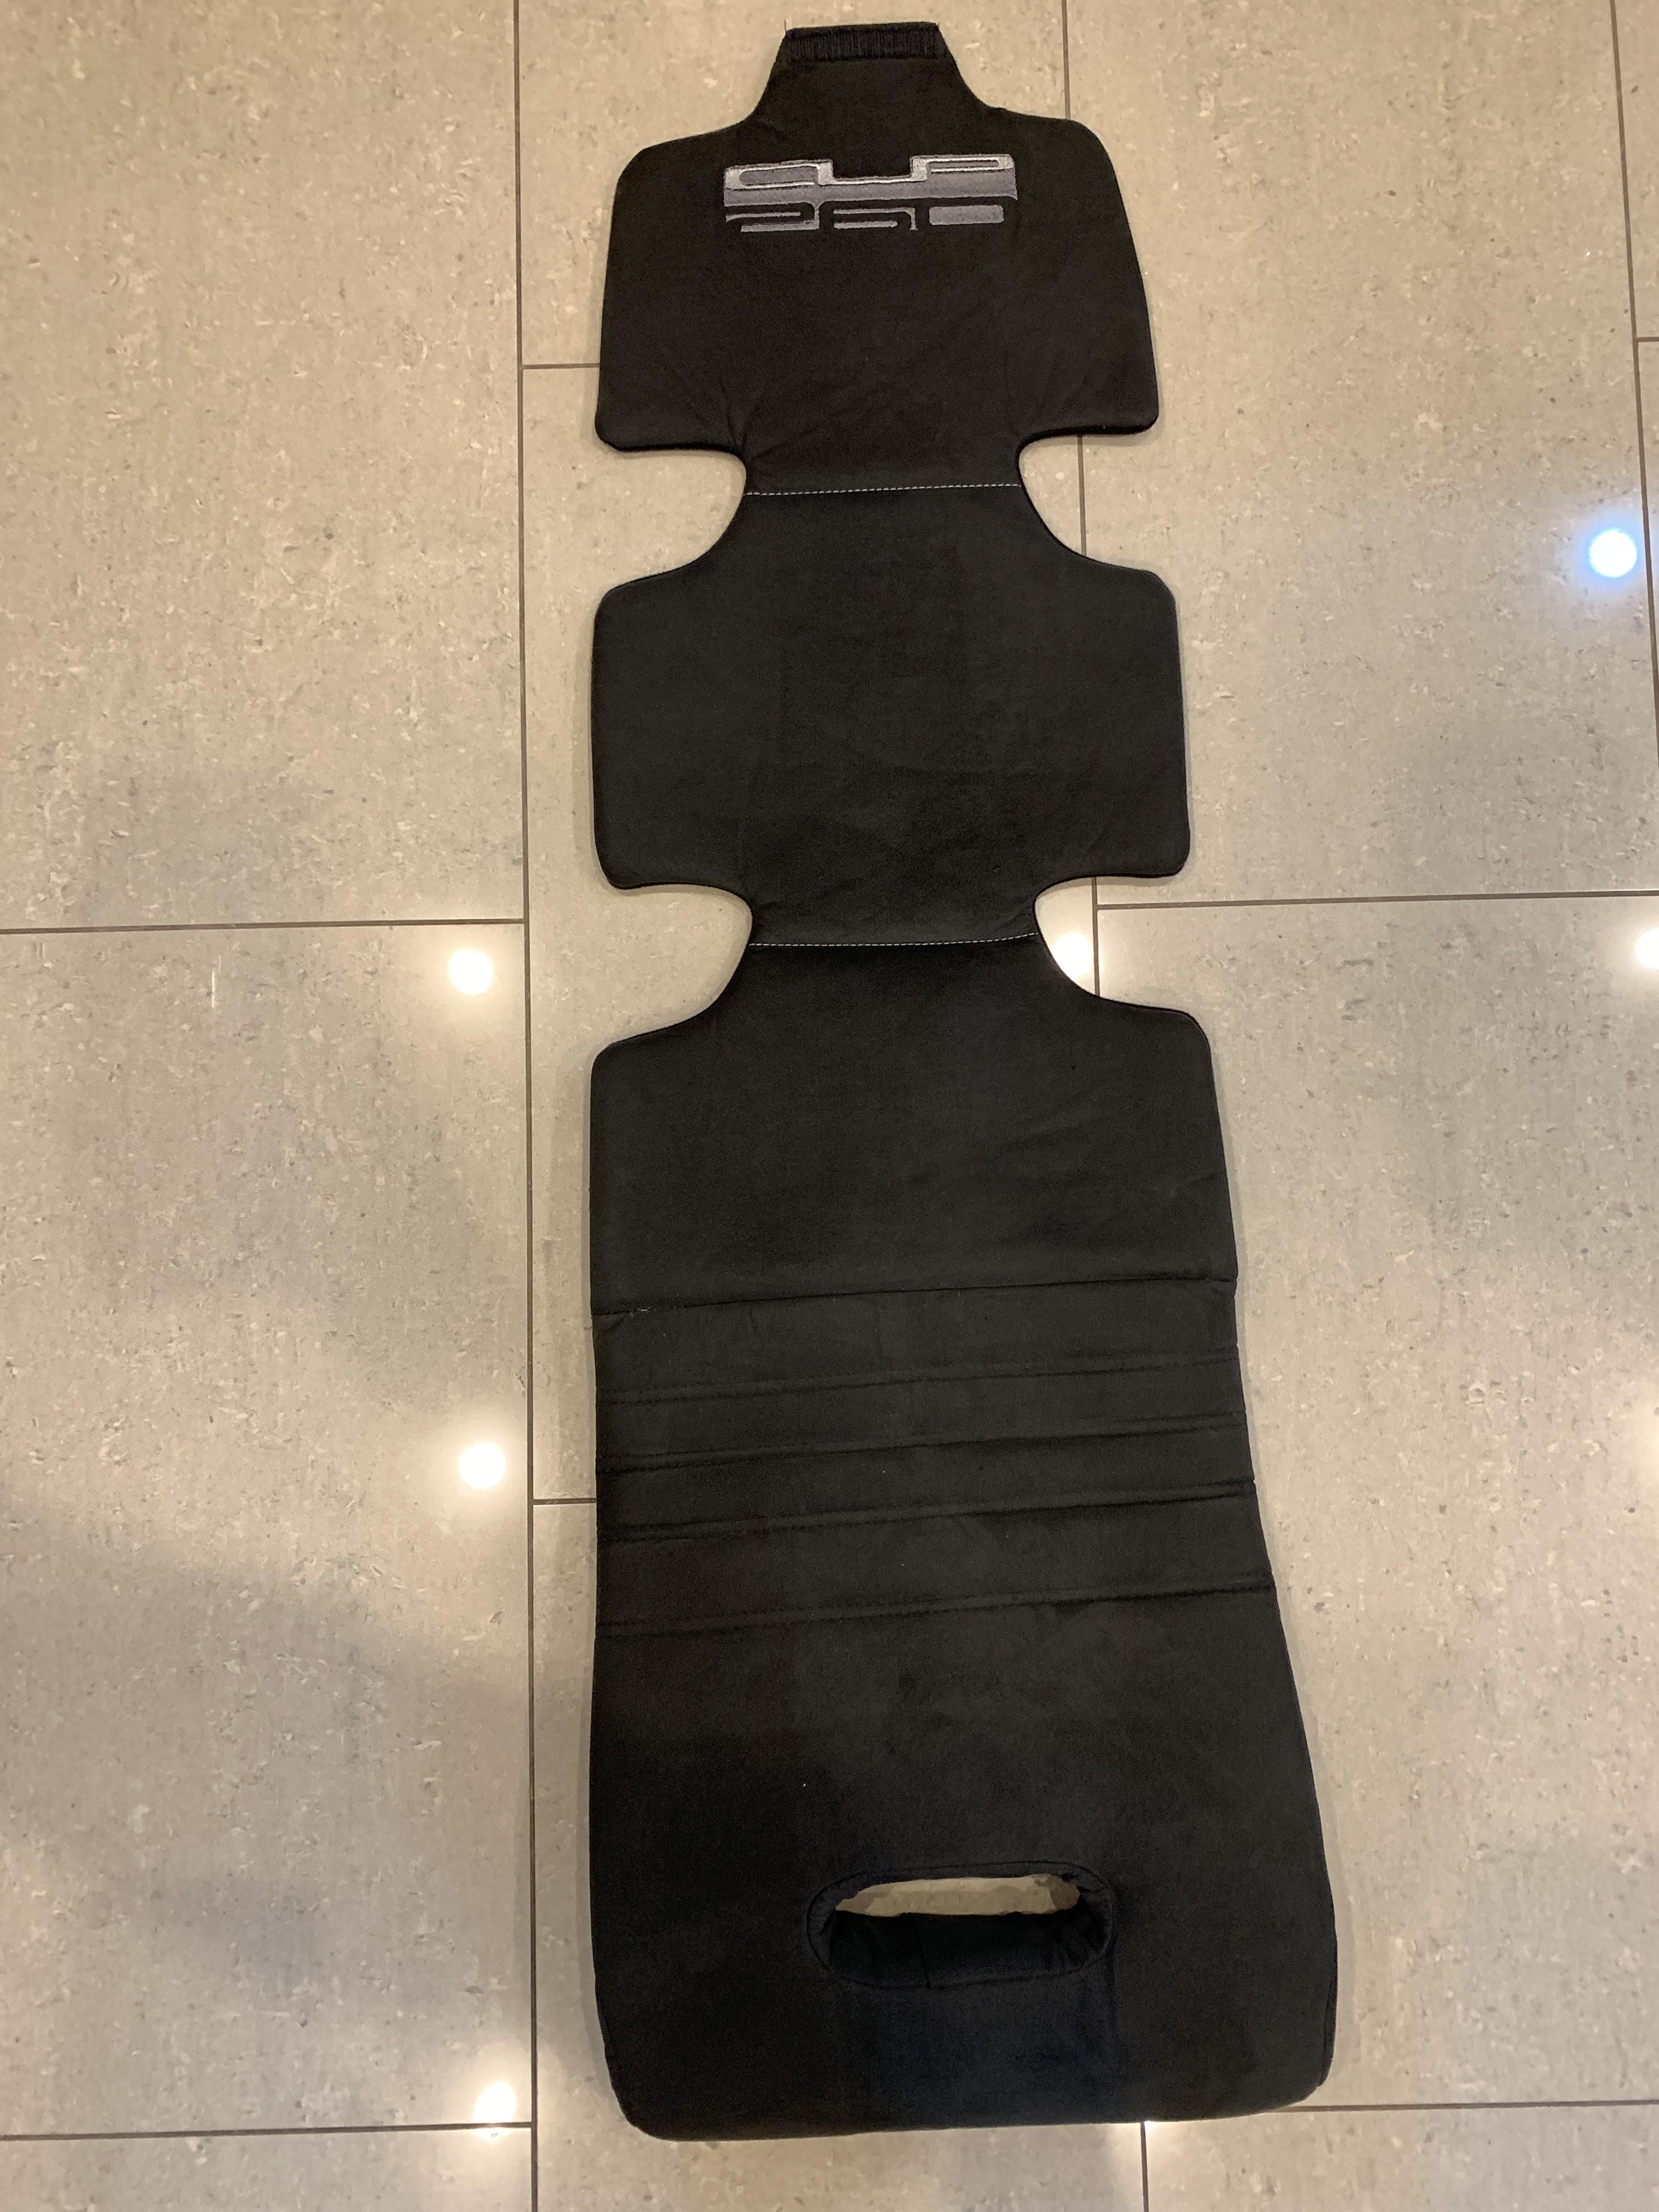
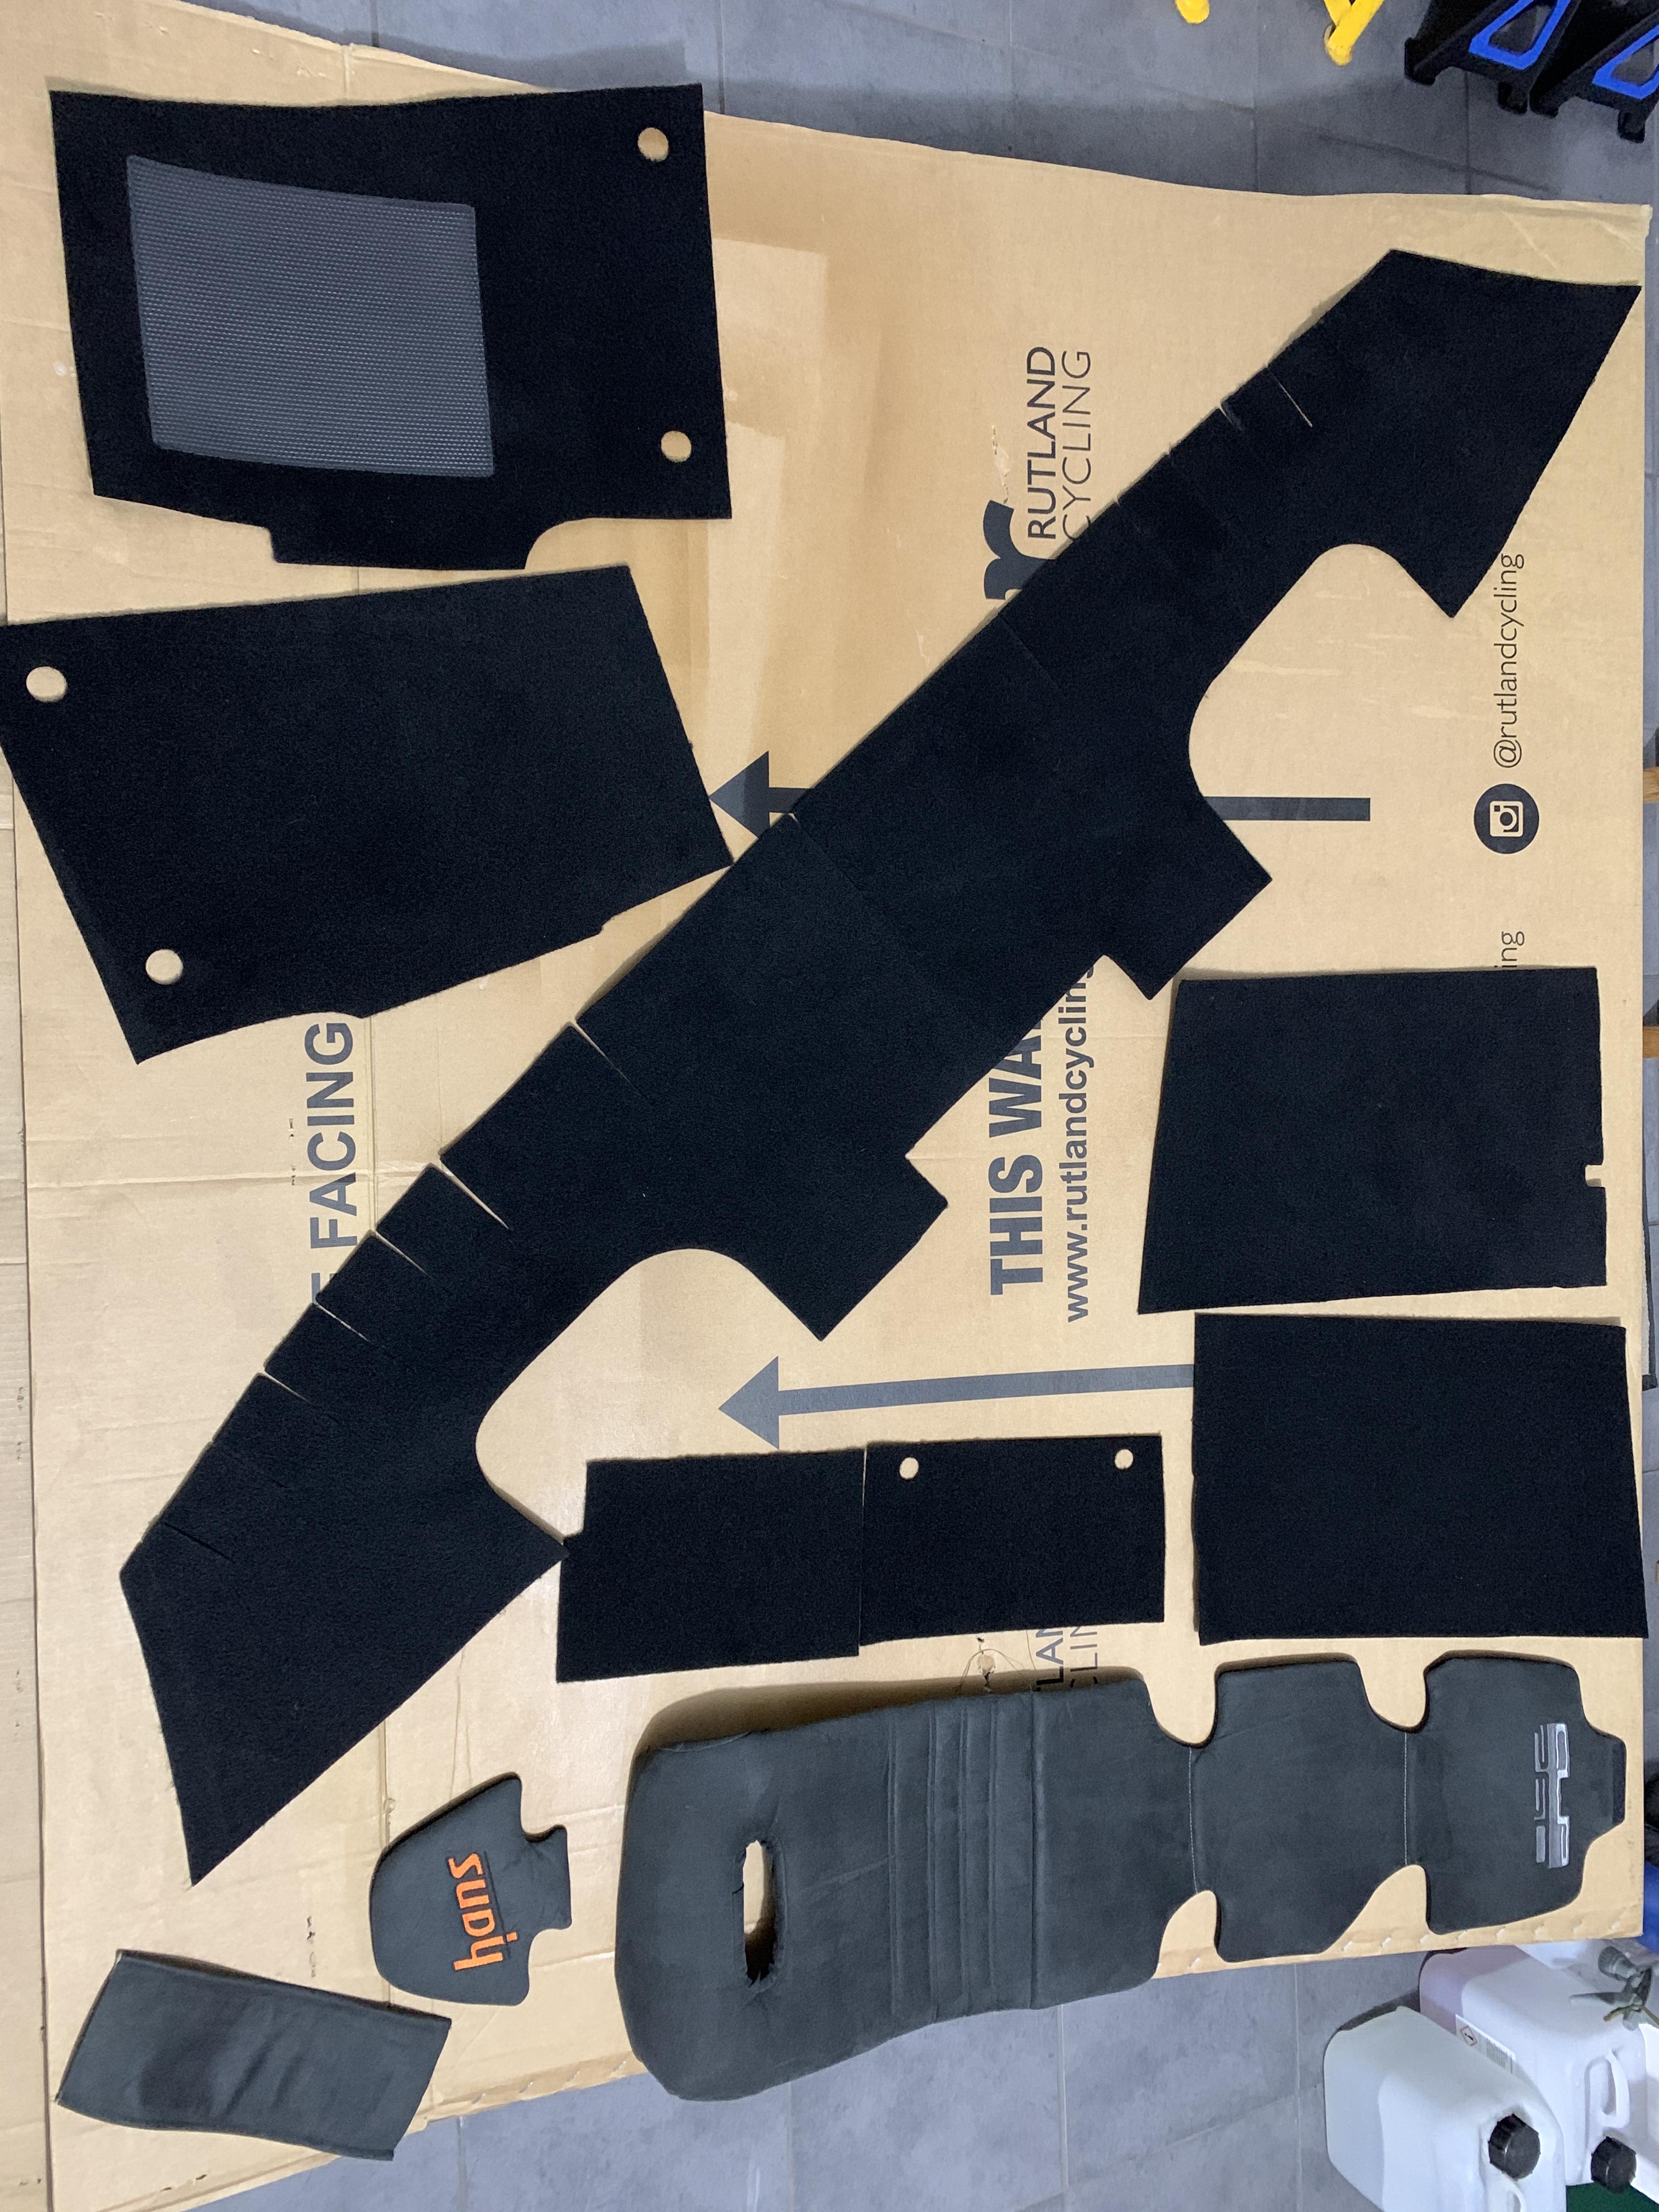
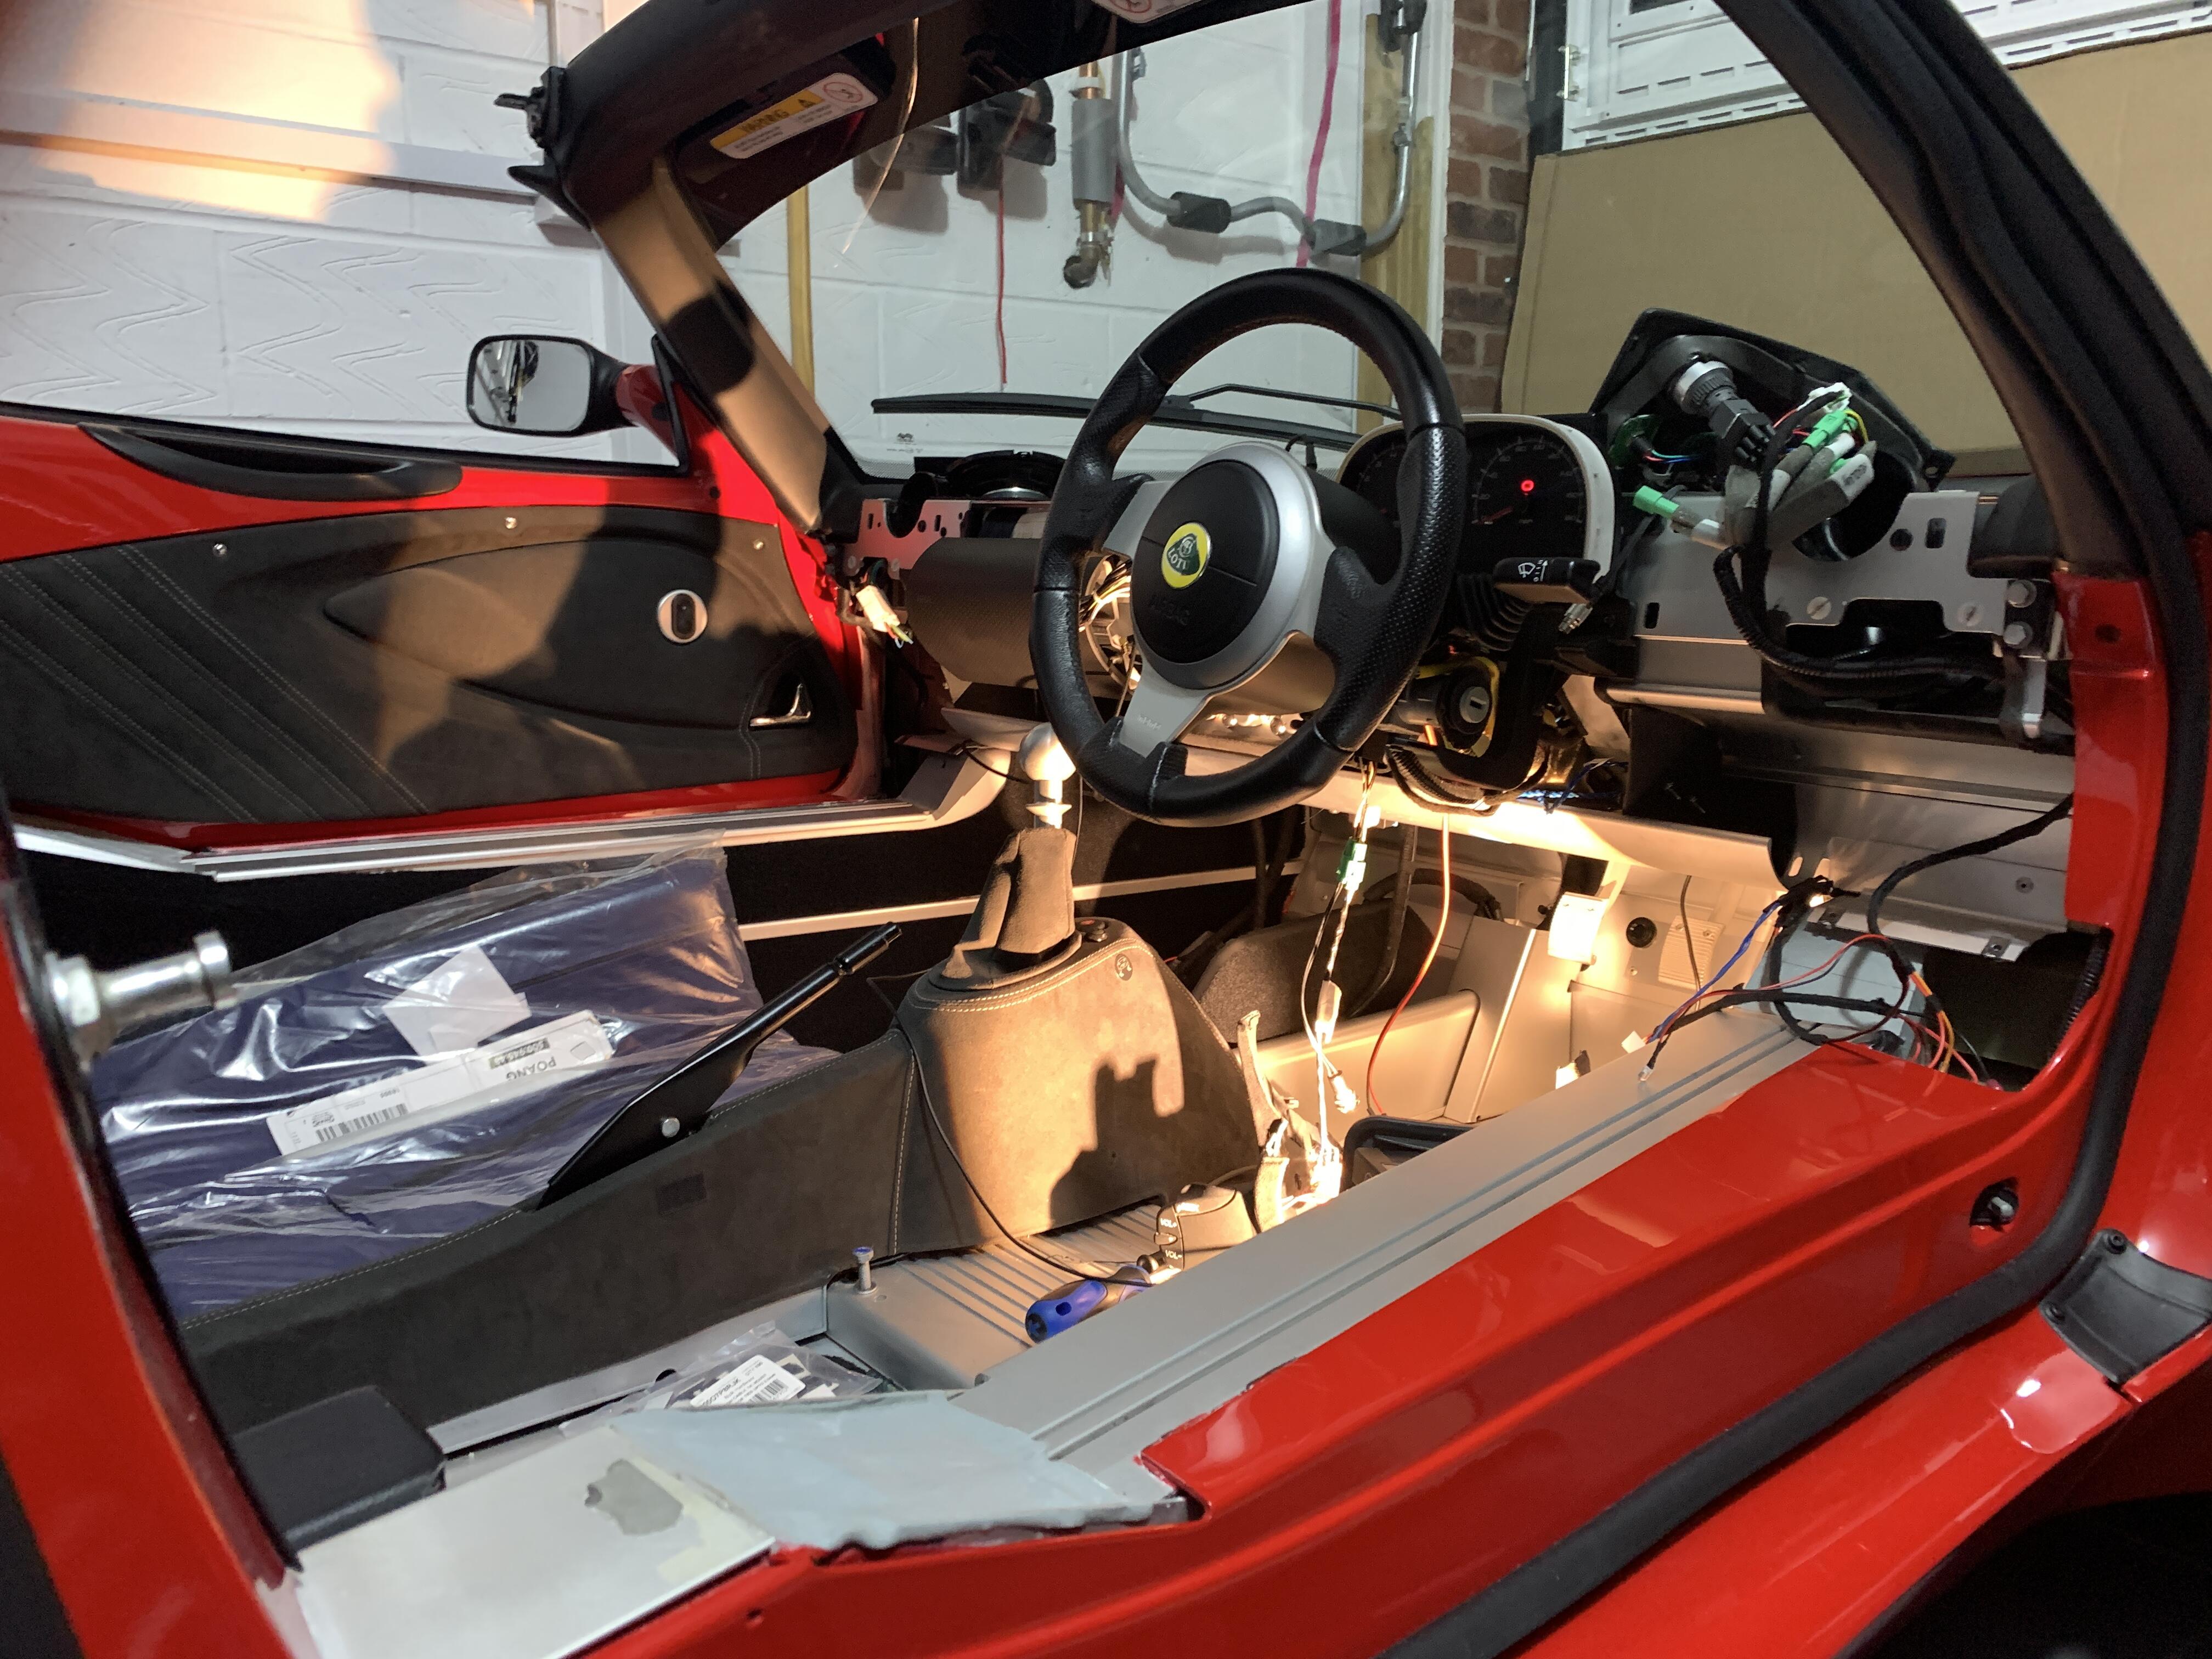
School lesson over, carpets and mounting brackets all stripped out and cleaning began

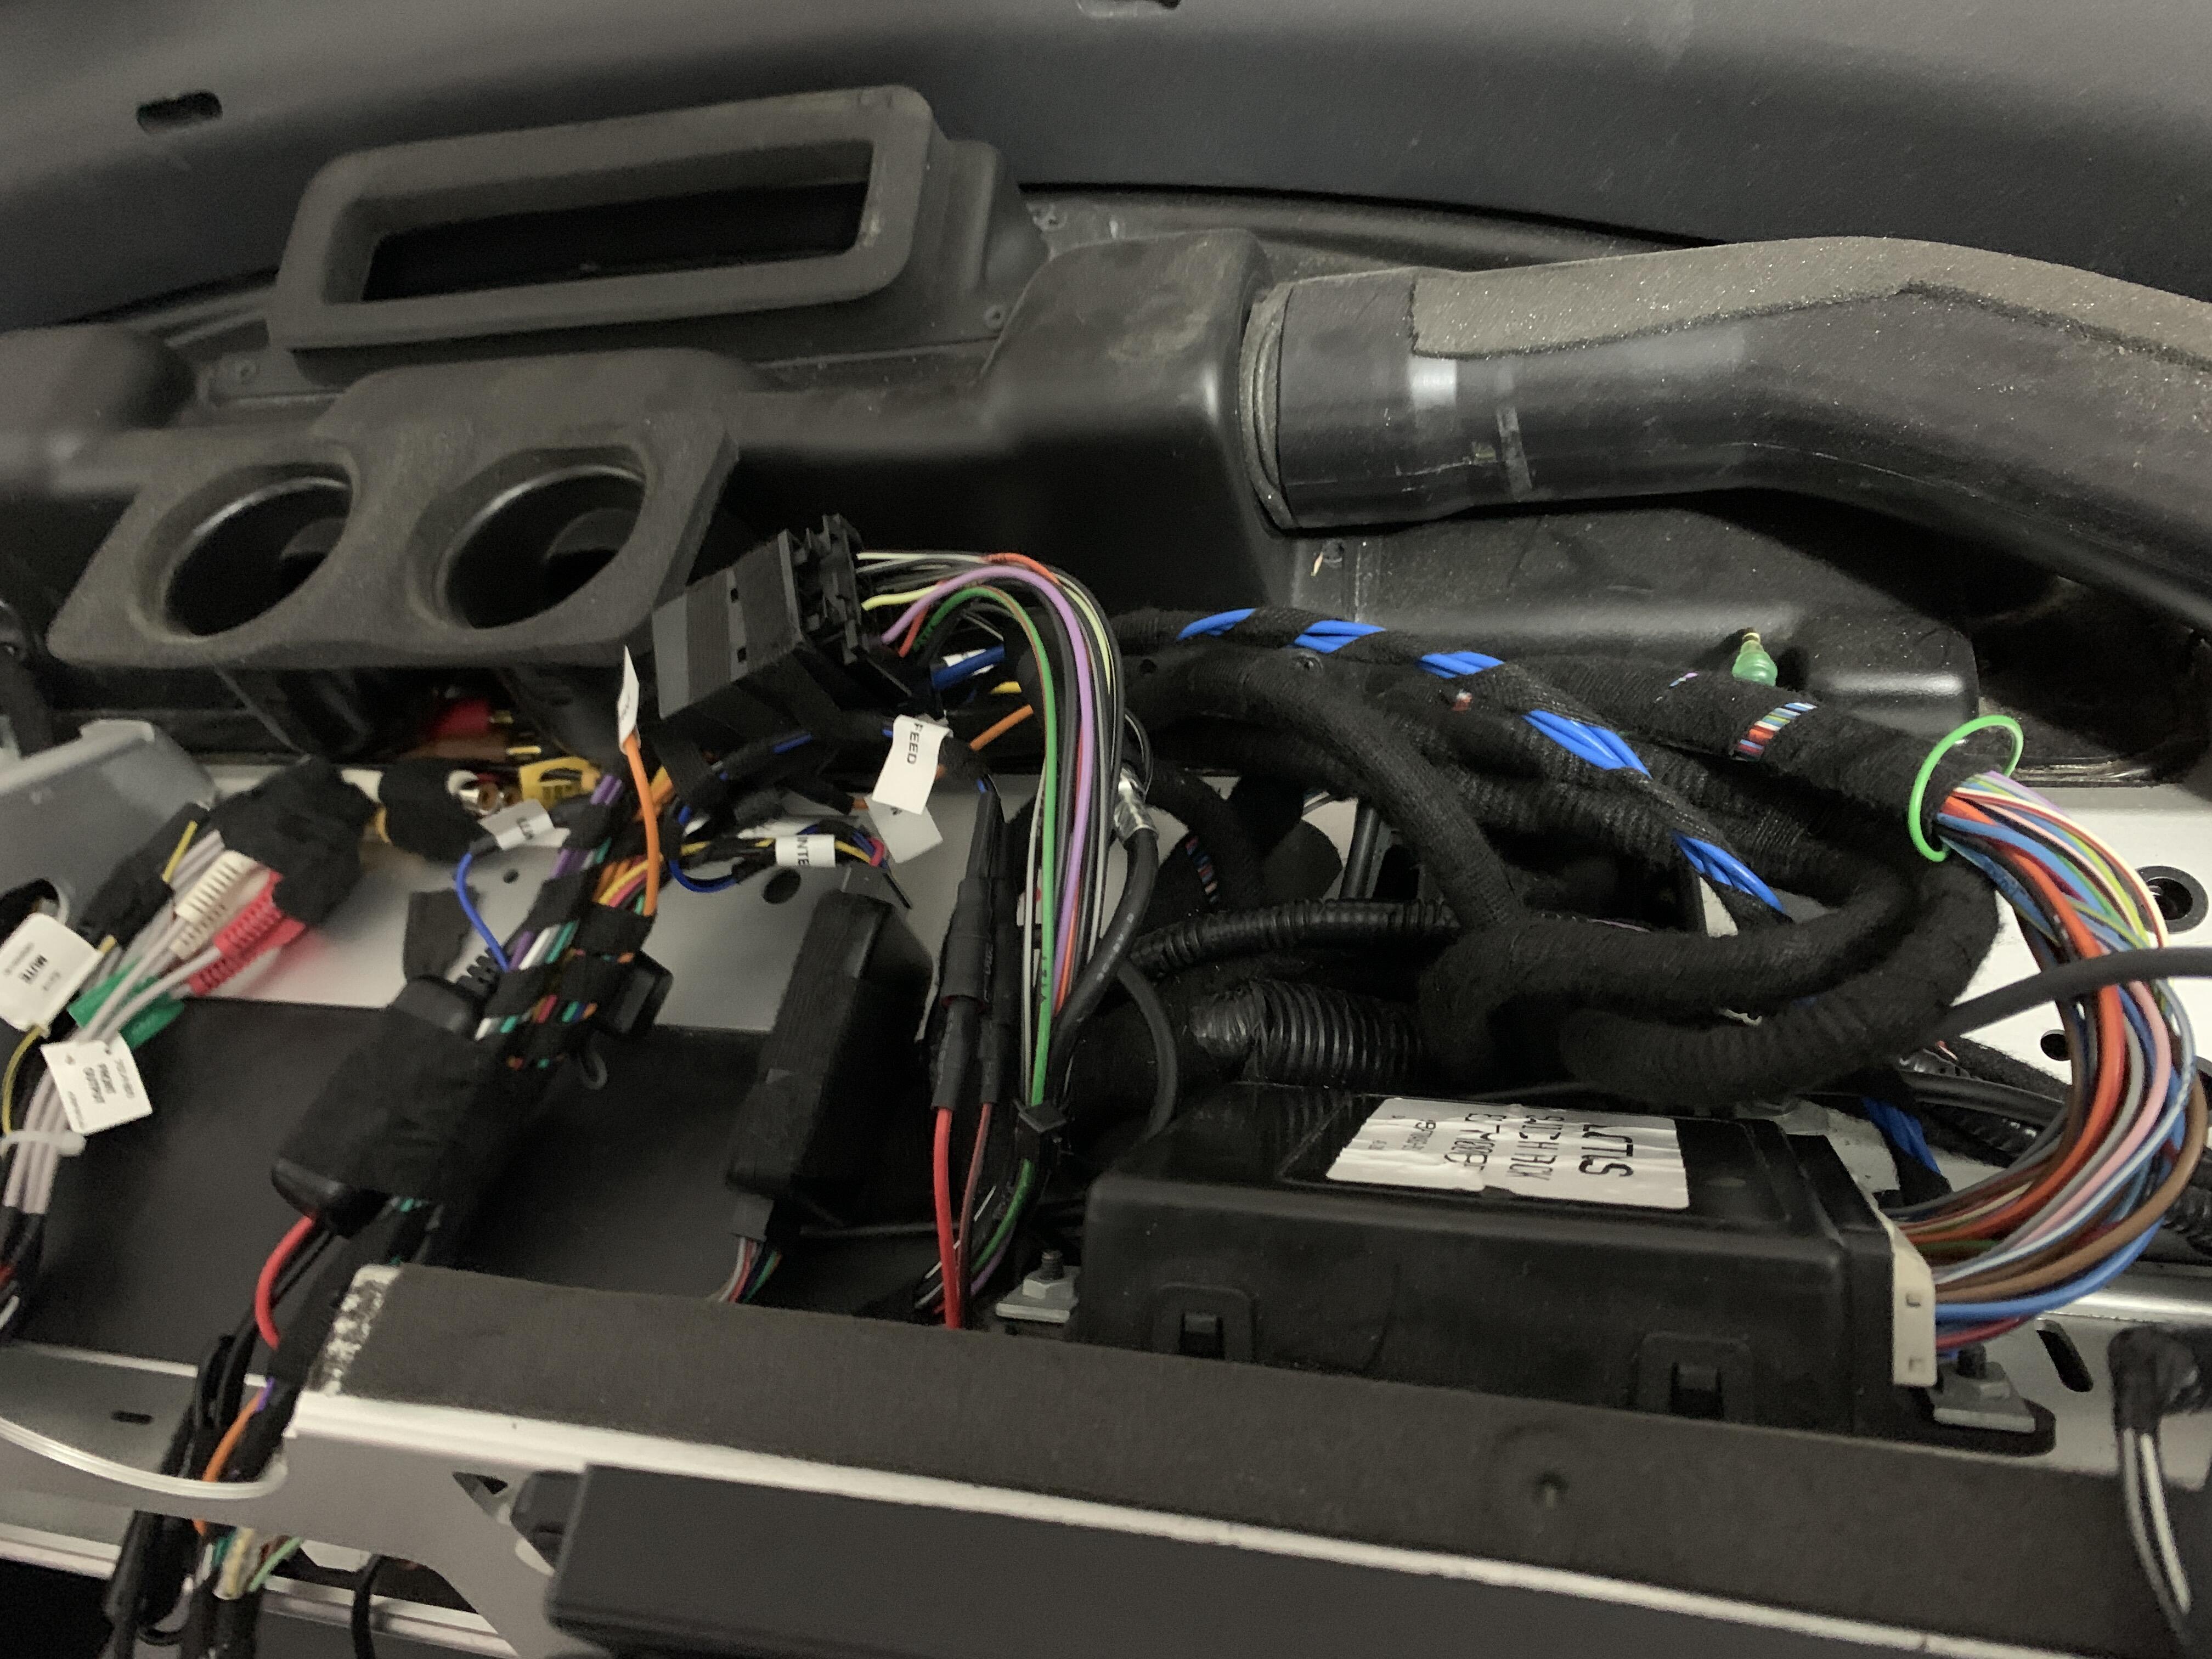
Looms were stripped of felt tape as some were either gummy, or had a some oil - all were stripped then retaped so it was all OEM looking again, wiring itself was all good so no issues to report

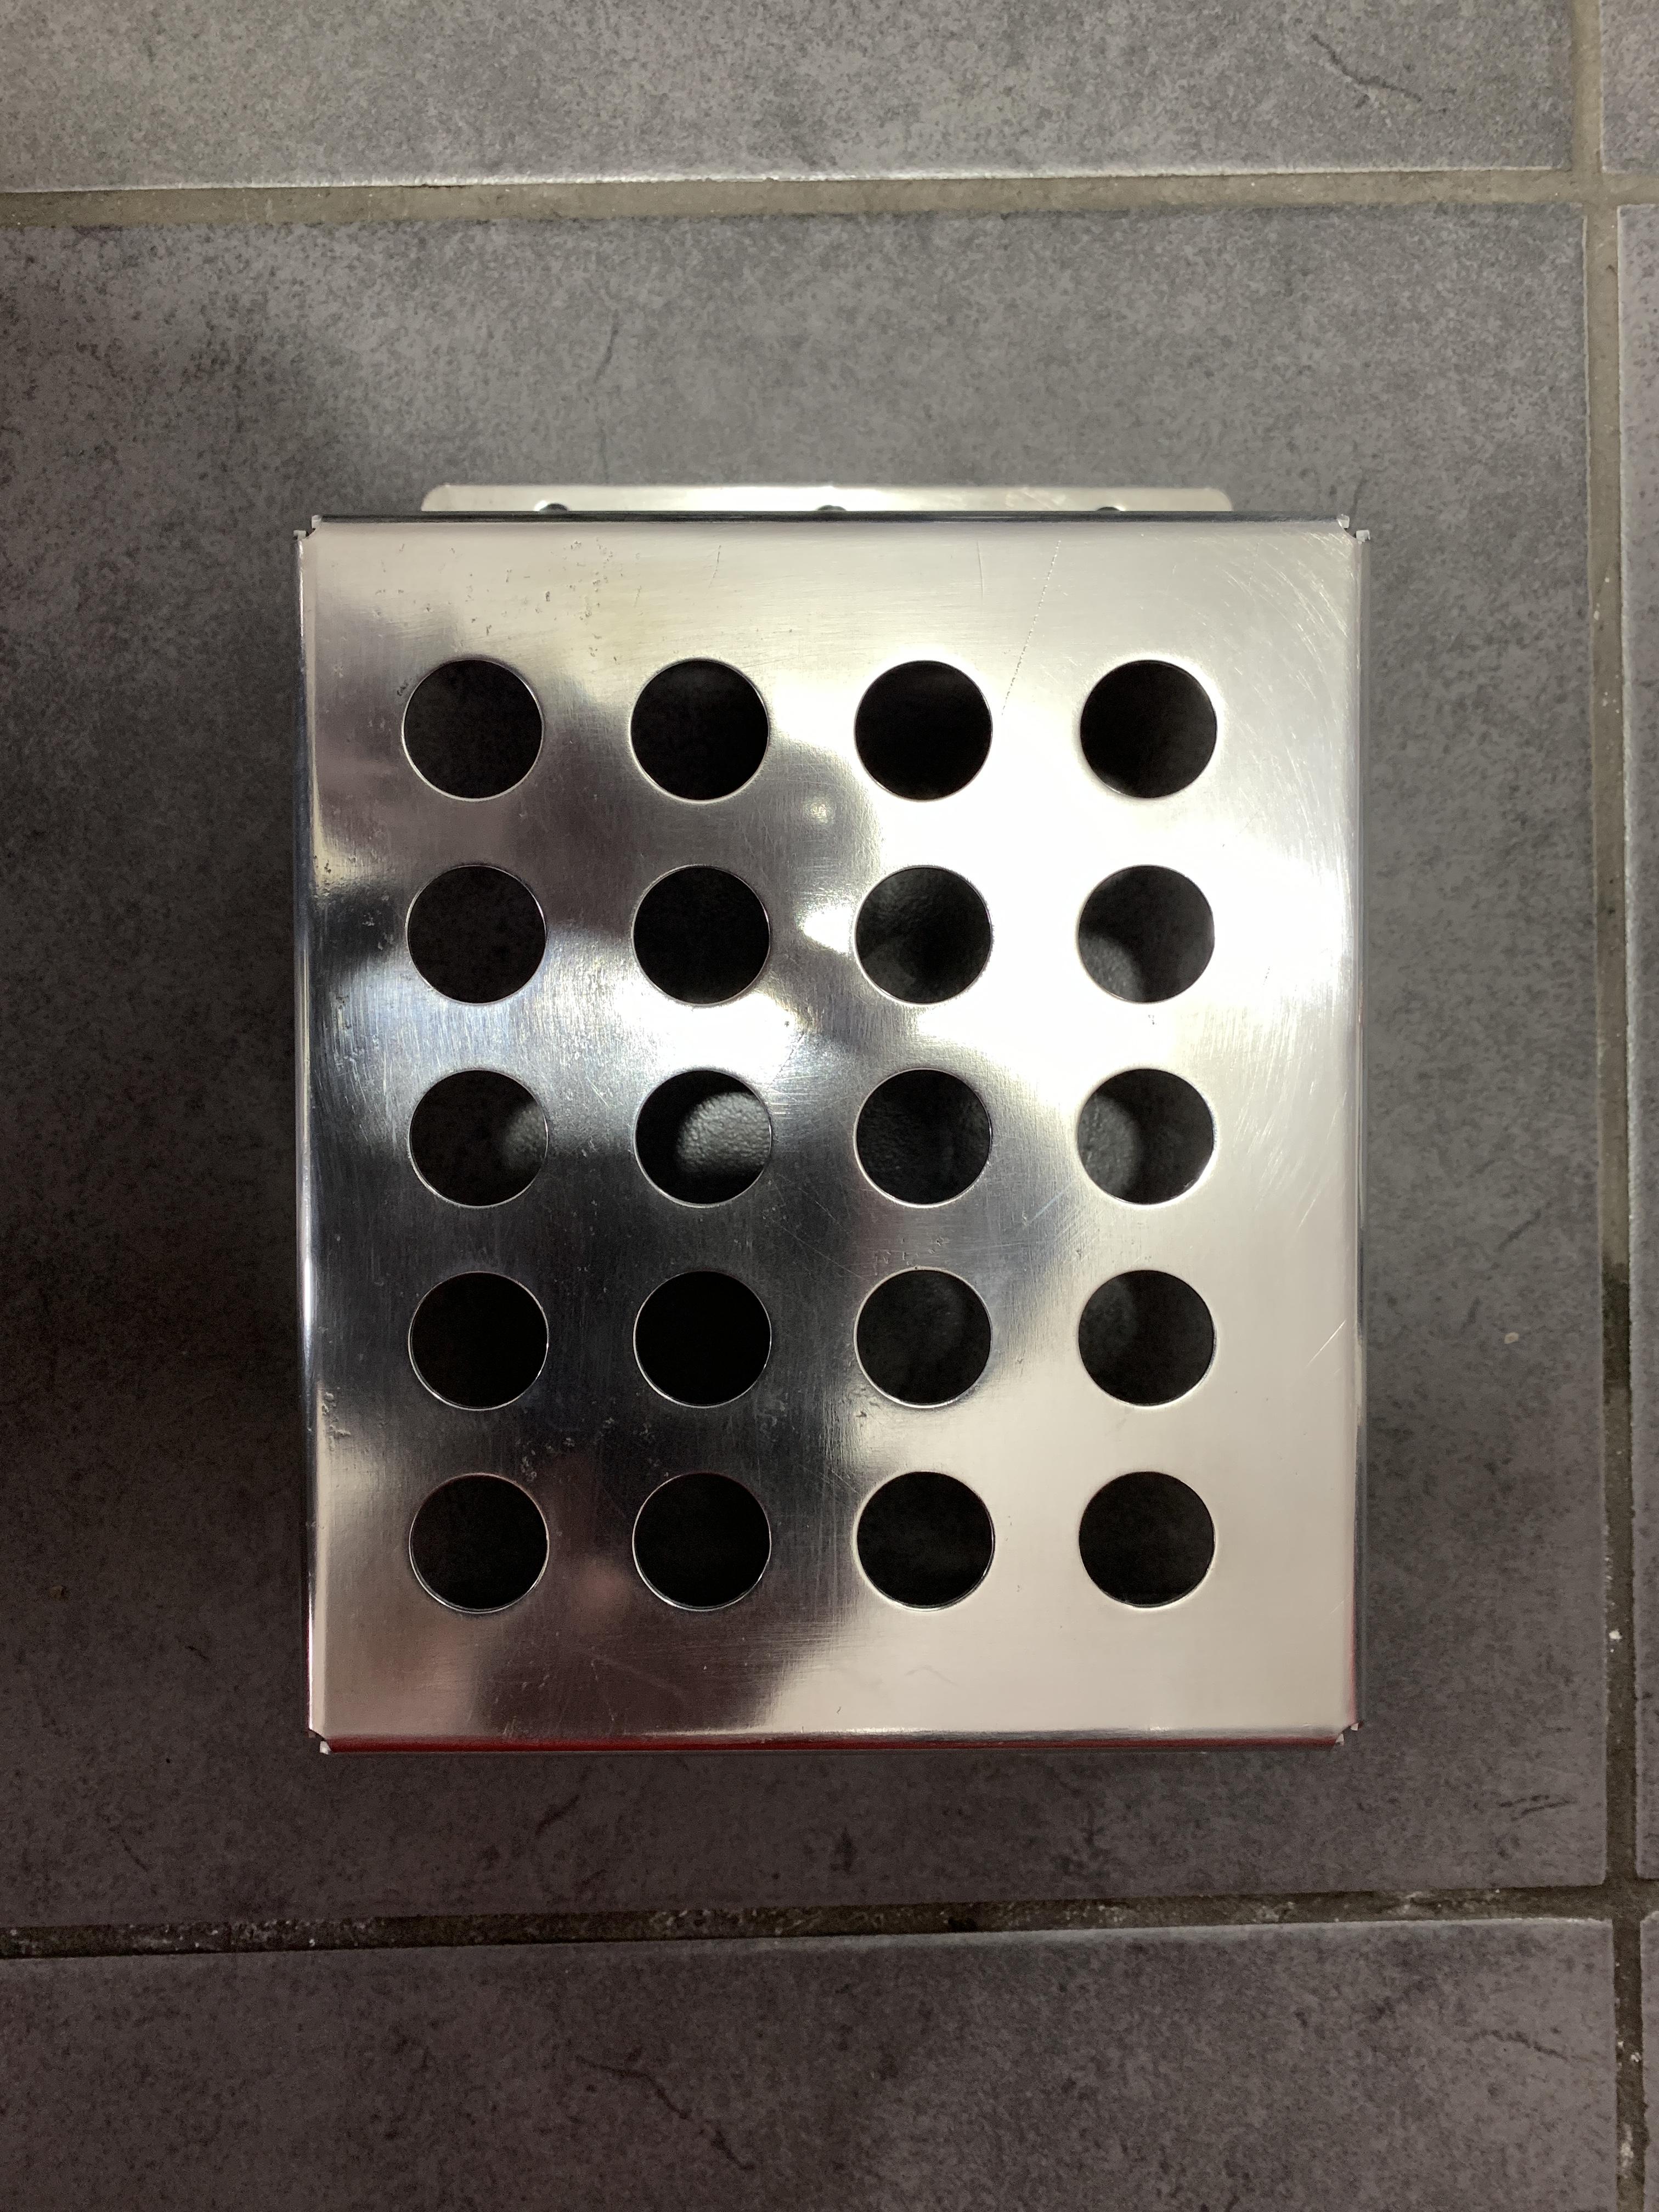
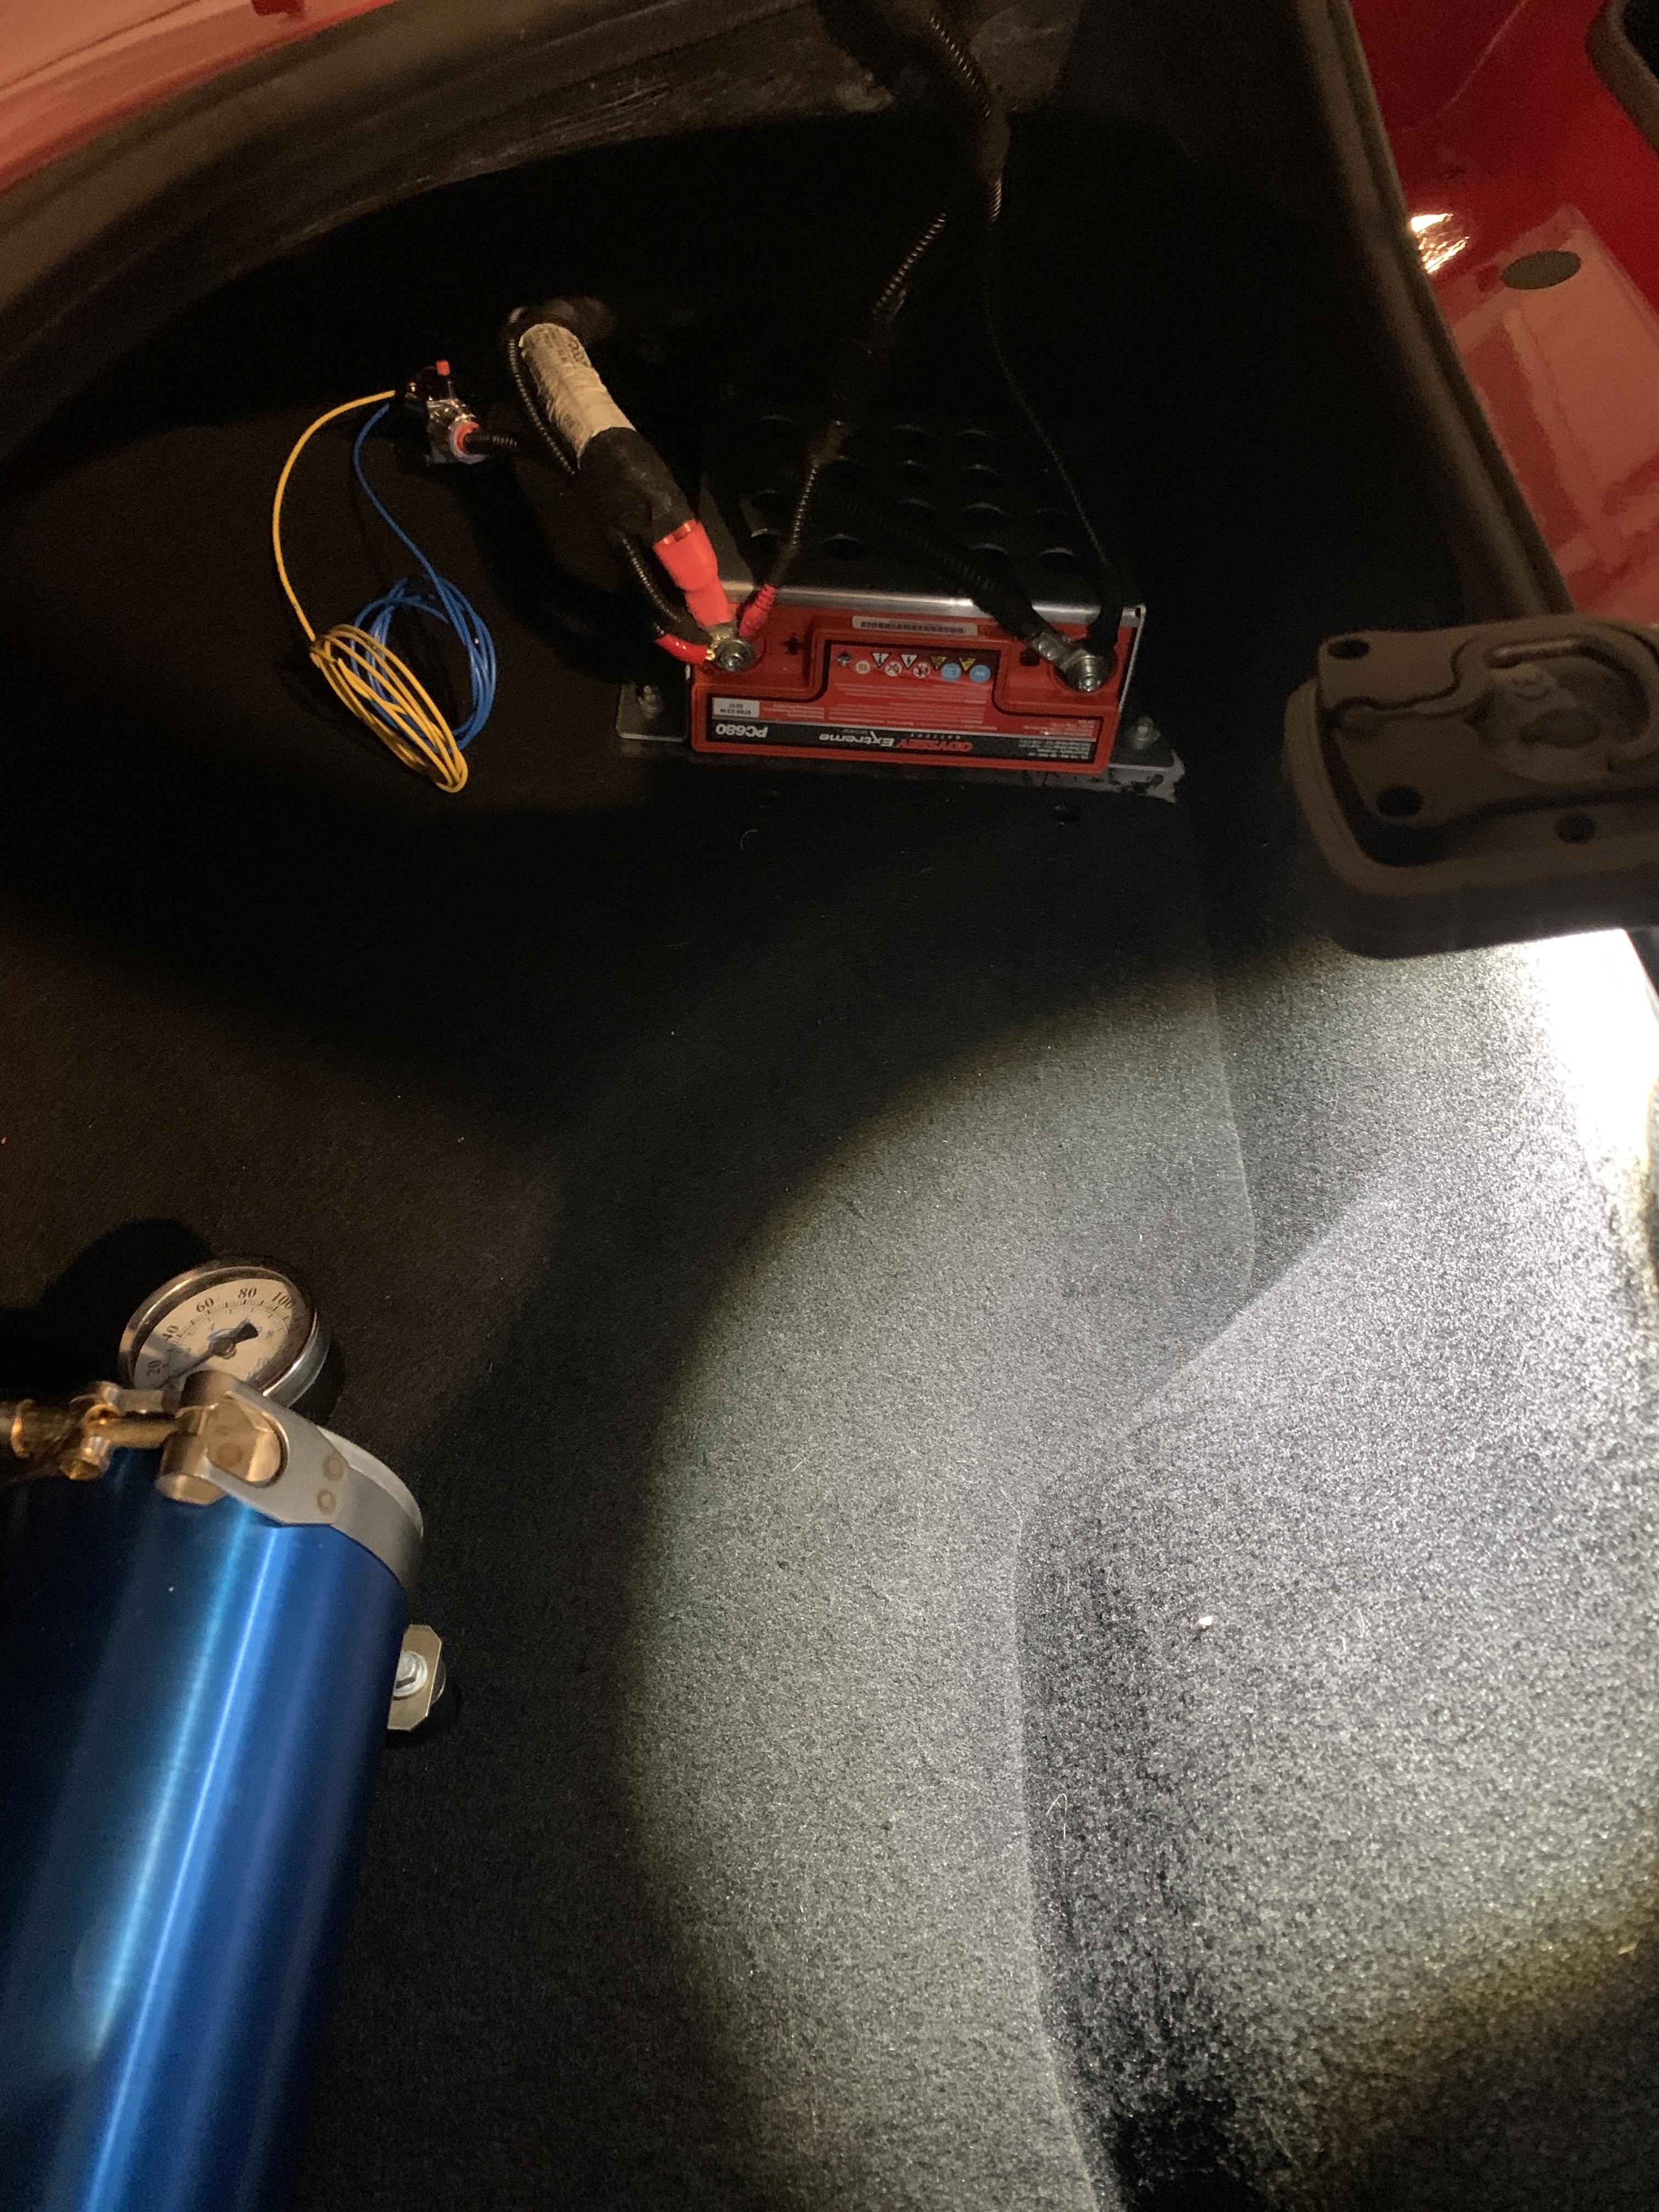
Battery mount was looking a bit tired:

So was wetsanded and polished:

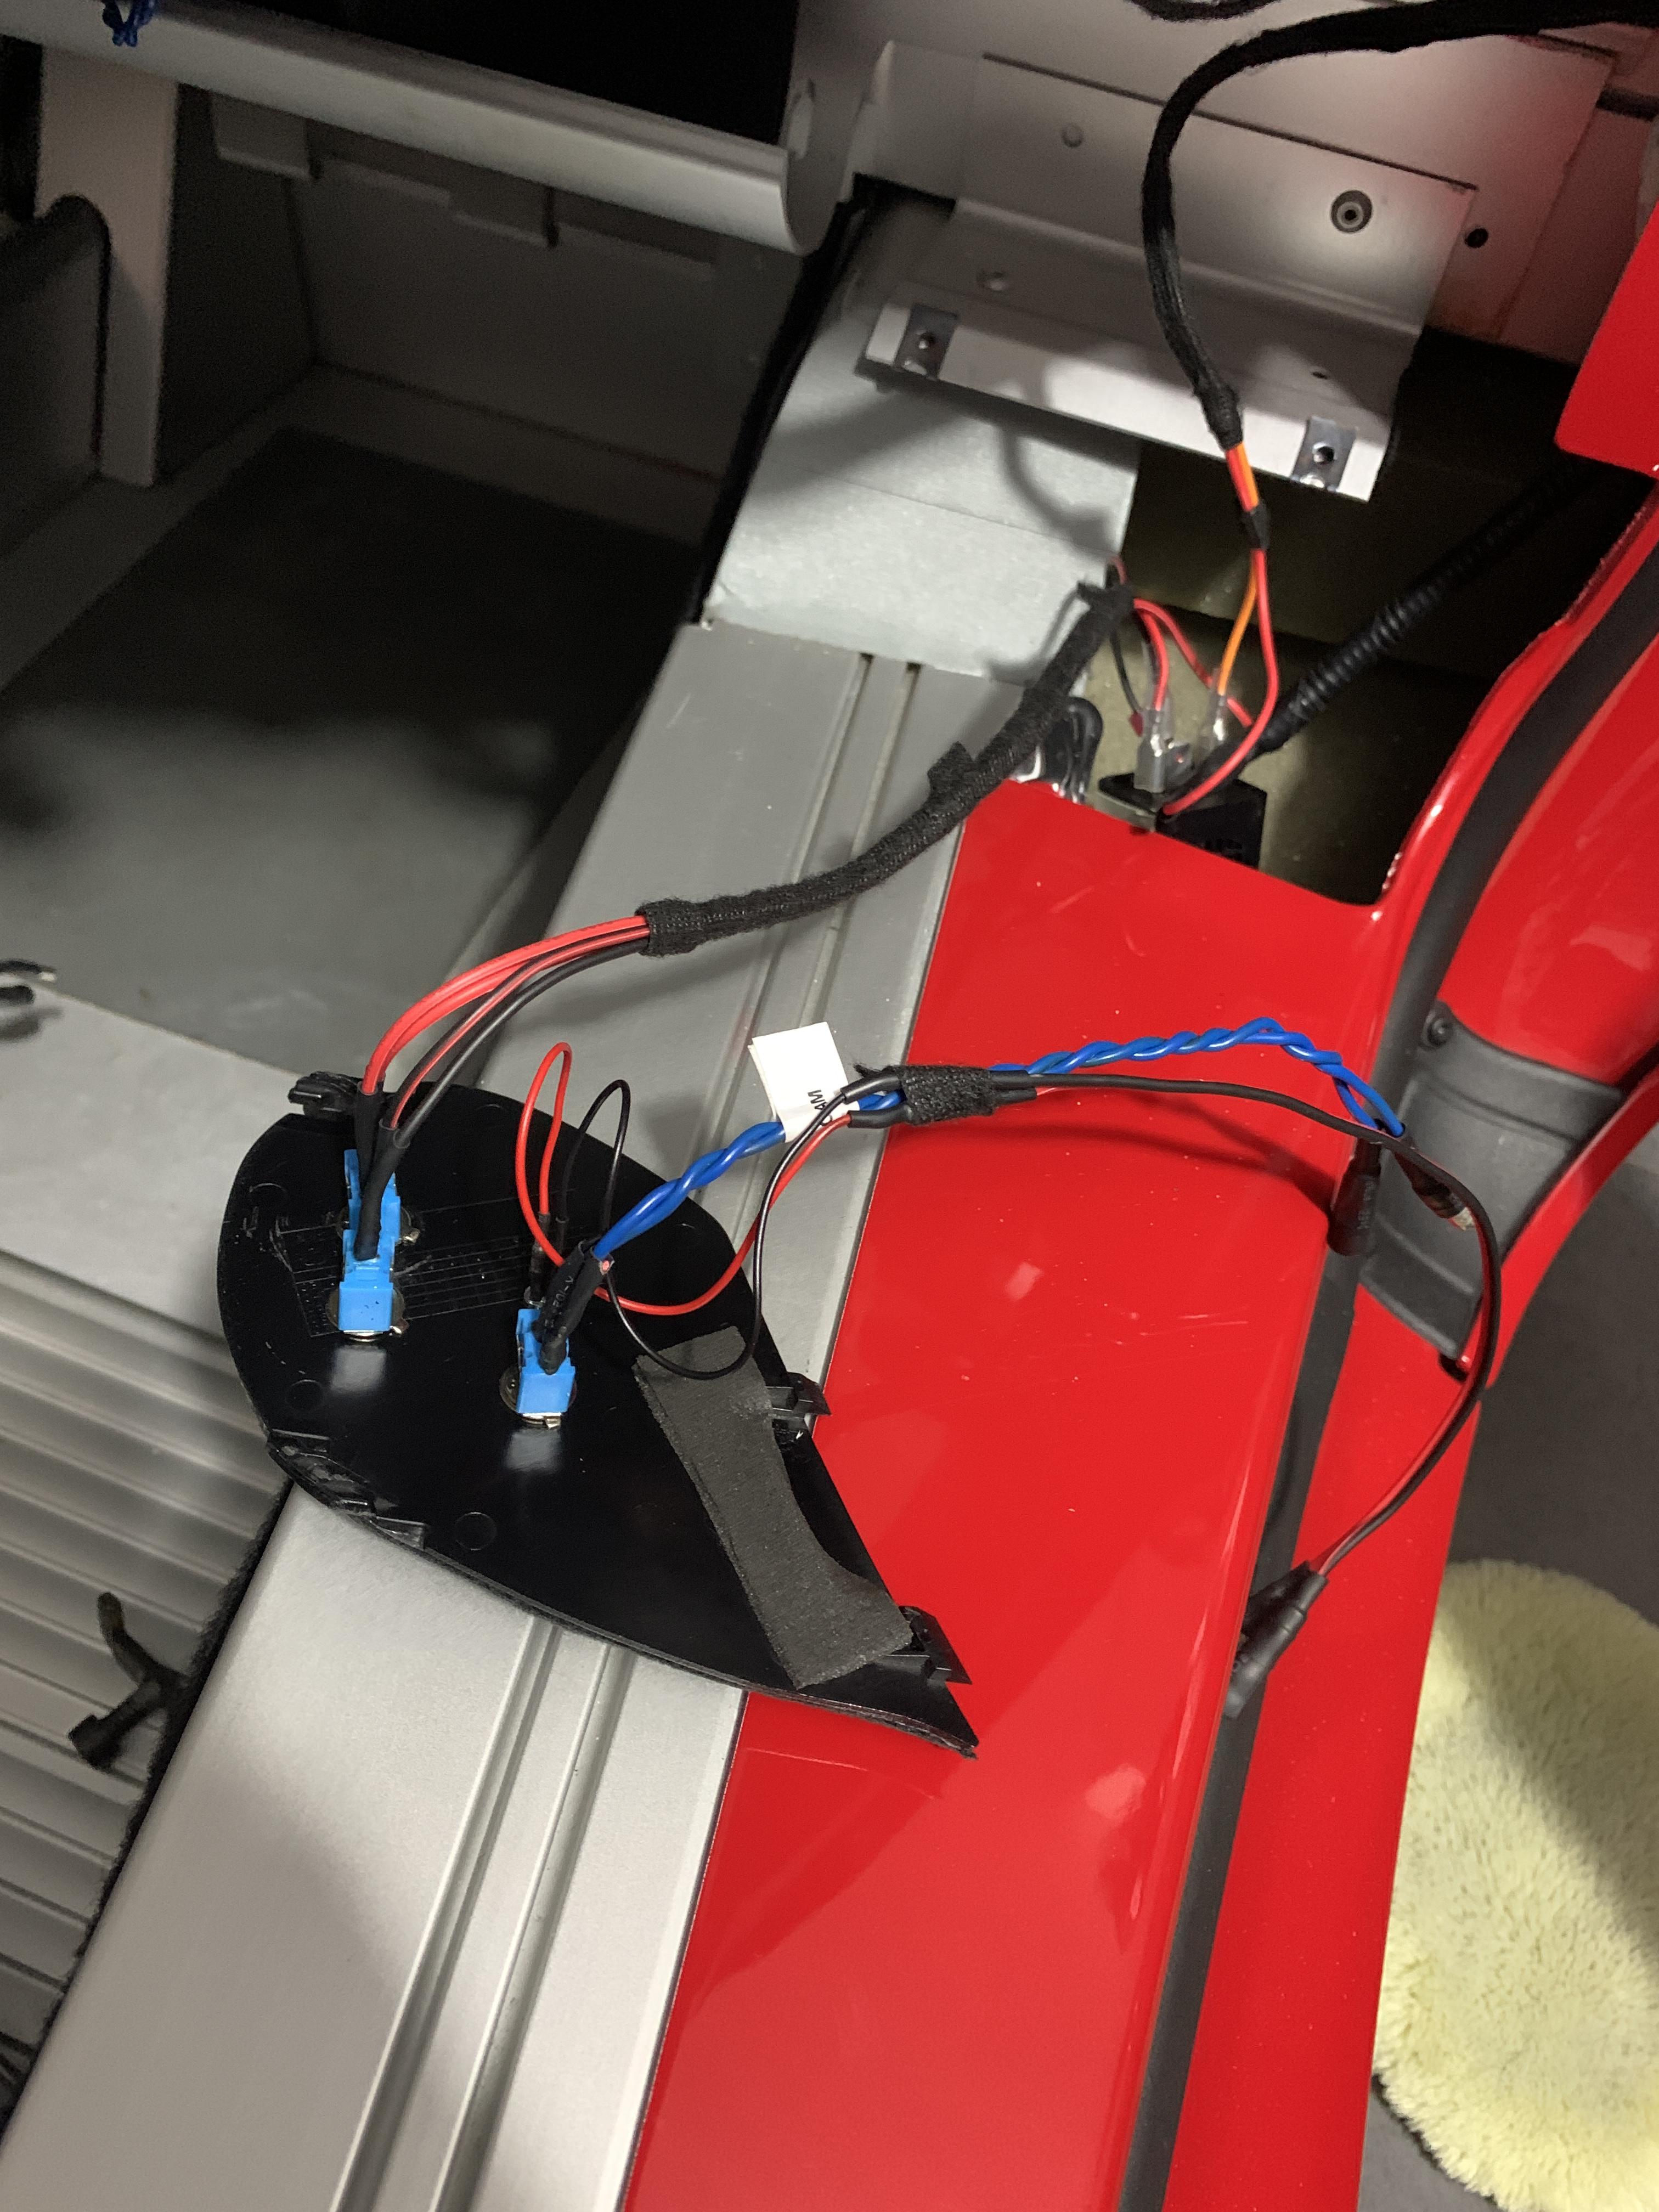
Wiring like the alarm switch was tacked in properly, not used gaffa tape like Lotus thought would do

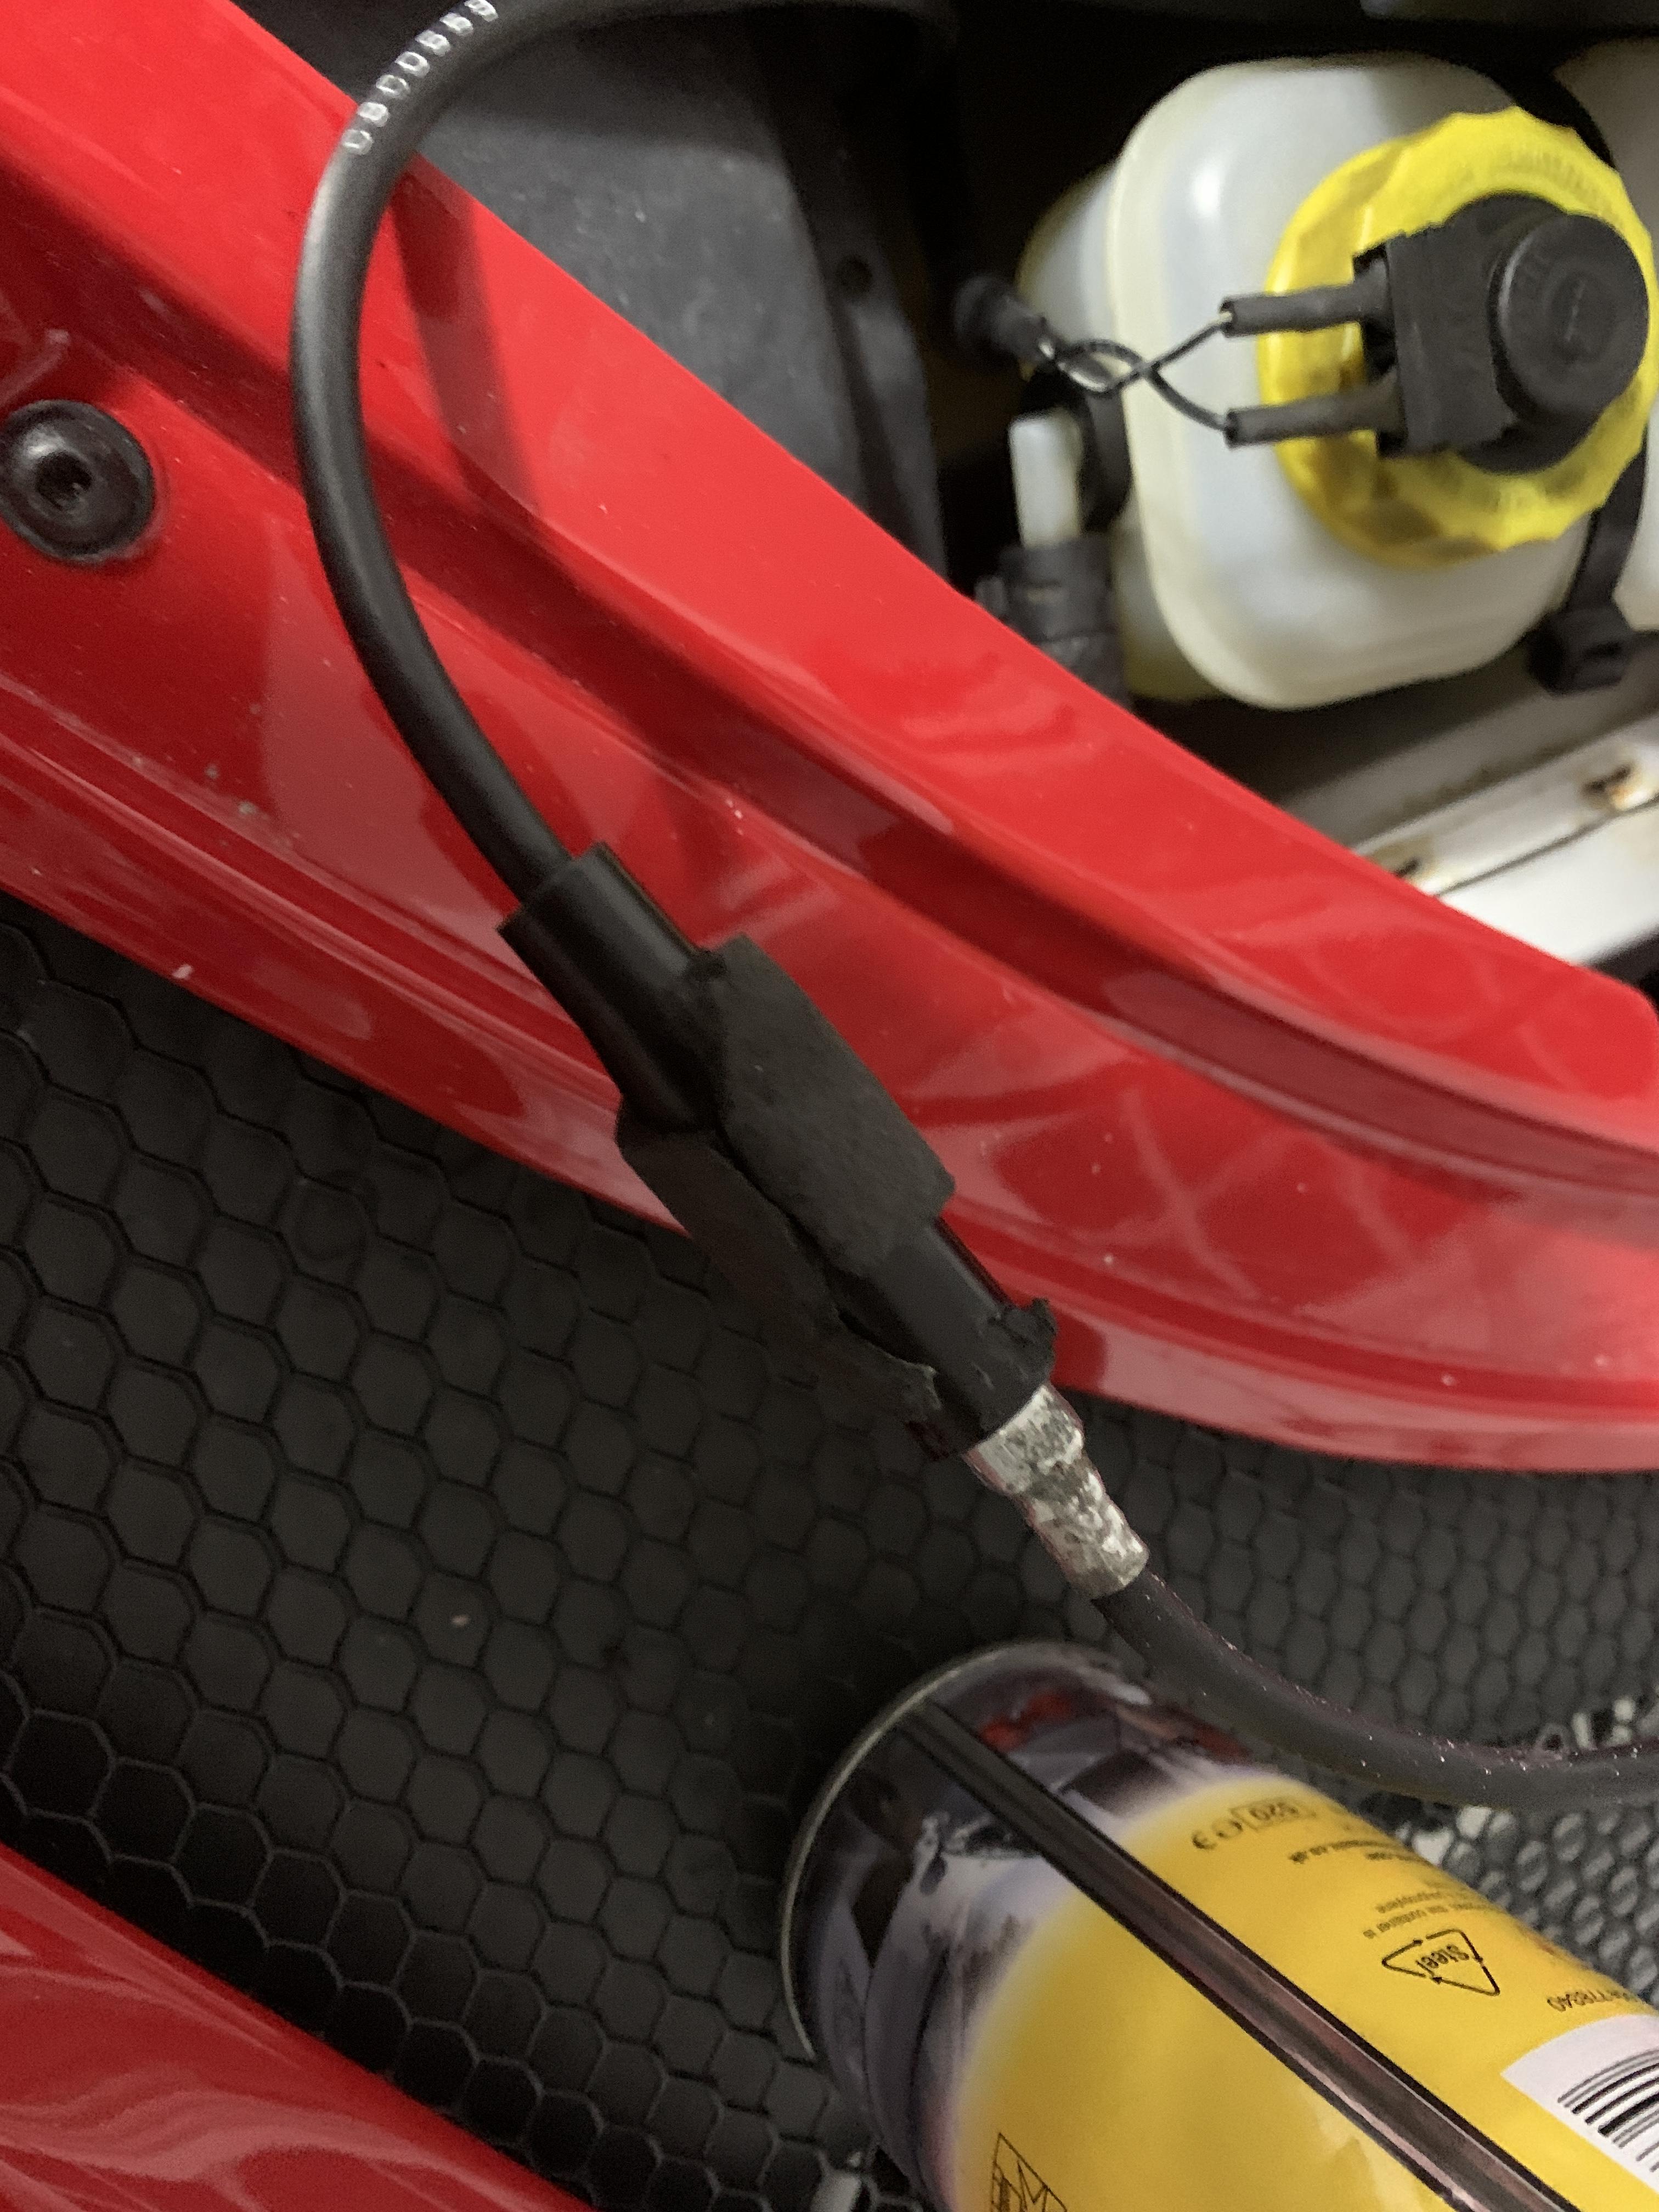
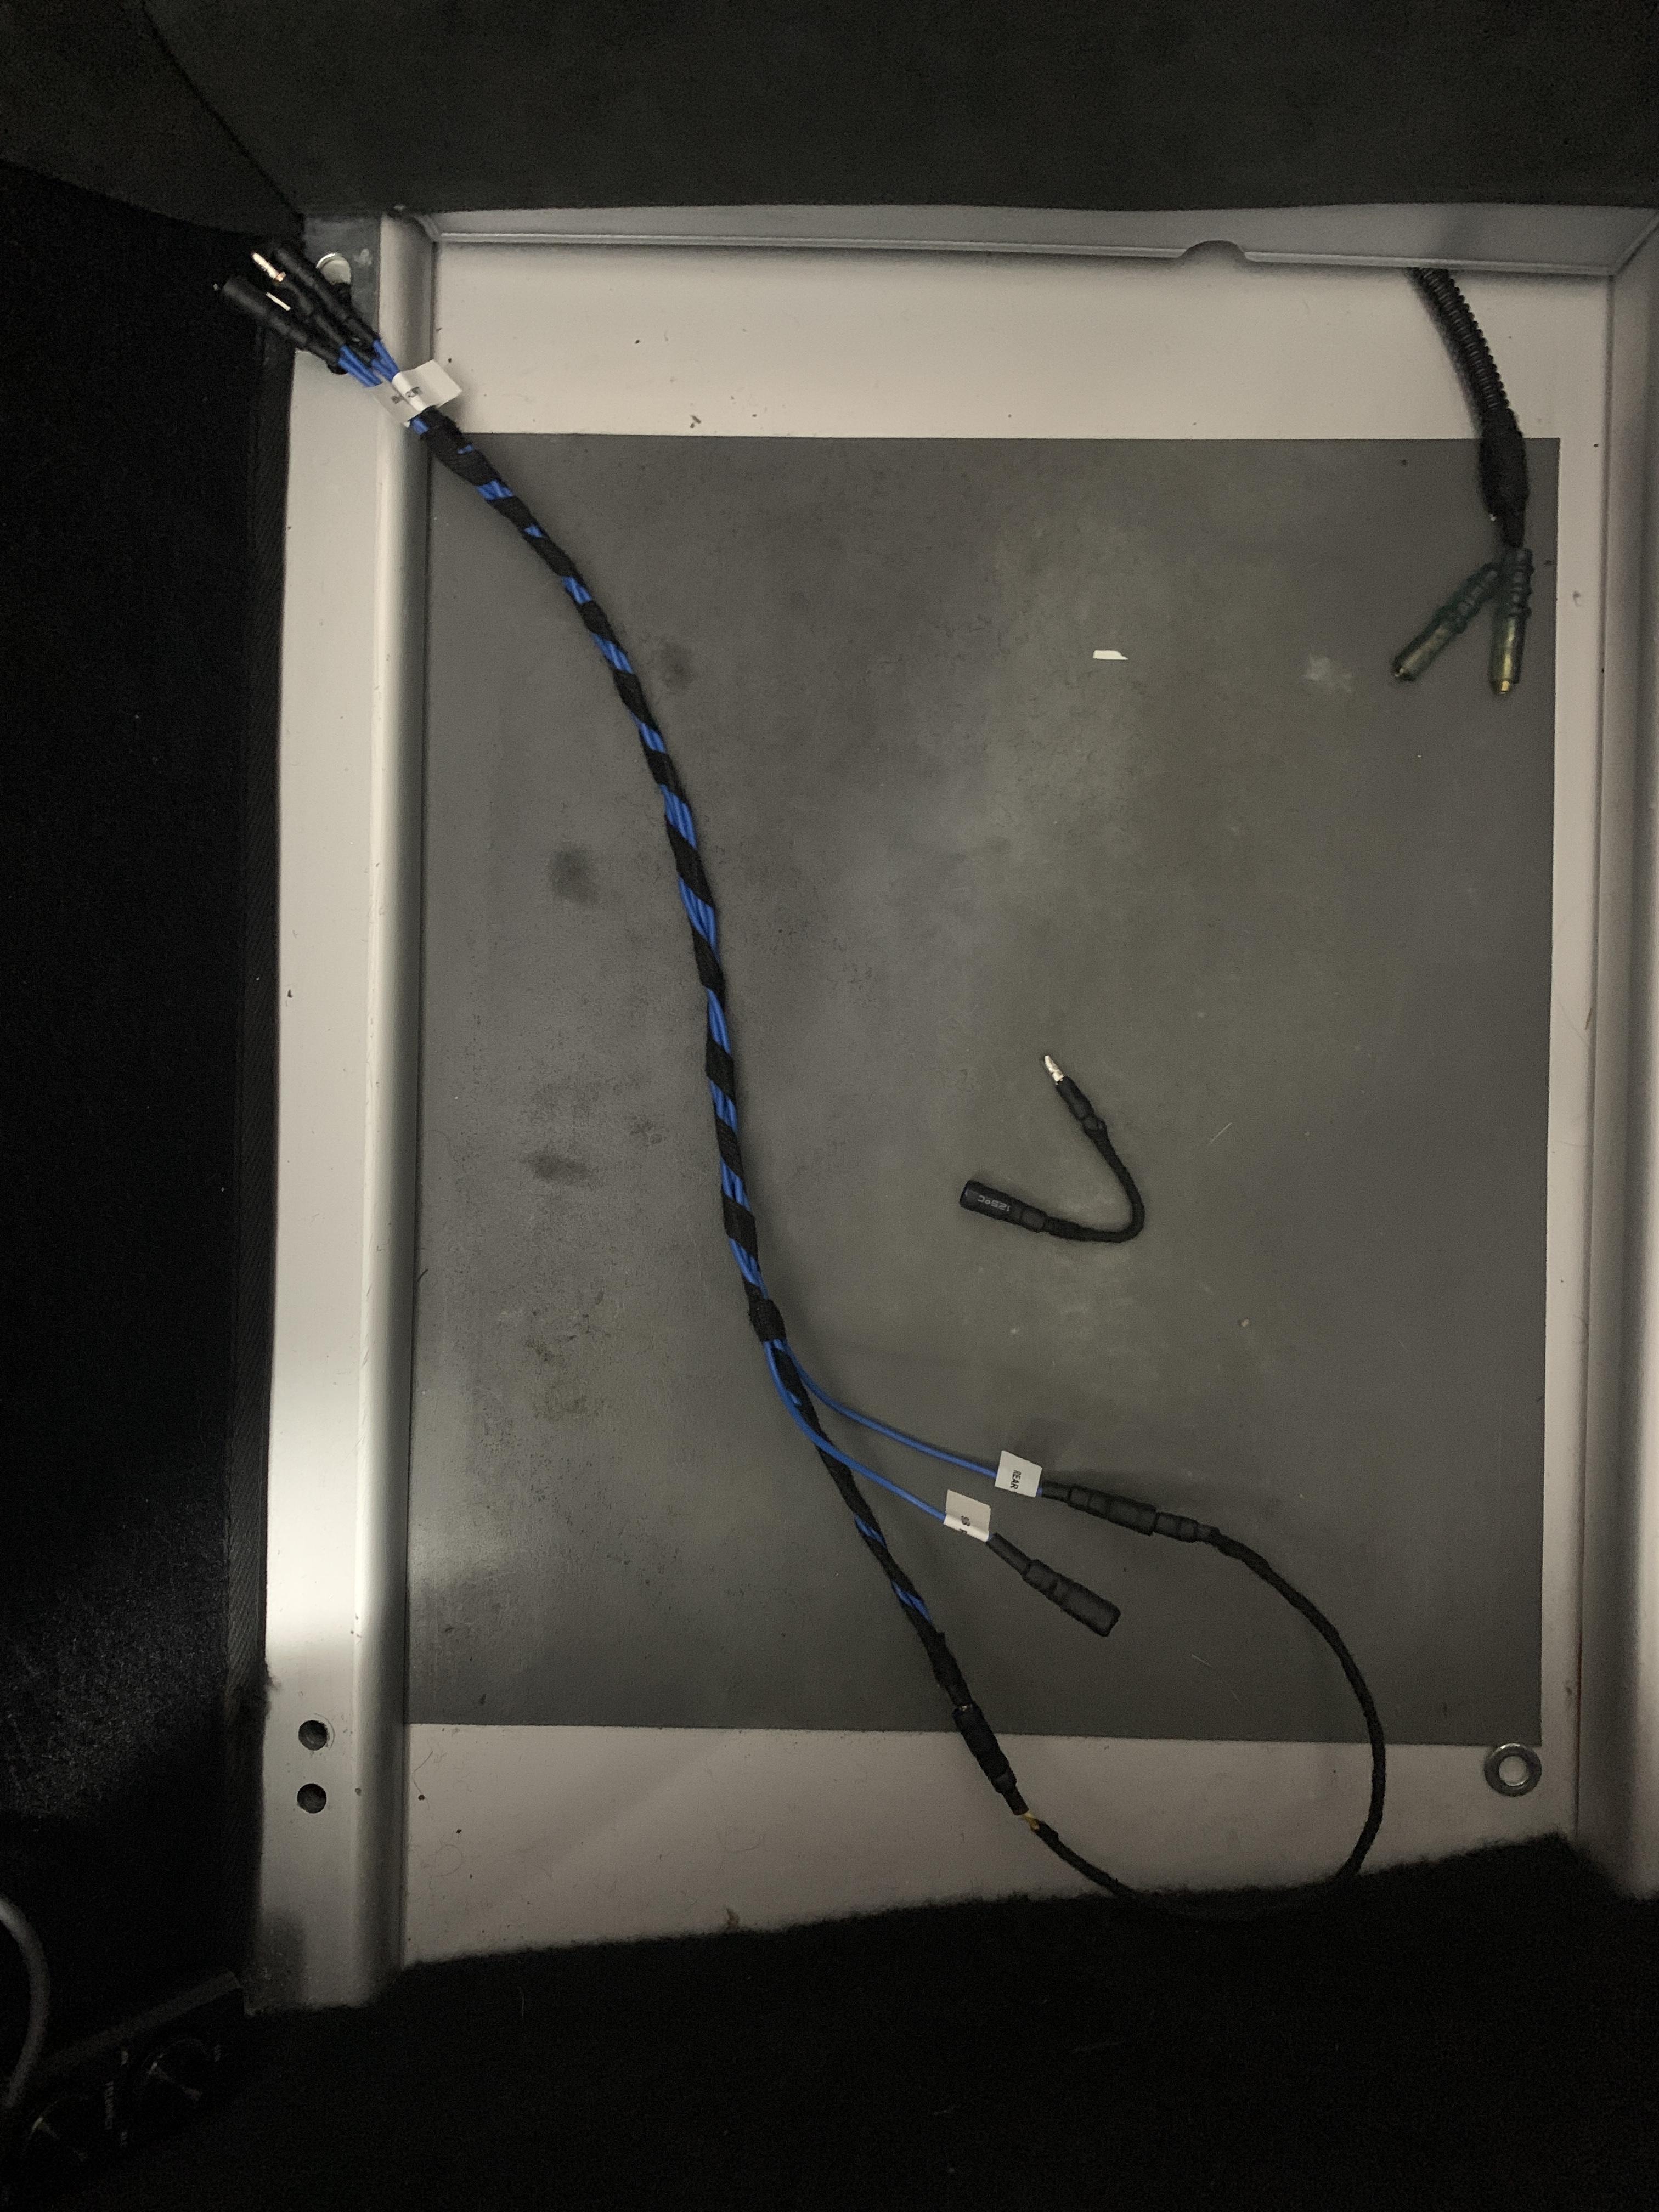
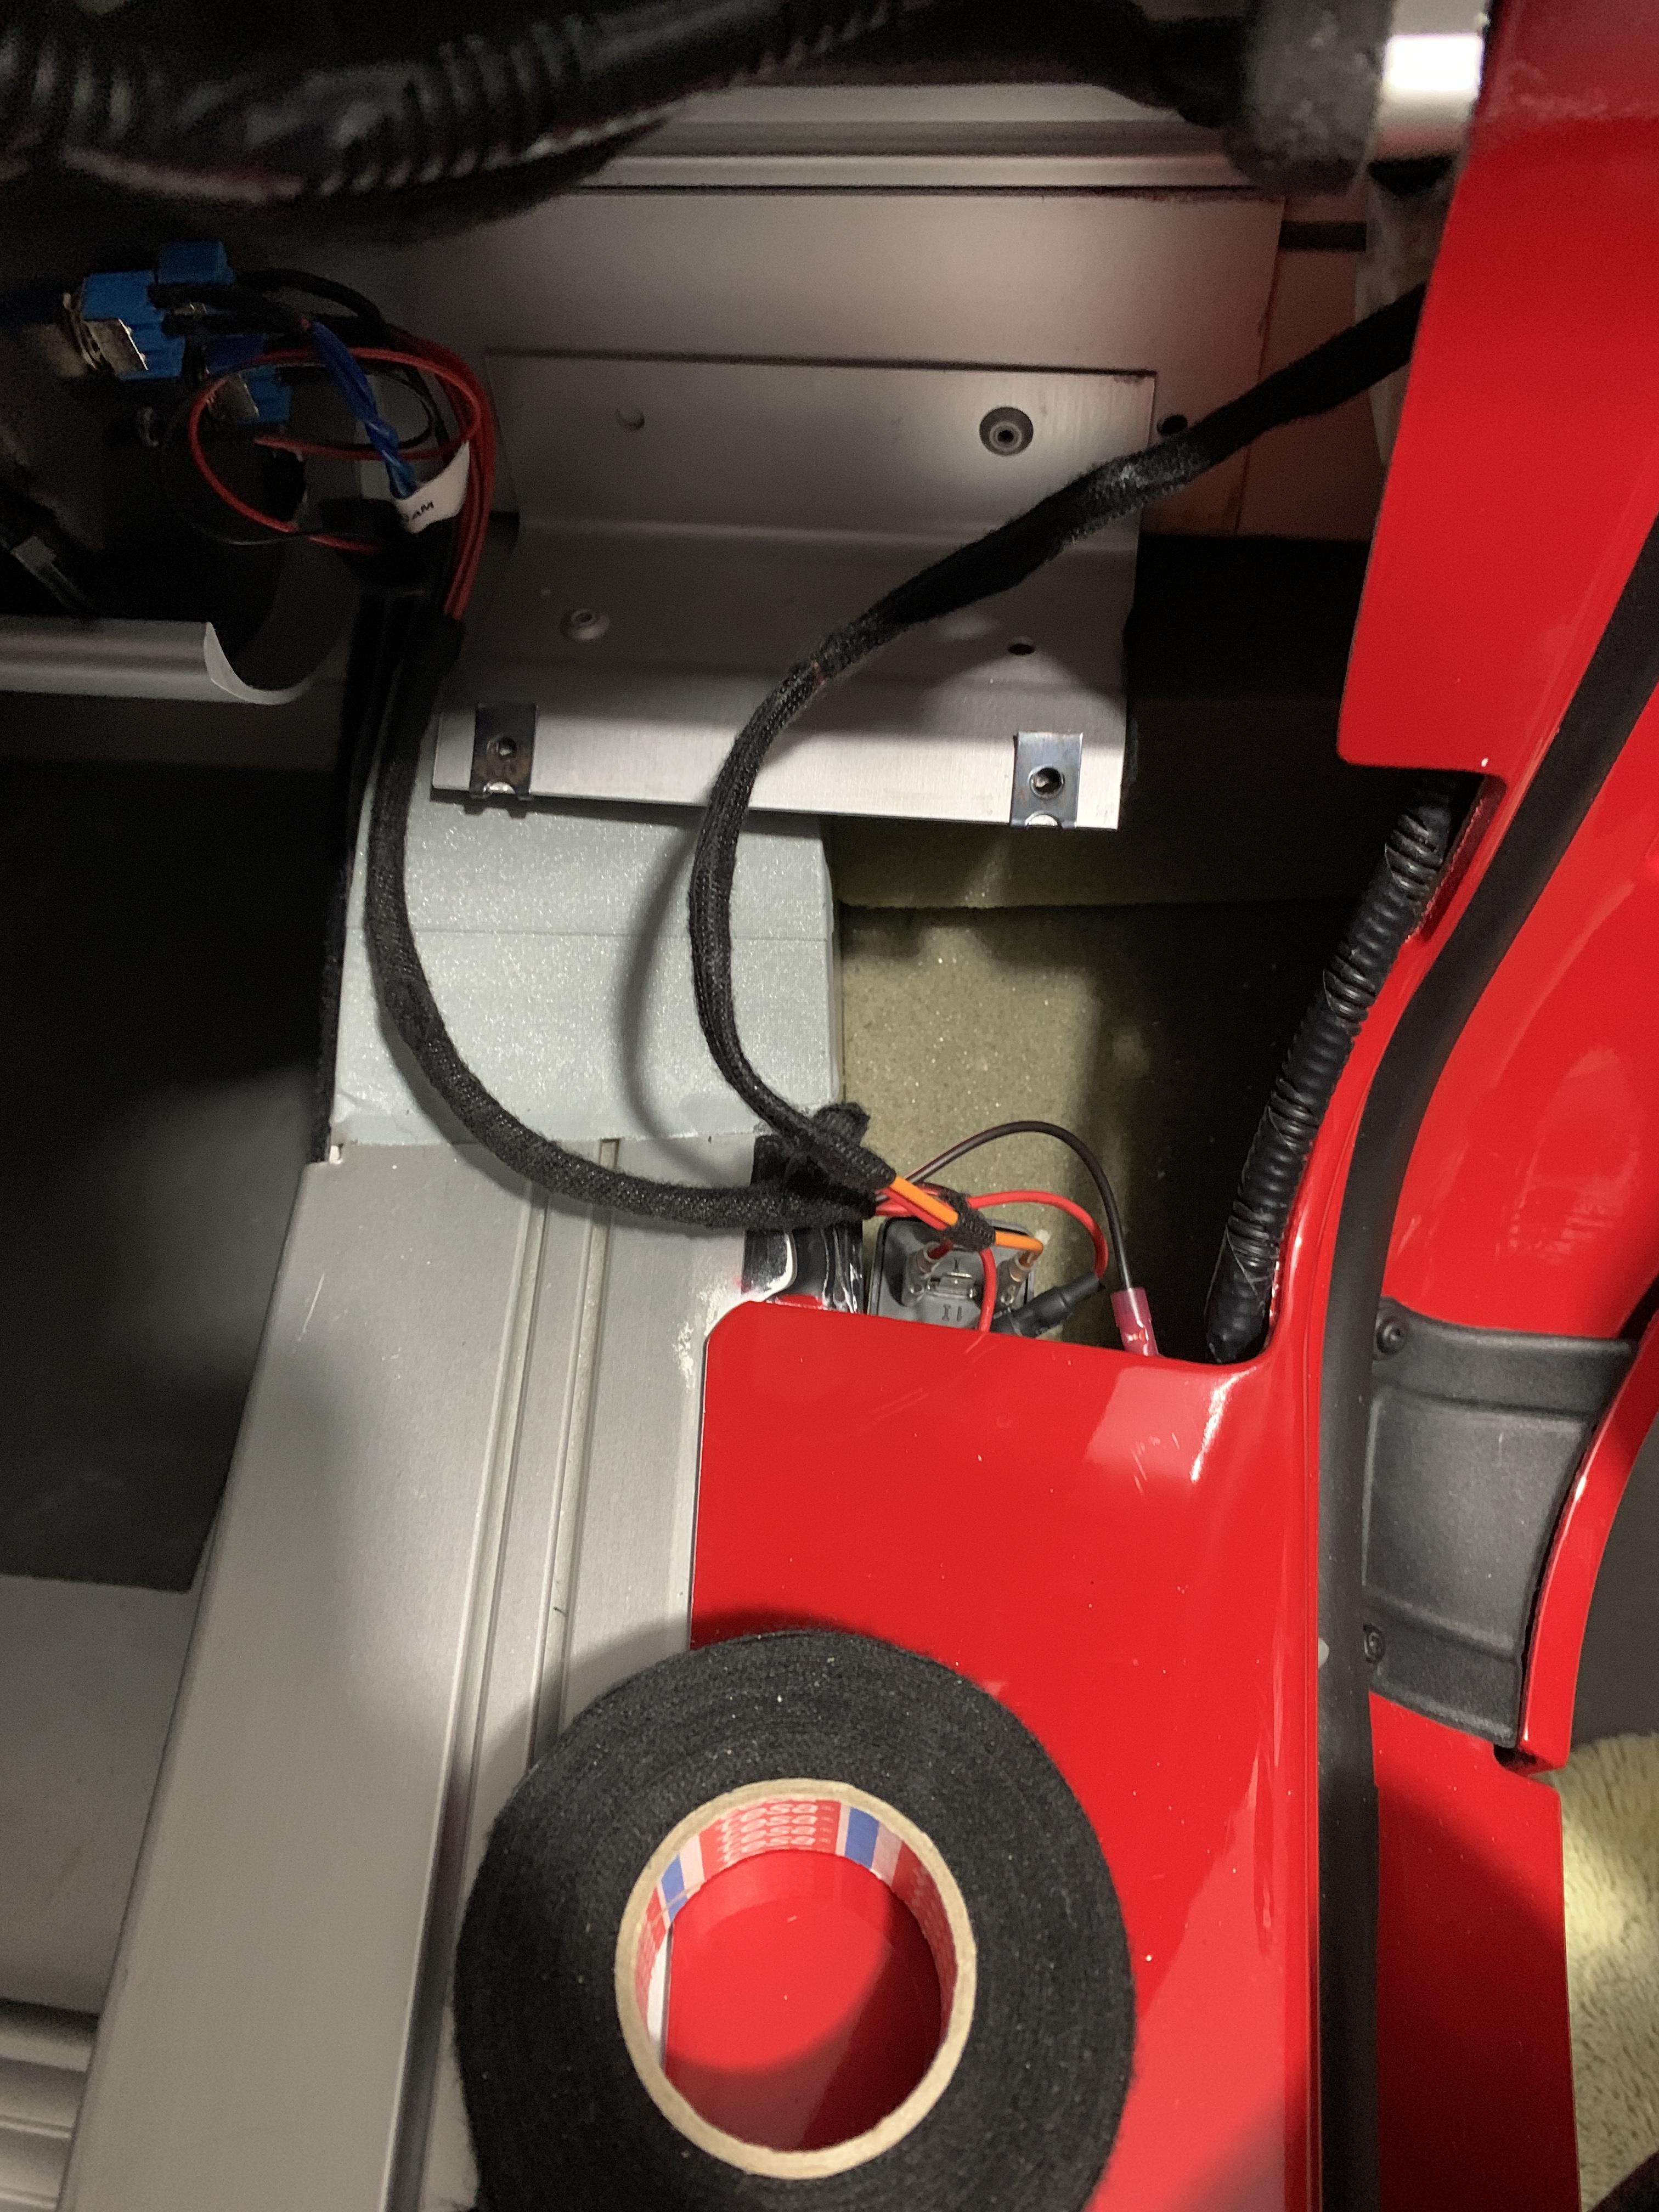
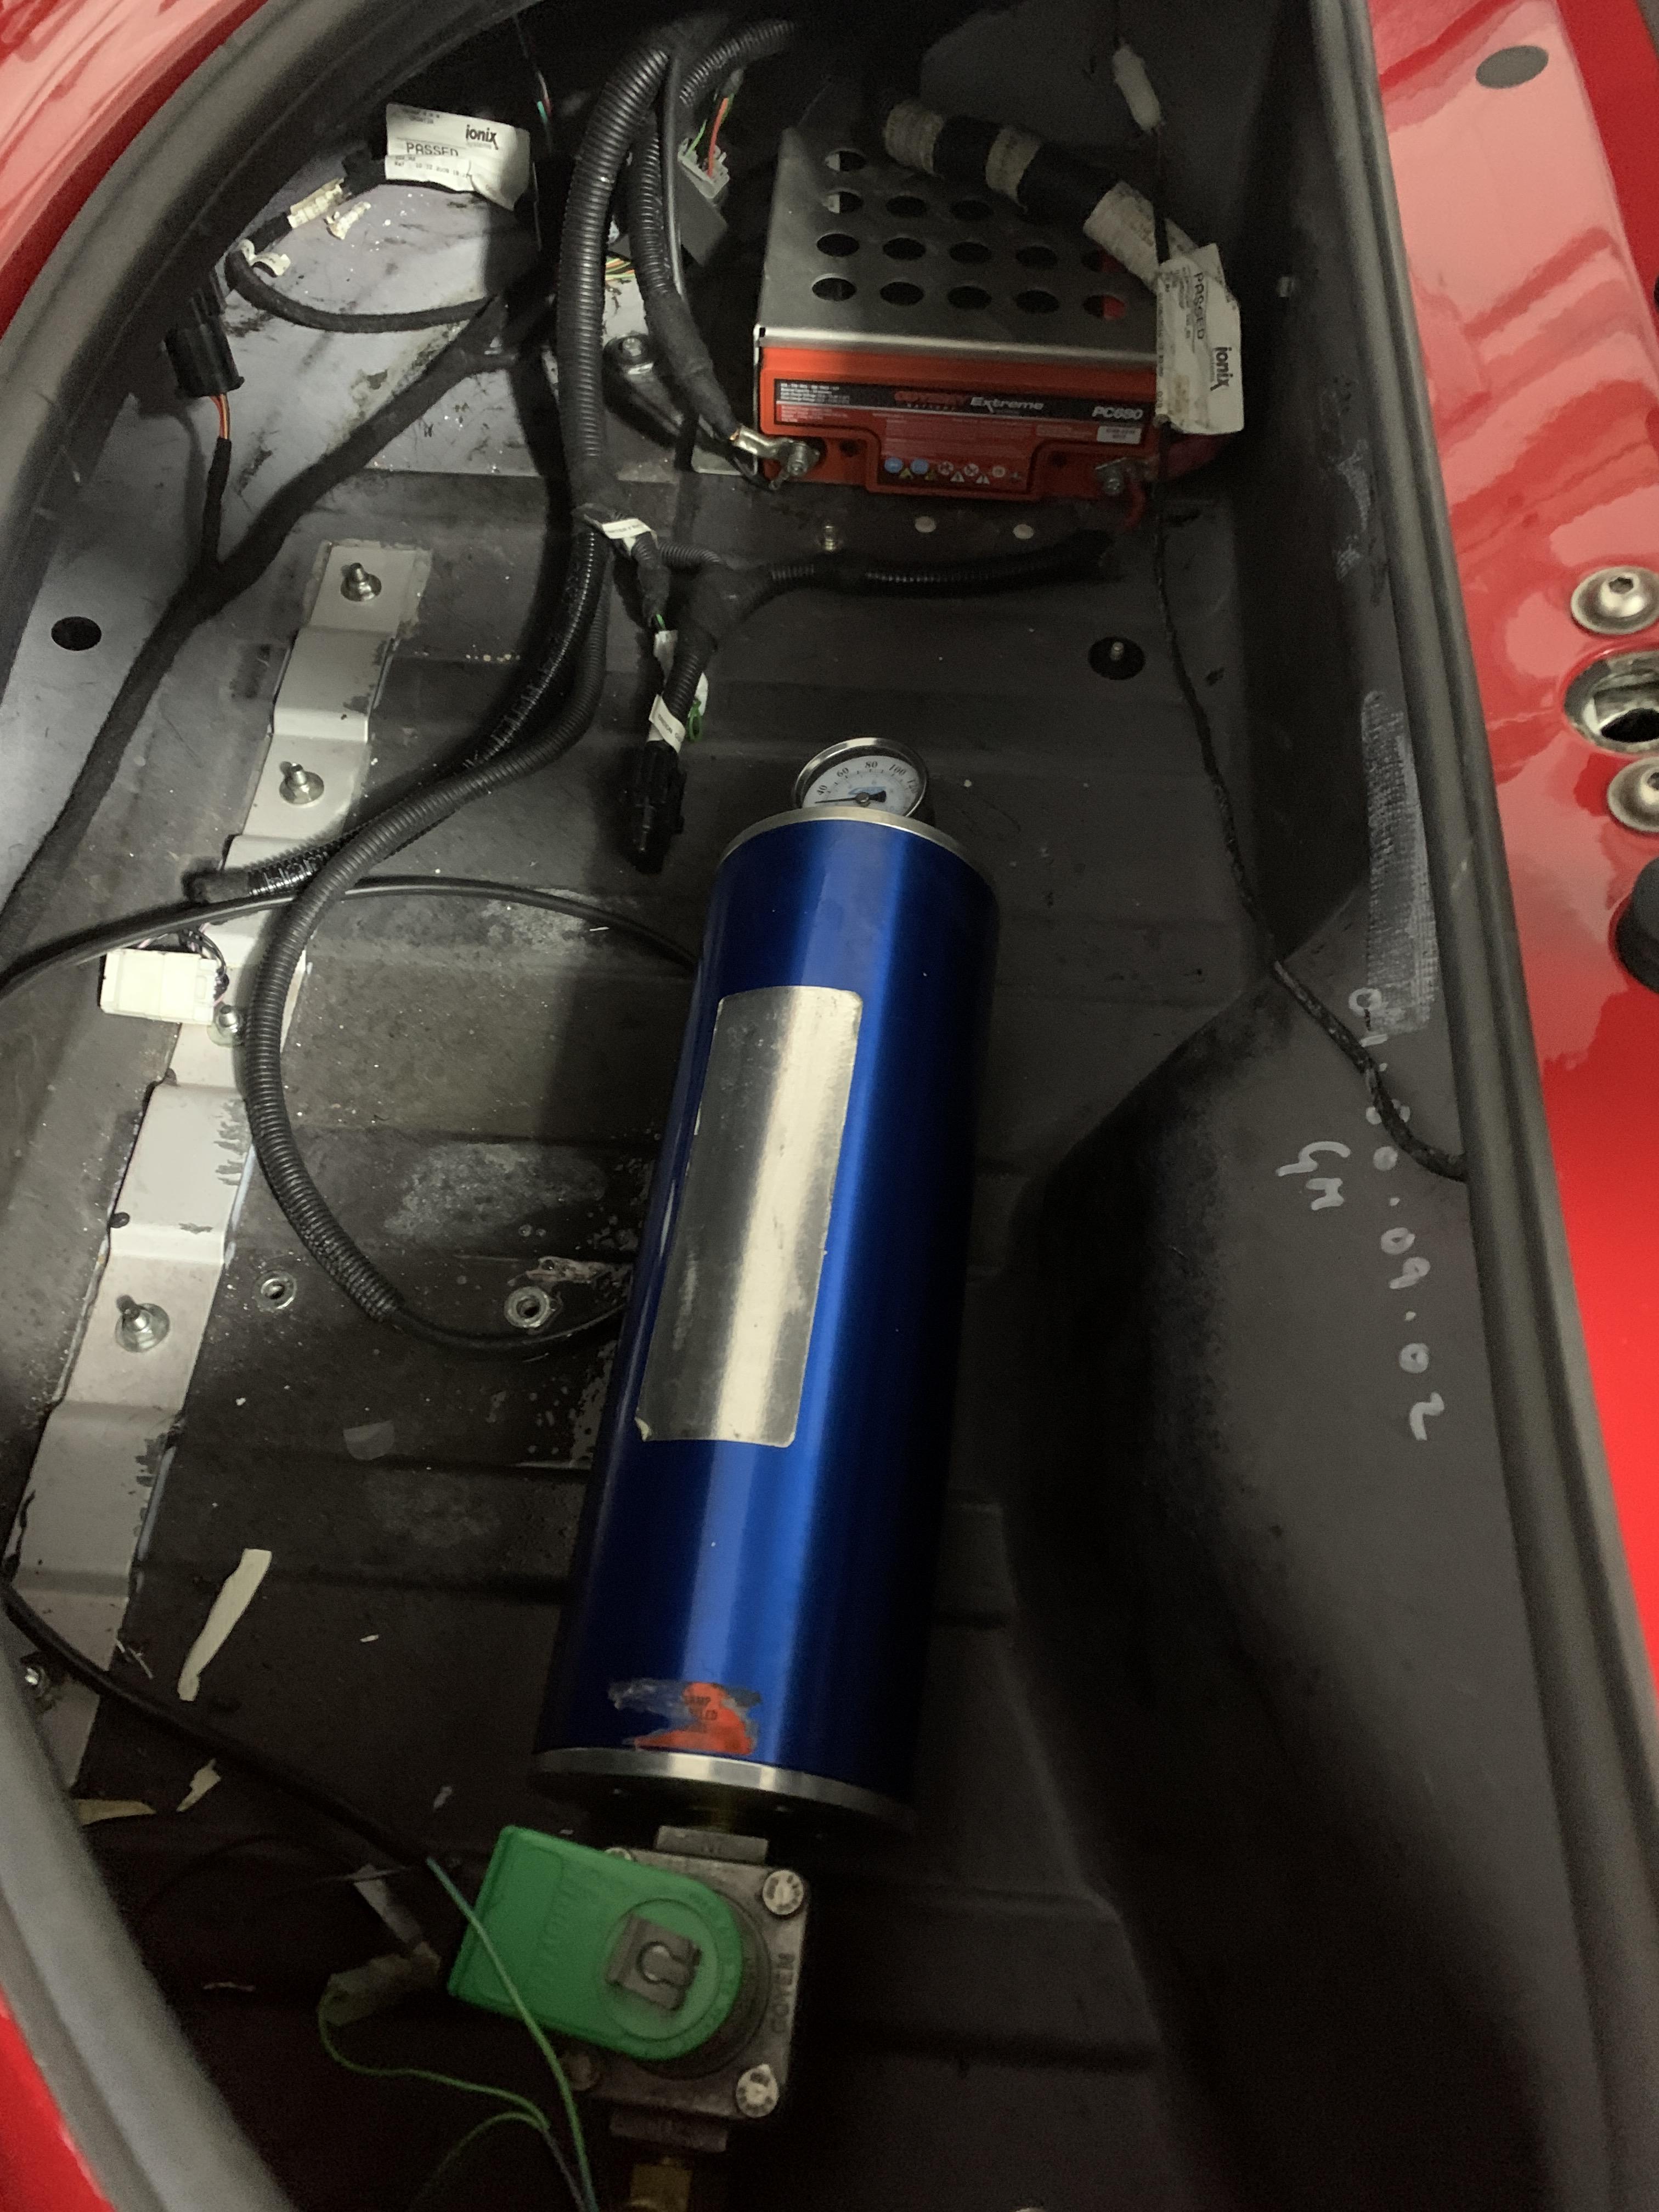
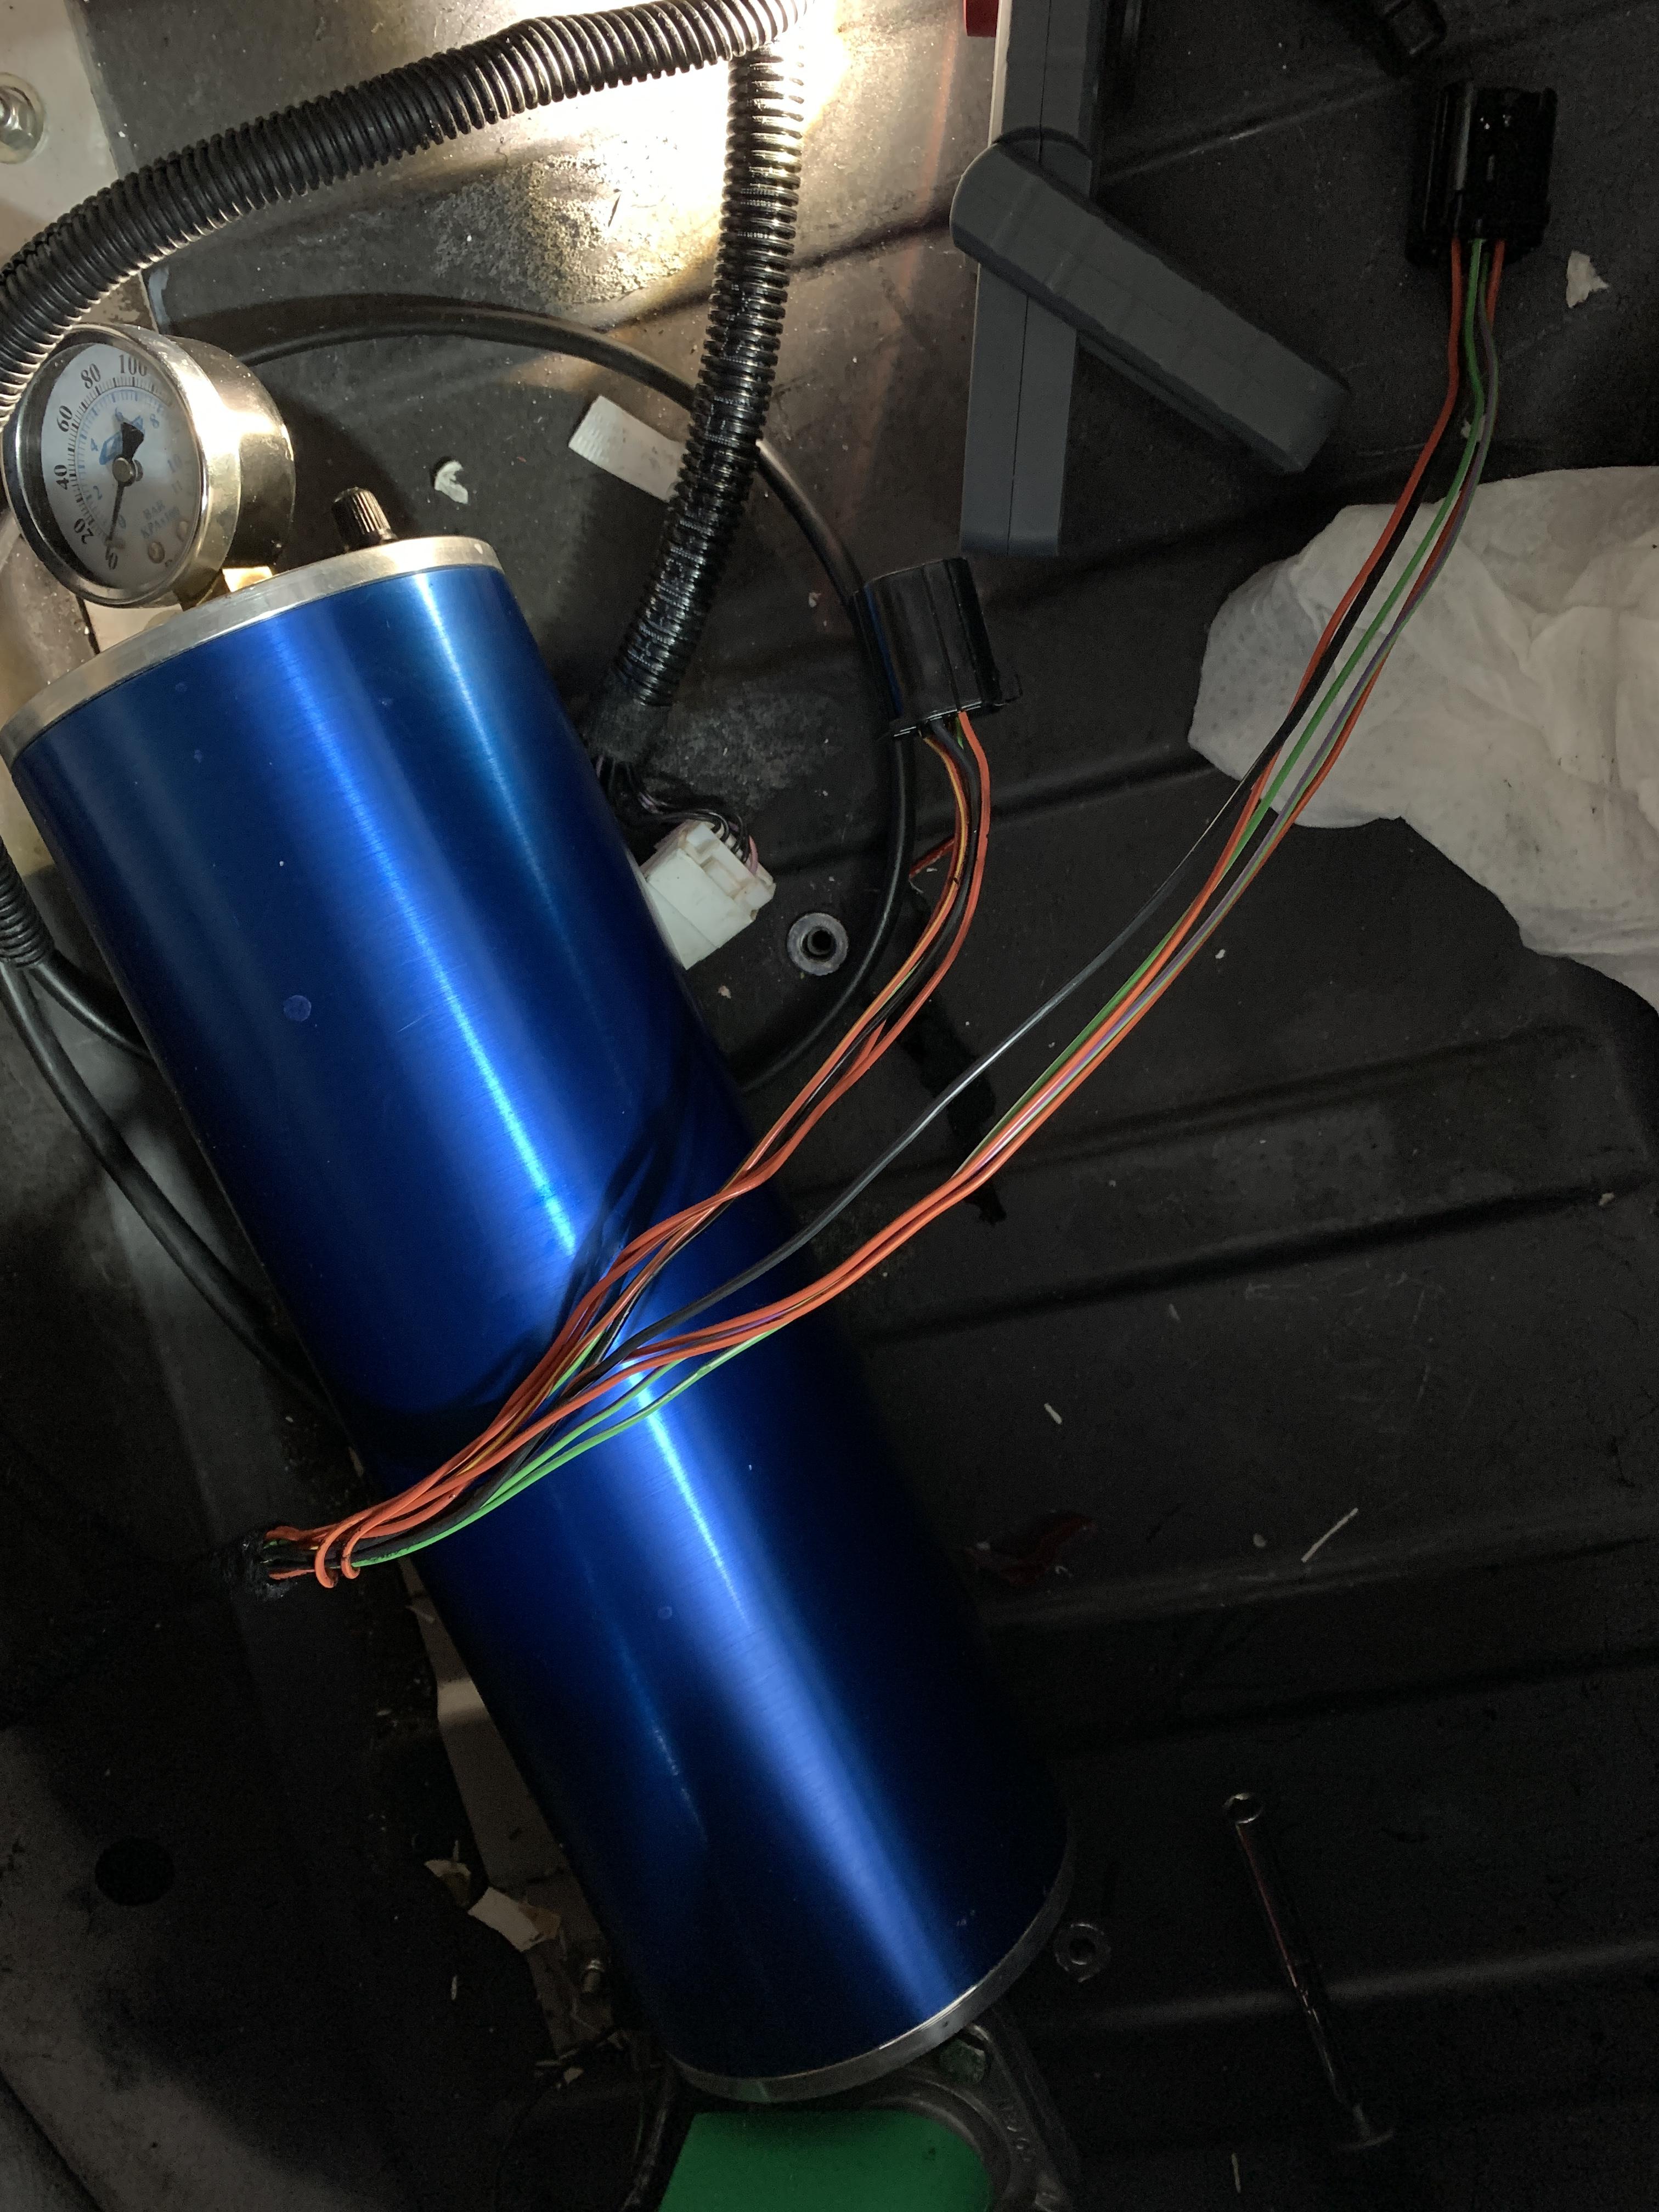
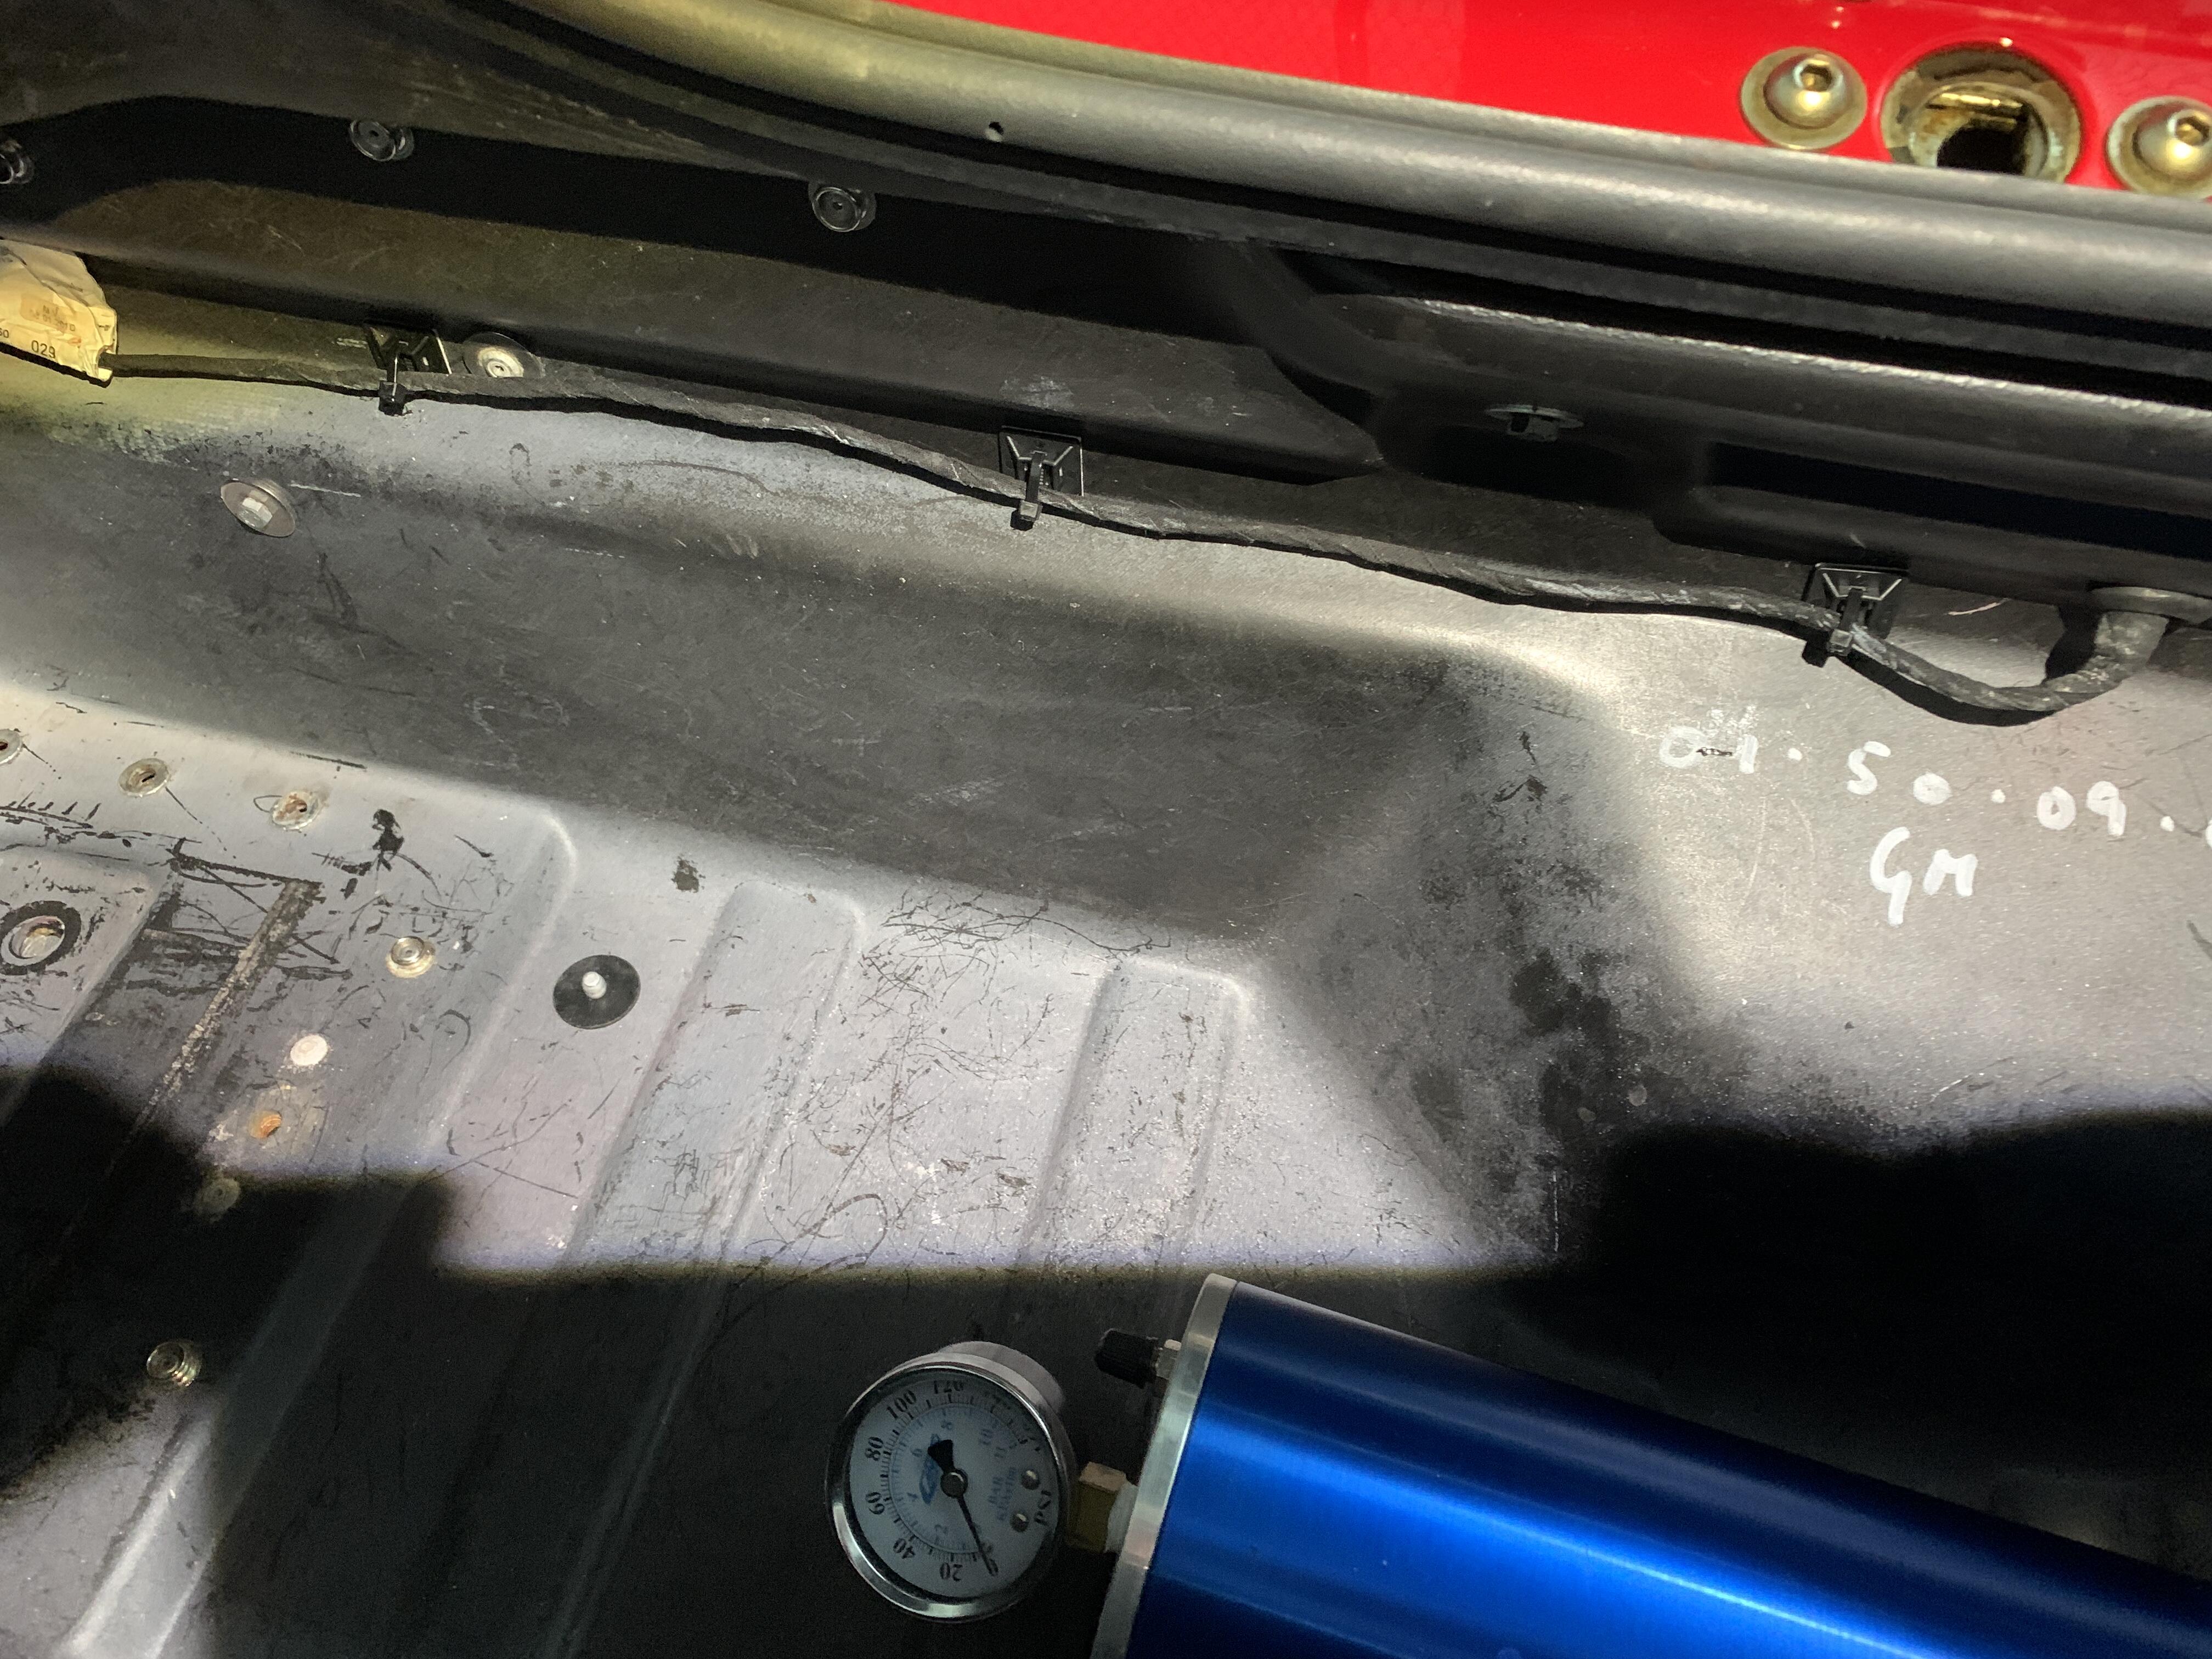
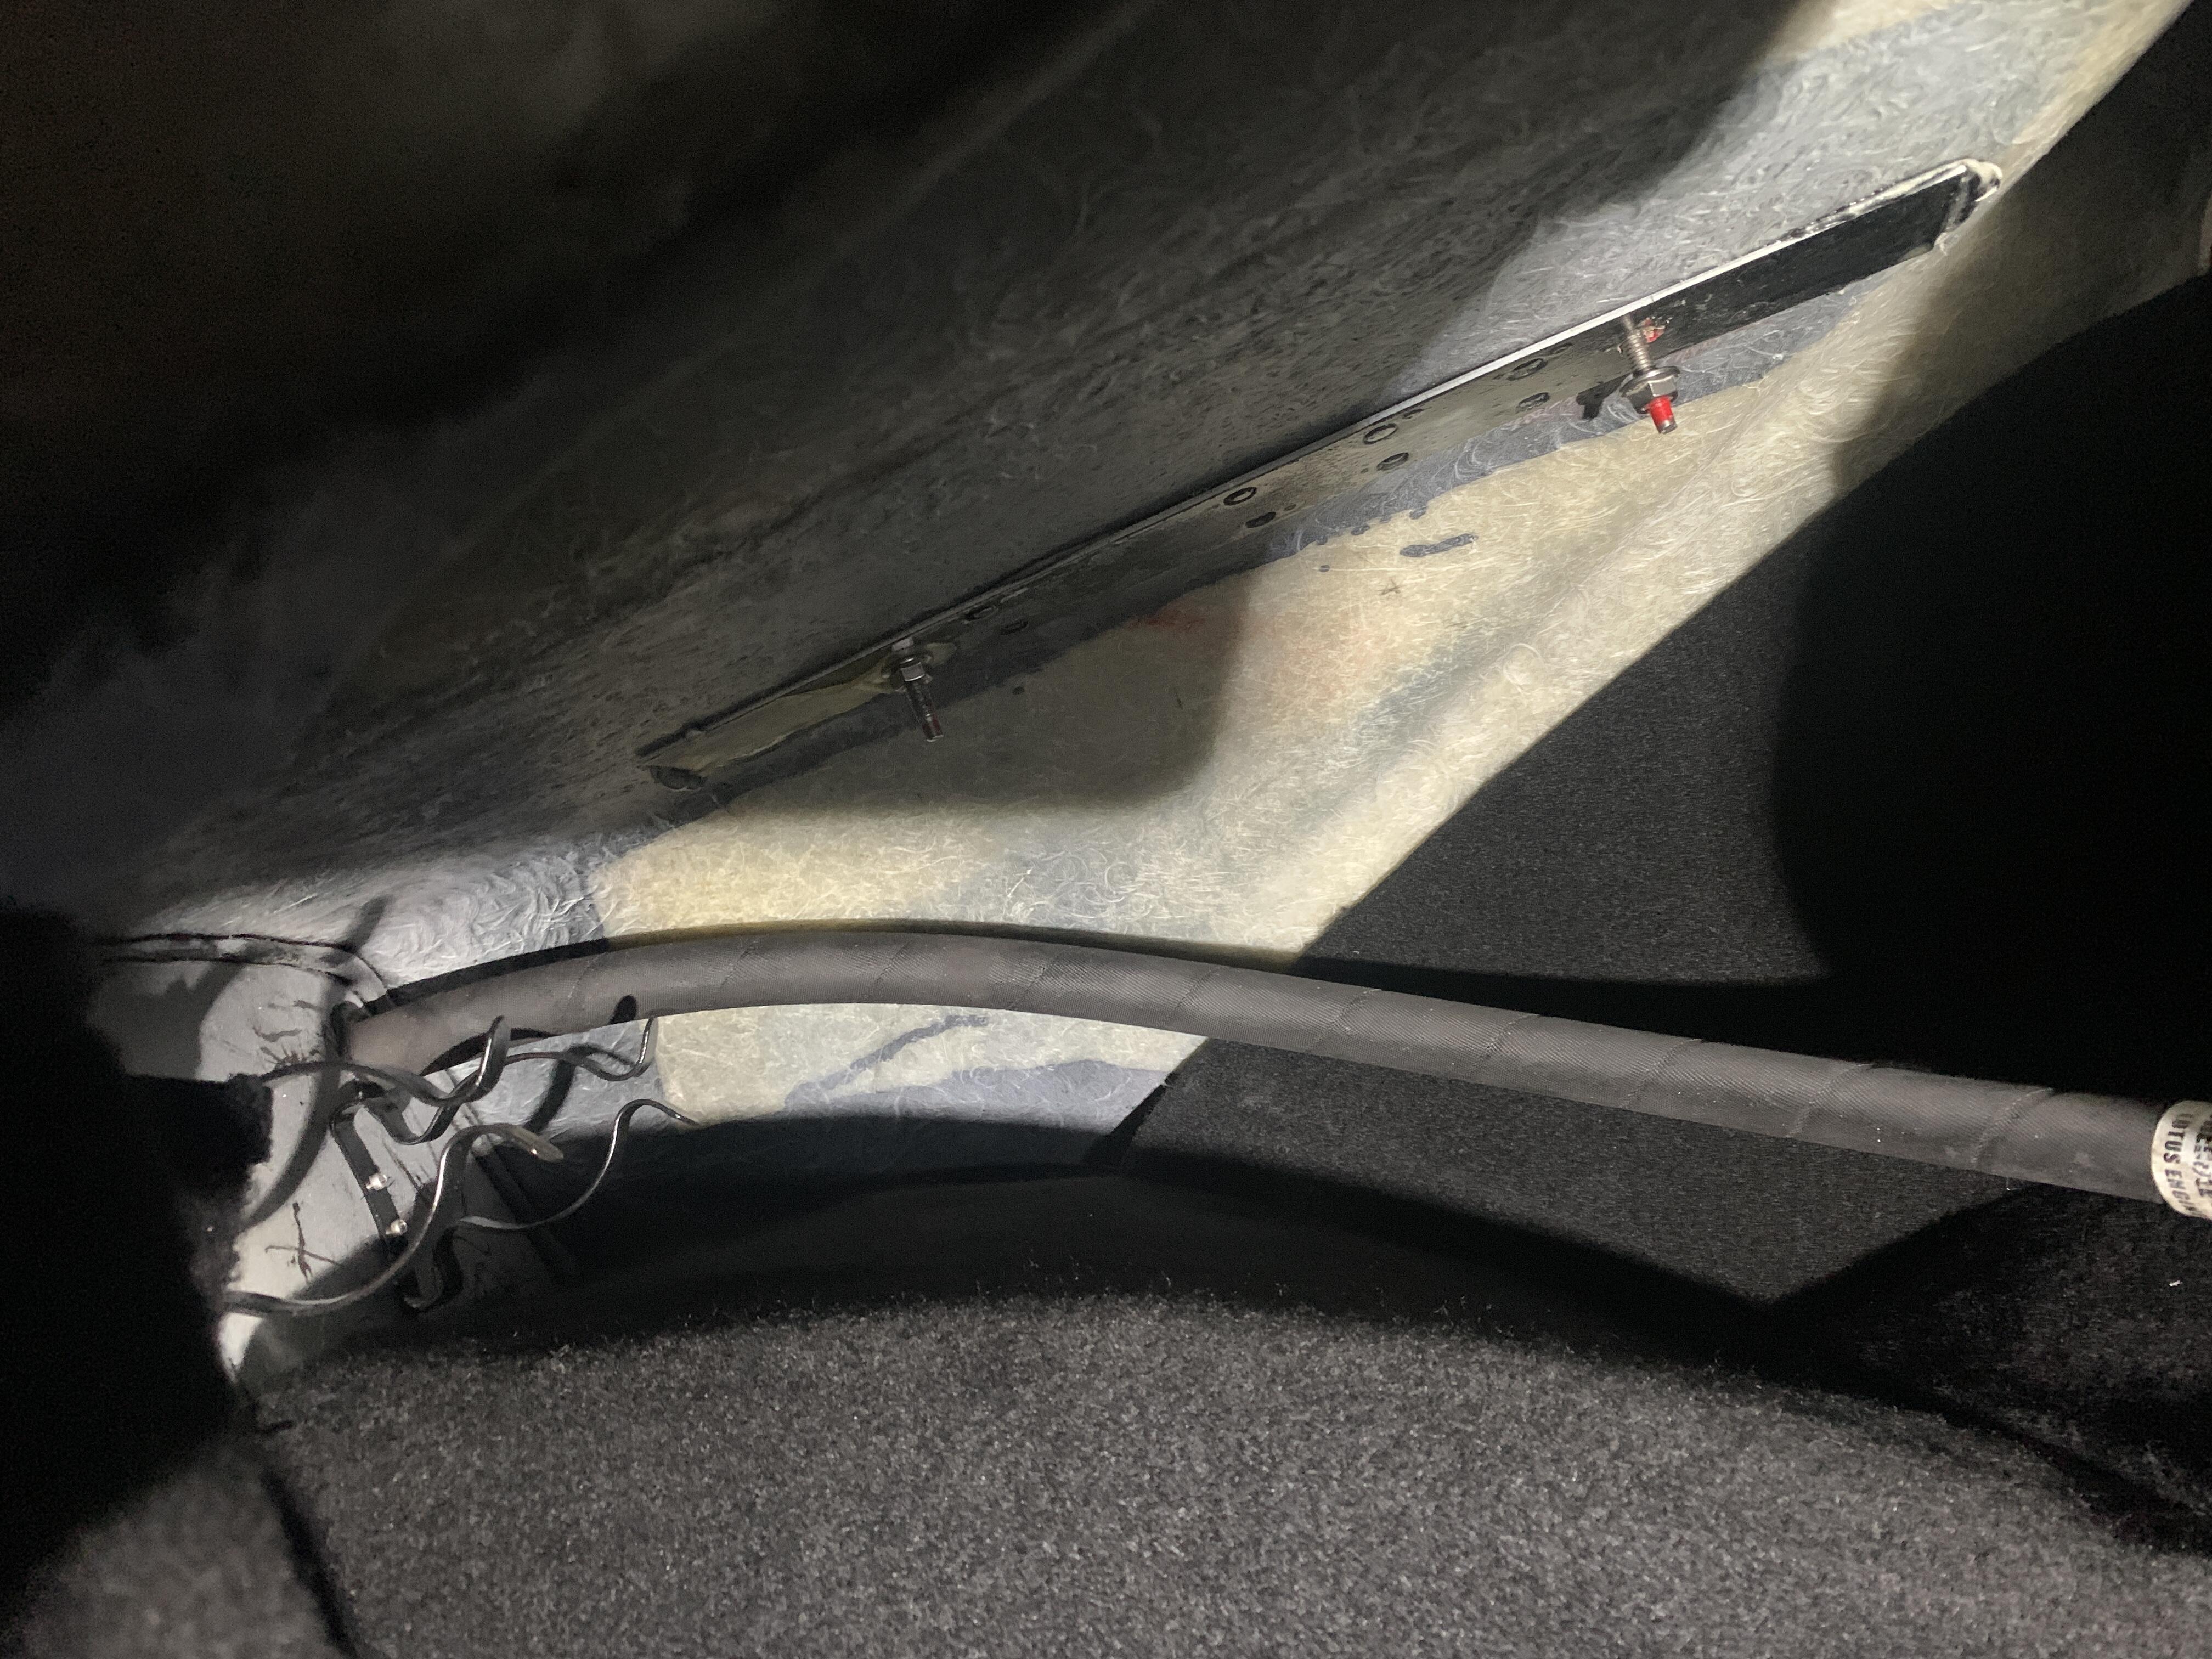
For those that want to know, here is the Accusump routing out of the boot, the mirror of the wiring harness, and you can also see the reinforcement plate for the wing that I wondered it it existed, it does

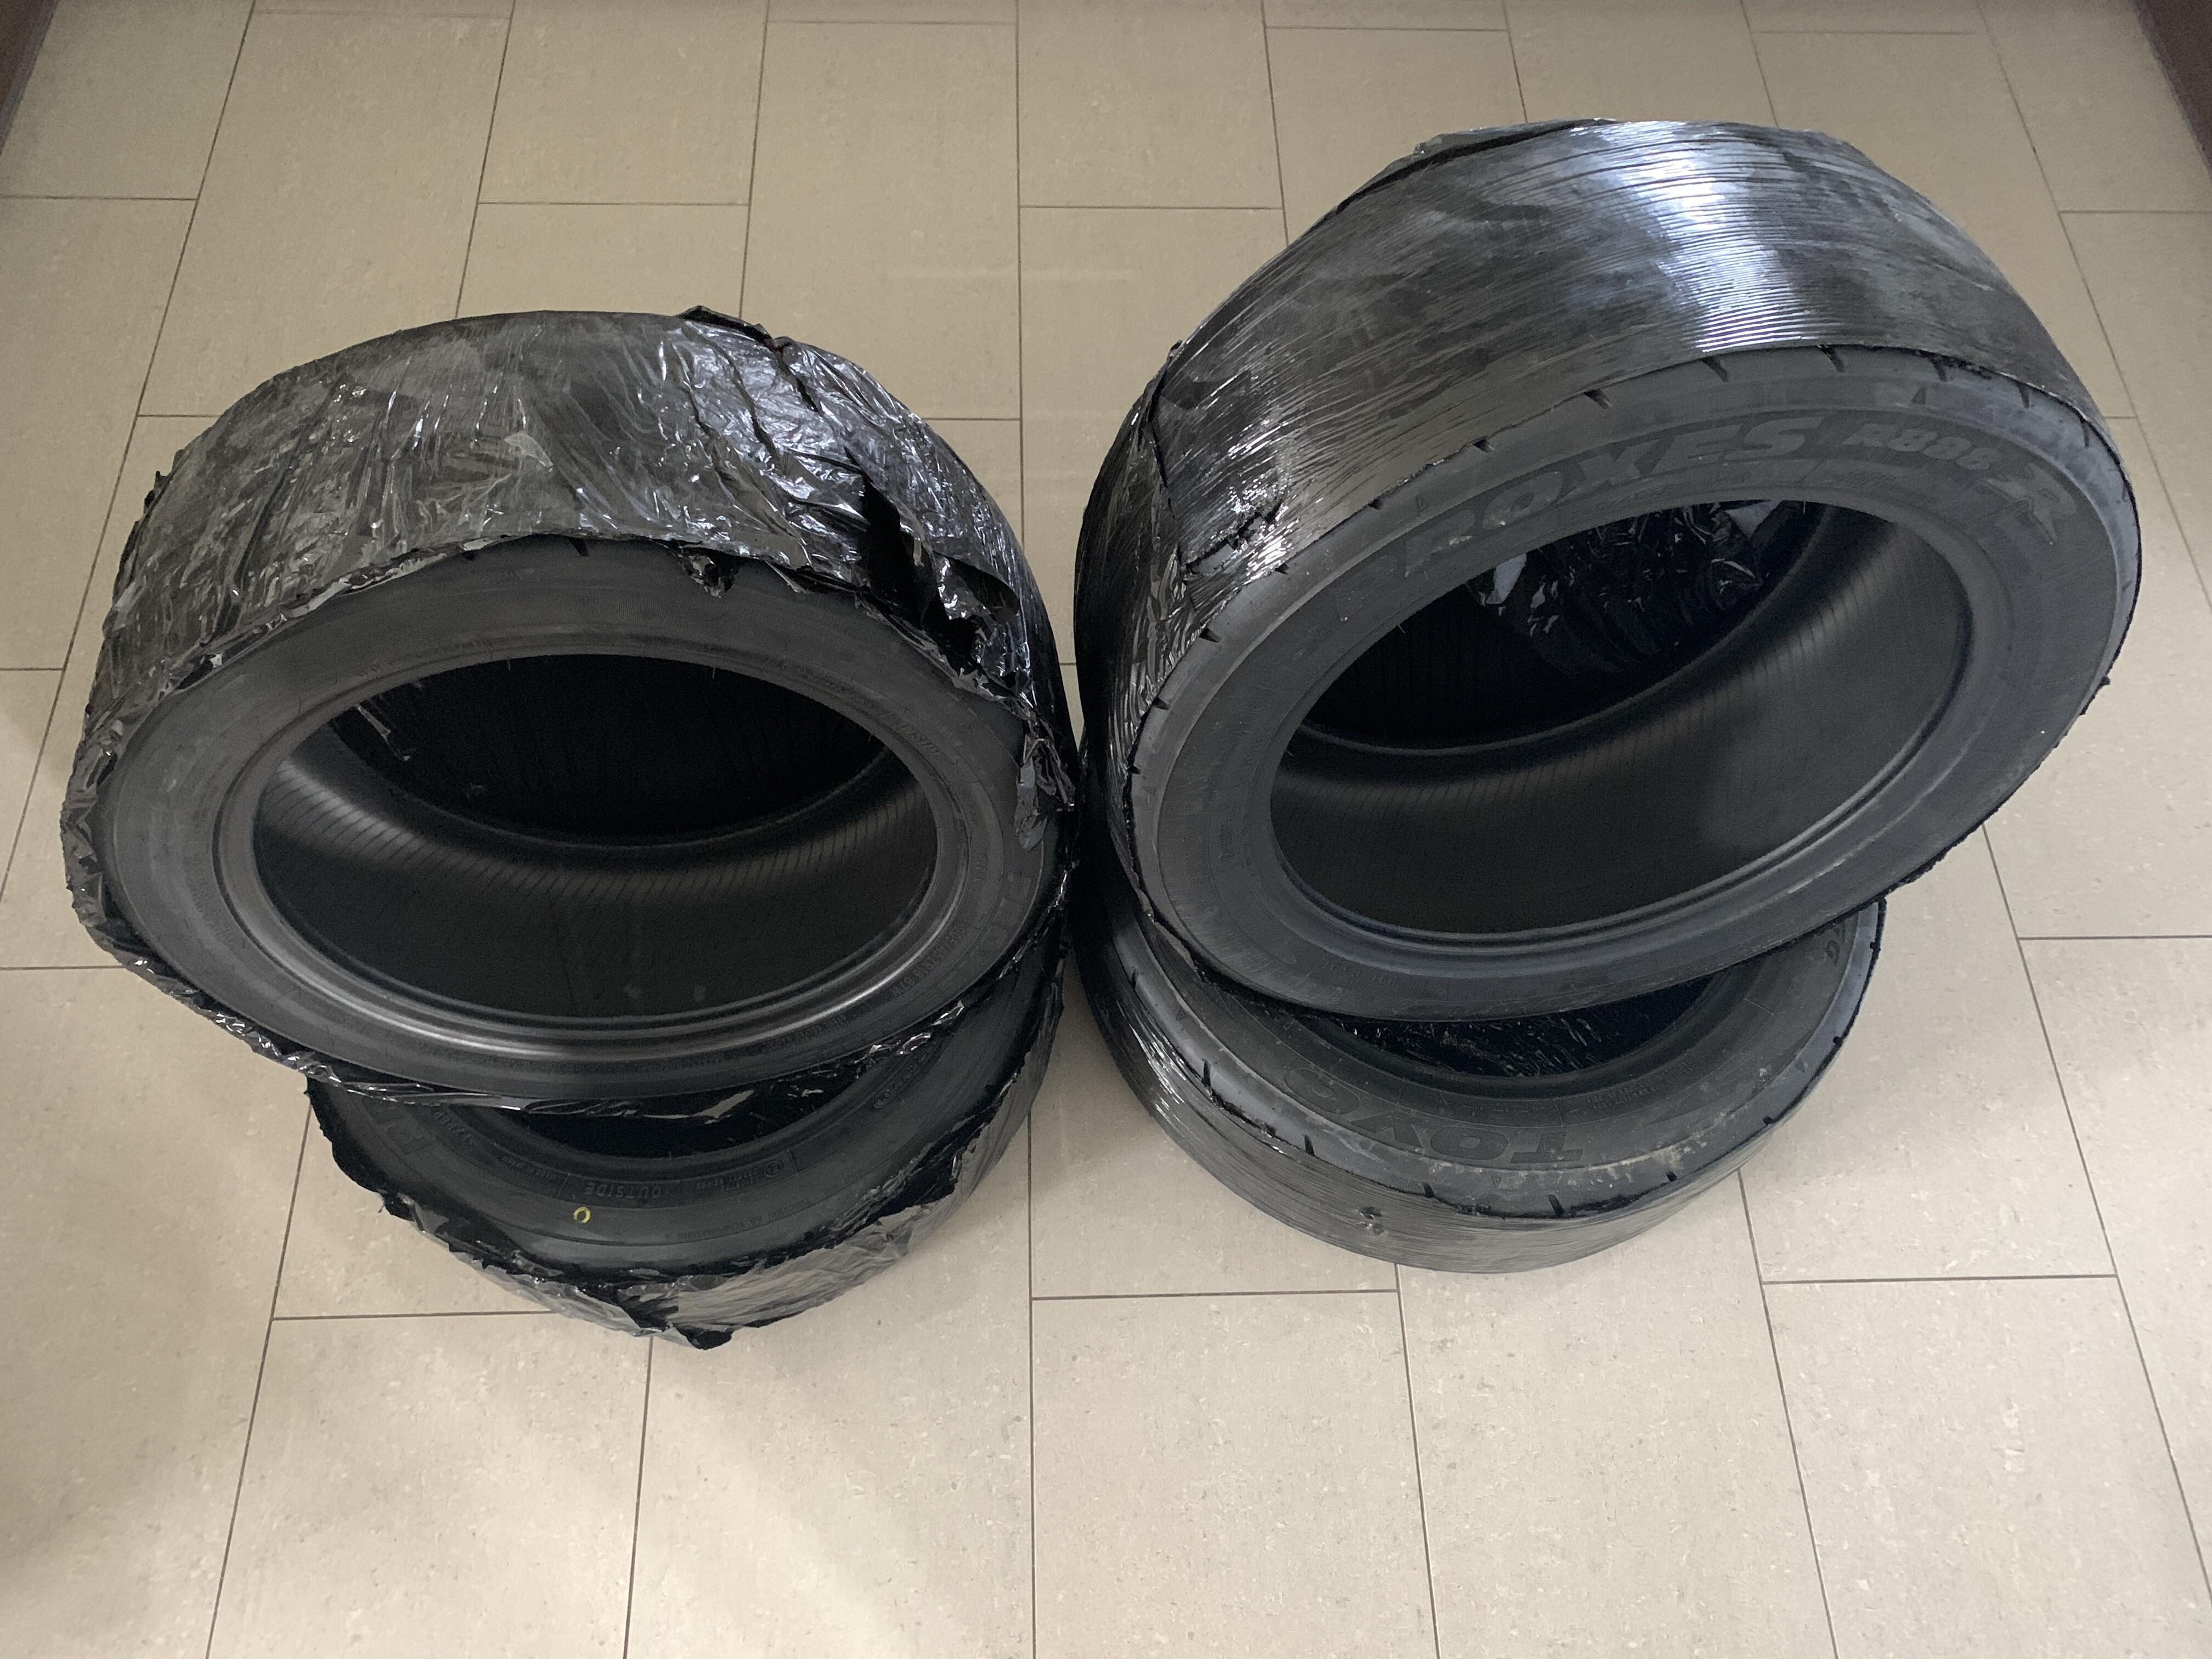
I need a new can of tyre gunk as mine is 10 years old looking at the date, so doubt I can rely on it

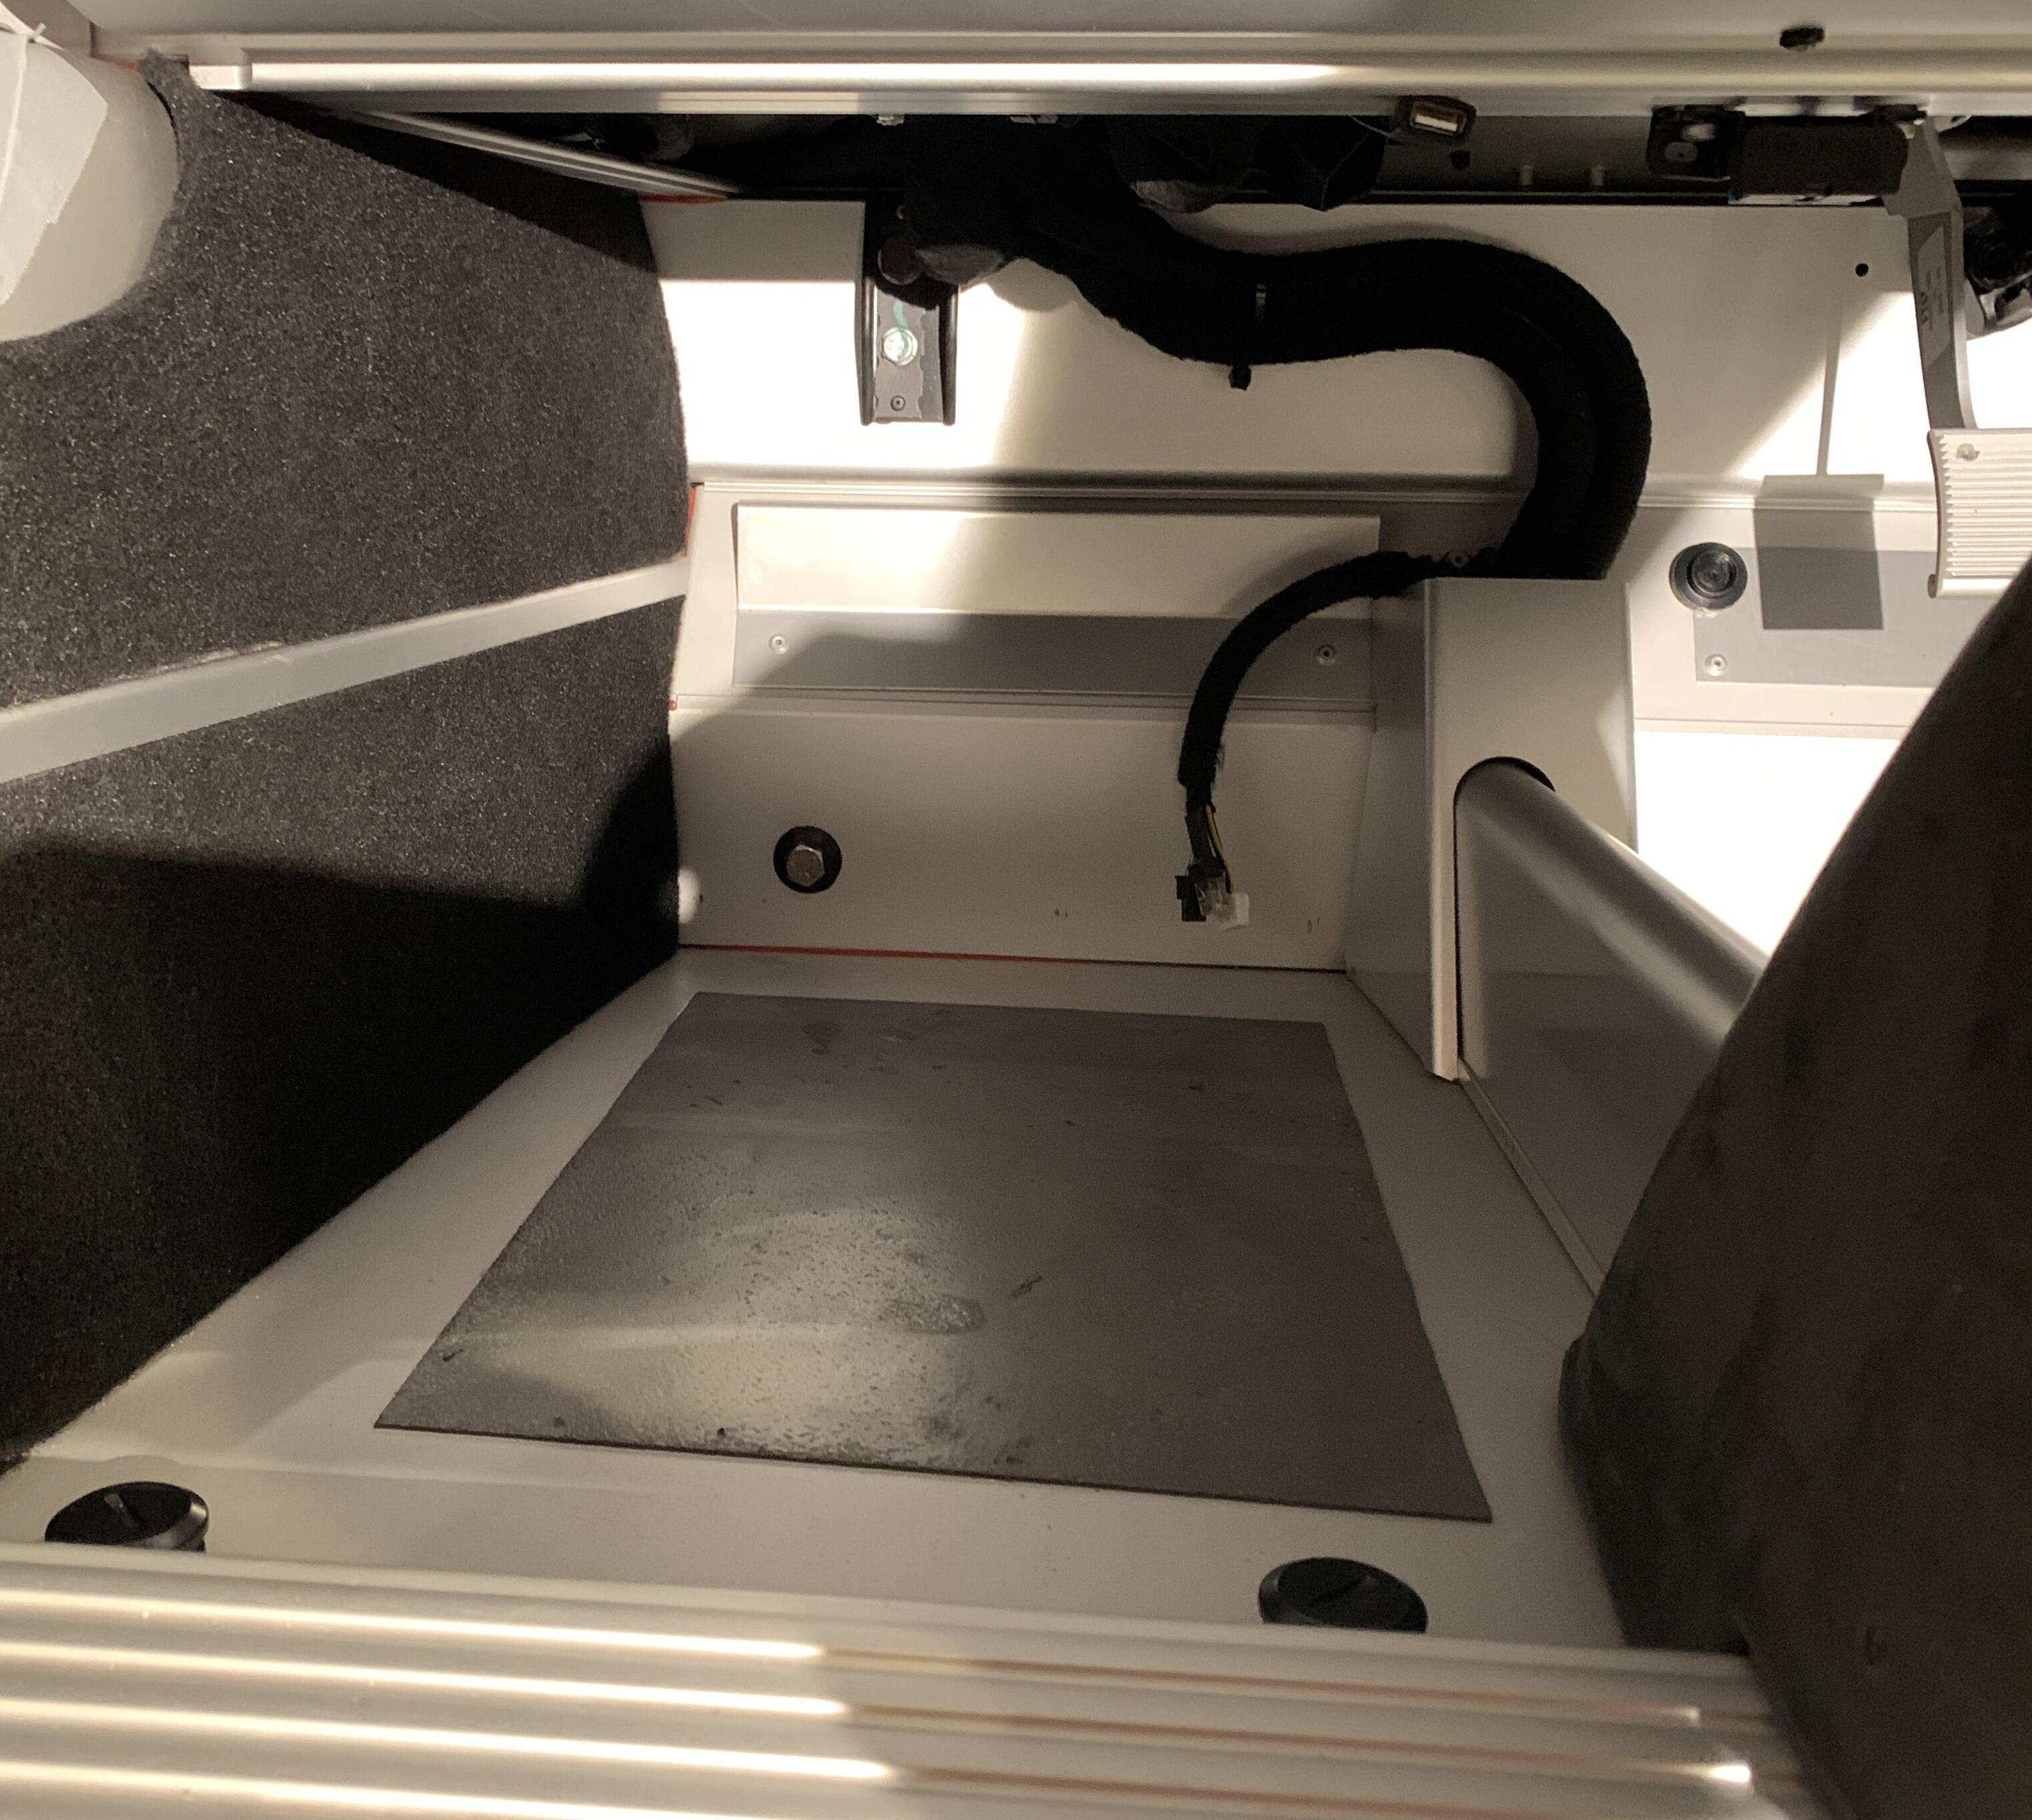
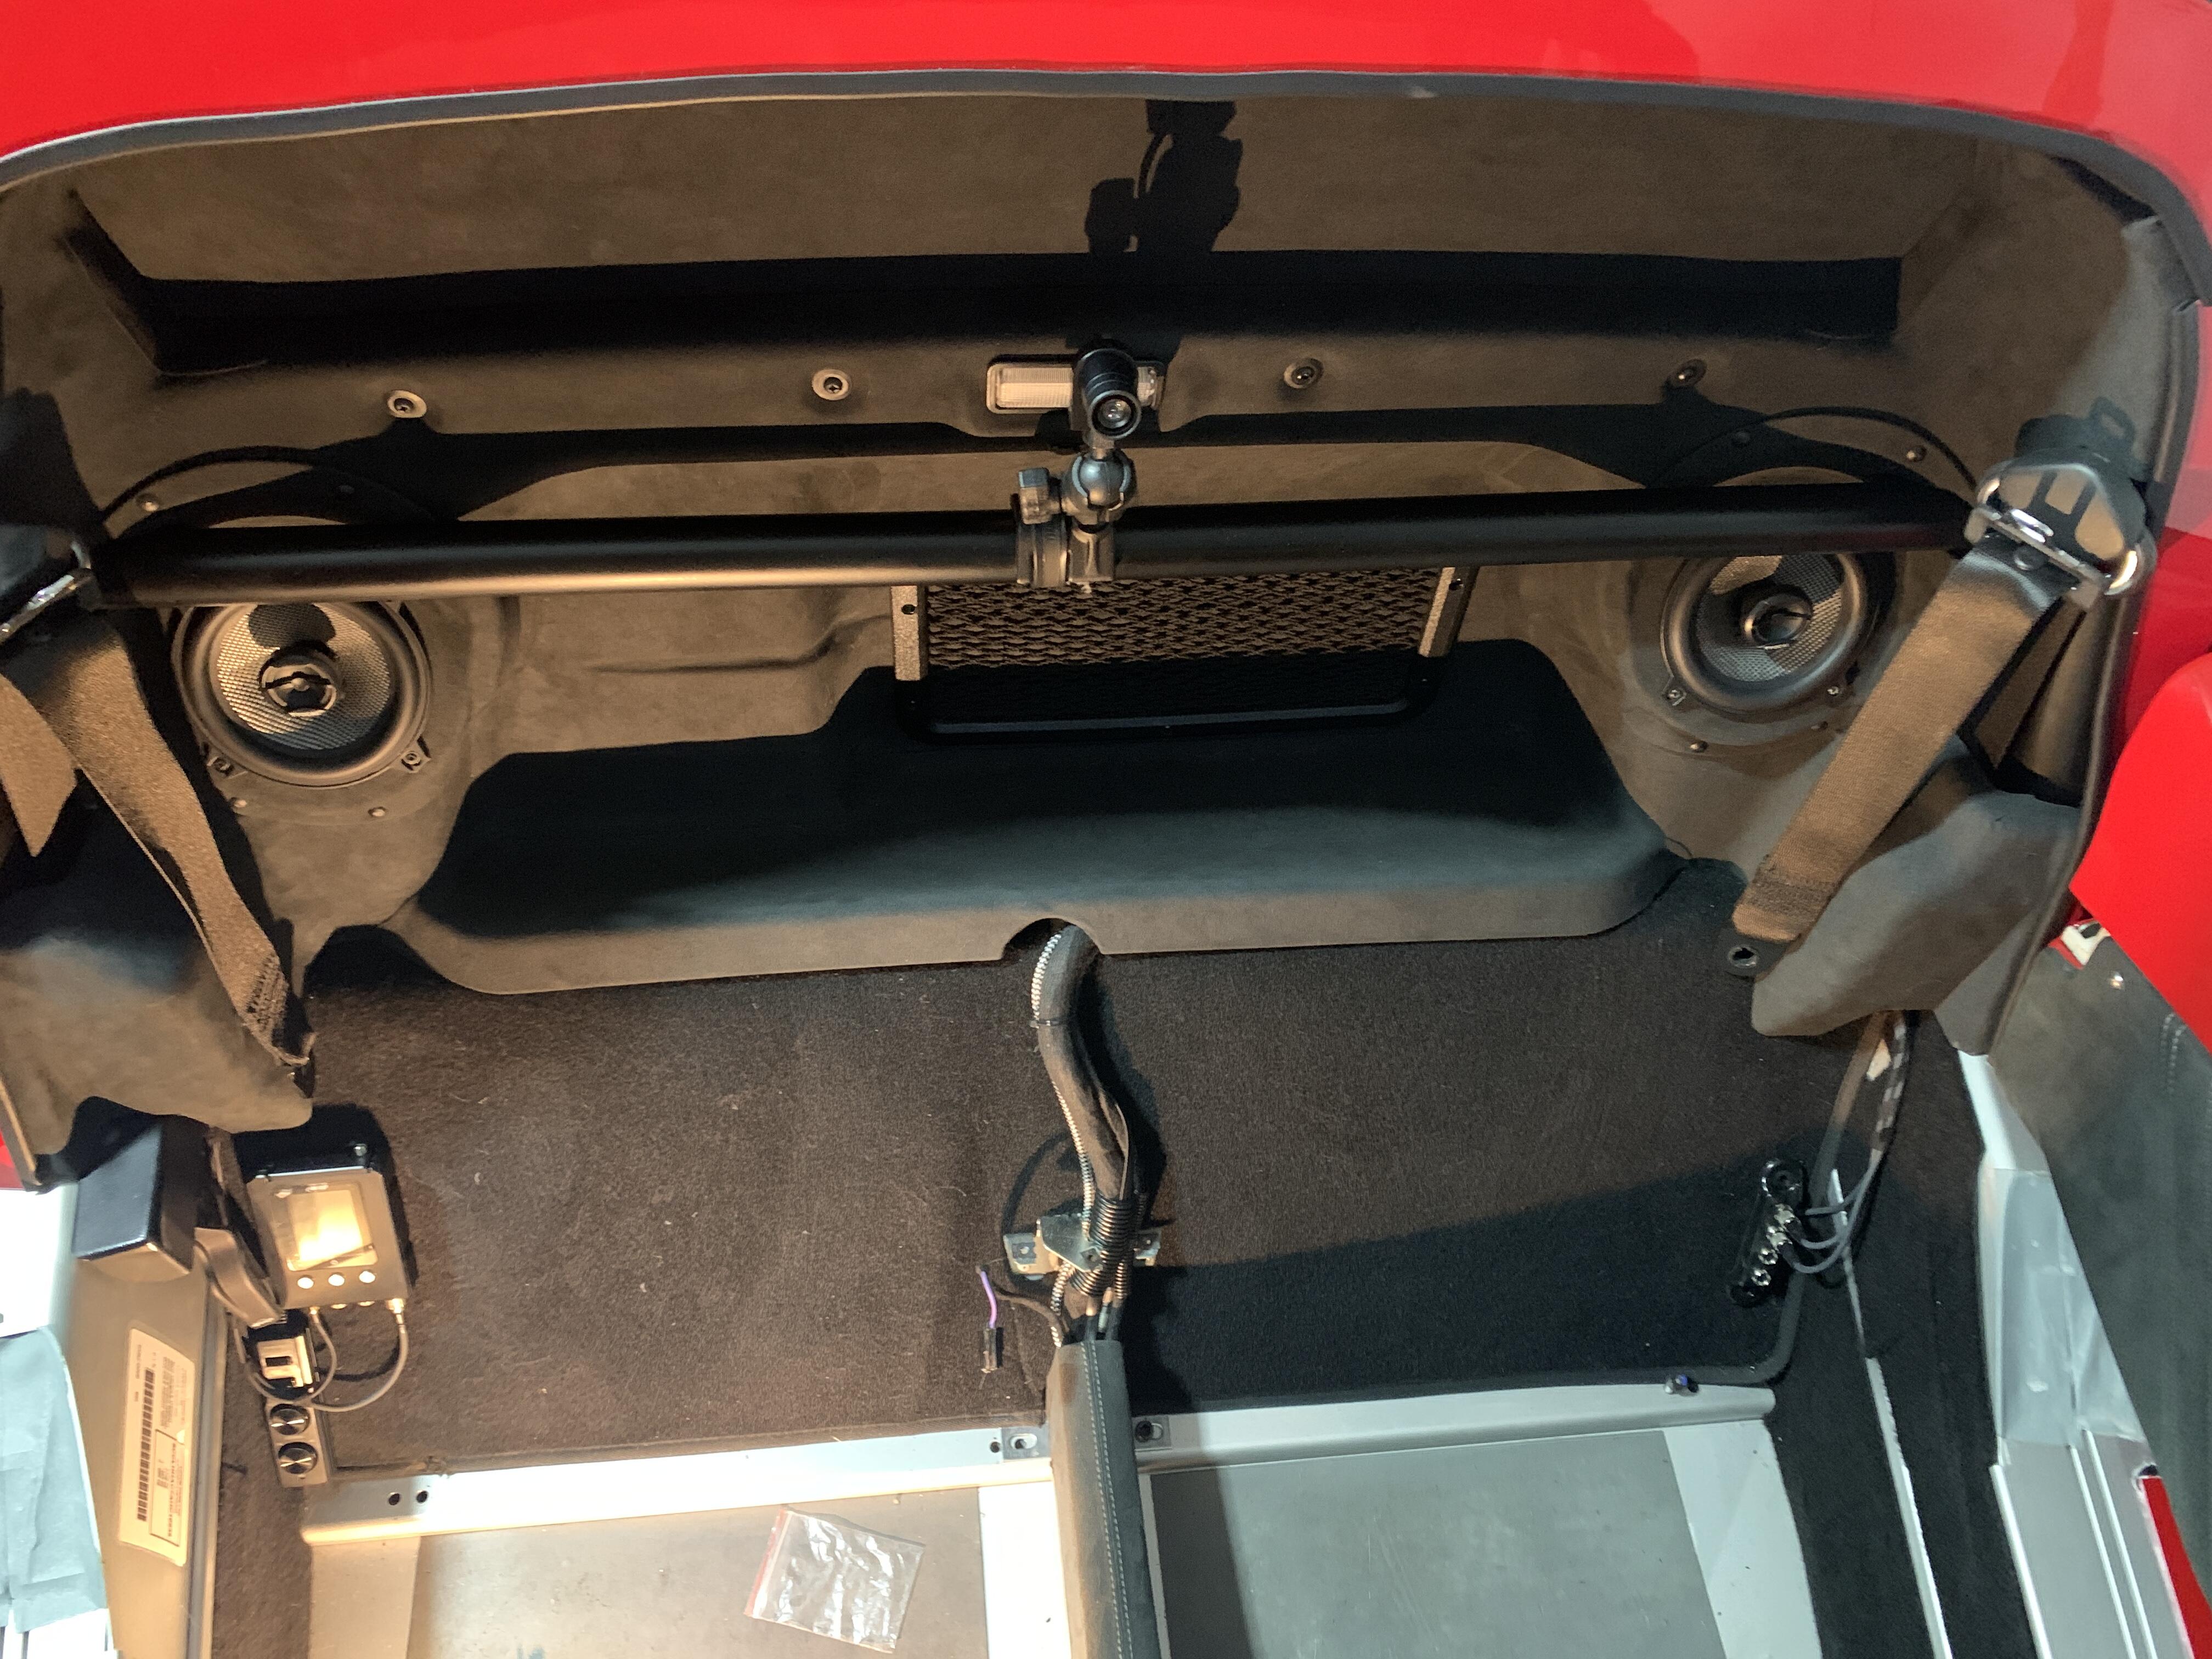
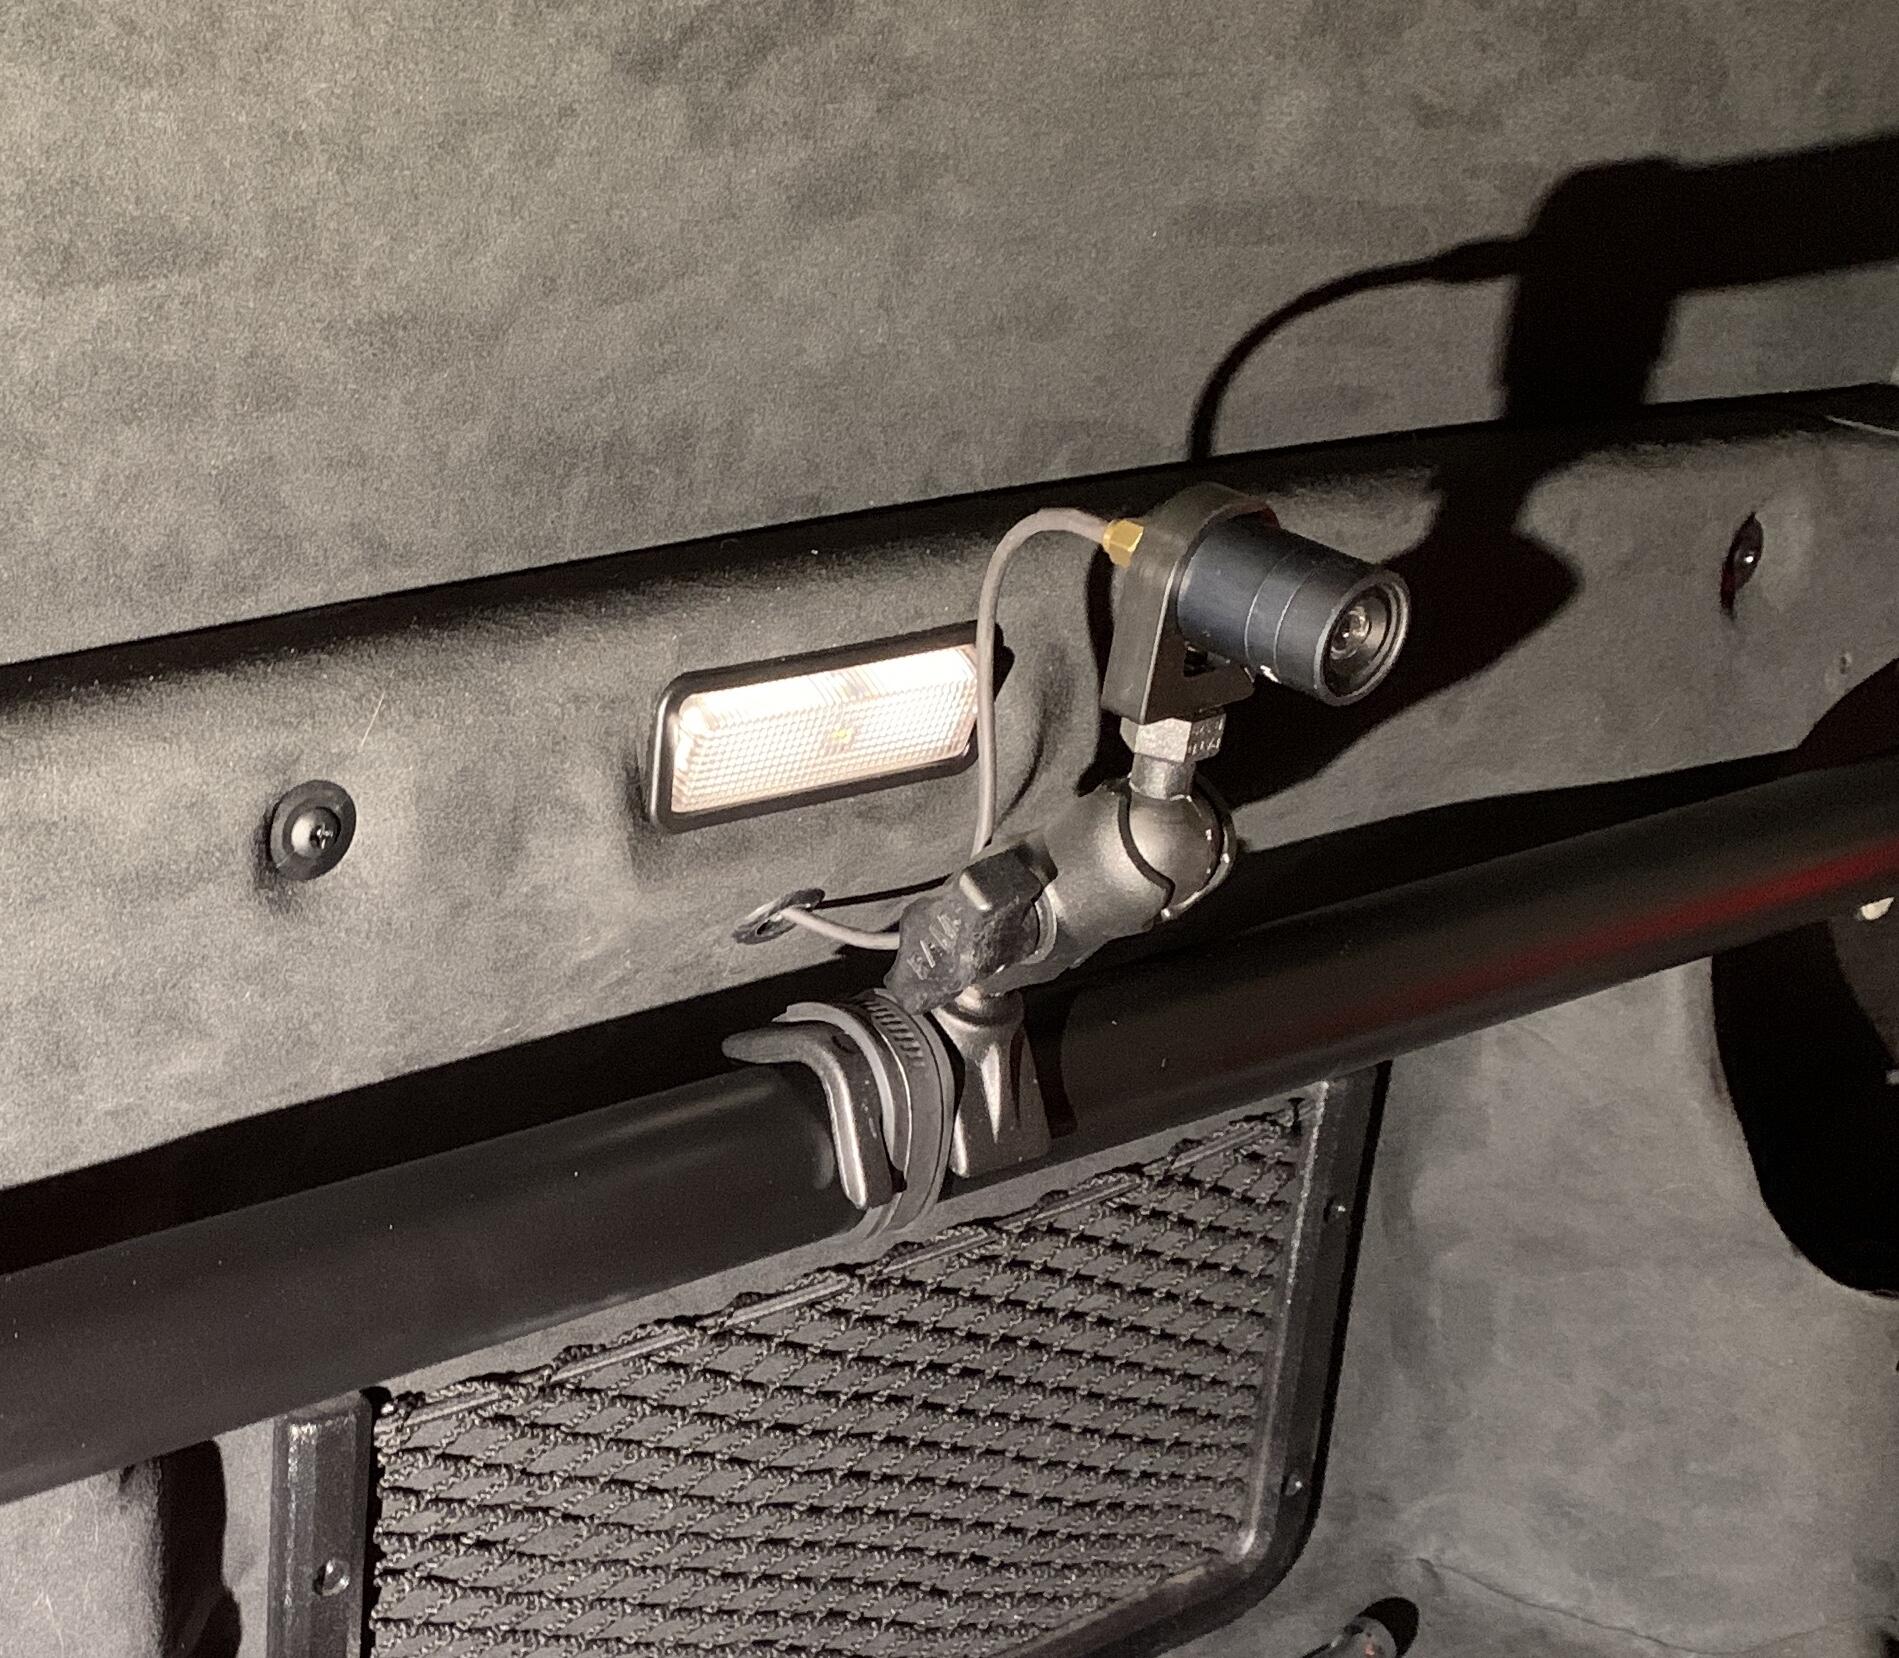
Carpets that are now protected, replaced, and trimmed the wheel arches as they just had primer so looked crappy rather than ‘because racecar’, power feed to cabin added - the yellow and blue cables are camera and reverse signal routed from cabin and will be wired in shortly so will also be out of sight

I will also be planning out a bus bar arrangement to mount the cables on the battery rather than direct as it was already a bit crowded with the various extra bits, and maybe a LiPo to take out a few more KG’s

I had an Acusump on my car and even with a baffled sump it was clear it was used, the fact it would have hot oil in it after a session meant it was topping up pressure as required then refilling with hot oil, I’m glad you have left it in

Very informative on the accusump. Thanks for the post :+1:

It is defiantly working, like you I’ve felt it heat up so it definitely takes oil in throughout the journey not just on start up. I also put a GoPro in the boot with a light and drove about, gauge defiantly goes up and down and thats just on the road. It seemed many didn’t get how they worked so were dumped, I saw various references to them being extra oil pumps and needing power for a motor (which made no sense as there is nothing going to the tank.

Hopefully with the enlarged baffled sum from Dave and the Accusump I am as safe as I can get with the engines getting rarer and rarer - it felt like you could grab a spare for a few hundred not long ago, now they are very thin on the ground!

Wheels now back colour looks good, the milling in the spokes show up well which is exactly what I was trying to how up v’s the black wheel

Here they are under daylight:

3500k light

5500k light

So they appear to have a bit of life to them depending on the light colour and angle of light, which is what I was after. If I had gone for a black base coat I would have got a more chrome finish…

I’ll let them settle for a few days, then properly inspect then hopefully coat them…

Rear Bulk head was reinstalled, but of a bugger being a bit more bulky with the Alcantara, overall happy with the results - room for improvements no doubt, but dot lift the interior

Bullet cam for the SmartyCam was routed through the bulkhead, need to set up final alignment later

The mount as the AiM one but I suspected it was. RAM mount, and on arrival that’s exactly what it was. Here are the part numbers if you want to make up your own kit

Interior looking messy again, good news is it all works as was the point of the test so happy in that respect

Frustrating that I can’t fit the trimmed dash bits as they are still not done, so have gone back to OEM clocks with GPS wired in for smartycam should I want it - I sort of have an overpriced dash cam at the moment, but at least I know and can verify:
• All AiM wiring works, including expansion hubs and Oil Pressure and Temp (although those aren’t fitted)
• AiM switches I moved to cowl work perfectly
• All audio and video working works, including video remote, sub remote
• Foot cam remote works including indicator
Basically everything works, so I am now reinstalling it all over the next few nights and put this interior messing about to bed

Love that wheel finish.

Wires and stuff are cool too

As my wife pointed out in the early hours of this morning, its also kinda pointless as I put the original clocks back in in after all this time of planning, fitting and refitting wires and keep repeating for days as I try to find the perfect route, then take it out as I want to put it in at the same time as the binnacle trimming. Cameras and stuff all functional, and the sound is the best I have done, genuinely surprised at the quality of the sound

Bit more trimming

My current steering wheel is the first gen, leather airbag wheel, I was going to get retrimmed but then I got my hands on a Lotus OEM alcantara version for a bargain price (think it was misspriced) so rude not to:

Then as I pretty much trim any piece I can unscrew I thought I would try the rear wheel housing as its pretty hard black plastic. I also run a 30mm spacer on my wheel for better fit, and on the OE wheel you have the problem that the spacers are about 1mm too big to get through the rear cover and it sits on top like this

You either machine the extender or wider the hole. As I was trimming anyway I thought I’d slightly expand the hole, and see where if it works., all was good but it was really hard to get it all to flow right in a single piece.

Now that was all done I thought I’d fix another problem that comes with a space, the transition between the shroud and the wheel due to the spacer, this is what I am talking about on my old car

I run a 30mm spacer, so needed set about making a cosmetic spacer. I have various foams about the place for other jobs so started creating a stack of them the would align with the shroud and I would cut out the middle around the space

Starting the stack:

And building it up

Done, actual spacer and cosmetic spacer sorted - just need to tidy up a bit and fit to the car

Looks very tidy

Cheers, the interior retrim has gone surprisingly well! I’m ok with the sticky down and cutting bits ,even over awkward shapes, its just the stitching bits together (especially decretive stitching) that I am struggling with!


Is that a macrame gear knob cover? :open_mouth:

I had to google that!

I’m not sure of the exact term, I thought it was knitted! Each car I’ve had has had a different one after I got one on an innocent smoothie years ago, and a new one is made for each new car by my Mrs. I’ve got a carbon and red coloured one ready for the topping out ceremony on the car!

There seems to be two camps - those that had them for years and seem to think they come out the factory with them, or those that think you clearly are smoking crack when mentioned. Came up in a WhatsApp group the other week - controversial day that one!

Might get the kids to make some seat covers to add to the ambiance thinking about it