Superb! I’ve found watching progress . . . fascinating.
Great to see the decals going on ![]()
![]()
That paint is insane, really well done.
Seen so many “detailed” cars under the artificial lights before but have not seen many like that.
Thanks all for the encouragement gents ![]() , I know its not always the most exciting thing seeing shiny updates and its often agains the Lotus ethos of making stuff shiny for the sake of it, but it certainly made a difference in the real world when I dropped it off and it sat there in the sun!
, I know its not always the most exciting thing seeing shiny updates and its often agains the Lotus ethos of making stuff shiny for the sake of it, but it certainly made a difference in the real world when I dropped it off and it sat there in the sun!
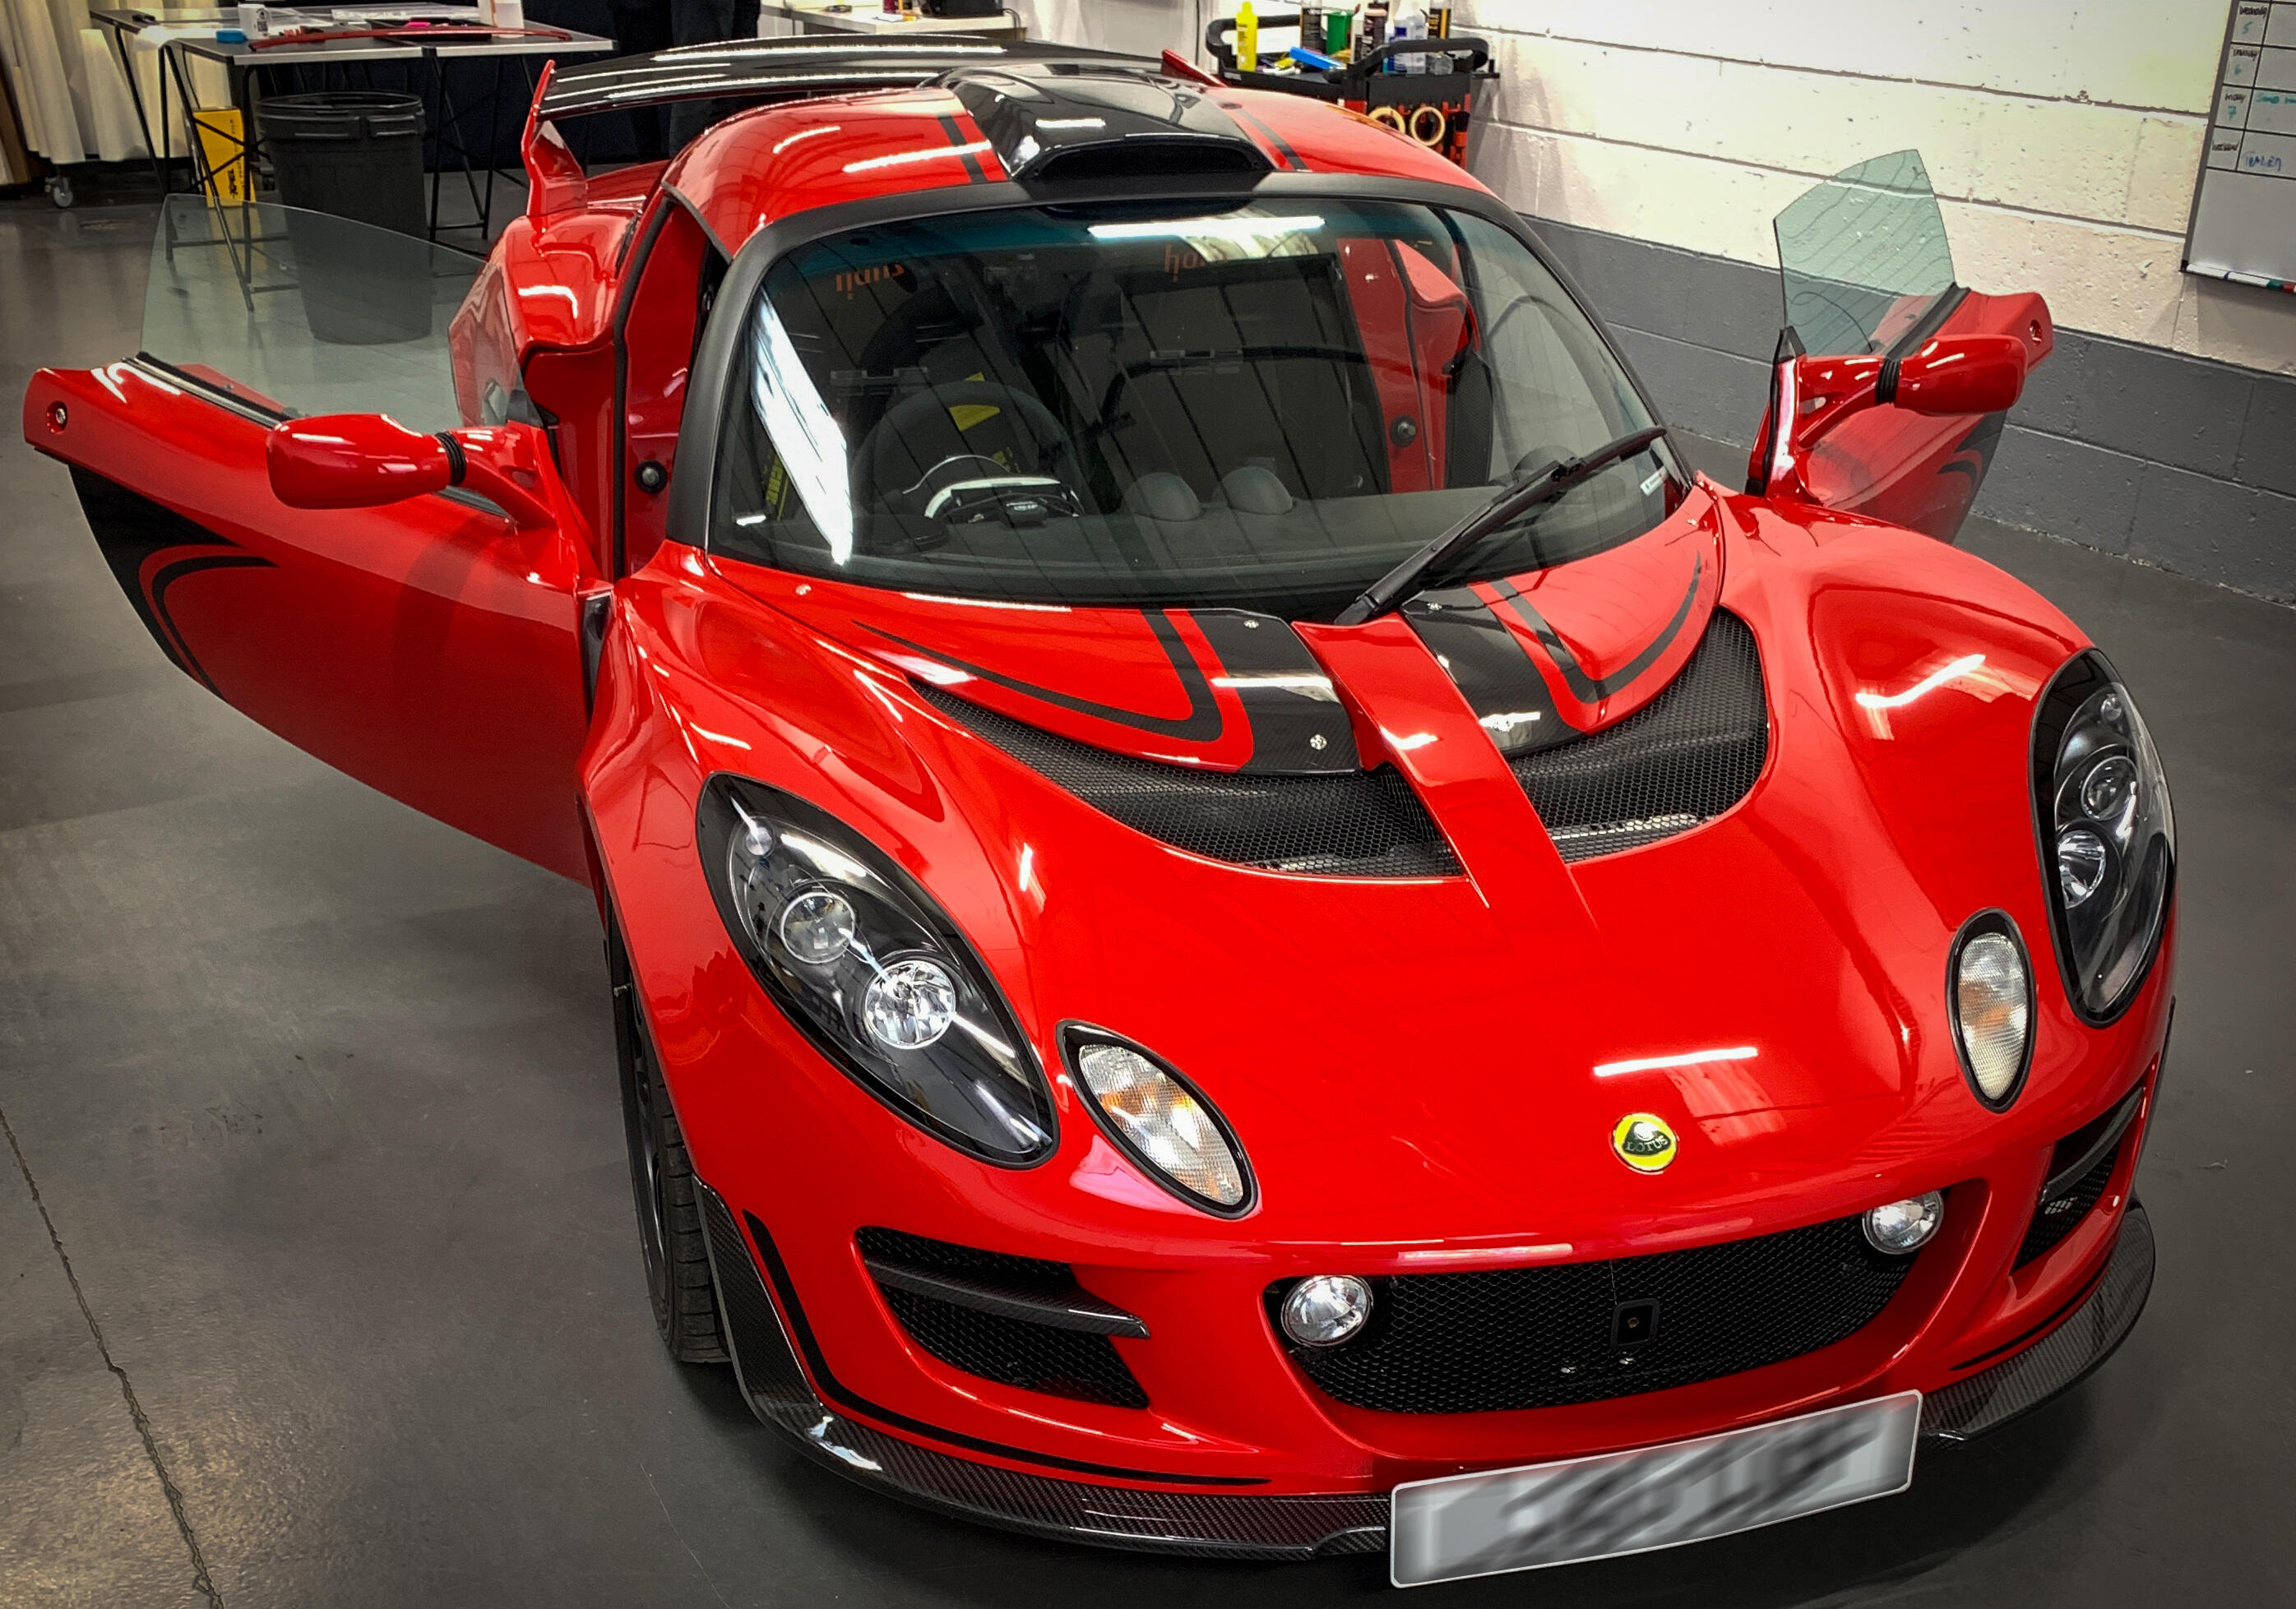
Fonzey I’ve tried to keep the pics as edit free as possible so you can see what it actually looks like rather than adding loads of presence. The final refinement made the biggest difference at a distance, when normally it would be the swirl removal stage. It was quite nice to have the PPF guy give a “wow” as I dropped it off and he was just finishing up a Mclaren 620r whose seats would probably cost about the same as my car!
PPF now done and back, pretty happy with the results. I’m never in love with PPF, its shiny but due to its nature you can’t get it utterly insane bonkers
PPF was done at Invisifilm in middlewich, good service and good job and very happy with the outcome. Fair to say I had a proper poor mans car, with a Mac 620r being done before me, and various Ferraris, GT3s etc lined up after
Price was very good, but fair to say he’d underquoted me when I booked it, after a slightly shocked face the original price was honoured so all was good.
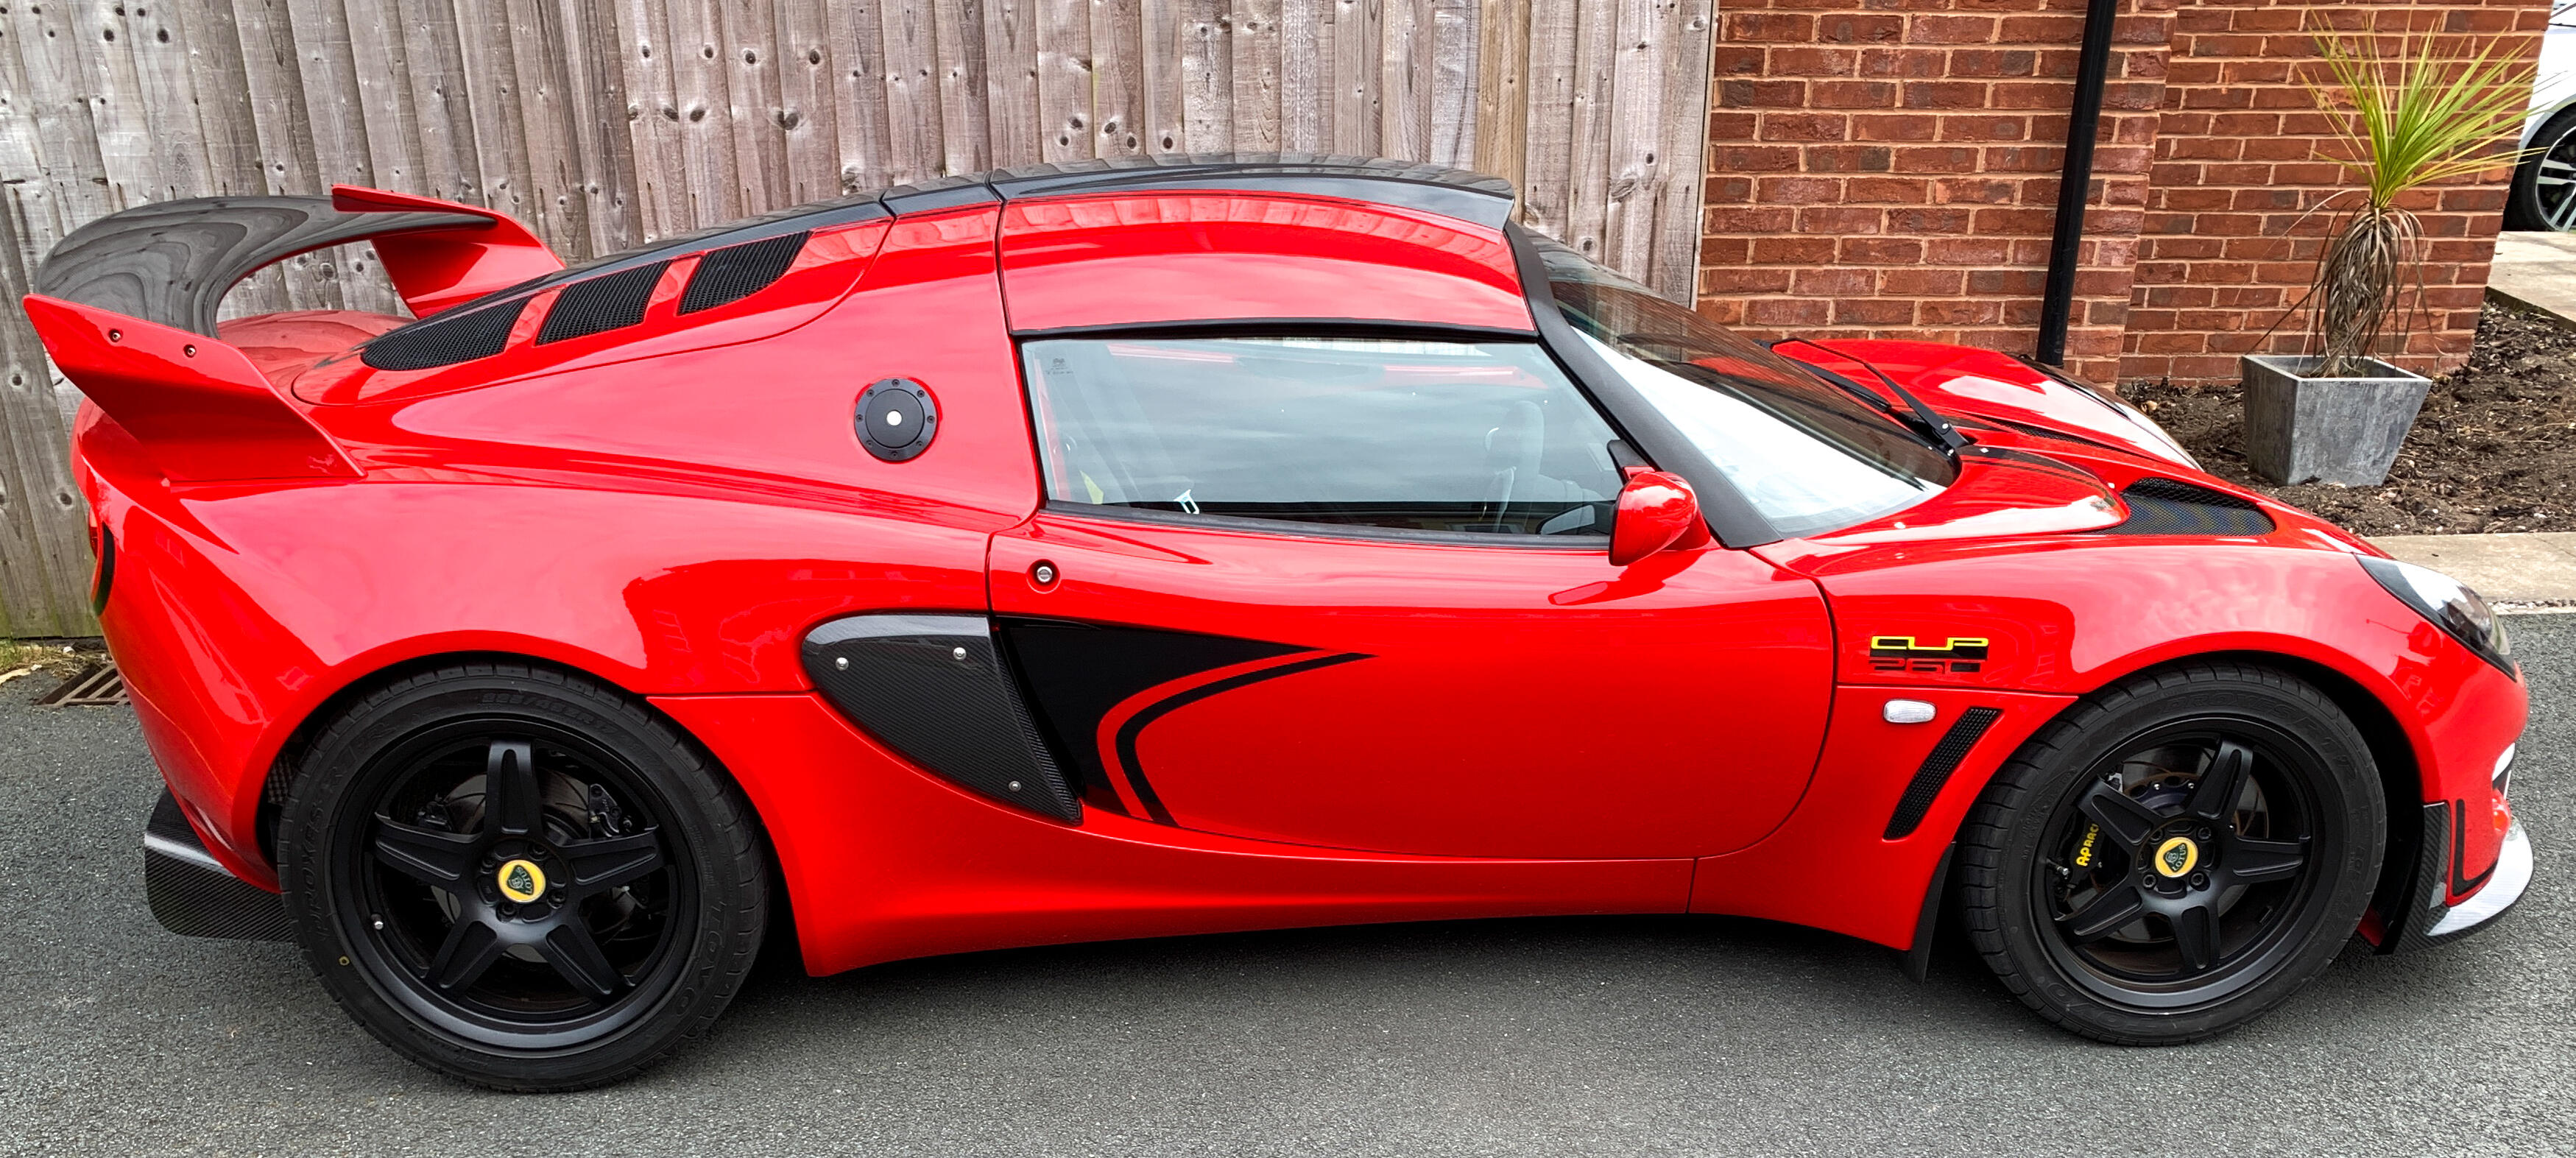
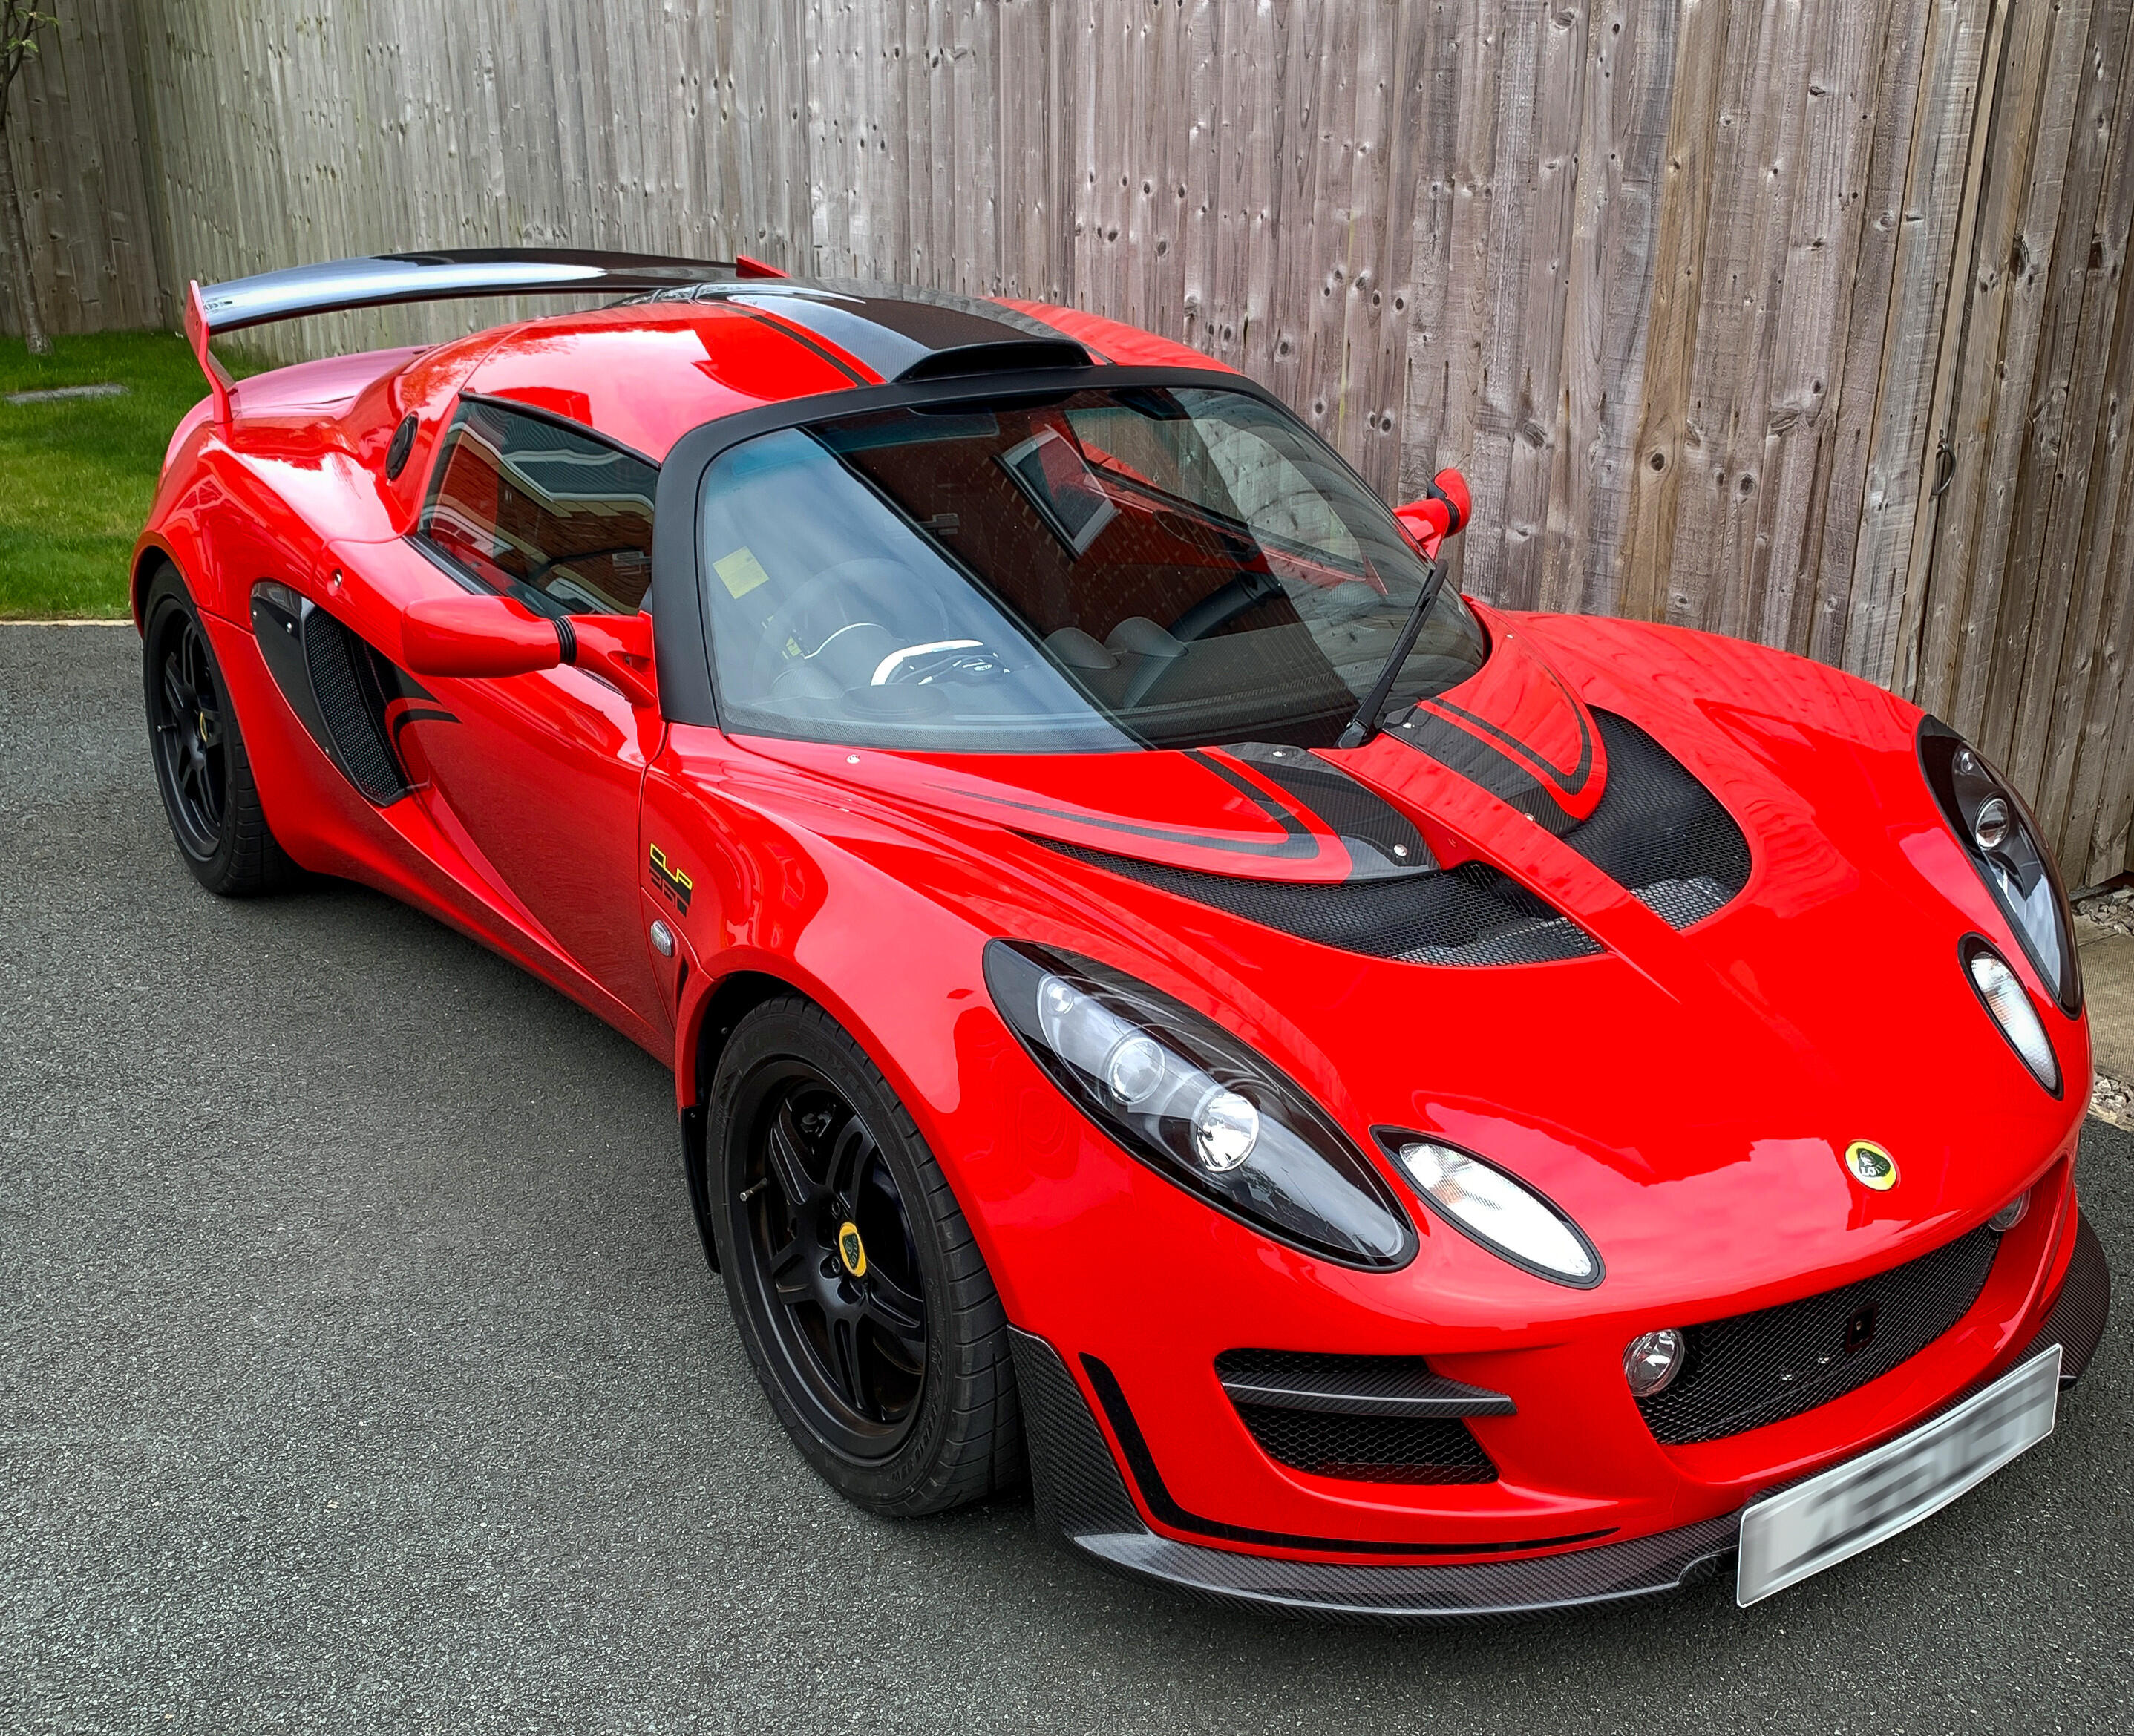
Here it is in real life, on a dreary day as it was just about to raidand its still looking good but gives a kind of worst case look on the finish without bright lights or sun
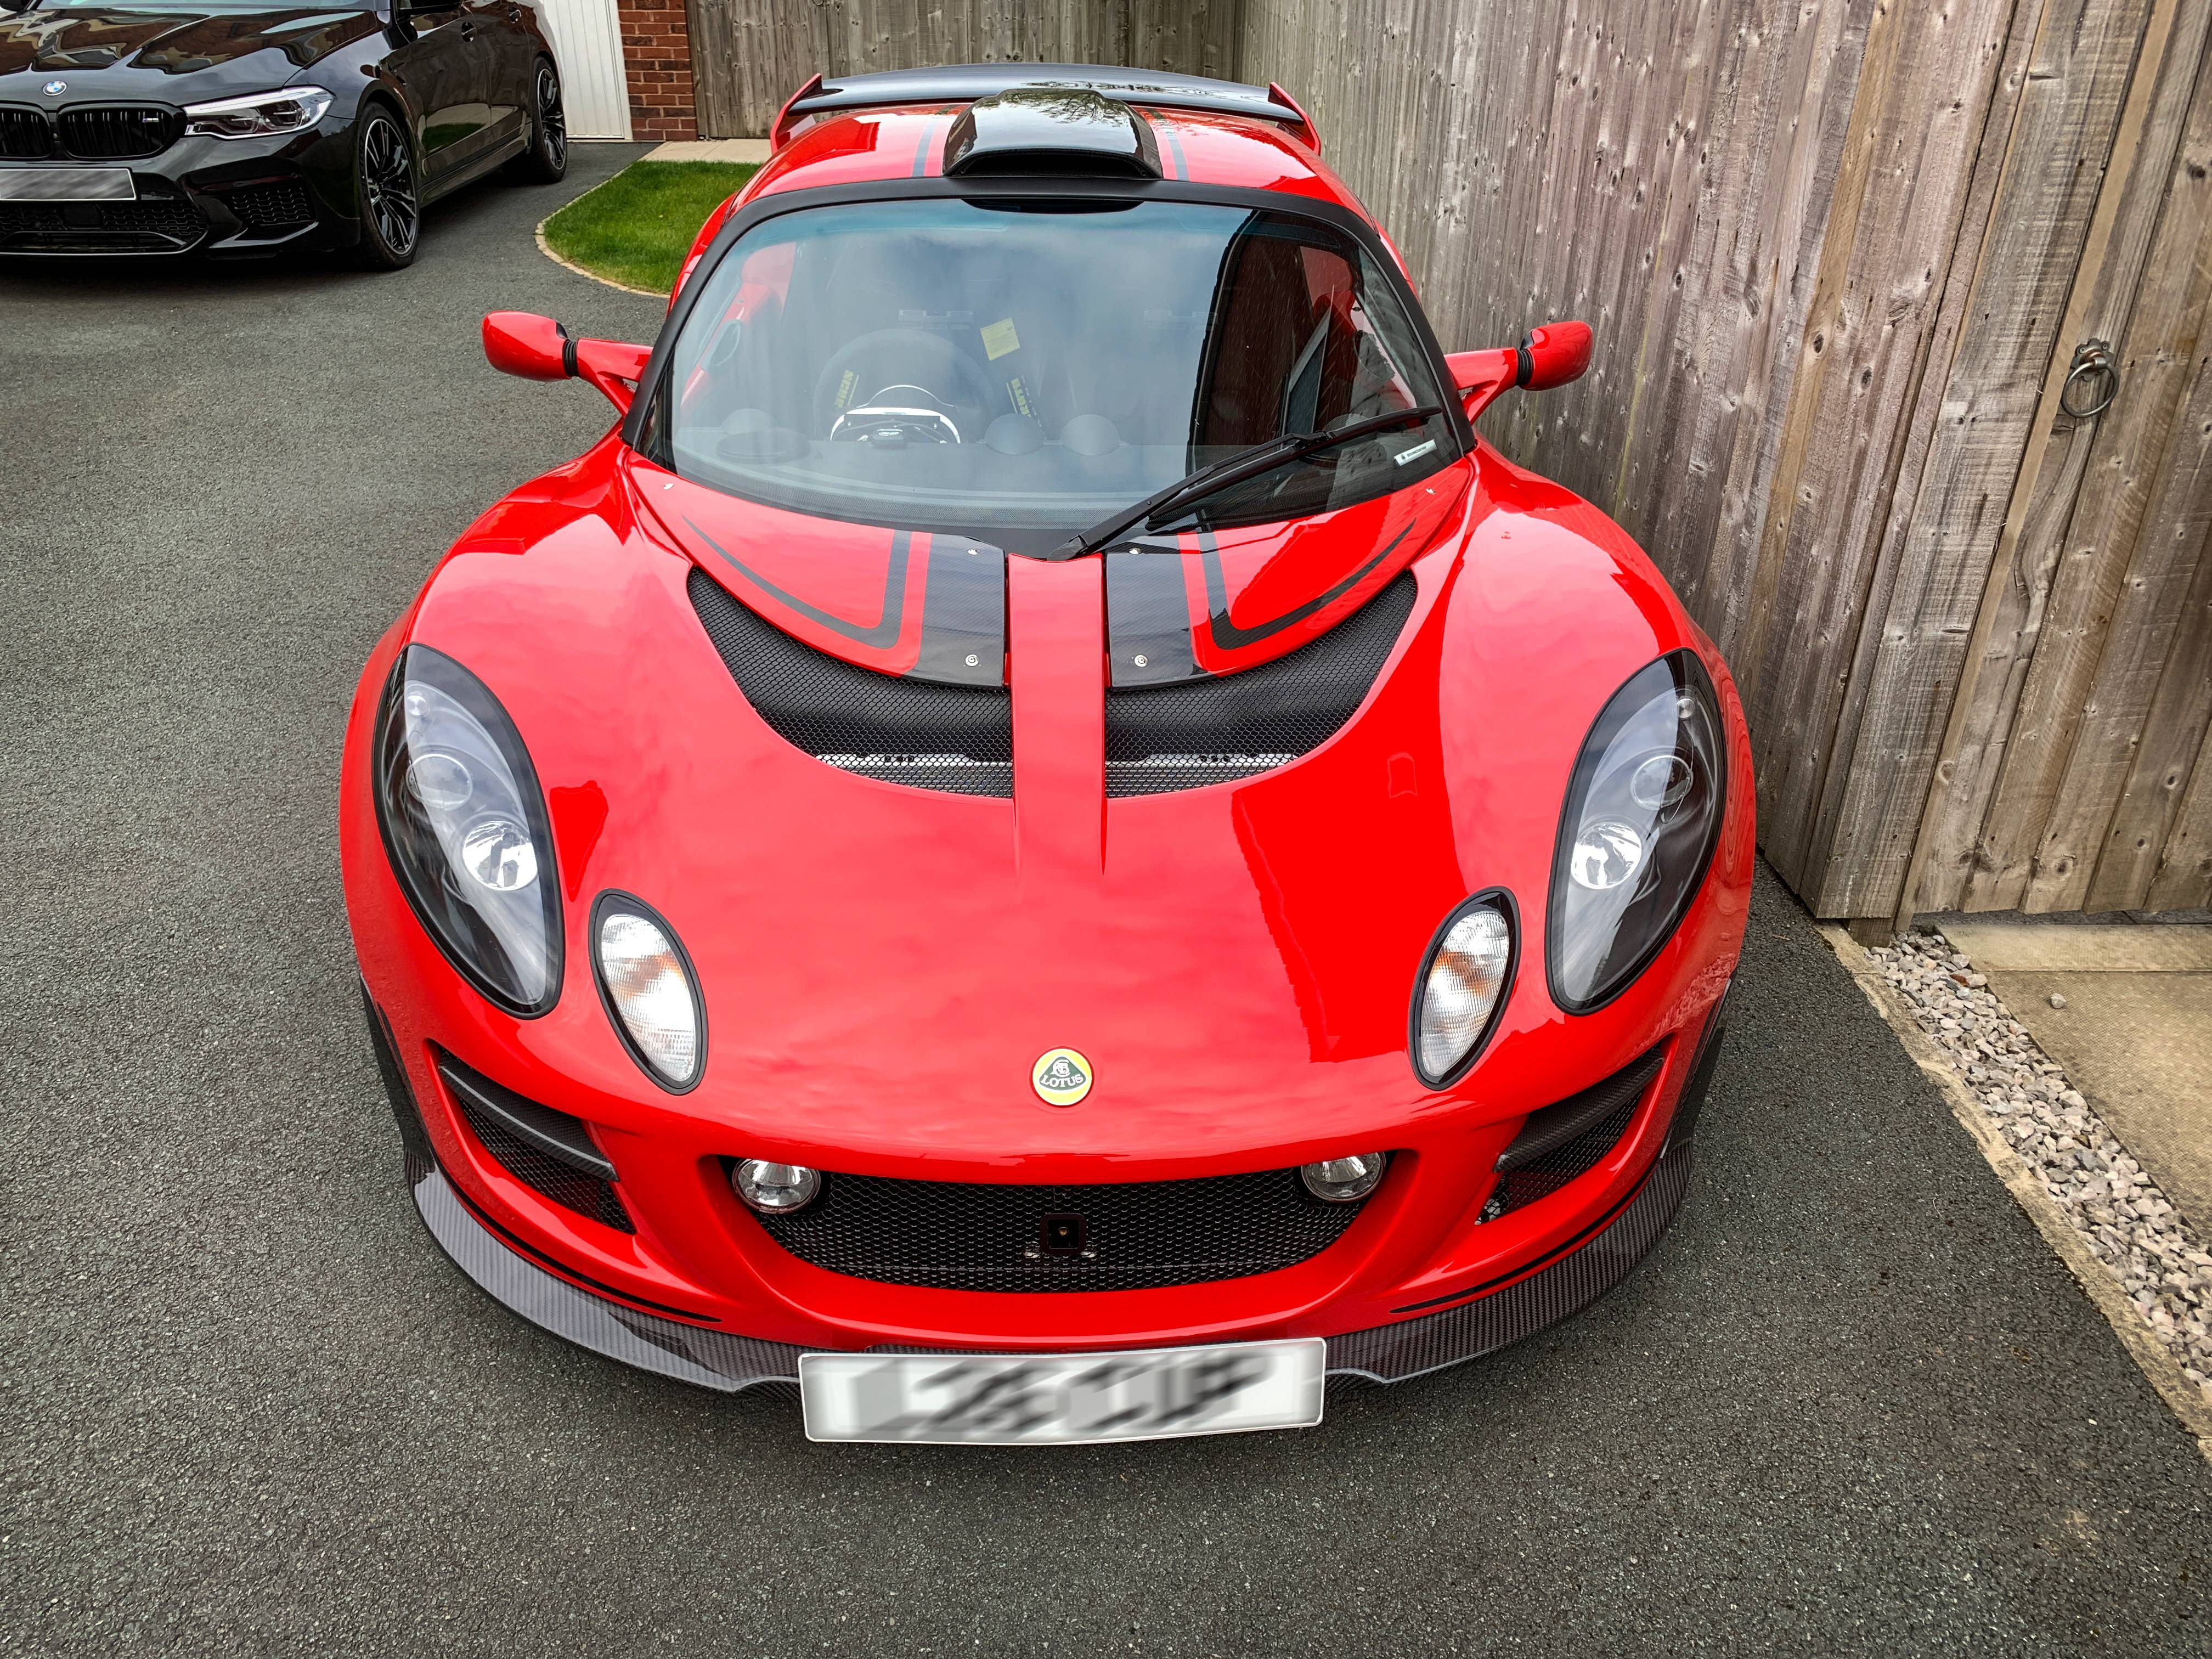
Now I need to sticker it up on the rear clam, I thought the silver LOTUS badge looked off. I got Dan to do a black and silver Exige sticker so I had the option
I sprayed up a spare set of LOTUS badges to be gloss black
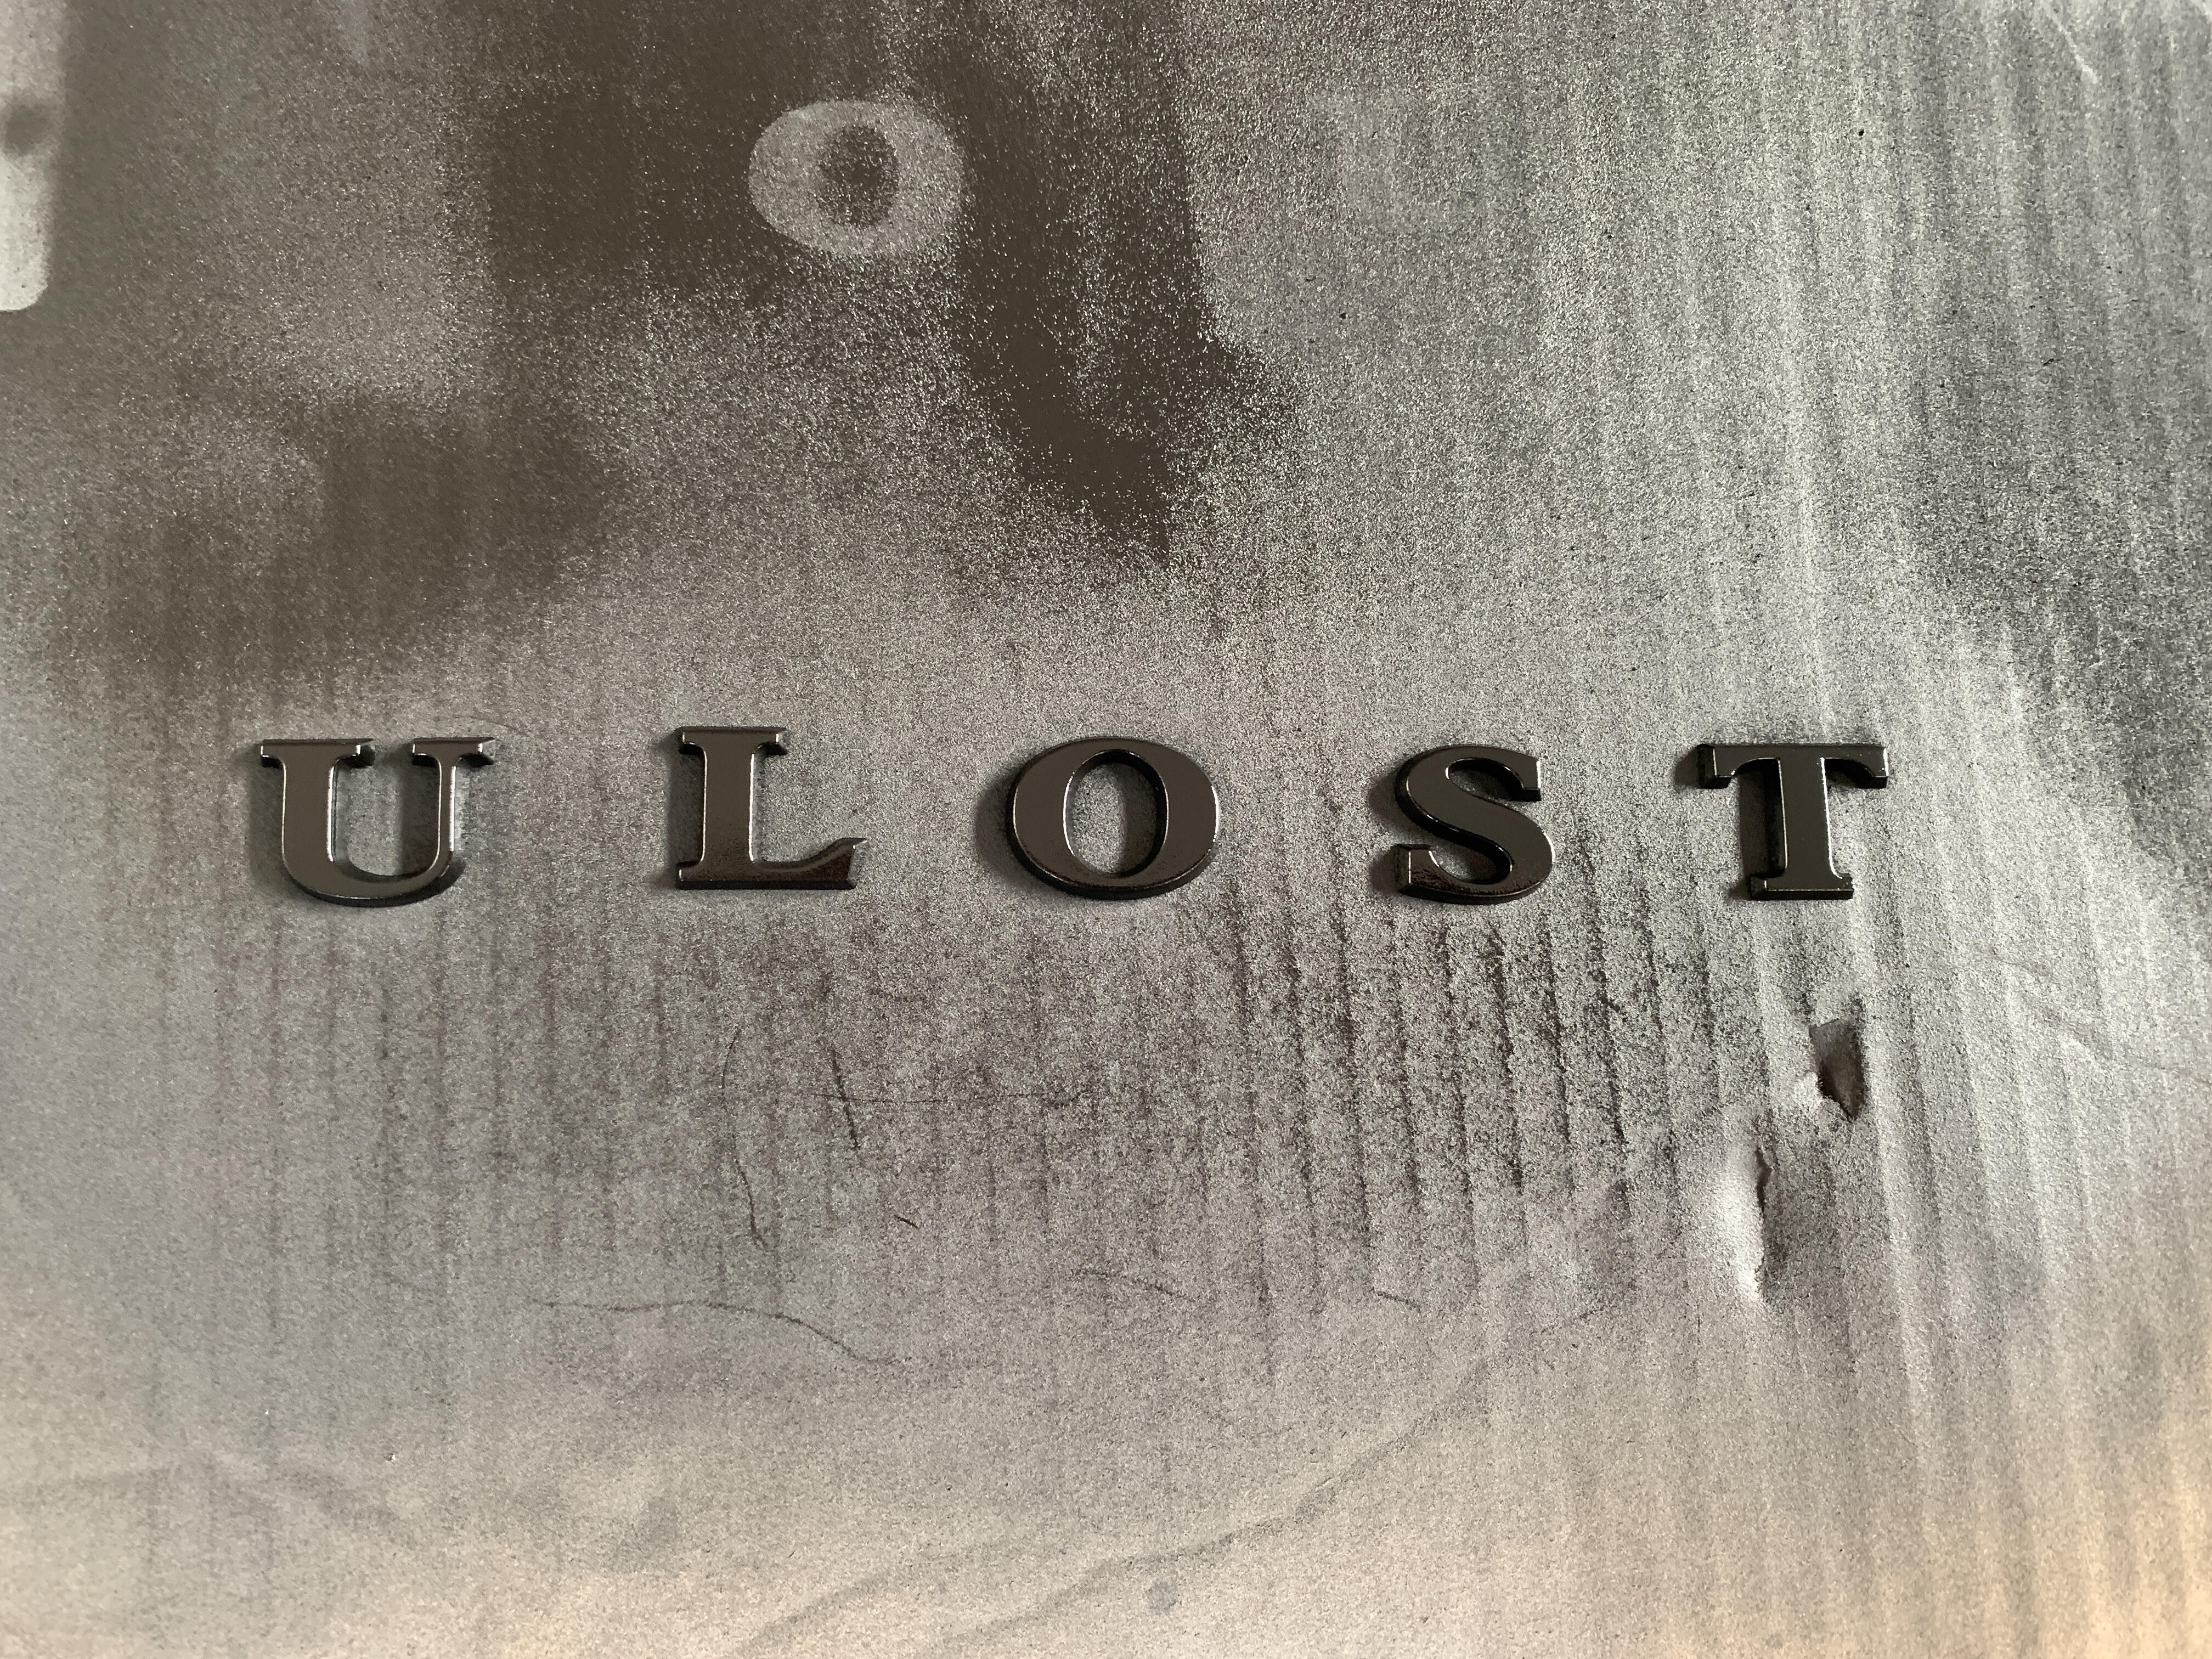
Then mounted in 3M VHB tape (red bits the backing not the tape)

So I have the option of OEM badging, but also going all black as I have no other silver bits
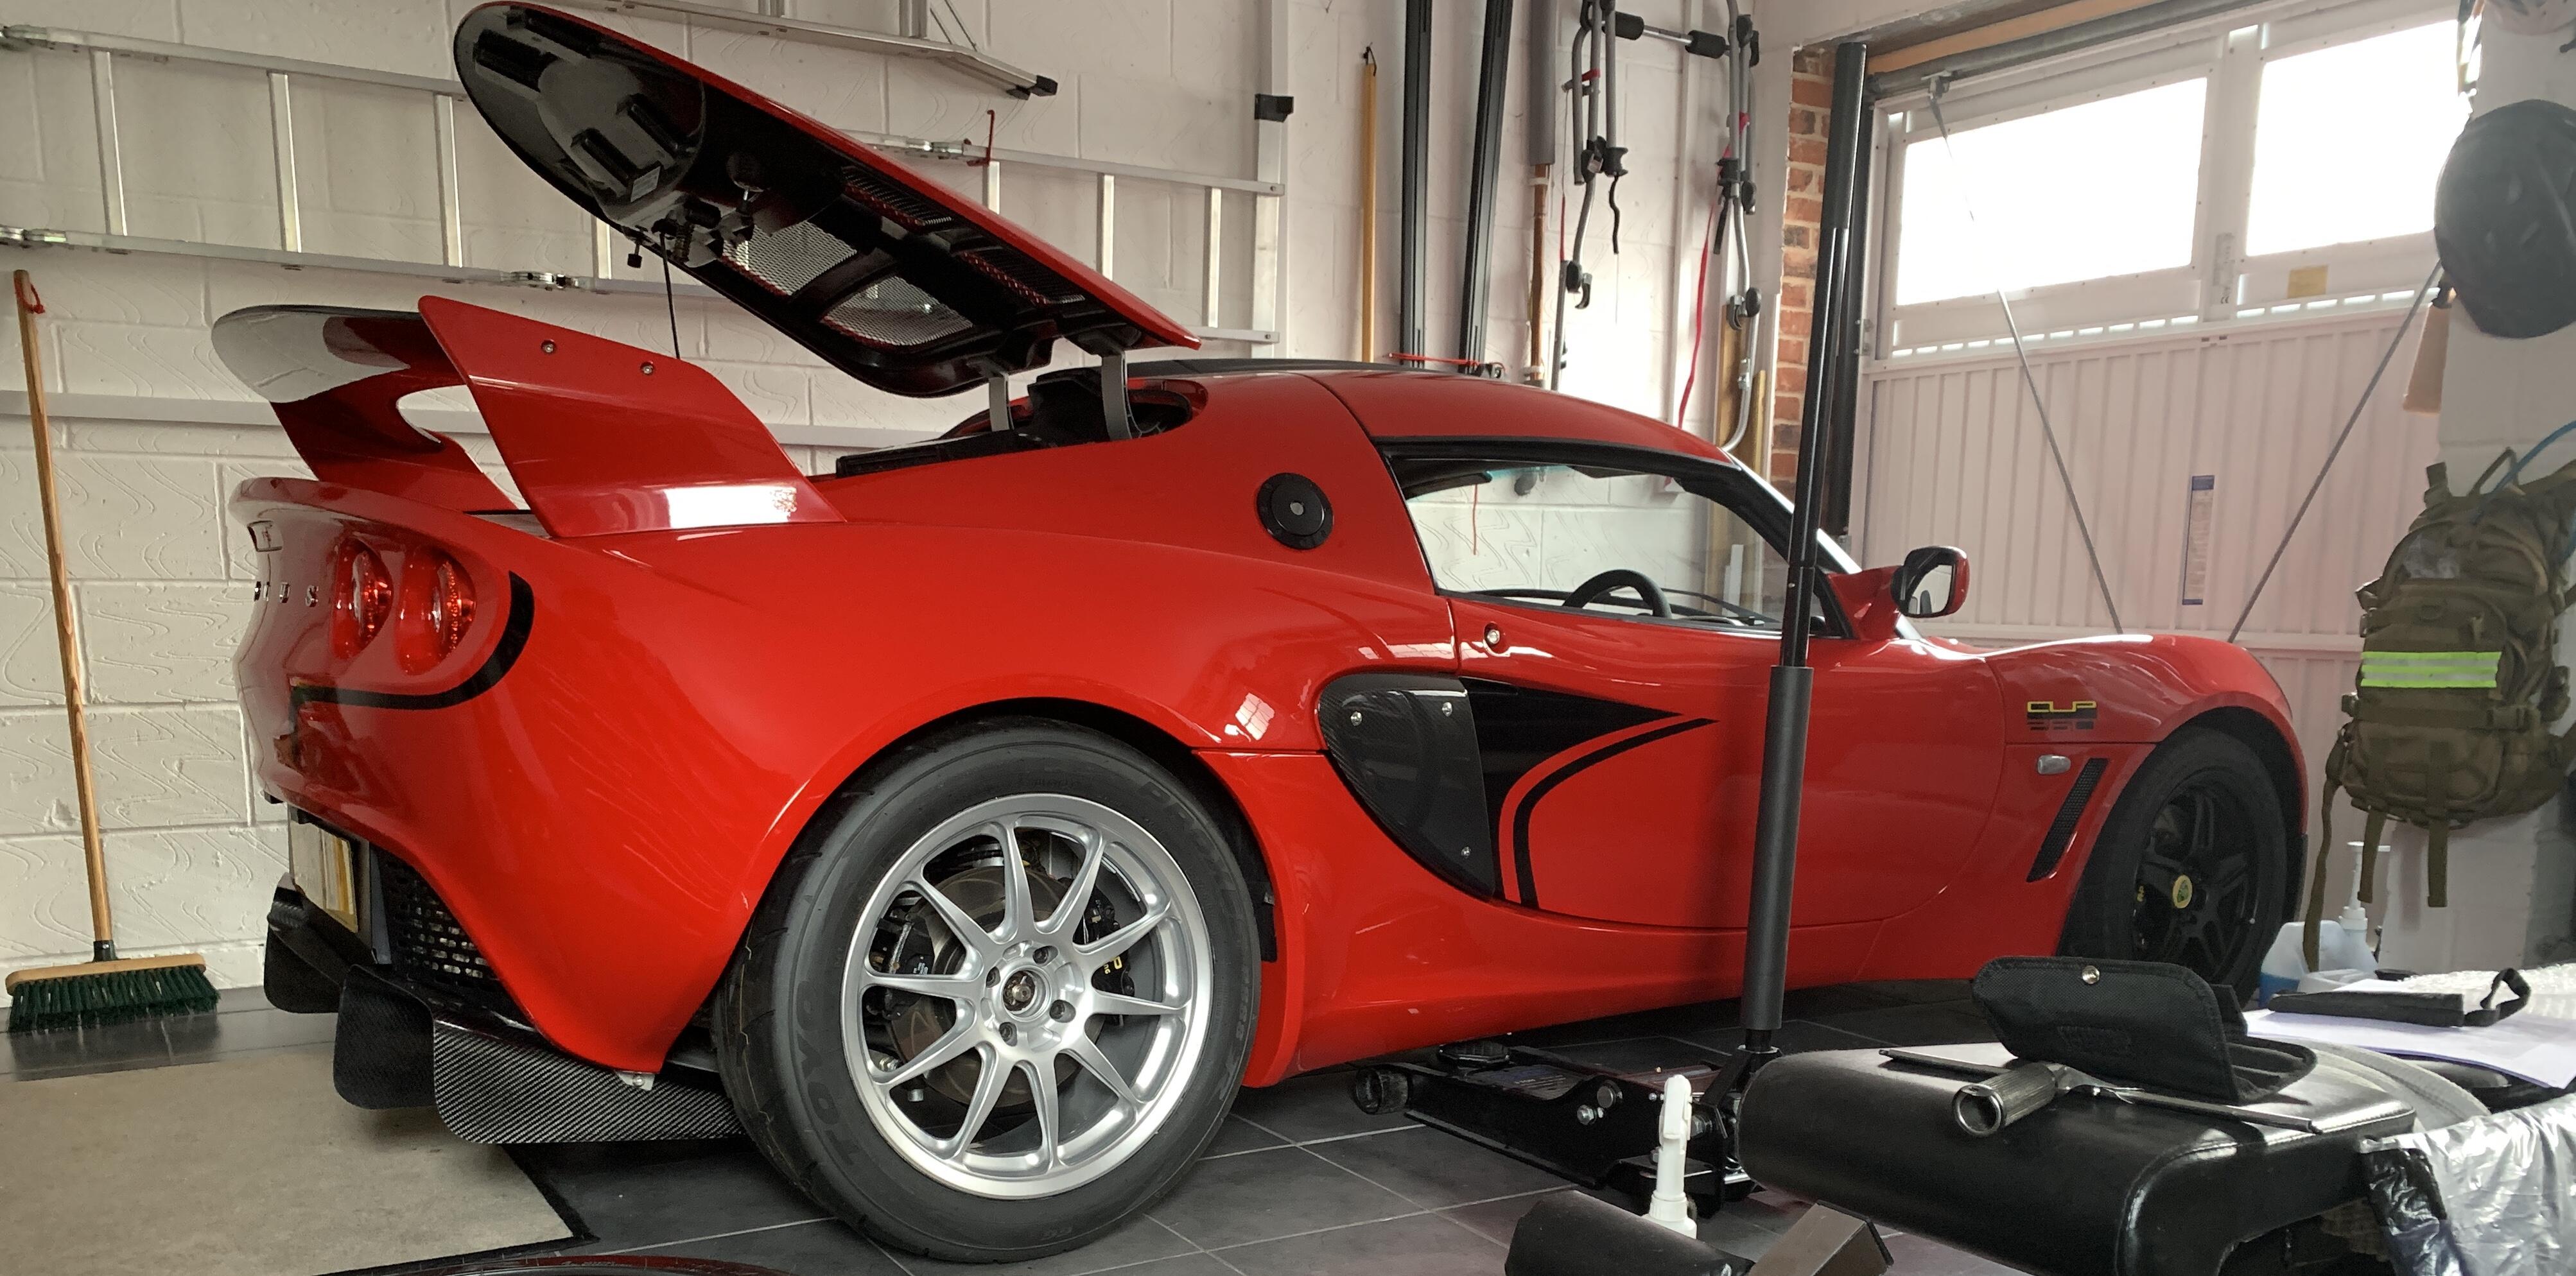
I’ve also sorted the slightly larger intercooler from Proalloy, and the ducting kit. I went with Proalloy as it didn’t involve drilling the clam to mount the ducting, so its all fully reversable. Will also be adding the catch cans

I would have preferred to add a charge cooler, and I did seriously consider it as I’ve had the clams off a few times this year, but it was just changes that you couldn’t remove, certainly not easily. So although better, this was firmly a nod to not keeping it roughly OEM or at least revertible
Once the car is back I have quite a few bits to do:
• Rear diffuser polish and tidy up
• Refit trimmed interior
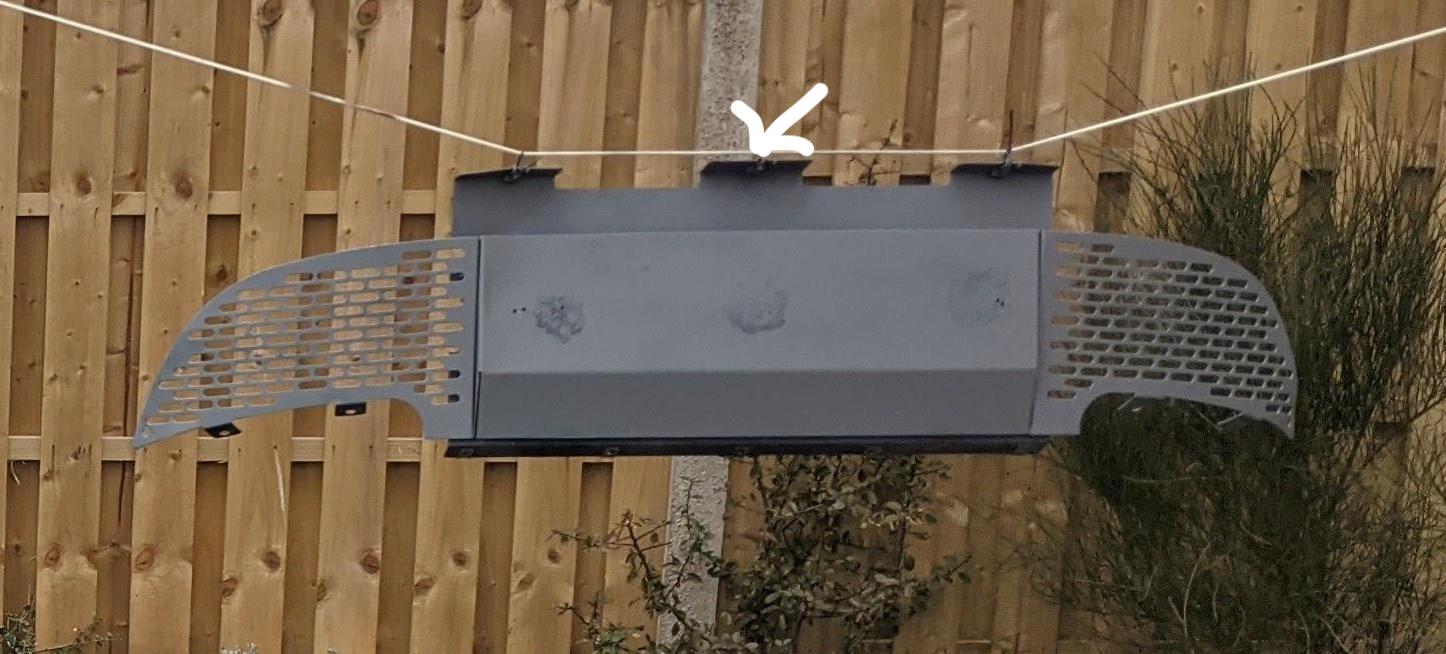
• Rear panel, removal and powder coat or paint (it’s a bit ratty)
• Lightweight handbrake callipers
• Change to floating rotors front and rear
• TRD airbox
• Repaint front callipers (people have been a bit lazy putting wheels on)
• Polish the rest of the car
• Sticker up rear clam
• Ceramic coat
• Rear reverse camera (cabling already roughly in place)
• Plus a million smaller things, and I may drop some from the list depending on how much I can be bothered….
Car looks amazing ![]()
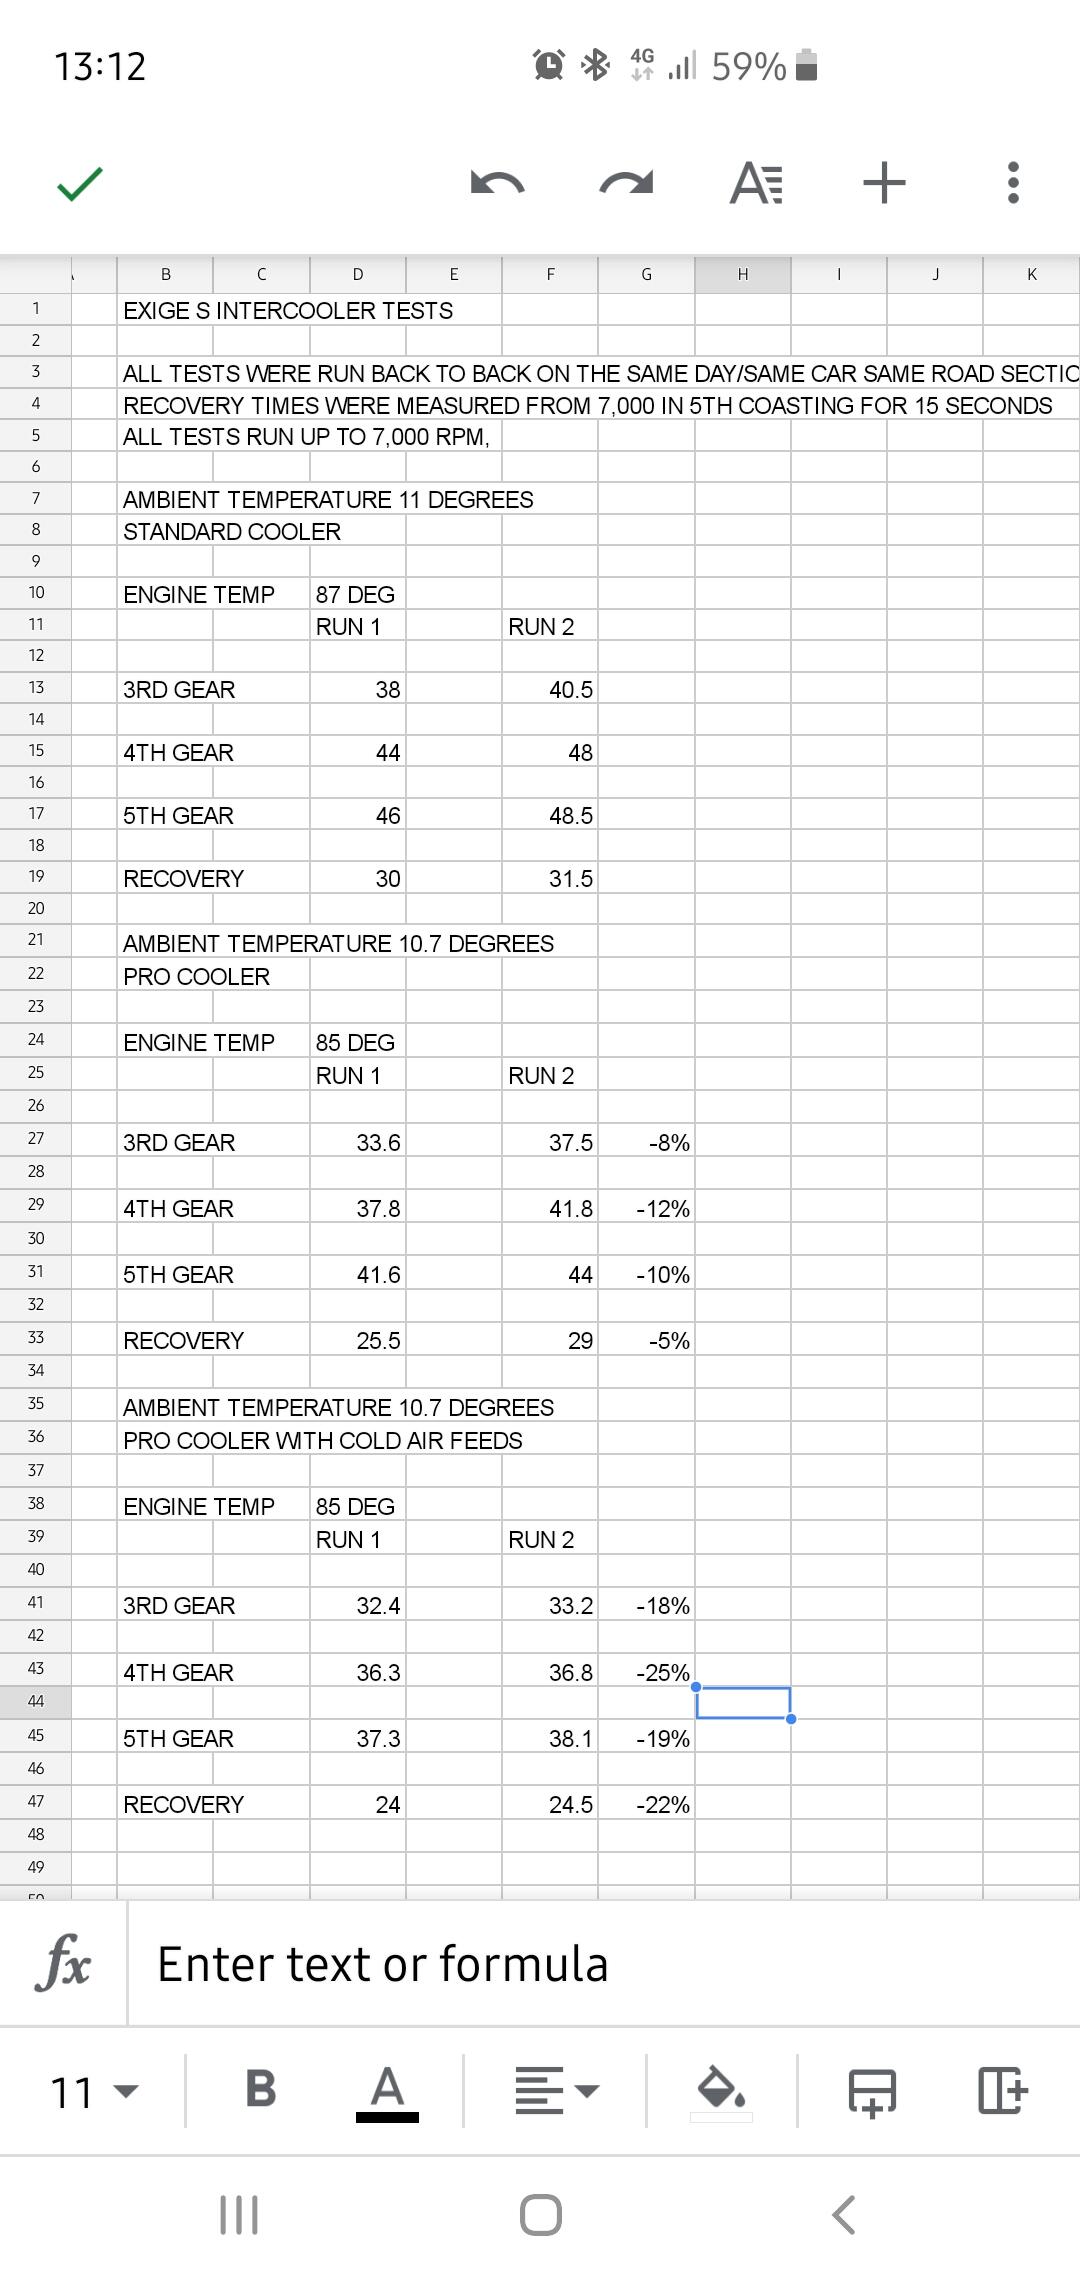
I will be interested when you get your PA cooler and air feed pipes in place what your ITT are. I have the same set up but not had a chance to measure them when the car is used hard.
Got a PA CC but resisting fitting at the moment but may have to if i decide to go with one of Daves Komotec 300 kits.
From what I logged, Charge cooling simply isnt’ needed for a road car. Even with the most enthusiastic of ‘road blasts’ on the hottest days still don’t really get your IATs into the zone where the stock ECU pulls timing once you have the ducting fitted. That was on stock IC too, so with a PA IC I imagine the benefits are even higher.
CC really comes into its own for a track car, but even then when you consider the $$/Effort per degree of gain, the ducting is still a very wise place to go IME.
Cheers Lee, pretty happy with how its turning out!
I think Chargecooling will always be better, you just get the heat transfer circulating and you can’t mimic that without car movement running air/air. With the price difference being not huge between the proper ProAlloy Ducting and the Chargecooler, and having had the clams off it would have made more sense to have gone charge cooled but it was just that nod to keeping it at the least reversible (with these cars going up in value it does influence things especially when you’re wife seems to live on rightmove).
As Fonzey says it should be fine for road, but the CC is the better solution, and certainly much more predictable so maybe more of a want than need for road. If you aren’t OK taking clams off etc then I guess the cost difference would be far greater, but not an issue for you
I would say that’s believable yeah compared to what I logged.
Hmmmm maybe I should log before change then do again after the change as I haven’t swapped out yet… Would only be road rather than track
Obviously I’ve neglected this thread and the car - I haven’t really done anything for months to be honest.
I’ll be finishing things up, then moving on, times have changed for me so id rather see it being used in a good home not sitting there not being used - so shout if anyone is after a mint MY10 Cup260
Tried out the wheels, love the look but may never see the road on this car:
Anyway, final bits - the panel above the diffuser was Ok, but needed a refresh, it had some marks under the number plate so couldn’t go with a smaller plate. Plus you always know its there, its the final bit of not quite right being sorted so feels good knowing the rest is purely for the sake of it rather than it bothers me
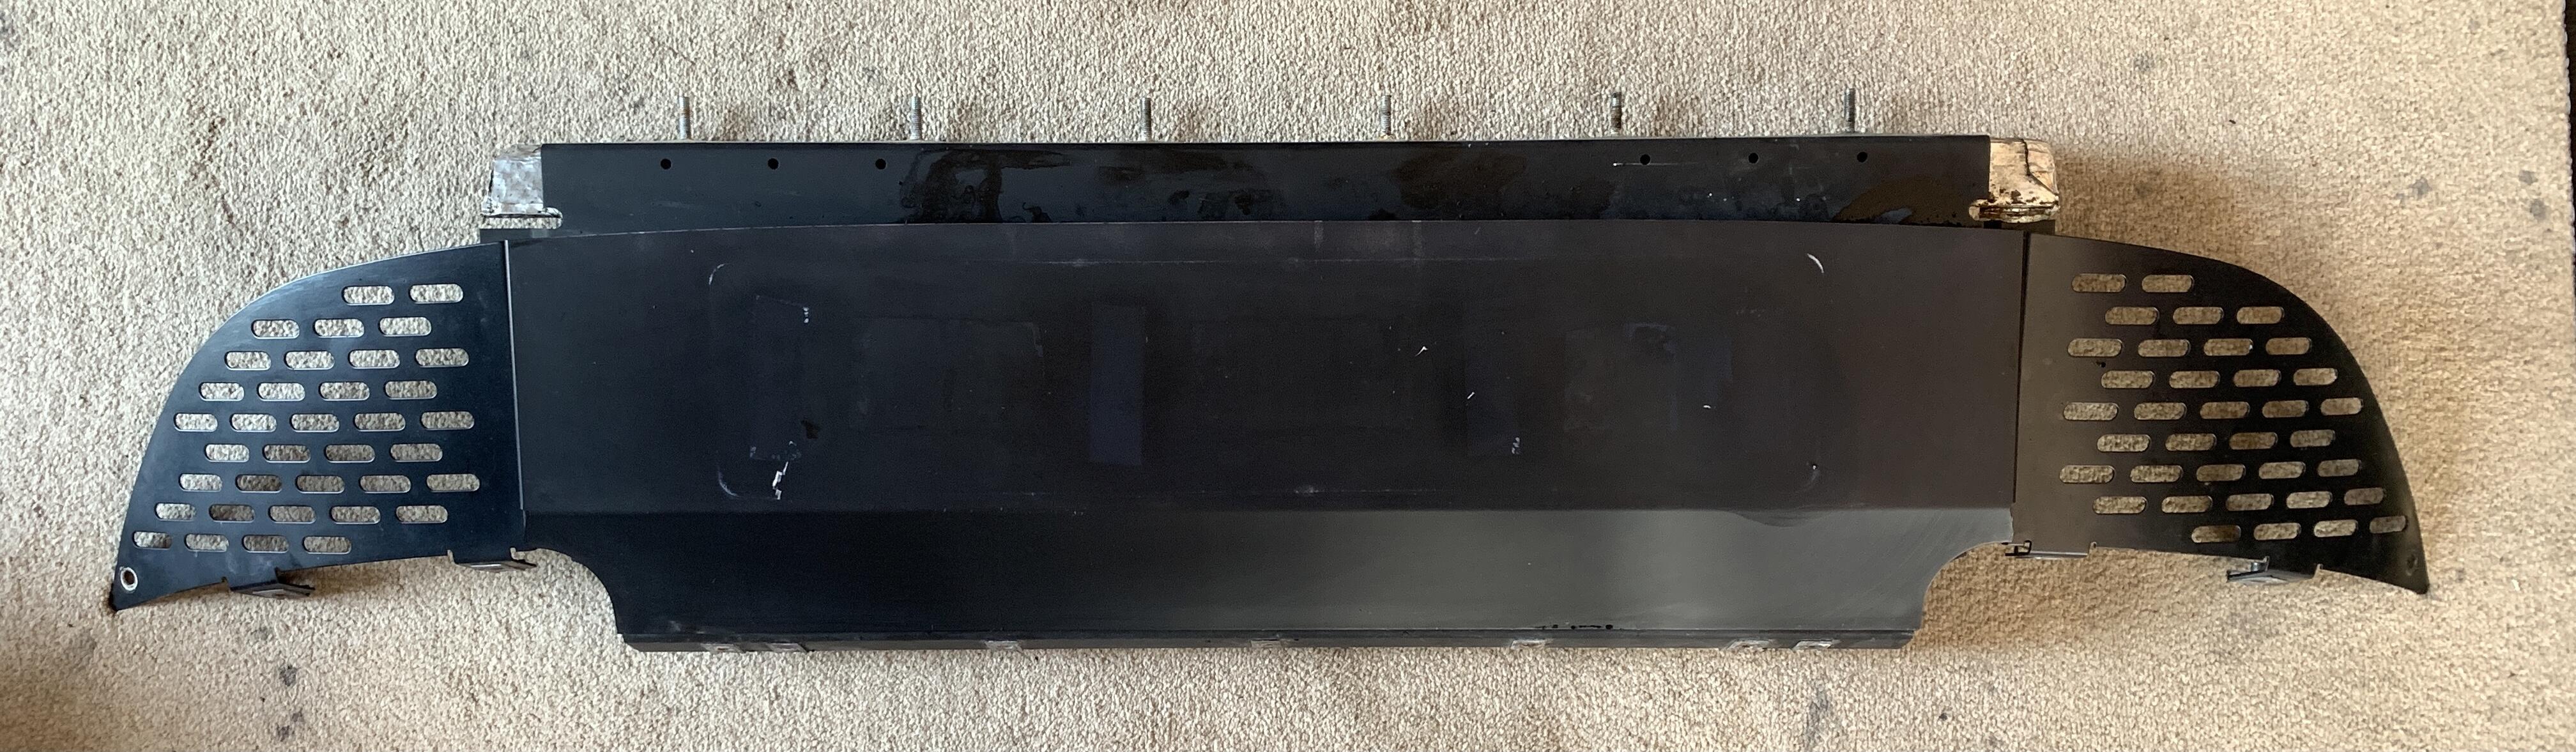
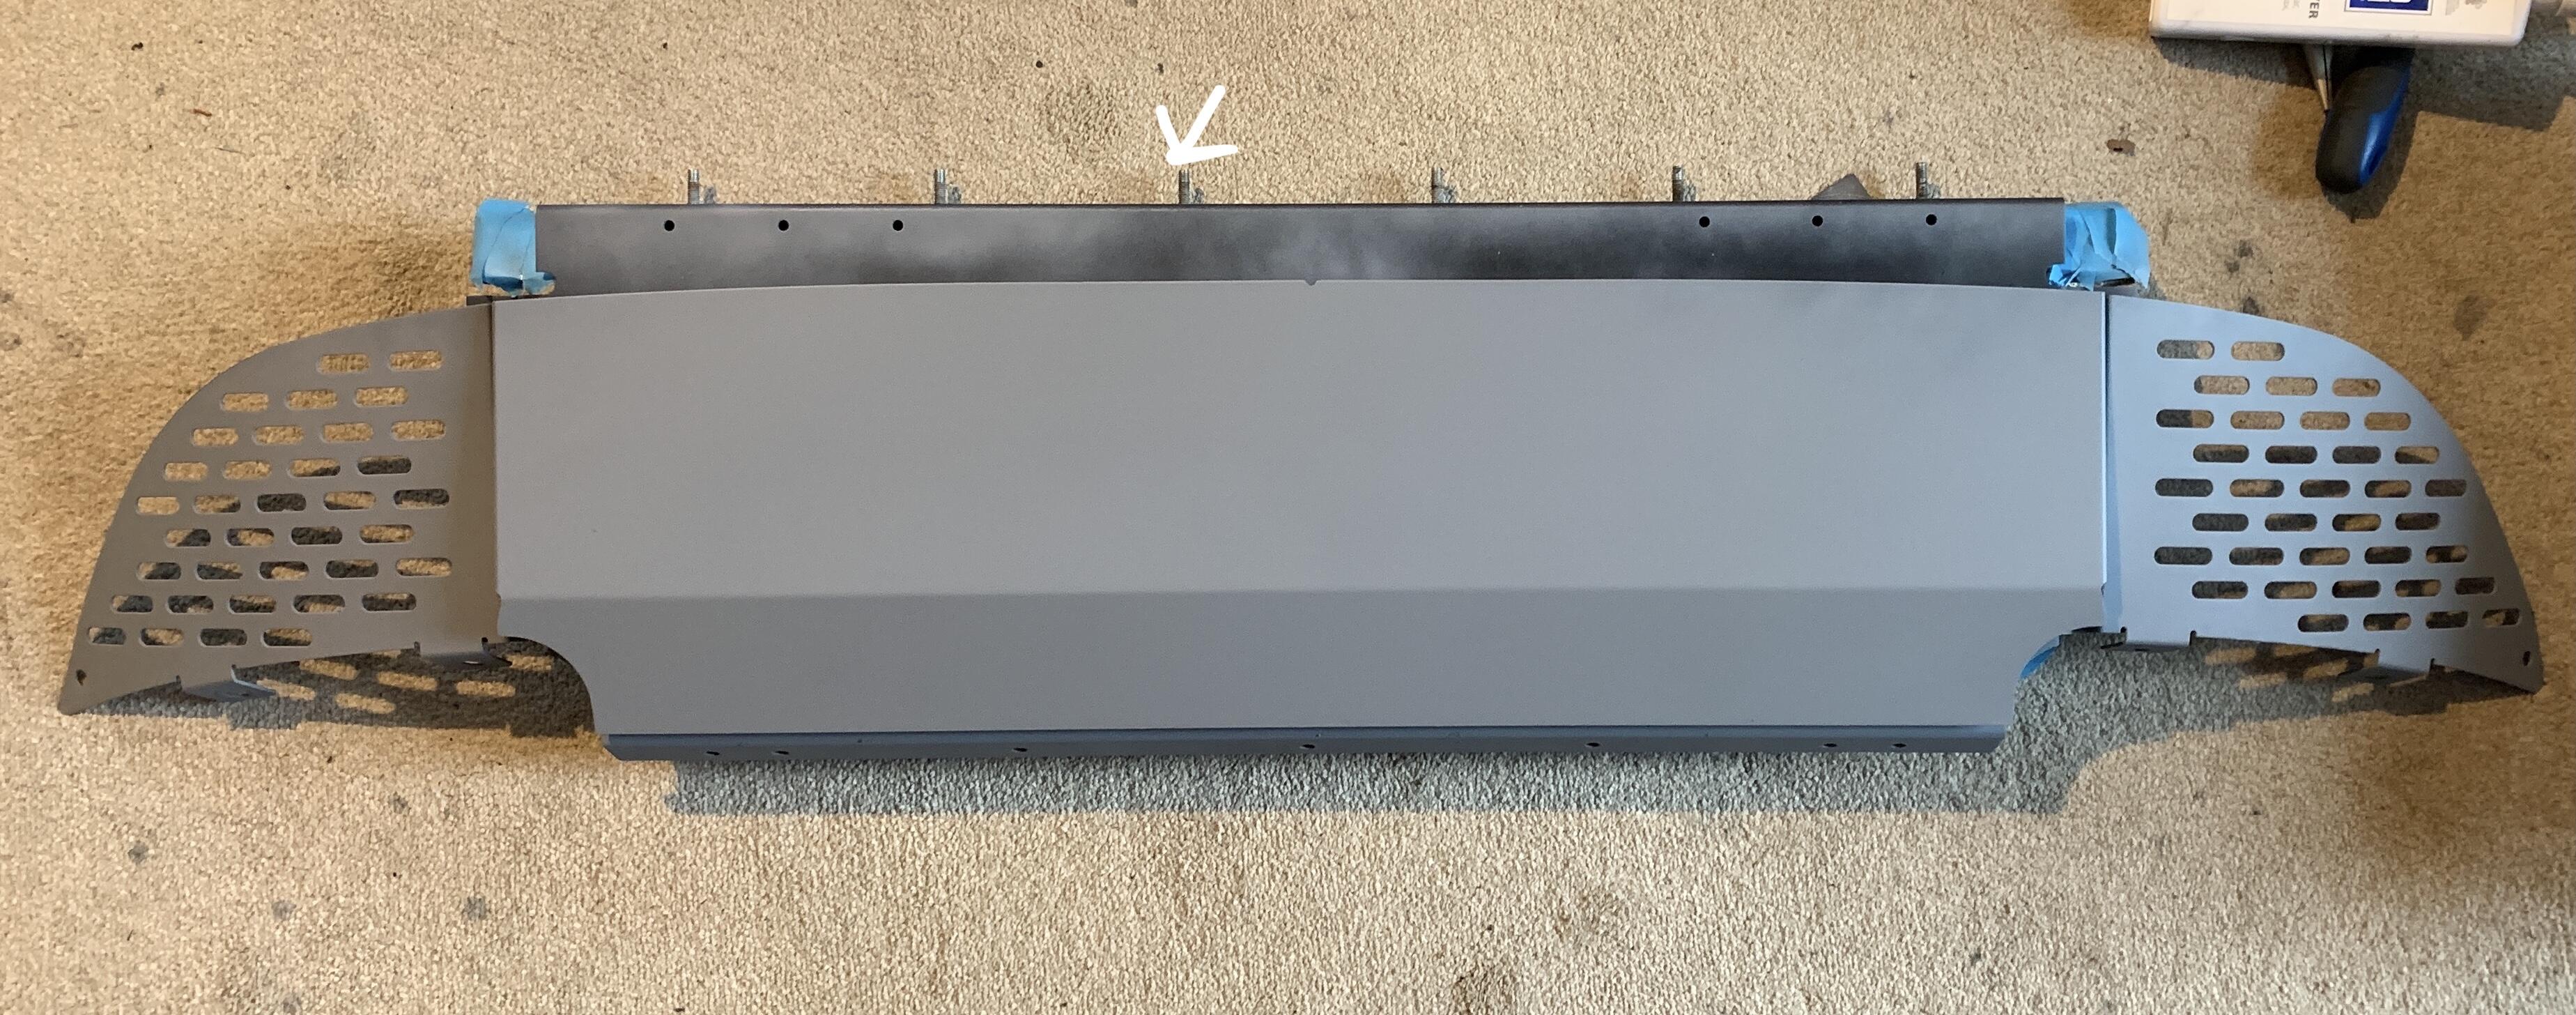
so a quick rub back and prime
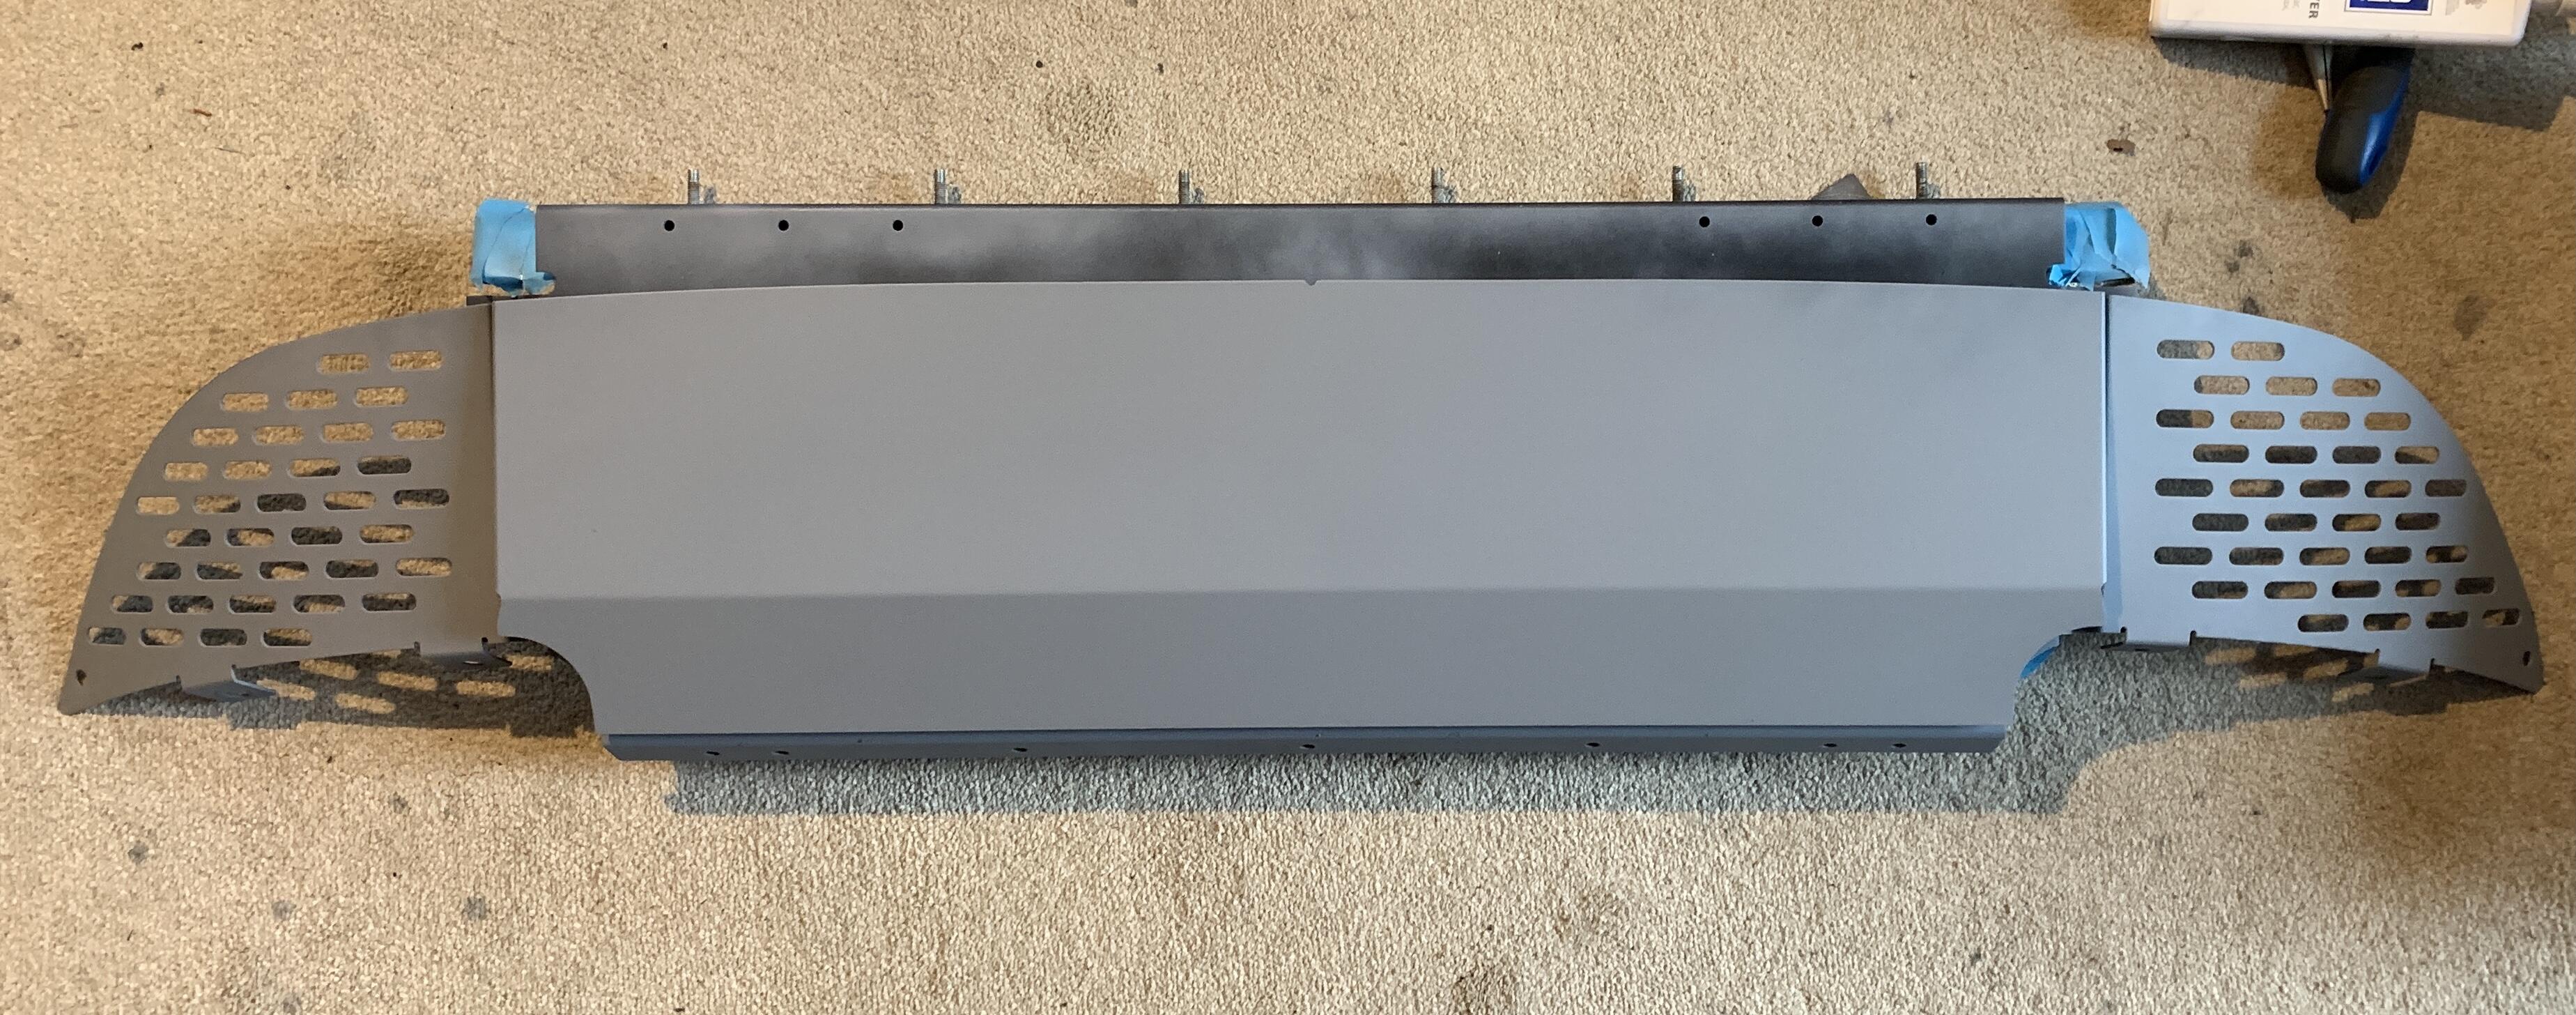
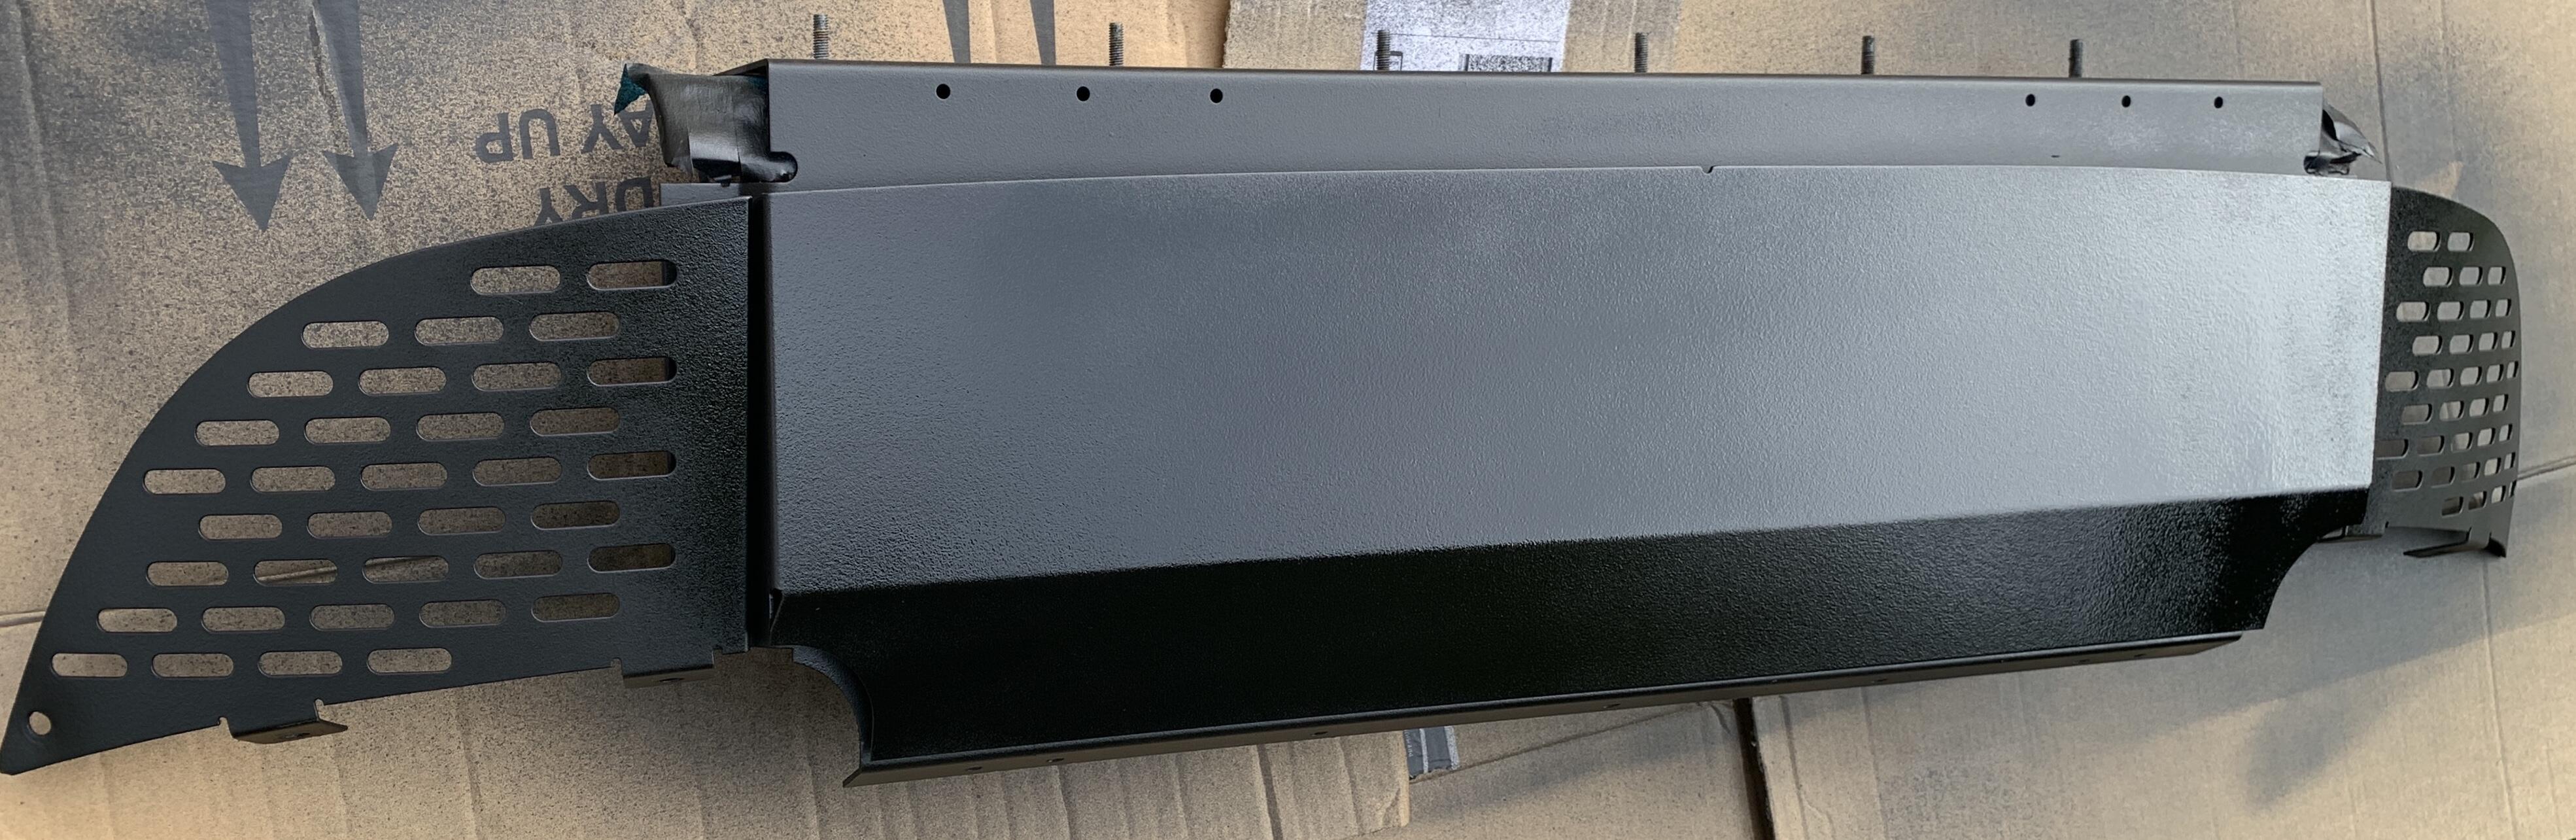
Then laid down some paint and let it dry before refitting
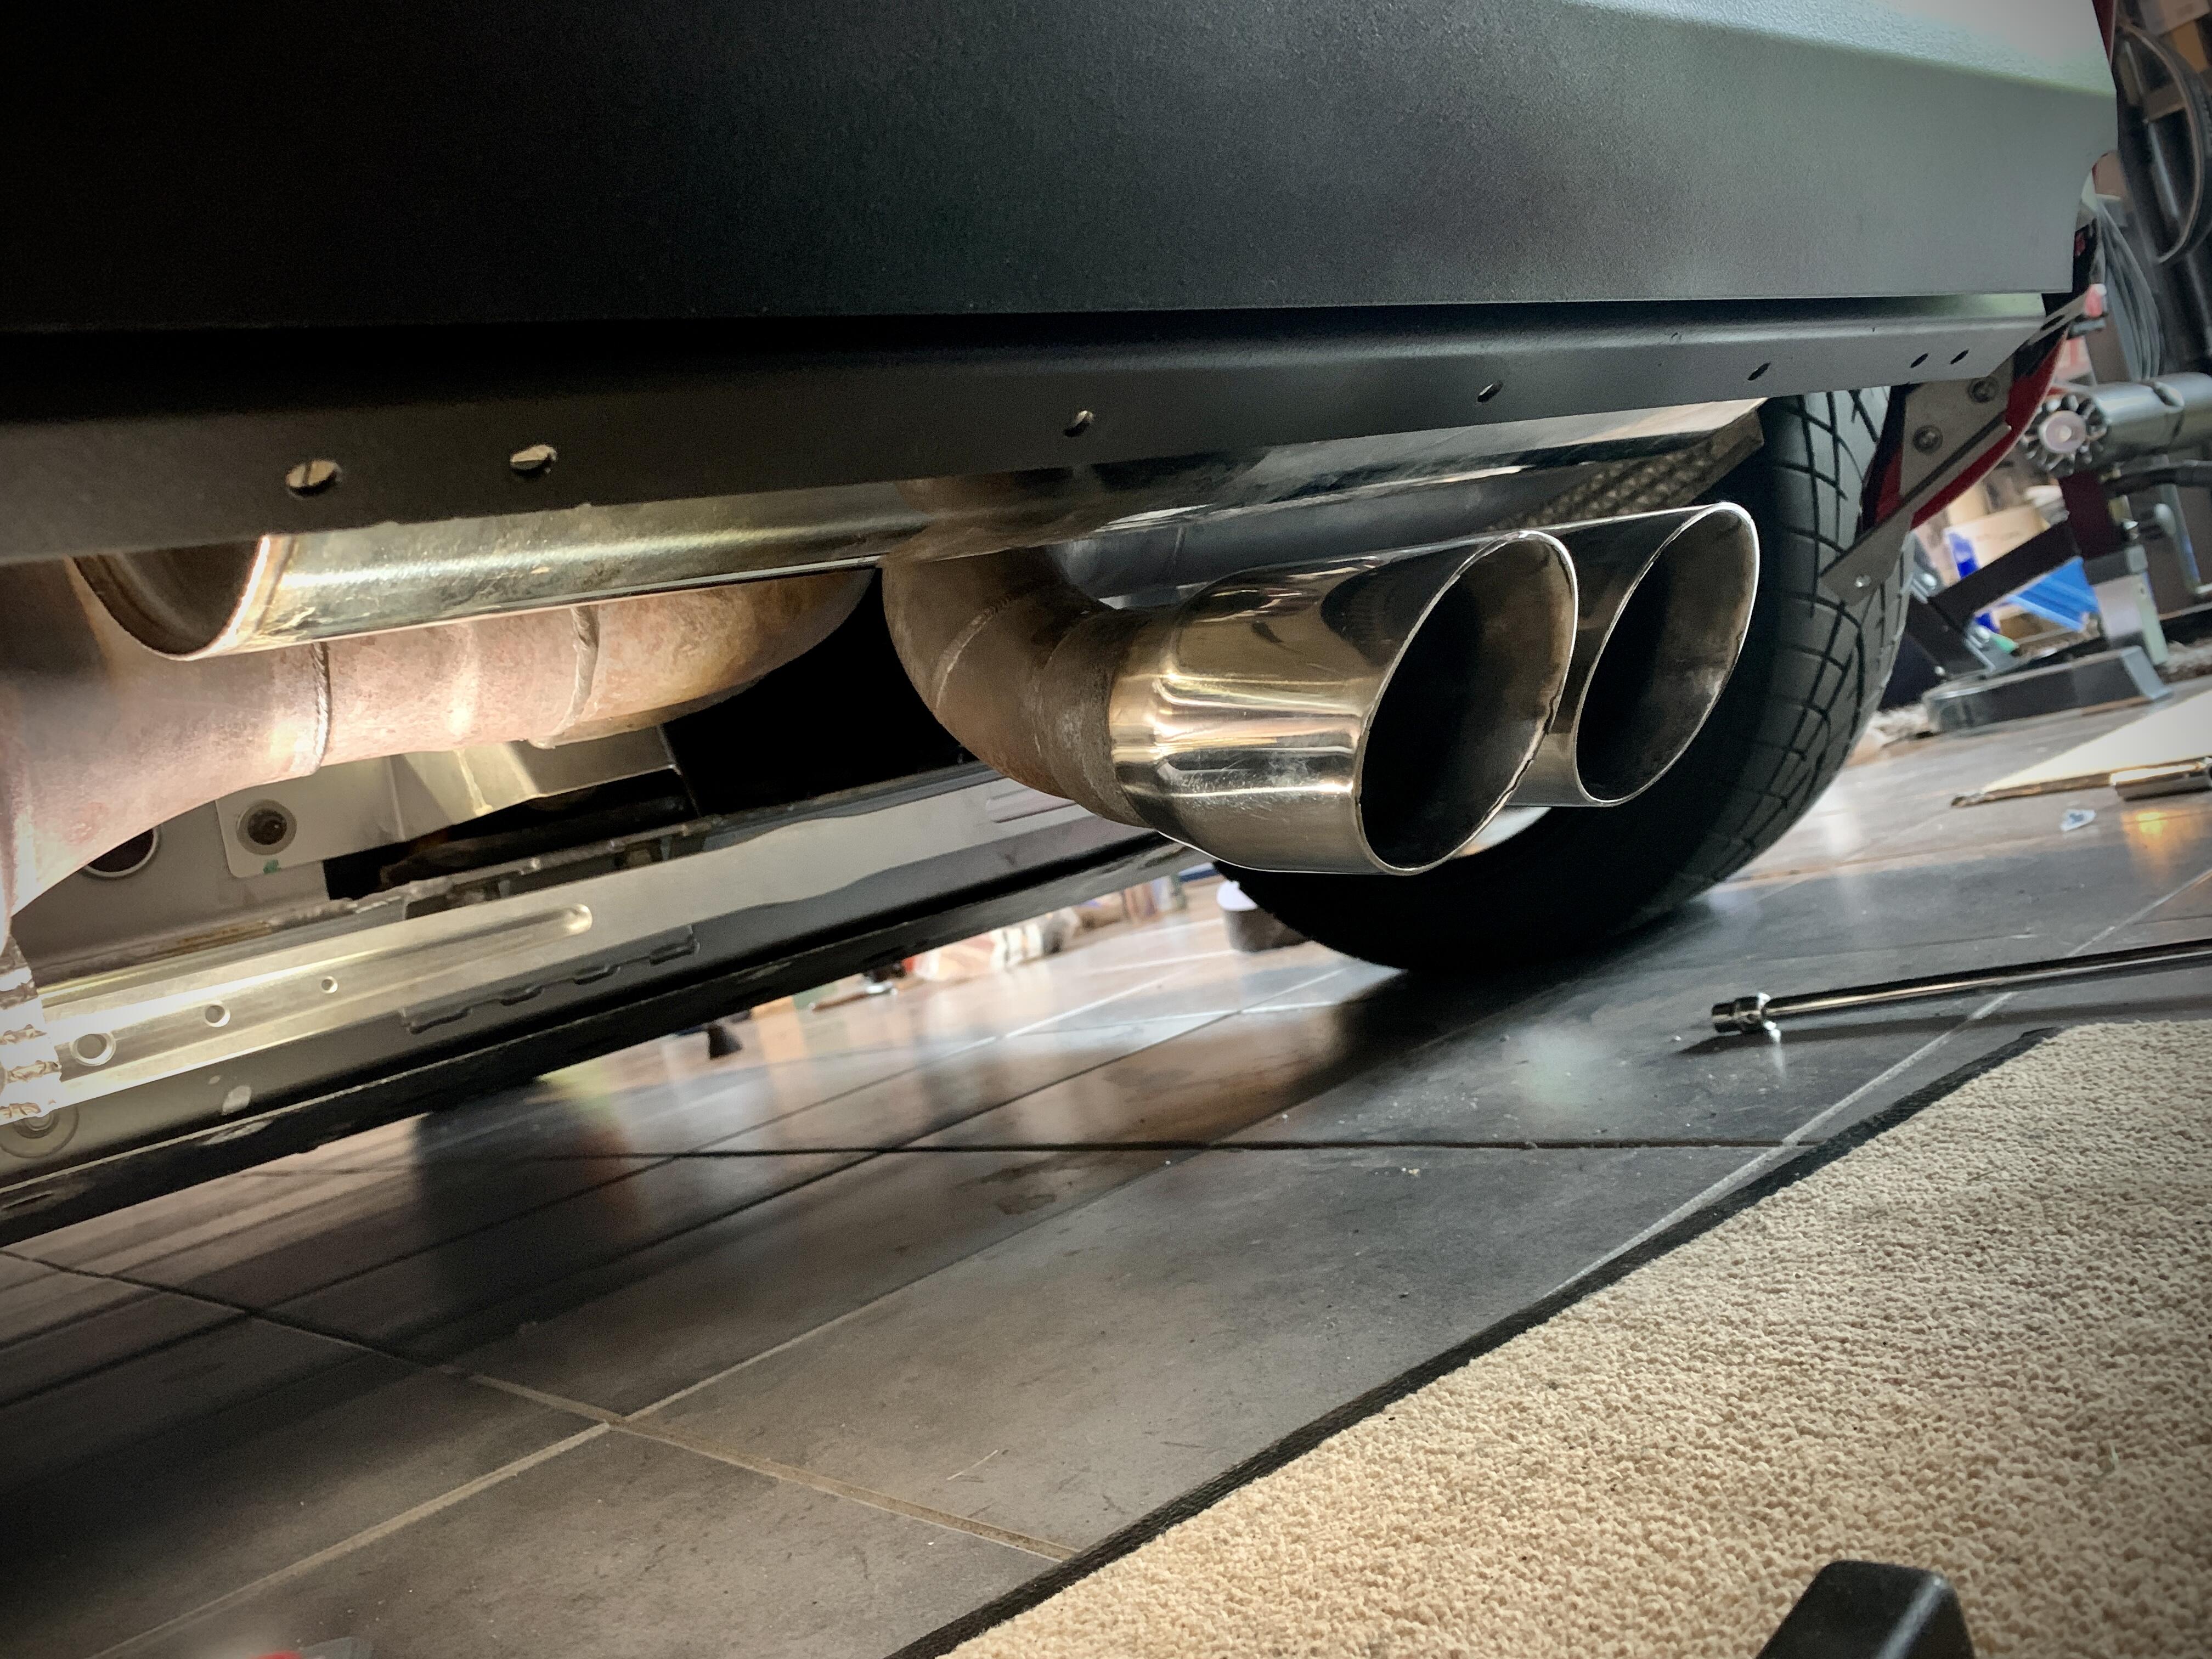
Rest of the weekend will be to clean up exhaust, fit diffuser as the carbon diffuser needs a few holes adjusting and the previous owner (or the fitting garage) never did. Then remove some bits from the interior that are no longer needed cameras etc, before a proper rear clam polish
What’s next? Emira?
Top job though ![]()
Thank you ![]()
Emira deposit was put down a few months back, but I am still not sure. Too practical for 2nd car, not practical enough for the main car - so will likely wait till they turn the wick up.
As some know that I’ve spoken to its a strange one, but personal events have overtaken things and I just need to change a few things, and the cars kind of become symbolic of that change (I’m sure that makes no sense) - a real shame as I hankered after a cup for years and set about getting it perfect but times change. I may still change me mind when I go out for some photos, who knows!
Nice job! ![]()
Was the rear panel easy enough to come off? I need to do mine. Done the diffuser already.
Hope personal things are ok ![]()
I know it changed by year, mine you remove 6 bolts from the boot floor (under accusump), then the bolts that you can see. It’s then wedged in with the heatsheild, so you then have to drop the exhaust as the heatsheild is held in by the exhaust hangers.
So all in all it’s a bit of a hassle, but I think pre 08 cars are easier as I don’t remember the hassle on my other s2s!
Once heatsheild can be pulled down 5cm it’s a doddle
Sounds similar to the process on my 06. Fairly self explanatory when you start taking bits off.
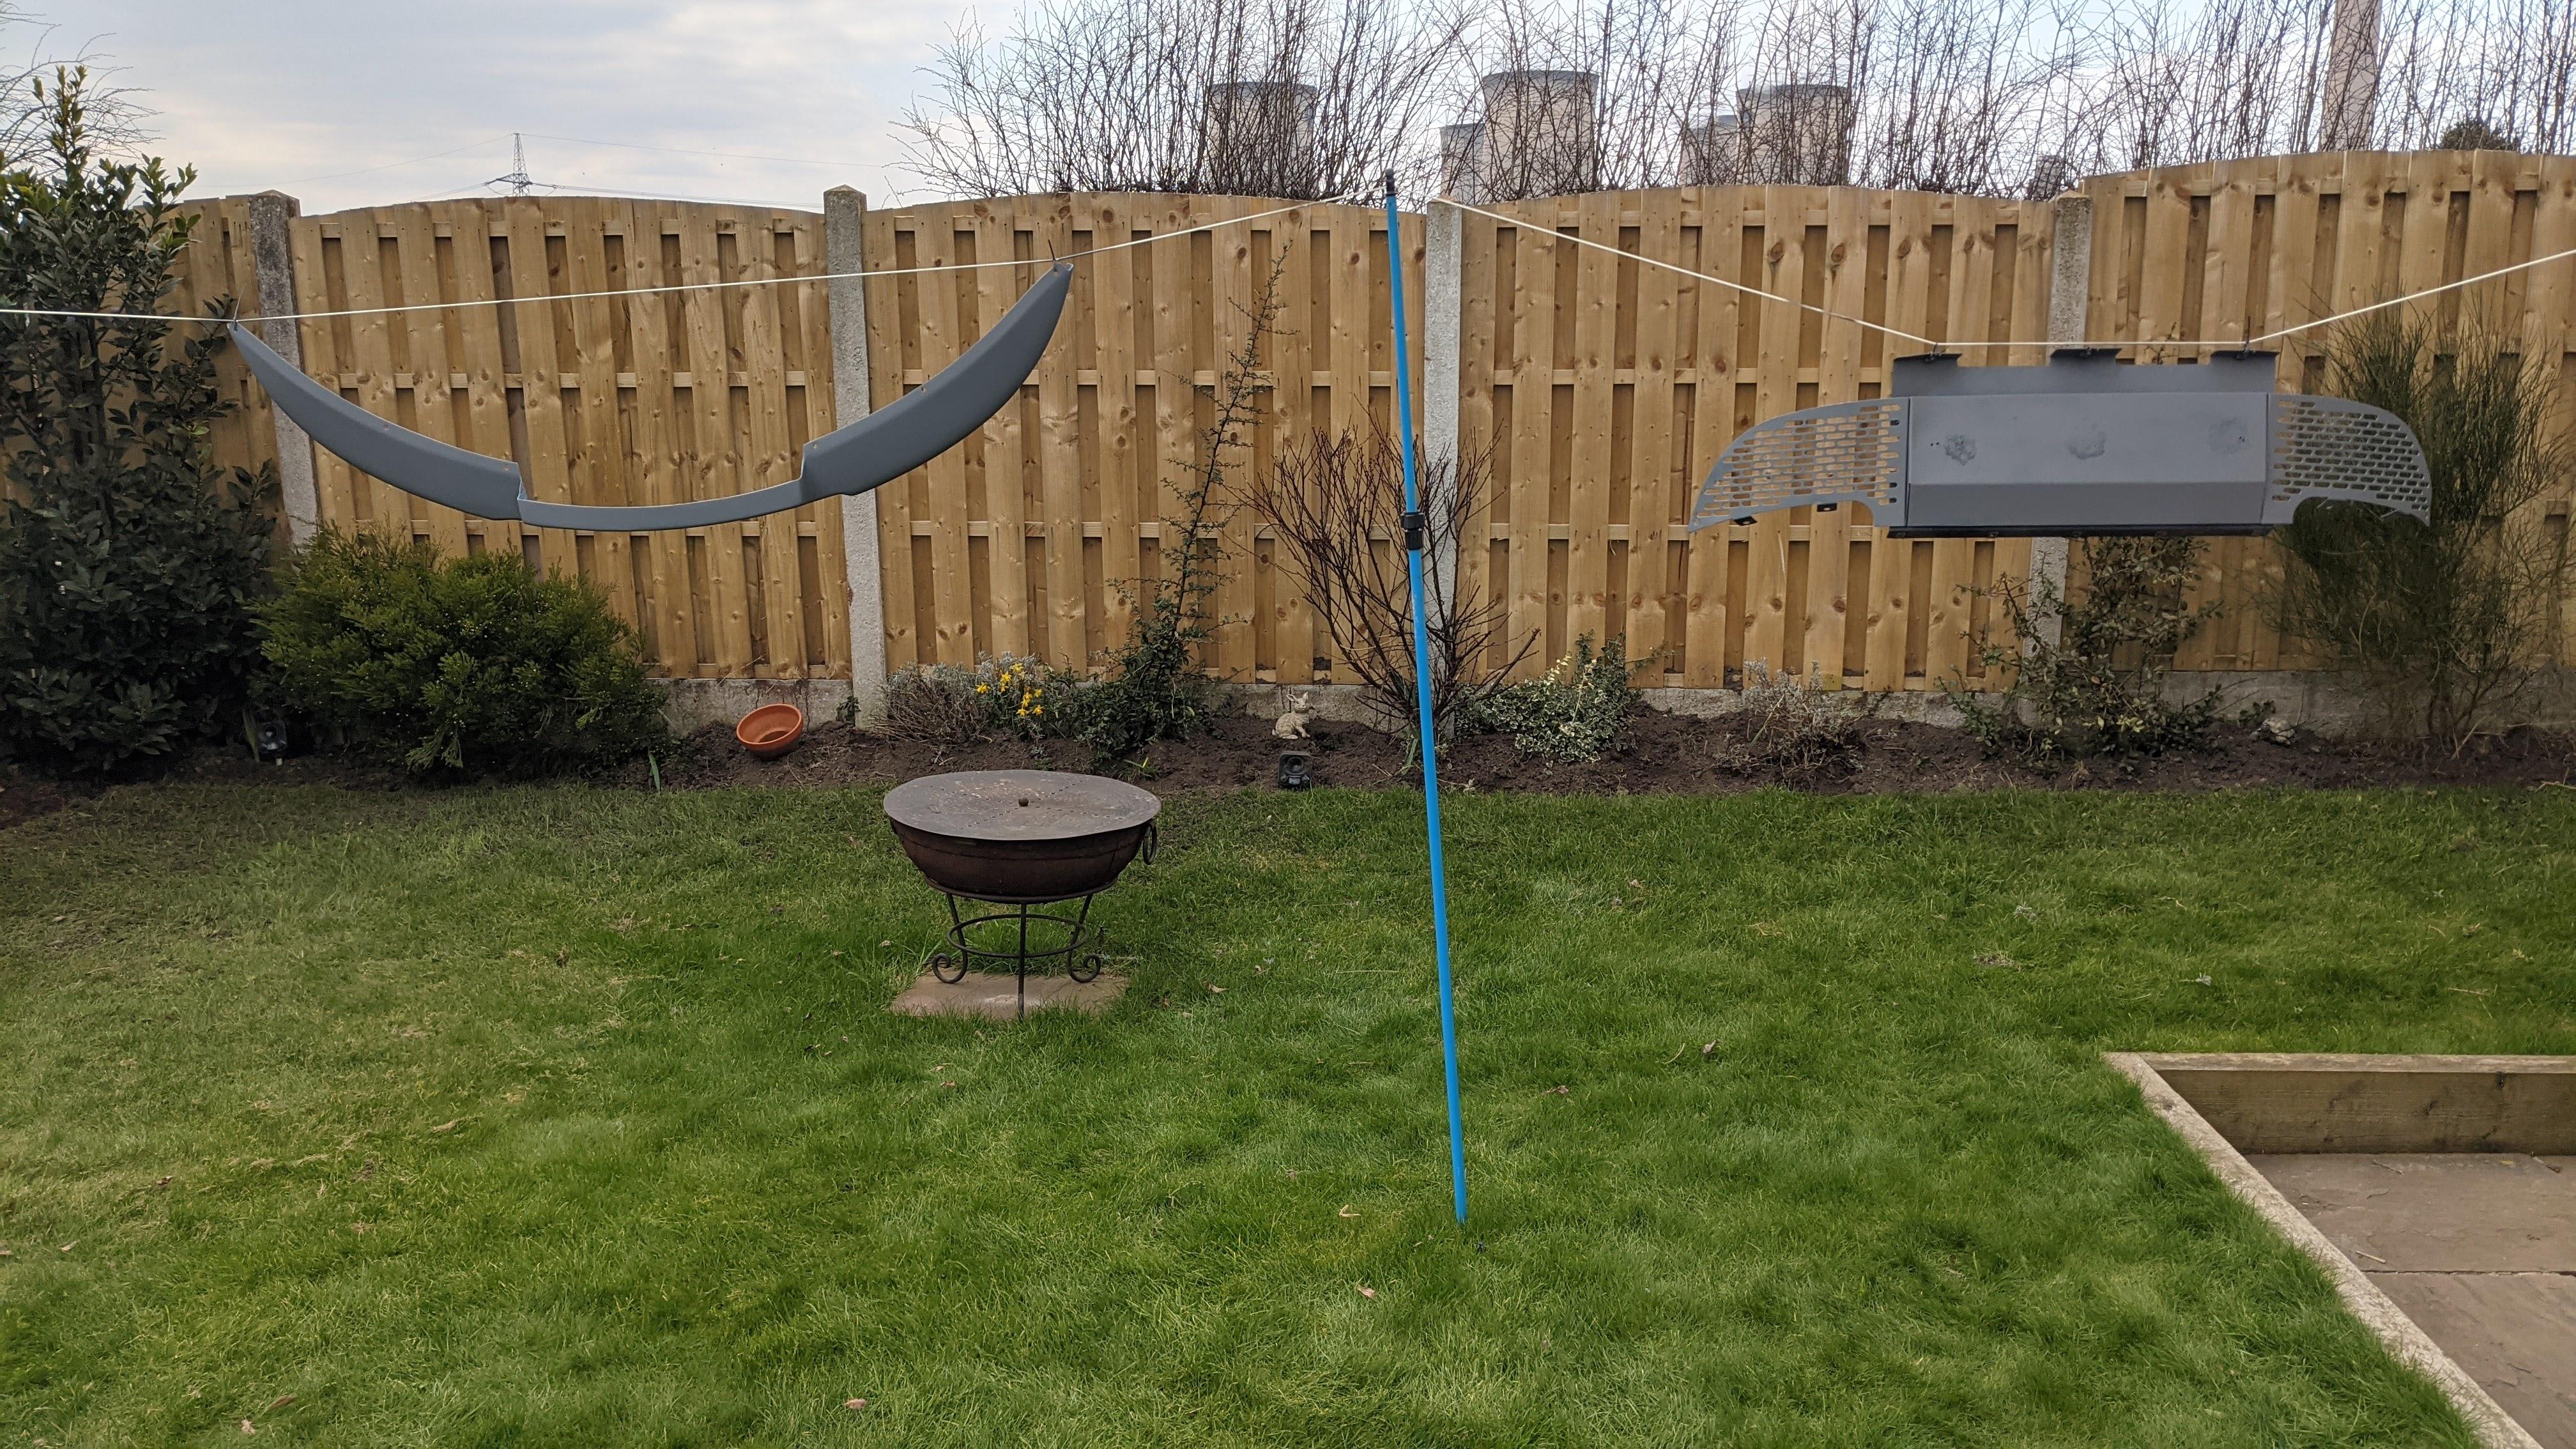
Explaining to the missus why her clothes pegs are all satin black is not so easy
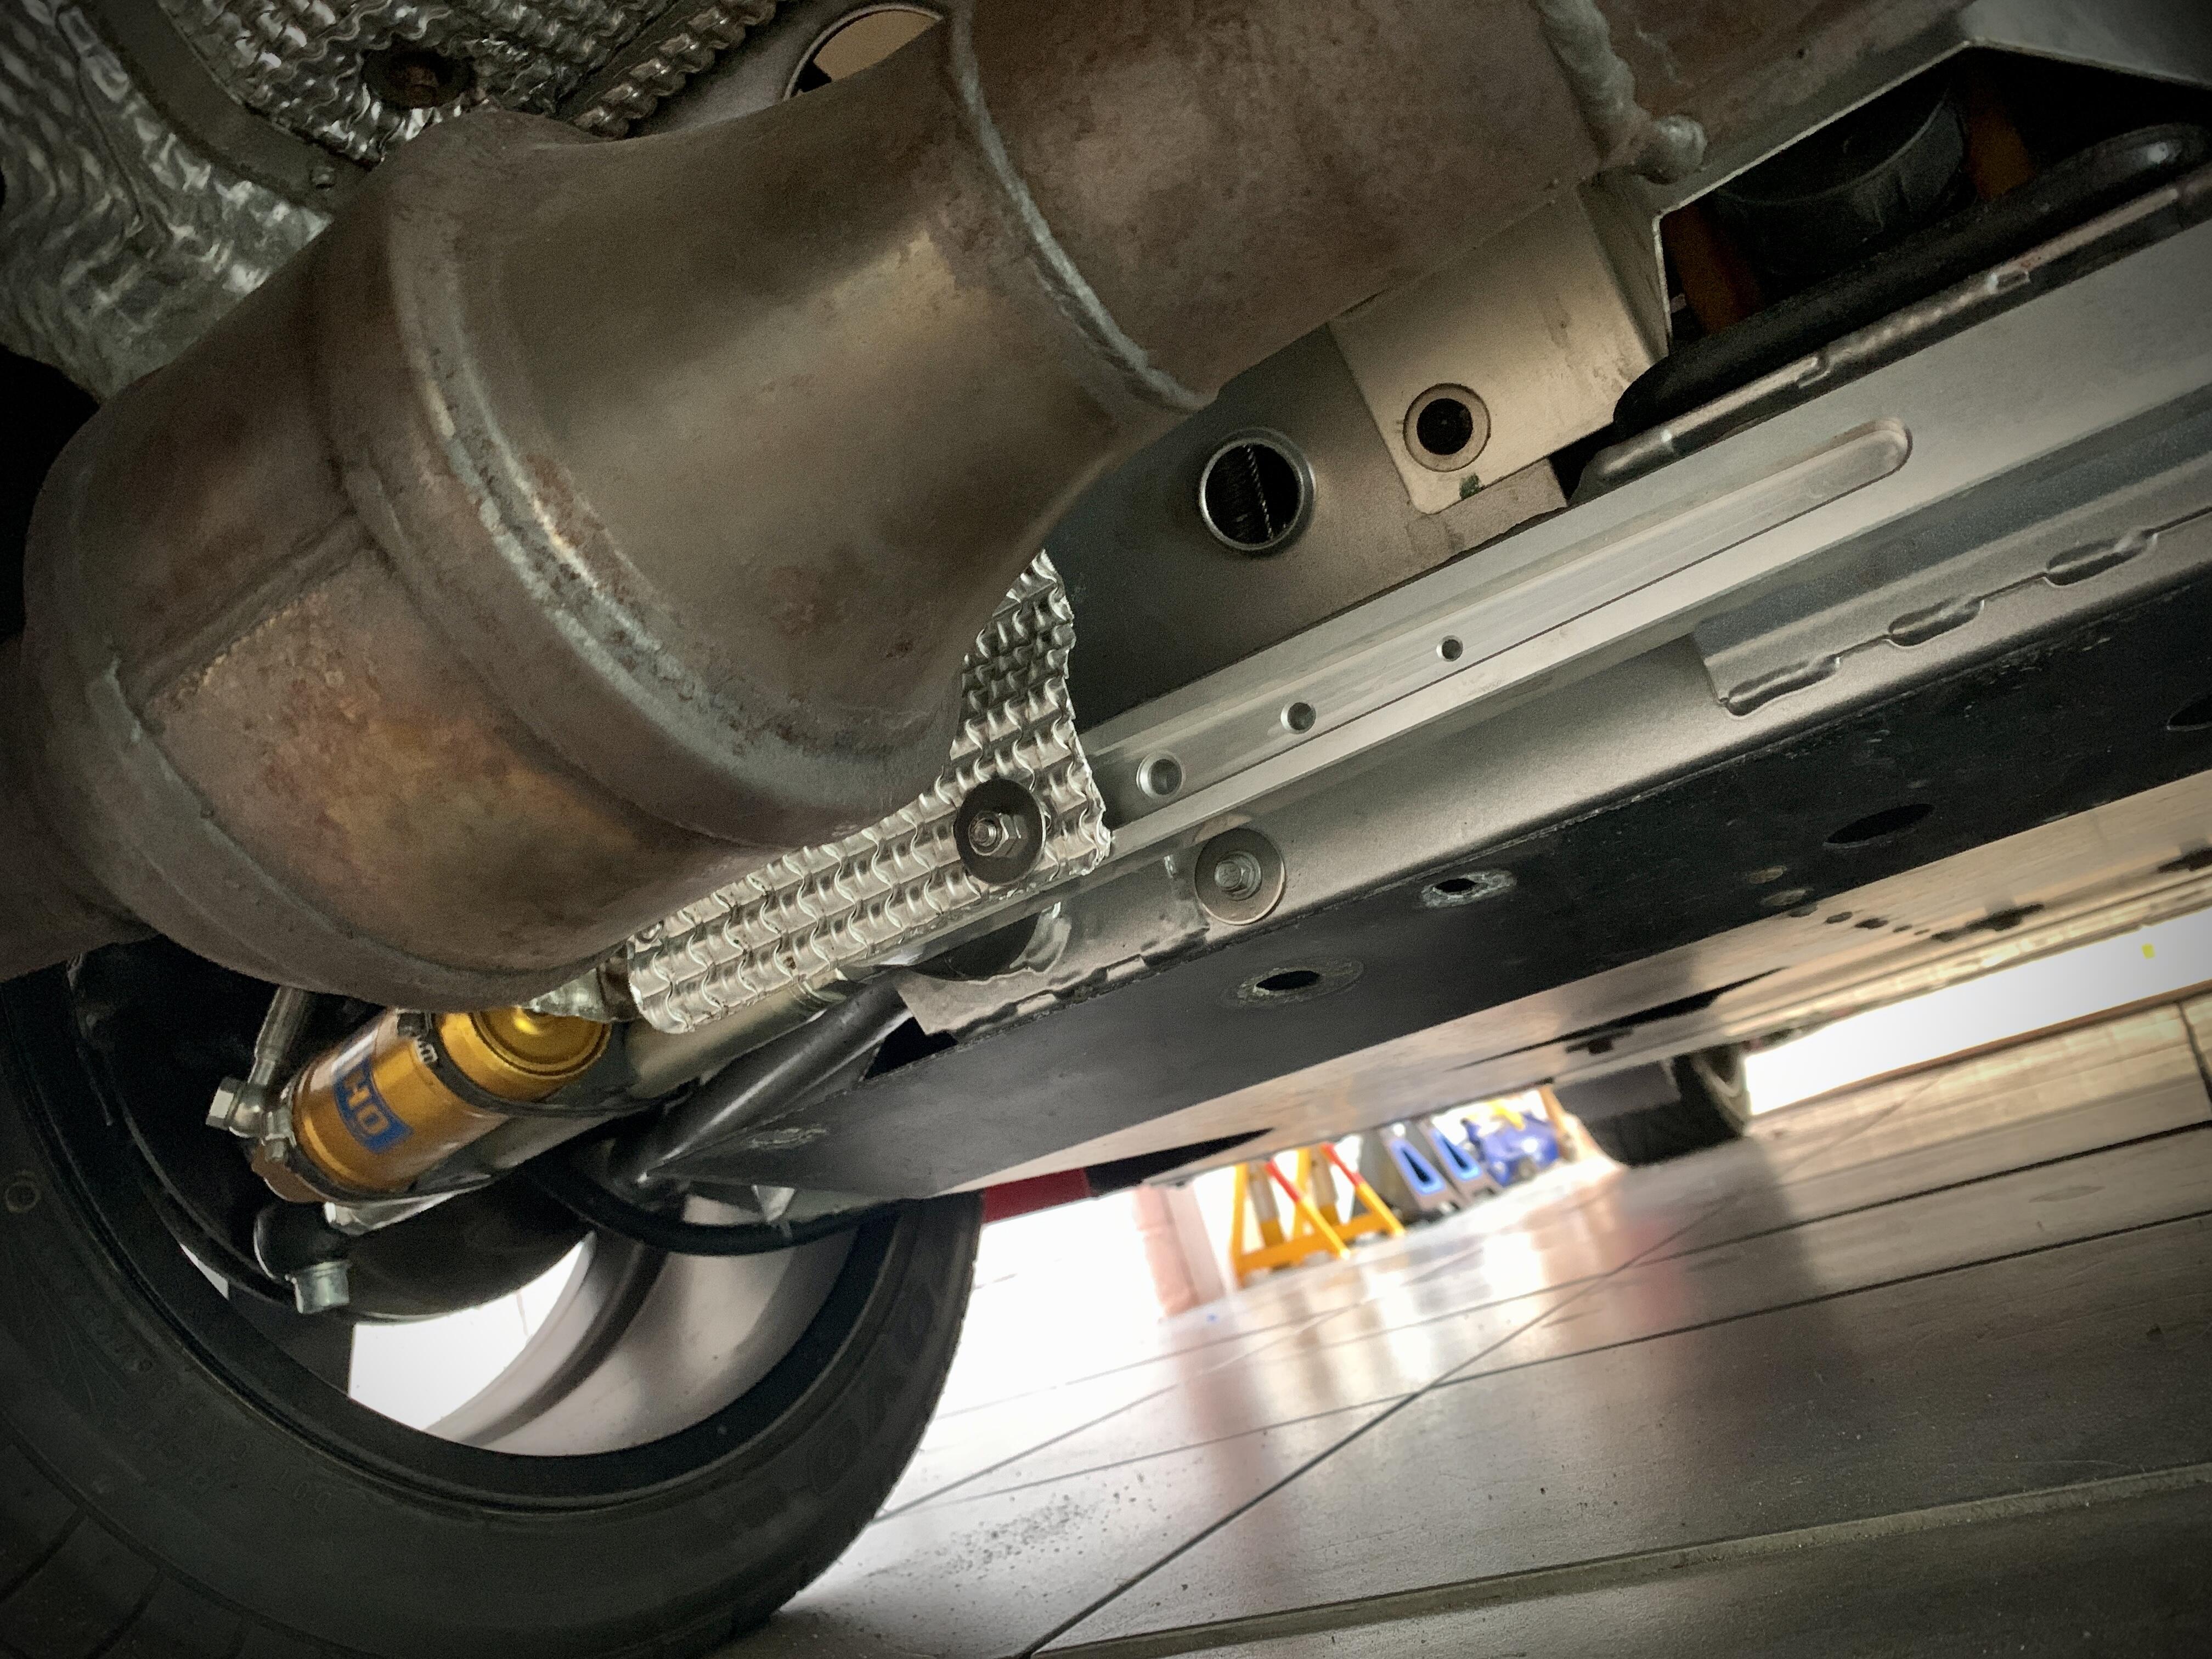
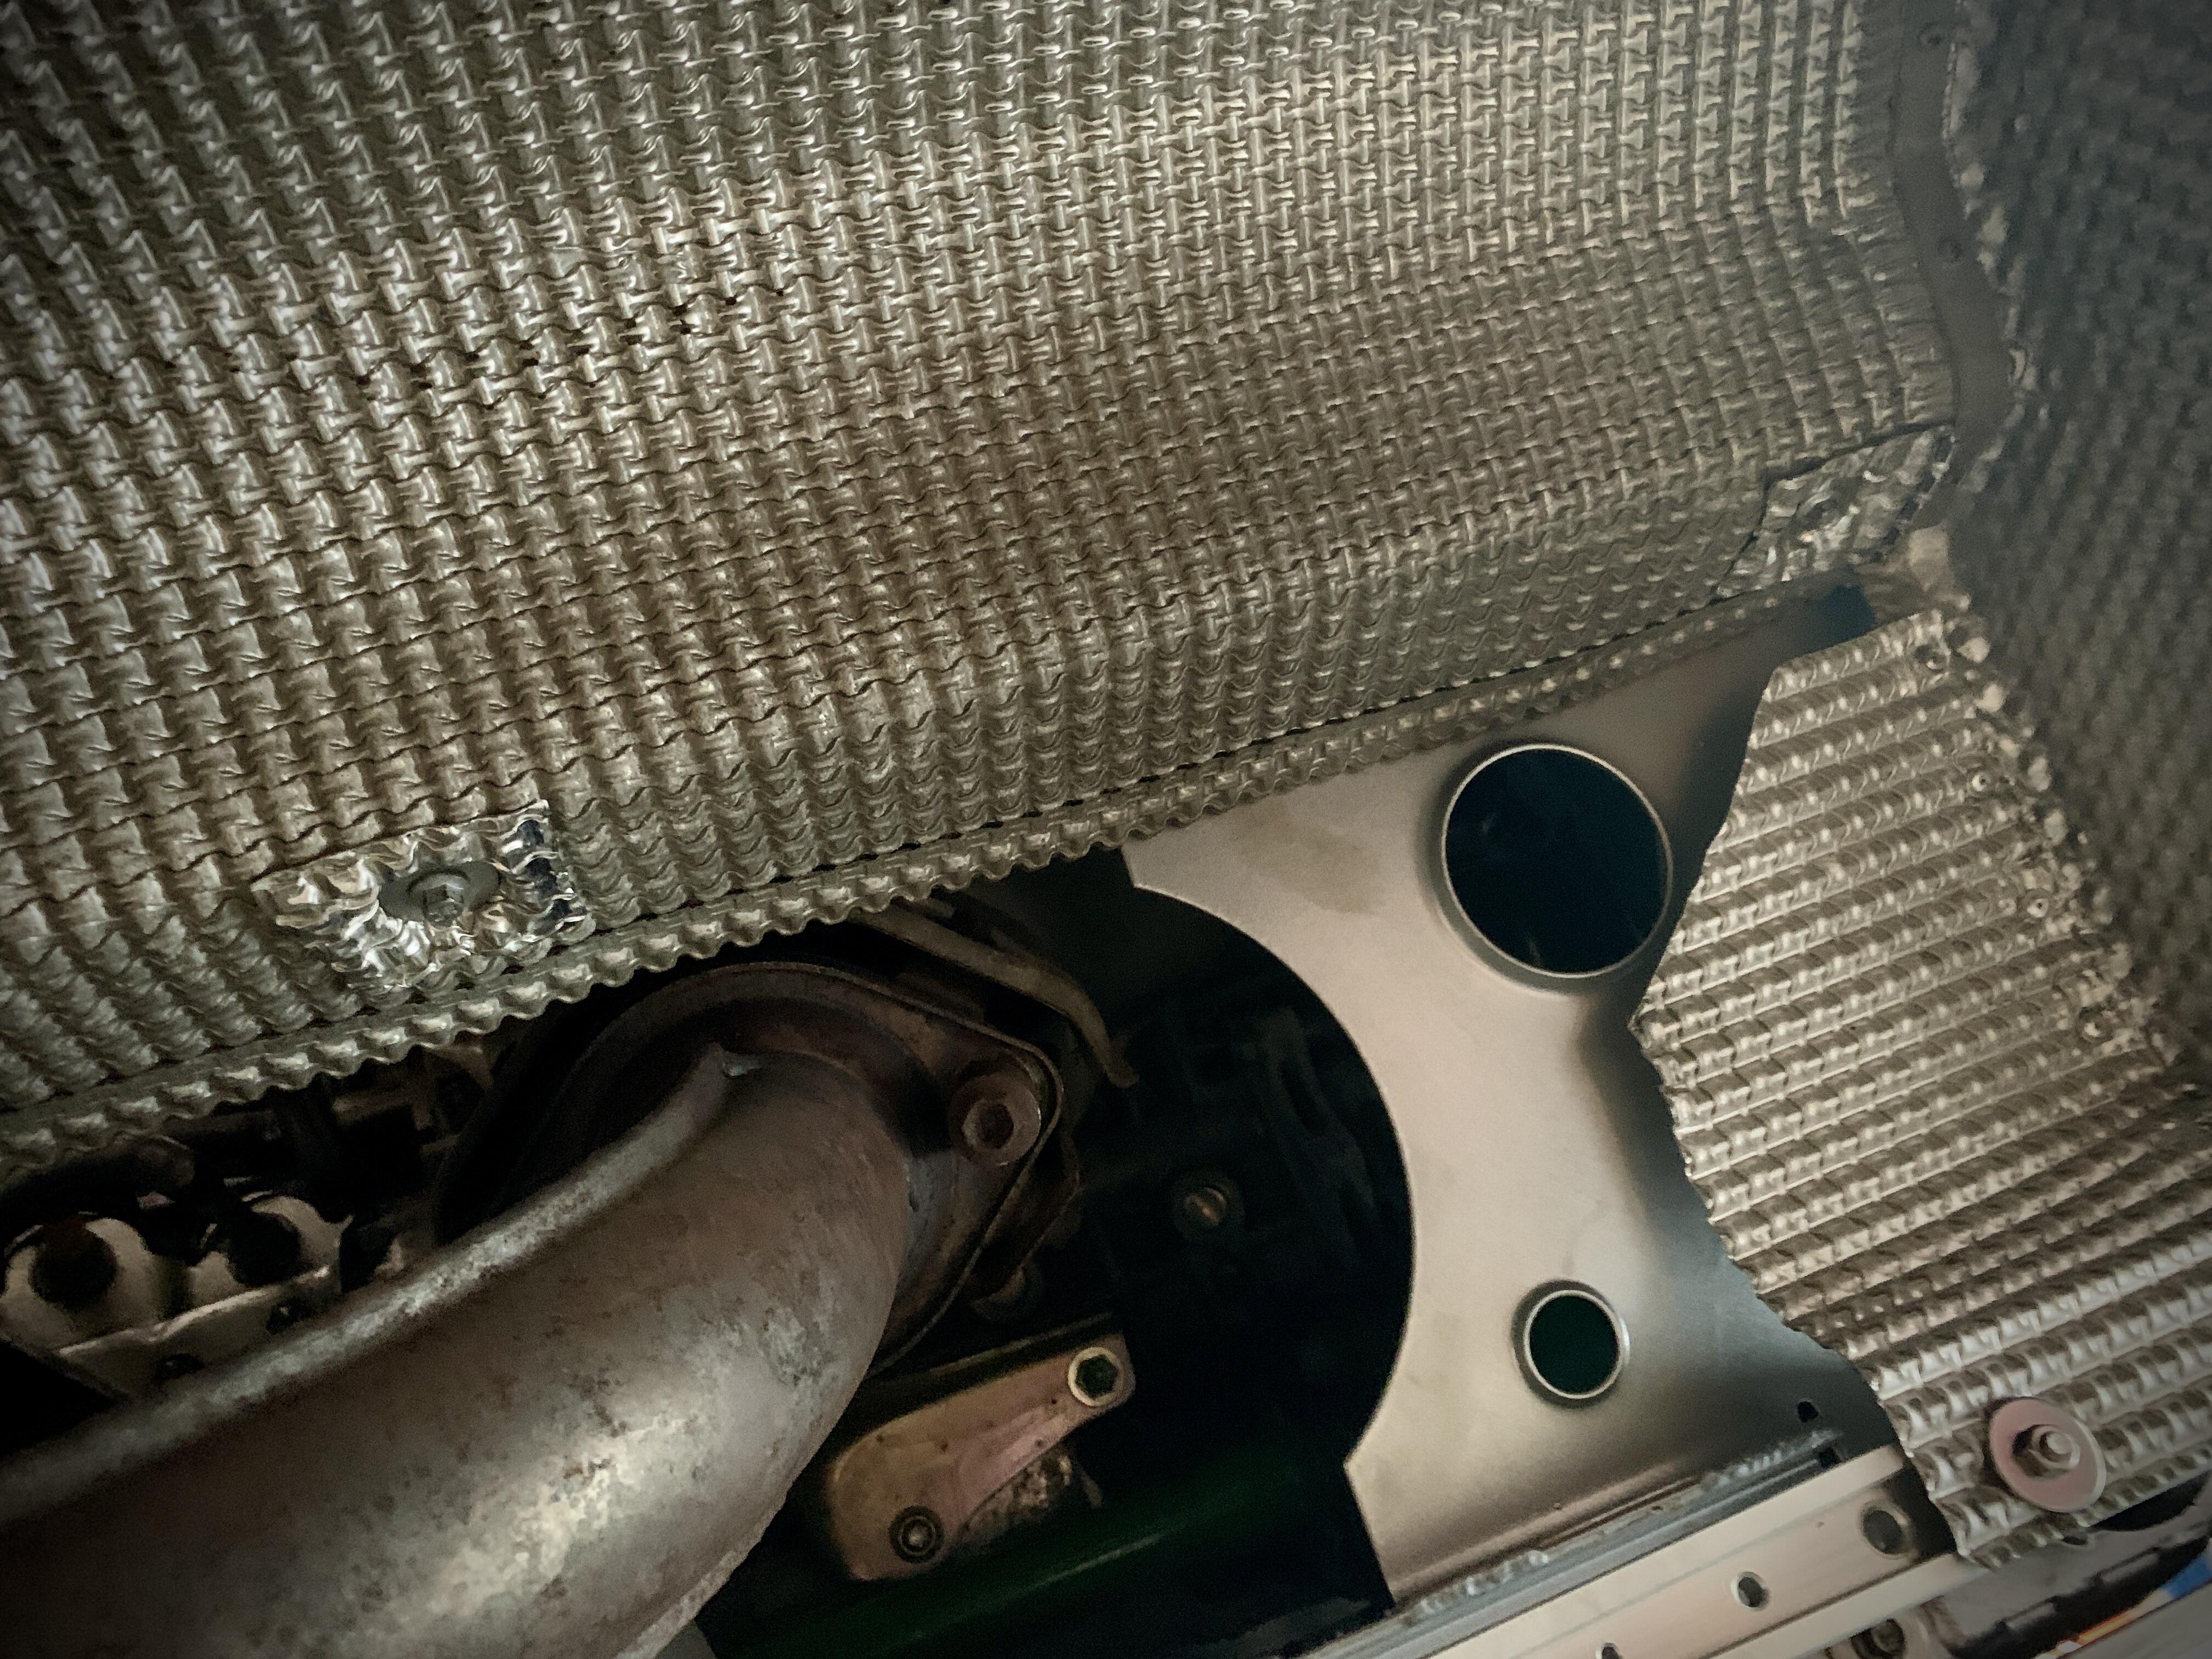
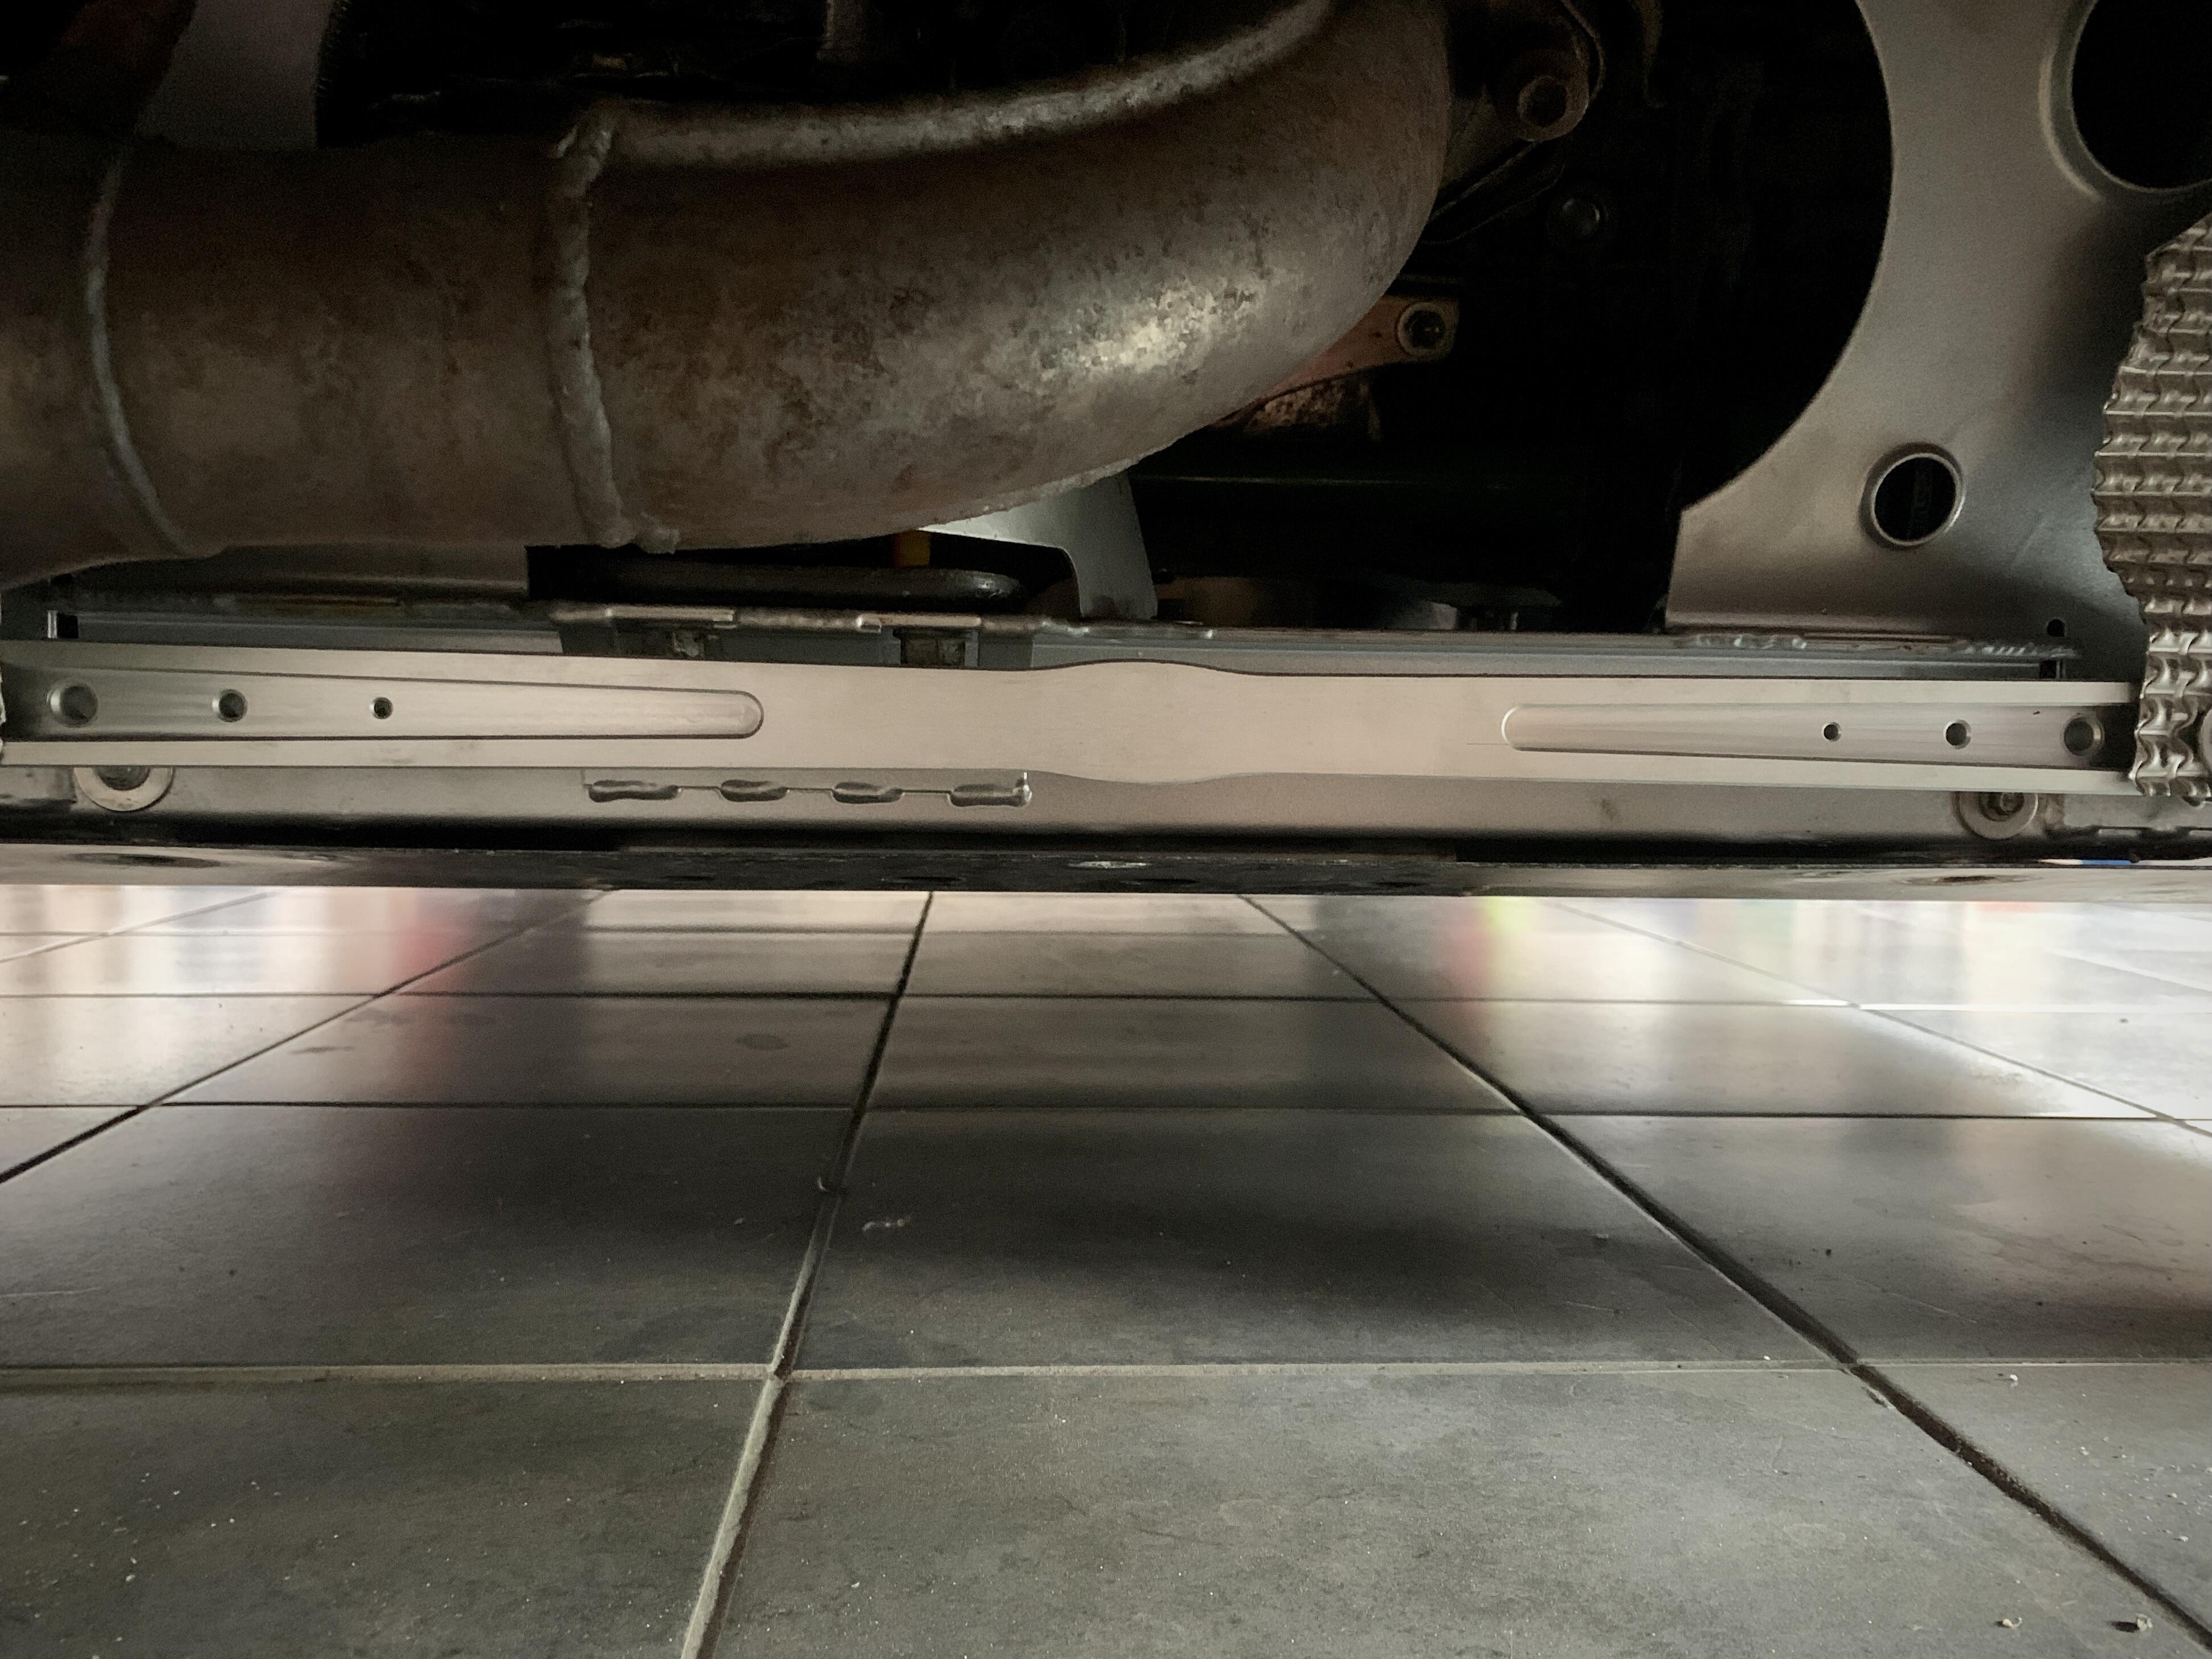
Your pic has perfectly shown me the difference, on the 08 on model the threads are captive to the panel, on the pre 08 they are nuts that you bolt into.
It means on the 06 you undo the bolts, then slide out, on the O8 you remove the nuts, then have to drop the whole panel down so the threads can be cleared, and as a result the heatshield and exhaust, I knew my old one was quicker!
Pre 08:
Post 08:
Yes that makes sense, I do recall having to be quite aggressive on the fibre-like heatshielding that sits above the nimbus heatshielding to pull it out, and my exhaust was already off anyway.
Boring update… When the car was stripped down over the winter it was clear that the heatshield had seen better days and picked up corrosion, they all seem to do this if they were driven in the wet in the early days. Mankiness:
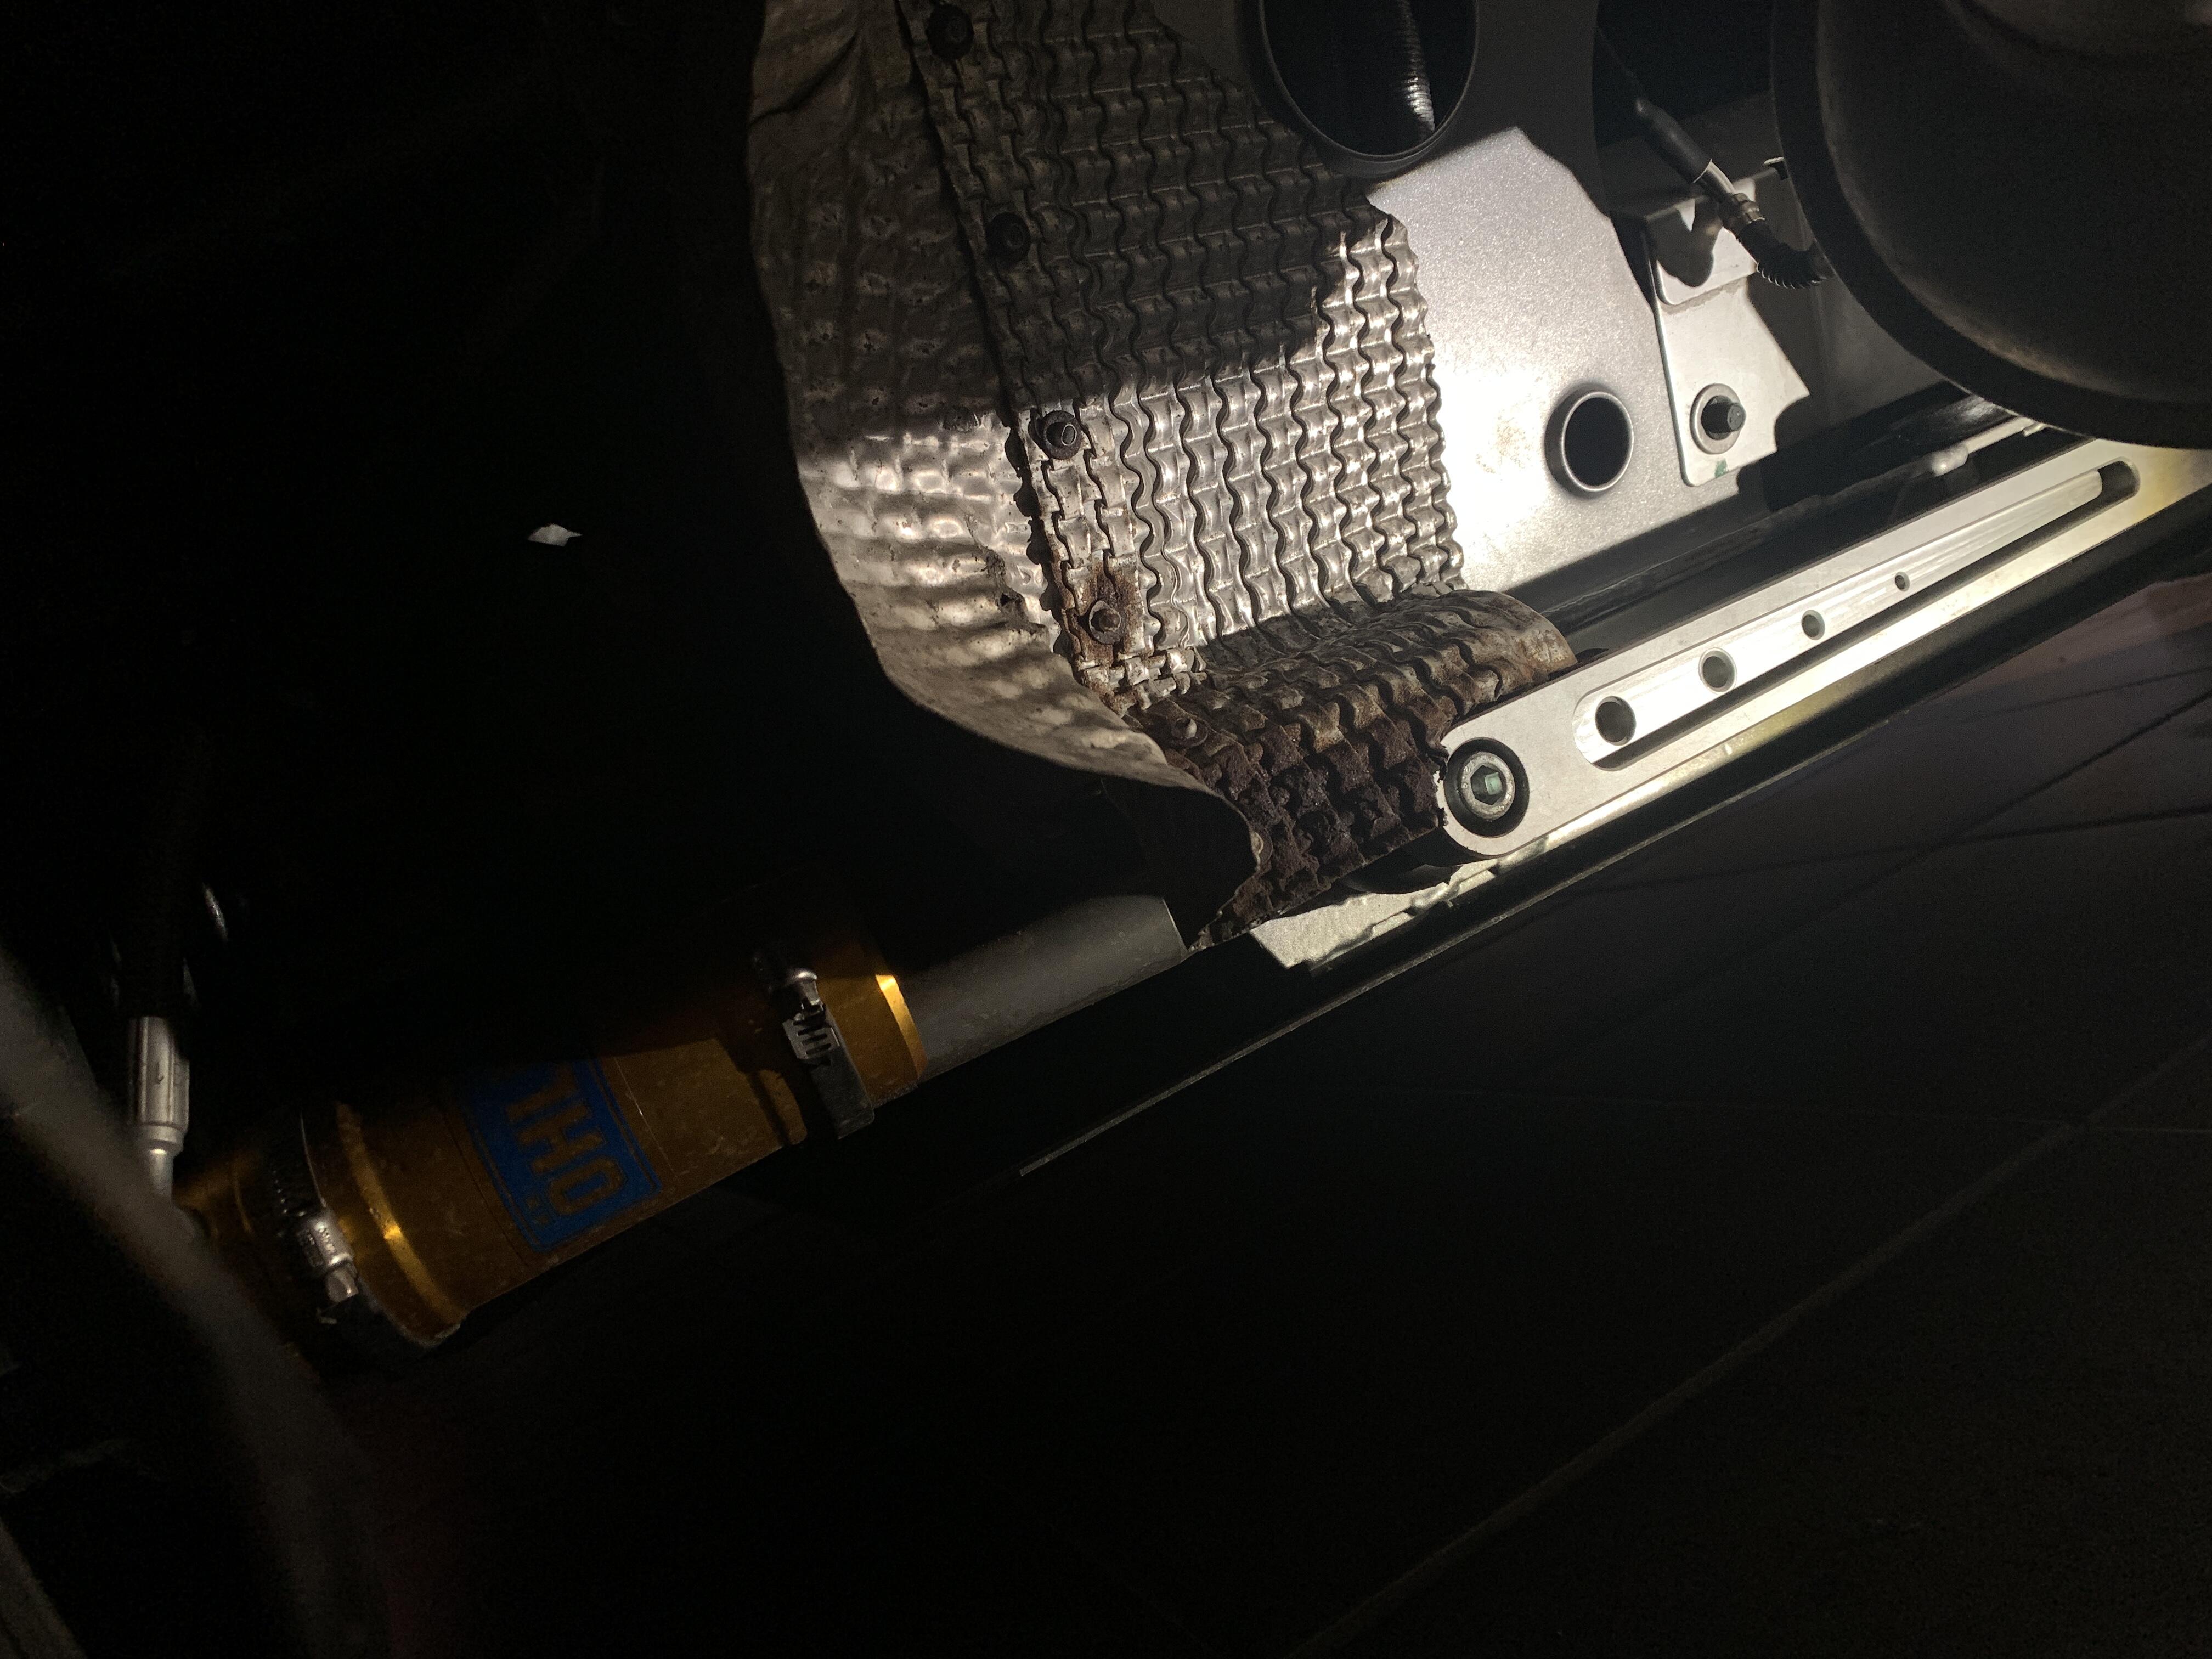
General advice as it was covering stuff it just looked ugly but as you never see it, just ignore it. Taking that in mind I decided to replace the whole thing
I got some new nimbus and constructed a new version, with donor side parts from another car so it looked better, made sure the Spitfire toelink ends were properly covered, I’m sure they’d be fine but wanted to be sure
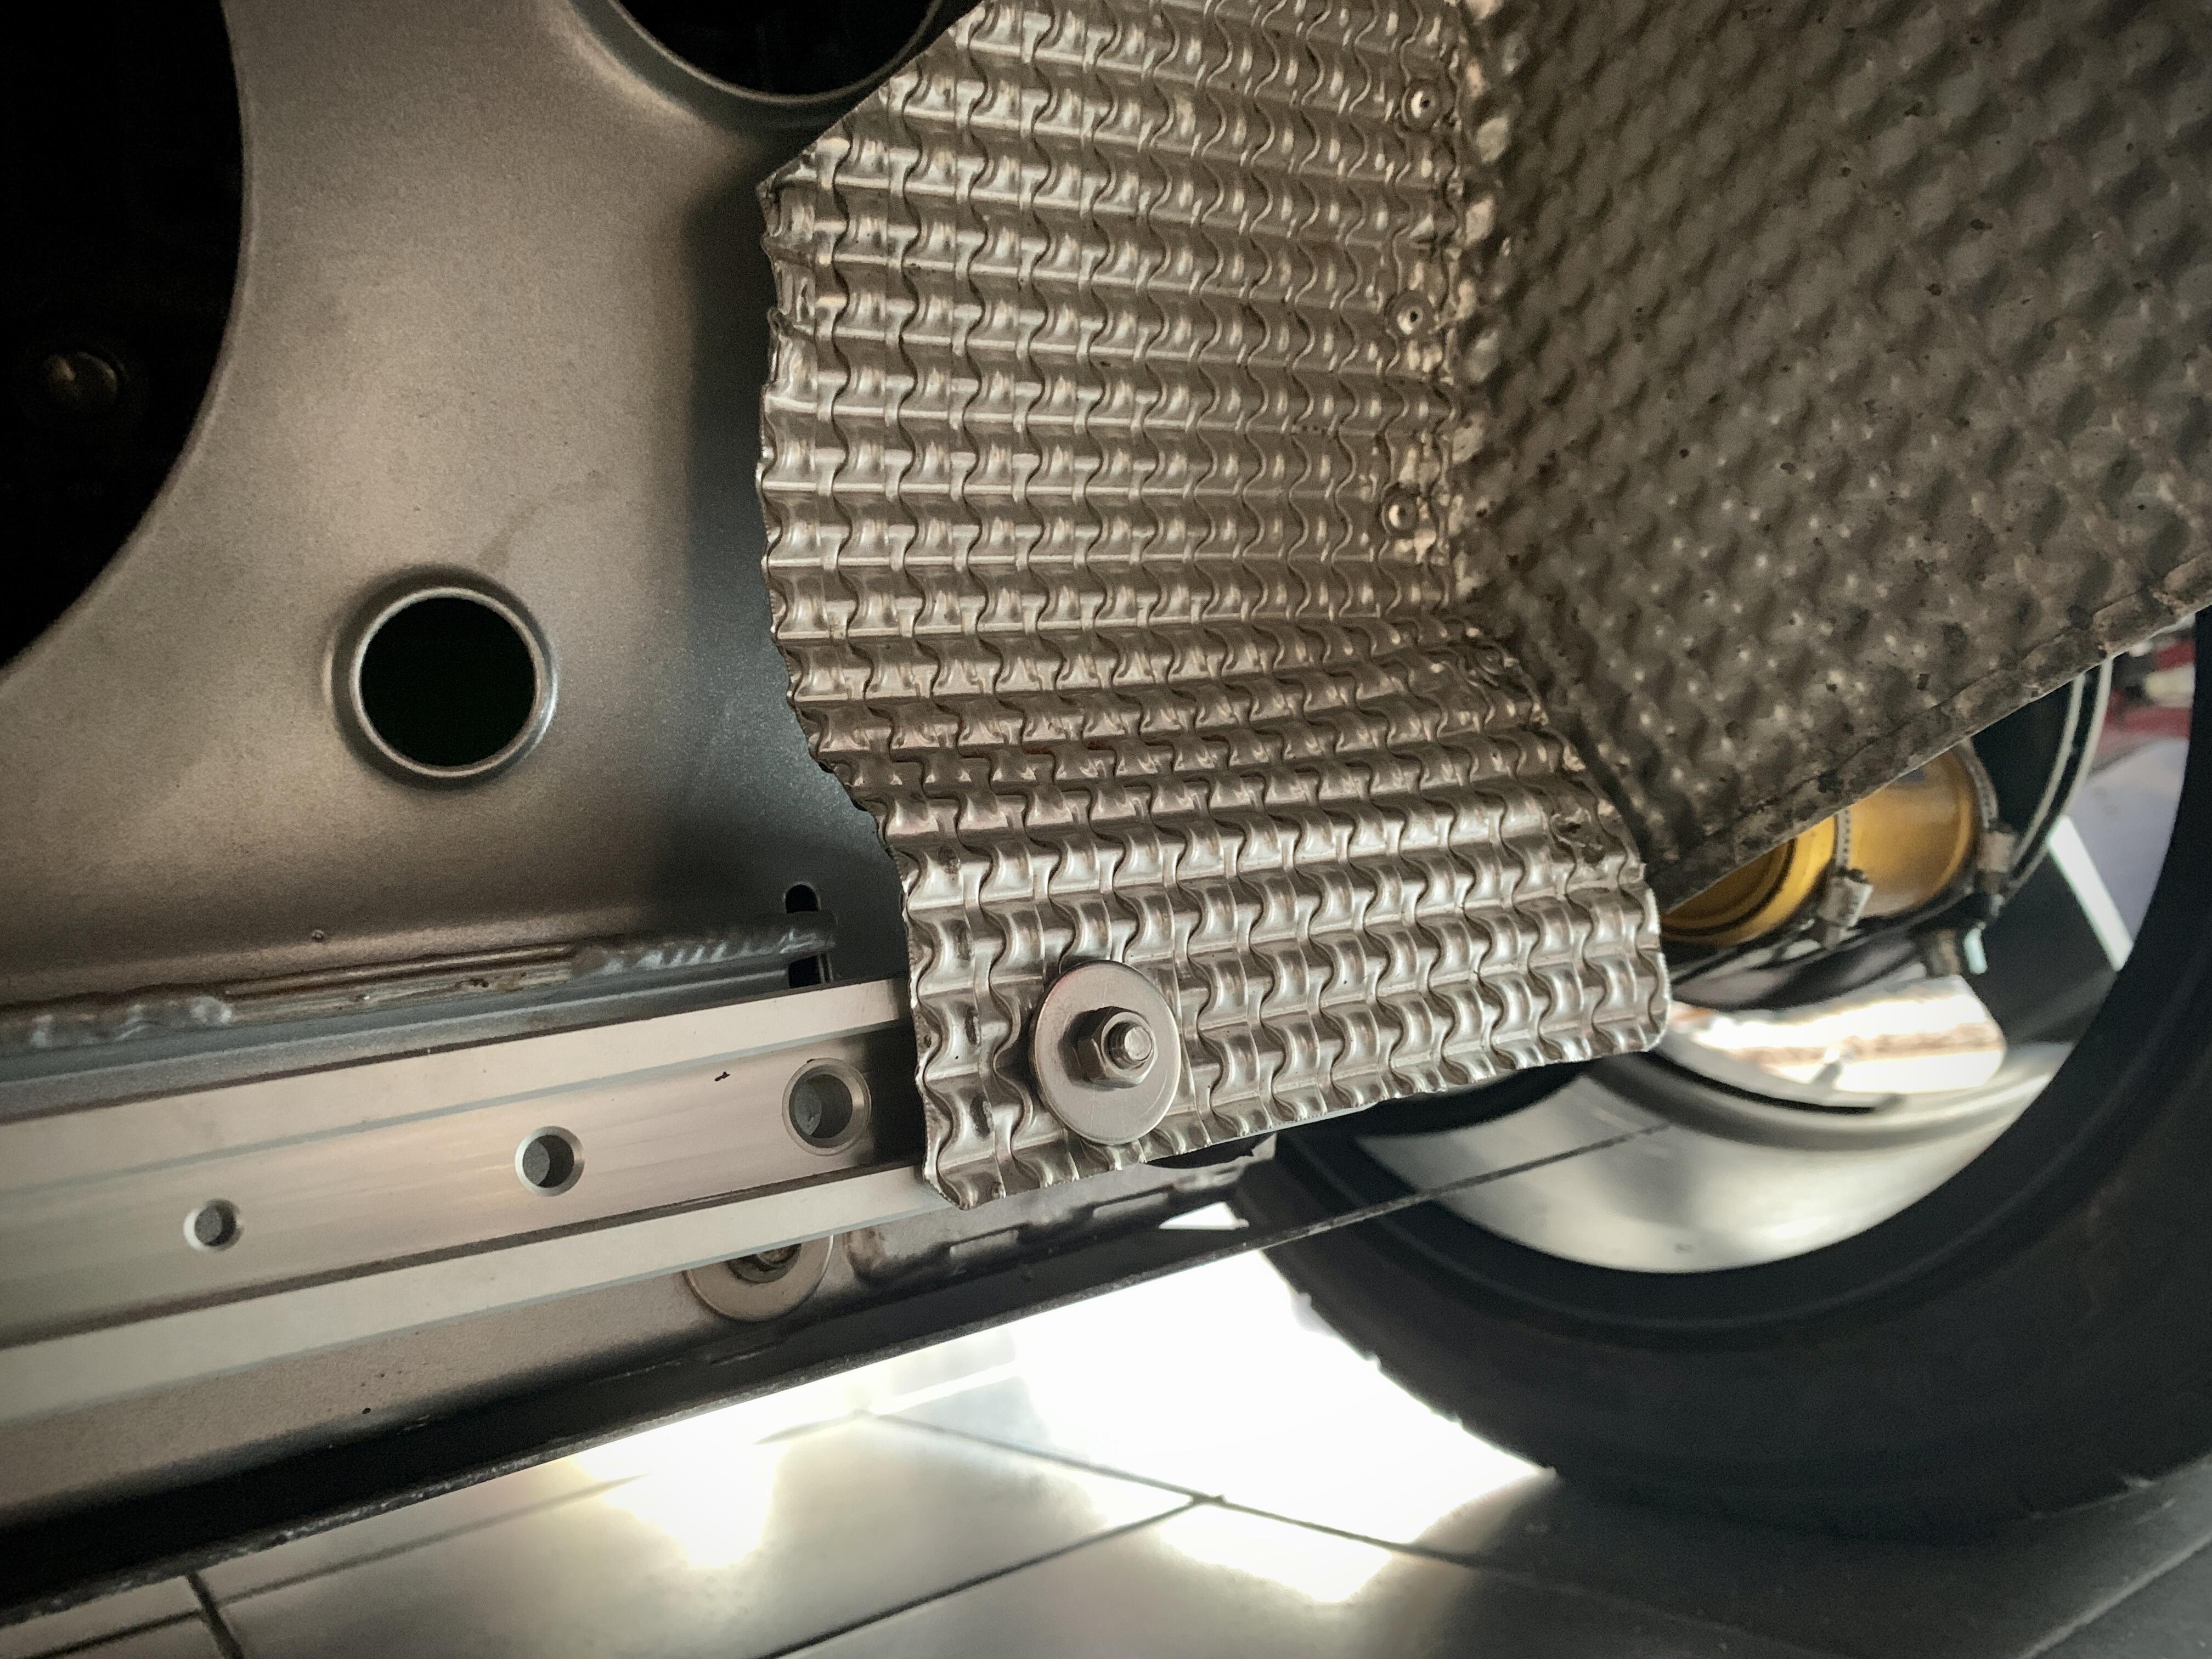
I also added some double layer on the bolts as these always seem to rip through
And here is the brace bar between the Spitfire Toelinks, which was a lovely milled piece by Ollie at Phoenix
2bular exhaust back on, and you can see the stainless diffuser brackets which should not dissolve like the OEM ones, will carbon wrap these to they are less obvious against the diffuser