Exige Cup 260 - Restoration and Updates

Needed to adjust the diffuser as the original owner didn’t get it fitted quite right, so it was pulling the rear panel out of place, I just had to adjust the side panels back and forward a few CM, not sure why Reverie didn’t get these right as they aren’t exactly variable but there you go:

It took quite a few goes and lots of adjusting, but it now fits properly. Not sure why it wasn’t done on original fit, but easier to bodge than do properly. Bit of a polish on the diffuser to make it look a bit better

Operation tidy up firmly underway…

No real mods to the engine bay since I decided to not fit the ProAlloy intercooler and cold air kit, keeping it OEM etc

So really it was a tart up as we’d already changed all the belts etc as part of the big service

Intercooler out to clean it and all that it blocks

Lots of scrubbing, dressing etc and it came up OK:

Then on to the removal of bits that I fitted and will never use in this car :frowning:

Camera out first, before:

After

Seats back out again, so I can remove what was meant to be the extra sensor wiring:

SmartyCam recorder removed, it was down by drivers hip which seemed about the best place for anyone doing it. I also found that you can order just about any length of bullet cam cable, just order up a 50ohm cable with SMA connectors each end and it works great. You can make your owns for a few quid vs £80 from AiM and then you make them any length

Bulkhead and harness bar out to strip out the following (mainly as it cant be used without the AiM dash and that never got fired up outside the garage):
Data Hub, SmartyCAM, CAN Channel extender, plus all relevant extensions back to the sensors

Aux power feed, rear camera feeds remain as the next owner might want and I spent ages getting them all in and hidden away

Amazing how many nights were spent staring at the wiring trying to get it just right, all taken out in a few yours.

Next is to revert steering cowling and put back the OEM trim, as well as footcam (which works amazingly BTW, if a little dark due having less light with the rear window removed)

:cry:

:cry:

Front half of the cabin now…

Shelf was trimmed with alcantara, easily removed as its tacked in with tape rather than glued but prefer the darker look, and stops stuff sliding about:

Trimmed the shelf ends as well (obviously kept untouched originals)

Spacer removed from steering wheel to get it all back to OEM, trimmed shroud and stereo control removed:

Will leave the alcantara wheel in as I much prefer the look over the original rubbish leather wheel, but I’ll keep both in case

Foot cam removed, wiring and USB power has been left there but tucked out the way as it’s a useful feature to have.

Door cars removed, scrubbed then stain shielded - they has a bit of that sweet smell that was in the car and I wanted rid

Seats back in etc

Now everything back in and all good to go, quite a pointless exercise to install so many bits then remove, but that where we are And I suppose some regret that all the hard work on trimming wont be seen in all its glory. Excuse the less than great pics, it was very late:

What do we think rip the top half of the carpets back out and go with the half carpet half ali look of the S2? Personally I much prefer the look of all carpet, but don’t know if that’s just cos I’m a weirdo

Worst bit of this is obviously whatever’s driven you to part with the car, nuff said, hope that’s ok.

Second worst bit is I was loving this well-documented attention to detail. I’ll miss this thread. :cry:

Alls fine, but I just need to change things around to get out of a rut - I’m not complaining people have far bigger worries than saying a plastic car doesn’t fit into their lives so. Thank you though

Thread has been useful for me to keep on it, I know its been a bit too detailed but if someone gets something out of it or something is learnt then its all good, most folk are doing much more impressive things in their threads (or behind the scenes) and hats off to them. These cars are worked on in so many different ways from the epic build threads virtually from the group up, the track machines evolving over years to what is essentially a tart up, just shows the wide variety that can be had from a common platform - just by all the folk behind it

Don’t do yourself down, there’s a lot more work in cleaning cars and trimming interiors than folk (myself included) think. And taking the time to document it for t’internet. And that “nobody’s gonna see this but…” approach. Hats off :clap:

So no detailed steps just various bits and bobs of reattaching bits, cable tying, roof on etc

Just to get to the point that it is a finished car, apart from needing two stickers on the rear clam, maybe a polish on the rear clam to make it flawless, but otherwise shes done

Might even go out in her, but we’ll see don’t want to be too rash

Cheers, it now should be the best Cup260 in the country, pretty much everything on it new and or upgraded, suspension and paint all better than factory, bearings, dampers etc all replaced or fully rebuilt, all week points removed like additional of baffled sump, alloy rads, all mild steel brackets gone - apart from dropping the oil regularly there shouldn’t be anything the next owner needs to do for 10 years, unless they buzz the engine or anything

So I wheeled the car out to take some photos and to have a wash - and I’ve got to say I am pretty pleased with where its ended up…

A few small adjustments made, but nothing major - all seems good. Far to say its still pretty raw as expected, but when you get about 30/40 MPH it just sort of comes together, hunkers down and comes alive - it’s a really very special car, very pleased.

A red car really needs to be outside to come to life:

Looks stunning :heart:
What deffuser is that ?

Cheers :+1:

It’s a Reverie carbon 3 element, does set the car off nicely

Tremendous work and thanks for documenting.
Is it on with Will B?

No thats an 09 clam car - great if you want a car thats a little more ‘lived in’ and rough around the edges I have been told

It was the point of discussion on another forum and said it didn’t look the same diffuser, but what are the chances…?

1 Like

Interesting. Different front clam, rear wing etc are the main differences model wise, the MY10 was far rarer if that makes a difference to some.

Main difference really is the condition between the two

Absolutely beautiful. And I’m not a fan of stripes and stuff.

Right, final update I think….

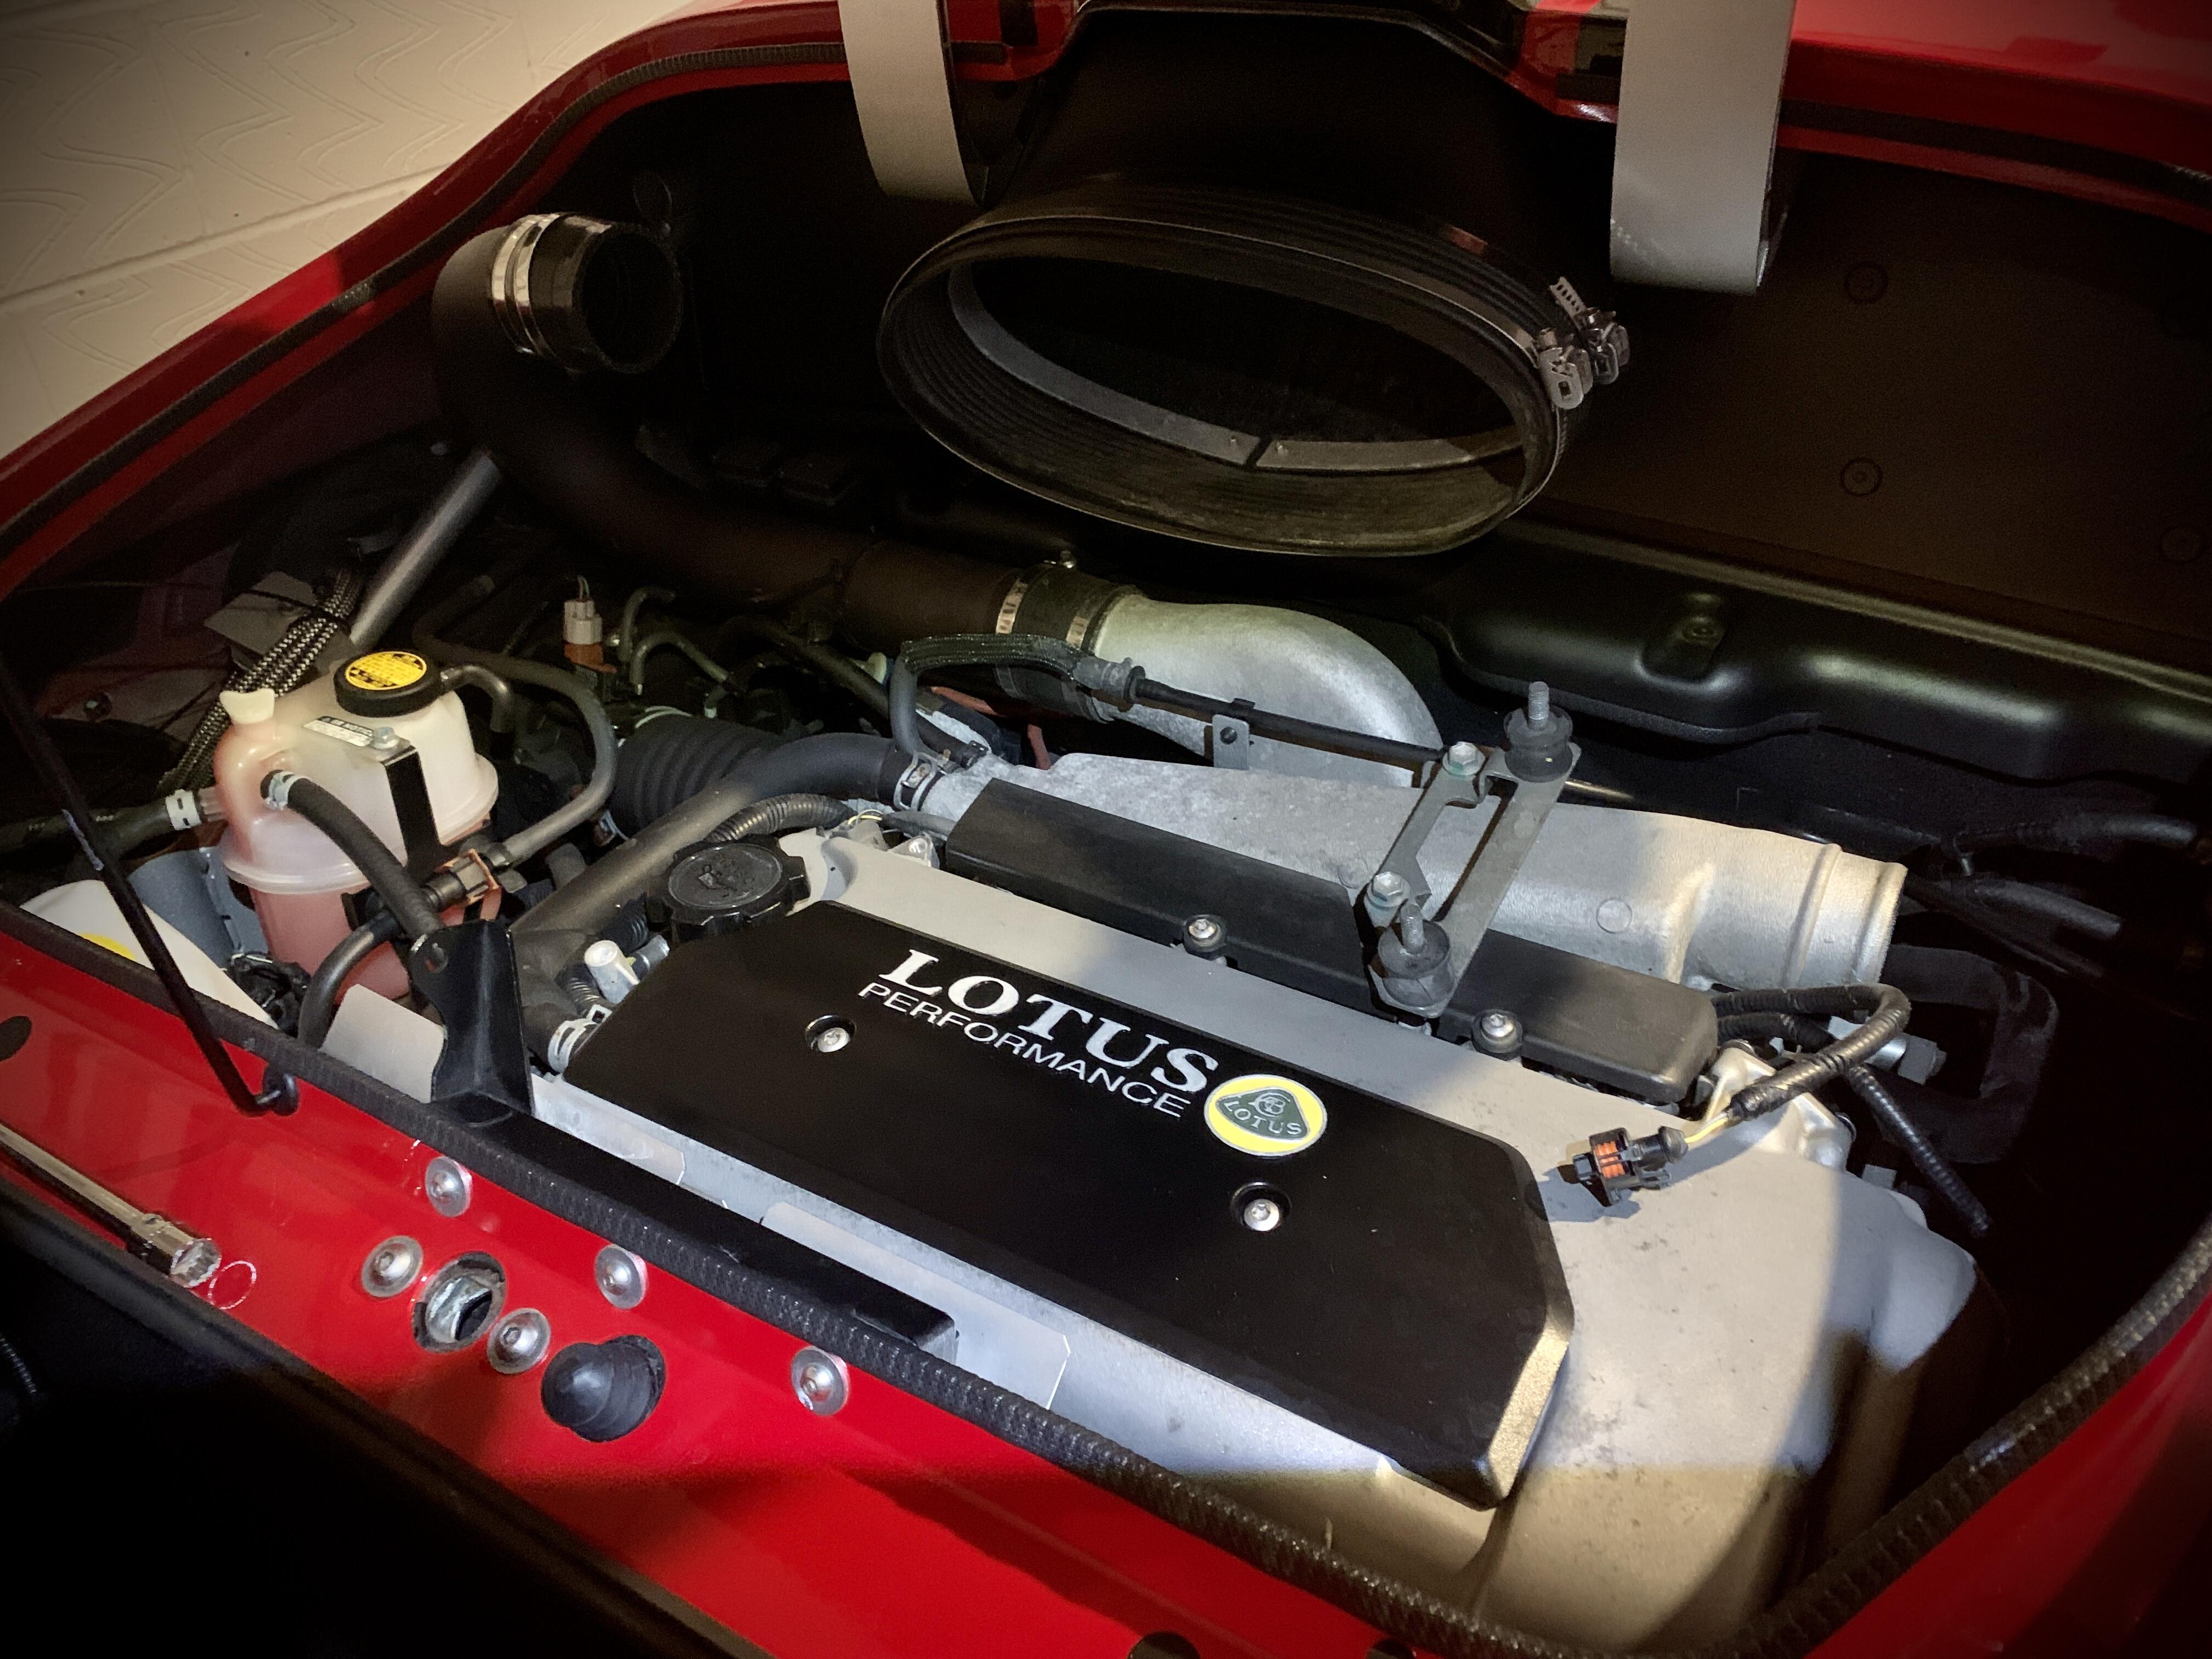
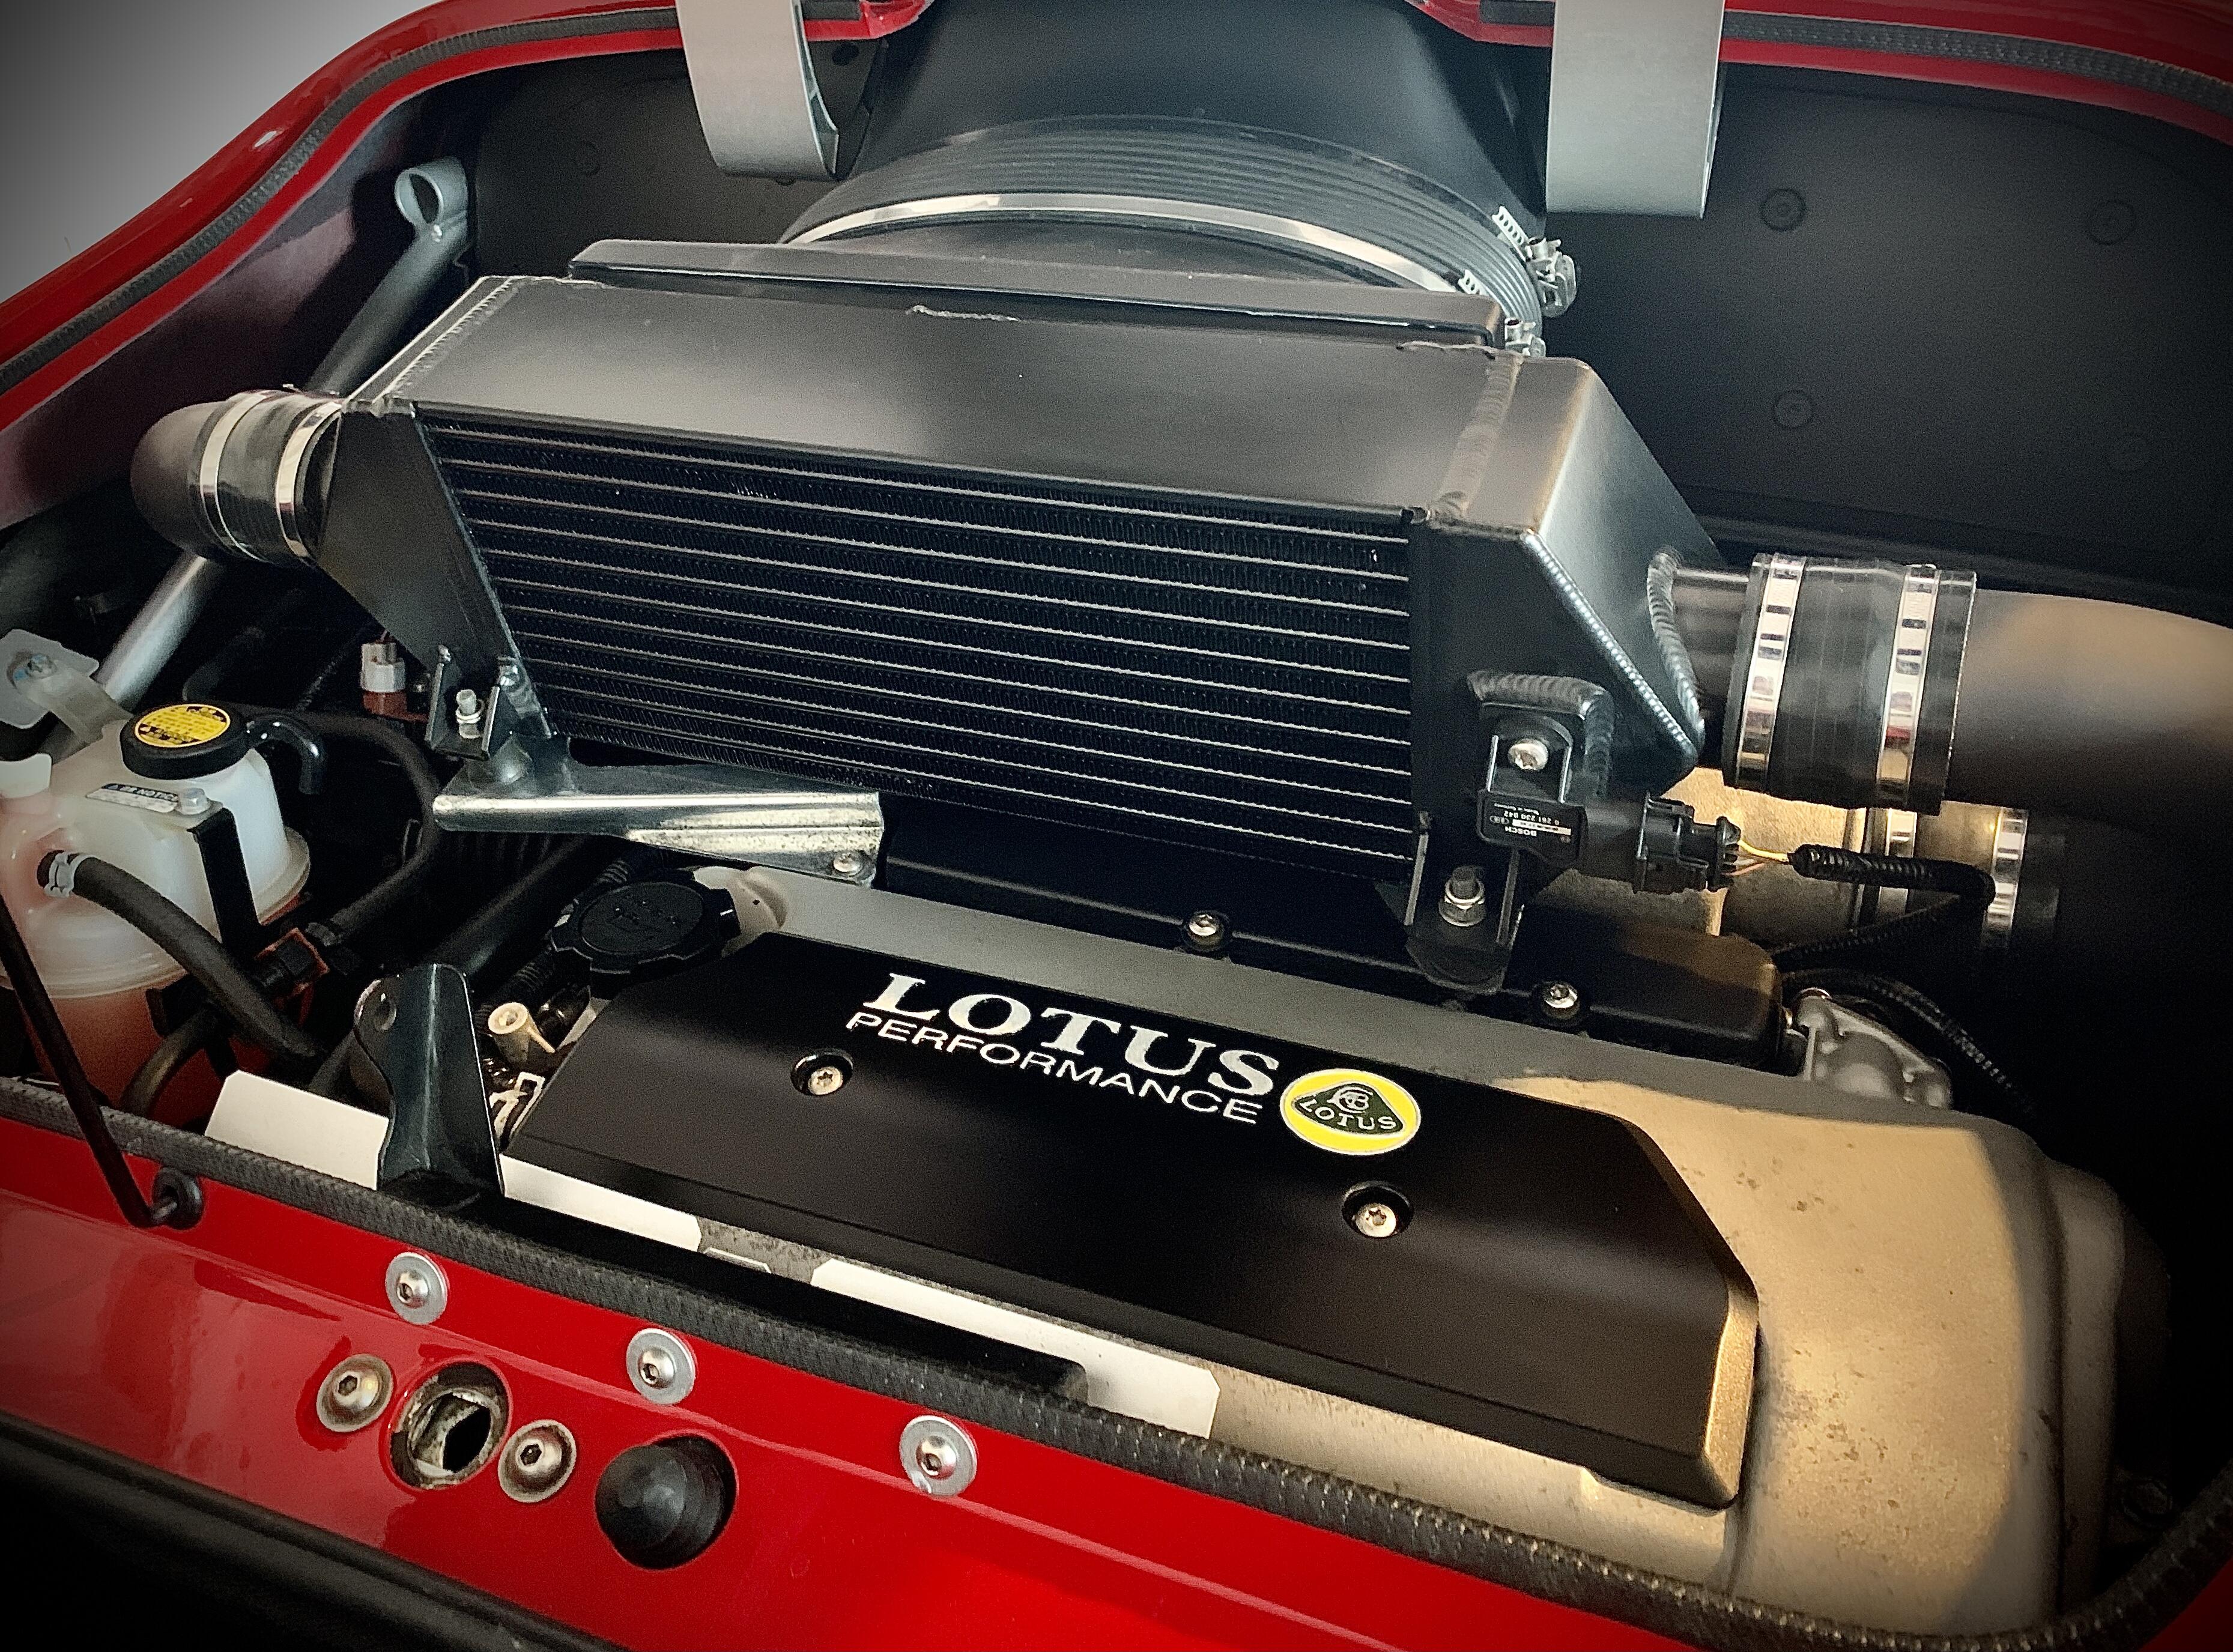
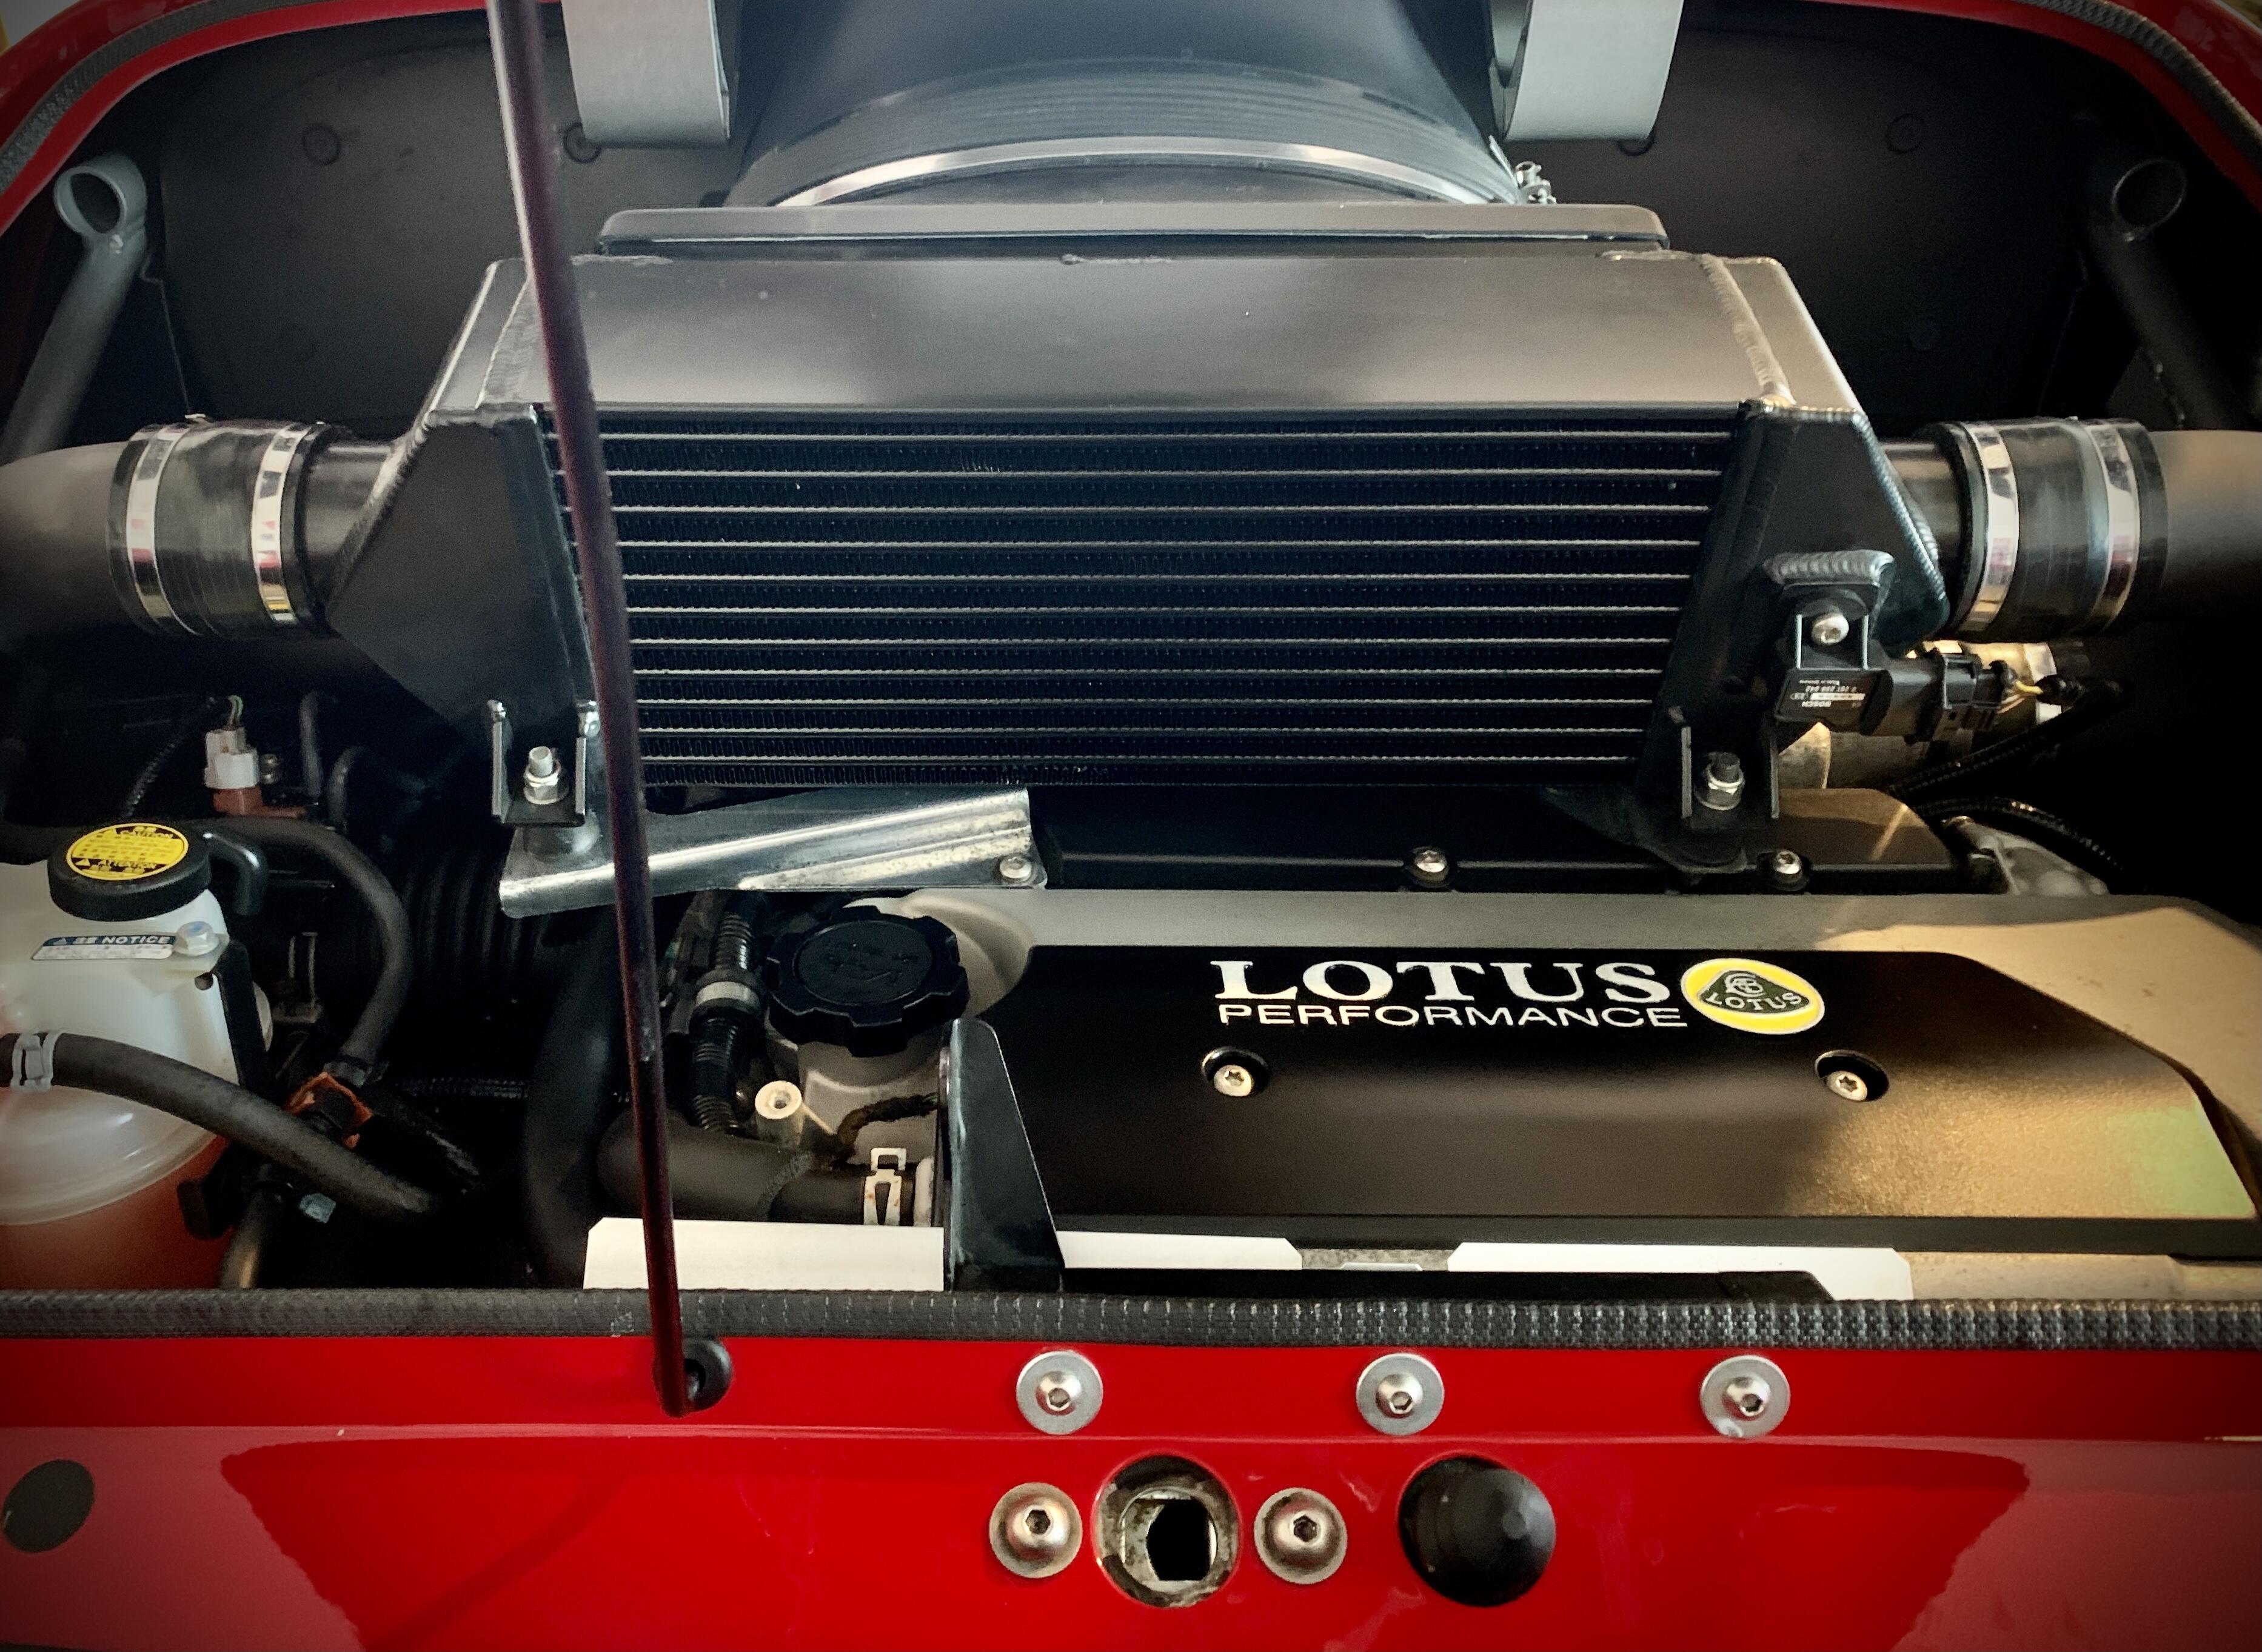
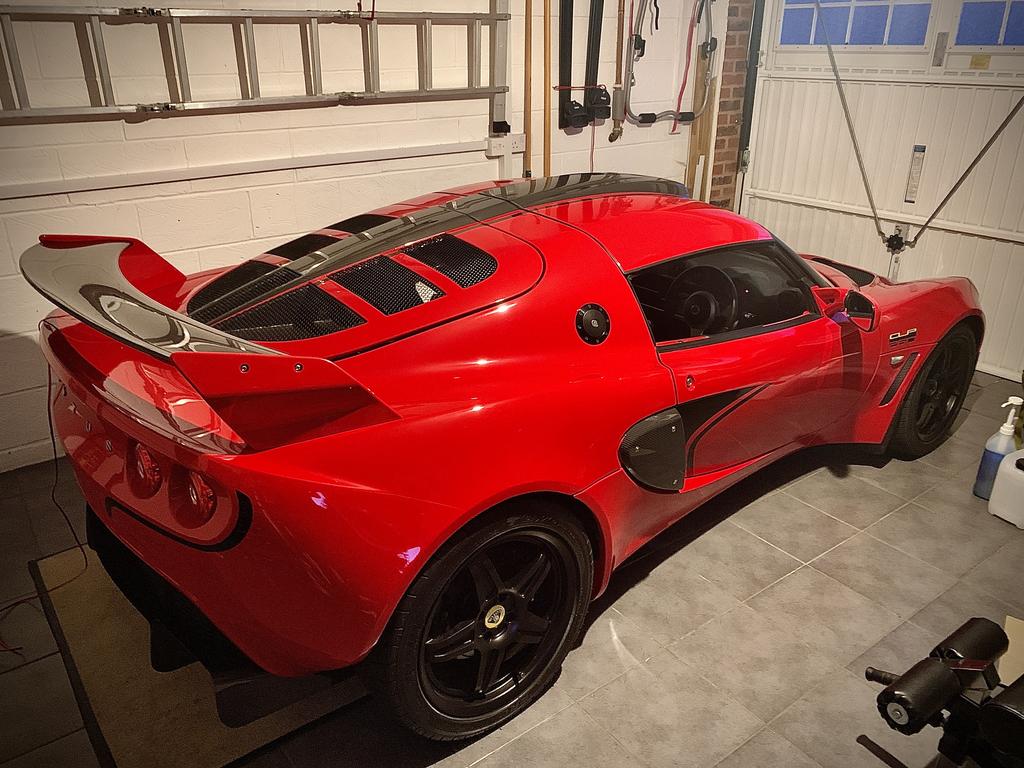
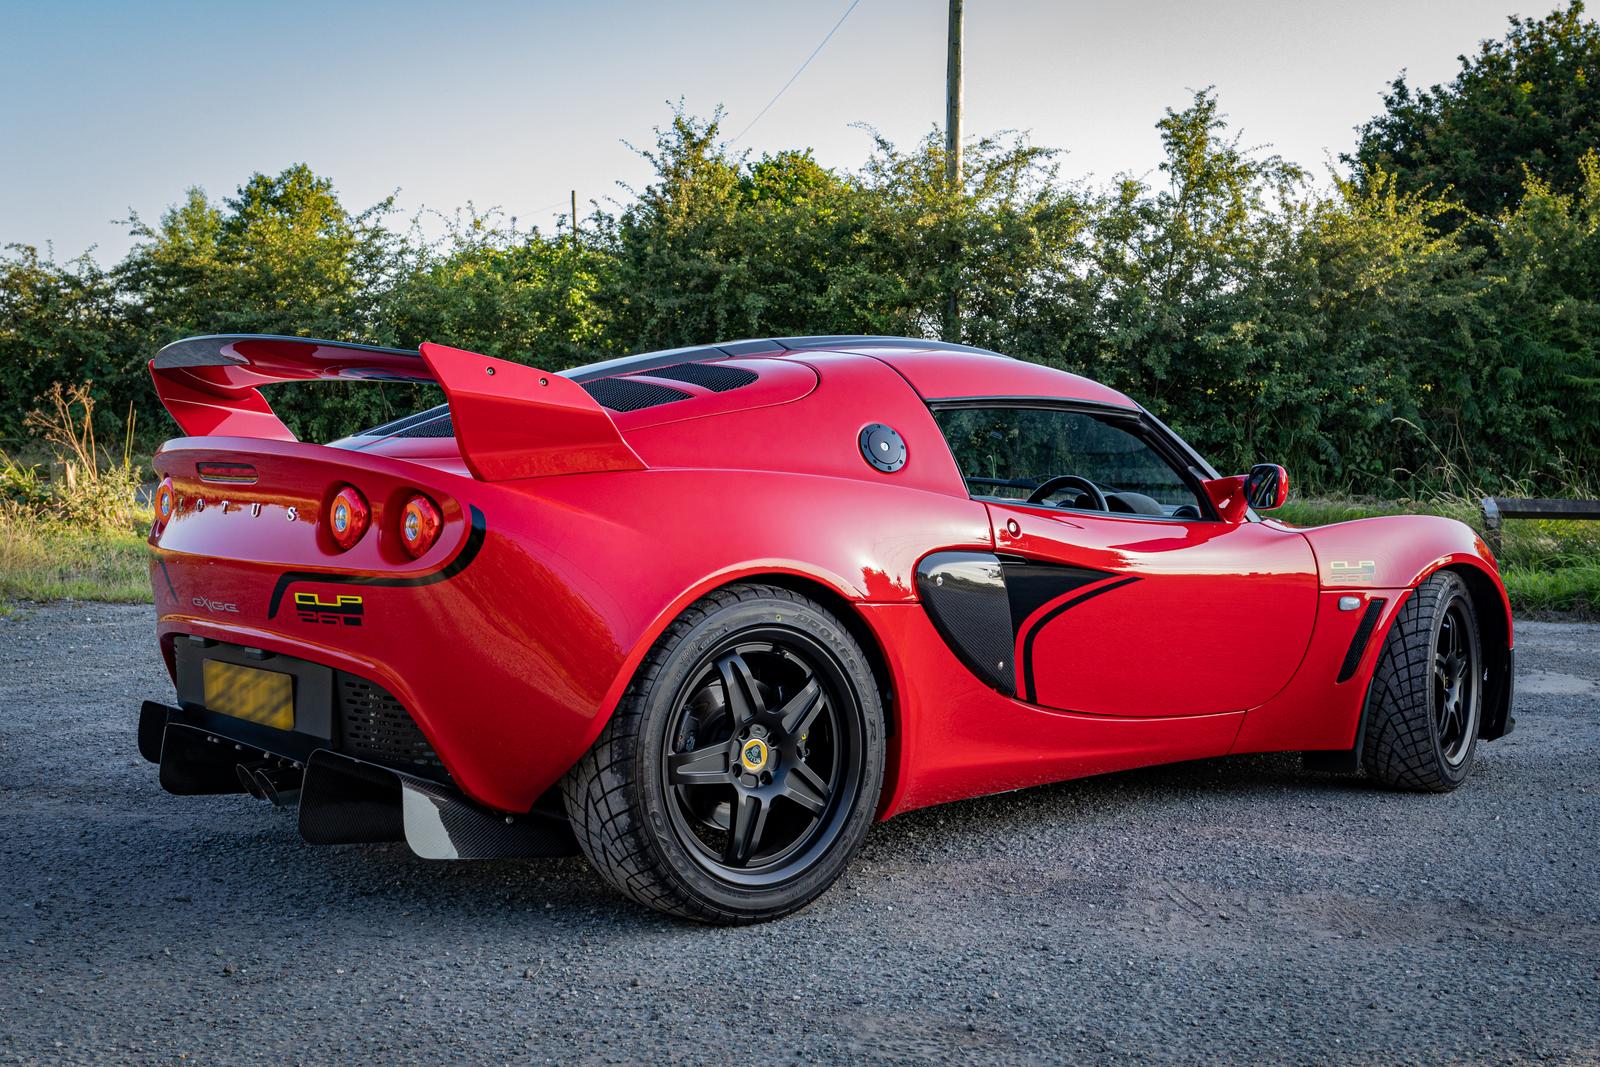
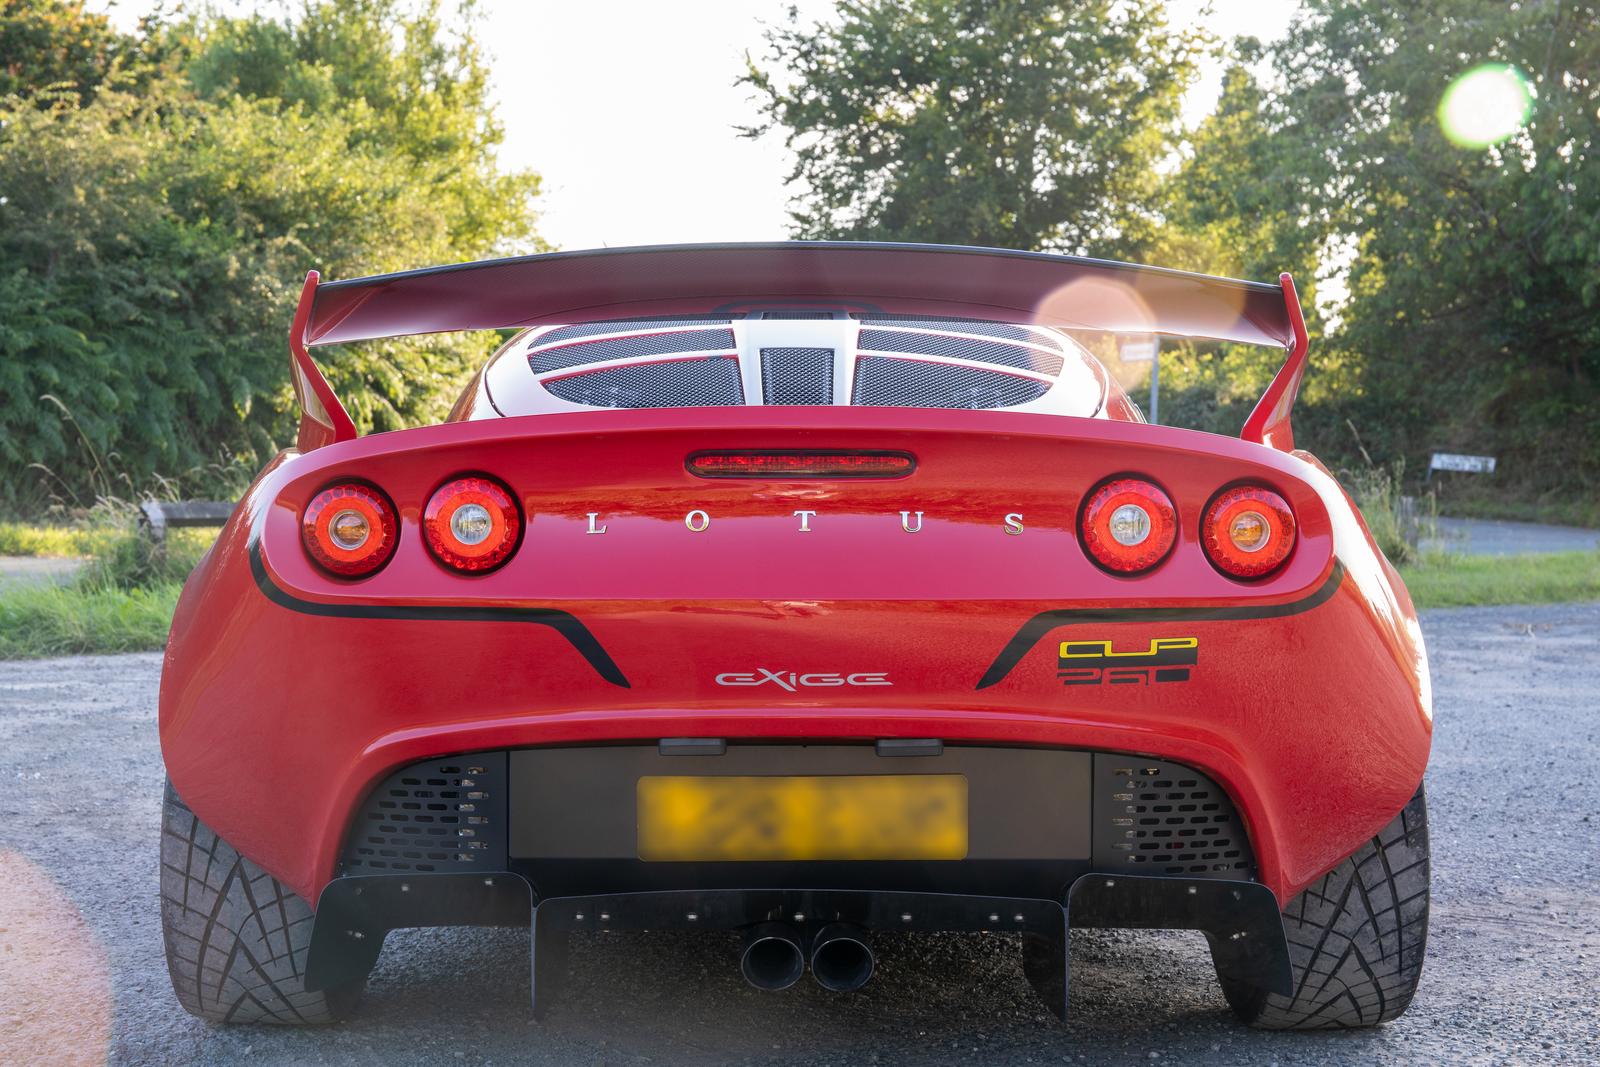
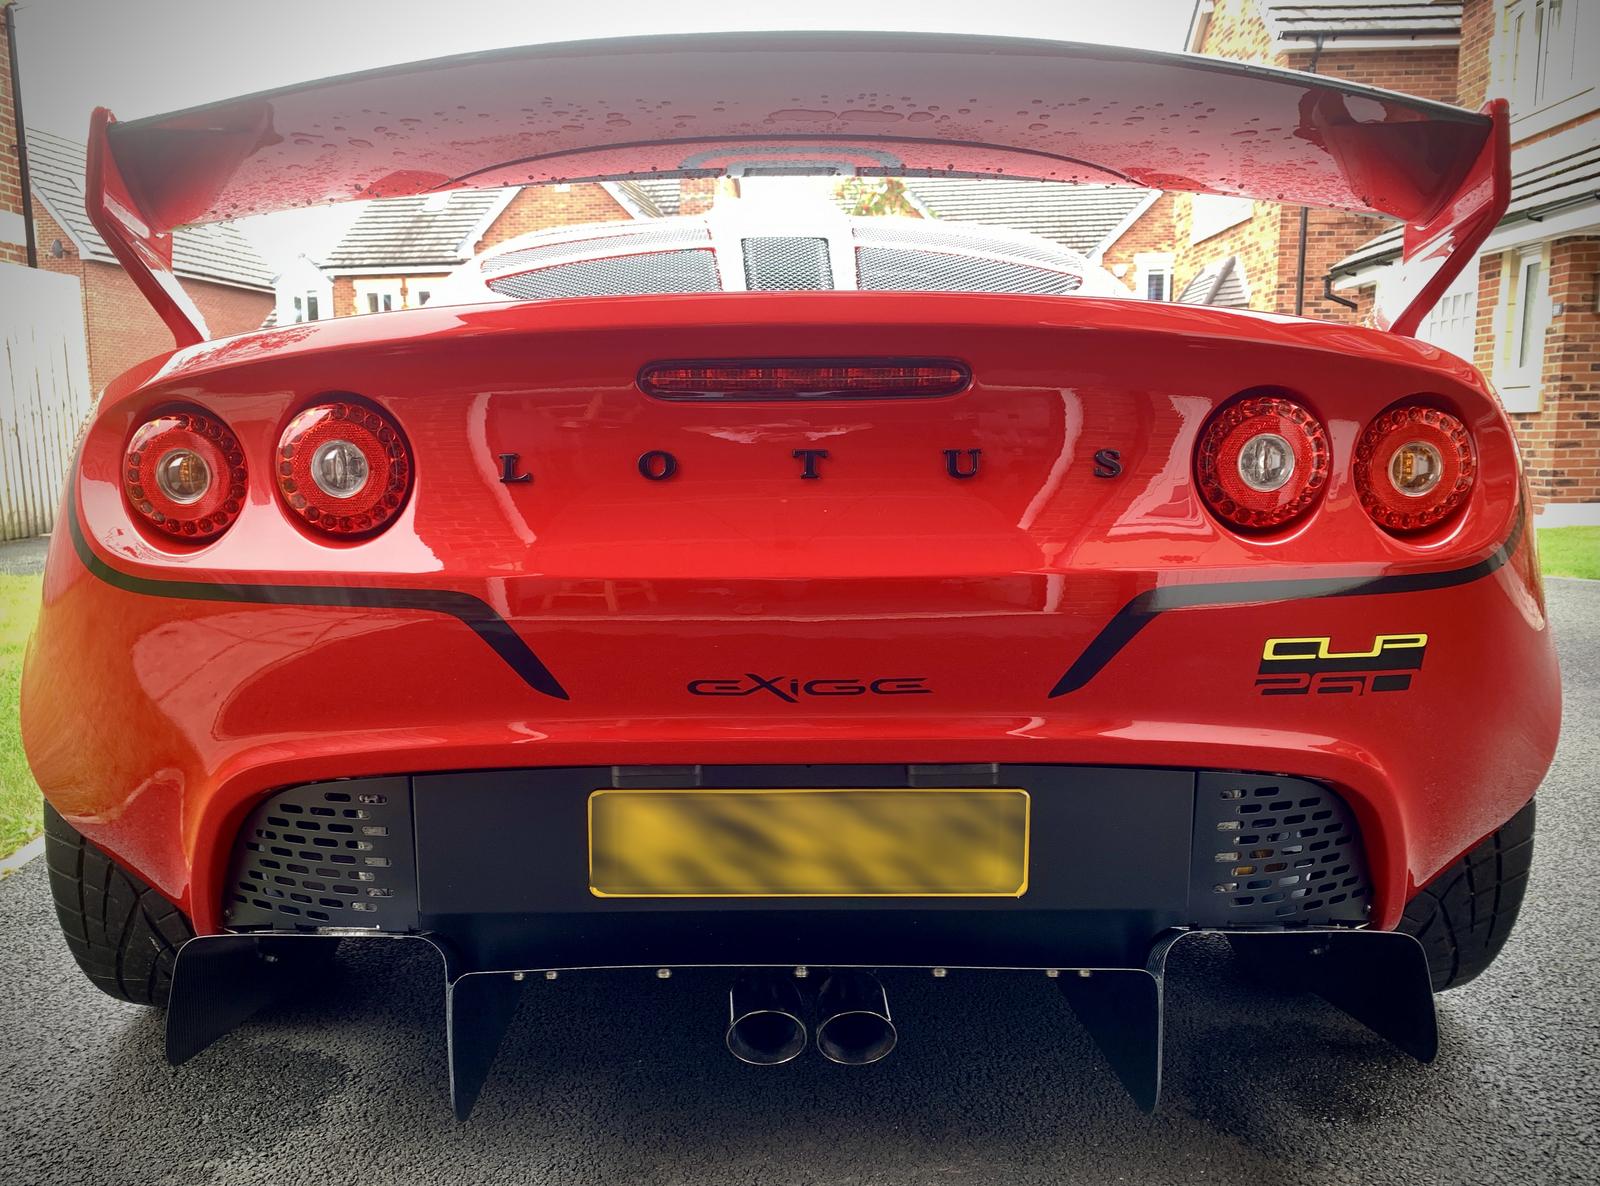
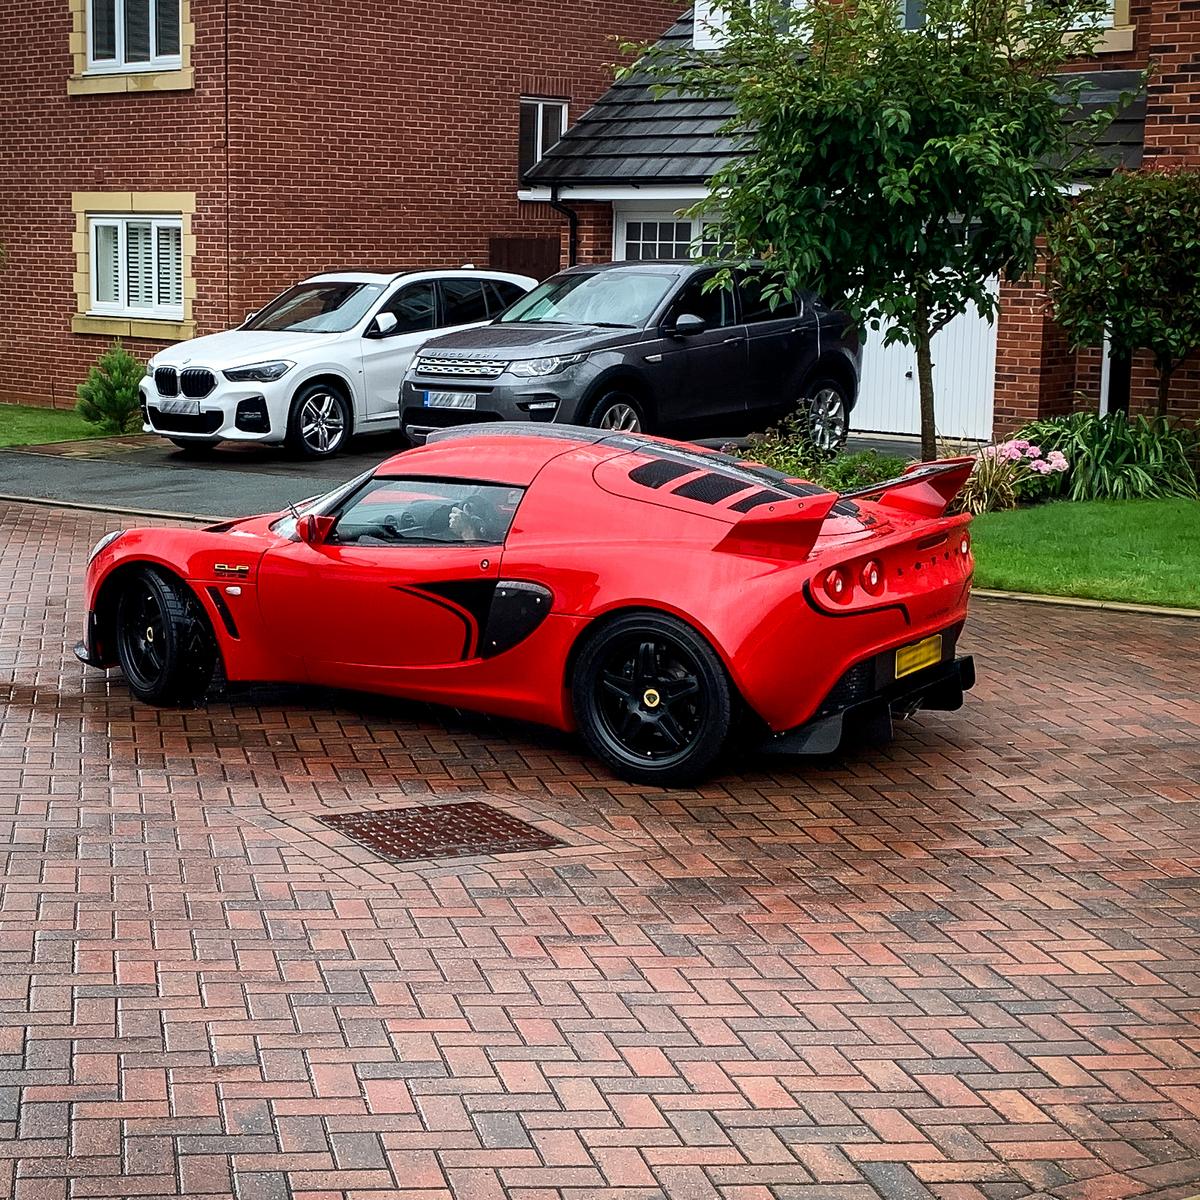
The final change I made was to replace the silver badging to black for the LOTUS and Exige sticker, badging was done myself but Devine Handcraft did the black Exige Decal

Looks pretty good with the general black and red theme:

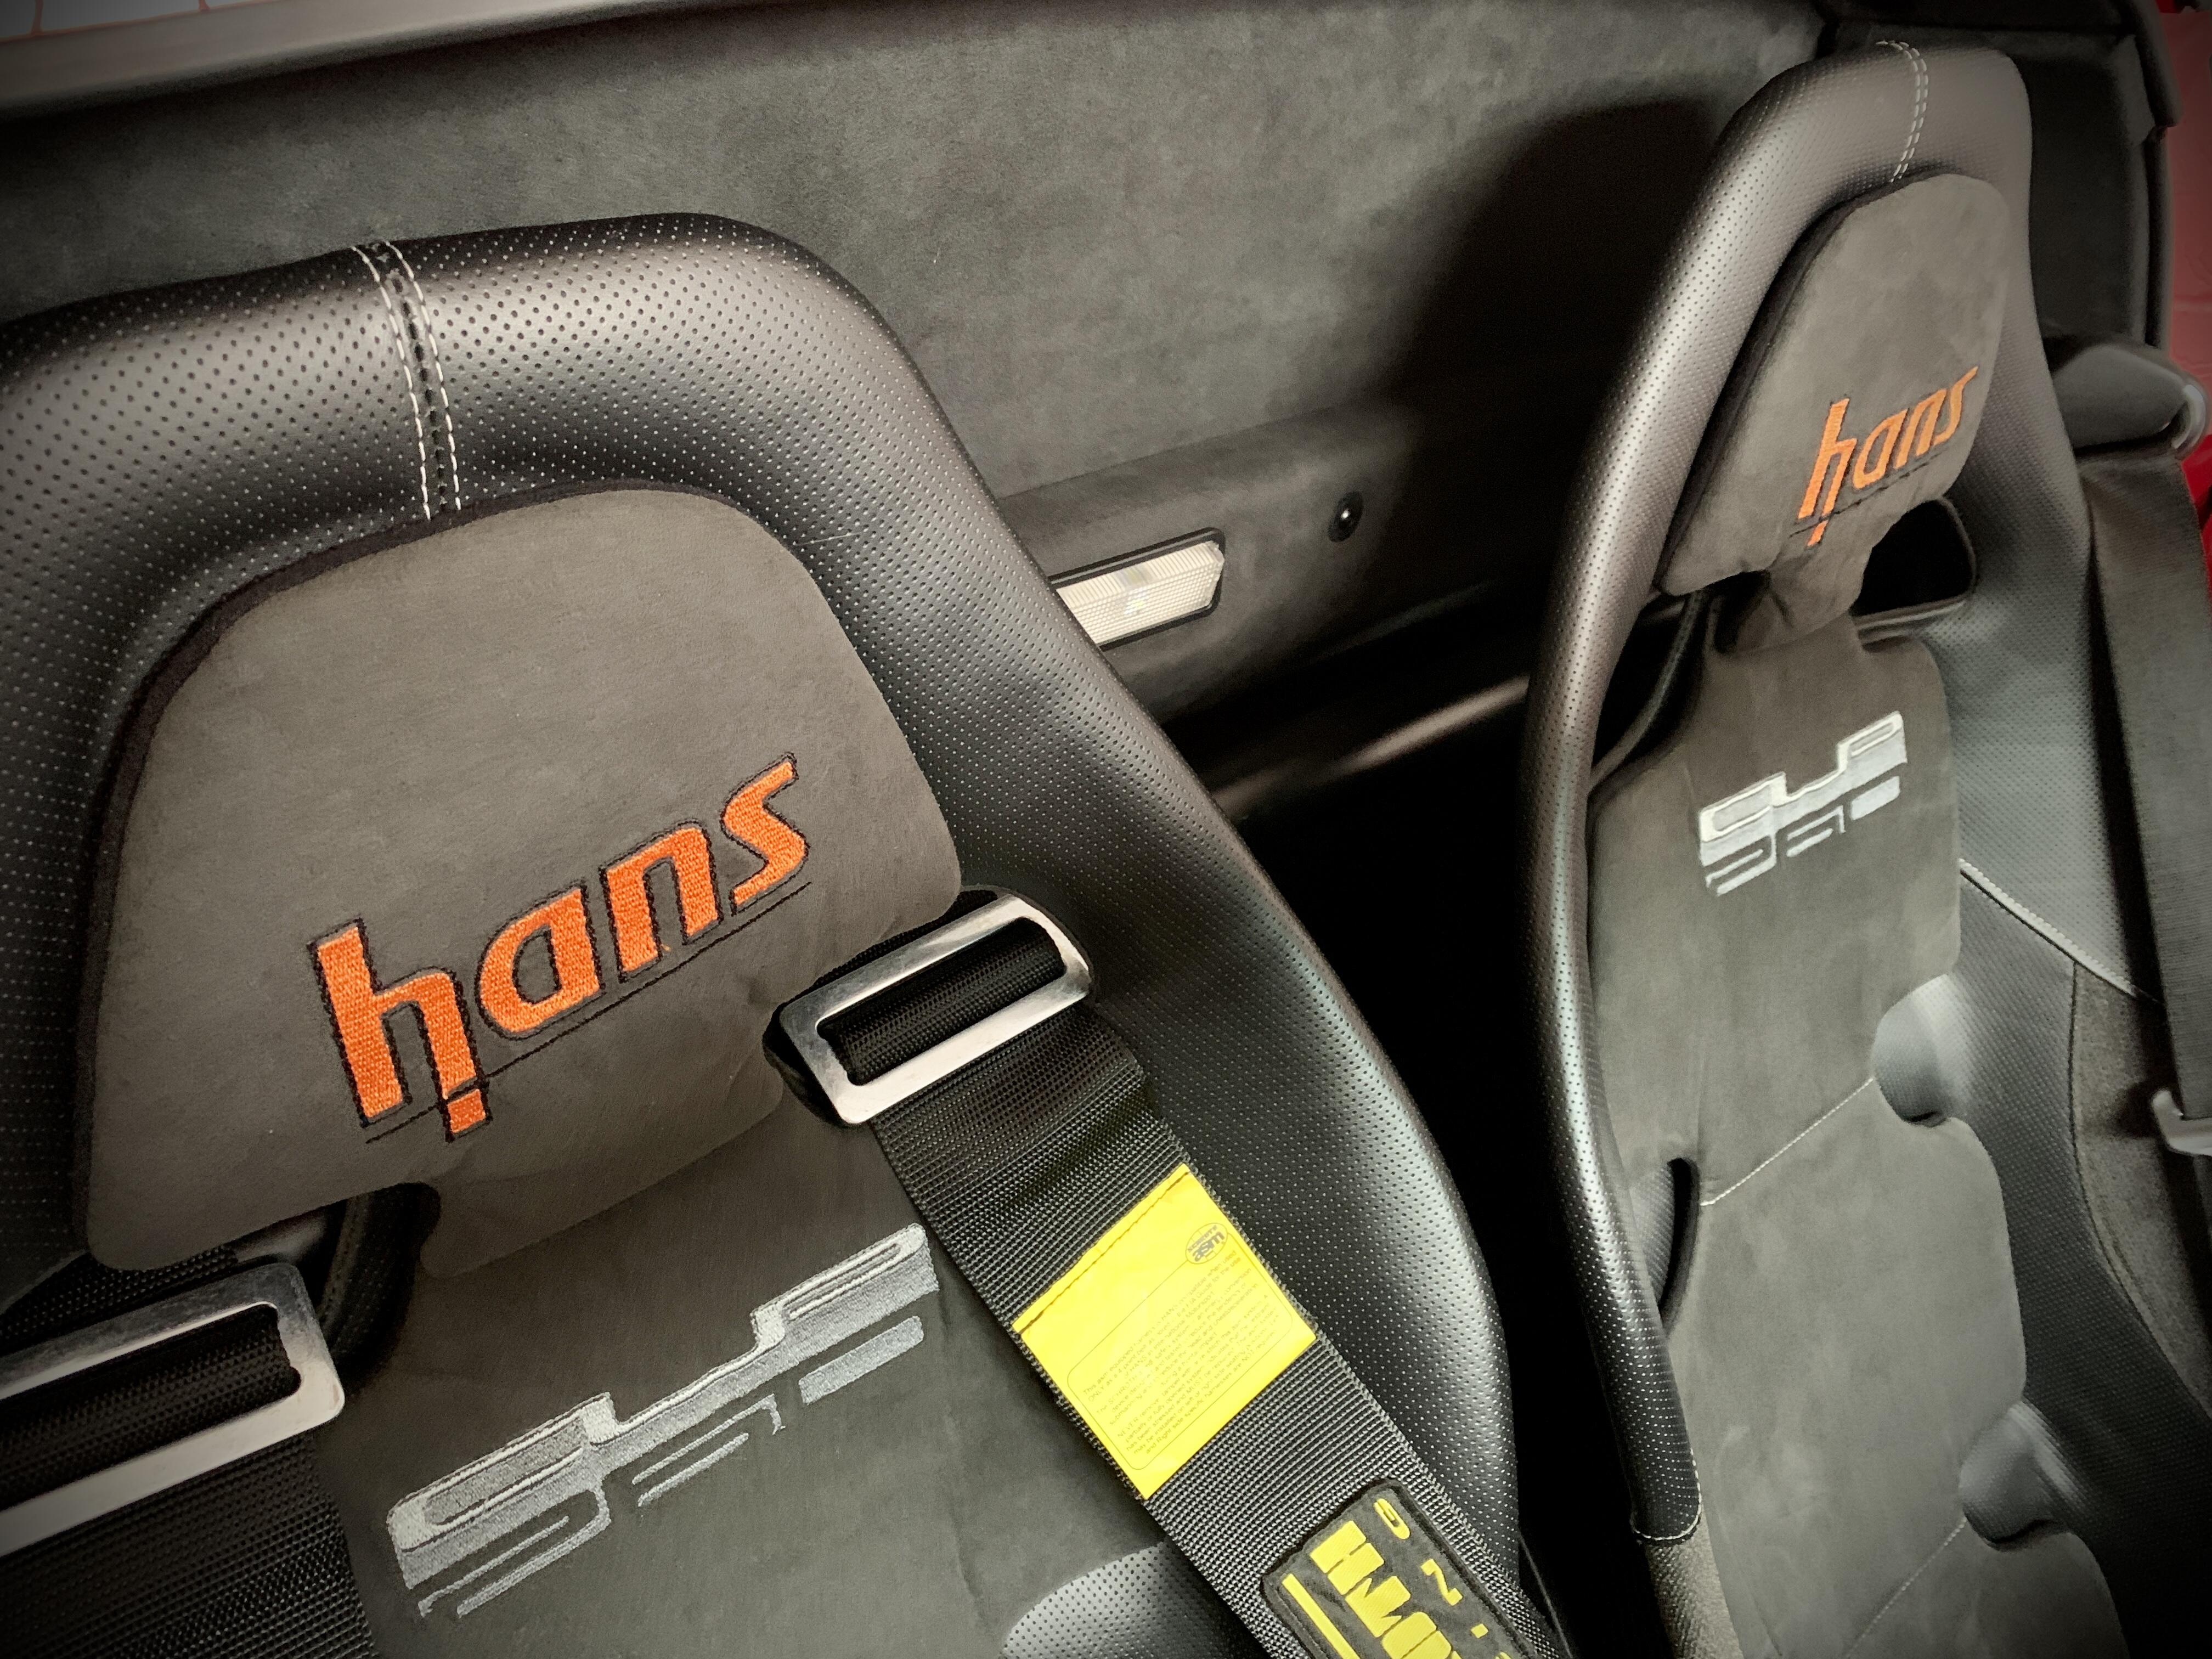
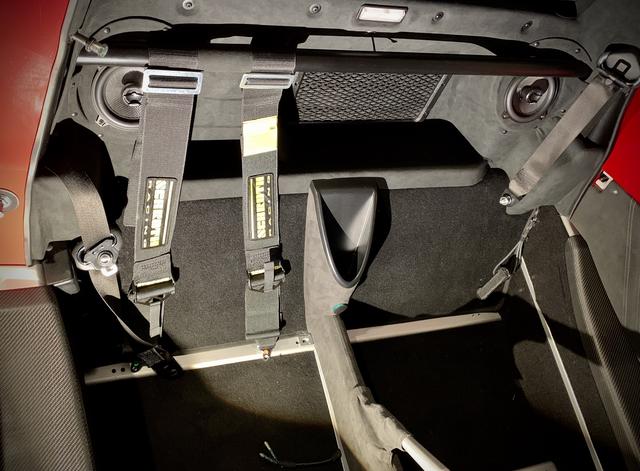
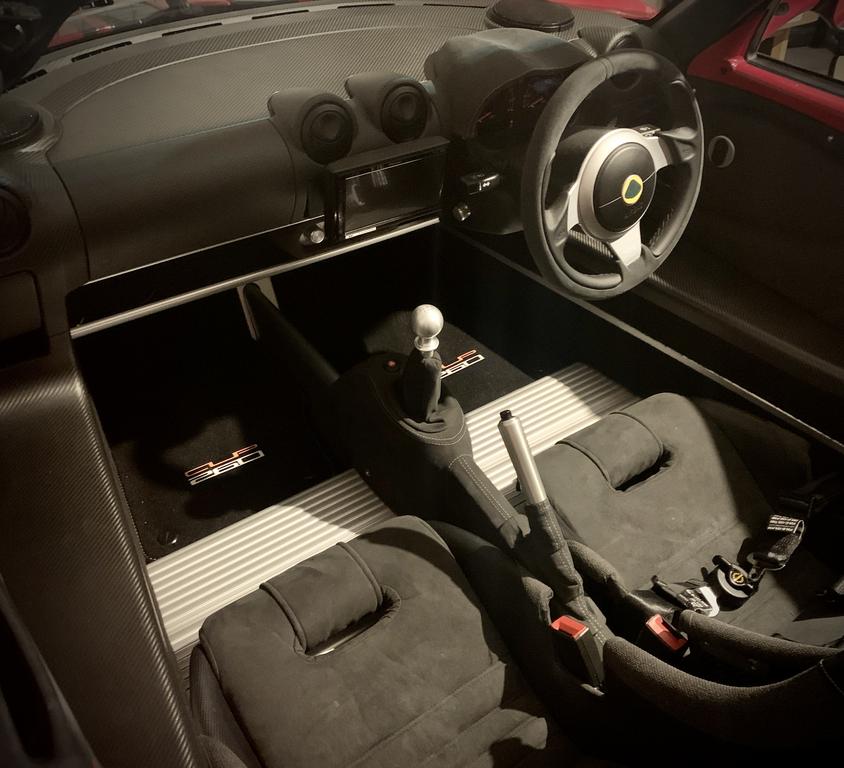
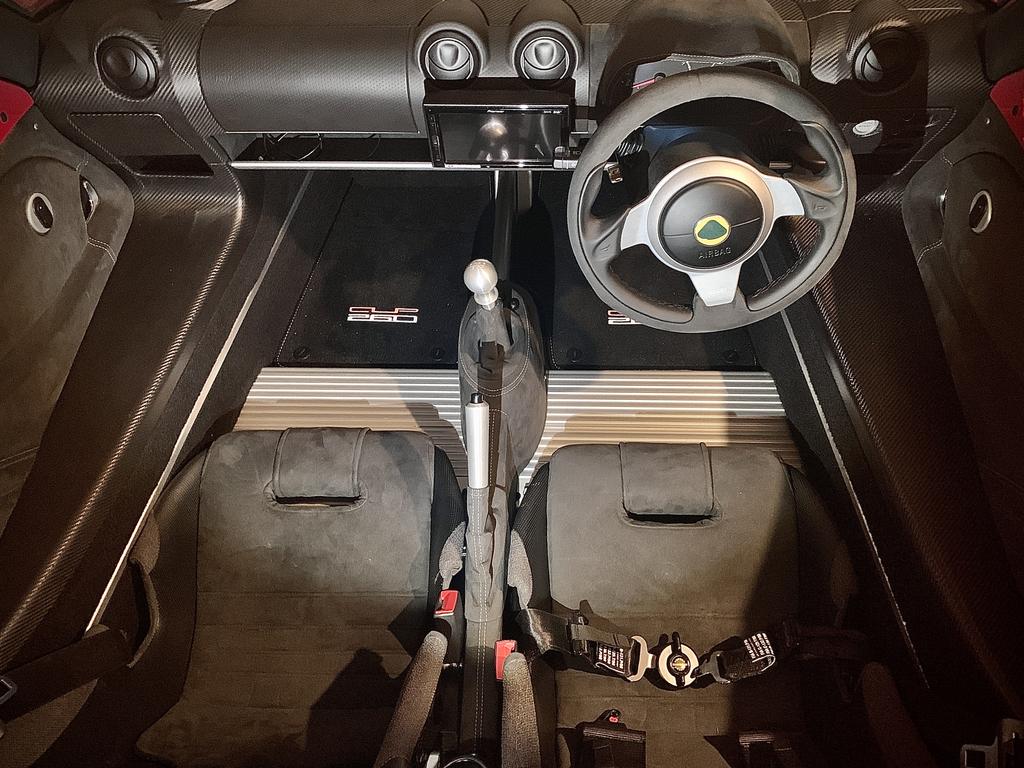
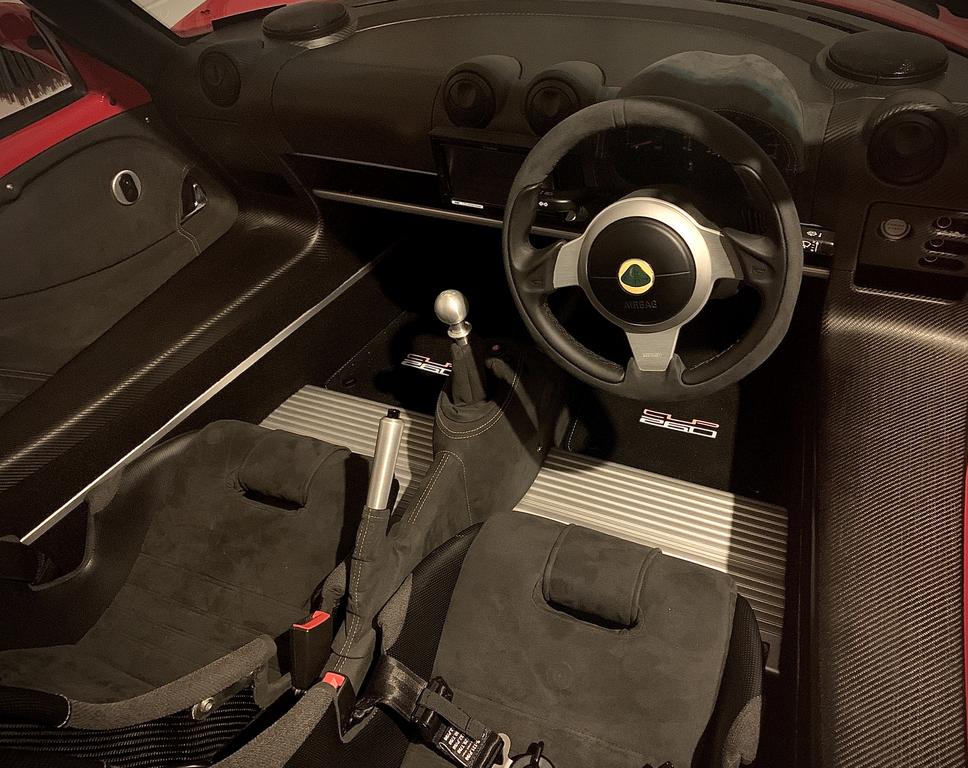
I don’t think I showed an interior shot before, as it was always in the middle of the night I worked on the car:

Then she was off to her new owner - I didn’t advertise her and all enquiries came I think from this build thread, and to lots of helpful Lotus owners who got the word out for me.

There was lots of interest, some faded away several were very interested but needed to sell first and it went quite for a bit, until a fellow Exige owner highlighted to someone who was considering a Elise 250Cup vs an 09 Cup260, that mine was around and should be considered - a deal was done and taking a huge leap of faith in doing a deal at distance, the car was sold - and soon heading up North to its new home

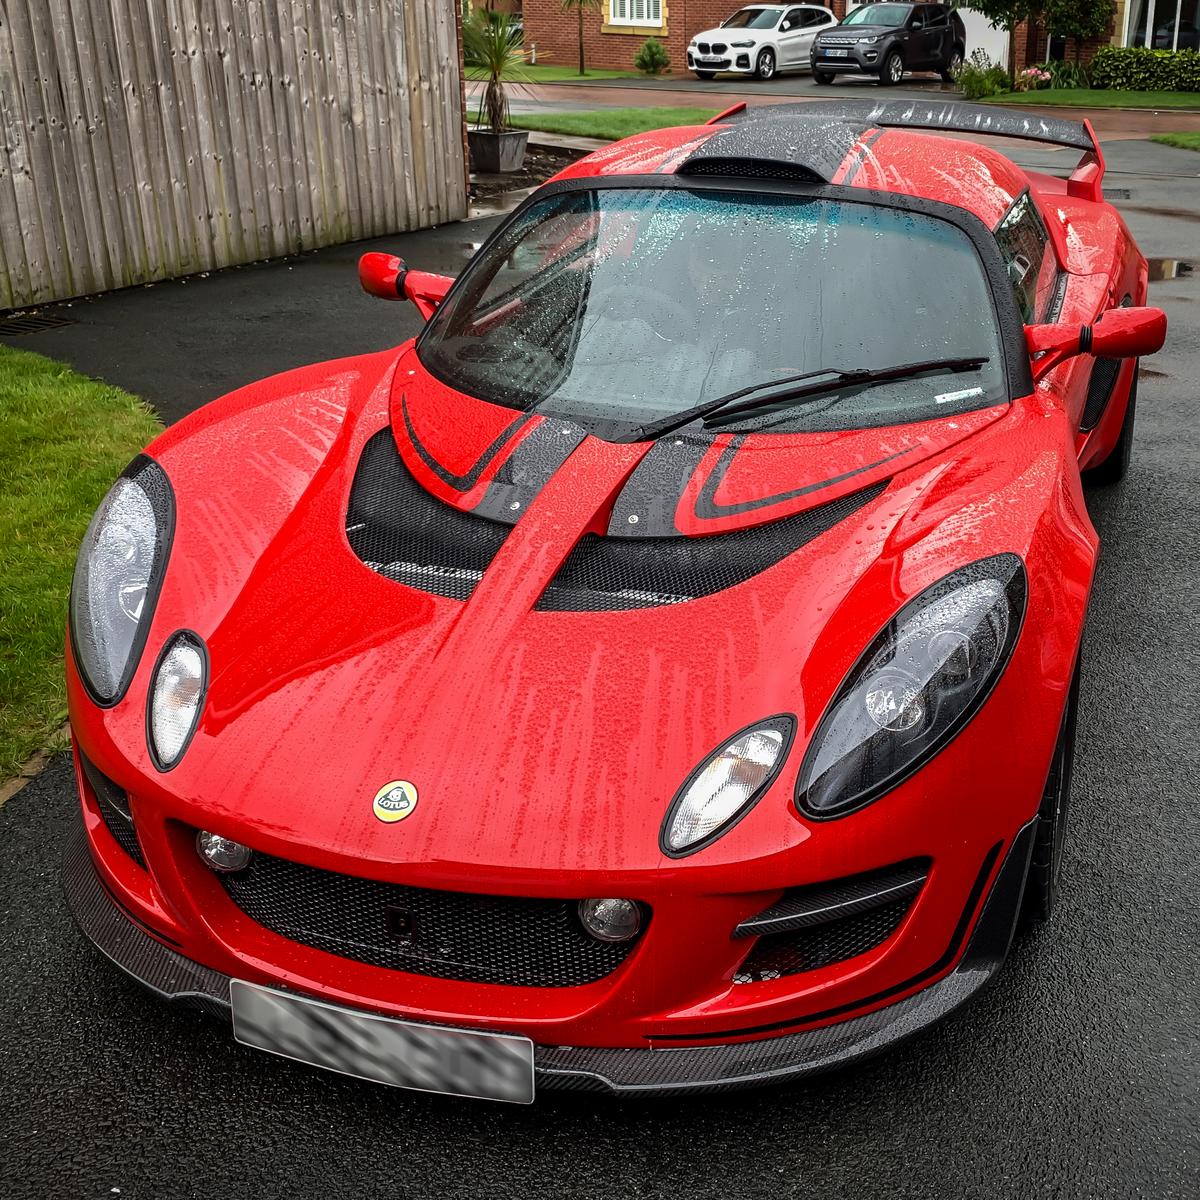
Unfortunately it was a wet day, which was a shame as you never like a new car day to be rainy one

But off she went to a very happy owner, hopefully he’ll be on hear soon to update the thread as I think he has a few more things planned - and will actually drive it unlike me

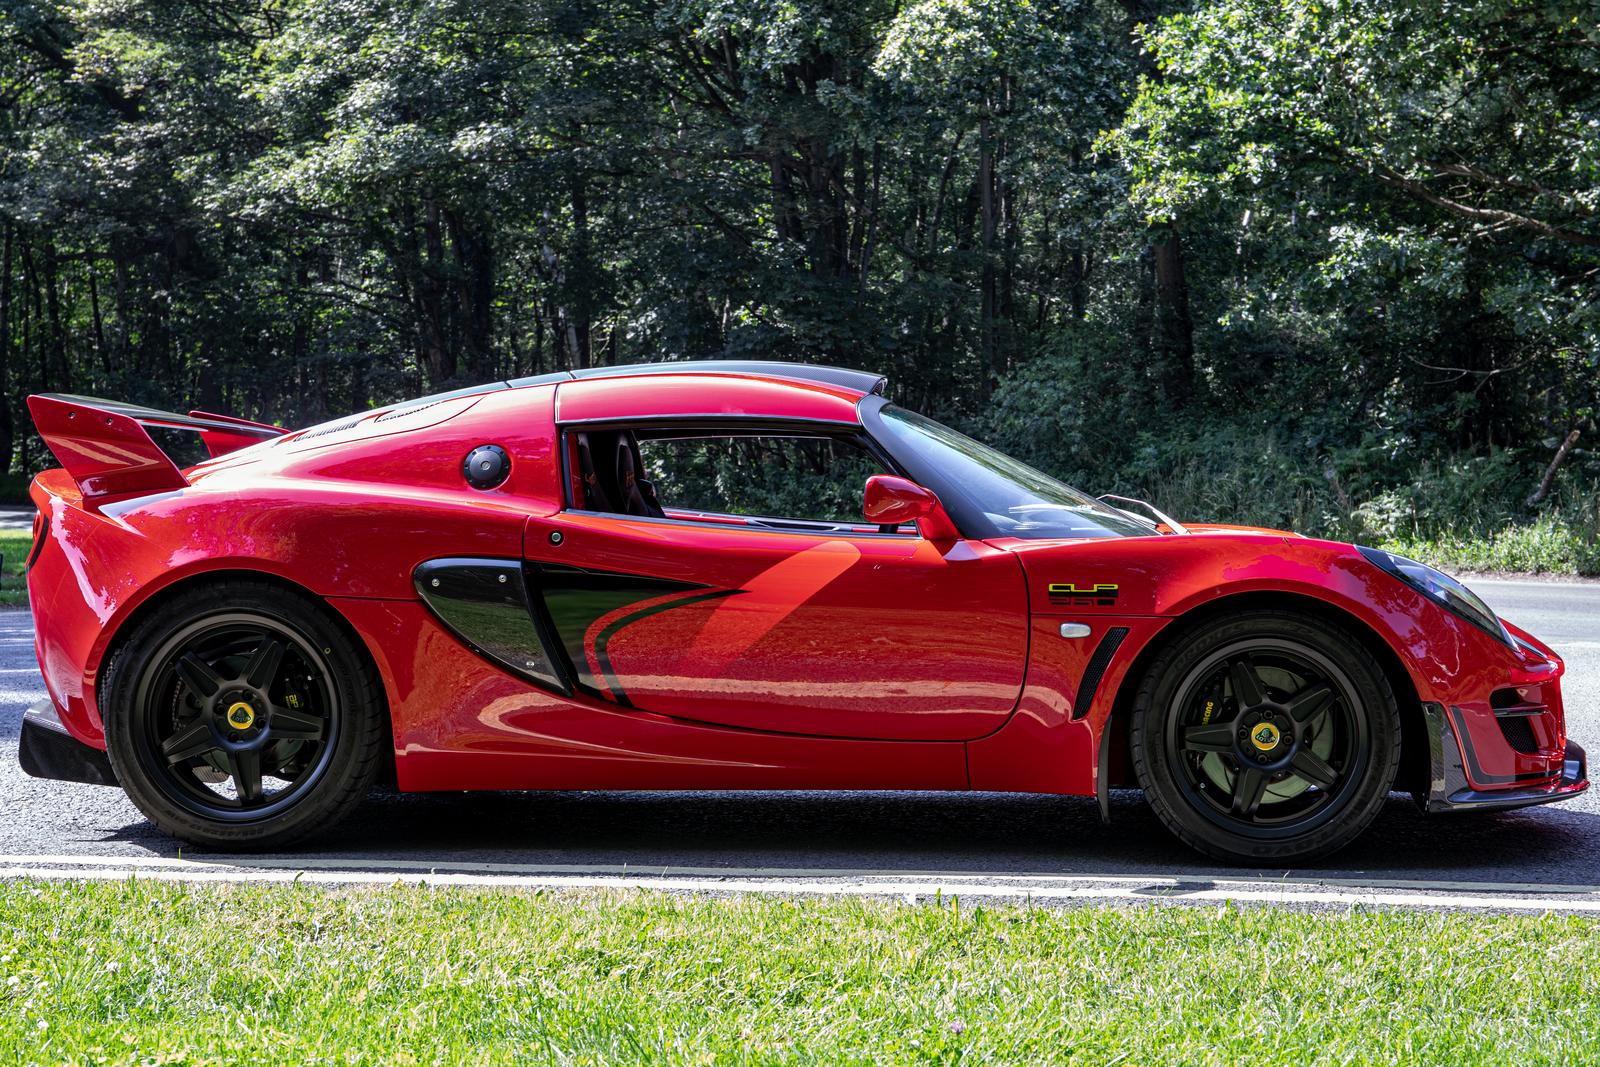
So that’s the Cup260 restoration done, I scaled back plans at the end - but in the end I took what people said was an excellent condition car, into a properly excellent condition and in the end it was pretty good. Pictures never did it justice, so you’ll have to take my word for it, but she was a cracking looking car by the time I said goodbye!

Great to end on the best Exige I ever owned!

After 6 Exiges, I guess my time with them is done - each one I drove less as life got in the way, strangely as kids got older they took up more and more time and effort and I could never make time for a drive, so time for a change Ito reignite the spark

Such a great restoration of a superb car. It’s a shame you didn’t get to enjoy it as much as you planned but at least you can take comfort knowing the new owner will be loving every moment thanks to your handy work!

Do let us know what the next toy is, even if it’s not a lotus!