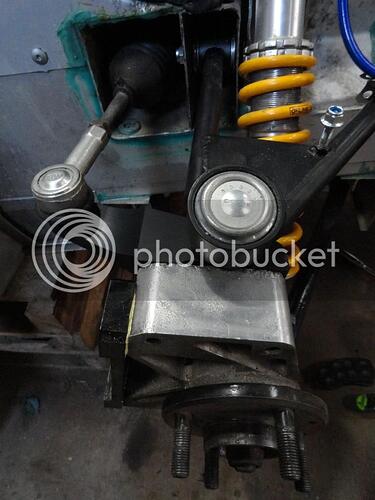
do the early 4 pots need adaptor brackets?
If you mean early S2 Exige 4 pots then yes, Lotus may even supply them. If you mean the early motorsport S1 stuff onto S2 uprights then yes, but no idea where they would come from!
So looking into this… does 93.5mm sound right for the radius of the caliper mounting point from the hub centre?
T
Sometimes you don’t need any words.
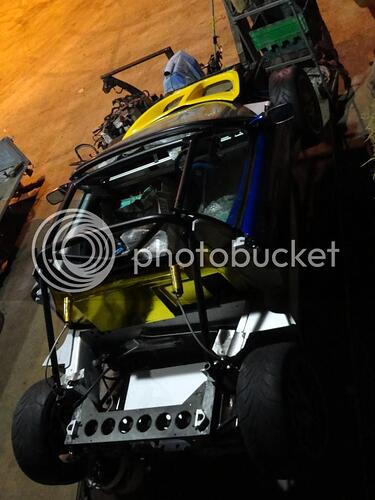
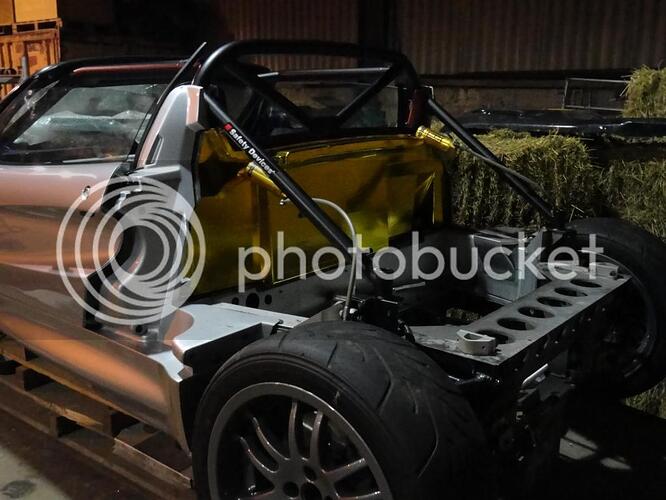
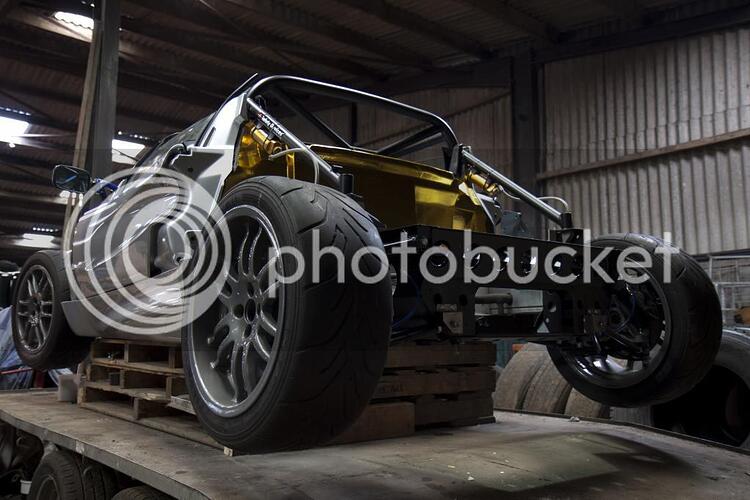
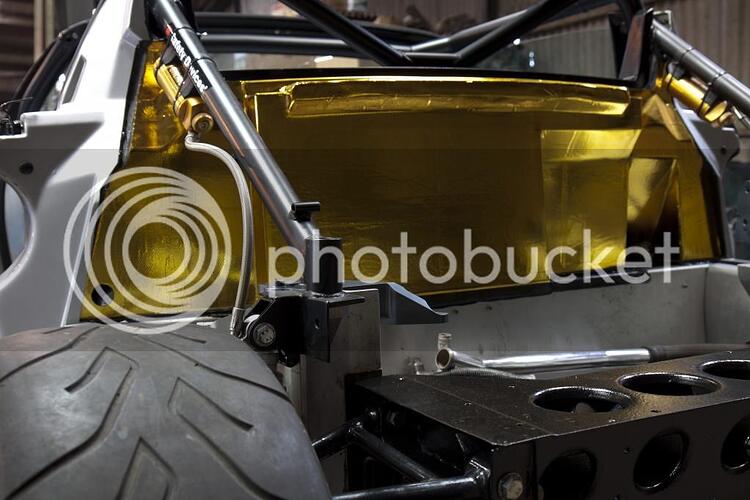
That cage went in and out of the car 4 or 5 times during the course of a long day. Much skin was lost when fitting the spreader plates in the chassis cross member
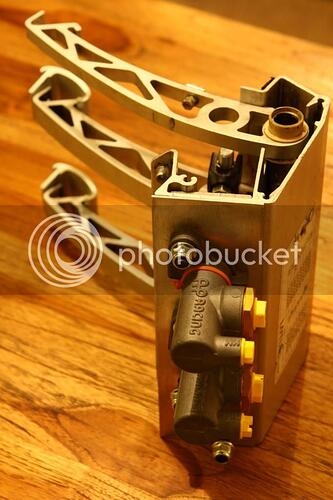
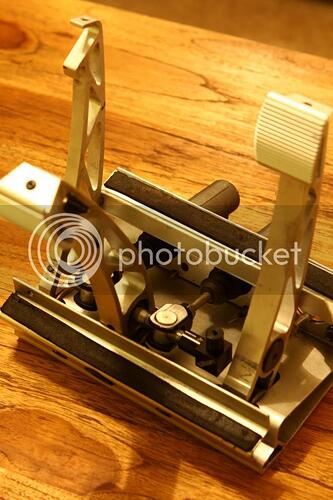
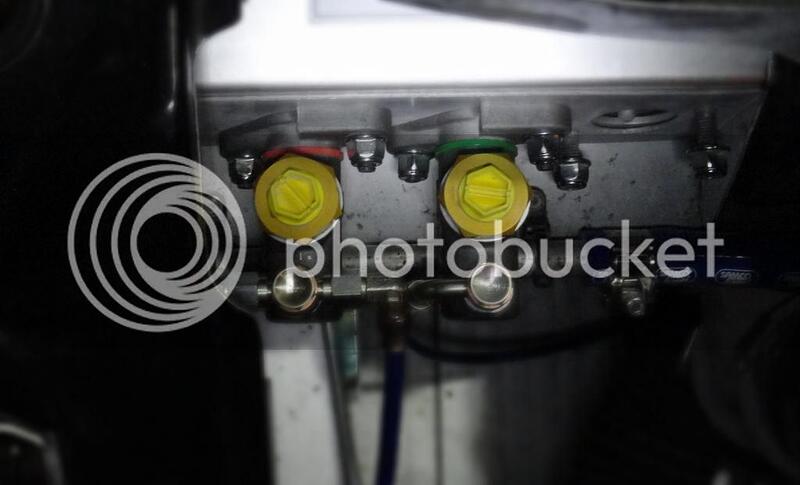
Version 2.0 of the dirty northern pedal box is done, tilton 90 cable adjuster is in, cylinders rotated slightly, new face plate, clutch is also getting its own master cylinder (its only money after all). Dave you’ll be relieved to know the studs are now ~5mm shorter and the nyloc’s are flanged, shiny cable bracket also attached and that rusty bolt…I’ve lost it somewhere lol. I’m still waiting on the third MC to turn up along with the reservoirs. I’ll post a few photos later.
looking good, keep em coming!
Here you go, northern pedal box 2.0
I really do need to take a few decent photos of the car when its light…
looking great, some love and hours gone into that
Yup that much is clear, great job!
Defo get some more pics in daylight…you gonna be finished for Good Friday?
Good Friday, which year?! Remember its taken me a year to get this point…I’ll probably be there but I think it will be in the elise rather than this build.
I’ll make time to take some better photos over the Christmas break. Photos in the shed where its kept are difficult as its basically a very large barn (no windows) and its lit with sodium lights (think street lights), so even decent glass at F2.8 will need an exposure over 1 second in daylight.
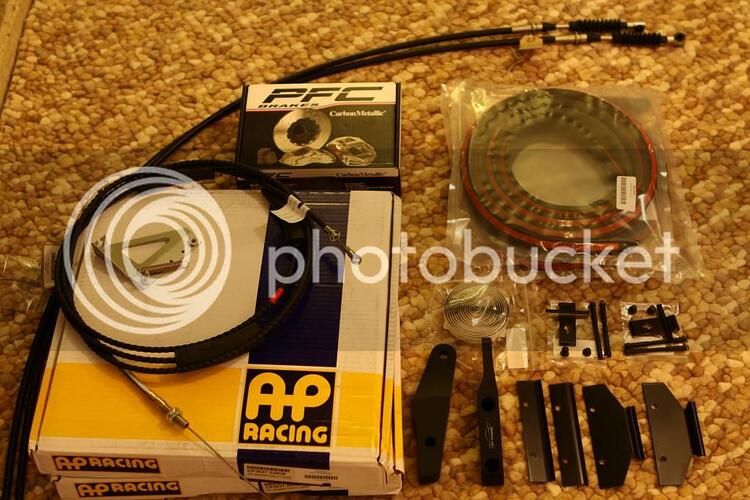
The annual eliseparts sale is never good for the wallet and this year was no different combined with a few bits from lotus to finish the pedal box
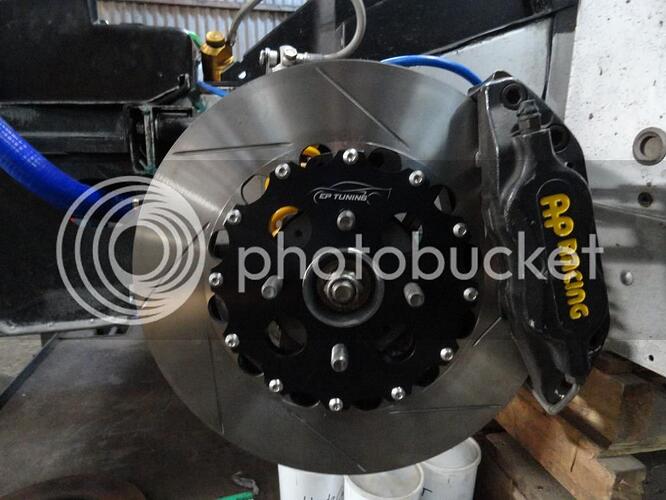
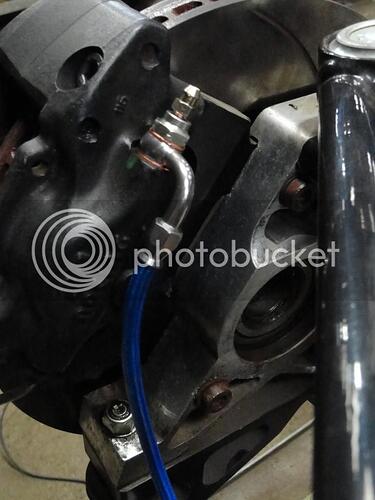
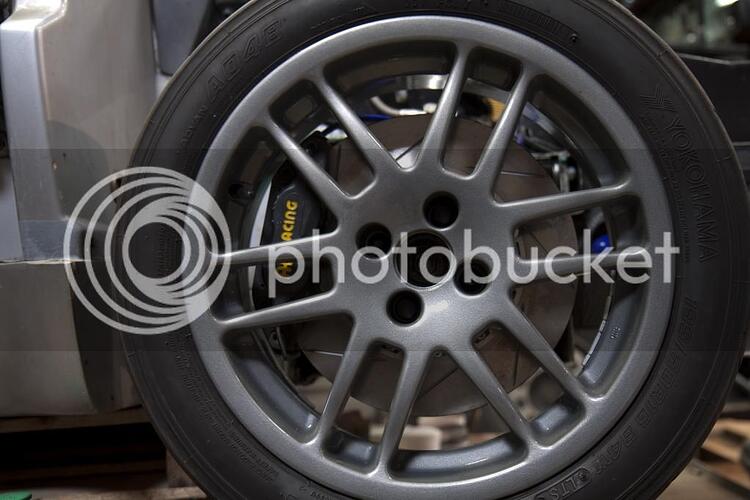
The brake set up is now complete, AP 304mm up front with AP290 on the rear PF01 pads all round with lotus 4 pots up front and the two pots on the rear. This is all plumbed up to the dirty northern pedal box using goodridge 600 series -3 and fittings. The only job I need to do on this now is put the cable adjuster on the dash, I’ve left this as I’m not quite sure where I’m going to mount it (probably where the old slide heater controls are?
Plumbed pedal box (still waiting on another MC and the reservoirs)
Front
Rear
I also fitted a set of eliseparts steering arms (the car now has a comedy amount of toe out)
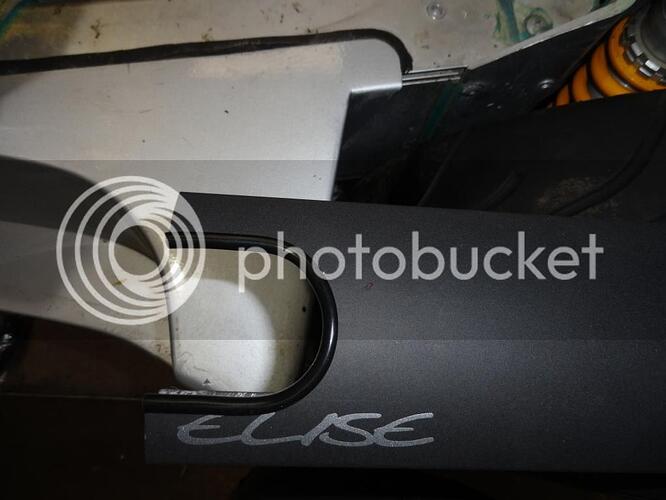
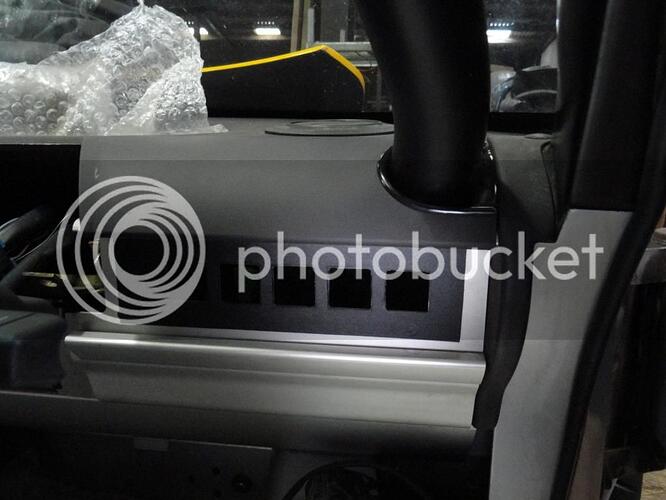
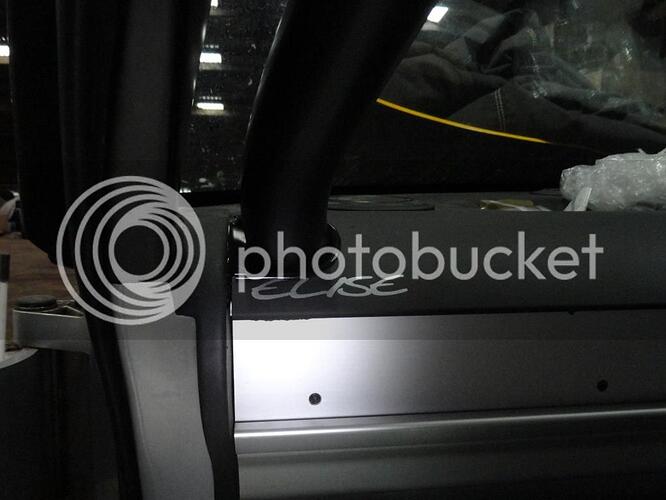
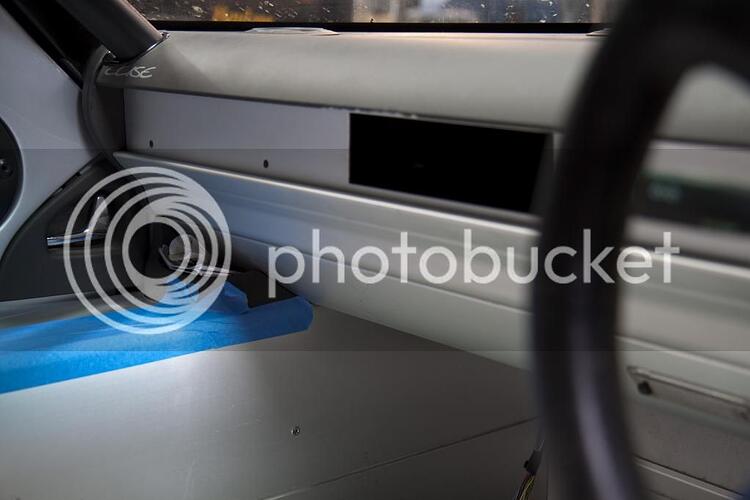
I’ve been completing the modifications to the dash around the cage to give me a nice fit. Its not complex but just takes time to complete, a little edge trim finishes things off nicely.
Either side then offered up.
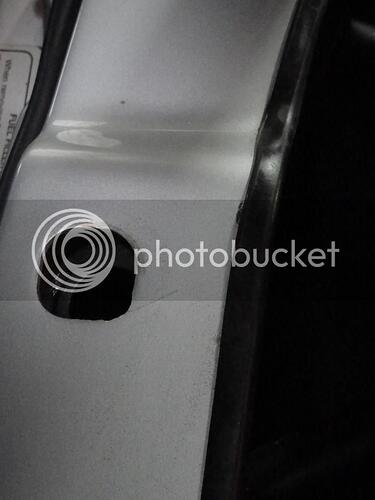
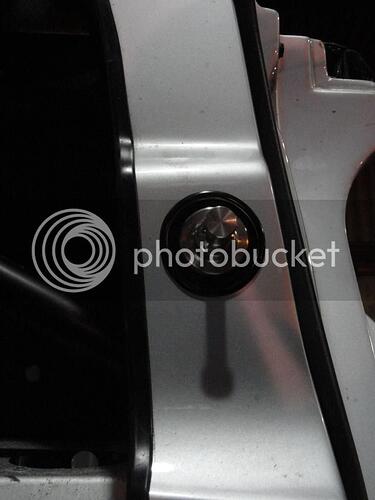
B pillars needed altering to allow door striker pins to be installed, again not complex I chose to just increase the size of the opening rather than cut away a lot of glass.
I need to chivvy the chap painter along now as I could do with a few bits sorted on the interior as its going to prevent me from working through re installing stuff.
I will try and take some more photos over Christmas as its looking more and more like a car rather than a load of bits sat in a tub!
Good steady progress there!
Every little bit is a time sink hole isn’t it.
Lovely quality build.
No need to hurry (Anglesey apart).
Do it once, do it right
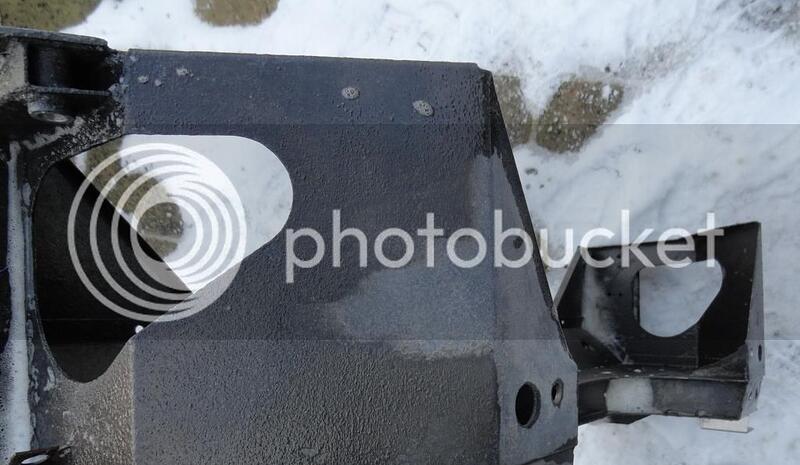
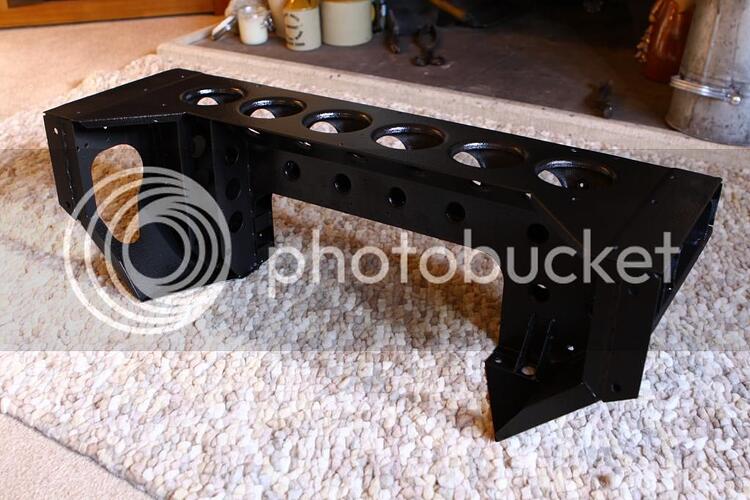
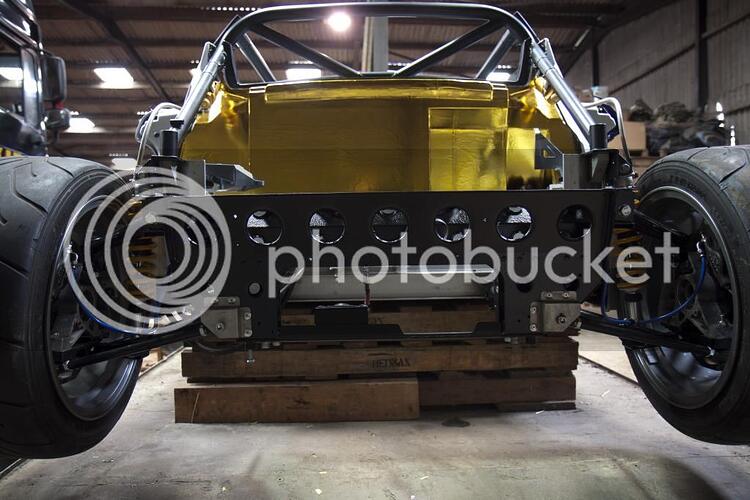
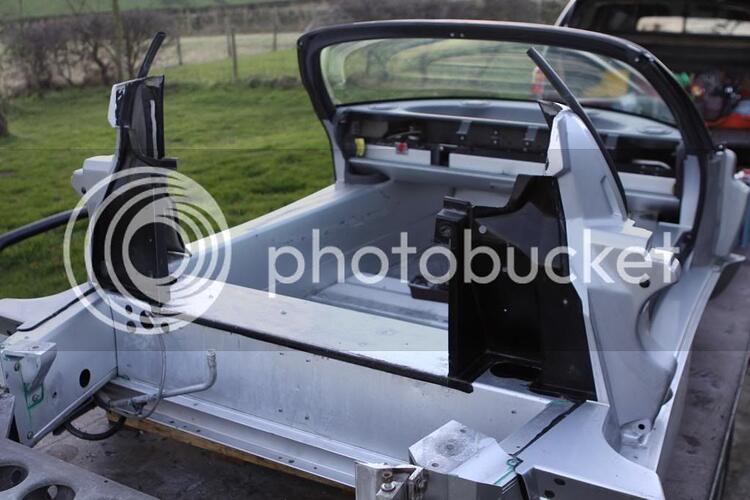
Stripped the back end of the car hopefully for the last time as the subframe was letting the side down by just looking a bit cruddy and just generally shabby.
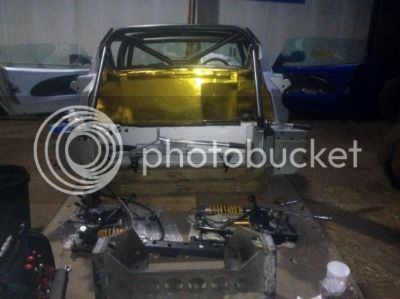
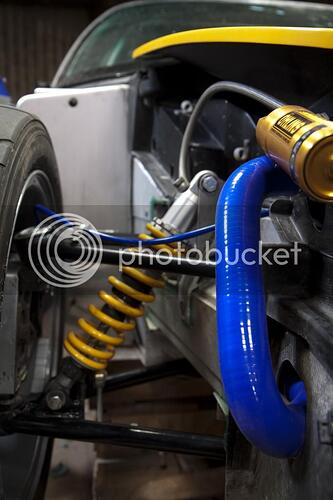
(For the eagle eyed…I’m not sure which way round I’ll run the cooling circuit yet?)
Ideal weather conditions for surface preparation with snow on the ground!
Despite the cold, its turned out quite nicely using a 2 pack epoxy. Time will tell how well its lasts.
Better quality photos as promised showing how the old girl is looking…
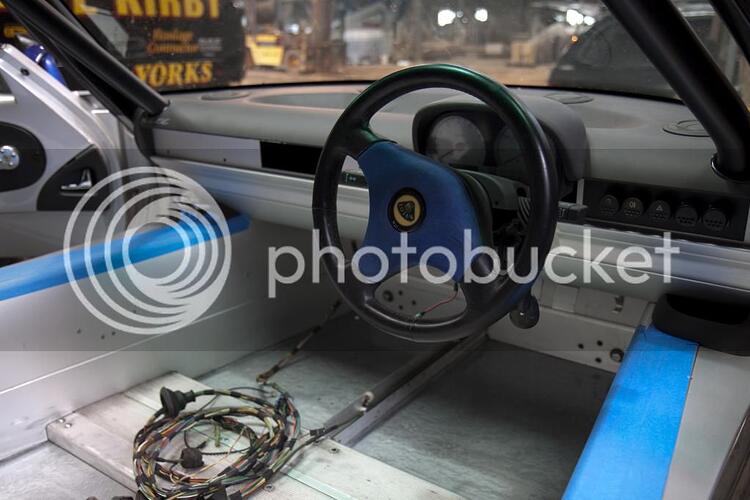
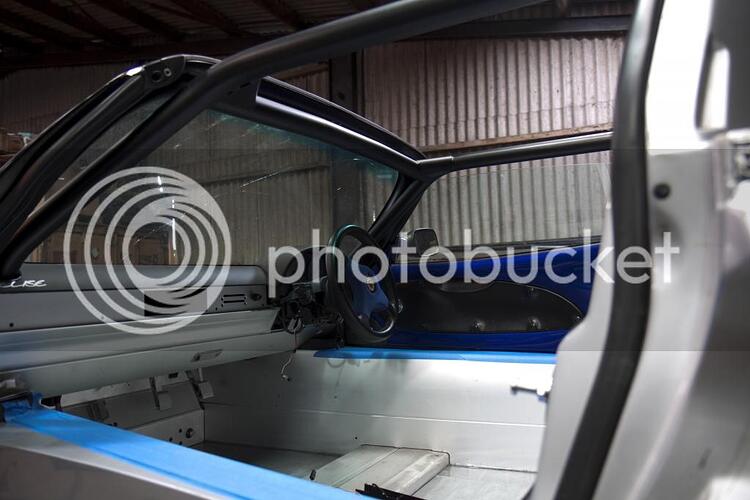
Interior shot. Floors and footwells have been coated with silver Por as the chap I’m using to paint it won’t have a slot until the end of march! This allows me to crack on with getting the interior back in.
One more of the interior and cage fitted. I’ve just got a little masking tape down either chassis sill top to give a little protection while I’m still working on it.
Usual dash peel around the radio slot
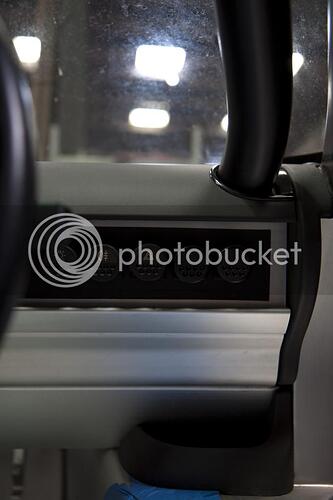
Couple of blanking switches used around the cage
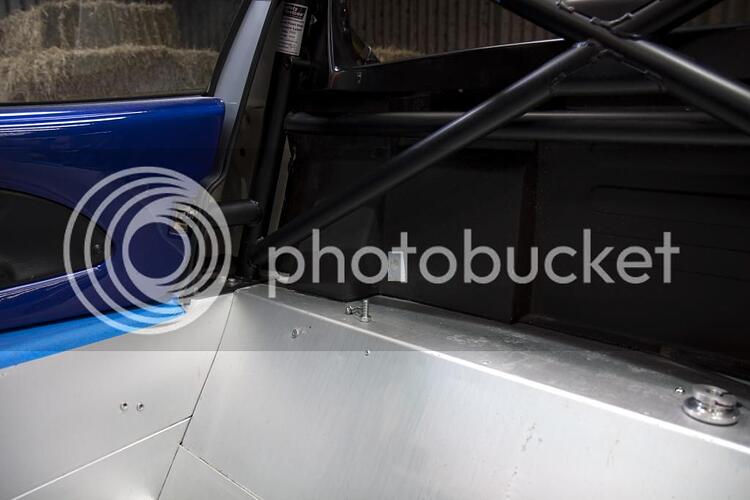
Rear half of the cage in-situ
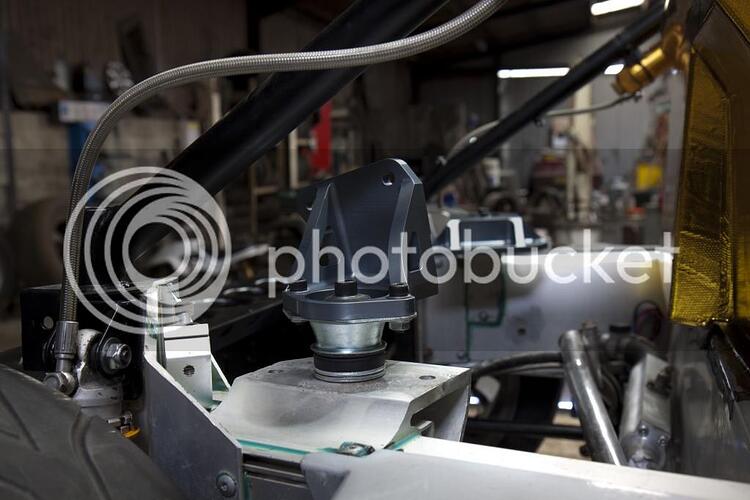
I left the apprentice (young lad who was off school over Christmas) to offer up the engine mounts as he wanted to help. The only instruction was it needs three bolts big one through the middle then two little ones. Maybe I should have told him which way round the mount went, but he has followed instructions! I took this photo because it made me chuckle as the two washers should be at the top with the bush pointing through the mount.
Front end
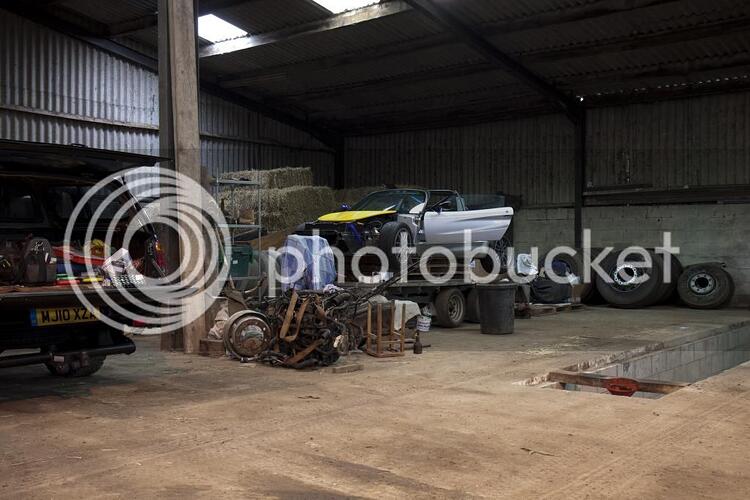
Where its lived for the last year. I’ve tried those wheels for size and that jag diesel jump was just to big to go in the 'bay also…
I have barn envy…
Looking great!
Yea how to turn a London dweller green!
Can I make a suggestion? Look at boxing the bulkhead into the cabin to buy some space in front of the engine. Whatever way you go performance wise, you’ll need space there.
I know what you mean about the bulkhead, I’ve agonised over what to do and everything is a compromise… Agreed more space would be good to future proof things, but I can’t imagine the car staying the same spec’ forever. Believe it or not I’m already planning a phase two of this car for a few years down the line as the build here is to a decentish spec’ but also to a target price.
My thinking,
The box alone is not proven so there is a higher chance that it could come back out (I really want a lower 4/5/6 in this) which means an option to replace the panel when I drop the box in future then.
I intend to run the RSP opened up to 70mm on this honda install which is the smallest of the different inlets so it will just fit (it fits my other EA honda and these mounts I’ve been told put the engine in the same position). Fall back position is to put on a PRB but opened up to as close to 70mm as possible.
I also wanted to keep the rear window for now as I can always chuck a couple of elise clams on it (remember I don’t know really know exige bodywork and don’t have a wing or splitter yet), which means I could finish it more quickly if needed.
I’m not a fan of a full alloy panel I’ve not seen one I like yet and they rattle about and resonate. So that leaves me with a carbon/alloy composite sheet and I’d need a big sheet.
I’ve been offered good money for this bulkhead already, so I’m not going to cut the panel as they are getting rarer. Plus I’ve already got a couple of bulkhead “ends” if I need or want to do something different.
Its still a compromise and just my thinking at the moment. I did start measuring up ready to make a mould for a custom panel fiberglass/kevlar but decided I had enough to do for now. I’ll soon know if my reasoning is off!
yeah fair enough, I put a small box on mine for my JRSC blower and now have no window to give me a nice place to mount tanks etc
T
I have barn envy…
I’m lucky my extended family let me use it and keep things in that barn. I’m just glad I don’t have to pay rent as I’ve had the chassis from the blue car stored in it since 2011!
Yea how to turn a London dweller green!
Its grim up north, you wouldn’t like it!
The project is coming on a treat, looking forward to seeing it on track. ![]()
