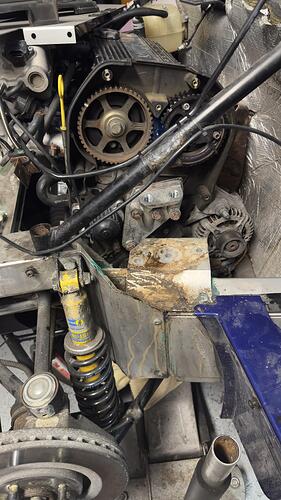
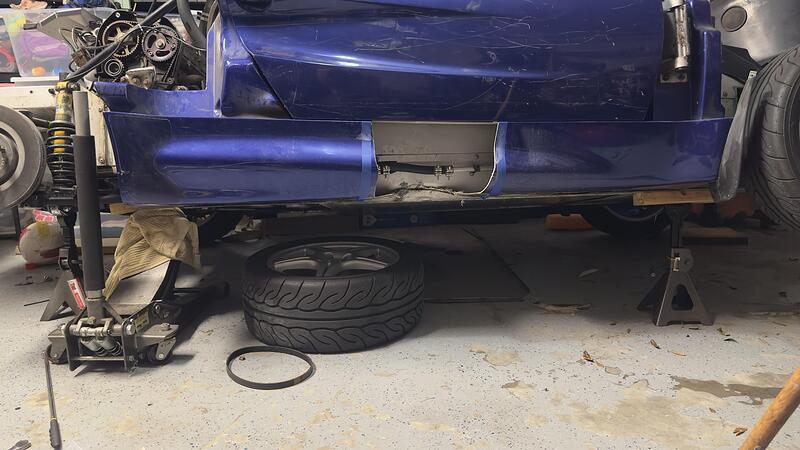
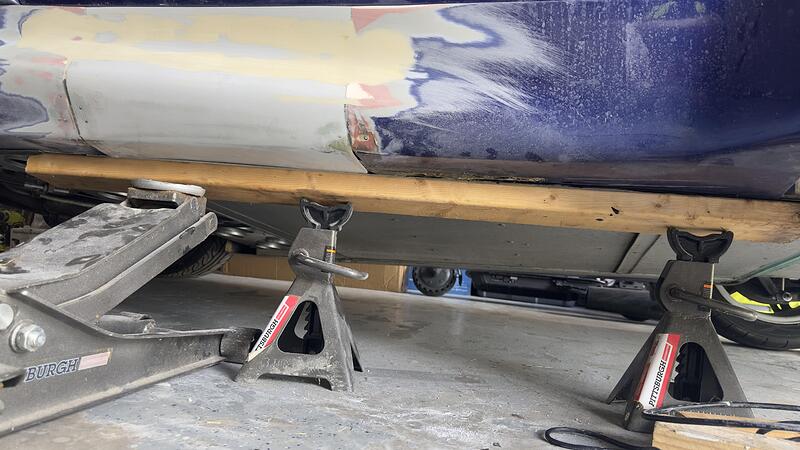
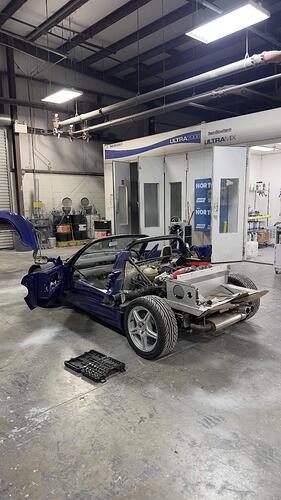
Timing belt and water pump done. The top bolt for the main engine mount is seized, so I will need to grind it off for replacing the mount. Before anyone says anything about safety, I have the car blocked on front and back, jack stand on front and back, the rear tire under the car, and the jack in the pic is only to support the motor.
Lessons learned:
Take your time (no pun intended)
When removing the water pump, a lot of coolant will come out, I used a towel, but the floor is still wet
Removing the top mount gives a lot of movement access
Access, I could not imagine doing this in a home garage with clam on
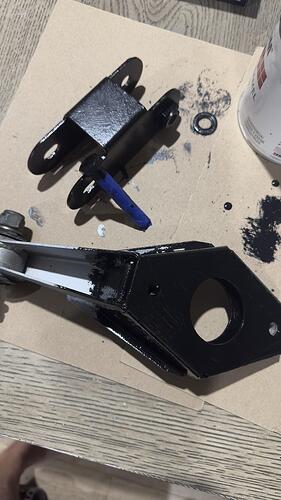
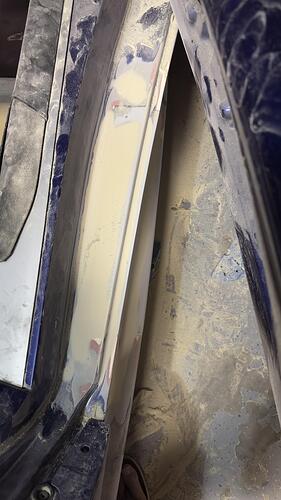
This is the mess I have to clean after the top mount took a shit. Also, the mount steel part will be painted and so will the support bar.
With having full access to the rear of the motor, changed out the ignition coil.
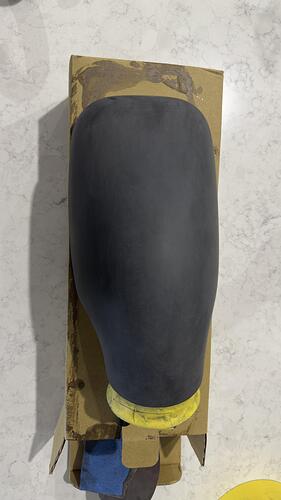
Also, motor mounts parts were cleaned, wire brushed, and painted. I used Rust-Oleum enamel paint. Used this on the wishbones a year or so ago and they still look amazing!
Also, I did paint the rollbar extensions (supports, whatever they are called), no pic of it.
Tomorrow the plan is to get the crank bolt torqued and engine mounted. I ran out of fuel, so get some fuel (petrol) with a jerrycan. Next mechanical thing to do because calling it done is to flush the coolant and refill.
2 Likes
No pics tonight, but the timing is done with the crank bolt tightened down. Motor mount replaced and all mounted in. Just need to put the alternator belt on.
Also, drained the coolant and flushed it with 3 gallons of distilled water. Going to let it just drain all night and tomorrow fill it back up.
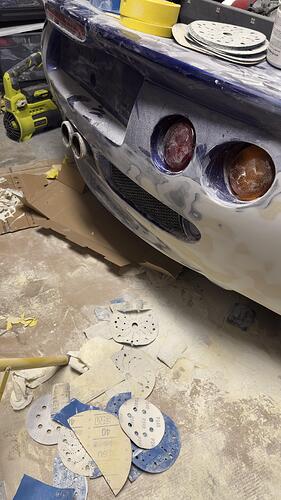
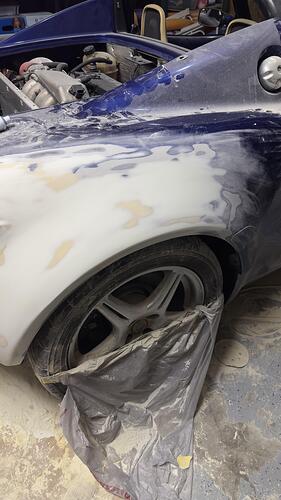
Bodywork is near completion. Will refit the clams this weekend and see how “bad” everything is.
2 Likes
Looking forward to the panel gap pics!
1 Like
I know how many shims go into each location…but…that does not always mean things will align perfectly. The most frustrating part will be the access panels.
1 Like
IT’S ALIVE, IT’S ALIVE!!!
Well that is how I felt when I went to start the beast today. Nervous, eh…but it has been a few years since I changed a cam belt (those American out there, timing belt).
So, she started and ran beautifully. The new mount makes a bit more vibration lol. Got her topped up with coolant, well replaced, and then put the alternator belt on.
Started to remove the e-brake cable, but need to cut the bolt, rod, whatever it’s called. Well you can see it’s late so no cutting tonight. This is the last maintenance item to do.
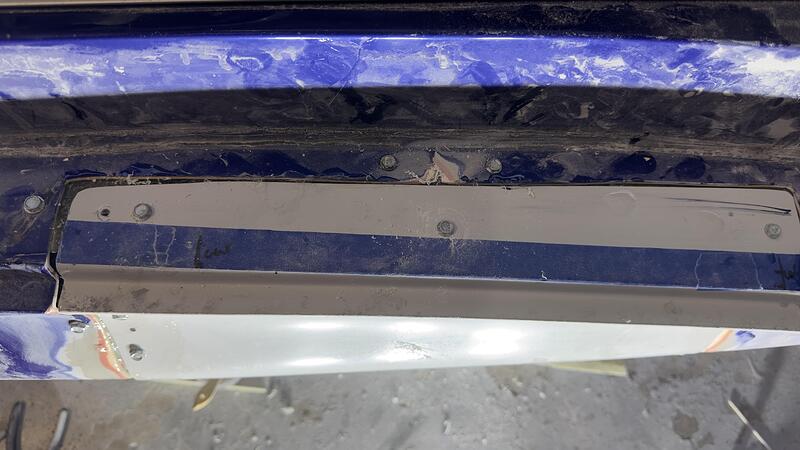
Tomorrow I plan to put the new e-brake rear cable on and…start to fit the sill patch.
3 Likes
The hand brake (e-brake) cable went in very nice!
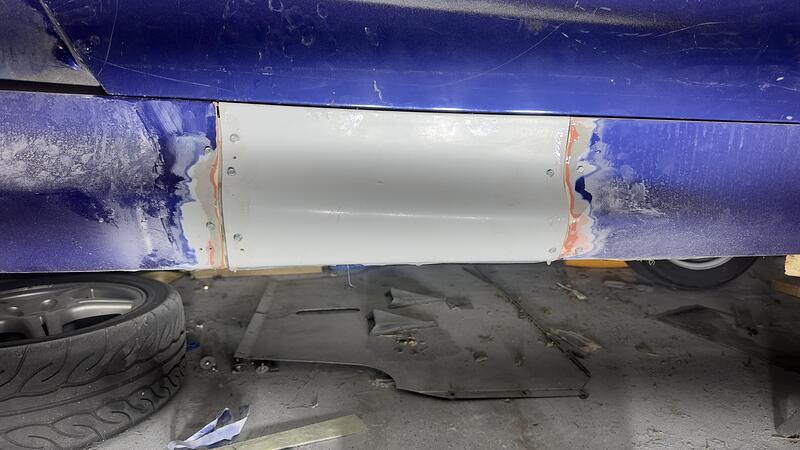
well…this is the best I can do…I think the self tapping screws should stay. Adds character 
2 Likes
Been sometime since I posted here, sorry!!
Updates:
The project has kind of stalled as I am waiting to get it in for paint…but, still need to
Finish the sill repair at the bottom
Remove everything out of the passenger door
Put the new mirror on
Clean the interior (just dirt for now)
Remove the lights (all exterior)
Try to wait patiently
3 Likes
Alright…hurricanes have passed by and now I can get back to the car 
and I hear the crowd saying: progress…we want progress!!
so, well none really. Tonight, here in about 10 minutes (letting the dust settle from sanding) going to put the fiberglass sill patch I made.
Trying to start on taking the passenger door apart to get ready for painting. Oh and the rock guard stuff…horrible stuff to remove (still need to do passenger side).
Time to mix up 5 oz of resin and see what happens.
2 Likes
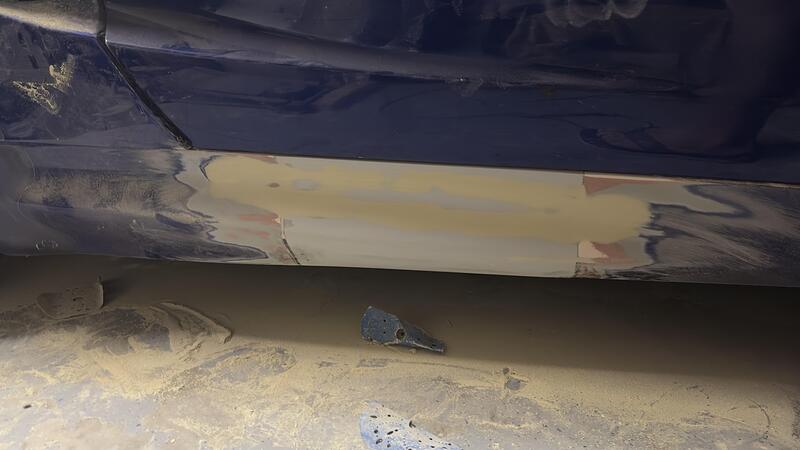
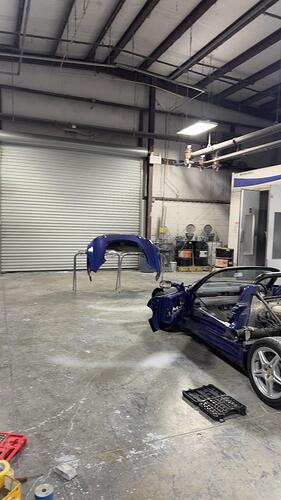
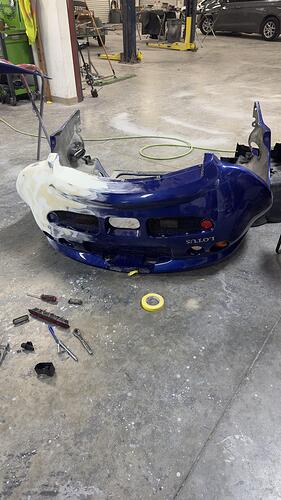
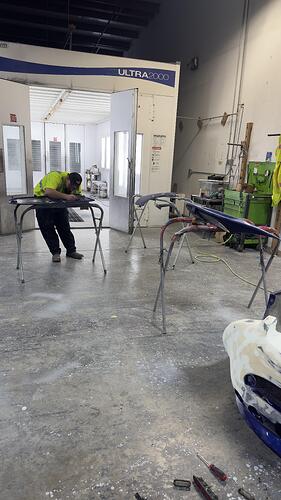
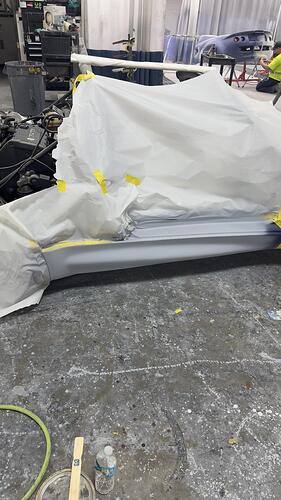
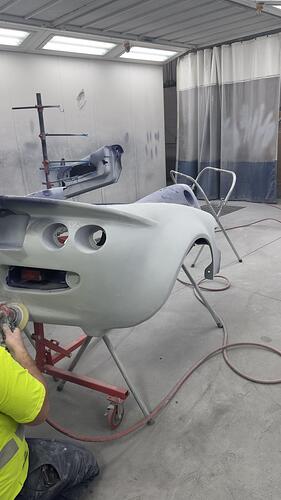
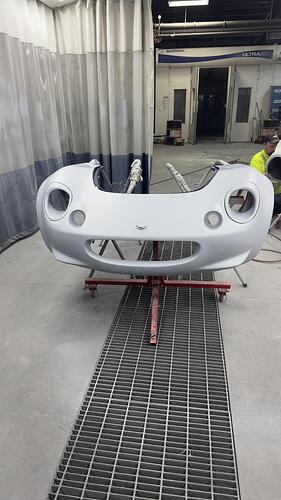
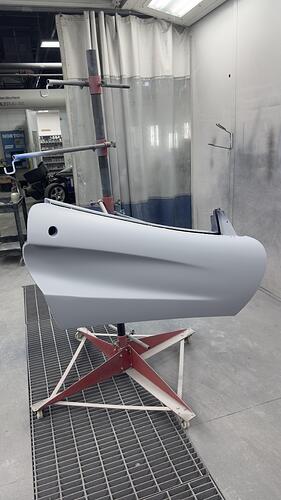
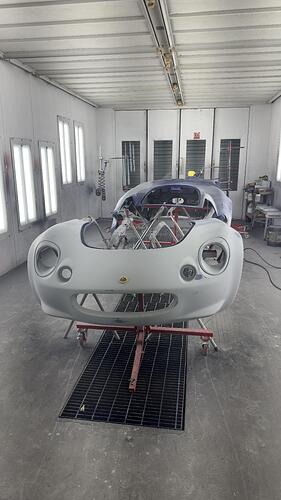
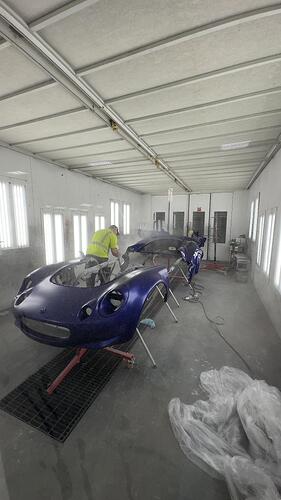
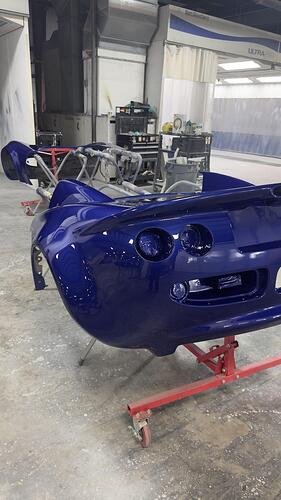
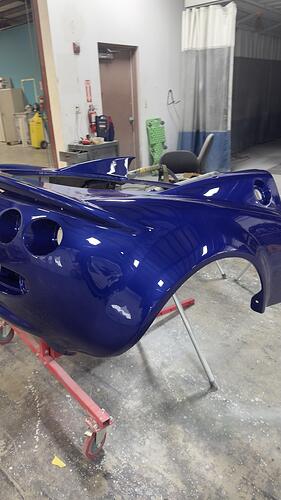
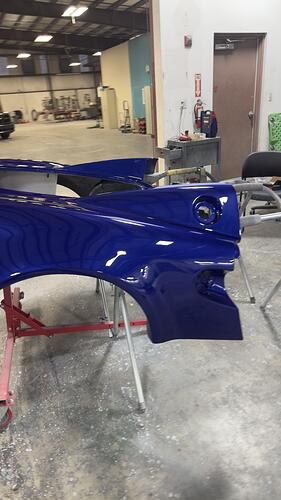
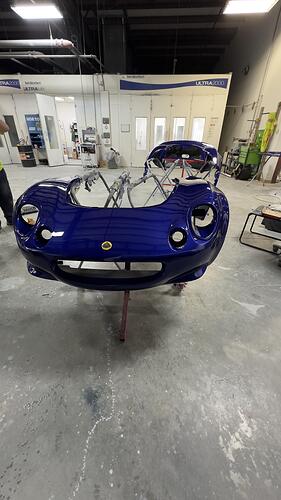
Alright!!! Fiberglassing is done and the new mirror sanded…wait, does this mean I am coming to the end!!!?? Well, yes. Saturday is the day to paint the car and I am excited!
oh photos, ok, I have one
3 Likes
Are you painting or outsourcing ?
Answer is yes lol
My friend is going to paint it, but I will help where I can.
3 Likes
Raise your hand if you have disassembled and reassembled an Elise by yourself?? I can now (help with moving the clams is it lol)
So…here it is…but first what is left.
- A few more bolts to hold the front clam on
- Put the bonnet on (is there a reason why in all car builds, this is the last to do??)
- Rear and front belly pans
- Everything windows in both doors (I really hate this part)
- Figure out where some of these spare bolts go

Oh, photos, yes!
5 Likes
Alright!! Front clam is on and the front belly pan is on.
Need to put the rear diffuser on, but that will be tomorrow’s problem. Mainly because I have to drill a hole in the shell.
2 Likes
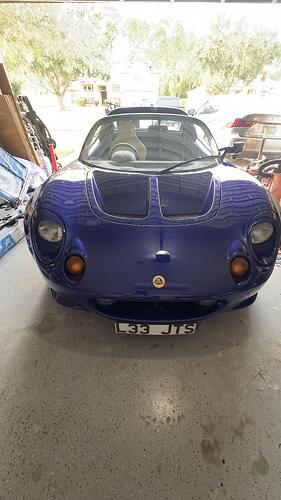
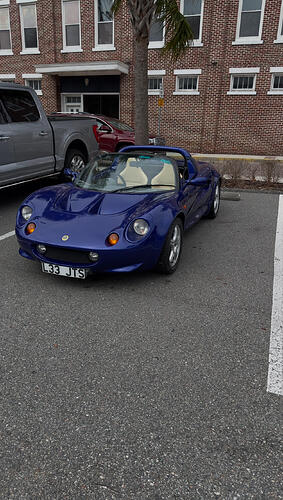
Still have to put the windows in the door and minor adjustments…but, she is done!
2 Likes
Superb progress. You have to be happy with that?
I am very happy with it. Glad to get her out on the road and enjoy it!
I did go to a cars and coffee today…lets say I have not ever seen that many people around the car before, was awesome!
3 Likes
