Hi everyone, new member here wanting to share the story of my car, was inspired to do so by way of invitation from Andybond and further so by looking through everyone else’s cool ownership stories. I look forward to perusing them further.
The lotus exige was always my dream car, it was the first car I’d save up to buy playing forza motorsport. A little over seven years ago I was shopping for an elise, finances were more of a factor at the time and elises were and are less costly here in western canada. My wife being the glorious and forward-thinking person she is said to just get an exige, it’s what I truly wanted and if I didn’t do it now I’d just be looking to do it later, so I bought a 2008 starlight black lotus exige s240 in late 2016 with 25k km on the clock. Despite not having driven or even been in one in person, i bought this car from a dealership on the opposite side of the continent and had it shipped out and was right to do so.
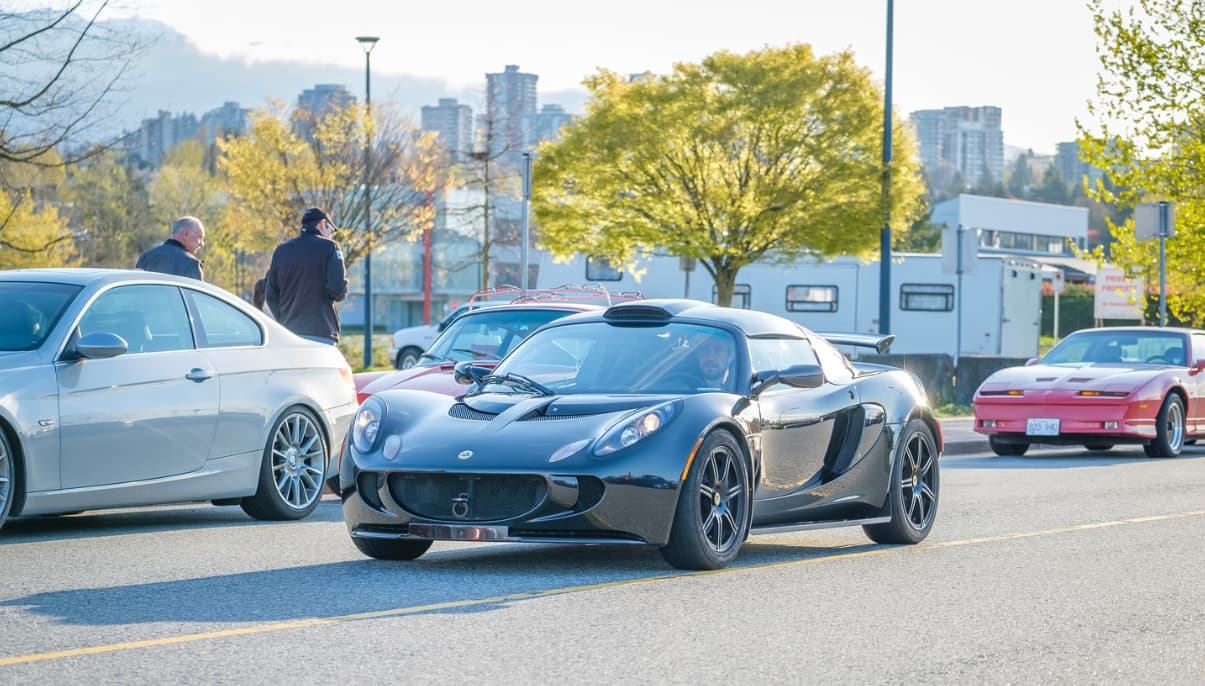
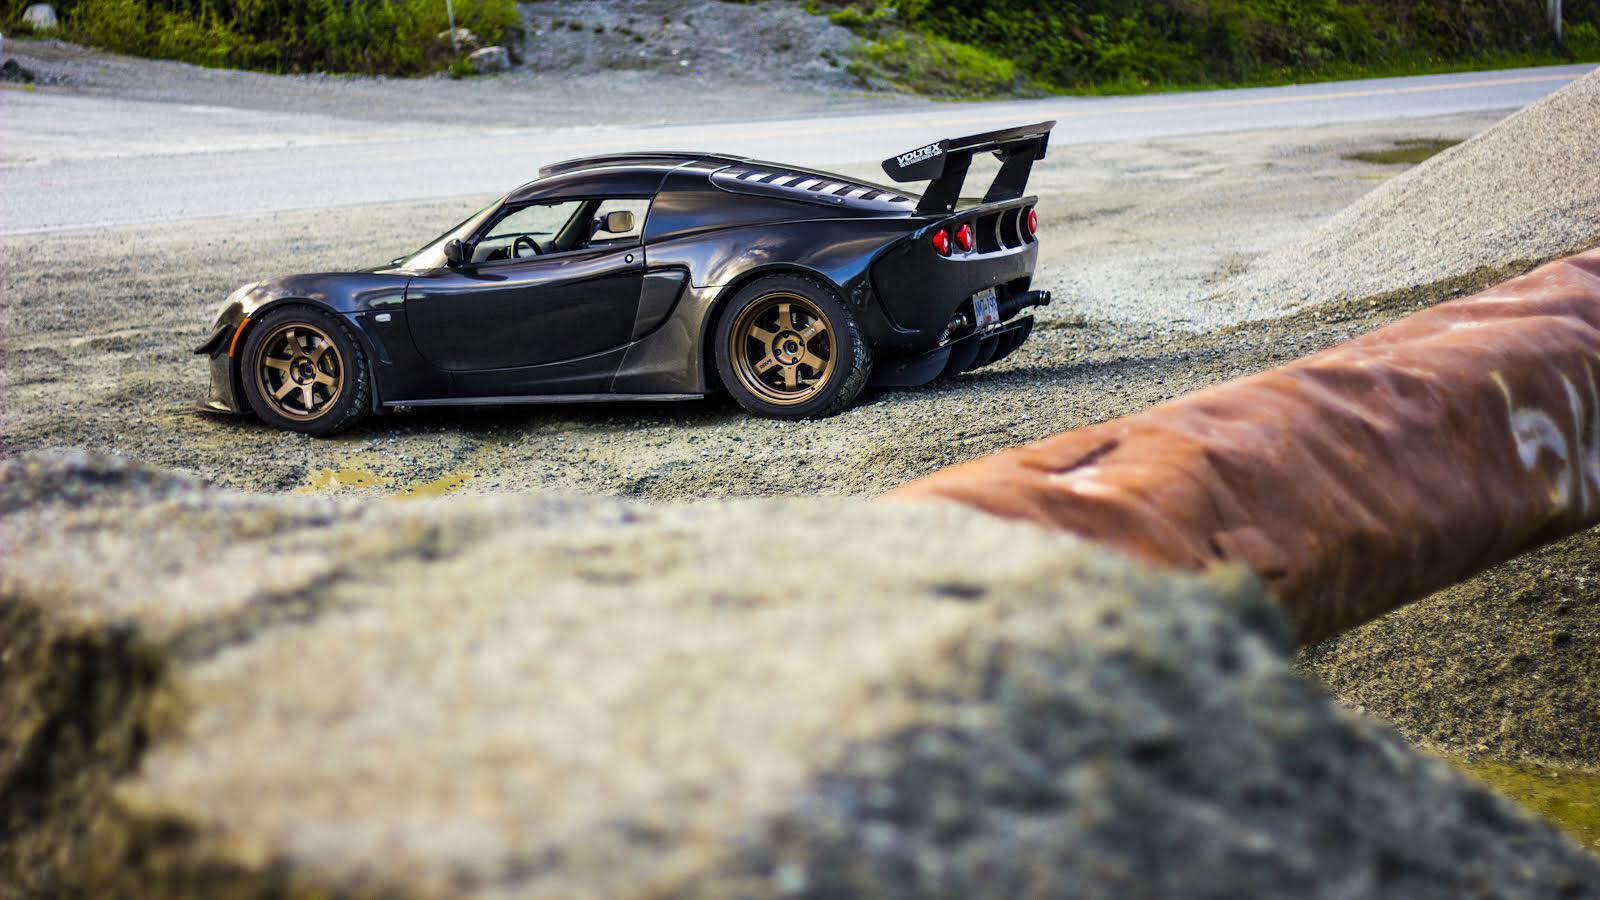
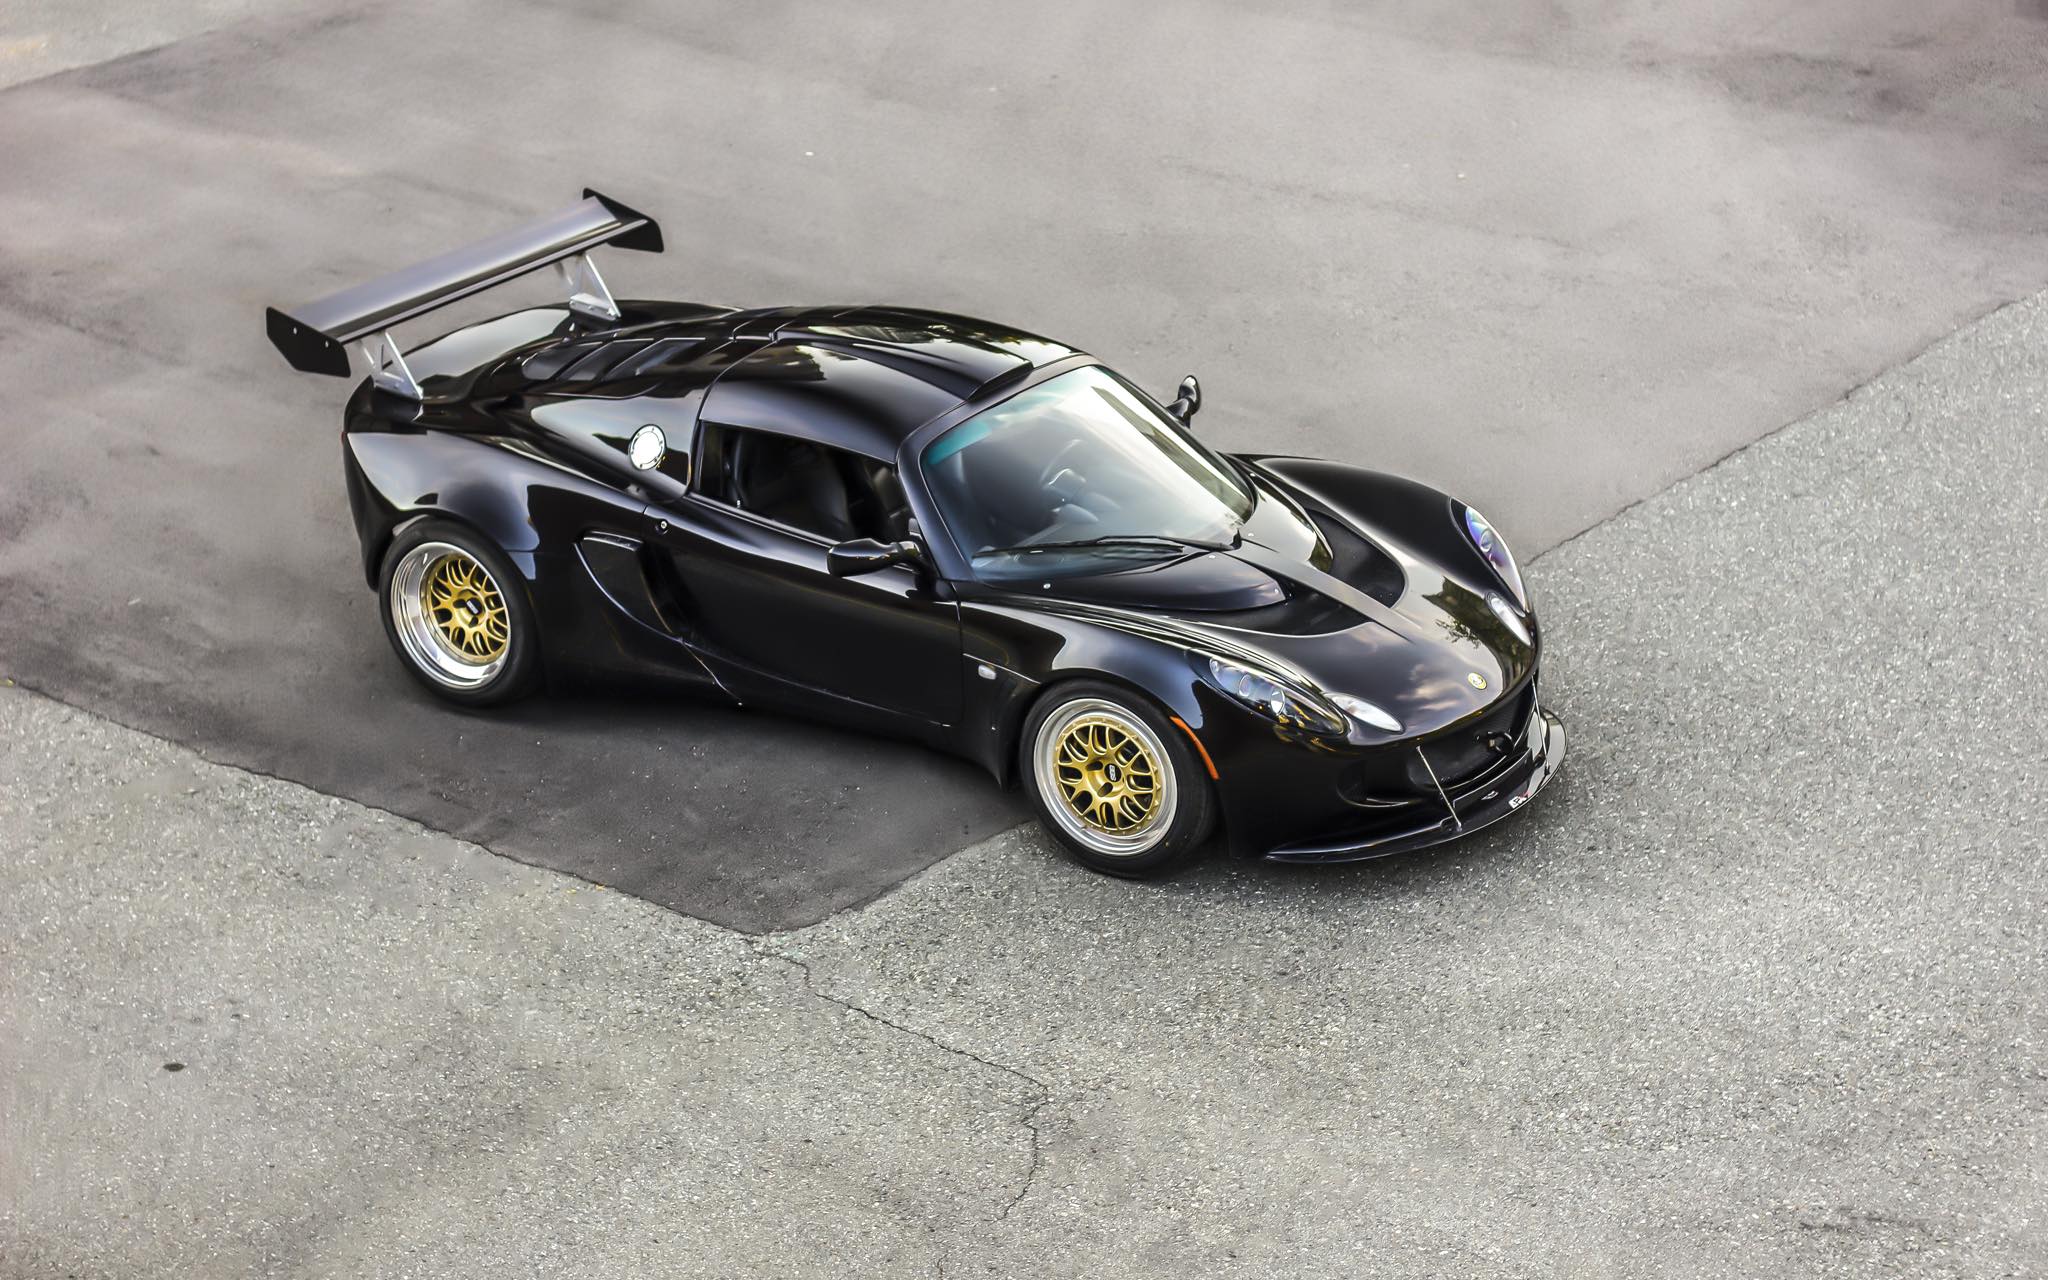
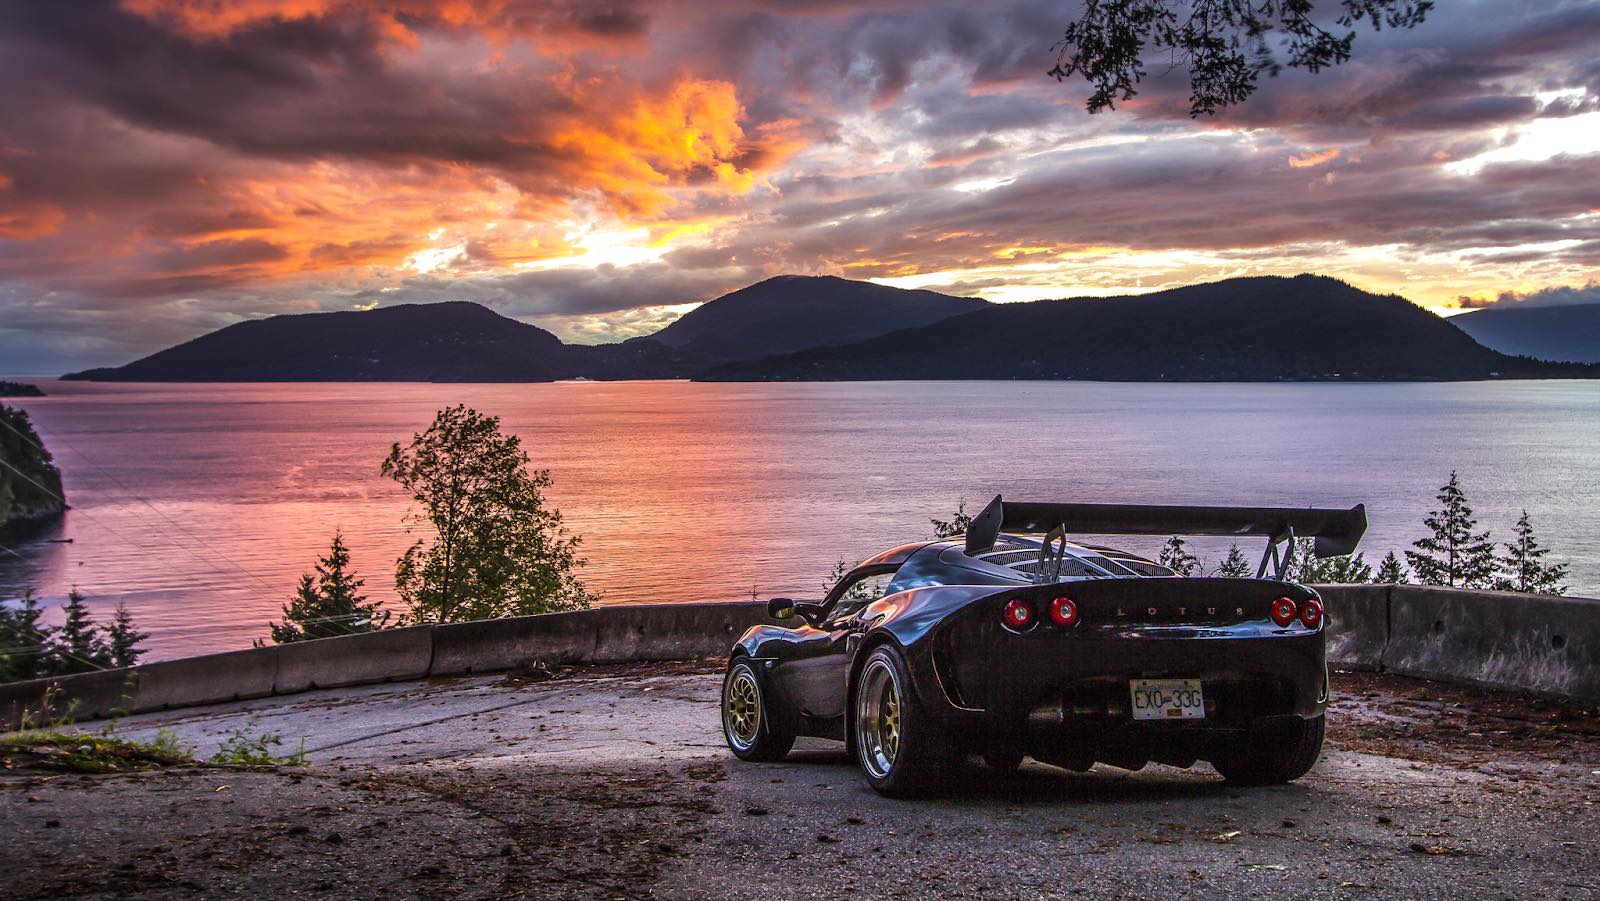
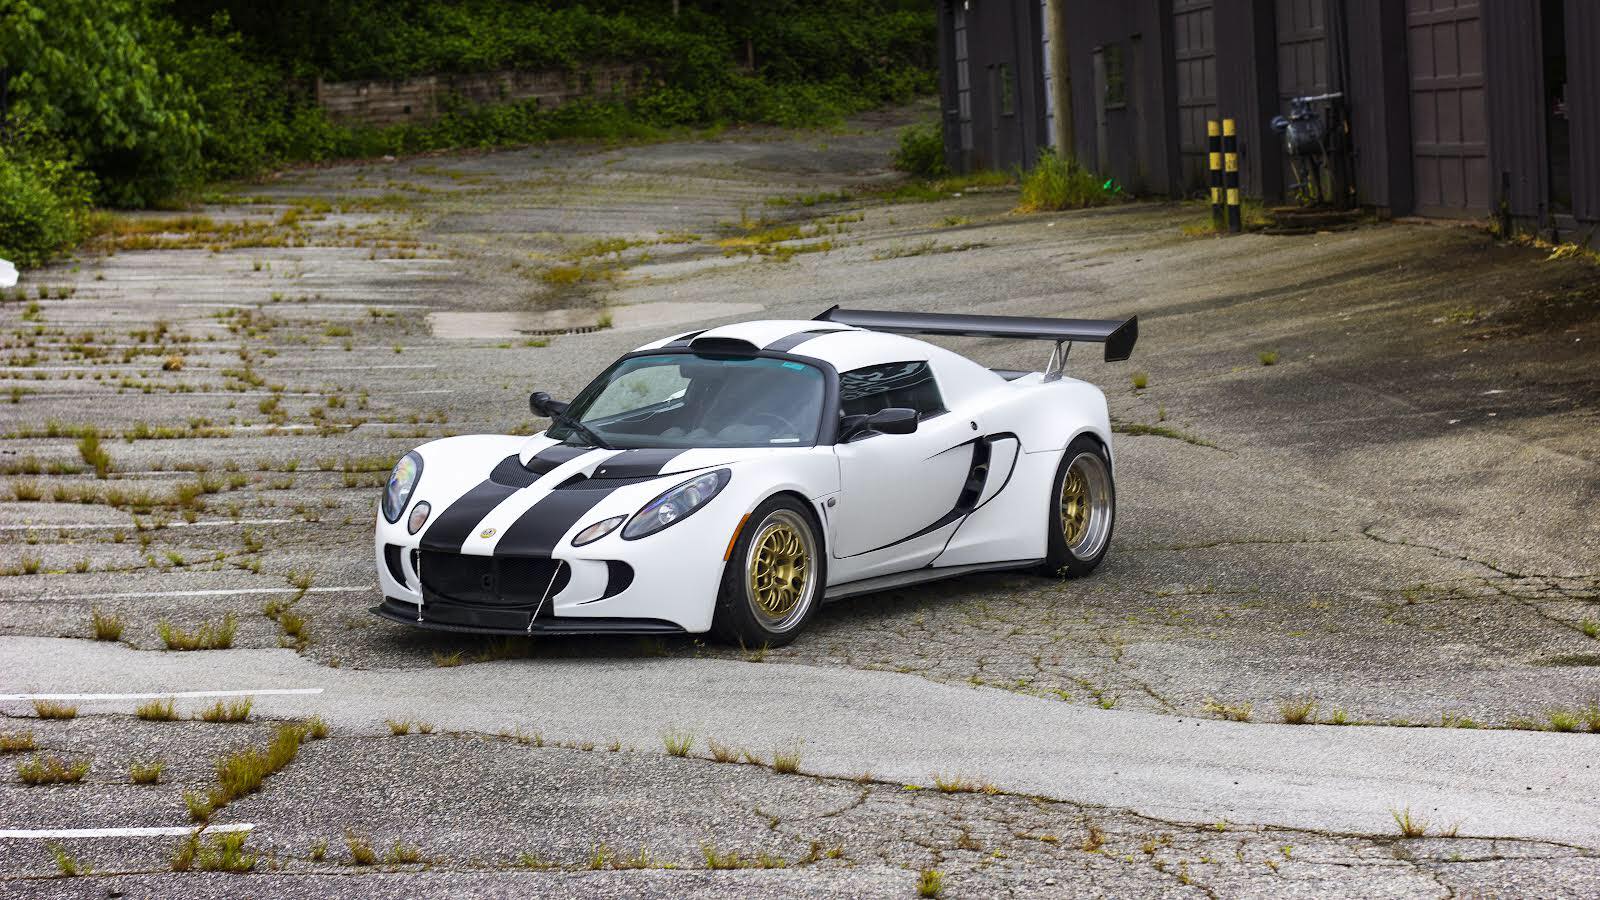
Part of how we justified the expense was that I told my wife that my propensity for modifying past cars would mysteriously dissipate with a car as exciting, focused, and visceral as the exige; this was incorrect. I had two primary initial obsessions with this car: emulating the gt3 exige aesthetic, and getting a set of bbs e87’s for it. I was inspired by another car I love, the 1996 911 gt2 evo, and wanted to eventually create sort of an exige-based equivalent. Doing the wheels was mildly problematic but doing the gt3 body was highly so. Here’s the car after the wheels came, i’d added an apr wing, splitter, and some grp skirts by this time.

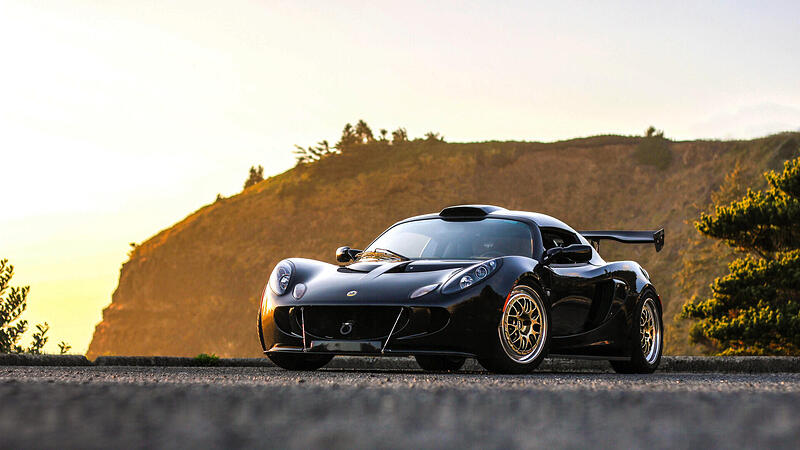
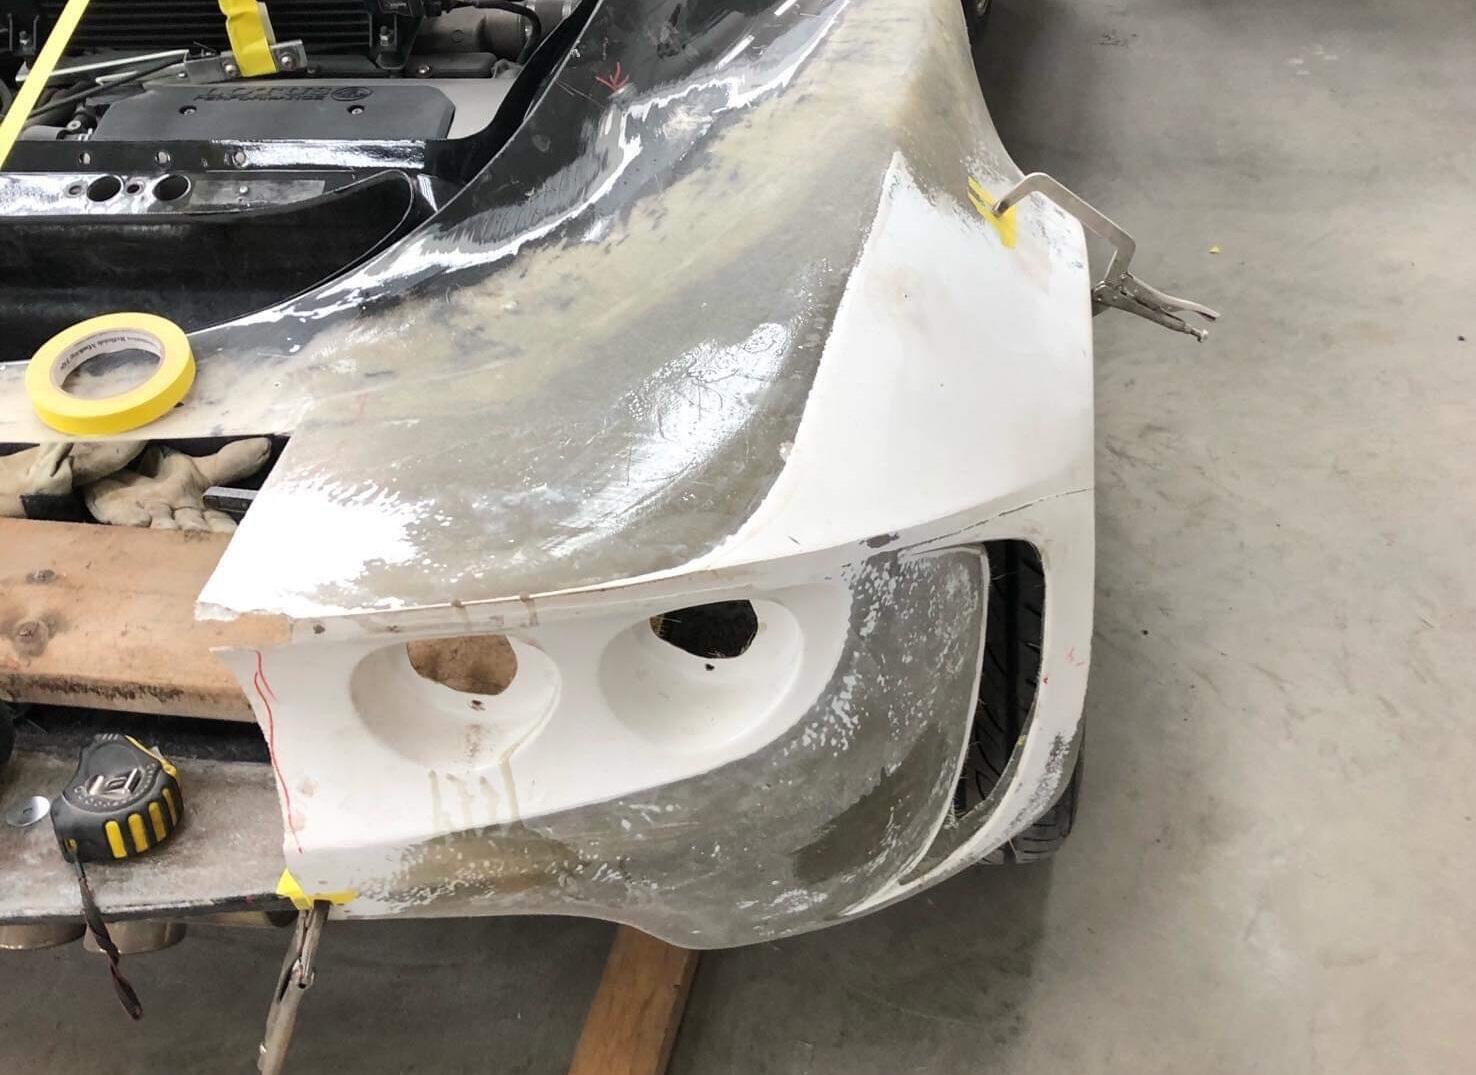
So to do the body I’d hunted around for options and eventually found none other than north plastics based in greece. I ordered a rear clam and the skirt extensions from them, although they were pleasant to deal with I found the pieces to be unusable in the state they arrived. To make it work the clam they sent had portions removed, molding the fenders and rear valence together with a stock clam, cut out the stock body portions that were no longer needed and combined the two. I changed the wing again at this point and ordered wheel halves from bbs to rebuild the front and rears to new widths.
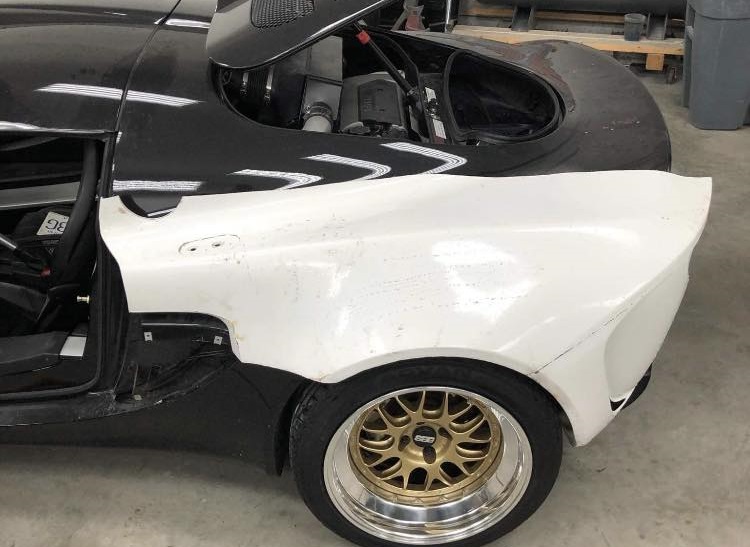
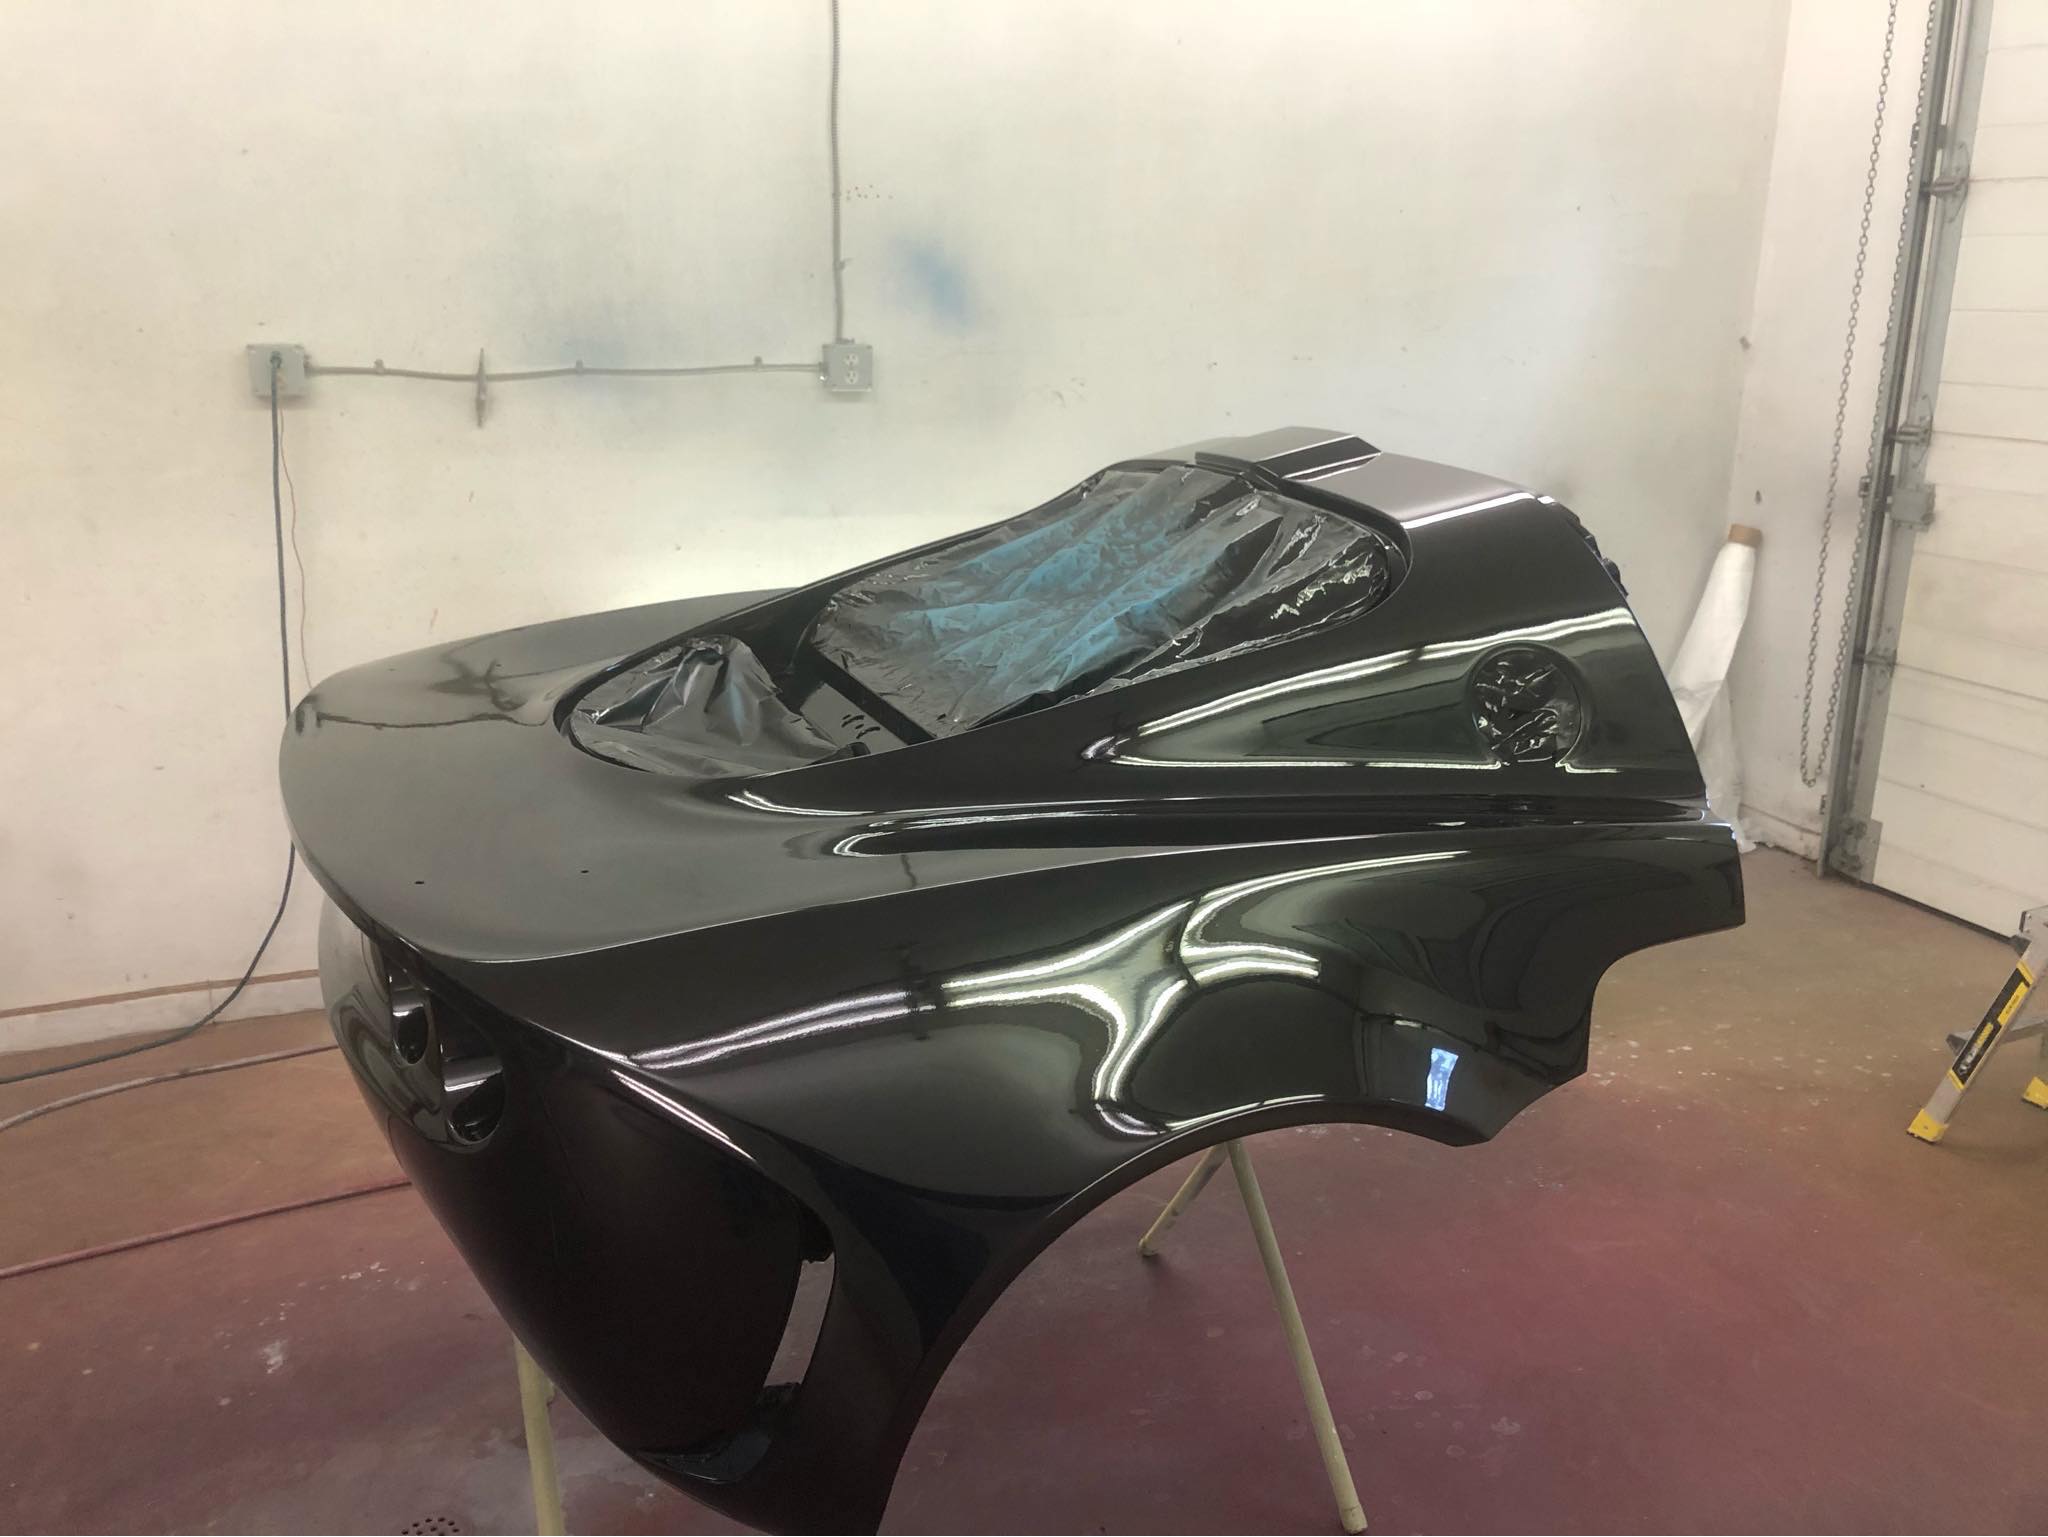

I was pleased with the results.
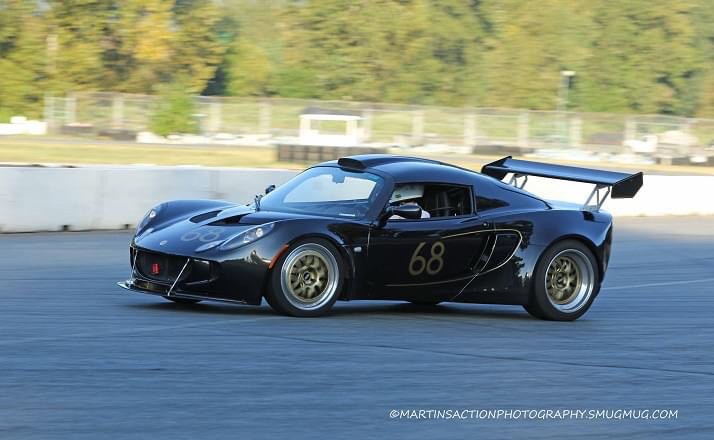
At about this time I’d started getting into autocross and time attack racing, not a huge amount just a handful of times a year, but enough to know I wanted to get more out of the car. I became enamored with the idea of cutting weight from the car as well as increasing power a little bit. Part of the weight reduction was also motivated by noticing that my zombie-clam had become heavier than the stock one, and also that the stock hatch on the exige seemed weirdly heavy.
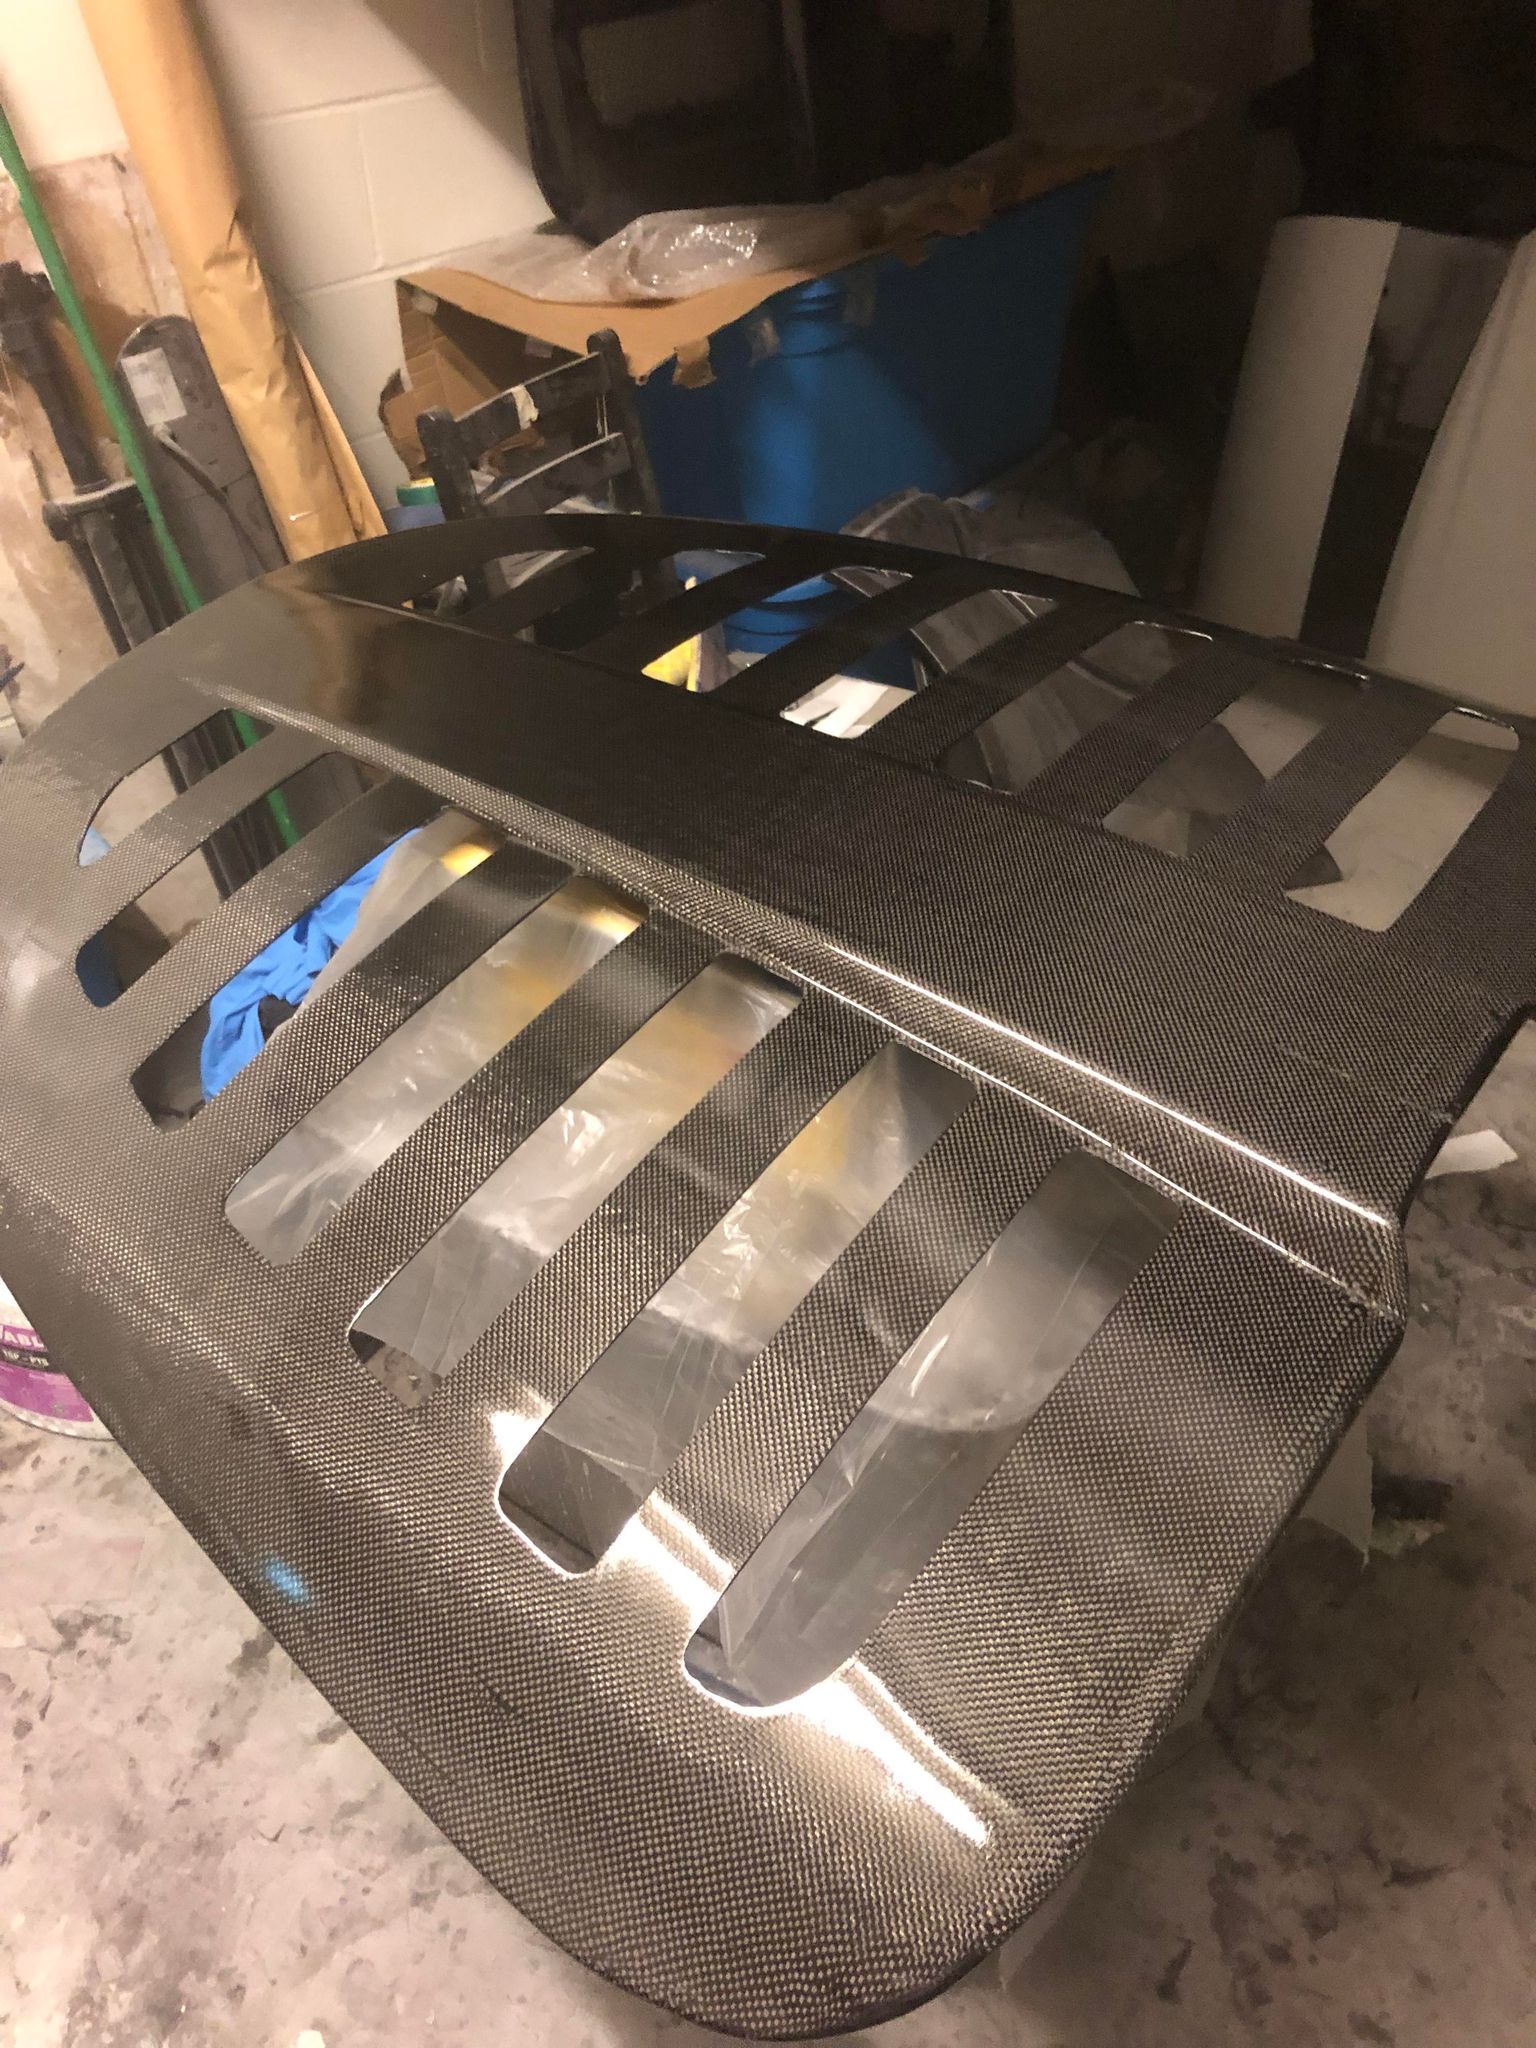
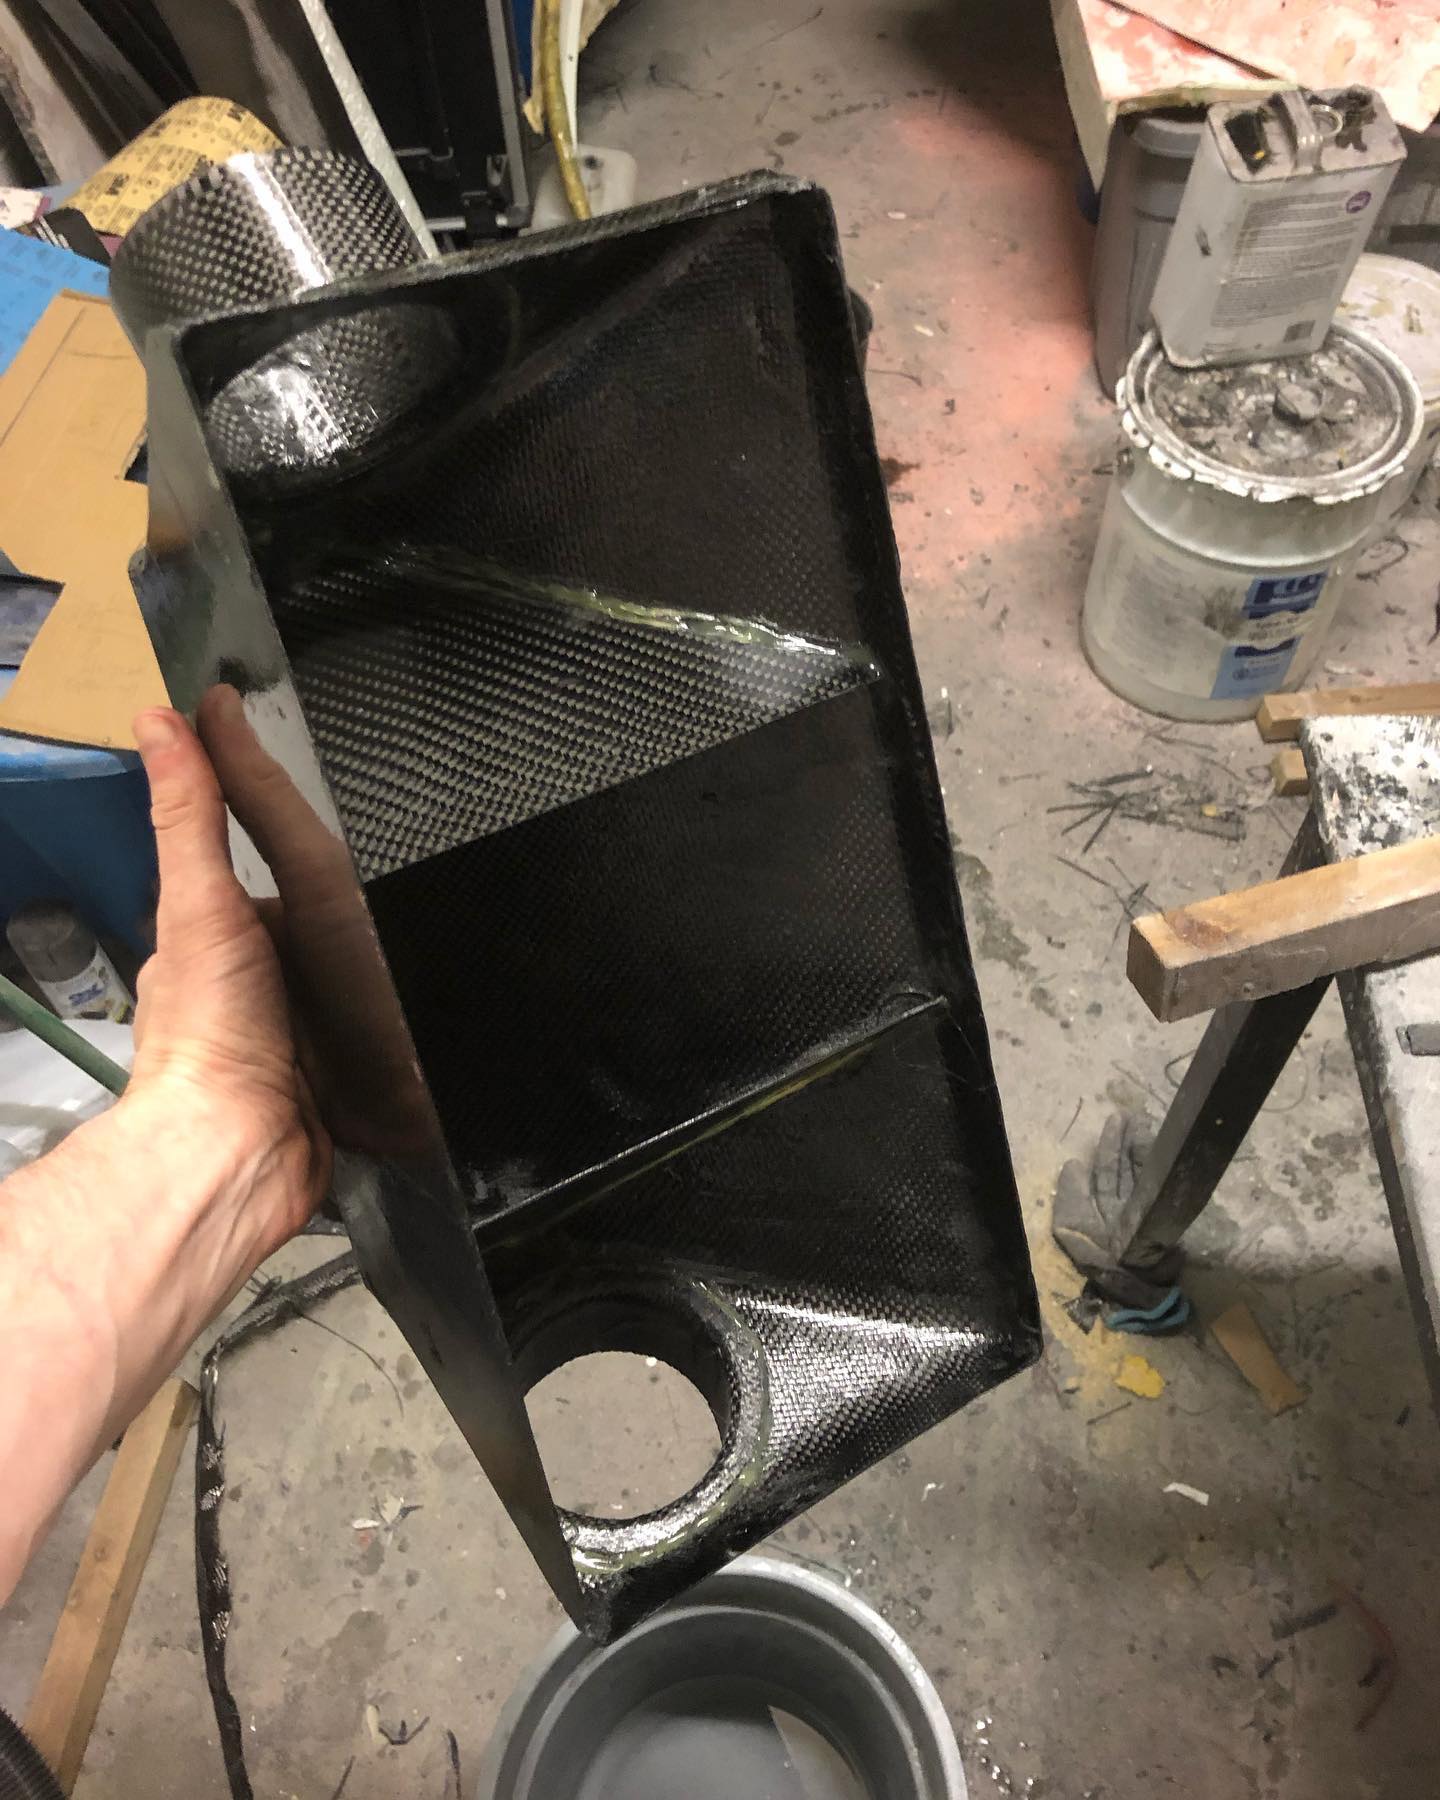
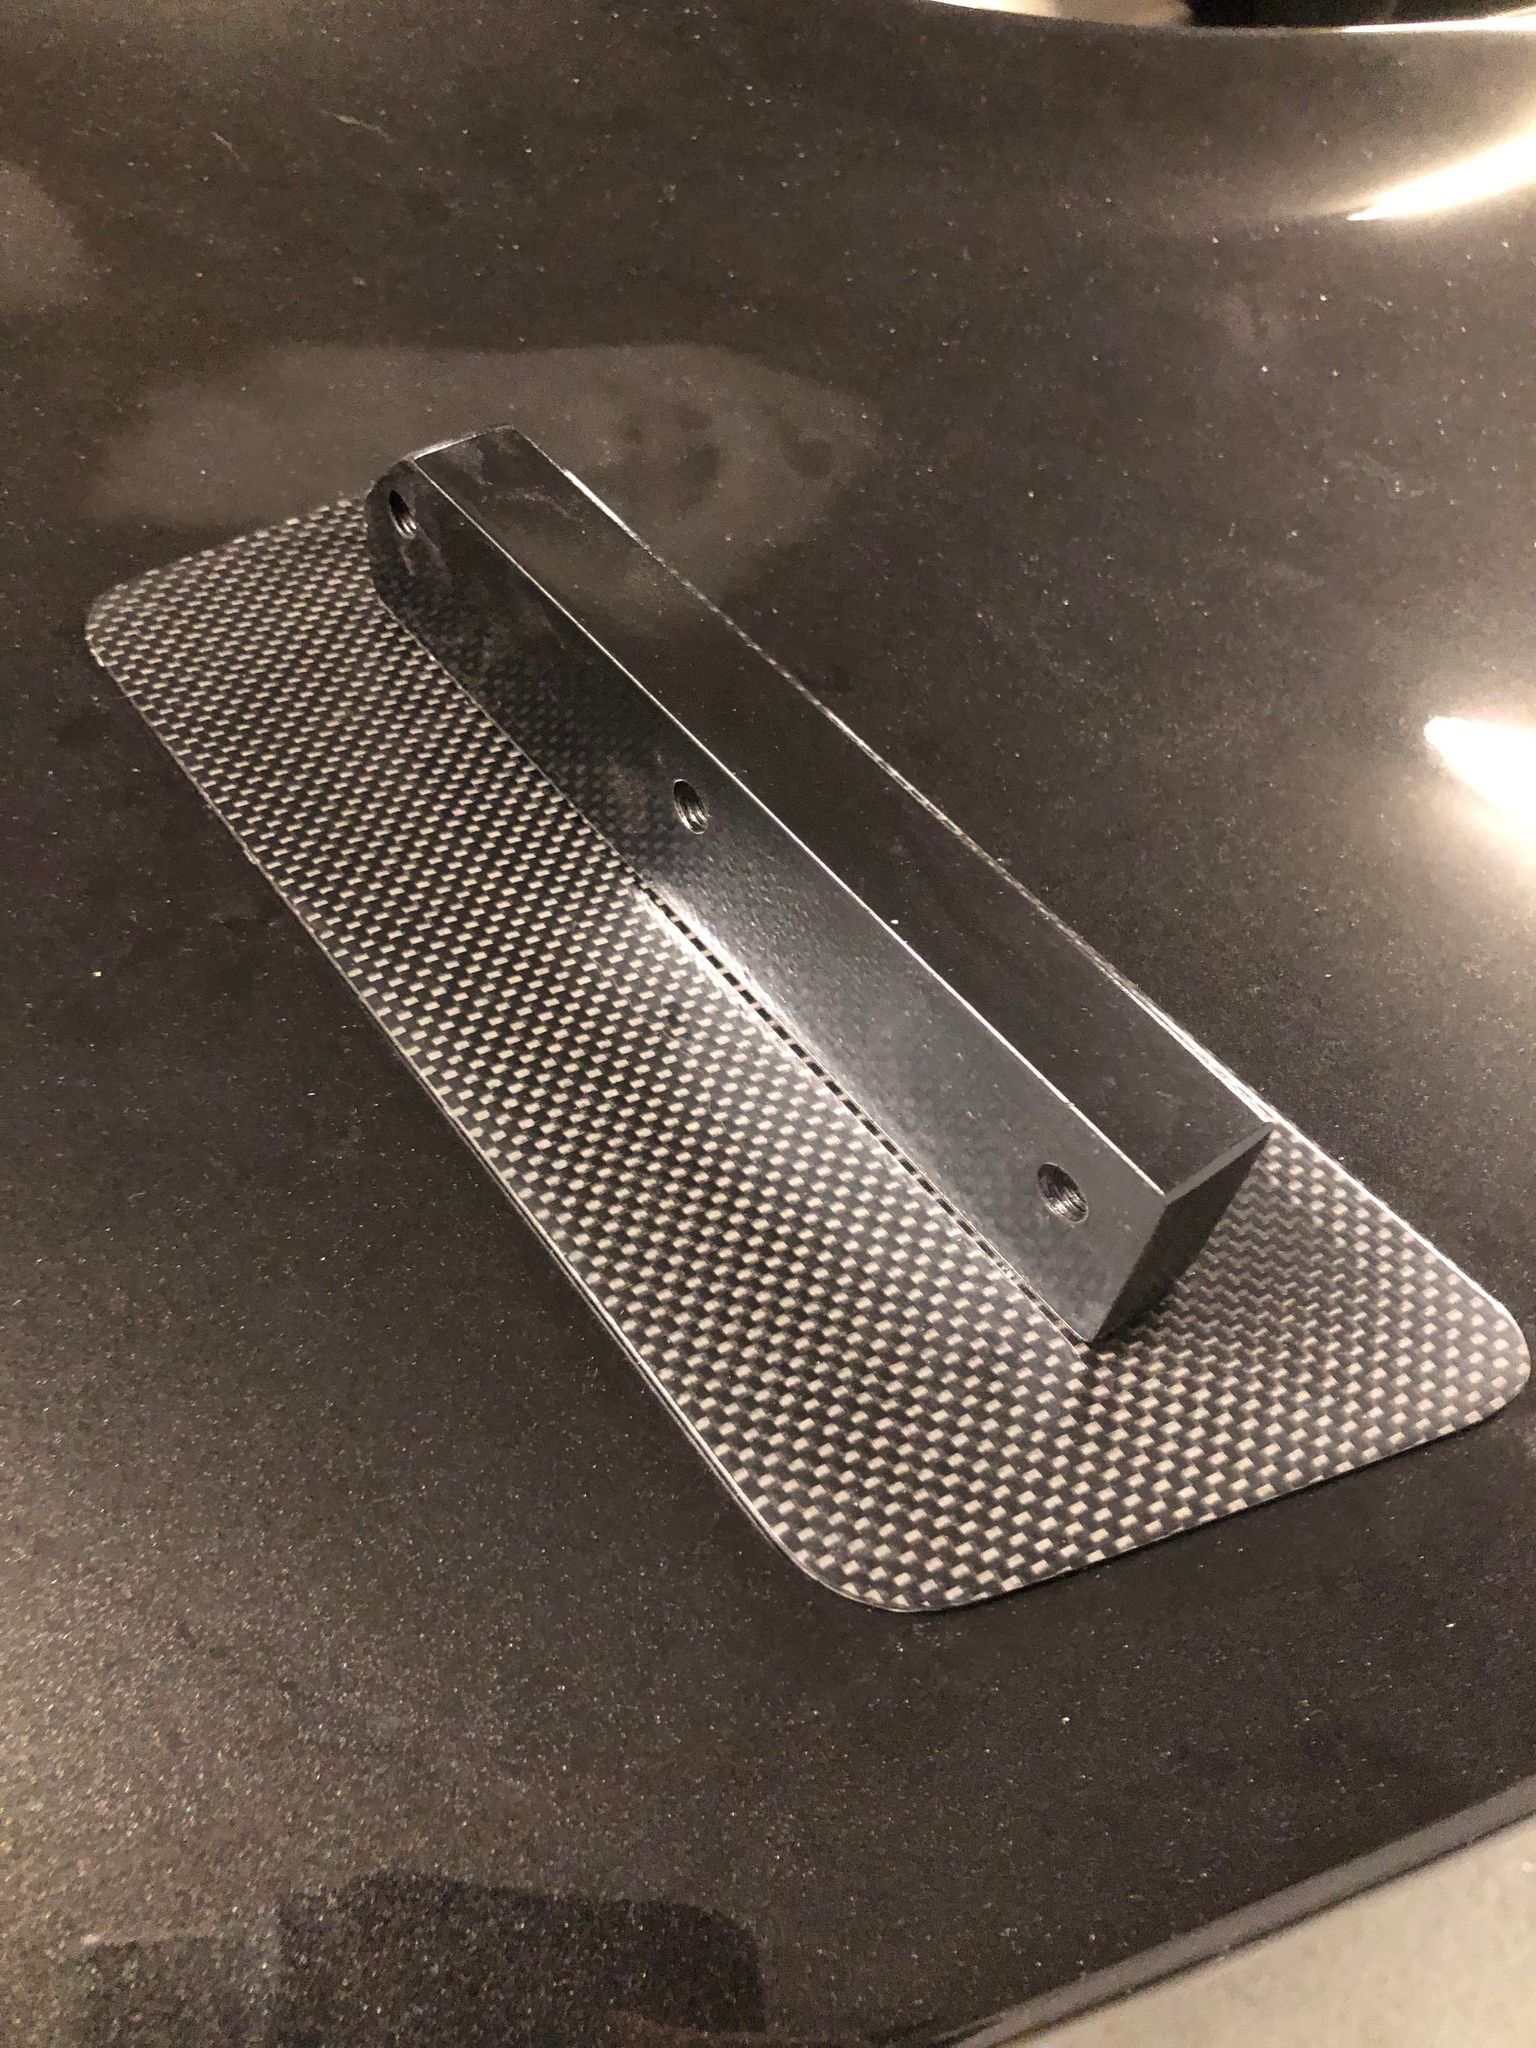
I started learning how to wet-lay carbon fiber to make my own parts. Relying on others in past for anything of this nature frustrated me so I figued I’d endure the trials and tribulations of self-teaching with youtube tutorials and such. I started by making molds and laying up simple parts, working up to the full rear clam.

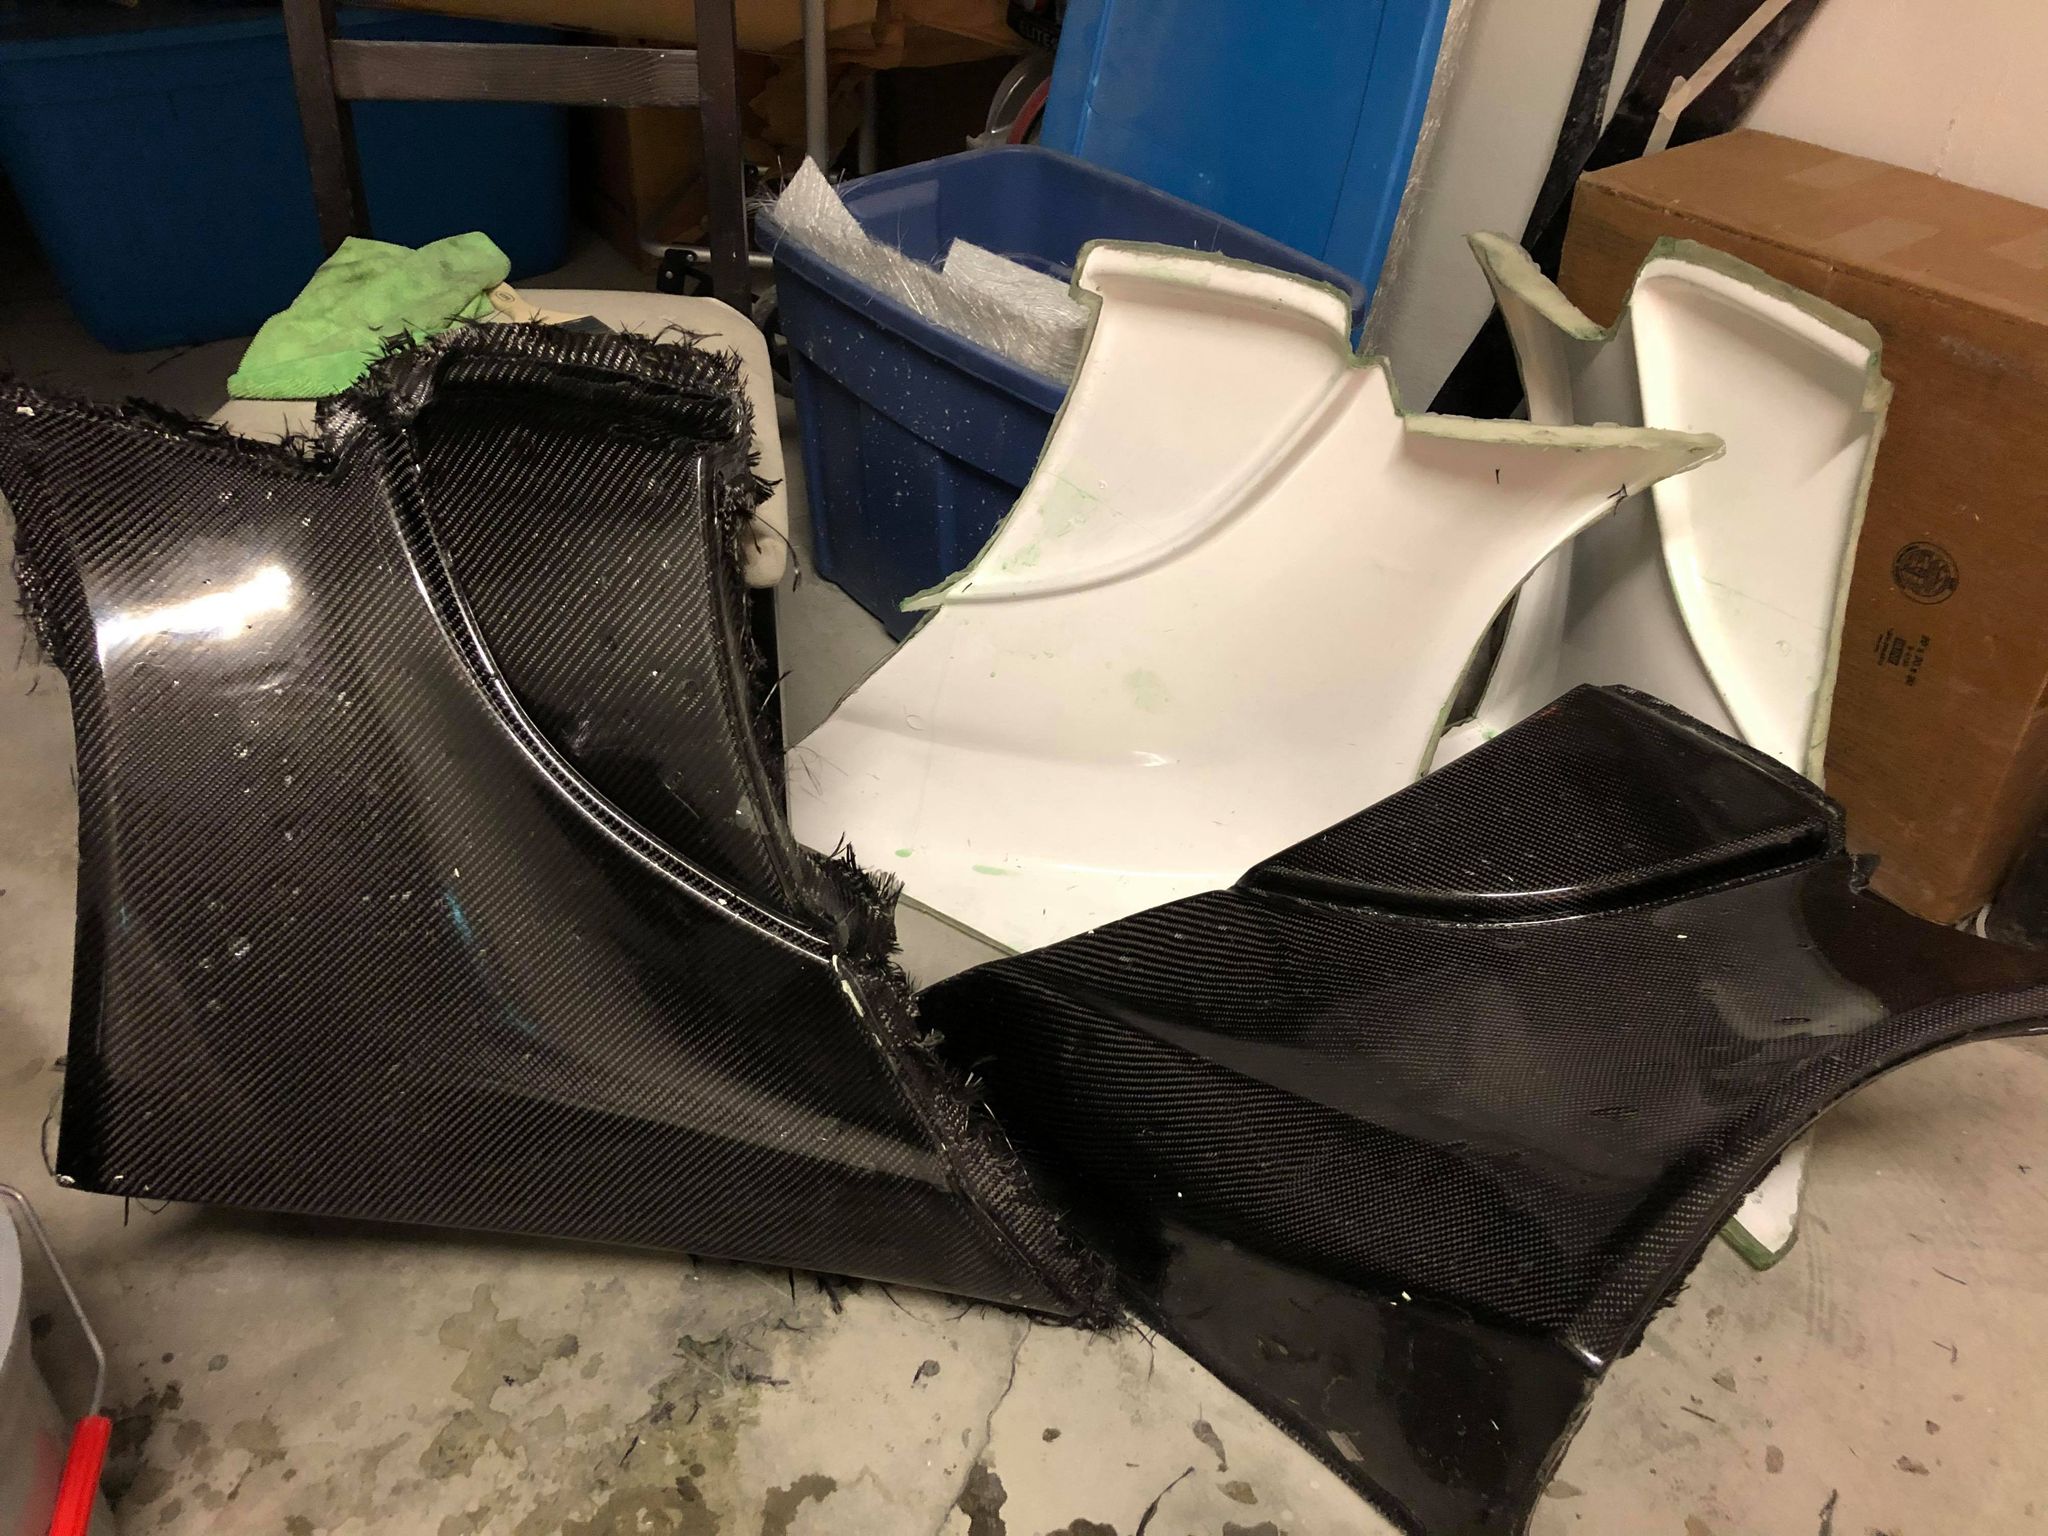
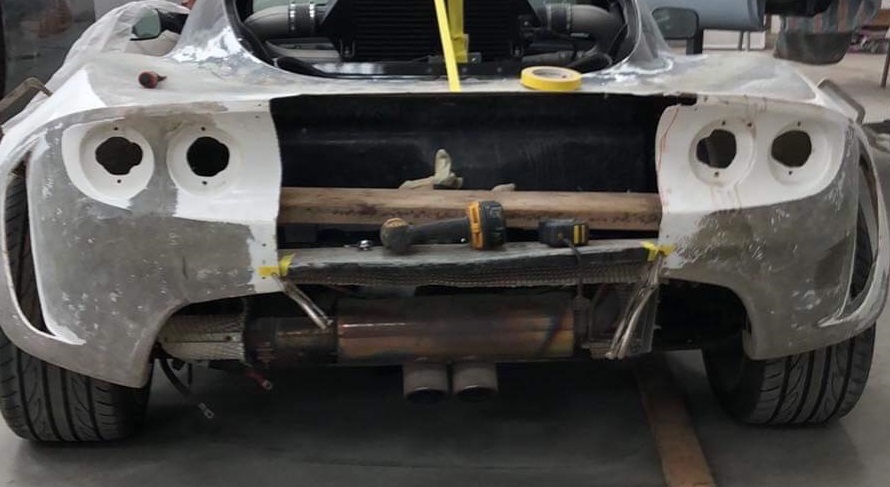
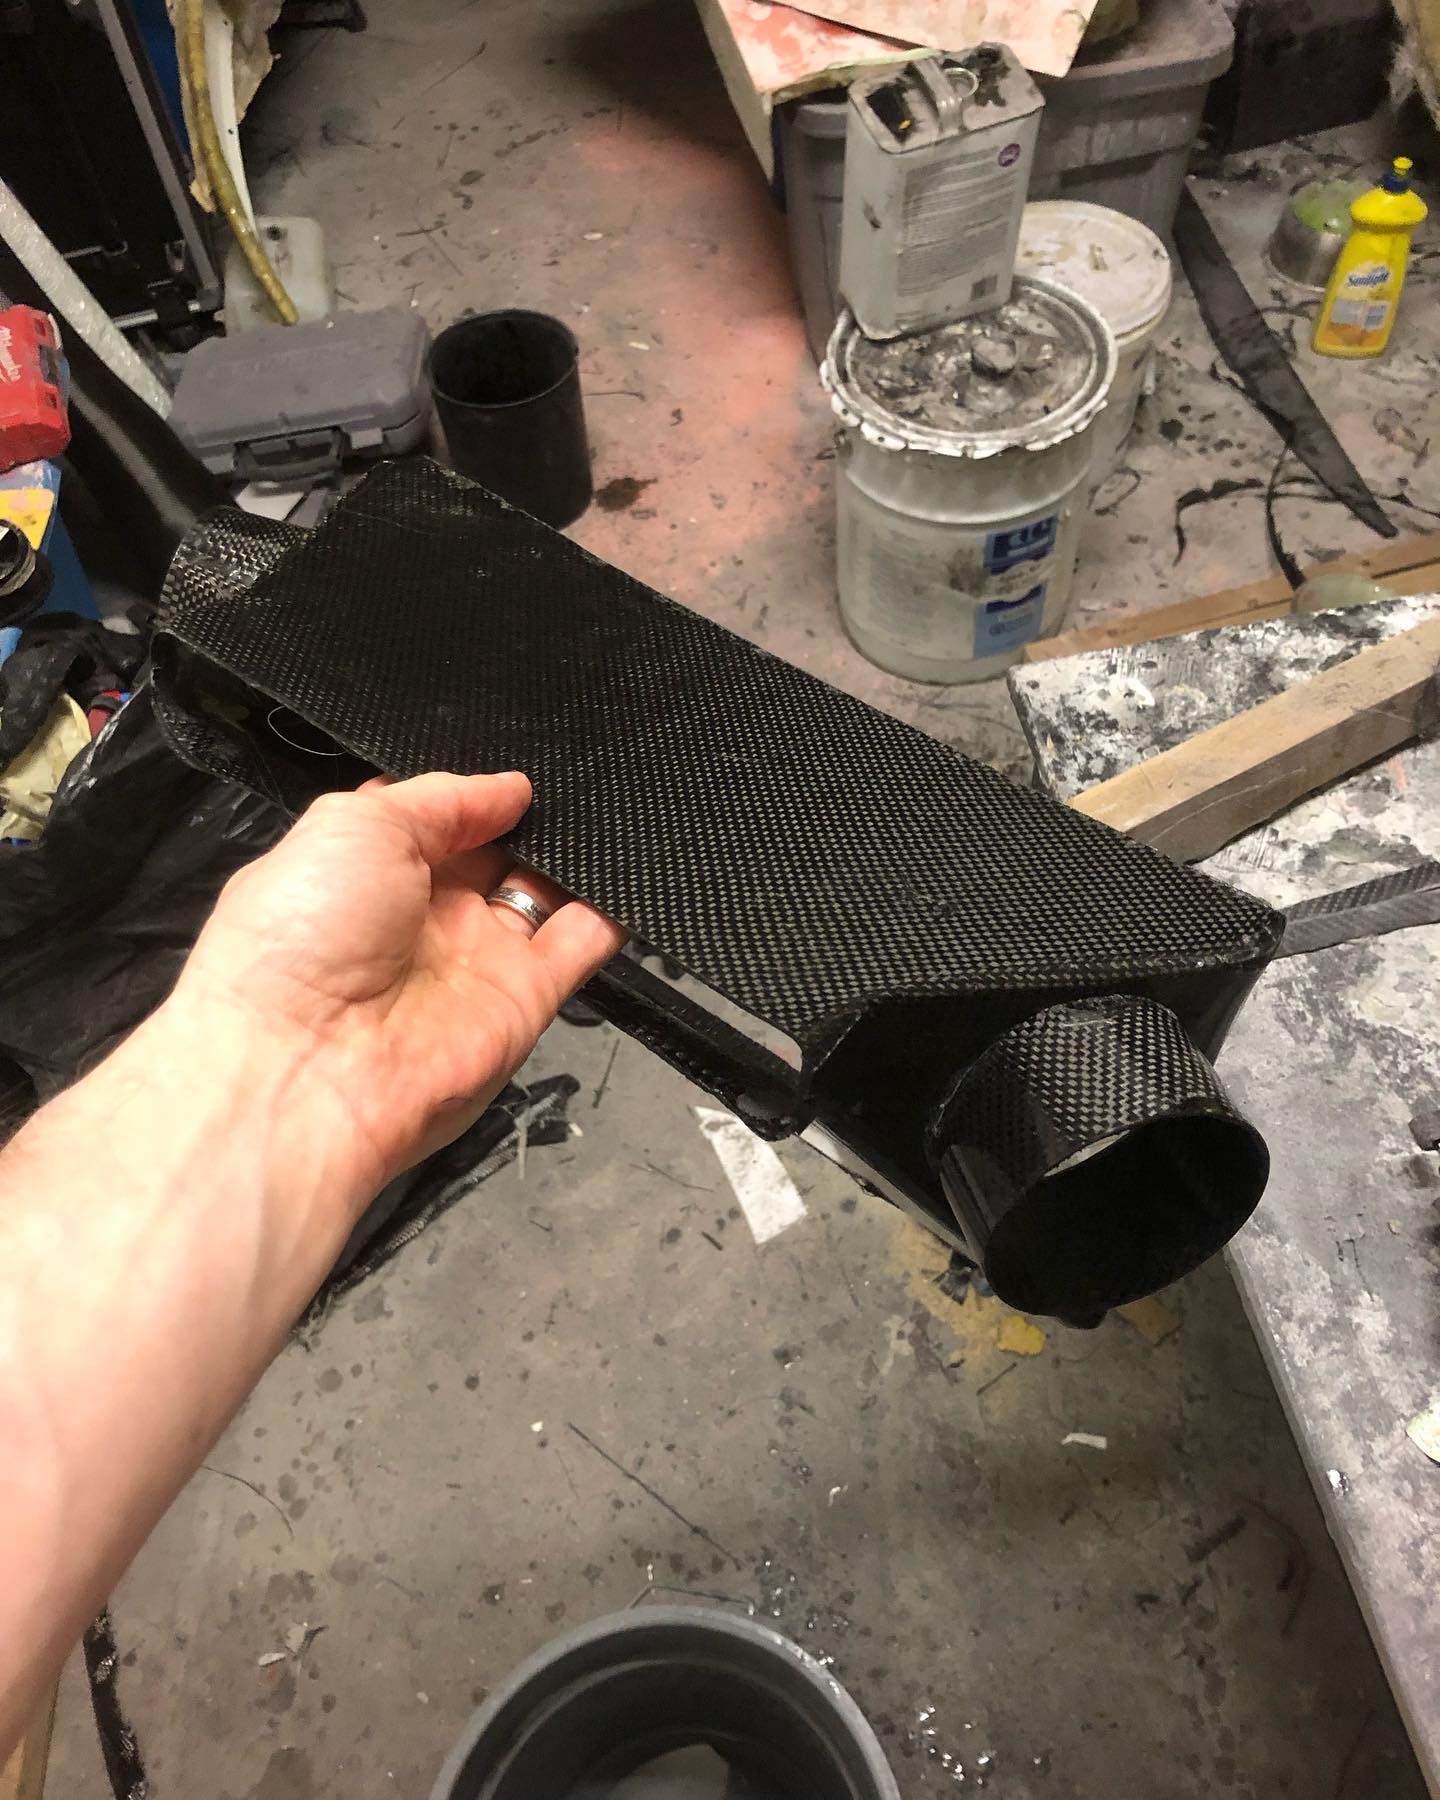
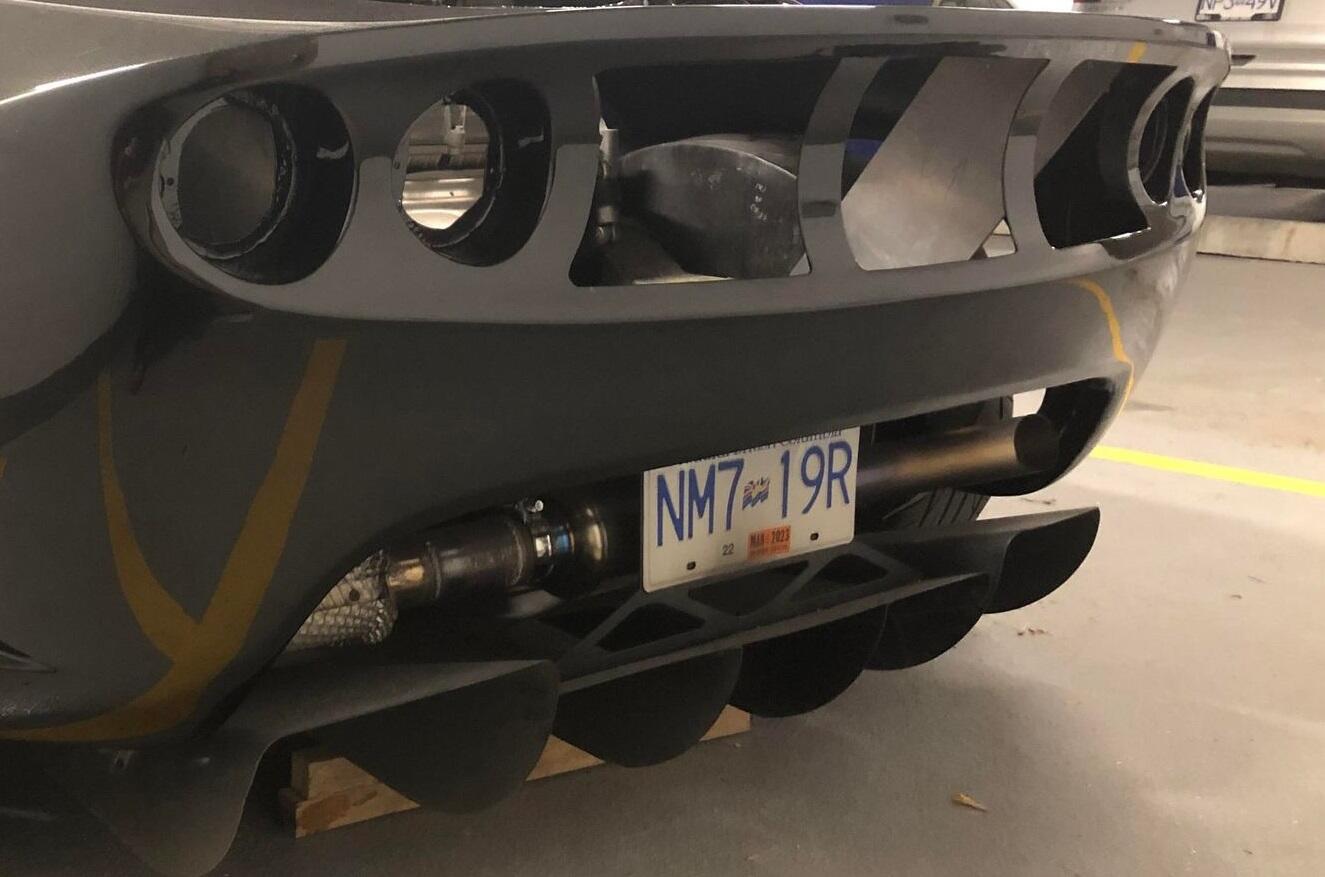
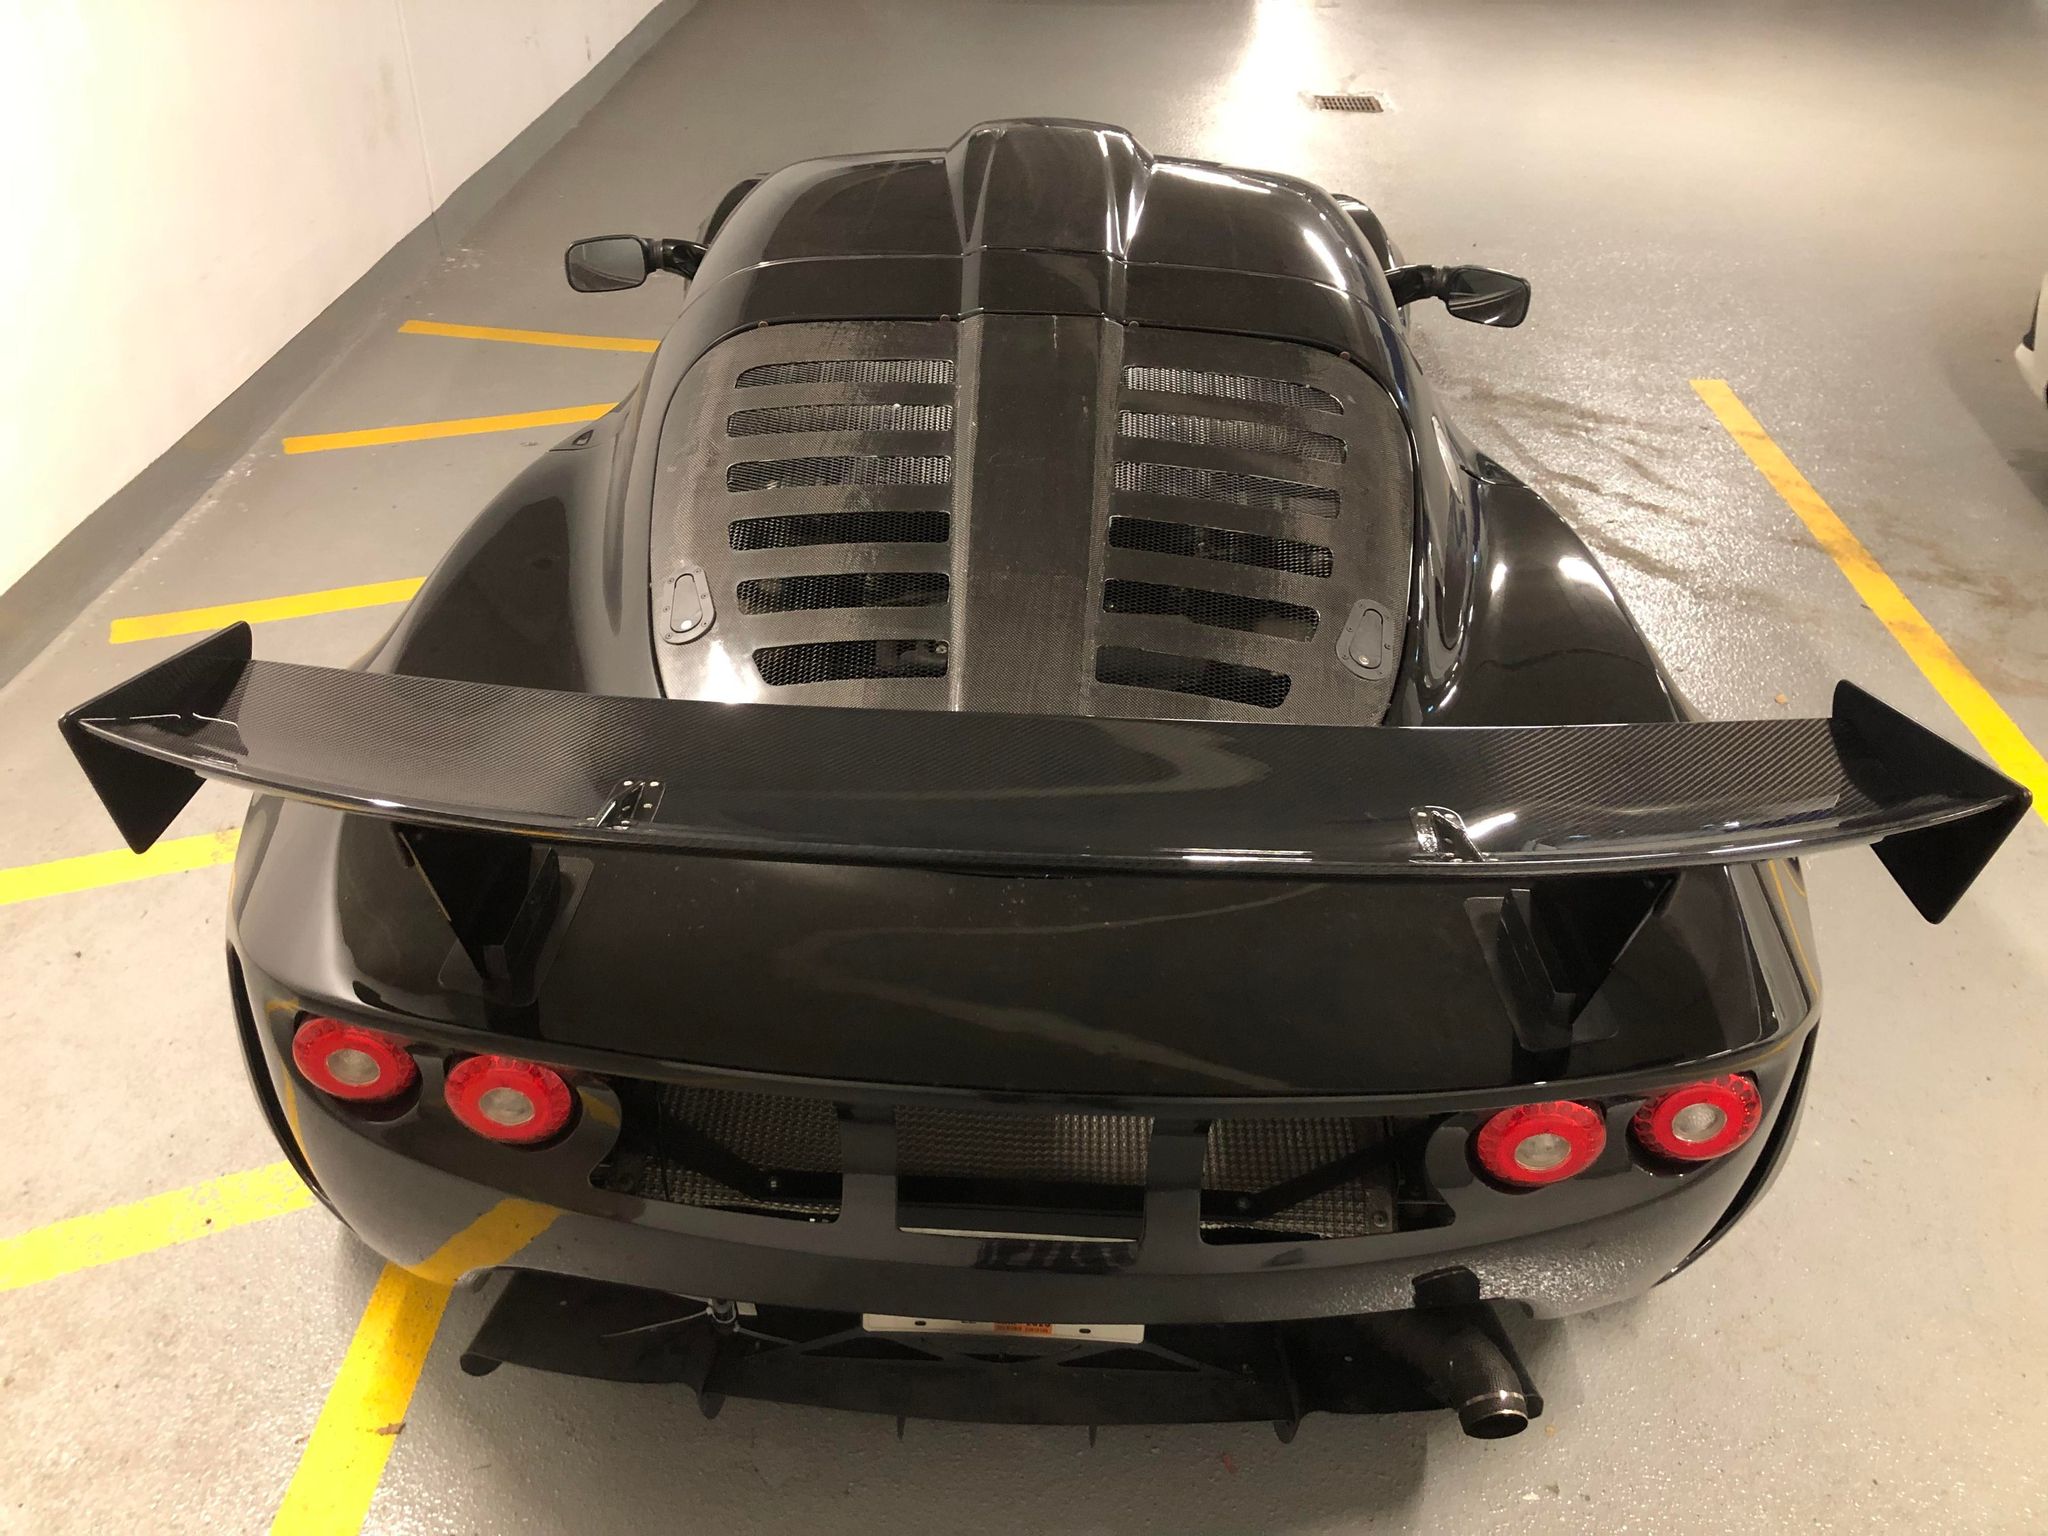
In total so far i’ve remade the following in carbon on the car: rear clam, rear hatch, skirt extensions, barge boards, front undertray, rear undertray, intercooler shroud w/ 3" inlets, battery box, speaker cover plates, stereo delete plate, front splitter, canards, and a new front lip without the license plate portion.
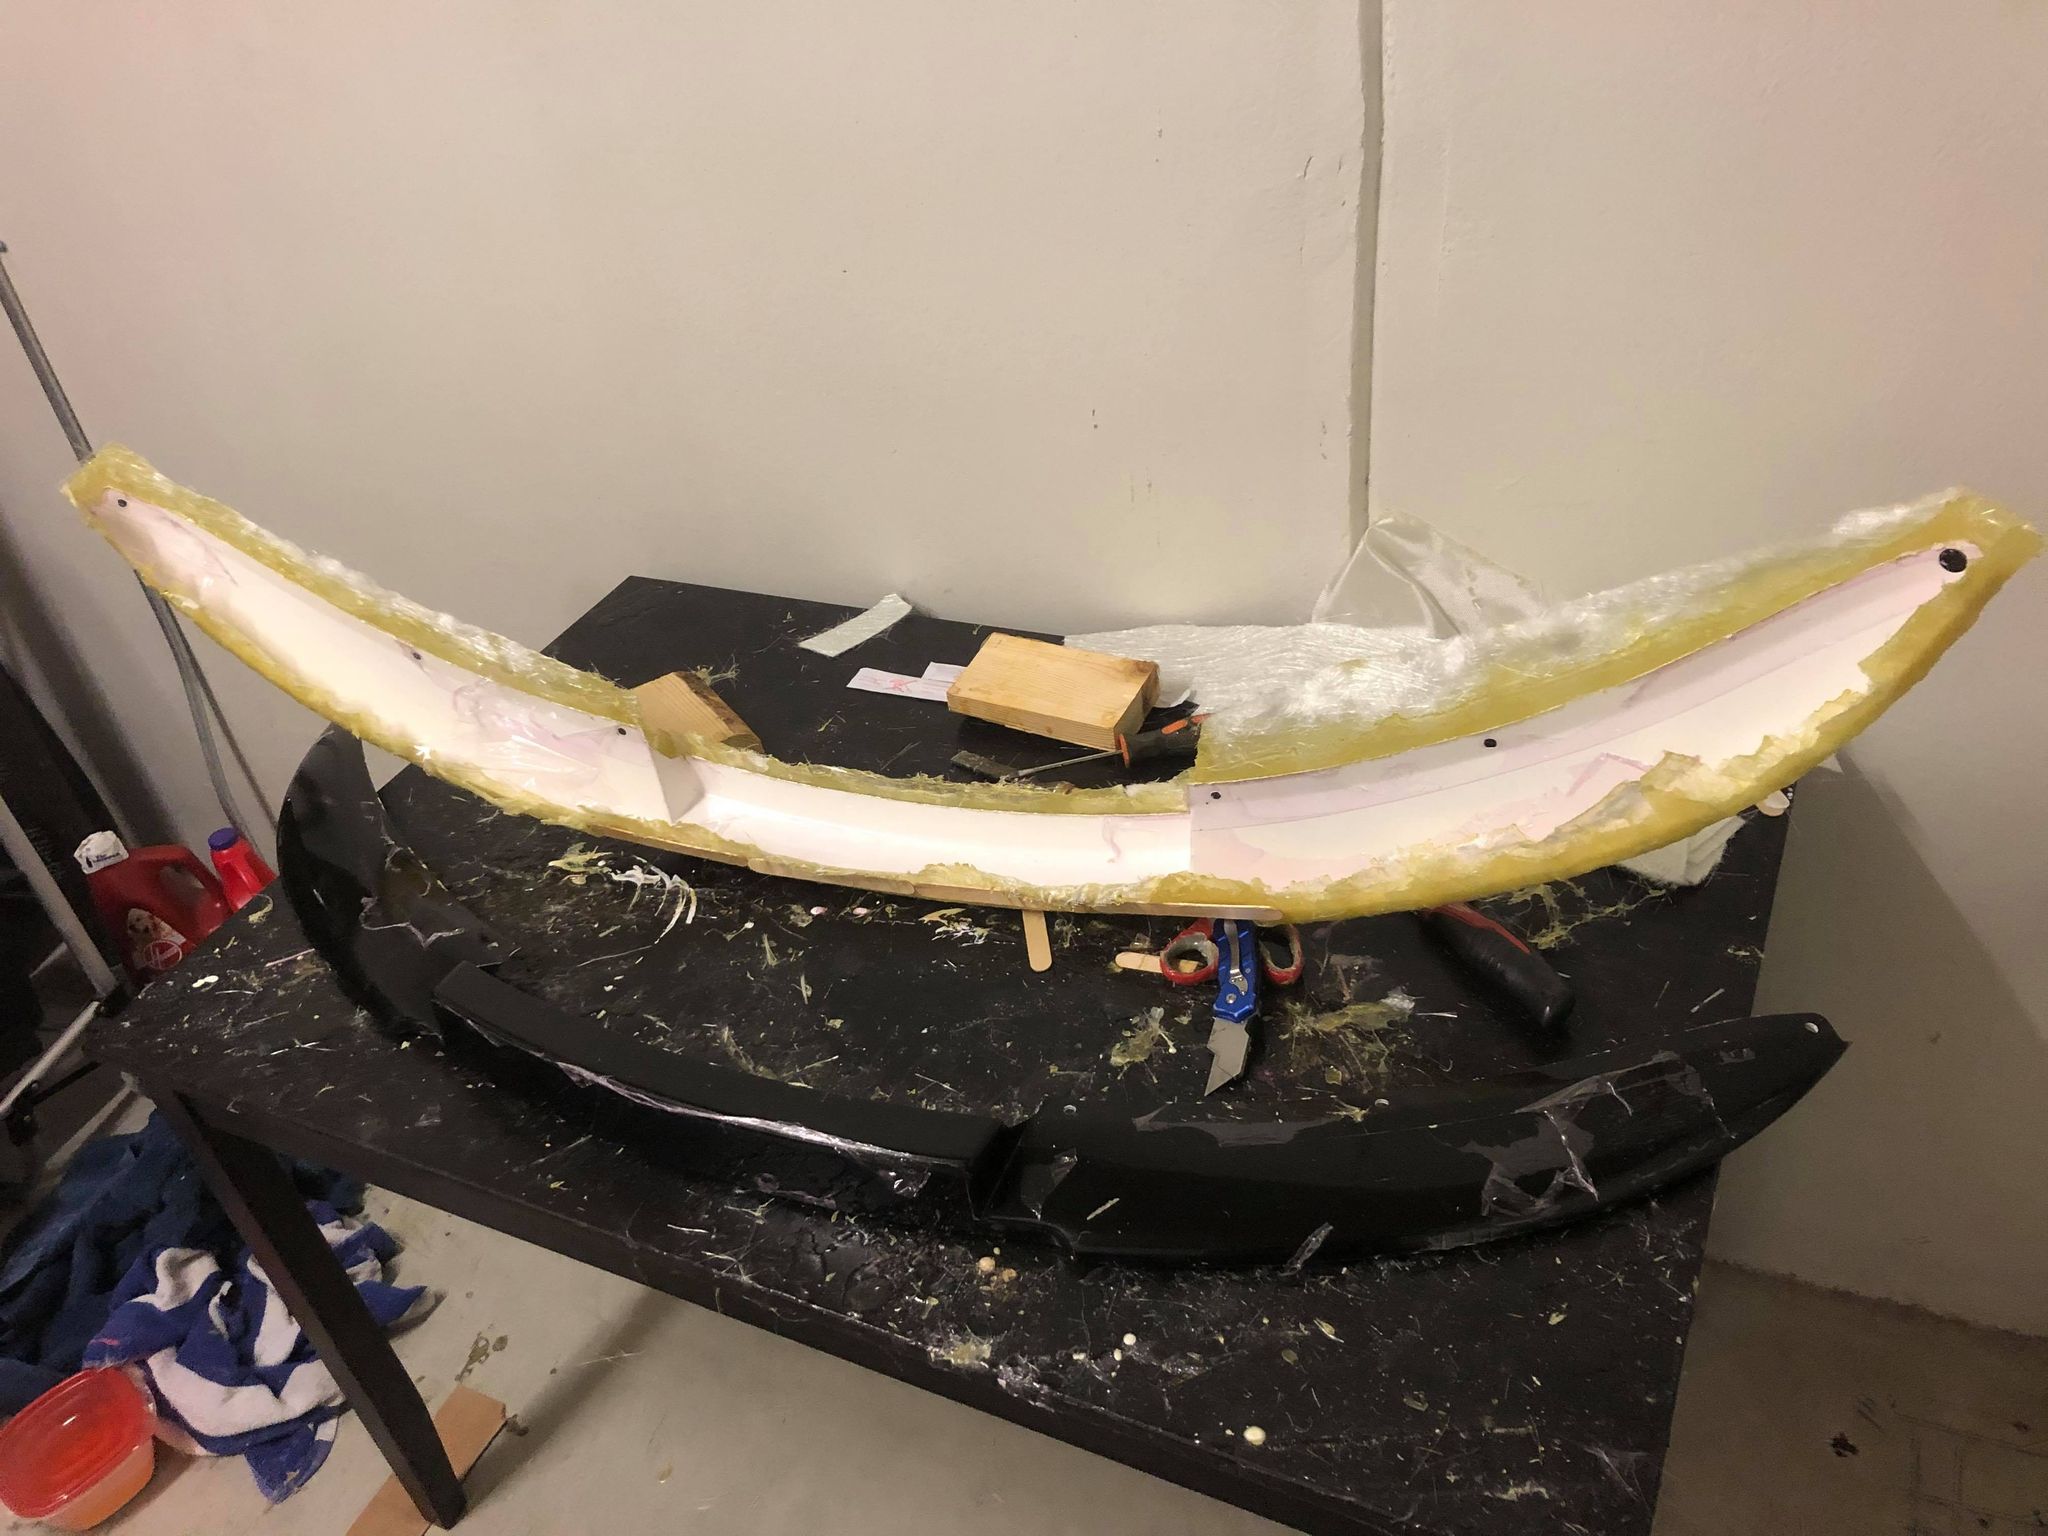
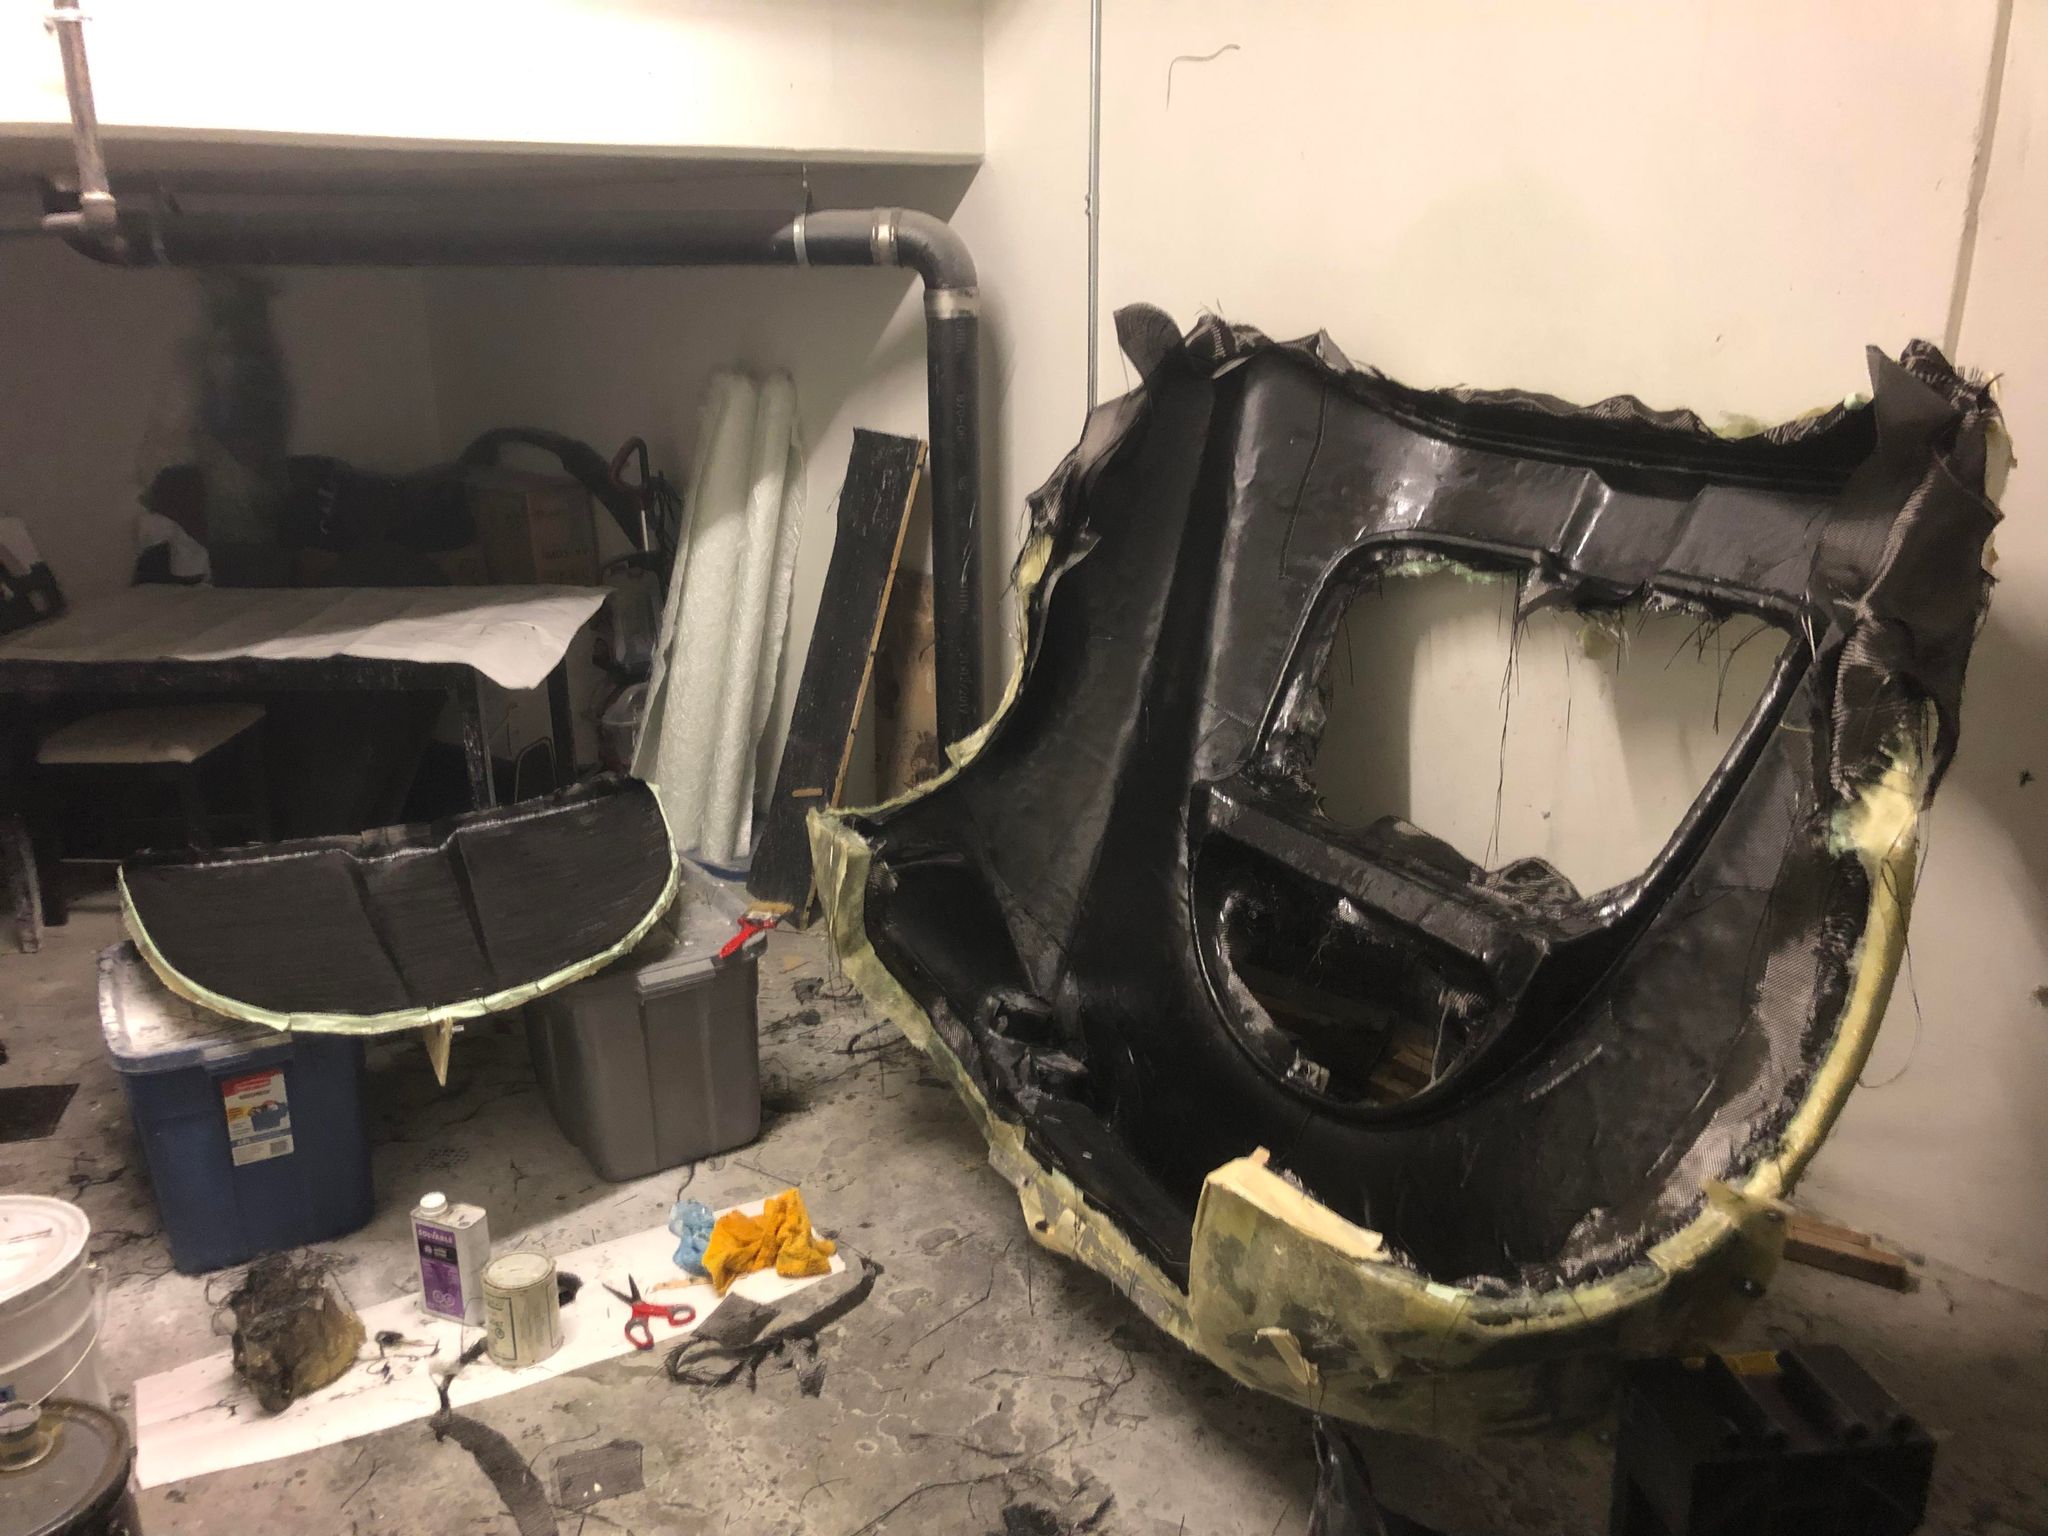
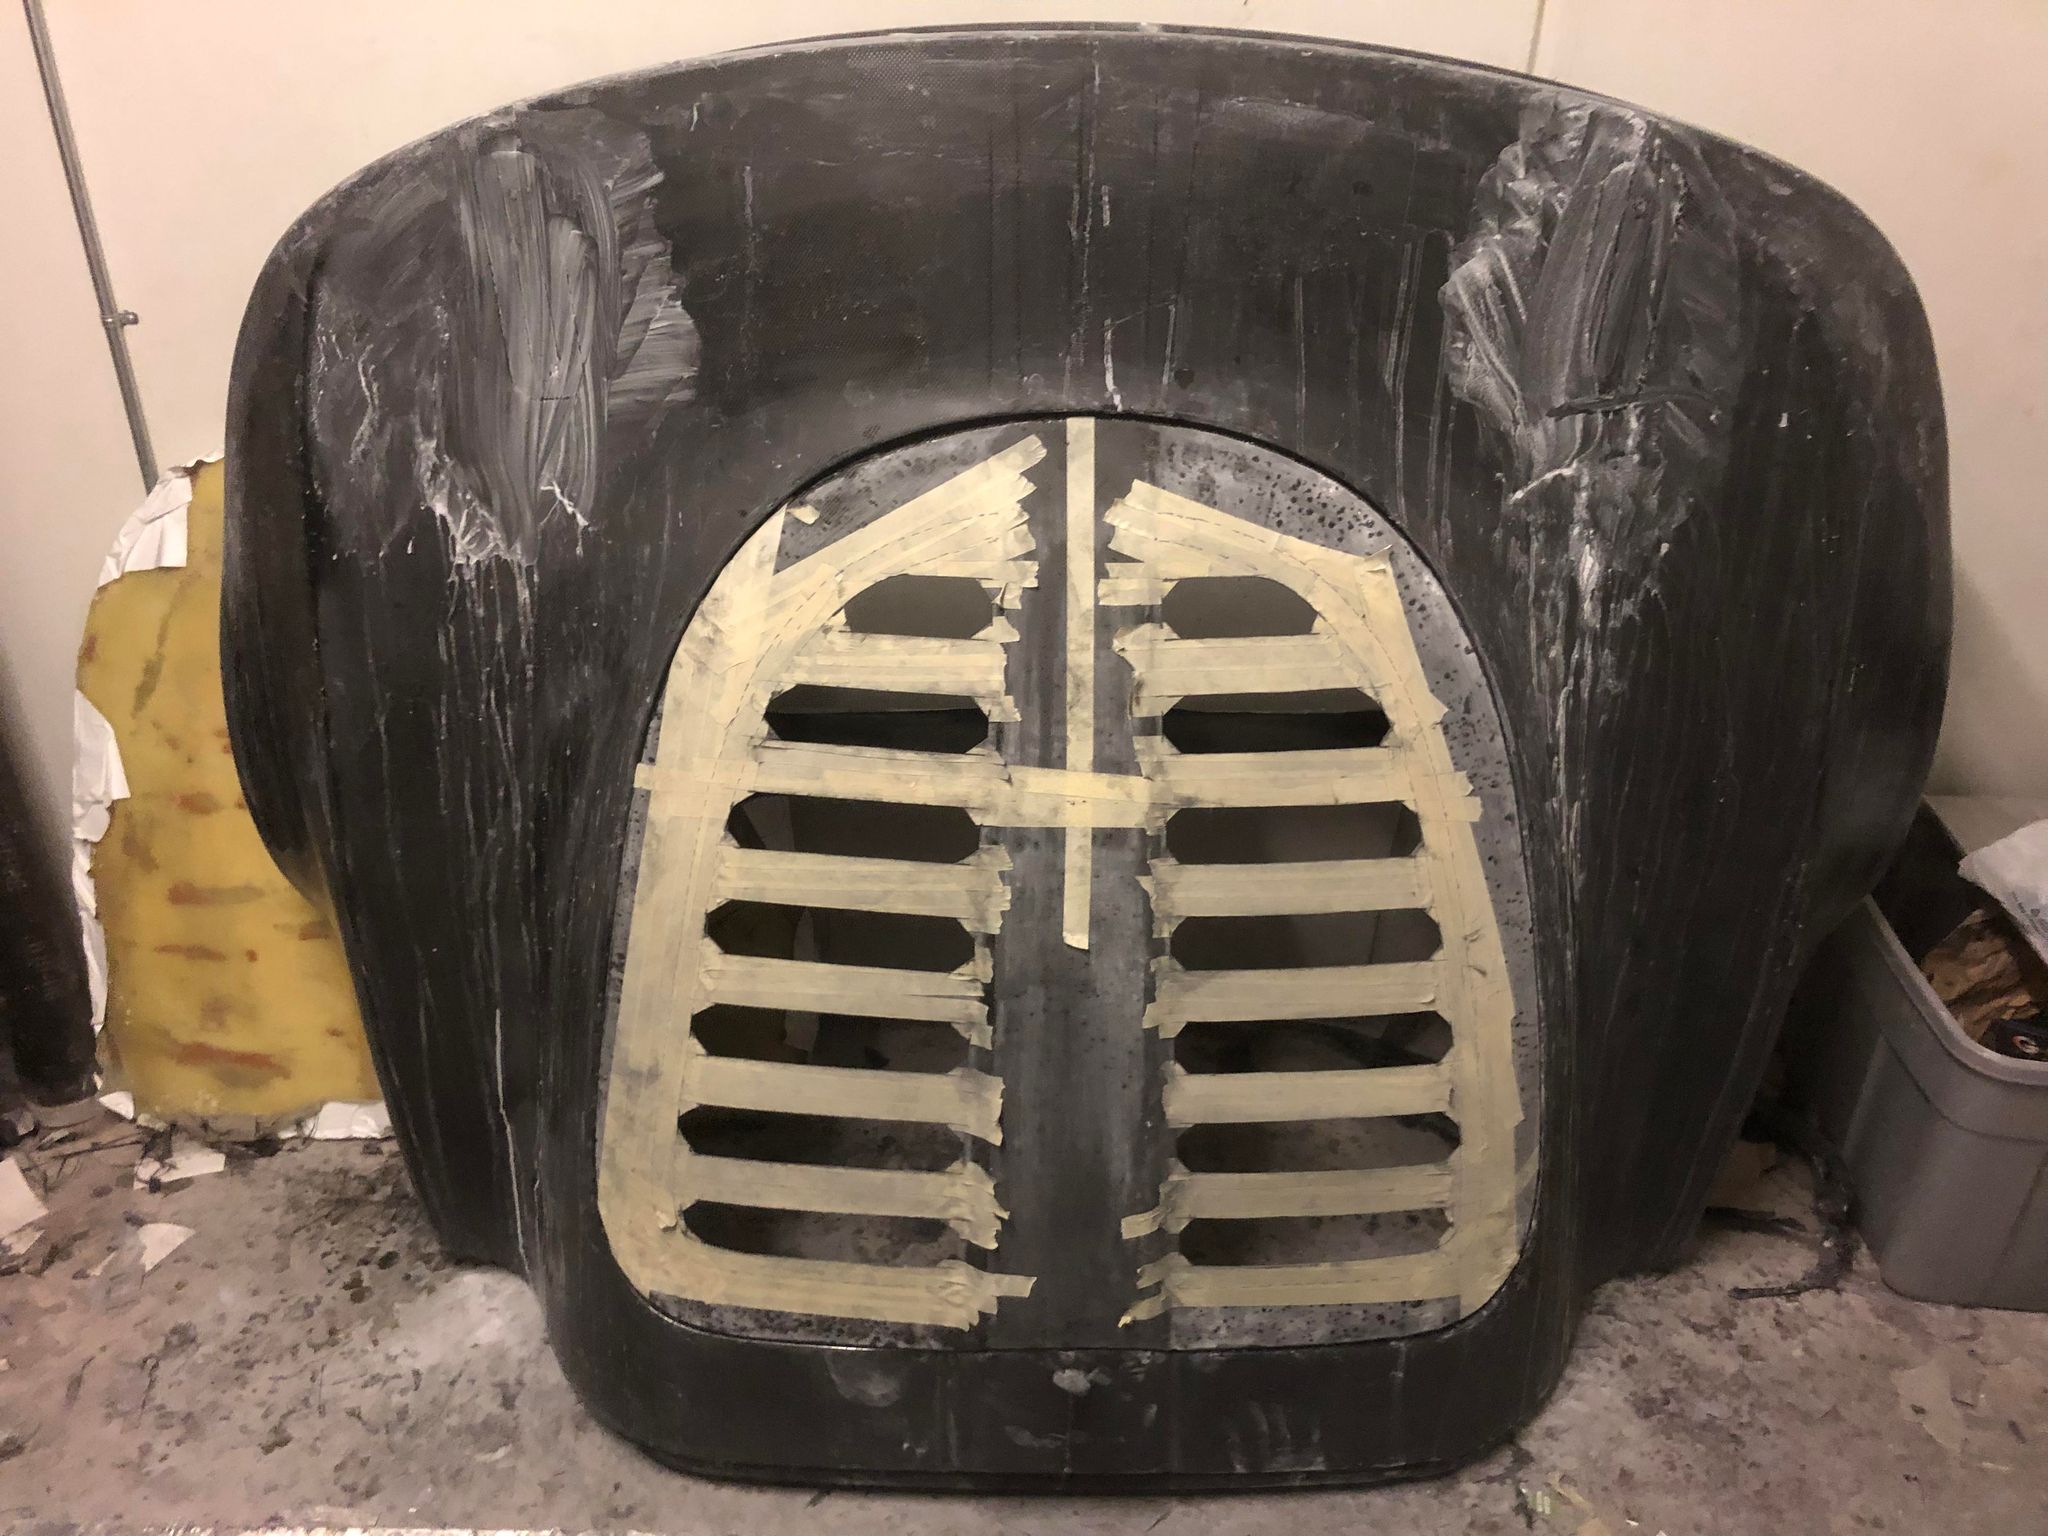
Anything I’d replicated like the clam, hatch, undertrays and such I could make molds for. For custom pieces like the new intercooler shroud, the battery enclosure, canards, barge boards I had to make custom forms/plugs for. Larger pieces like the clam were particularly challenging since they needed to be flanged, multi-part molds.
Most of these parts the first attempt didn’t turn out so hot, most I had to make twice to learn what not to do, but I started getting pretty pleased with the results.
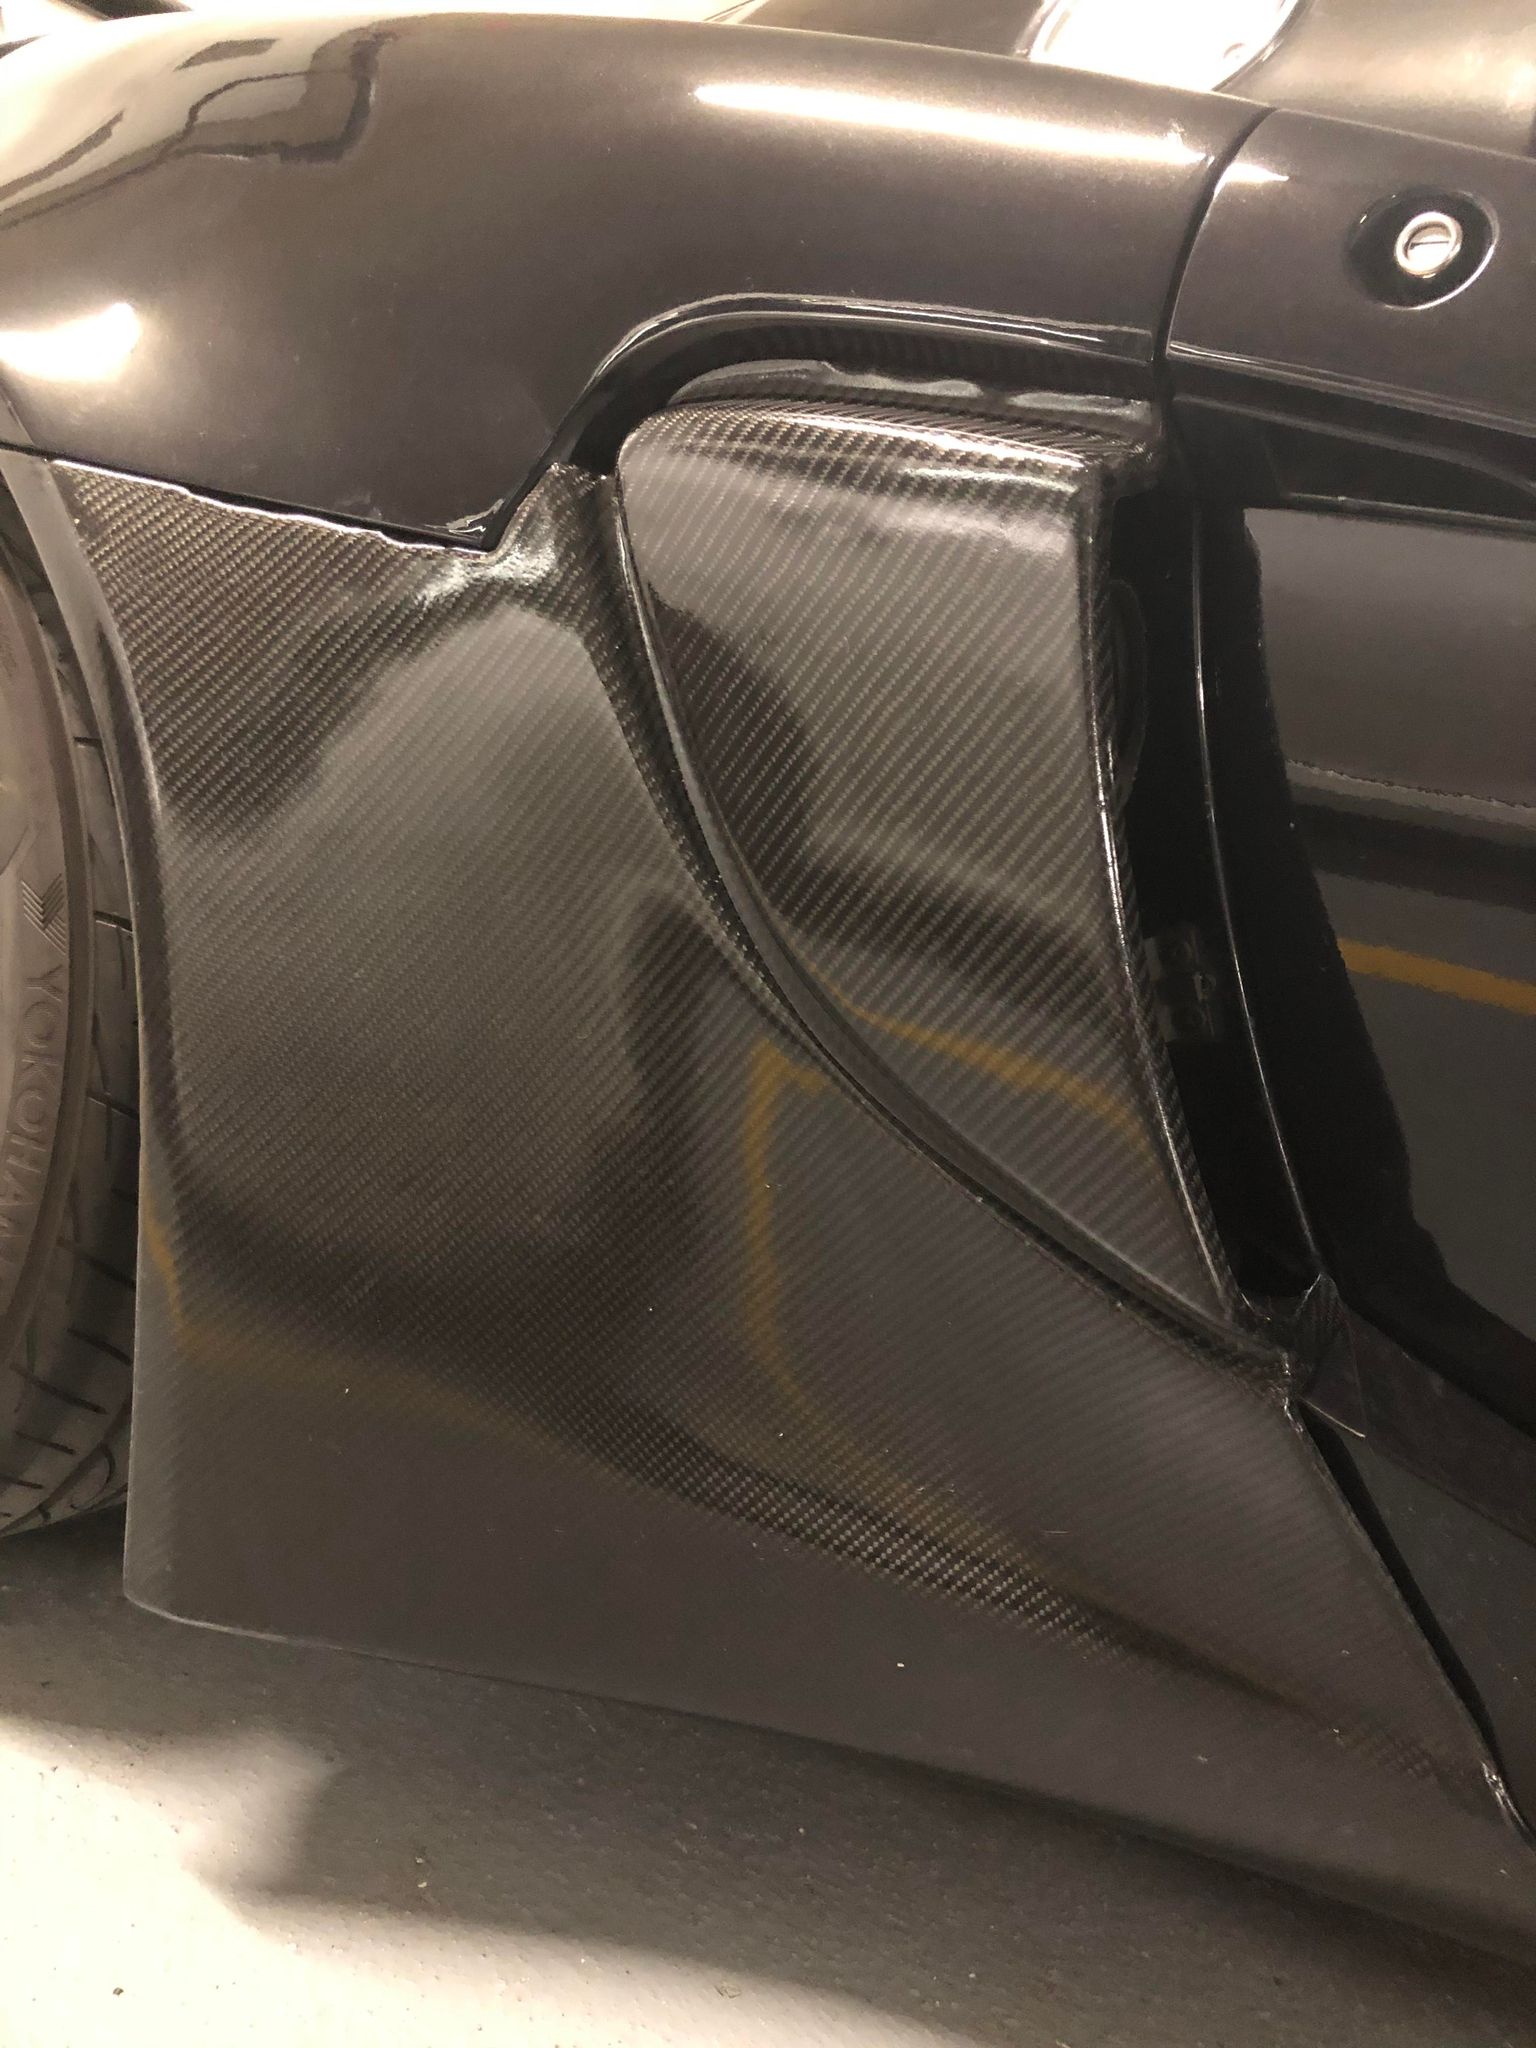
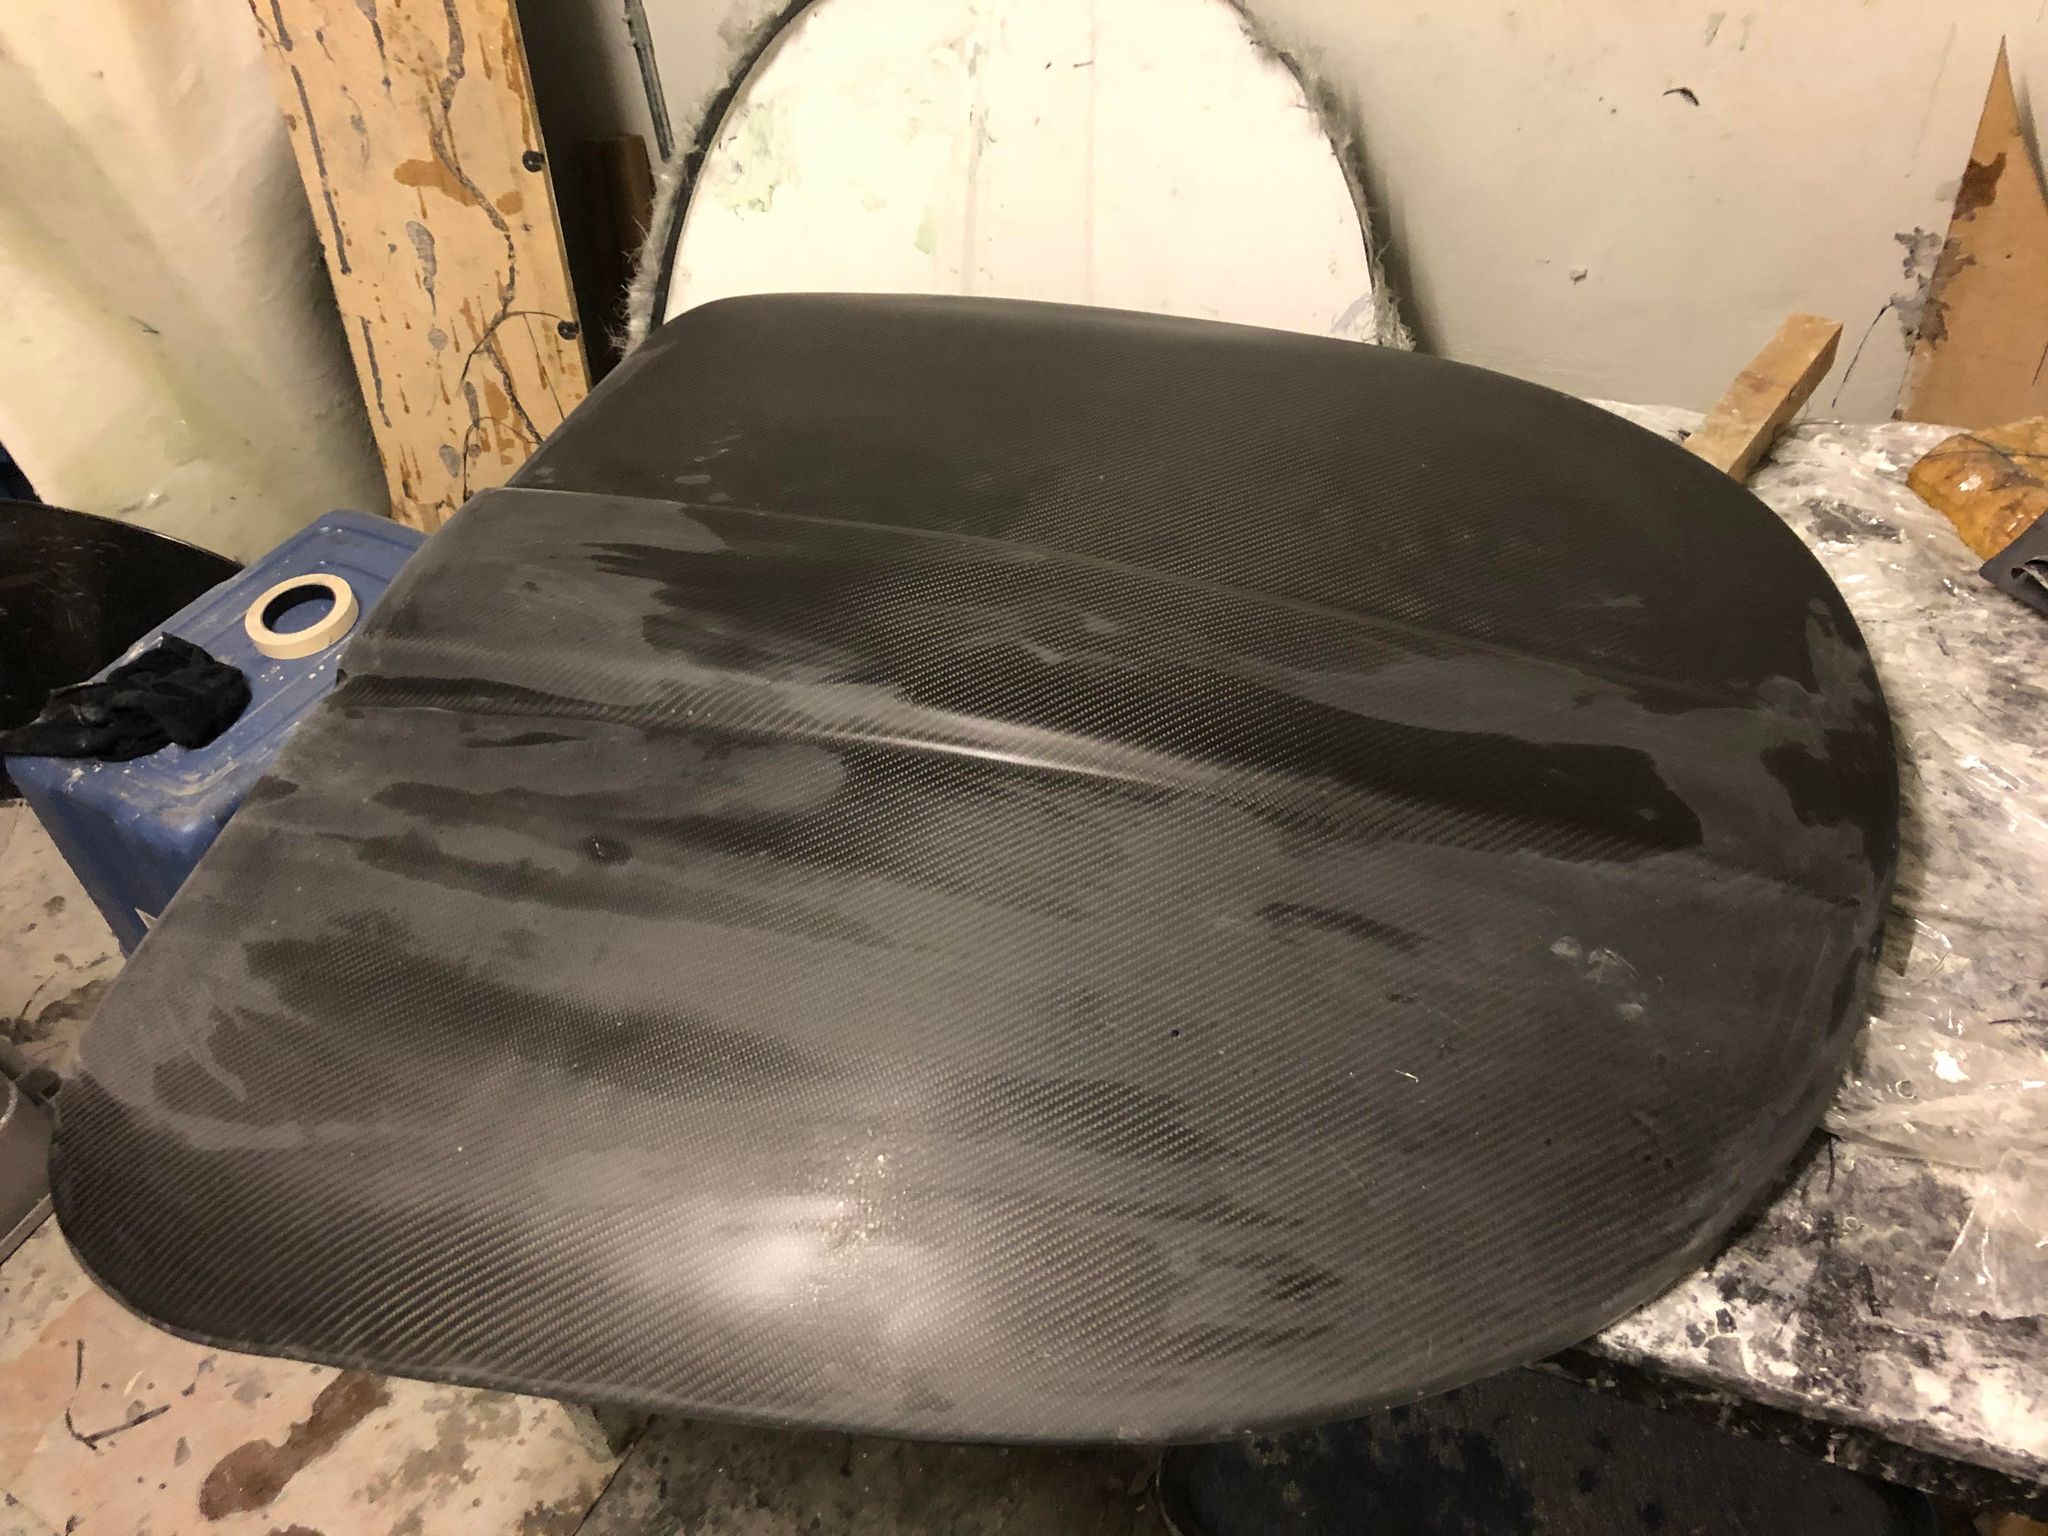
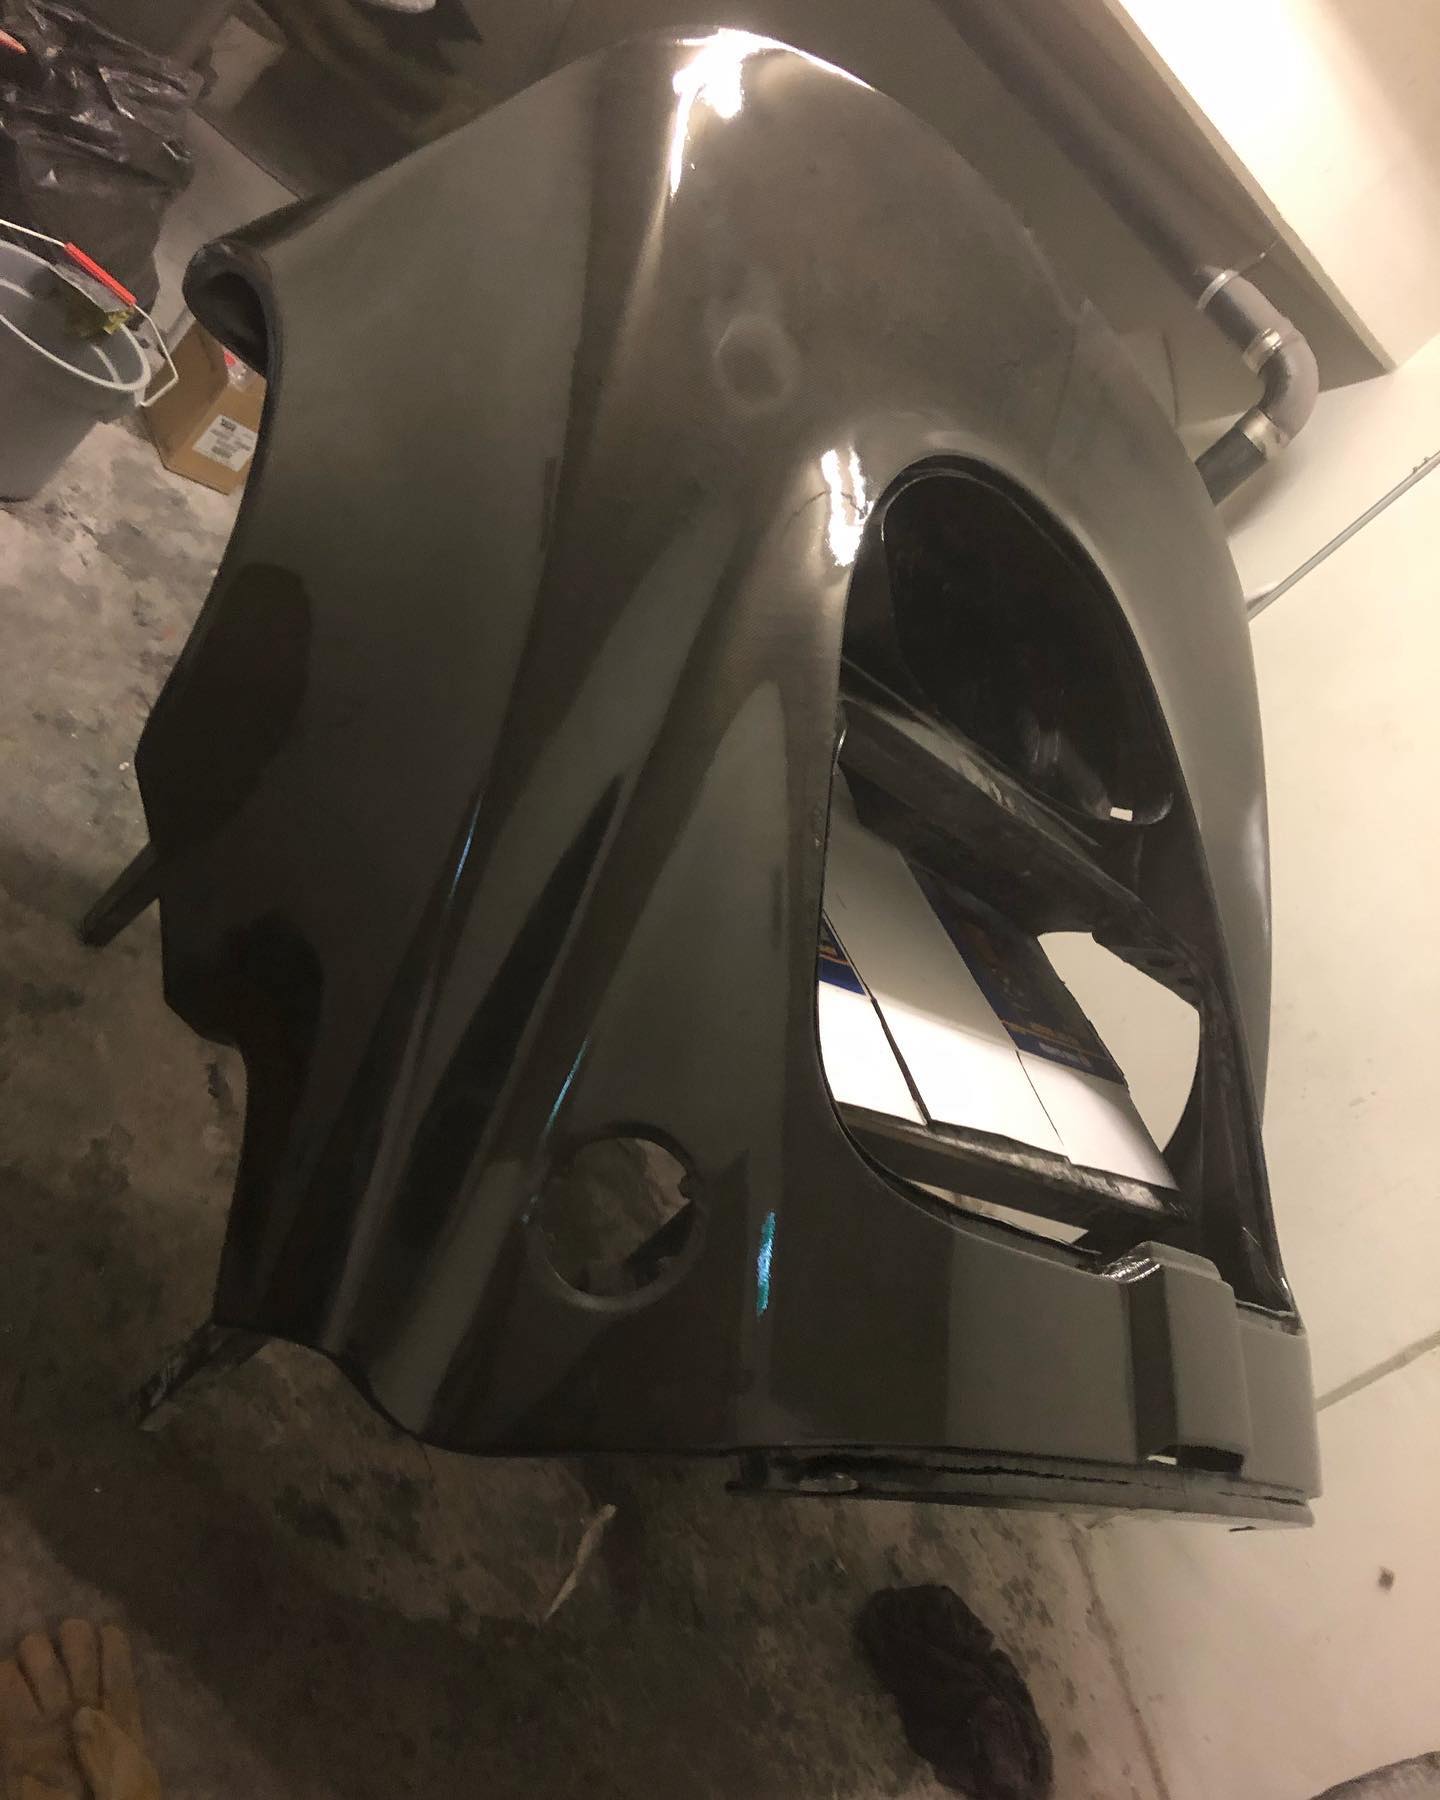
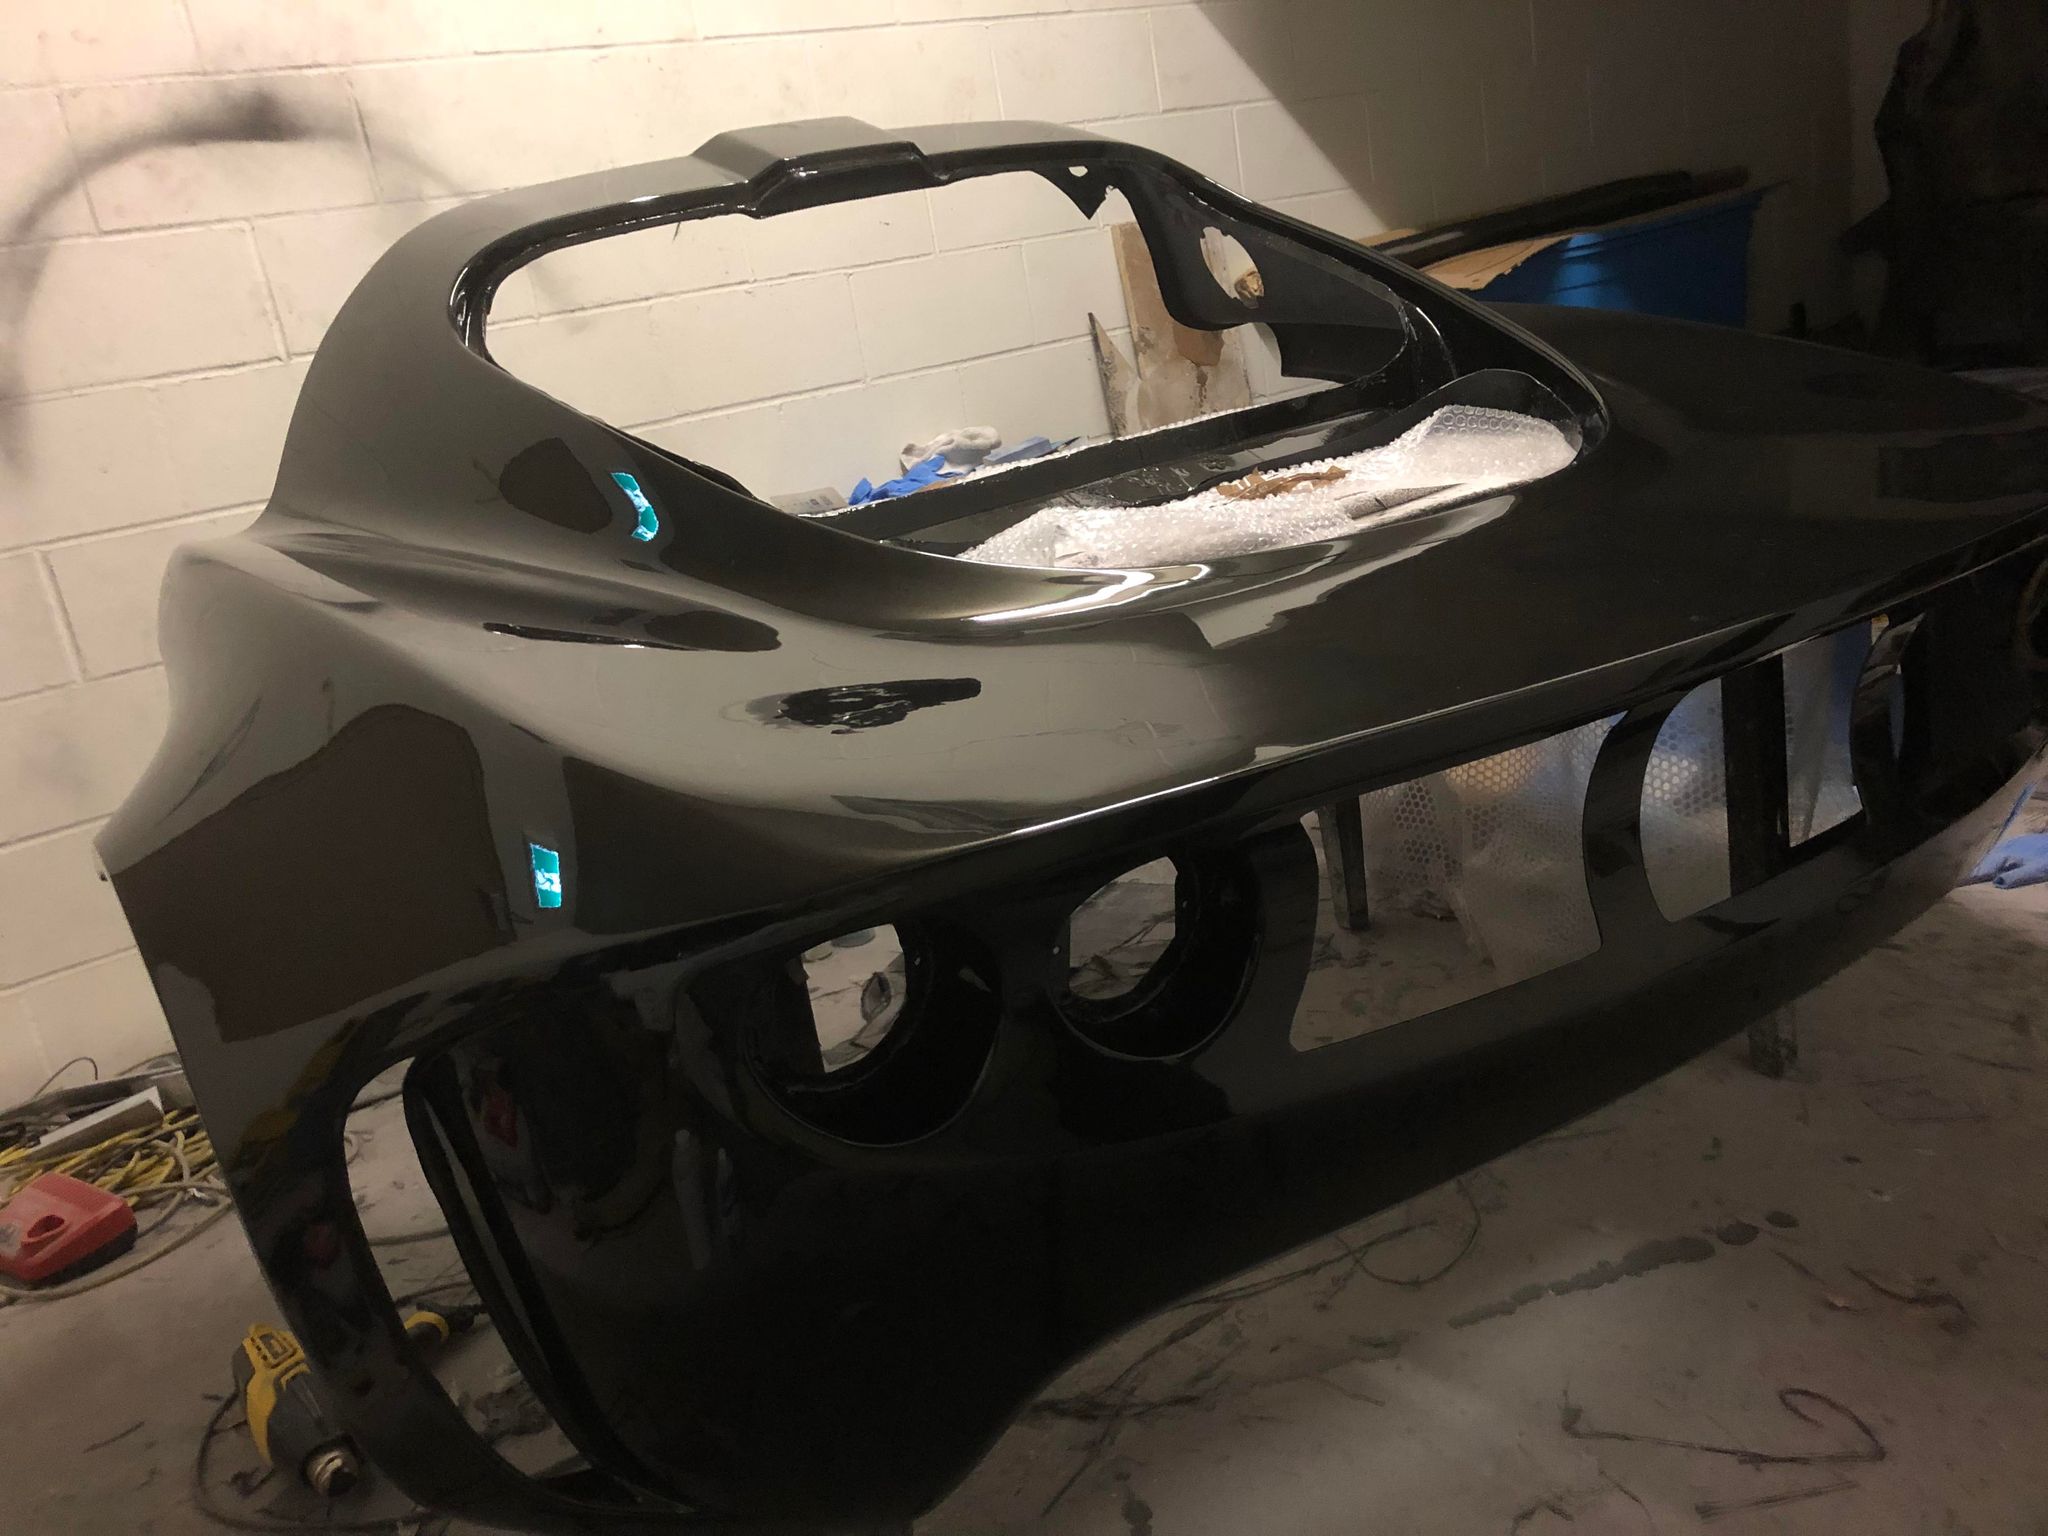
And all the parts required substantial effort afterwards to get into a shape where they could go on the car, For the clam and hatch in particular. The hatch I’d intended to be naked carbon so I had to finish and clear it which I could do myself. The clam I wanted to be painted to match the car, which took a lot more work, and to be frank I wish I’d make it differently in the mold knowing i’d intended to paint it.
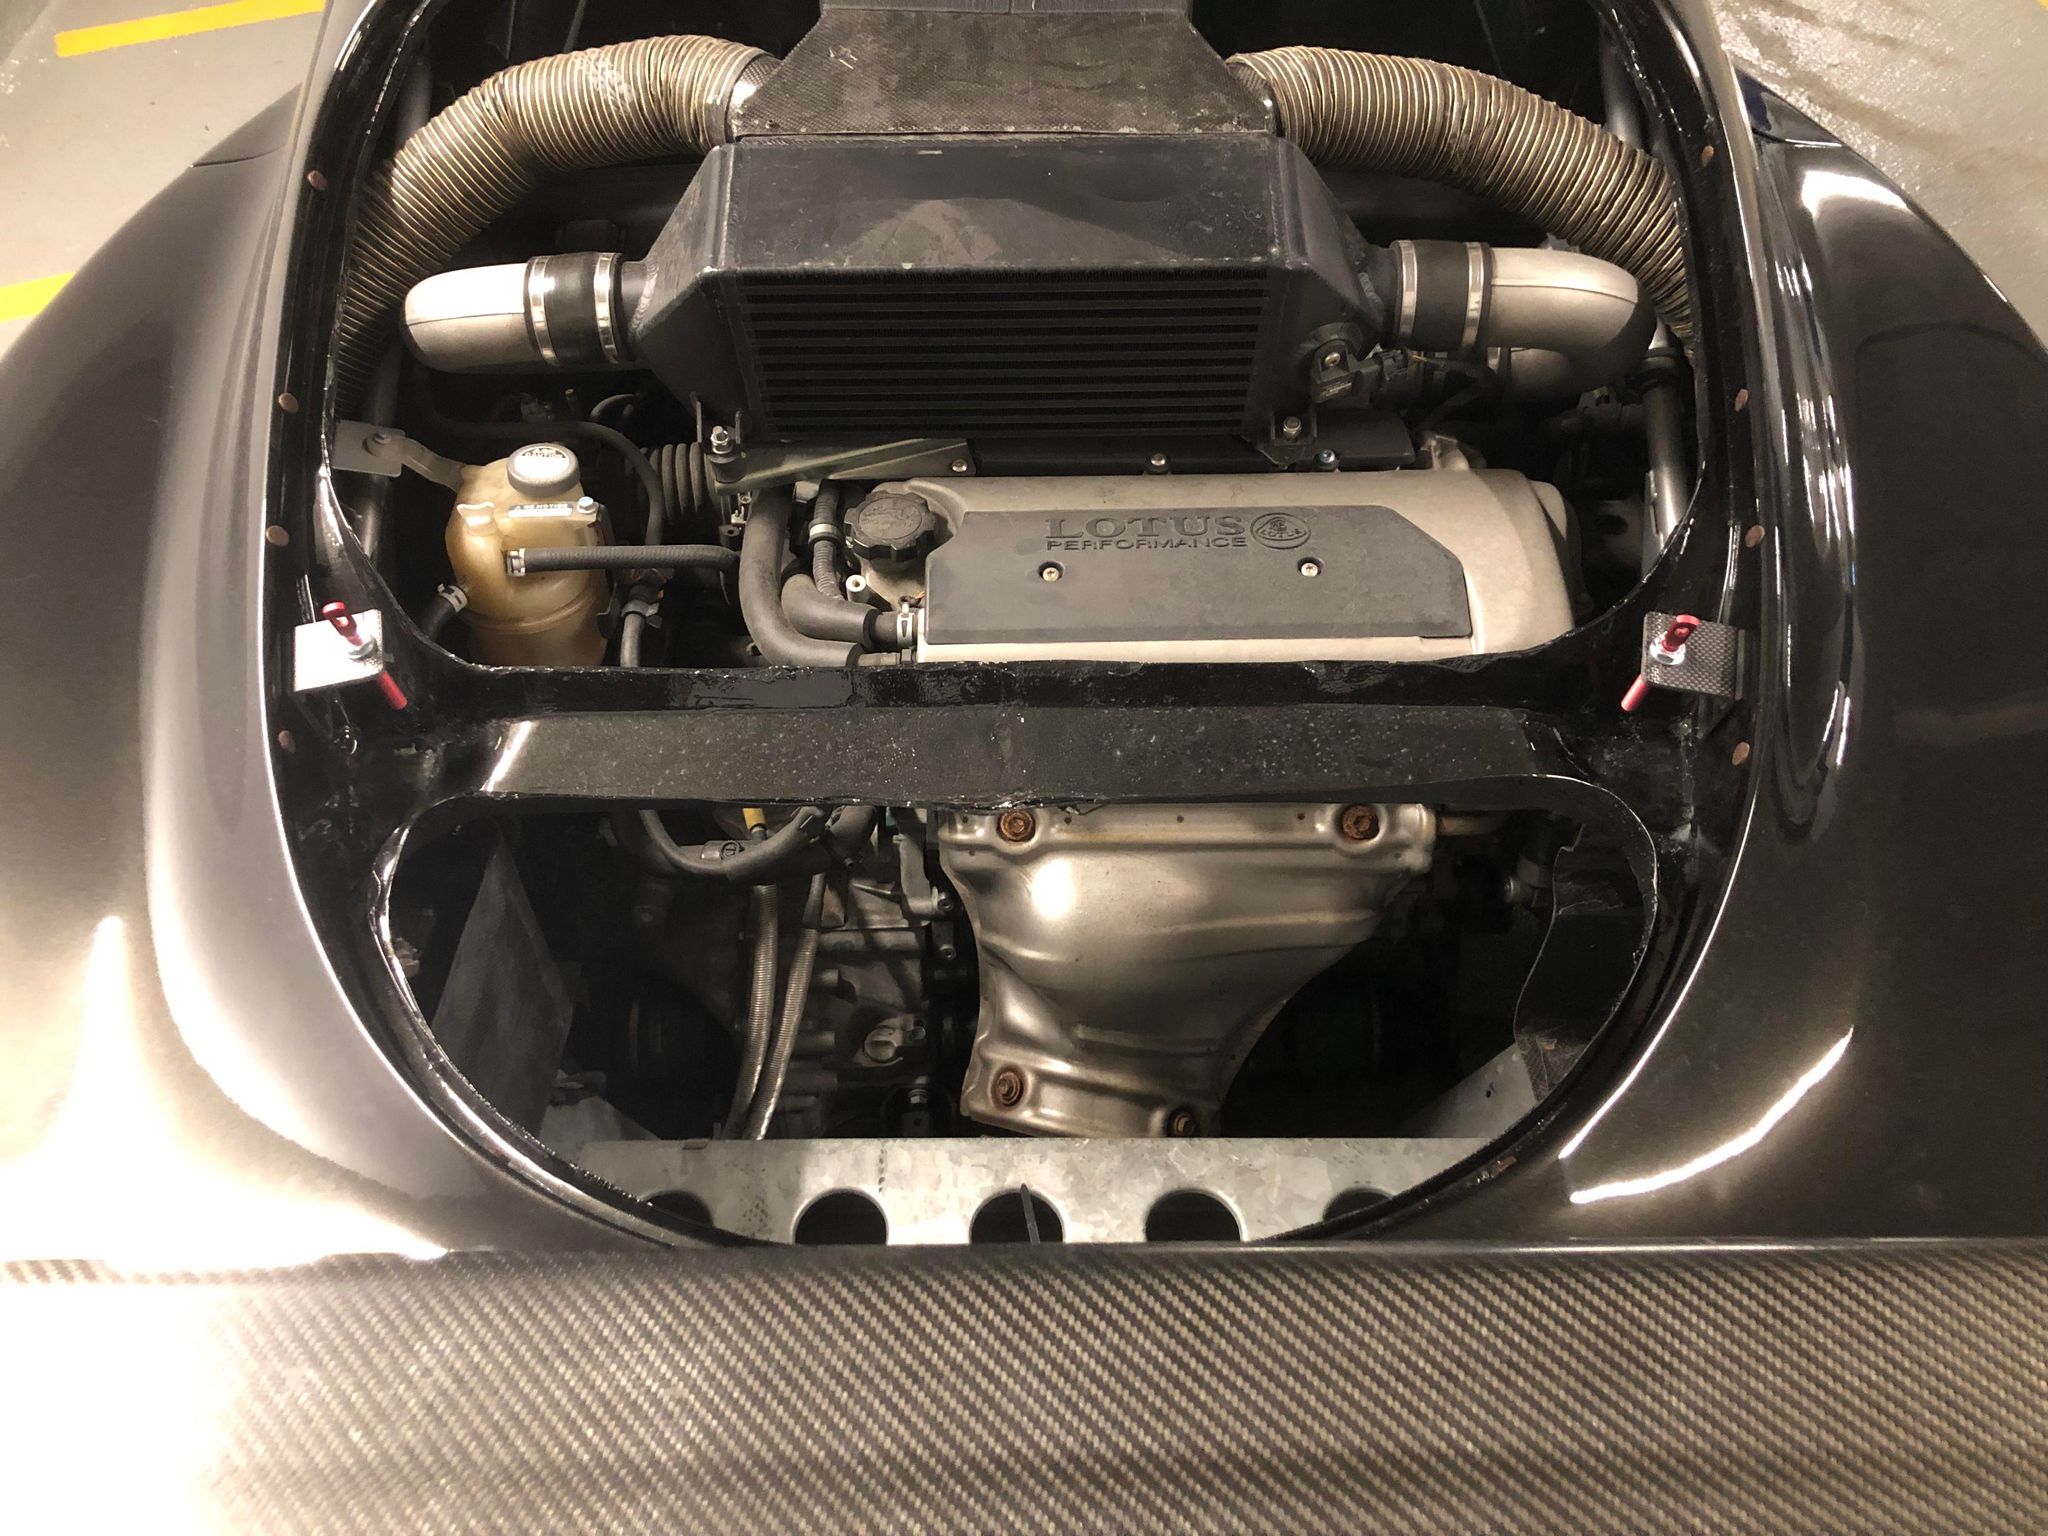
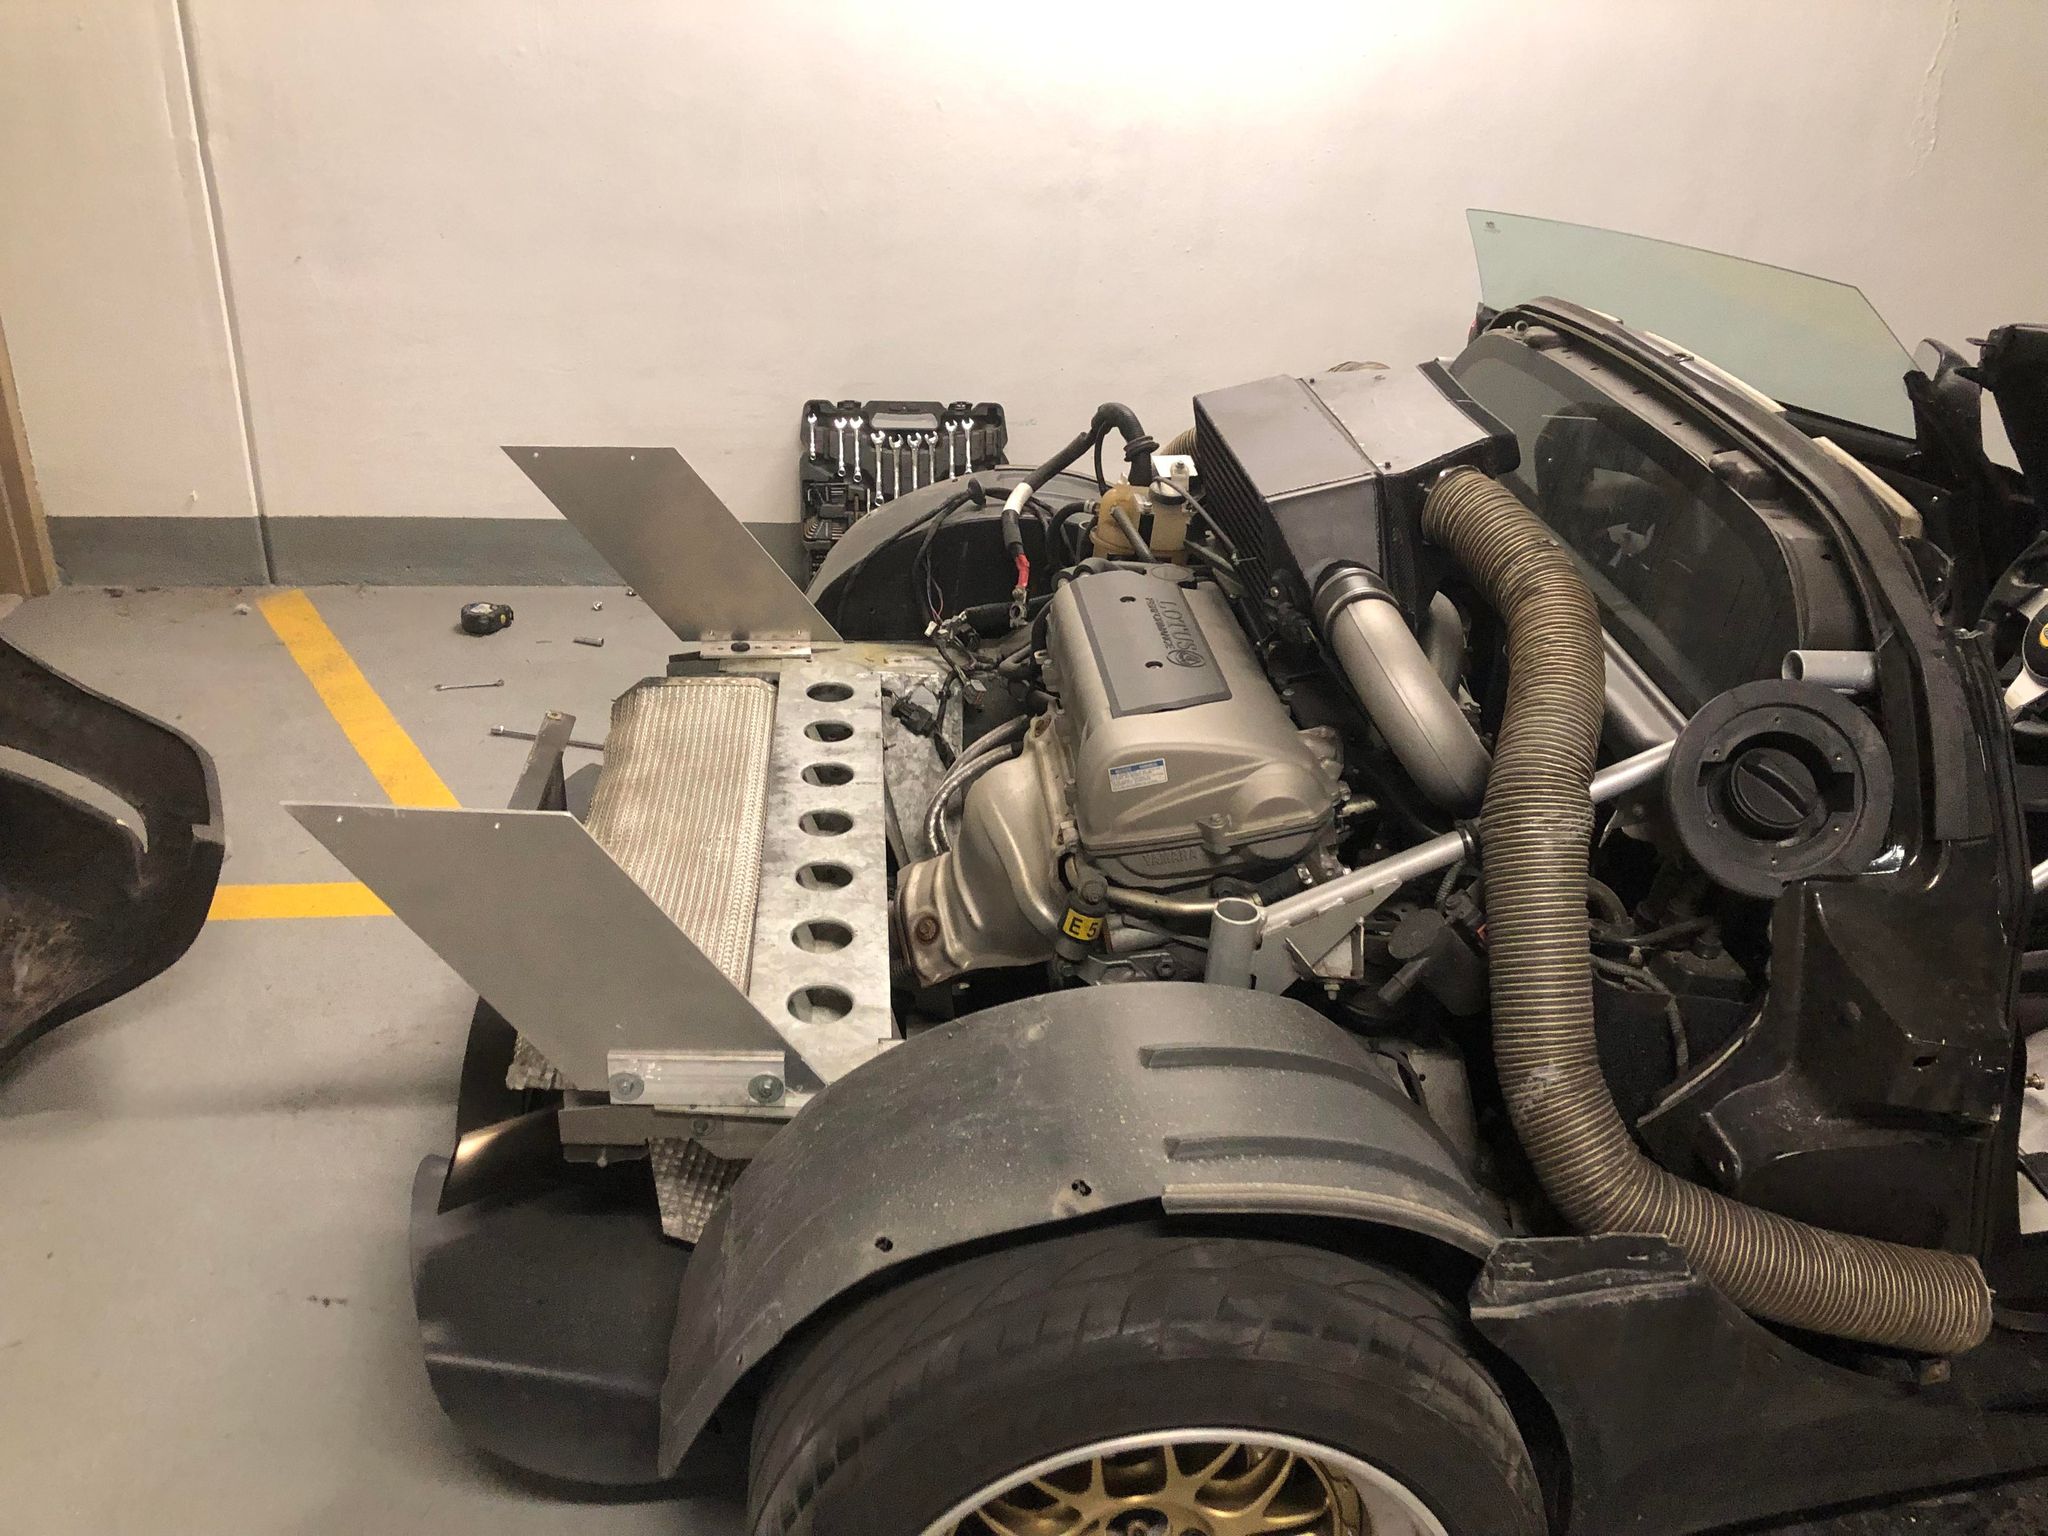
Back to the juice briefly; I went with inokinetic’s blade 300 upgrade package and put those related bits on my car. I made this choice for simplicity, reliability, and that I find them the best to deal with for things of that nature in north america, i love their service and appreciate dealing with them. One thing I did differently was run my own ducting custom make an intercooler shroud with 3" ducting.
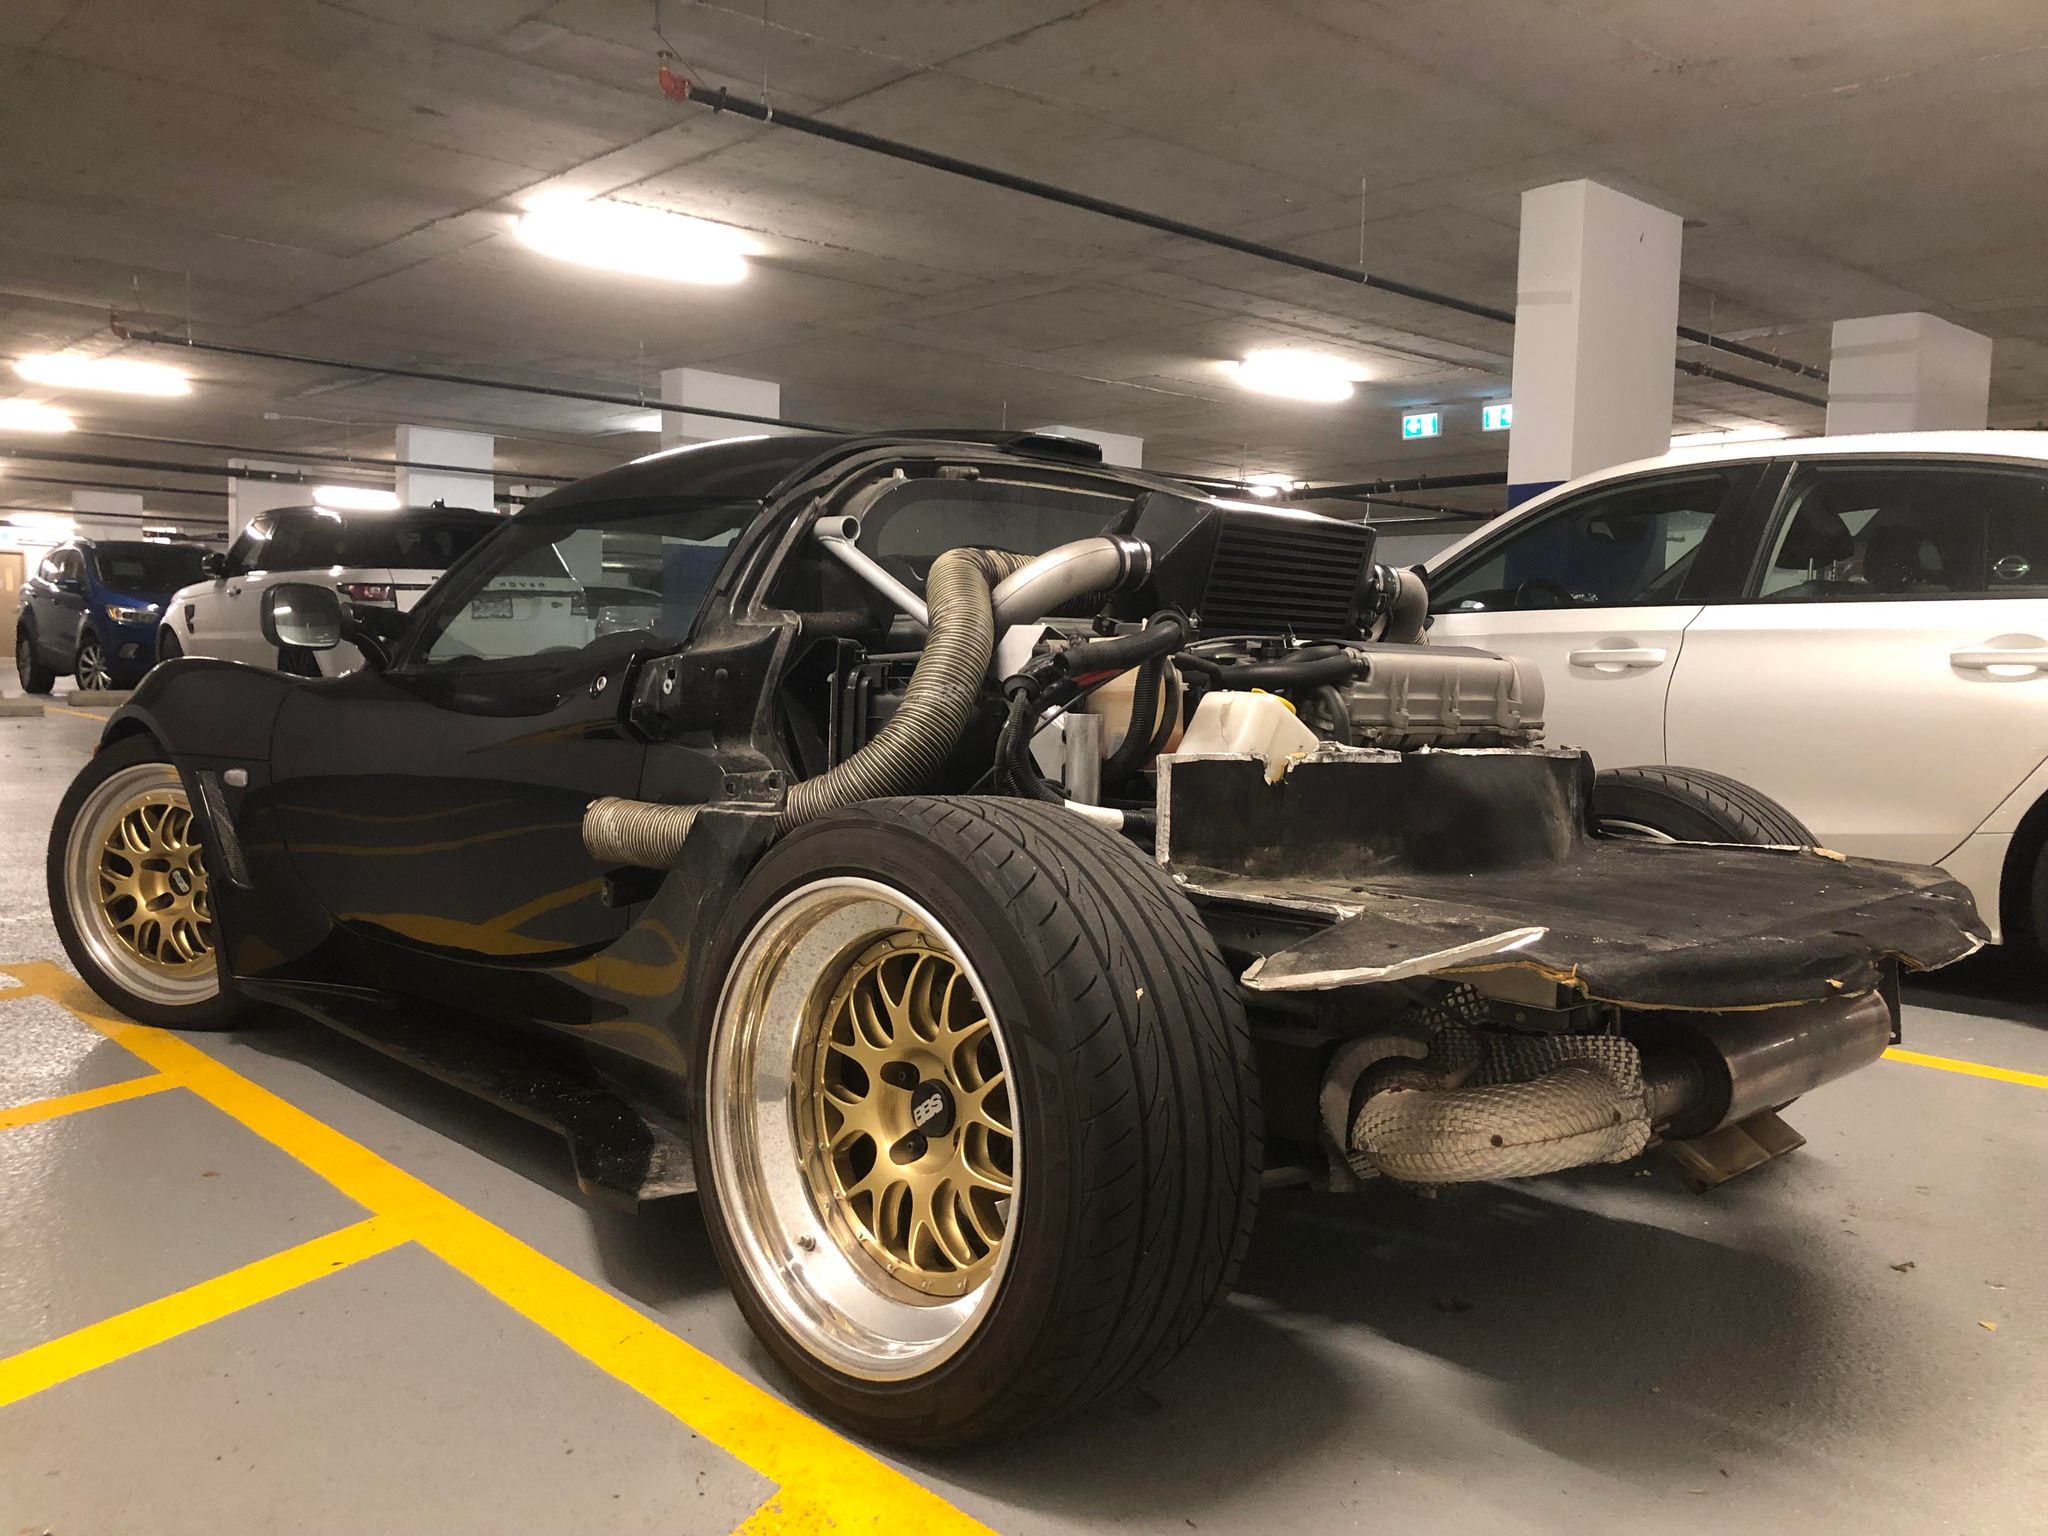
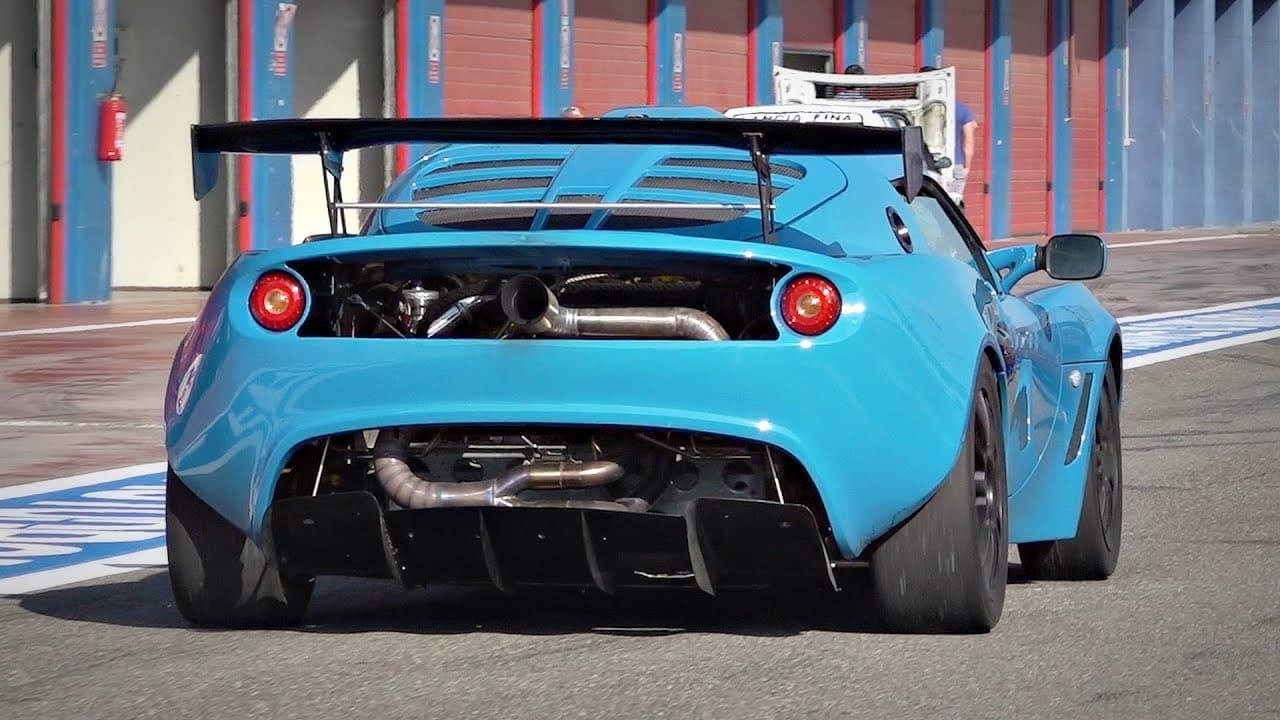
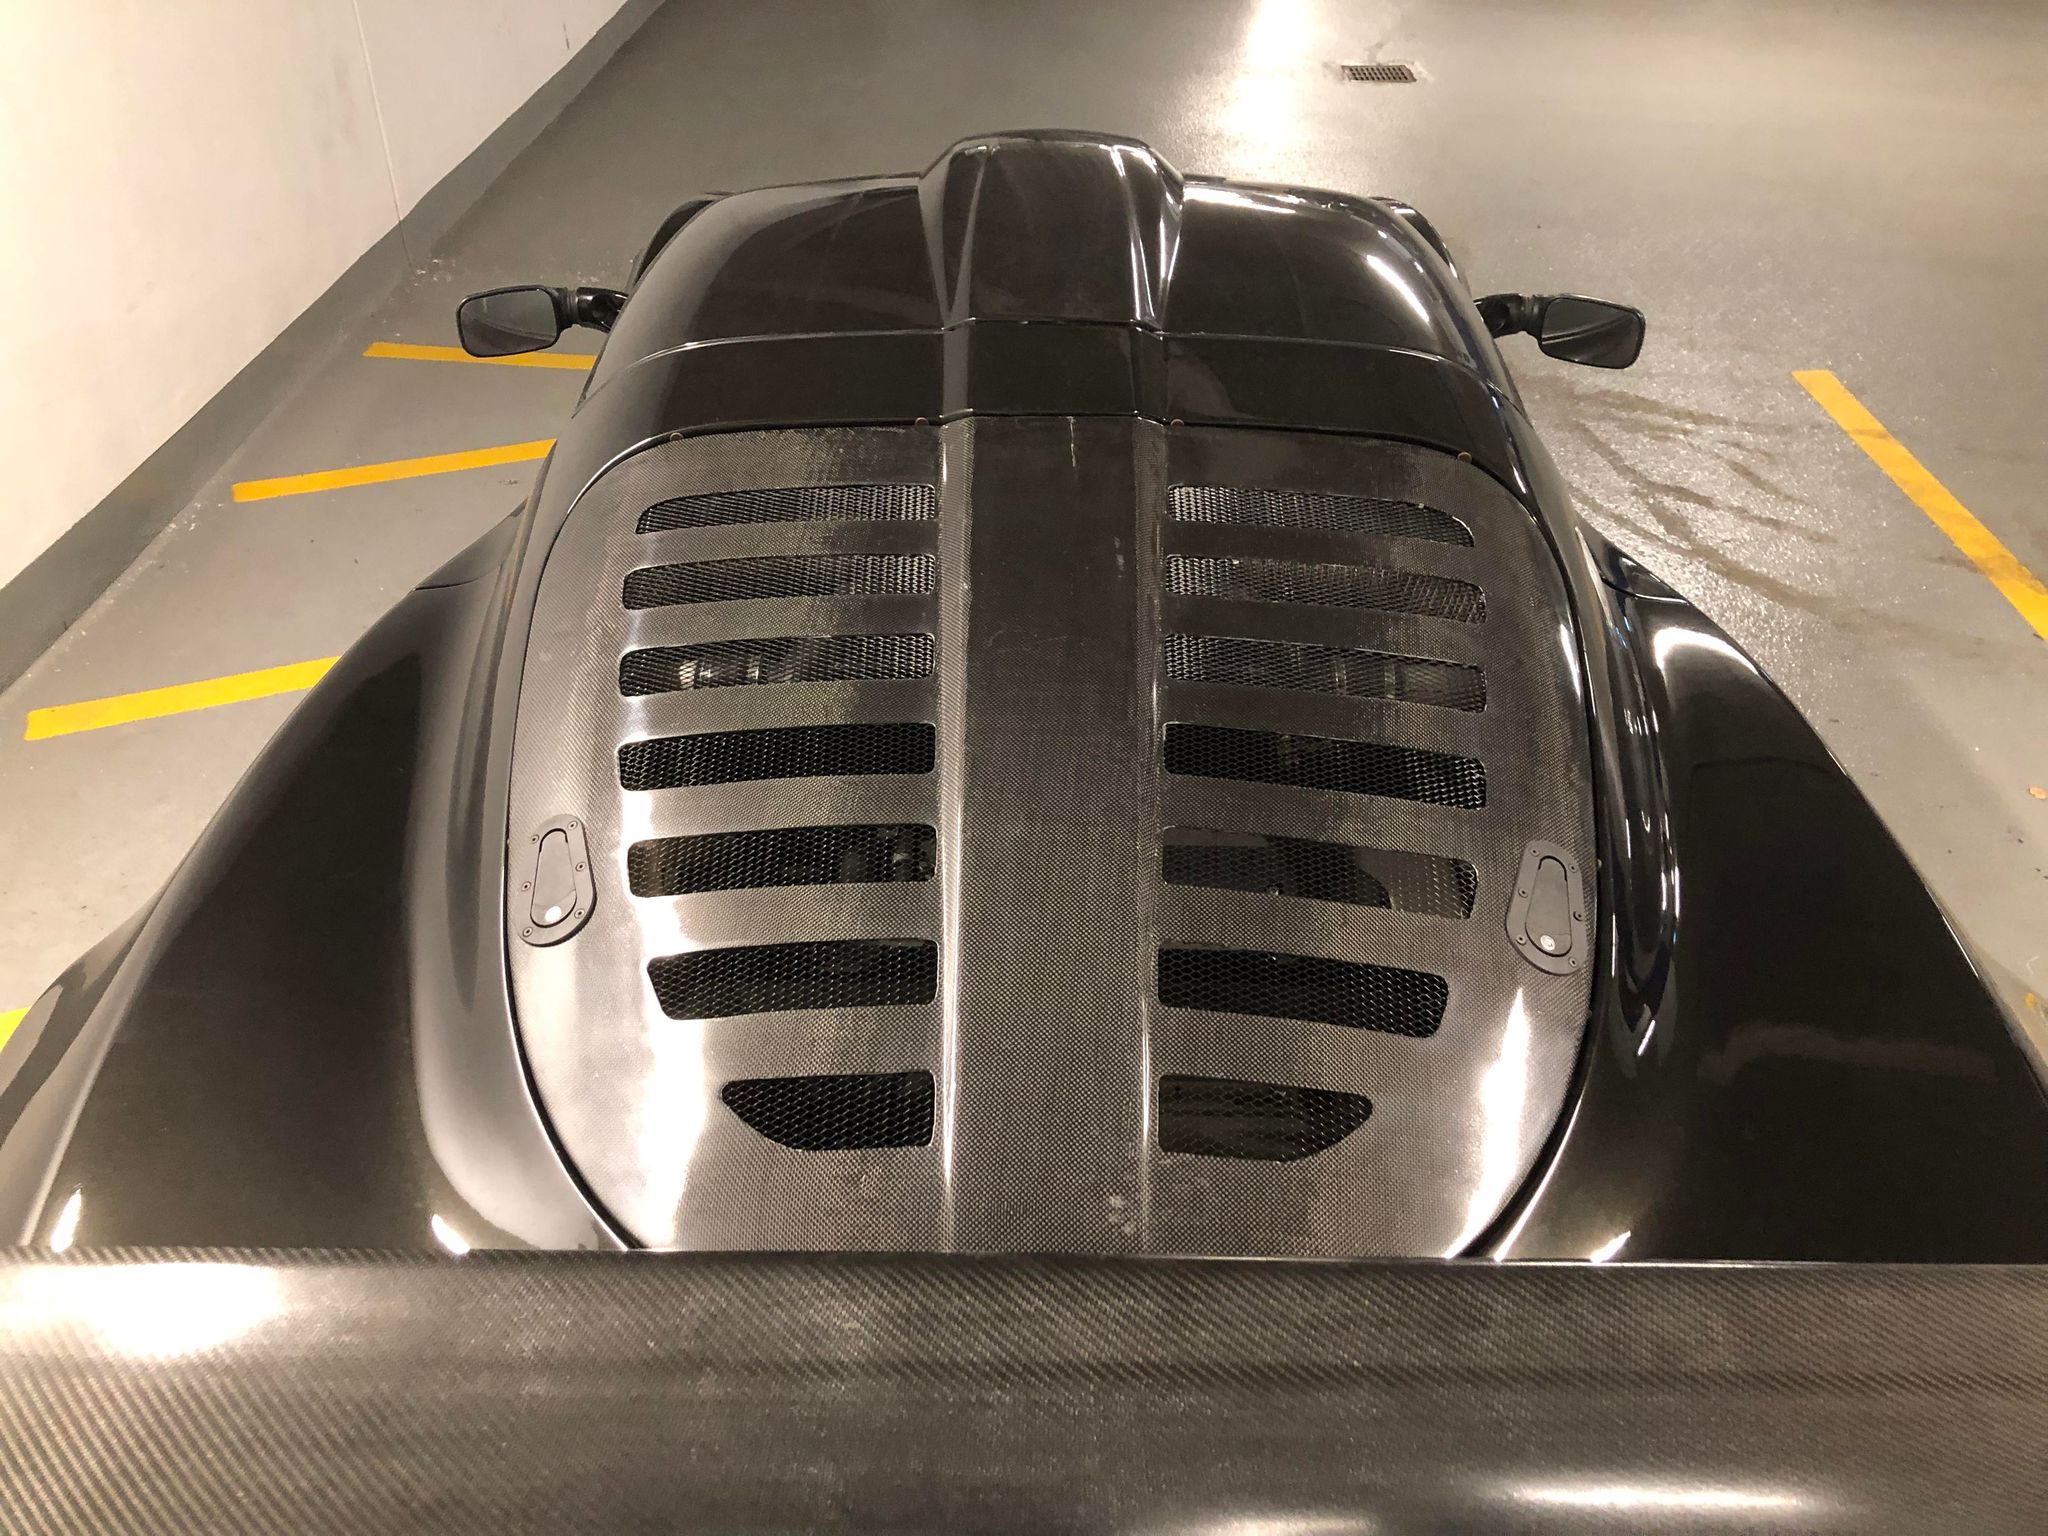
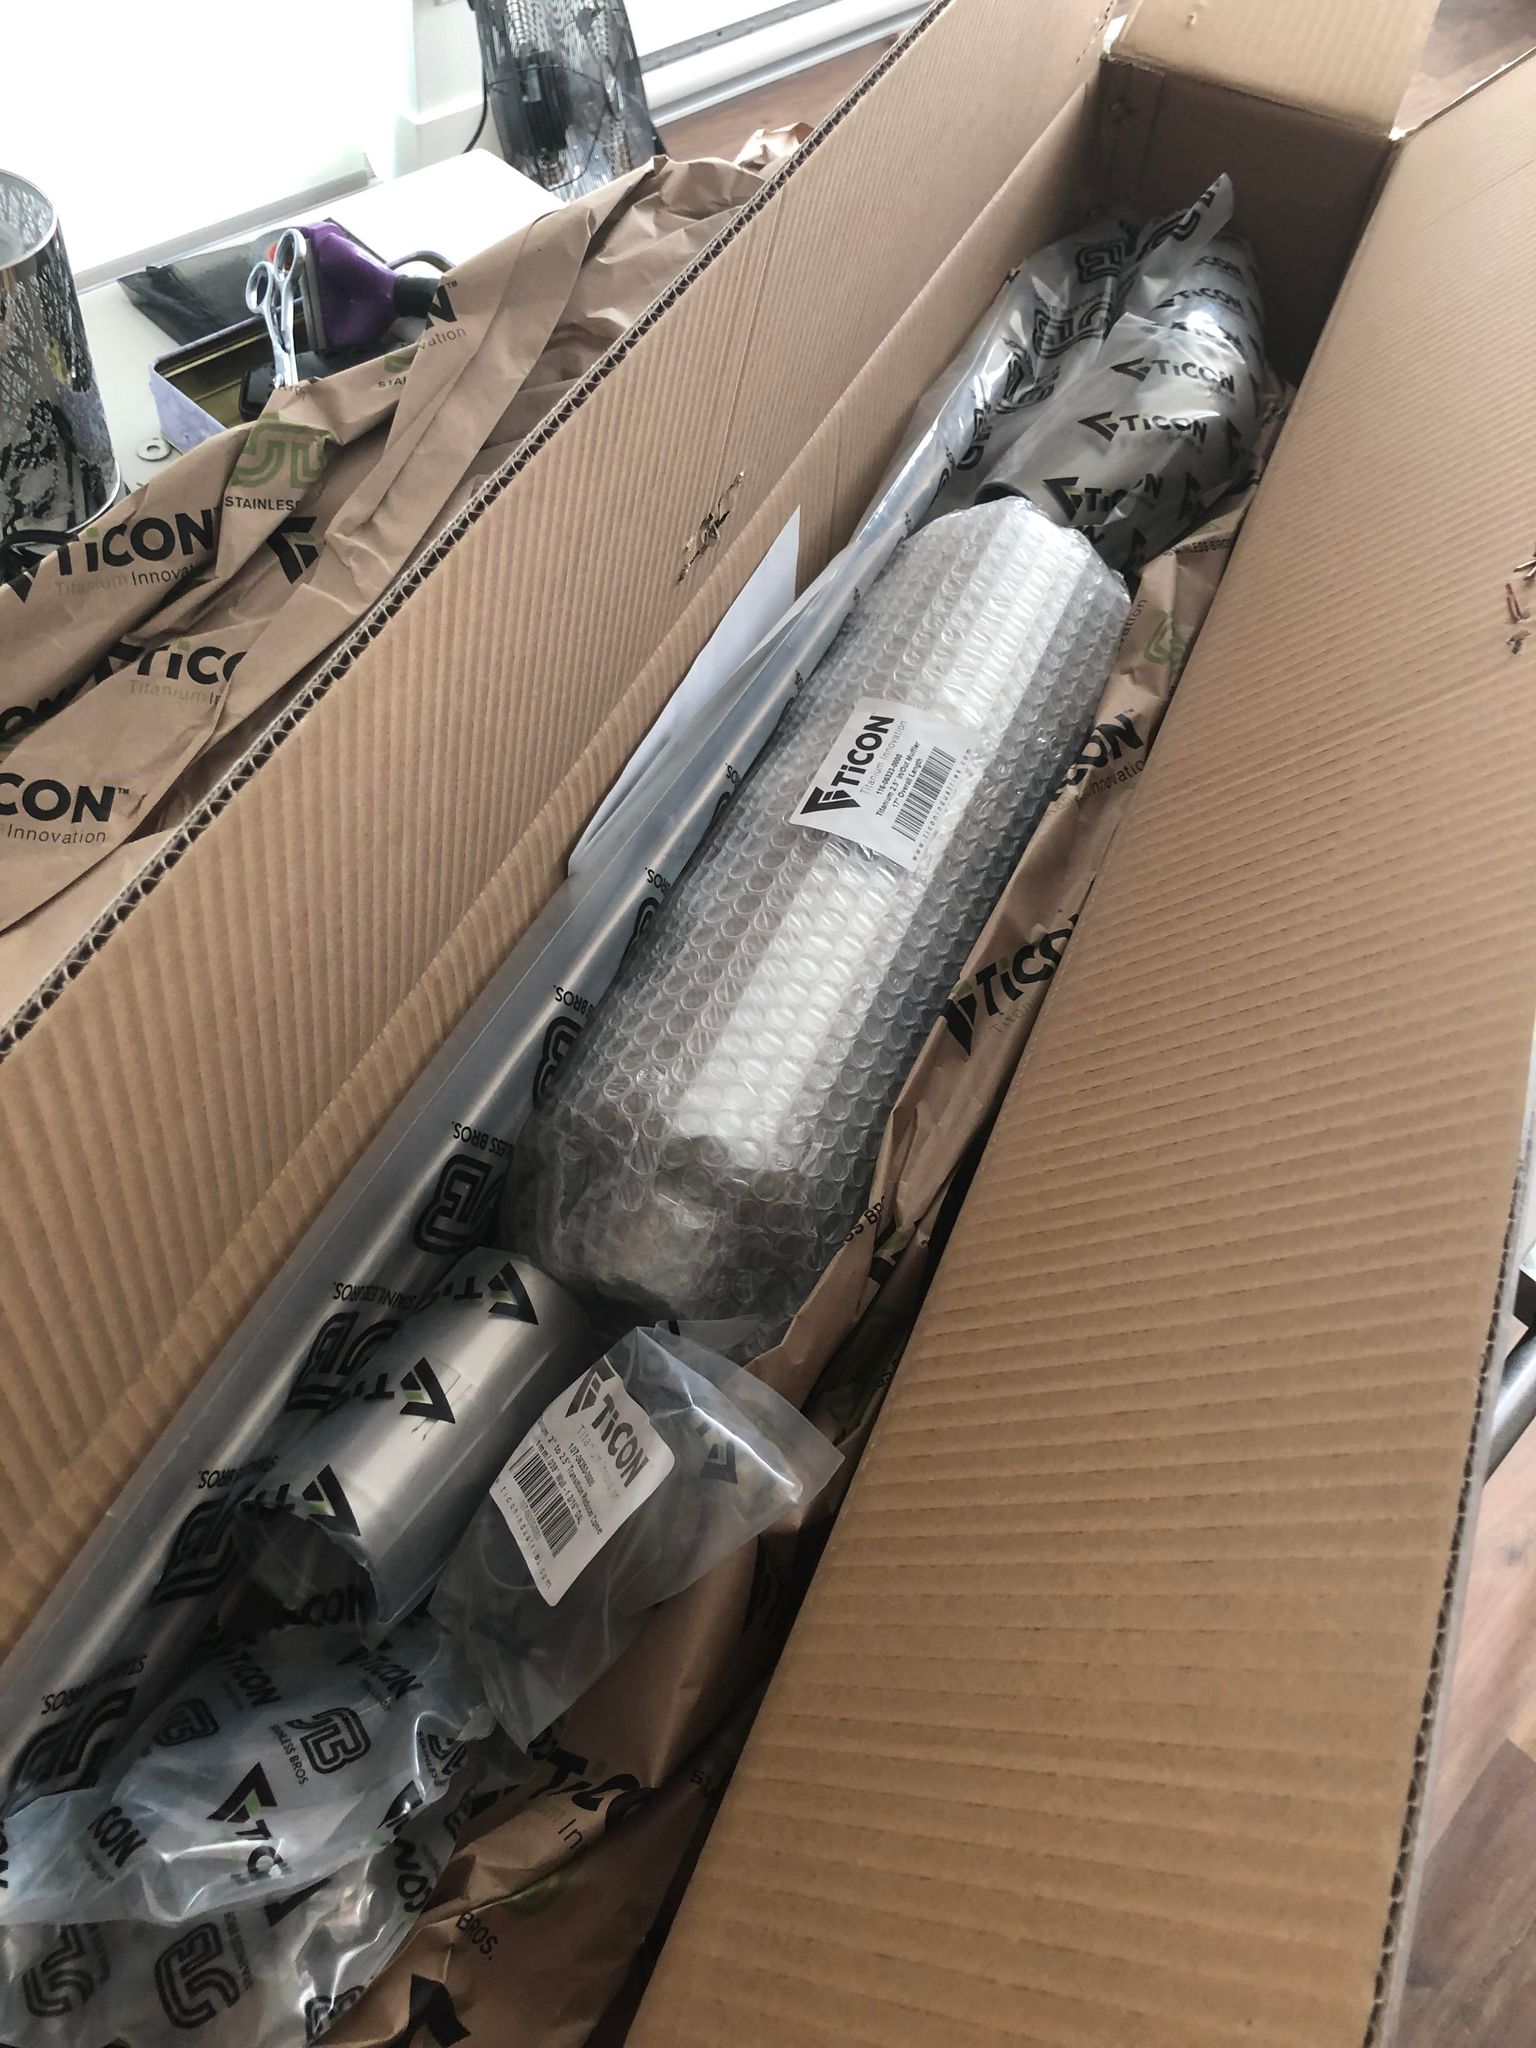
Rather than make my own roof I’d just ordered one from a guy from eastern europe who makes them. Was better value in terms of time and effort, the piece was fine but it was’t packaged brilliantly and therefore damaged in shipping, so i’m in the process of skinning it. That way it’ll also match the plain weave cloth my stuff is mostly made with. I’d also gone with one of those braille batteries, pulled the stereo stuff and other little bits here and there to cut weight. My favorite of those was getting a friend to help make a custom titanium exhaust. Ordered the bits from ticon to fit a design i’d made and he did the welding, turned out great, though with the tip a little close to the clam i extended and heat wrapped it.
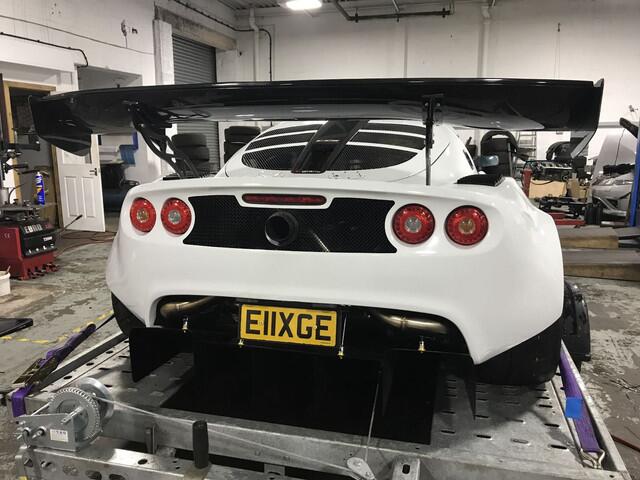
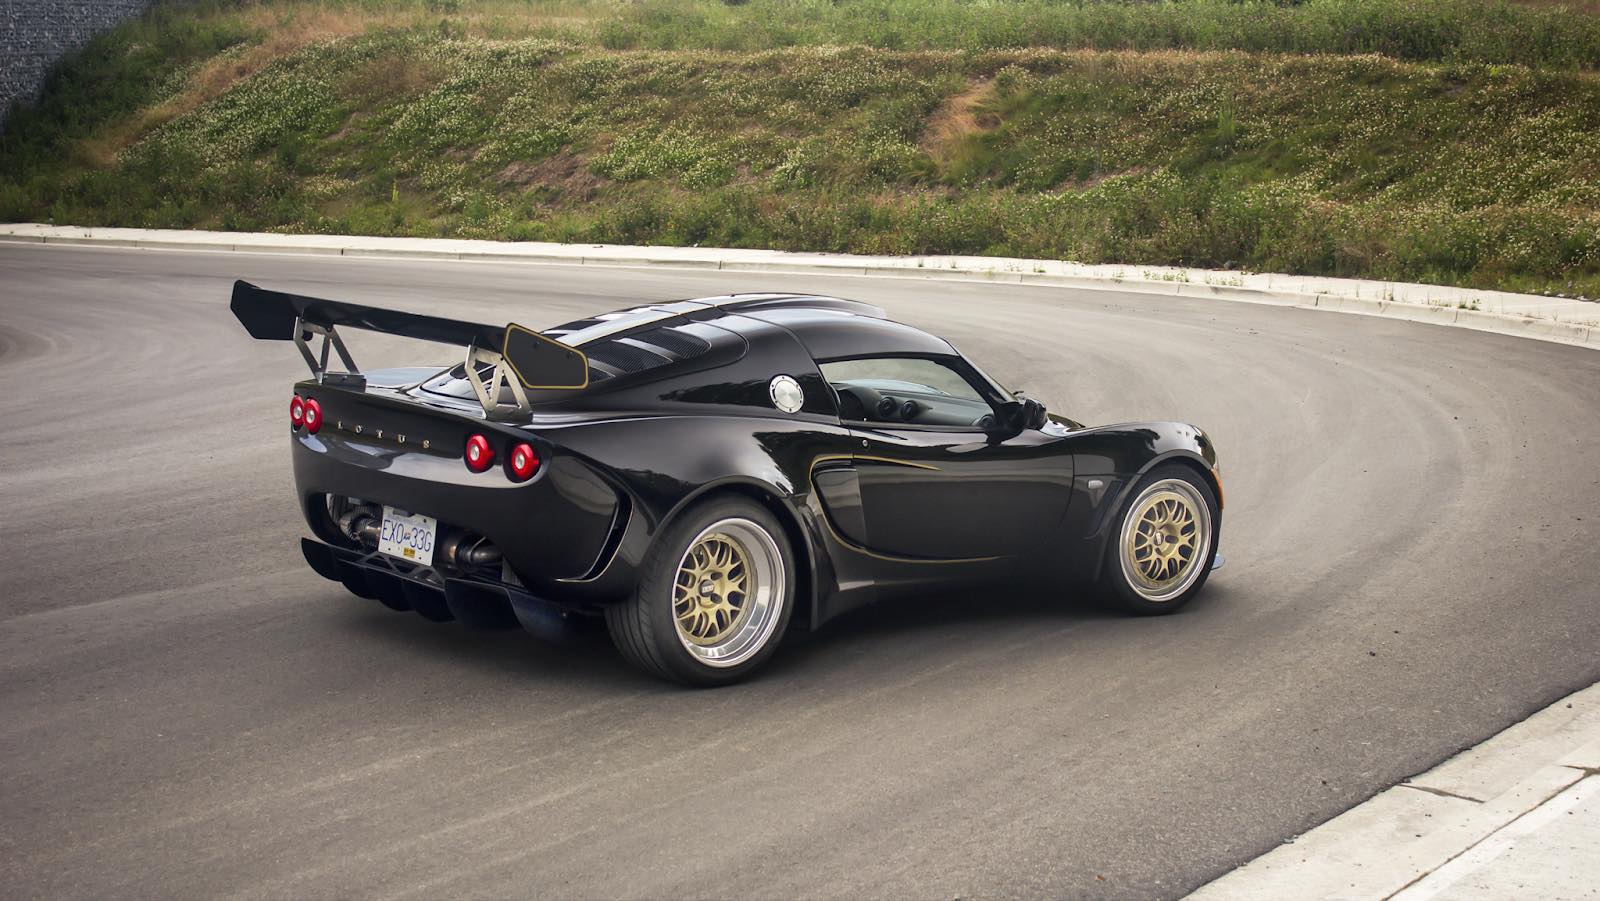
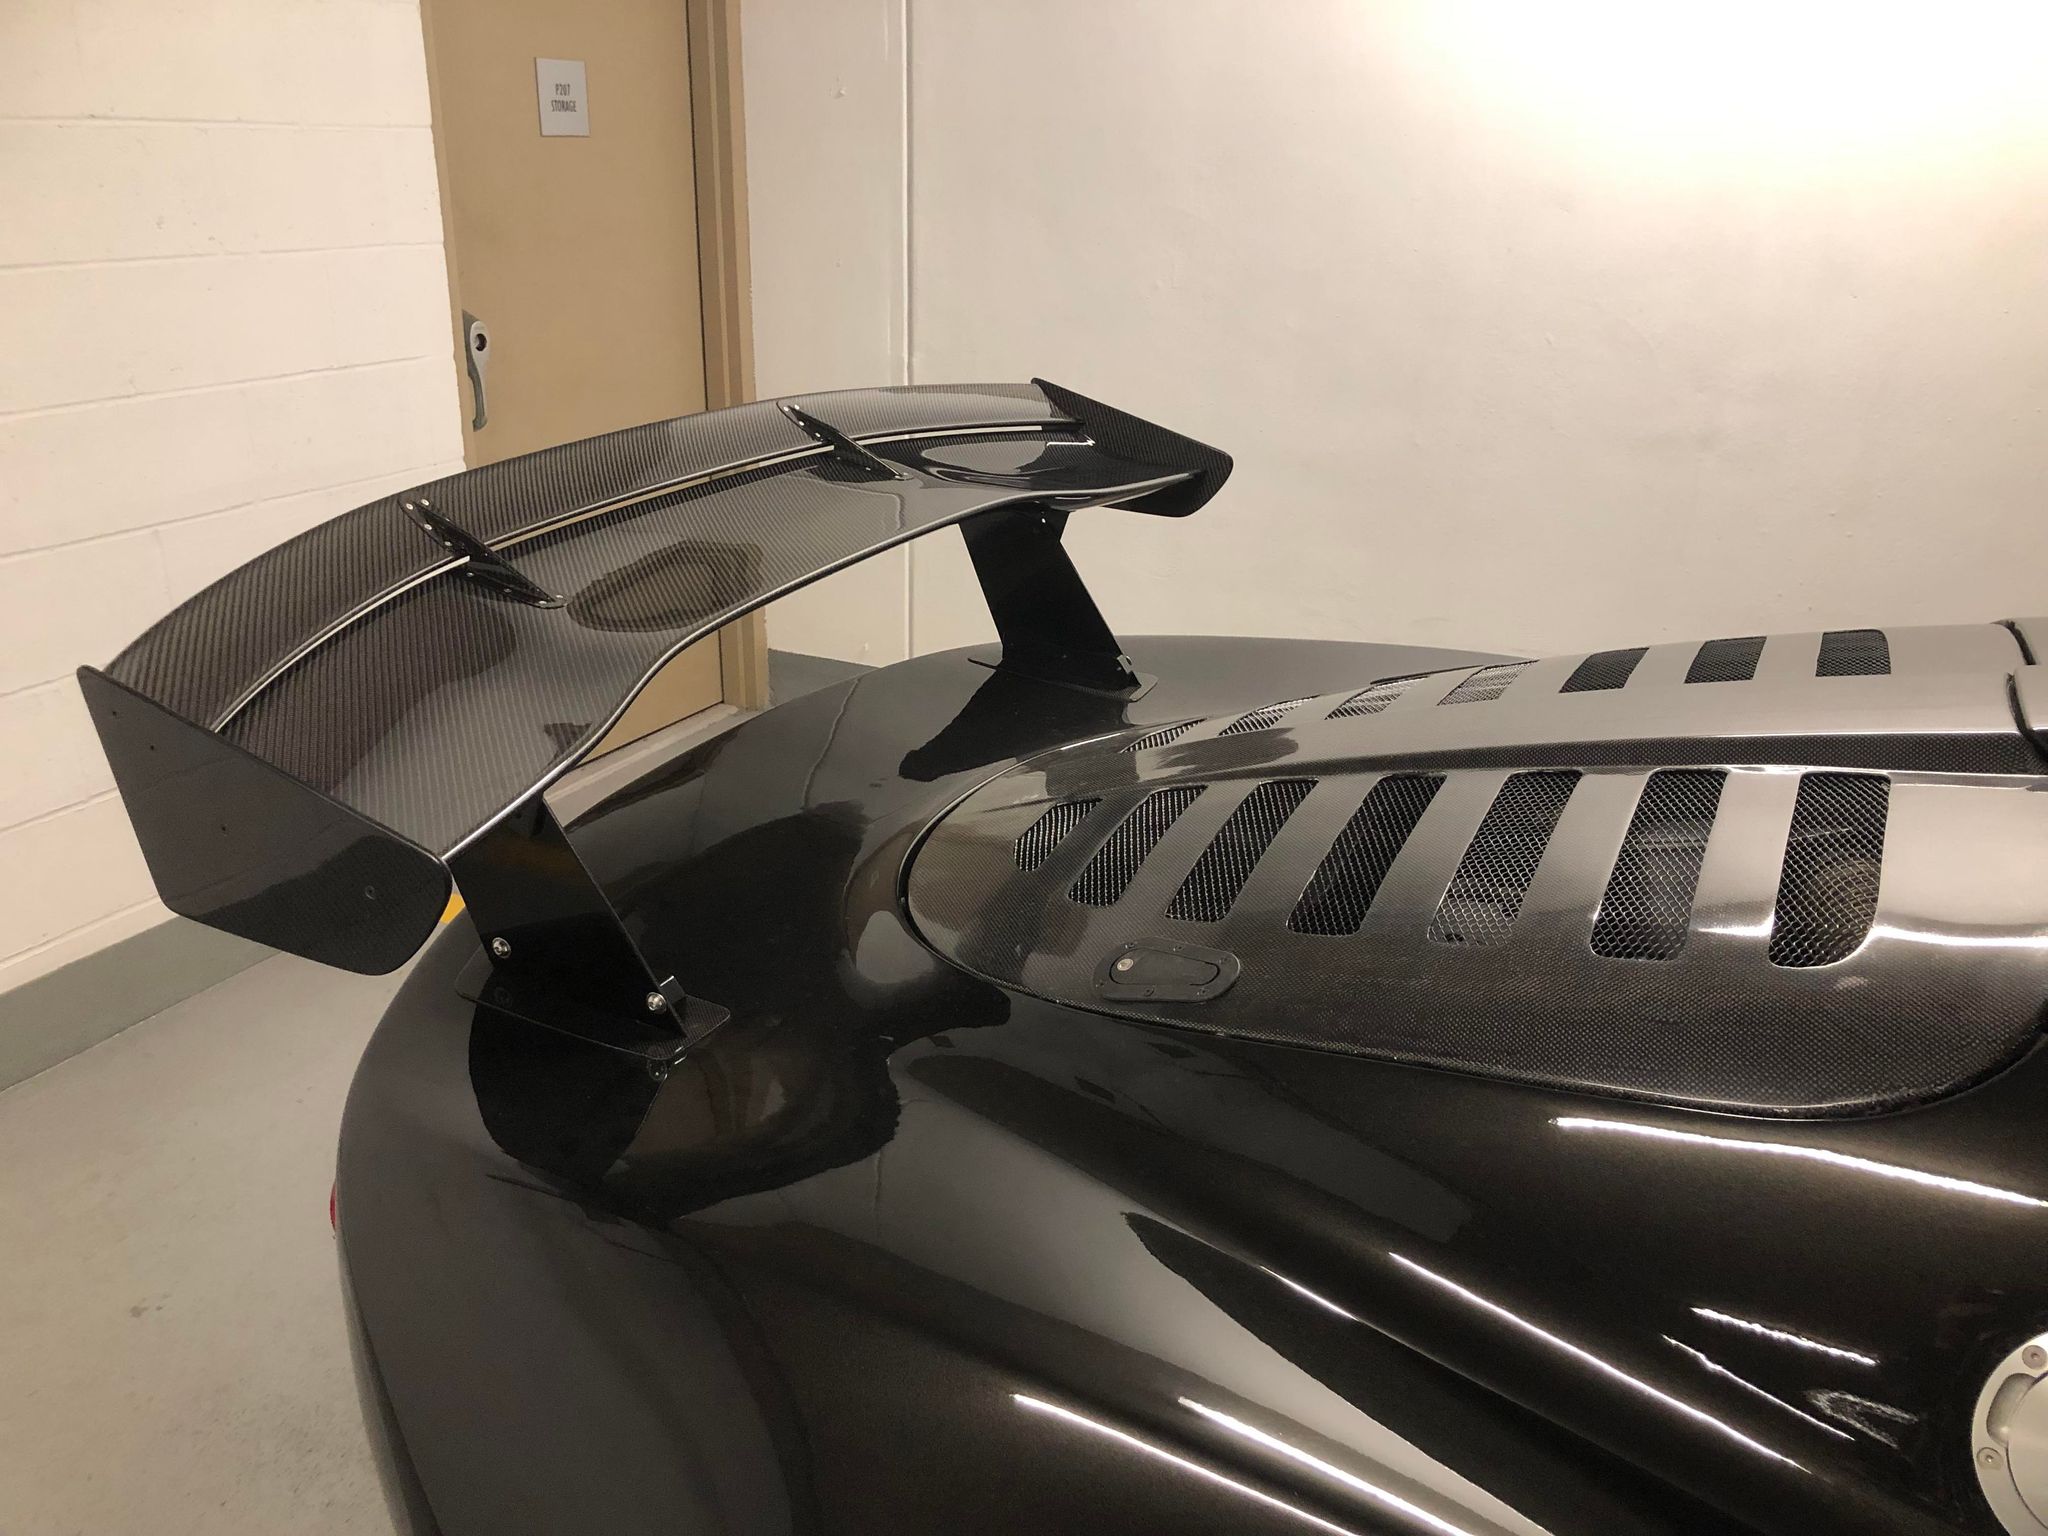
This spring I also switched wings again to a voltex type 3. I’d always wanted one so I put in the order last year, took 12 months to arrive, had to make my own mounts and uprights which was no hardship. I’m loving it.
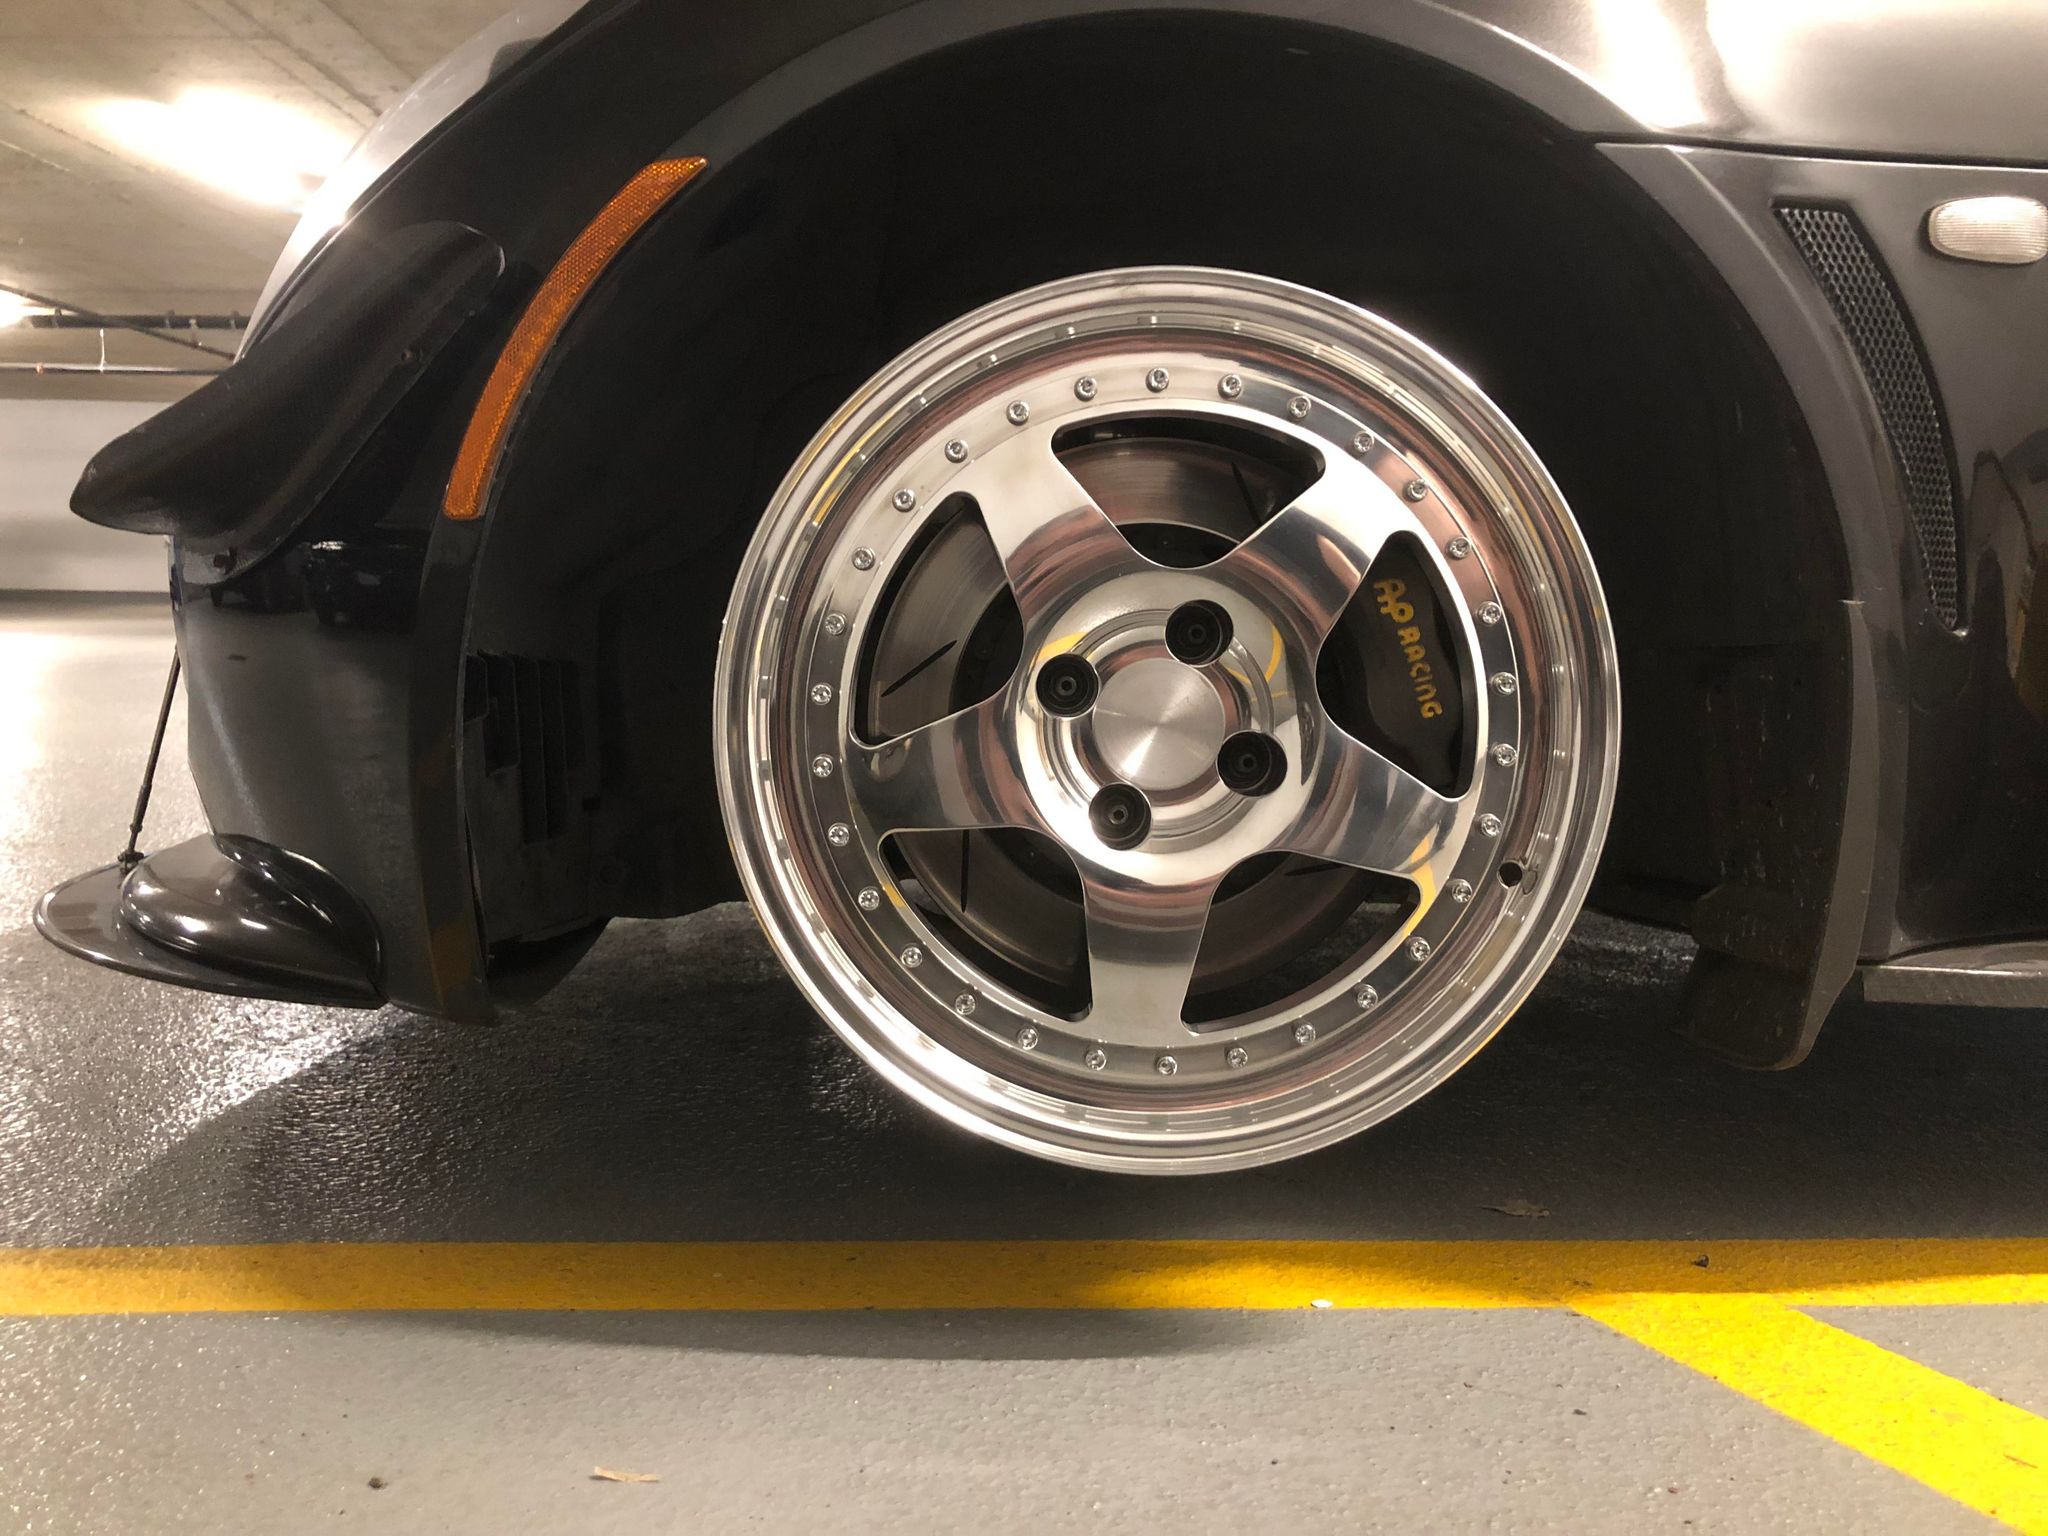
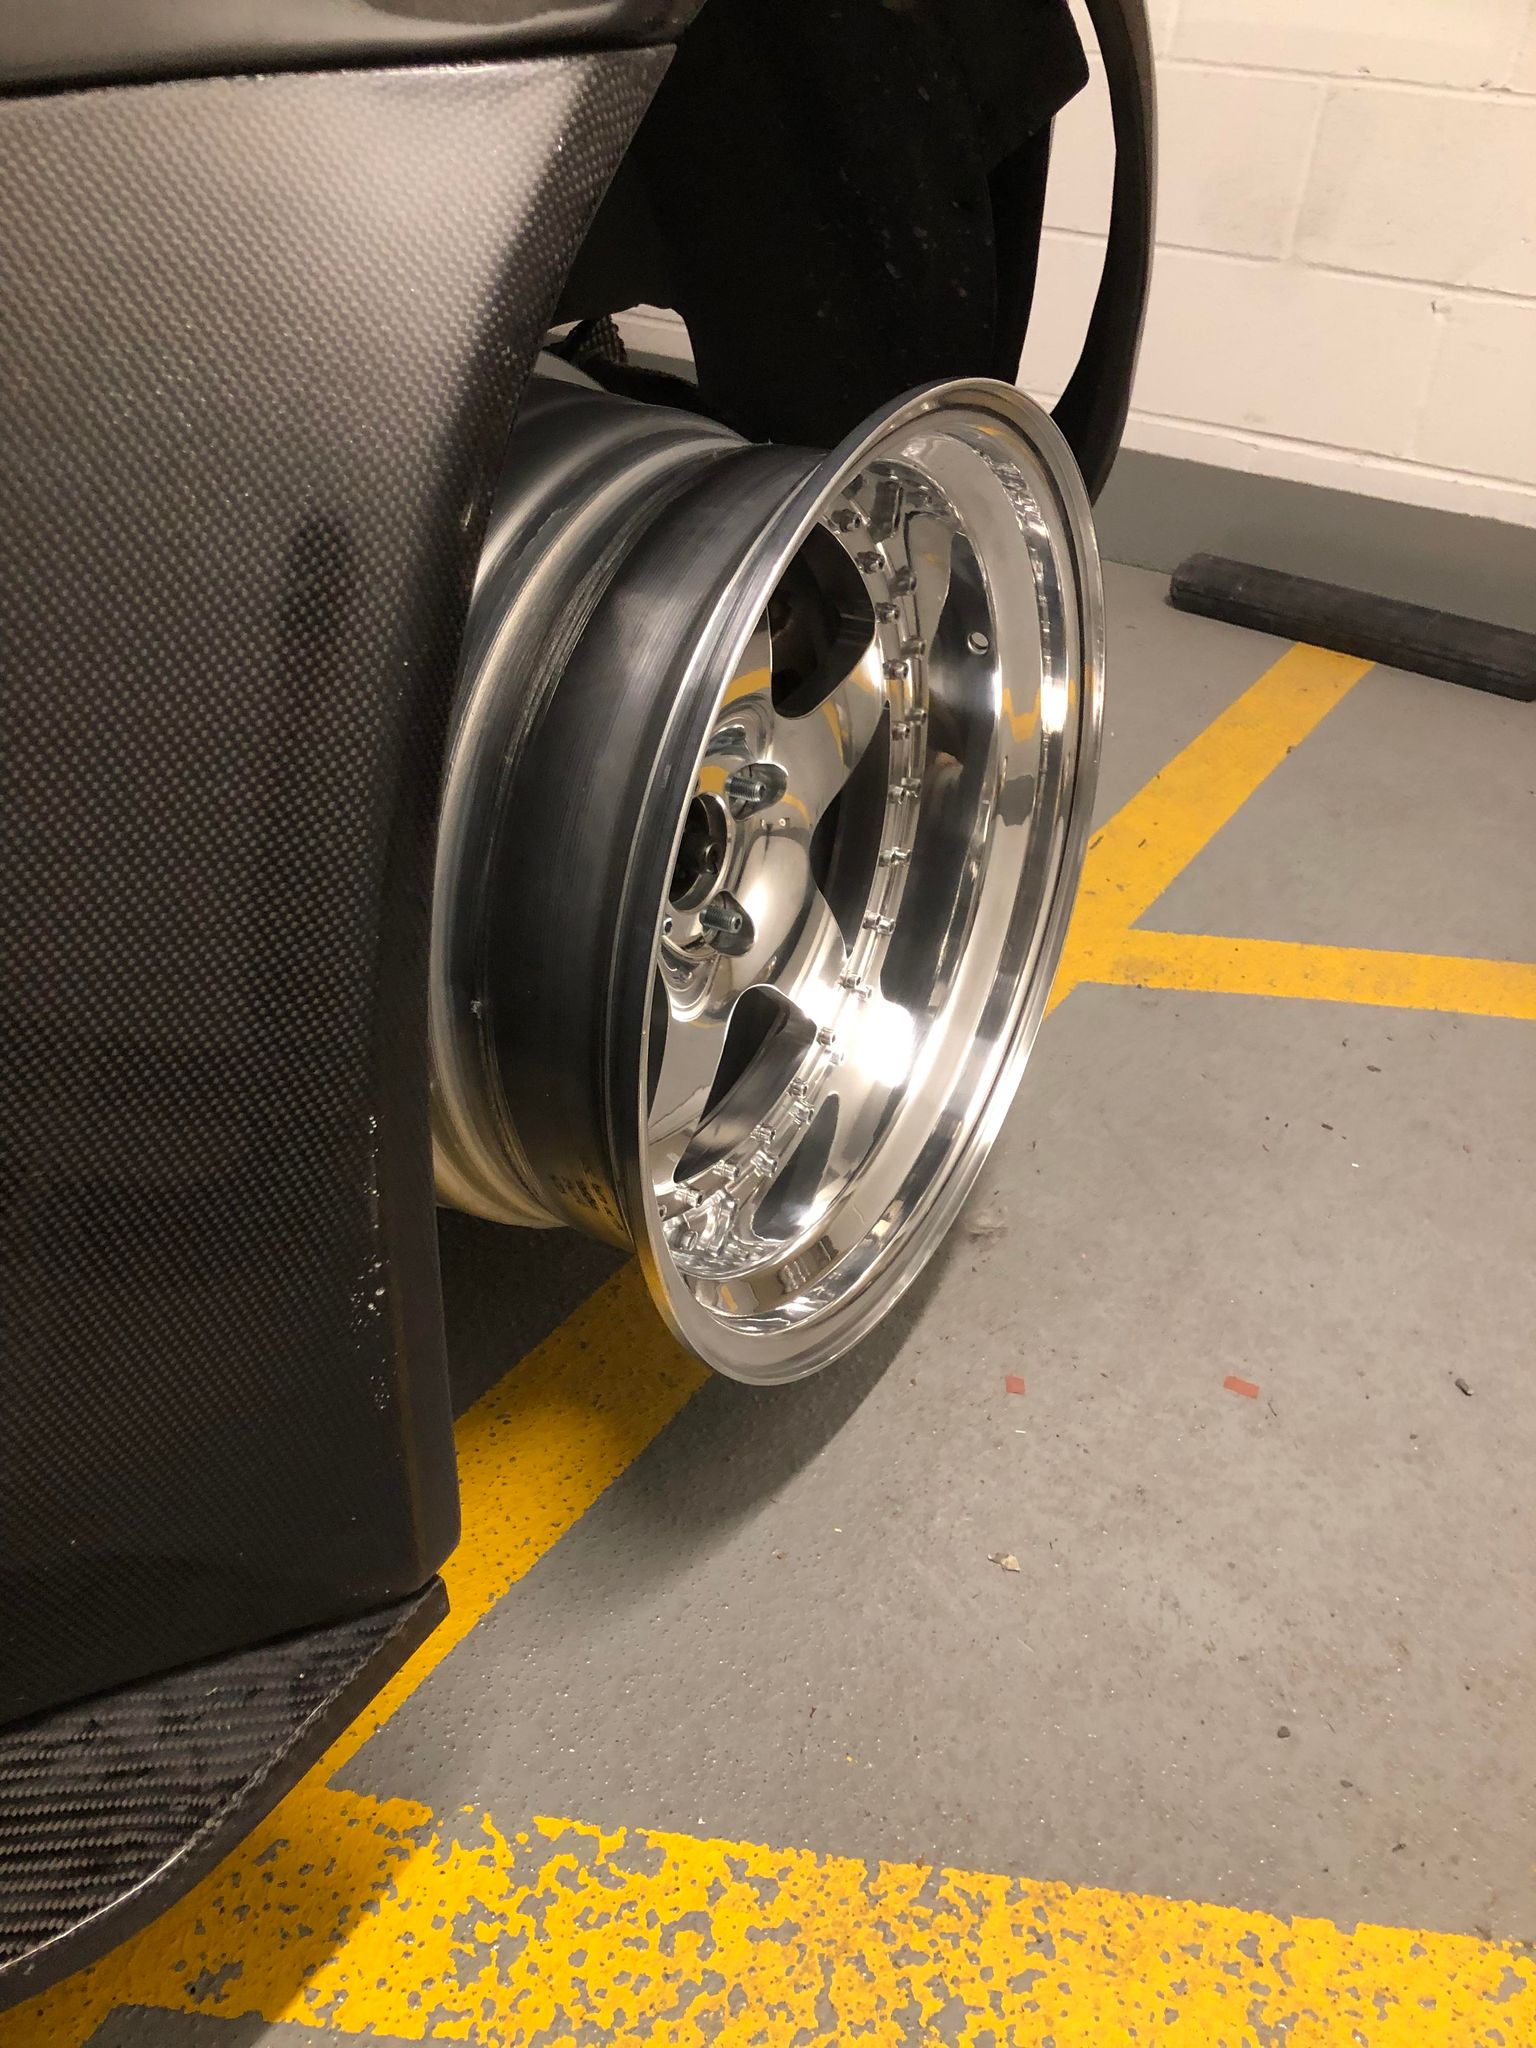
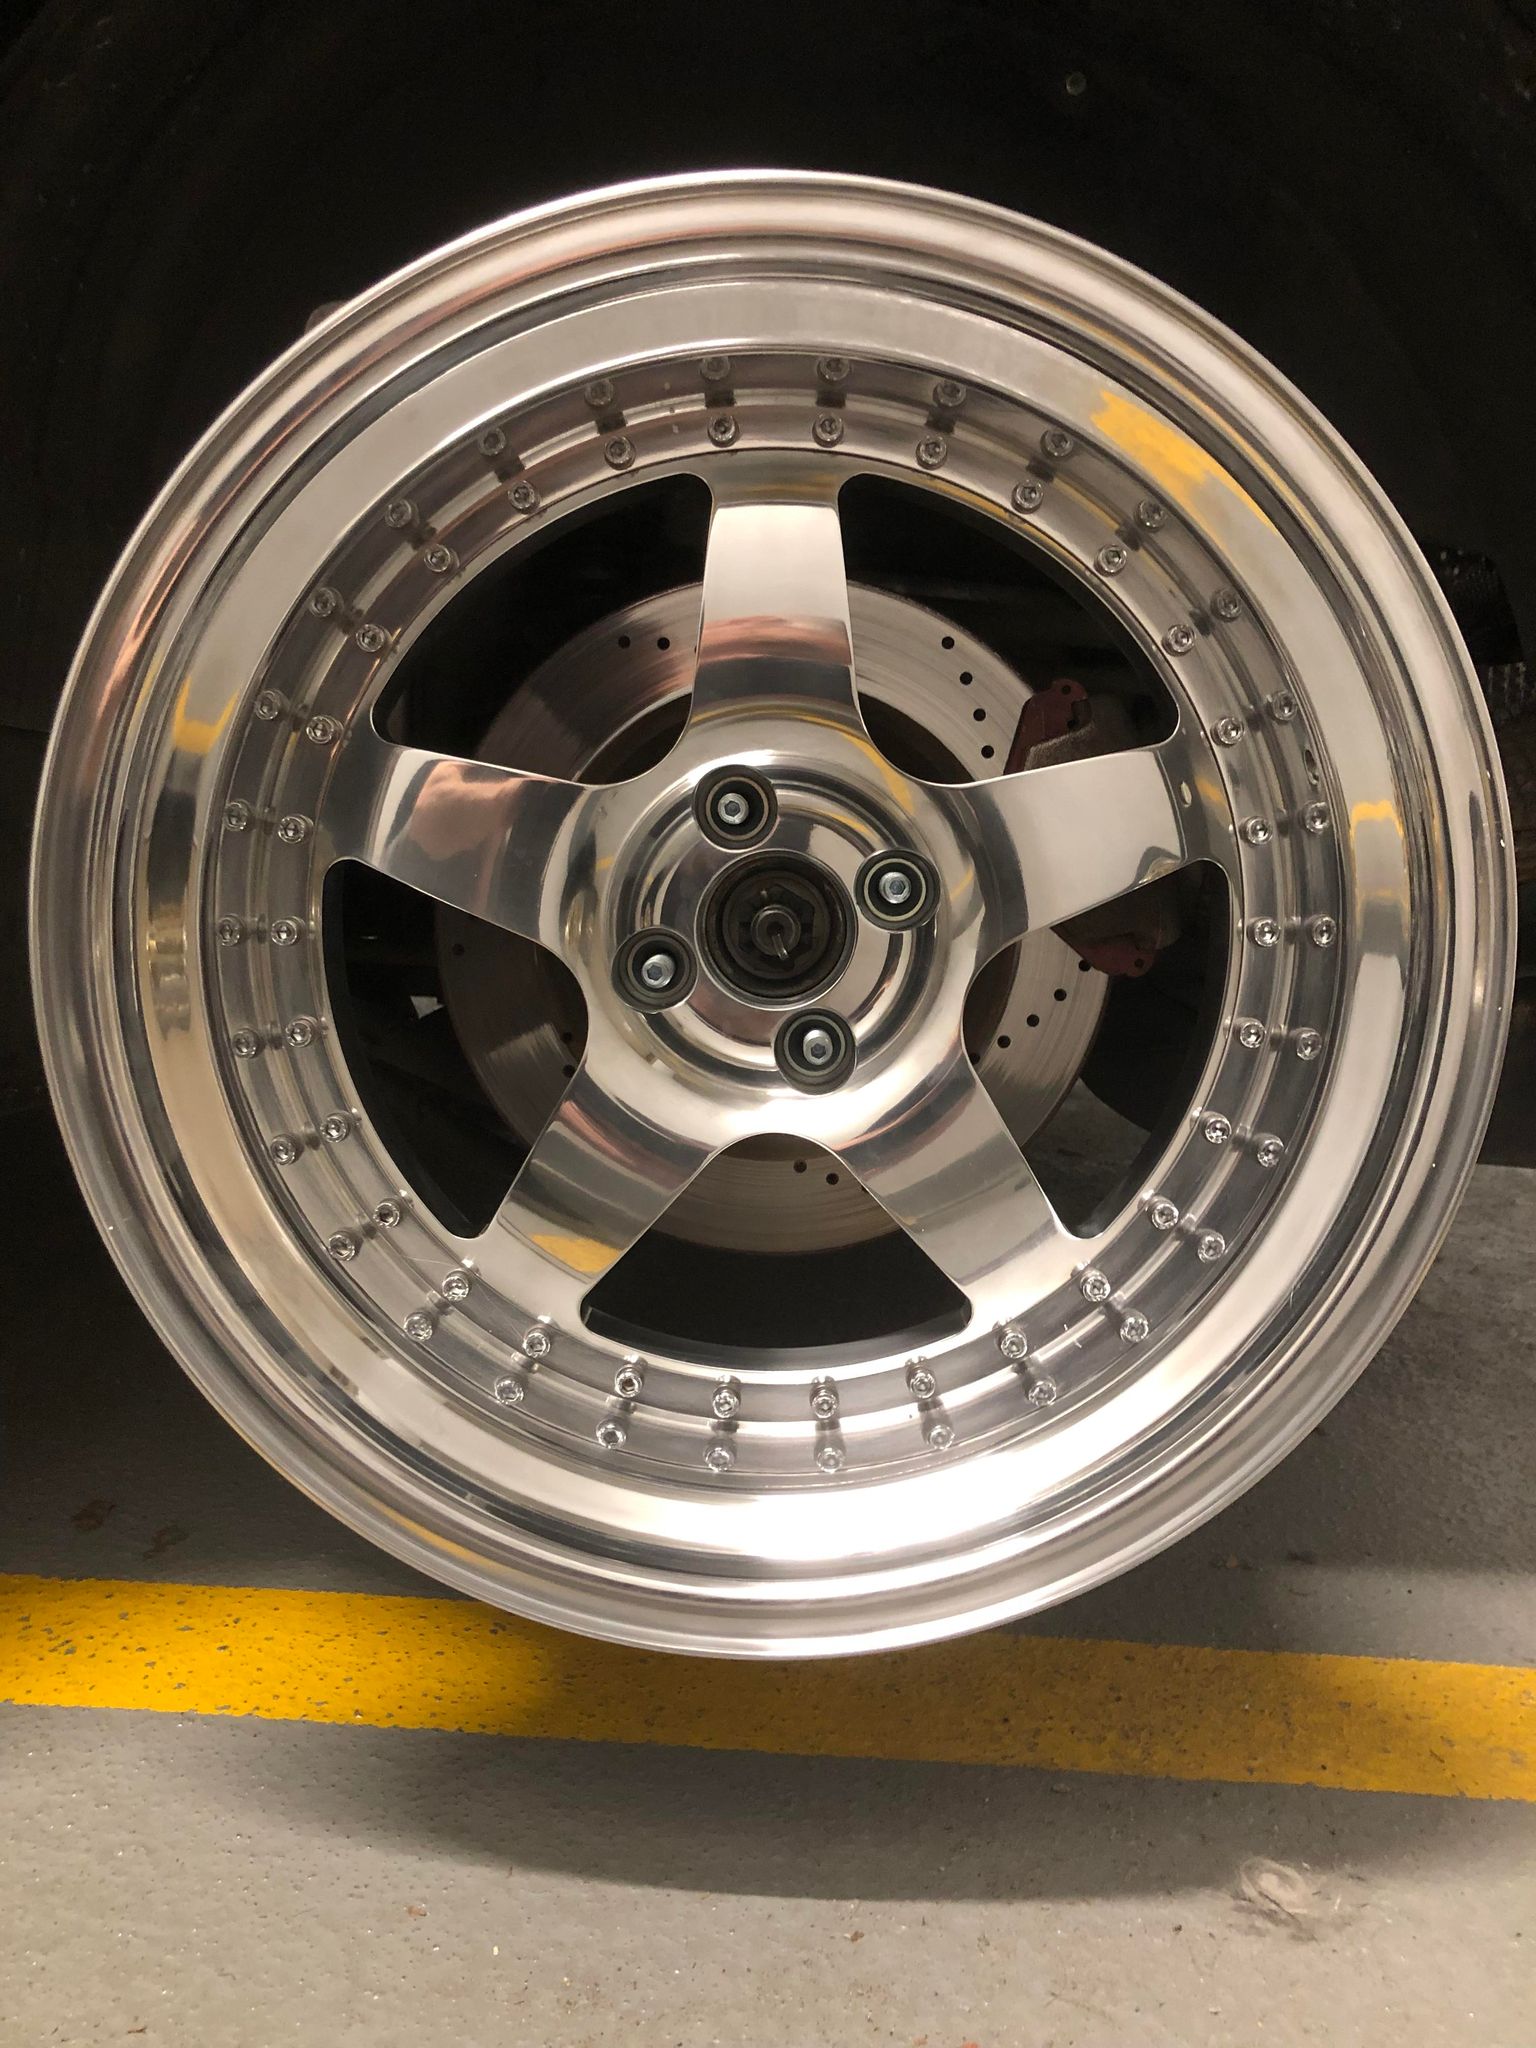
And the most recent piece that I’m really excited about is another set of wheels. I already had two sets, the bbs e87’s but also a set of volk te37’s that I use for track time. I also went through image wheels uk for a set of their billet 5’s, they just showed up a couple days ago and I test fit them. Can’t wait to get tires on them and see how they look. Let me plug them briefly too, they were an absolute pleasure to deal with, their communication and service was amazing and the wheels look incredible as far as i’m concerned.
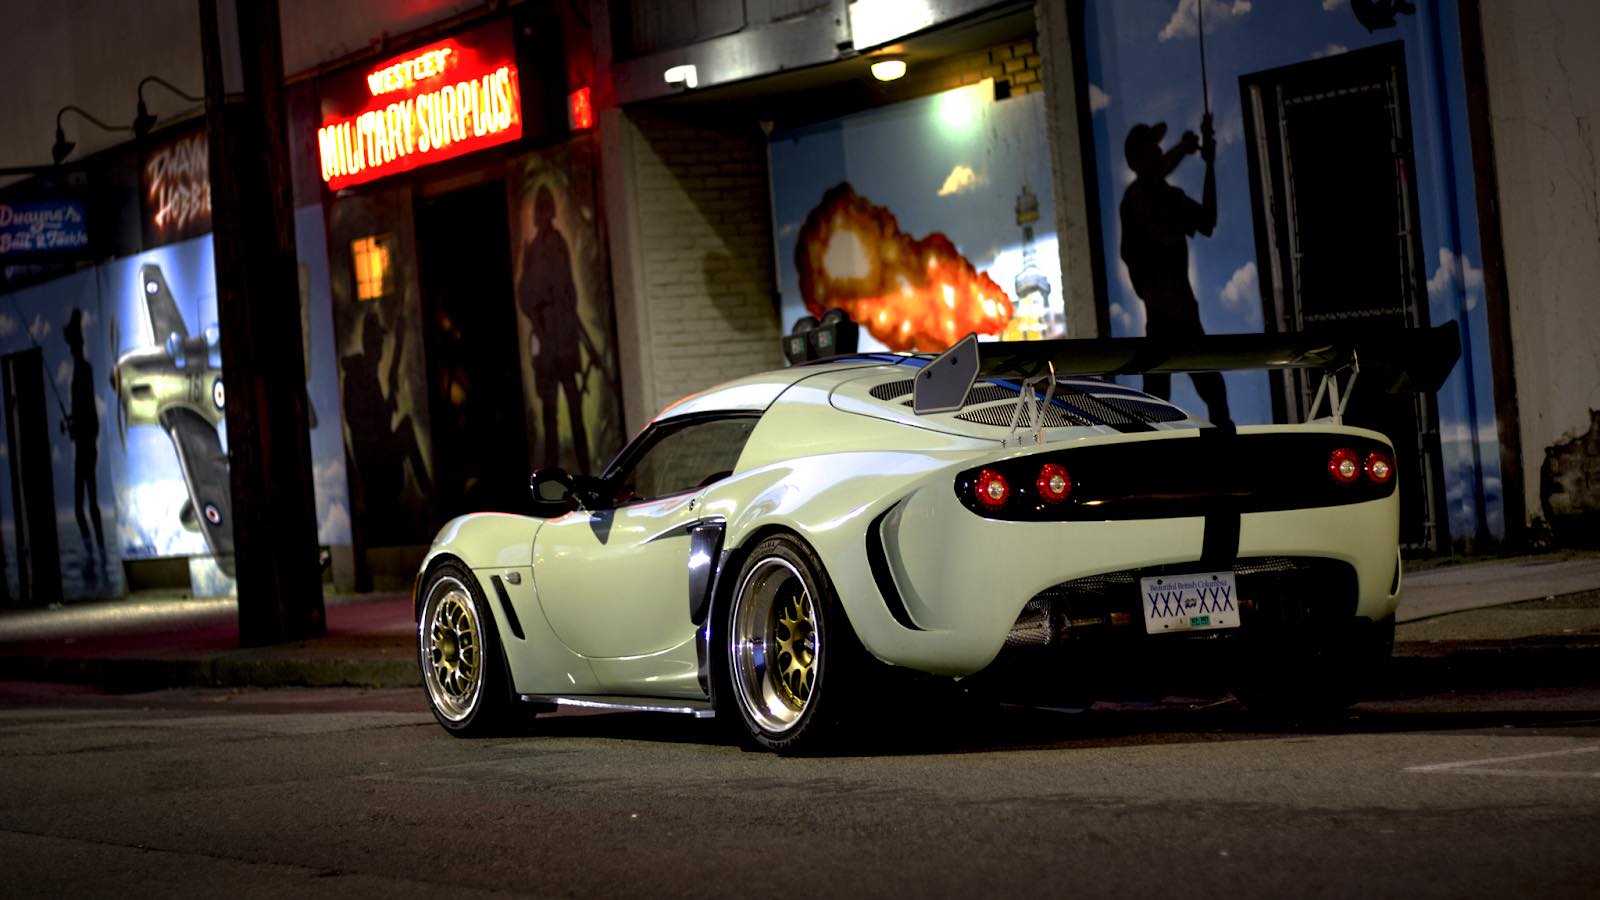
Over the last few years by way of boredom I’d also wrapped the car myself a couple of different colors. This was just to test out different looks, learn how to do wraps, and also because the first rear clam i made wasns’t painted, so I used wraps to pull the car together in a more aesthetically cohesive way. I loved the pistachio the most but my wife hated it, she said we got too much attention.
So after all that focus on weight reduction and more power I have to be honest, I have no idea what the weight of the car is. I’ll find out at some point, but what this taught me is that I was using weight reduction and power to weight ratio targets as a veneer, really I just wanted to see if I would be able to do these things. I’m not sure how apparent it is from the pictures, but I live in a condo and the majority of this work actually takes place in a storage unit adjacent to my parking spot. This means I have to be very quiet and sneaky, and to do that virtually all of the work happens with hand tools to be quiet and inconspicuous.
Also have to say that I work a desk job, I have very limited expertise or experience, but I do these things myself as a challenge. I have goals and ideas and I want to be able to achieve them and I want to be able to say I did them with my own hands. Cheers!