No attempt here to do a JonnyFox style build but this may be of interest. I have a spare engine for my S1 Exige and there are (thankfully) no signs that the car needs it nor do I do enough miles to wear the one on the car out. However, it sits as a donor and I’d like to see what state it is in should I ever have to use it or more likely take parts from it. I have never done anything more than a head change on an old MGB before so it should be an interesting project. Obviously, any useful comments will be appreciated and I’m only going to put this on Exiges. Goal is to understand the state of the engine and decide what to do. Anybody who is going to fit and engine like this will want to check it over before fitting so it’s a useful exercise if I ever sell it with or without the car as I will know what, if anything needs to be replaced.
I’ve also found an engine builder, literally 500m from my house who rebuilds/balances and flows classic F1 engines, so this could take another expensive path.
Engine is supposed to be a low mileage engine but you can’t be sure, they are pushing 20 years old and I can’t know what has happened to it in the past. It’s been in my garage for years with lots of anti-corrosion spray in the bores and valves and turned over from time to time.
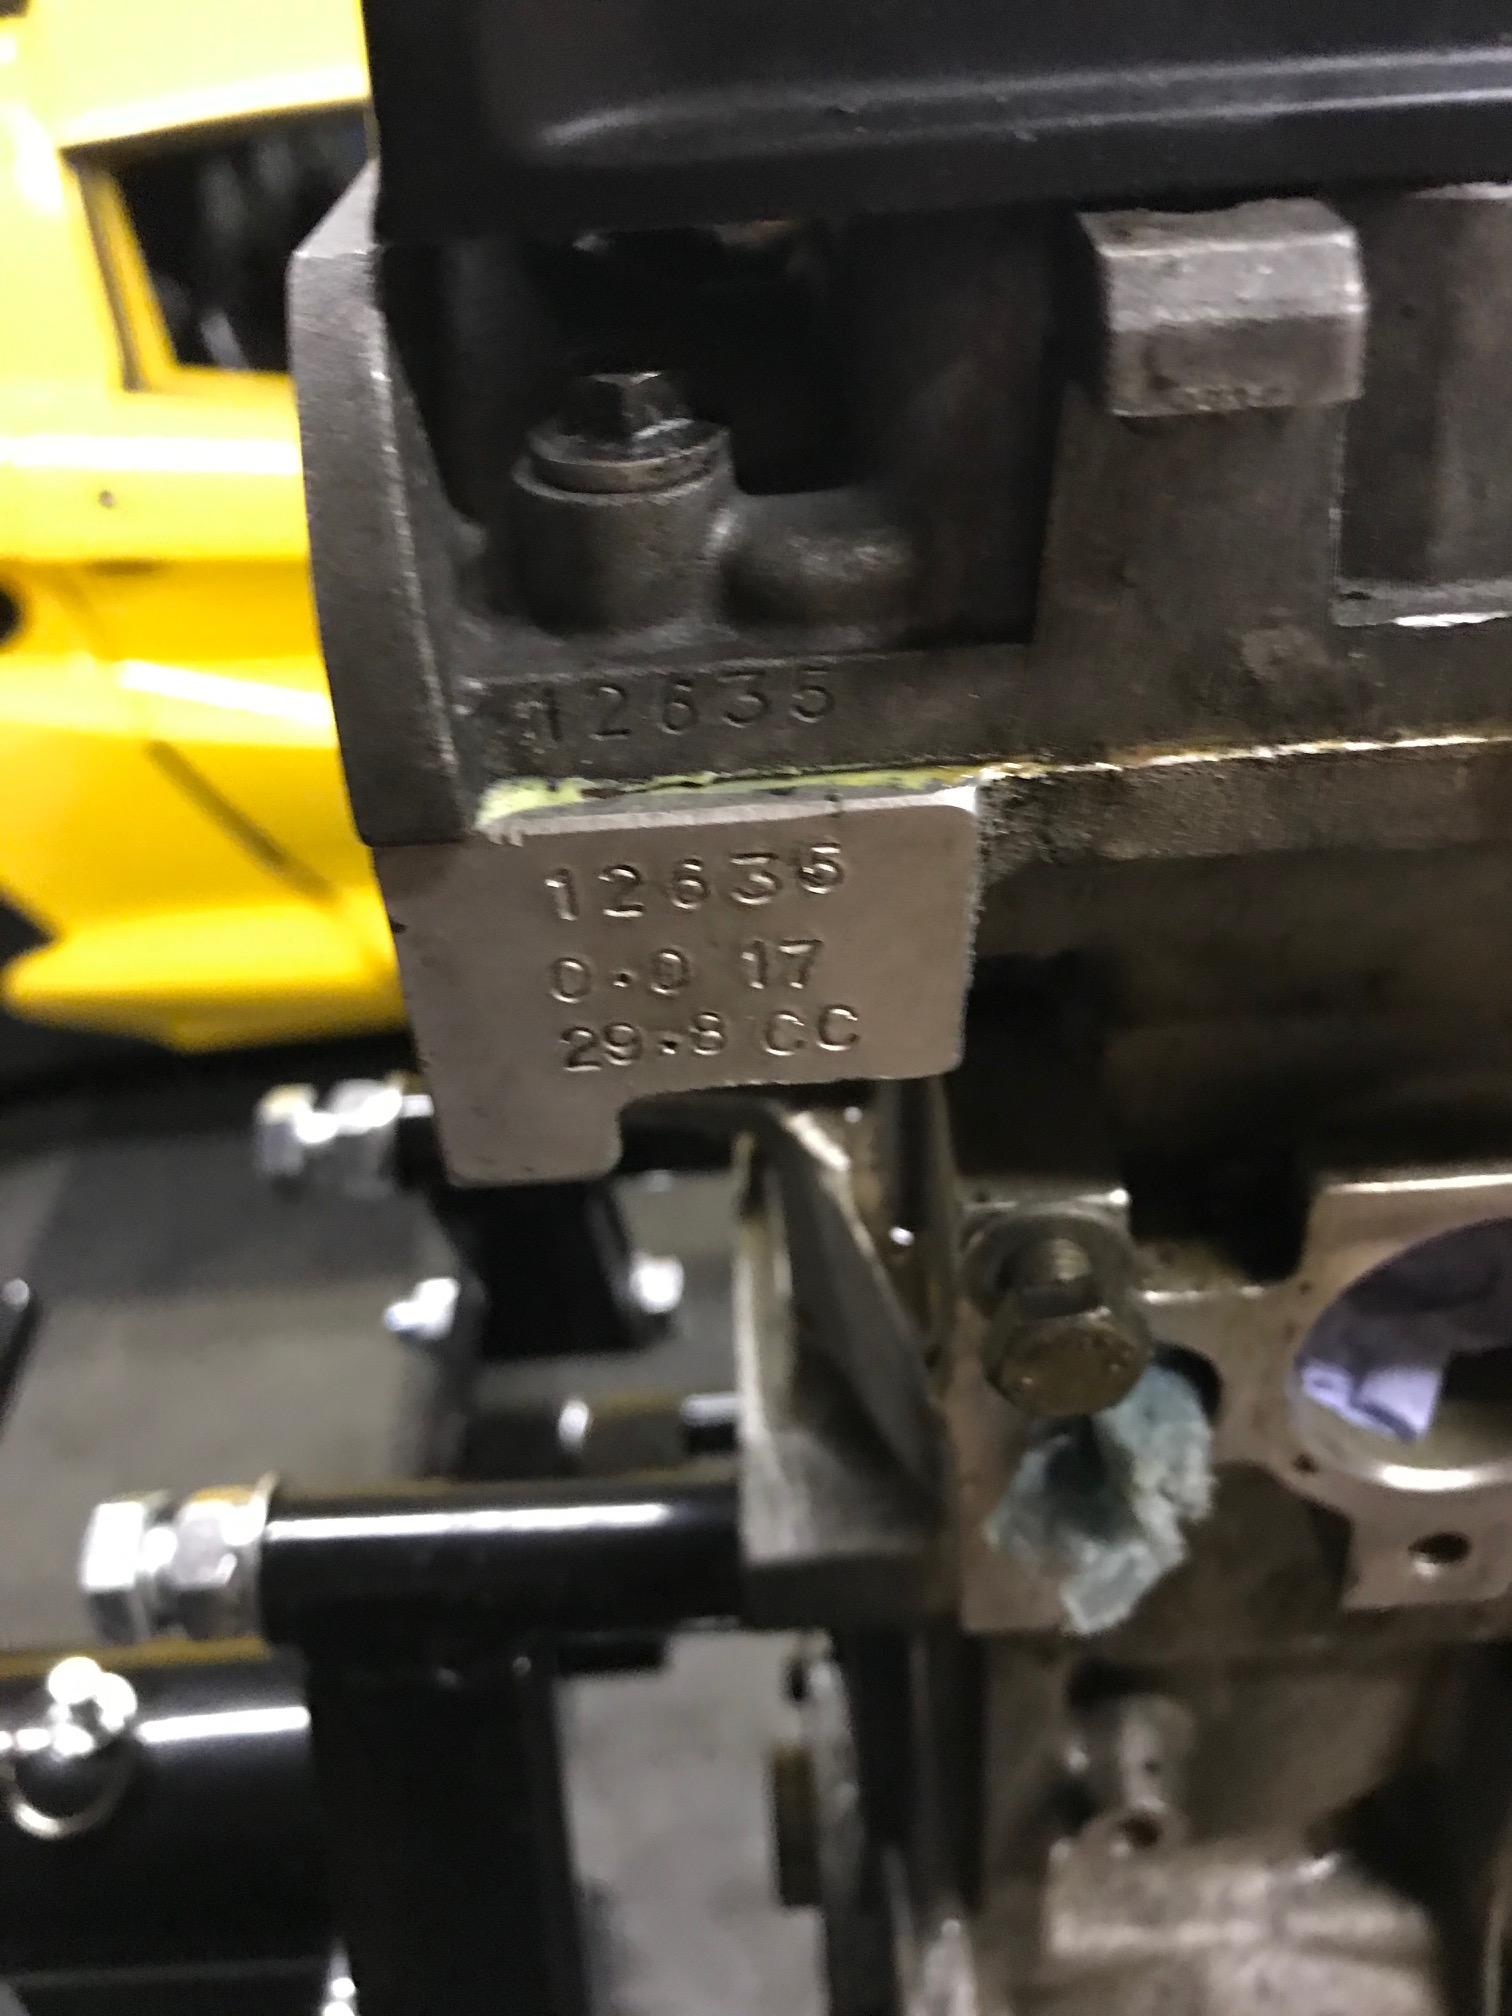
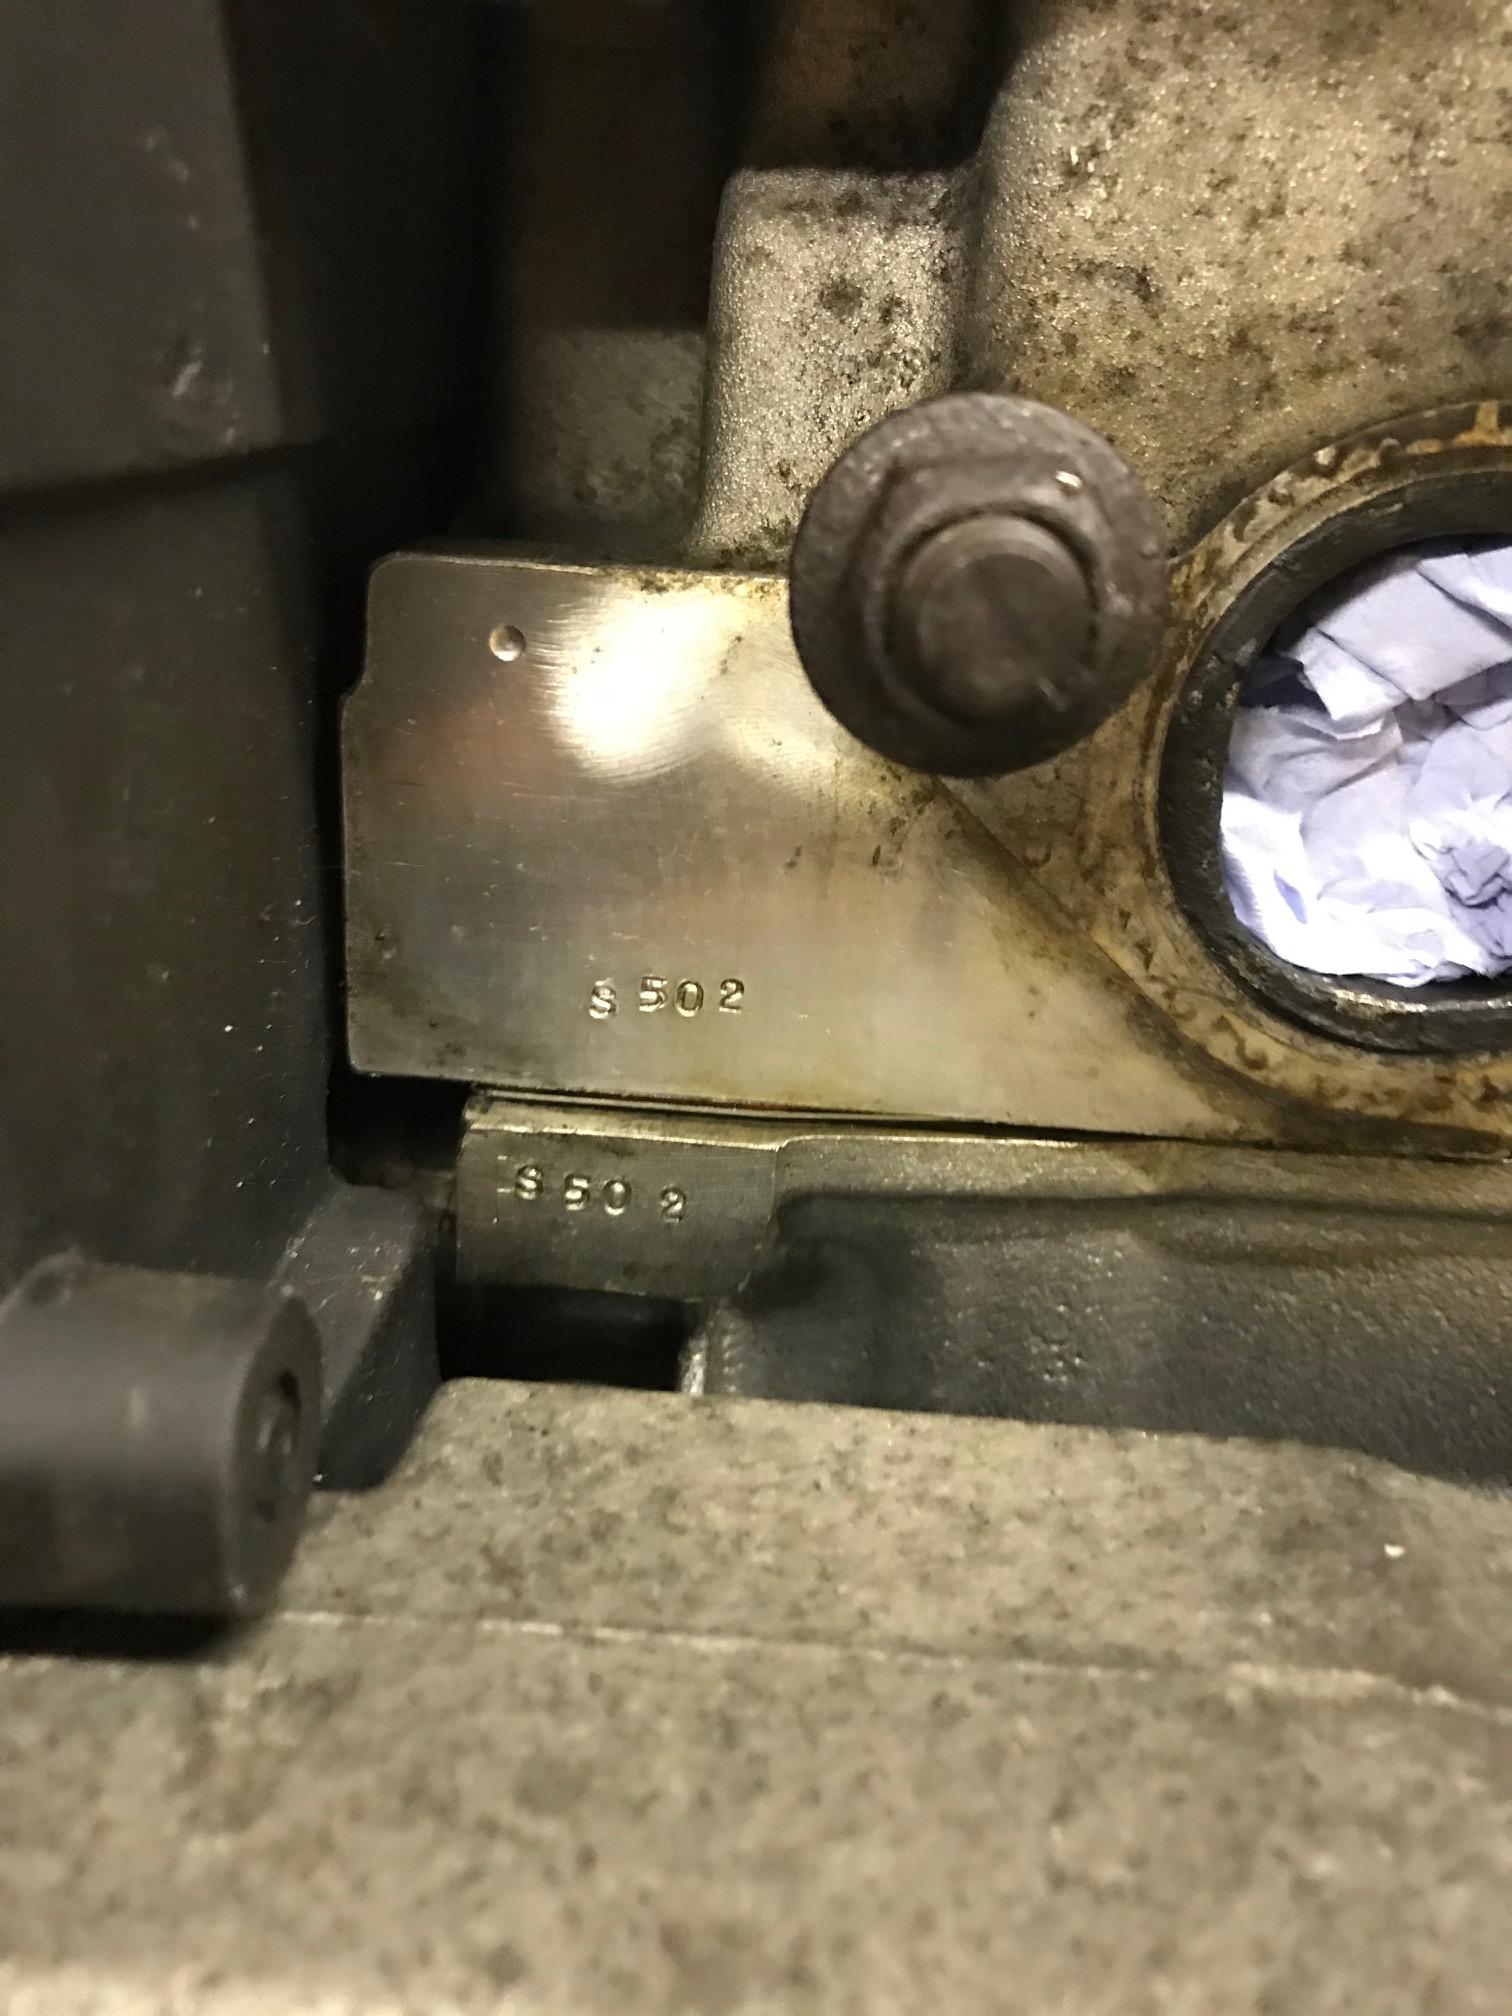
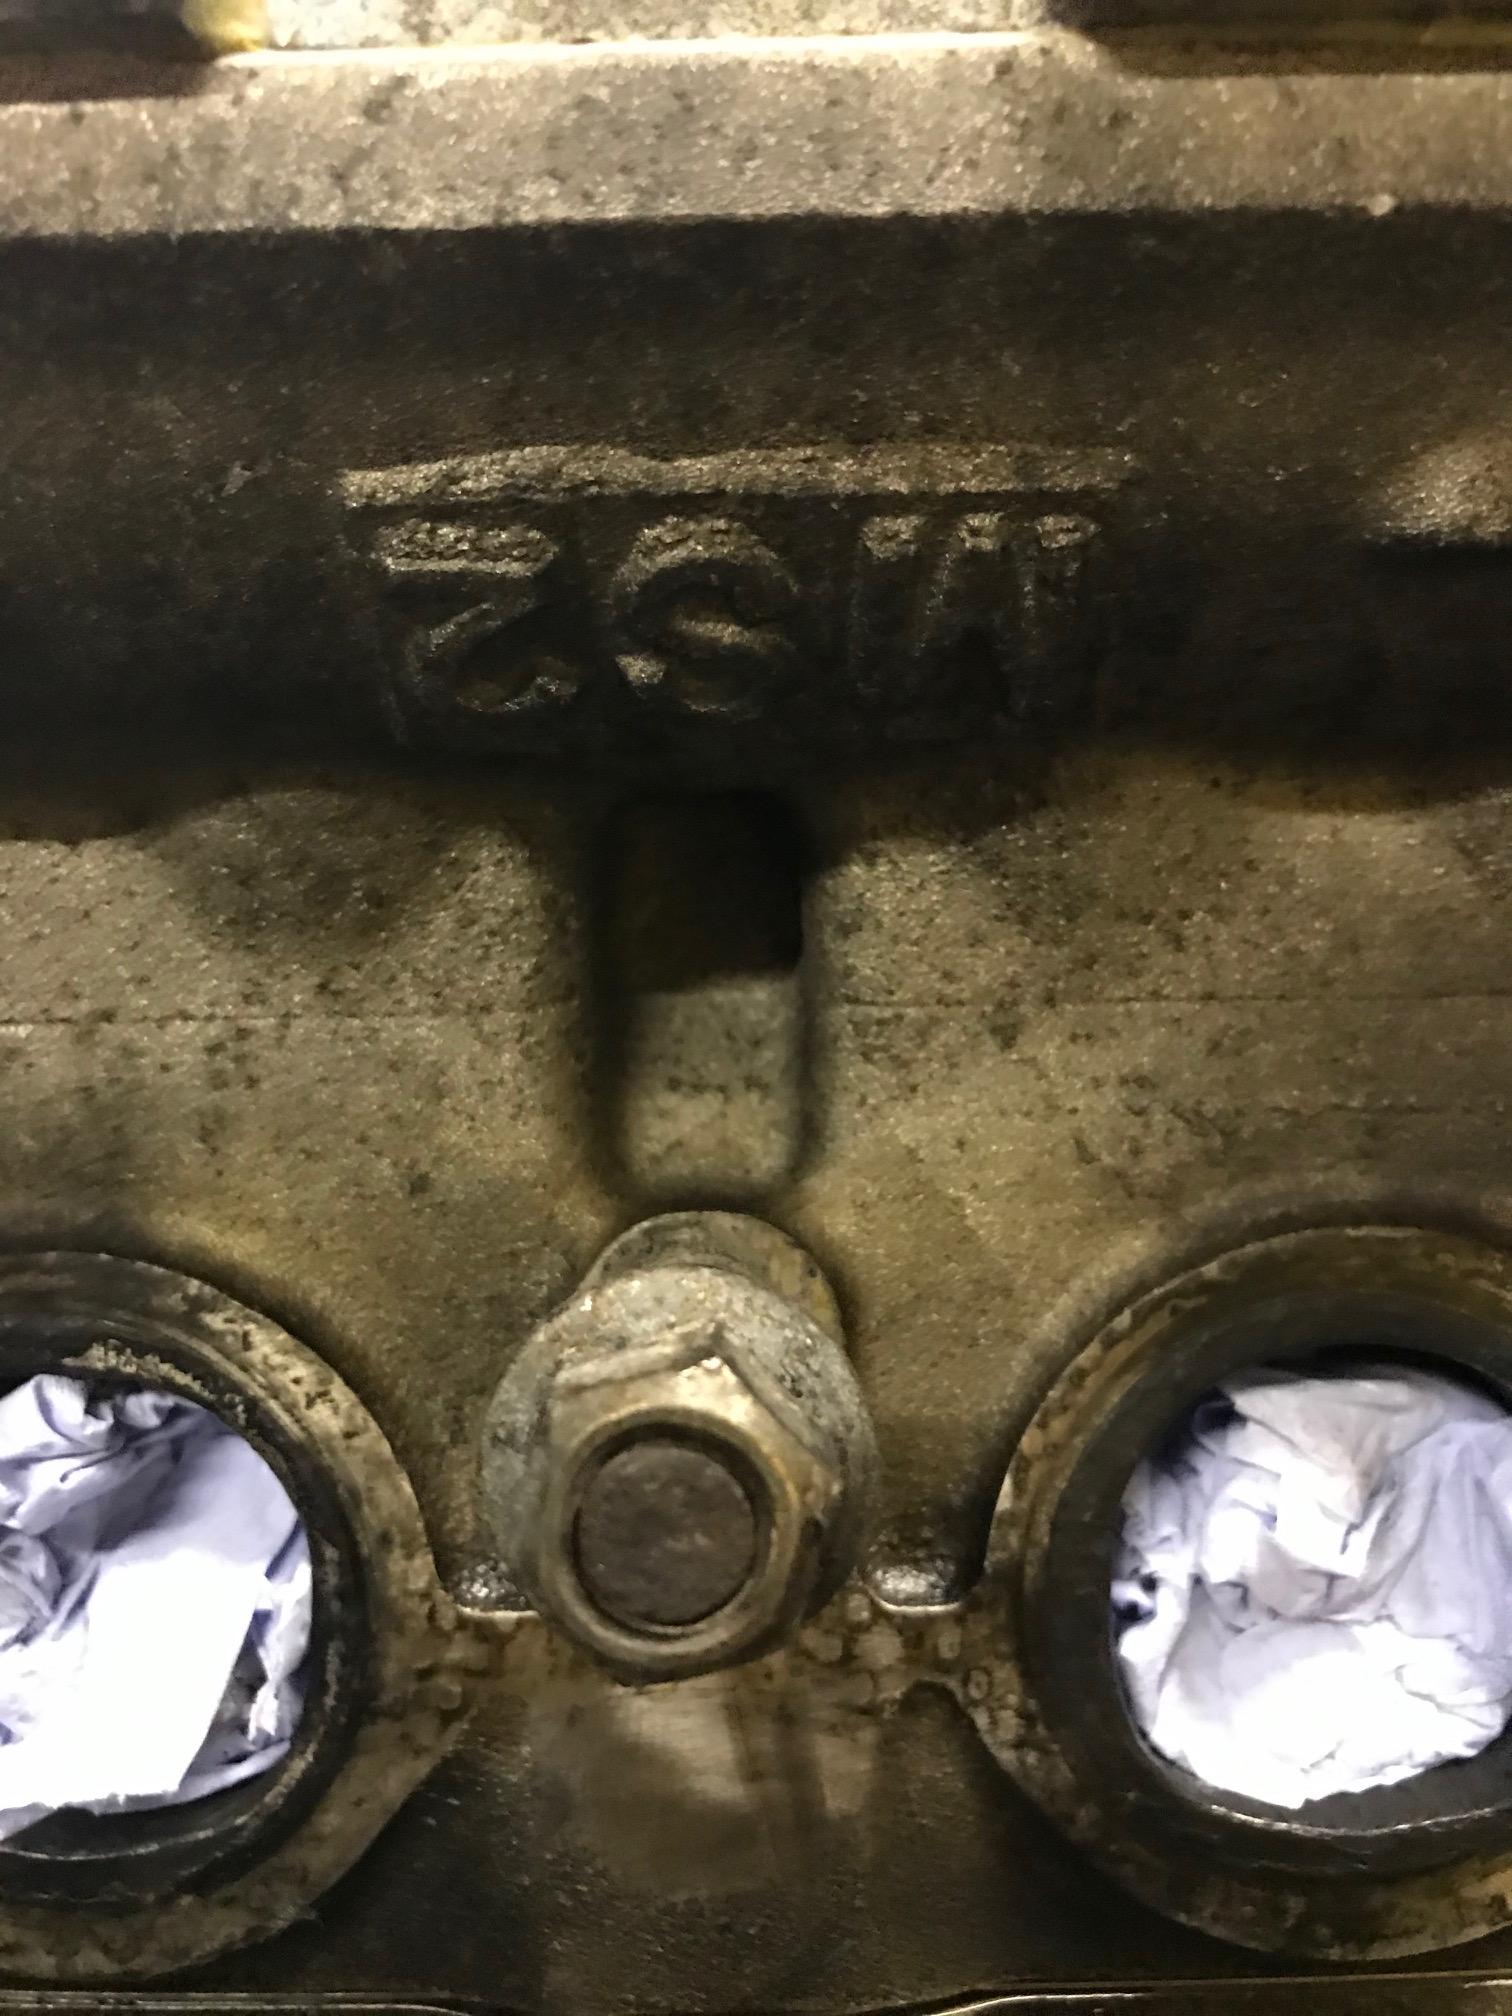
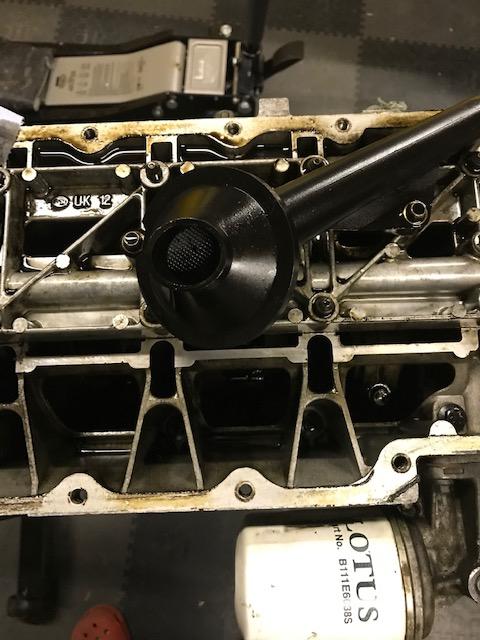
Pictures show it’s an MS2 head and has S502 (serial number?) punched into the block and the head on the exhaust side and 12635 (serial number?) on the cam carrier and head and 0.0 17 and 29.8 CC on the inlet side of the head. I assume they are something to do with the volume of the head chambers.
Some pictures to make a start (next post)
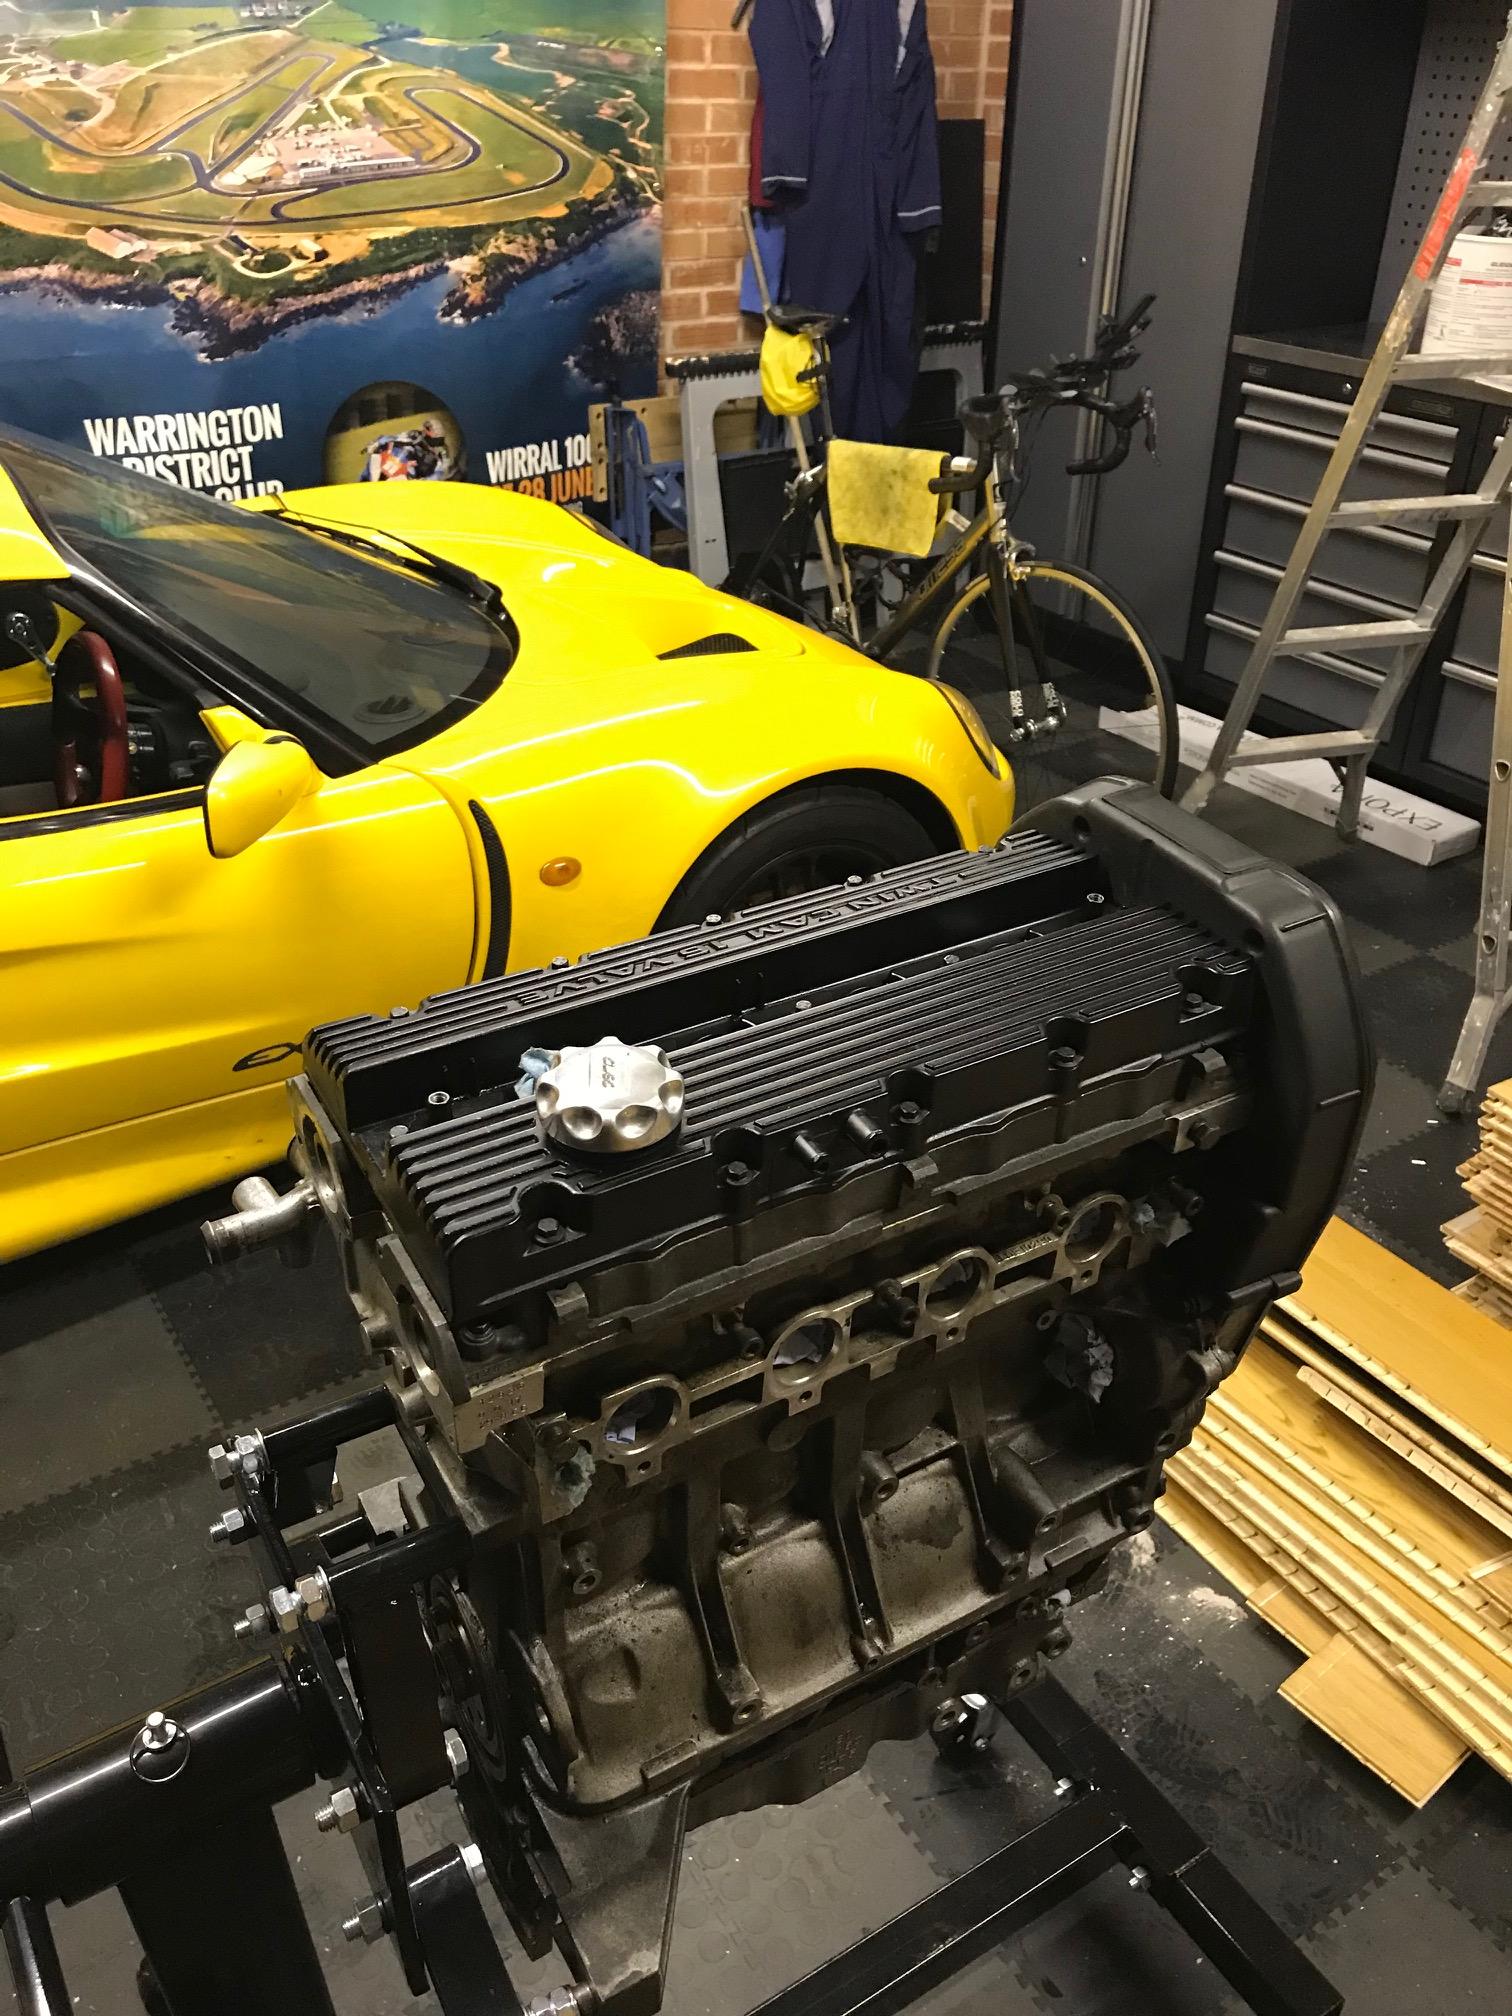
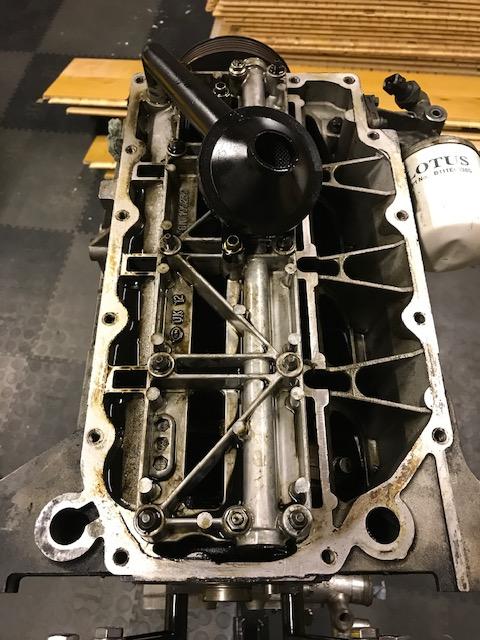
Engine in the cradle, possible future home behind it.
Work rate will depend on how cold it gets in the garage and when I get the inclination. First step is to remove anything that is not part of the basic engine and then to flip it over to take a look at the inside bottom of the engine and see if there is anything nasty in the there. I also want to get the plastic cam covers off to see if anything has ever been modified (verniers - I can hope).
That’s amazing. On all fronts.
First, the fact that your spare is on an engine stand while mine sits on a pallet. I’ve not even dared to check out the stampings in case it’s not a real VHPD.
Second, the fact that 500 m away lives a man who is clearly well versed in internal combustion engines. I well remember Reg Parnell and Alan Smith engines of Derby.
I will follow this with great interest. Thanks, Keith
We have had the builders in and they just lifted it onto the stand for me, I have trouble lifting the cam cover. For Thommo, you will be interested in my bikes when they slip into shot.
Paul Donahue Reynolds 653 Steel, Campag, restored by Mercian. My first proper race bike. Paul made frames for team Linda McCartney and Brite in the 90s.
Cotic BeFe Reynolds Steel hardtail.
Principia RSL, Campag Record. The original frame, Swiss alloy tubes, custom made n Denmark, result, bankrupt. Same bikes were used in the Tour de France for the big climbs, usually painted to look like other top brands.
Omega Alchemy Titainium Record. 15 years old, ridden it across Europe. Still like new, that’s titainium. Allegedly UK made but I suspect made in Russia.
Planet X track bike. Full carbon, just had to buy two new tyres, £150 plus £100 fitting!
Boardman team cyclocross bike. Great I. The mud and gravel that passes for roads this time of year.
That looks like an interesting thread, Keith and I will follow it closely. If I remember right Roger from Sabre Heads metioned somewhere (Seloc?) that the numbers on the head were stamped by Janspeed. They indicate the volume per cylinder and the amount that the head was skimmed.
Good collection of bikes there, I look forward to seeing them. I have five complete cycles. The sixth, my Vitus restoration, came to a halt in the summer but I’ll get going on it again soon.
Turned the engine upside down today and removed the sump pan. To my untrained eye it all looks very good. I used my trusty magnet and could not find any ferrous parts. There is no significant sludge or grit either. Next I will take the cam cover off and check the valve clearances. The vhpd has mechanical tappets which have to be shimmed up for tolerance. If they look good the signs are very promising. Step after that is to remove the oil rail so I can check the big end bearings and the crank float.
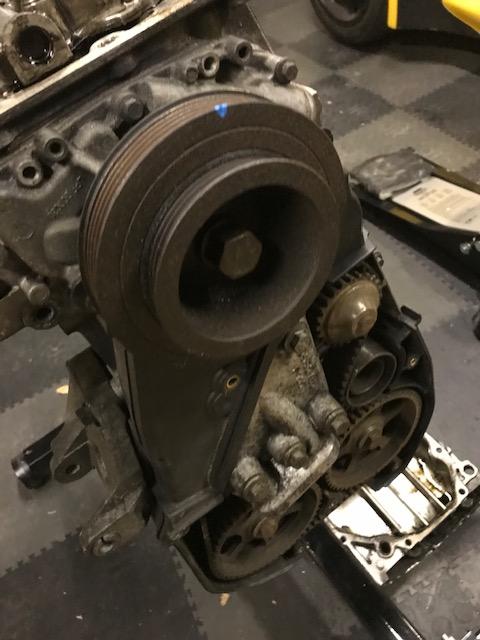
One area where I have failed is trying to remove the pulley wheel from the crank. It needs to be removed to remove all of the plastic cam belt covering. I jammed the flywheel side with my trusty wrecker’s spike and tried to undo the bolt on the pulley. I now have a bent wrecker’s spike. Next step will be to fit a scrap flywheel so I can really jam the crankshaft and then have another go. I’m hoping a Gavin at Unit 4 will have one which I can “borrow” when he services my S1. Any tips, I’m scared to use my impact driver, should I be?
I’ll post some pictures when I can take them. I only had 30mins today and that’s as far as I got.
Underside of the engine. I thought, incorrectly, that I could remove the oil ladder (the but that looks like a ladder) and get at the big end shells. As I can now see the bolts that hold the head on go all the way though and hold the ladder in place. That means I cannot fully inspect the bottom end until the head is off. I was aware that the K-series has this unusually construction. The ladder looks nicely made but not the most rigid of structures. Depending on what I do I may get a new Chinese one which is supposed to be much better, all depends on the state of the engine.
Next job is the take the cam cover off and check the solid lifters to see if the clearances are OK. If they are, it’s going to be “off with it’s head”.
I would have thought that an impact driver would be the best thing to loosen that crank pulley, think they are normally torqued to the same level as hub nuts which are notorious for being a challenge!
Interested to see how easy the shim clearances are to check - the bulk of my experience is is with push rod engines but fancy having a go at checking my own shims.
Yes, the long through-bolts sandwich the whole assembly together. There’s been a massive amount written over the years about these and the construction method, its effect on liners, etc.
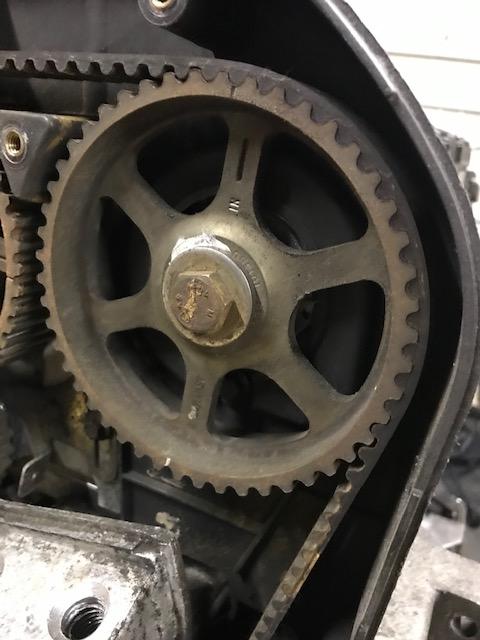
The 190 pulleys are the standard units, with an additional slot machined into the inlet pulley. As such it has the same numbers visible on it. Removing the bolt & washer will uncover the ‘new’ slot, if it’s there. 190 upgrade usually had other parts fitted too, eg. 82 degree thermostat, which might be an easier-to-see clue.