I knew I would eventually have a continuation of my initial build thread:
The Build - Paddleshift Sequential | The Lotus Cars Community ….
I just didn’t think it would be so soon. But the inevitable happened; valve train failure. The motor was stock, so it was really only a matter of time.
Time to turn lemons into lemonade!
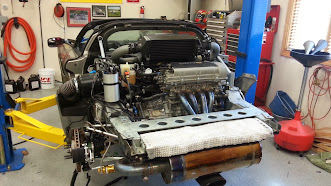
Engine removal was uneventful. This was the first time I had removed the clams. Easy enough with two people. Having now removed them, I wish I had done it when I did the sequential transmission work. So much easier to work on everything. Definitely worth the extra time to remove.
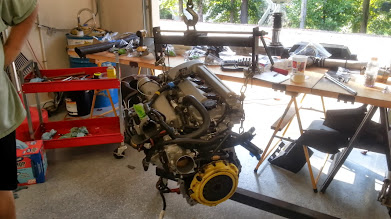
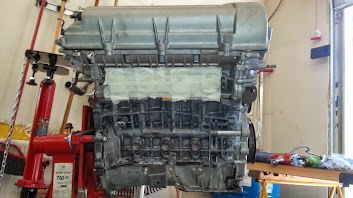
With the engine out and on a stand I removed the various accessories and sensors, wrapped up the motor in plastic, and strapped it to a pallet for shipment. Off it went to Kris at DRS.
Engine disassembly confirmed the valve failure in cylinder one. The other three cylinders looked great with no signs of detonation. Cylinder one combustion chamber looked like someone beat it with a ball peen hammer. And unfortunately the cylinder wall was too far gone from the valve pieces grinding into it to have any core value on the block. A real shame….
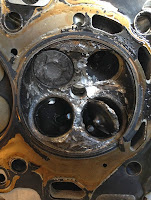
The Motor Itself
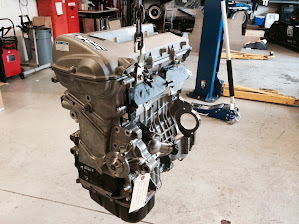
With that, we decided to start with a brand new Toyota block. We chose Cosworth 12:1 forged pistons, Cosworth Lightweight H-Beam connecting rods, and a Cosworth head gasket, a lightened, polished and balanced crankshaft, Calico coated bearings, and ARP bolts. I also had Kris build out a new ported and polished head with Eibach springs, Ferrea valves, and Piper stage 3 cams. Then topped it off with DeatschWerks 550 injectors. I already had a BWR lightweight flywheel from the prior build. With it, and the other light weight internals, the motor should rev up quickly…
The Oiling System
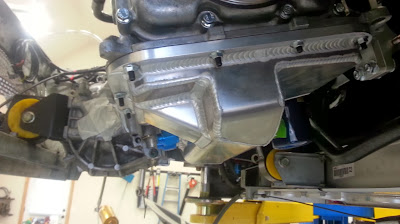
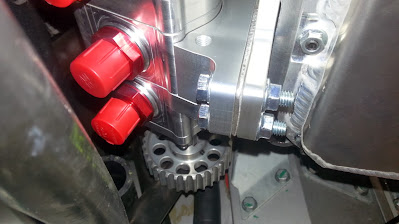
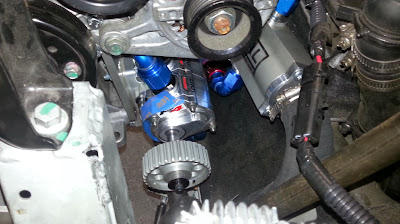
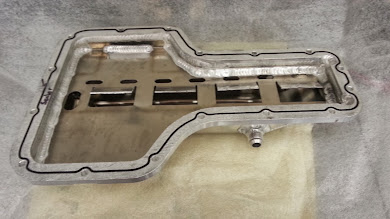
I did not want to spend all the time and all this money building a motor just to have the internal oil pump gears give way, so I decided to implement a dry sump system. There are not too many options out there for the 2ZZ and each have their individual strengths and weaknesses. In the end I decided to go with the Peterson pump with custom pulleys and mounting bracket from BOE as well as BOE’s pan. The pan is well designed and constructed.
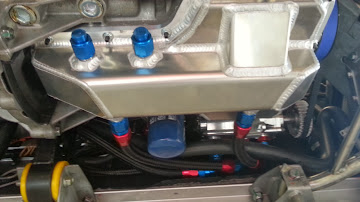
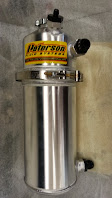
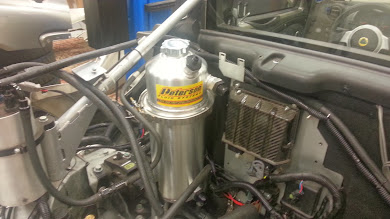
I wanted a taller oil tank with more capacity than what came with Phil’s system, so I ordered a 2 gallon Peterson tank. The big challenge with that was where to mount such a large tank. Phil’s tank is a bespoke unit that fits neatly to the front right engine bay. Not enough room for mine in that location as it’s 20” tall.
The vent tank
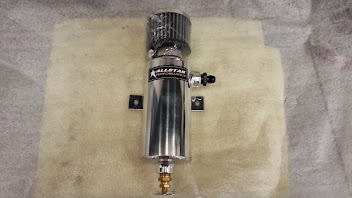
My preferred location was the front left section of the engine bay.
In order to get the tank in that position and low enough, I had to do some mods to the coolant hard line that comes from the heater core. After cutting off the 90 degree bend in the hardline, I was able to get the tank nice and low. I fabricated some brackets, mounting them to the motor mount attachment. Solid as can be.
Some More Rearranging
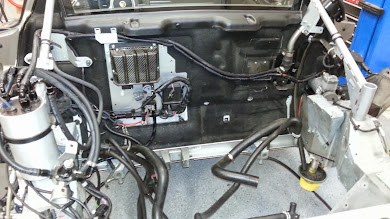
Knowing I would have some time while waiting for the motor to return, I decided to do some housekeeping. The first was to remove the A/C system, since the dry sump pump resides where the A/C compressor sits. Not too bad of a job. I left the main hard lines that run from the rear to the front in the car. Too much trouble to try and remove those. And I could always use them at a later time as a wire conduit, if the need arose.
With some extra room under the front clam now that the A/C was removed, I fabricated a mount to relocate the battery from the trunk to the front, with access through the clam’s access panels. I went with the Deka ETX20L. Less than ½ the weight of the stock battery. It was an easy mod since there is already a battery cable running to the front of the car. I also installed a battery cut-off switch on the passenger side interior panel and a battery tender hook-up under the passenger clam access panel to ensure long life.
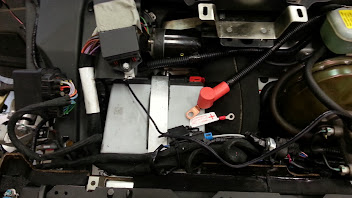
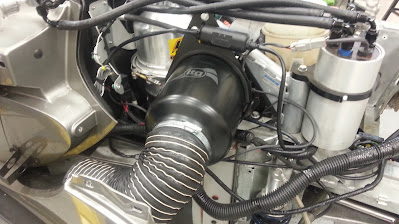
I am going to use BOE’s ITG intake, so I had to relocate the sequential shifter compressor to the passenger side of the engine bay and the air tank to the trunk in order to make room.
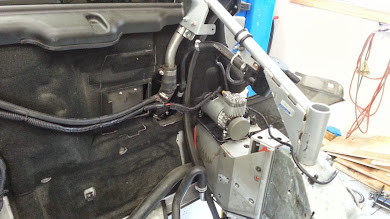
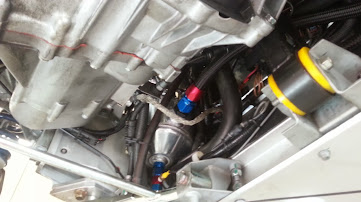
Next was to remove the front oil coolers and lines. With the dry sump system, I did not want to try and pump the oil 27 ft. around the vehicle to cool it prior to going into the motor. So I decided to go with a Mocal Laminova oil cooler in the engine bay.
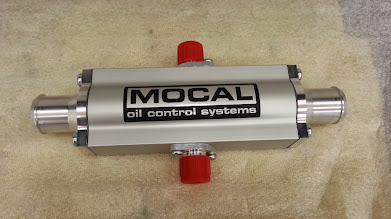
With the tall 2 gallon oil tank and the Laminova, it would be plenty to cool the oil. Removing the oil cooler radiators from the front was easy enough. But removing the oil lines in the sills were a pain. Had to open up the interior door sill covers to get to where Lotus zip tied the oil lines in the front. Once those were cut, it took two of us to pull the lines out through the back, one up front pushing on the lines, while the other was in the back pulling on them.
Now with the oil coolers gone, I took advantage of the available openings in front and fabricated some cooling ducts for the front brakes. I used some off-the-shelf inlets that tapered to 3 inch ducts. I then fabricated the exits out of some 3 inch pipe I had lying around, attached a mounting plate which then mounted directly to the uprights. Simple and secure.
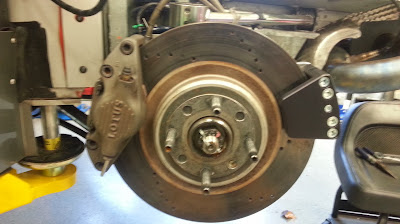
My vehicle came from the factory with the 4 pot AP Racing calipers in the front and the standard single pots in the rear. I decided to install the standard Lotus 2 pot front calipers in the rear to replace the single pot calipers. This entailed getting the front brake re-locator brackets, which installed easily. Since this is also a street car, I did not want to lose my parking brake. That meant having to keep the original single pot caliper in place, as it has the mechanical parking brake within it. Lots of unsprung weight with both of these calipers installed. So I did some research and found Frank Jakos who has fab’d a lightweight bespoke parking brake for the Elige. A really nice bit o’ kit. It is solely a mechanical parking brake, all aluminum at about 1/3 the weight of the stock caliper. And it’s cool looking as well.
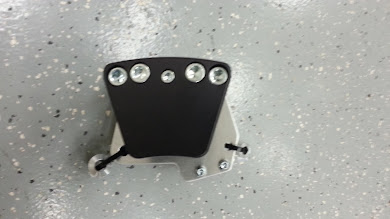
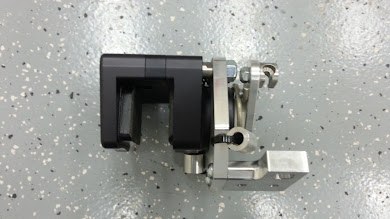
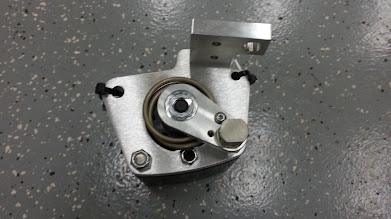
The vehicle has the stock Ohlins 2-way adjustable dampers. I had changed out the springs with 550/800 a few months back, from BWR. The stock springs were 325/425. To get the car settled on the track, I was adjusted to the very limit of the stock valving. With the car on the lift for a while, it was the perfect opportunity to send them off to Ohlins in North Carolina to have them revalved. Now I have much more room for adjustment.
Then I moved on to adding an oil pressure and oil temperature gage. I went with the Spa Technique unit, as it has both pressure and temperature in a single gage. The gage also has a warning light that you can set to come on if it encounters low pressure. With the dry sump pump belt being a possible point of failure, I wanted this light to be easily visible. So I mounted it in one of the HVAC vents. A perfect fit.
Well, until the motor arrives I am at a stand-still…. But more to come…. Stay tuned….
