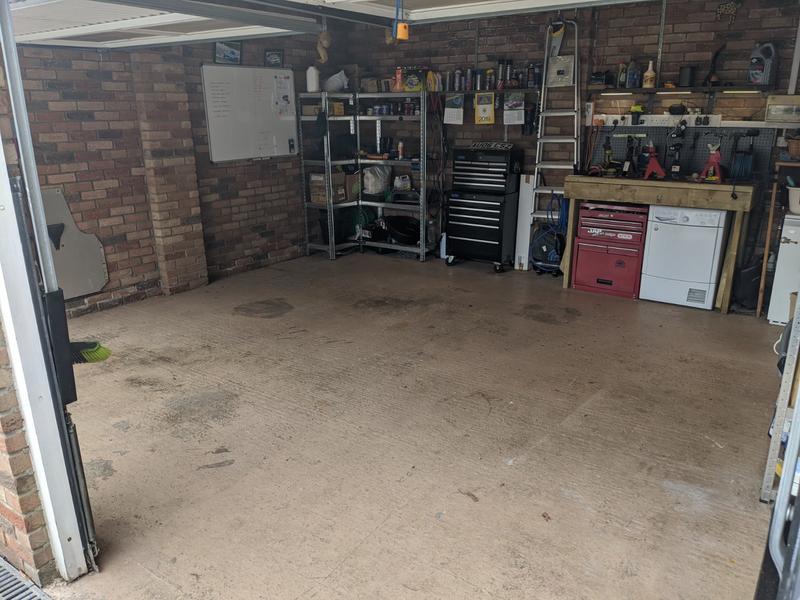
I pulled the trigger on some duramat a few weeks ago. Got the 4x6m garage pack which included 8 ramps and 96 tiles. Didn’t fancy a pretty pattern, just because I’m more likely to get the floor dirty/scuffed up whilst tinkering so wanted to keep my options open for tile replacements etc. My garage is an exact(ish) 5.3mx5.3m square, so my 96 tiles were never going to give full coverage - but the next tier up of pack would have had far too much waste so my plan was to cover the majority then work out what extras I would need for a separate order later.
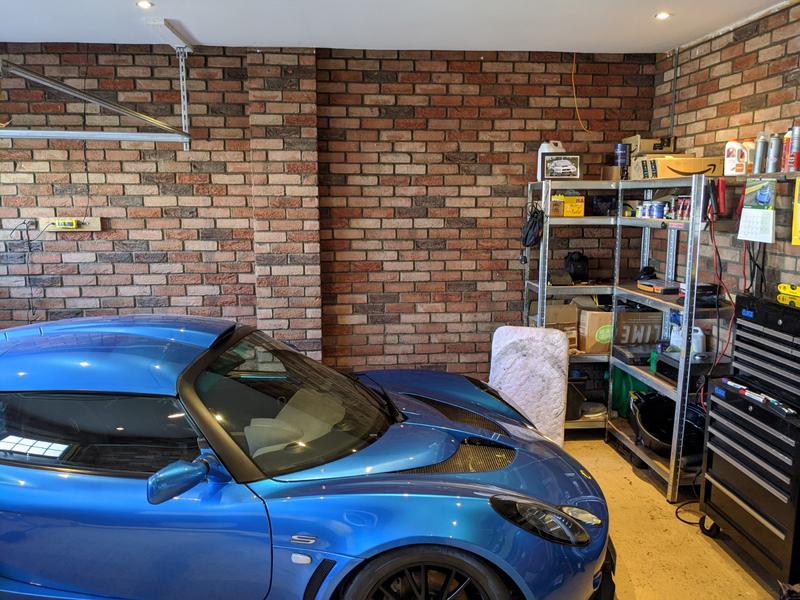
I started off with the walls, they’re my main source of dust so considered painting them. They’re single skin and you can see a white salty/chalky residue creeping through - seems to be a winter/early spring thing:
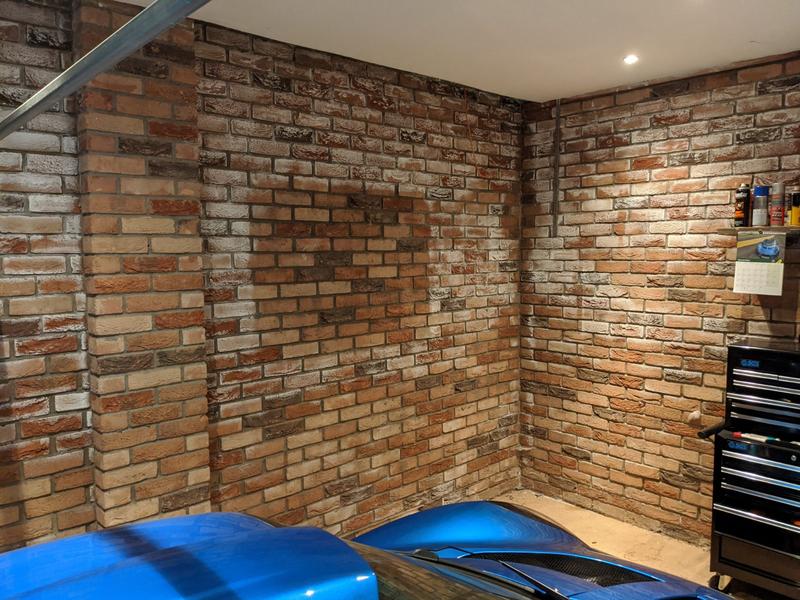
The back of my whiteboard was covered in mould so definitely moisture getting trapped, even though the garage itself seems totally dry (store lots of carboard etc in there, never seen any damage).
After lots of internal debate I decided I liked the brickwork too much to paint it, so out of desperation I tried an interim compromise which was to spray all the walls down with diluted PVA to see if it would seal in some of the dust. If that doesn’t work, I’ll just come back to painting it later.
Floor arrived in 2x2 pre-assembled squares on a plastic pallet, so even quicker to get laid down. You need to spend a minute familiarising yourself with the orientation of the male and female tabs on the tiles as the ramps you send will be very much gender non-fluid. I started in the middle front and worked my way back. I calculated that I could get 9 rows of 10x tiles in, which would leave a 150mm gap along each wall and would leave me approx. 1metre shy of the back wall, this back wall is pretty much filled with workbench/shelves/boiler/etc - which just about fill up that 1metre anyway.
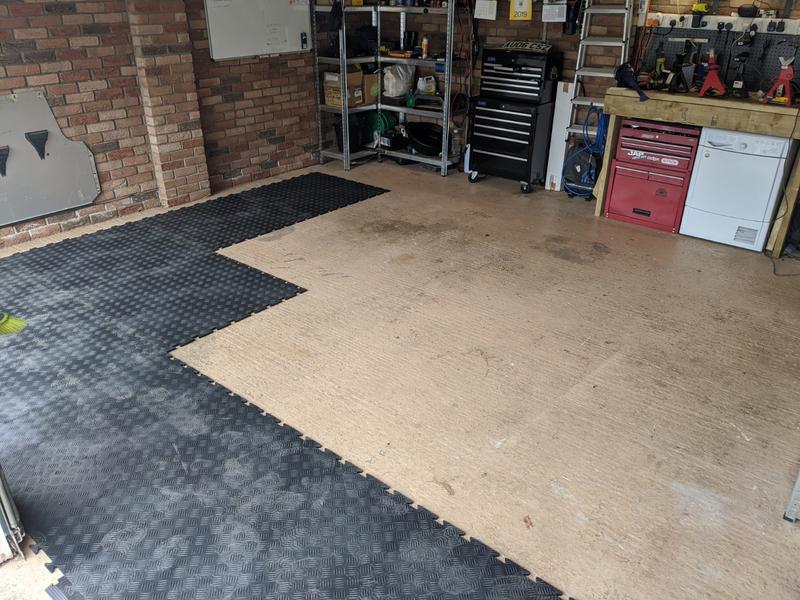
Fitting was really quick, got the 90 tiles down in less than 20mins, then trimmed the final six to fill out the area where my toolchest goes:
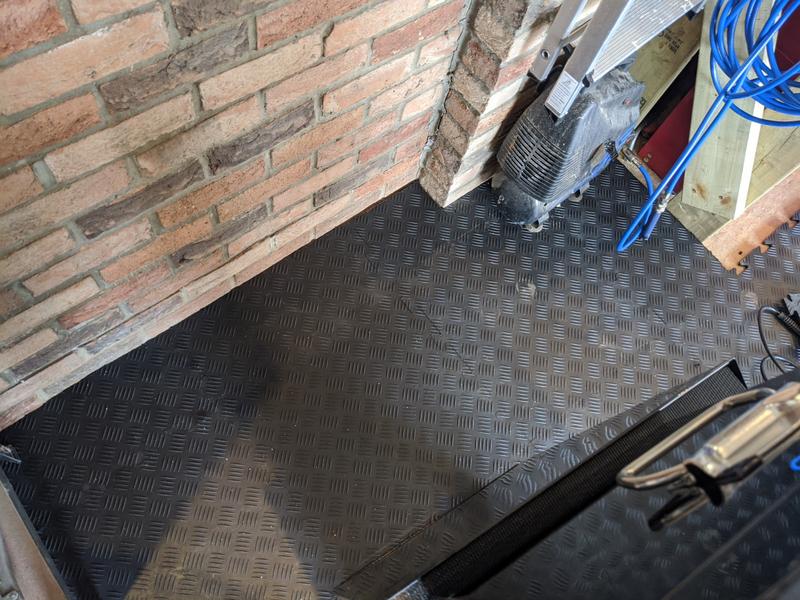
Really easy to trim, they say to use a craft knife but life is short - so use a grinder instead. Goes through like butter, possibly not good for the lungs/environment though.
So I’m now left with just my 2x 150mm margins to fill in and a slight gap to my workbench which I’ll fit with some ramps. It’s probably about £50 worth of duramat spend left to finish the job but as they want £20 delivery I’ll just wait until I can bully a neighbour into buying some so we can double up!
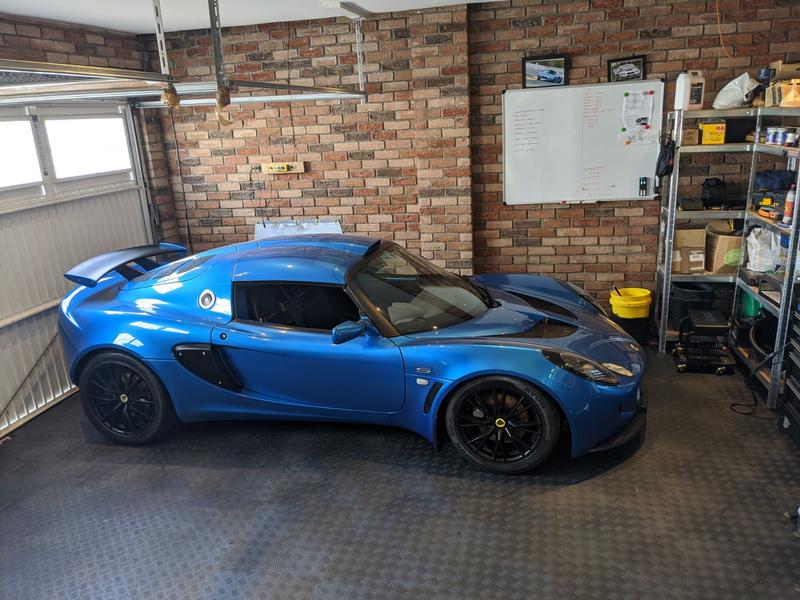
First impressions are very good, no deformation at all whilst moving the car around or jacking it up. They’re very solid underfoot, just a fraction softer/warmer than concrete to make it a bit more comfortable whilst rolling around. Dropping stuff on the floor is now a much more forgiving experience, which is good because I drop stuff a lot.
Still keen to see how it handles liquid spills, I’ve left the prescribed expansion gap to the back wall of 15mm so will keep an eye on growth and shrinkage with the variable weather - but if I have to trim another few mm off it’s a 10min job at most.
Unfortunately I now have another floor to mop, one downside to black is that my dusty footprints show up a little too well.