Err no… we all need to see that !
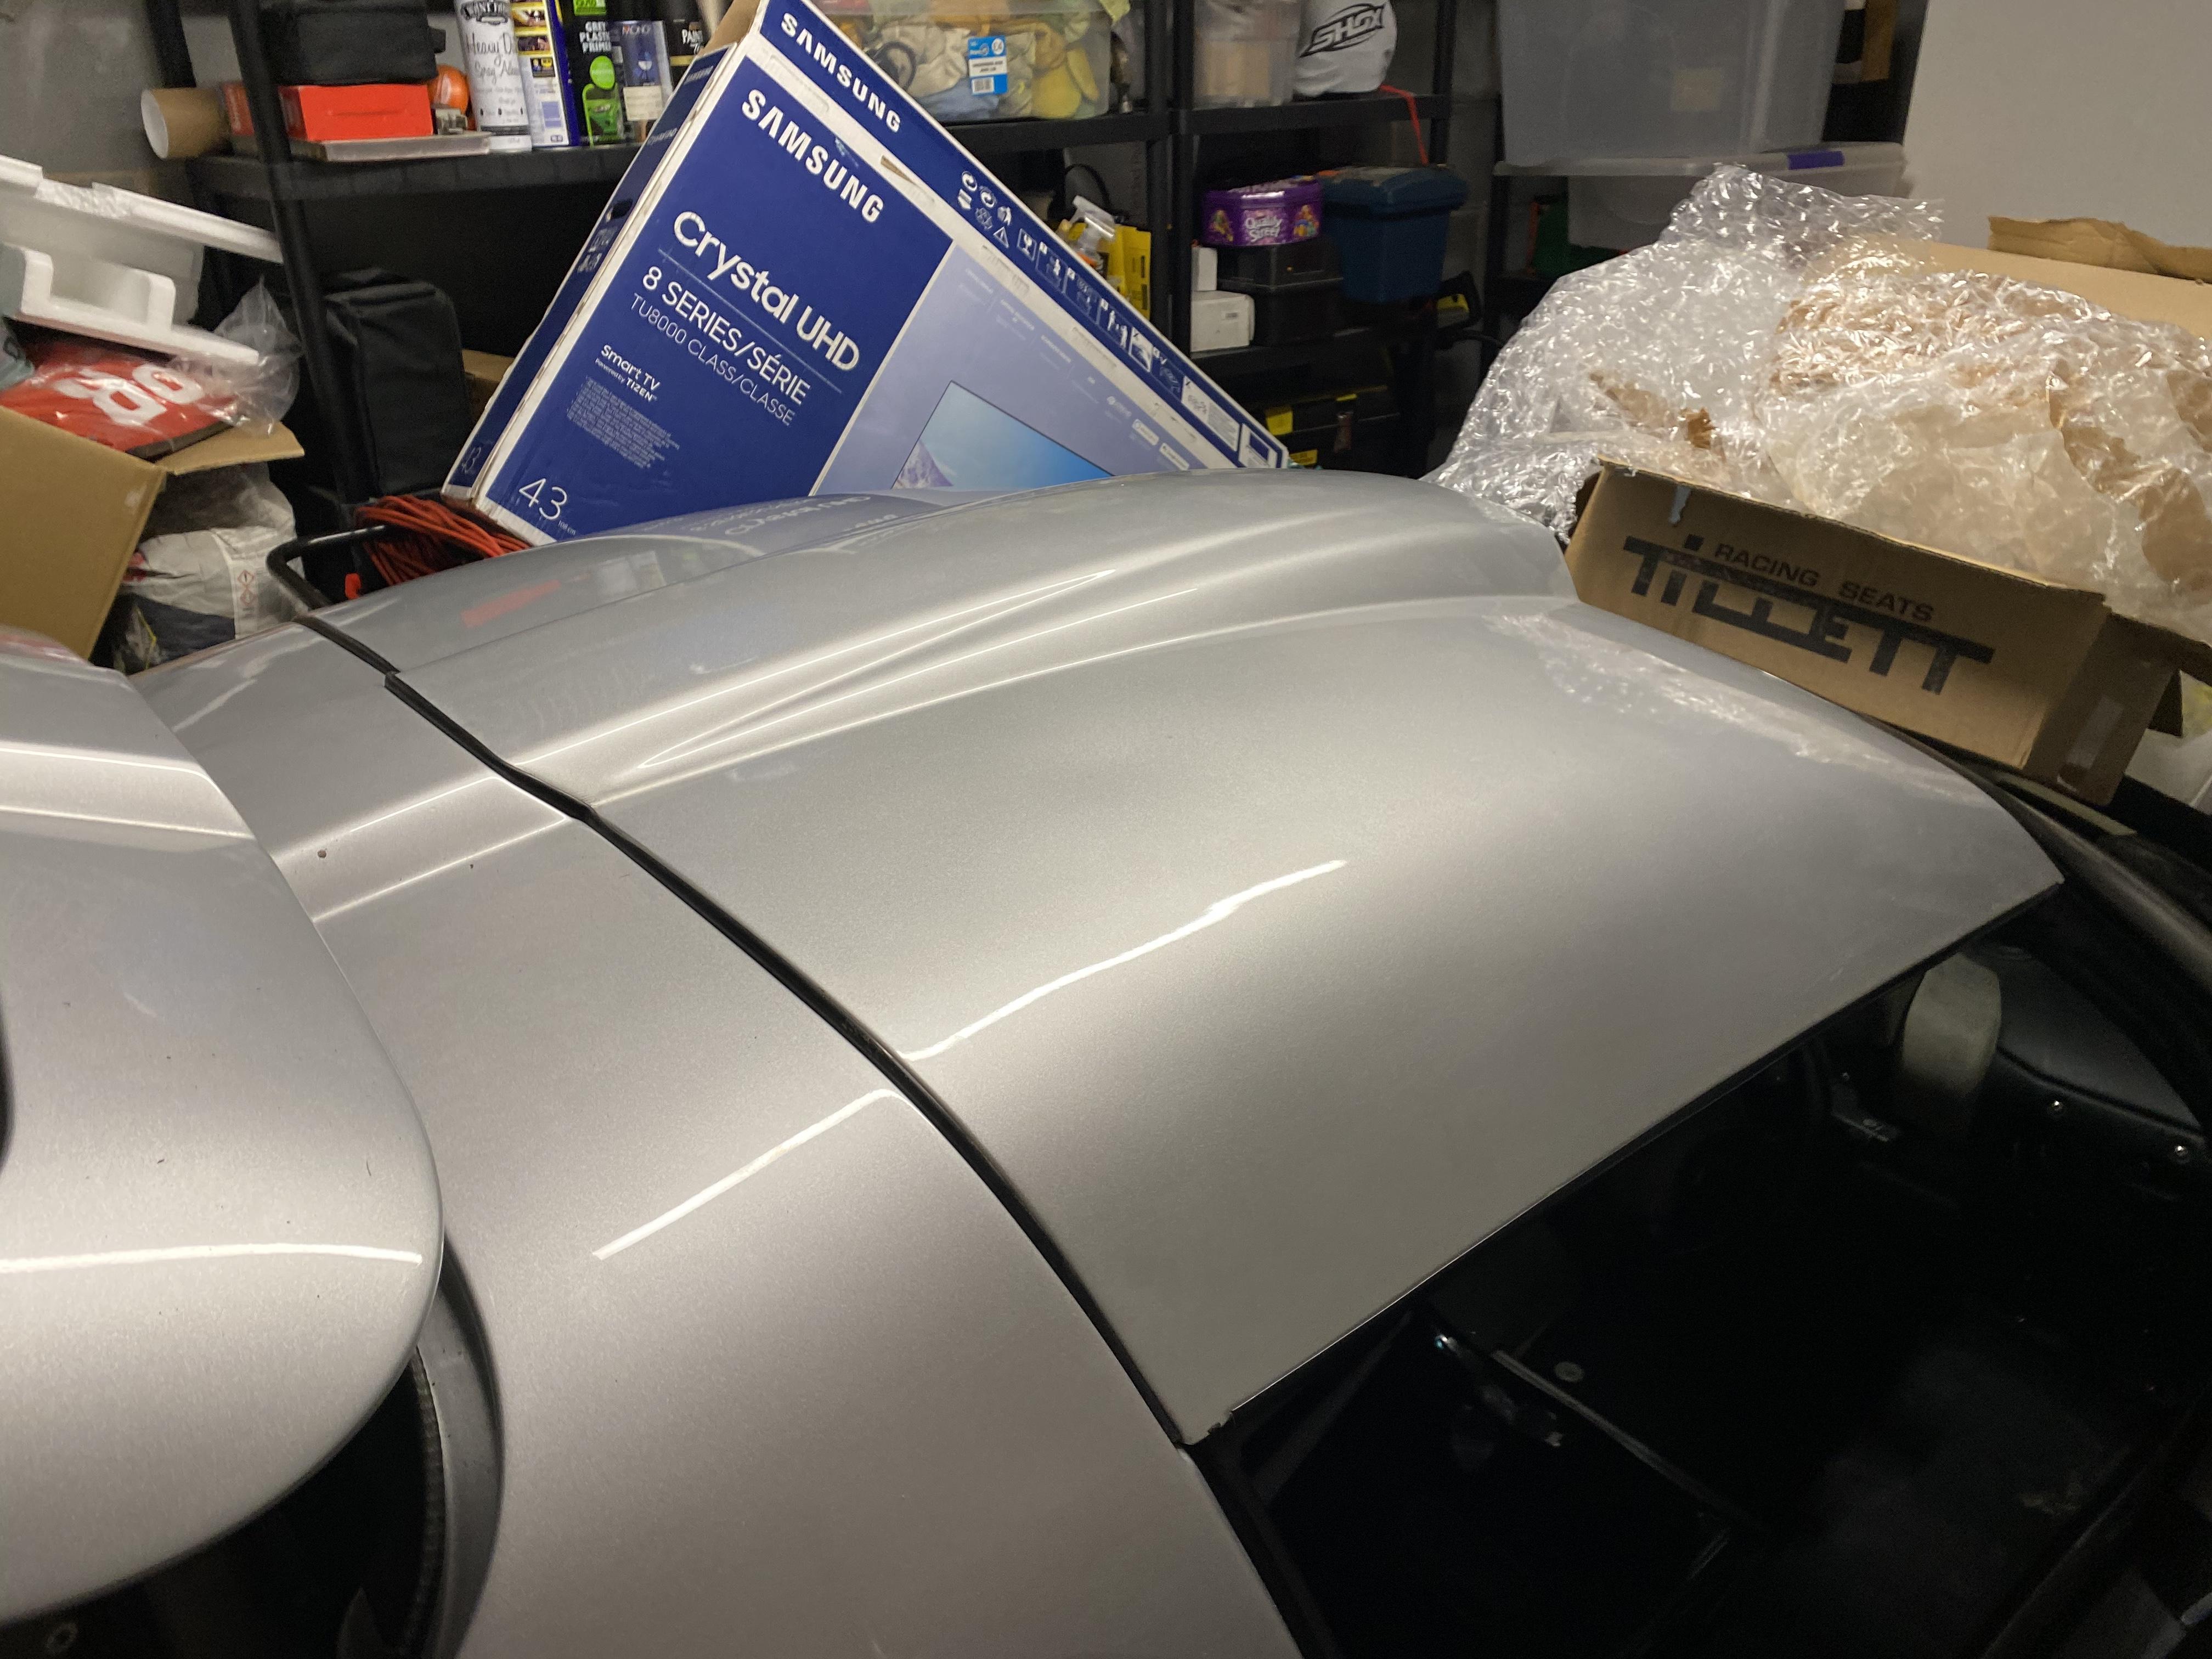
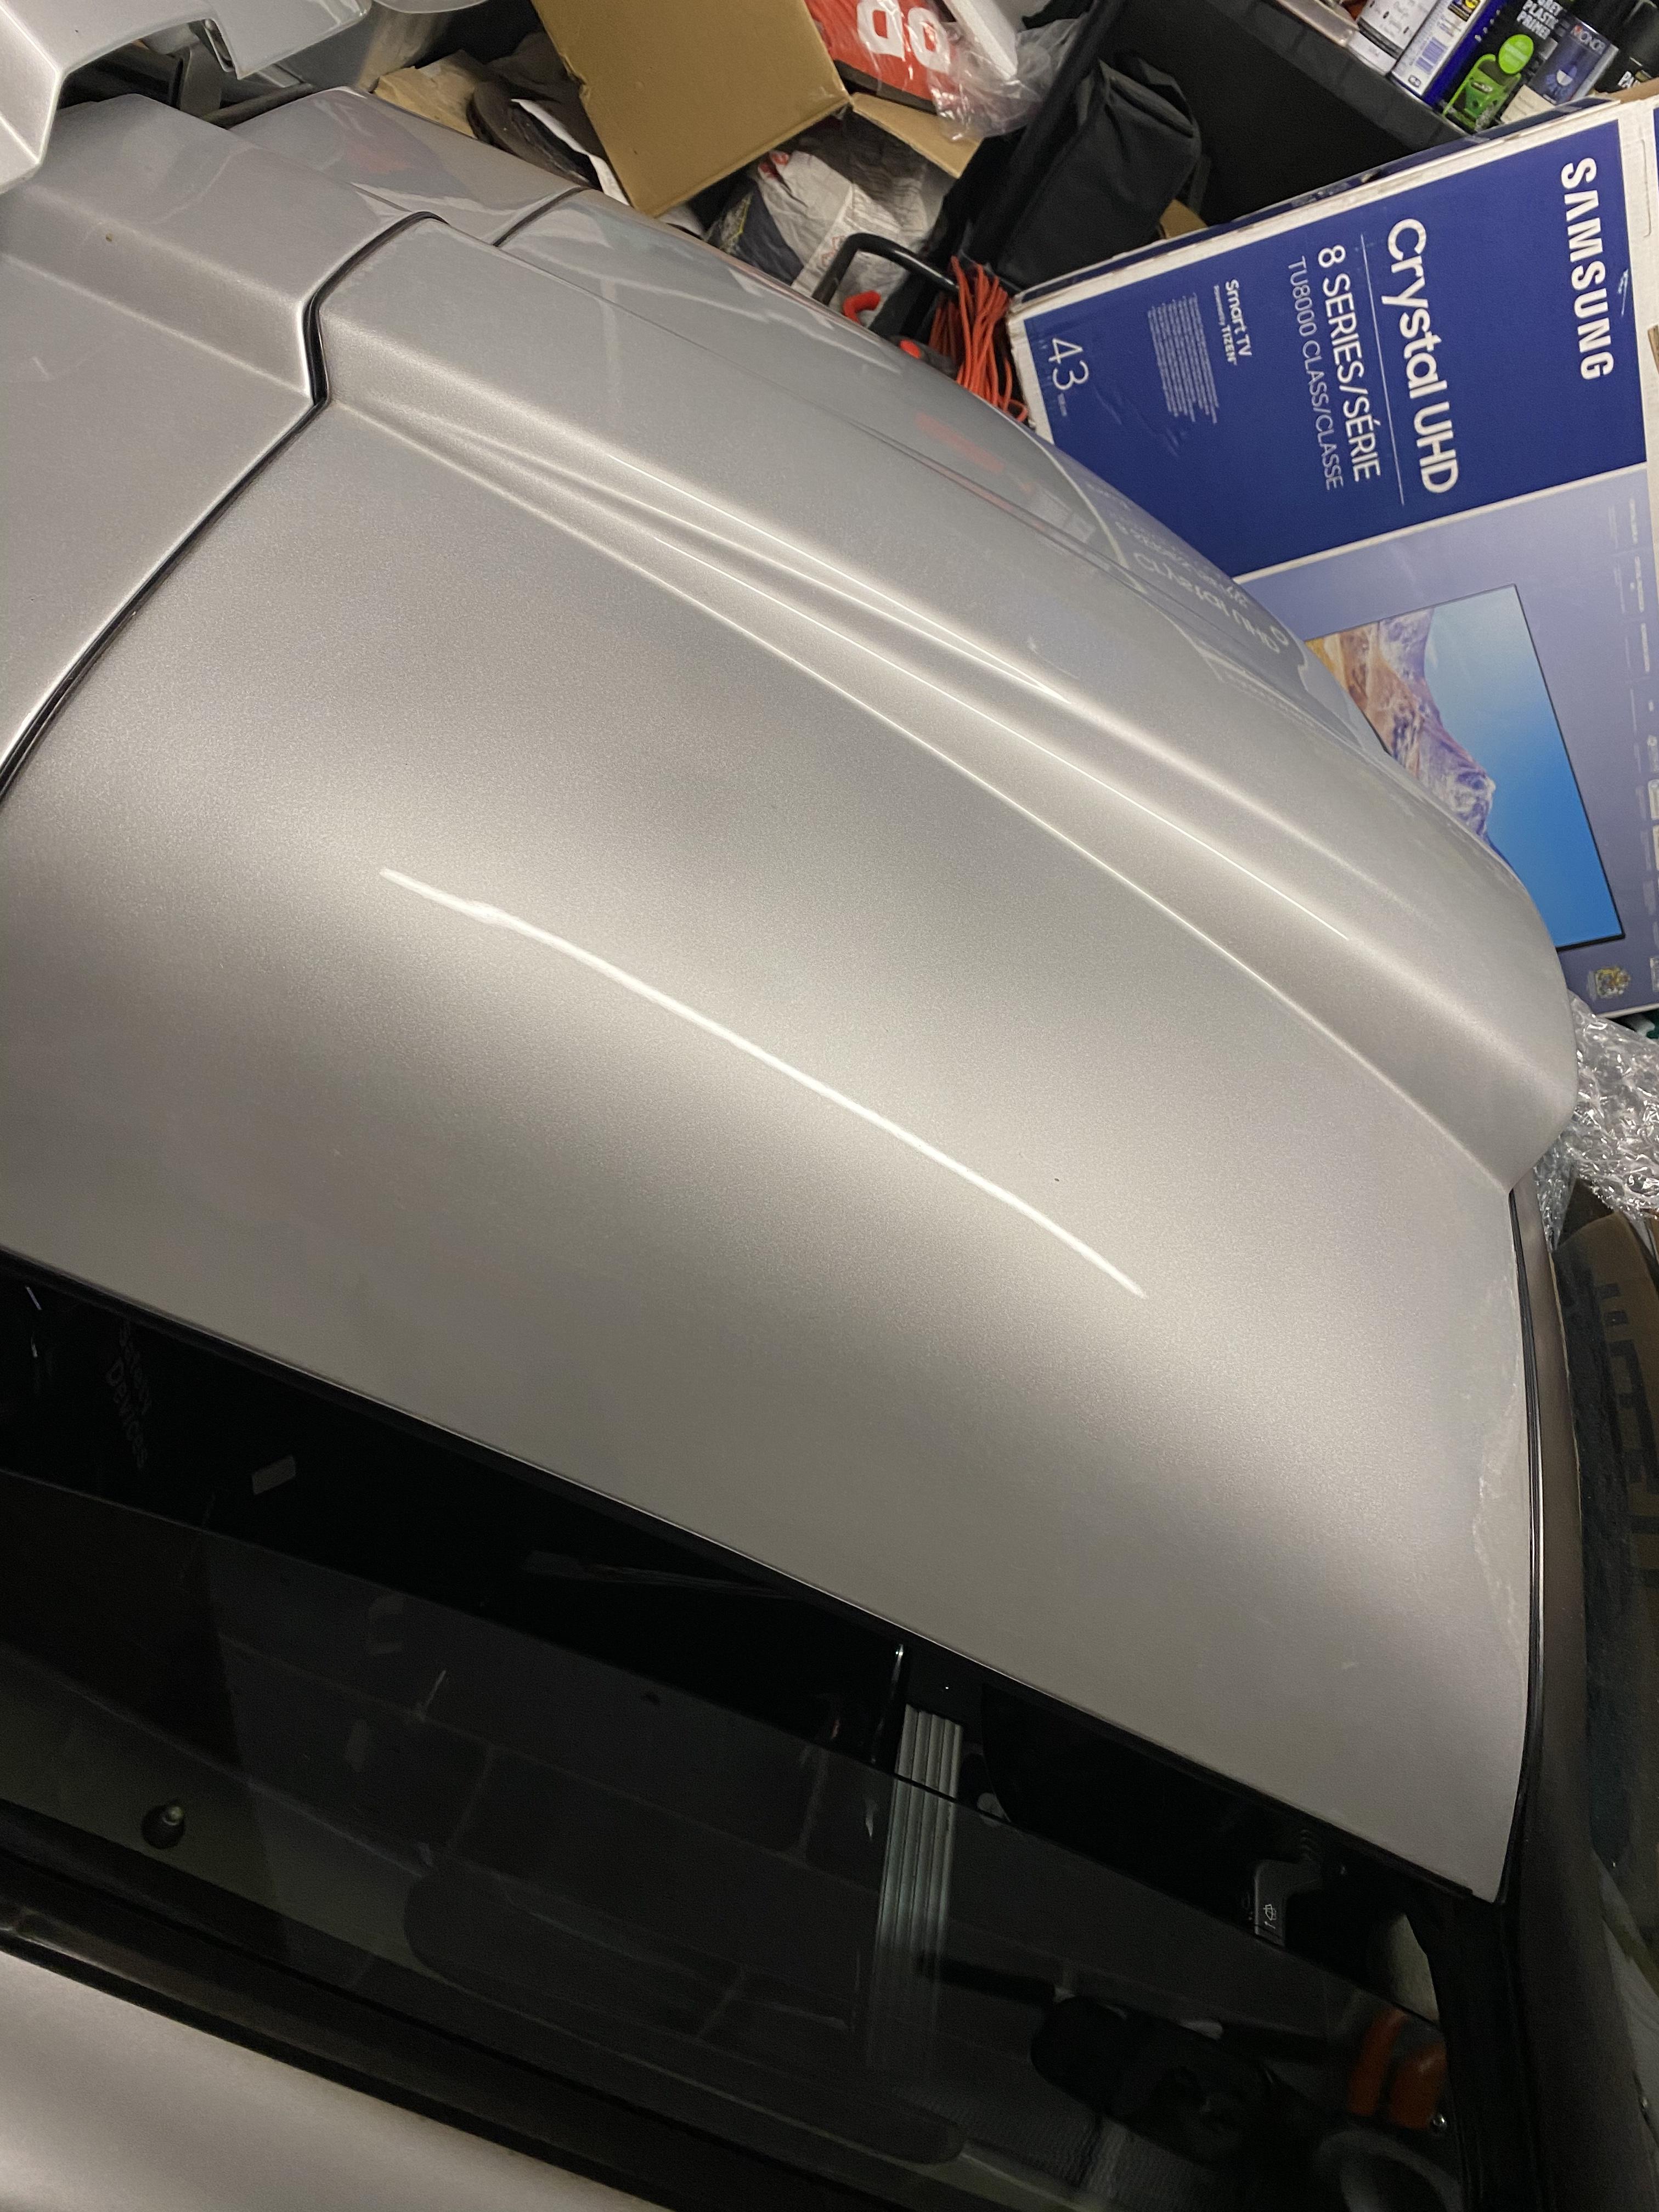
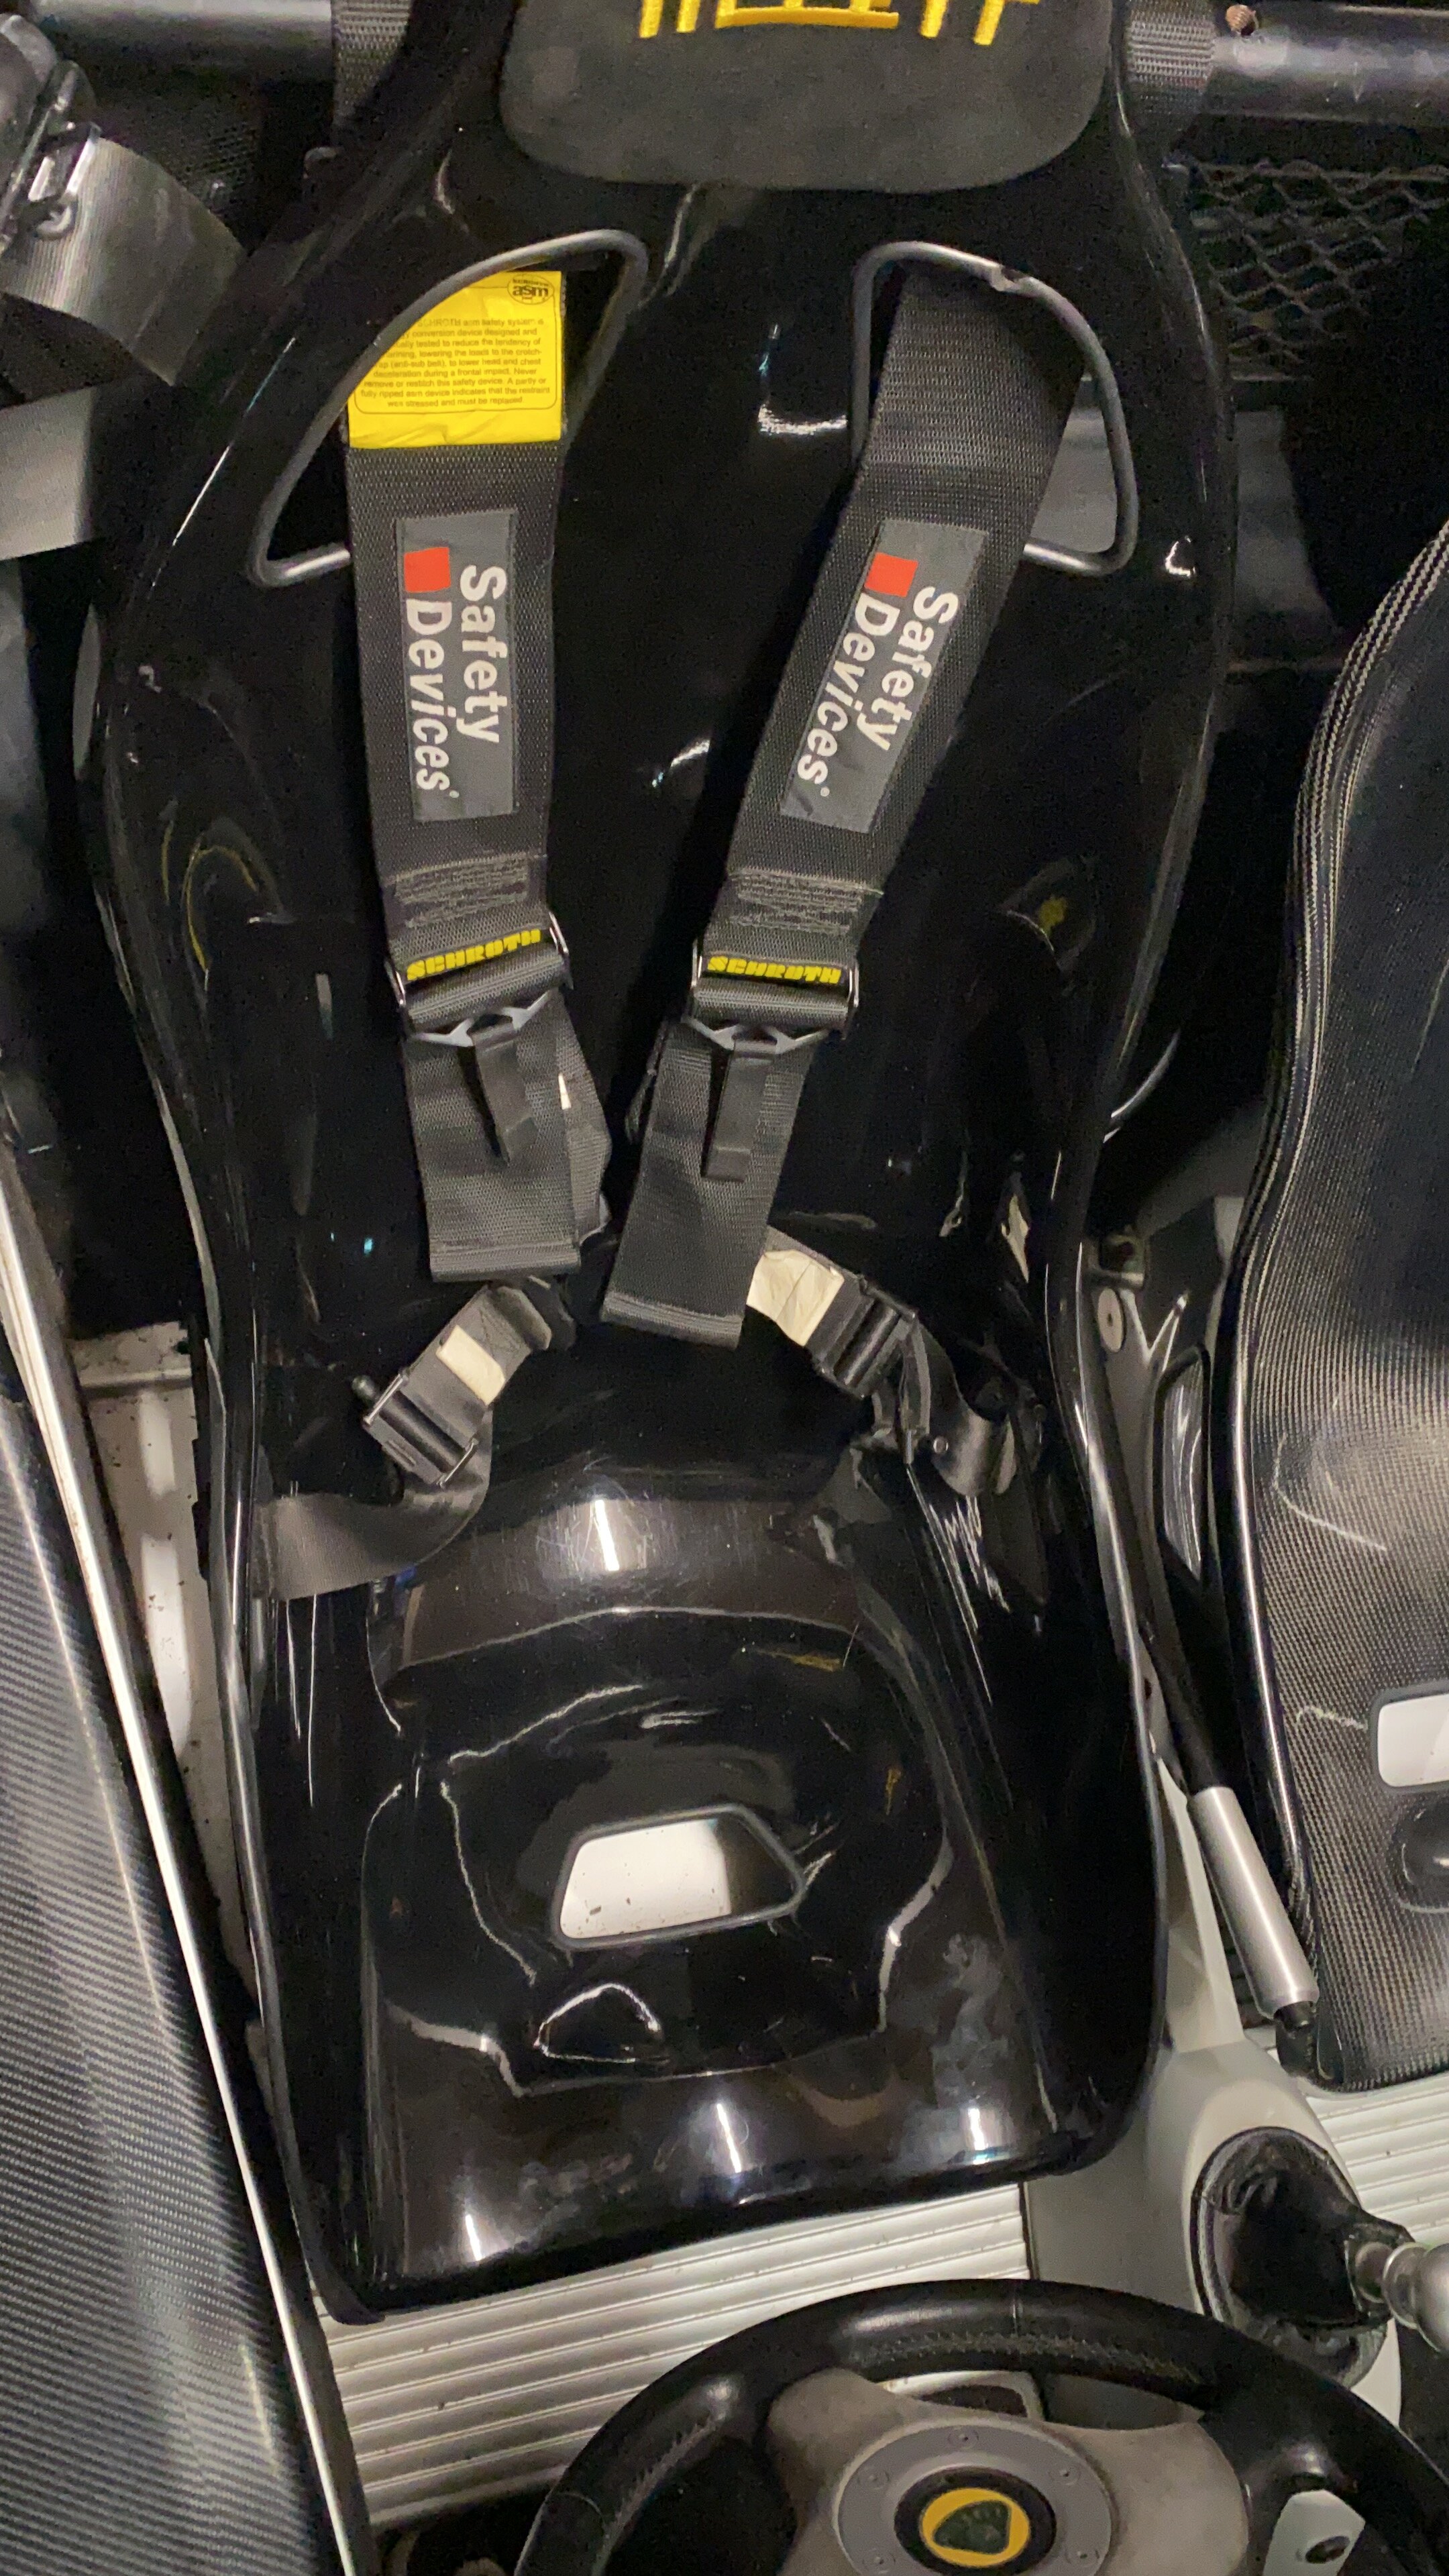
I had a spare 30 seconds this evening so took the seats from the lounge to the garage and placed them in their final destination. I am awaiting some EB5 mounts that appear to be on backorder. Frustrating. Mind you cant really go anywhere.
Very nice
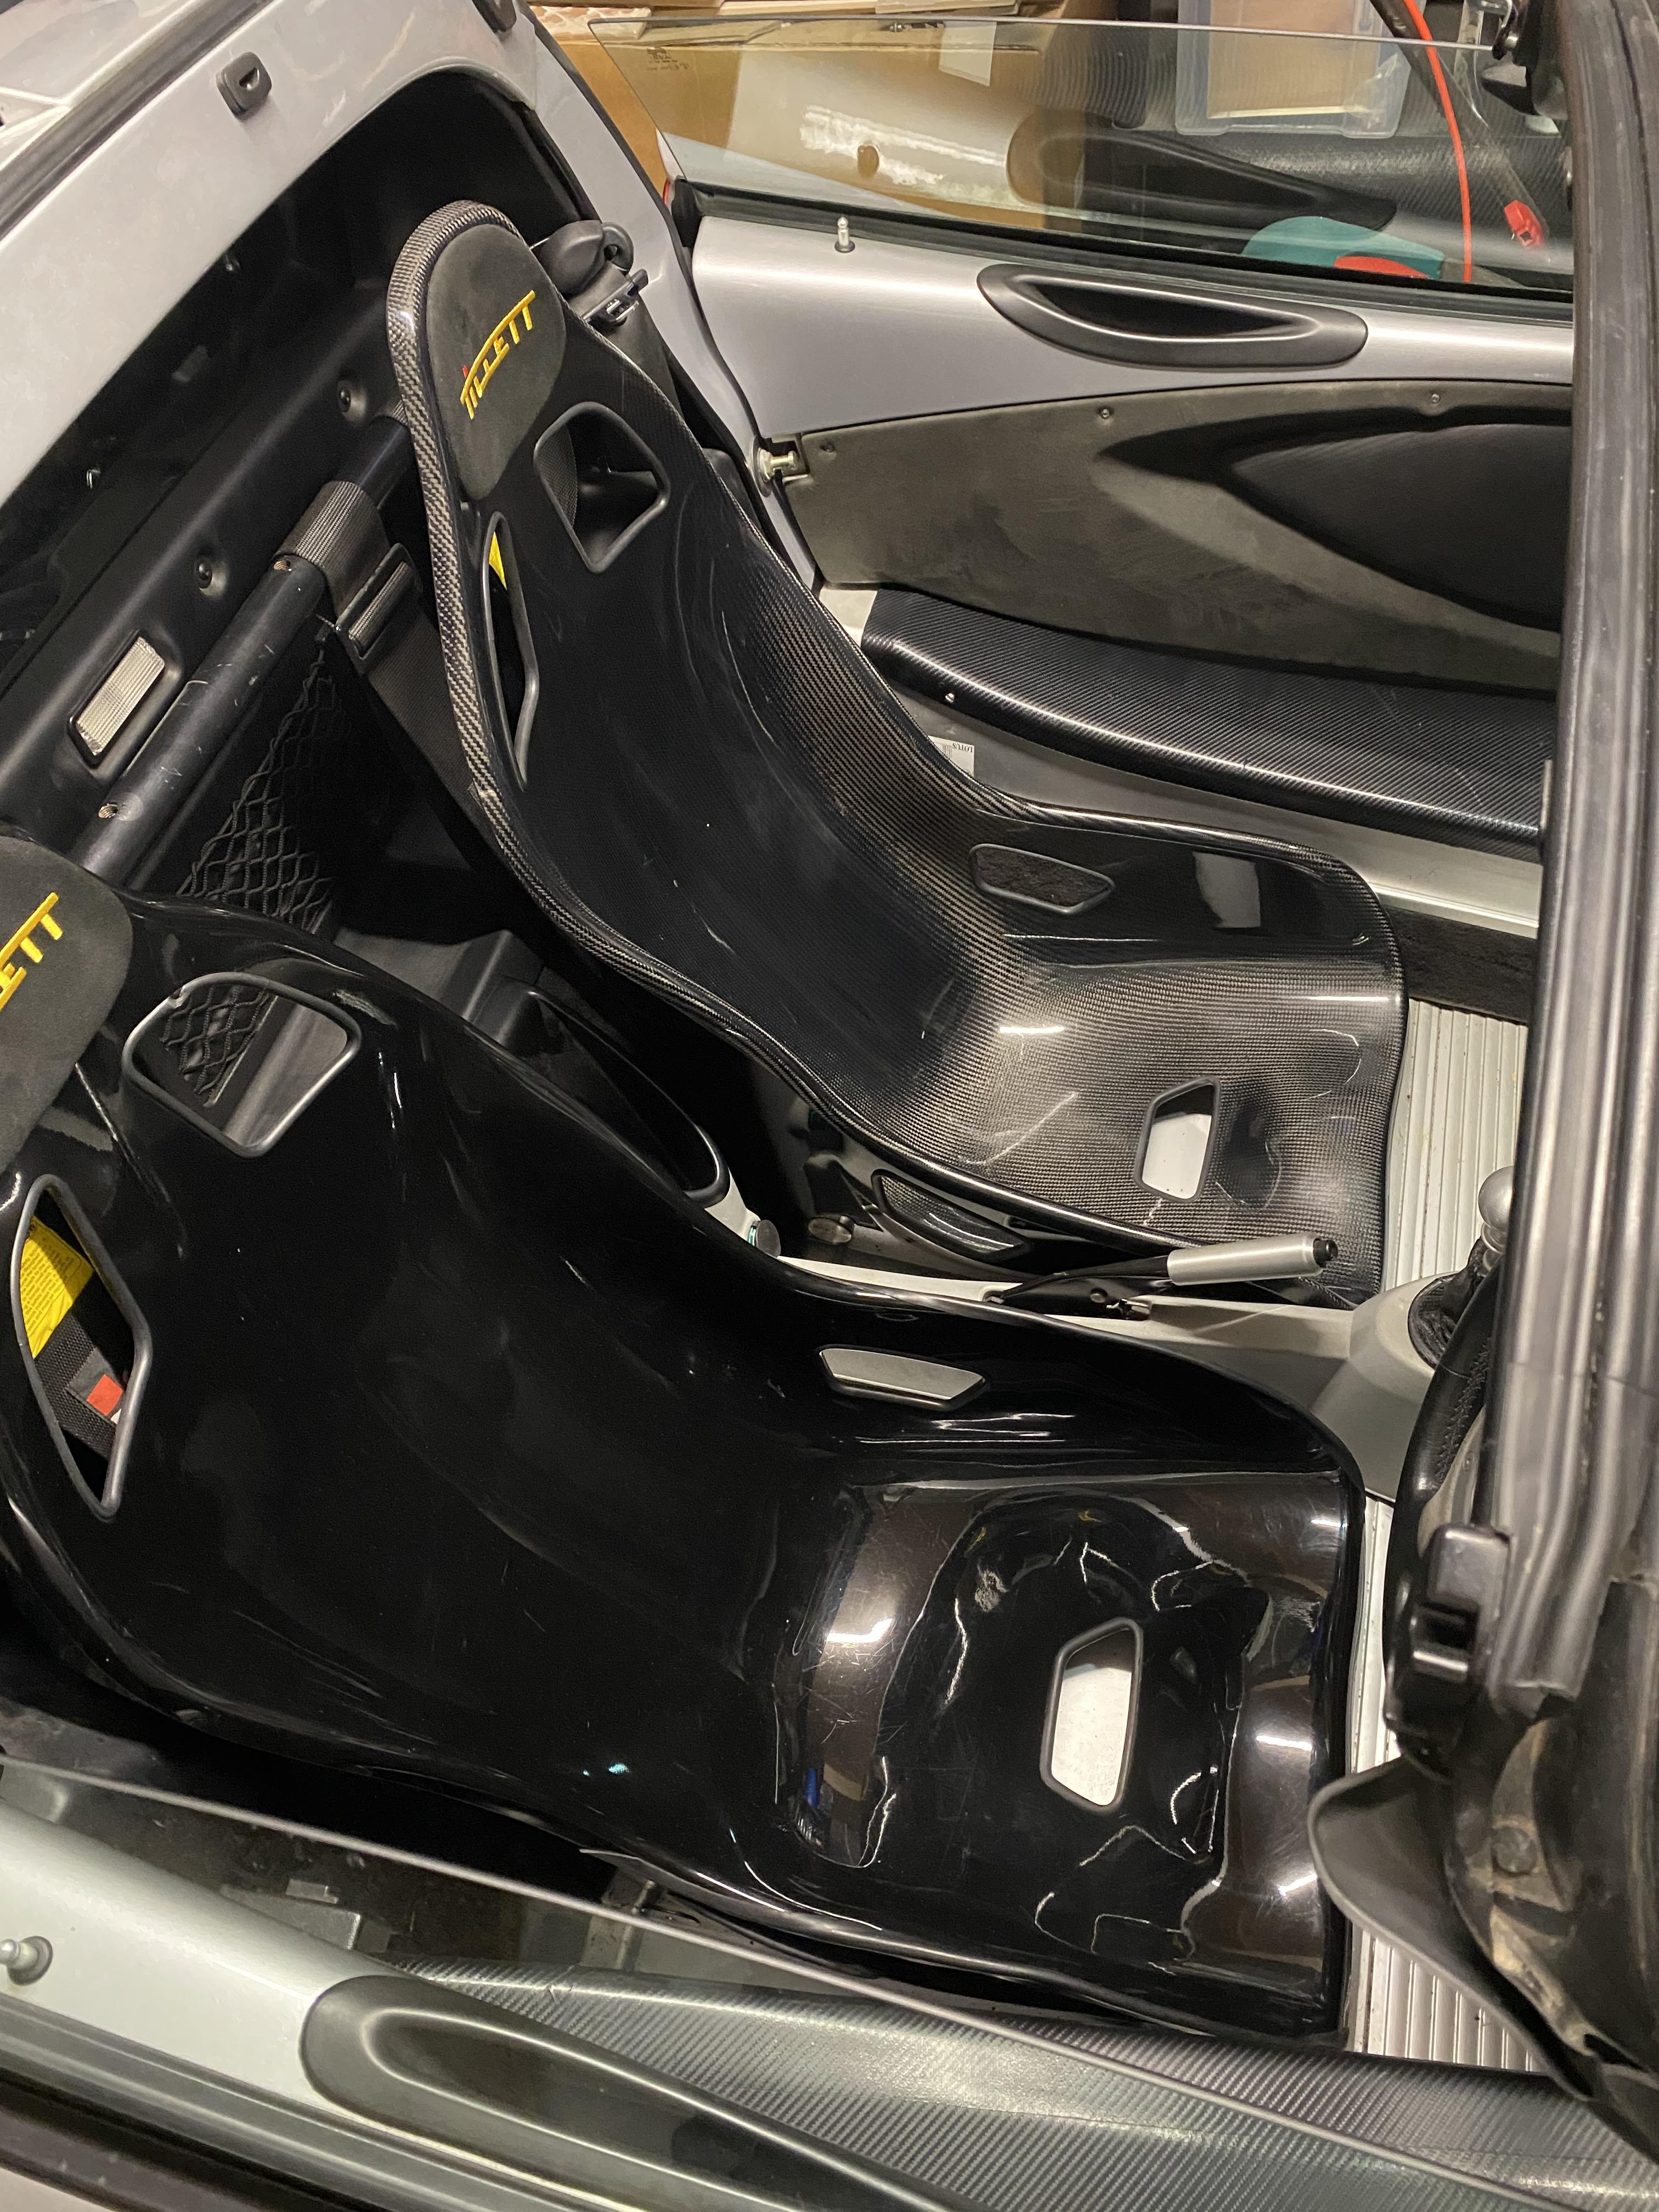
have fitted one of the two seats. I am in a whole new world of hurt for getting in and out of the exige now with these hip hugging seats. I am not convinced that I can get in or out with the roof on yet.
I also have mis ordered a bracket for the passenger side so I’ll have to get that changed.
So I have sent back the misordered bracket (completely my fault ) and am deliberating about getting a snap on/off steering wheel to aid my graceful entry / departure from my plastic fantastic
Might be difficult to get into but it does look good, sometimes a price to pay for looks ![]()
Agreed! Ill adopt a new way , or visit seriouslylotus for some advice.
If you can keep the belts with the harnesses it’s much better on the road with the belts, you can lean forward to see at junctions.
I think I have got the kit in a bag somewhere for fitting both, no idea if it works with tillets.
I cannot get the clasp and the buckle on the same eyelet on the tillets. The angles just don’t work .
Looking good Andy.
I went with the harness/belt hybrid at first but the massive long bolt you need to put in on the stock setup made me nervous so I just went full hardcore with harnesses only.
It’s caught me out a couple of times but generally you just learn to approach junctions slightly differently and in a pinch you can always slacken one shoulder off and very quickly retighten with the schroth quick release tabs. I wouldn’t go back to belts now, I feel quite cosy when all strapped in.
Those seats look great ![]()
Plus the crotch harness hole makes hoovering and trying to find coins/McDonald chips/sweets/fluff a lot easier!
Never thought of the hoover aspect.
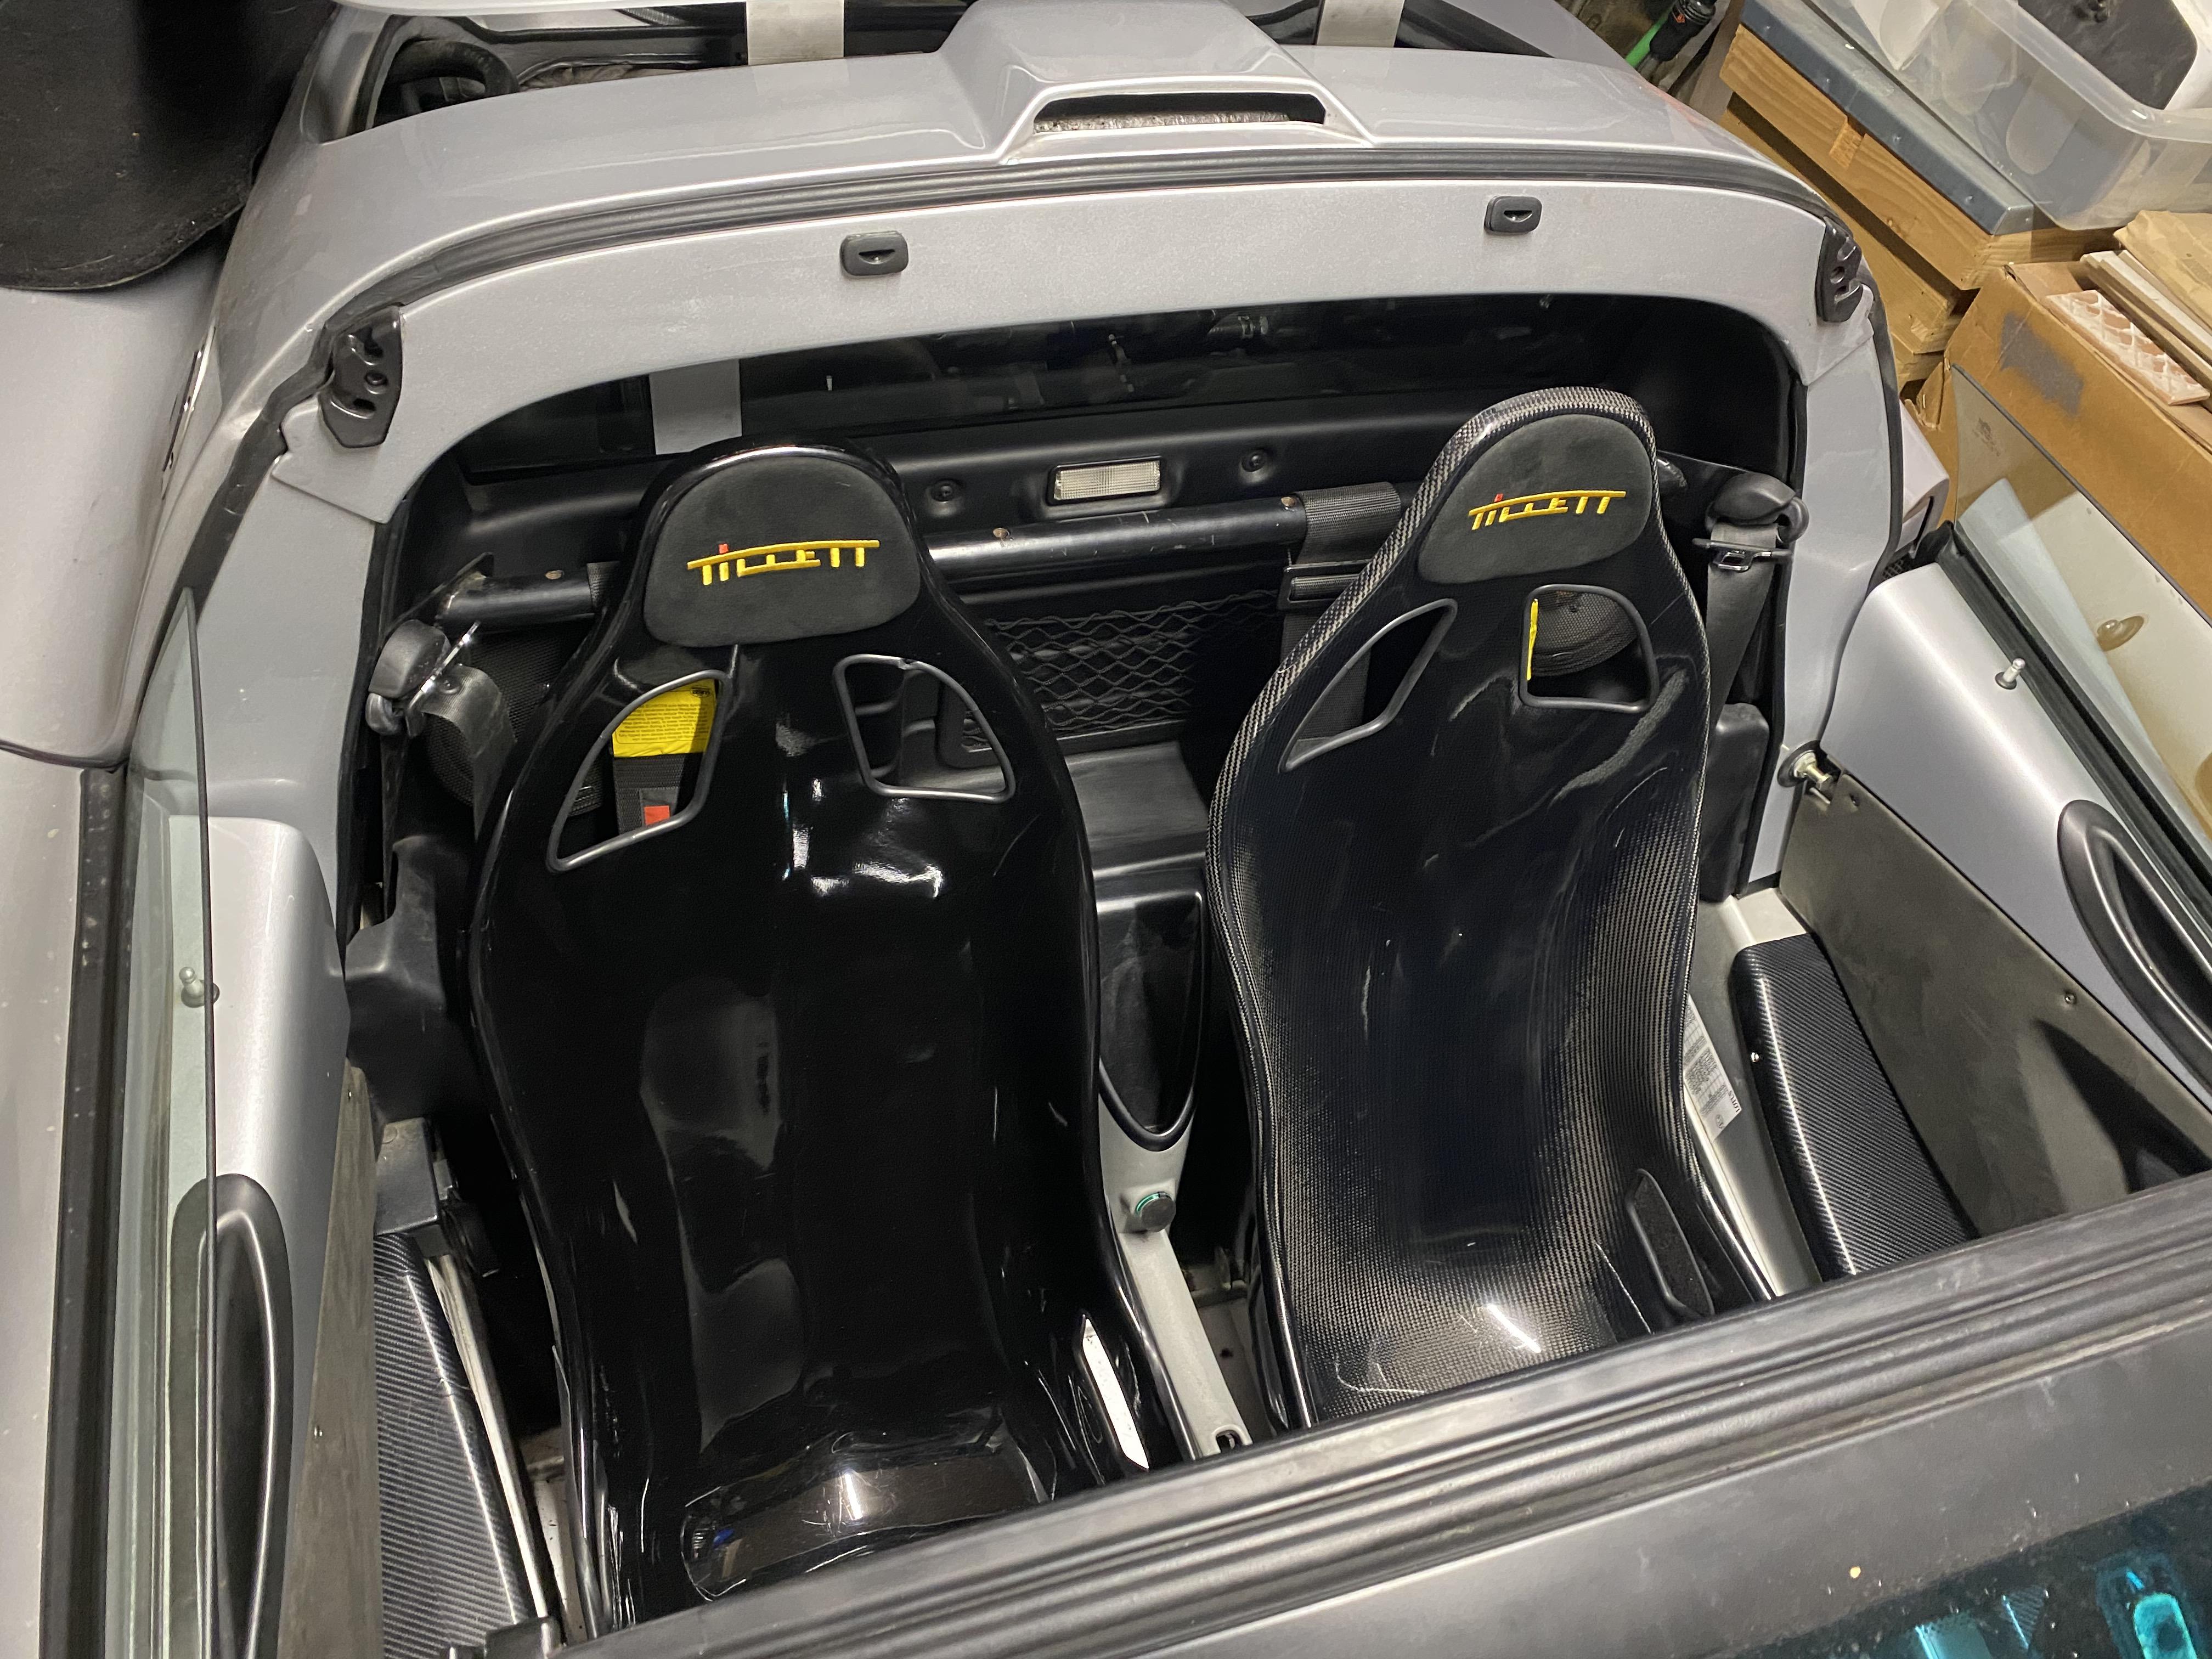
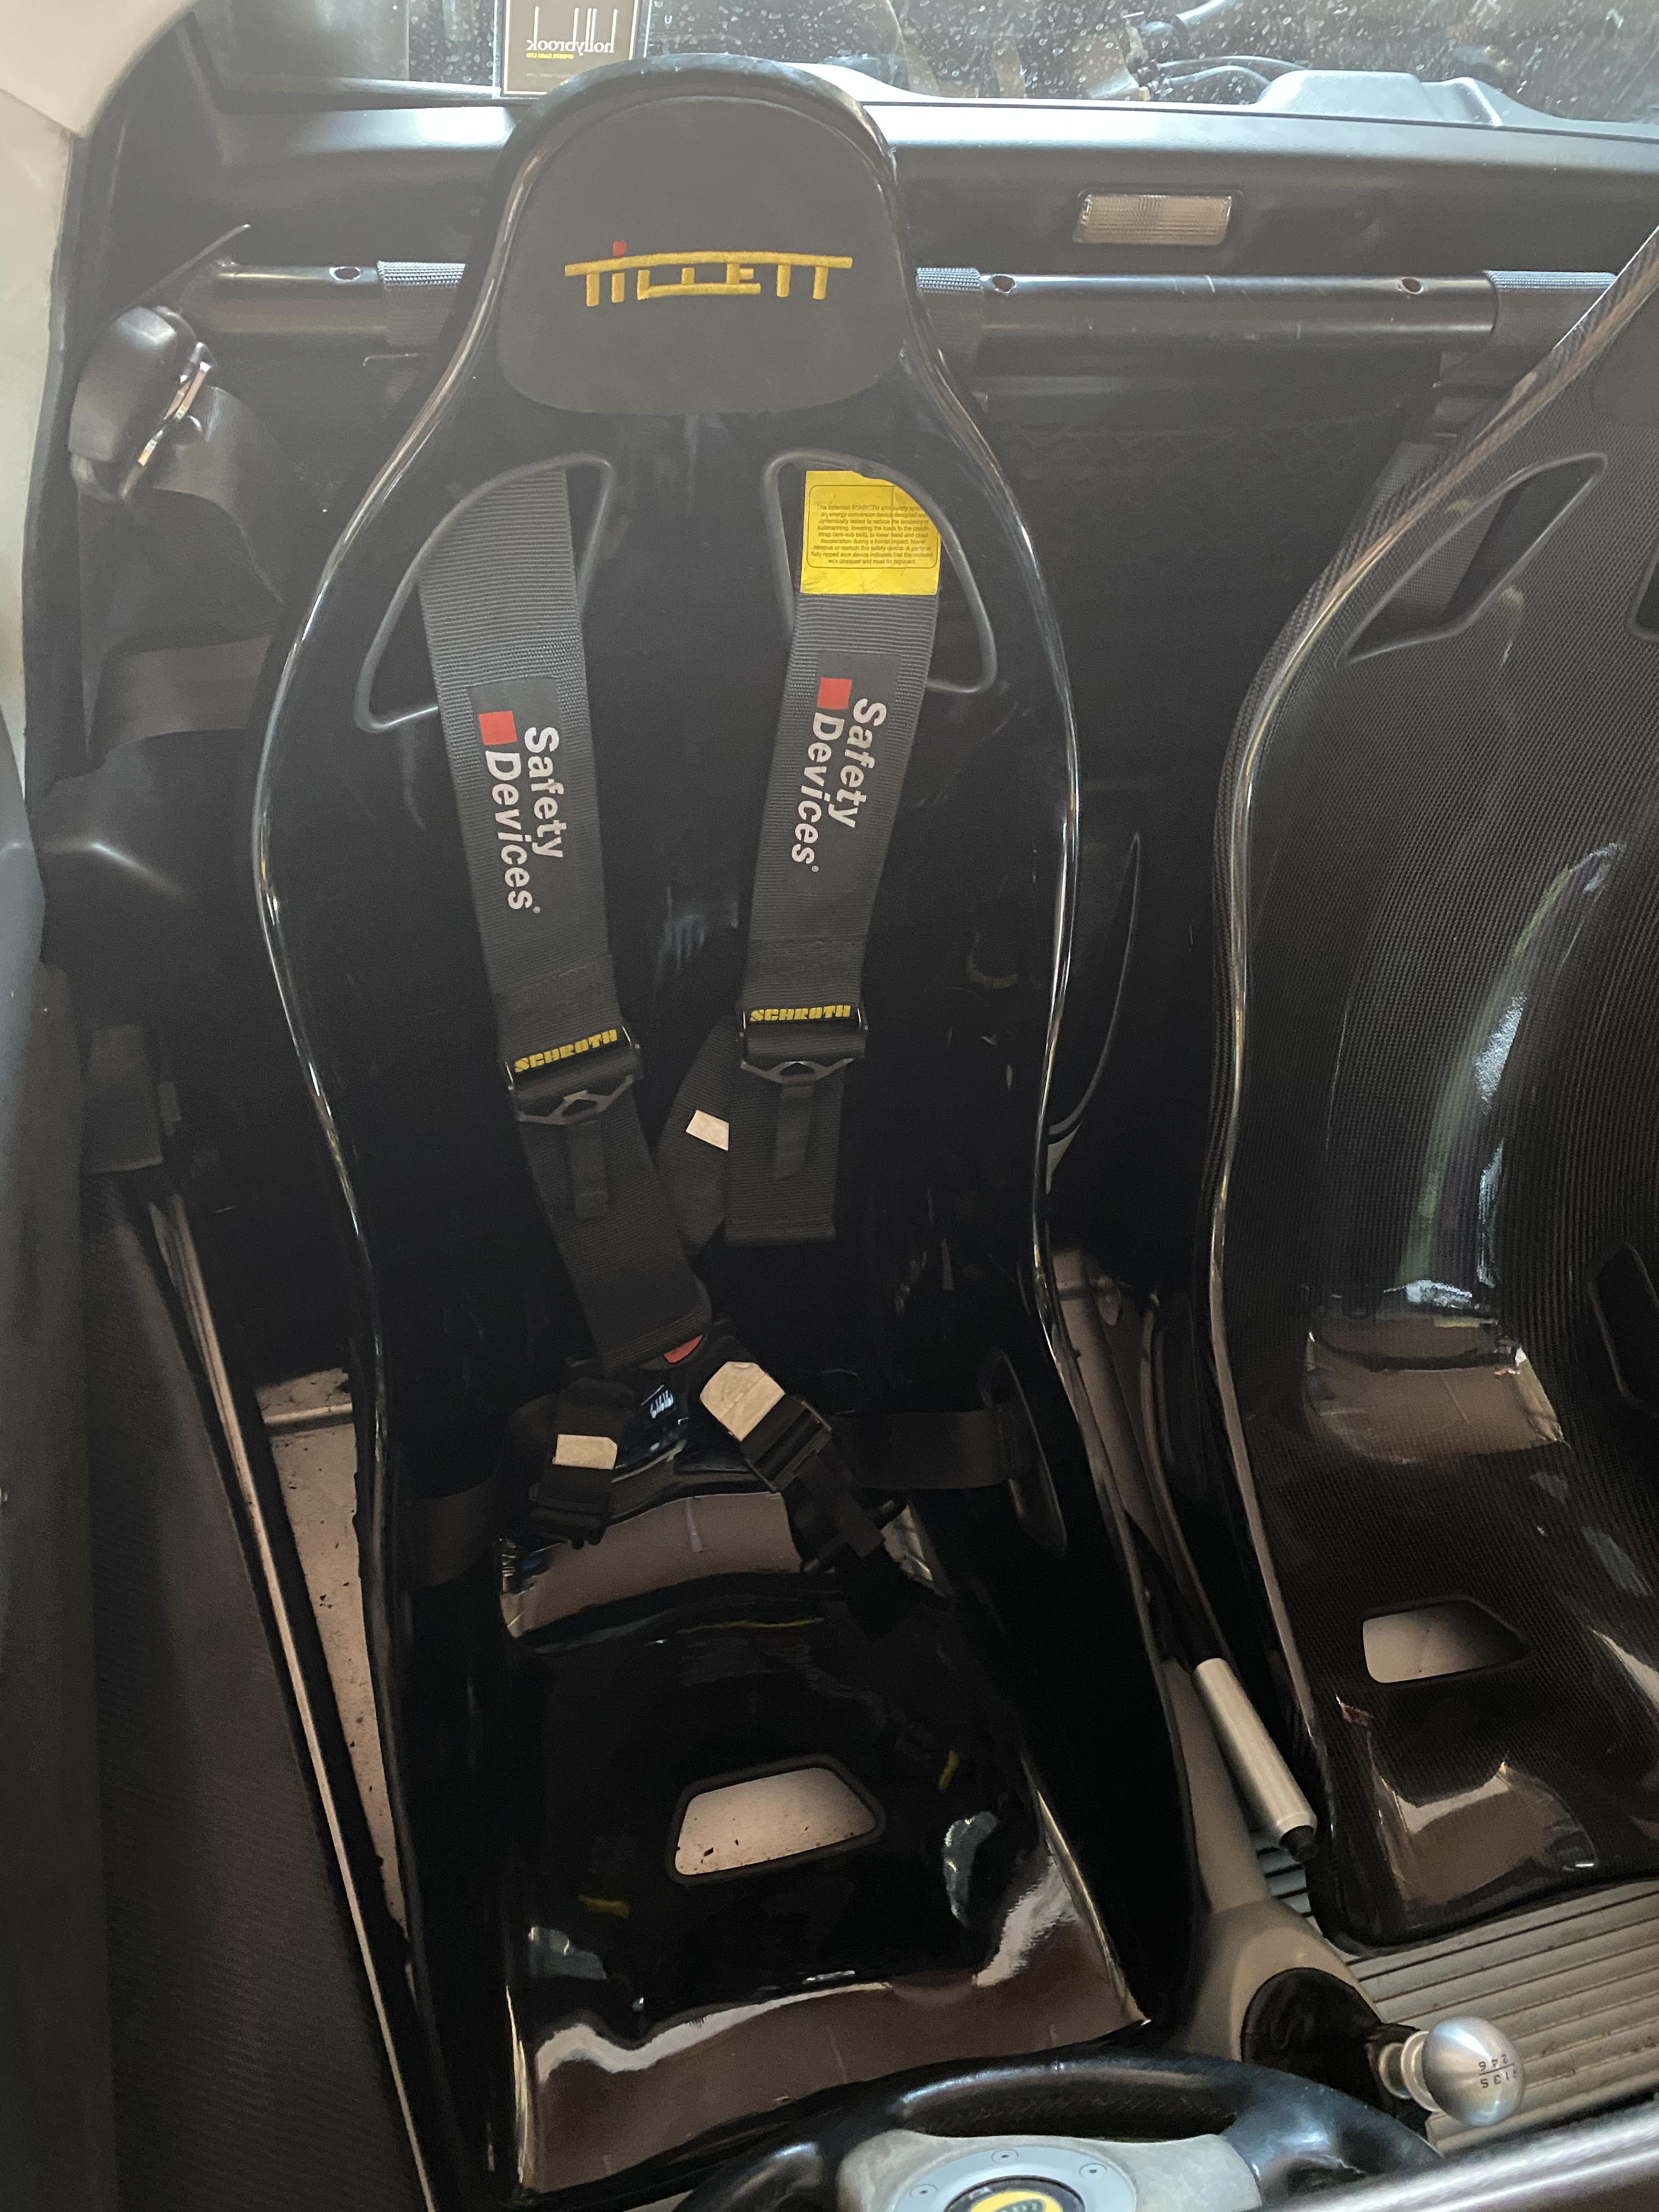
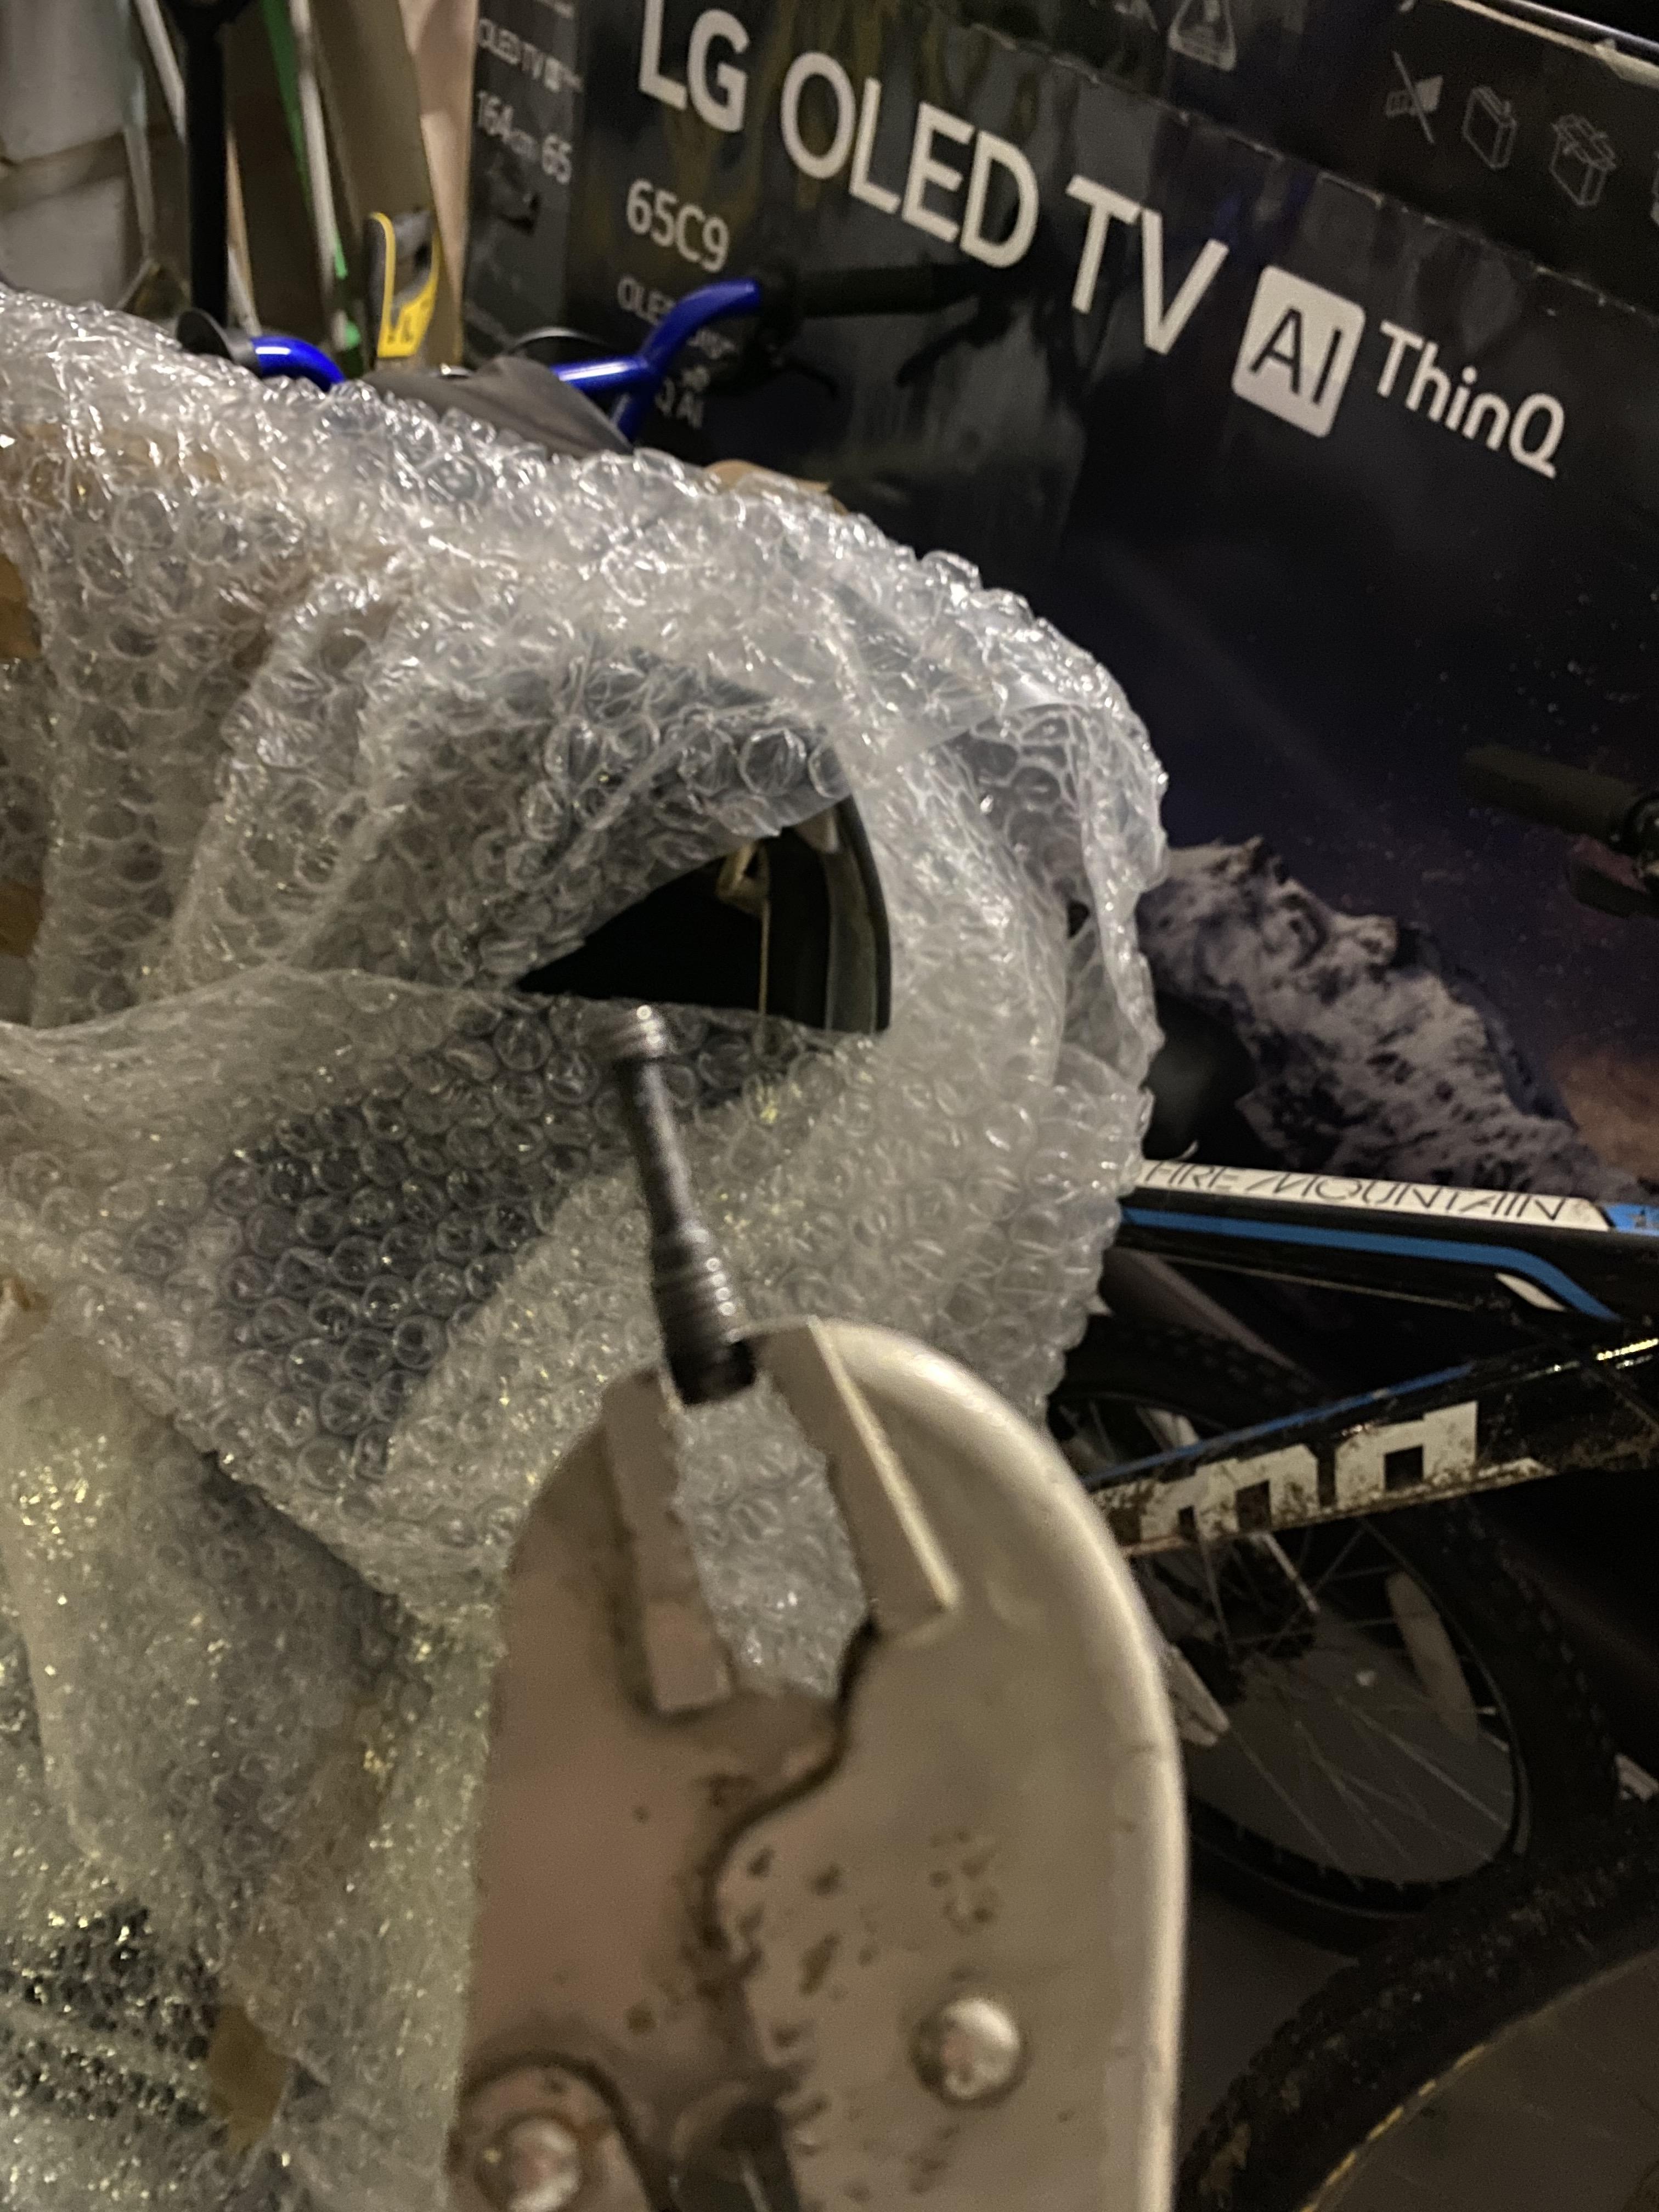
I have now fitted both seats. The second seat took two hours after dropping the seat bolts 18000 times. Bloody frustrating.
To add to the frustration one of the captive bolts that holds a corner of the roof panel is no longer captive.
Ah , balls.
See post : Exiges.com - Exiges.com - Lotus exige club
I have ordered Silverhook BIGK1 Big Boy Glass Fibre Resin Repair Kit and Isopon P40 Fibre Glass BodyFiller ordered. Be here Monday / Tuesday.
I am not making up the name of the resin kit …
How hard can it be to fix the bobbin?

A big thanks to lotuslee and Fonzey for bouncing ideas off them here. I have zero GRP experience …
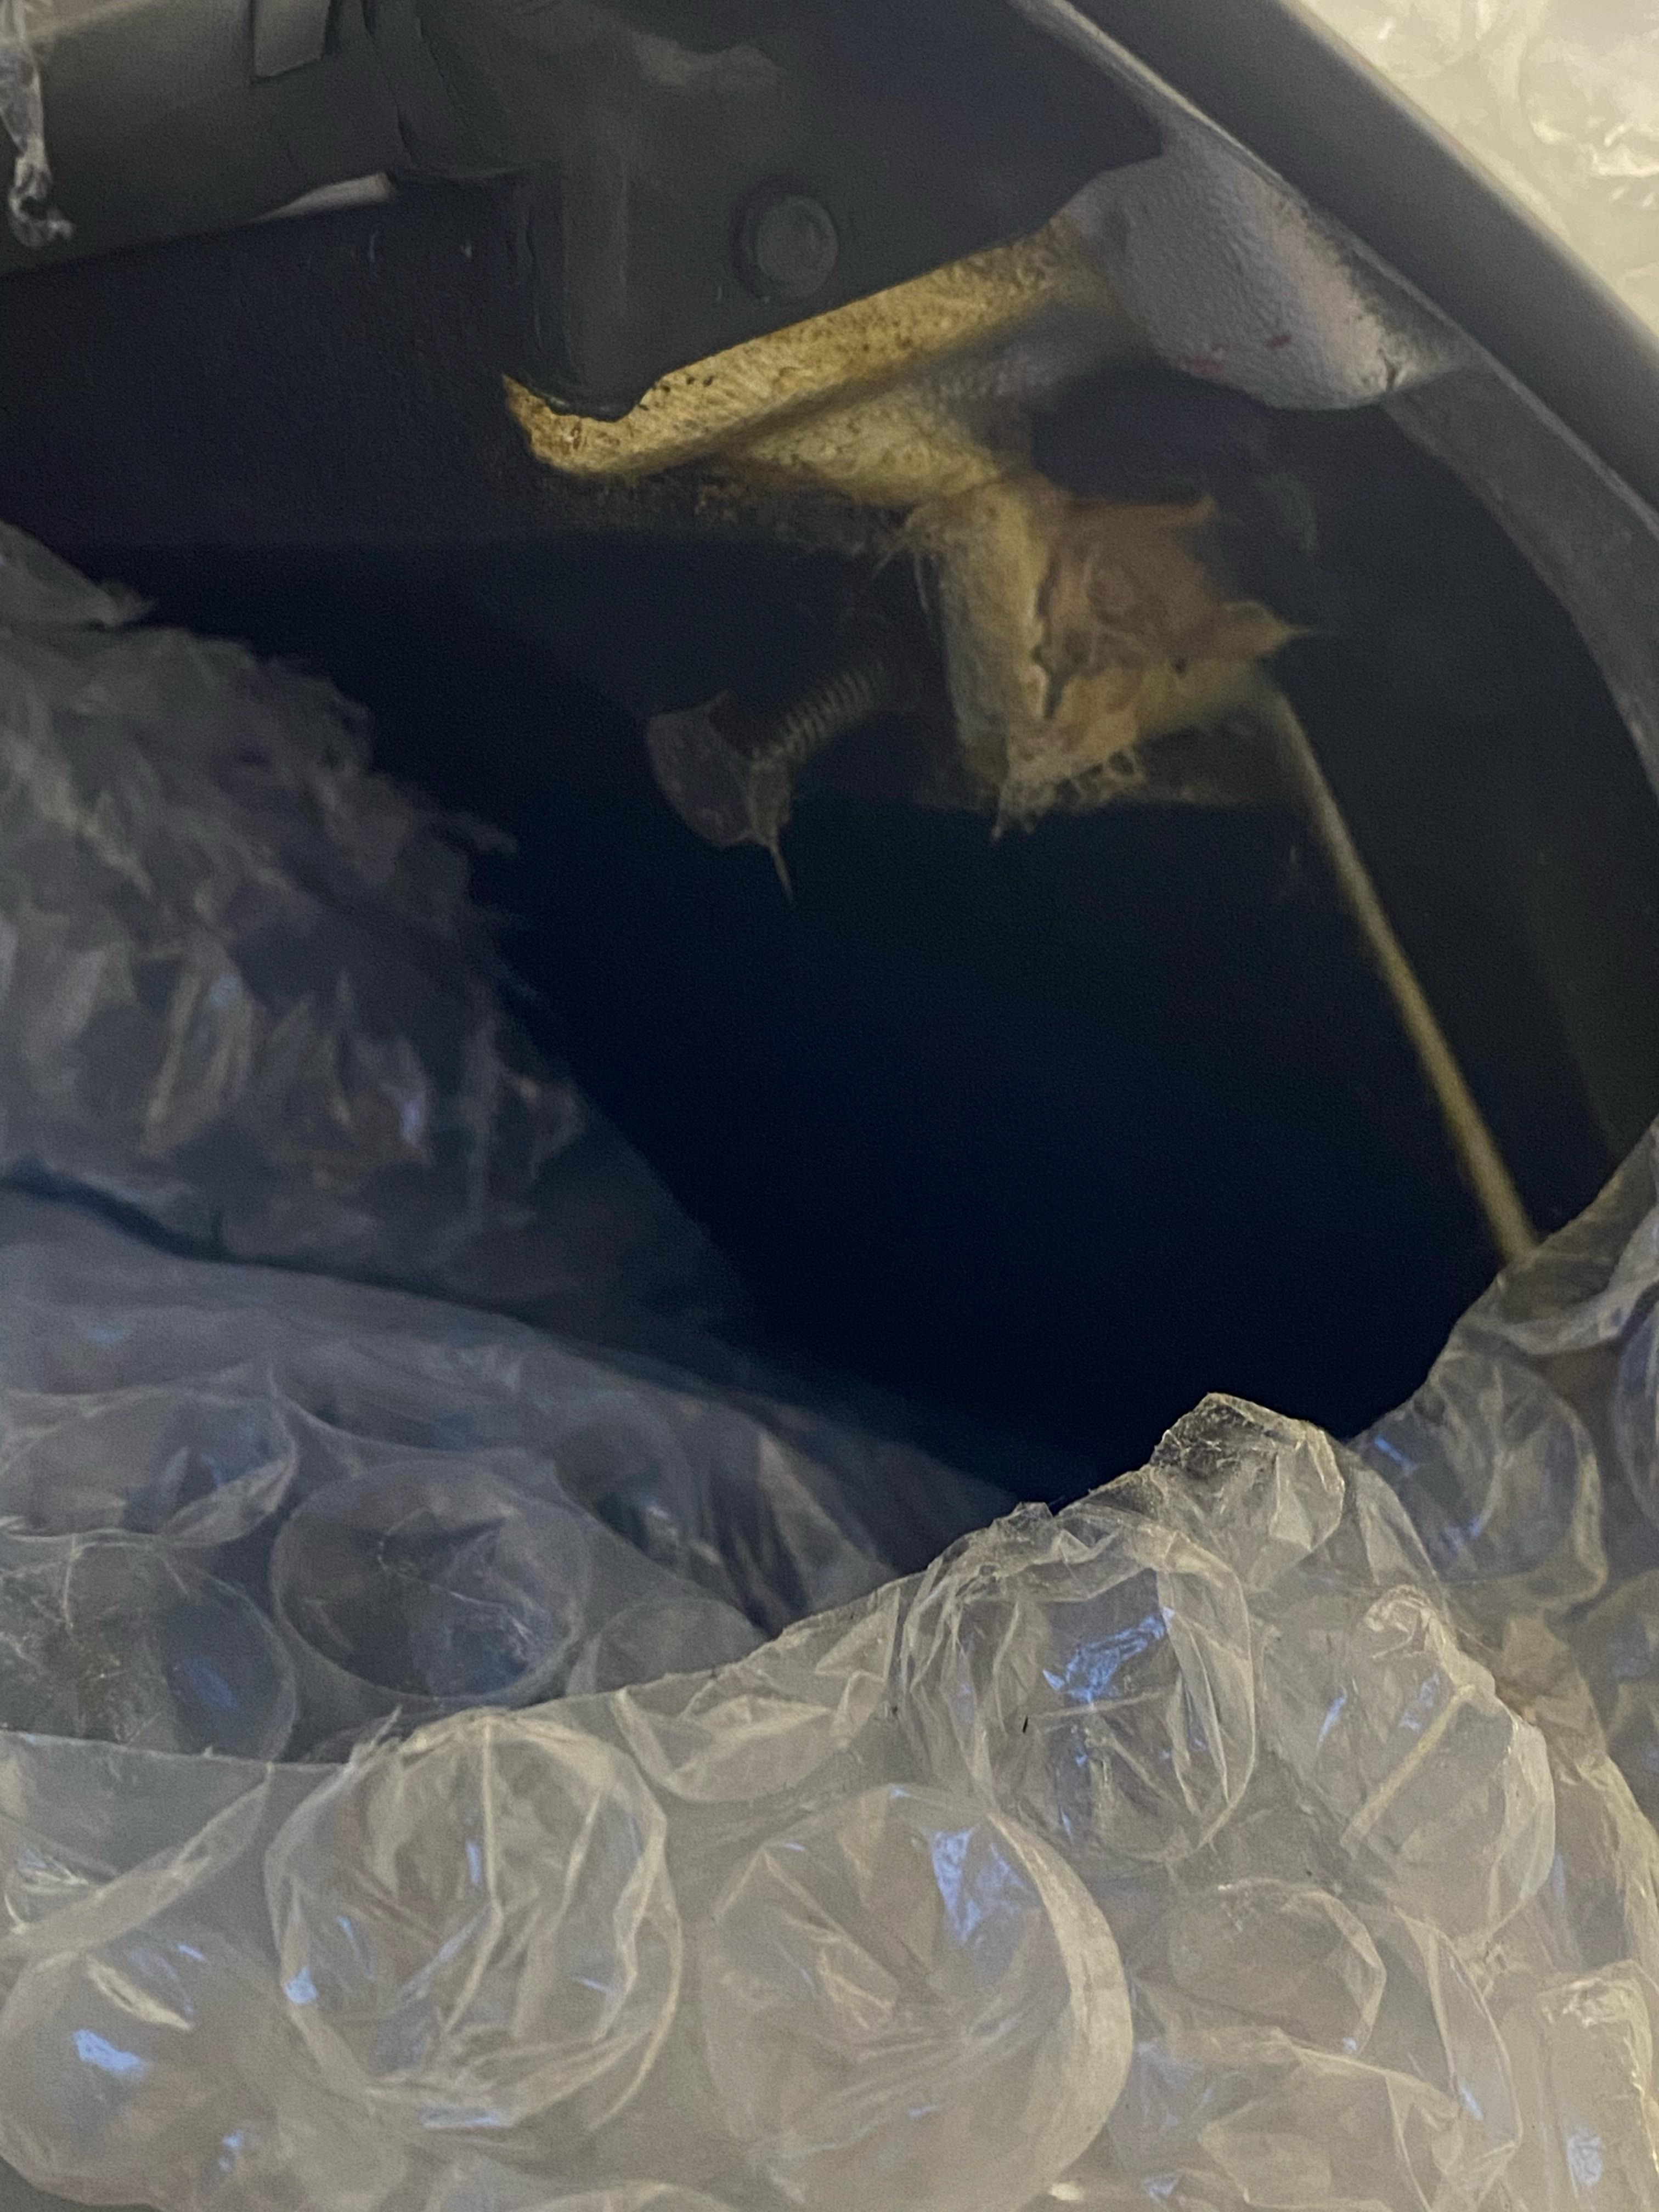
I had to take the head off the clunk bolt , and I needed to remove the metal bracket to let me create an inspection panel to see whats what.
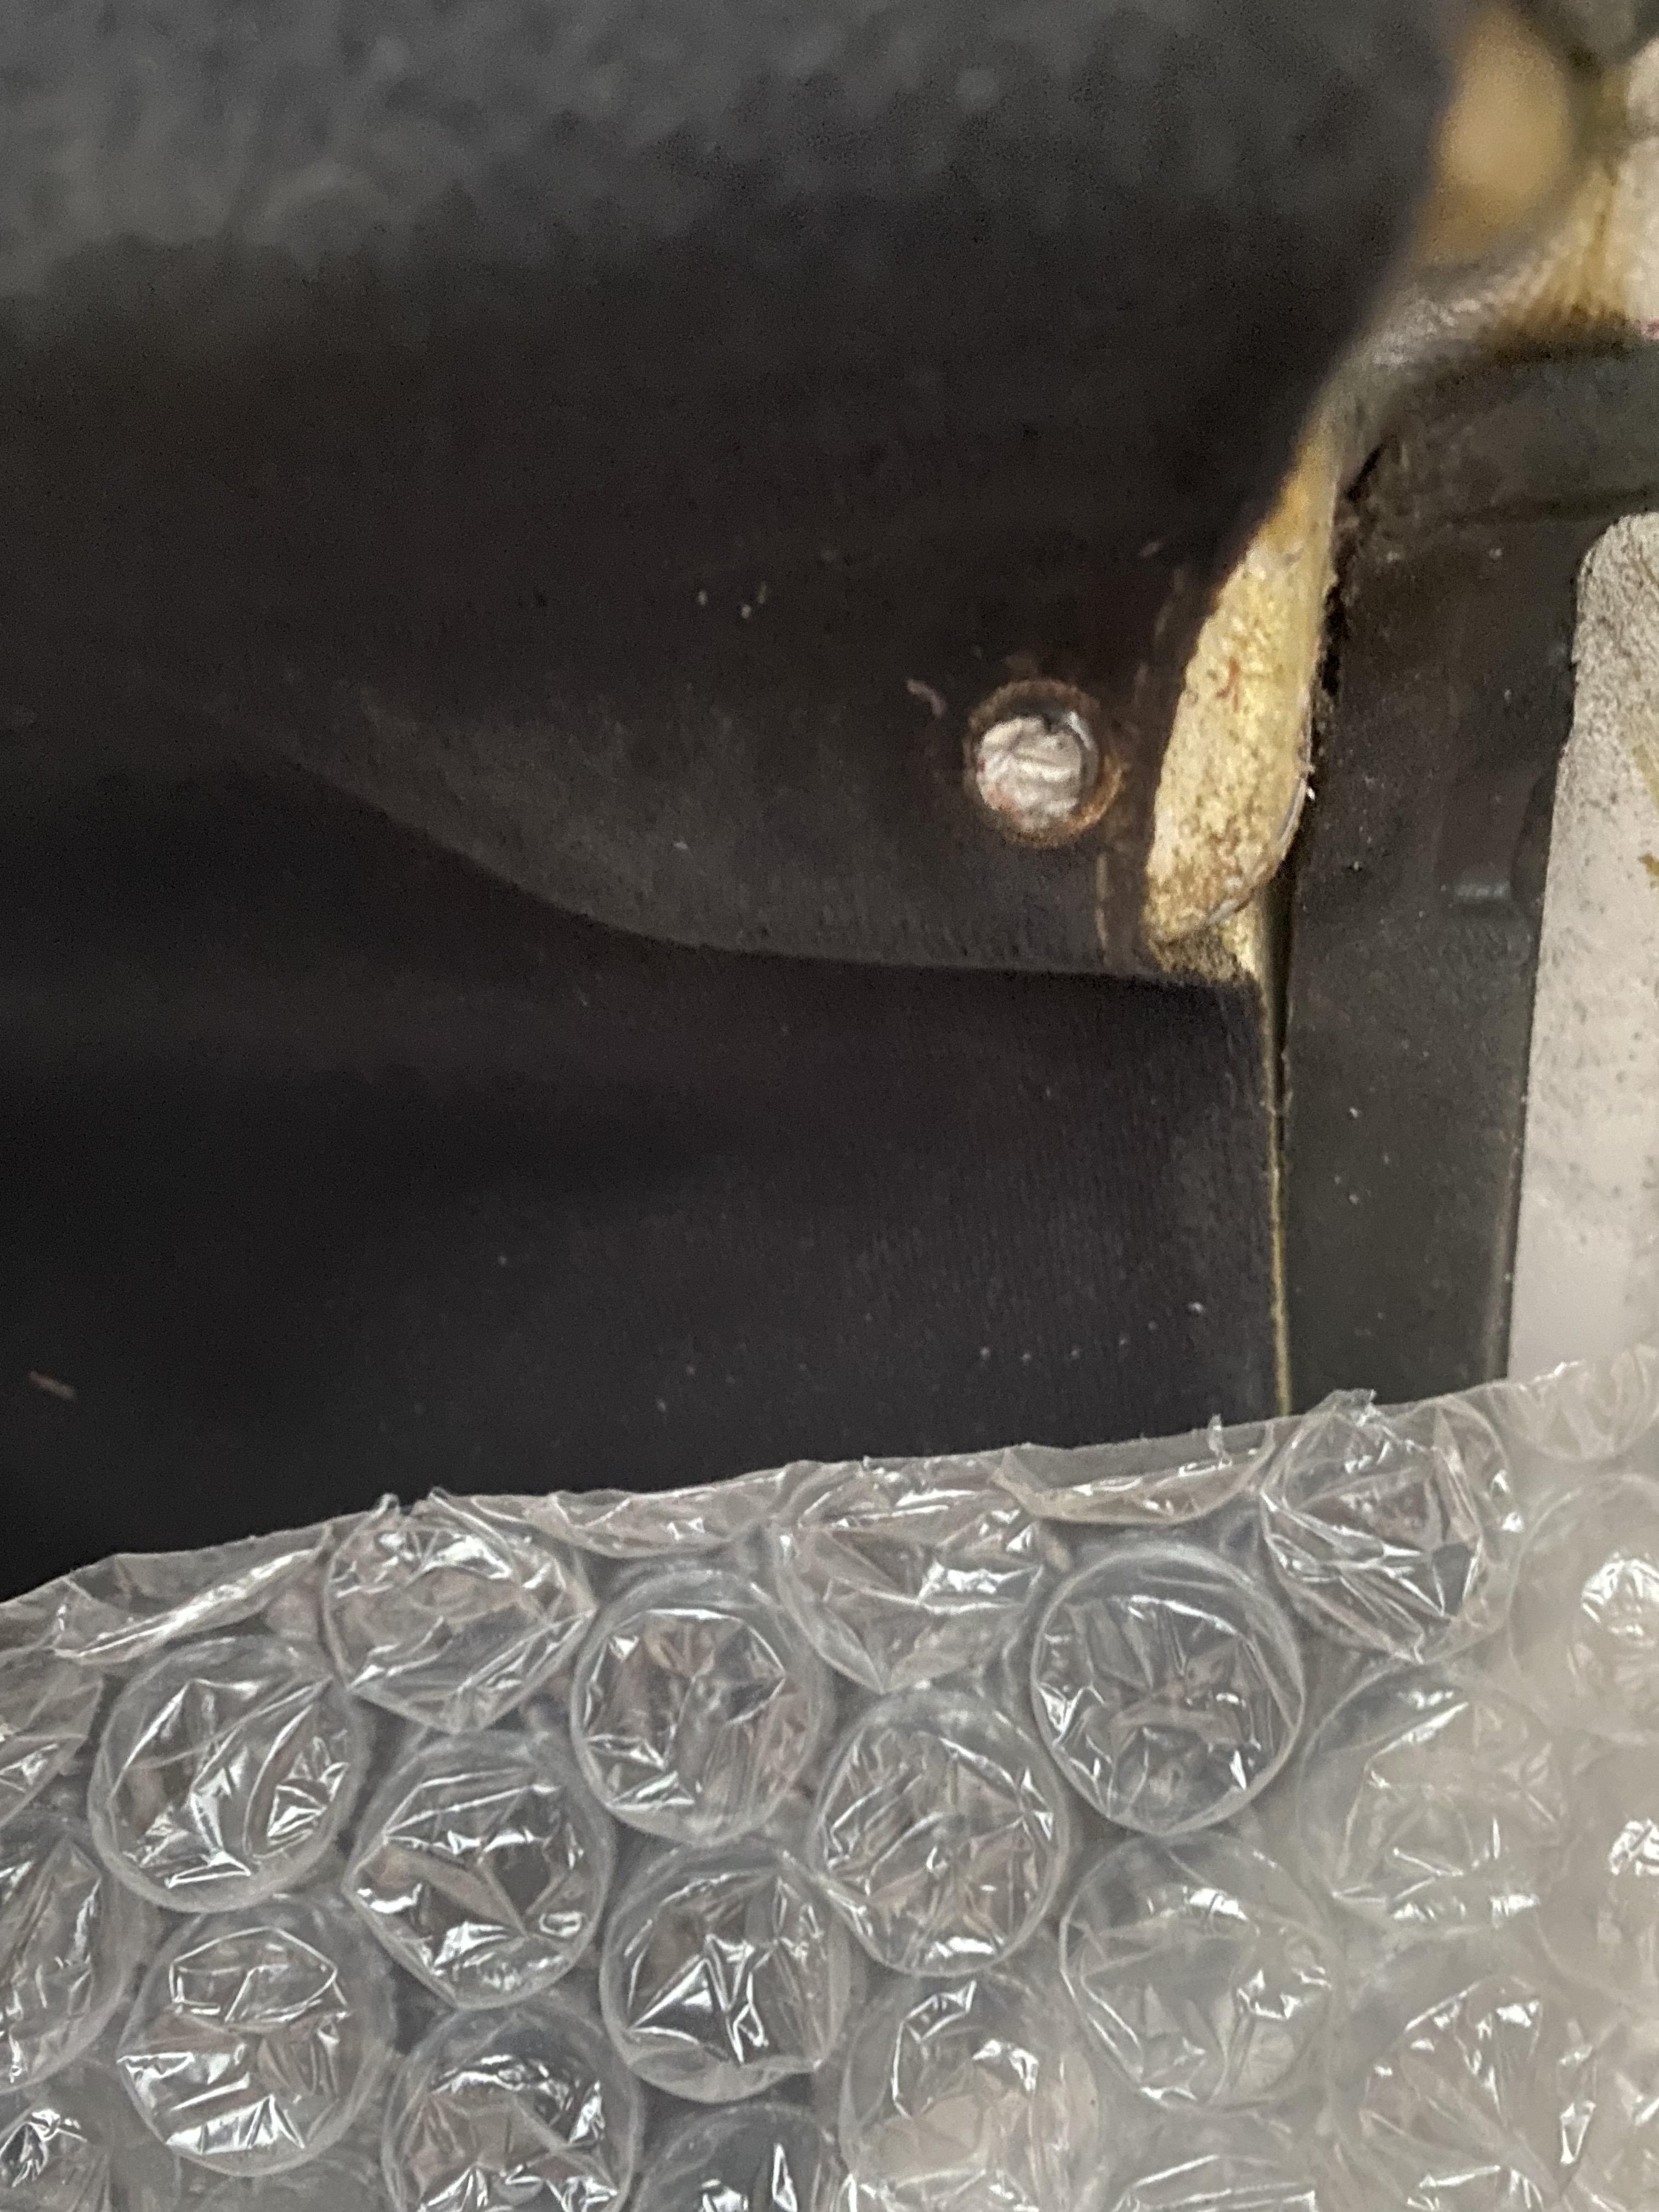
I then cut out an inspection panel so I could see if the captive nut was spinning, or something else
It is the captive bolt that’s spinning. I have some really small plyers that I can pinch the nut with to stop it spinning and the headless bolt now stops spinning.
I am awaiting some isopon40 to be delivered and I am going to place this inside the inspection chamber towards the bottom to get the nut to stop spinning again ( in theory ) Ill let that cure and give the headless bolt a twist to see if it breaks the isopol40 bond that’s just been created.
Assuming it doesn’t I am torn here as
- I have found a nut that fits on the end of the headless bolt and will clamp the metal bracket that is used to hold the roof down. Its a non OE fix, but it works, and works well. Even with the captive nut twisting!
- I could cut a groove in the headless bolt and try and unscrew the headless bolt out, but doing so could jeopardise 1) as the nut might not go back on any longer. If not I would have to goto . . .
- Cut out the whole piece and wreck my headlining and reset in the captive nut.
Choices , choices …
I couldnt let it go.
Happy days - that is the old clunk bolt with head cut off out.
Will tap the thread out as it appears to be a bit of a mess tomorrow and await the goo to hold the nut in place.
This afternoon straight after work I have managed to ;
Tap with my 1.25*M8 the thread. It took some doing and blunted my tap at the end. My son was pinching the metal part that was visible whilst tapping and after a short while the tap turned freely. Success.
I can now get a m8 straight in and out with minimal fuss. This will yet to be seen when its on the car!
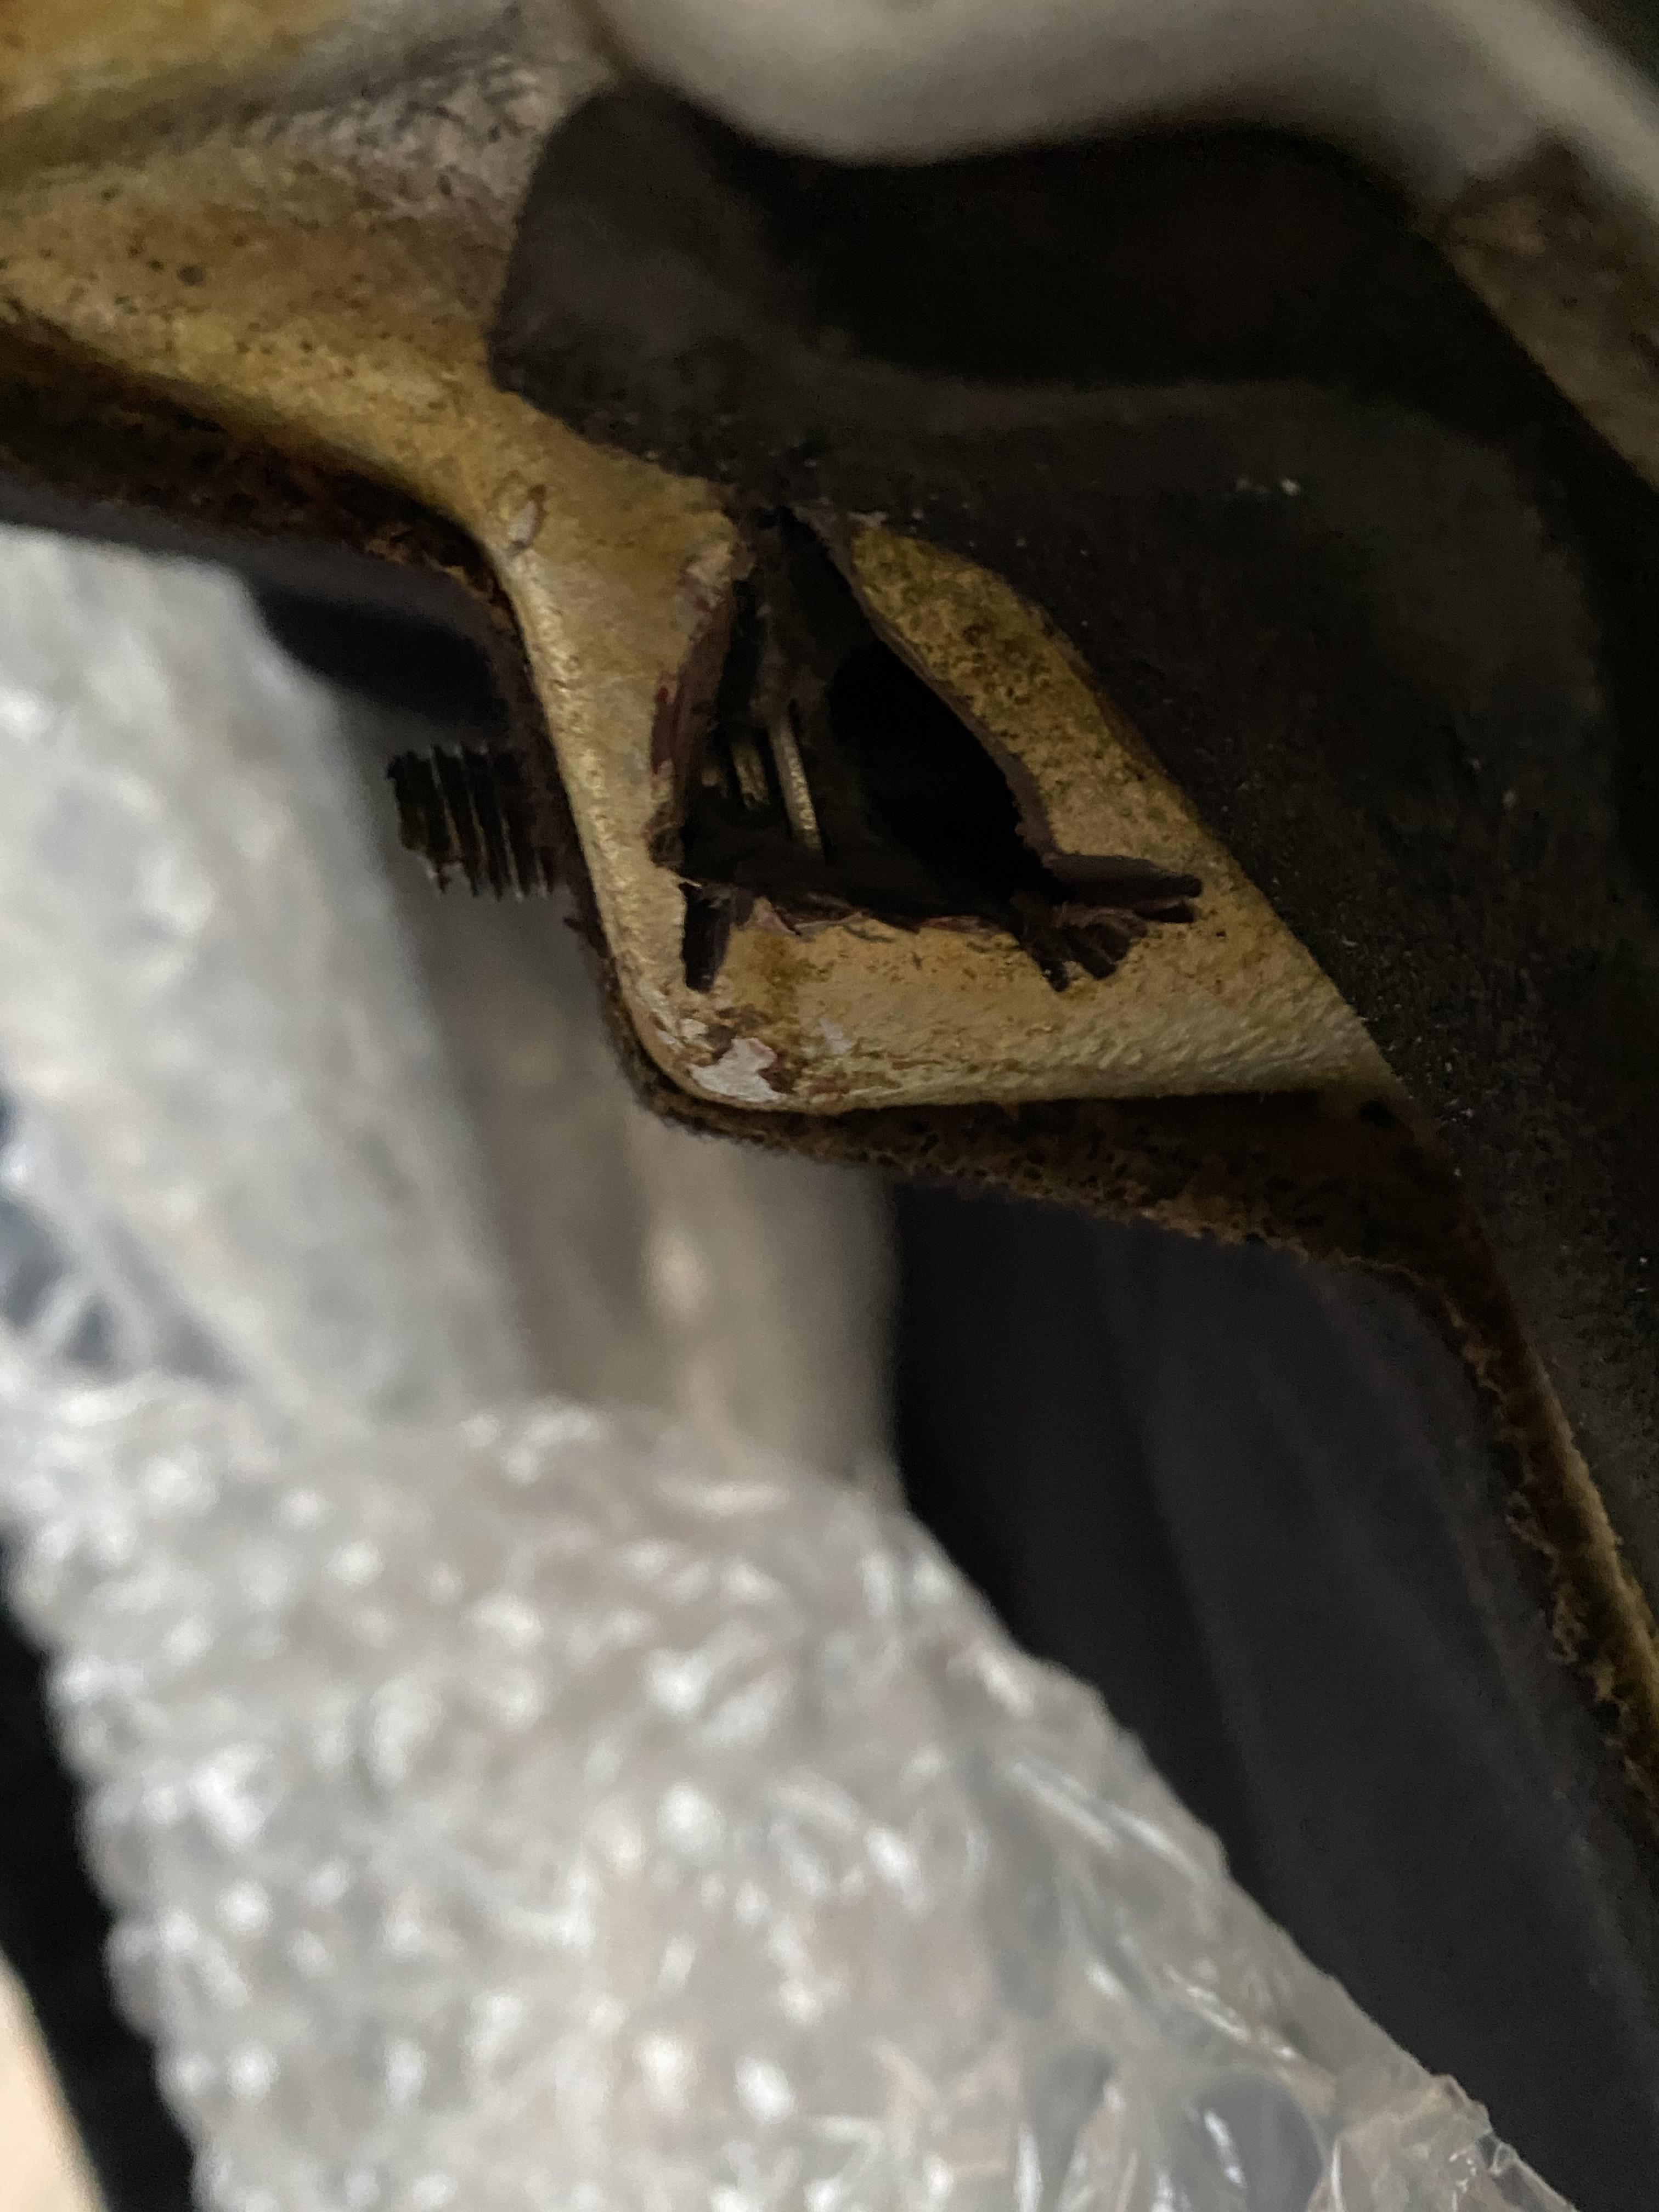
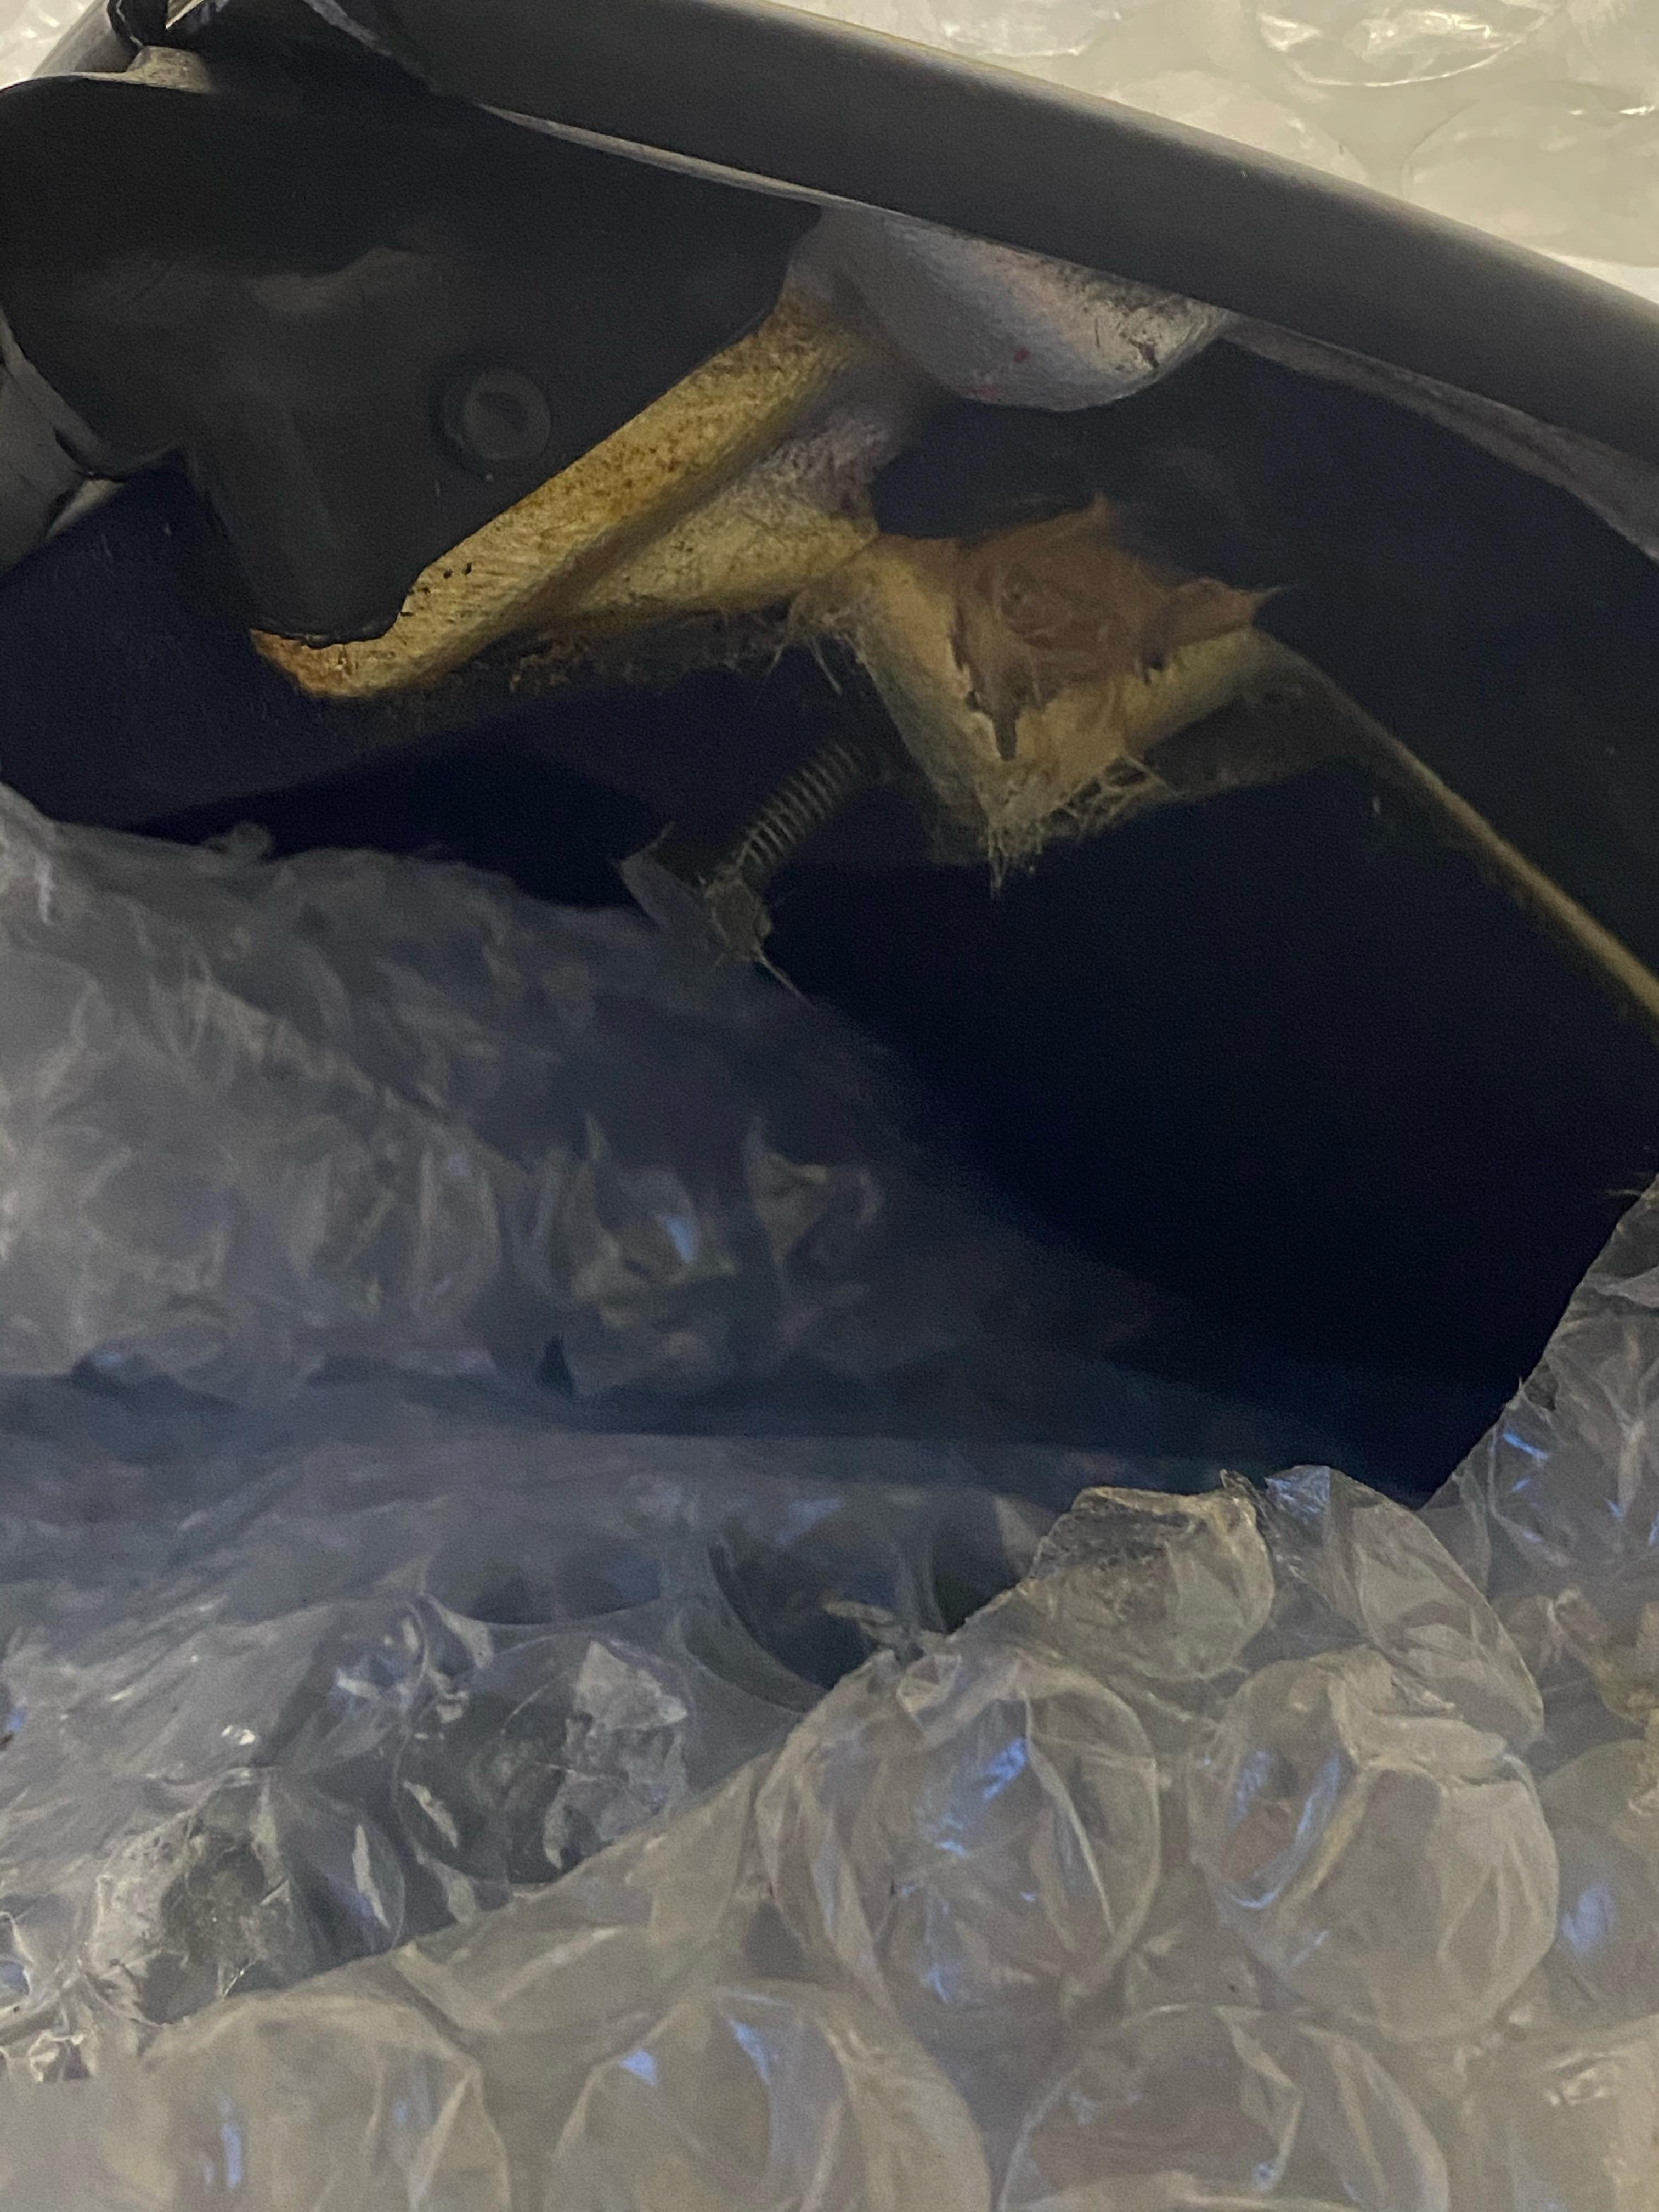
I then mixed the isopon40 up in a small quantity and tried to use the spatula to wedge it in. No dice. Too small. Used my fingers and pressed loads into the void to try and hold it all together. I have put a m8 in place to try and create the void for the bolt to reside in. I am hoping it doesnt set and stick to the bolt.
Pic :
Maybe a bit late but I’d have lubed the crap out of that bolt just to reduce the chance of anything bonding to it.
Any update? This is looking like a good fix, if you can get that bolt out ![]()
I took the bolt out when it was tacky, fortunately!
I need a shorter bolt, as this one just about touches the top skin, but Ill get it sorted ![]()