As suggested by jonnyfox in the introduction section I open a new thread to report on project progress from time to time.
I bought my Chrome Orange S1 #467 from Marten who started a kind of restoration/de-trackify project but decided to part with it.
It was acquired by him via exiges.com in 2014 from user Gulfb. The car has seen heavy track usage in its early life and needs some work.
I’m glad that the car is still with its VHPD engine.
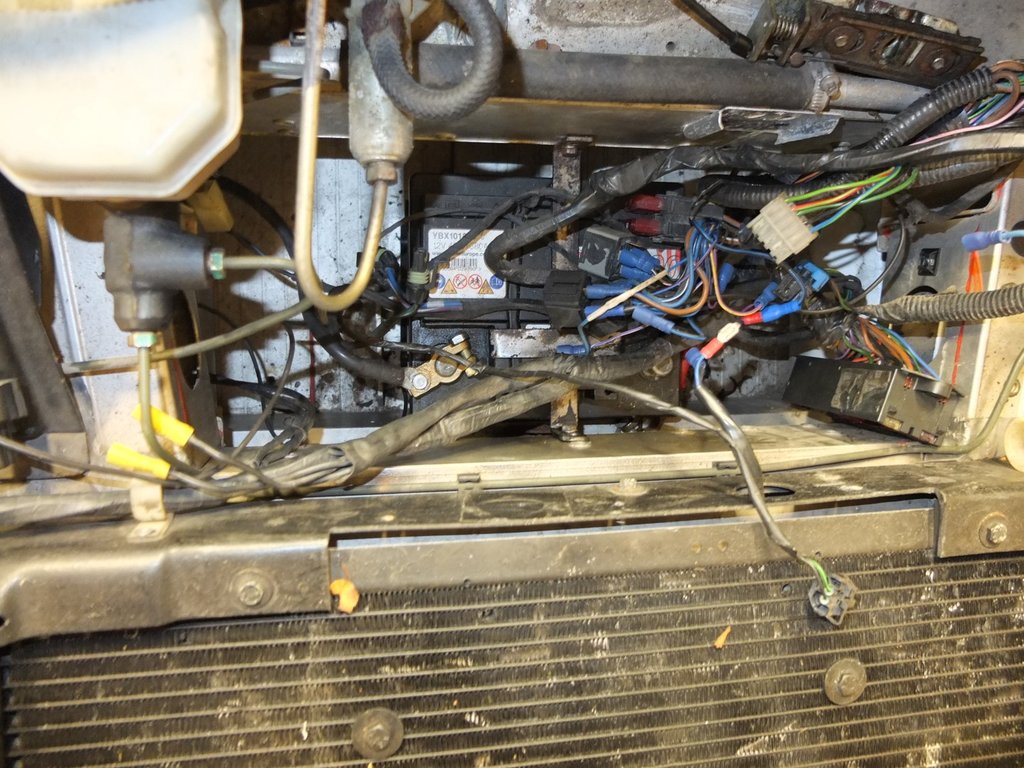
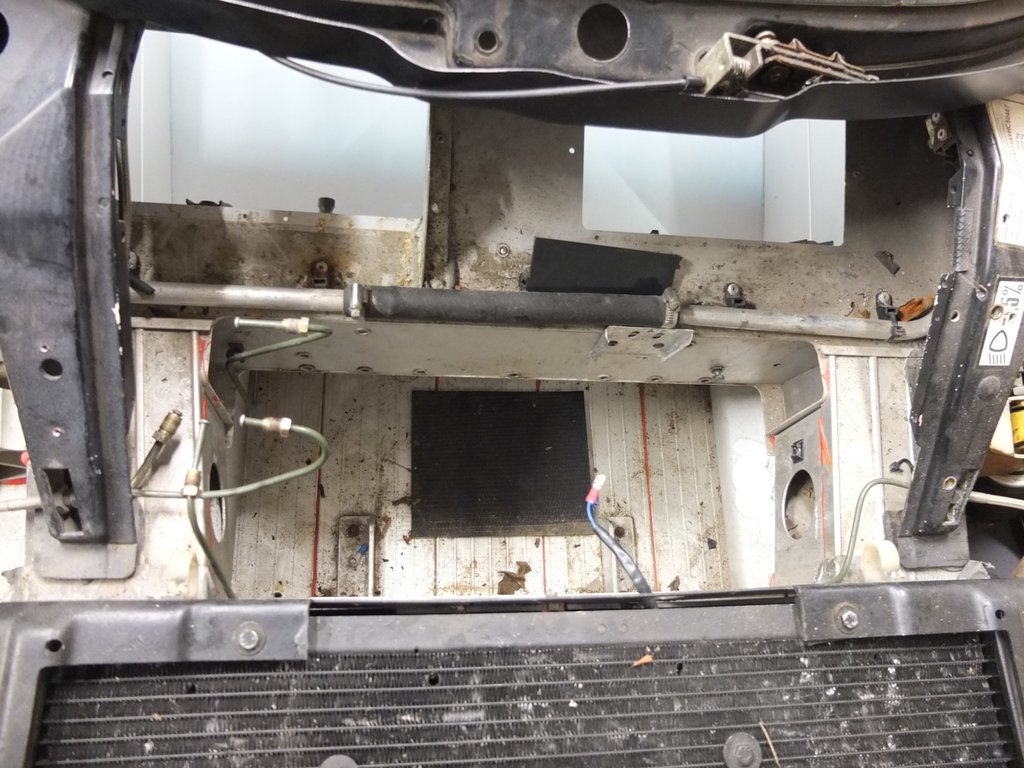
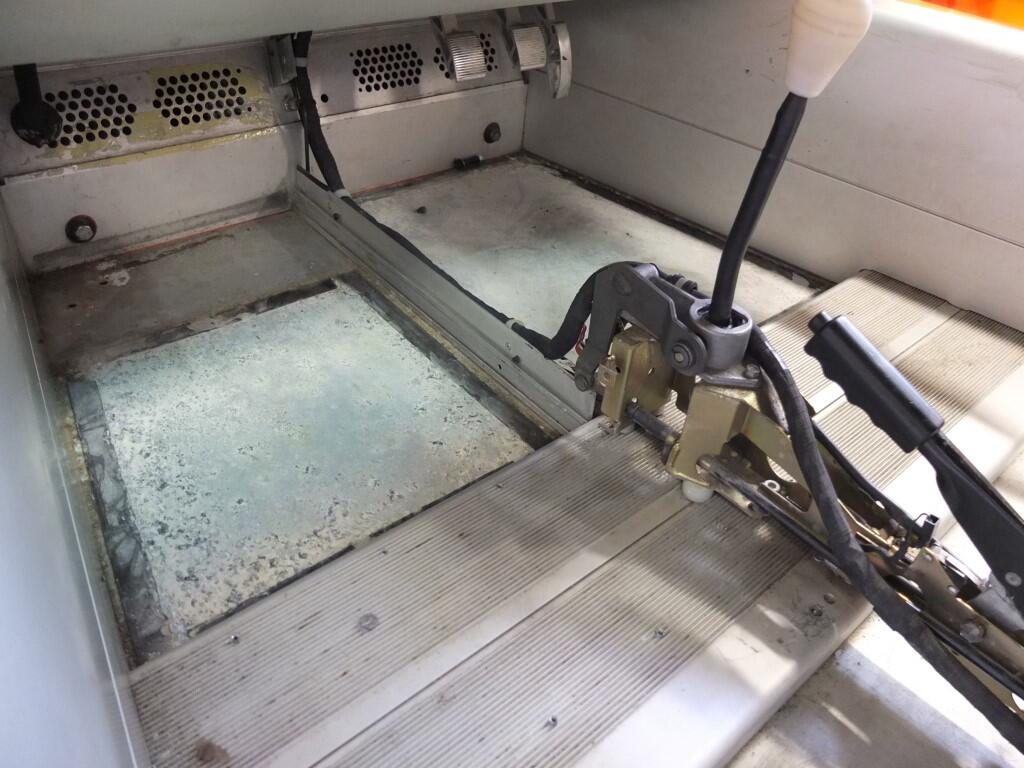
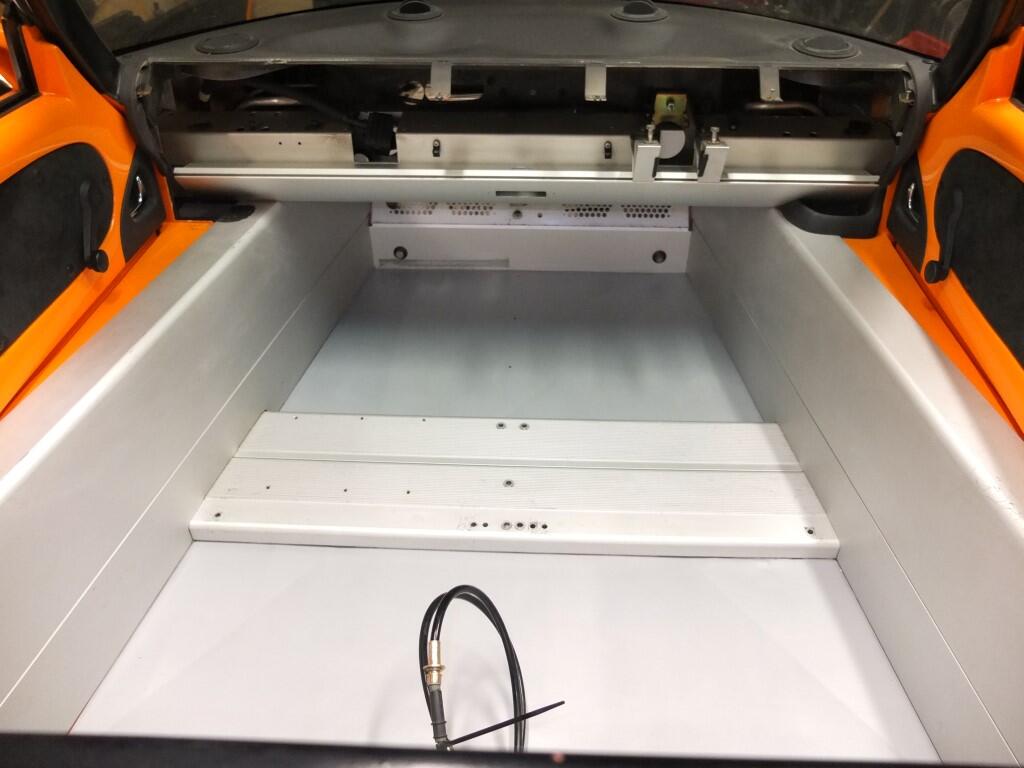
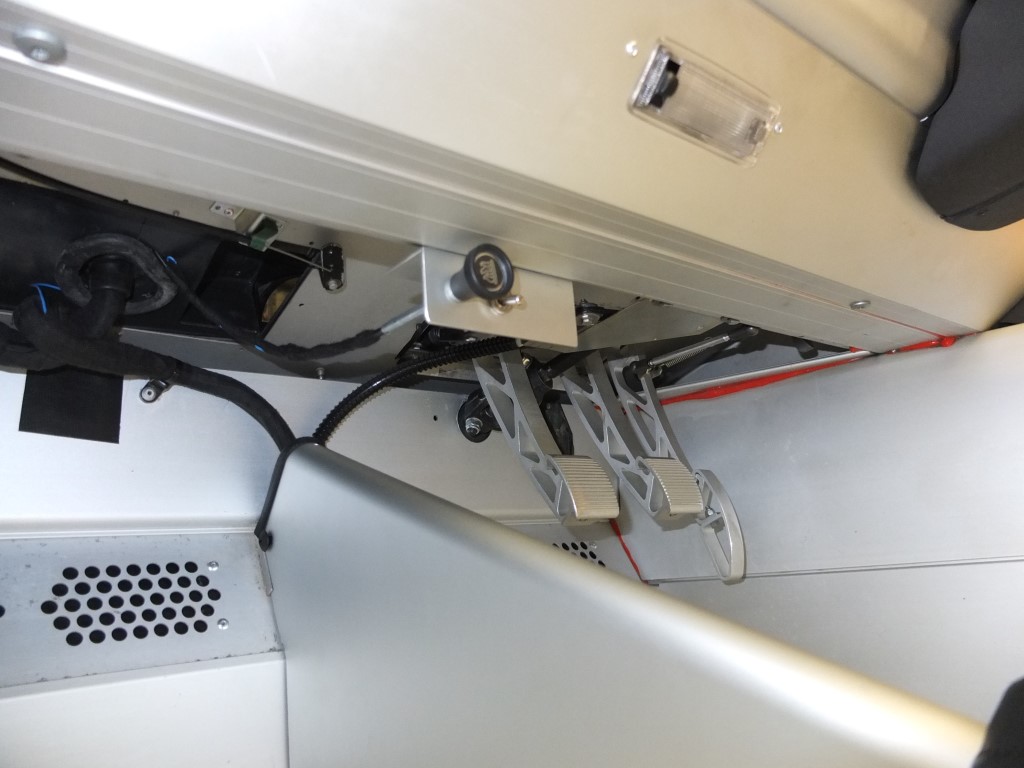
I finished the front compartment where the heater, brake, clutch, etc. live. As a former AC car many things needed to be changed.
After cleaning up the old mess I
overhauled the pedal box with new igus bushes (much cheaper when ordered directly from their site)
fitted new clutch and brake master cylinder
fitted the new heater housing which is a LHD version and so I fitted it to the left hand side
added a Odyssey 680 battery and strap-fixed to some airline rails which were a left over of a camper trailer project
fitted a main battery switch
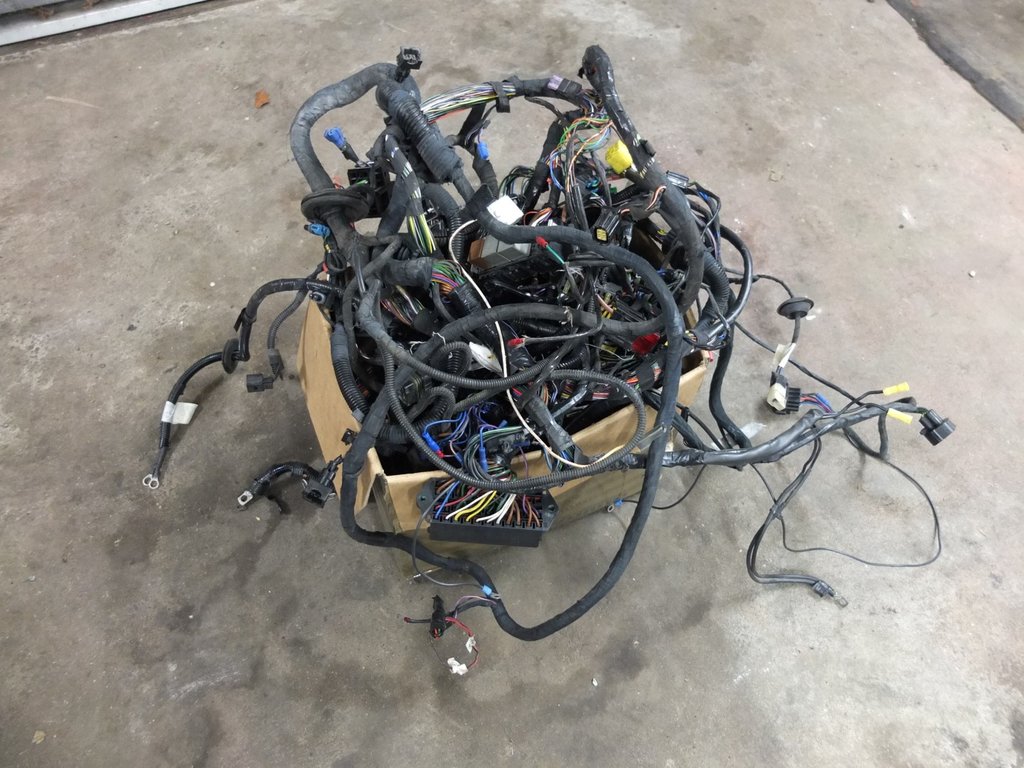
installed the new wiring loom
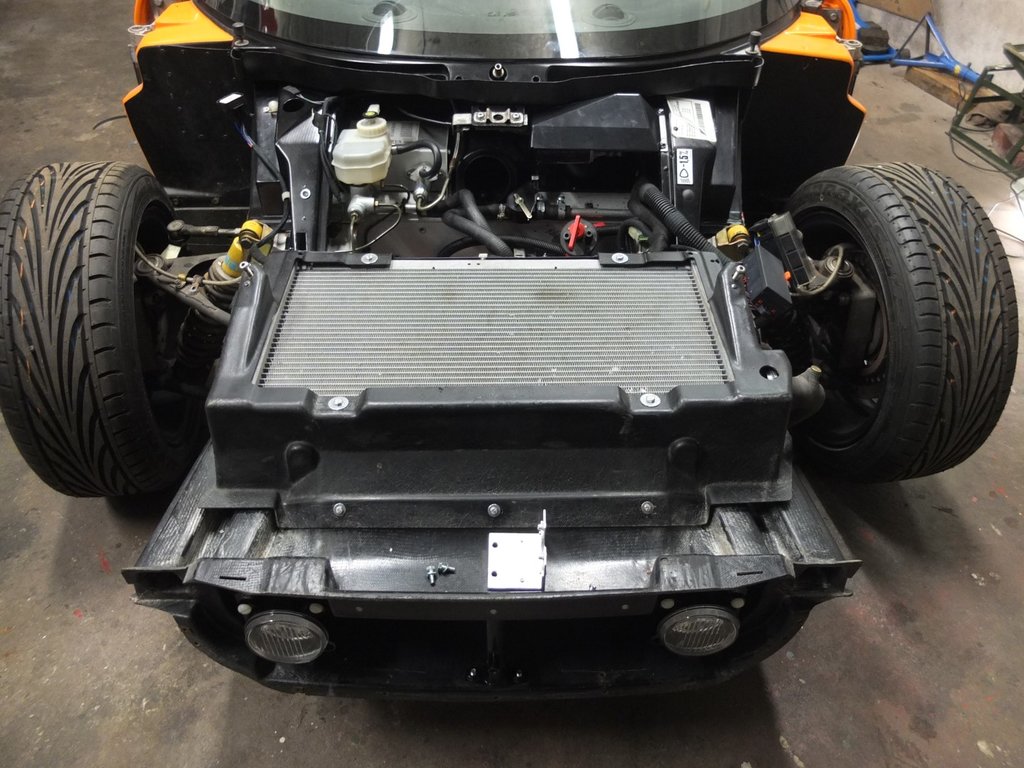
exchanged the radiator against a good used one made of aluminium. I hope this one will last longer than the last one fitted to my Elise which cracked after 3 or 4 years.
installed new driving lights and a set of dual tone horns
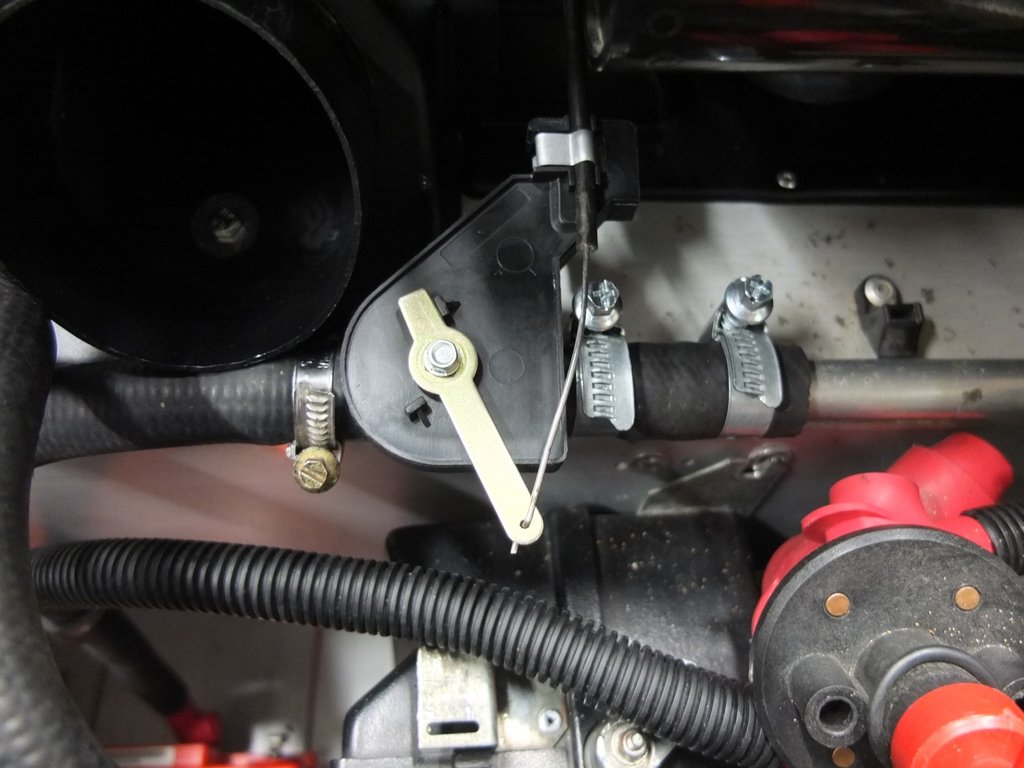
On AC-cars there is a vacuum controlled heater valve in the engine compartment that shuts the heater circuit off when no heating is needed.
With the new heater-only cable controls the heater would have been always ‘on’ and only a hot/cold air flap would have been used to set the temperature.
I first thought to still use the vacuum valve but decided then to just add a simple cable controlled water valve installed close to the heater.
The plan is to control the heater flow with an additional cable operated pull knob mounted under the dashboard. I hope that will help to keep the car a little bit cooler inside with no (additional) hot water circulating through the sills and the front.
The valve is an early VW Golf part (7.50€) and the cable is taken from the original Mini (15€).
Excellent work …you are immediatly elected to the Exige Refurbishers club.
Will be interested to hear how you get on with the odyessey battery as I have one in stock and it would be much more convenient than the regular boat anchor jobbie.
Keep up,the good work
Concerning the heater shut off valve I still have to actually test this setup since the engine is not running at the moment.
I’m aware that the heater circuit is part of the small circuit and acts as a second bypass as long as the thermostat is closed.
So blocking the heater circuit may harm the coolant flow during engine warmup.
On the other hand Lotus did fit a shut-off valve on AC cars by themselves. Interestingly the coolant system of AC cars differ from the heater cars in a way that in the small coolant bypass circuit a booster pump is fitted.
Could be that the coolant bypass in AC cars has less restriction than the one in heater cars. There seems to be a flow restrictor near the jiggle valve in the heater bypass circuit.
So it could be when shutting off the heater circuit on heater-cars the coolant flow is too low during warmup. This might also be the reason why Lotus fitted an air flap heat control mechanism instead of a simple water valve in the first place.
So just be careful when repeating this setup on a heater car. Of course an easy solution would be not to forget to open the heater valve during warmup.
Future plans are to fit a remote thermostat to control the bypass flow and an electronic water pump to boost the idle coolant flow.
But this has to wait until I’ve driven the car
Thanks for all the encouraging comments
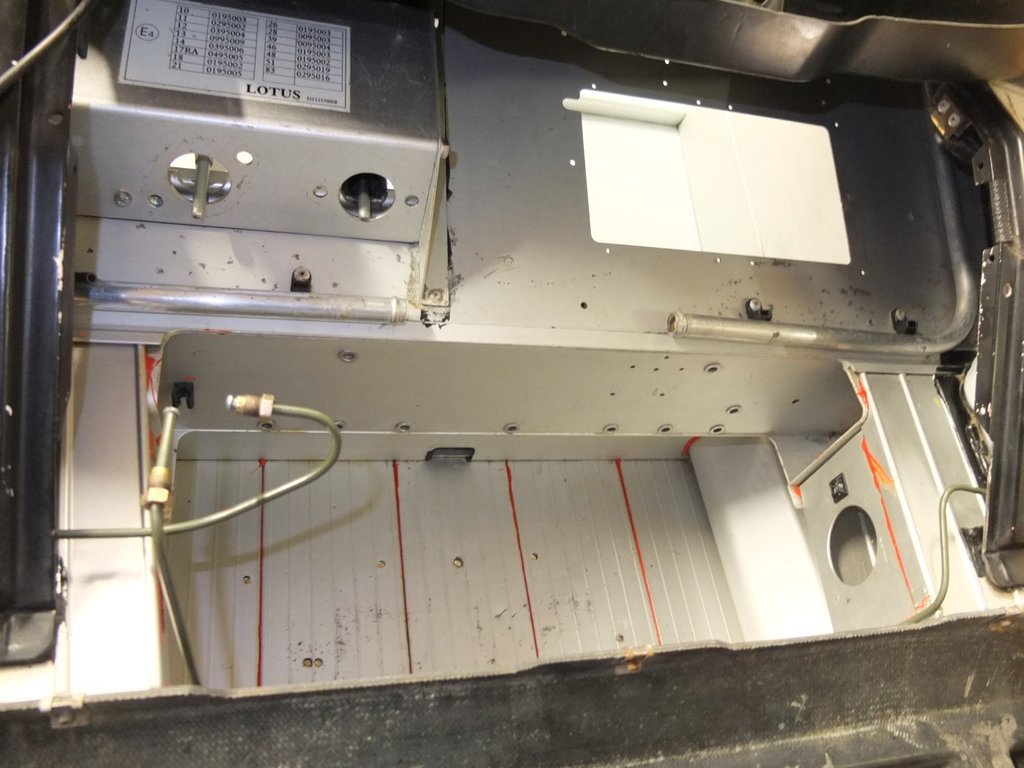
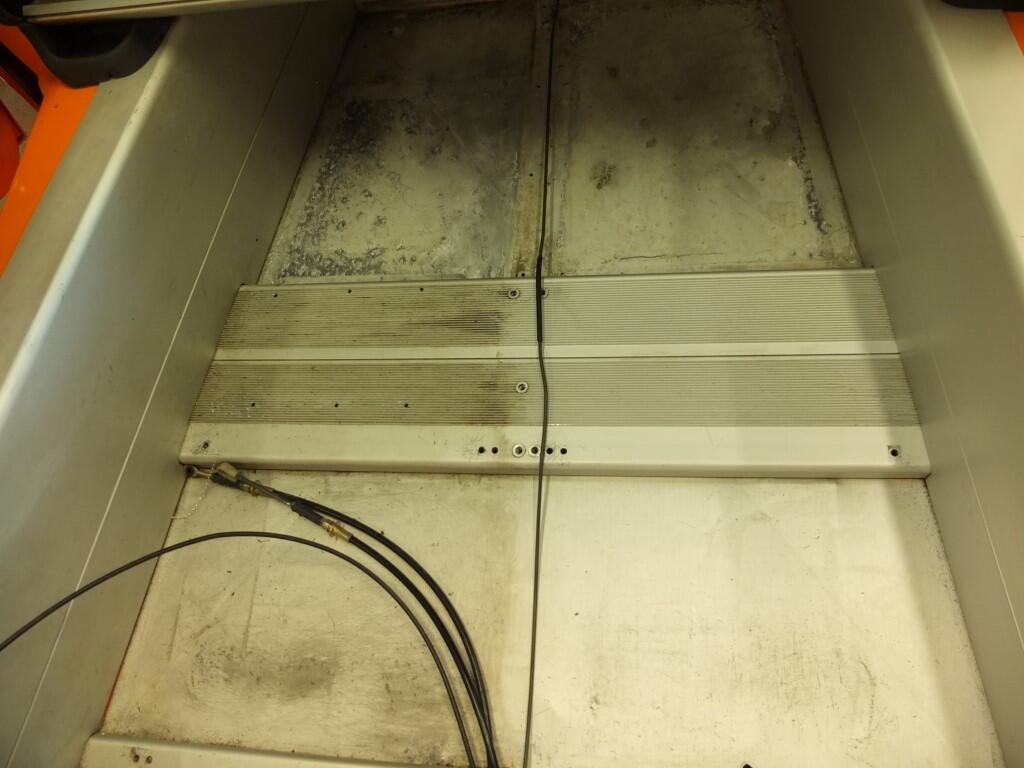
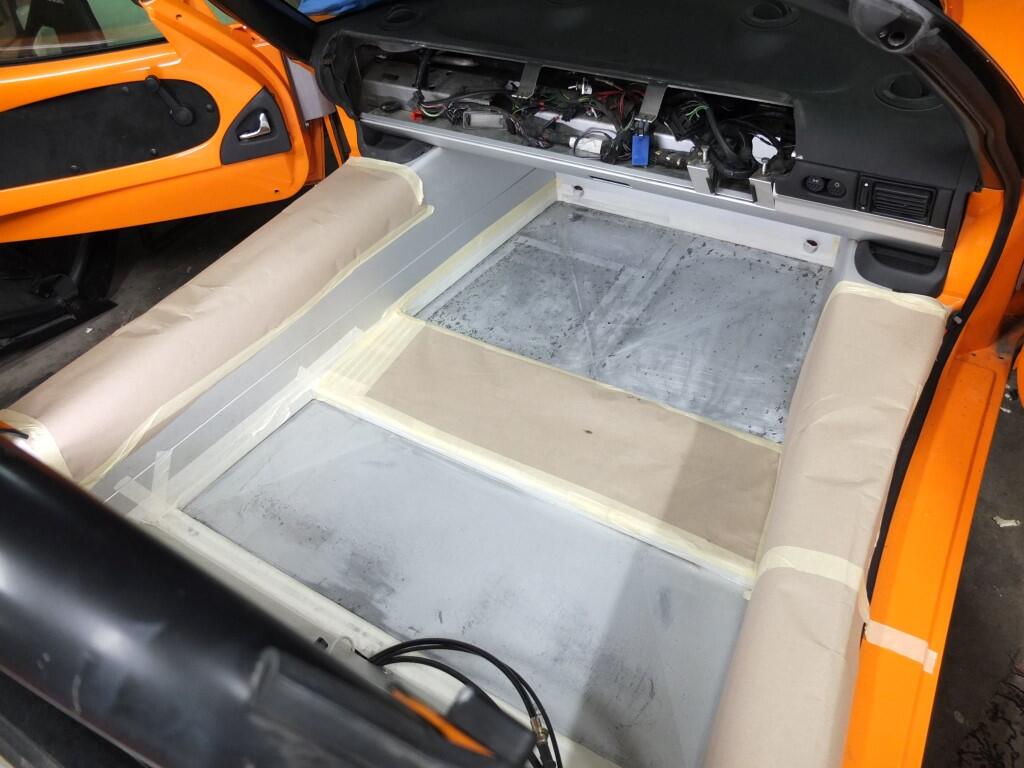
The interior looked very rough when I bought the car: typical footwell corrosion, wiring loom messed up, additional holes everywhere, etc.
The track site duties left lots of marks. To no surprise cosmetic issues weren’t the primary concern of Everyman Racing at Mallory Park.
I treated the footwell corrosion in typical manner
fitted new gear change cables and a home built throttle cable made of low friction mountainbike cables
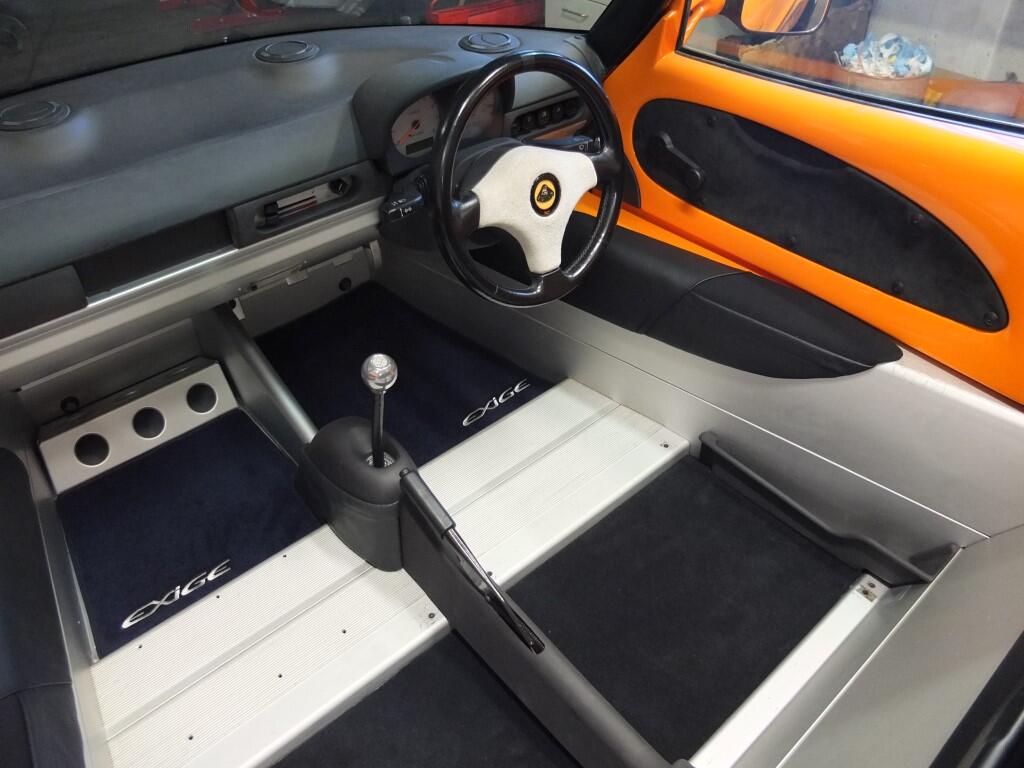
fitted heater-style dashboard panels instead of the AC car ones
touched up some scratches in the Senotex dashboard paint using Nextel S139 black velvet paint which worked very well
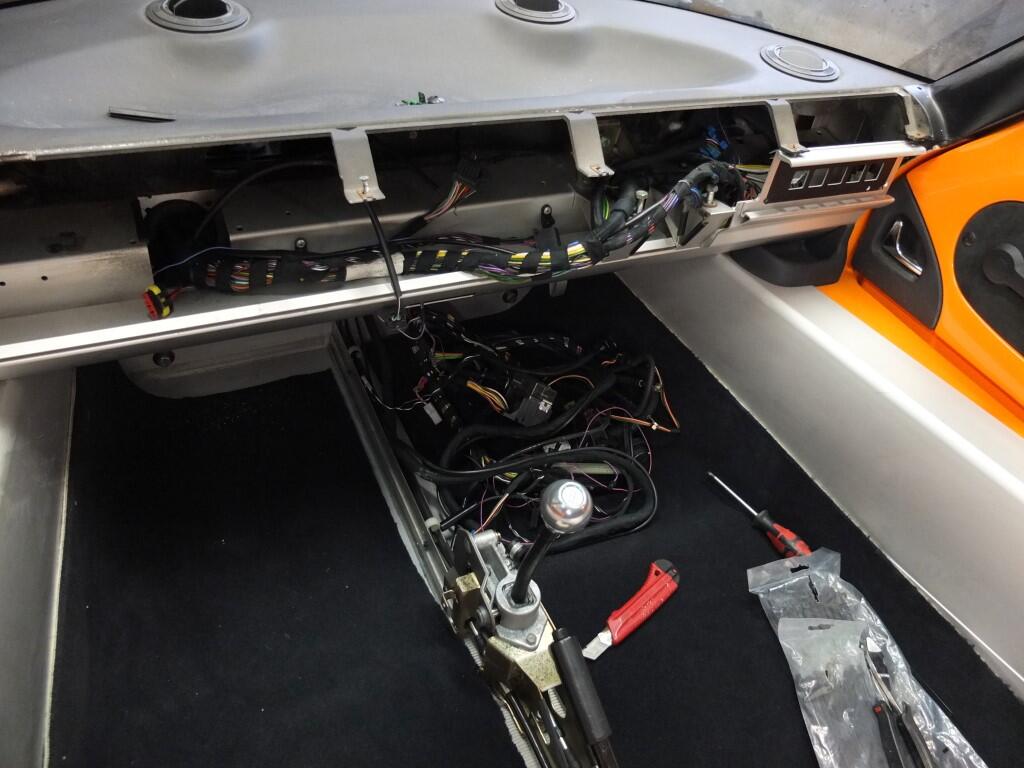
fitted the new wiring loom
added a new bracket under the dash to host the cable operated heater control and a heater fan override switch
fitted a set of new original floor mats that came with the car. They are not black as they should be but of a very deep blue colour.
looks really good Klaus… what heater did you use ?
I acquired an S2 unit which looked very similar to the original crumbling one in my car …worked fine out of car but after 2/3 tries in situ the fan stopped working…I dont fancy removing the lot until I know how to fix it …someone mentioned that S2 heater fan controllers dont work with S1 looms buy I cant find the link.
Anybody help?
The haeter came in one of the many boxes with the car so I’m not sure where it is taken from. Since it is LHD version it is not the original one. It looks like my heater is taken out of an aircon Elise S1 or Exige S1.
It ishown in the following part diagram on deroure.com:
The resistor pack is mounted separately but close to the heater. There is small separate wiring loom connecting the main harness with the resistor pack and the blower motor.
Does the picture in your post show your car? If so than the resistor pack is mounted inside of the heater housing. It seems to be that the same additional loom connects the resistor pack with the actual blower motor on your car.
The fan speed control switch on the dashboard is just an ordinary 4-position switch that feeds the current to one of the more or less restricted paths (by the three resistors) to the blower motor. So I think it should work. Fuse is fine?
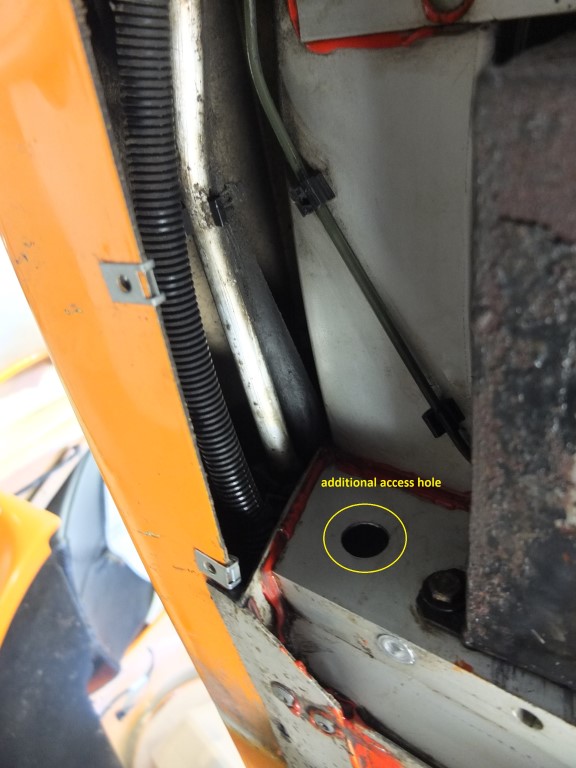
I just wanted to replace the missing/broken C-clips that hold the front undertray section. The shear panel needs to come off to access the clips.
Unfortunately or inevitable the last bolt did not come loose but instead the rivnut started turning in its seat. It took me more than two hours laying under the car trying different methods to get the bolt out but ended to cut the head off. Of course the nearby half filled fuel tank made usage of an angle grinder rather risky and I opted for the ‘cut it by hand with minimal movements of a saw blade in your hand’ solution.
One hour later the shear panel was off but there were still the remains of the bolt stuck in the rivnut. As the shear panel stiffens up the rear chassis I didn’t want to just leave it alone.
I tried to somehow get the broken bolt out since I wanted to avoid at any case that some parts will stay in the inside of the chassis crossmember cavity. I know already from my Elise that any stuff rolling around inside the many cavities of the aluminium chassis will entertain you in every corner.
The cavity of the cross member is completely closed. No opening at all to remove stuff once it is dropped inside. But as there was no others solution available I punched the broken bolt into the crossmemebr and cut a 16 mm hole to get access to the cavity. Using an endoscope camera and a vacuum cleaner I managed to extract the remains of the bolt. I decided to replace a second rivnut in the same way as I was not able to re-seat it properly.
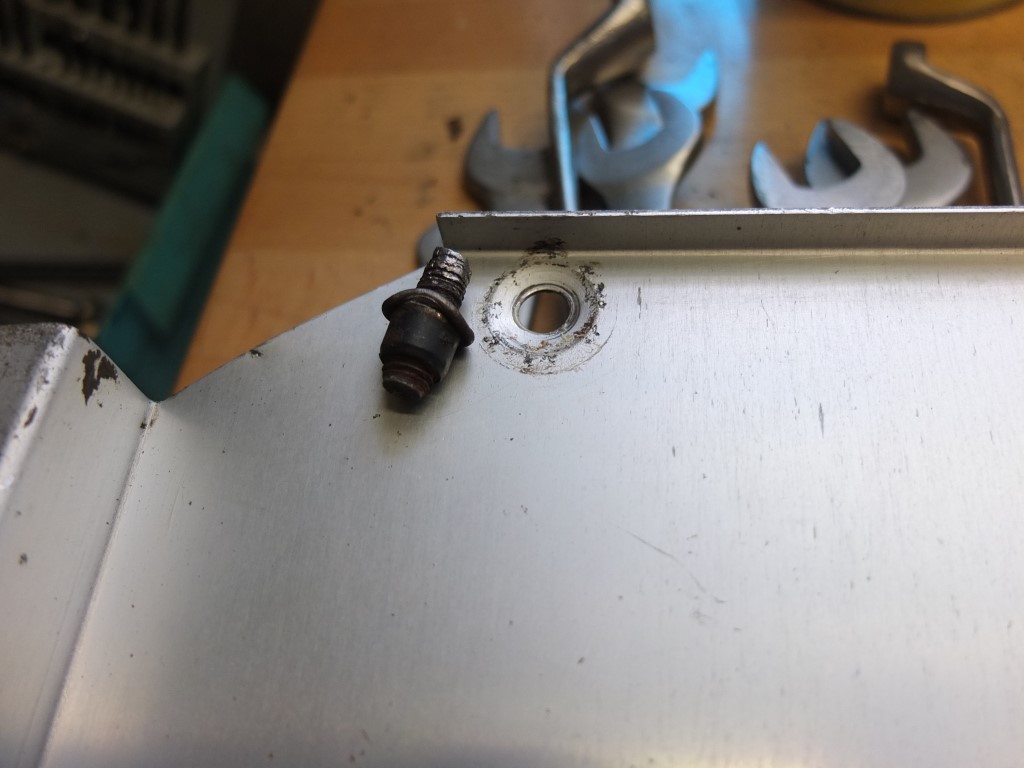
When replacing the shear panel I soon discovered that it was not the right decision to use aluminium rivnuts to replace the two old mild steel ones.
The plan was to avoid the corrosion that seized the old bolt but to avoid stainless steel because of contact corrosion issues with the chassis cross member. But when torquing the bolts down to 24 Nm one of the bolts failed.
So out it came all again and using the well established process of drilling/punching and vacuum cleaning. I replaced the two rivnuts with stainless steel ones giving them some Duralac coating to prevent corrosion.
There was some surface rust evident on the outside of the tank and I treated it with Owatrol to stop the corrosion. Nothing too bad.
The brake lines that run through the cavity on both sides of the tank were perfectly fine. So approx. ten hours later the C-clips that hold the undertray were replaced
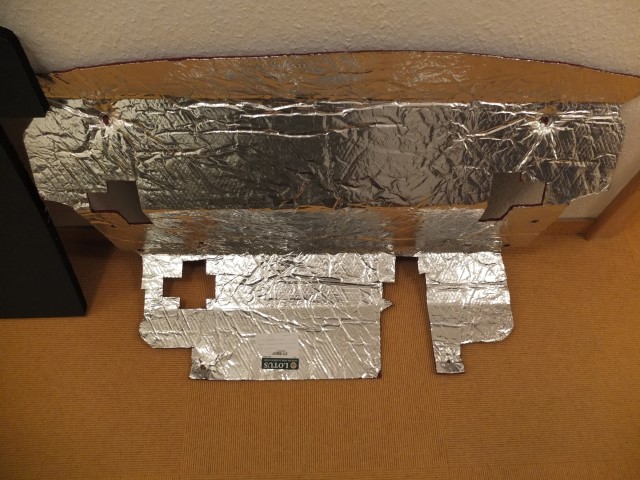
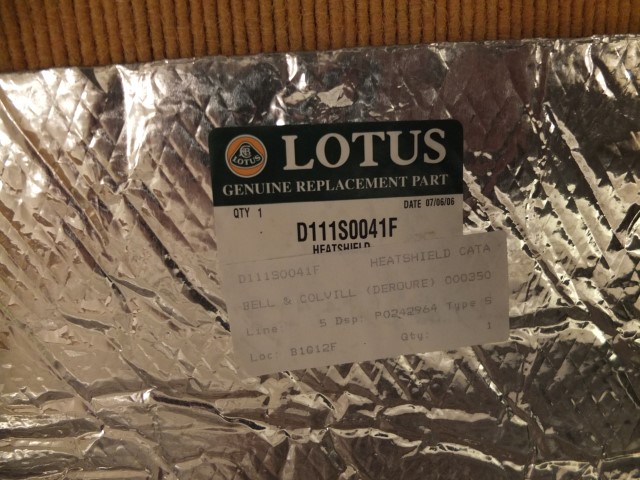
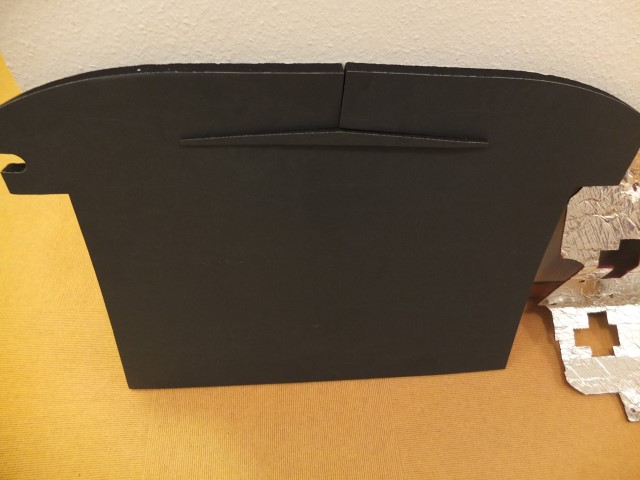
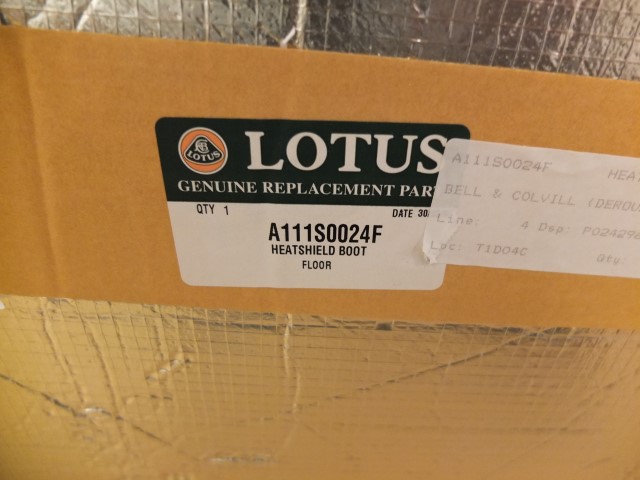
Yesterday the new boot heatshields arrived from Deroure. Fortunately they are still available and I was surprised about the look of them. Very nice.
My car came without any of them so I didn’t know them before.
I thought I’d share some pictures here as the shields might be of interest for other S1 owners too.
After John’s picture stampede has finally come to a rest and with myself being on vacation with some idle time I’m adding some more project progress:
That’s how it looked at the beginning:
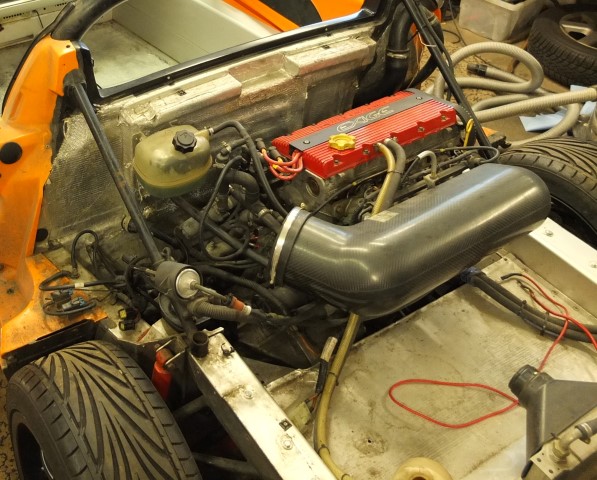
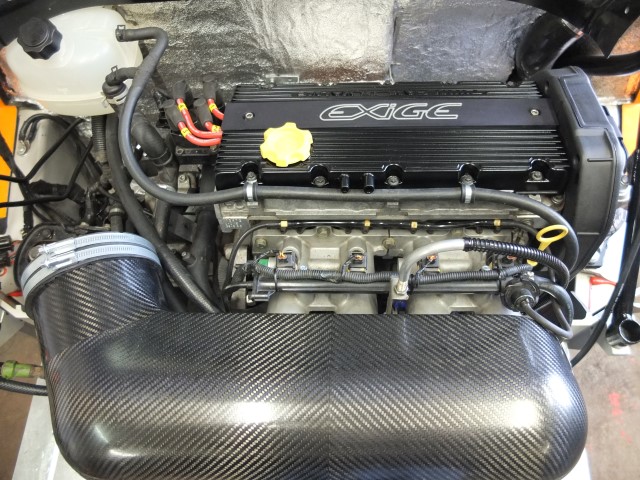
I cleaned up the engine bay and added a new heat shield to the bulkhead and alternator. A new expansion tank has been installed, the silly auxiliary pump has been ditched, installed a new 82° thermostat and replaced most hoses and added new clips.
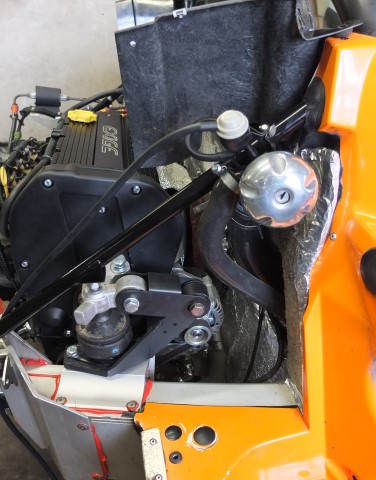
Added a new S1 alternator and new timing belt covers. Installed the new engine mounts that came with the car.
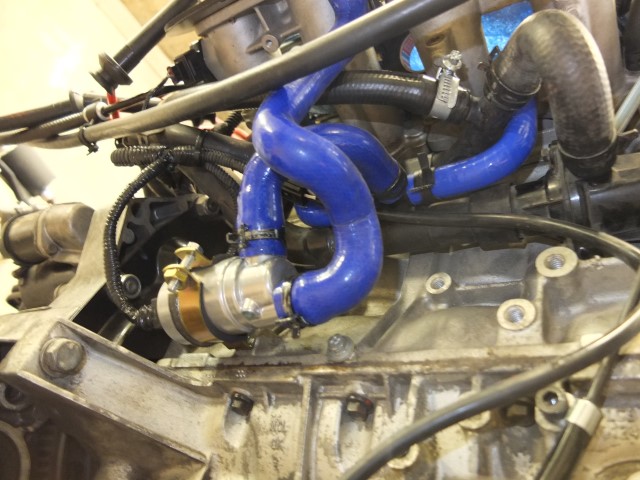
Added a new IACV valve with the blue hoses provided by Keith:
I replaced the missing barometric sensor with a second hand one and replaced all the vacuum lines. To reduce the potential sources of trouble I replaced both temperature sensors, the manifold air temperature sensor and the crank speed sensor. The lambda sensor looked like new and must have been replaced recently so I kept it.
I meticulously cleaned all earthing points on the chassis and the engine. I cleaned or fixed all connectors on the engine bay harness.
Top job as usual Klaus, what a fantastic transformation. I’m intending to use the EP engine mounts when I install then engine. However like a few things I’ve taken off and replaced with non OE parts, when the car is back together I’ll slowly restore what I can and pop them back on. Ohlins, mounts to name a few.