Big Shed Build

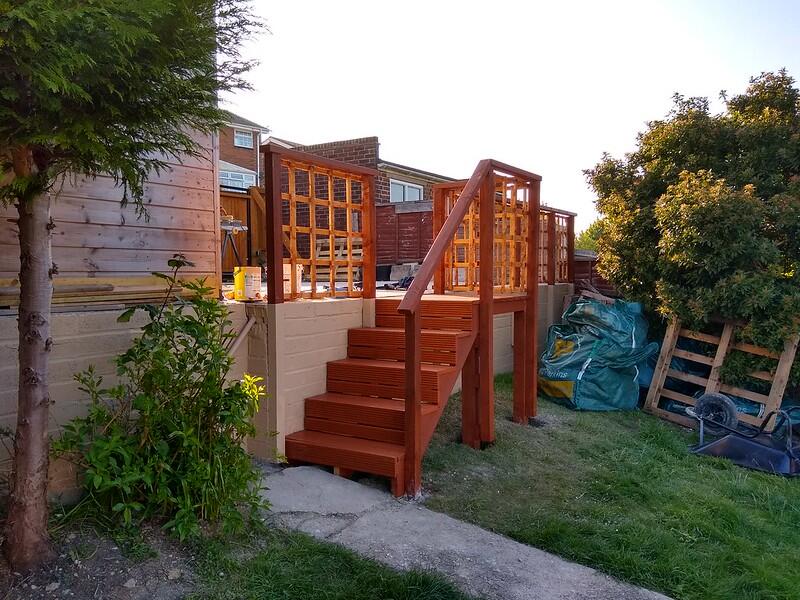
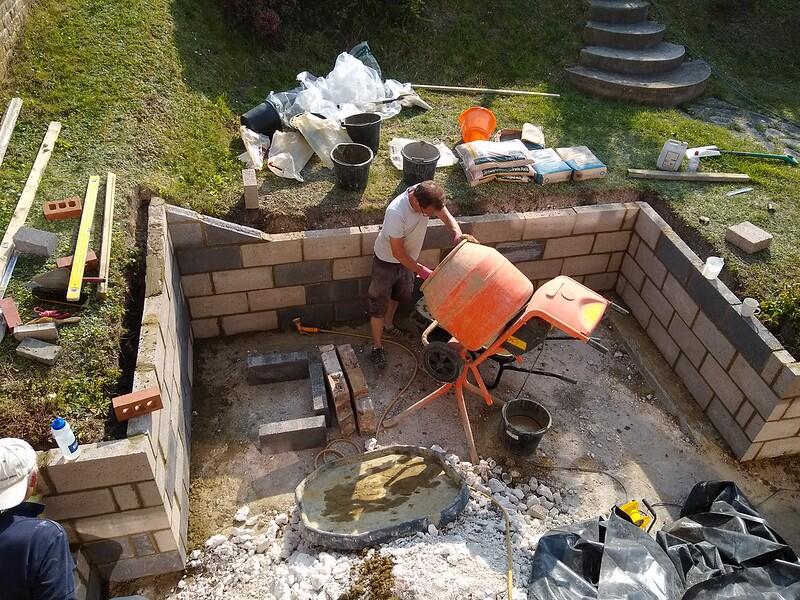
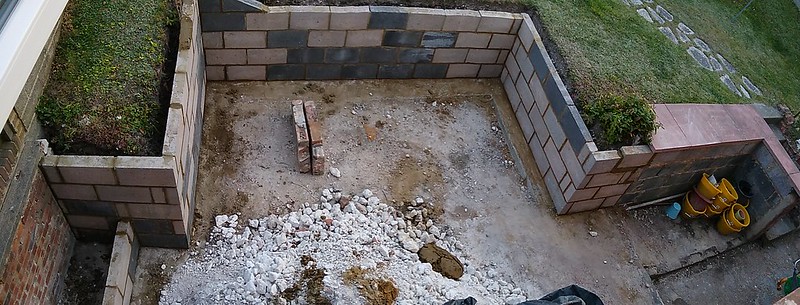
We did manage to get the patio finished to a usable state for that intermittent summer of 2019. First the patio retaining wall was built.


IMG_20190515_171527652 by zimbarbaluba, on Flickr


IMG_20190515_201131531 by zimbarbaluba, on Flickr


IMG_20190515_202008392 by zimbarbaluba, on Flickr

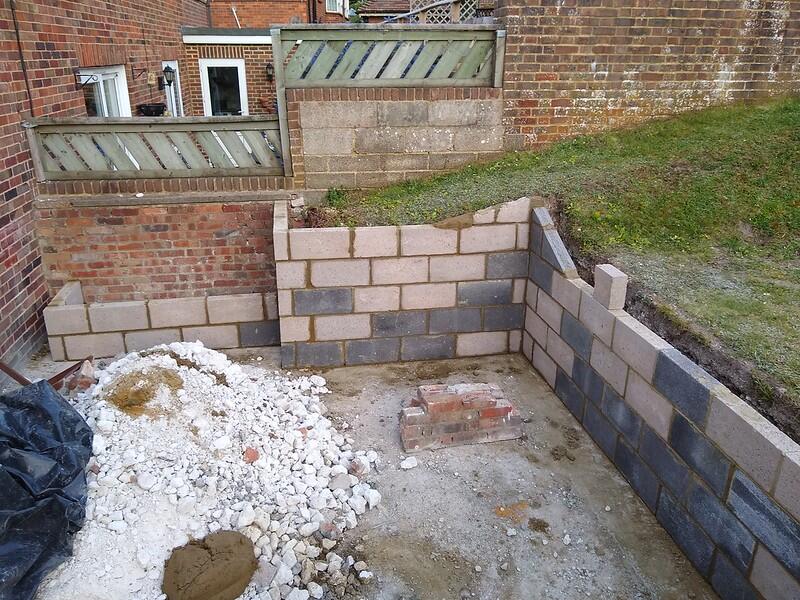
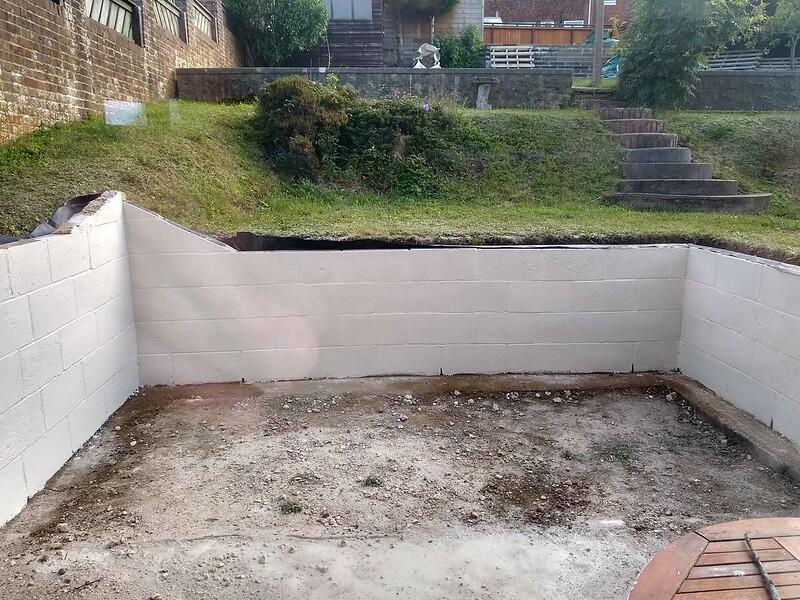
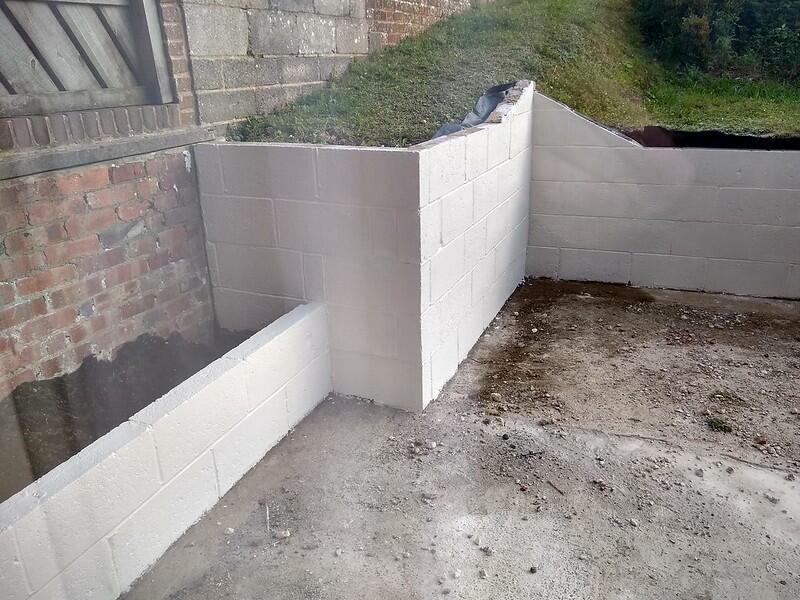
It got several coats of paint


IMG_20190616_192747495_HDR by zimbarbaluba, on Flickr


IMG_20190616_192717087_HDR by zimbarbaluba, on Flickr

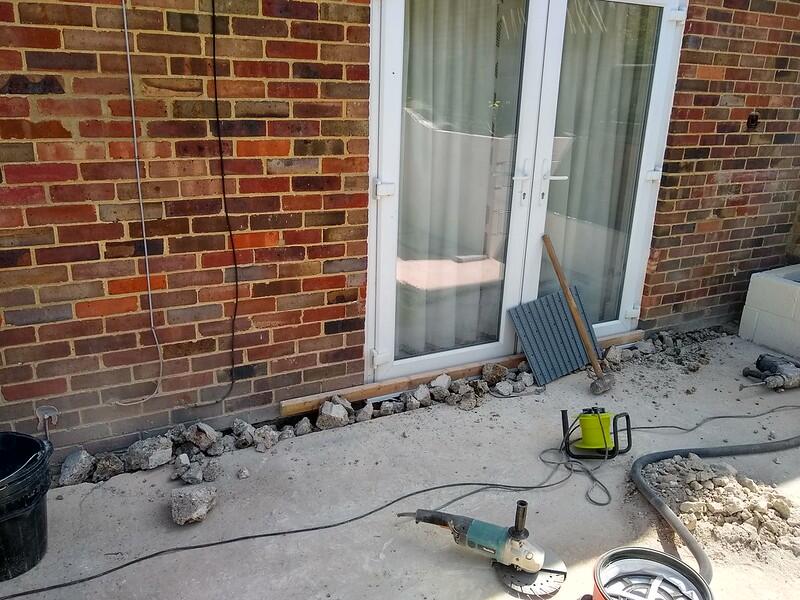
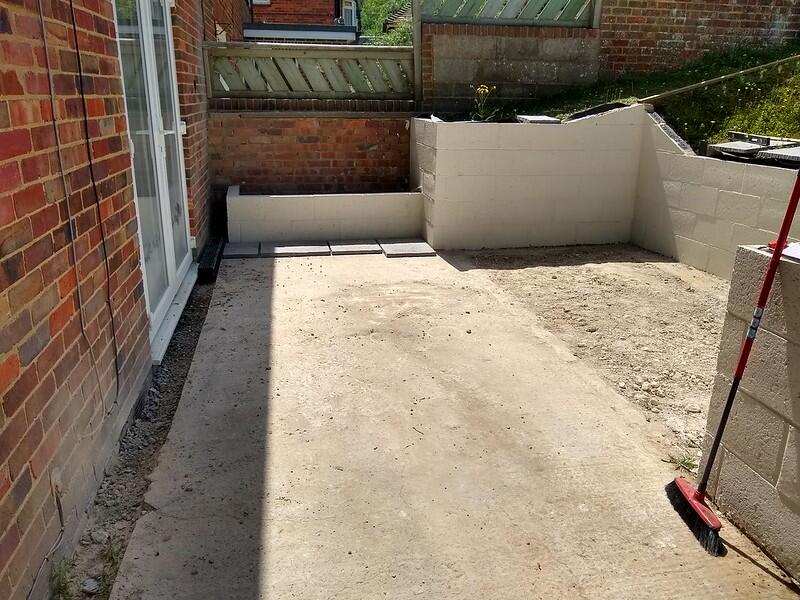
We had to dig out a drainage channel at the back wall of the house. Some time in the past there was a lean-to on the back here and they had put this concrete slab in at the same height as the damp proof course. I had to get back below that level so I can put a drain in (also still not done yet in 2021).


IMG_20190629_110119365_HDR by zimbarbaluba, on Flickr


IMG_20190629_113814647_HDR by zimbarbaluba, on Flickr


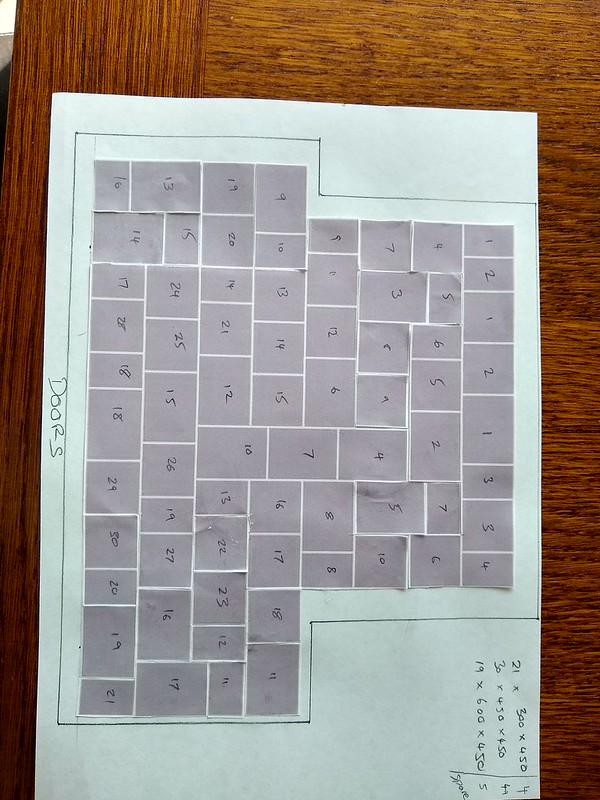
Then I created a template plan for the patio slabs - I bought two kits which included a pre-built pattern so had to make it work for the shape we had.


IMG_20190629_083740538_HDR by zimbarbaluba, on Flickr

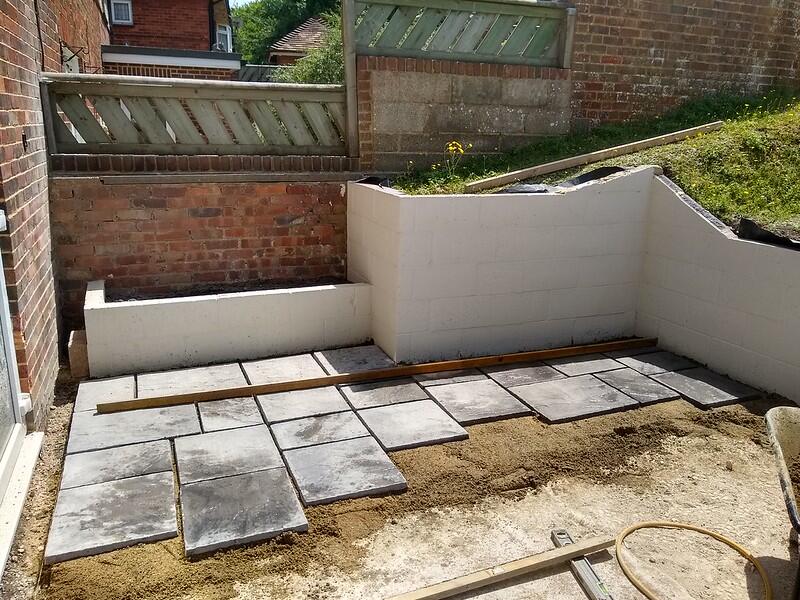
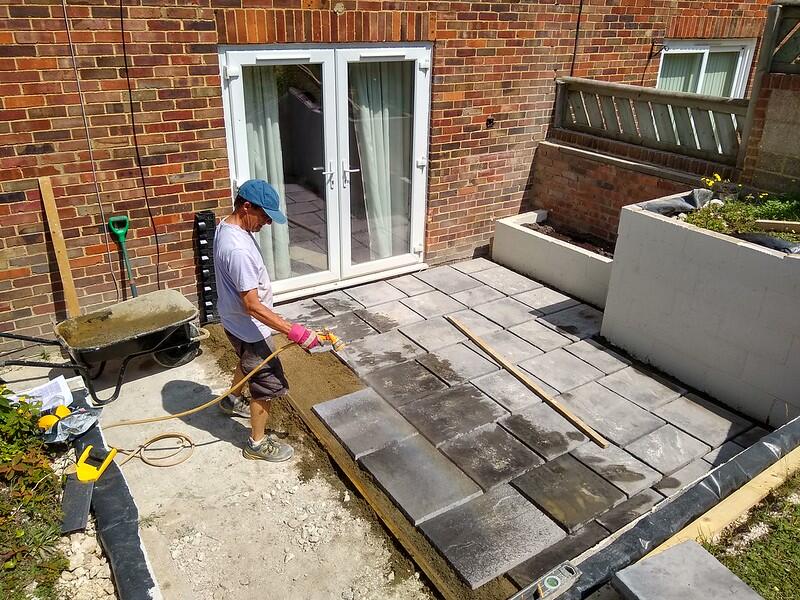
Finally, and unfortunately, on the hottest day of the summer 2019, the slabs went down


IMG_20190629_133033844_HDR by zimbarbaluba, on Flickr


IMG_20190629_142015254_HDR by zimbarbaluba, on Flickr

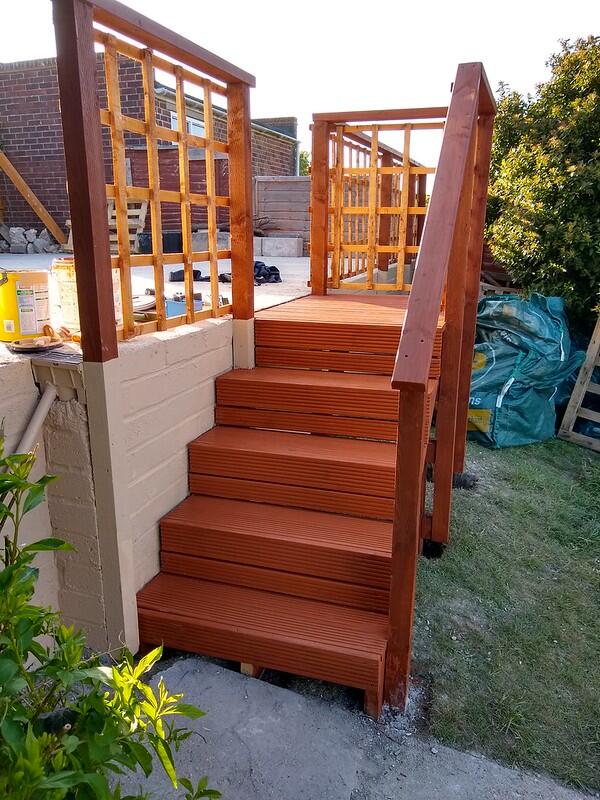
And a few days later I did the pointing


IMG_20190630_185134891_HDR by zimbarbaluba, on Flickr


IMG_20190630_185702070_HDR by zimbarbaluba, on Flickr

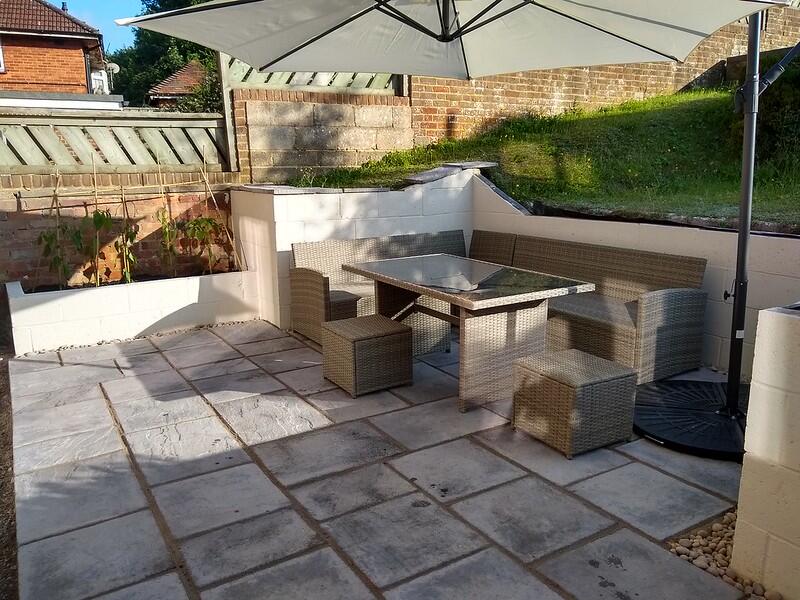
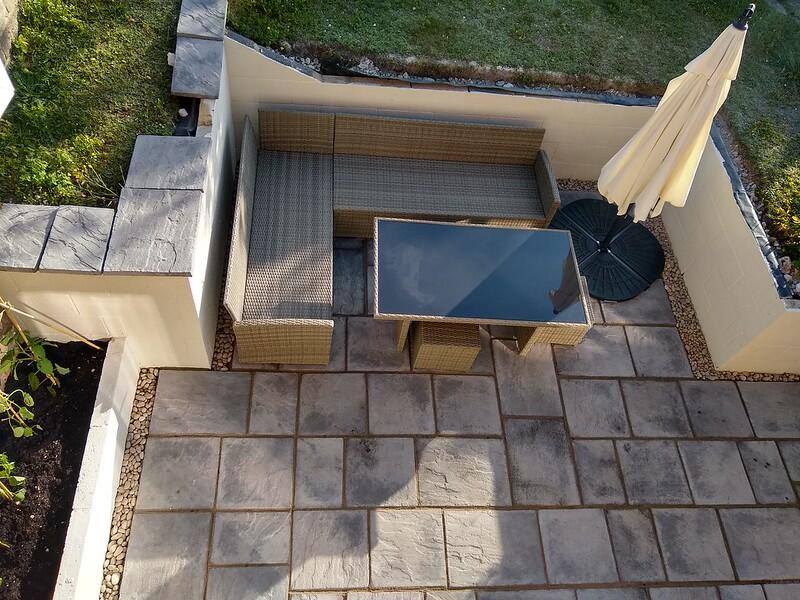
I still have a bit of pointing to finish and I need to finish fixing in the capping stones on the top of the wall (using the leftover patio slabs) but it was very nice to have this done and be able to relax outside on nice days. - It’s 2021 and I still haven’t done this. Do you see a pattern emerging!?


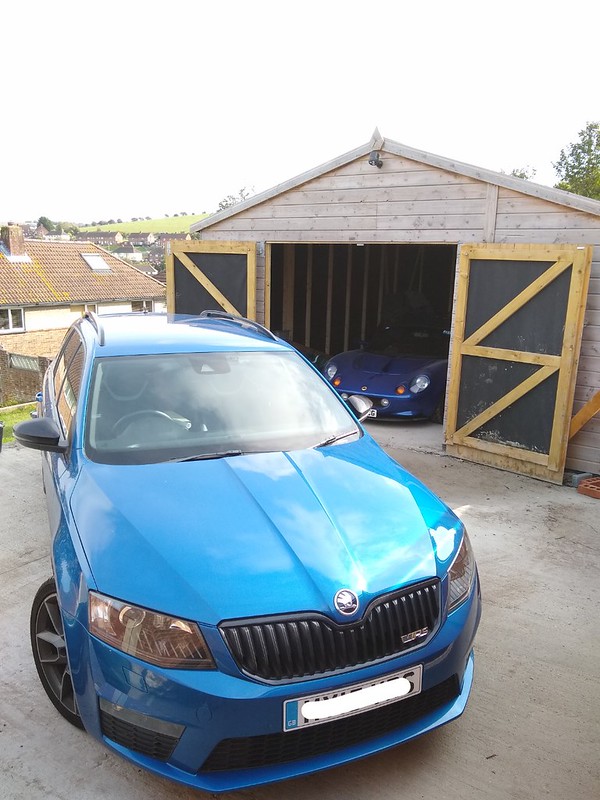
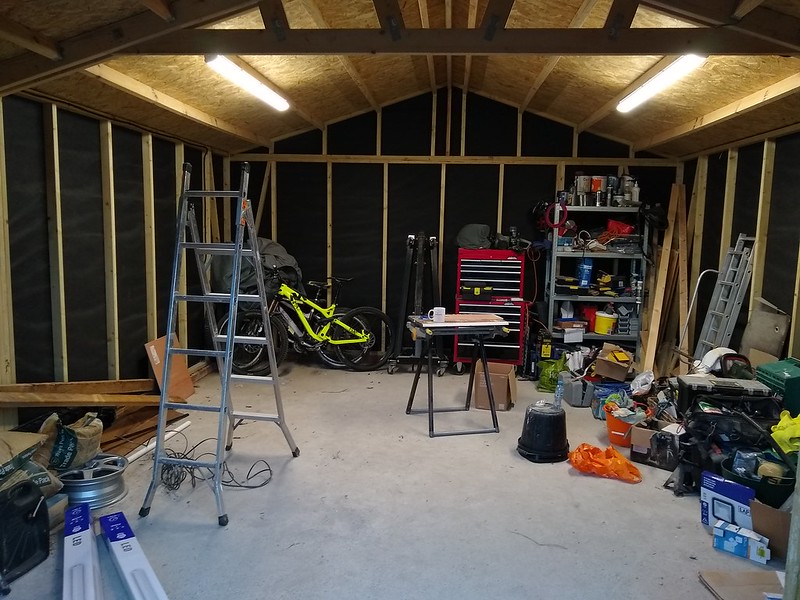
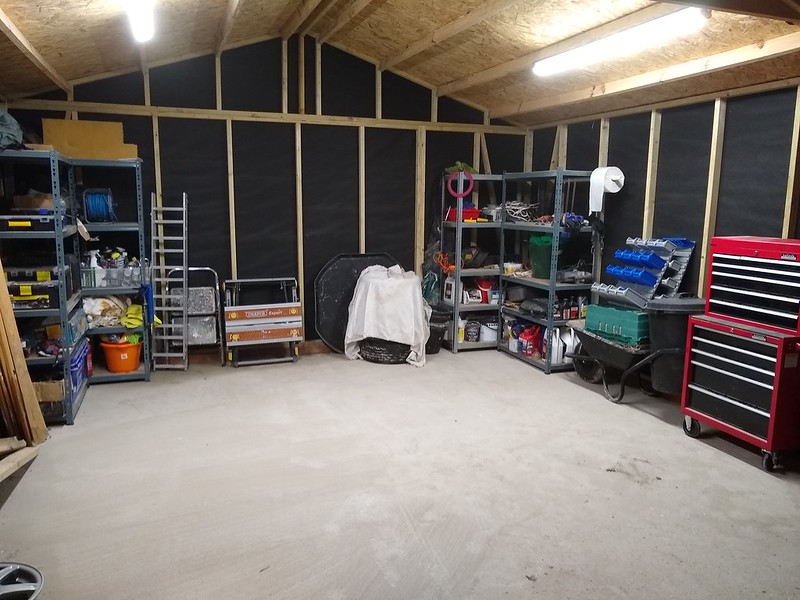
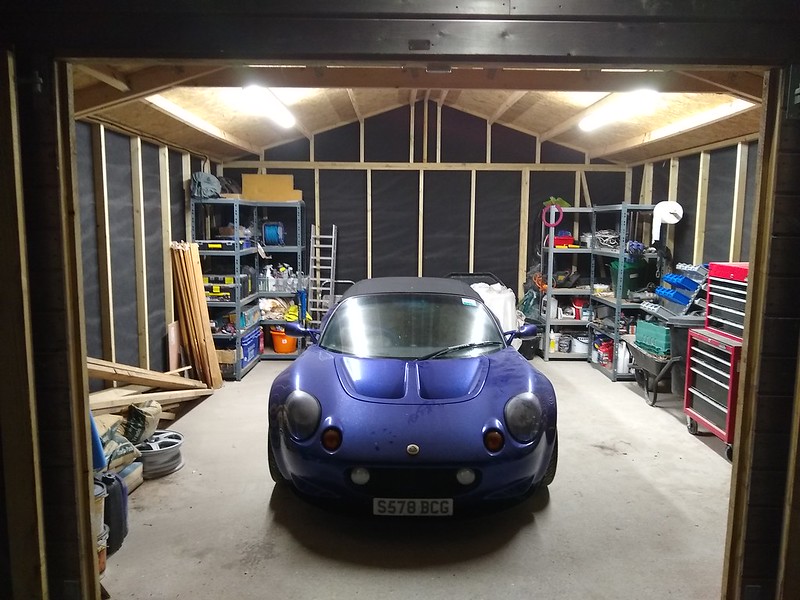
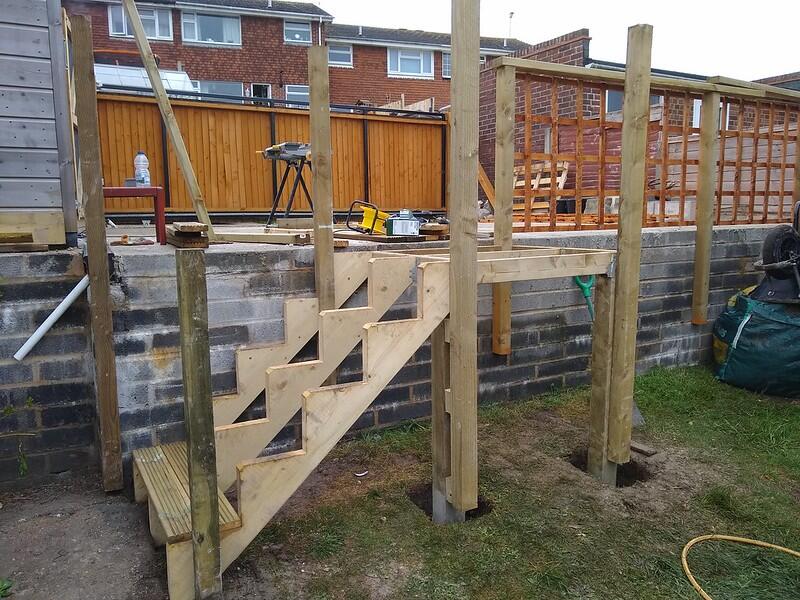
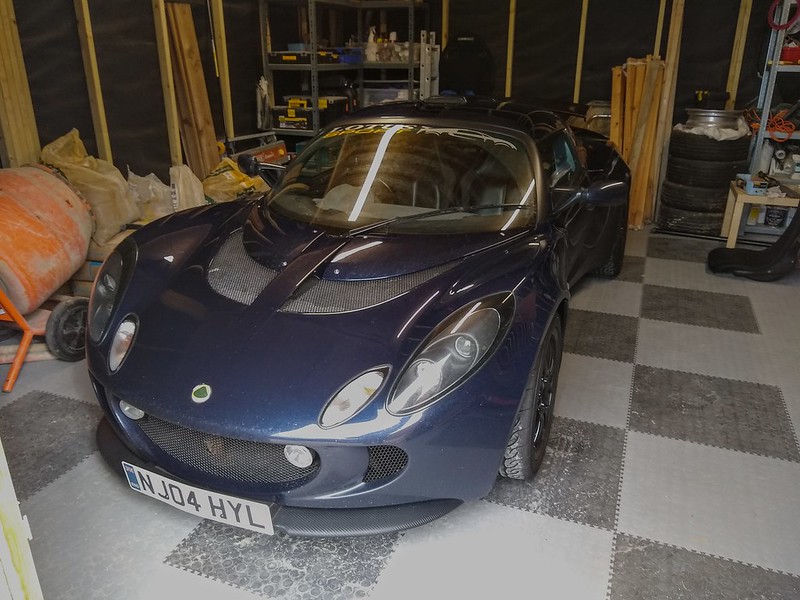
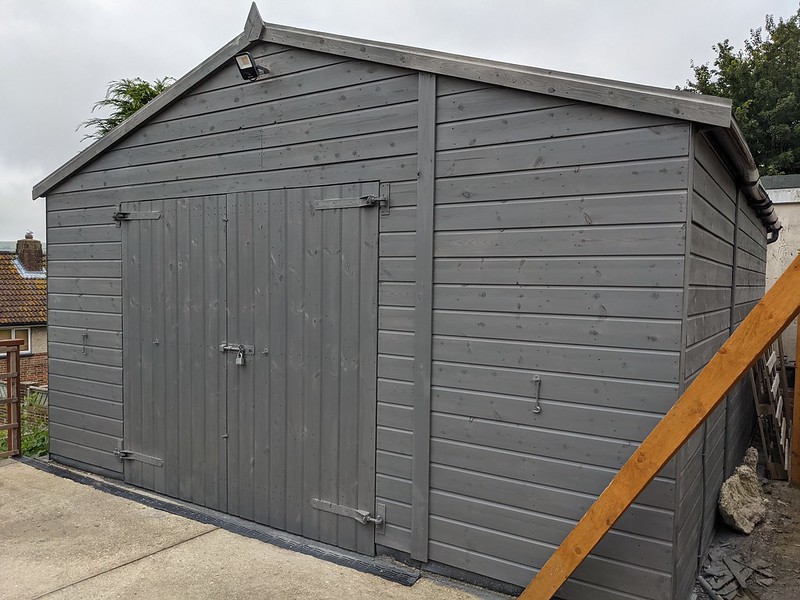
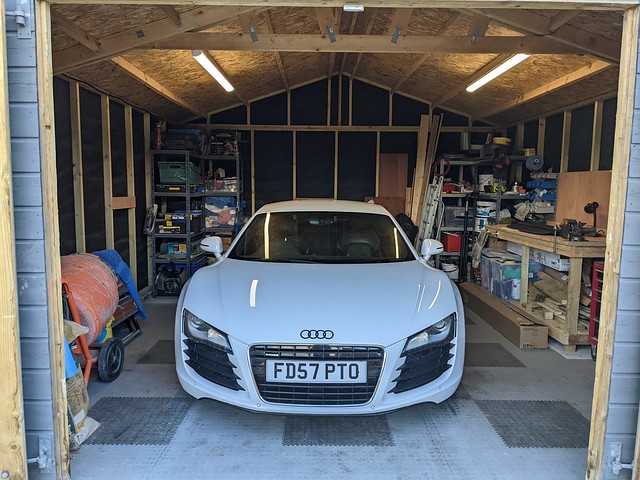
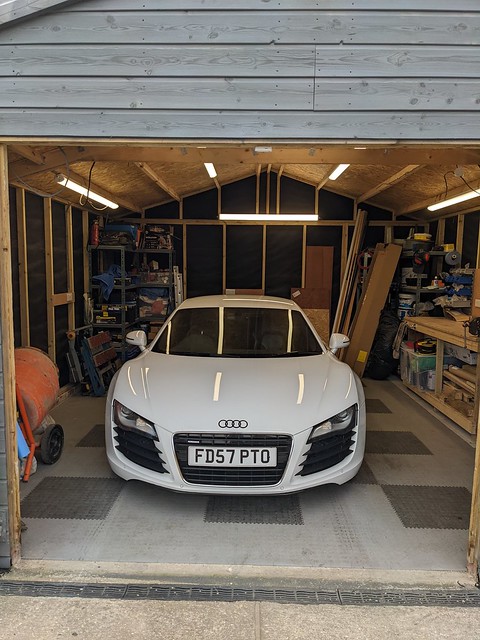
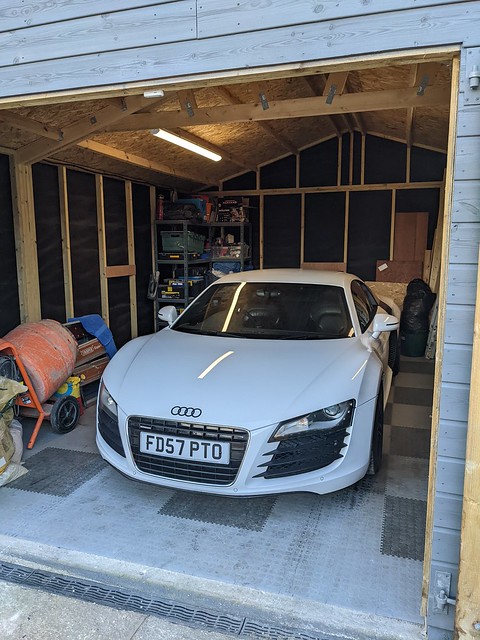
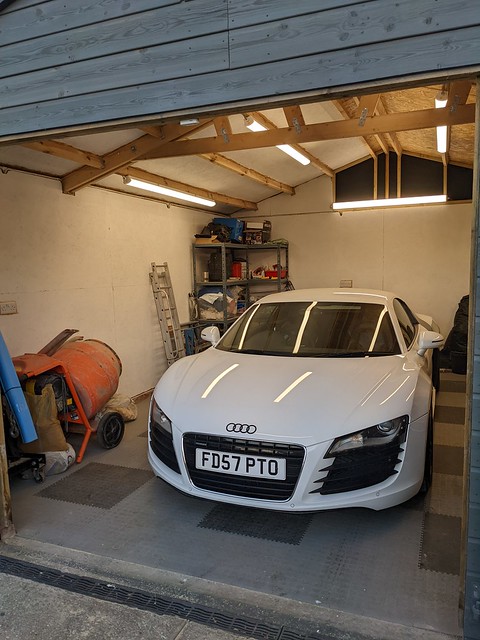
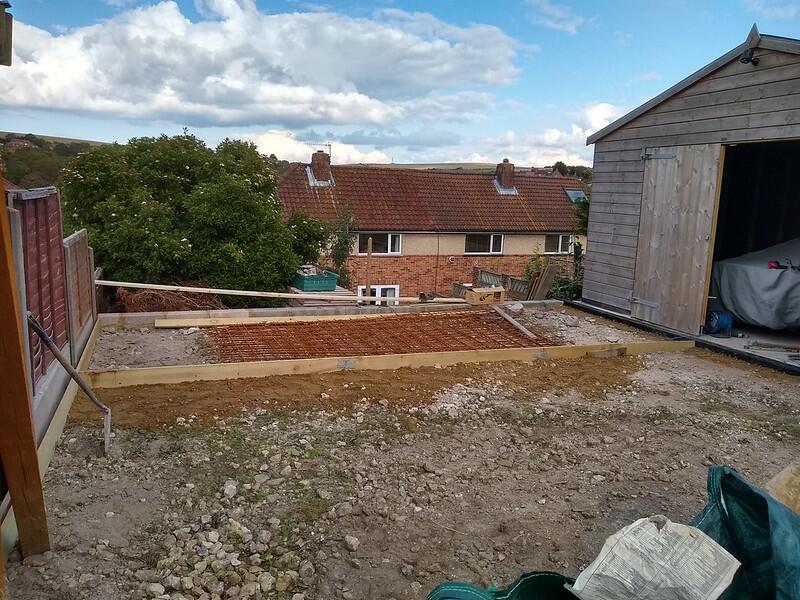
That was a bit of a diversion from the garage build but following the purchase of a new daily driver which I want to keep off the street, I need to finish the driveway in front of the garage.

We cleared all the overgrown weeds away again, removed the temporary ramps which had helped get the Elise in and out and started putting in the framework for the concrete pour.


IMG_20190907_162914486_HDR by zimbarbaluba, on Flickr

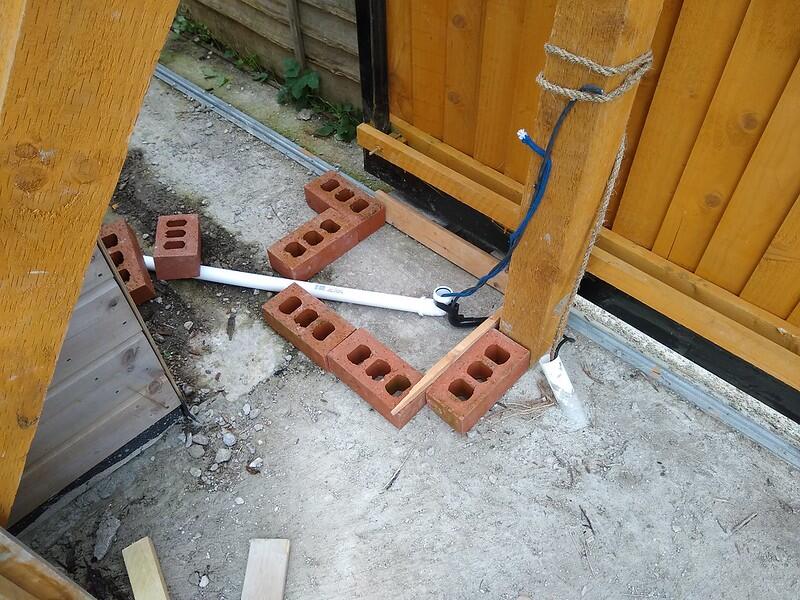
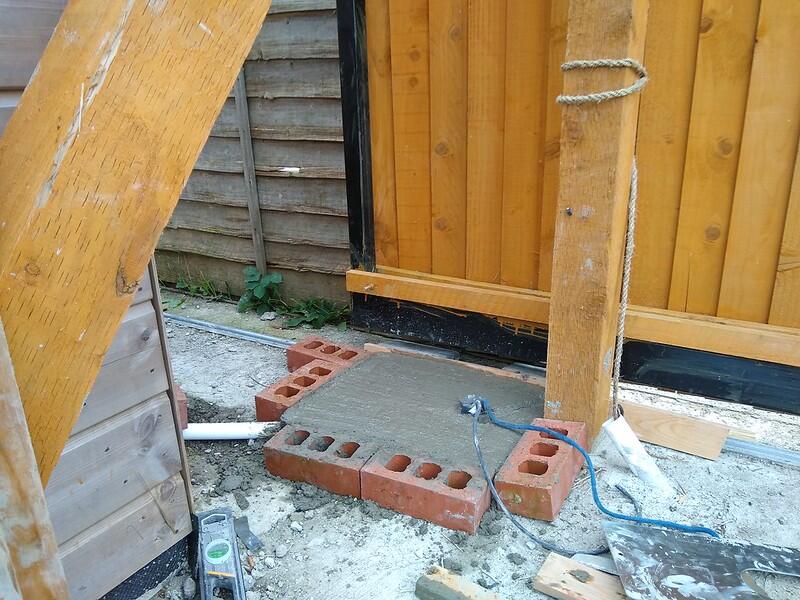
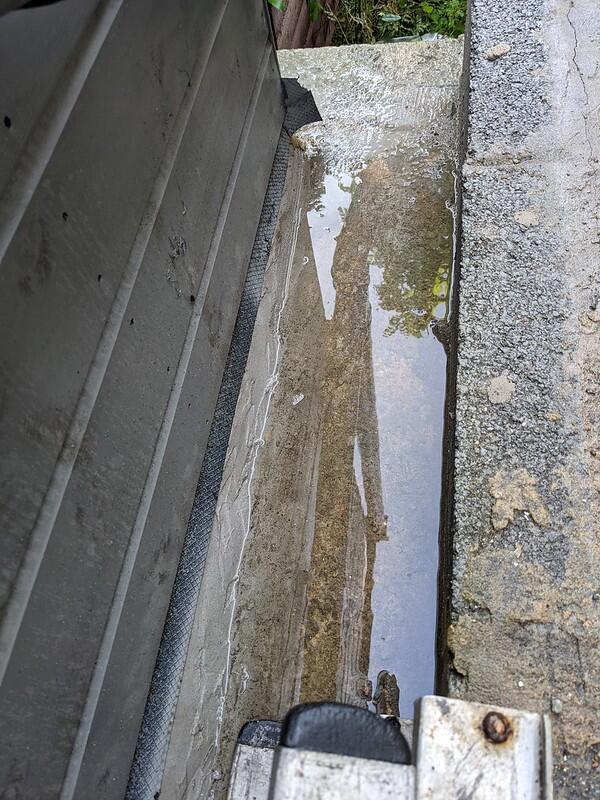
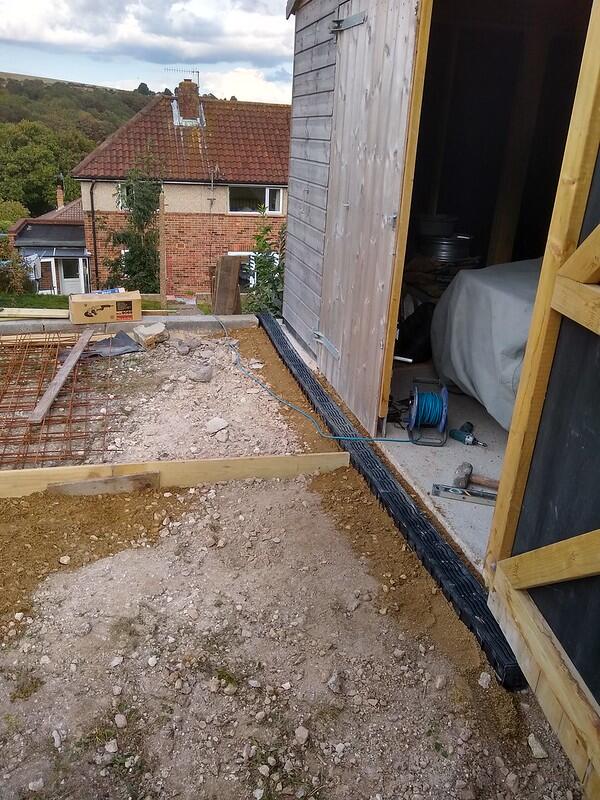
Put in a drain in front of the garage doors


IMG_20190907_162926582_HDR by zimbarbaluba, on Flickr

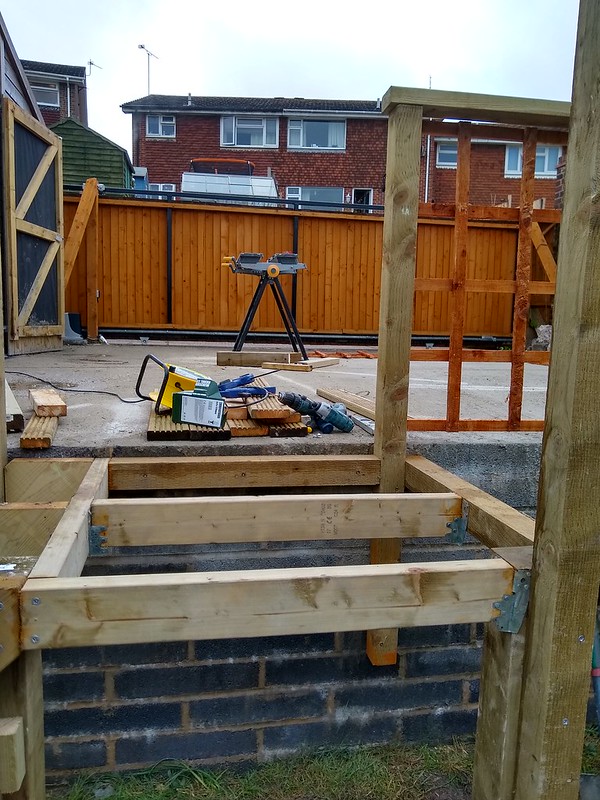
Finished the framework, put in the dpm and steel mesh. It’s separated down the middle in order to provide a fall in both directions for the water to drain off.


IMG_20190907_183708985 by zimbarbaluba, on Flickr

Got the drive/hard stand concreted on a Saturday in September 2019 - they put in 5.5m3 of concrete, although I probably didn’t need more than 5m3 so we had to then move and find somewhere for a lot of waste (and wasted money unfortunately). Annoyingly I couldn’t get a delivery from the same guy who did the last 2 loads because he was much more helpful in ensuring I didn’t pay for more than I needed. This time it was more of a ‘dump and run’ so I ended up paying for more than I needed.


IMG_20190914_160003707_HDR by zimbarbaluba, on Flickr


I bought a replacement daily and wanted to park it off the street more. The trouble was, although I now had plenty of space in front of the garage, to open and close the gate meant getting out the car, unlocking a padlock and chain (only accessible on one side at any time), opening the gate and then the reverse procedure with the added difficulty of jamming my arm between the gate and end post to feed the chain back through.


IMG_20191020_125012916_1 by zimbarbaluba, on Flickr


So, although I hadn’t originally planned to automate the gate I was now looking for DIY kits to do just that.

Luckily, I had future proofed the slab and gate install just in case I changed my mind. There was conduit ready to run cable through between the gate posts and space to mount a gate motor in the right position.


Firstly the gate kit. I got a good deal on one of these including the 6m of geared/toothed rack which mounts to the gate:


<LINK_TEXT text=“https://www.rollingcenter.co.uk/electri … p-to-600kg”>https://www.rollingcenter.co.uk/electric-gate-kits/sliding-gate-kits/Nice-Robuskit-1-24v-sliding-gate-kit-for-gates-up-to-600kg</LINK_TEXT>


After a lot of measuring and mocking up, I determined where the motor had to go and sorted out a level concrete base for it to bolt on. This included running the power and safety photocell (IR beam sensors) wiring in.


IMG_20191020_153039971 by zimbarbaluba, on Flickr


Mixed a little bit of concrete and voila


IMG_20191020_163214475 by zimbarbaluba, on Flickr


I mounted the motor in position and then spent two long afternoons mounting the 6m (3 x 2m long sections) of rack onto the bottom gate rail. This involved getting the vertical and horizontal distances to the motor gear wheel accurate to within ±2mm and mounting by bolting right through the rail, spacing it out with washers etc where necessary.


IMG_20191029_135101336_1 by zimbarbaluba, on Flickr


I mounted and wired up the photocells (although the mounting of the sensor boxes was done quickly and needs to be made much tidier and more permanent) .


Following full testing and fine tuning of all the safety features I could now make one of the most boring videos you will see this year.


https://youtu.be/AFa1AK2nbmU

The observant among you will see in that video another of the mistakes we made during this project. The concrete for the hard standing was poured with a run off back and front which meant the central spine was the highest point. The garage doors then wouldn’t open because the ground was in the way! When we poured the concrete we realised this and hastily carved away two depressions to allow the doors to swing open. These depressions now fill up with puddles of water whenever it rains.

If you’ve read this far then you deserve some actual garage content. It was now March 2020, the world was about to go to shit but lockdowns were going to be perfect excuses to make some progress in the garage.

The electric gate has been working brilliantly, making my life much easier and I’ve been able to park the skoda off the road every day which is great.

I’m not going to talk about the electrics - let’s just say they are functional but temporary in nature. However, it did mean I could put up some lighting. Firstly, a sensor activated led floodlight on the front of the garage to light up the hard stand parking area and a 50w led floodlight to light up the garden, connected to a smart plug so it can be turned on and off with Alexa from in the house or on my phone.

A couple of 5ft twin led (60W) battens went up inside the garage. This gives a good light coverage but I think task specific lighting would still be needed if working on the car. - I spent the last winter working on the exige in there with the use of a portable floodlight but my plan is to double the number of led battens now.


IMG_20200119_162030184 by zimbarbaluba, on Flickr

Then I tidied up by buying some heavy duty shelving from Screwfix, which enabled me to get everything off the floor.


IMG_20200222_175748233 by zimbarbaluba, on Flickr


IMG_20200222_180027078 by zimbarbaluba, on Flickr

At the weekend I made a bike rack which saves even more room.


IMG_20200308_151855588 by zimbarbaluba, on Flickr


IMG_20200308_151903852 by zimbarbaluba, on Flickr

No social engagements during lockdown means guilt free time spent in the garden and garage so there’s now light at the end of the tunnel on this project.

I ordered up everything I need to build some steps and a fence/handrail up on the edge of the wall/drive platform. It would be great not to have to climb up a pallet like a ladder every time I go up there. I also ordered the floor tiles so I can finally stop rolling around in concrete dust.

In the meantime, I had loads of timber leftover from various things so decided to build a workbench.

It had to go in this 2m wide gap. I started by building the end frames and using a newly purchased circular saw made short work of all the cutting. They were joined by a horizontal which sits perfectly above the course of bricks that the garage frame rests on. Pure luck though, I hadn’t accounted for it in the design.


IMG_20200425_160114212 by zimbarbaluba, on Flickr

I built up the rest of it, added a central leg for extra support. This is a £38 B&Q laminate worktop cut down from 2.4m long, easily replaceable if it gets badly damaged. The lower shelf is 15mm thick OSB.


IMG_20200426_161211996_HDR by zimbarbaluba, on Flickr

Sitting in place with an upstand and I’ve put a couple of boards up on the wall to hang stuff from.


IMG_20200426_173450871 by zimbarbaluba, on Flickr


IMG_20200426_173446242 by zimbarbaluba, on Flickr

You may notice how perfectly those items fit underneath on the lower shelf. A perfectly lucky design but I’m very pleased with it. Now I’m searching for second hand vices on ebay…

The flooring arrived


IMG_20200430_141733550 by zimbarbaluba, on Flickr


IMG_20200430_141740046 by zimbarbaluba, on Flickr


IMG_20200430_141747239 by zimbarbaluba, on Flickr

But despite my excitement to start laying it, it will have to wait because the final parts I need for the steps arrived so I could crack on with that project. I couldn’t resist a sneak preview, can’t wait until I don’t have to climb up this pallet constantly.


IMG_20200501_084917344_HDR by zimbarbaluba, on Flickr


Firstly, the steps. I designed something in paint/visio which I thought would work, ordered up loads of timber and started cutting and drilling.

I mounted some posts and one of the stringers to the wall.


IMG_20200502_121222067_HDR by zimbarbaluba, on Flickr

Some holes were dug and posts concreted in. The second stringer was then attached.


IMG_20200502_182118161 by zimbarbaluba, on Flickr


IMG_20200502_163634452 by zimbarbaluba, on Flickr

Next I wanted to build a square platform at the top of the steps. Another post went into the ground and a frame was put together.


IMG_20200503_180152043 by zimbarbaluba, on Flickr


IMG_20200503_180156346_HDR by zimbarbaluba, on Flickr

I used trellis as a fence between each of the posts mounted on the wall and then cut some handrails to length.


IMG_20200507_174111103_HDR by zimbarbaluba, on Flickr

After painting the wall, cutting down to size and fixing the steps to the stringers and the platform and a lick of paint we have this


IMG_20200509_082209518_HDR~2 by zimbarbaluba, on Flickr


IMG_20200508_181703280_HDR by zimbarbaluba, on Flickr


IMG_20200508_181711681_HDR by zimbarbaluba, on Flickr


Then I was able to move onto the garage floor. This has taken an afternoon so far but I still need to finish underneath the shelves in each corner and the workbench. It also needs cleaning because I’ve made it dusty already.


IMG_20200510_174414816 by zimbarbaluba, on Flickr


IMG_20200510_175051689 by zimbarbaluba, on Flickr

It’s winter 2020 now. I never got the waterproofing around the outside ground level done. So because it still leaks into the corners inside when it rains hard I’ve also not finished laying the floor. I haven’t fitted draft excluders to the doors (I use bits of cardboard and towels) or got a permanent electrical power solution sorted either. The outside of the garage also should have been treated/painted/sprayed before we got into the winter, but you’ve guessed right, that wasn’t done either.

On the plus side, the steps haven’t fallen apart, the workbench has been very useful, the gate still opens and closes nicely by remote. Now with the elise traded in for an exige I’ve been very happy with the dry, light and non-dusty floor as a work space.

What you didn’t see was in the summer of 2020 I also completely gutted and remodeled a bathroom and downstairs WC in the house so I haven’t been completely lazy.

Anyway, the real update on the garage is I did get a vice:


2020-12-02_02-09-35 by zimbarbaluba, on Flickr

And an Echo dot to provide music while I work in there and act as an intercom to the kitchen for communicating with the wife.

But the whole solution is everything I’d hoped for. A big, dry inside area to keep and work on the car. A driveway large enough for our other 2 cars to be parked every day where I can wash/clean the cars too when necessary.


IMG_20200617_174227795 by zimbarbaluba, on Flickr


3 by zimbarbaluba, on Flickr


8 by zimbarbaluba, on Flickr


PXL_20210417_133249206 by zimbarbaluba, on Flickr

Take a bow, that’s more than I’ve done in 20 years :clap:

Although you have had snagging issues with the gate that is simply superb!

Well done you. You should be properly pleased

Brilliant! Enjoyed every word and pic. I’m in awe of people who just get stuck in while I just sit and dither and “get a man in”

Anyone interested in seeing an update on this? I know I don’t have an exige now but I like reading about other people’s projects so hopefully you do too.

Autumn 2021 I took some time off work and got a couple of long outstanding jobs done. I spray painted the outside to give it some more weather protection, so from this

To this

It may not have been my first colour choice but it’s just a mix of two different left over grey paints and so was free.

I’ve mentioned previously that I am getting some water leaks in heavy rain where its pooling outside at ground level and seeping in through the brick course. Mostly due to a poor design choice I made at the rear wall of the garage and I get a puddle forming inside. I put a waterproof mortar fillet all round the outside now and then painted with a waterproof bitumen paint. It’s rained a lot since but no leakage yet so I hope it’s working.

There you can see the problem where the water doesn’t drain away and also where I’ve put the mortar in.

I had an electrician come round, he’s quoted me for running a proper permanent supply up from the house, part of this was to triple the lighting I have currently which although sufficient could definitely be better.
That electrician never ended up doing the job but he recommended someone else, who around Easter finally came to start.

Apologies if I use the wrong terminology here but we had the fuse board replaced in the house (which was a whole other drama as we had to get uk power networks to send an engineer out to assist with the main head and moving the meter and tails). Then we ran a 16mm armored cable from a separate isolator all the way from the utility room, down the side and across the back of the house, up the side of the garden and into the garage. Here’s the jumble of cables in the utility room now, the isolator on the right side with the armored cable out the top heading off to the left of the photo:

Up until now it’s been a ‘safe’ bodge of a thick flex running out of a hole in my living room wall via some rcd’s etc. I’m relieved this is all gone now!

I went 16mm cable over 10mm (the electrician did not thank me for this, it’s a complete pig to manipulate) for a little extra to help future proof the power requirements e.g. if we want/need to put an electric car charging point up there. In the garage we then have another fuse board and separate power, lighting circuits. I had seven 2-gang sockets put in around the garage and an external 2-gang on the front wall for power tools/pressure washer use on the hardstand.

In terms of lights I have increased from:
two 5ft double batten led strips
to
four 6ft double batten led plus the two 5ft.

This is a total lumen increase from 11,200 to 38,400, with better distribution of light too. The photos don’t show it well but

Here’s a before:

And after:


I then ordered some 9mm OSB (8 sheets) and started boarding the interior walls.

I managed to get one coat of paint on the boards and half the ceiling (not cut in the edges yet) in one day. So another coat of paint required, then I needed about 9 more sheets of OSB to finish boarding the rest of the walls.

You can already see what a massive difference this makes to the feeling of light in there.

before:

in progress:

Another two days on it and I finished all the woodwork.

First and more importantly, a milestone - I finally finished laying all the floor tiles - a job started in the first covid lockdown of 2020 IIRC. This was delayed as I was waiting to see if my waterproofing was stopping the floor getting wet inside, and also because I couldn’t be bothered to move all the shelving and workbench. But while it was out of the way I finished the job.

Saturday I was on my own and progress was slow. I managed to get about 4 boards up on the front wall.

On Sunday I started in the morning, my dad came over after lunch to help and by 7pm (with rain showers along the way) this was the state of the garage.

After another hour of tidying up, all the walls were finished.

This was turning into a much bigger/longer job than I anticipated.

Two more days of painting later I was finally drawing a line under this one. Was up the ladder to get it done over the Jubilee bank holiday weekend, wobbling around with a hangover but determined to finish. All that’s left is to find some nice pictures for the walls and give the floor a good clean. The difference is remarkable, I’m really pleased with how it’s turned out.

Great work!
Worthy of an R8

I do enjoy threads like these. Inspirational if nothing else.

Looks like a great update and well worth a post.

just needs a fridge and sofa and you could live in it…nice job