I like it, I’ve been considering one for my garage for a while too. Which points does it pick up to lift on then? And how balanced is it once up? I’d also be interested to know how high it is from floor to top part of the car when lifted, my garage has a pitched roof so I reckon I’d be able to lift quite high.
Very impressive. When can you fit me in for A service and MoT?
Lifts at points B and C on this picture.
It feels pretty balanced to me, I’ve not been too rough with it (yet) but I’ve put a fair bit of weight on the back to see if I could unsettle it at all and it feels solid.
Lee uses a different jacking point (not on the diagram, but I know it’s one that Lotus use on 2 post ramps) but my pads/arms won’t reach. MWR in the US do an adapter plate for it which I may look into if I’m not happy with the current setup for whatever reason.
To gauge the height, just measure 1300mm from the peak of your car roof and see if it clears. The lock position is 1100mm but you need to be able to raise it slightly before it will release (if that makes sense)
I’m a one trick pony for now so can only do Toyotas. Give me a year or so ![]()
Doh That makes sense
Couple more pics just to show the sort of access I get. I think the only job I couldn’t really do on this is removing the fuel tank, but you can see how this type of lift would be more restrictive on a front engined/rear drive car or for doing exhaust work on any front engined car… it’s not far off perfect for the Elise platform.
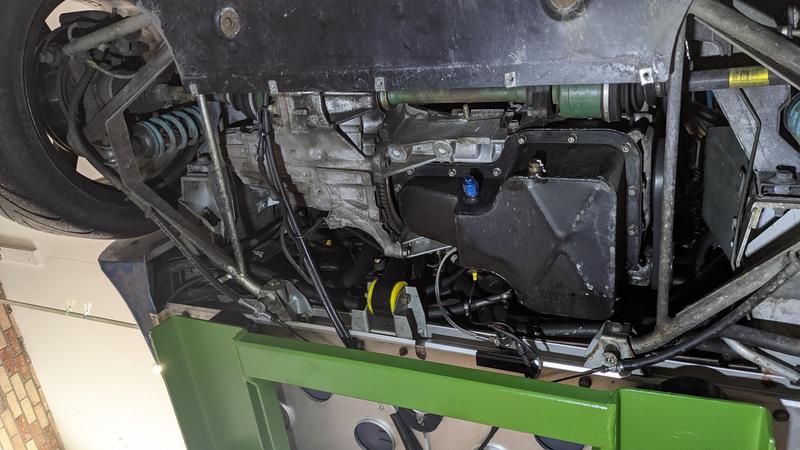
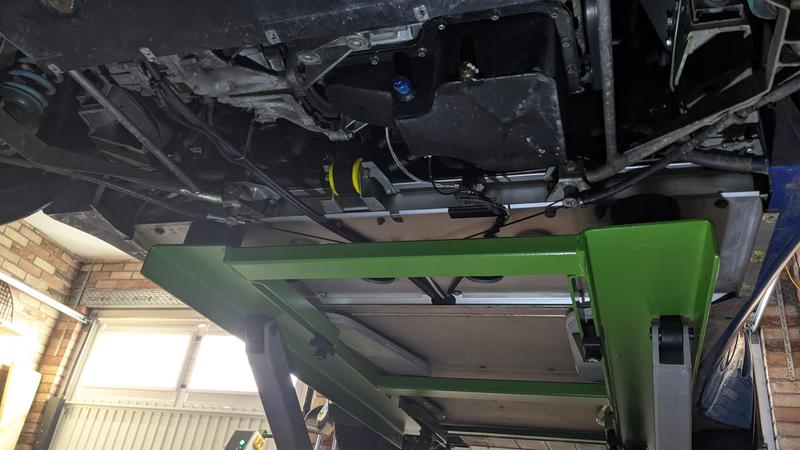
“thommo wrote: ↑05 Dec 2020 11:04
Very impressive. When can you fit me in for A service and MoT?”
I’m a one trick pony for now so can only do Toyotas. Give me a year or so
![]()
The want is strong for that lift!
Do it Andy its the best investment you will ever make
Really nice purchase with the lift.
Did you buy your exige with the larger roof scoop already fitted? It really transforms the look of the car.
Sorry Jamie, missed this reply.
Yeah my car got traded in to Jon Seal with it’s original roof - Jon then did the 260 upgrade and also added one of ‘his’ mohawk roofs to it to complete the look. I’m glad, it’s the sort of thing I’d probably never put my hand in my pocket to upgrade myself but it makes the car look much better with it on IMO.
Speaking of which…
Since buying the car I’ve been poking around various front splitter options. There’s a few I like the look of, and a few which I definitely don’t but I’d had it in mind to look at making something that would sit beneath the OEM one to give it a sharper look, similar to the APR ones sold in the US.
Every few months a generic splitter would come up for sale on the various forums/ebay etc. It was never advertised particularly well, poor pictures and description and the owner wasn’t really sure what it was… but it was cheap enough that I could take a punt and if nothing else use it for a template to make something up myself.
I suspected that it might be a GRP copy of the Reverie ‘downforce’ splitter, the one that they had on the proper wind tunnel tested kit.
I met the seller down in Northampton, quick chat in a rainy carpark and he explained that “Some guy called Lee from Carlisle might know more about it, because he removed it for me in the first place”. Obviously there’s only one Lee in Carlisle this could possible be… lotuslee. Lee said that it was from a car that previously had the full Reverie kit, so maybe it was a legit one after all?
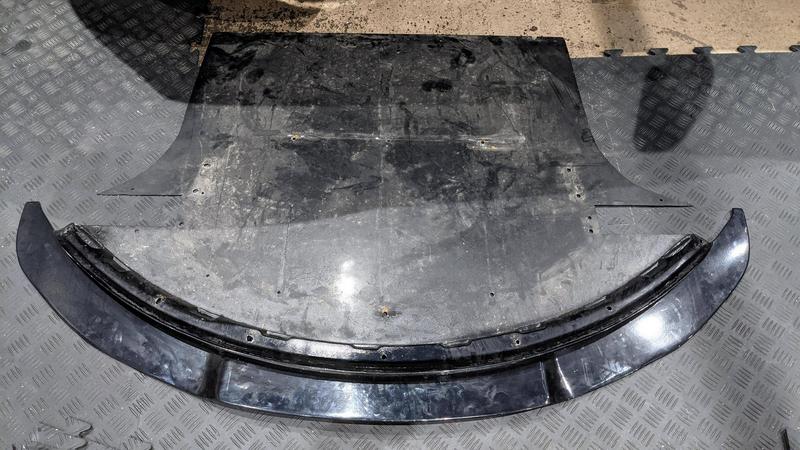
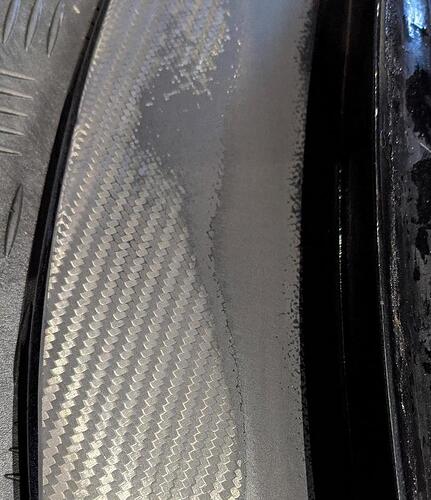
Paint was a bit tatty, so I’d decided to rub it down and re-do in satin black, but after a few minutes of sanding I found:
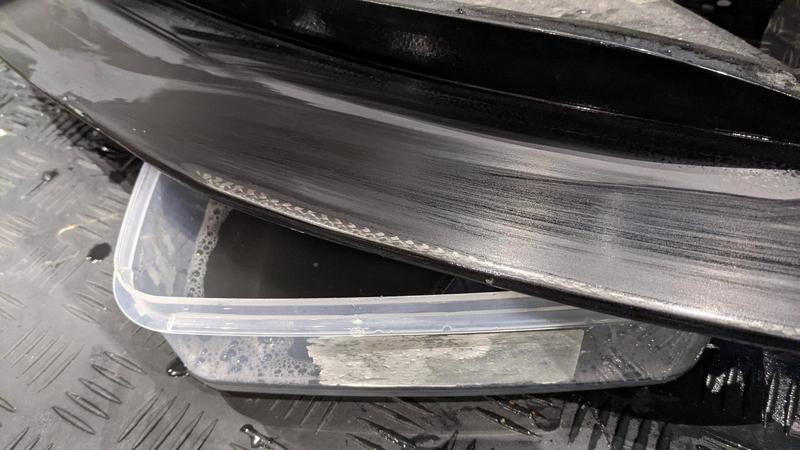
Then after many more minutes…
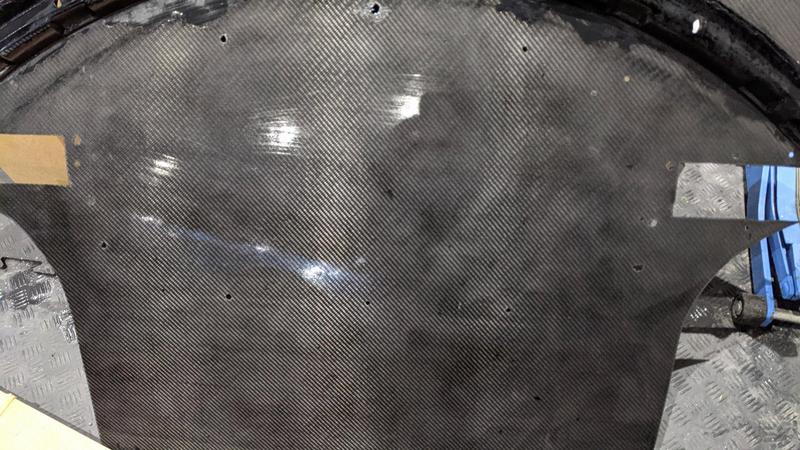
So it looks like a legit carbon reverie splitter. Bit of a result there! It’s clearly taken a knock or two in its life and there’s evidence of a couple of resin repairs, so it’s unlikely I’ll be showing off the weave, and will continue with the plan to paint it black or vinyl wrap it - but it’s nice to know I’ve got the real deal.
I’m one of the biggest sceptics out there when it comes to slapping on aftermarket aero to a road car, but Reverie seem one of the few that take proper testing seriously, so I’m a little bit concerned that I might upset the car a bit by just bolting this splitter on with nothing else. Maybe something to mull over.
Thank you!
Got a head start on the car this weekend after some unexpected home alone time.
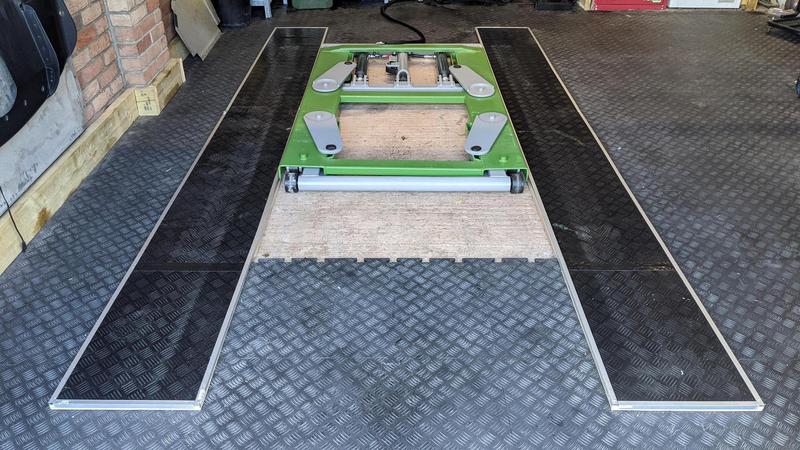
Finished off the lift setup by building some 18mm risers along each side, anchored to the floor to stop them spinning around when lining the car up. Pretty happy with how it all looks now.
Whilst the car was outside on its wheels (soon to be a rare sight) I got some spraying done just to tidy up the stone chipped sidepods.
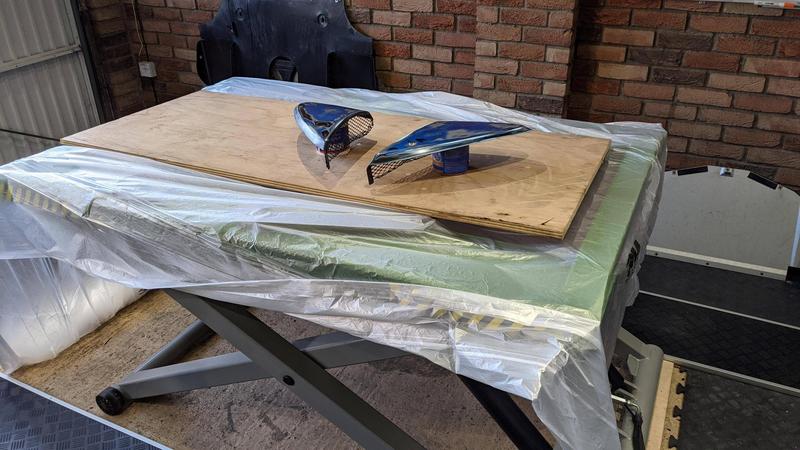
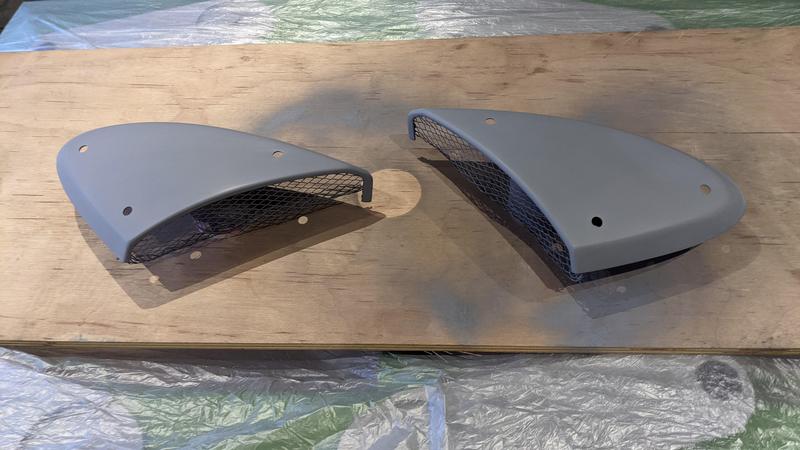
Car got a good blasting out on the driveway to minimise how much crud I dump into the garage.
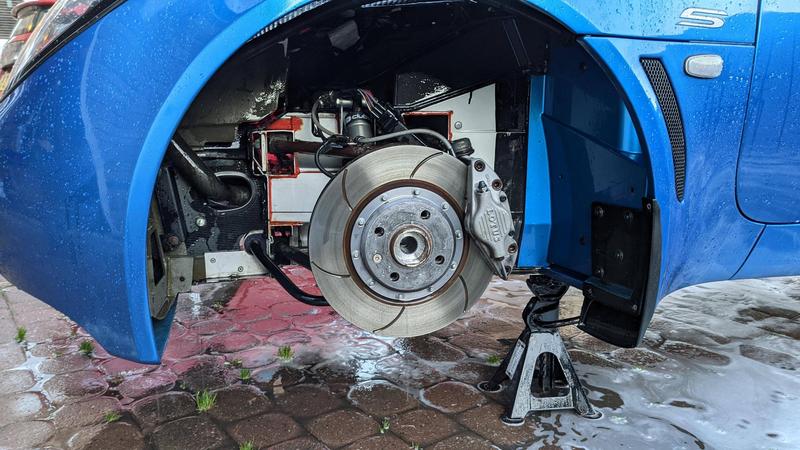
And then finally ready to start work. First job is to get the rear clam off, it’s not mandatory for anything I plan to do this winter but it’s probably worthwhile just for more convenient access and gives me an opportunity to clean up/fix up a few other areas too.
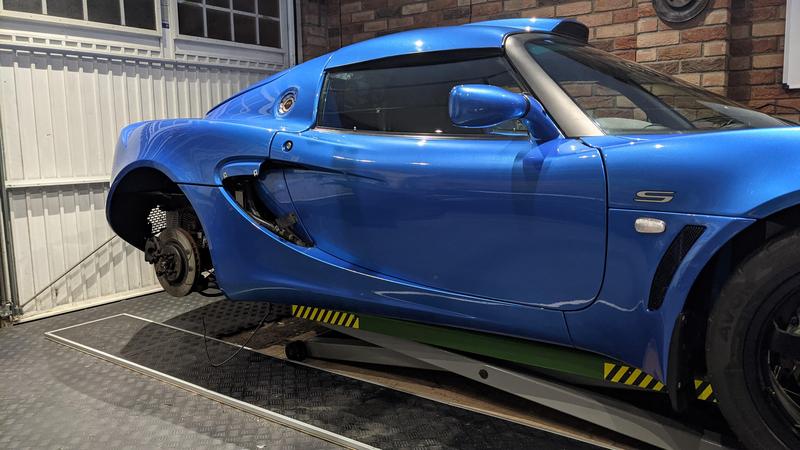
I found rear clam removal much less stressful than the front, purely because there’s not really any other bodywork you risk bashing into. With doors open and roof off, there’s no real risk of scraping down some other bodywork. Took a little over an hour, but I wasted 20mins with extension upon extension and an endoscope rather than just removing the passenger seat and fixing it in 5mins flat.
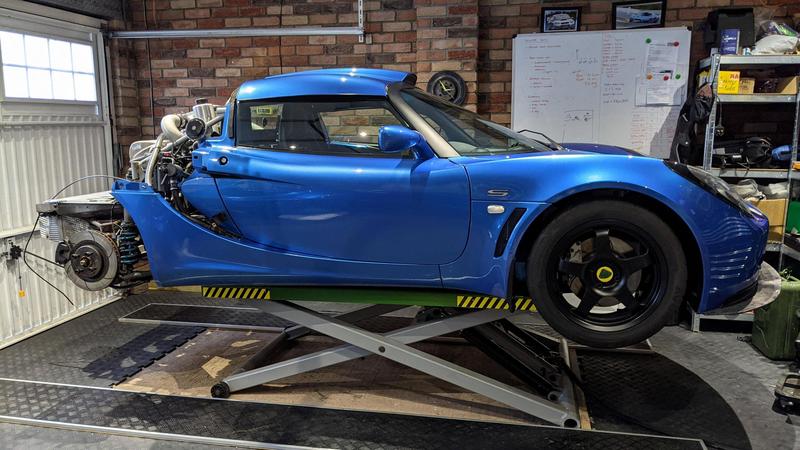
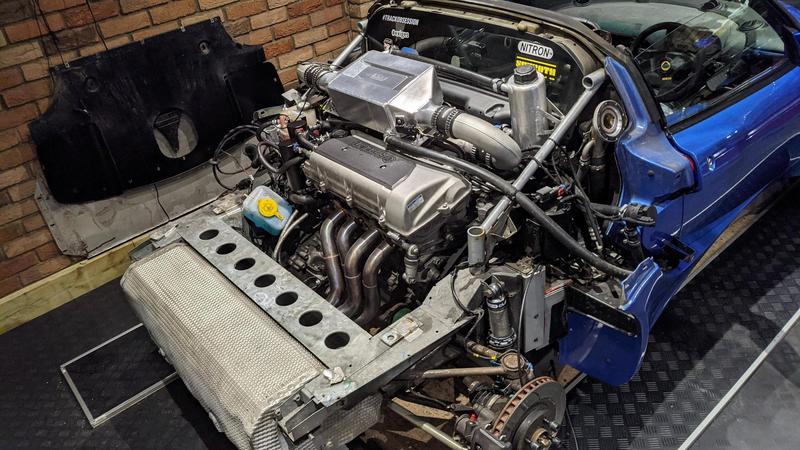
Access is great, there are a few bits of preventative maintenance I can do now, but I won’t go mad since I know how easy it is to get the clam off - it’ll be no big deal to do it again in the future.
Some items for my list:
Rear nimbus has taken a beating from the 2bular backbox. I’ve got a spare sheet so I’ll knock some repair patches together.
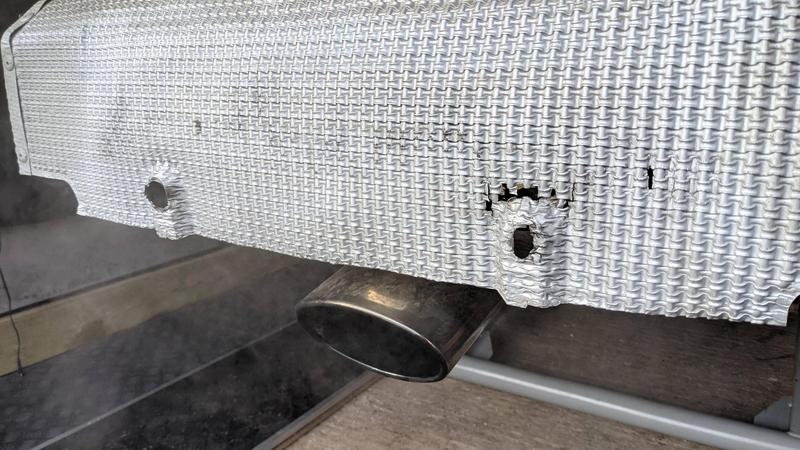
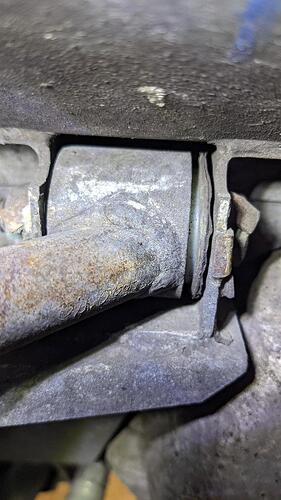
Suspension/wishbone refurb was on the agenda for “if I can be bothered”, but I might bump it up a bit - a couple of my bushes are starting to wander out a little bit. Potentially causing contact with the subframe under load.
Aside from that, I’ve got some gearbox goodies hopefully tricking in over the next few weeks and I’m going to take my supercharger off for inspection. Since finding 2 of its 3 brackets were missing and/or broken I’m doubting the quality of its install somewhat - so would like to give it all a once over.
Looks really clean ![]()
Good progress, that lift looks superb. Looking forward to furrher chapters
Brilliant. ![]()
If you get bored, you can come and help remove my front clam. ![]()
Brilliant.
If you get bored, you can come and help remove my front clam.
It’s really not too scary! Just start taking bolts off and before you know it, it’s off!
I managed to make some progress over the festive period. One of the benefits of the lift is that I can just go into the garage and immediately be productive, rather than kitting up and rolling around on the floor for 20mins before I actually do anything, so chipping away at the car between baby naps, food binges and crap TV was quite productive.
My main goal (for now) is to get the gearbox out, strictly speaking the rear suspension doesn’t need to come off completely but a few bits need undoing for driveshaft clearance. I stripped the suspension down fully anyway as I’ll need that later.
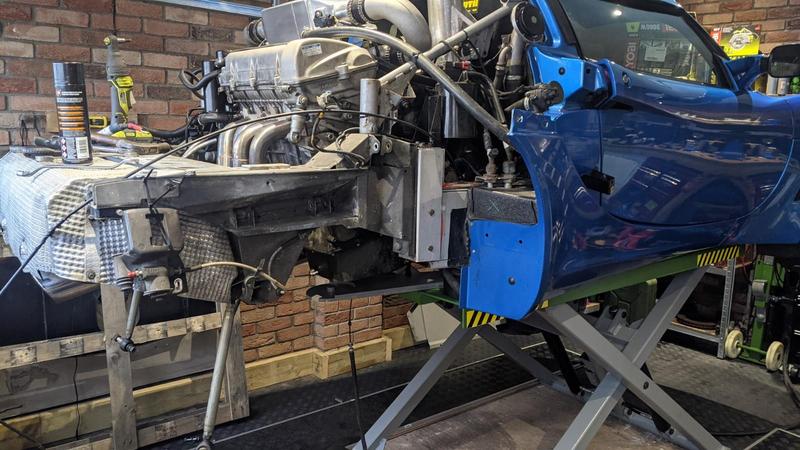
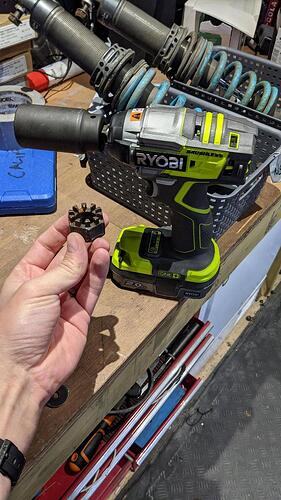
No surprises here, done it all before on my Elise but my shiny new impact gun made a couple of awkward bits a piece of cake.
With the gearbox drained of fluid, the driveshafts came out easily enough and then it was a case of going round and ticking off anything that keeps the gearbox attached to the car, or stops the engine from tilting downwards. Off the top of my head this included:
Starter motor
Clutch slave cylinder
Earthing strap
Temp sensor
Shifter cables
Exhaust
Airbox/Intake
All was easily accessible. The clam off made for very comfortable access to the stuff around the top of the box but strictly speaking it would be doable with the clam in place. Personally if I had to do this again (hope not!) I think I’d take the clam off for the sake of an extra hour or so, just to make the job more comfortable.
Three of the four engine mounts are actually connected to the gearbox, so these all had to come off - making for a balancing act with the engine on my trolley jack. Probably safer/better ways to do this but hey ho. Once supported I could undo the three mounts, and then tilt the whole engine/box assembly down towards the passenger/gearbox side of the car. The gearbox pretty much fell off after that - cushioned nicely by my ribcage (not advised) and pulled a coolant hose from the bottom of the throttlebody on its way down, meaning I was trapped under the car with a gearbox on top of me - getting a face full of coolant until I could organise myself again.
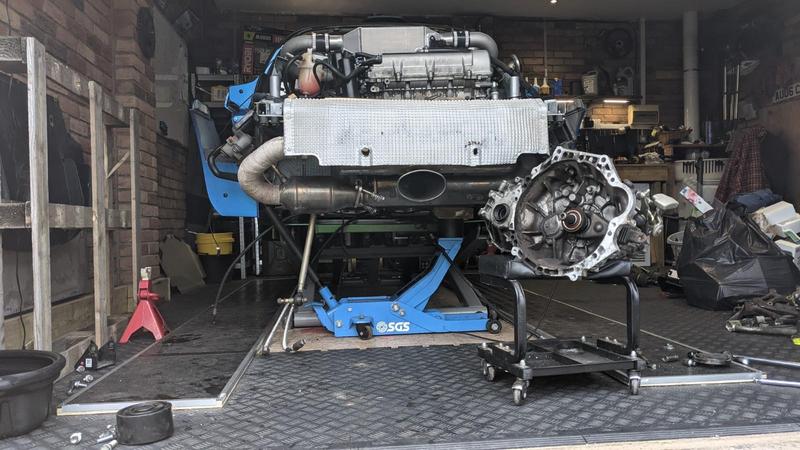
I need to re-arrange things for reinstallation as my trolley jack is blocking the path for any kind of transmission jack to get in, and there’s no way I’m manhandling the box back into position. I’m thinking of rotating the jack around, and having a go with a borrowed motorcycle jack to start with. If that doesn’t work I may consider borrowing/buying an engine crane to free up my trolley jack but hopefully it doesn’t come to that.
Gearbox will be going off to a specialist soon, still a couple of bits left to source then I can crack on with other stuff. ![]()
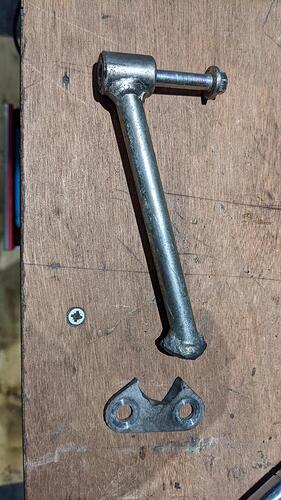
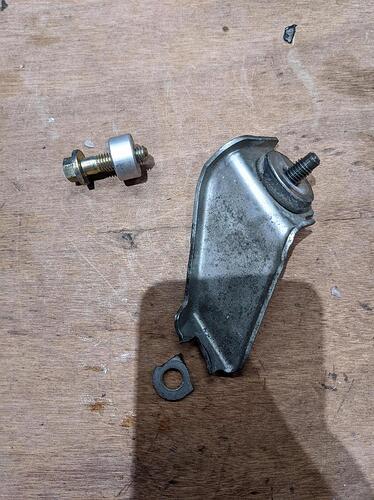
I did find (another) broken supercharger support bracket whilst I was digging around.
This is in addition to the broken bracket I found earlier this year:
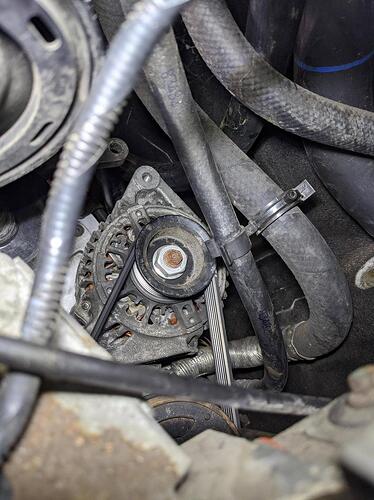
and also in addition to the fact the alternator was never connected to the SC nose bracket that I resolved a few months back:
What the significance of these parts are I don’t know, I never noticed any of them until taking enough stuff off the car to make the issues visually obvious. Car had it SC replaced back in 2012 so my best guess is that whoever refitted it neglected to bolt the nose bracket up properly, and the subsequent vibrations or twisting motion has snapped the other two brackets. That would have left the SC (and it’s associated movement) held in place just by the inlet manifold alone. I’ll add it to the list, but I’ll remove the supercharger completely - check everything and then bolt it back together properly.
![]()
![]()
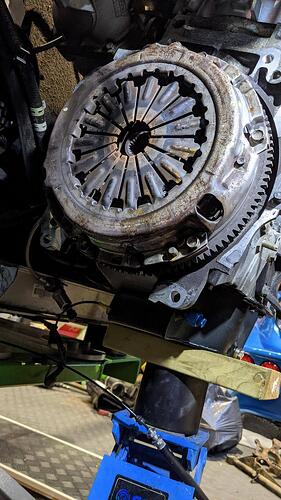
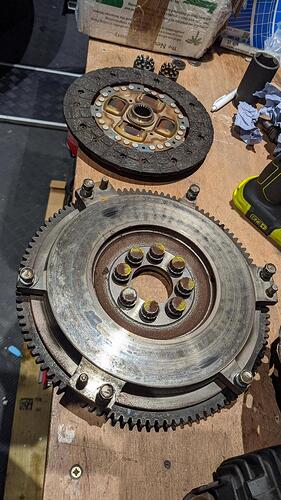
With the gearbox out, I could look at my clutch/flywheel assemblies and see if I could justify some of the costs of all this work by finding a badly worn item or two…
Nope, both barely look used. Damn!
Eh well, it would be daft to do all this work without changing the clutch at least and I do quite like the idea of trying a slightly lighter flywheel, ever since I did some steady driving in a Cup 260 and felt the difference.
I bought a new clutch and flywheel a while ago, I just need to go collect when I get time (and lockdown depending) and my gearbox guy is booked for the week of the 11th so we’re pretty much on hold at the back of the car for now.
Plan is to get the front suspension dismantled now and figure out a plan for that lot.
Why fly did you go for? What weight saving?
I assume in the 260 it’s just a bit more Rev happy?
