Great work as always Mark. Hurry up and get her back on the road!!
Welcome to Exiges Jon!
I’ve got a few more bits on the list to do, but nothing too major so it will be back on the road soon ![]()
Having stripped the rear diffuser of the previous coating (not sure if this was just paint or black anodised), I took it to my local friendly anodising shop to get it recoated.
They took a quick glance at it and told me that I would need to remove the rivets before they could make a start as the anodised finish would fail around each the steel rivets. Every day is a school day, especially when you are doing something for the first time, so I took it away again to drill out the rivets and separate it into three rivet-free parts.
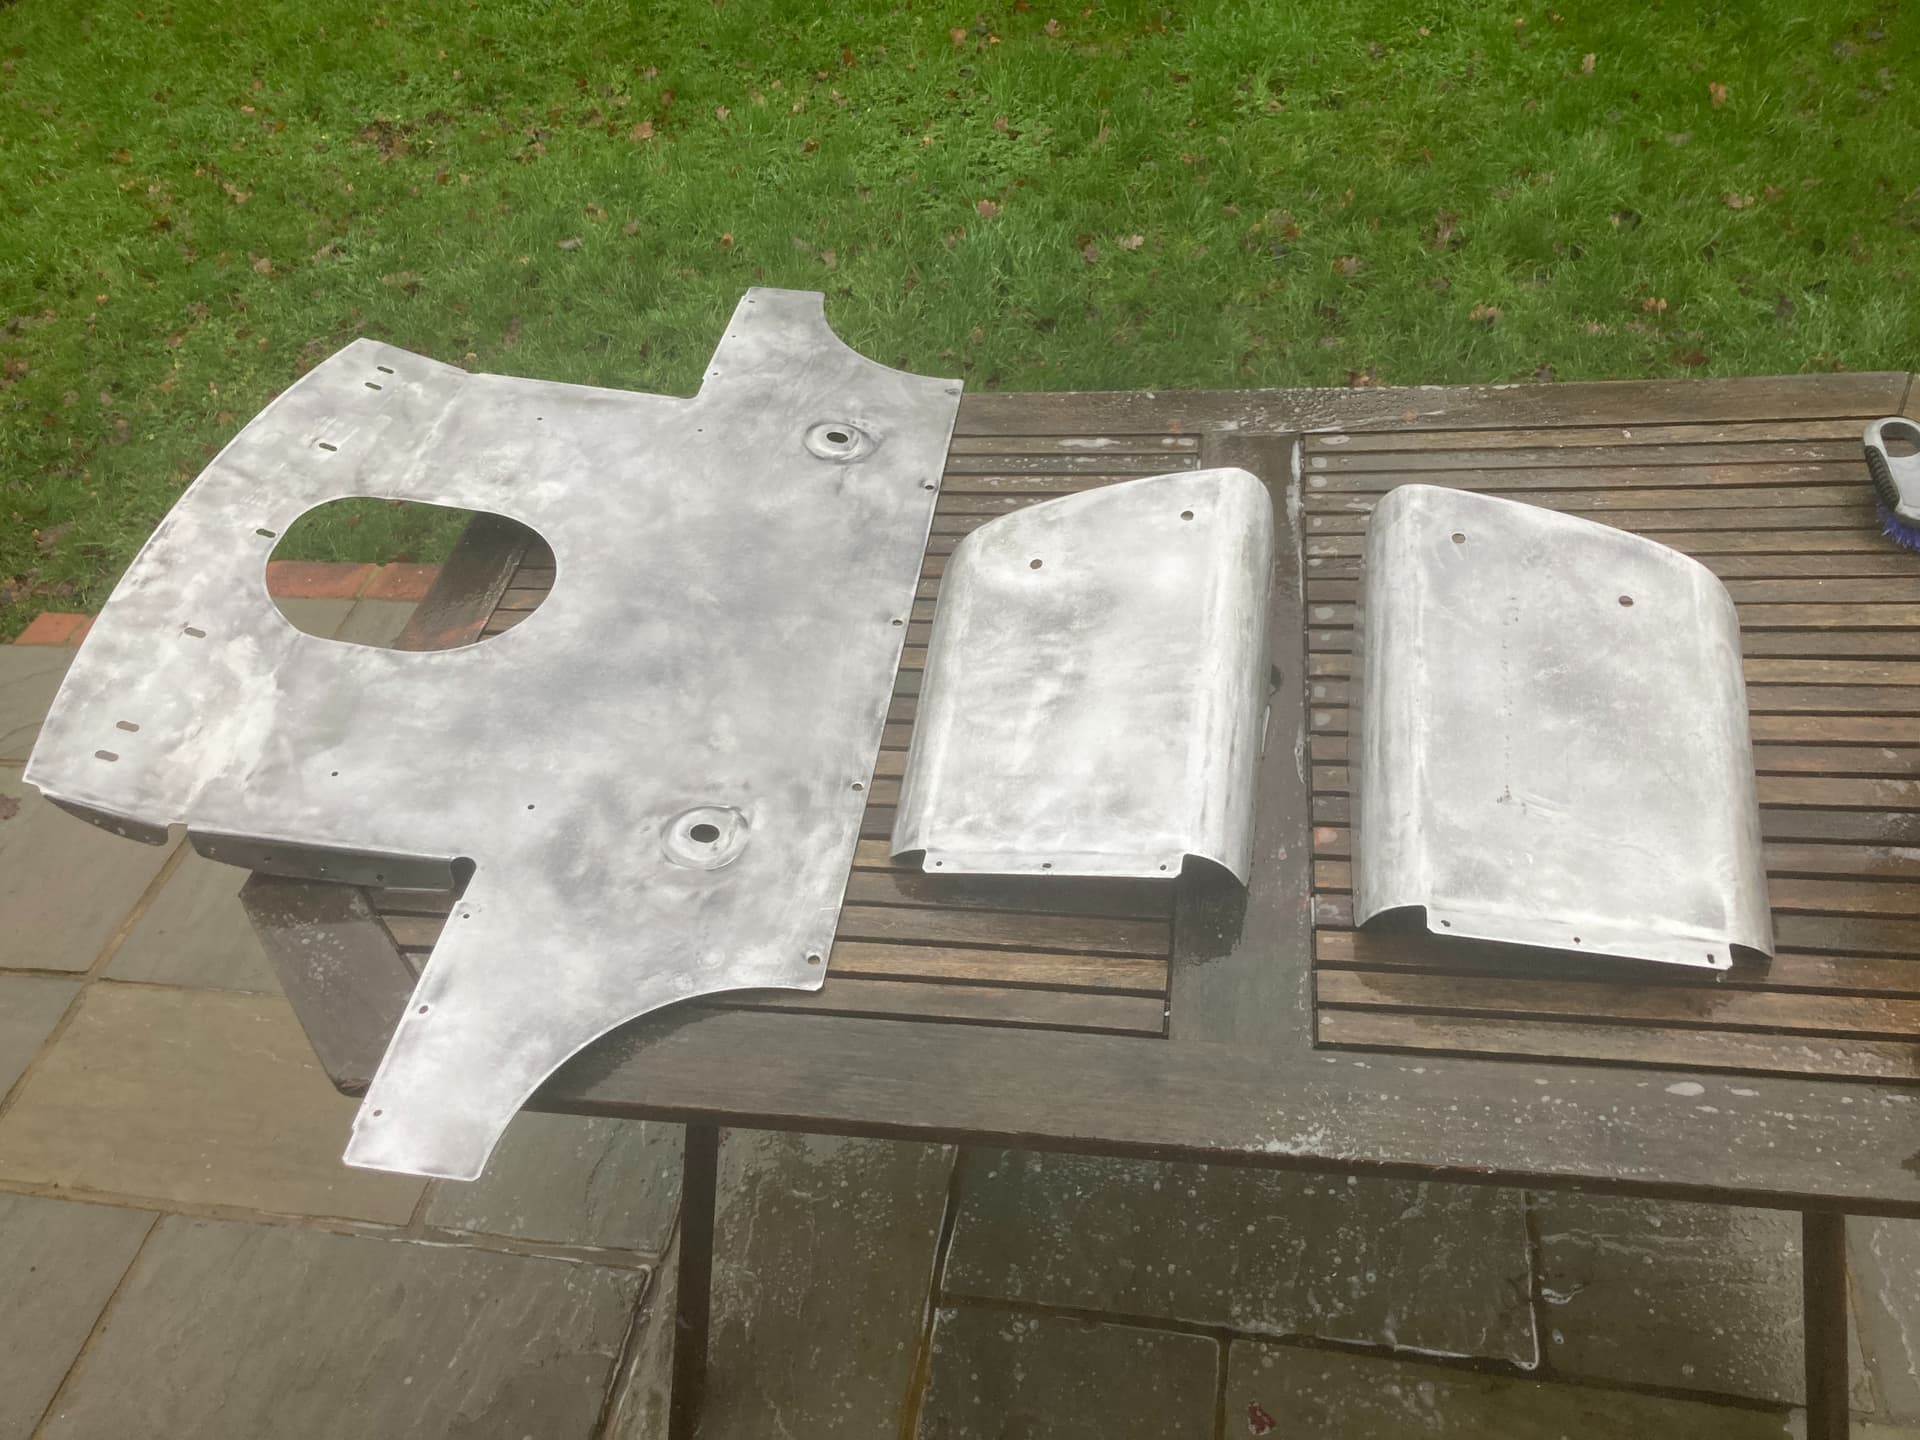
After a second attempt at dropping it off, they quickly turned it around. It’s looking good, although this photo makes it look a bit patchy where my greasy fingers have been picking it up.
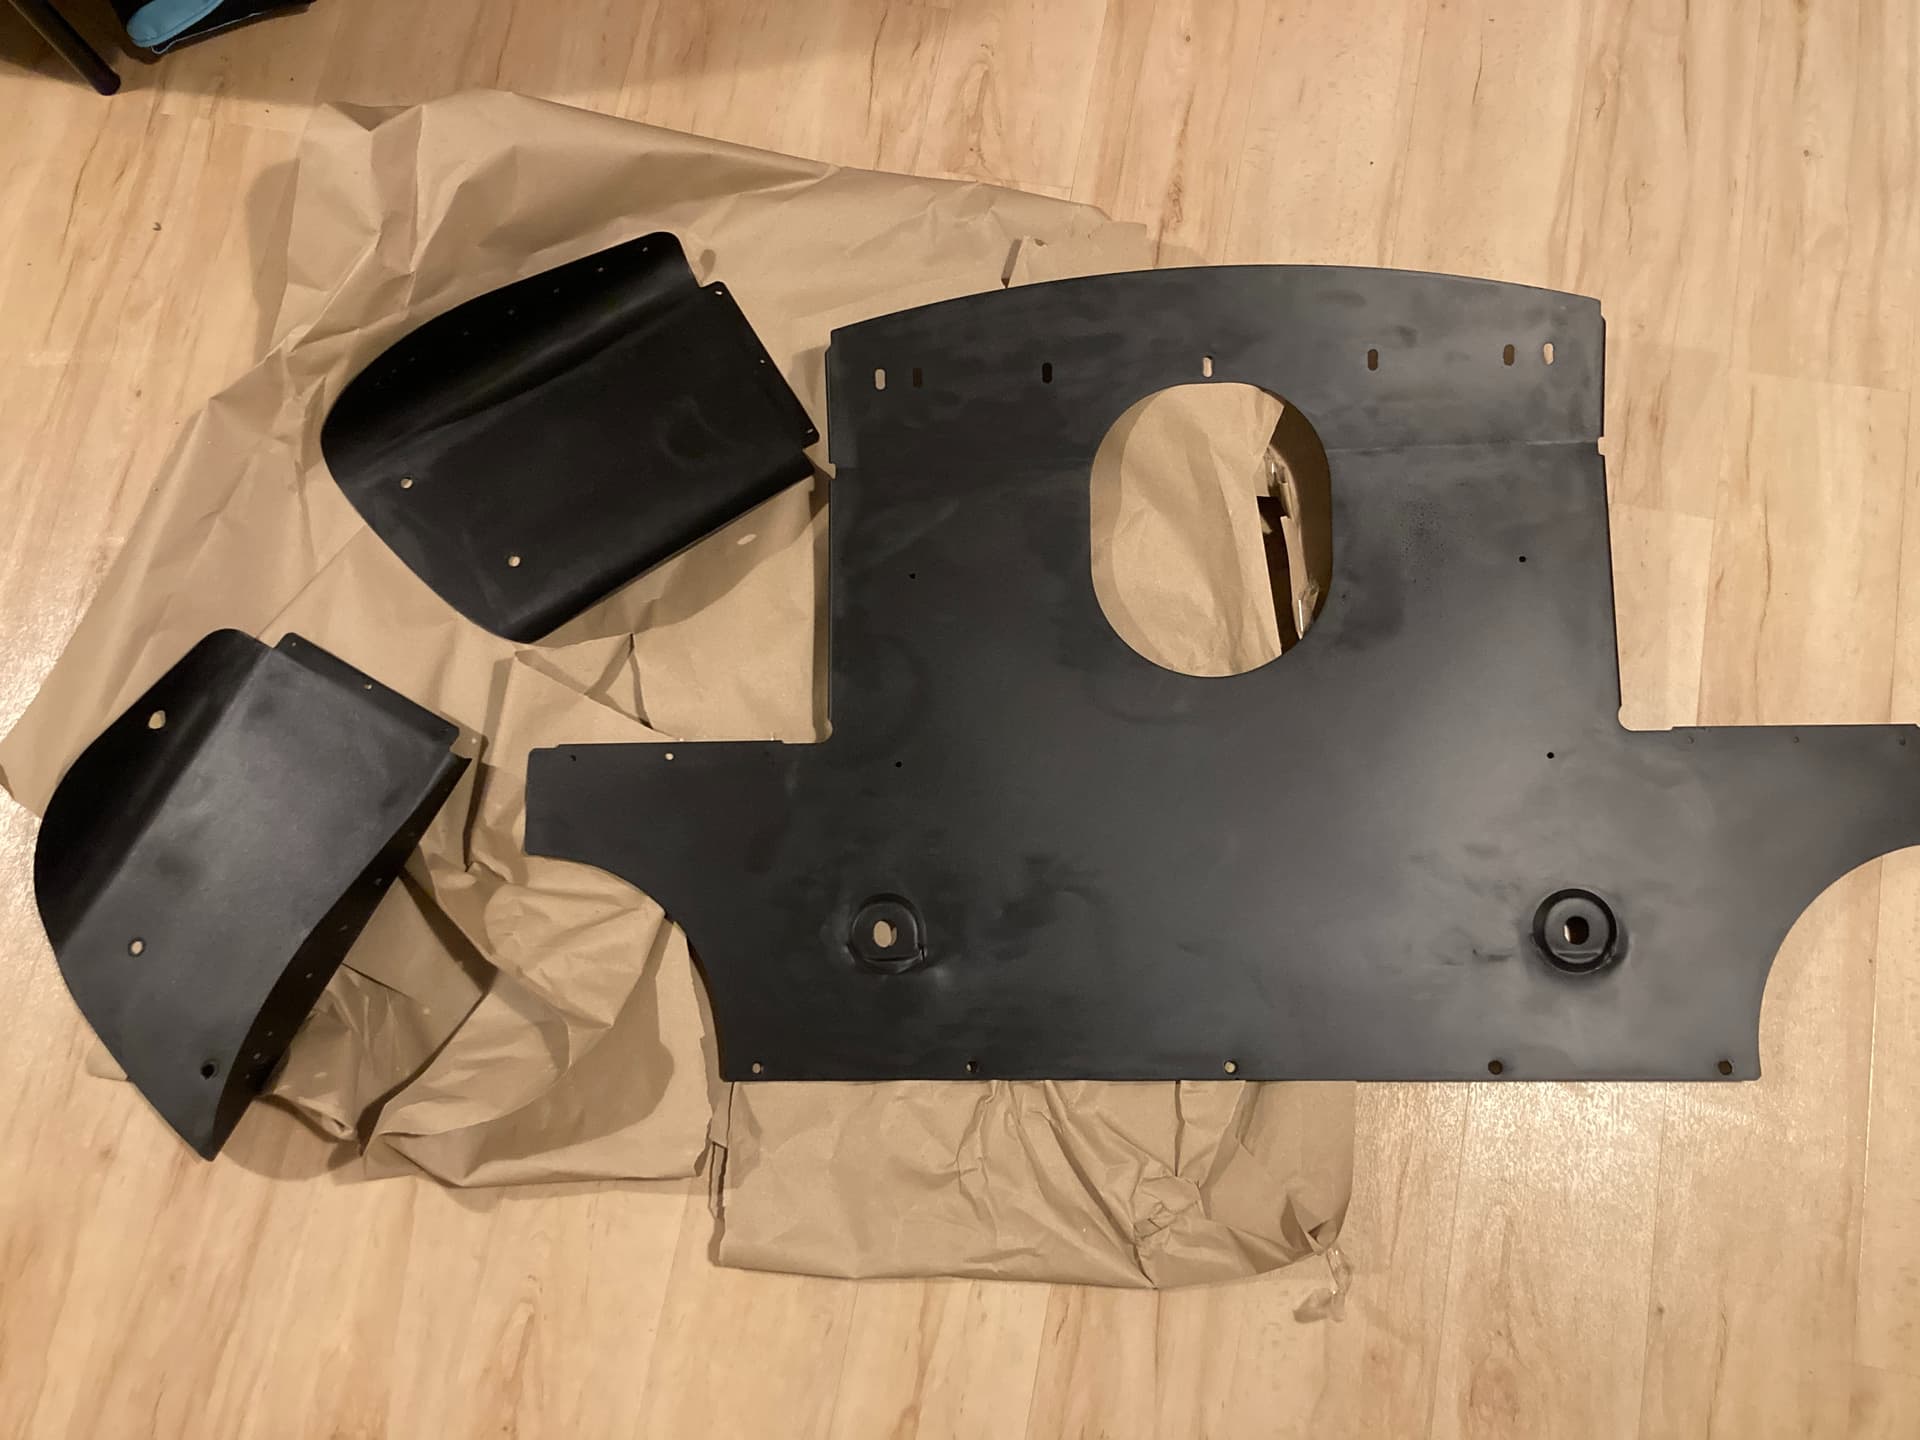
I got it back to one piece using some black rivets.

And finished it off with some self gripping u-channel trim.
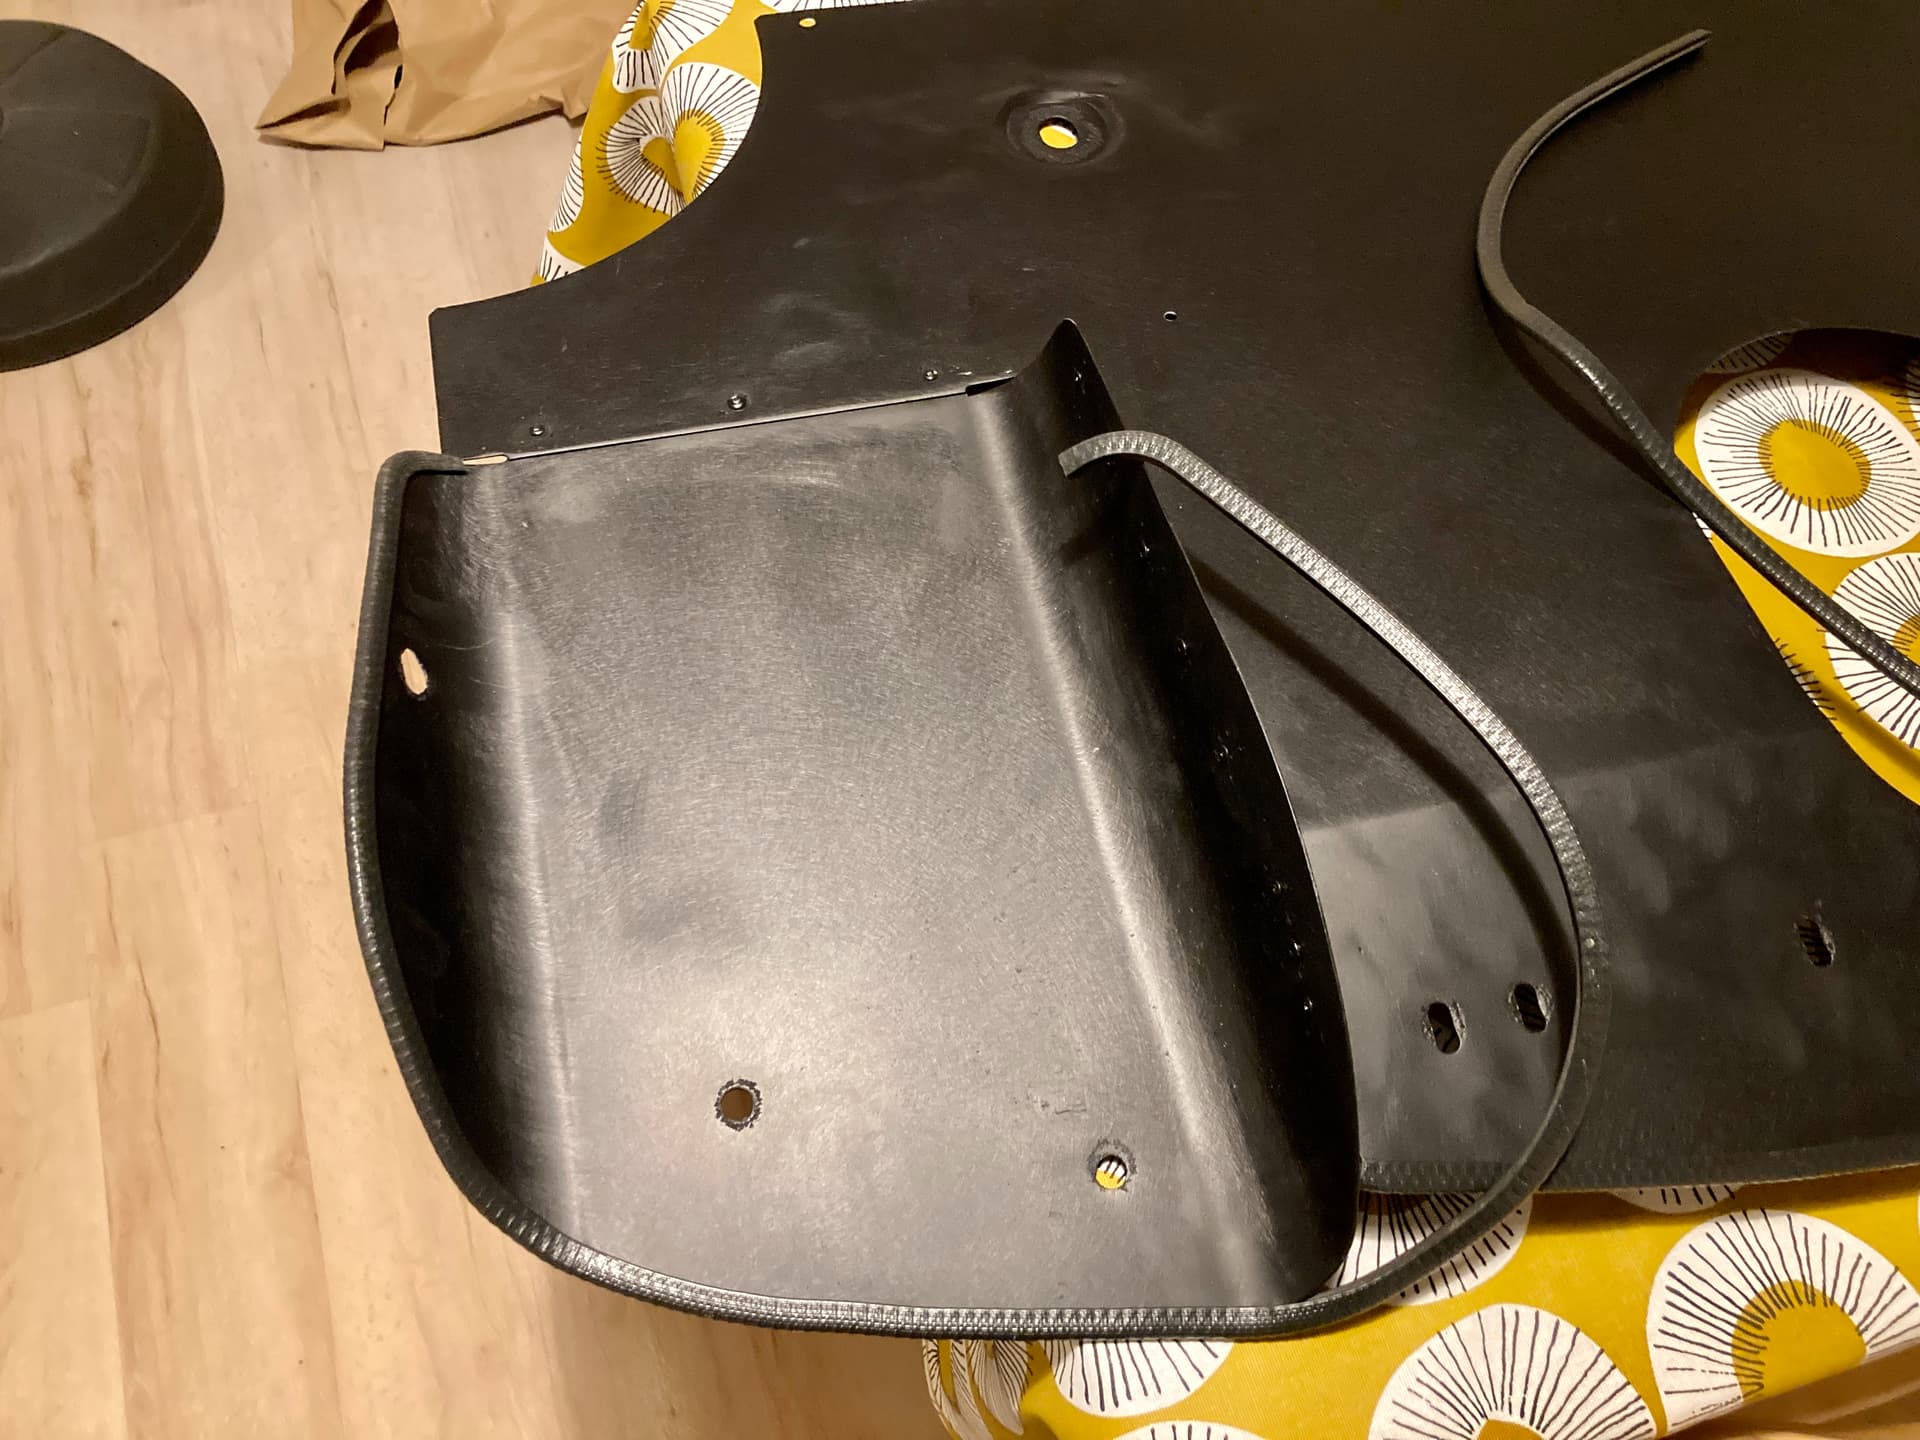
It’s as a good result as I was expecting given that the metal was pitted in places due to steel fixing contact corrosion and various bumps and scratches through wear and tear. If I was looking for a smoother finish then a few layers of primer and some tough black paint would do a better job. Hopefully the harder wearing anodised finish is ideal for a surface that will be battered by the road and keep it staying black longer. It also worked out cheaper than buying the paint.
Whilst I was at it, I thought I may as well get the footrest redone to match the original finish. With the surface already very smooth, this came out really nicely. It’s a great result considering the cost of a new one.
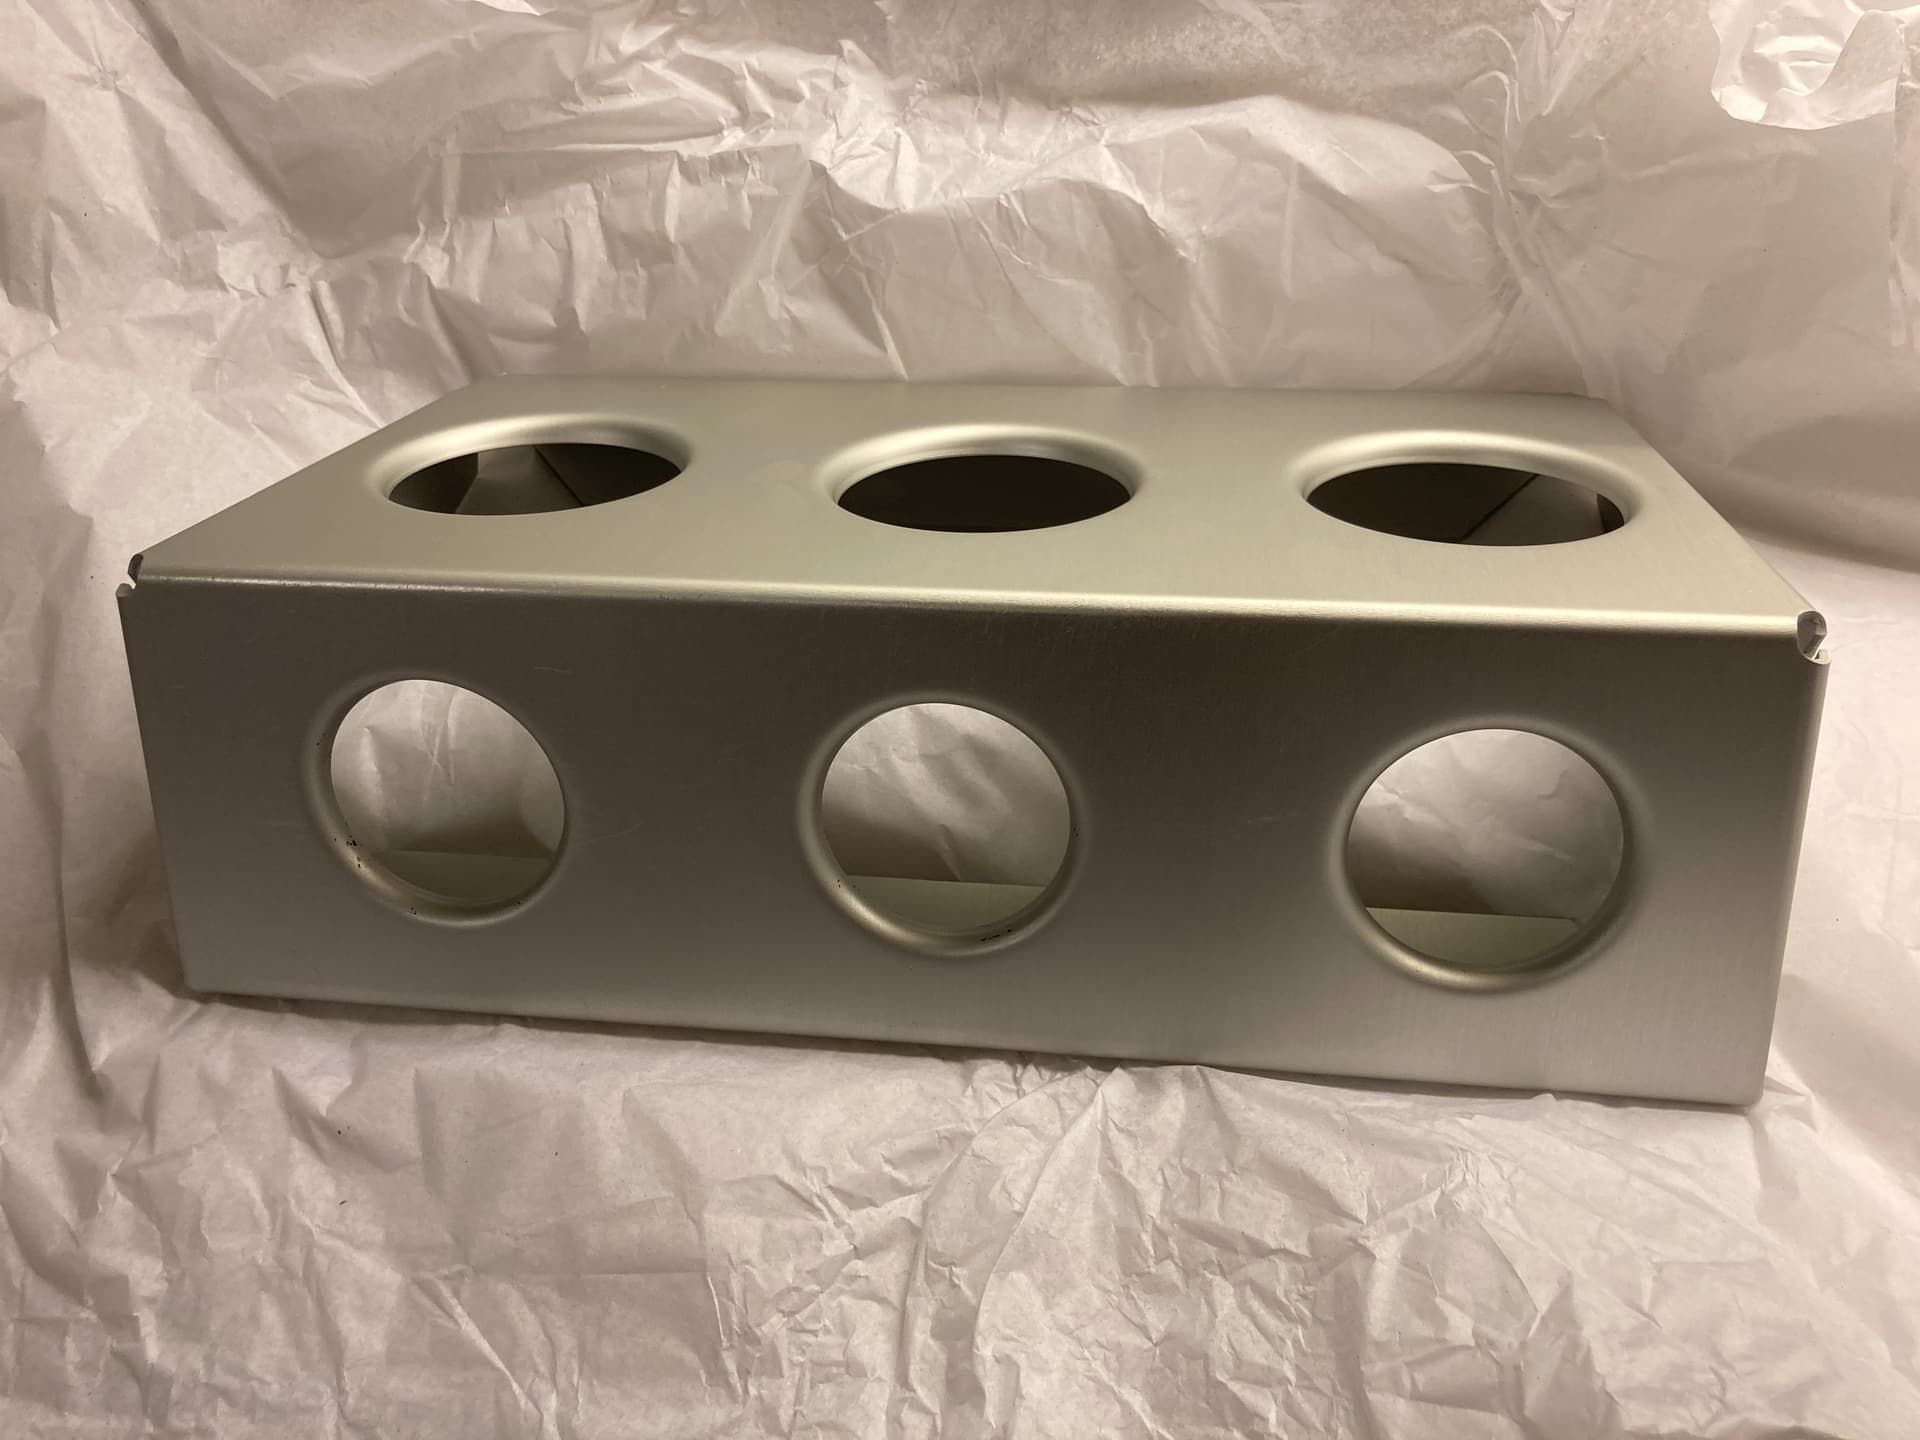
These weren’t cheap though ![]()

Next on the list is a refurb of the front calipers. They need a bit of cosmetic love and the piston seals are as dry as Prince Andrew’s armpits.
1 Like
Following this bit with interest. I would like to refresh mine as well!
They’re quite convenient that you can completely split them apart and do things “properly” rather than slapping hammerite all over them from range.
Piston/seal kits are inexpensive enough - the only real danger is ripping threads out of them when undoing the big bolts that clamp both sides together… so as a compromise you could leave them joined and still do a decent job.
ETA: I missed that you have AP 4 pots, but I think at least some of the above still applies ![]()
Keen to hear how the calliper rebuild goes, I need to replace a dust boot on one of mine…. BB AP’s like you appear to have. O
Sorry I’ve probably over-egged what I am planning for the caliper refresh!
The outer piston dust boots are in pretty poor shape, so hopefully I’ll just be replacing these rather than stripping the calipers and removing the pistons completely to replace the inner seals. Apparently it’s quite common for the 4 pot boots to dry up as the calipers get very toasty. Elise Shop even have replacement boots with a higher temp rating:
I’m also planning on sending the front calipers off to be professionally refurbed as I don’t fancy my chances of applying the decals and making sure they last. I’ve happily replaced the dust boots and painted the rears, but will leave the 4 pot fronts to these guys:
Very quick update…
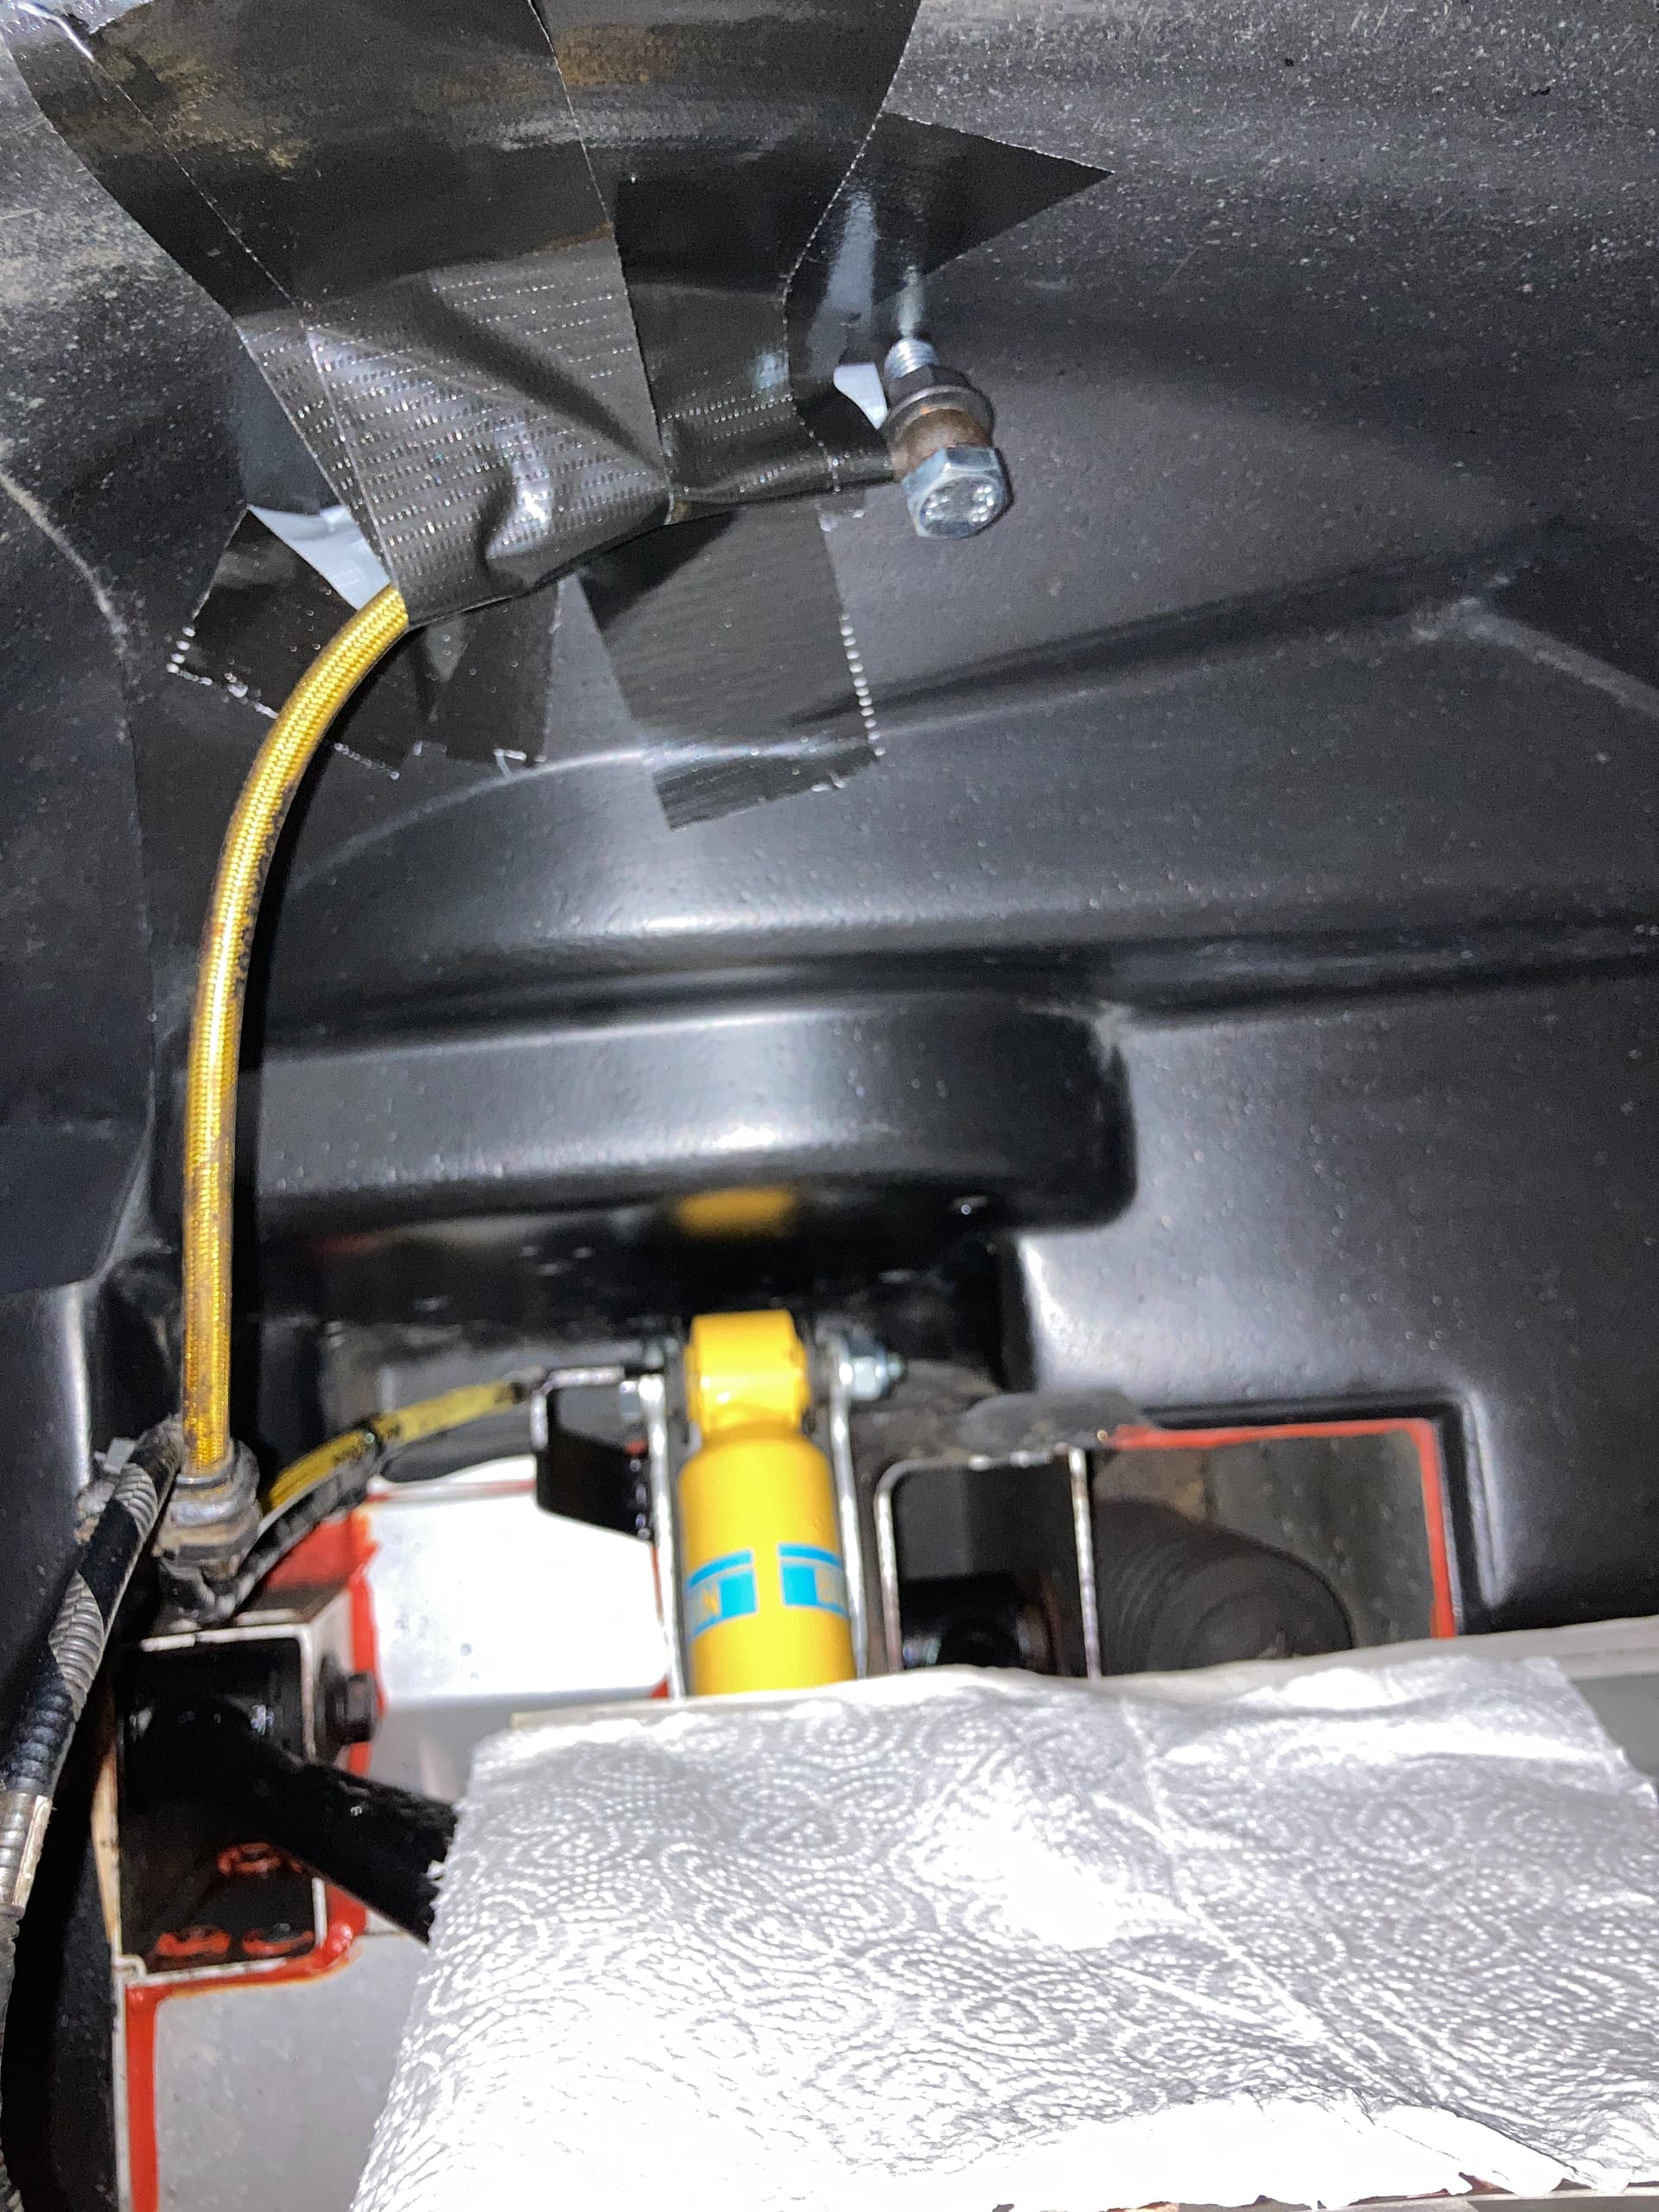
Front calipers are off, the brake lines capped off with an M10 nut and bolt threaded through the banjo fitting. These did leak a small amount of fluid, but raising the lines above the height of the master cylinder and attaching it to the top of the wheel arch liners stopped the flow completely.
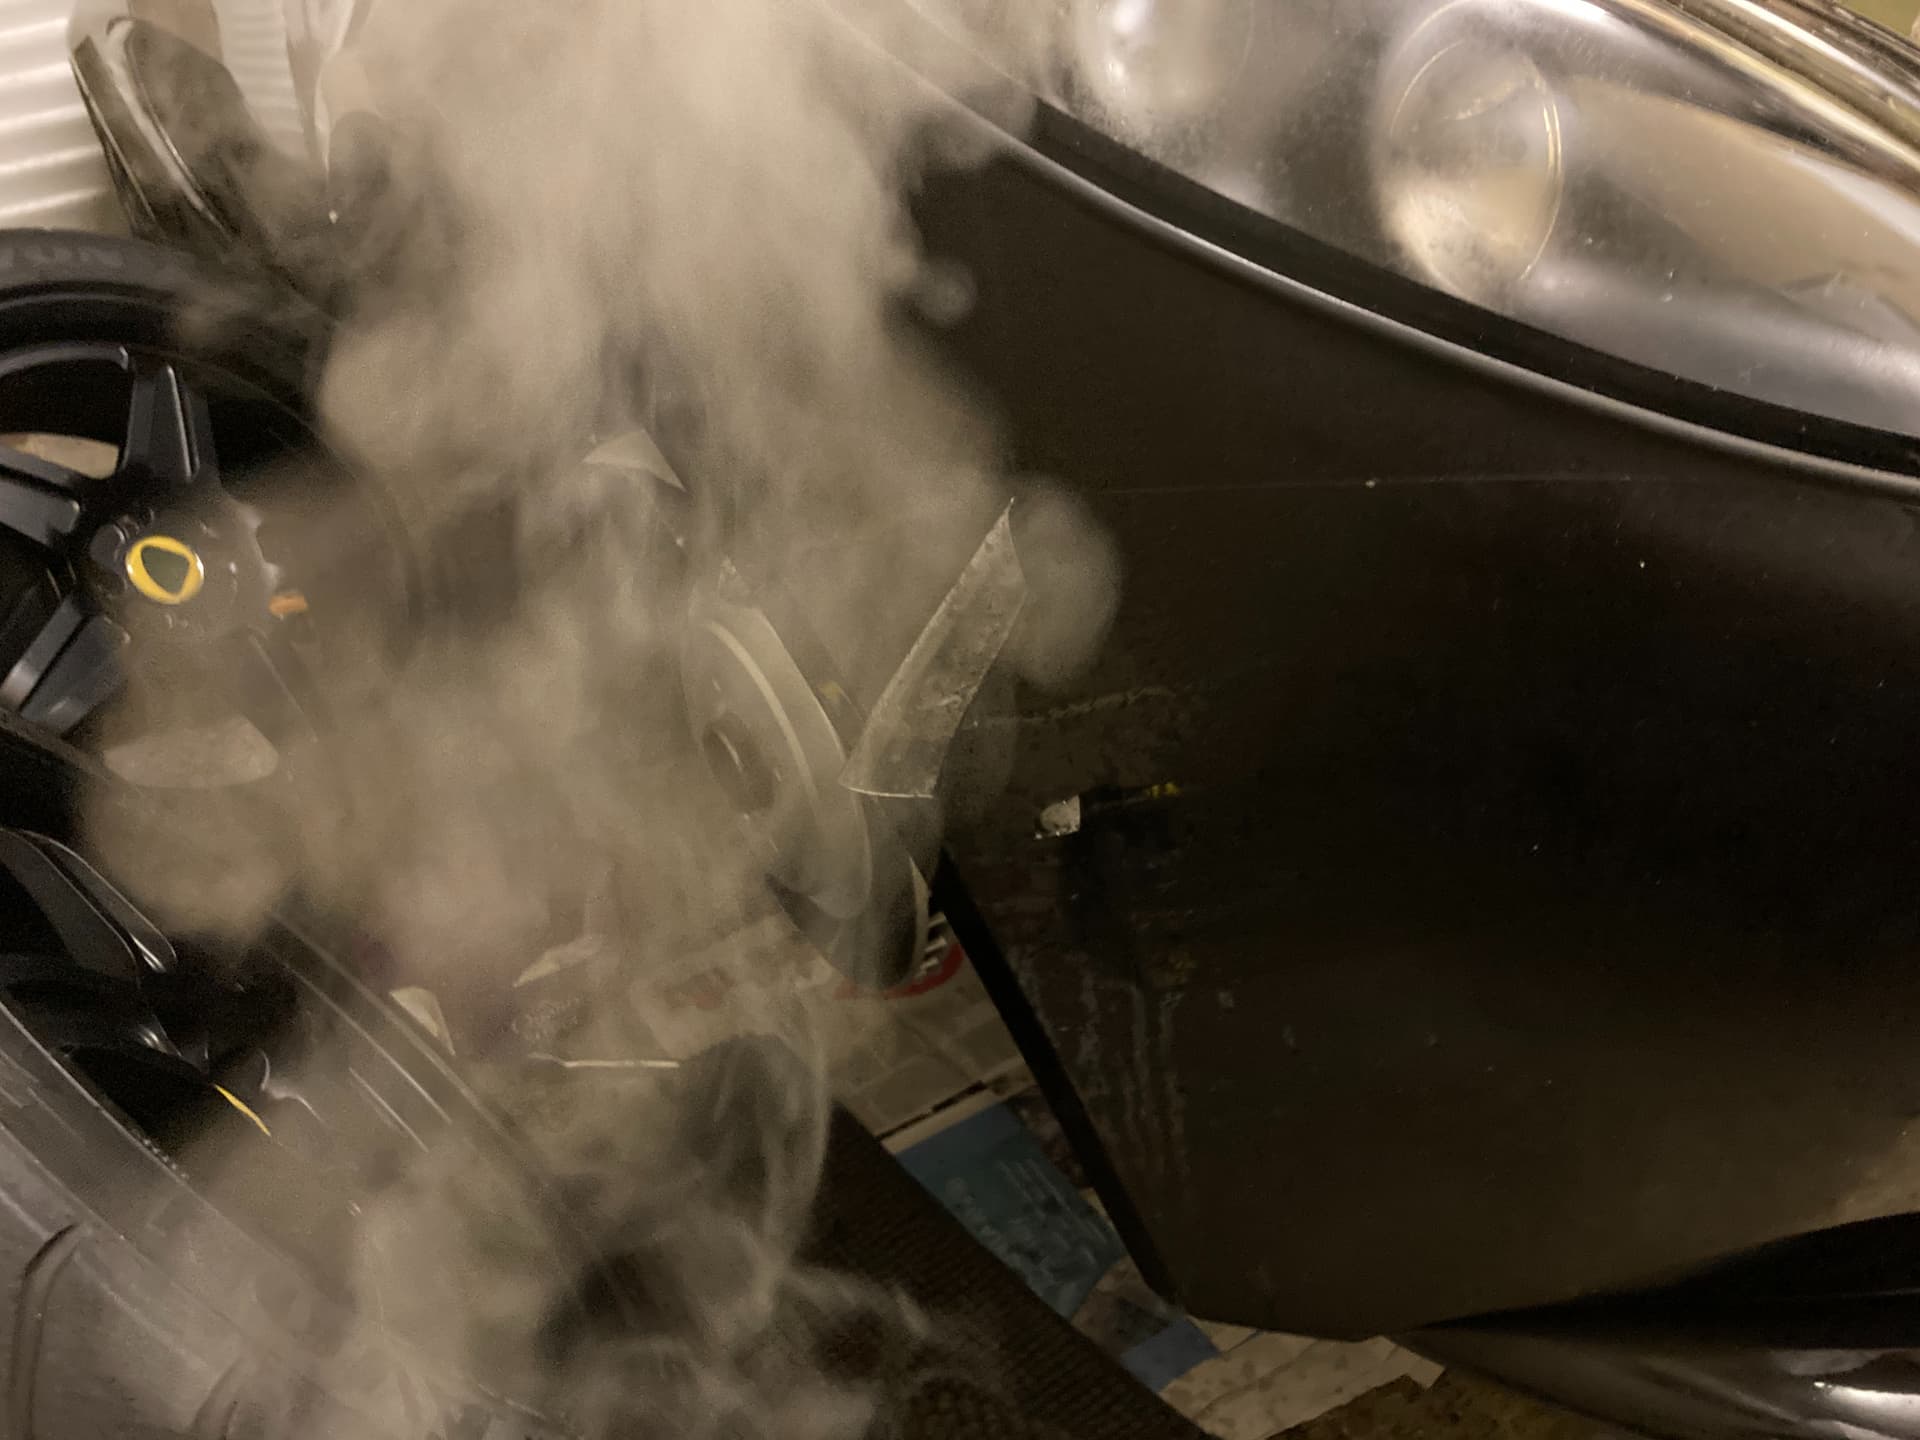
While I wait for the front calipers to come back from having a fresh coat of paint I whipped off the tired looking ppf covering the nose. It’s always made my teeth itch that it had been applied over stone chips.

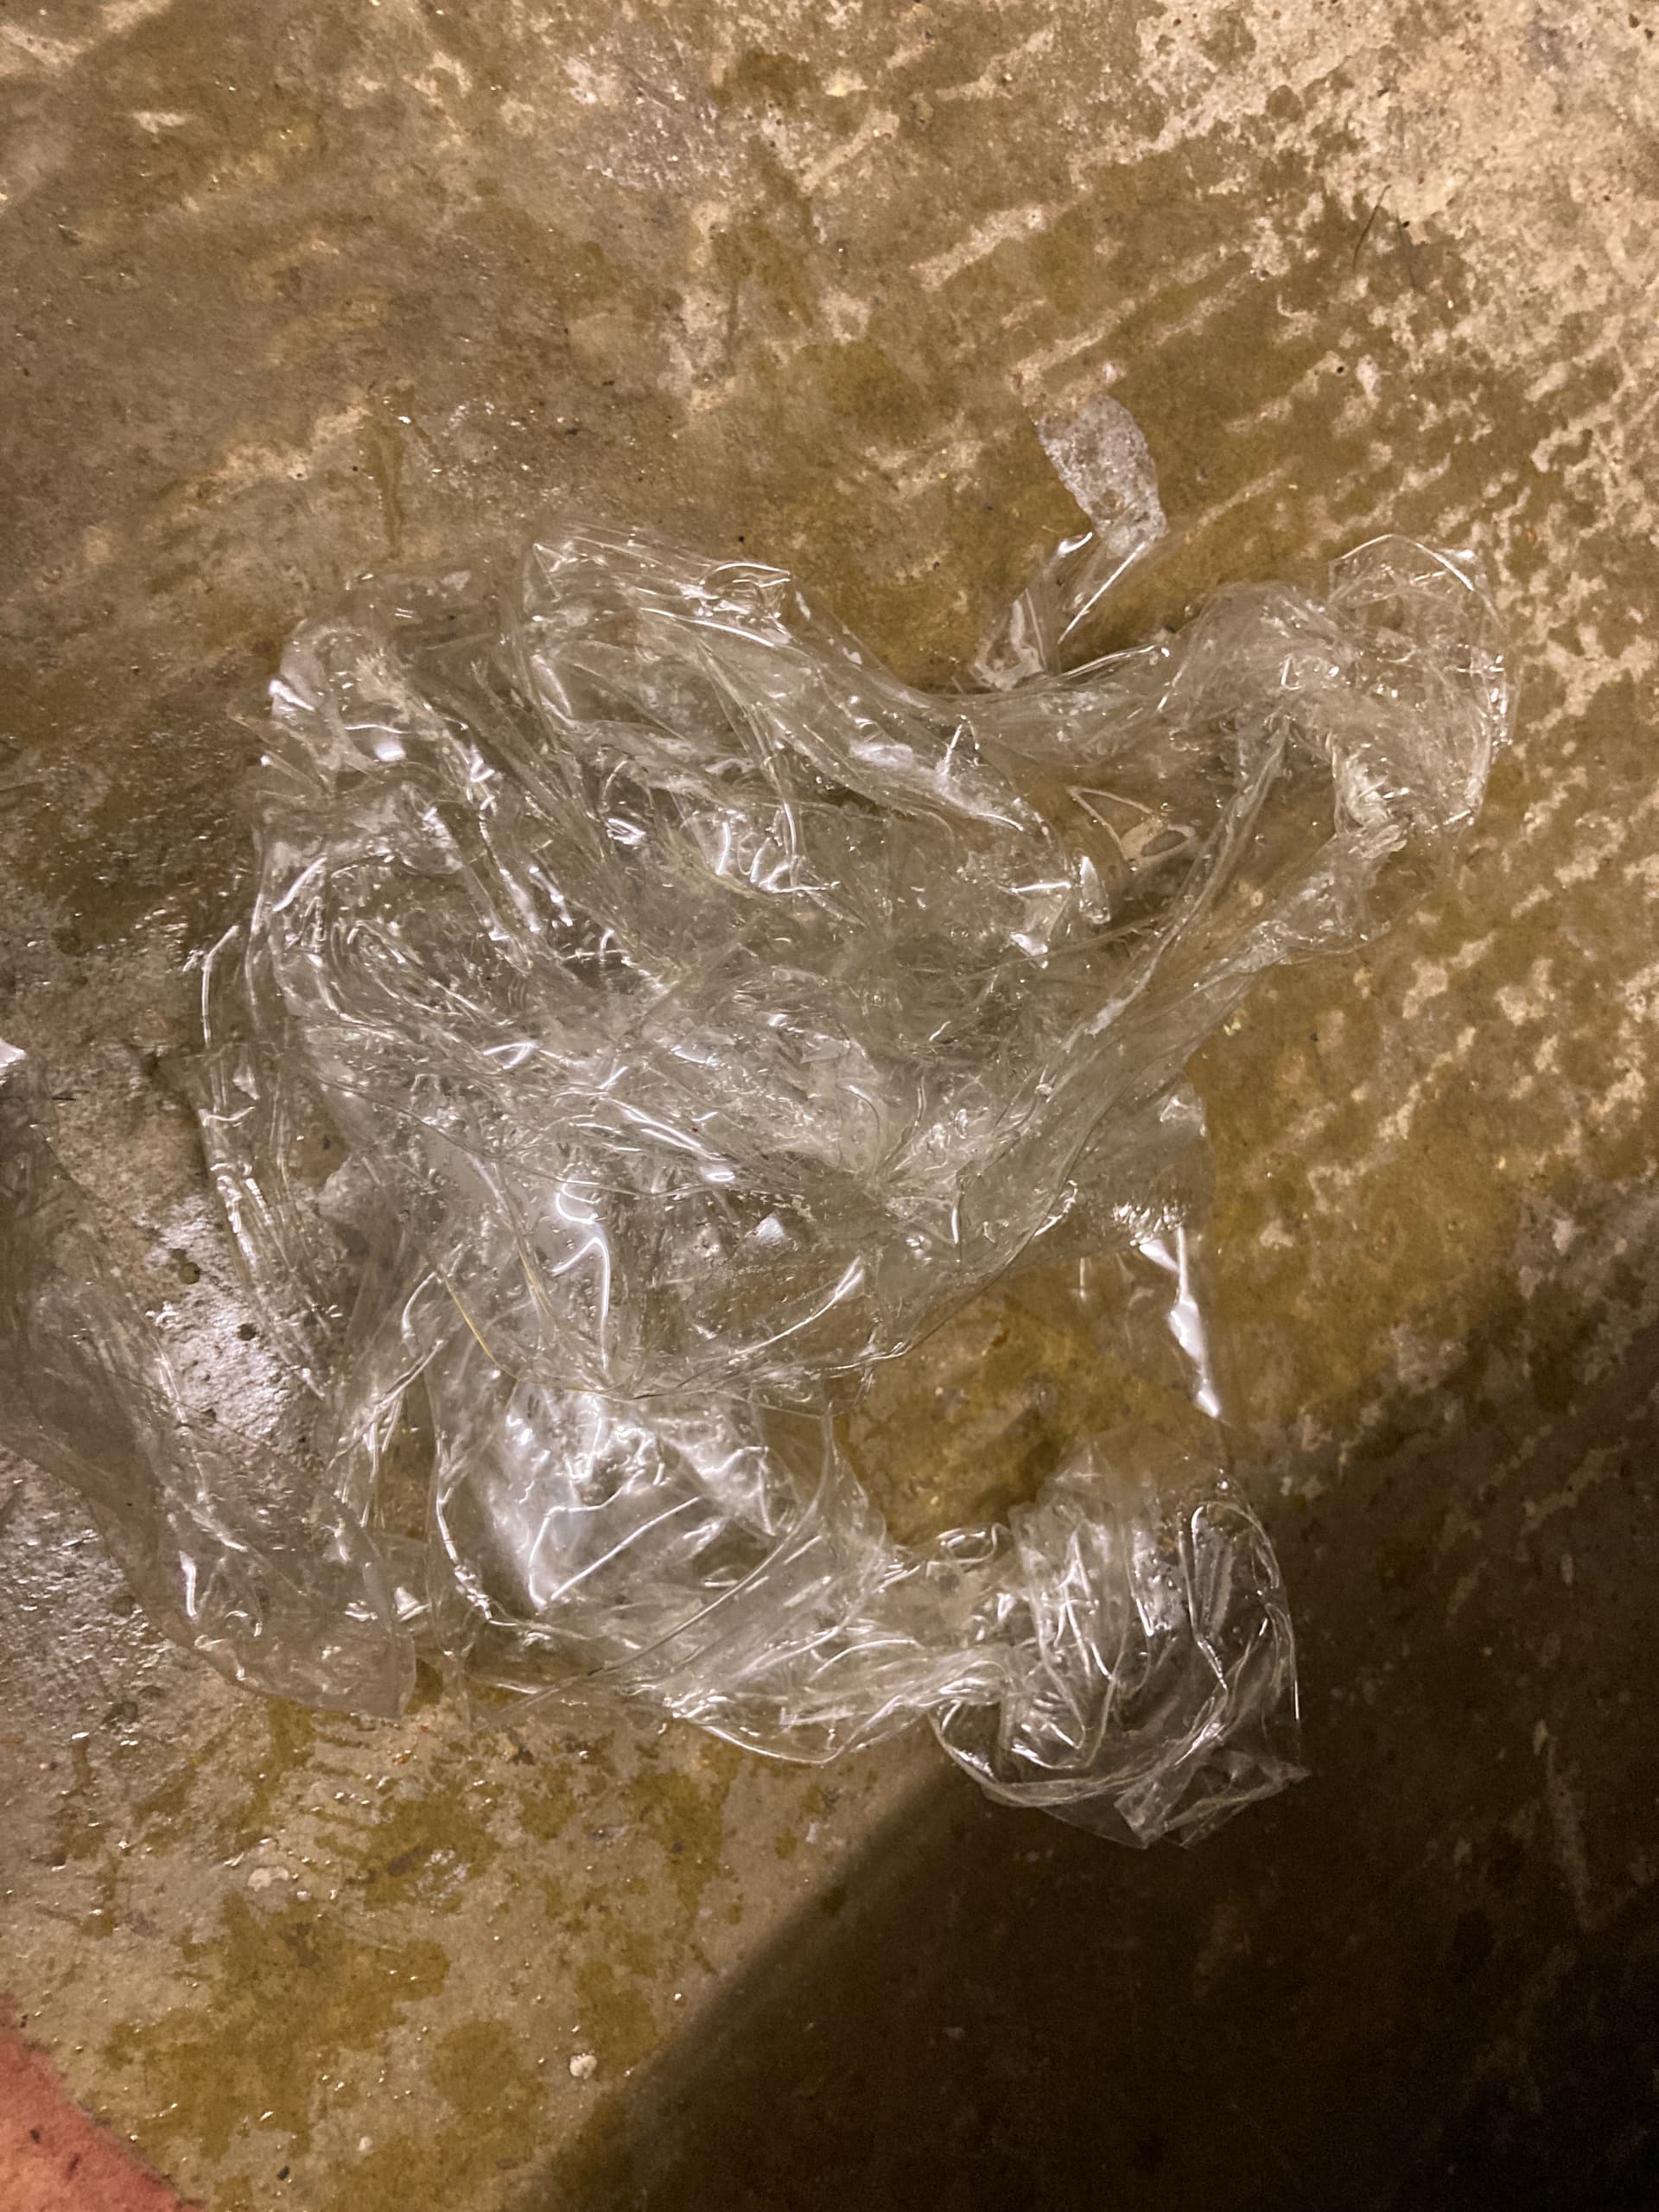
With a generous dosing of steam (from an Ebay special Vax steam cleaner), it came away nice and easily without leaving any glue behind and more importantly taking any paint off! Massively satisfying to pull it off after waiting a year with the inaccesable stone chips goading me.

I’ll fill the stone chips with original paint, then cover with clear coat, sand back down and polish away. Having done this on my previous Elise, it’s a massive improvement. I’ll see how it goes without ppf before deciding whether to cover it in the future.
This final small cosmetic tweak might be a bit contentious ![]() .
.
I got hold of some yellow tinted film and applied it to the driving lights. I have bit of black and yellow thing going on with the car, so wanted to give it a go.


Have I gone a bit chav with my tints?
Something different. If you like it then keep them
I’m all for being a bit different - and I think they look good mate ![]() not like you can’t remove the tint film if you have a change of heart so all good!
not like you can’t remove the tint film if you have a change of heart so all good! ![]()
They look good to me ![]()
Thanks all, I do quite like the yellow lights as a pop of colour amongst the darkness. When the car comes out to play again I’ll know for sure.
1 Like
This reminds me that I also need to remove my PPF from the front - it looks unsightly and is at least 100 years old from what I can tell… ![]()
Is steam the best way to do this?
100 years old is a long time ![]()
Steam is ideal as it heats the glue and shouldn’t damage the paint unless you go completely crazy. I was expecting some glue residue to be left behind, but it got all of it off in one pass.
I have seen the AMMO NYC guy on Youtube pour boiled water directly on to the area, but I didn’t fancy this as it looks like you’d be boiling the kettle over and over to get a load of water. It might be possible to use a heat gun or hairdryer though.
Here’s the freshly coated calipers back from the paint shop. They did me a massive favour by completely stripping them down and replacing all the rubber seals and bleed screws (that I supplied) free of charge.
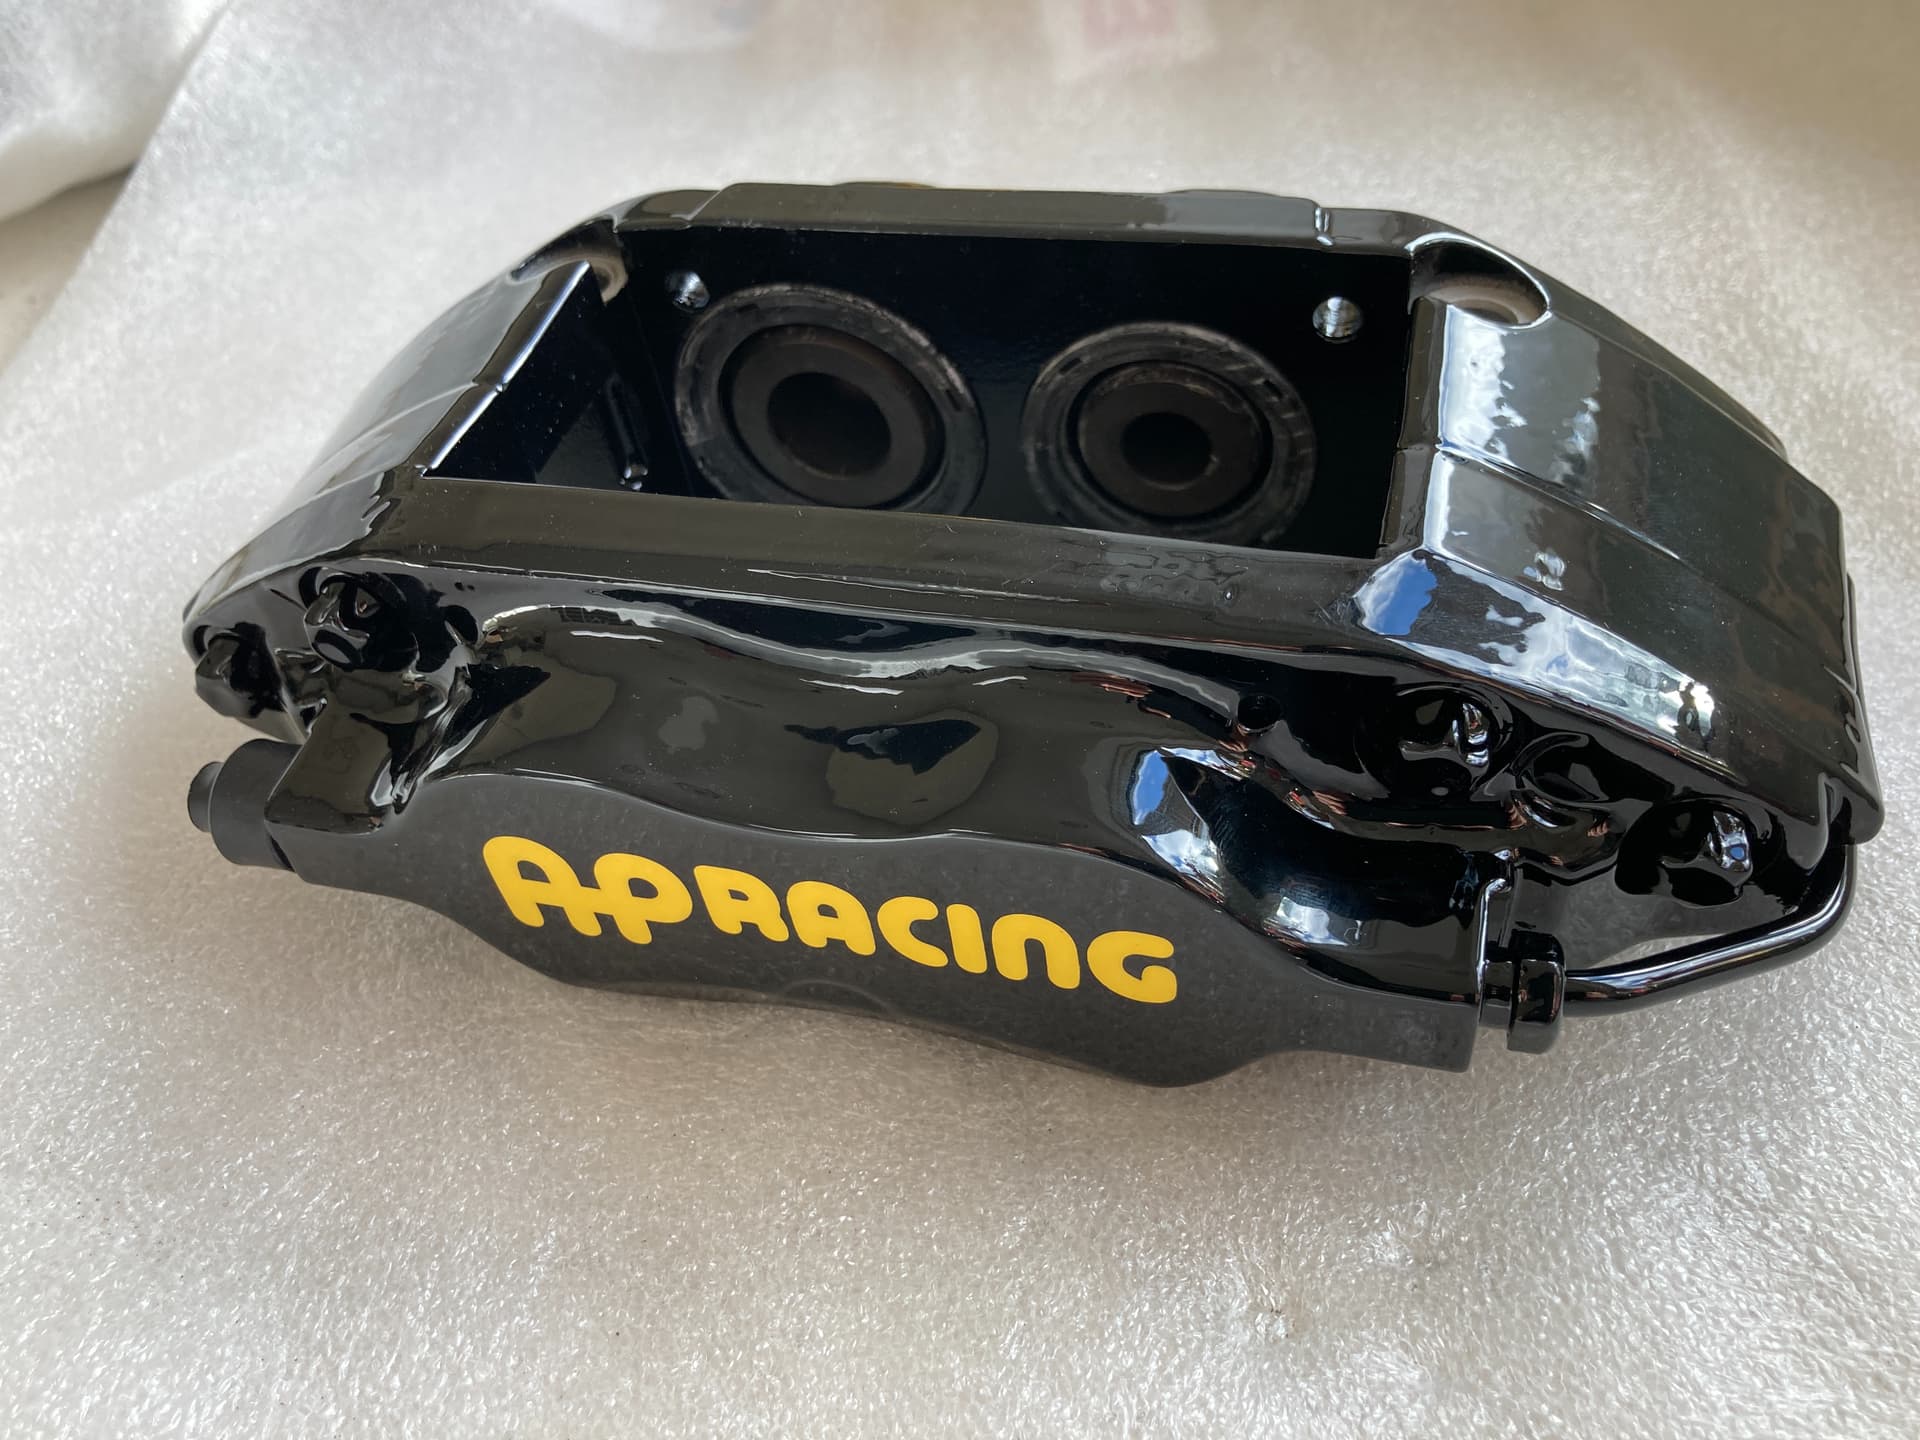
The AP logo is painted above the black base layer before the whole lot is protected with clear coat.
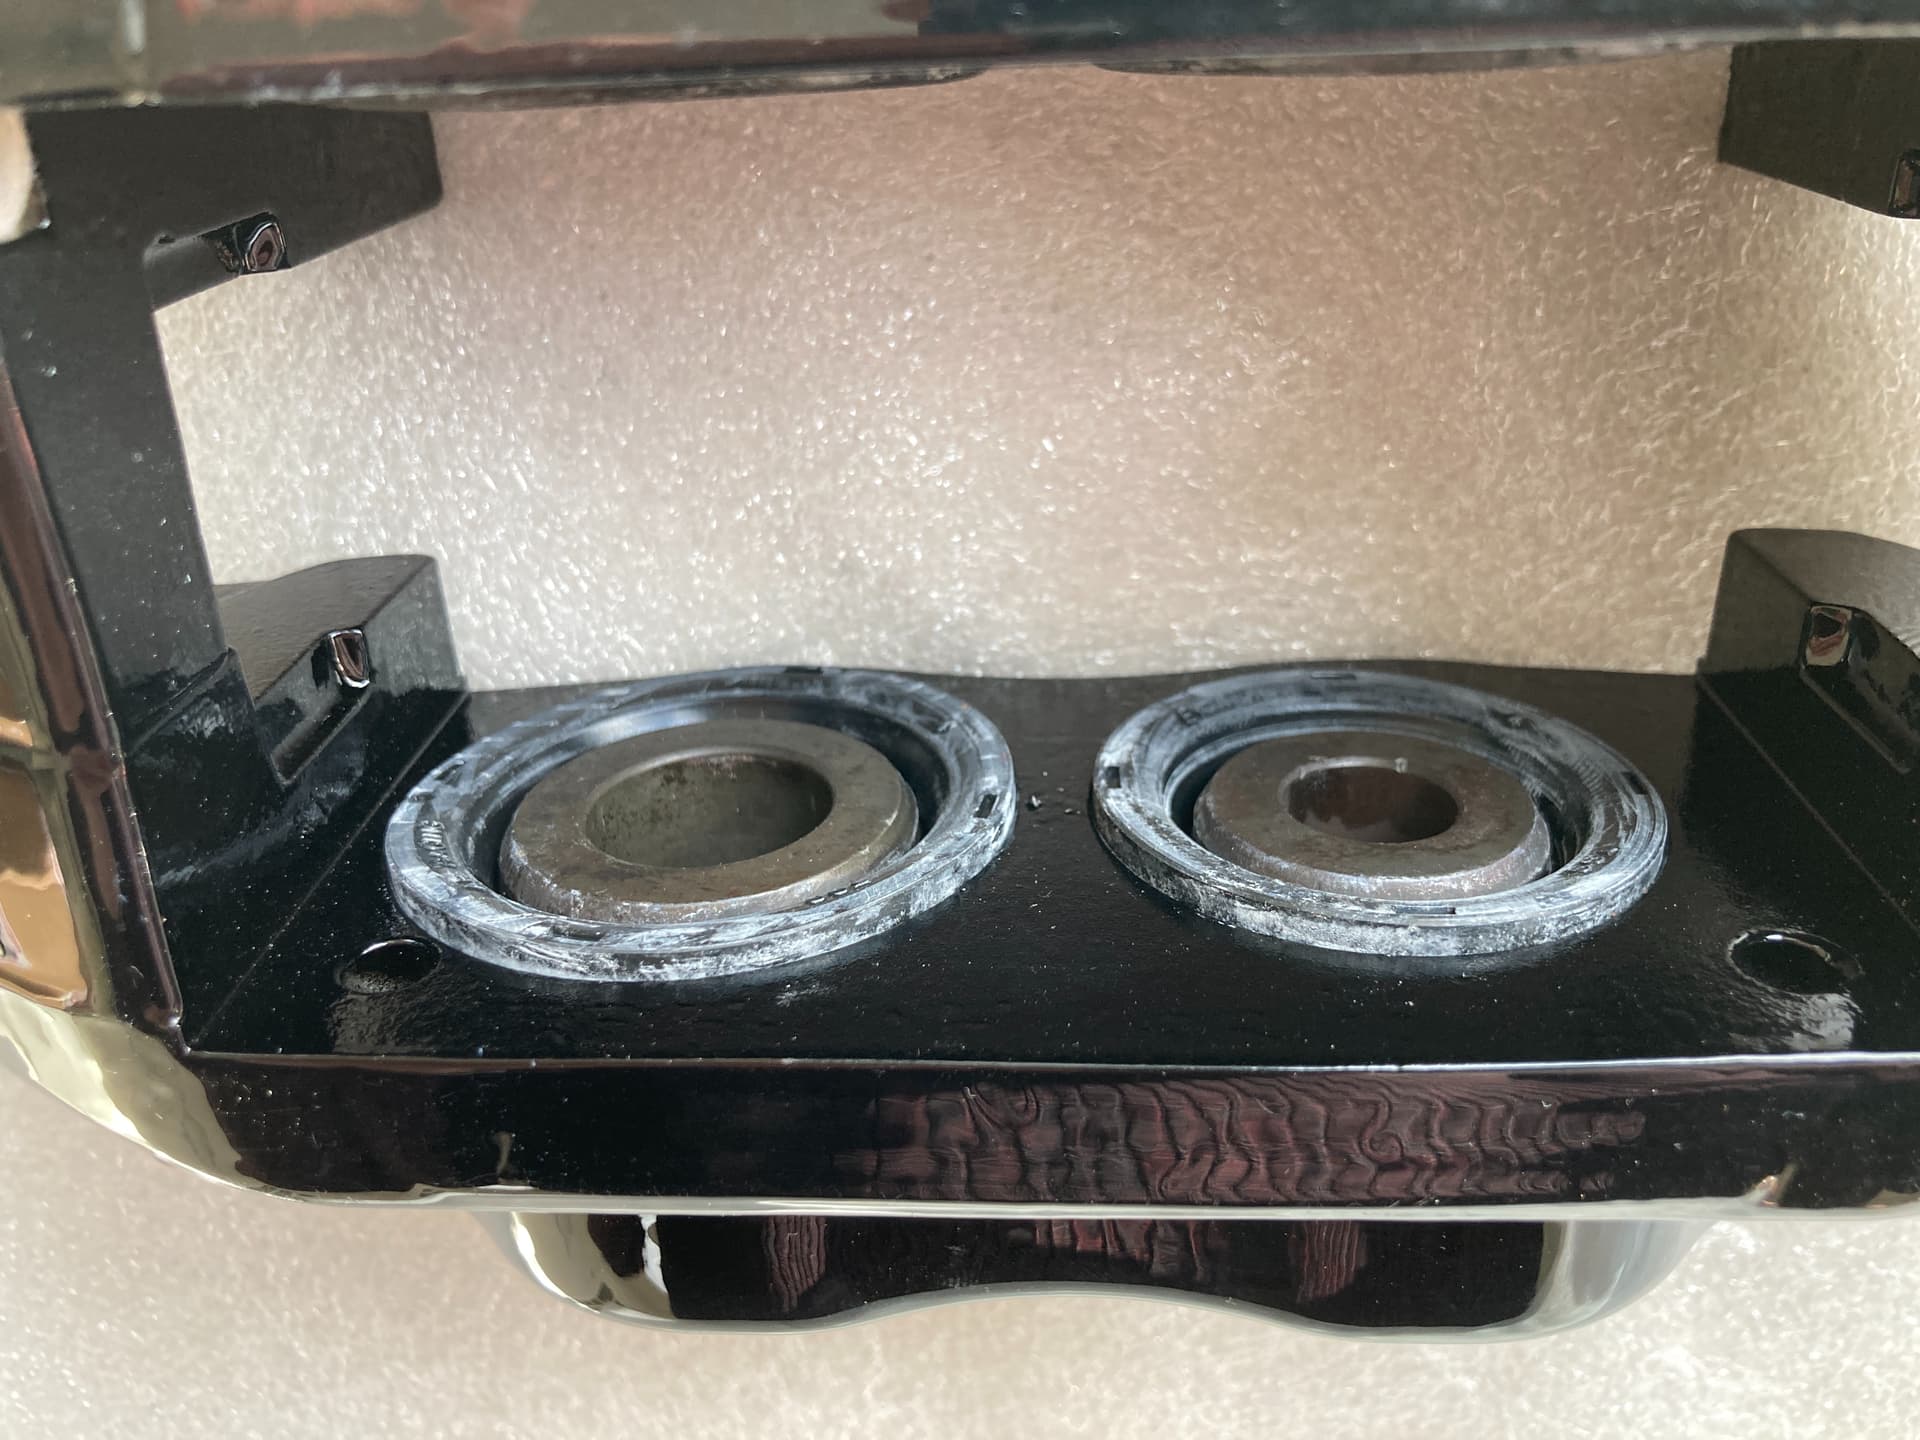
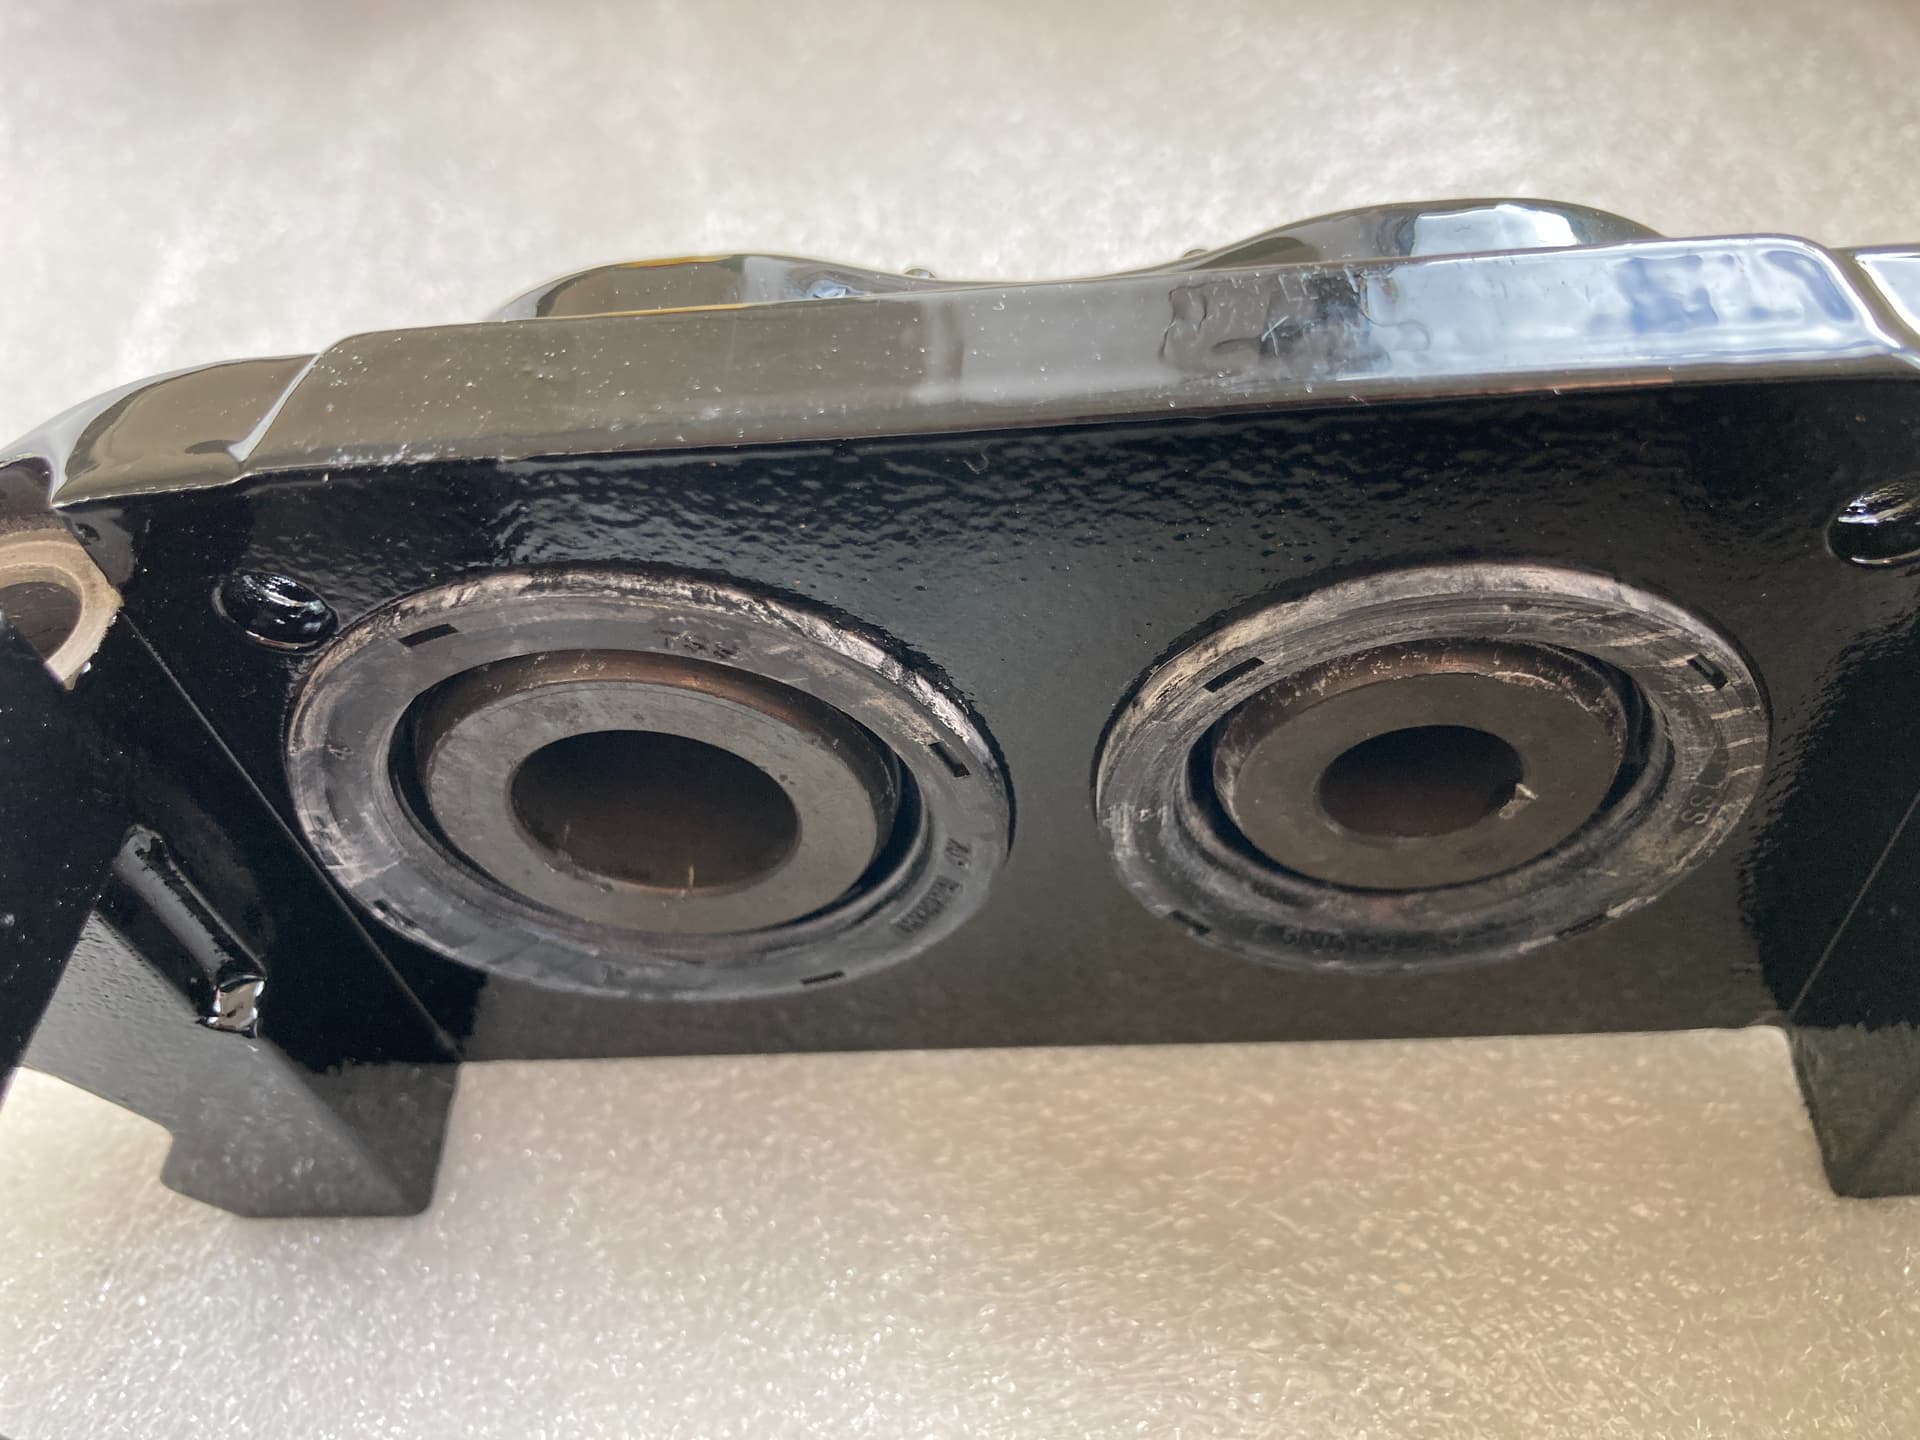
I was planning on doing this myself when the calipers arrived, so all in all, it was a great service and has saved me a load of time.
Easy for me to say without tackling myself, but from what I can see replacing the seals looks simple enough. The main challenge would be in removing the pistons without the use of an air line and also ensuring that all of the pistons pop out rather than only one at a time.
3 Likes
As mentioned previously on here, I removed the front calipers from car to be refurbished. After refitting them and bleeding the system I have been struggling to get a solid pedal.
Three attempts and three litres of brake fluid later the brakes still felt rubbish. Stopping power was great, but the pedal travel was far too long. Having come from an unassisted k series Elise before, I’m a little bit fussy about brake pedal feel ![]()
After the third attempt I threw in the towel and decided to let Back on Track have a go. I left the car with them and went to the local cafe to take care of a bacon sandwich.
When I returned they reported that whilst they did manage to remove some air from the front calipers, the long pedal travel is due to the brand new piston seals grabbing the pistons and retracting them too far back into the piston bores when the brake is released. Apparently this is very common side effect of new seals being installed during a brake refurb.
This greater retraction creates more distance for the pistons to travel when the brake is pressed before they come into contact with the brake disc via the pads.
This is basically what’s happening. The rubber piston seals in red…

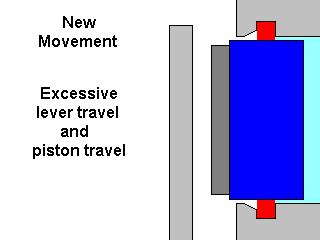
They advised me that it will get better over time and in use as the piston seal rubber beds in. Using the brakes hard helps speed things along.
They also suggested fitting new pads so the piston has as little distance to travel as possible.
I have since fitted new pads and driven the car as much as possible and I’m relieved to say that the pedal feel is almost back to how it was before. I’m looking forward to giving the brakes a good stamping on track at Bedford this weekend.
Bit of a boring update, but it’s been both frustrating and interesting to encounter this problem and I’m relieved to have got it pretty much sorted.
1 Like
Hi Mark,
I see your problem with the seal kits, have you considered anti knock back springs for the calipers ? I fitted some to a friends Atom 4 with the same calipers and it cured the problem. Seems to be what the track boys are doing.
Hi Lee, I hadn’t considered springs, but it’s an excellent idea so a massive thank you for the suggestion.
I had noticed that some calipers have springs whilst others don’t, but having never experienced this issue before I’d not really thought about what purpose they serve.
I’m going to give the brakes a proper workout on track at the weekend, so if this doesn’t sort it I’ll be fitting the springs!
Enjoyed catchinhg up on your progress. Enjoy the track day.
Brilliant Mark ![]()
![]()
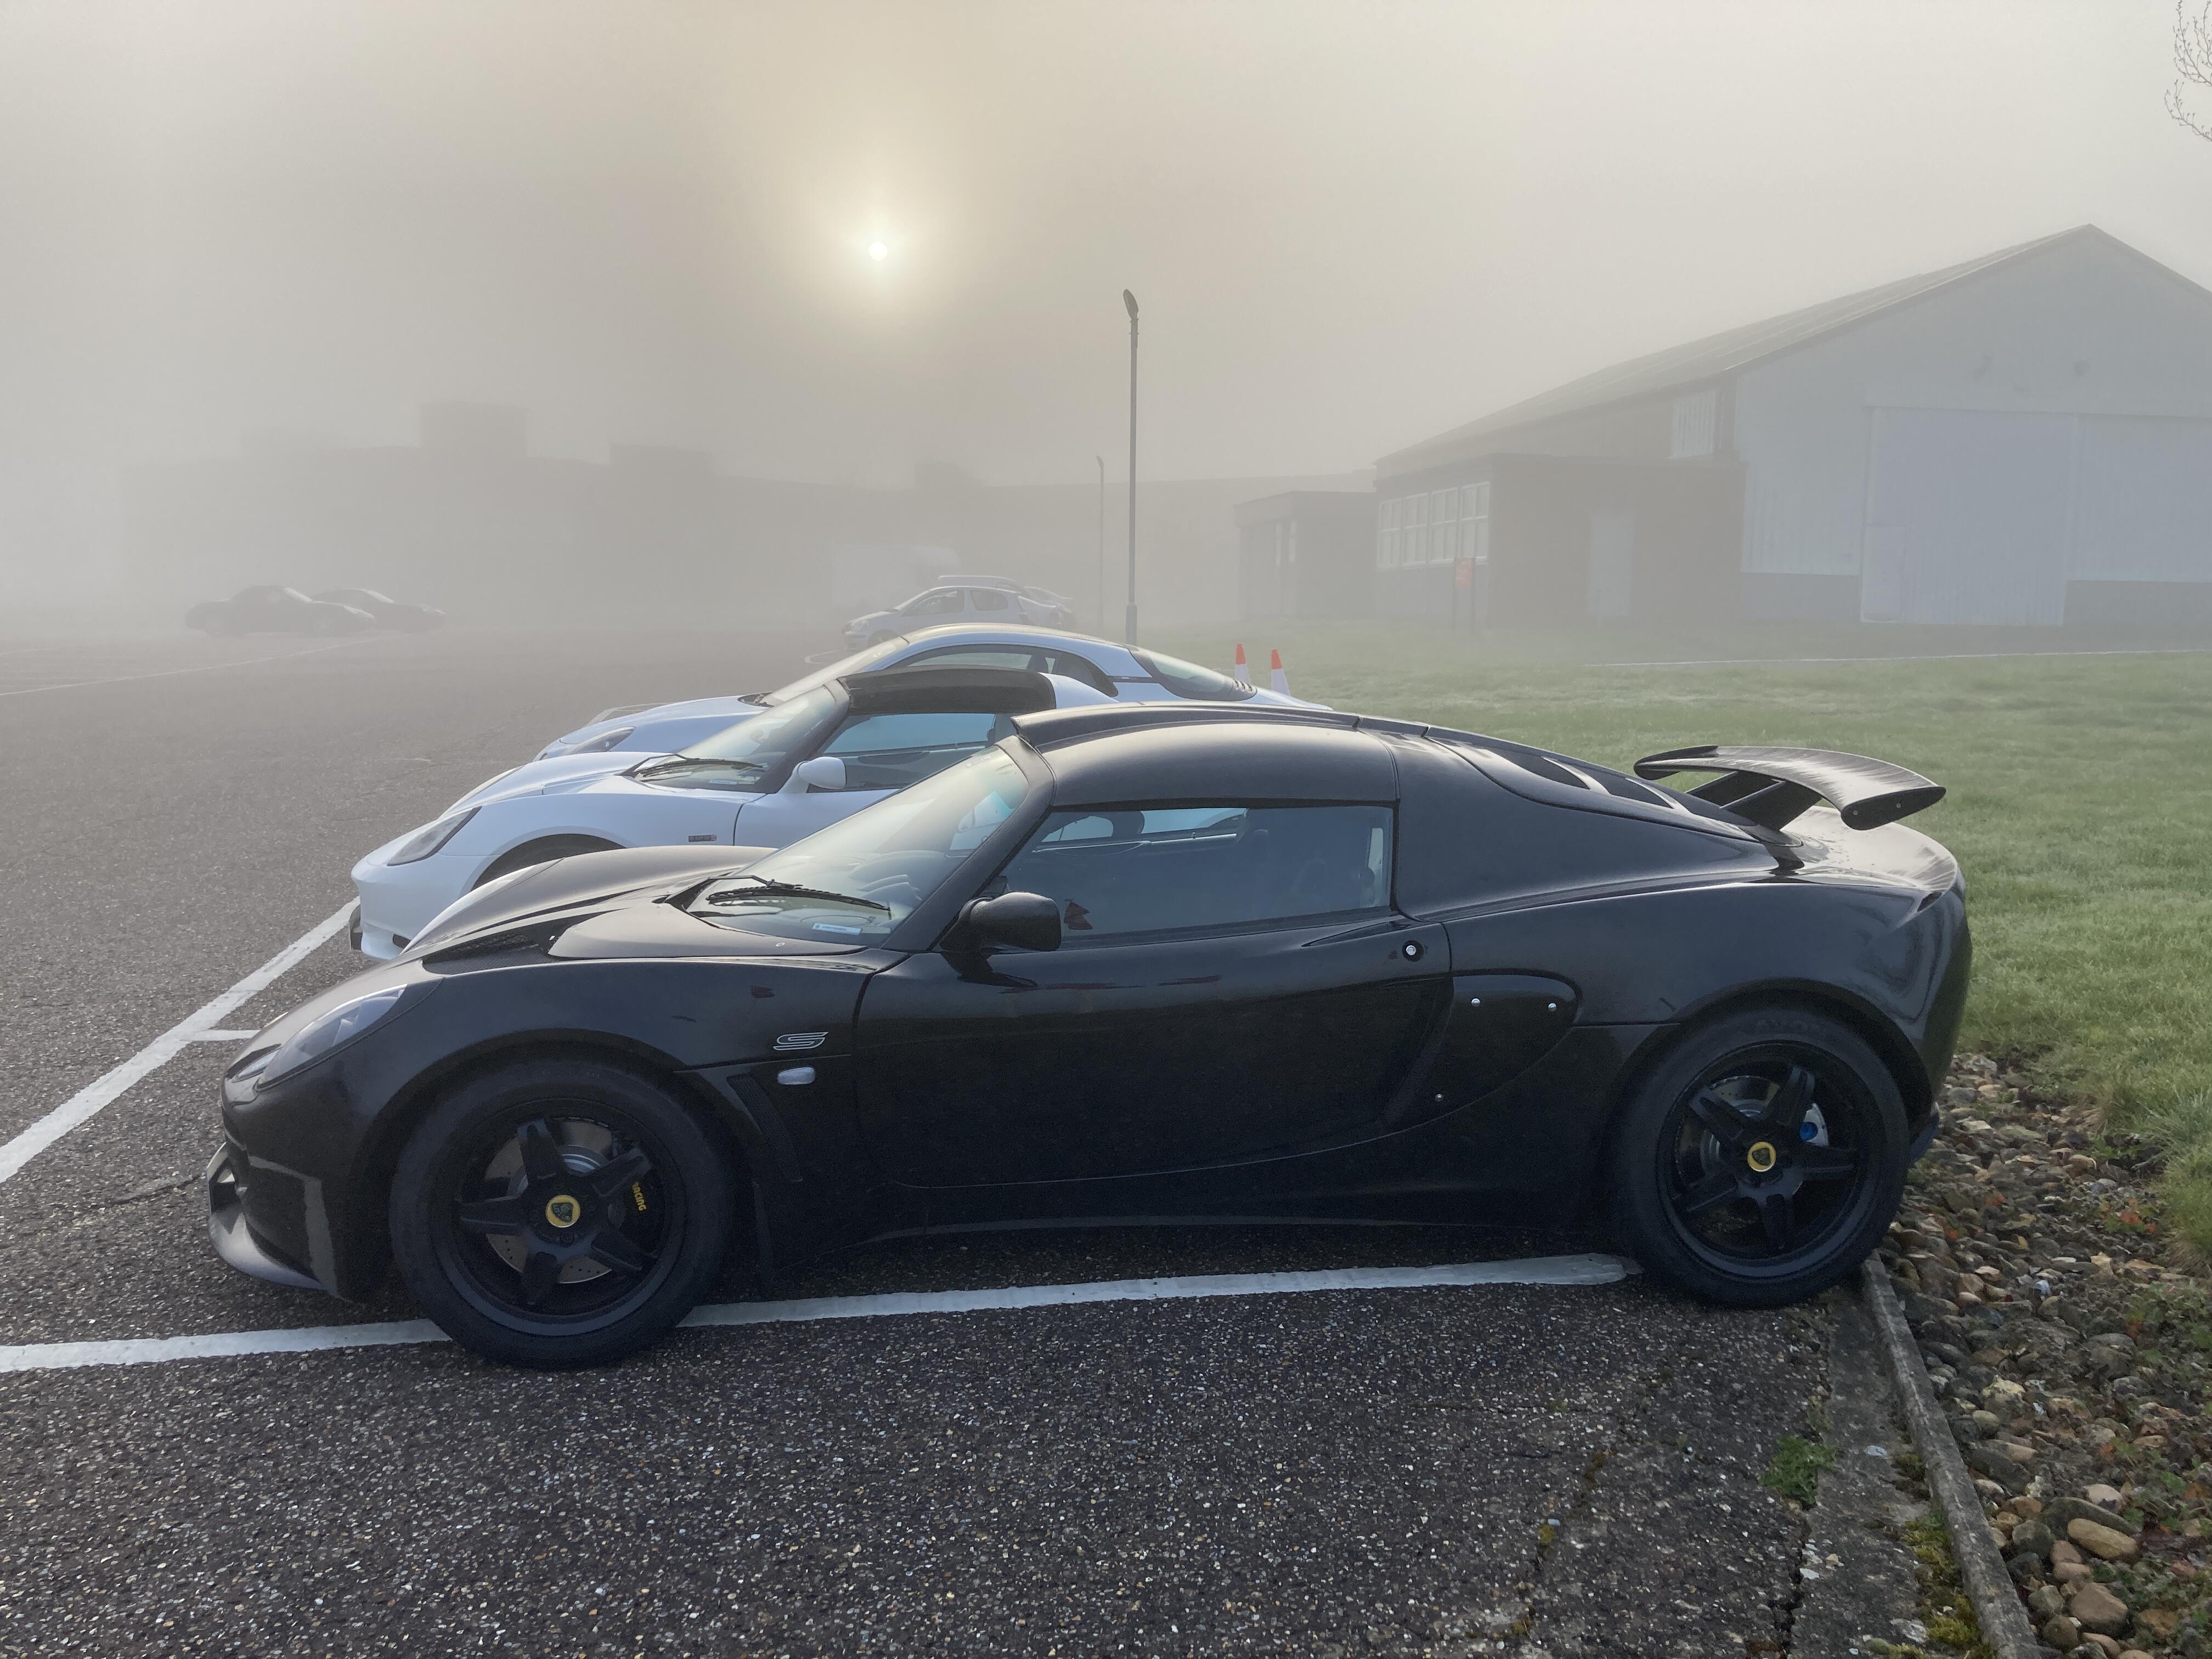
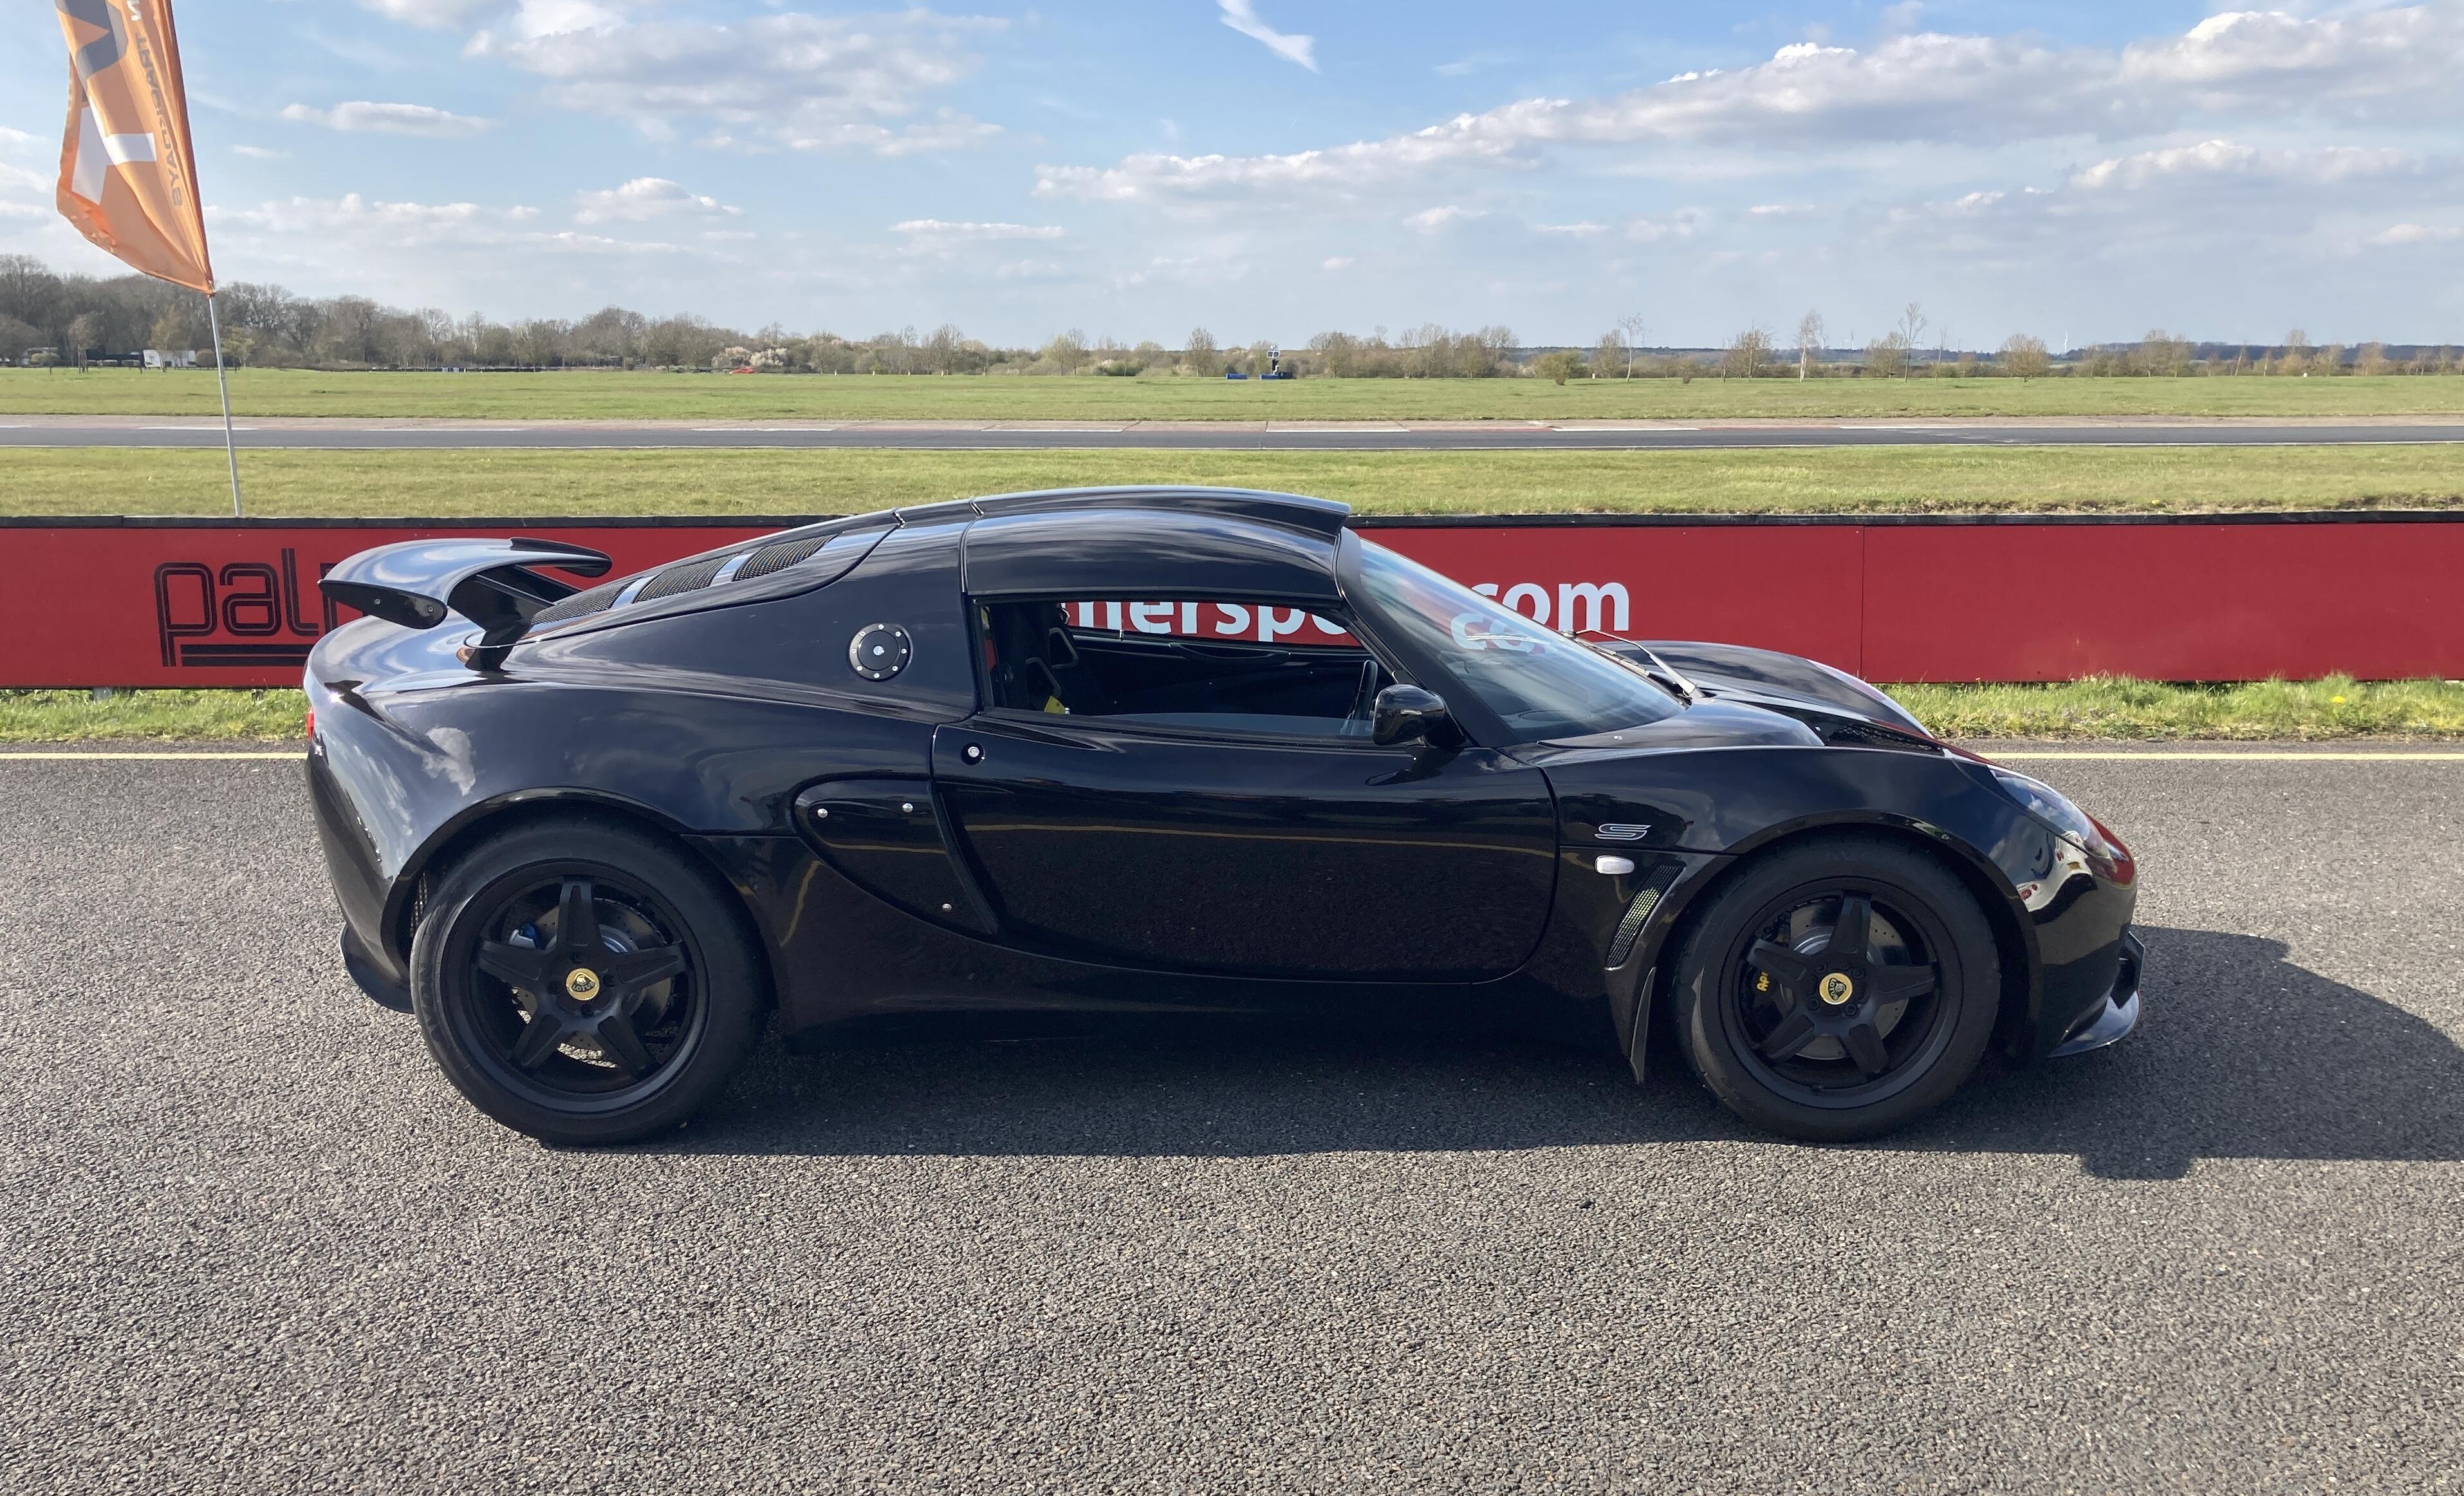
The track day at Bedford was great fun with perfect sunny conditions, ideal for the ZZRs first outing of 2023.
I was in good company with another lotus (Elise sc) and an Alpine A110 joining me. It was very foggy as we arrived at the circuit, but soon cleared up.

The brakes are feeling pretty good now, having had a good workout although it might also be that I have just got used to them. I’ll try to have a prod of another car to see how they feel in comparison before installing anti knockback springs.
I left the traction control on and noticed it kicking in on one corner (before the long straight), so will be experimenting with the variable settings next time.

Watching this footage back after the day, I can see that my right hand keeps on popping off the steering wheel. I have noticed this before and couldn’t understand why I was doing it, but it finally dawned on me that my hands are getting sweaty and I’m wiping them on my trousers! ![]() I’ll be trying out some gloves for the next track day to see if this helps.
I’ll be trying out some gloves for the next track day to see if this helps.
Brands GP with Lotus on Track in June is the next one booked. I’m counting down the days as I’ve not done the full circuit before ![]() .
.
1 Like